Farmhouse Table
I love this farmhouse style. It's 7'x3' and 30" high. I got the plans from Ana white. I just made a few changes.
I love this farmhouse style. It's 7'x3' and 30" high. I got the plans from Ana white. I just made a few changes.
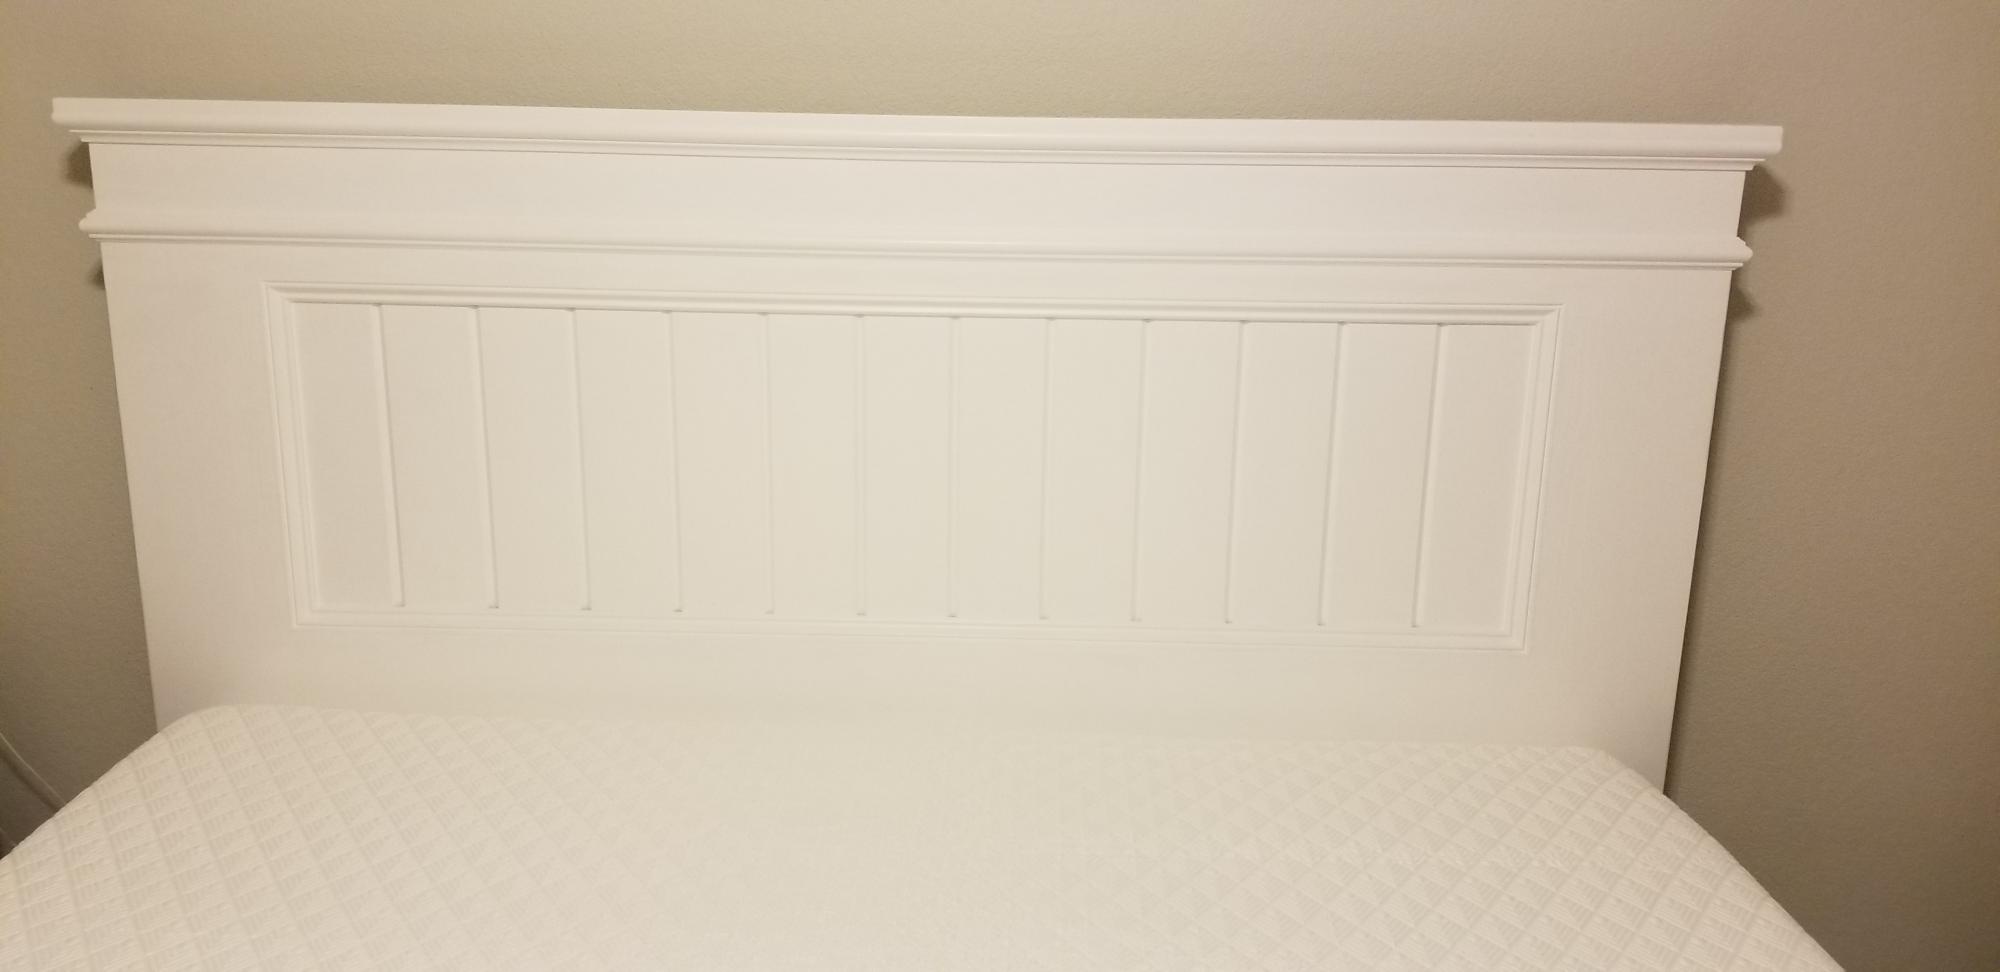
This was my first bed since we can not find any in stock due to the pandemic. I switched up the headboard legs to 2x6s for a slightly wider base. This helped with the mattress in a box we ordered. I built a simple frame using 2x8s, all basic lumber from the big box store, and used 2x6s for the footboard legs. I built the bed frame just about two inches shorter in width to give it some variation in sight lines. I finished it with basic white enamel paint and put 1x4 slats under the mattress. My wife loved it and it turned out well.
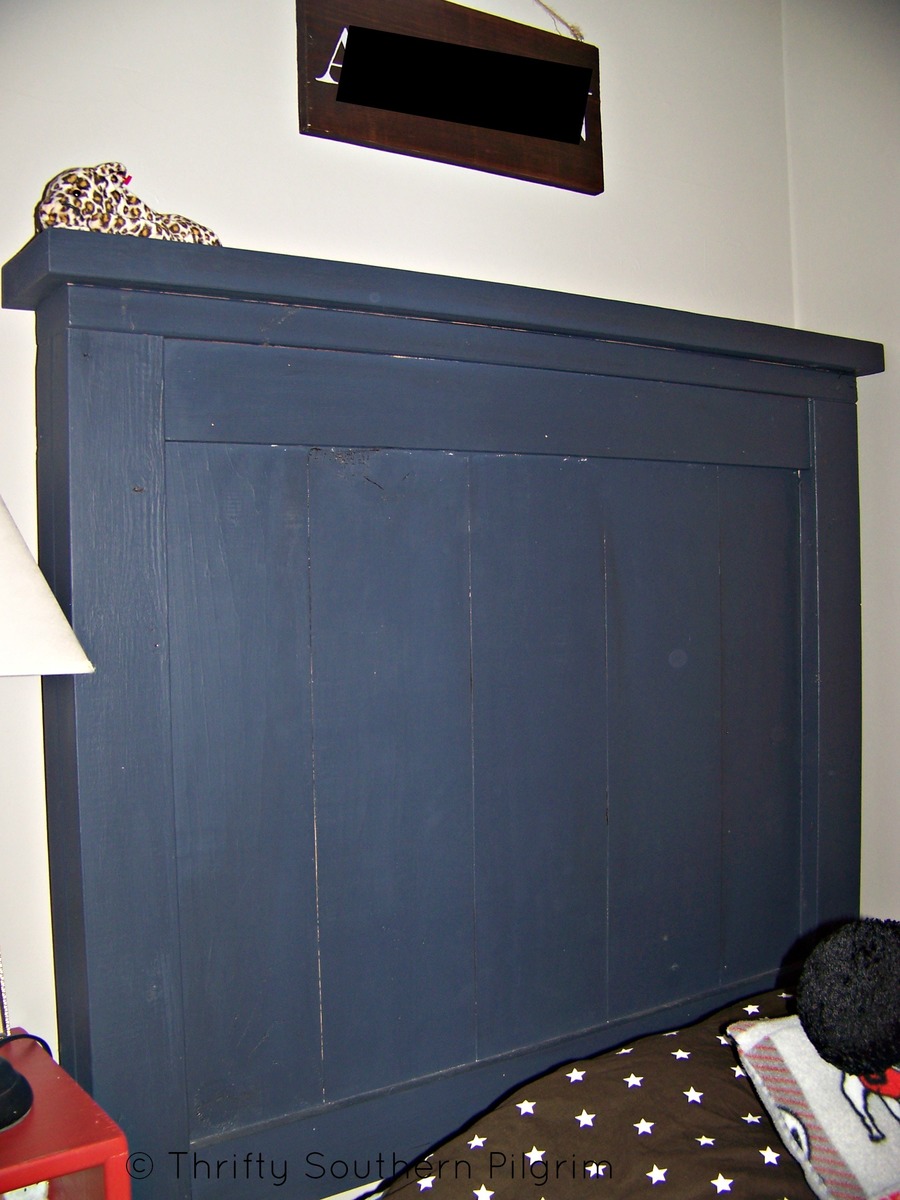
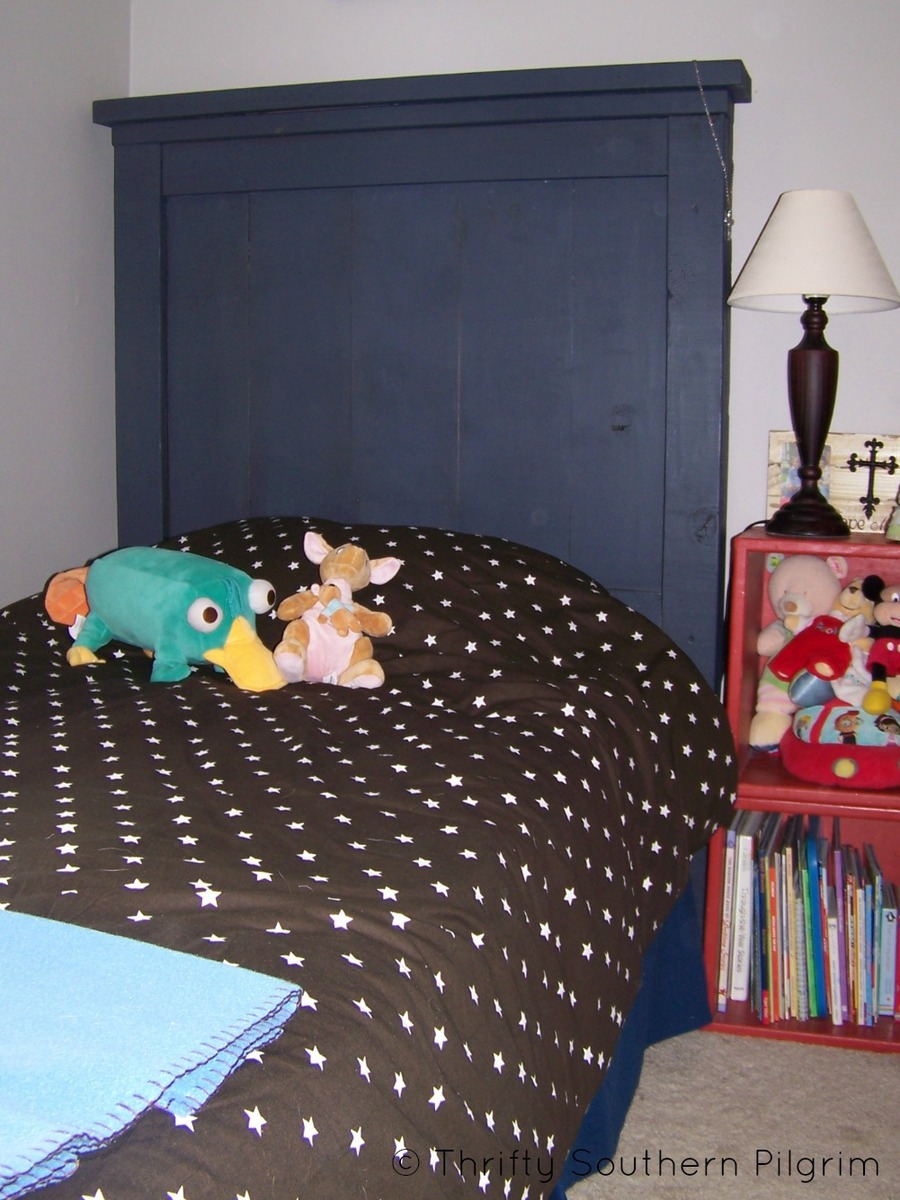
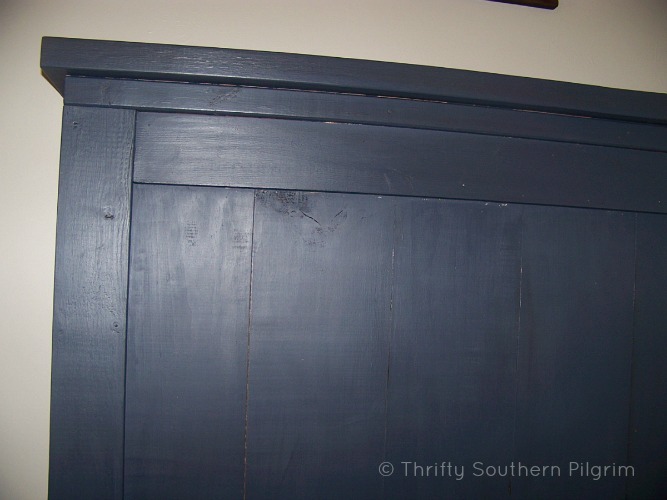
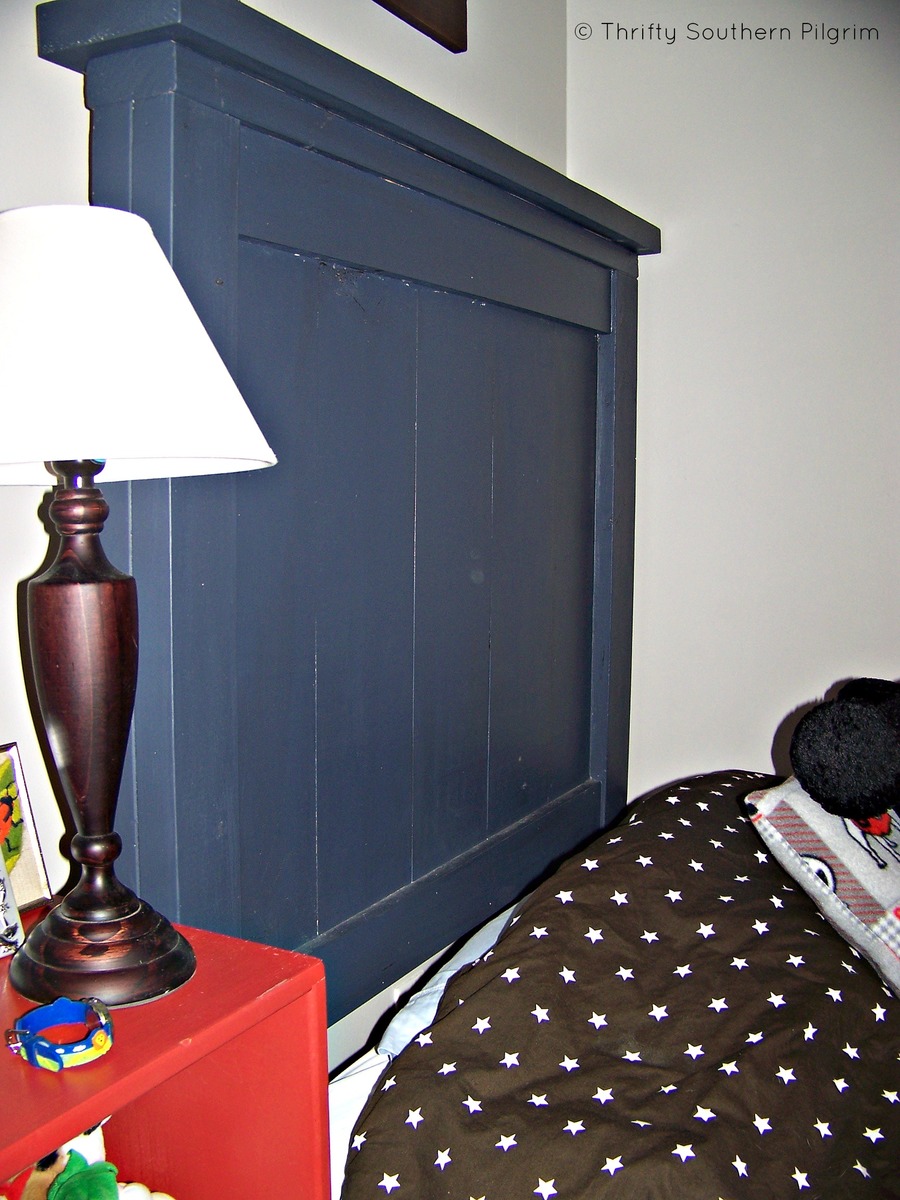
I used a combination of Ana White's book, The Handbuilt Home, and her website plans to build TWO twin sized headboards. I did not build the rails and/or footboard, because the room is too small. I simply attached the metal bed frame to the posts of the headboard. My boys love their new beds!
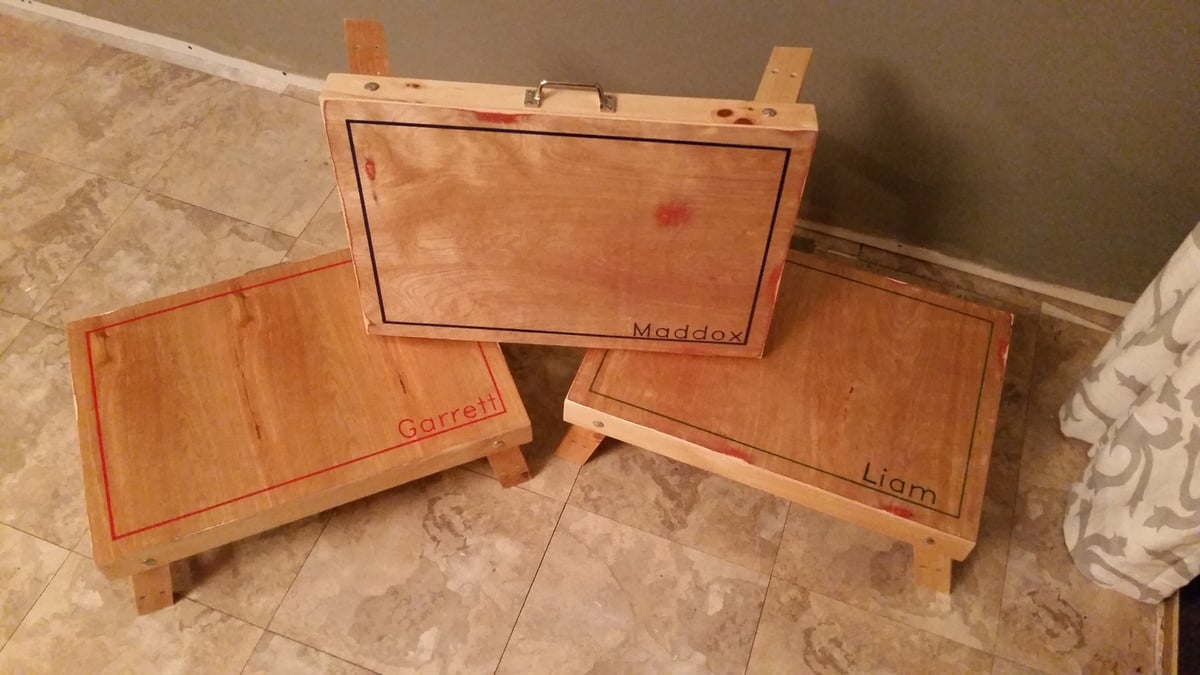
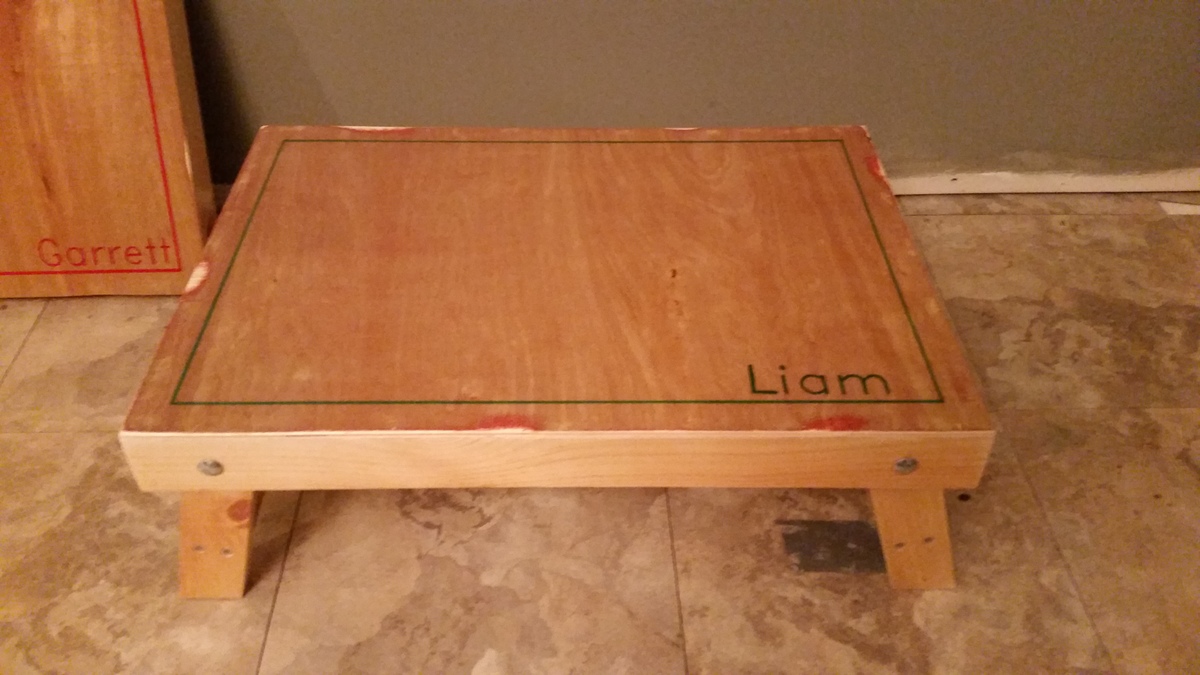
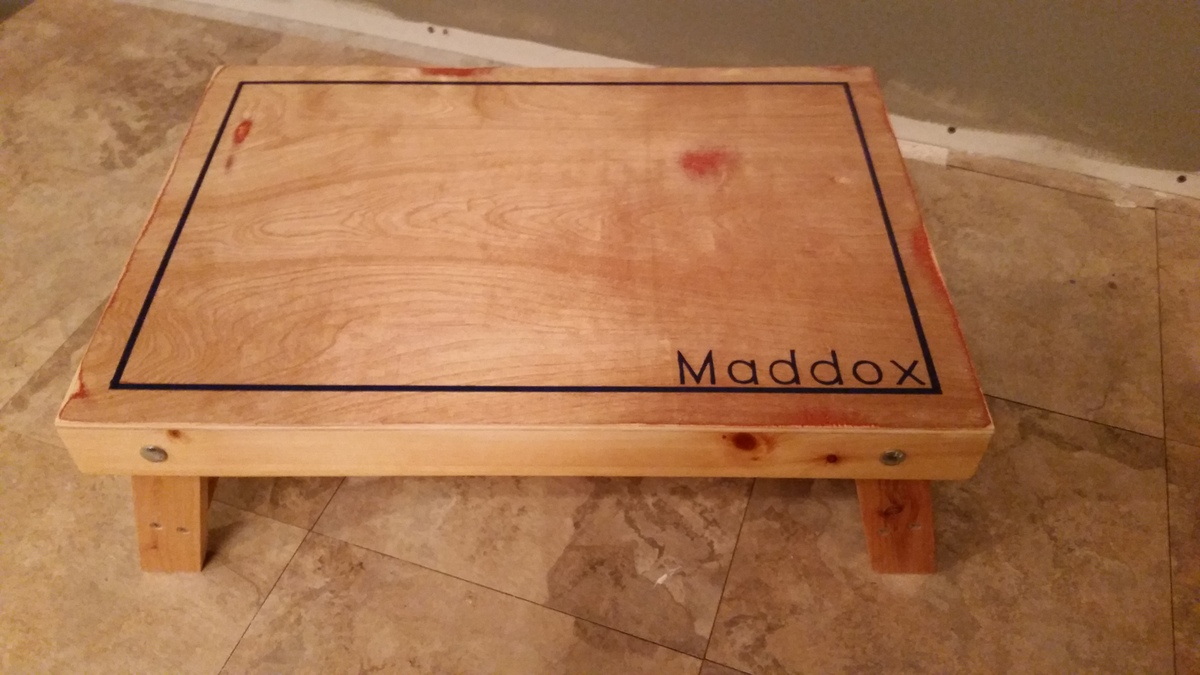
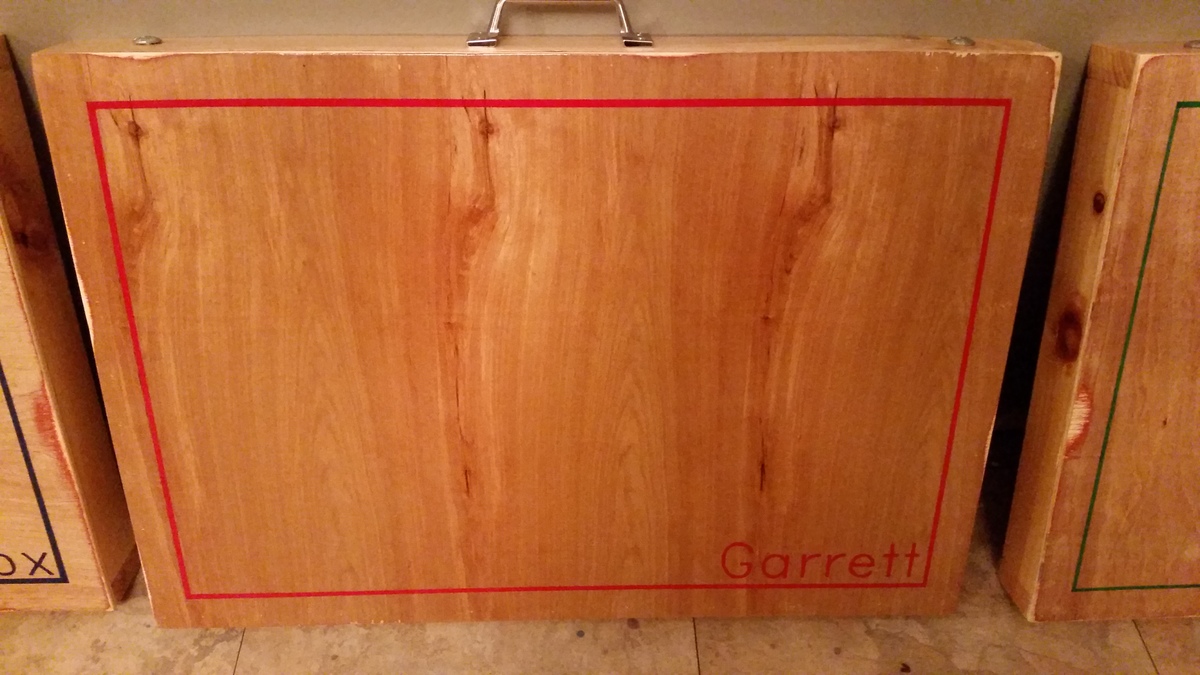
This was a fun project for my three nephews for Christmas (ages 3, 2 and 2). I thought they'd each like their own little personalized desk for coloring, blocks, snacks, etc.
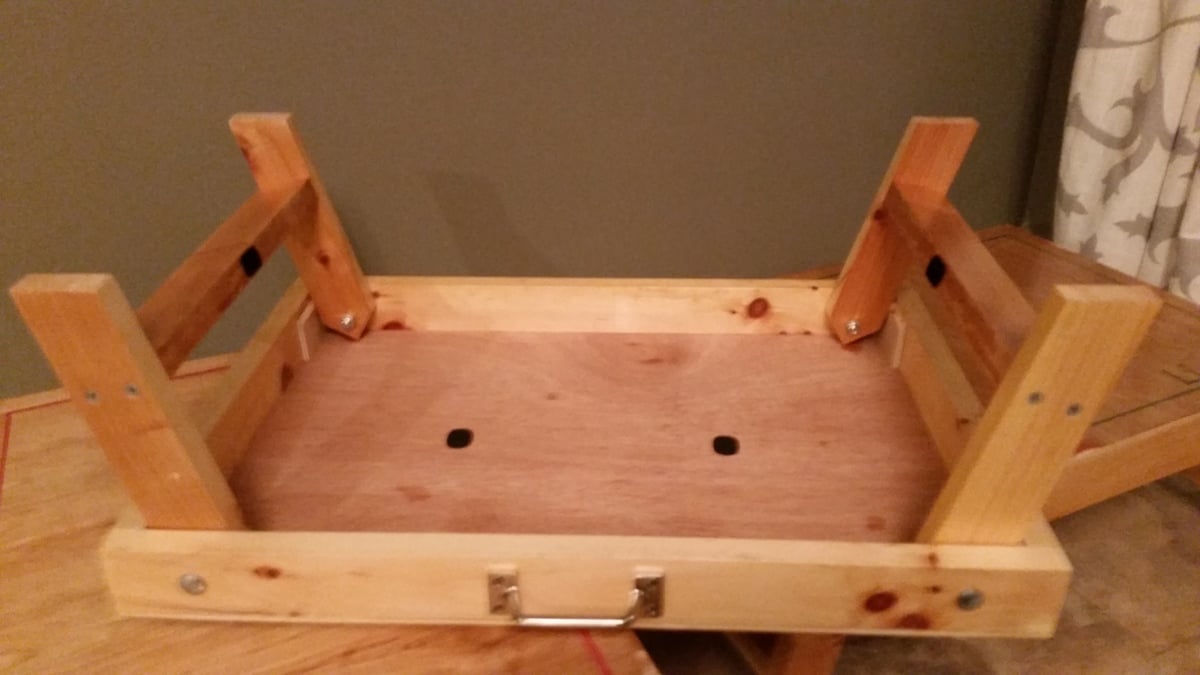
This was a relatively simple build with the only tricky part being the leg holes (and getting the legs to open at the exact angle I wanted). I had to fudge a couple of them with some patches that you can see in one of the photos.
I would suggest using lock nuts on the bolts. The original nuts I used were turning as the legs opened and closed. I thought that eventually the nuts might work themselves off the bolt.
The frame was built completely out of 1x6 scrap wood I had lying around my garage that had been used for shelves. I cut the 1x6s down to 1x2 and 1x3 with my table saw. I did buy a small sheet of plywood underlayment for the top.
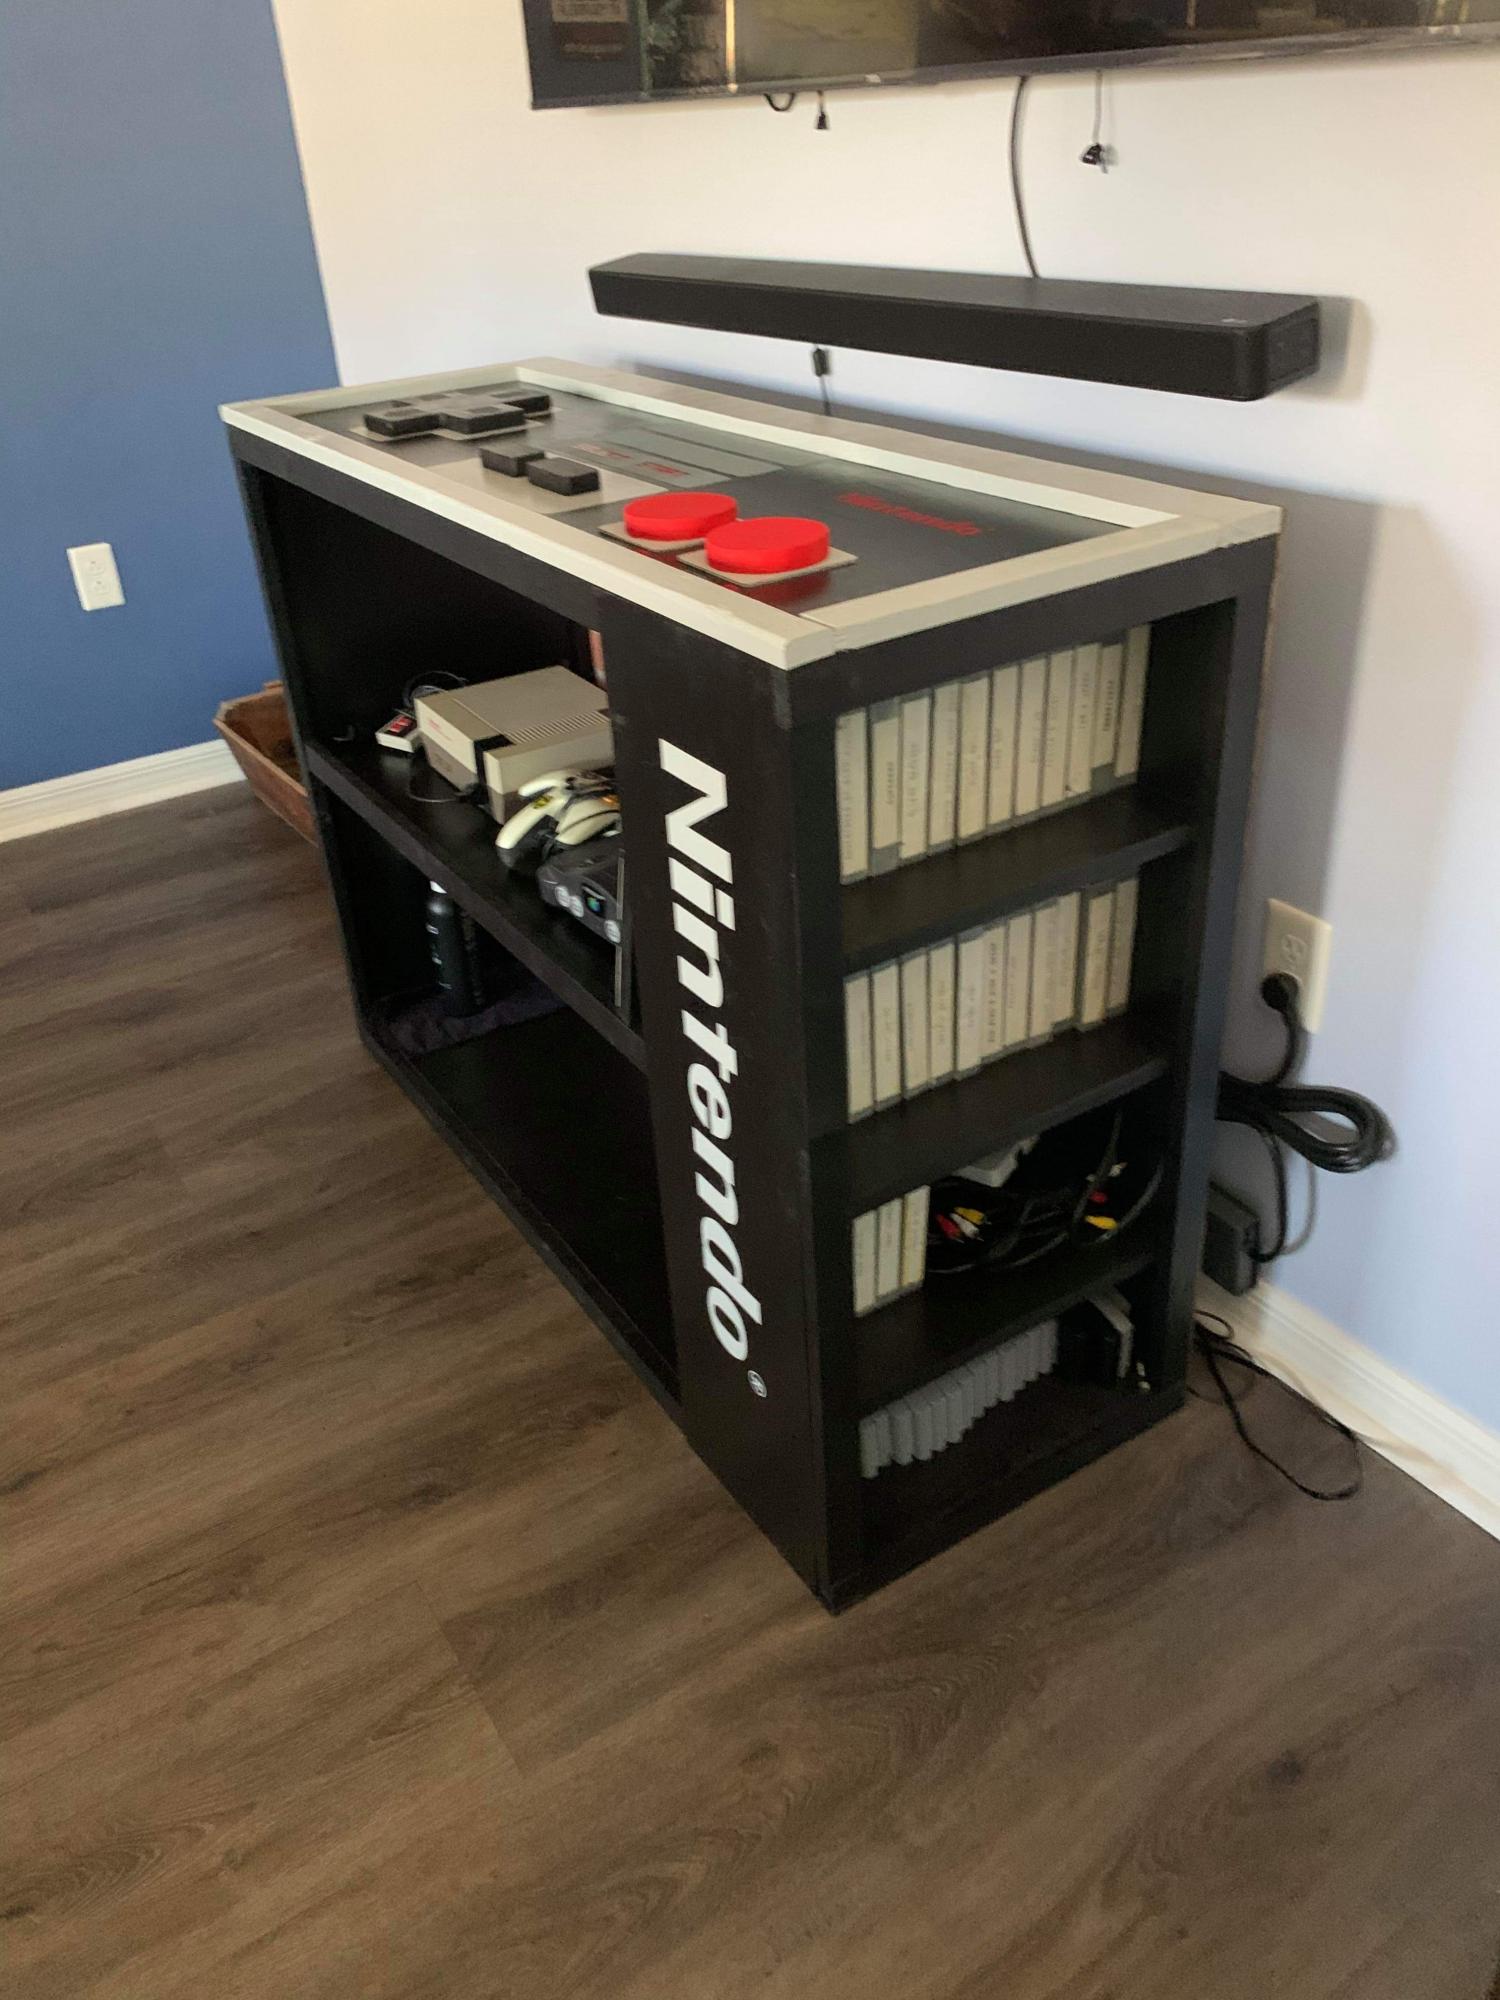
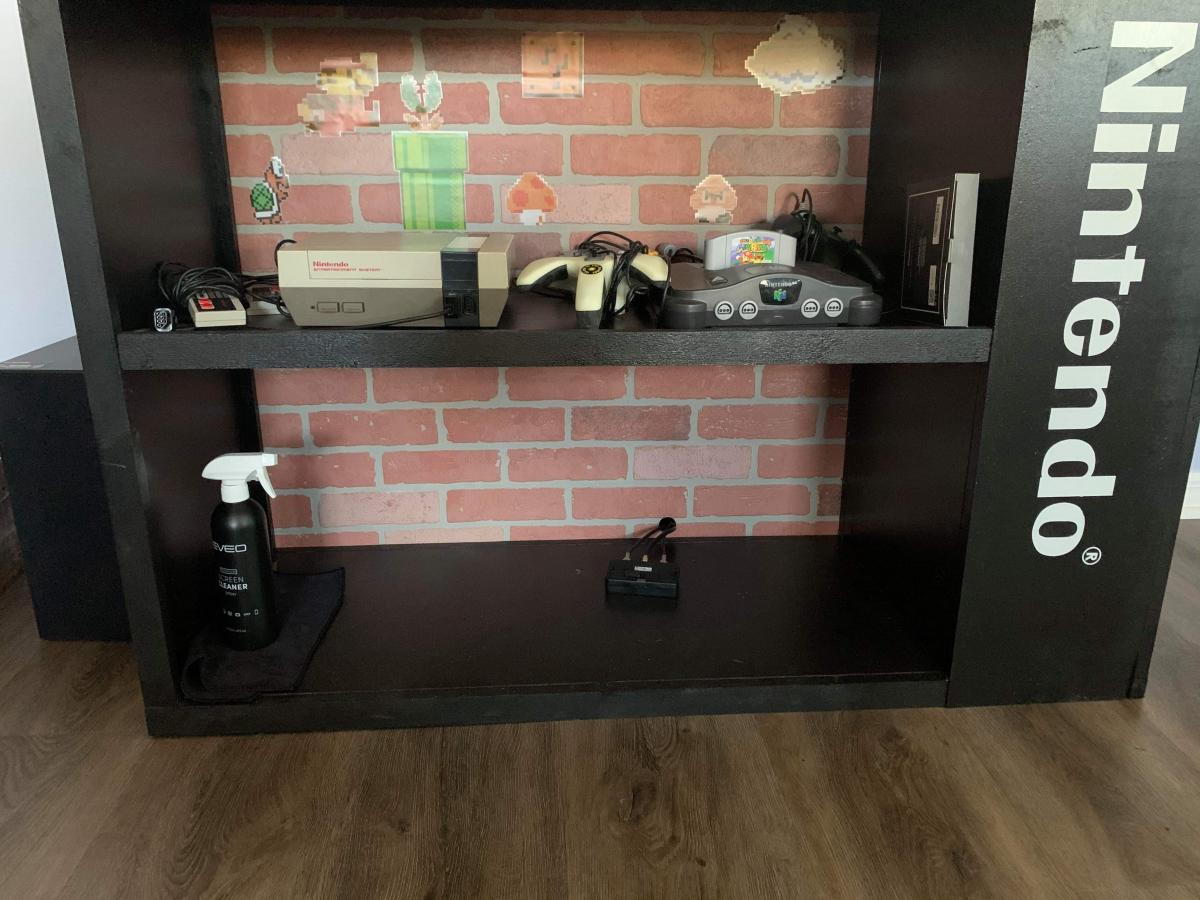
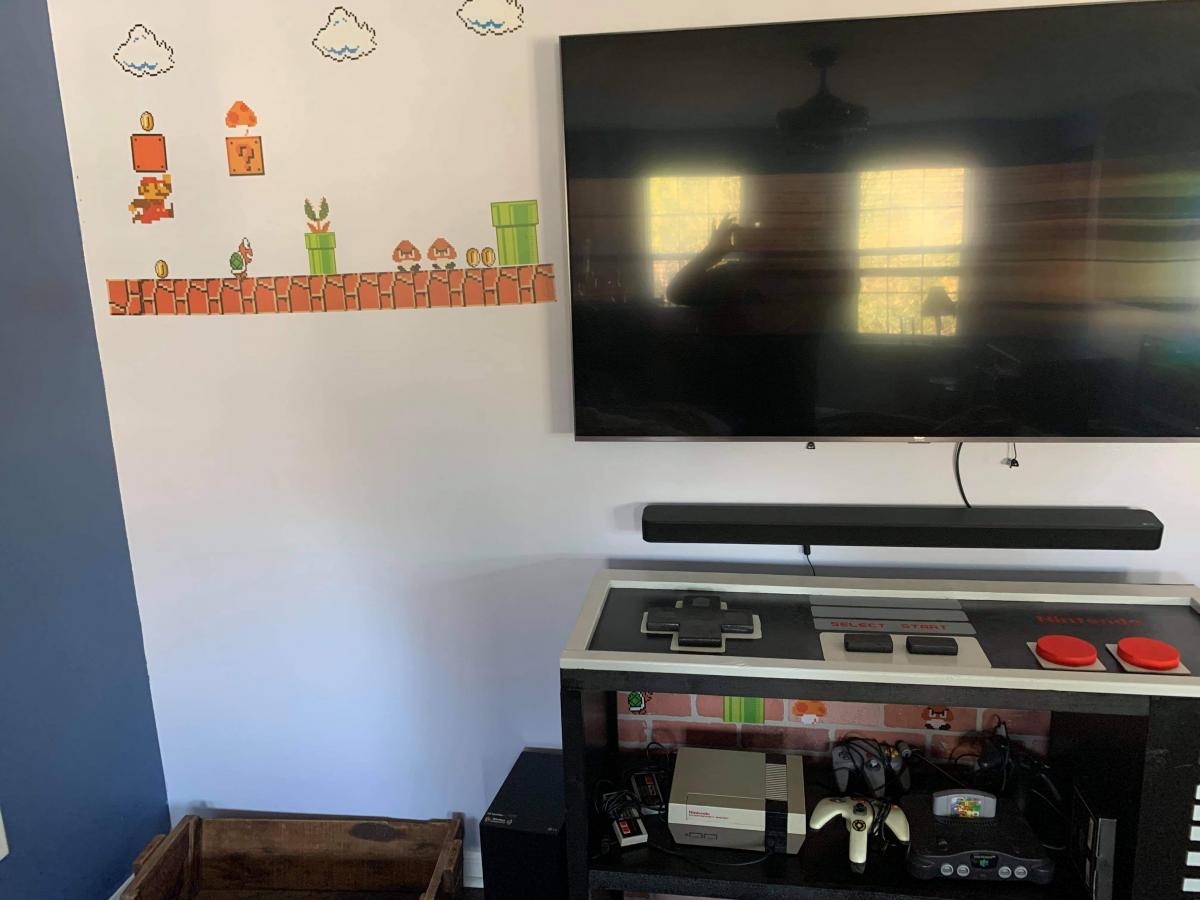
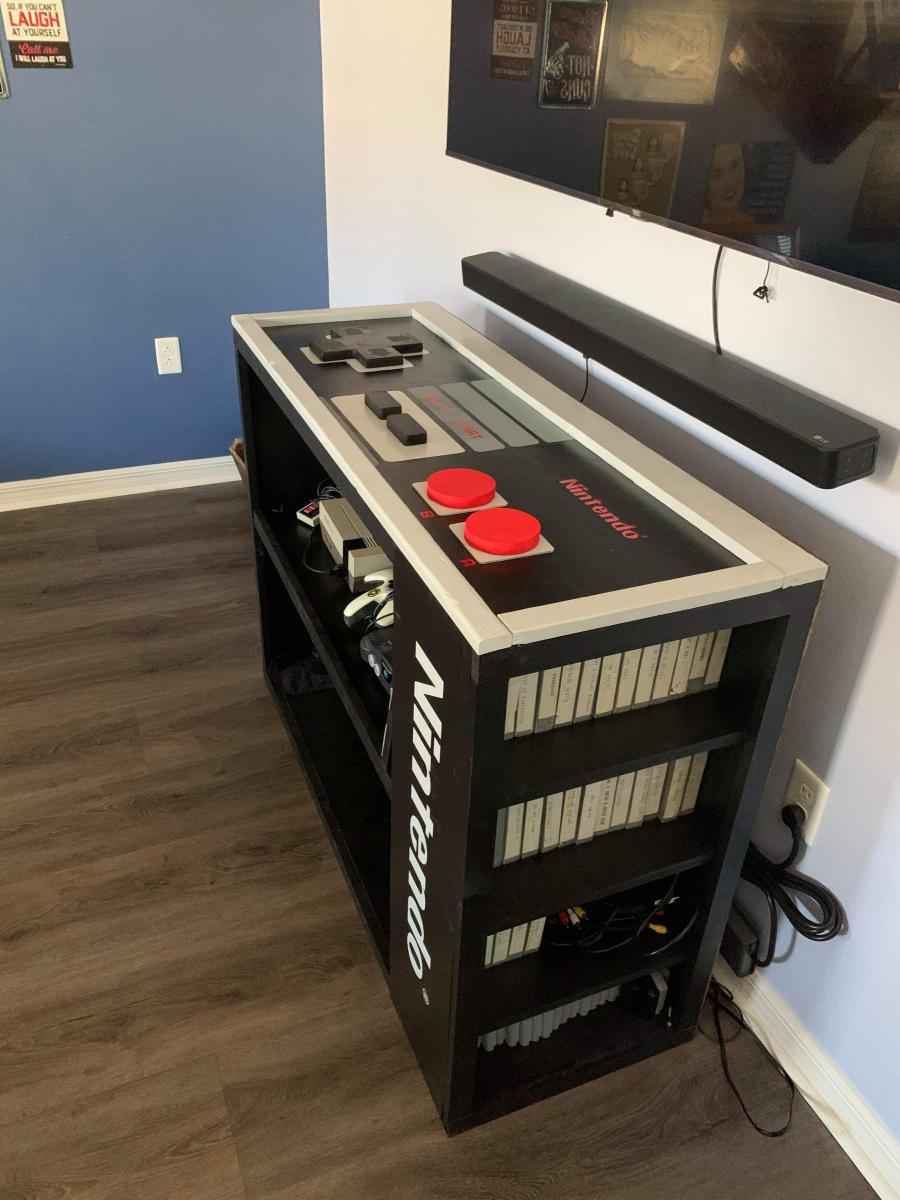
I'm married to a manchild lol and he wanted a custom Nintendo console like one he saw online. I made this a little taller and added more shelves to store the games. He also decided he wanted a back and I happened to have some extra faux brick paneling. This was when he got super excited to add stickers to it and complete the wall too. It fits everything he needed and it actually turned out pretty incredible. He wanted the controller to be 3D even though I'm itching to try out epoxy. But maybe on a later project :)
The plans are so easy to follow and this being my 6th project from AnaWhite I'm really learning alot!
I can't thank you enough for what you do!!!
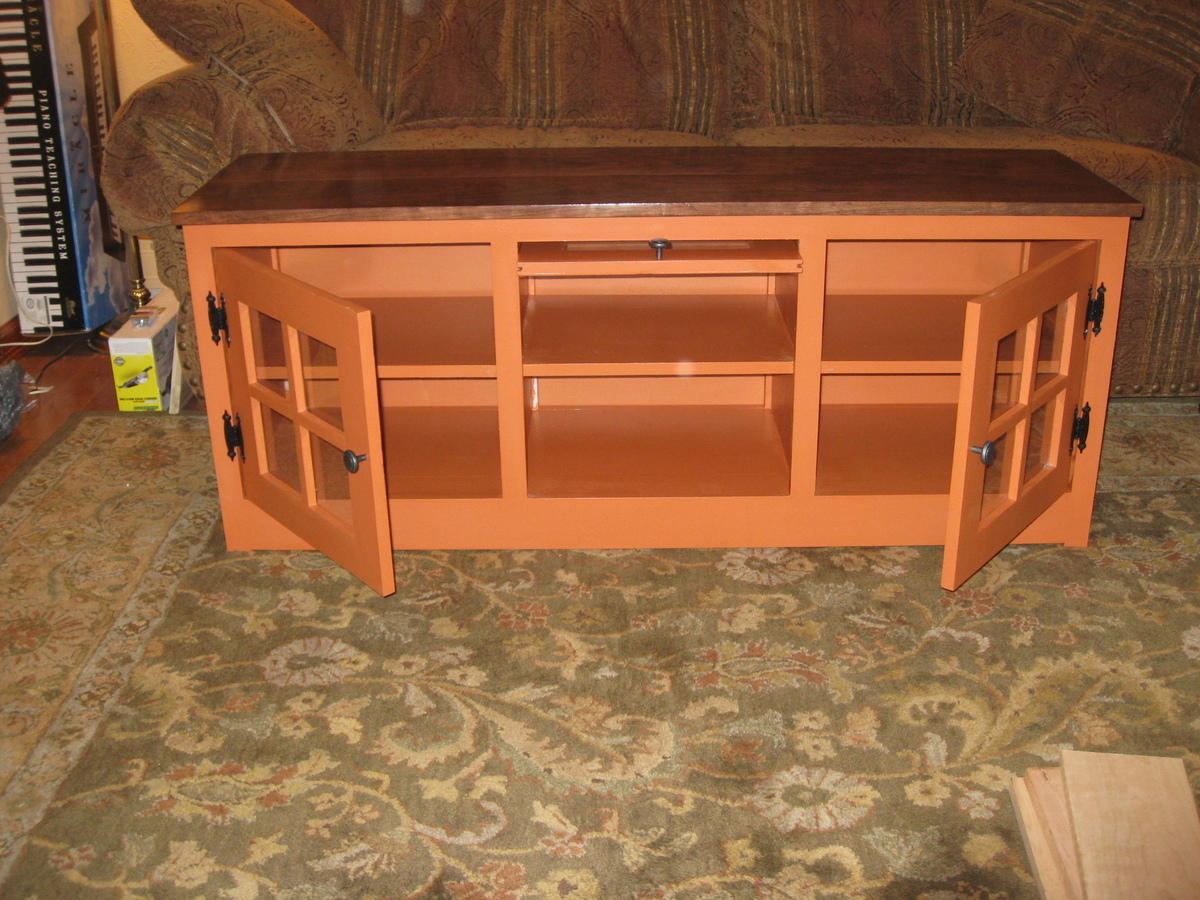
Followed the plans on the site but made it 3" wider to better fit our electronics.
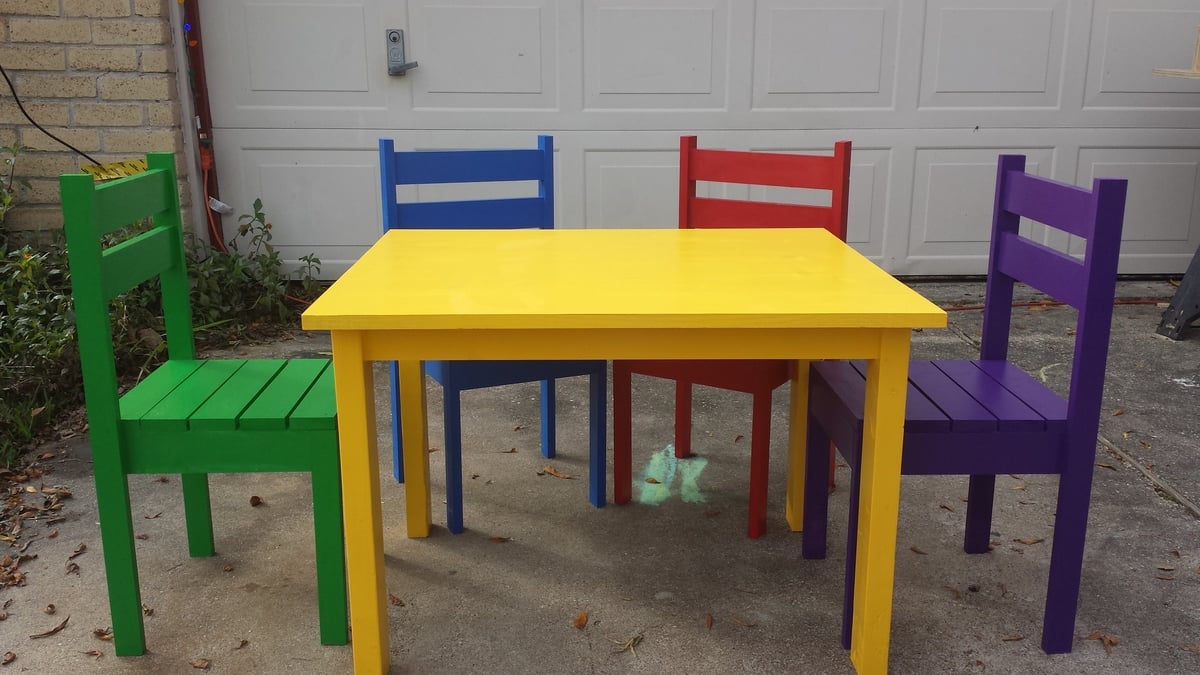
built for my mother, for all the grandkids
Made a couple of mods because I didn't want shelves on the two ends and changed to "z" doors. I had a welder make the hardware.
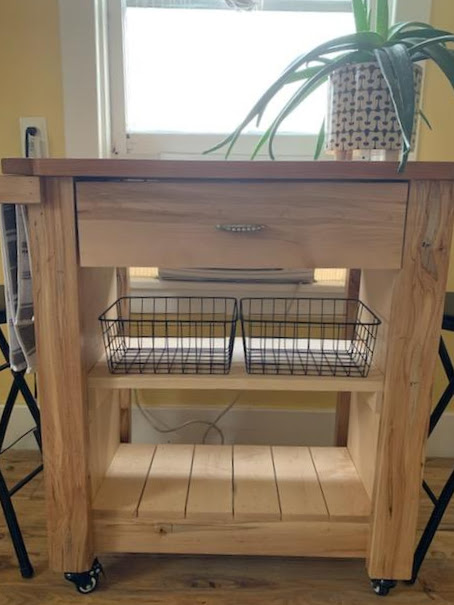
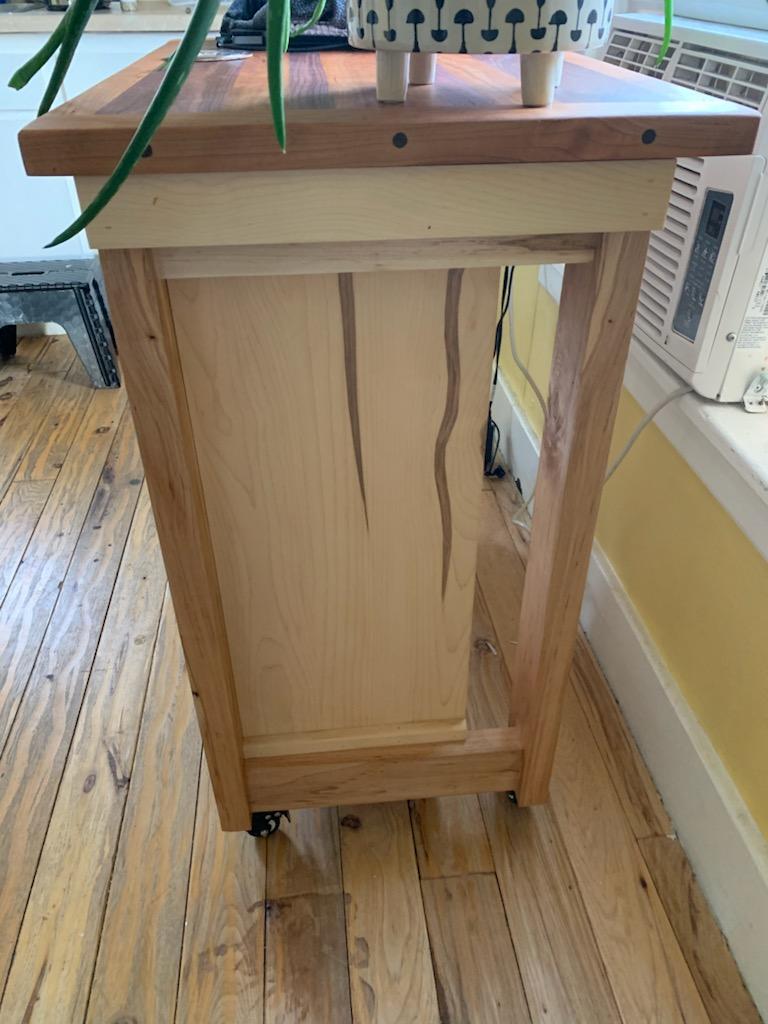
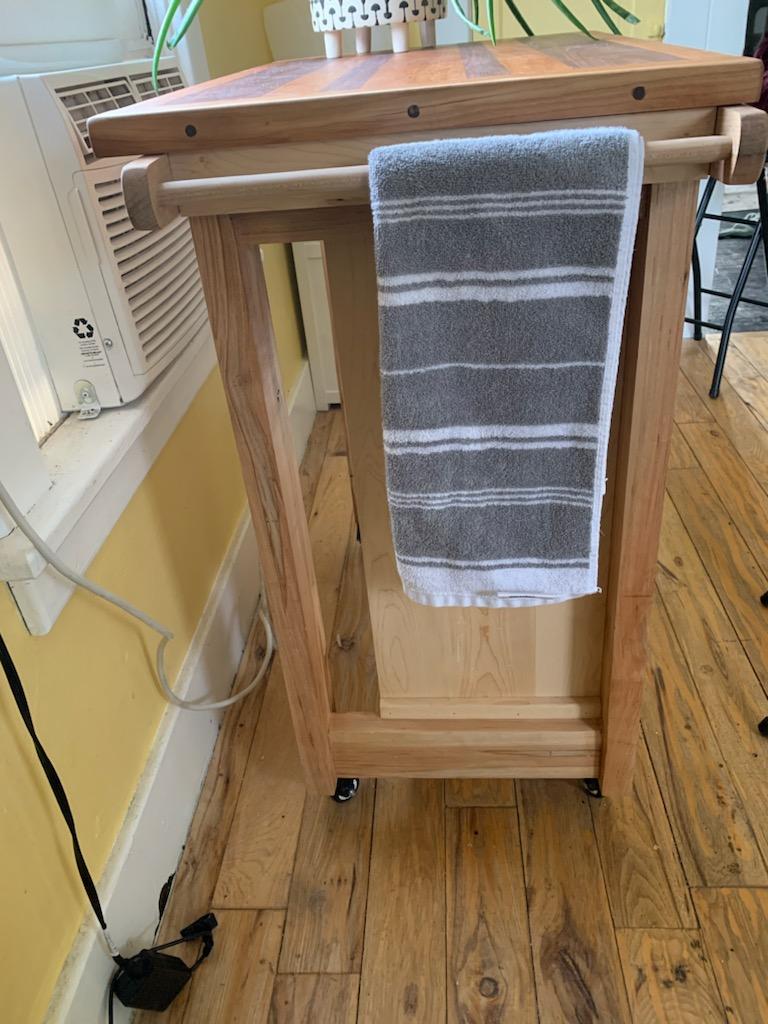
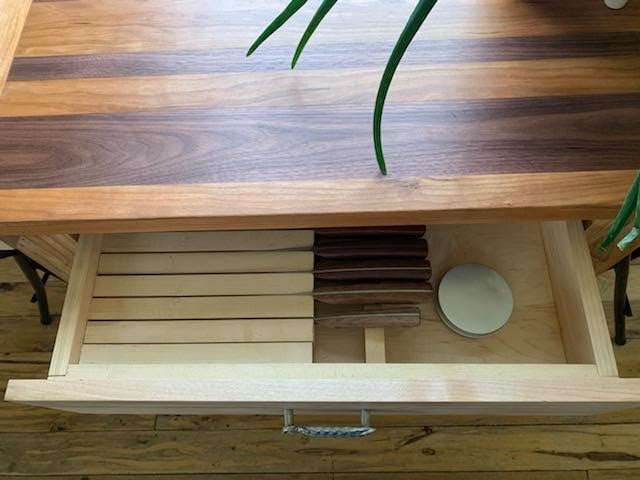
Used your plan as a base to make this kitchen island for my daughter. It is made from ambrosia maple and soft maple, has an integrated knife block in the drawer (also from one of your plans), and has a cutting board top made out of cherry and black walnut.
Wed, 01/27/2021 - 12:12
This is beautiful, love the cutting board top and knife block!
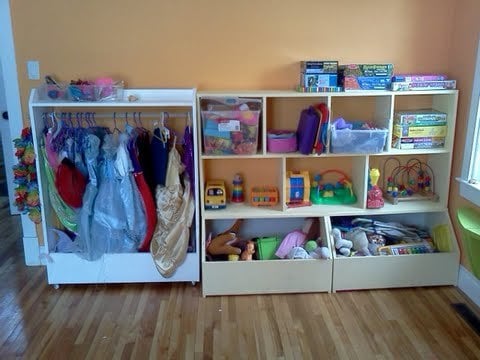
There are three plans combined here in this picture. All three completed in the past year. The toy boxes are from the one plan, the cubby shelves from another and finally the dress up stand is the third. It is never this tidy in our playroom! Ah ah, what you cannot see is the other half :D But the girls do enjoy it quite a bit and it does keep most toys off the floor and easily accessible. Thanks Ana for a great variety of plans!
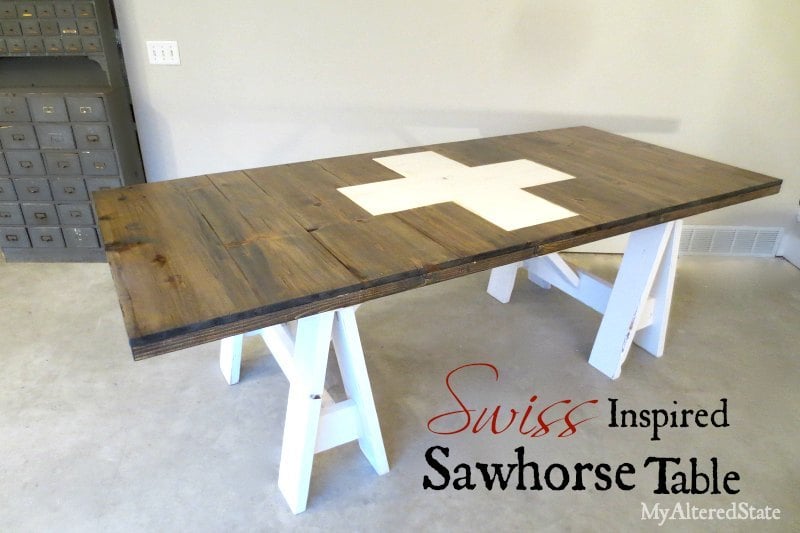
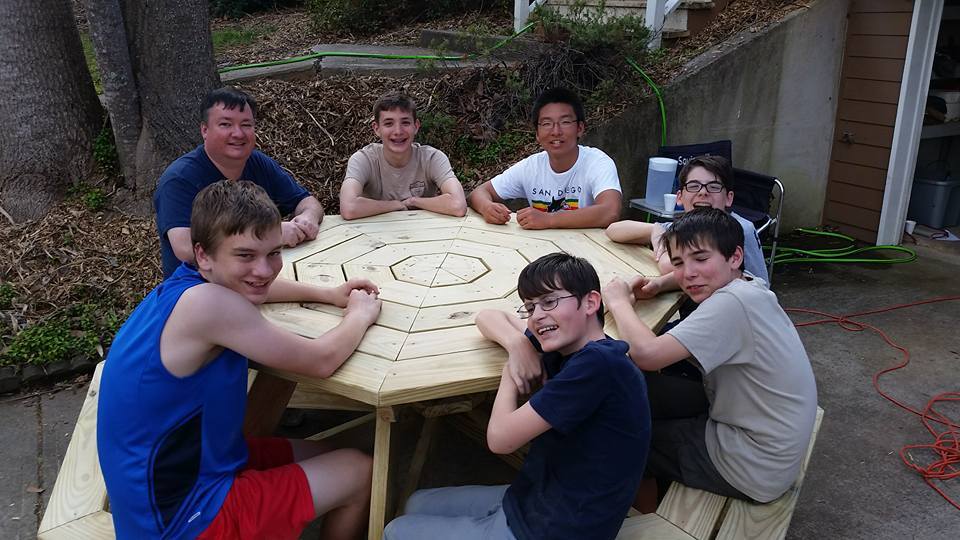
I saw an outdoor Pottery Barn Table that Shanty 2 Chic did, and used the same plans they collaborated with Ana White on.
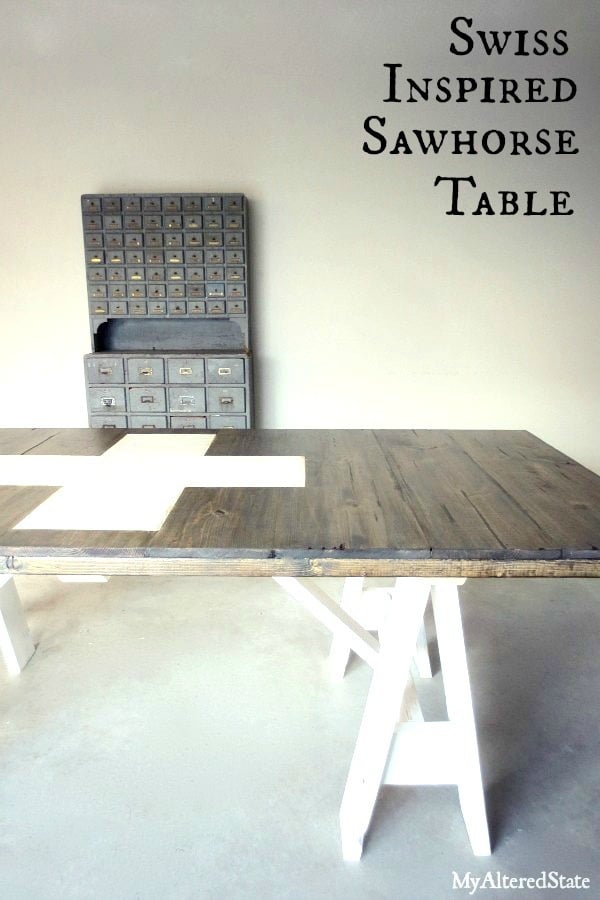
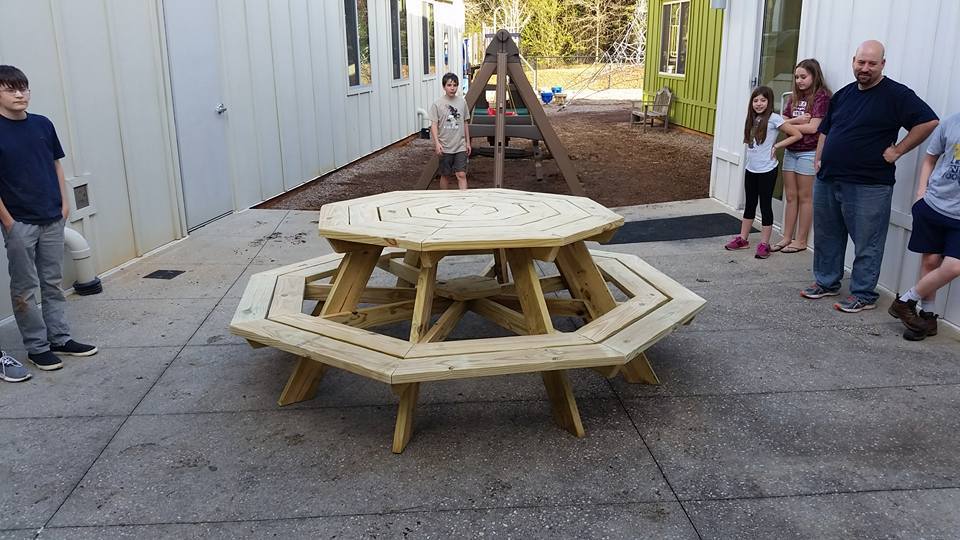
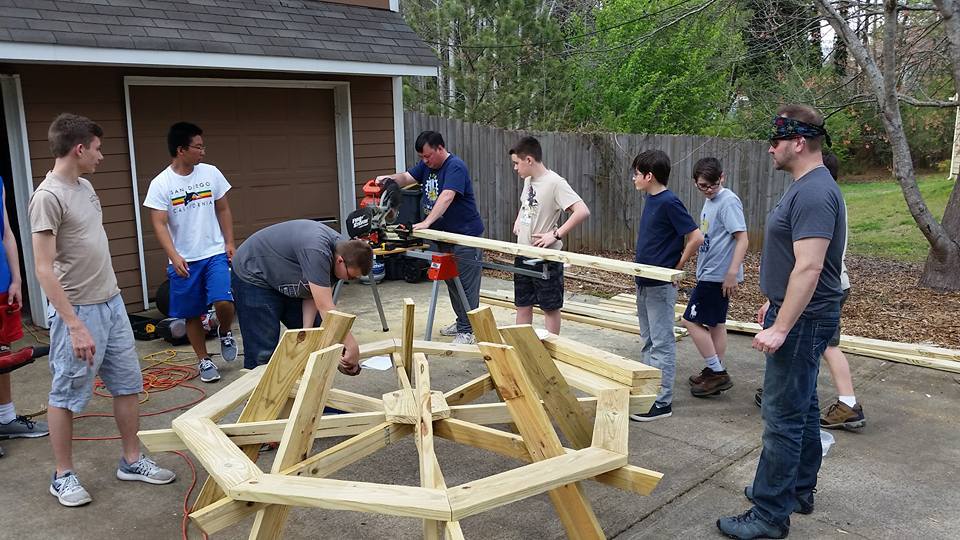
Table created for the chartering organization for Troop 4900 in Woodstock, GA (Woodstock Community Church).
Some deviations from the plans...we notched two of the cross member that support the seats and glued/screwed them together for greater strength in the center. That left 4 supports to be installed with pocket screws (weak). We added two small 2x6 supports where all these members join in the center and screwed the supports to the cross members, reinforcing the center and taking load off the pocket screws (see photo). Also, as you can see, we built the framing for the seats and table top, then added legs and placed the table top last to assure a level table top.
Finally, a recommendation - use 1x6 boards for the table top and seating areas for a lighter and more manageable table.
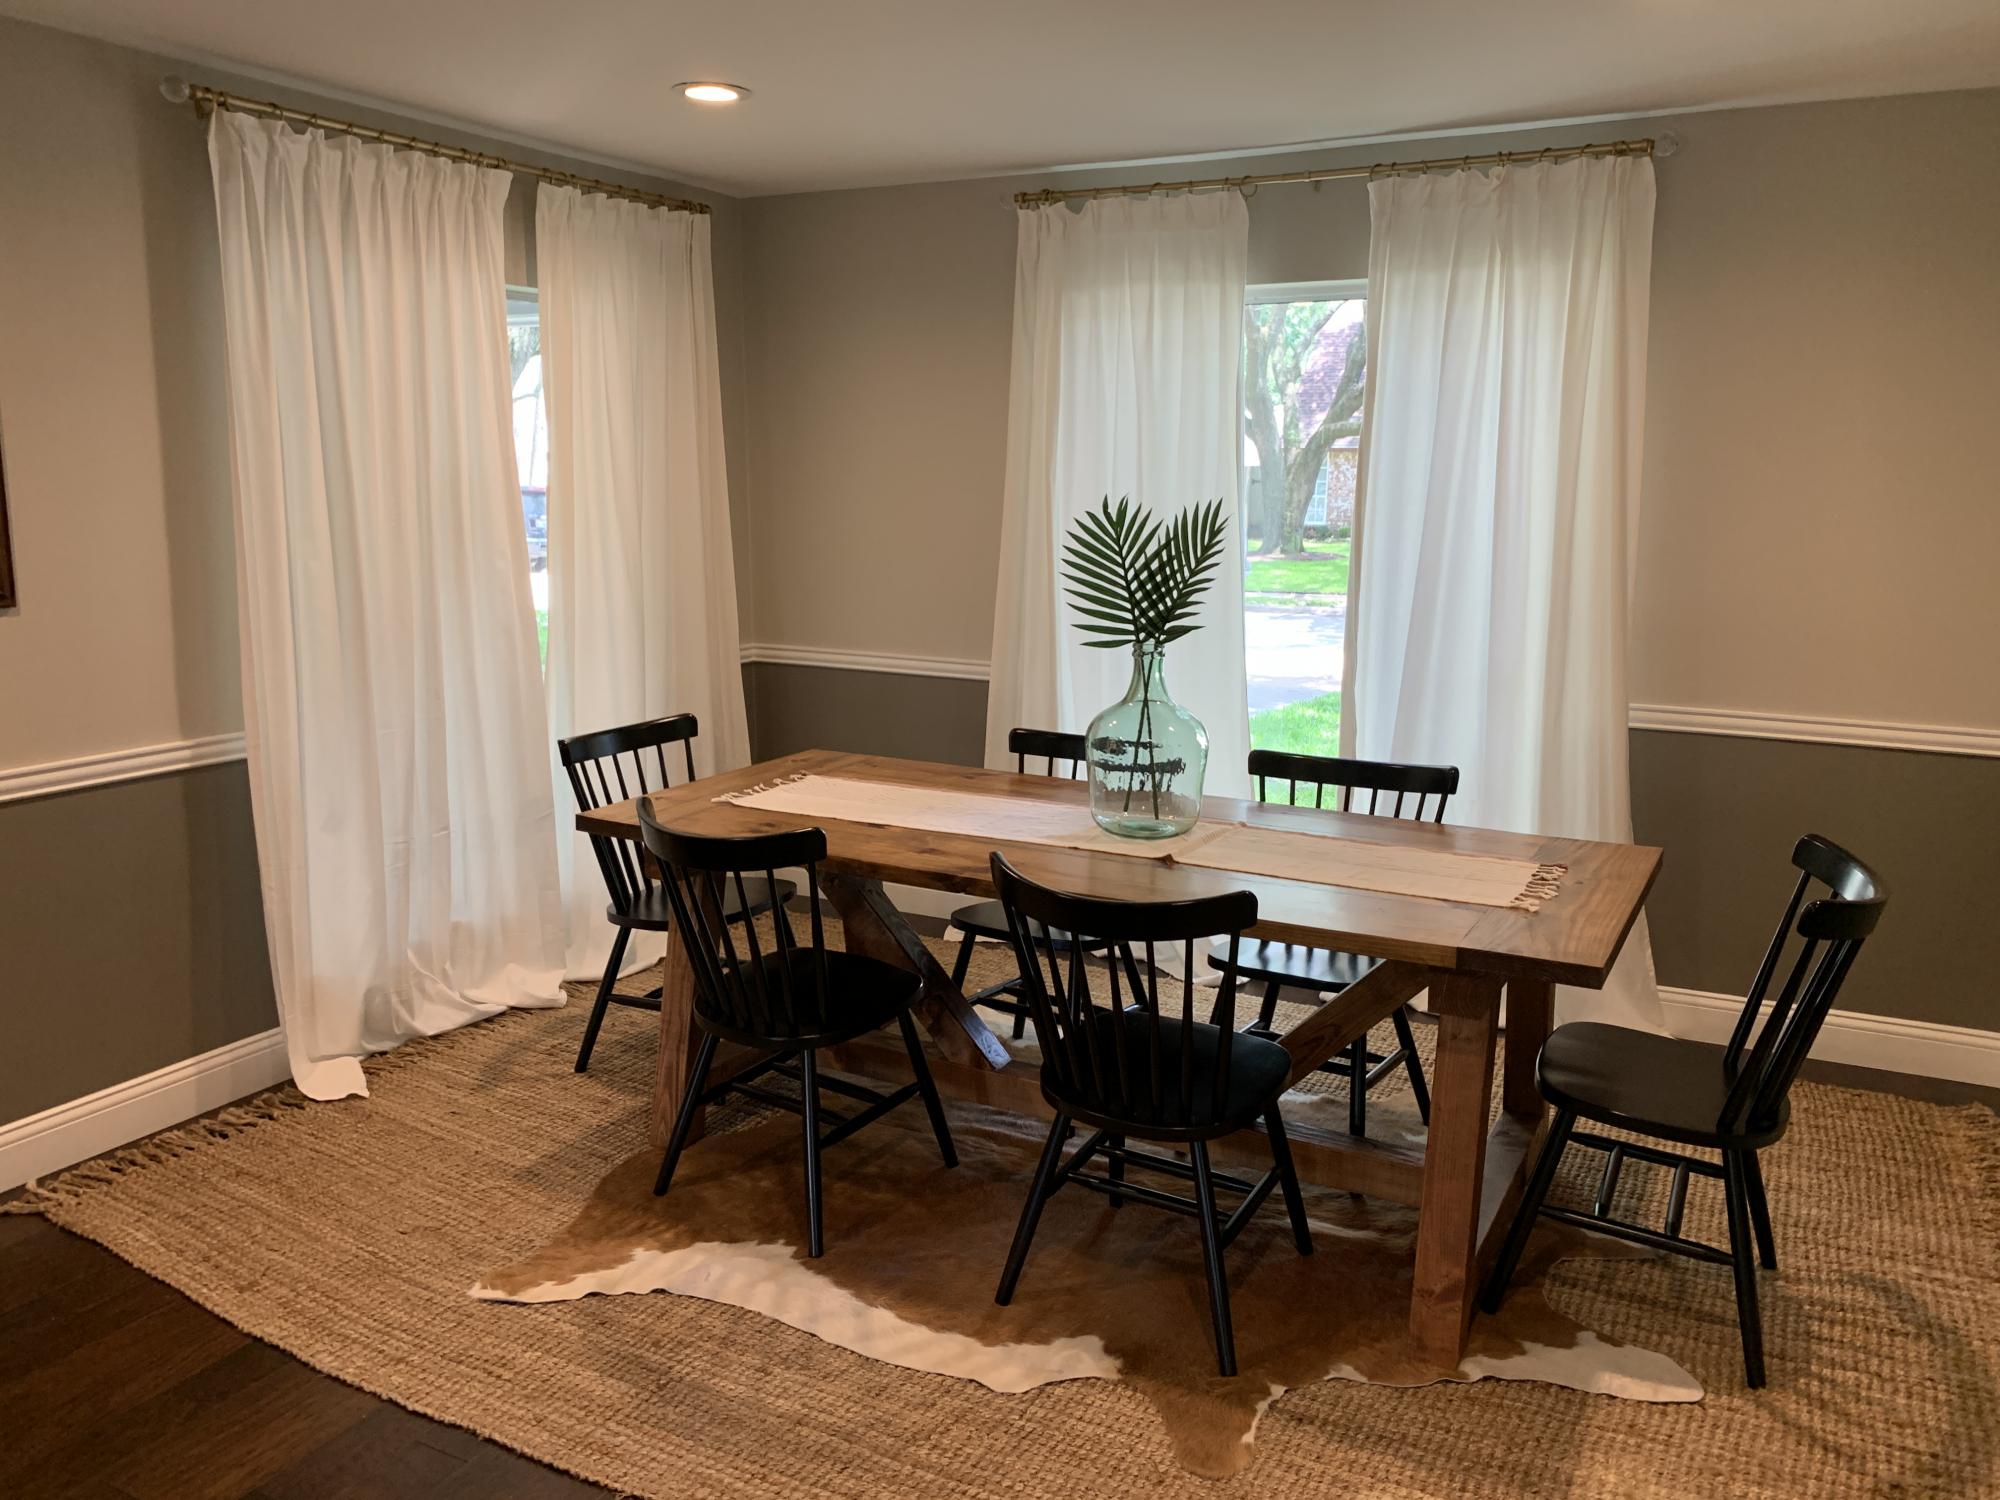
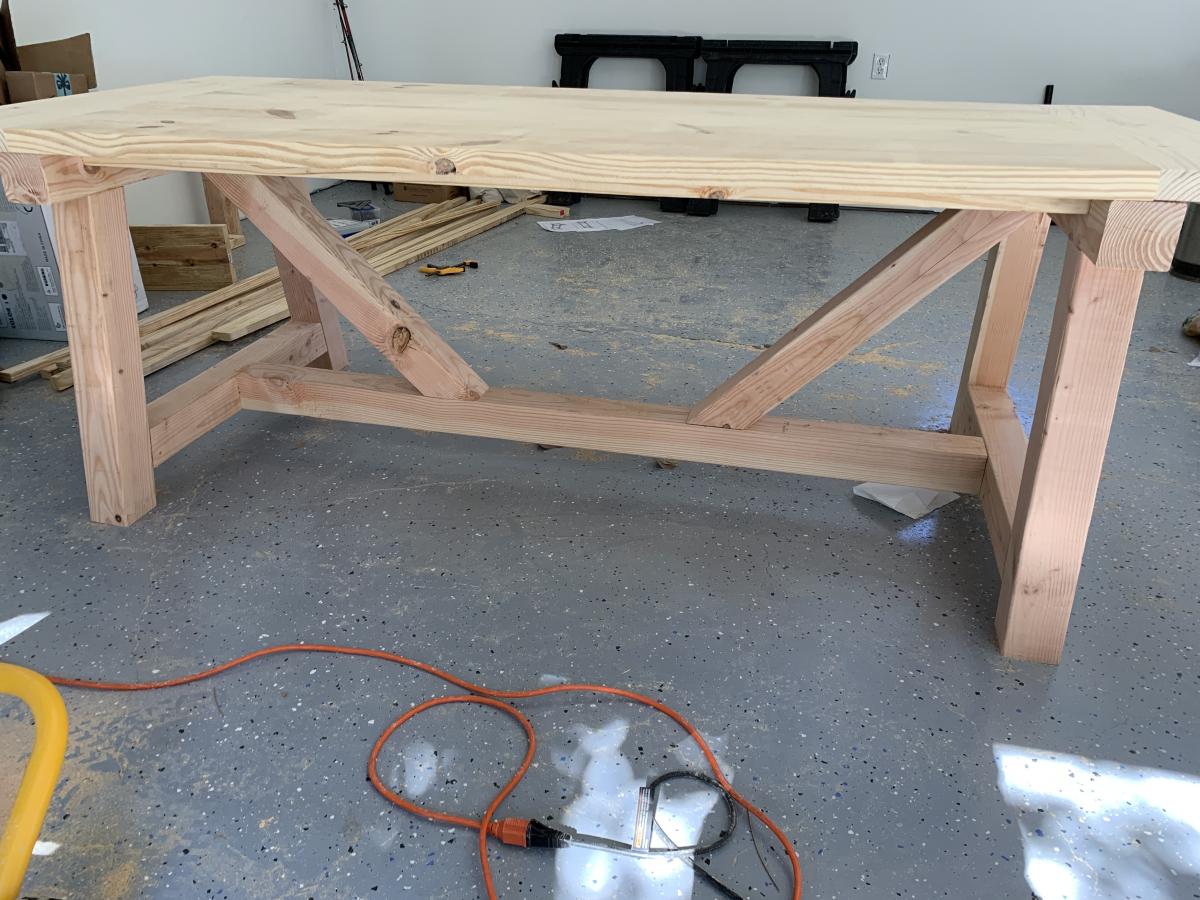
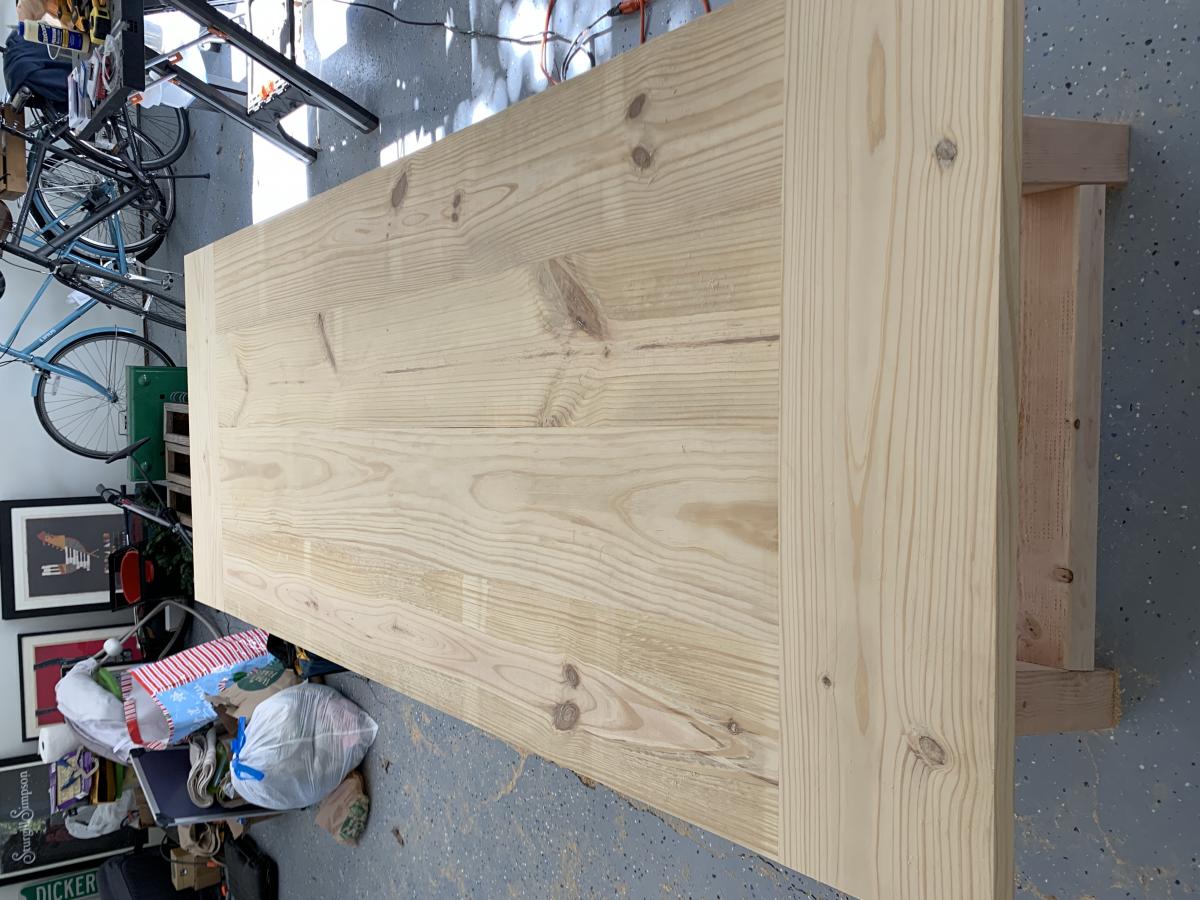
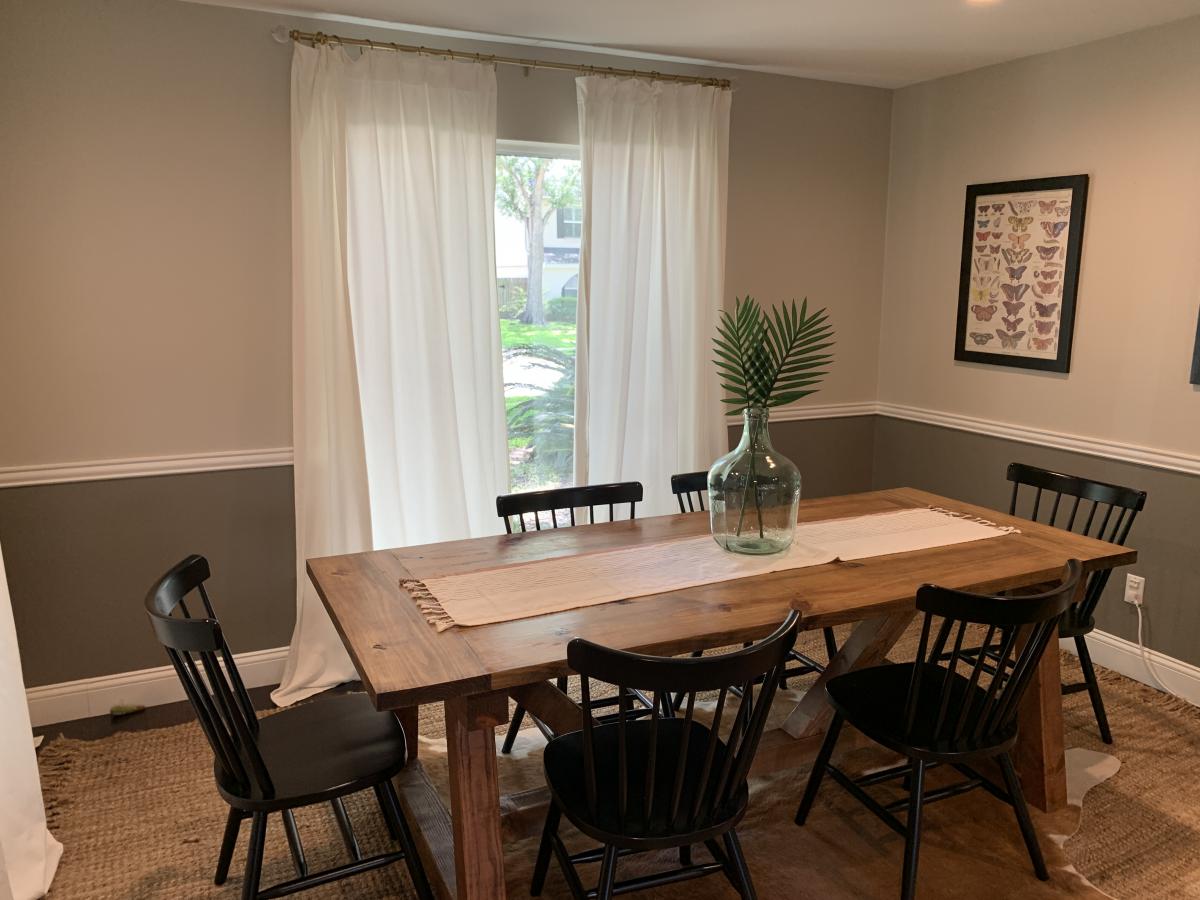
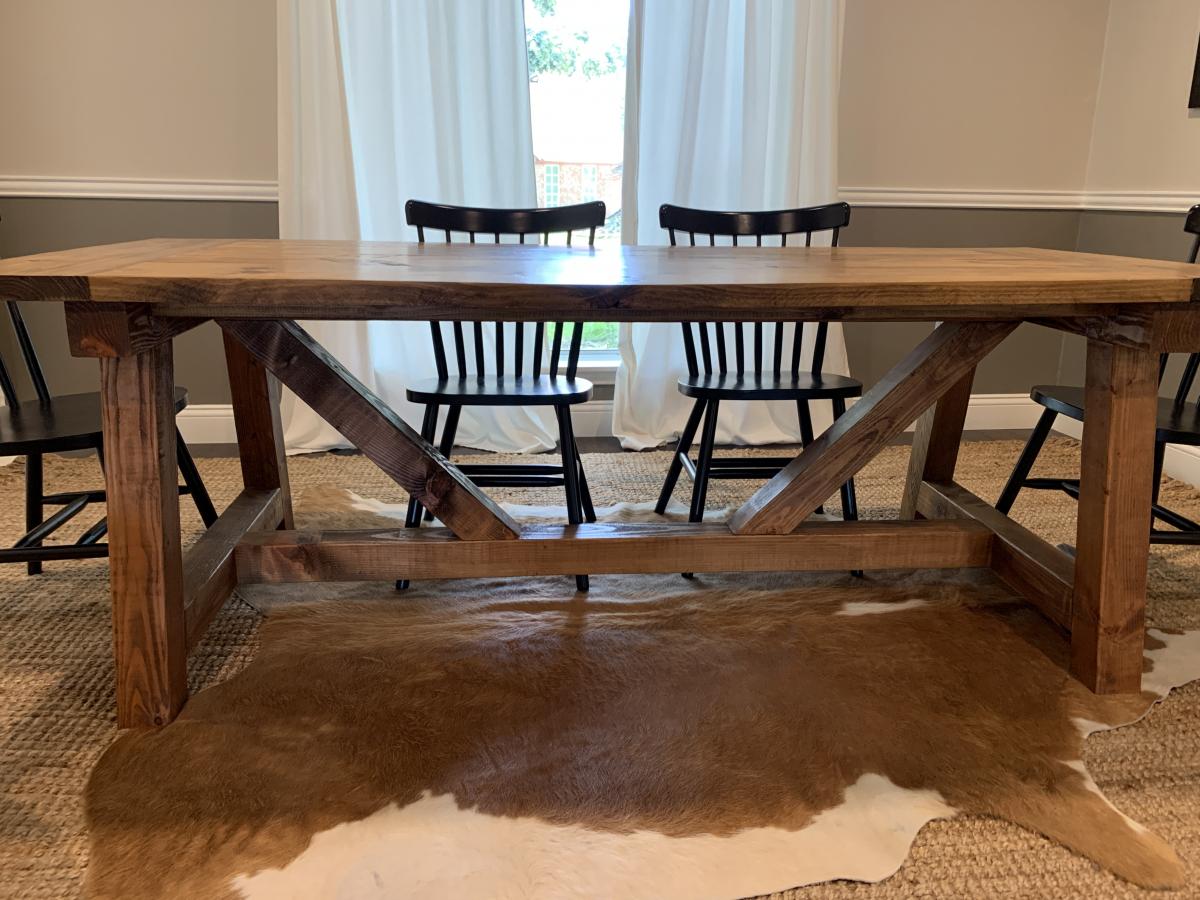
We built this table for our dining room. The project followed the plans for cuts and dimensions except for the top. Instead of using 2x10, we used 2x12 and ripped an inch off each side to have flatter top with out needing to plane.
We used pine for the top and douglas fir for the 4x4 base. Before staining we used a pre-stain conditioner. The table was stained using Minwax Early American and then finished with a clear satin polyurethane.
Modifed the Rustic X console to fit the width of den area's windows. Wife wanted storage, I needed a project.
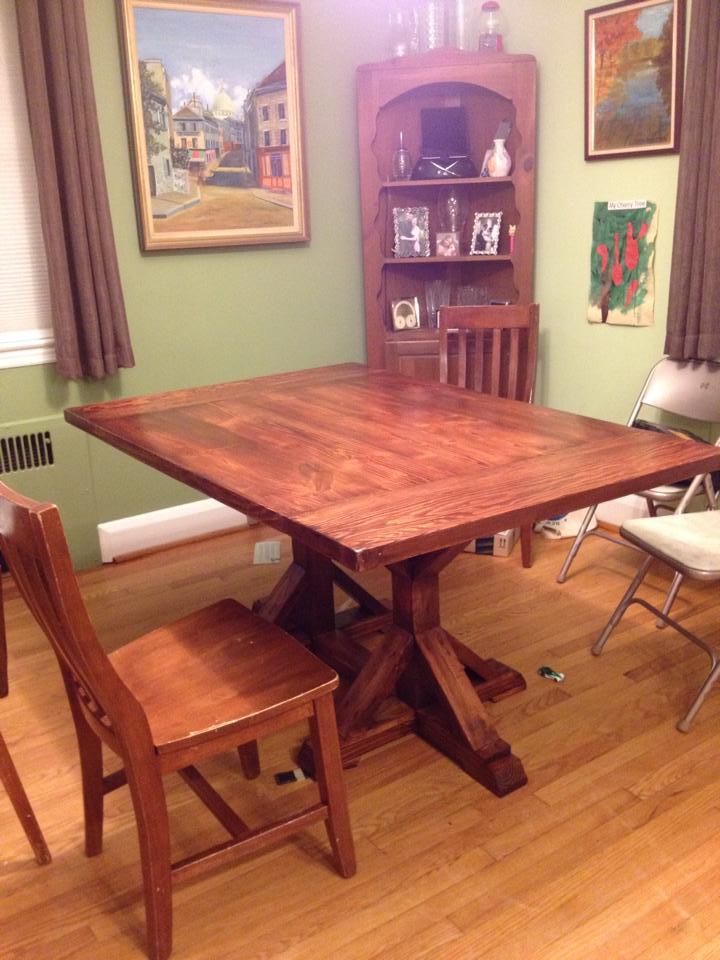
Thanks for the great plans. I modified them slightly by building a 60x40 farmhouse style top and a double pedastel. The other change is that I made the side 4x4s into 2x4s.
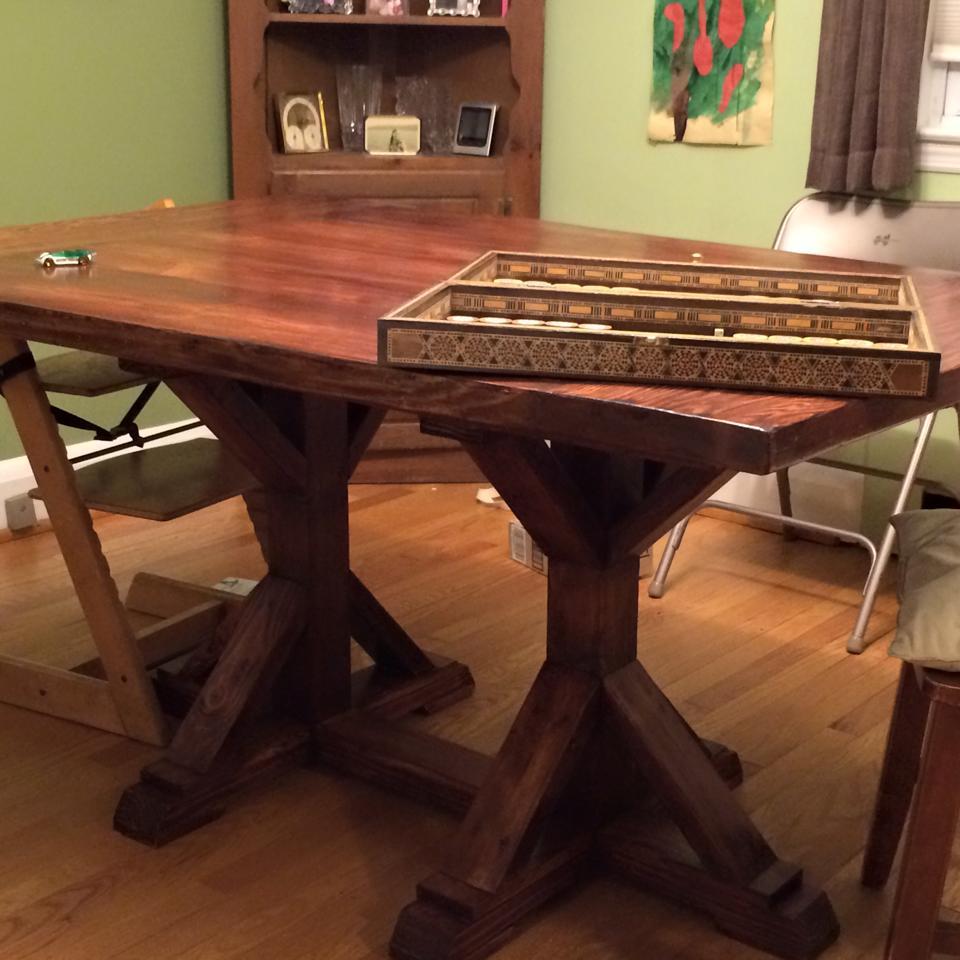
Fri, 08/12/2016 - 12:58
Your table looks great! Love the farmhouse top and your revisions.
Would you mind sharing what dimensions you went for the table top and what width you went on the doubt pedestal length?
THanks so much!!! I hope I get to have one like yours someday soon :)
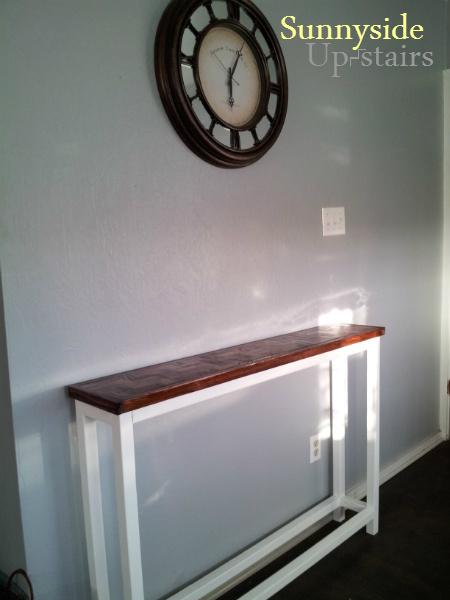
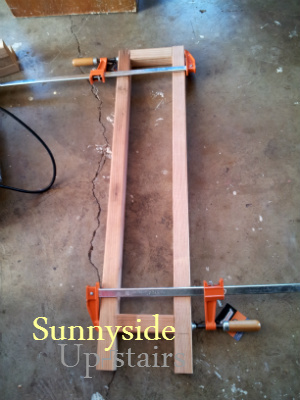
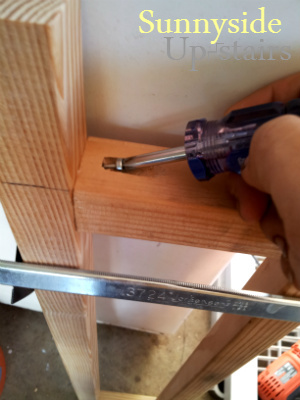
I was looking for a "super easy console table" and once I was ready to build it, I mustered the confidence to try a more complex table top design. Using pocket hole joinery, 2"x2" legs and supports, scrap 1"x2" "blocks" for the herringbone pattern, scrap 1/2" 8"x4' plywood, 3/4"x1/2" pieces to frame the top, and much wood glue, I built this 8.5" narrow console table for under $30. The plan shared on this site was one of the inspiration pieces that helped me believe I could do this too!
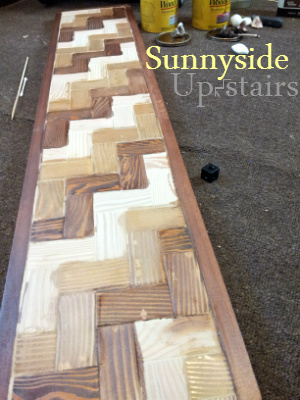
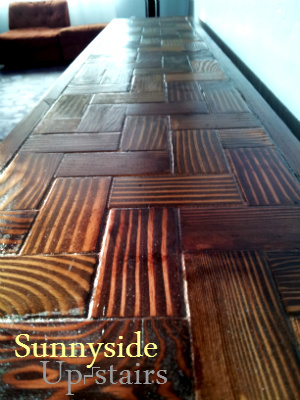
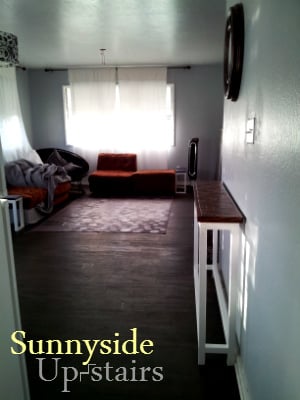
Wed, 02/27/2013 - 19:06
I'm going to have to copy you now, you know! What a fabulous idea, fabulously implemented!
In reply to Really beautiful! by romanweel
Fri, 03/01/2013 - 00:17
=D It was satisfying to make, although watching glue and wood filler dry made me feel like I was the most impatient person in the world. Thank you for your kindness!
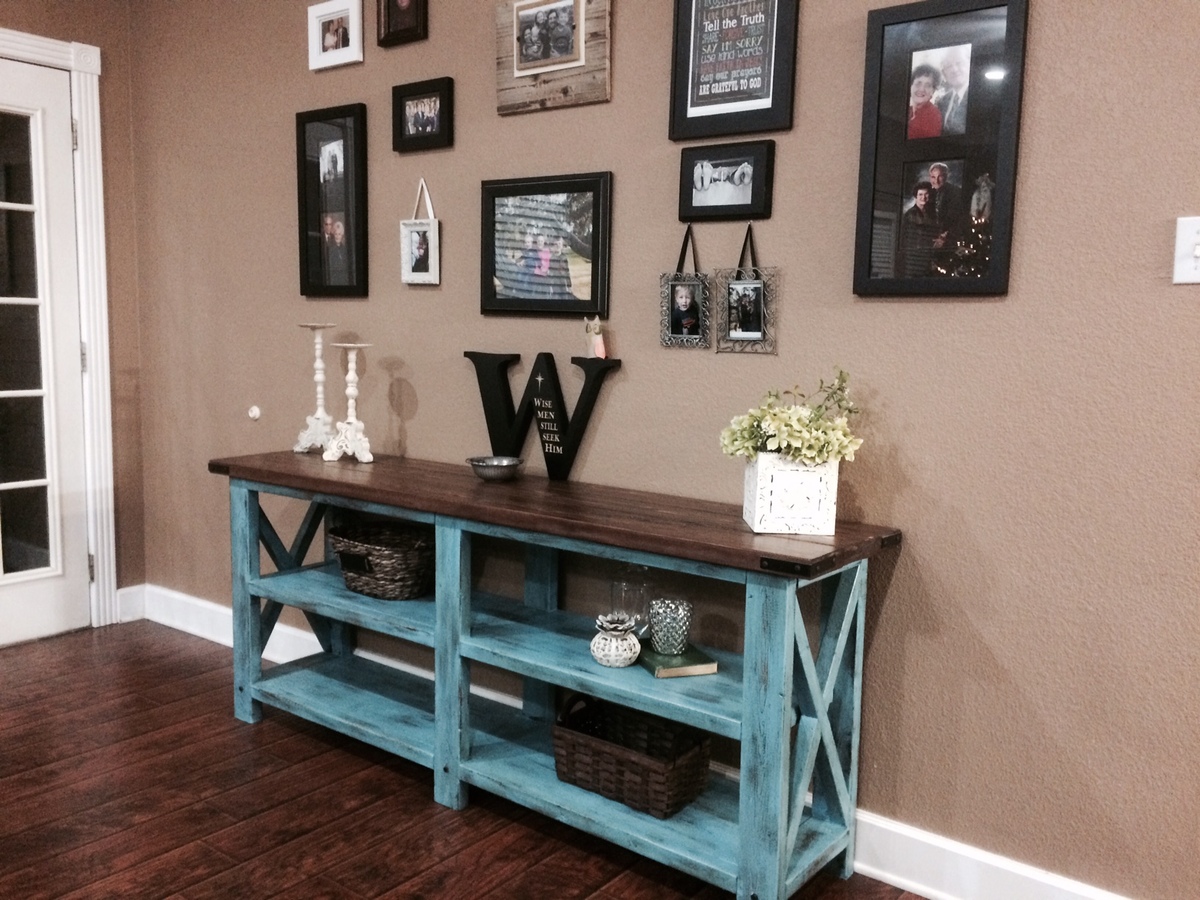
Finally got a miter saw and a pocket hole jig. So decided to try this for my first project with new tools. Turned out great and I learned lots of things I'd do differently next time to save headaches.
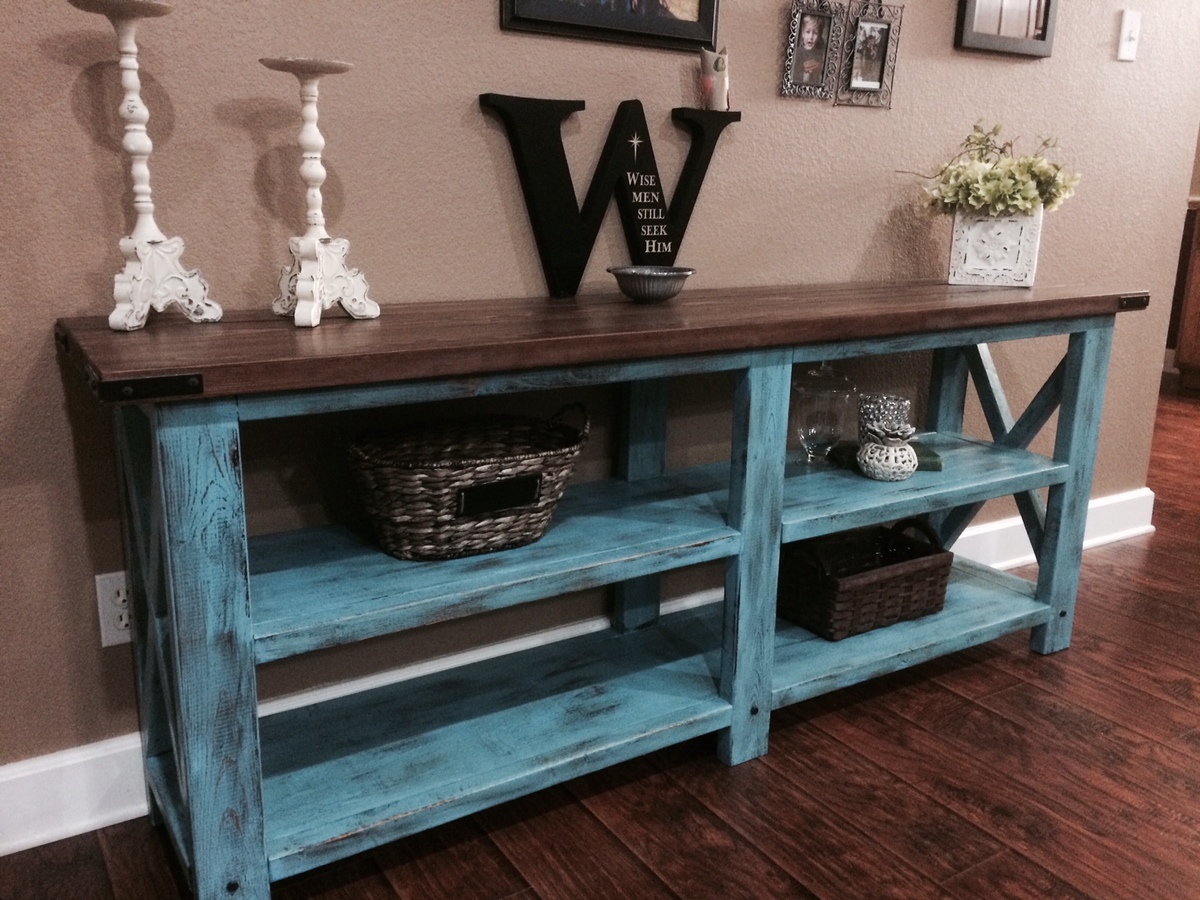
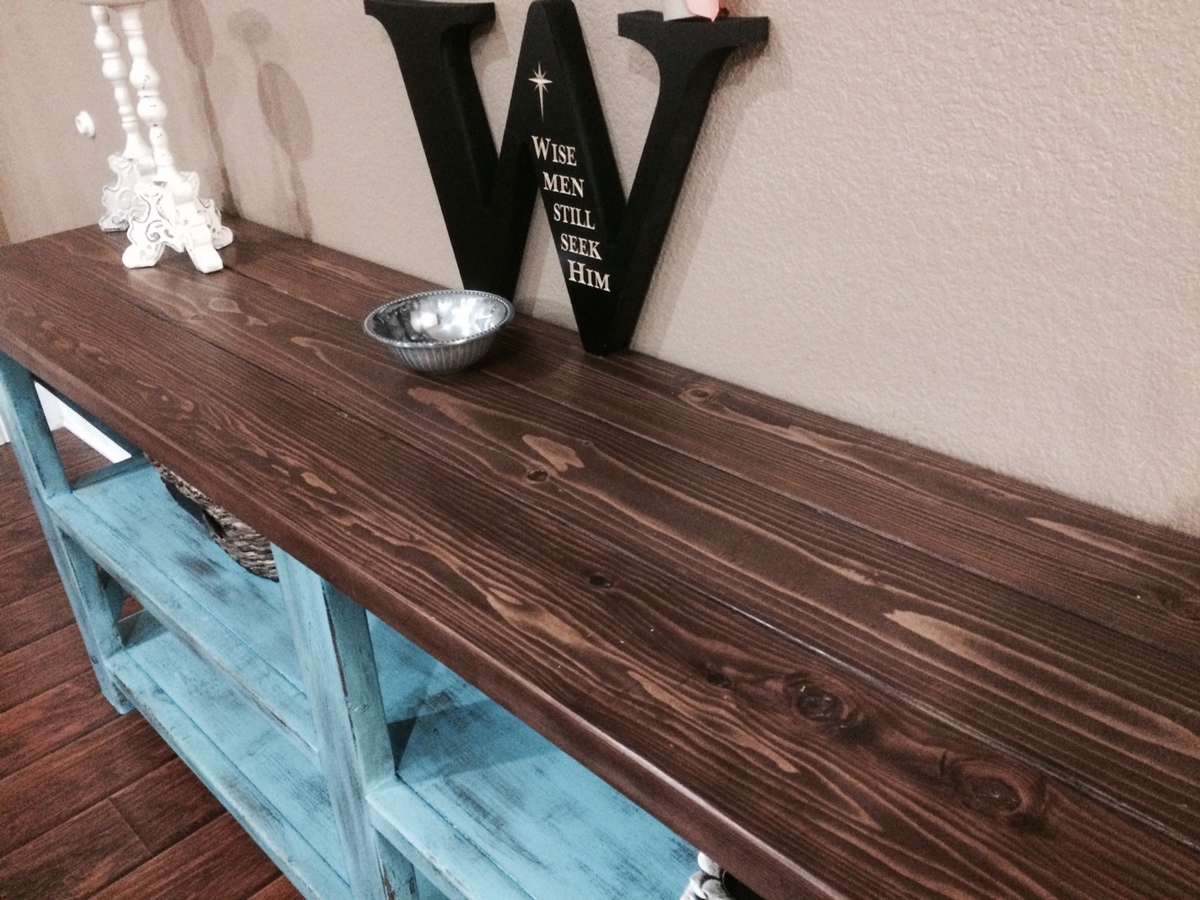
Sun, 01/04/2015 - 17:39
This was one of my Christmas presents this year from my husband. It's all reclaimed redwood from a house that was being torn down.
Sun, 01/04/2015 - 18:19
I bet using the redwood made it look fantastic!
Tue, 10/18/2016 - 19:44
I'm doing a riff on this project this weekend; Two tables actually to go in front of matching windows in our den, each about half the length of the original @ 41" long on top. My question is this: How do you securely attach the rails to the ends? I'm all about a pocket jig, but use of 2x2's means I can basically only get 1 screw between the rails and the side of the 2x4 legs. Is that enough to support the weight on the shelves? How did y'all connect them, pocket holes or inset screws drilled from the outer ends through the 2x4s?
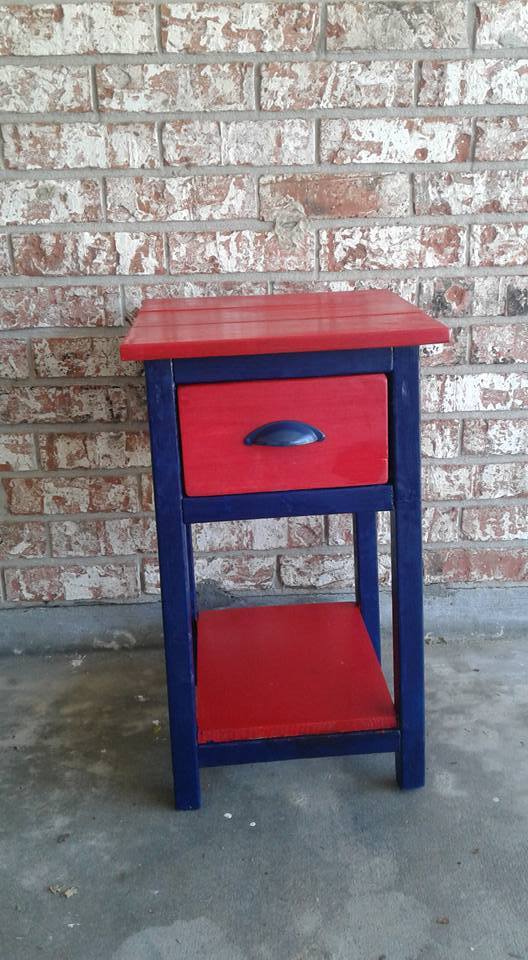
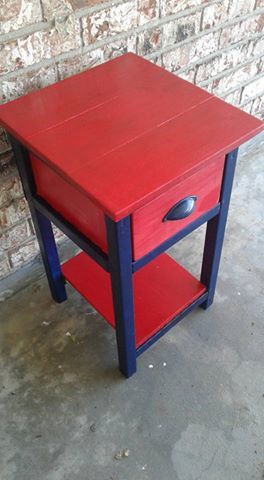
Needed a night stand for my sons bedroom. this was perfect....
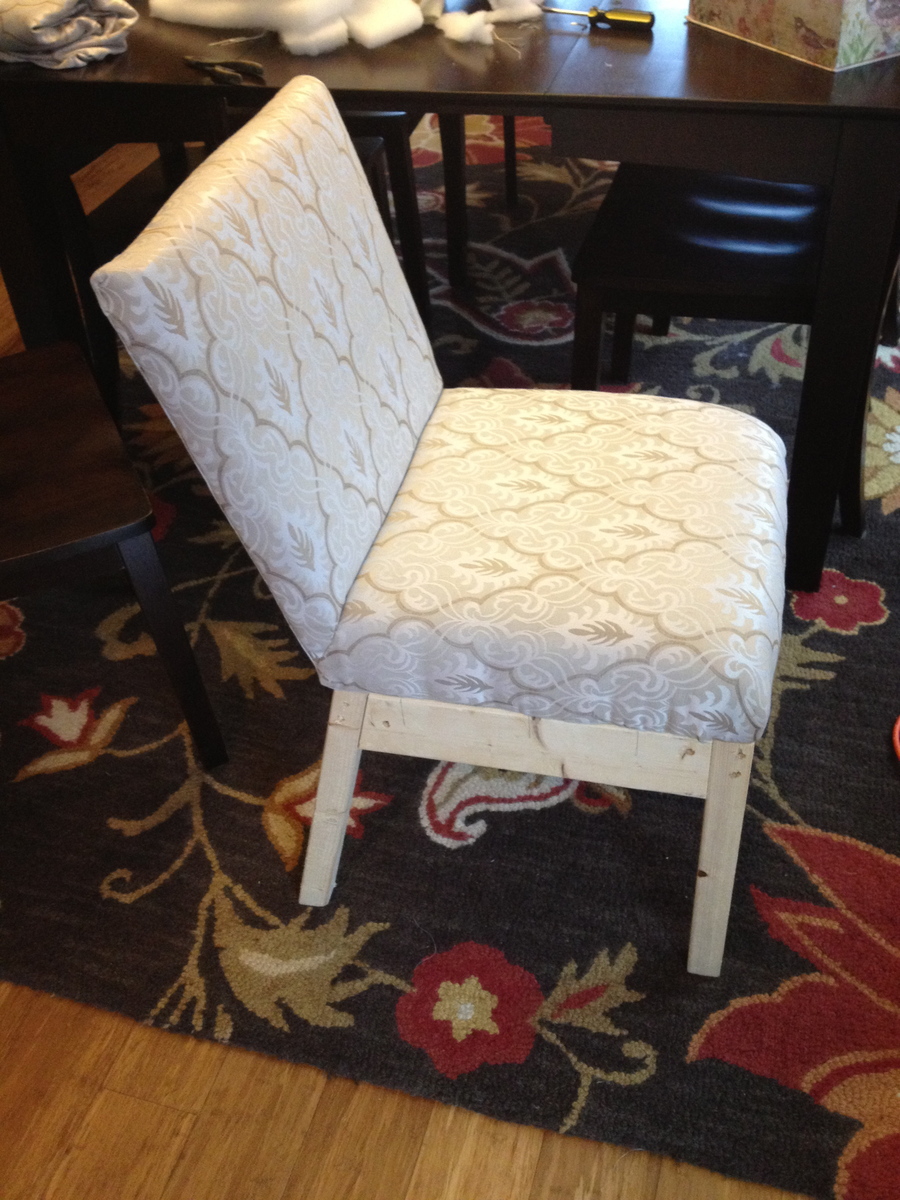
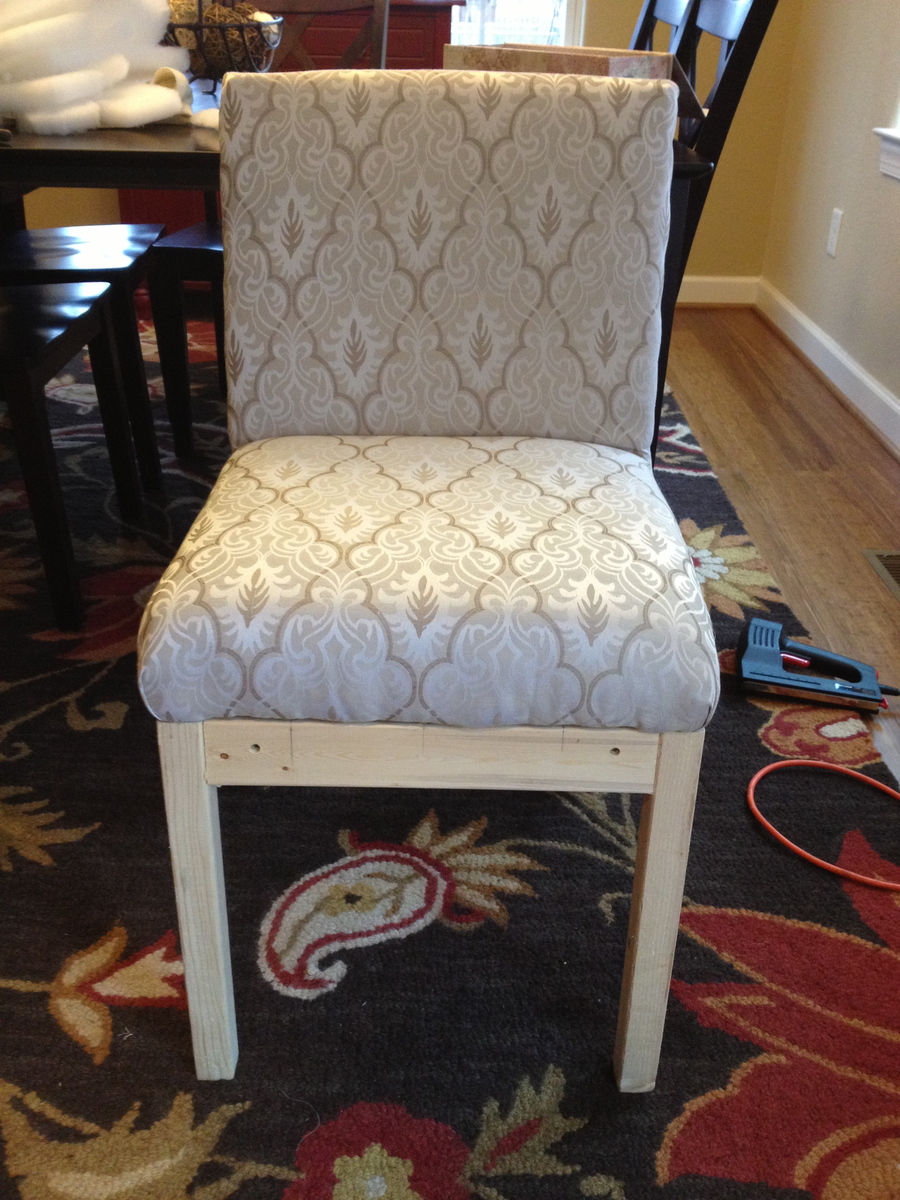
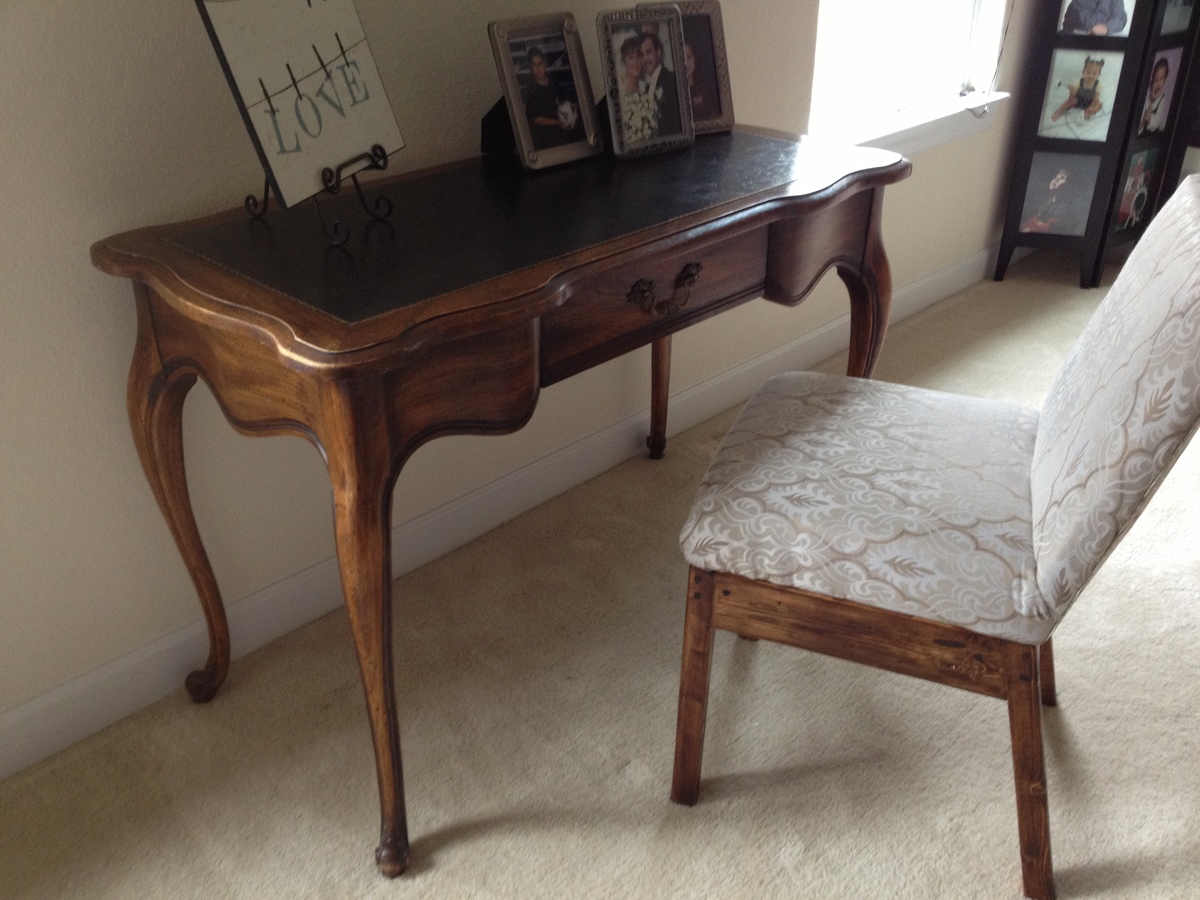
this project called for sewing the cushion covers, but i was to lazy to take out the sewing machine, so instead I stapled the fabric and it turned out pretty good if I do say so!! thanks for the plans!!
Tue, 02/26/2013 - 16:07
Oh, very nice! I am making one of these right now. I need to go out to get the foam before I can proceed. I'm excited. It's great to see how nice yours turn out!
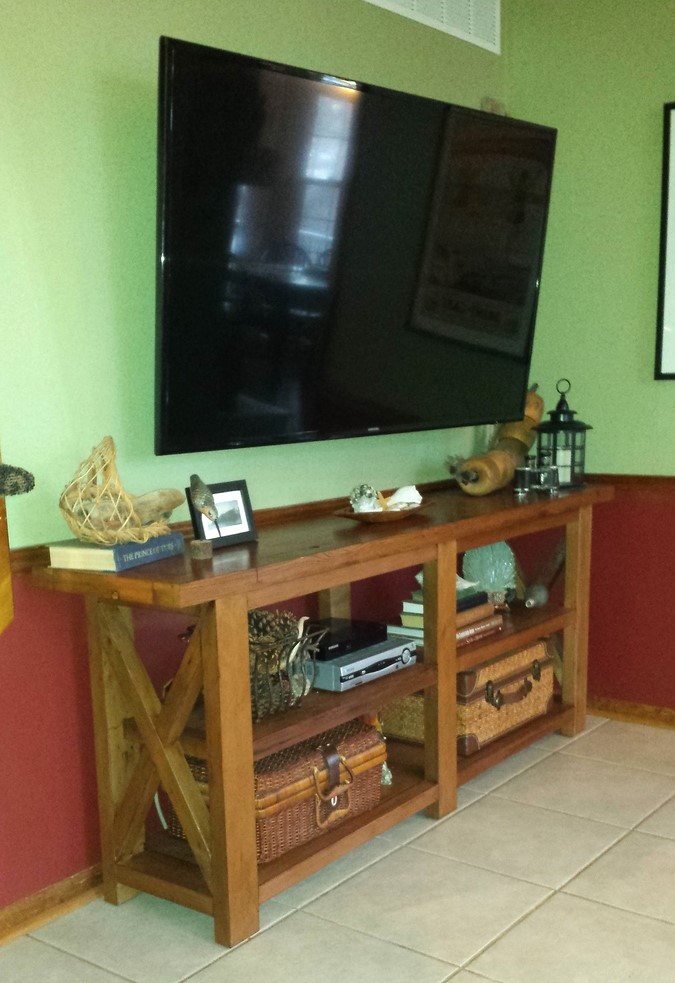
<p>My husband made this from some redwood salvaged from and house being torn down. The finish is Briwax, very easy to apply and polish to a nice shine. It also comes in a variety of colors. Make sure the wax is done in a well ventilated area. A Kregs Jig is a must for fastening this together.</p>