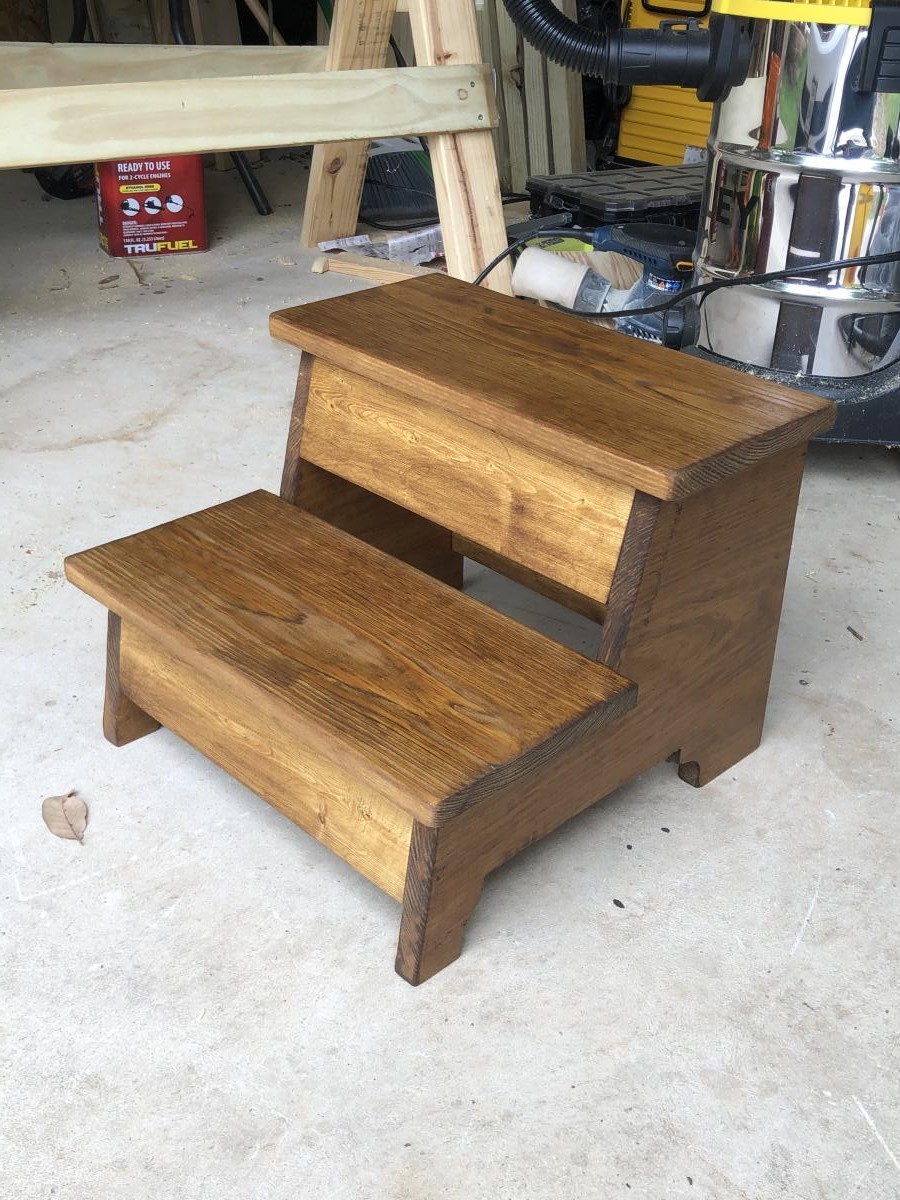
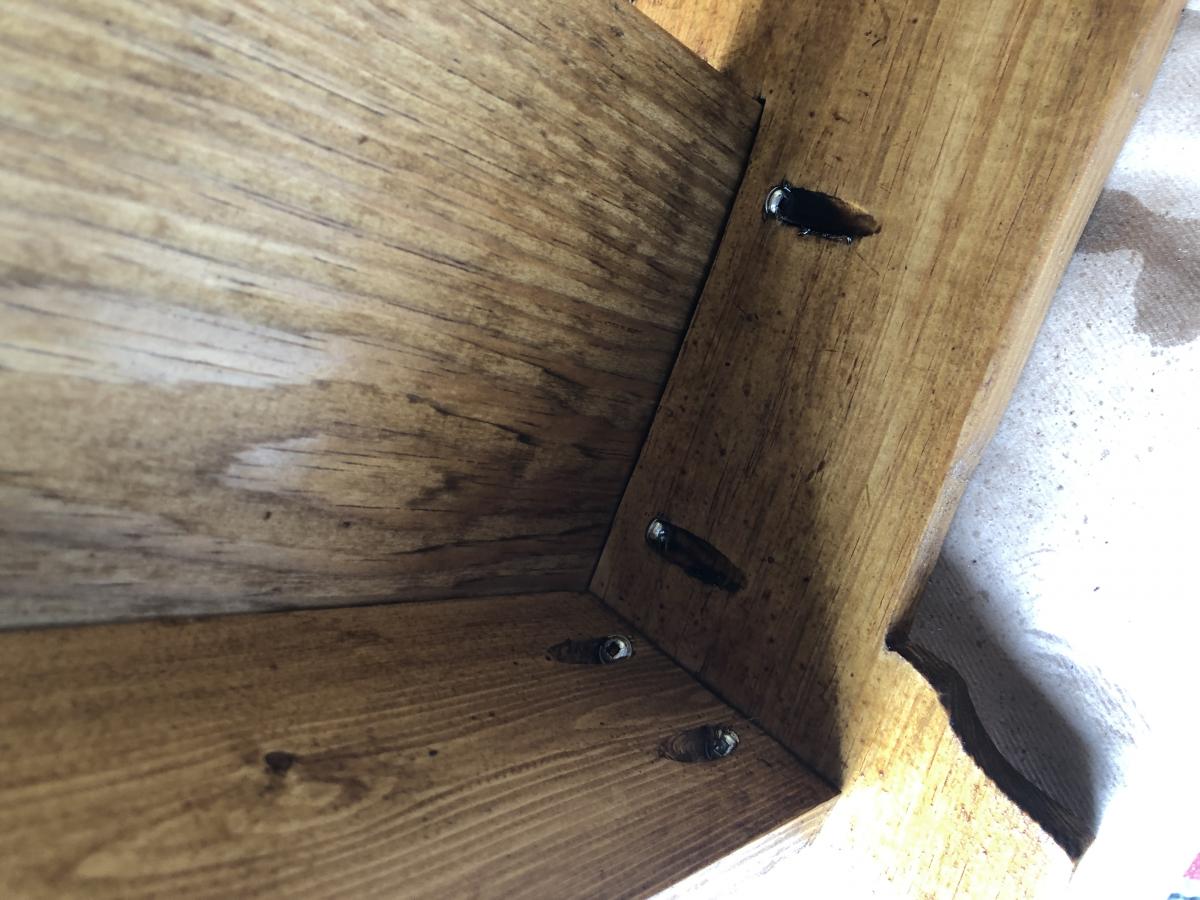
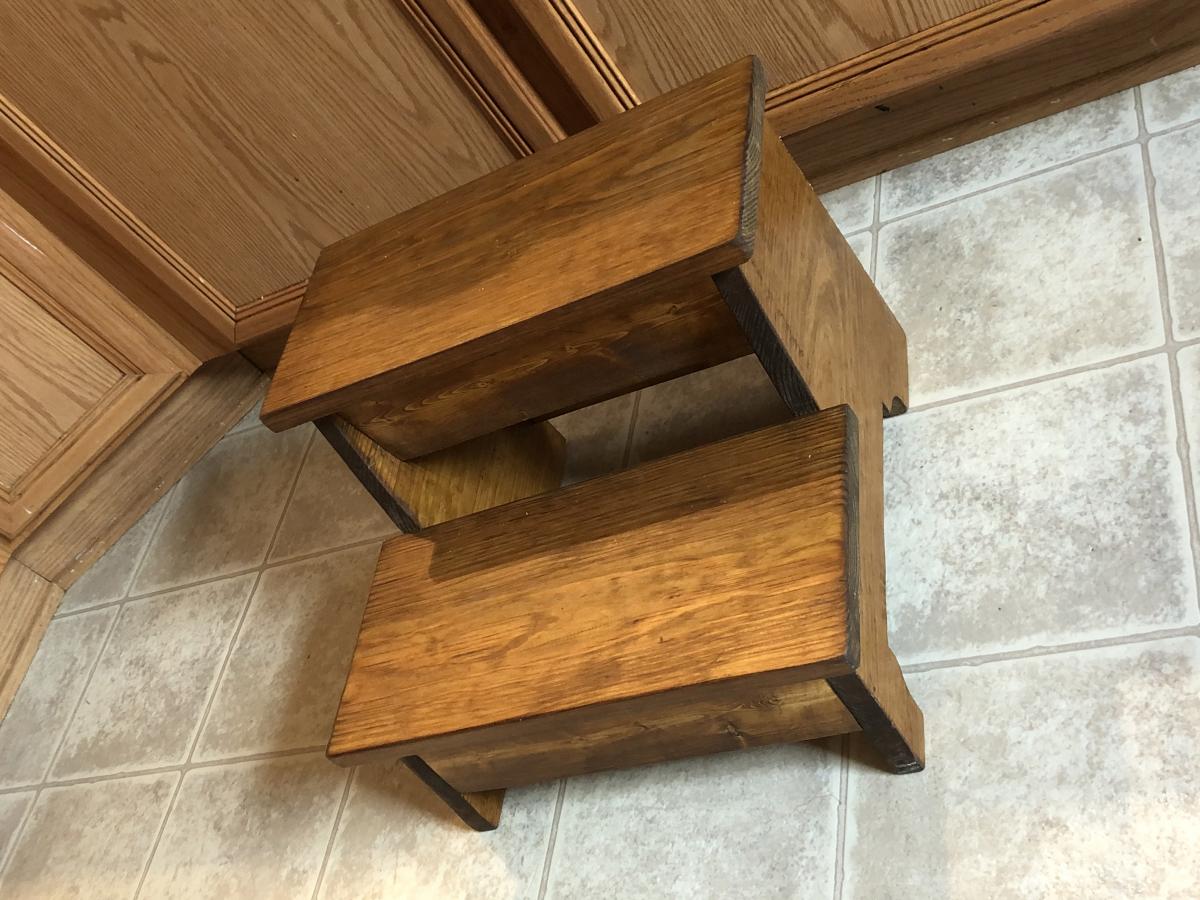
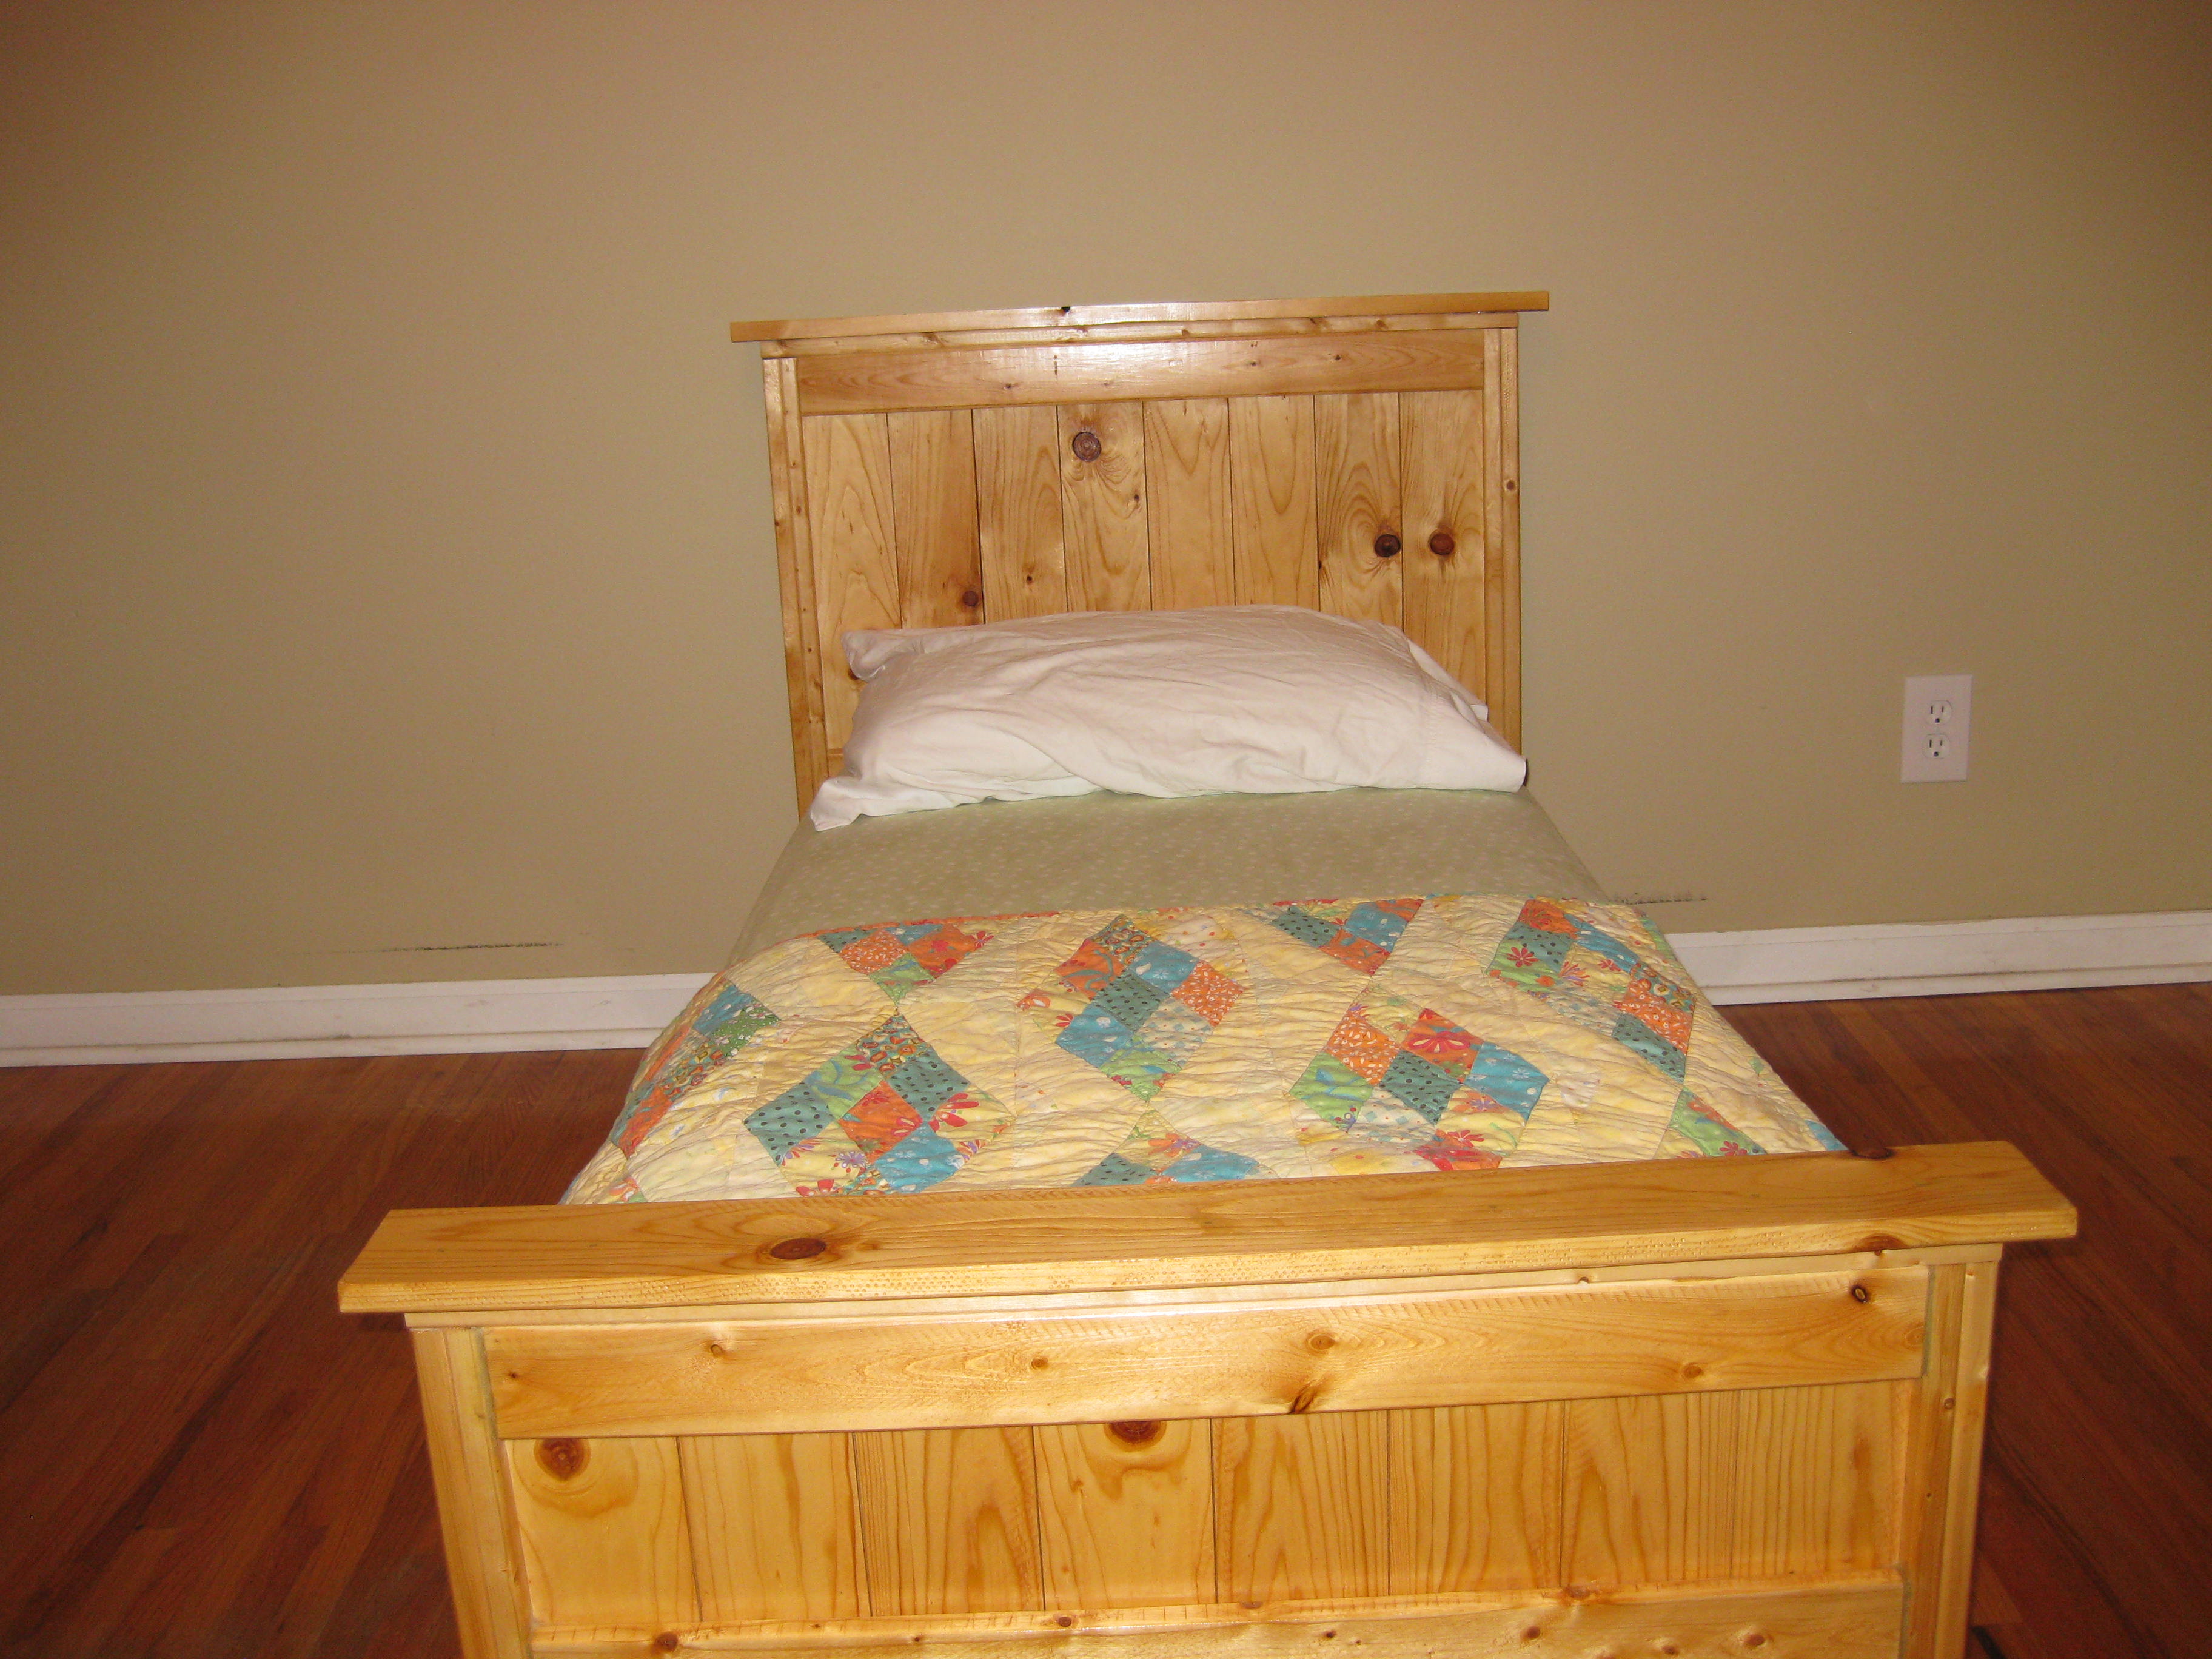
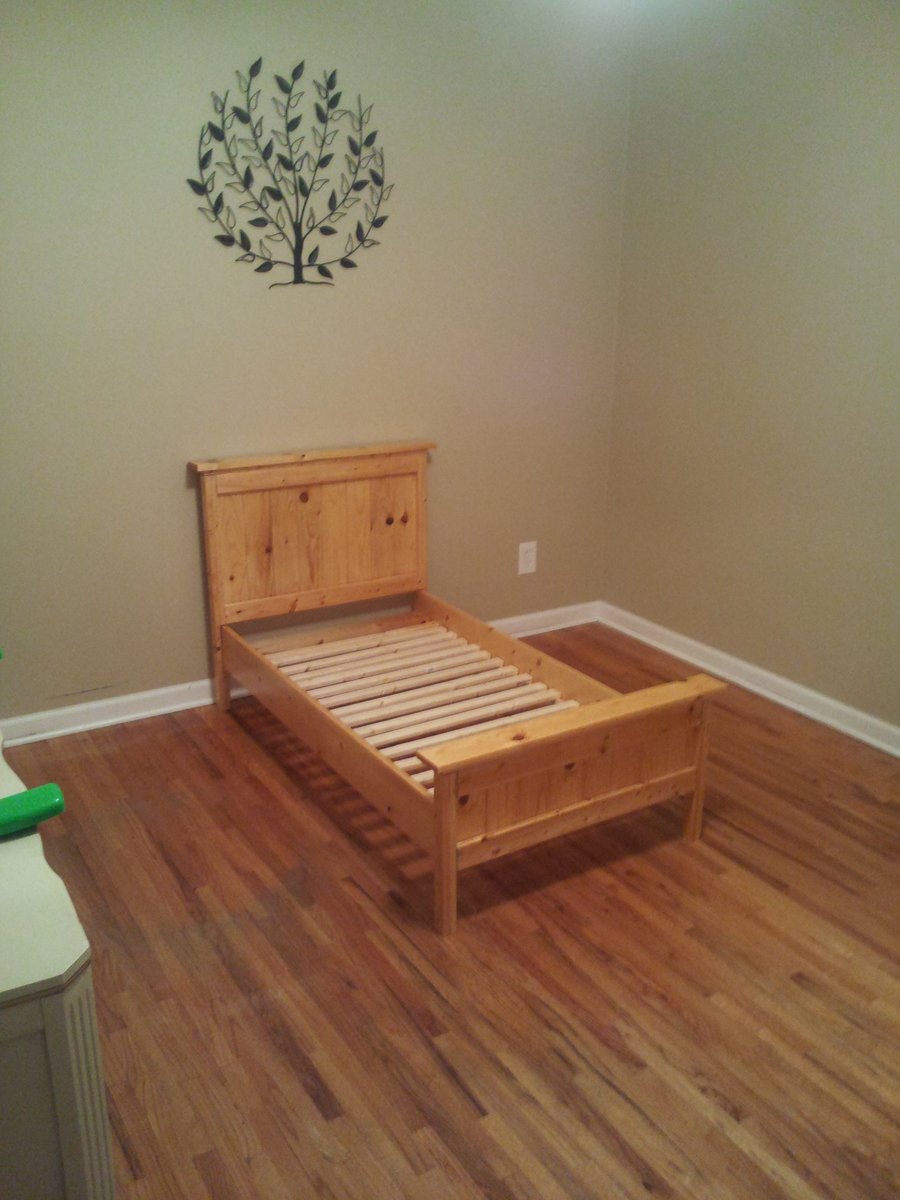
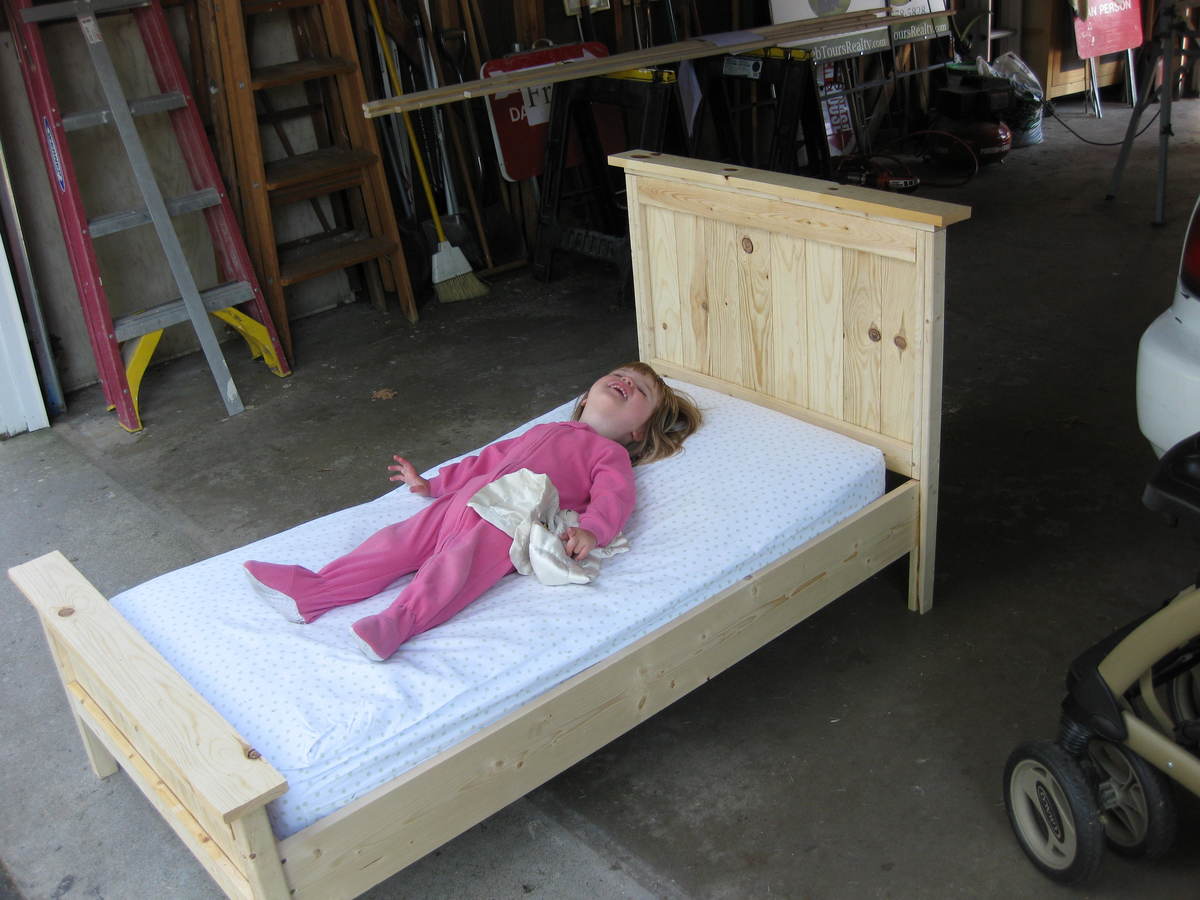
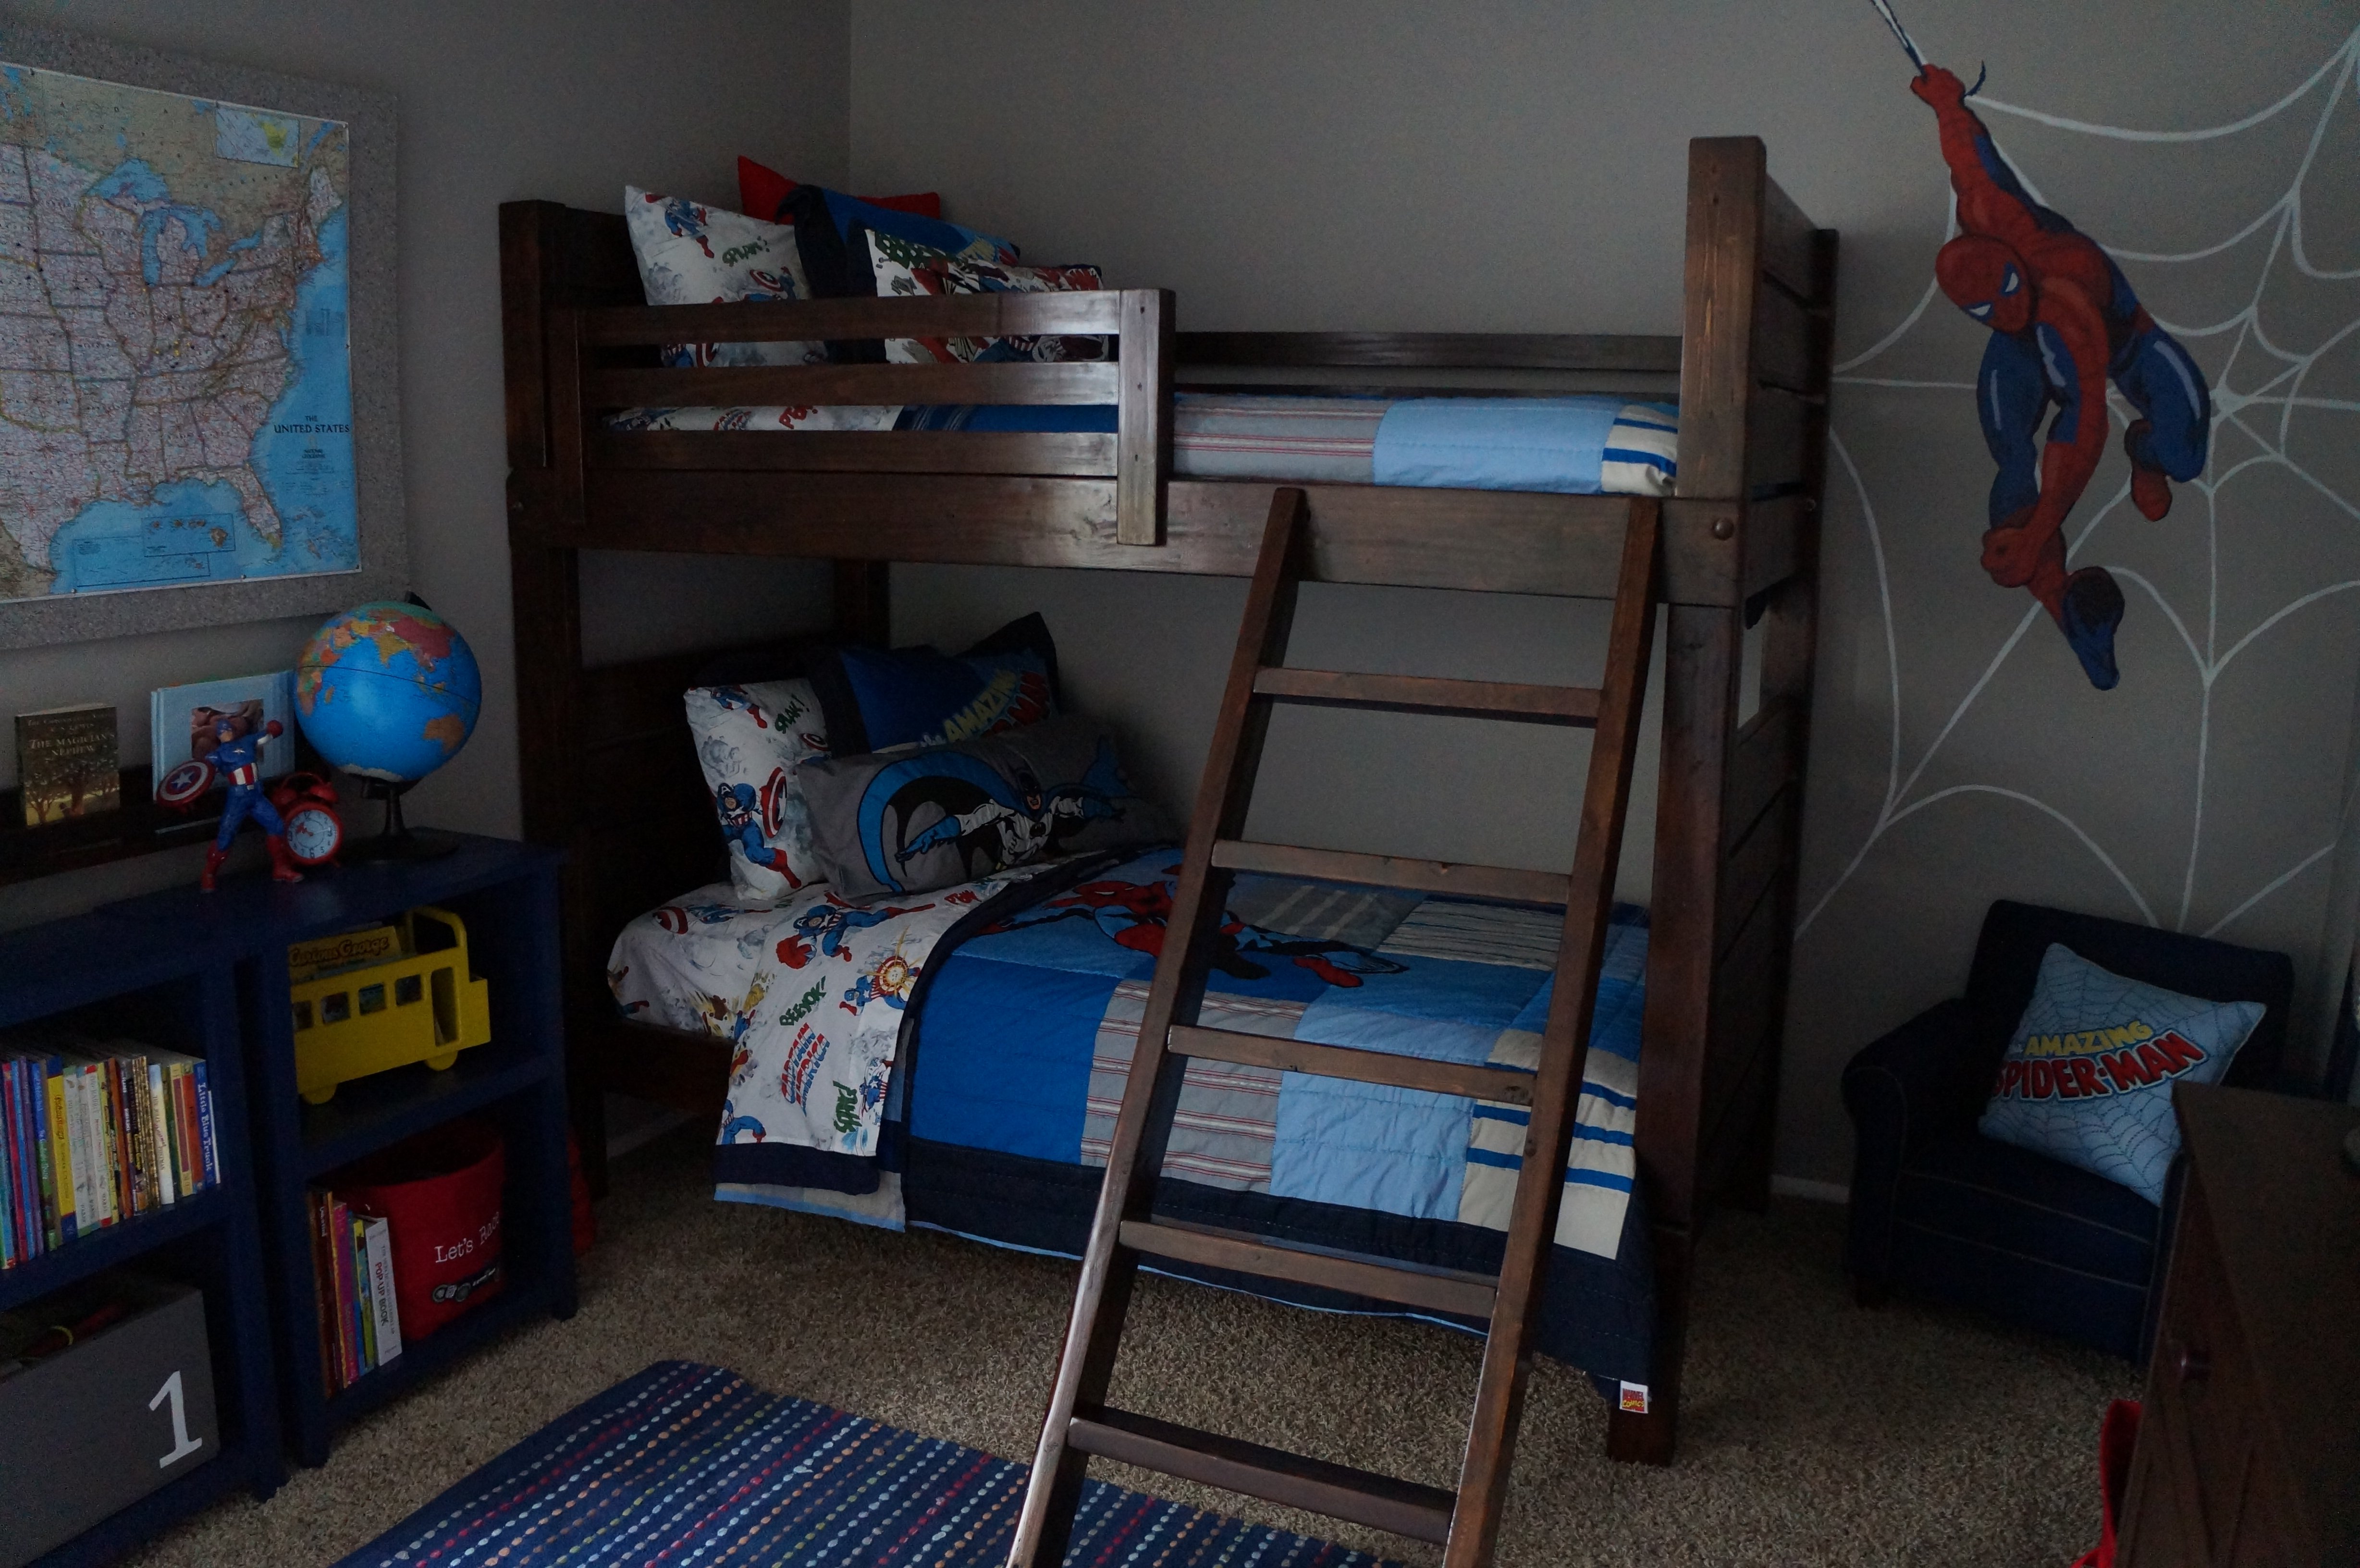
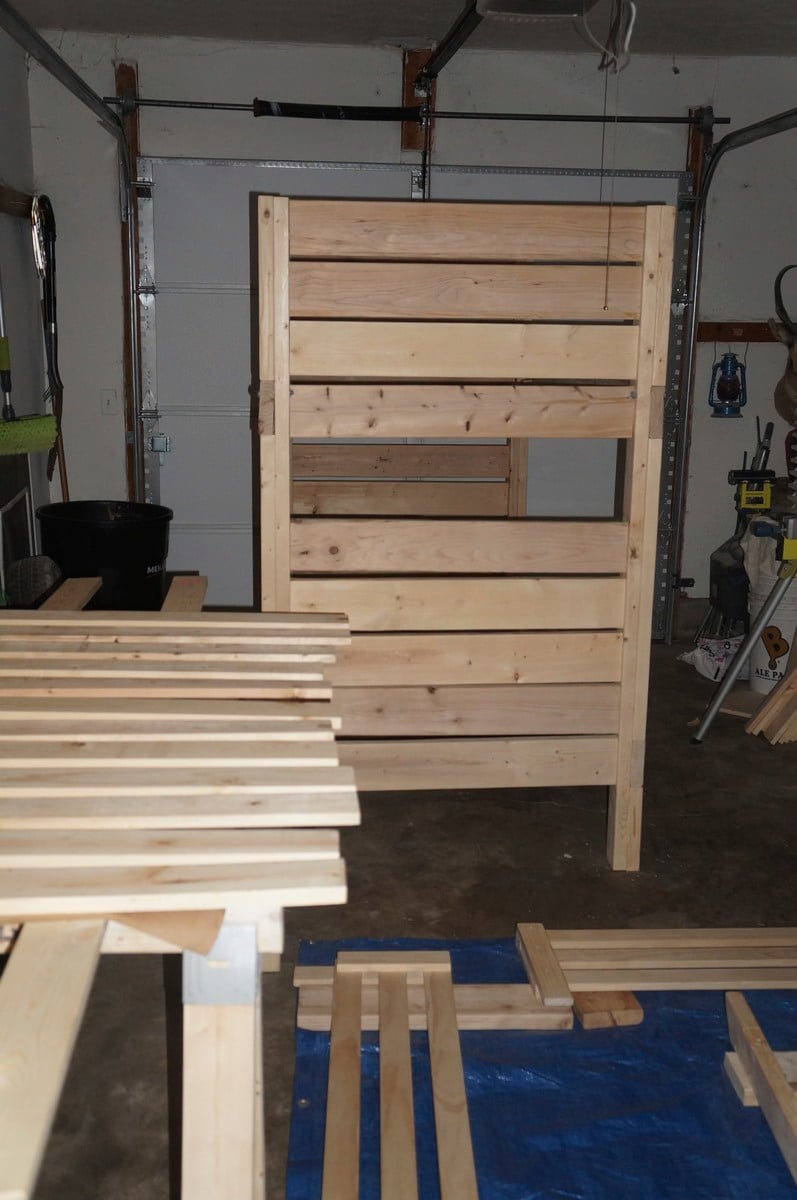
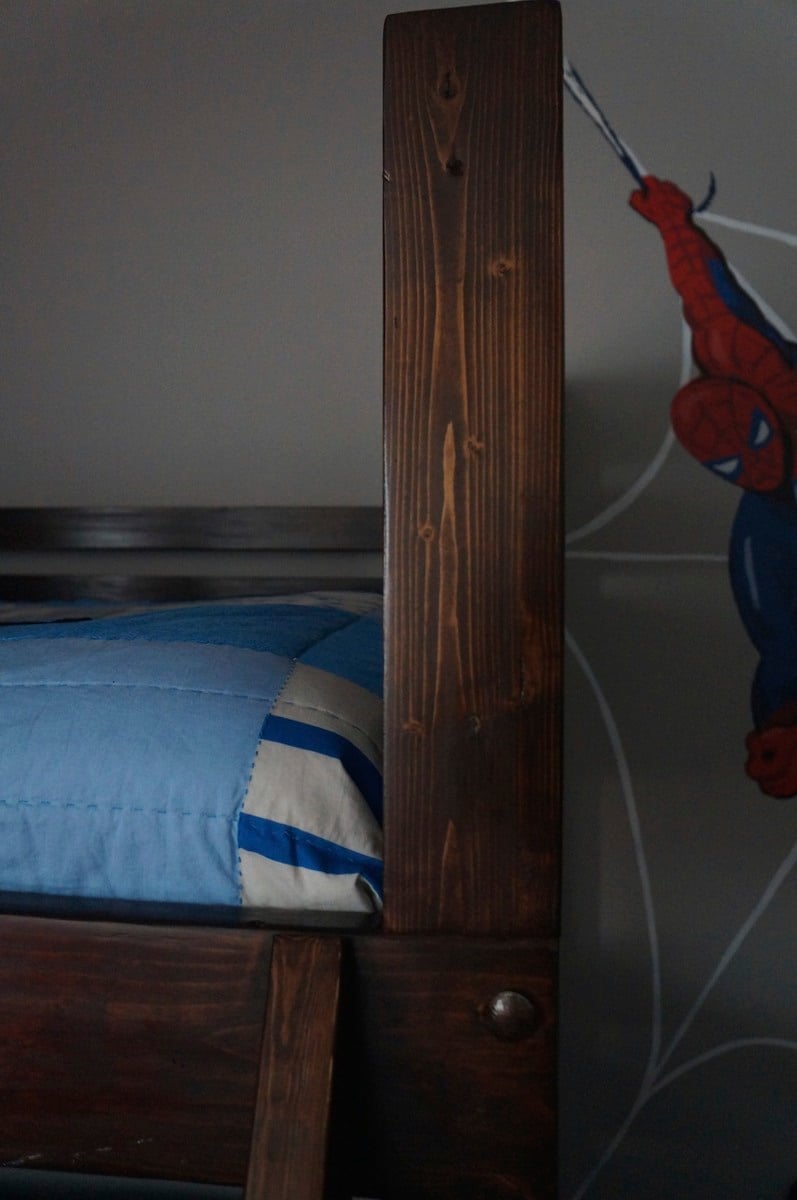
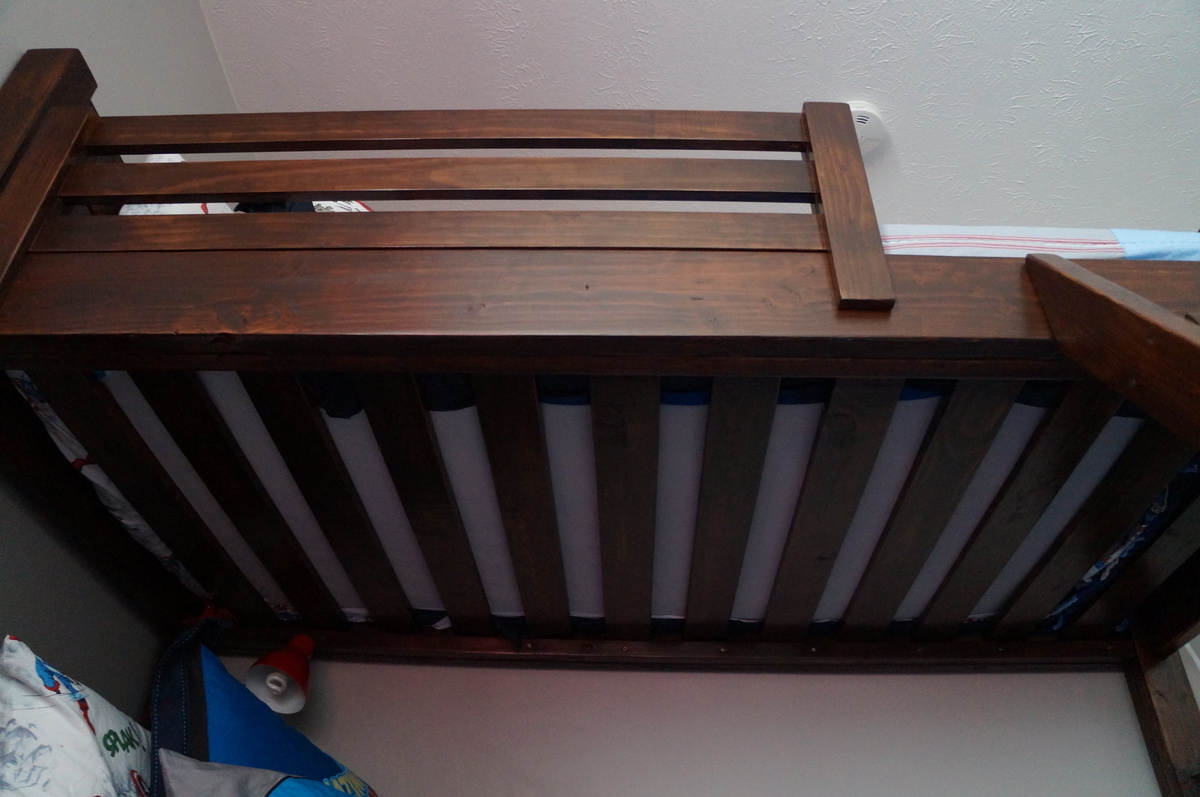
We just finished the side street bunk beds! We got all our wood from Menards, our favorite store! My husband build the bunk bed and I finished it. I sanded it all with 180 and 220 grit sand paper. Sanding probably took the most time, I was covered! I filled all the screw holes with wood glue and saw dust. These areas ended up looking like knots when stained so I was very pleased. Our wood was rough (now super smooth), it had a lot of character, so the screw holes blend right in. After sanding it, I applied the wood conditioner and 2 coats of Varathane premium dark walnut wood stain. I then applied one coat of Varathane fast drying, heavy use formula, clear, semi gloss Polyurethane. I did a light sanding on everything using 400 grit and then applied one more coat of Polyurethane. For the wood conditioner, stain and polyurethane I applied it with a foam brush and wiped it off a staining pad. It went on very even, definitely recommend using both! I ahve used expensive brushes before and the cheap .50 cent brushes worked so much better! We waited to attach the ladder and guard rails till it was up in my son's room, which made staining it a lot easier. I even stained the boards that hold the mattresses. My son is a very tall, almost 4 year old and the angle ladder is perfect. He was very excited to get it up in his room this weekend!
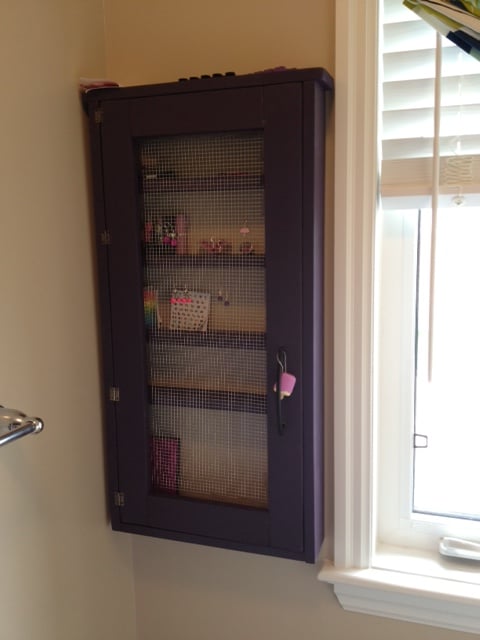
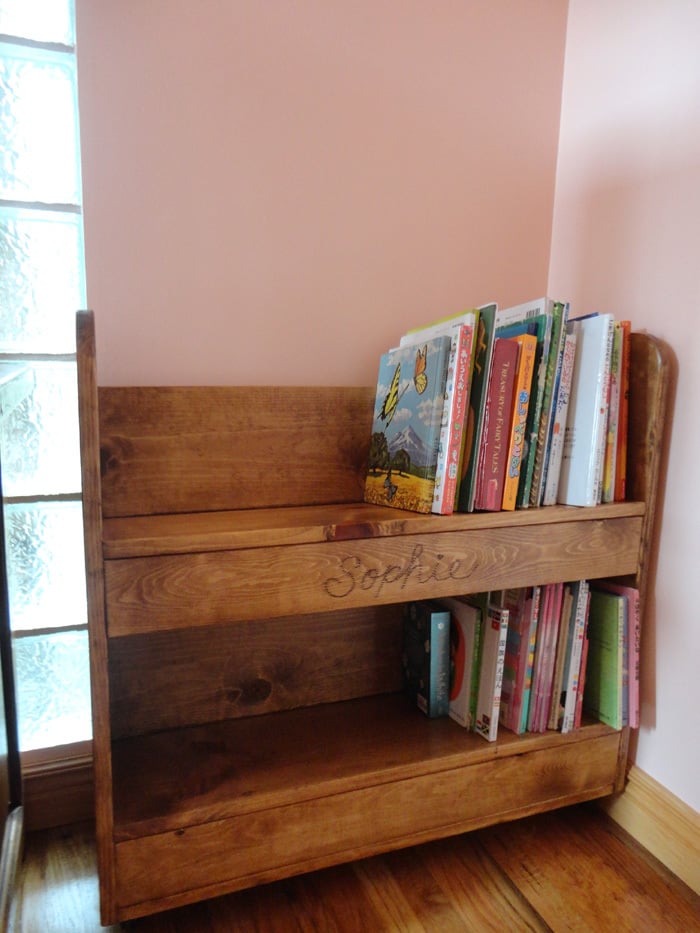
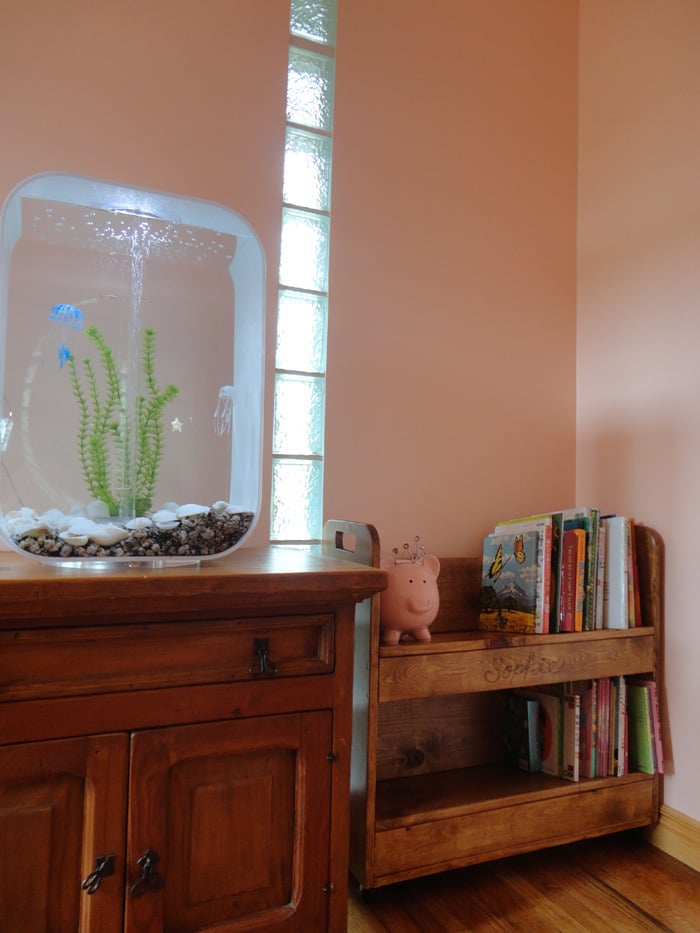
Also in the finished photo are two navy blue Simple Bookshelves and the Flat Wall Bookholder also finished in dark walnut!
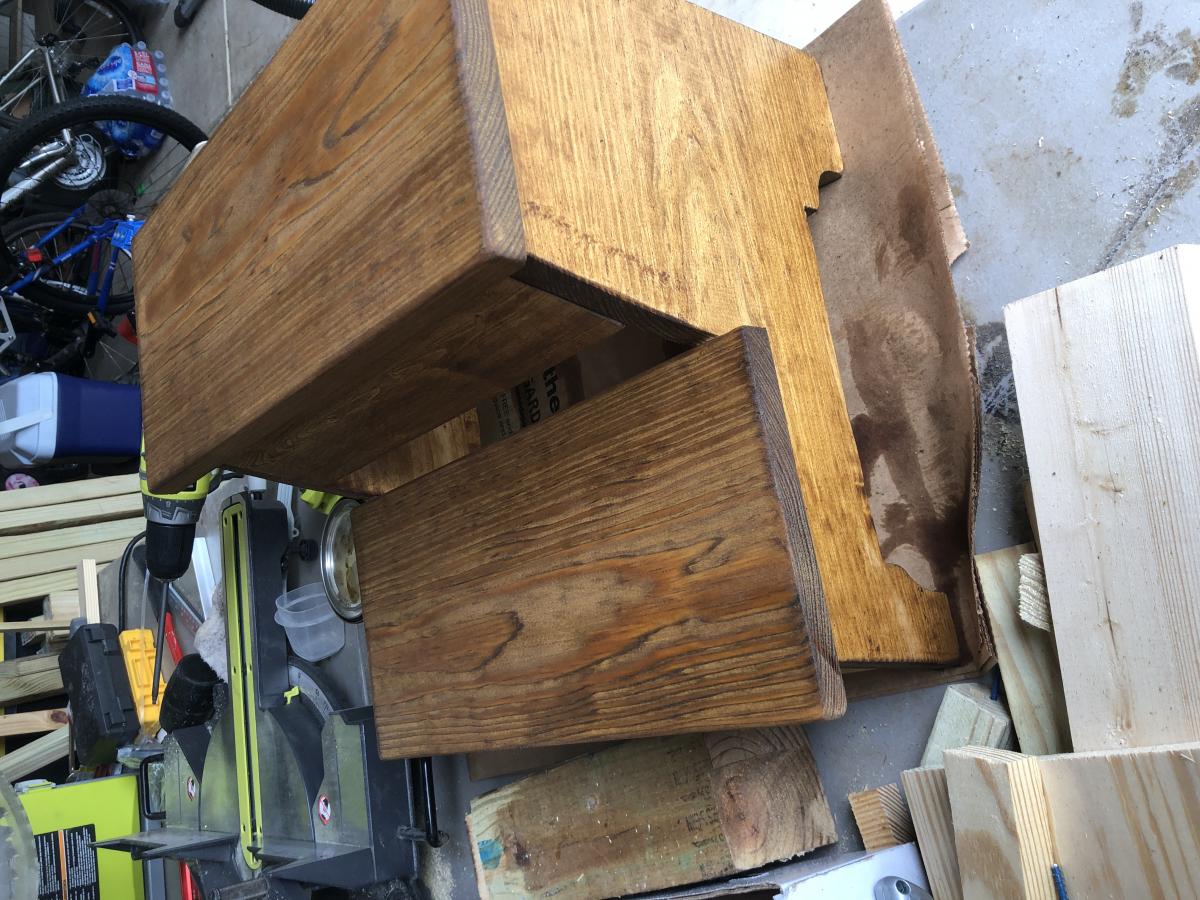
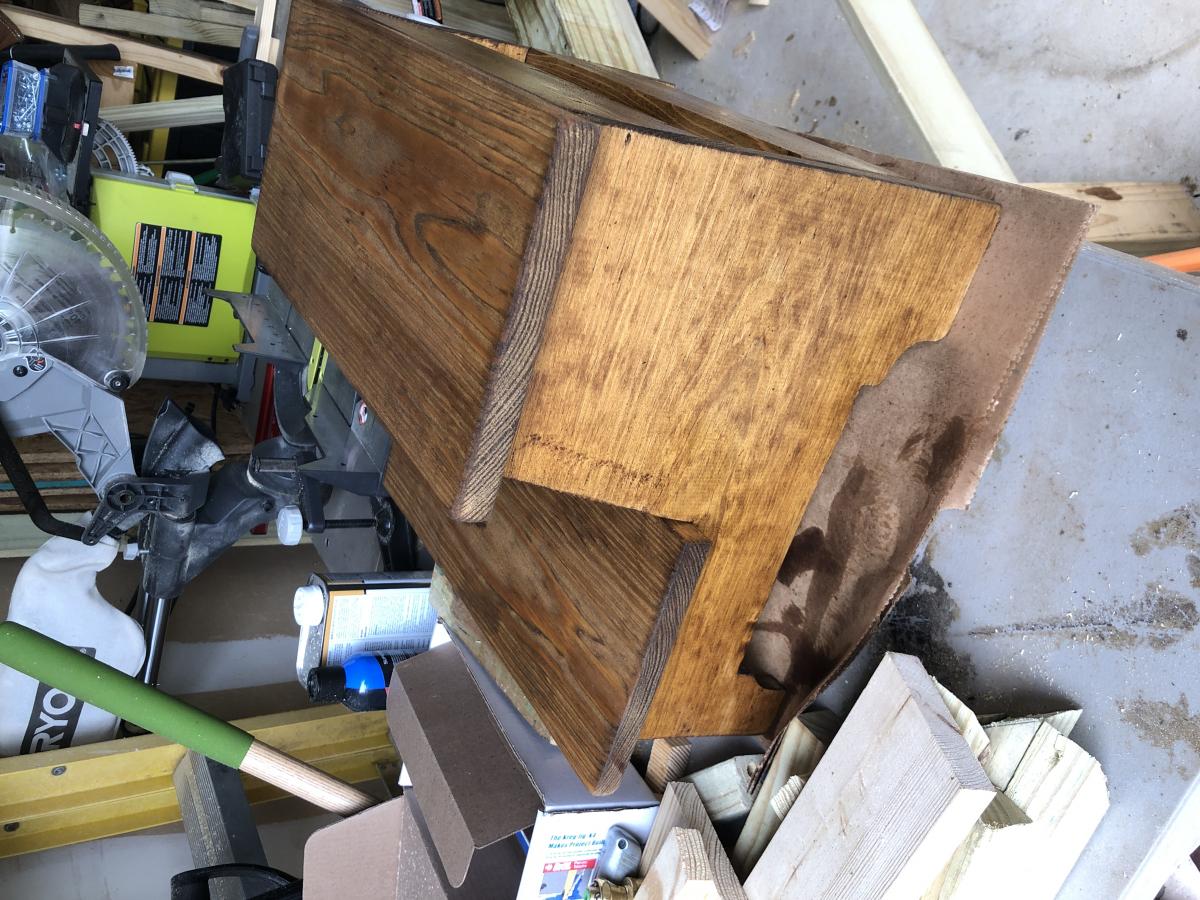
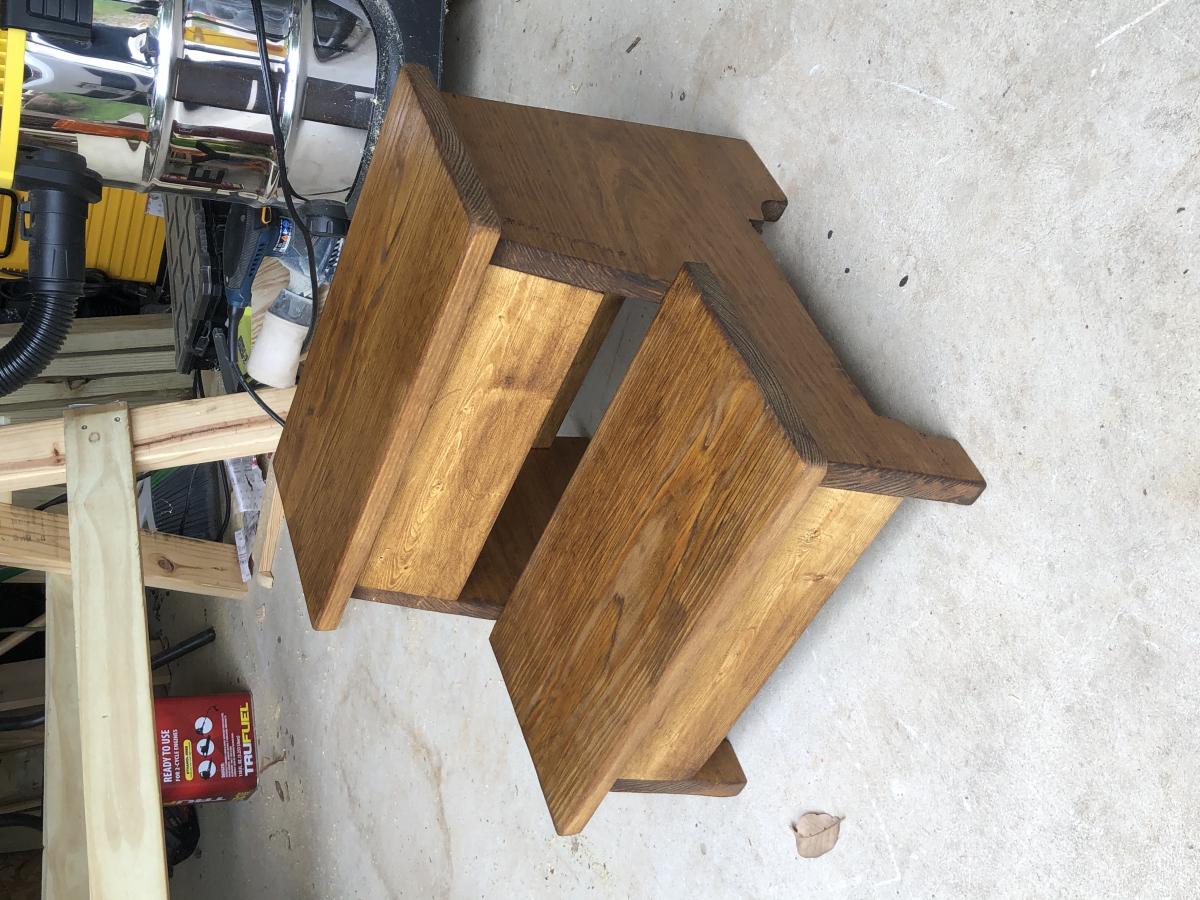
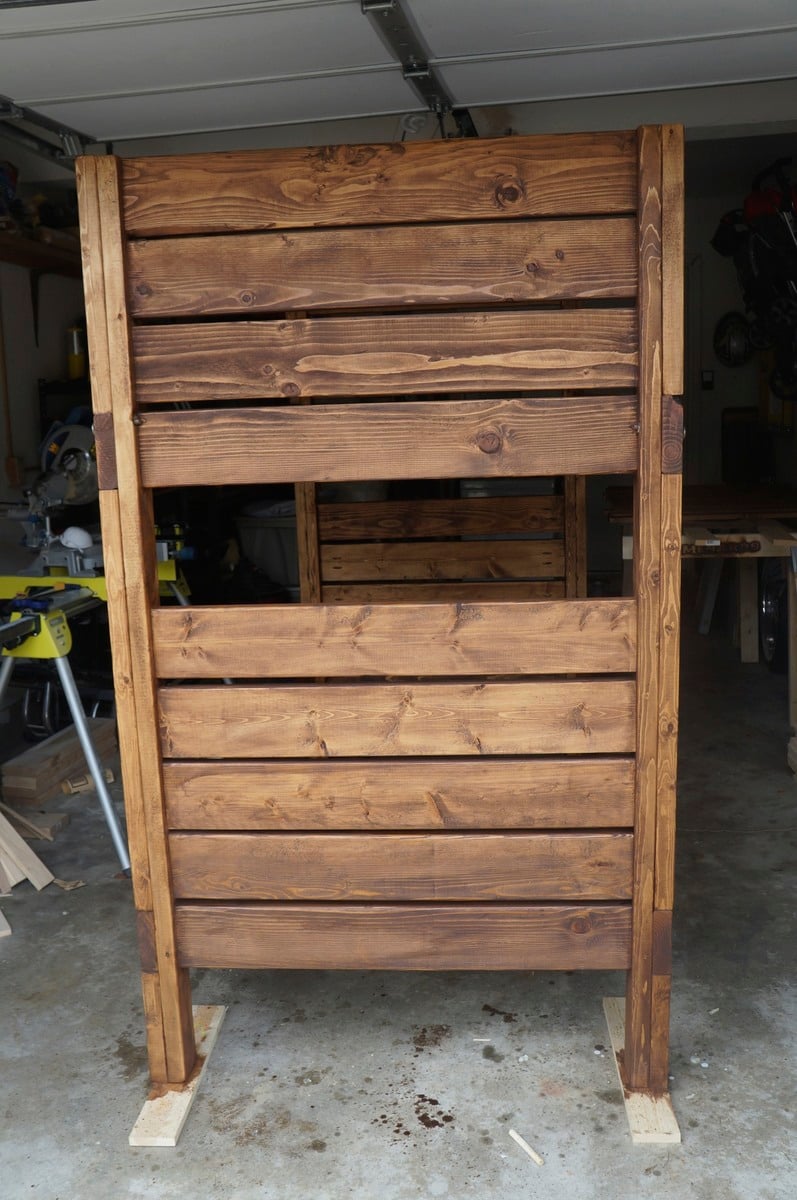
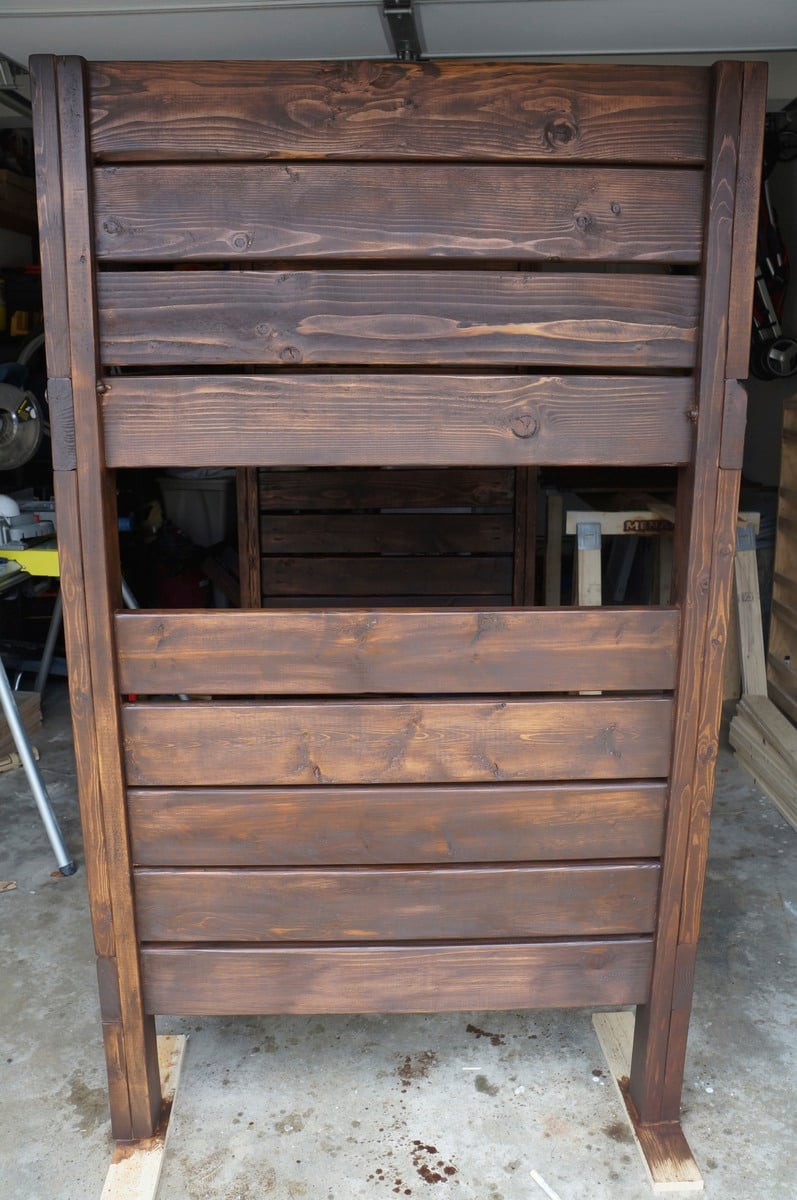
Photo's: I posted a photo of after the first coat of stain and after the second coat. I was nervous the second coat was too dark (accidentally forgot to keep stirring the can) but after I applied the polyurethane the chalky look disappeared. Only had to use one quart can of both the stain and Polyurethane for the finish.