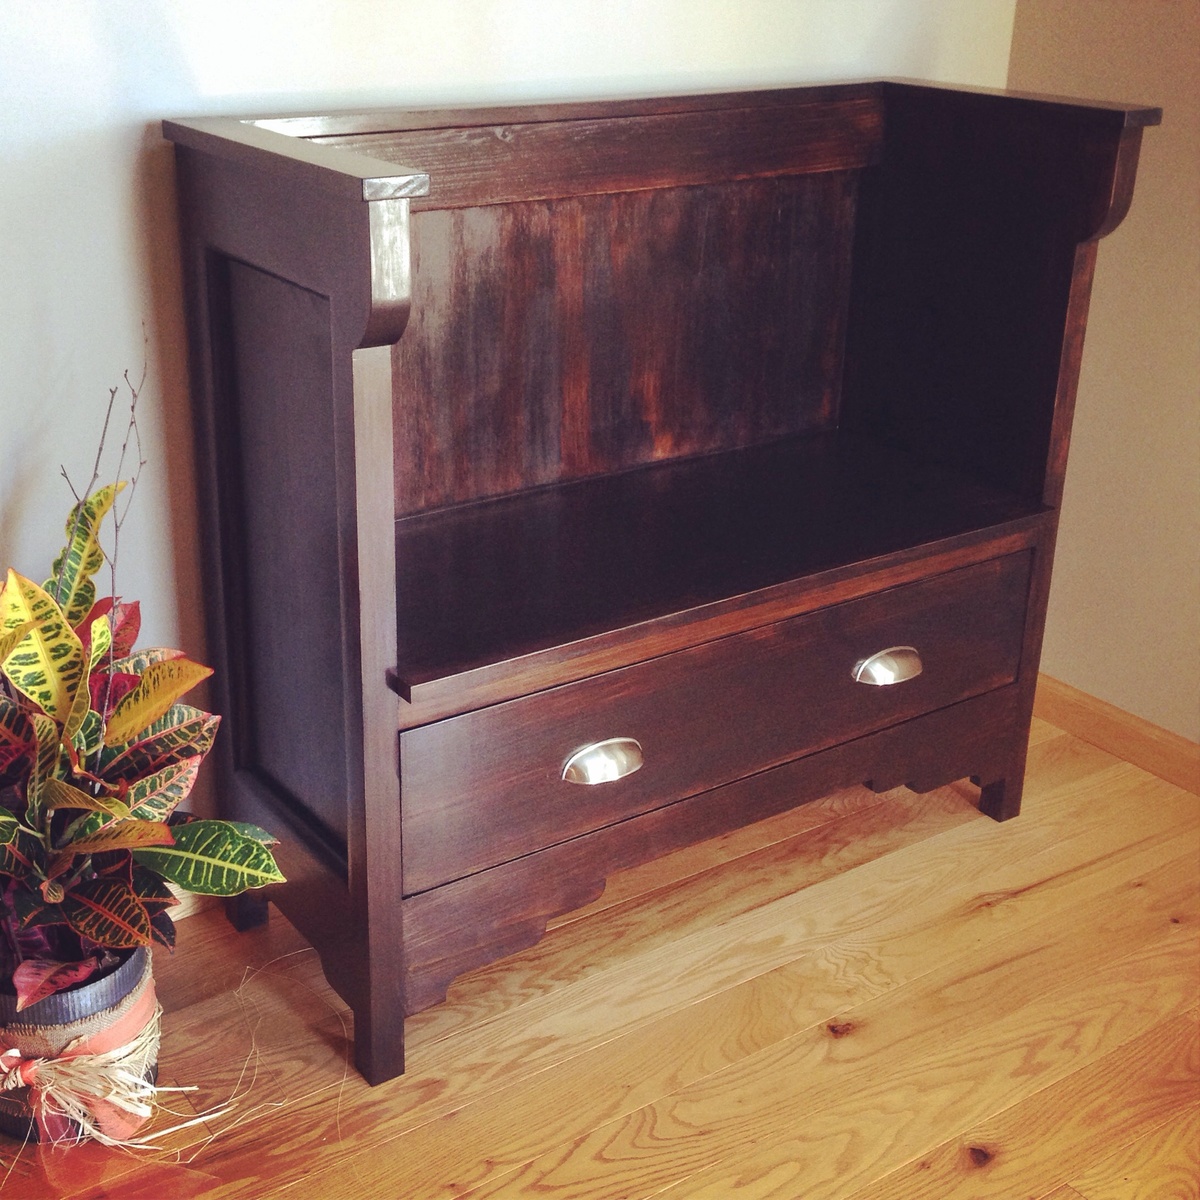
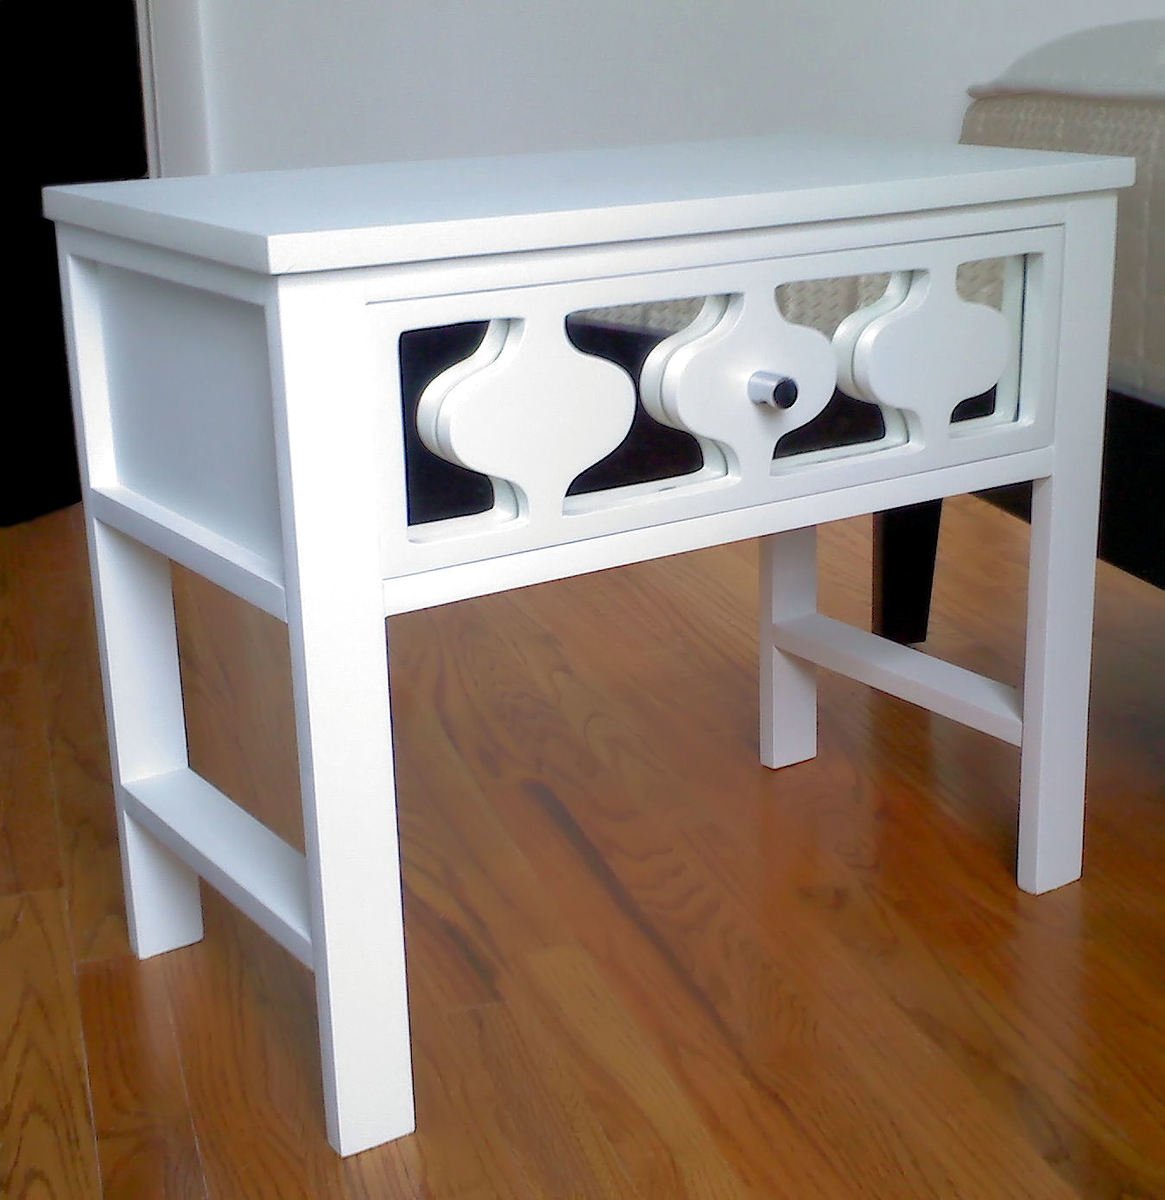
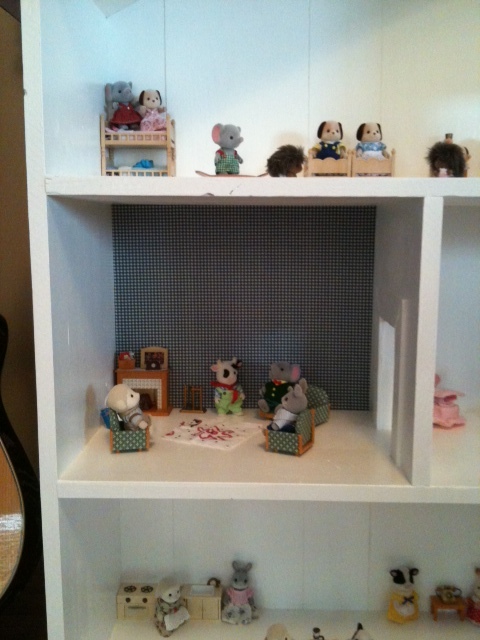
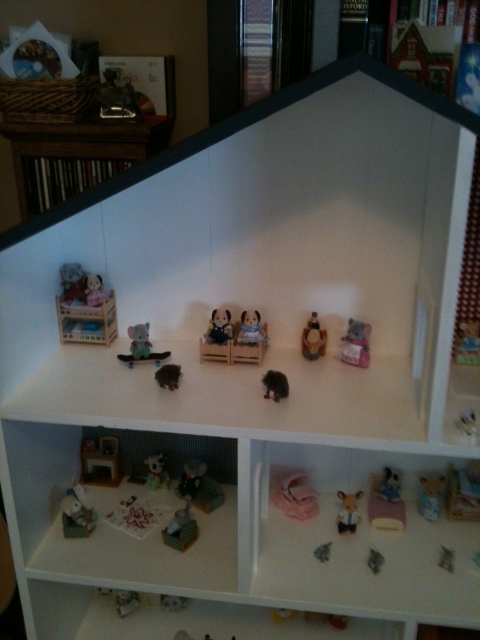
Four cubby bookshelf
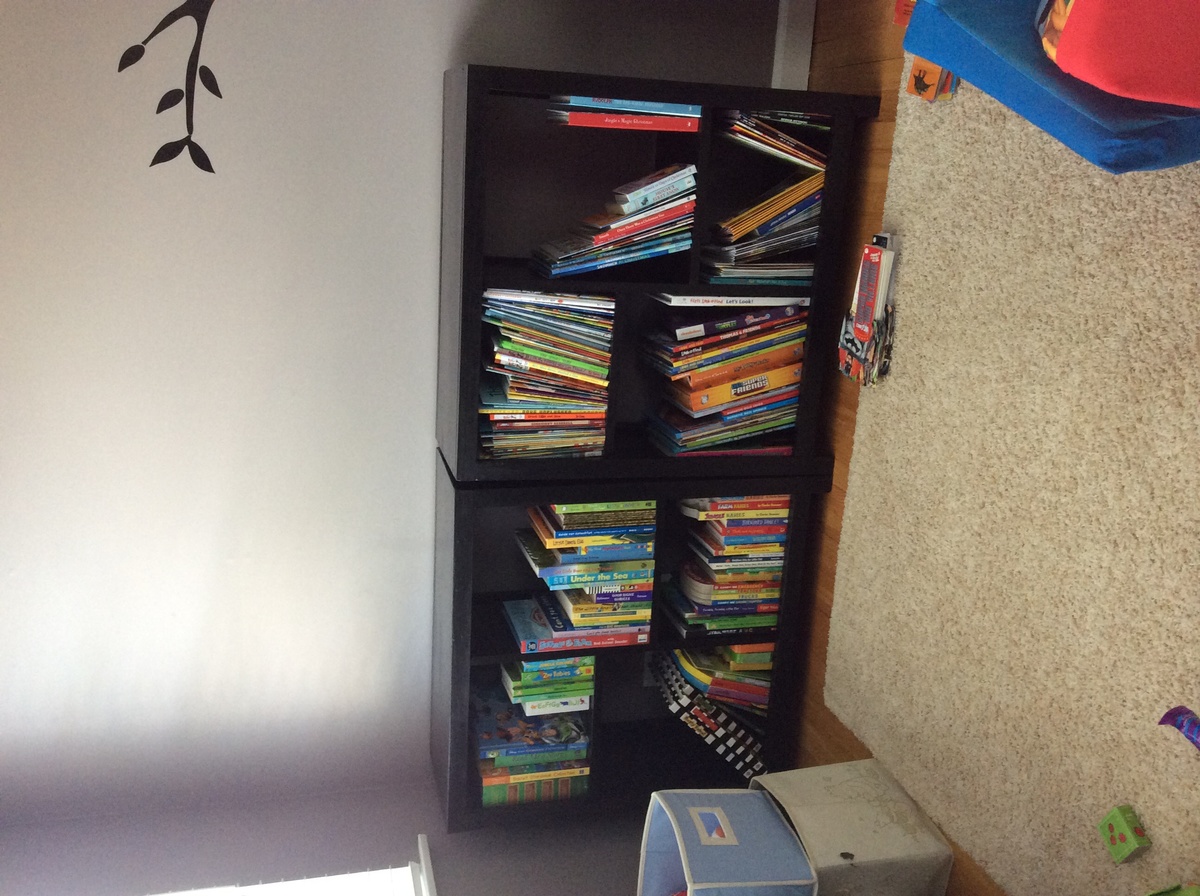
My kids' old bookshelf ran out of room and their books ended up on the floor. I built these using the four cubby bookshelf design and adjusted the shelves for different heights as some of their books are extra large.
Built from Plan(s)
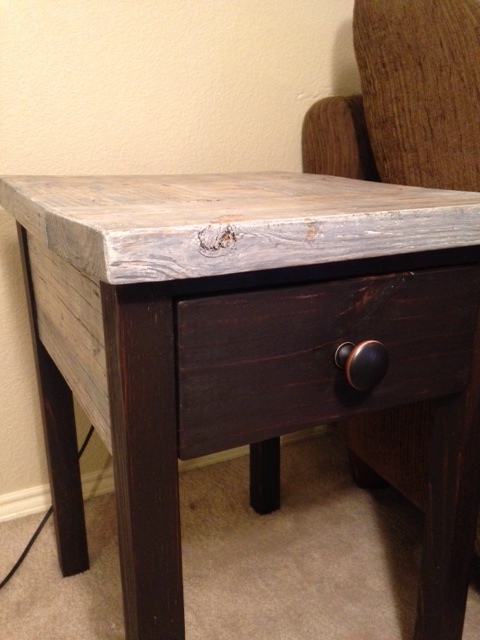
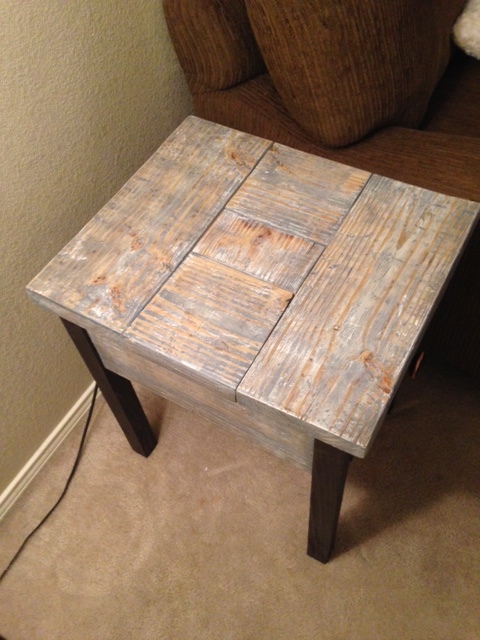
Finish Used
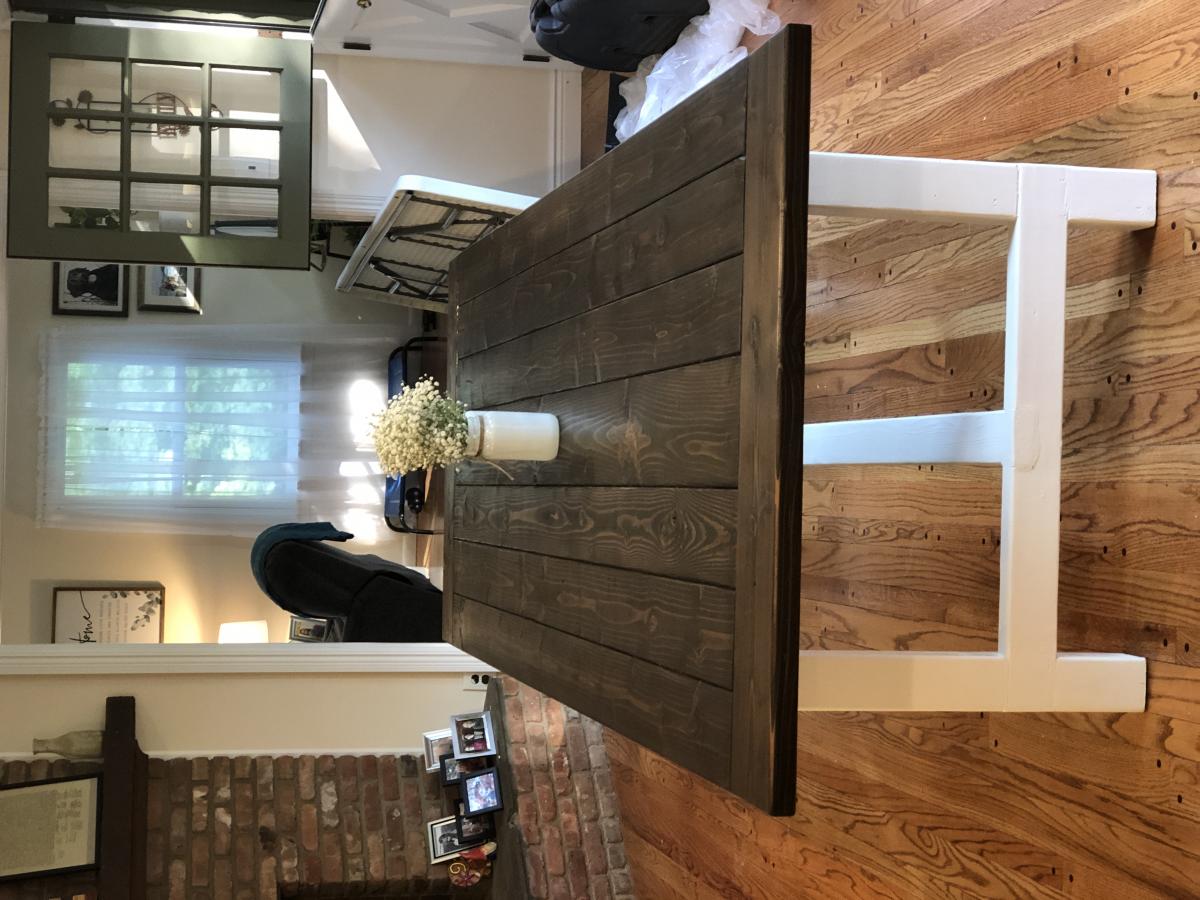
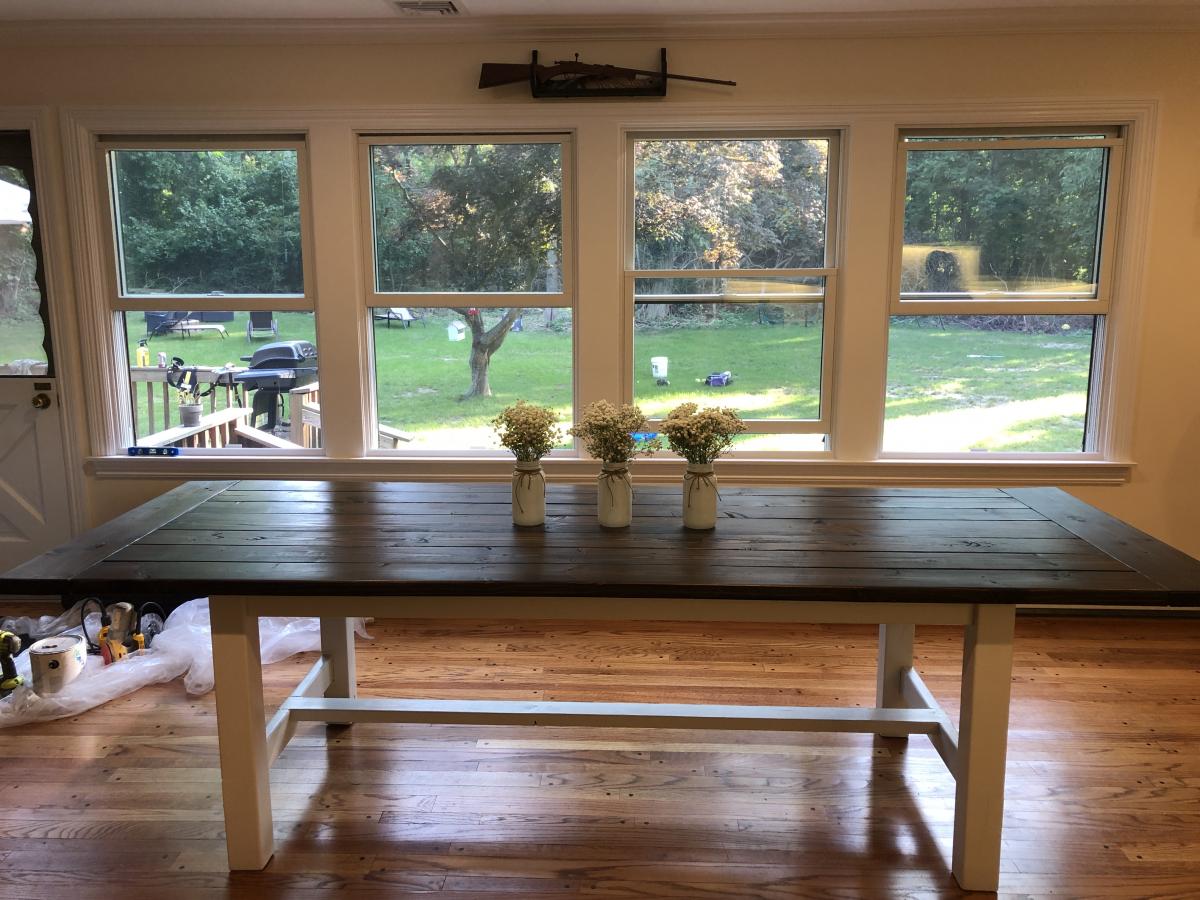
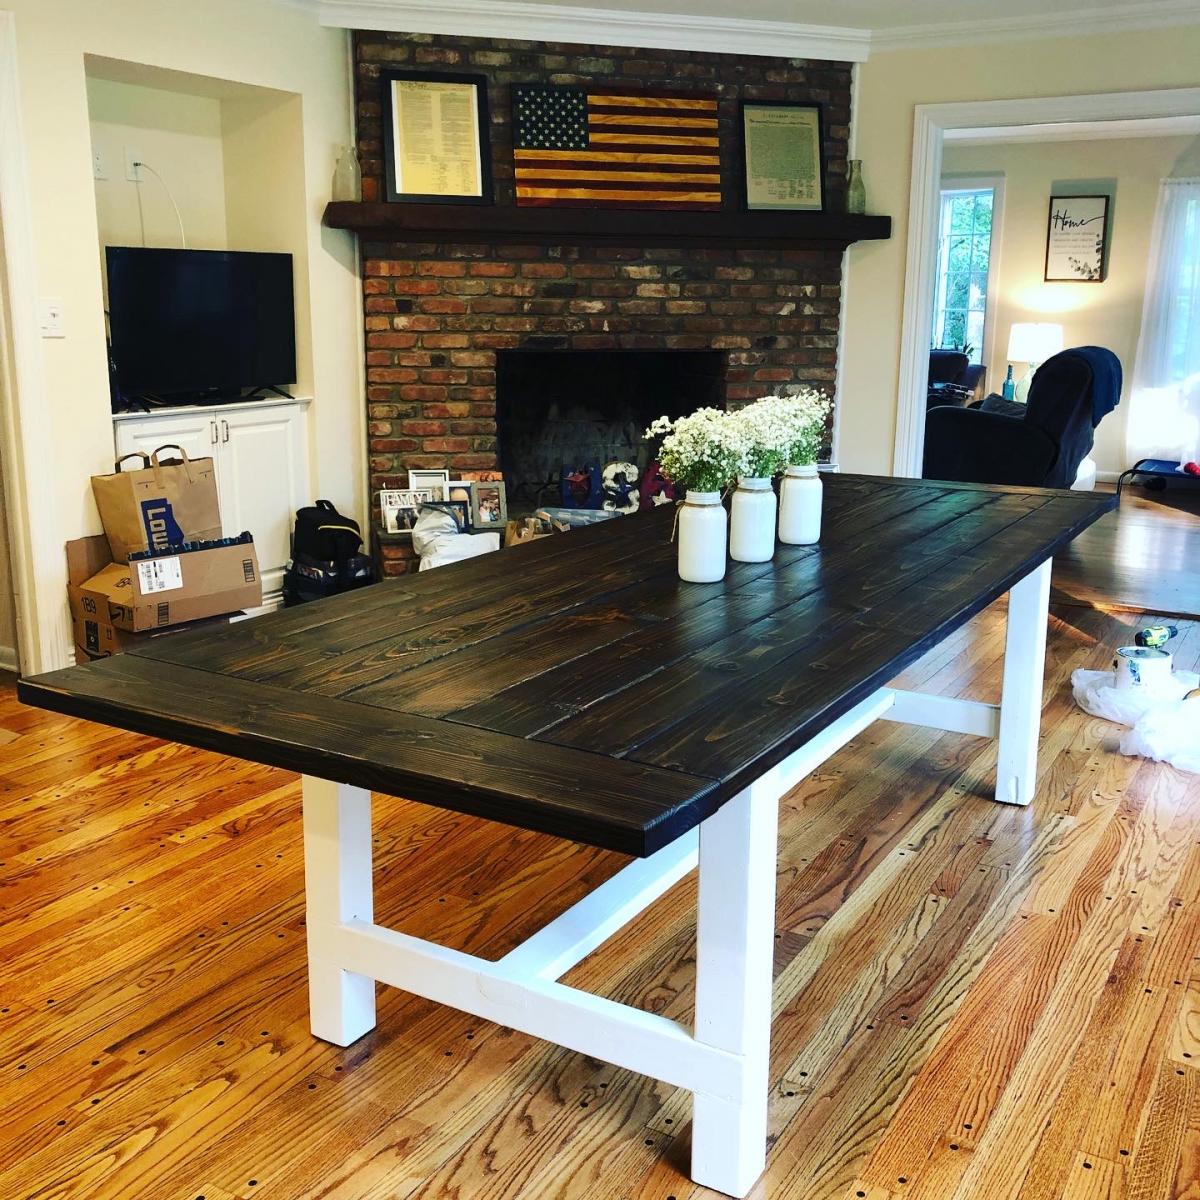
Stained these with miniwax's espresso color. Pre-stained the wood first and did three coats of the stain.
Recommended Skill Level
Beginner