Community Brag Posts

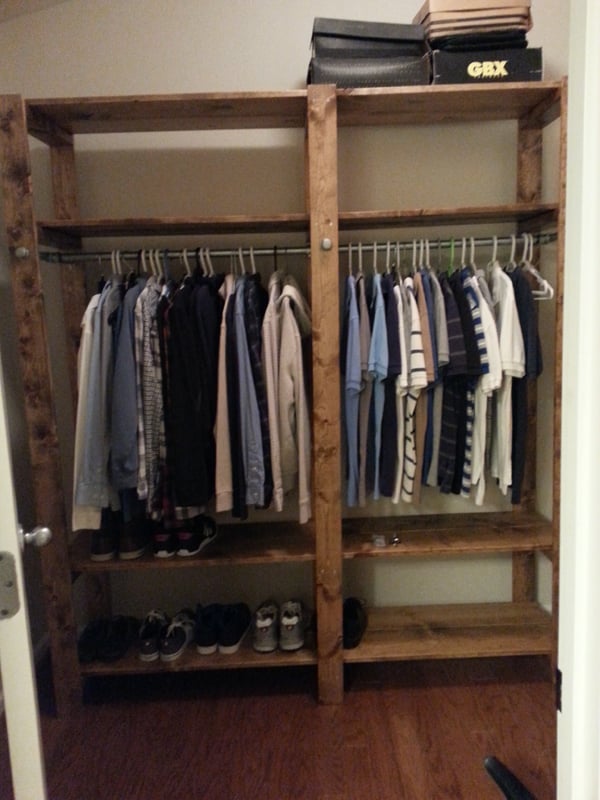
His & hers studio closet

Submitted by Anonymous (not verified) on Wed, 12/26/2018 - 22:55

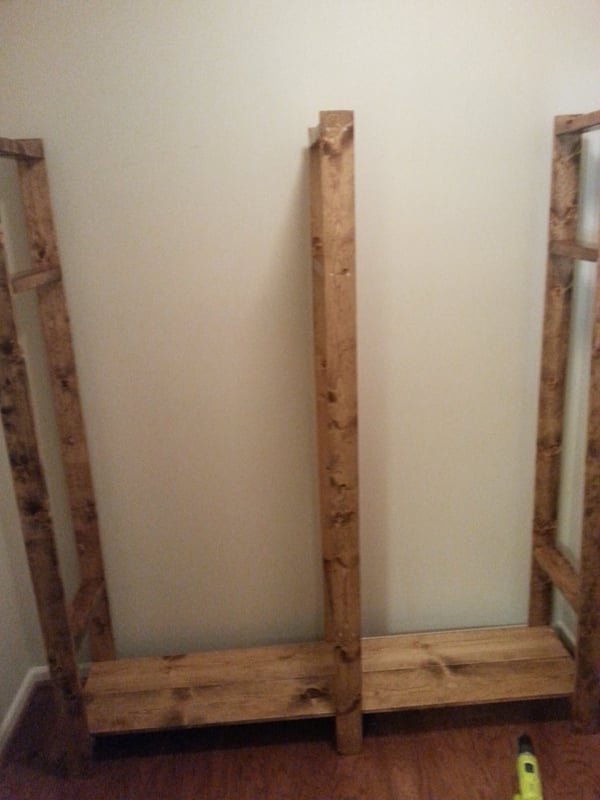
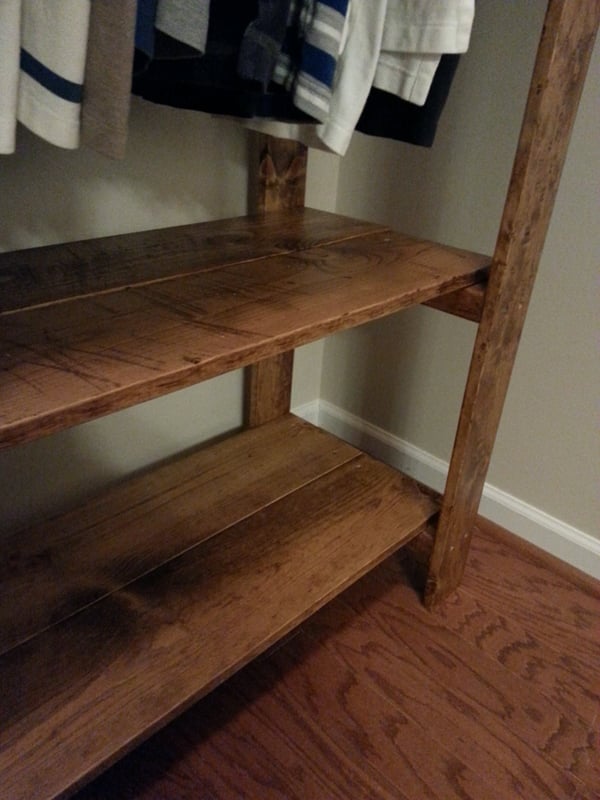
Instead of using galvanized pipes, to save money we opted for ready made closer rod & hardware from Lowe’s and added additional 2x4 pieces perpendicular to the shelf supports and screwed the closet rods into those. 

Built from Plan(s)
Estimated Cost
>$200
Estimated Time Investment
Weekend Project (10-20 Hours)
Finish Used
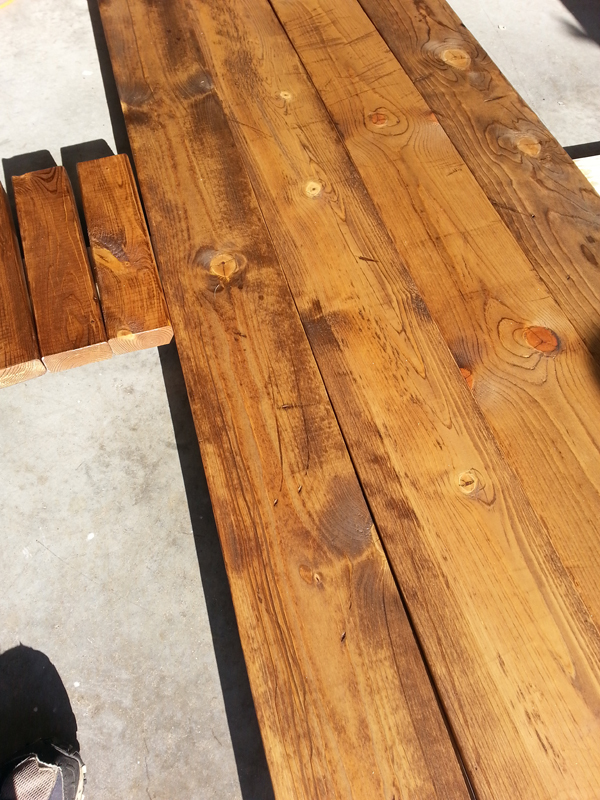
Weathered oak stain
Recommended Skill Level
Beginner

Potting bench

Submitted by Anonymous (not verified) on Sat, 09/03/2022 - 16:15

Potting bench made of merbau hardwood. Found the design on Pinterest.

Comments

My $6 Doll Crib

Submitted by Lady Goats on Sat, 08/13/2011 - 21:17

Well, this crib is STILL unfinished, and the date-stamp says I built it December 5th.... So... Uhh.. I should really get on that!

I had initially built this crib for a friend's daughter's birthday gift, but the baby (8 months old at the time) got REALLY sick, so I wasn't able to finish it in time (don't worry, we got her a Pillow Pet - she got a gift still!). It was just before Christmas, so instead of going out and spending more money that we were tight on, I just bought 3 1x2s and used scraps for the rest of it.

The crib's basically been sitting in the baby's room looking cute until about a month ago. That's when she decided that her stuffed owl (from Build-A-Bear) needed to be put to bed every night before I put HER to bed. It's become such a routine that I have no idea how she'd react if we couldn't put her owl to bed! So I'm scared to try to start filling all the holes and painting in fear that we'd have a mental breakdown if I didn't finish in time for bed! EEK!

Built from Plan(s)
Estimated Cost
$6
Estimated Time Investment
An Hour or Two (0-2 Hours)
Finish Used
OOPS bin paints on the parts that WERE finished.
Recommended Skill Level
Beginner

Modern Craft Table

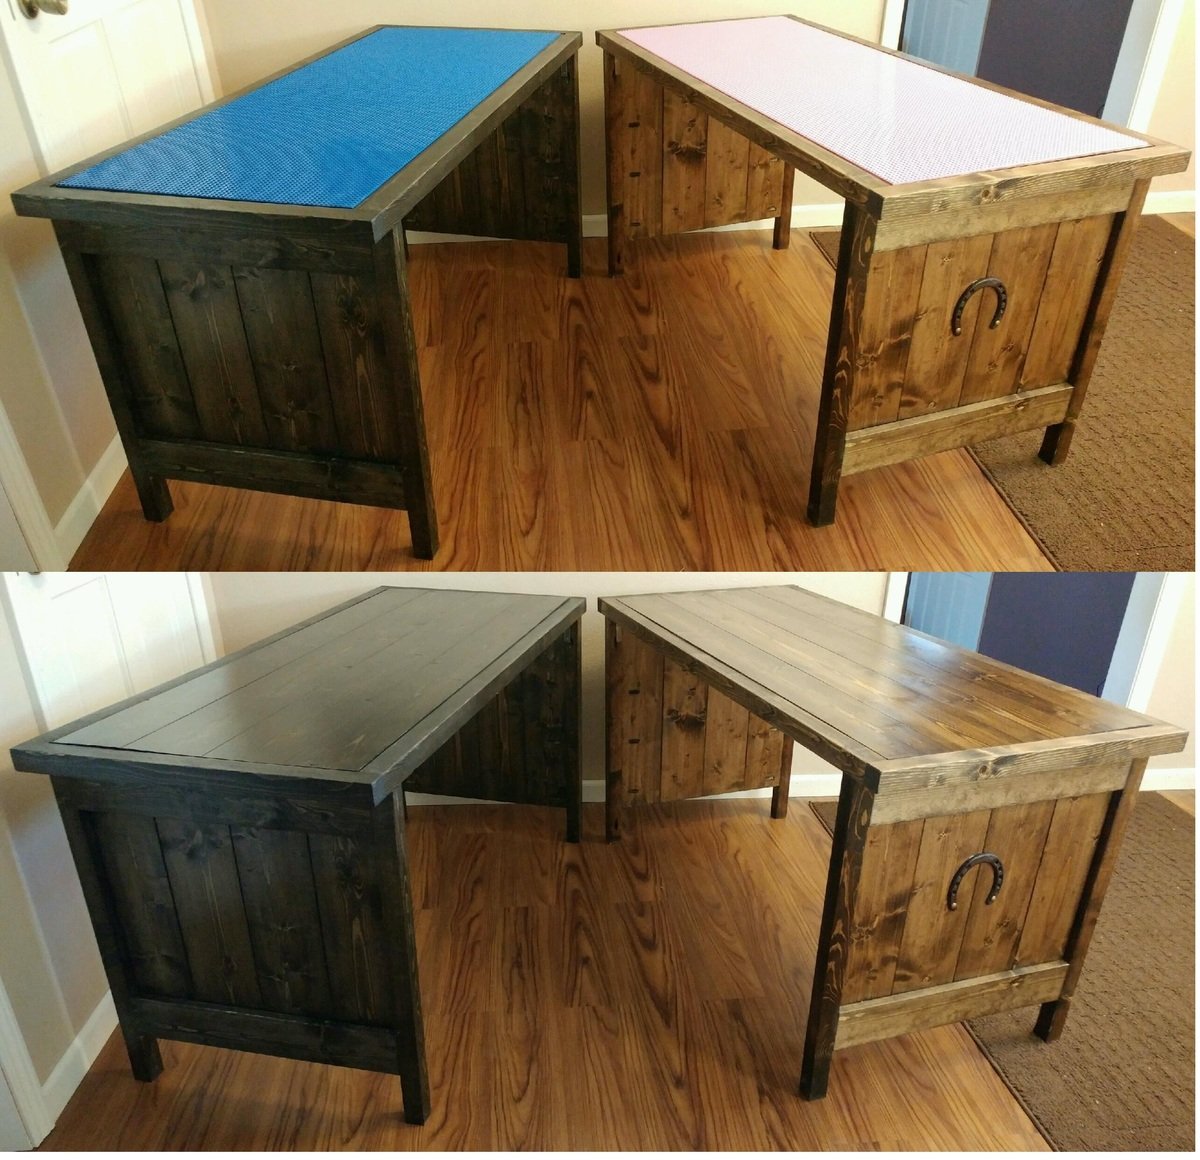
Maui Costco had a craft table but I waited too long to go back (1 week!) and they were sold out & discontinued. I stumbled across Ana White's website and found the "modern craft table." After a couple of modifications I am extremely happy with the results, as is my Golden Retriever "Buddy" who likes hanging out underneath while I am working. And yes, he has a mohawk!

Built from Plan(s)
Estimated Time Investment
Week Long Project (20 Hours or More)
Finish Used
latex & primer in one
Recommended Skill Level
Intermediate

Comments

tracysmith

Sat, 09/14/2013 - 23:39

Buddy looks very comfortable under "his" craft table ;-). Great job and isn't it fun to get something you want anyway - even after the big stores have sold out or discontinued, or both!? Love that part of building!

Boys Garage Bookshelf

Submitted by Chriss45 on Sun, 12/30/2018 - 09:55

I built this bookcase for a friends son for Christmas. She sent me a sketch of what she wanted and I drew up the plans in sketch up. I built it out of plywood and capped plywood with poplar strips. I made the Cedar shingles out of Cedar shims that I cut down to 2 inches, I used corrugated metal for door panels to give garage look.

Built from Plan(s)
Estimated Time Investment
Weekend Project (10-20 Hours)
Finish Used
Behr satin paint
Recommended Skill Level
Intermediate

Comments

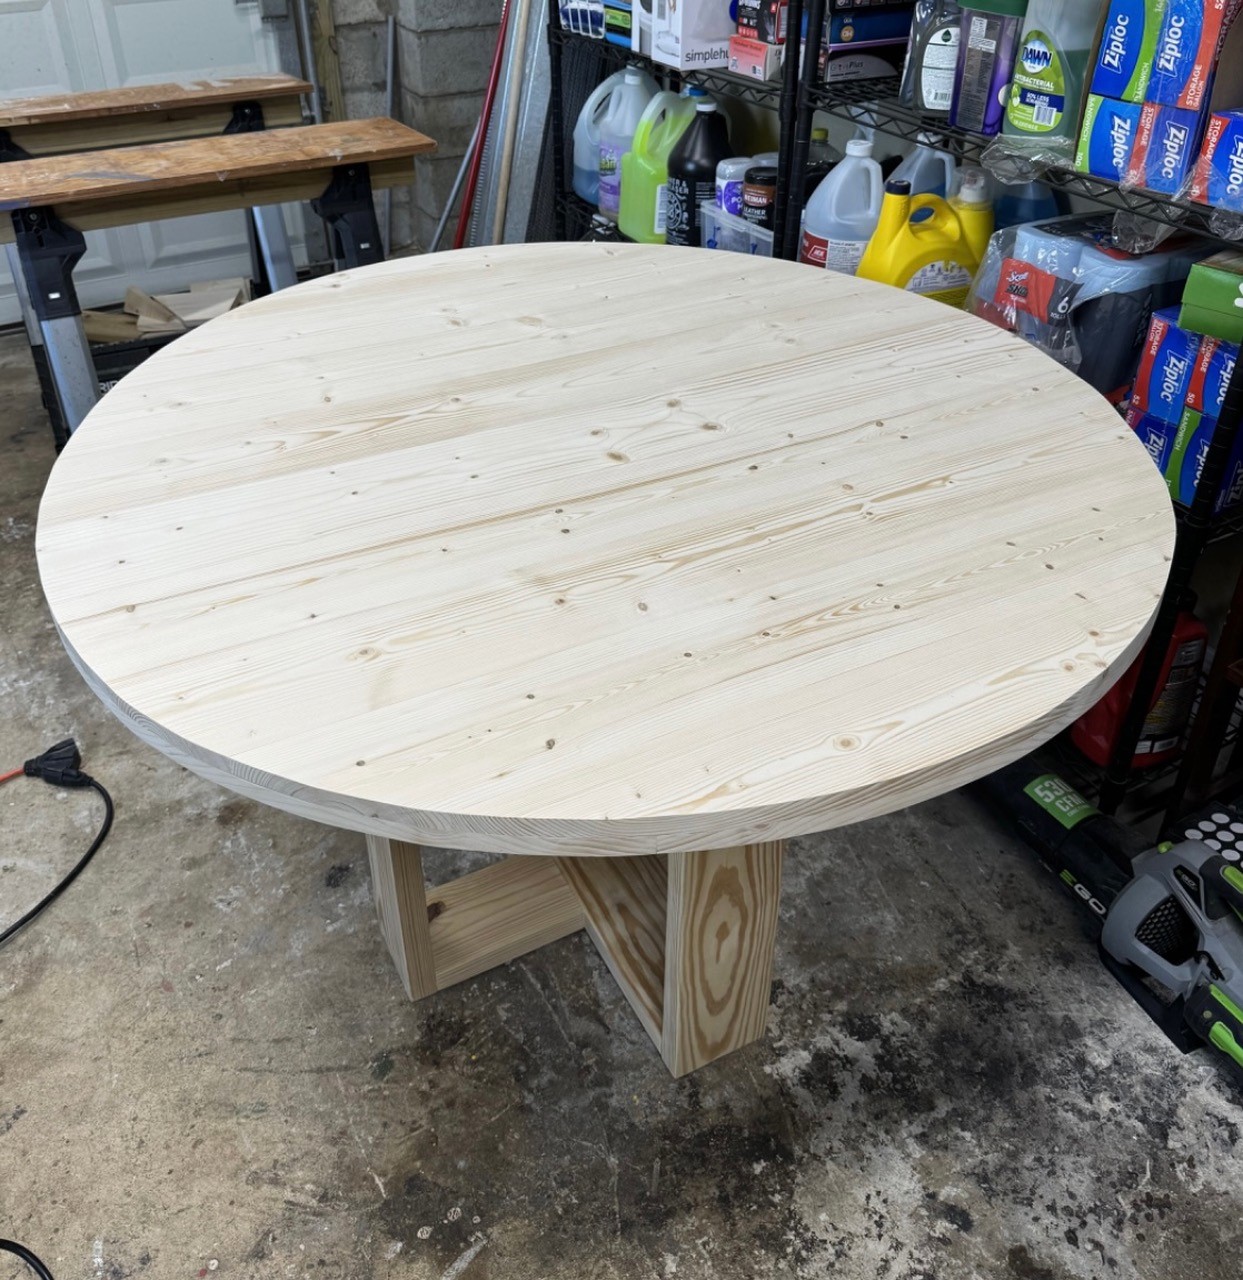
X based pedestal table

Submitted by Anonymous (not verified) on Sat, 09/10/2022 - 19:30

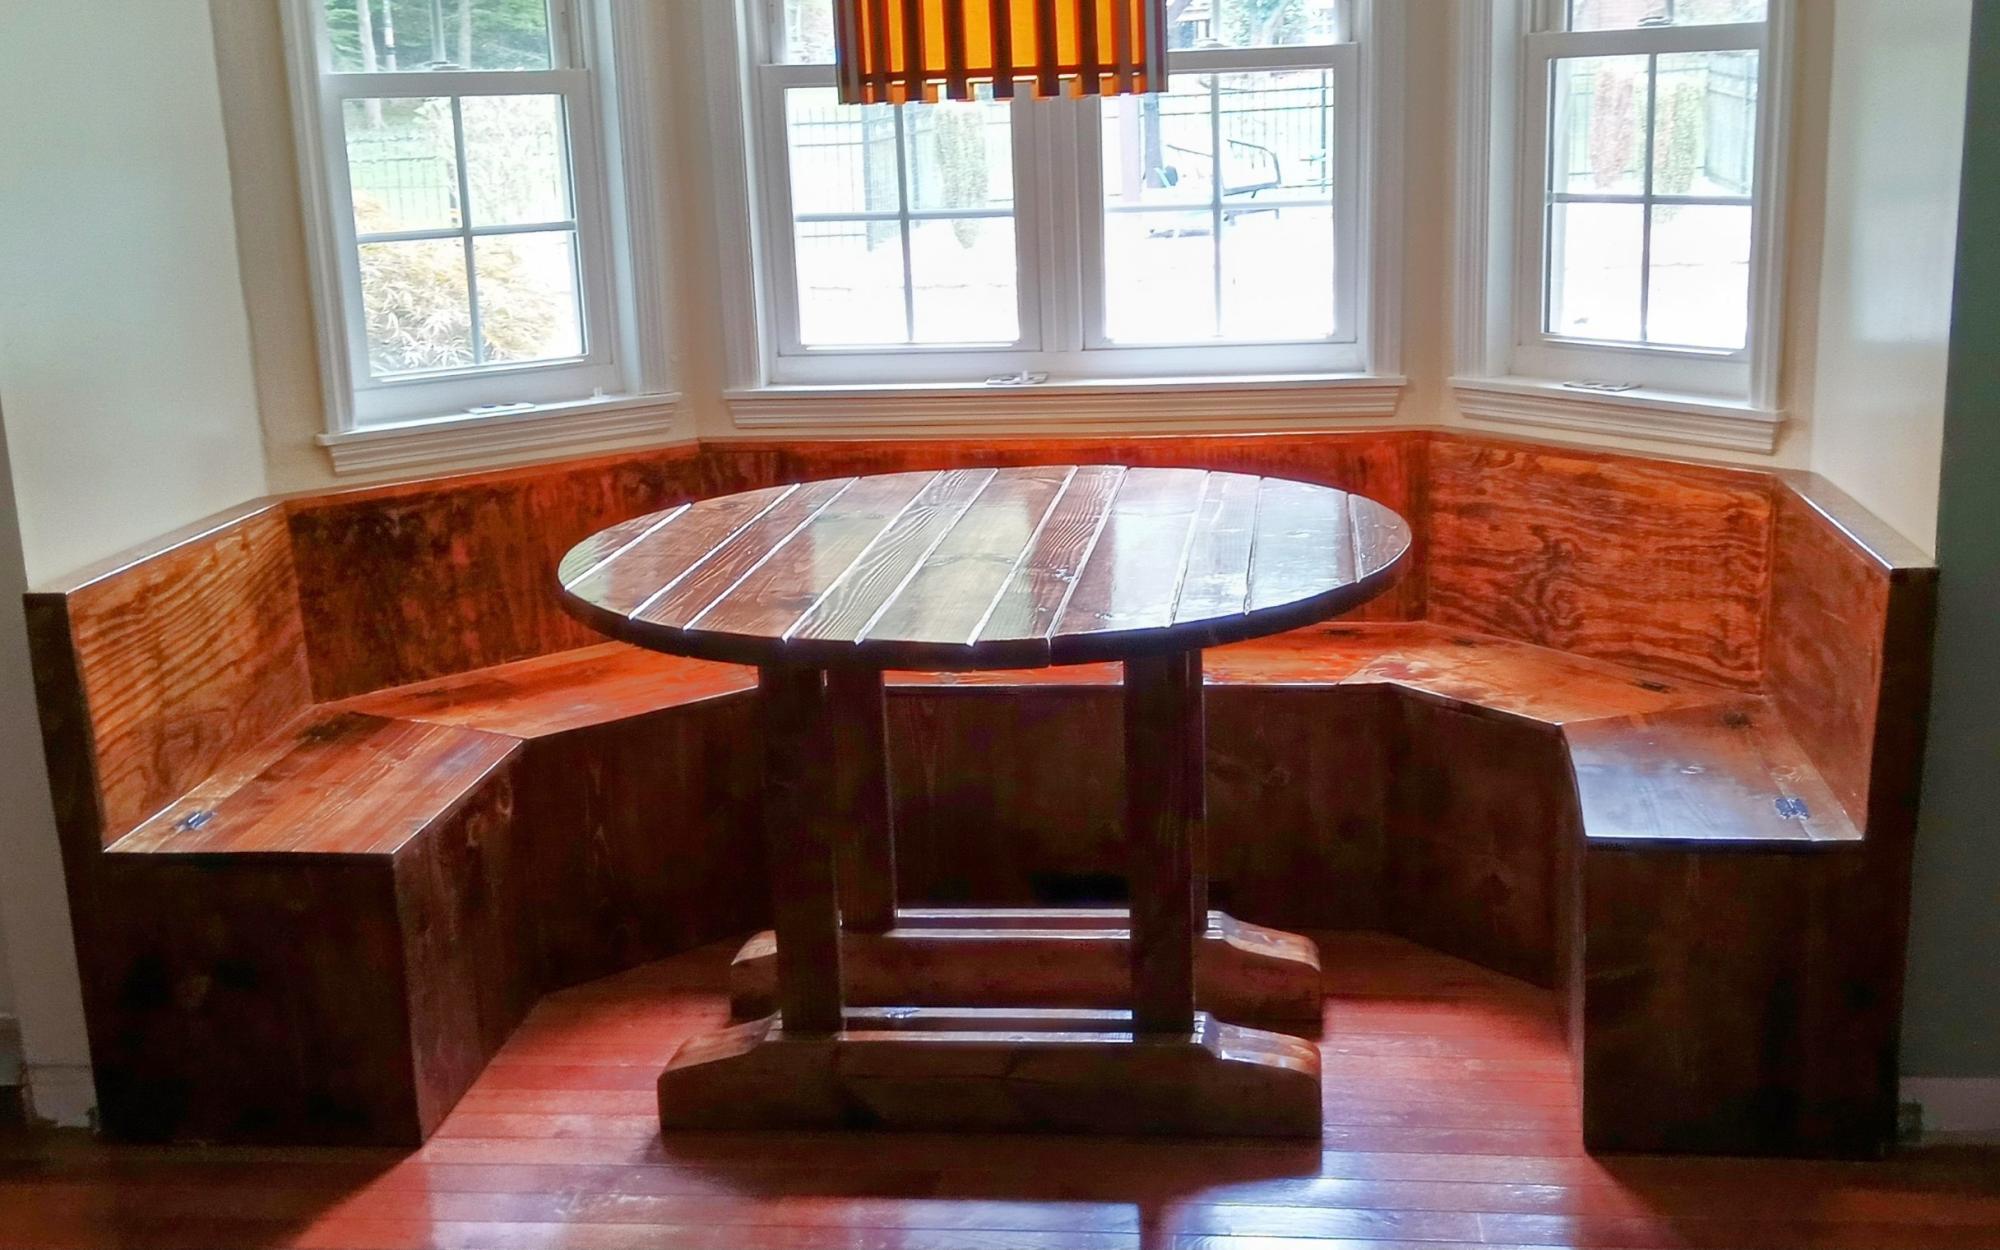
The entire table was made from 200mm x 50mm x 2400mm pine landscaping sleepers. Finished with Cabots benchtop clear

Comments

Adirondack Chair

Submitted by Marisol on Tue, 08/16/2011 - 14:09

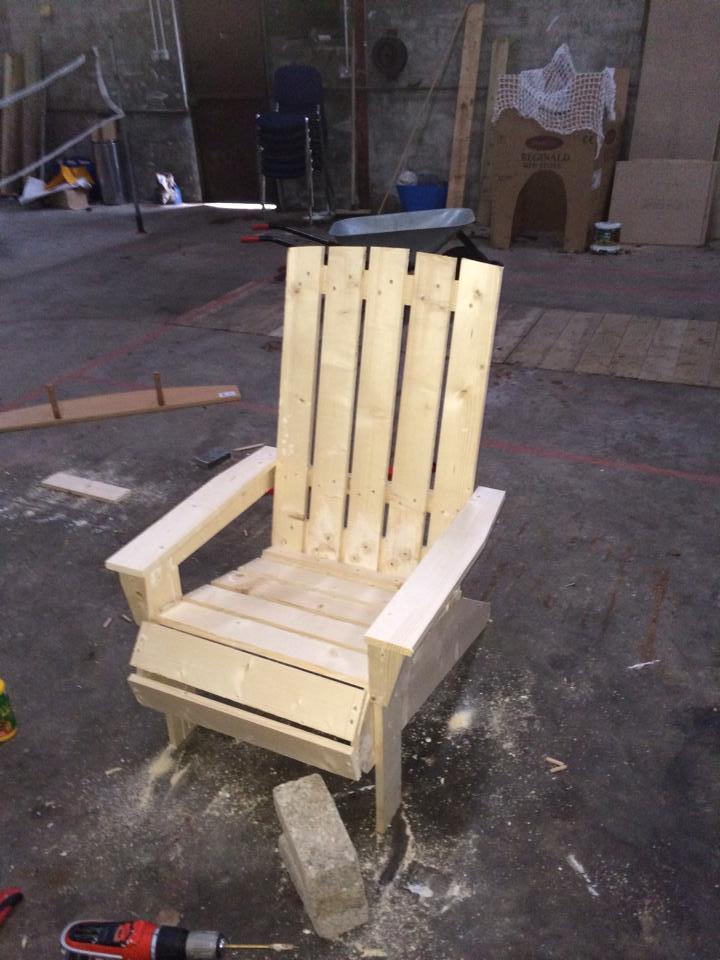
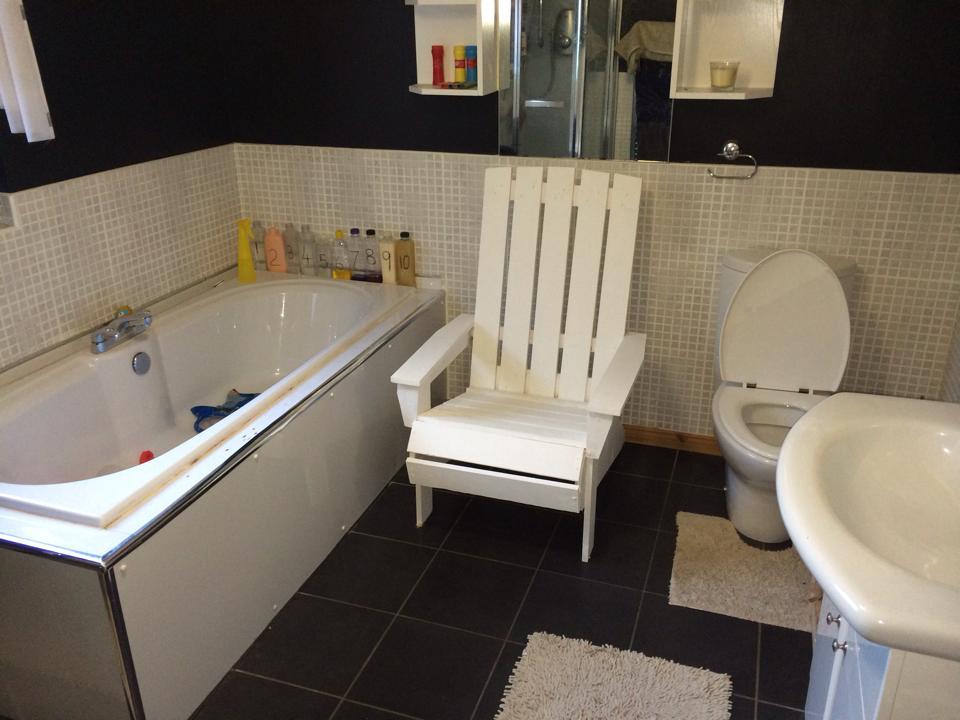
I made this chair for my 3 year old son's Birthday, he loves it. Really easy build.

Estimated Cost
$10-$15
Estimated Time Investment
An Hour or Two (0-2 Hours)
Finish Used
Primed and used Navy Blue spray paint- letters were done with my Cricut machine on vinyl and then placed on chair, spray painted, then peeled off.
Recommended Skill Level
Starter Project

Comments

In reply to by Francoise

Marisol

Wed, 08/17/2011 - 15:03

I love the navy blue and white combination, I am trying to use it more around the house...just waiting for my son to be tired of his toy story theme room to re-do it. :)

Barn Wood Buffet

Submitted by nickdevos on Mon, 09/09/2013 - 13:20

Finished this project using scrap pine for the frame and shelves and old barn wood for the doors/siding/table top. Turned out great, can't wait for other projects to finish.

Estimated Time Investment
Weekend Project (10-20 Hours)
Finish Used
Minwax Special Walnut
Recommended Skill Level
Starter Project

Comments

nickdevos

Tue, 09/10/2013 - 13:23

hello, I really don't have plans for the project but I could send some pictures to you that would show how it was contructed. For the legs, lower shelf box, and table top box I used precut standard board (scrap board from Menards, $1 a piece. and then I glued the doors together and the side skirts, the back I just screwed on from the inside and these parts were all the barn wood.

Small Bathroom Shelf

Submitted by vendo on Mon, 09/26/2022 - 10:05

We had an existing cabinet in our small bathroom, so I build this small "bookshelf" to fit perfectly under it for more storage. Always inspired by Ana, this is just a bookshelf made with 1x8 boards with a 1x2 face frame. Quick, easy and functional, that's how I like it.

Built from Plan(s)

Benchright Farmhouse Table

We really liked the plans for this table, but it was too narrow for our taste. My husband altered the plans so that the table is 36" wide. The solid oak boards on the table top are reclaimed from the old barn out back.

Estimated Cost
$90
Estimated Time Investment
Week Long Project (20 Hours or More)
Finish Used
He raised the wood grain, and applied three coats of Minwax provincial, sanded in between coats, and five coats of polycrylic clear coat to protect it.
Recommended Skill Level
Intermediate

Comments

Guest (not verified)

Thu, 08/25/2011 - 20:20

Thank you Ana for making the plans available and easy to follow. My honey-do list gets longer. You do such great work.

Guest (not verified)

Thu, 08/25/2011 - 20:19

The top is oak from an old barn we have on our property. The stain is named Provincial from Minwax. The rest of the boards are whiteboards from Lowes.

kareylynn

Sun, 12/04/2011 - 07:14

Gorgeous table!!! I love the finish, and I know you must be so proud of your work. I love the pic that shows the bones of your table in progress. It shows the craftsmanship that you put into this piece. Great job!

cassiopeia_816

Tue, 02/14/2012 - 04:55

You have the correct stain on the website, I used 3 coats on the table top to get it darker and let the stain soak in longer before wipping off the extra. On the chairs only 2 coats were applied. What I did was sand in between all the coats, even though the stain directions say its not needed, I just wanted to try and the results I liked. As always try on a spare piece of wood first. I hope this info. helps, thanks for looking and asking.

Guest (not verified)

Wed, 02/22/2012 - 10:30

Great! Thank you for the reply. I am going to start on this project in a few weeks and your input is very valuable. I'll give it a go and let you know how it goes.

Thanks again!

Guest (not verified)

Wed, 03/07/2012 - 19:39

I love the table, but I'm suprised that no one said anything about the chairs. Do you have the plans for the chairs you made? I built the table but would love to have chairs that matched! Thank You

Guest (not verified)

Tue, 03/13/2012 - 14:21

I'm in LOVE with your table!!! Did your husband follow Ana's directions for the legs? They look like they are at a slight angle. Does your husband have the plans for this? Thank you so much!!

Guest (not verified)

Tue, 03/13/2012 - 14:26

Hi, I LOVE your table - it came out so beautiful! Just wondering, did you change the plans other than the with of the top? The legs look like they are at a slight angle and I love that!

cassiopeia_816

Sat, 03/31/2012 - 15:47

I followed Ana's plan to build the legs, they are at a slight angle. The chairs are based on the Modern Angle Chair. They are posted as another project. I did add the three cross supports on the bottom. When I saw my wife sit down and lean back a little bit I could see the back legs moving to much in the wrong direction. I basically used a 1x2, and I tried to measure about the middle or what looked good and screwed them in. It added more strength to the legs and made the chair much sturdier. I hope this info., helps. Sorry it took awhile to reply back.

jsh2001

Thu, 01/31/2013 - 04:40

This table is stunning, great work. Everytime we think we know which type of table we want to build we go and see another that looks even better.

cabin in the woods

This was something I had always wanted to build for my nieces and nephew! it was a blast to build and see it come together. Two people working on this job is best. I loved the look of being able to open the doors top and bottom! I added the awnings above all the windows and doors to prevent as much water going into the playhouse as possible. The roofing was a little overwhelming at first but as we got going it turned out just fine! I wanted to lantern in the front to actually light up but I didn't want to run electricity so I got the lantern and put a motion sensor battery light on the inside and it works great! I also put one on the inside for more lighting there too, along with 3 battery "candle" lanterns. For the inside decoration I went with a wood land theme, put a growth chart on the inside wall to measure their height each year, and even made face masks! This is always and ongoing project for me seeing as how i'm always adding something new. The little ones love coming over and getting mail in the mailbox. Thanks Anna for the playhouse plans! I'm excited to see my nieces and nephews imaginations grow with all the possibilities the playhouse brings!

Estimated Cost
$250-$500
Estimated Time Investment
Week Long Project (20 Hours or More)
Finish Used
exterior paint from menards in "clam chowder" and the brown is exterior paint we had on hand.
Recommended Skill Level
Intermediate

Comments

amelierainfall

Tue, 07/29/2014 - 14:04

So I had a hard time figuring out which house to build for my daughter and your house gave me such inspiration! I cannot wait to make this for my little girls 2nd birthday. She loves play pretend. Thank you for your inspiration!

Porch Bench

Submitted by Anonymous (not verified) on Sat, 01/05/2019 - 06:23

Love the easy to follow plans!!! Make sure you have room when building....this a Big bench.

Rob V.  

Estimated Time Investment
Weekend Project (10-20 Hours)
Finish Used
Stained with Early American, then Chalk paint over. Sanded lightly to have stain show through. I also did the wood transfer for the lettering.
Recommended Skill Level
Intermediate

Comments

trundle Bed

Submitted by TrayScates on Mon, 10/03/2022 - 19:06

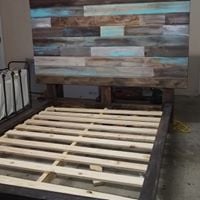
Revised plans to fit smaller mattress, removed side, and simplified head board and footboard.

Built from Plan(s)

Comments

Modified Dresser - Perfect for my little guy

Submitted by Sarah A. on Mon, 08/22/2011 - 17:26

I built this for my son's bedroom, but modified it to fit our needs. It is 42" high, 38" wide, and 18" deep. I did a double thick top, which I love, and my Dad routed it for me. This piece is solid! I am very happy with the result! Sorry for the not so great cell phone pics!

Estimated Cost
$200
Estimated Time Investment
Week Long Project (20 Hours or More)
Finish Used
Vaslpar Primer and paint in Admiral Blue, in eggshell, then wipe on Poly.
Recommended Skill Level
Intermediate

Comments

Camerons_Mom

Tue, 08/30/2011 - 14:54

I absolutely love this dresser!! You did an amazing job. My husband and I are preparing to redo our little boys room and this dresser would be perfect. I especially loved the little shelf on bottom. Very unique looking piece.

My first project - Little Helper Tower!

Submitted by amandapdx on Sun, 09/15/2013 - 14:38

Well, as my first project off of ana-white.com, I decided to make my two little guys the Little Helper Tower. I had seen store versions that cost $200 or more, so was excited to be able to have something that we wouldn't normally be able to buy.

It was supposed to be a Christmas present. It was finally painted and ready to go by mid-March. Which is to say, I couldn't find time to work on it too much, though it also took me much longer to do than what Ana said, which is not unusual for me.

The main problems I faced were 1x2s that I bought wet and that warped by the time I got around to using them; not having an honestly flat surface to work on, not having lots of experience with my jigsaw, so my top arches and bottom curves are not that attractive, and using some leftover red paint that took about 3 layers, plus the primer, to cover well.

In the end, I have a working helping tower with a movable floor that both my kids, now 2 and 4, can use in the kitchen (mainly - we didn't make the folding kind because the hinges were way too expensive!, so it doesn't move around too much) and it has helped my little guys help me on endless baking projects. My 2-year-old still can't get out of it himself, but my 4-year-old swings on it like a monkey. Thanks, Ana, for all your inspiration! I have a list a mile long of projects I want to tackle. Hopefully I'll get to one soon!

Built from Plan(s)
Estimated Cost
$35 and leftover paint
Estimated Time Investment
Weekend Project (10-20 Hours)
Finish Used
Primer and paint left over from other projects.
Recommended Skill Level
Starter Project

DIY Record Display Shelf

I recently started collecting vinyl records and wanted to show some of them off but also have them readily available to play.  I saw some options online but decided to make some shelves myself.  No judging my music!  :)


More details and instructions on my blog:

http://www.woodworkingfourdummies.com/blog/diy-record-display-shelf

Estimated Cost
$20
Estimated Time Investment
Afternoon Project (3-6 Hours)
Finish Used
I used the MinWax Ebony stain and finished it with polyurethane
Recommended Skill Level
Starter Project

Corner Cupboard

Submitted by Anonymous (not verified) on Tue, 01/08/2019 - 15:11

Made this corner cupboard in an afternoon. It was easier than expected especially with the sliding compound miter saw, and the kreg jig haha!

Built from Plan(s)
Estimated Cost
$130
Estimated Time Investment
Day Project (6-9 Hours)
Finish Used
Varathane vintage aqua wood stain for the shelves, Behr "power grey" for the colors. I used weathered grey plank MDF paneling from Home Depot for the backing and doors.
Recommended Skill Level
Beginner

Custom made easy. Thank you!

Submitted by Anonymous (not verified) on Mon, 10/17/2022 - 12:59

Wanted something that could accommodate two foot stools so I made a couple of changes to the bottom construction and added casters. My version is a bit rough and ready (first time building a piece of furniture) but your plan was easy to follow and it's perfect for our space. Thank you for making these plans available and your comprehensive videos! My husband wants to know when I'm starting my next project.

Comments

Custom Farmhouse Bench

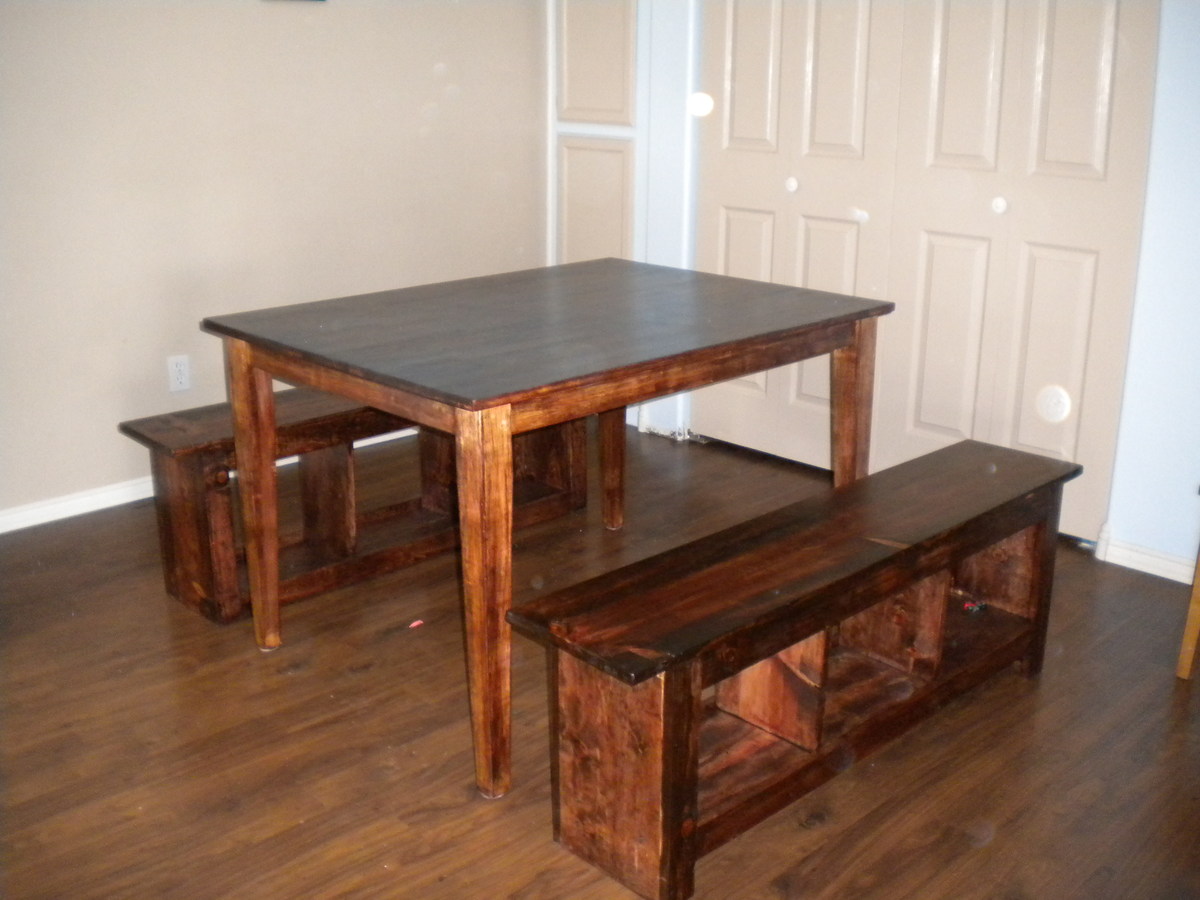
After building a custom sized farmhouse table by combining and tweaking the two plans here, we knew we wanted another piece of dining furniture as substantial as the table and in the same style. The farmhouse bench was the logical choice!

After calculating our desired height and length (our table is taller, but not a long as Ana's) we jumped right into building. Other than waiting for the glue to set and the stain to dry the building itself took less than two hours.

Before we stained the table we distressed the wood by tossing a bag of screws, nails & miscellaneous cabinet hardware against the bench top, followed by random scatterings of hammer blows and a few fuax-nail punch holes to make it seem more time-worn and aged (we used the same process on our table before finishing it). The key was to not go over-board and keep it random to make it seem as if the marks had been acquired over many years.

We love how both pieces turned out, from the cost to the look to the peace of mind knowing that it won't break our hearts to see the furniture get a little scratched or banged here & there as well as the substance given by having a solid wood dining set. This is one bench that won't flip over willy nilly. :)

Estimated Cost
$60
Estimated Time Investment
Day Project (6-9 Hours)
Finish Used
Miniwax 'Special Walnut' stain.
Recommended Skill Level
Beginner

Comments

Mar_co (not verified)

Wed, 05/02/2012 - 15:39

Beautiful!
I am debating on using spruce or pine. how was your exeprience with spruce? did it split any?

In reply to by Mar_co (not verified)

AdventuresInBu…

Thu, 05/03/2012 - 05:54

We haven't had any issues with the spruce splitting thus far, but we did pre-drill every screw and nail used as well as check the wood piece by piece at the lumber yard to look for deviances, warping, cracks and excessive knots (rule of thumb: the more knots in the wood, the more likely it will crack or split over time).

Another thing we do to condition the wood (even though it has been stained and poly'd) is to give it a good buff with [wood] oil every 6months or so; we're under the impression that this helps maintain the natural humidity of the wood.

Pine would likely have a better longevity and would probably be less apt to dry as quickly as spruce, but it depends on your price points too.

The greatest thing about the design of this bench is that any board can be replaced at any time (with a little elbow grease), including the legs--though the benchtop itself gets the most abuse. We're not gentle with our bench and so far the only 'damage' is a small chip on one corner from tools being dropped on it.

Hope that helps, happy building!