Community Brag Posts
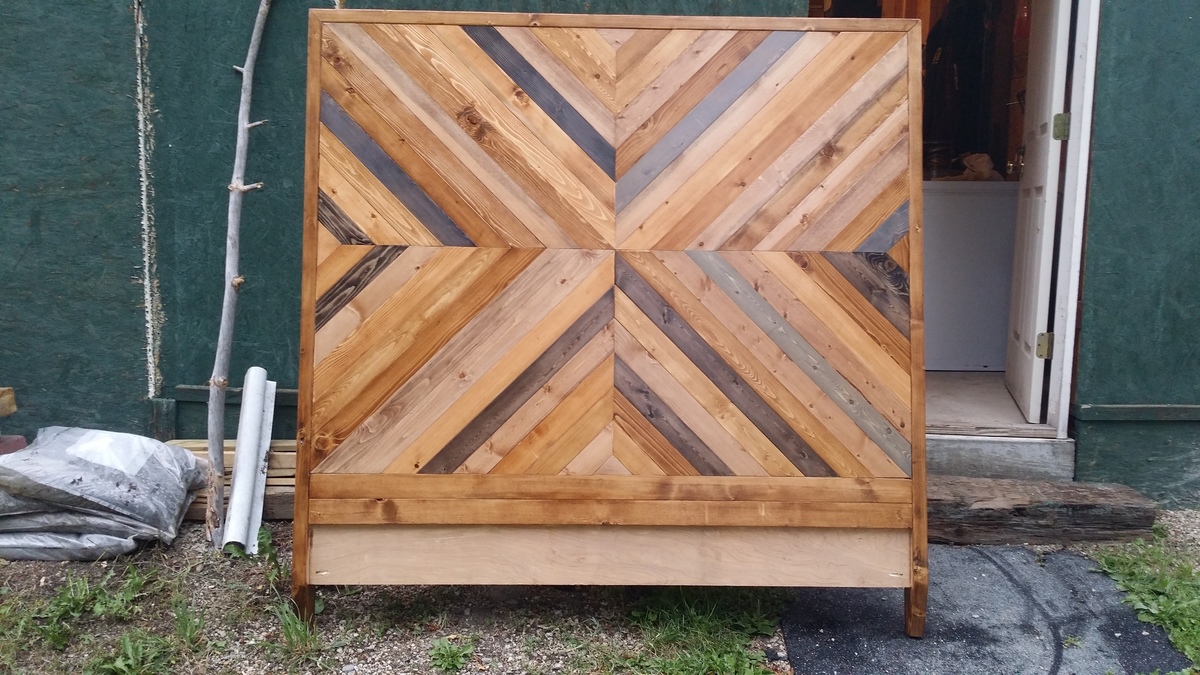
West Elm Knockof Chevron Queen Bed
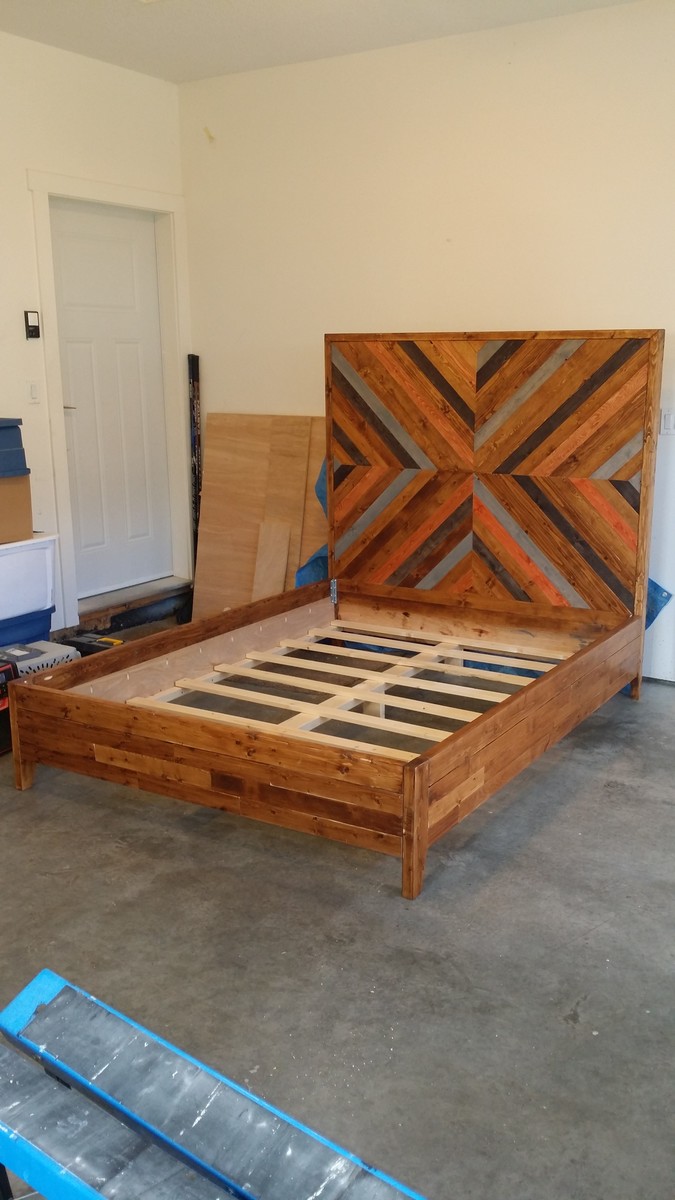
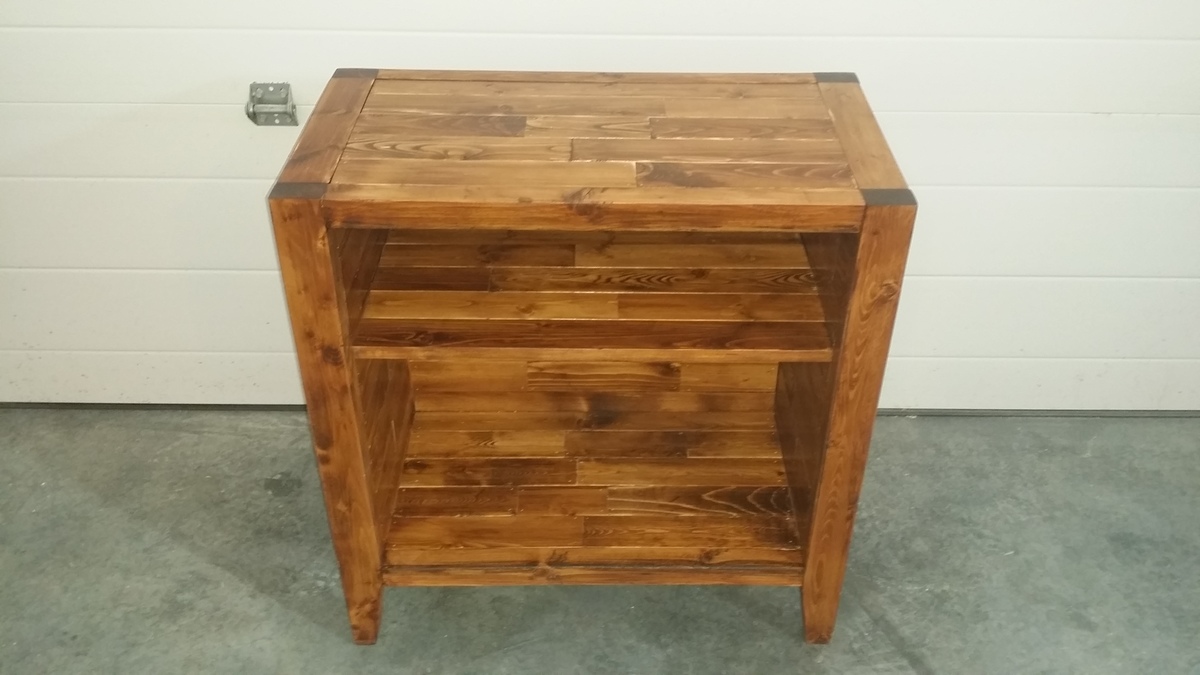
I pretty much just followed the plans. It turned out a bit more colourful that I expected but I've already sold it so I guess its okay. I'm going to make another one with a bit more toned down colours. I also created a matching night stand. I didn't follow any plan. Just used the ideas from the bed build.
Farmhouse Queen Bed
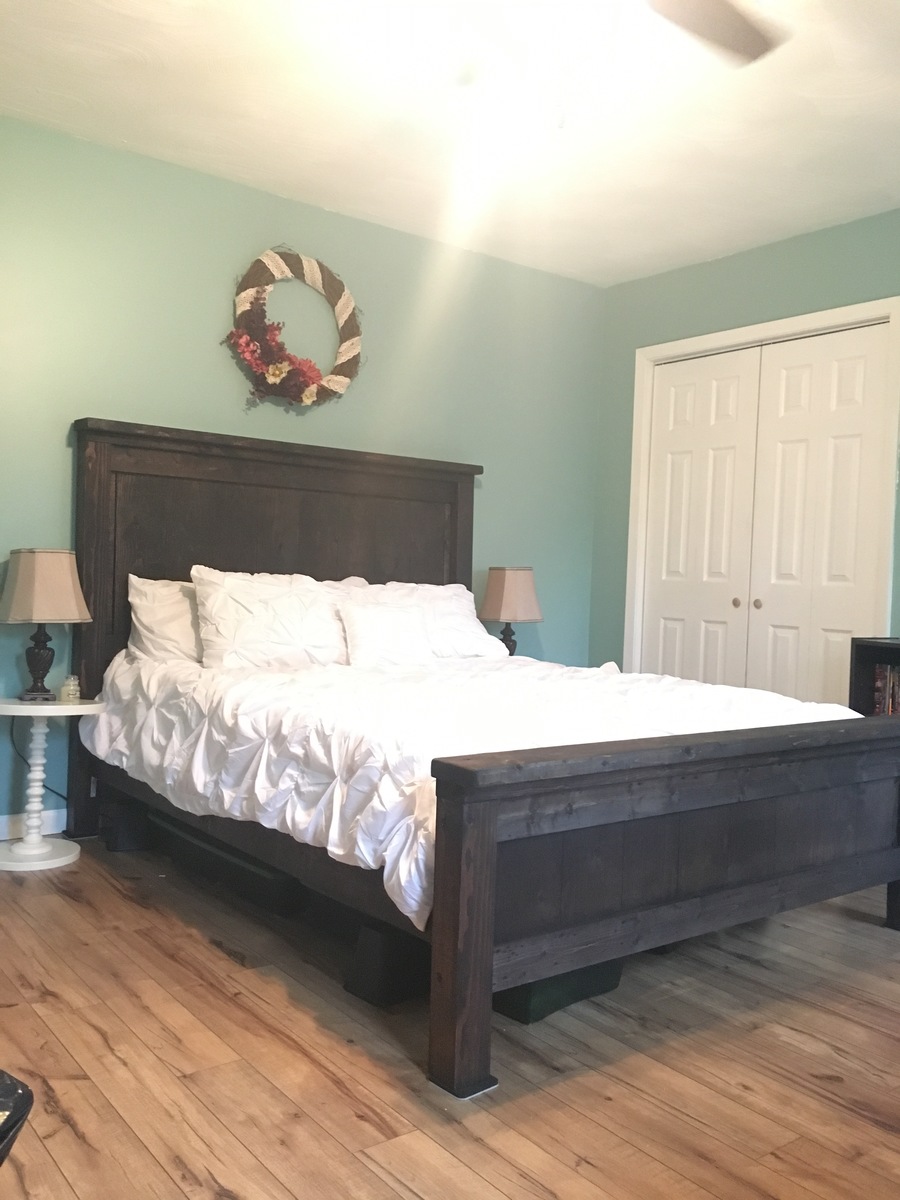
Farmhouse bed. Makes a pretty universal styled bed
Simple Farm Table
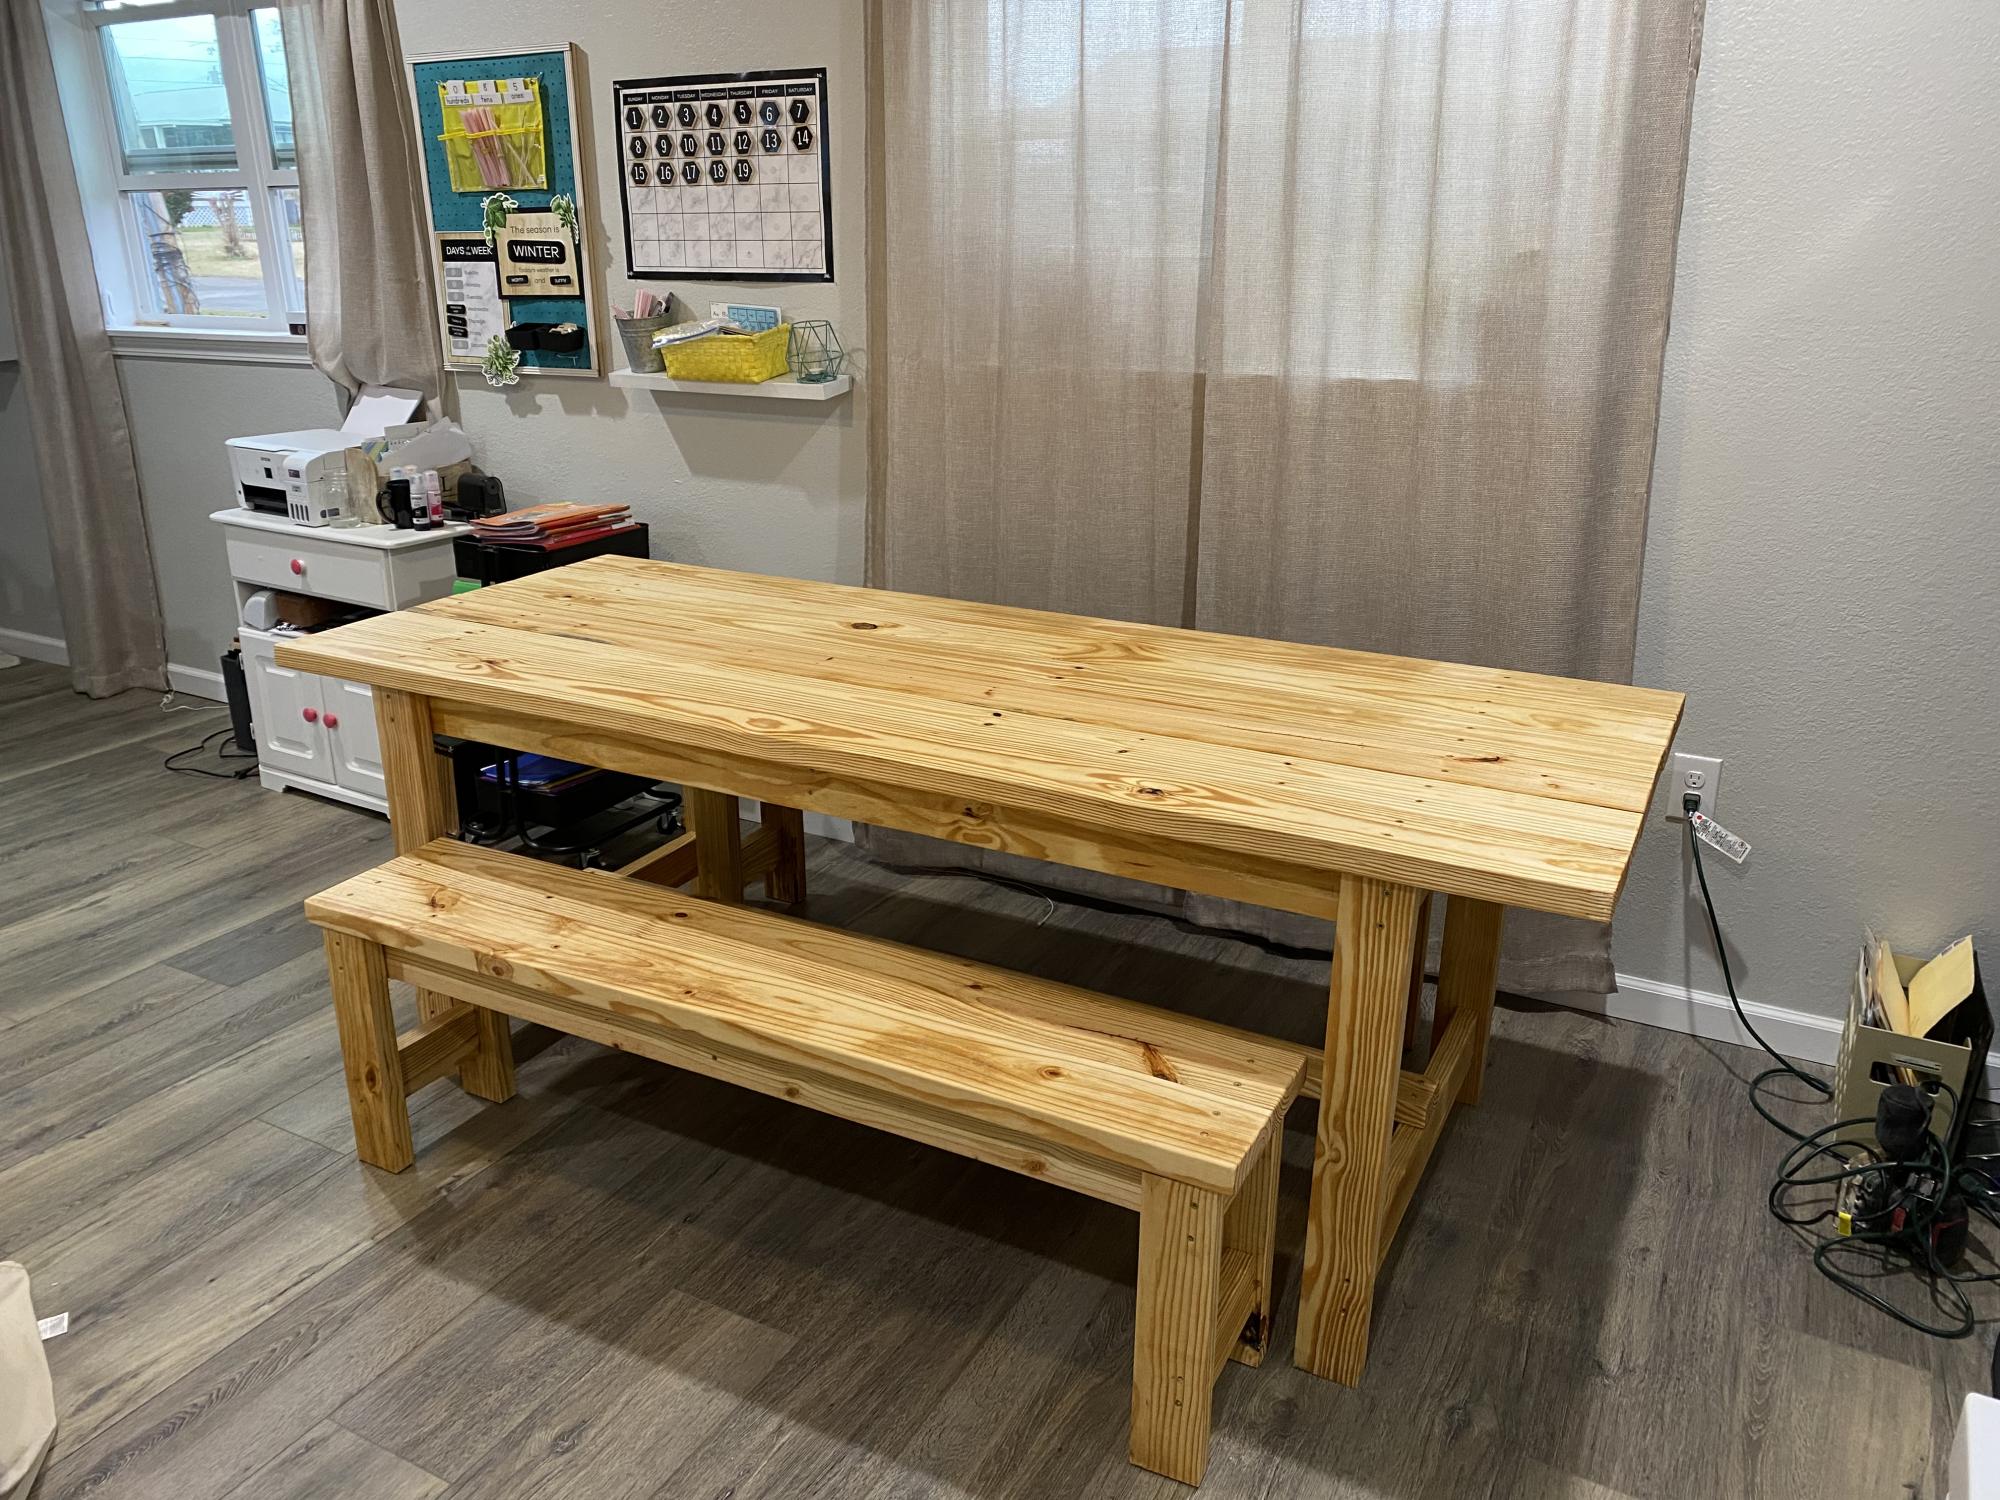
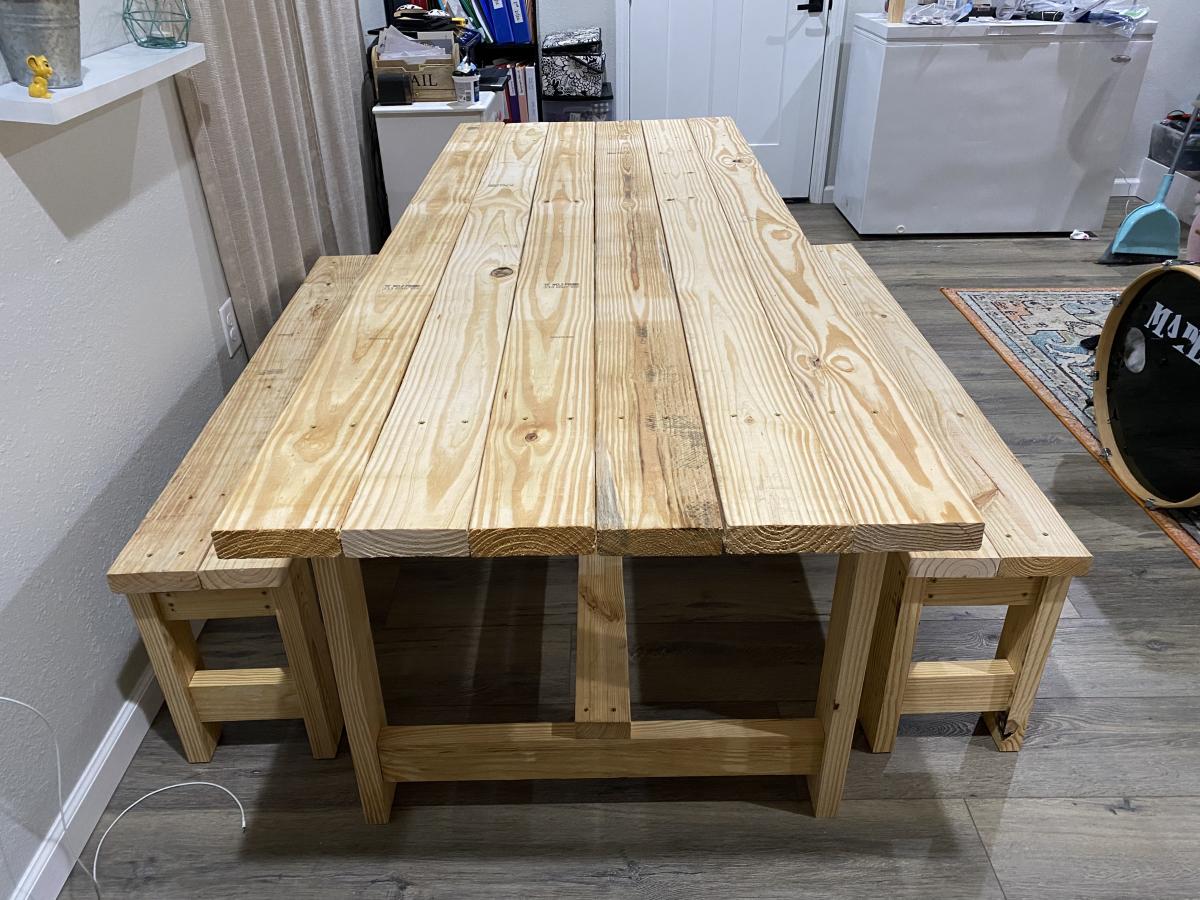
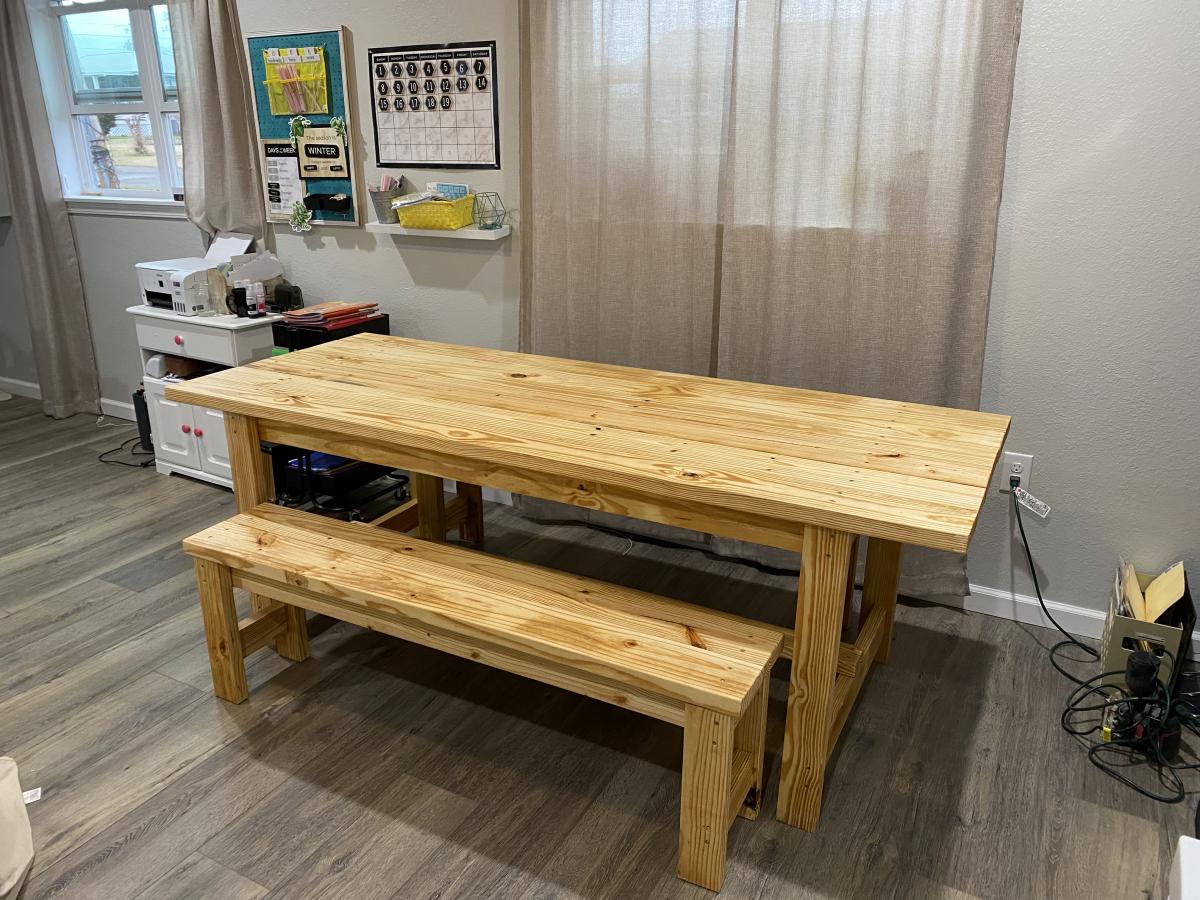
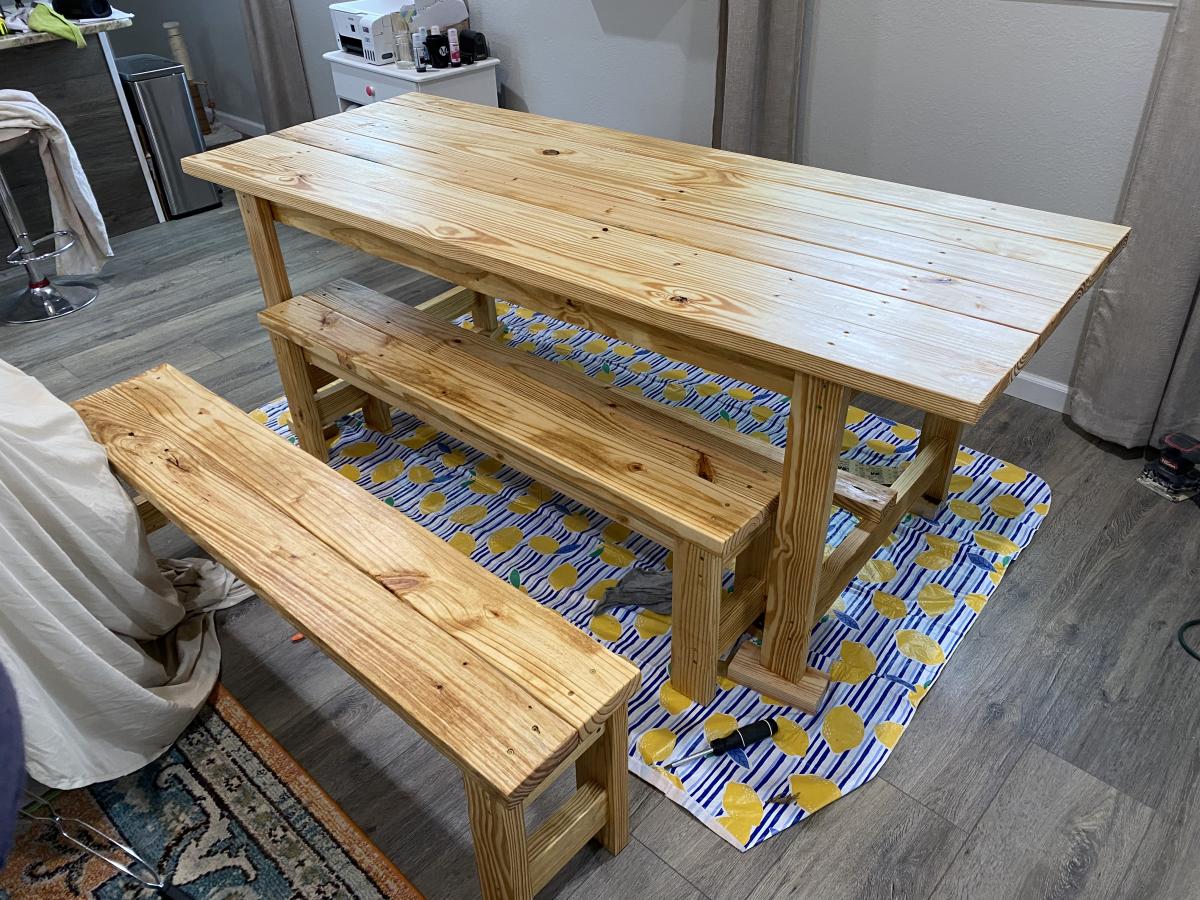
My mom and o completed this weekend project together! It was so fun to complete! The table is customized to 7ft and the benches made smaller than the original plans so they slide under the table when we’re not using it. We made it for our homeschool room. The kids are excited for this space already and we all have the room we need to get our work done! Under $200 start to finish! I used a prestain to prep the wood and then stained with watco danish oil in a natural finish.
Comments
Tower
My son loves his tower! We didn't attempt the curved sides, but made it work by adding a door with a toy steering wheel instead :)
Comments
Fri, 10/07/2011 - 06:24
So Cute! I wish my guys were
So Cute! I wish my guys were this little again - enjoy him!
Fri, 10/14/2011 - 19:16
I think the added steering
I think the added steering wheel is a great idea!
Wed, 12/05/2012 - 18:58
I love the paint and steering
I love the paint and steering wheel! I'm making this now and, first time using a jigsaw, my arches look awful! I think I'll just go with them but this was a good innovation.
Sun, 02/10/2013 - 17:57
Dropping the arches was a good idea
We're actually going to drop the arches so ours will fit underneath our counter when not in use. :)
Toddler Closet Cubby
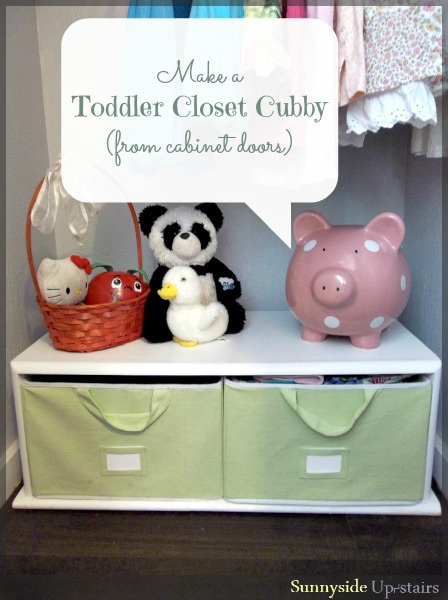
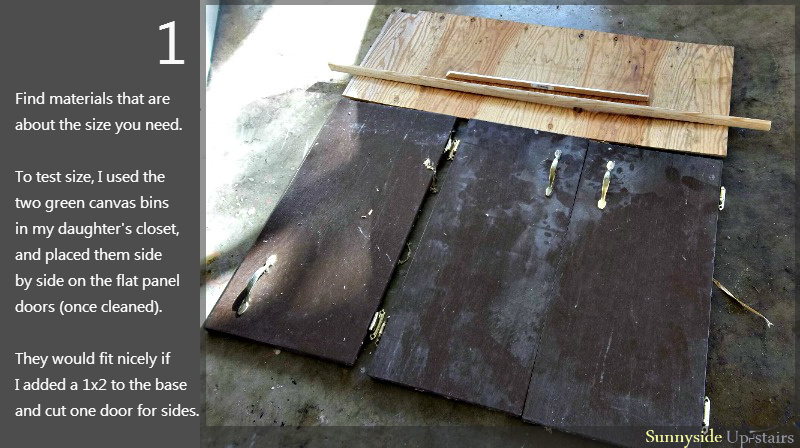
Solid wood is an amazing material because it can be cut, re-shaped, extended, filled, sanded, stained, painted, and essentially re-used almost endlessly.
Last week, I took old cabinet doors (from when we gutted the mouse-hole kitchen cabinets that used to be in our apartment before we moved in) and turn them into a free cubby for my daughter's closet. :)

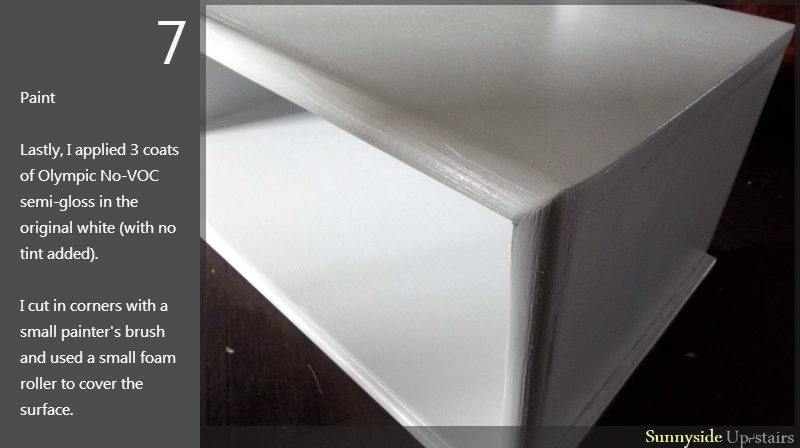
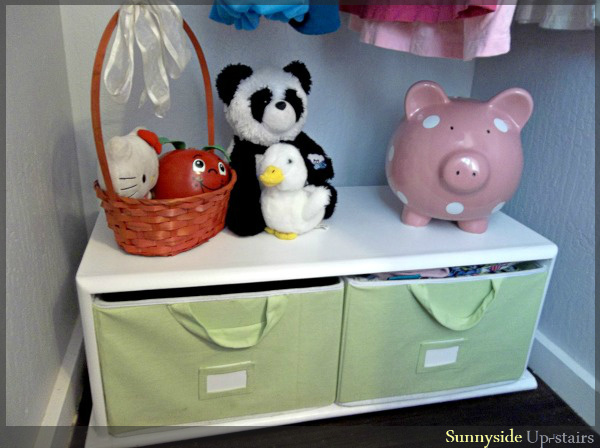
Small paint brush for cut-ins, foam roller for surface coverage. Allow recommended dry time between re-coats.
Comments
Mon, 10/07/2013 - 19:43
Great project!
Beautiful Cubby from old doors! The trim adds elegance with the white color and it fits perfectly. Looks adorable! :)
In reply to Great project! by JoanneS
Tue, 10/08/2013 - 19:30
Mahalo, Joanne! :) I'm
Mahalo, Joanne! :) I'm looking forward to your great builds coming up! =D
Connor's Table
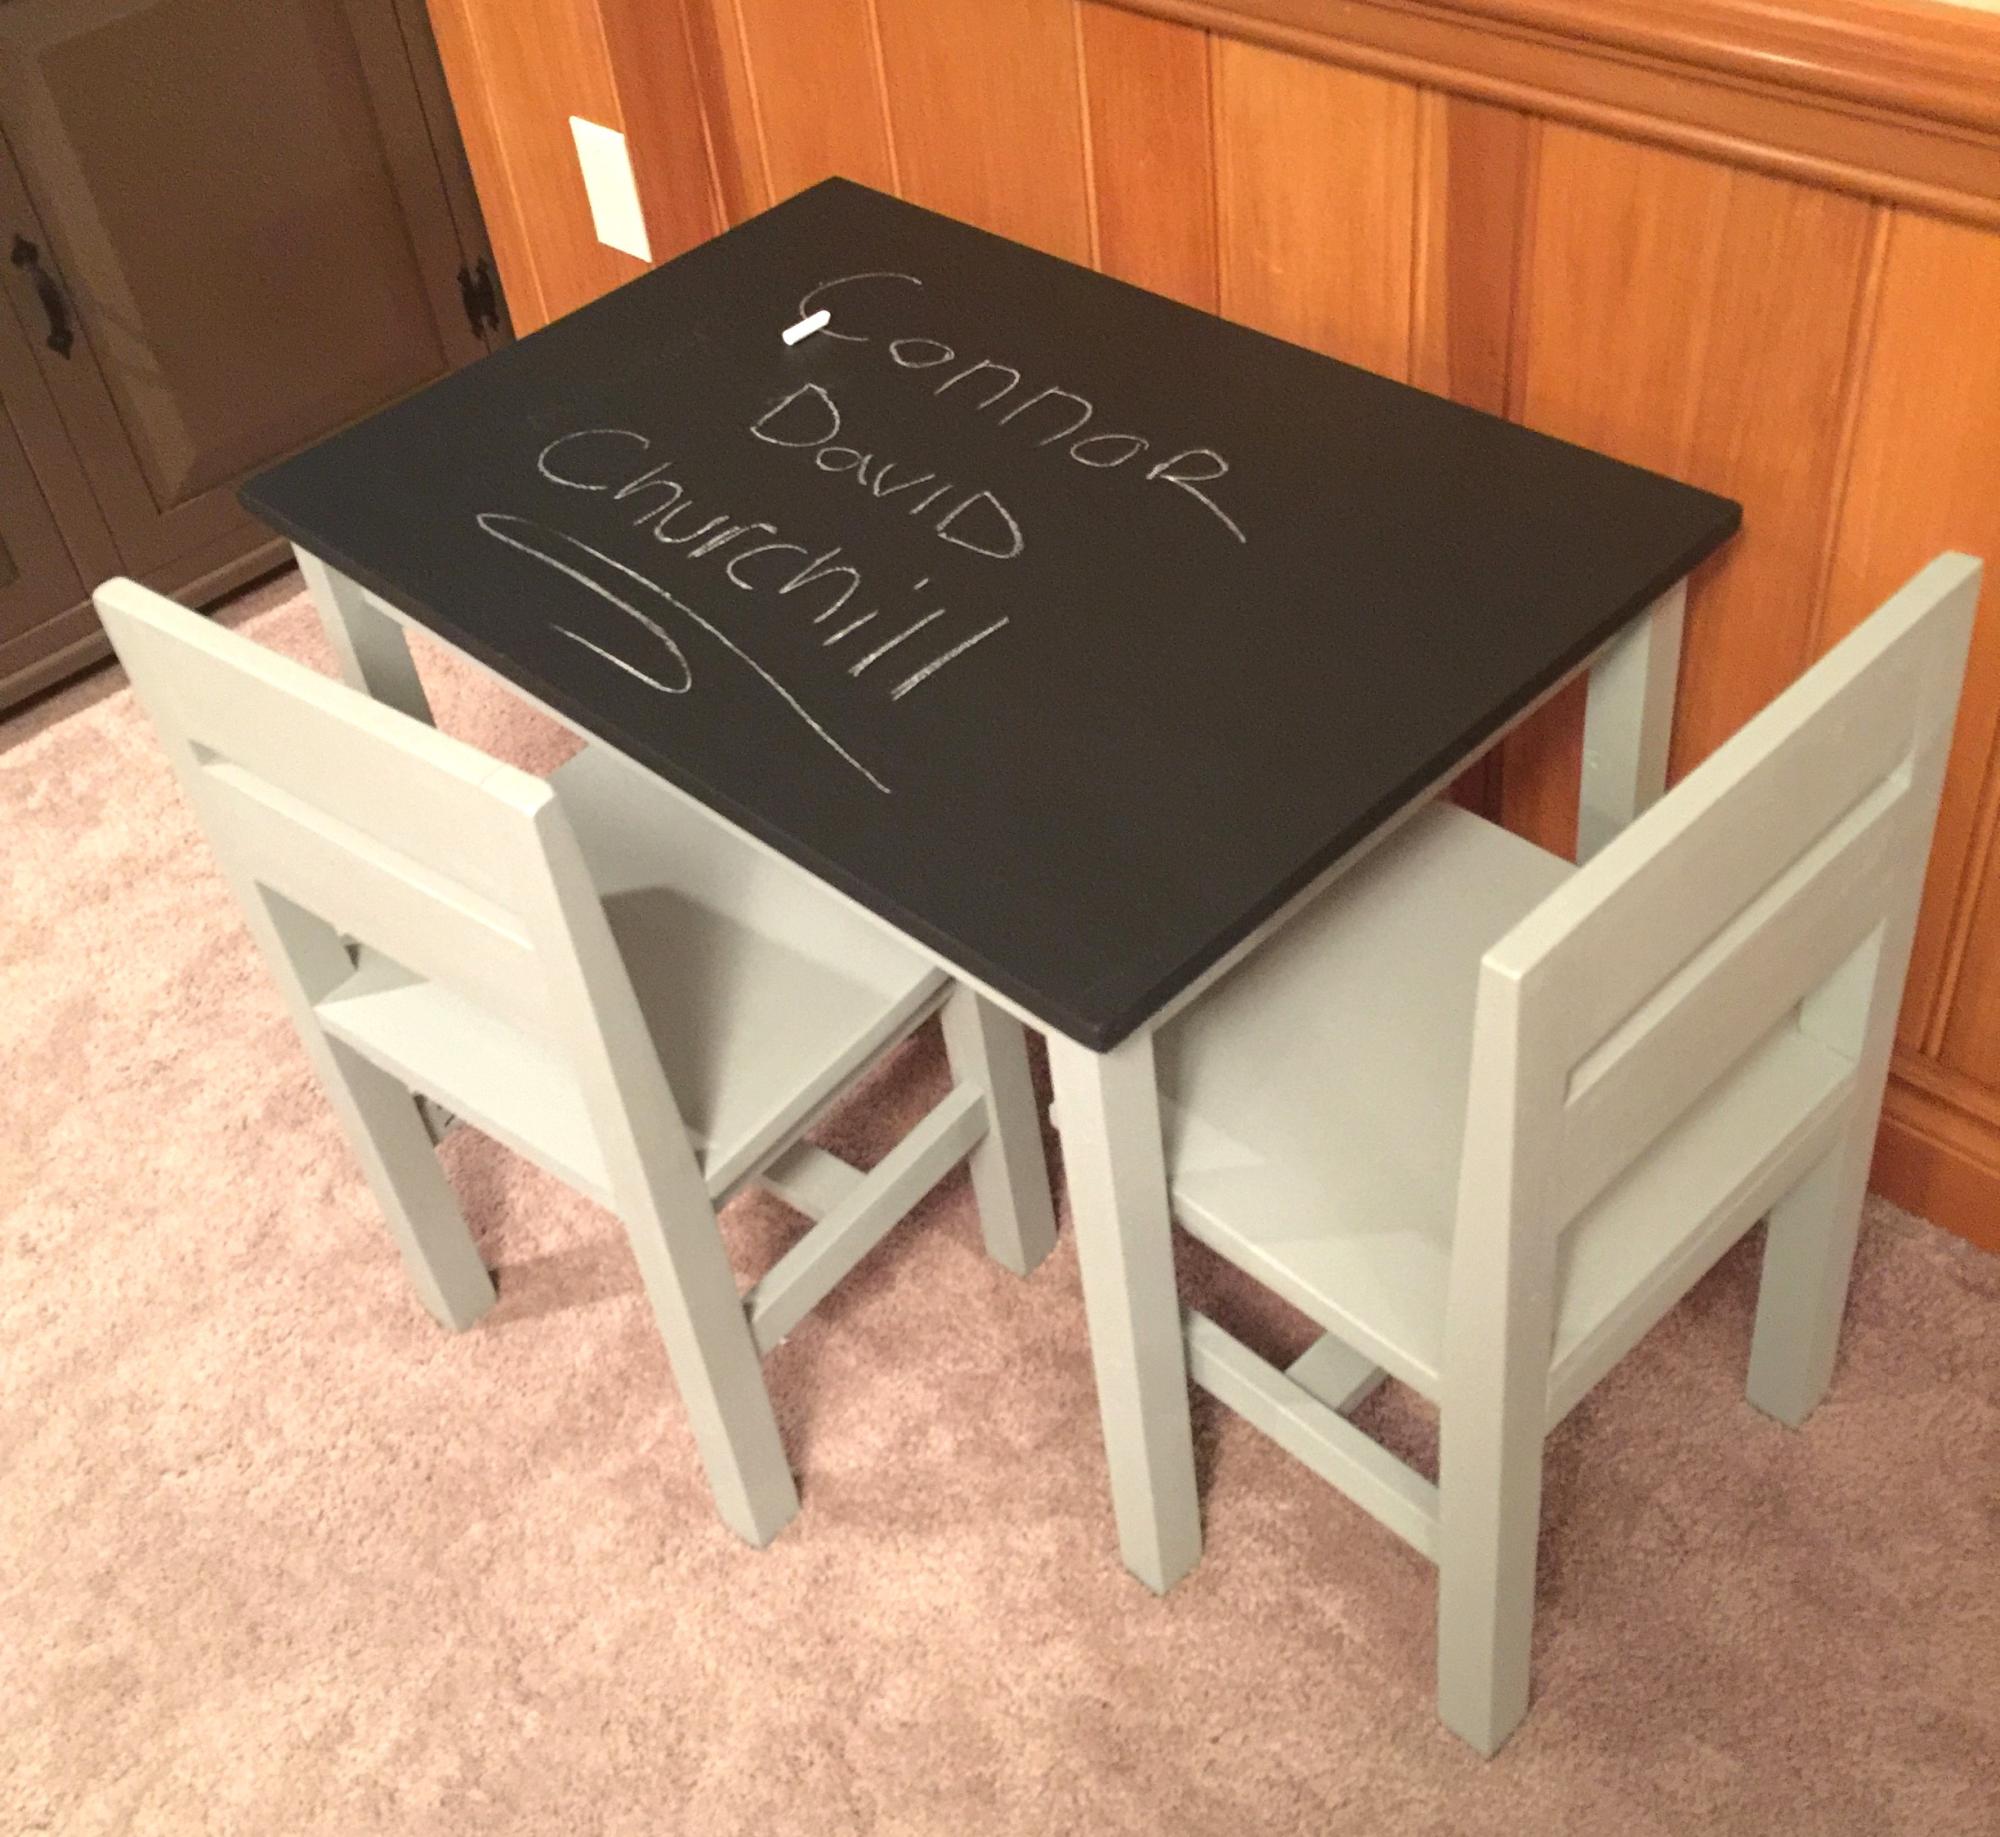
Clara table with chalkboard top.
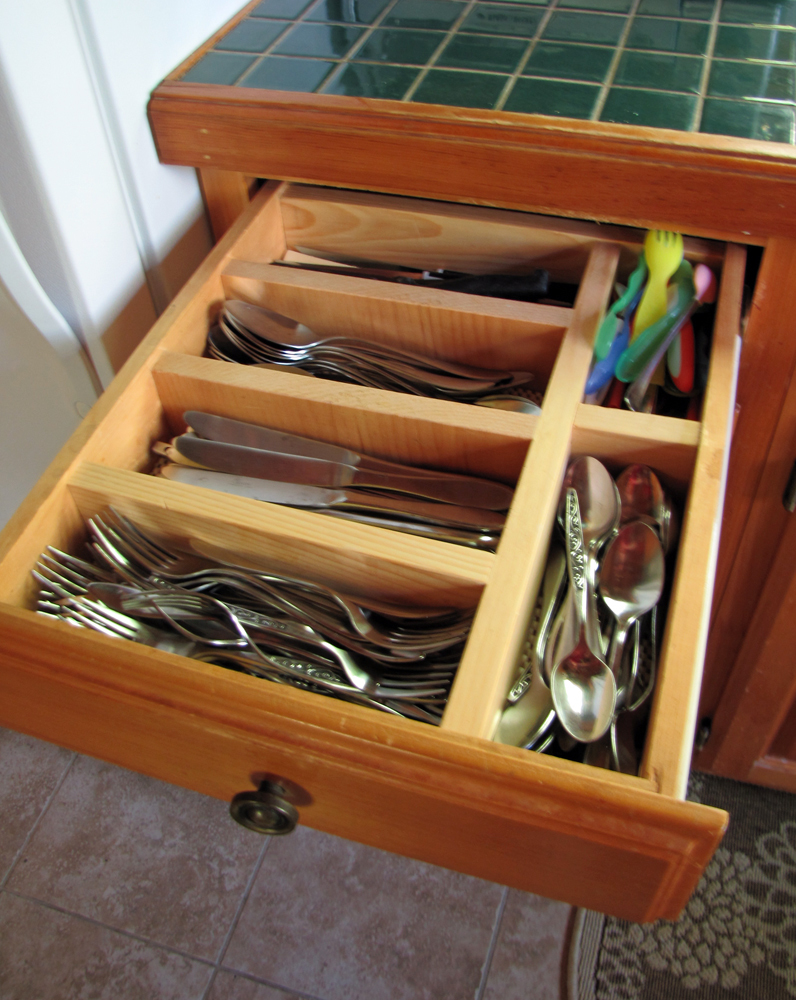
So easy, so quick, so awesome drawer organizers

Had some scraps hanging around and thought I would try using Ana's plan to organize the mess. Wow. What a difference. So nice to build something to fit your space rather than working around a preformed, plastic or metal utensil holder. Thank you Ana!
Comments
Hannah Canopy Bed
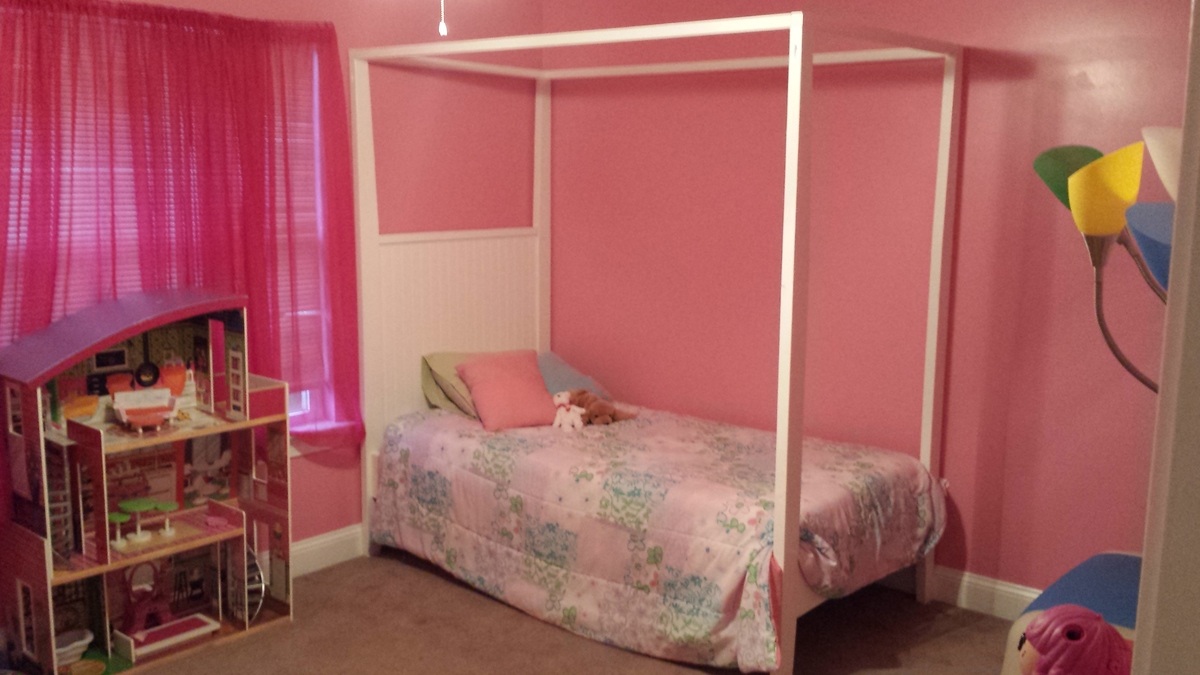
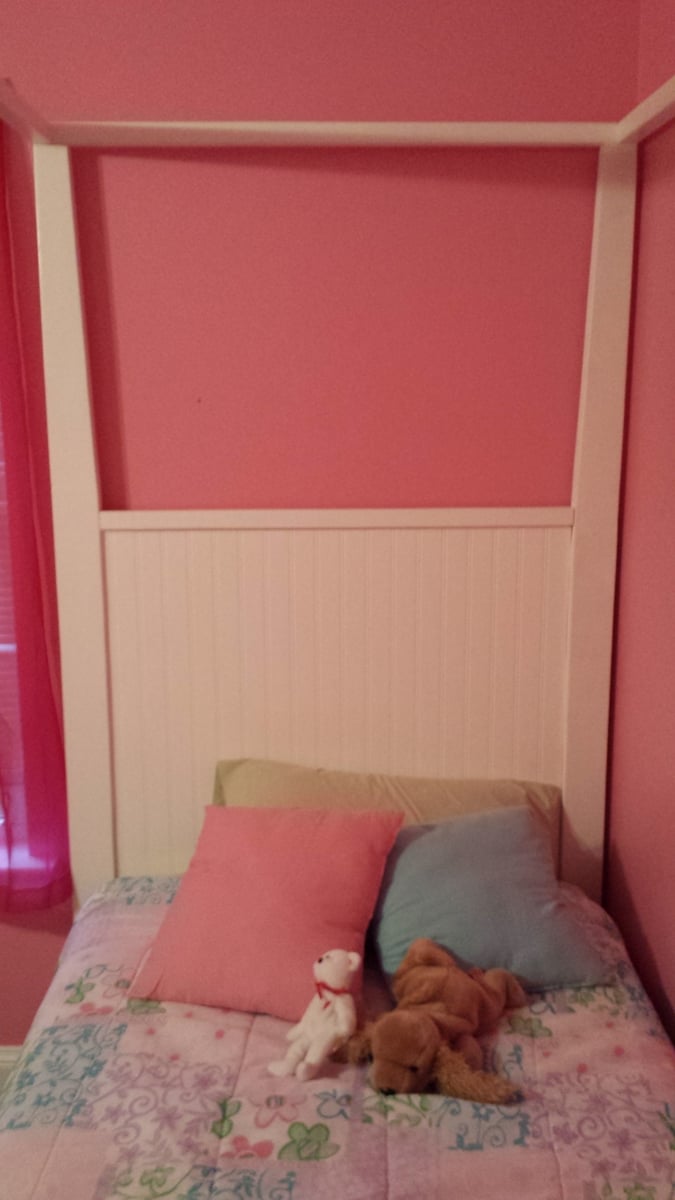
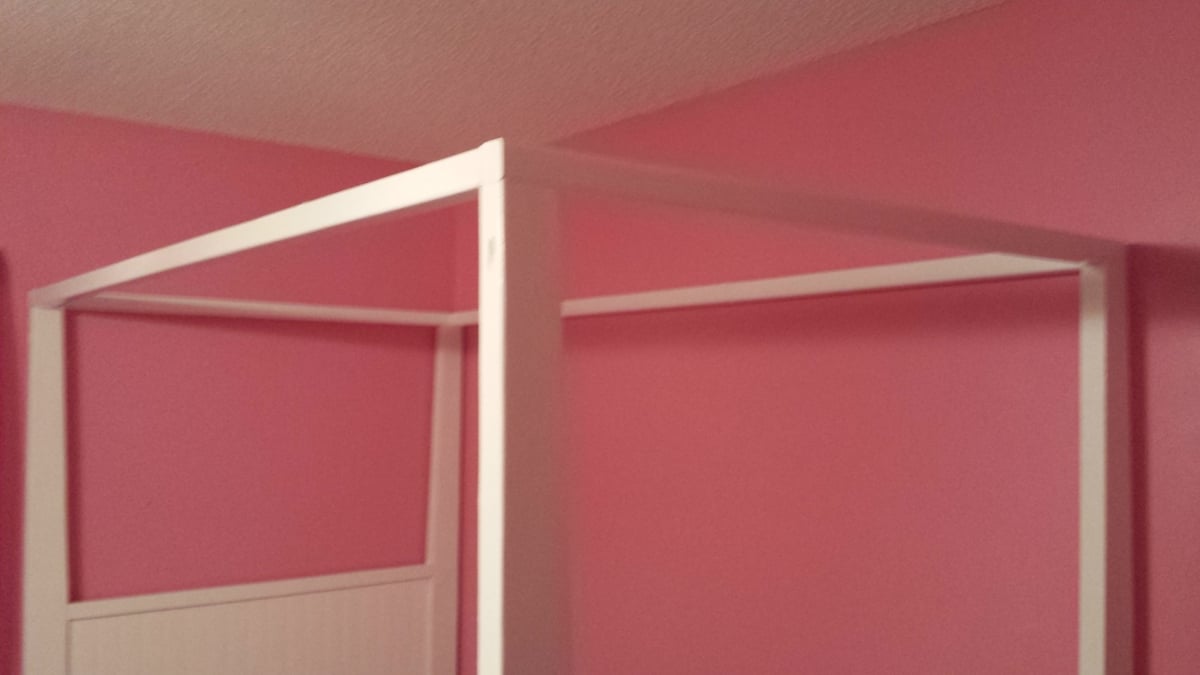
Utilizing the Hannah Canopy Bed plans, I made 2 changes that I am really glad I made. First, I added bead board to the headboard to give it a little style instead of the flat plywood. Second, I used 2x4's on all 4 corners because I could not find any 2x3's that were anywhere close to being straight. Overall I love the final project! It was nice, simple, and quick to get it all put together!
Play Kitchen
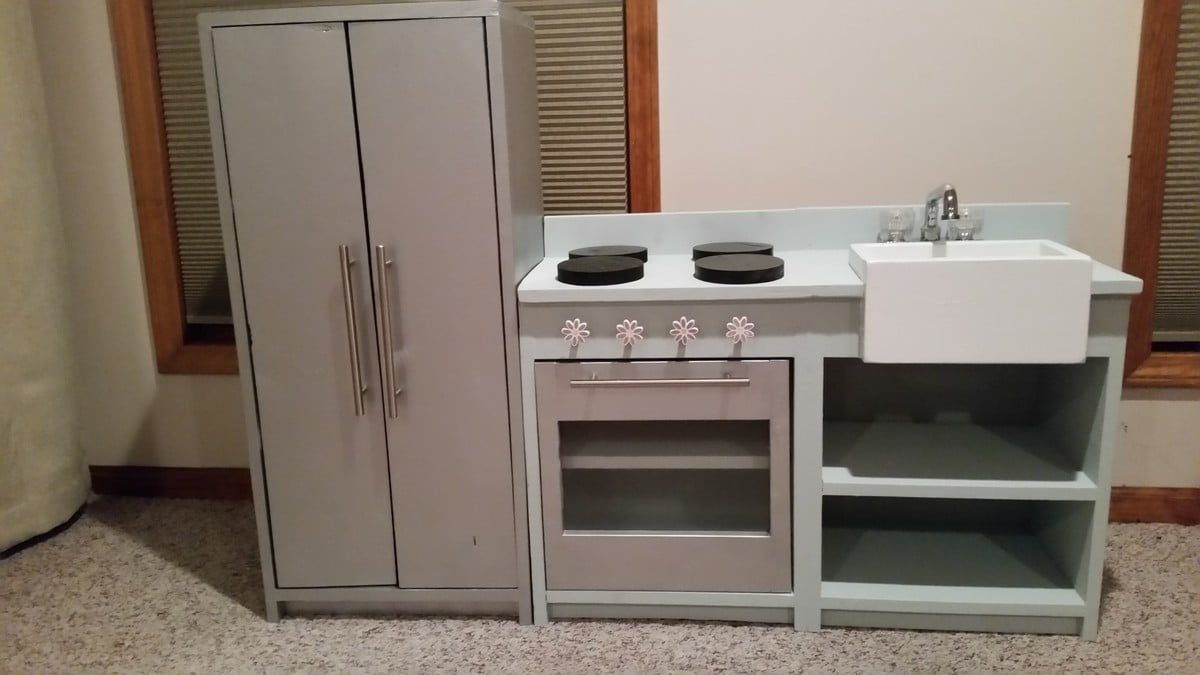
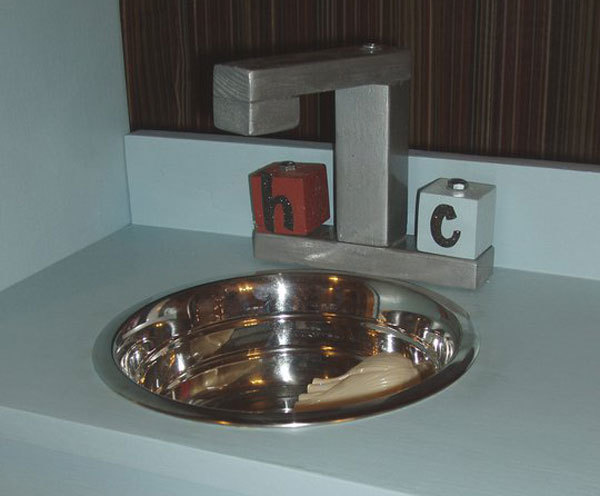
This project went pretty smooth. I built the sink box out of 1x6 and 1x8. Total cost (if I got the right stuff the first time) would have been about $120. Most of that is in the faucet (a $25 laundry faucet from Home Depot), pulls (about $4.50 each), knobs ($3 each), and hinges. I also purchased the wooden discs for the stove at Michael's for about $1 each. I used common pine and sanded it smooth before painting, which saved a lot of money over the more polished pine products. I used stainless steel spray paint for the fridge and stove door, and leftover paint for the rest of the sink and stove. I glued all joints and used my finish nailer rather than a Kreg Jig. I had a hard time finding hinges that will work, so keep that in mind. I ended up buying some of the European hinges that were surface mounted on the inside, and they work well. One suggestion - if you're planning on mounting these next to each other remember not to allow any overhang on the countertop. The plans call for a slight overhang, and I had to do some messy cuts after I had the cabinets assembled to correct that. I ended up attaching the cabinets together for added stability. Overall this was a surprisingly simple project. I'm considering building another cabinet like the sink/stove without any doors just for some countertop space and additional storage.
Faux fireplace with hidden storage
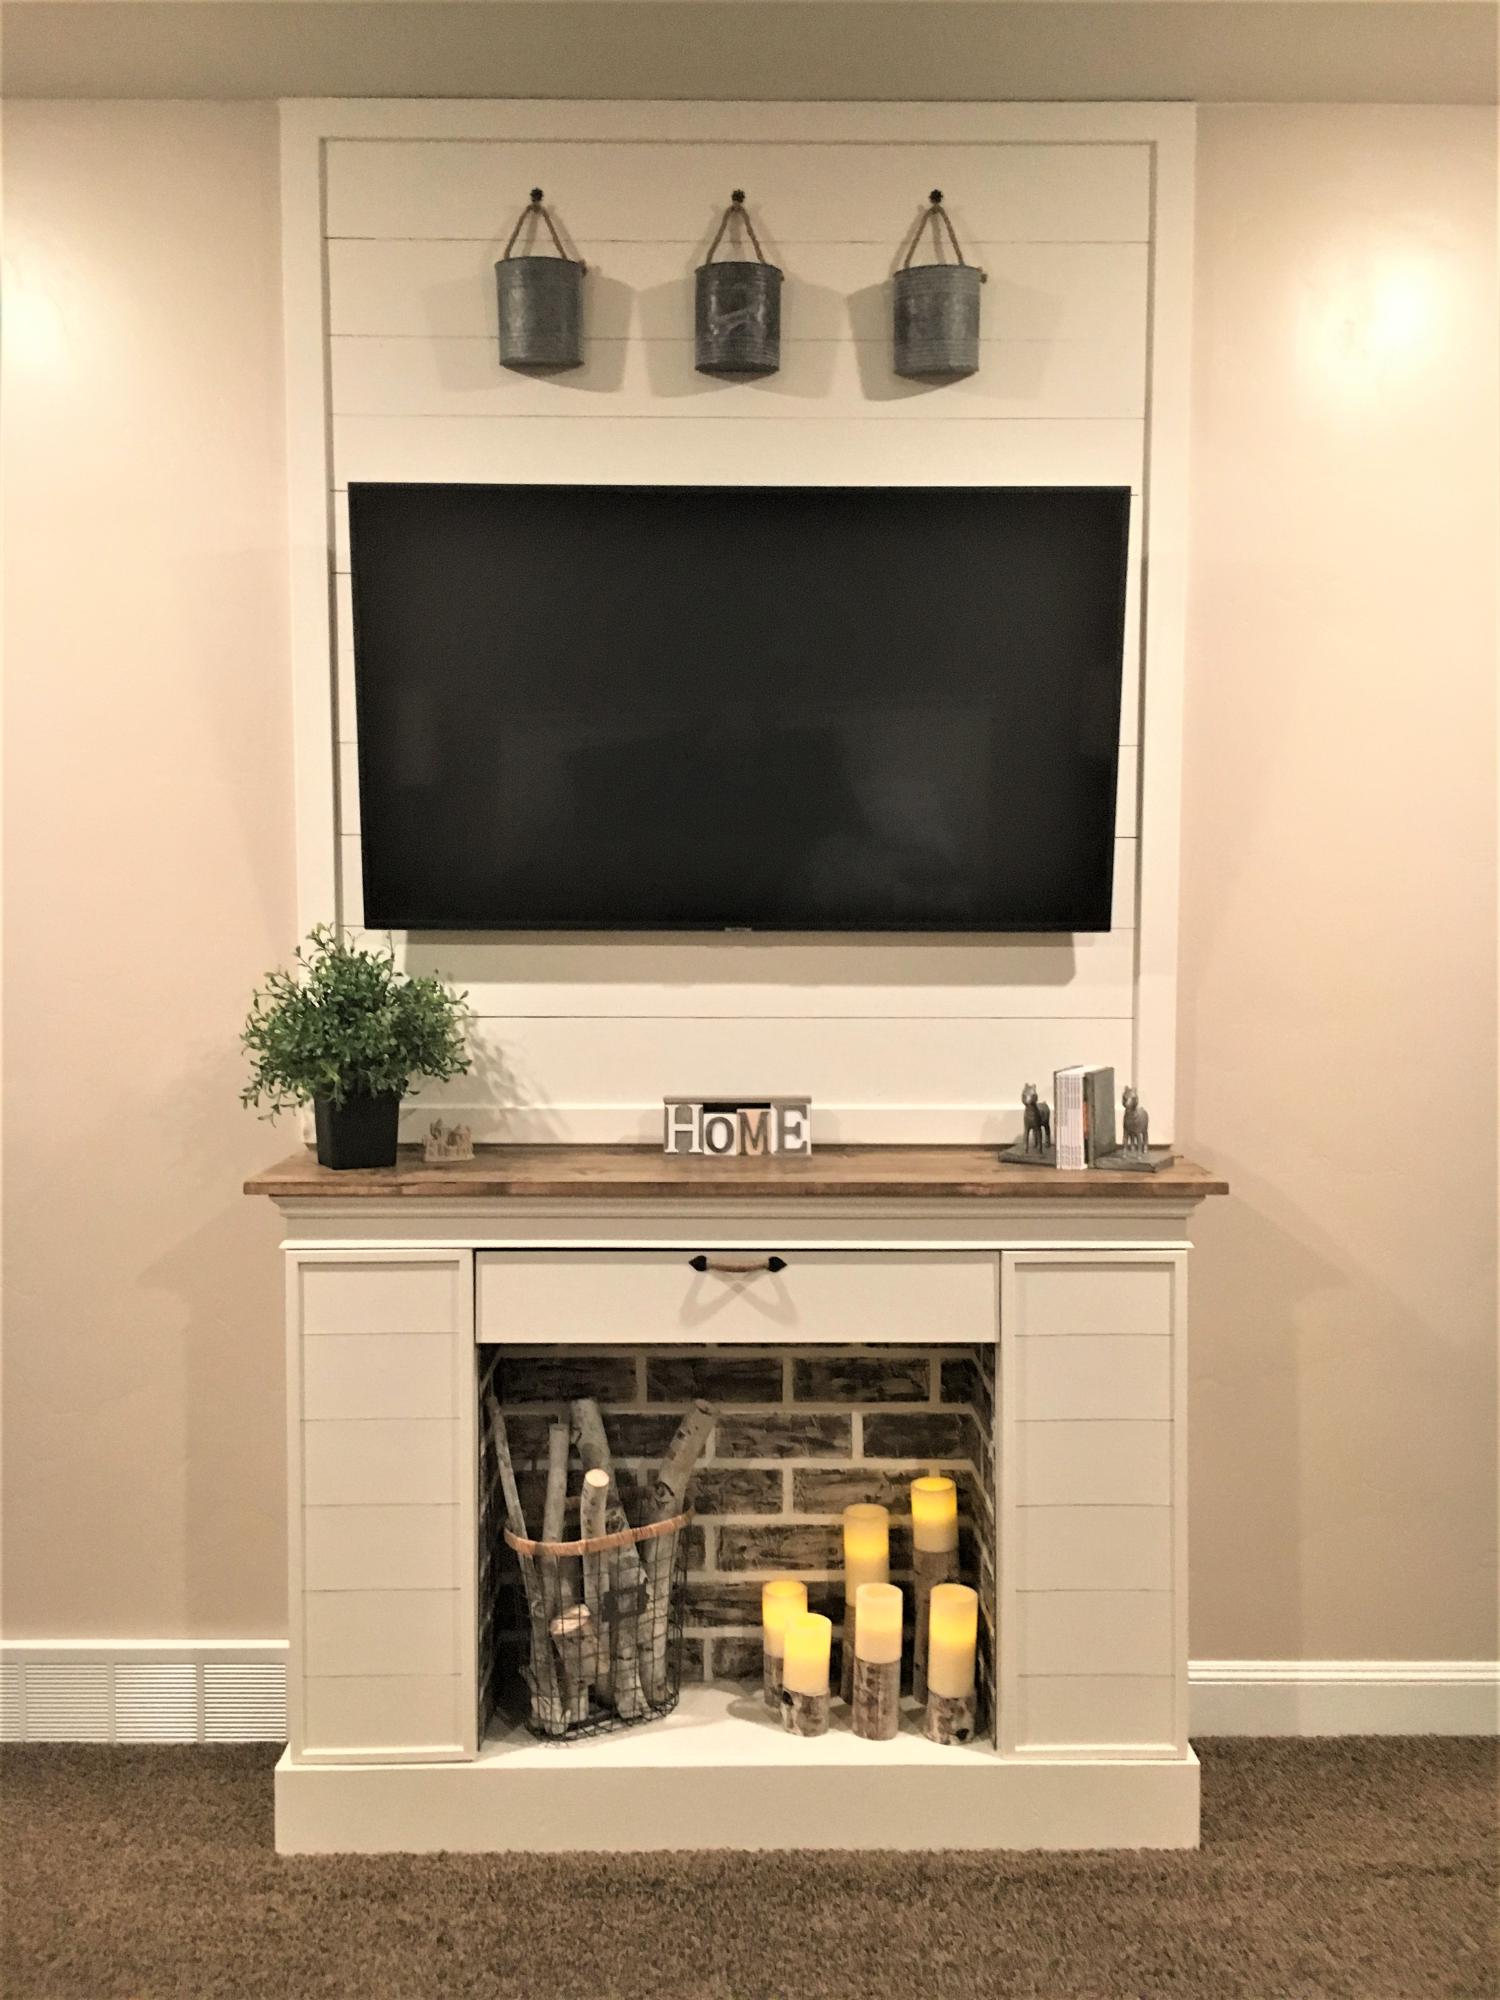
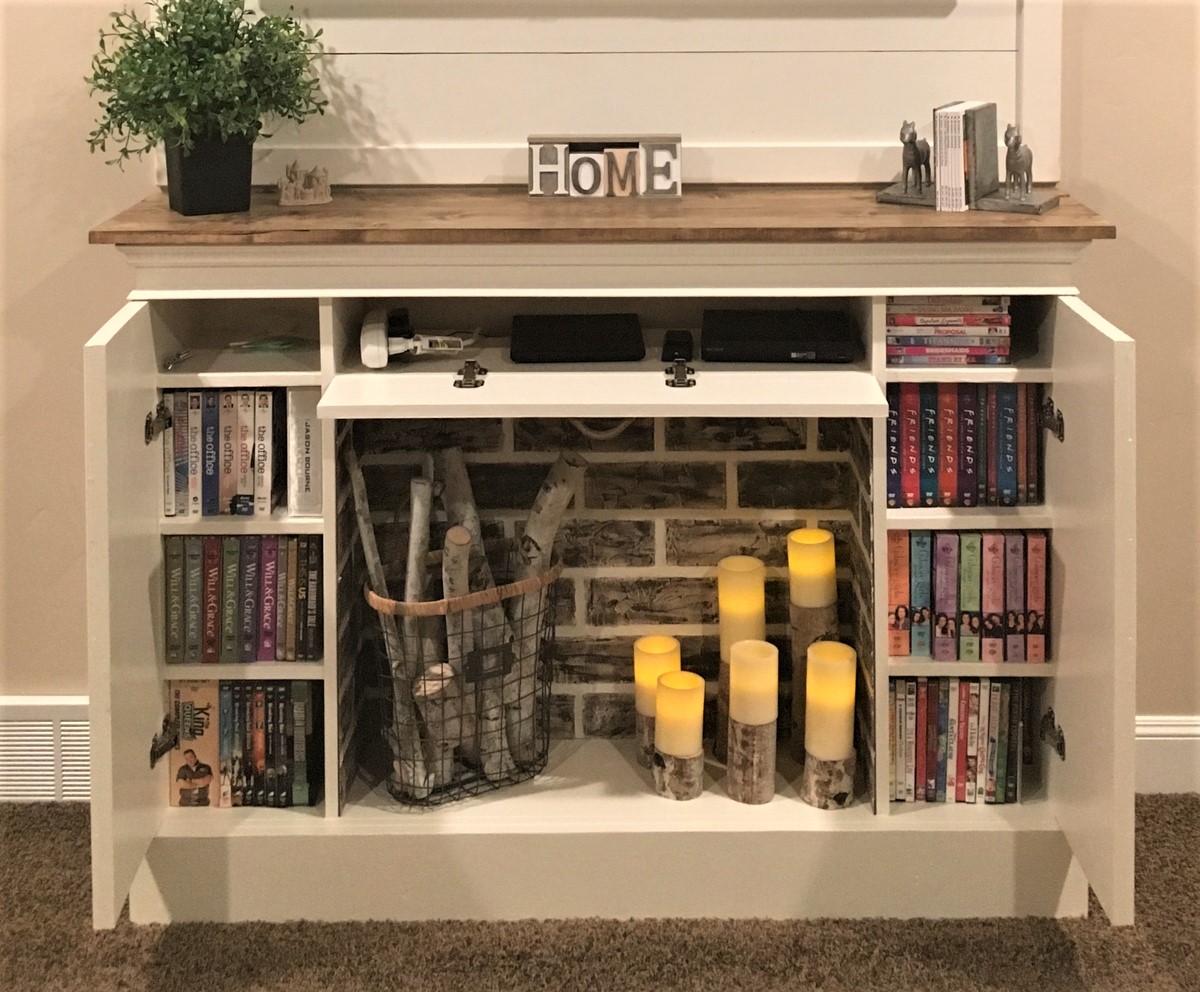
I slightly modified my build. I kept the same dimensions as the plans, but made the top shelf 7” from the top to allow for a bigger firebox. I added faux brick made from masking tape, joint compound and chalk paint. I changed the molding a bit and used 3” pine slats for the top. Inside I added 3 shelves, attached with pocket hole screws, to fit in as many DVD’s as possible. Overall this was an easy build. It took me almost as long to paint it, as to build it. Thank you Ana for the plans!
Potting Bench with Extra Shelf
Potting Bench with an added shelf for more storage by Schoen
Kitchen Table Storage Bench
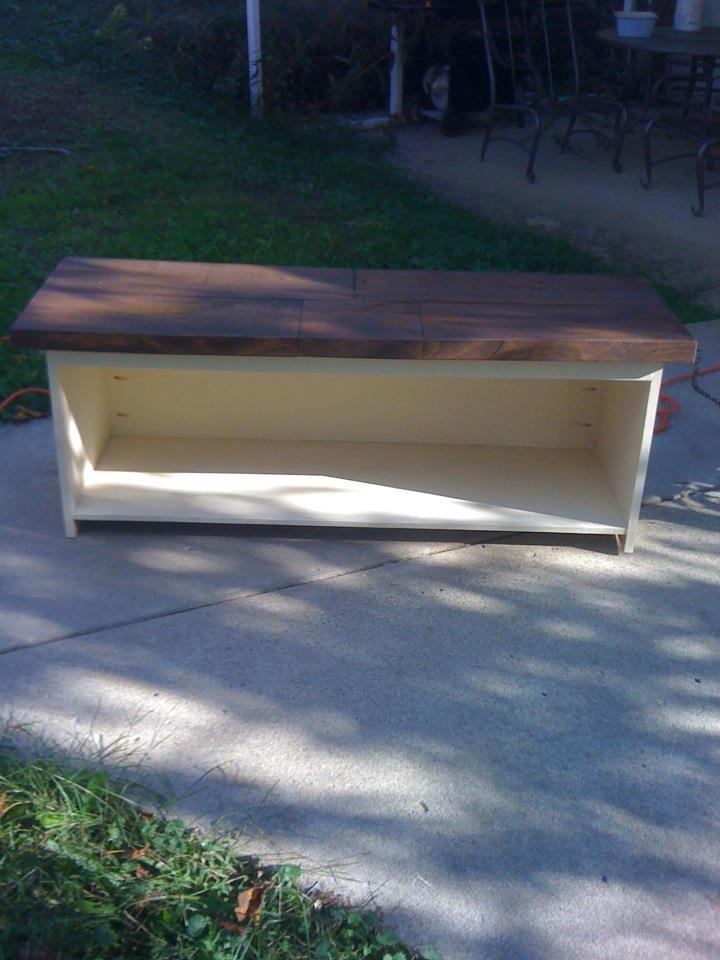
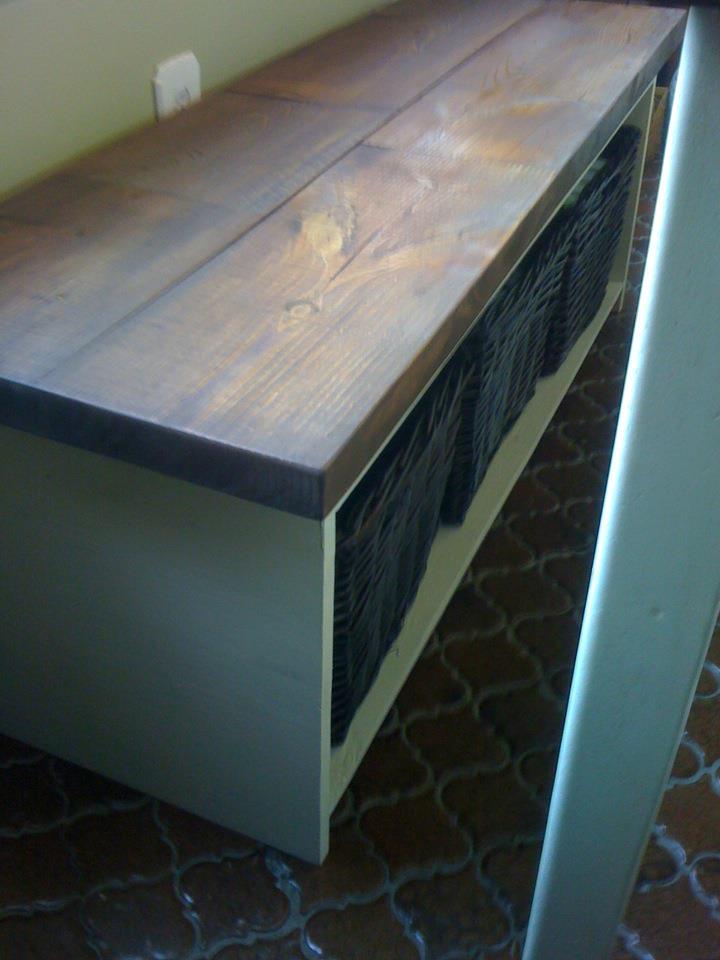
I built this storage bench and my wife stained and painted it. It is for use at the kitchen table as well as have storage for baskets underneath. This is my 1st project I have used my Kreg Jig on. Absolutely love it!!!
Comments
Tue, 04/24/2012 - 08:54
Like the top
I was thinking about building mine with the top having some over hang and like how yours turned out. Did you lay the boards on top of another piece used to make the top or where they laid on the open top and screwed to the sides?
Pretty in Pink
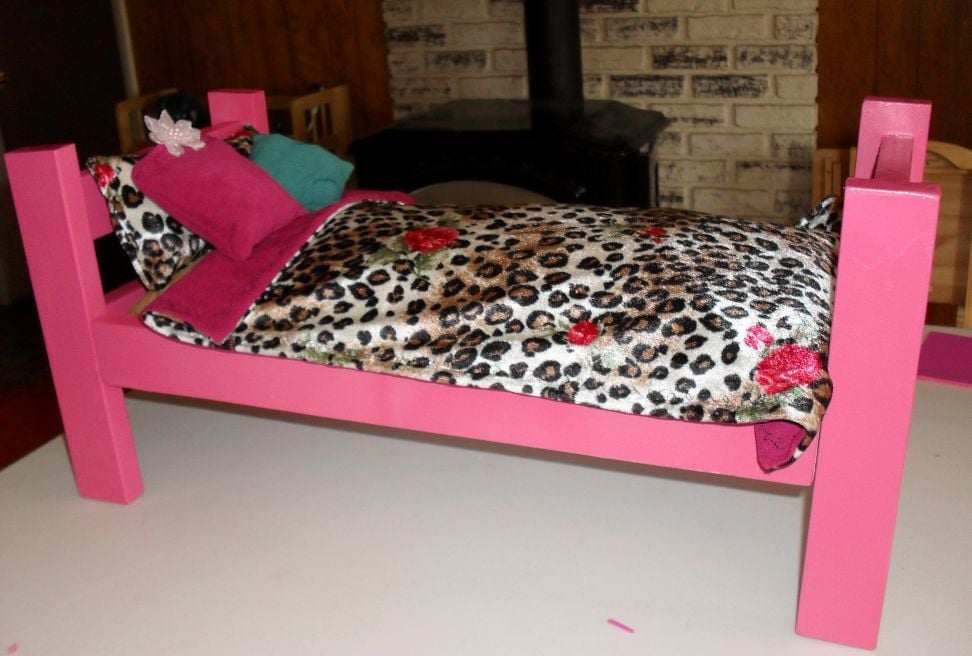
I made this as a gift for my niece. I fully assembled it, instead of presenting it as a kit. When I made the frame, I hadn't quite figured out how to make perfectly straight cuts with my circular saw, and I cut all the pieces before I came across Ana's tutorial on using a circular saw. So the bed is not perfectly square. Fortunately, a few pieces of thin craft foam glued to the bottom of a couple of the legs eliminated most of the wobble. That, and a generous application of pocket holes and screws. Each side rail is attached to the headboard/footboard with (6) 1 1/2" screws! I could probably jump up and down on the frame and it wouldn't budge. And I think I over-painted. Not to good with my spray painting technique yet. Plus, I forgot to sand between coats, and I didn't have time to add a clear topcoat.
When I look at this project, I see every flaw and mistake and feel dissatisfied. But, I just remind myself that I am my own worst critic. My niece, on the other hand, loved it. And no one else seemed to notice the mistakes: I received several nice complements. And the best part: it was practically free! I bought a can of pink spray paint, but everything else came out of my wood stash or my fabric stash. A present made with love, not money. And my first "real" building project.
Modern Slat Bench- red and brown
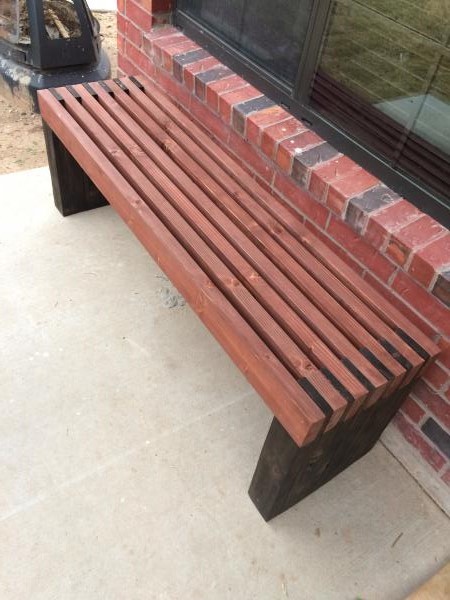
I followed Ana's instructions except for my bench was 56" in length and stained the top red bottom brown.
Red stain
Yay!!
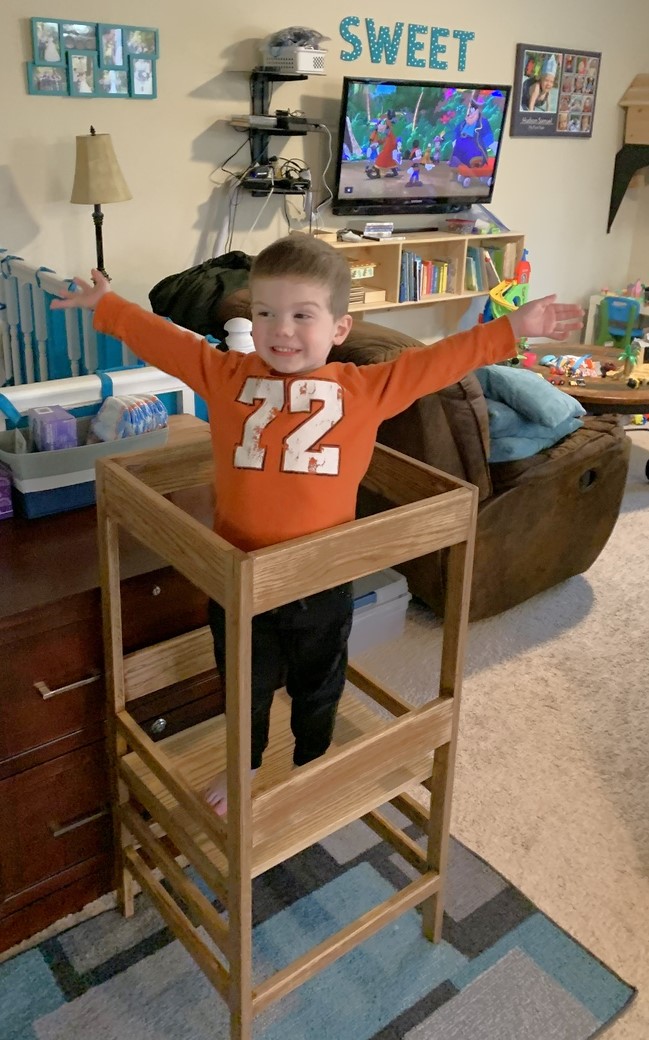
I made a simplified version without the arches, worked out great! Thanks for the plans! I used oak so cost was a little higher than necessary. :)
Wine Rack with Live Edge Wood Top & Shelf
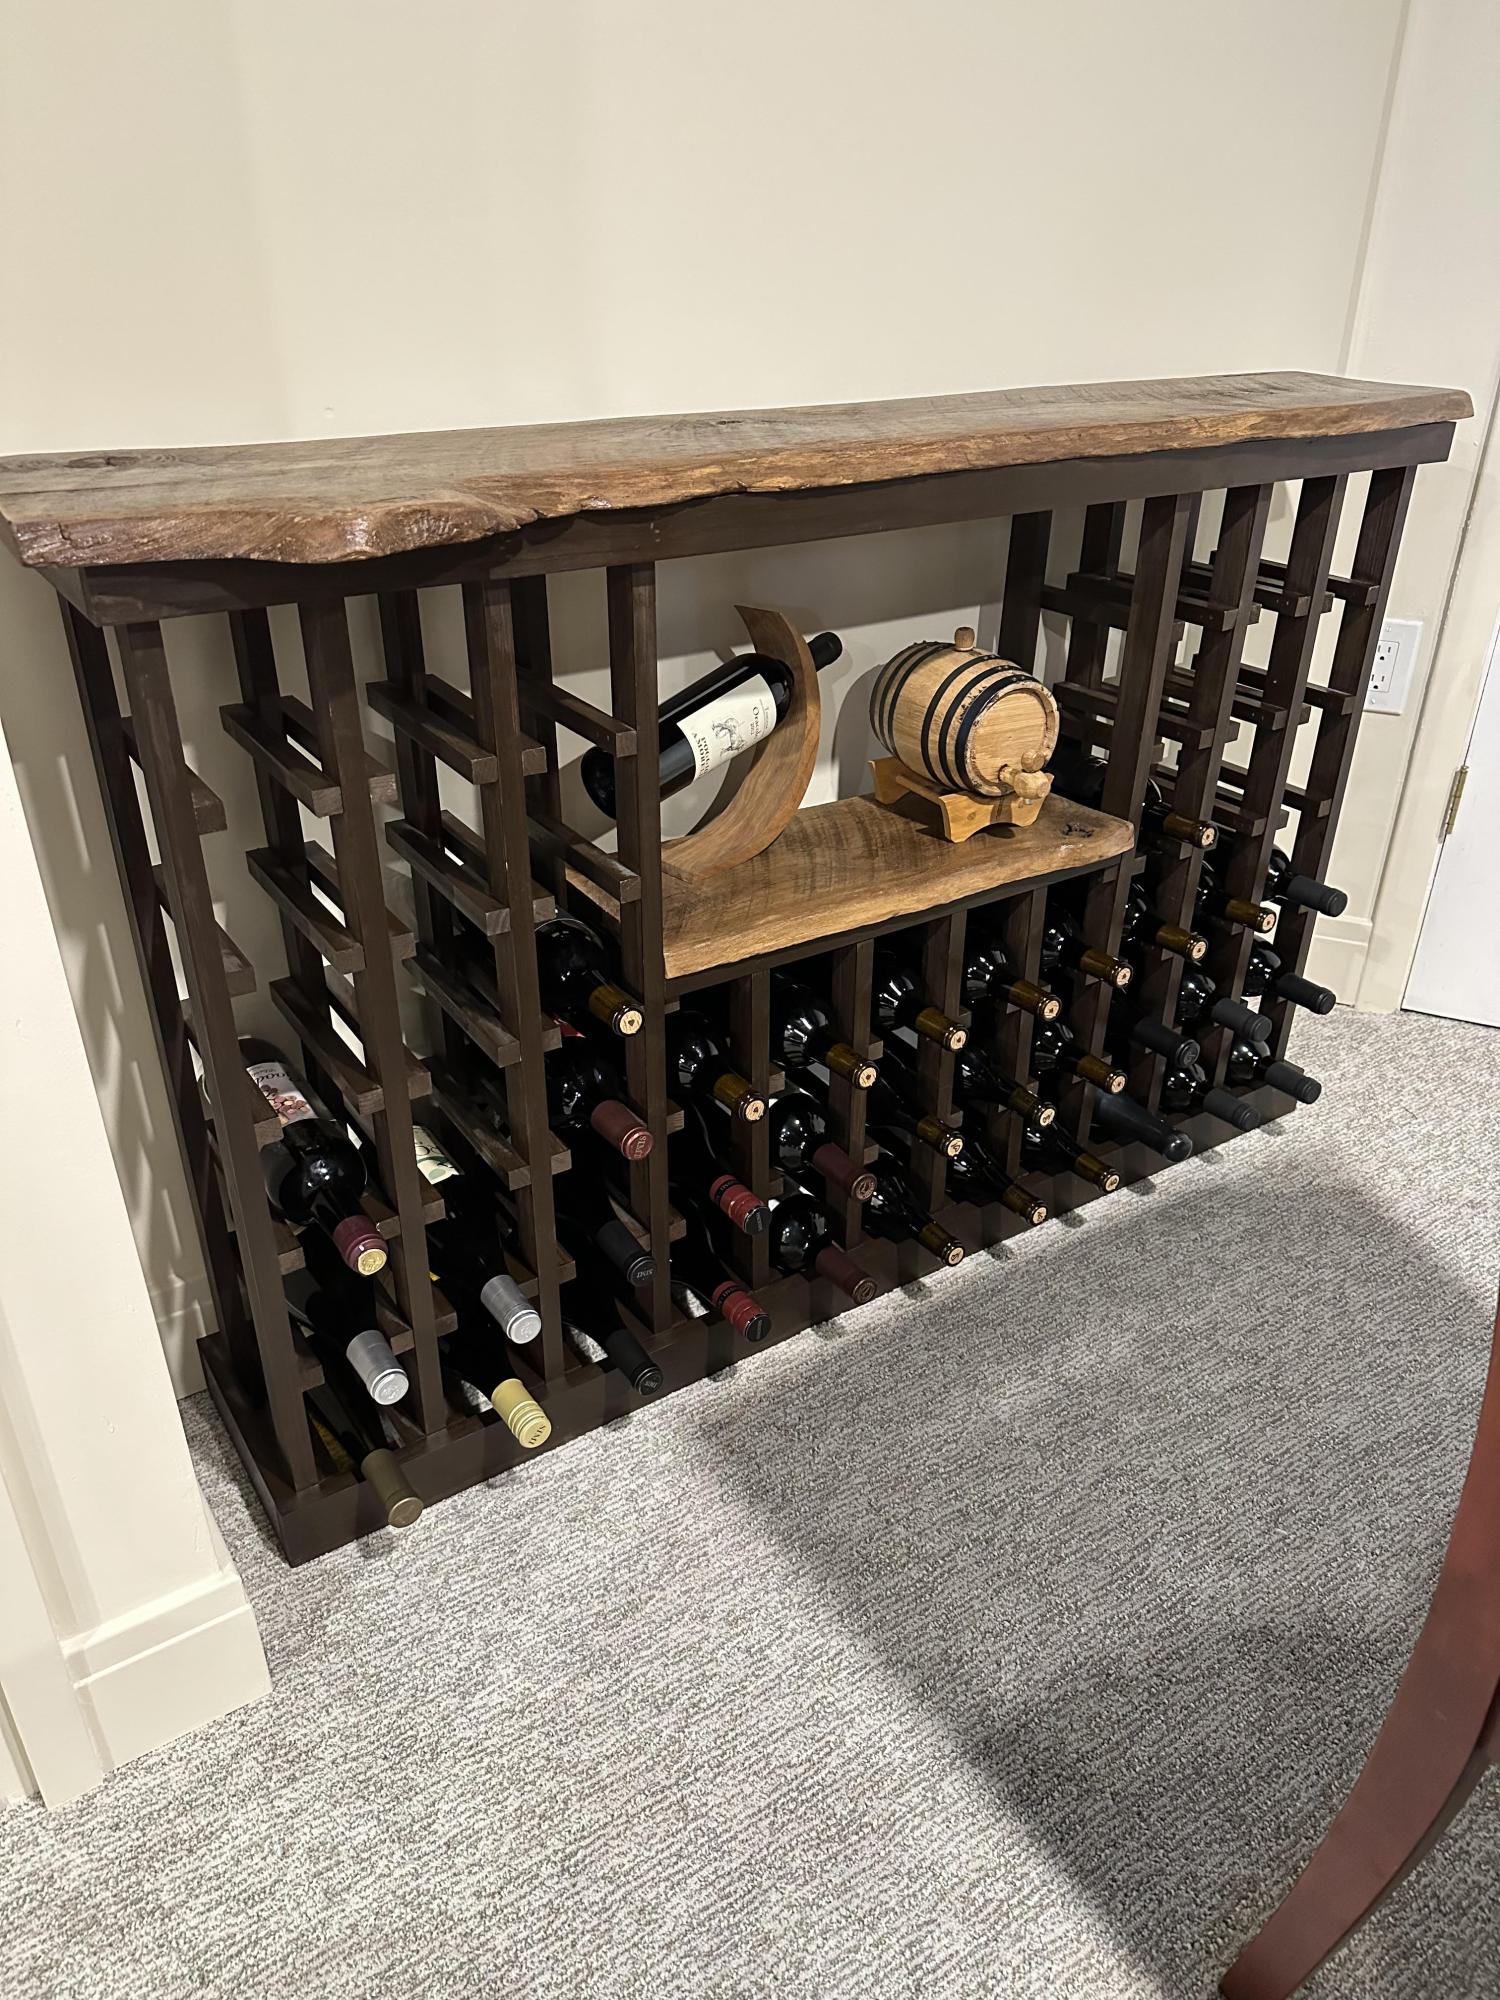
Made this wine rack for our basement rec room using live edge wood, 1x2s, and 3/4in wood dowels. Full dimensions and write up at the link below!
Comments
Storage Shelf
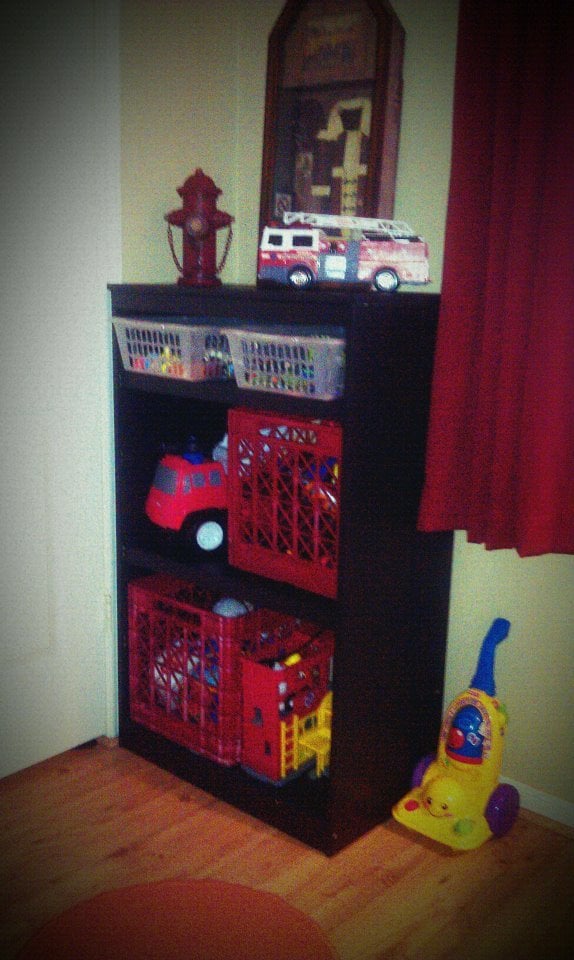
After replacing that trashed out IKEA dresser with the fire fighter style locker in the boys room I started taking apart said dresser to put out on heavy trash day. It was then I realized that while it wasnt the BEST materials, the top and sides were actually not all that bad. As it was the piece was too wide for the space I was looking to fill, so I did a little trim of the top, replaced the supports and framing and rebuilt this into a shelving unit.
I bought a couple 1x2s to frame shelf supports and actually used the base of the drawers as a shelf.
My neighbor across the street is a DJ and has about 100 million plastic crates in his garage that he is getting rid of (they used to hold his vinyl). So I took a few and have been finding uses for them. I spray painted 2 of them red and used them as the basis for where to attach the shelves.
I also had a couple of other baskets for toys that were just the right size for the small top shelf. I just need to go back and paint those red too.
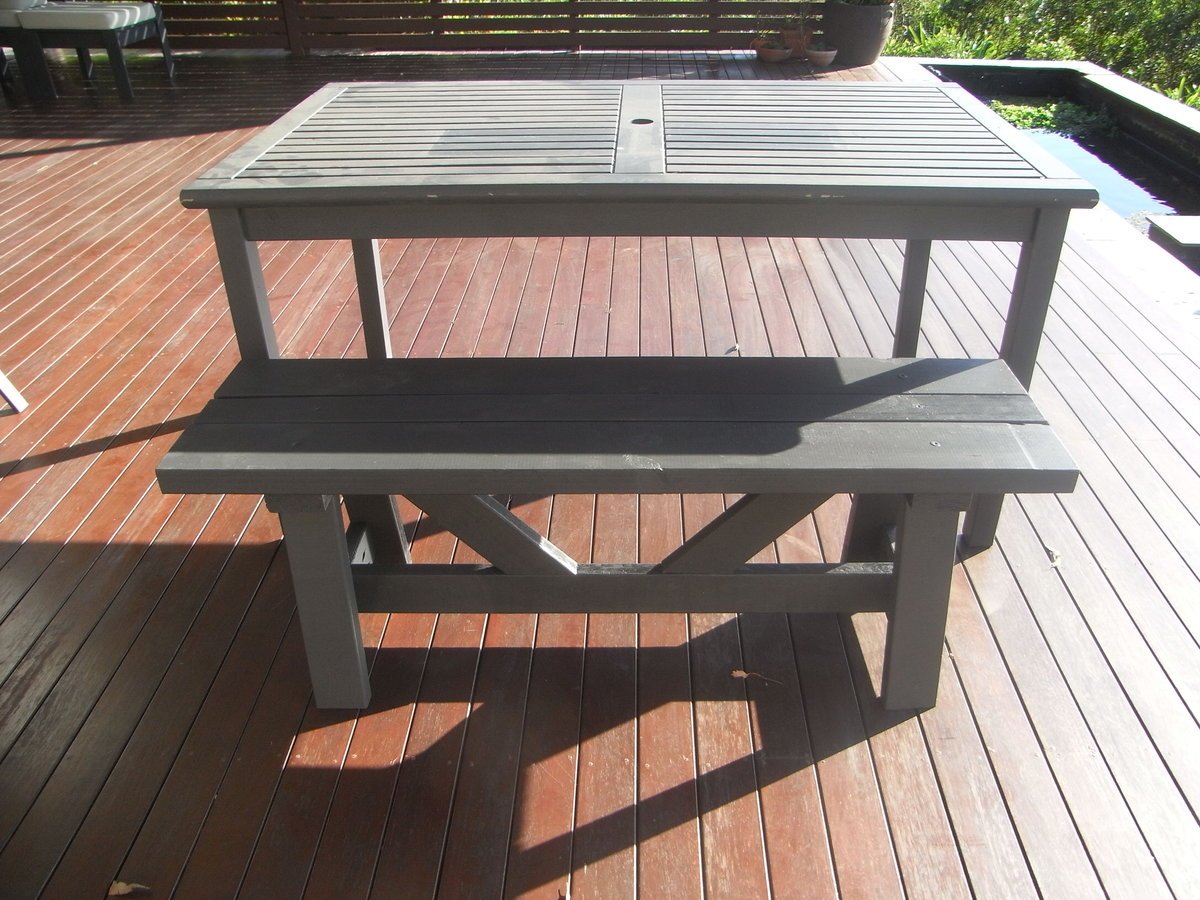
Bench
Love this bench, you can fit lots of kids on it and it is very sturdy.
Farmhouse King Bed
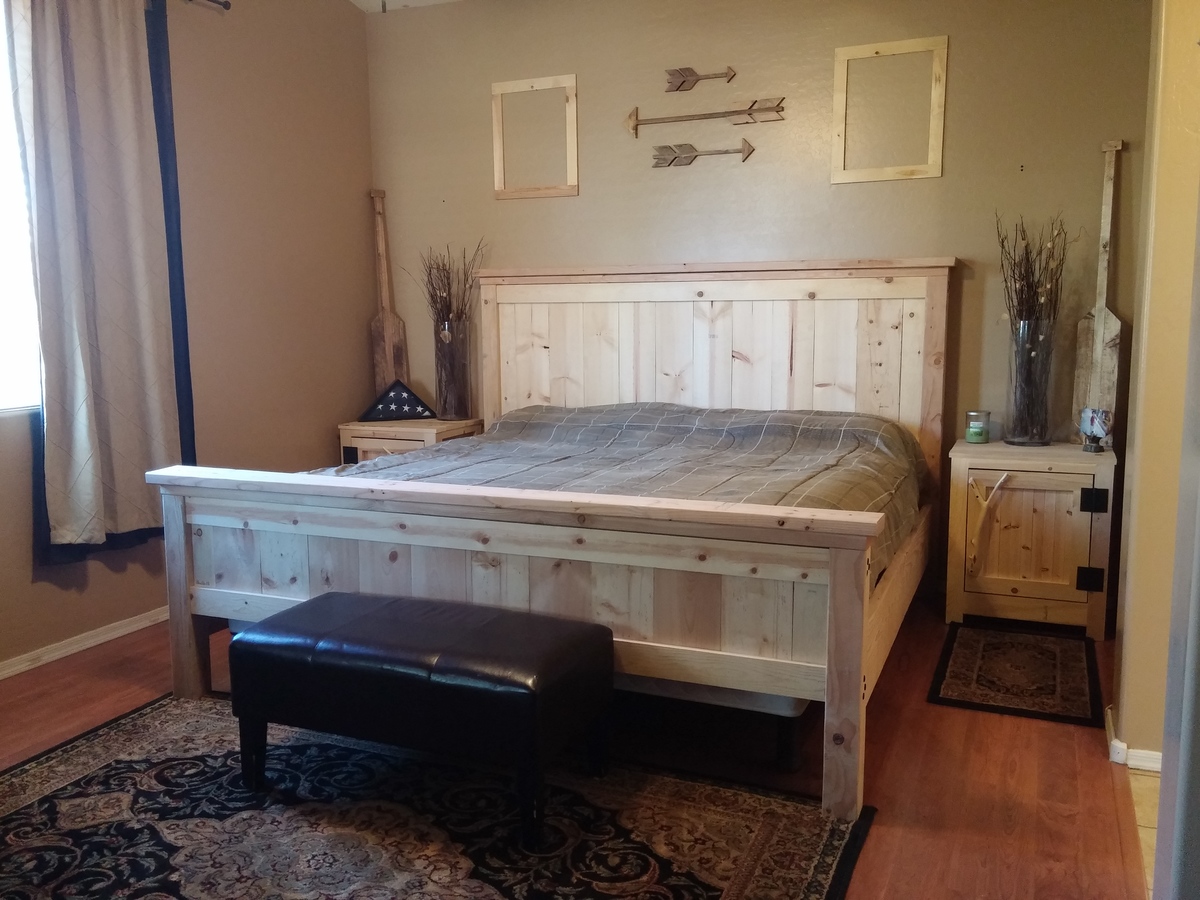
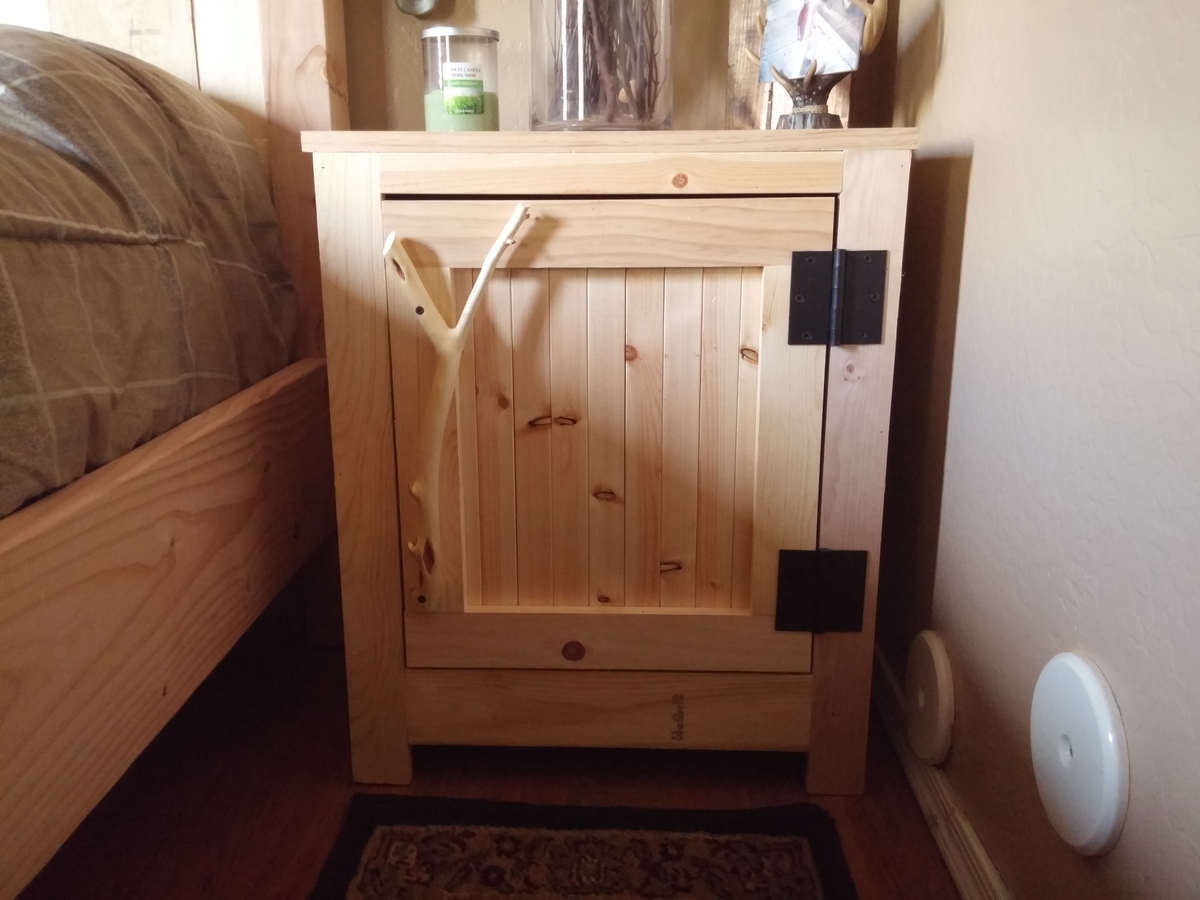
I made this Farmhouse bed frame for my king sized sleep number bed. It is a little wide but overall I am very happy with it. I also made the nightstands from the Kentwood plans. The handles are diamond willow that I picked from the Northwood of Wisconsin.
Comments
Wed, 12/28/2016 - 19:28
Very cool, I really like the
Very cool, I really like the handles from foraged wood. Strikes me as something perfect for a cabin in the woods.

