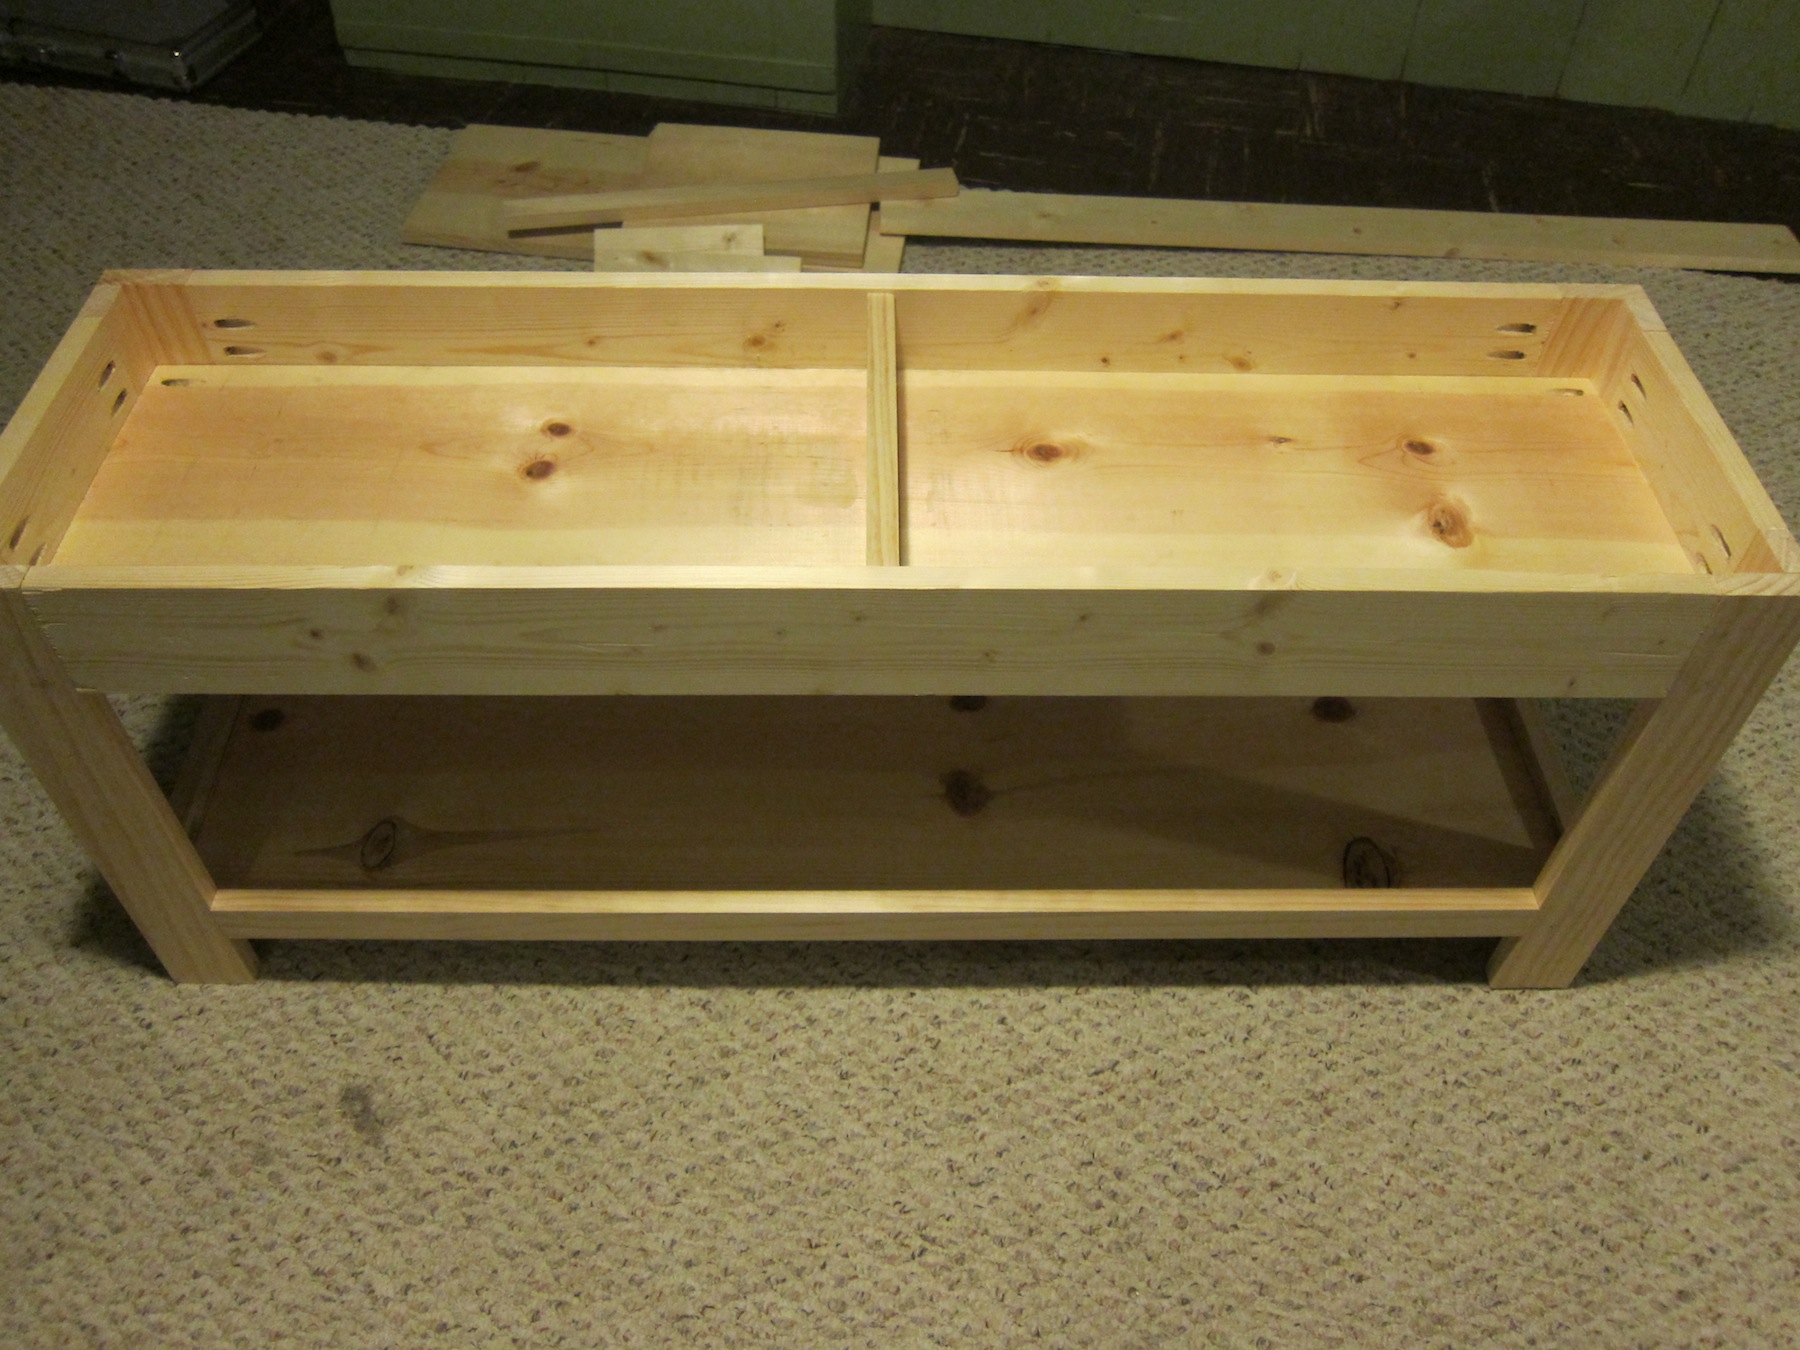
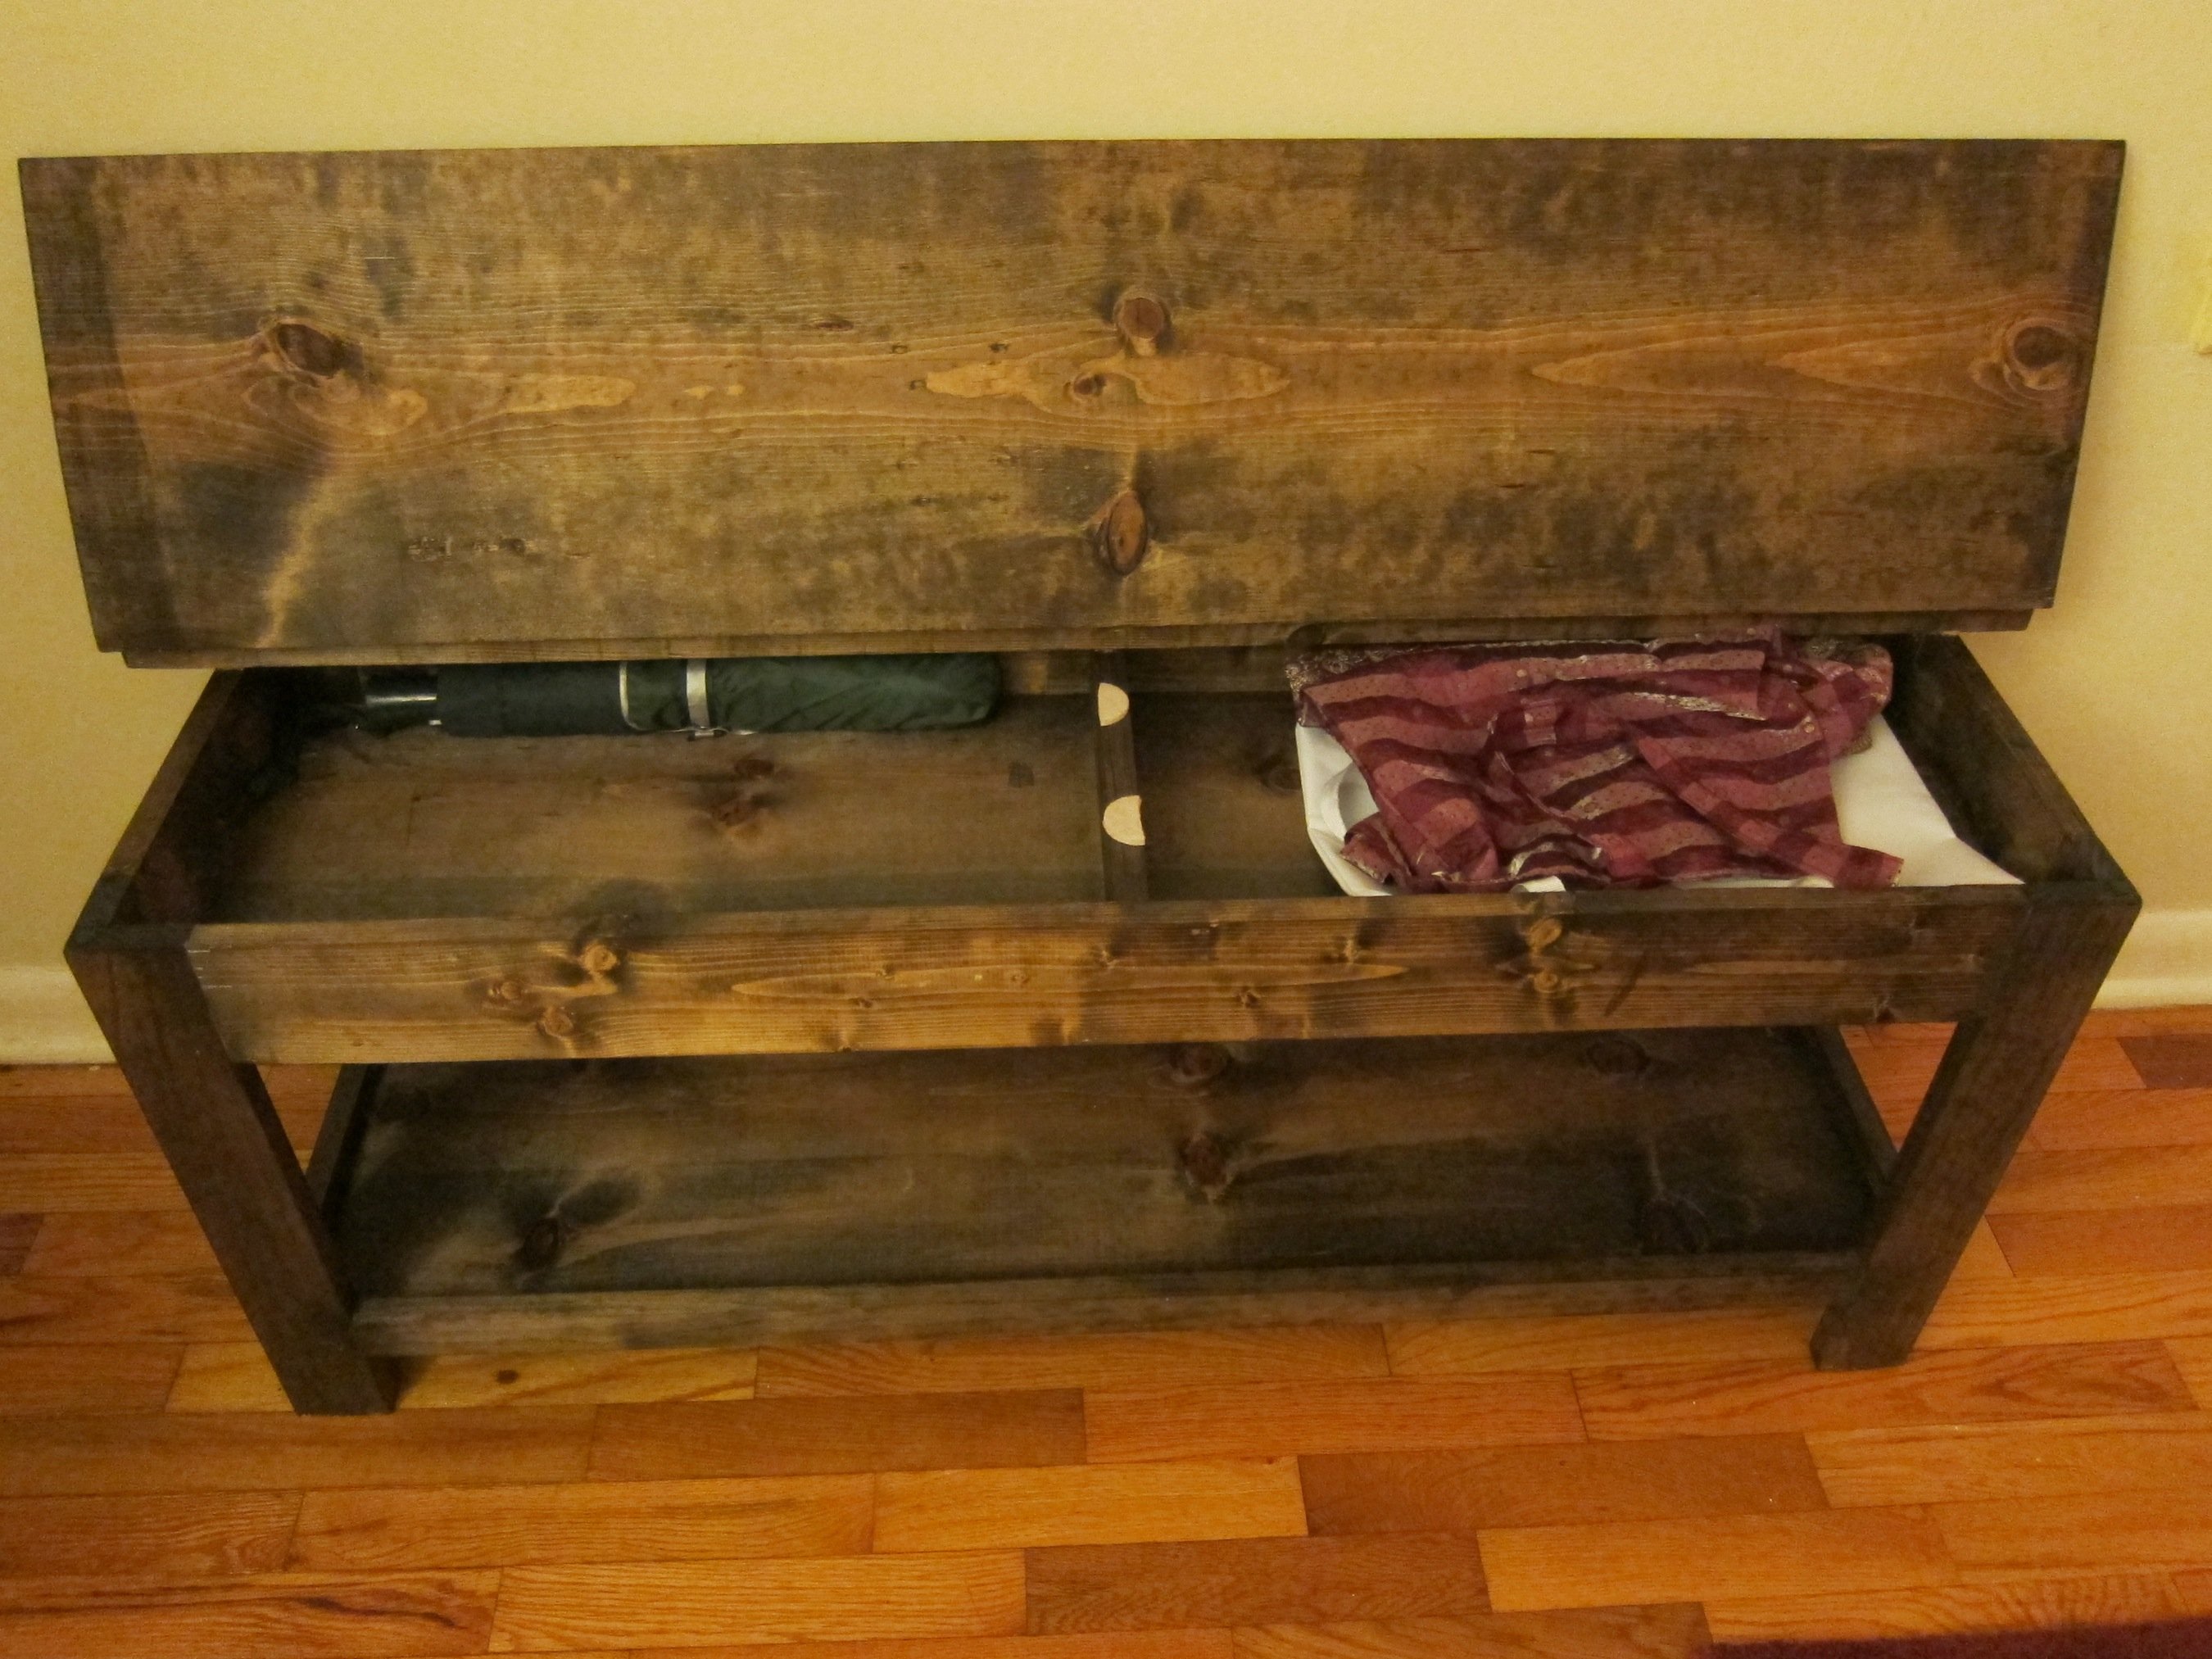
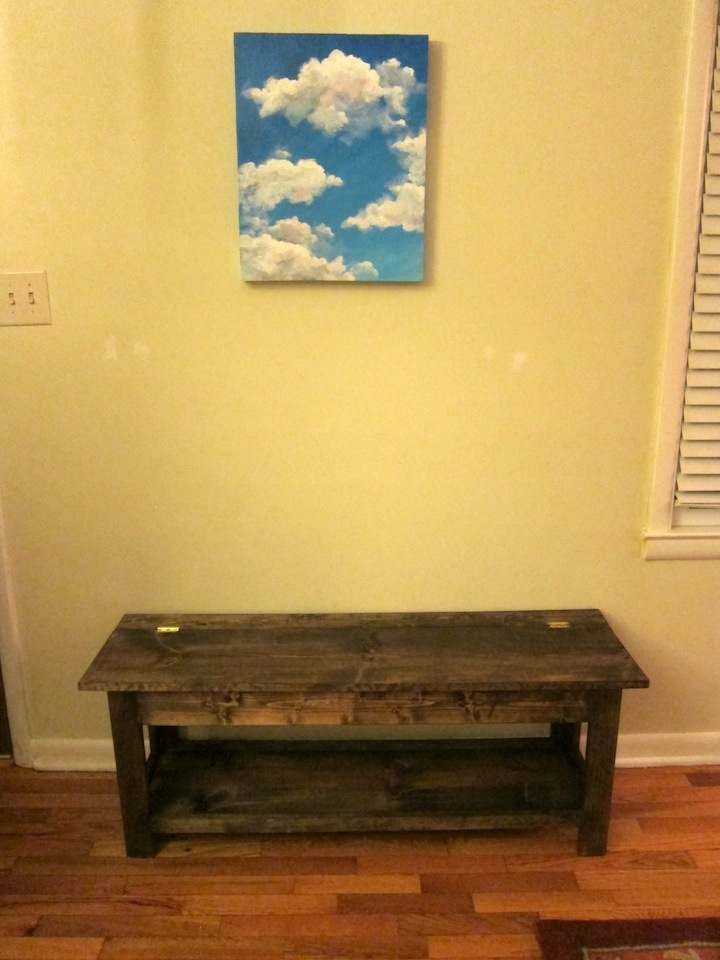
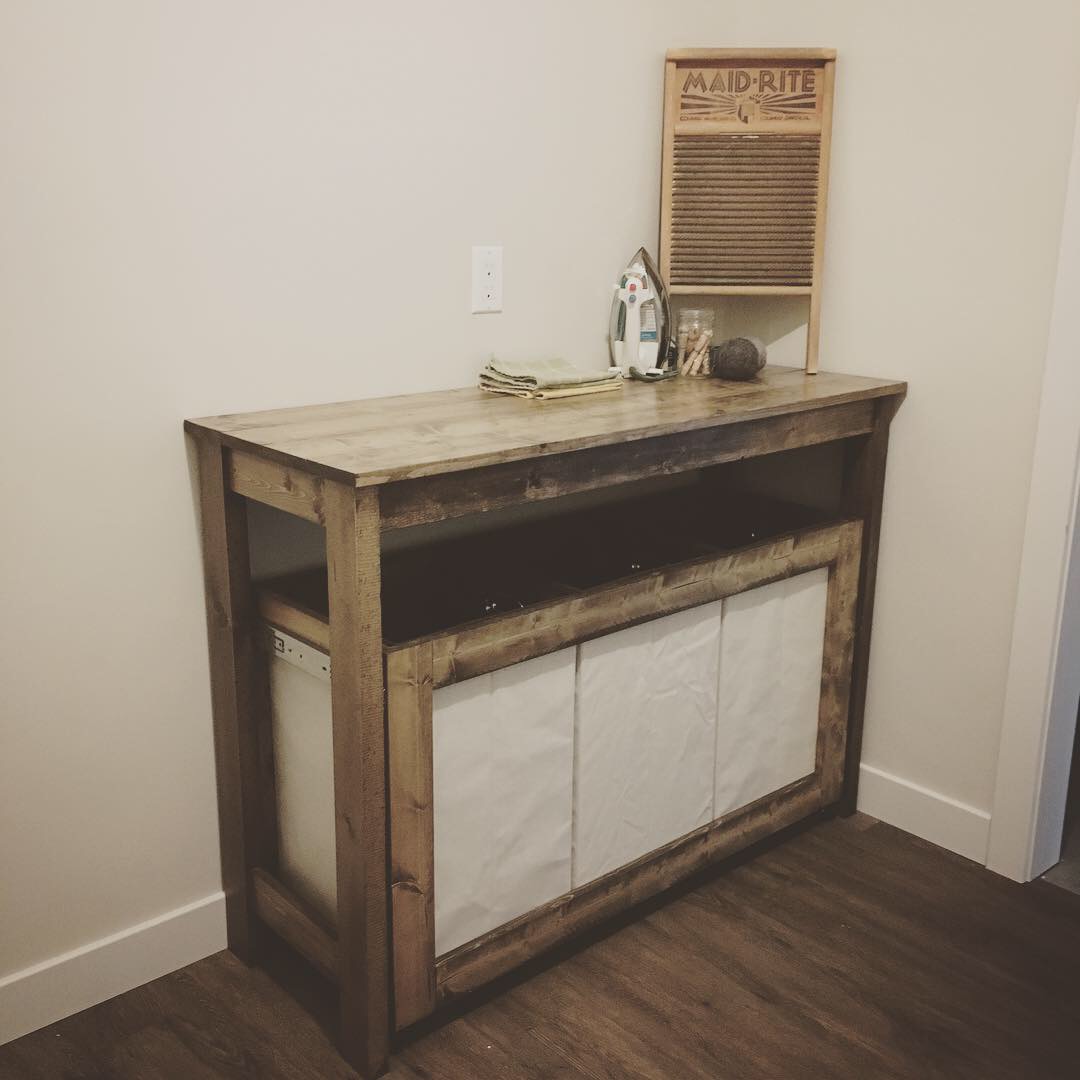
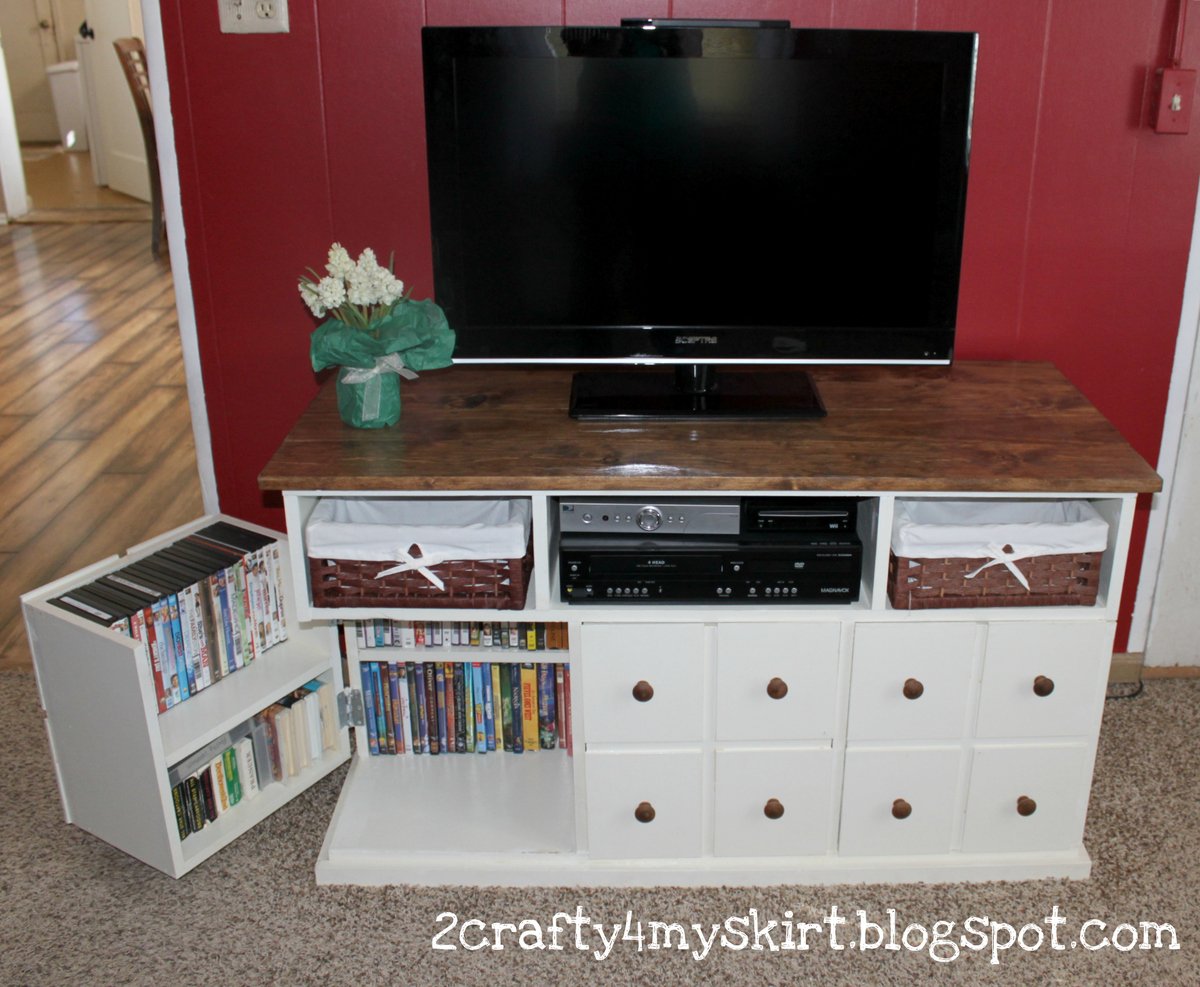
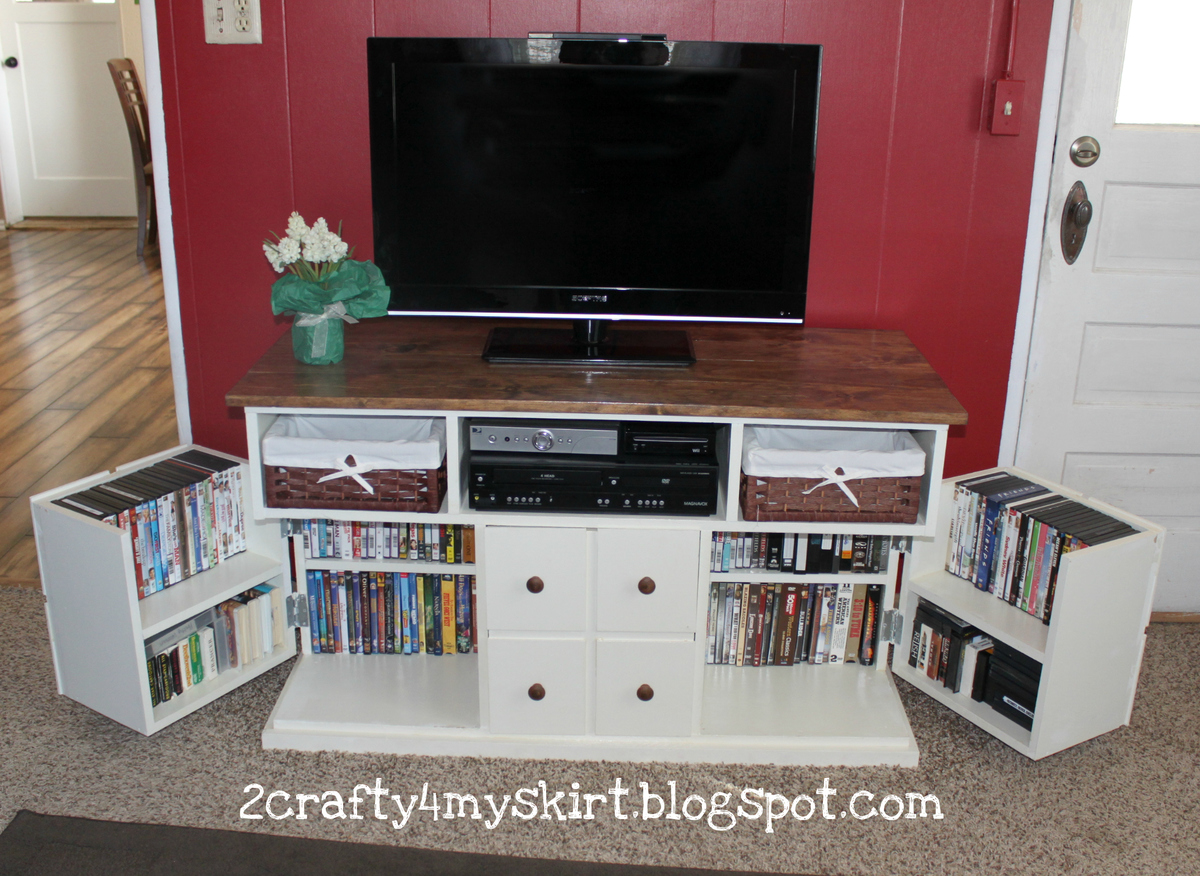
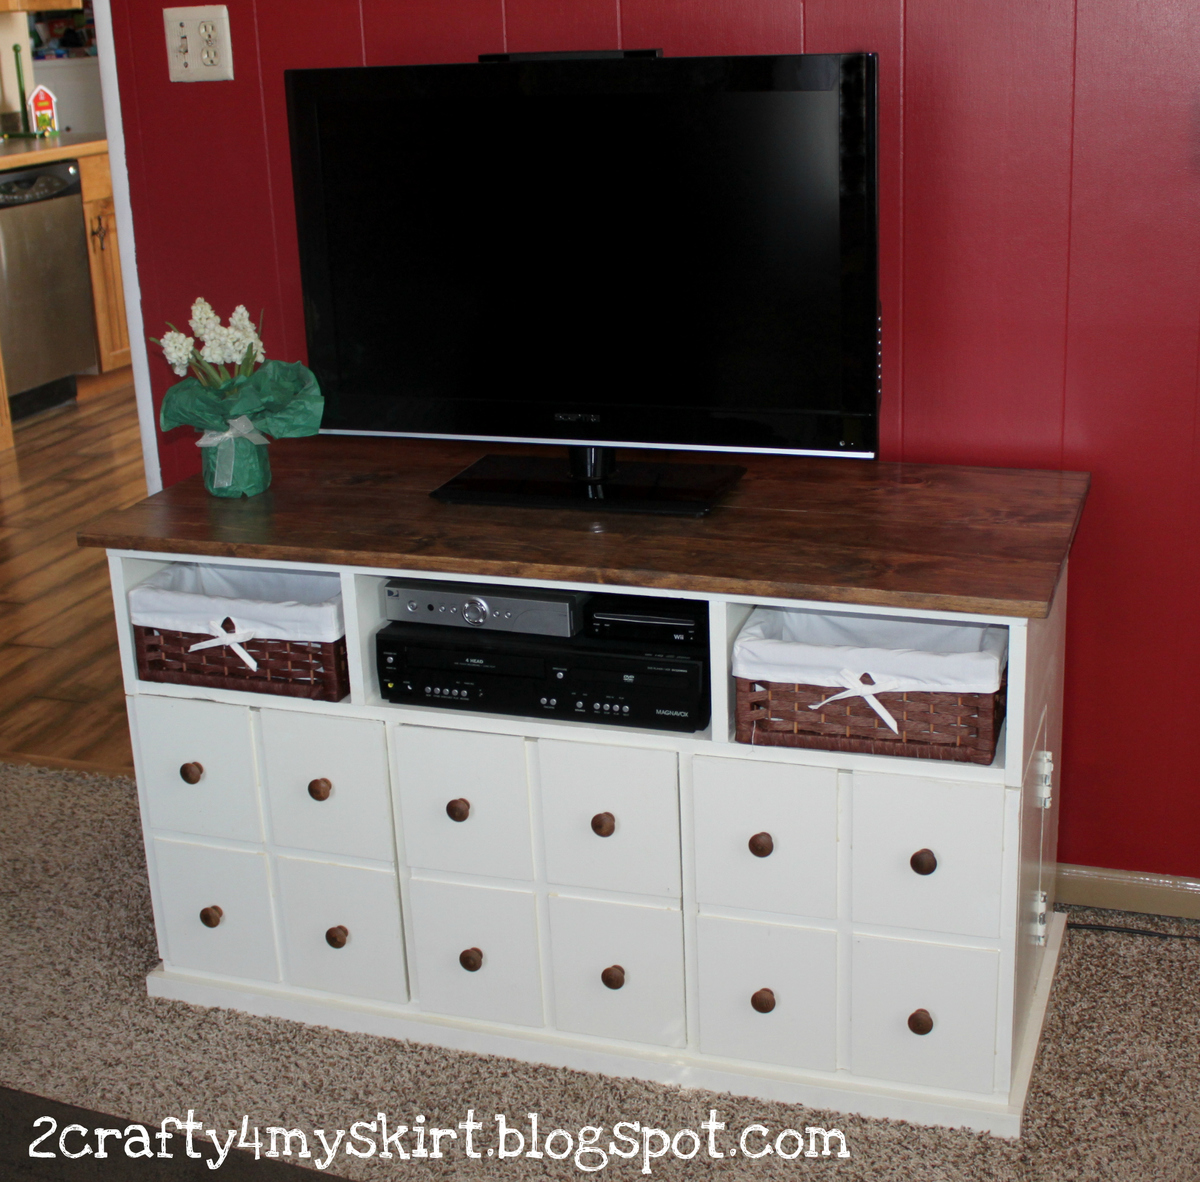
Barn Door Media Console
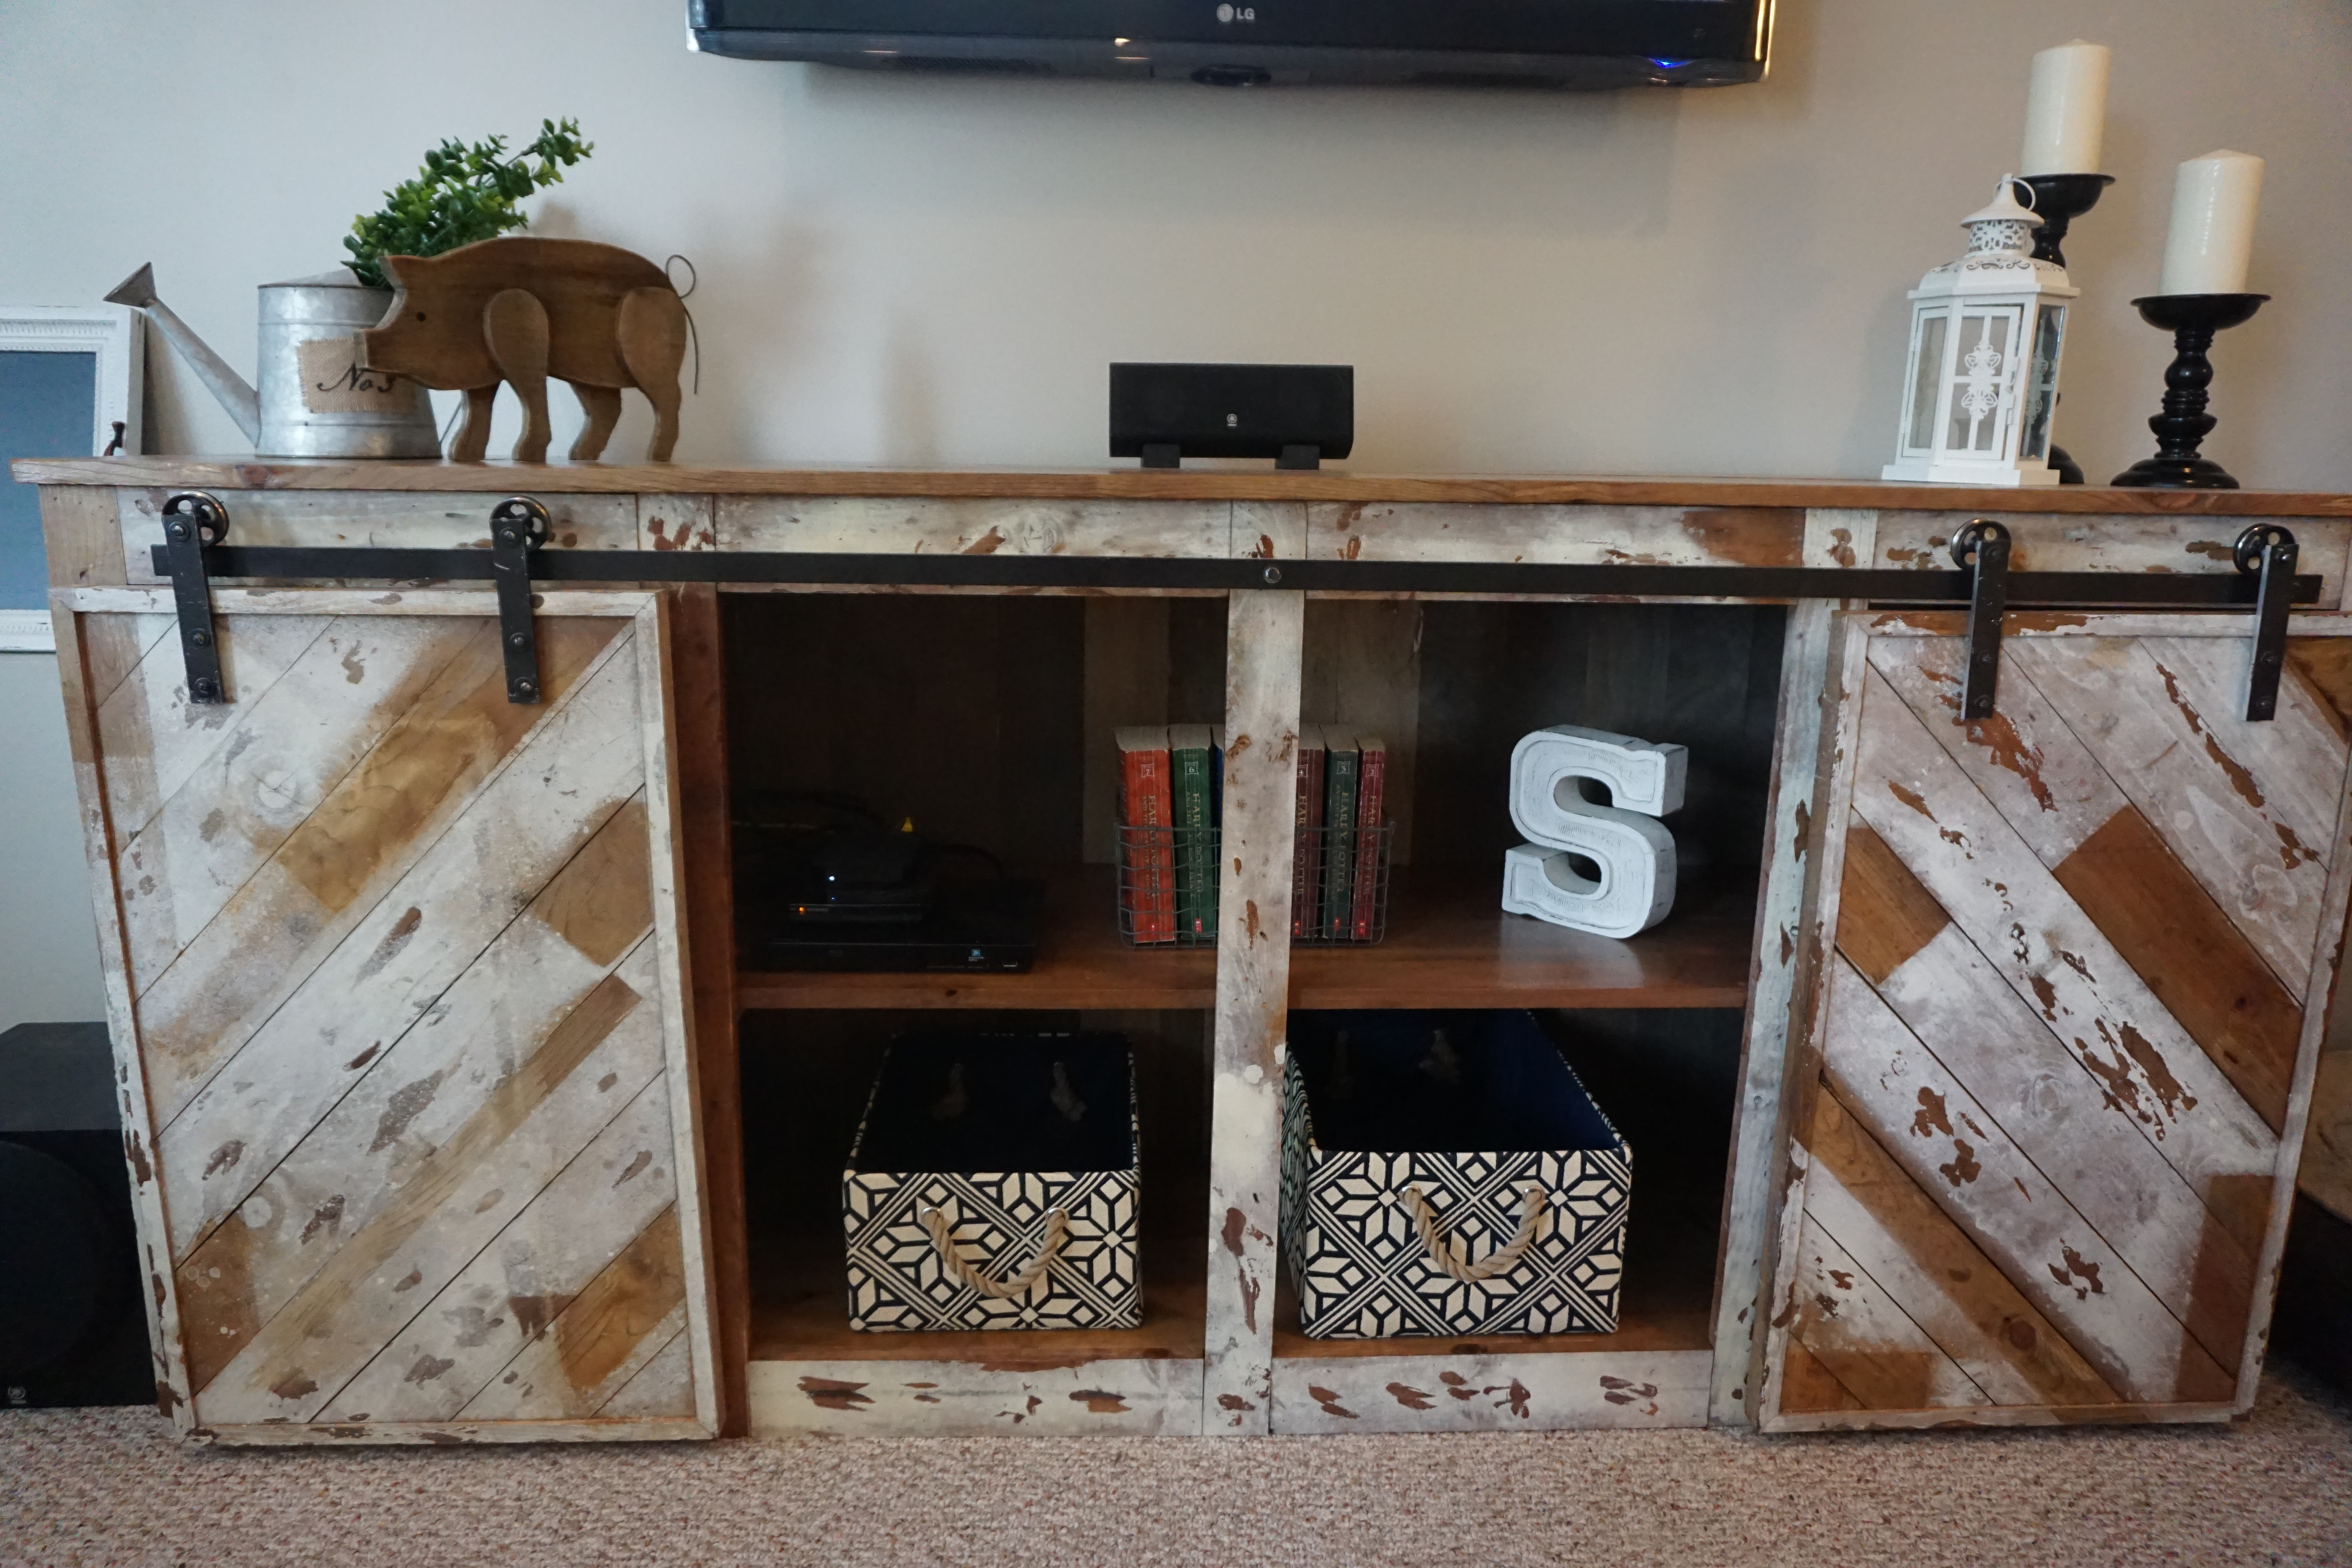
As always, we were super inspired by Ana White designs and wanted to tackle the media console project but add a little bit of our own farmhouse flare. This project was stained with apple cider & white cider vinegar and topped with ivory spray paint. Details are up on my blog, Sincerely the Smiths! Thanks for all your inspiring projects Ana White, we love getting to see all the awesome things you do!
Built from Plan(s)
Estimated Time Investment
Weekend Project (10-20 Hours)
Recommended Skill Level
Intermediate


Comments
Ana White
Mon, 03/14/2016 - 21:29
This is so beautiful!!!
This is so beautiful!!! Thank you so much for everything, I'm so honored that you use my plans and follow our projects. With much appreciation, Ana