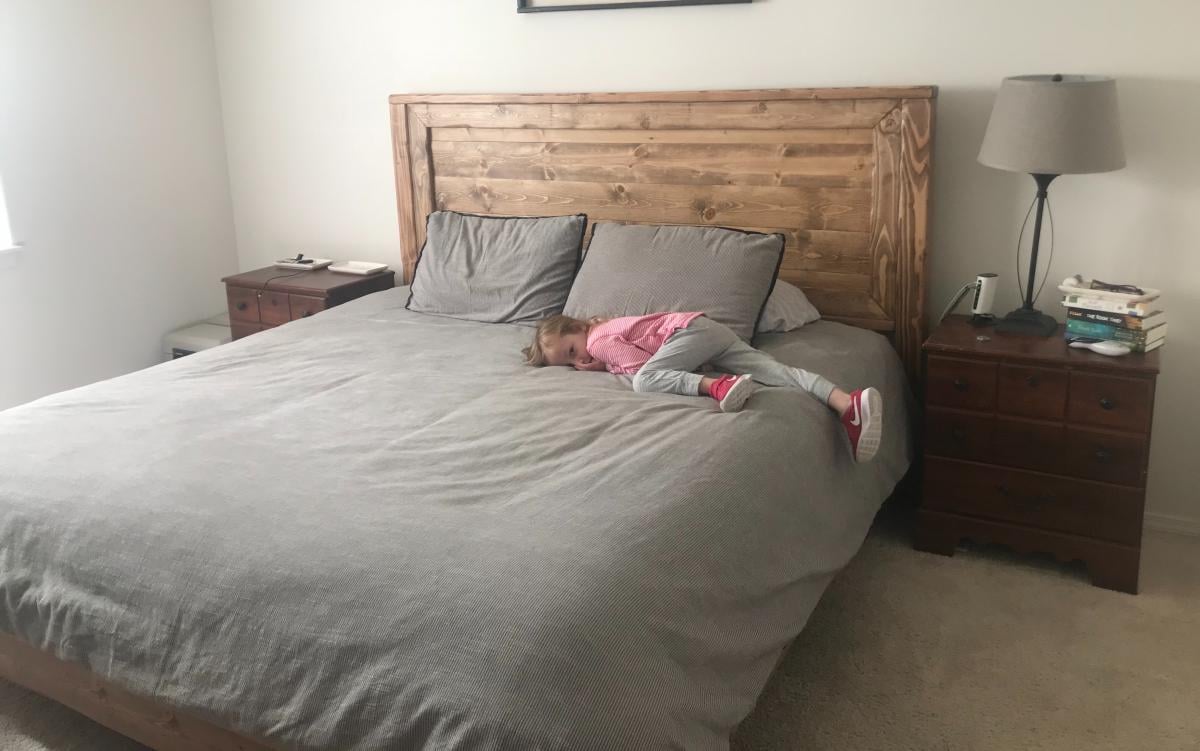
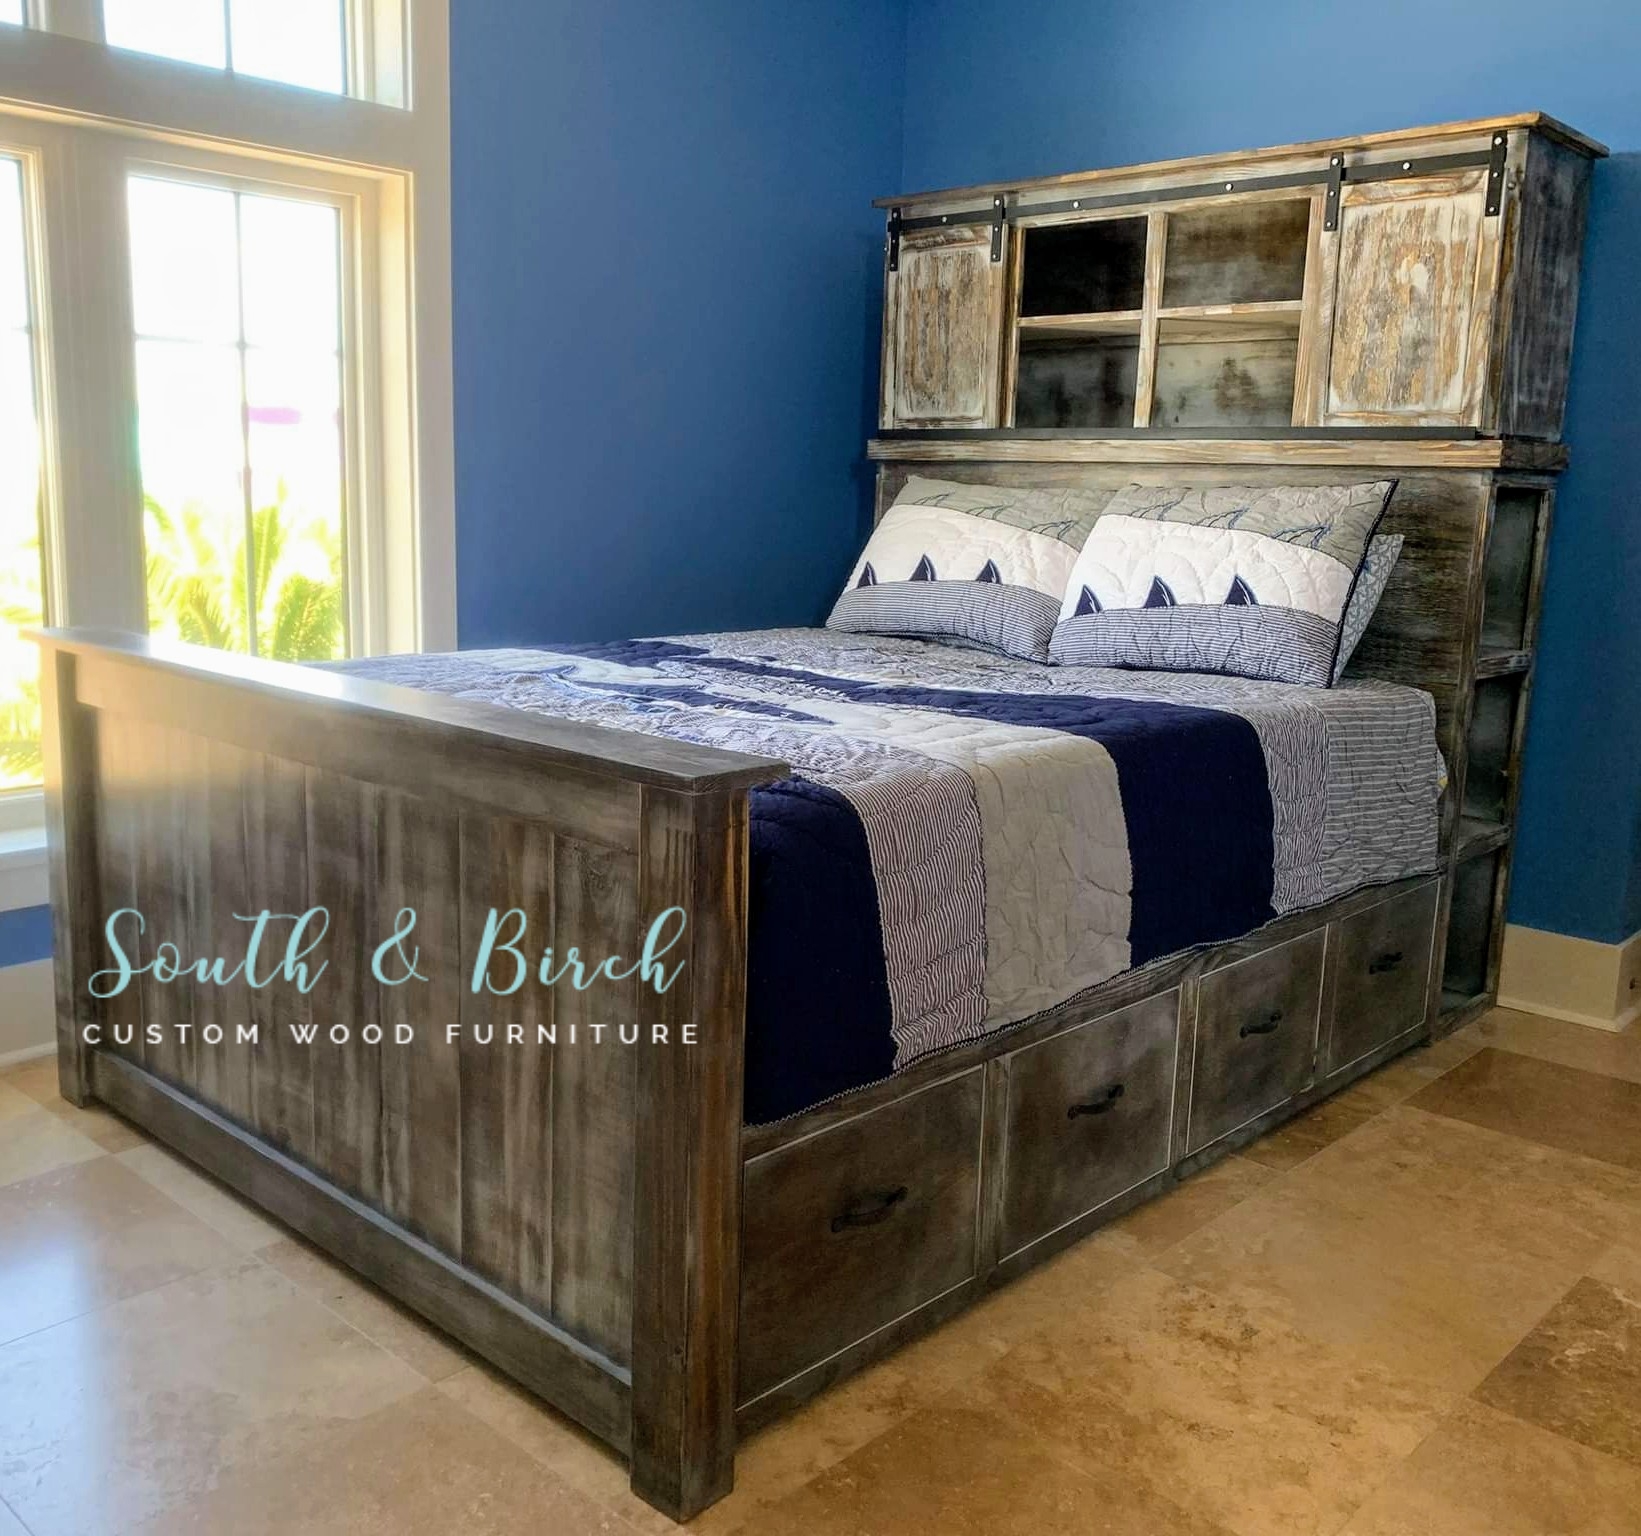
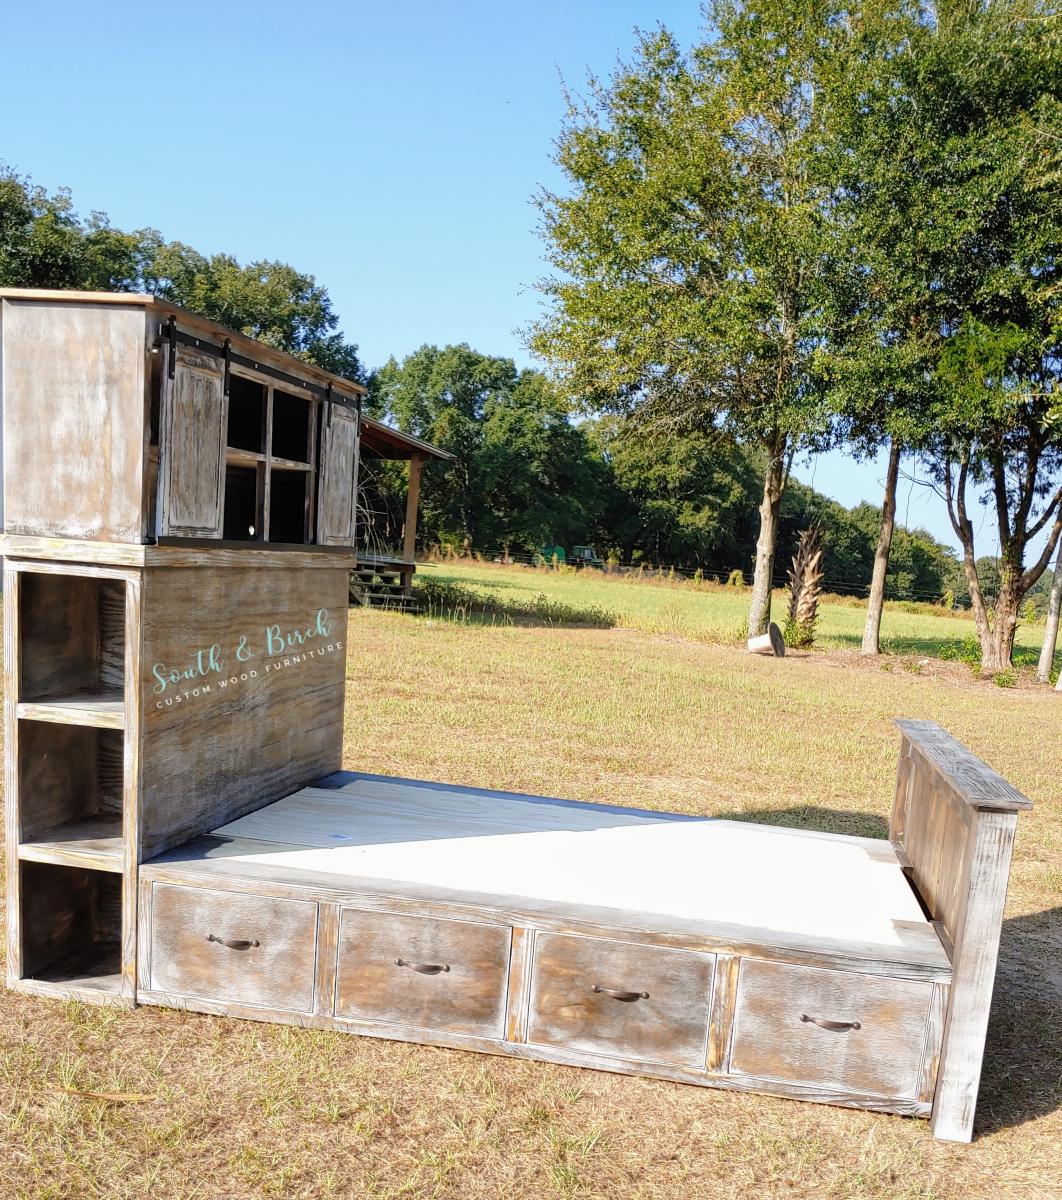
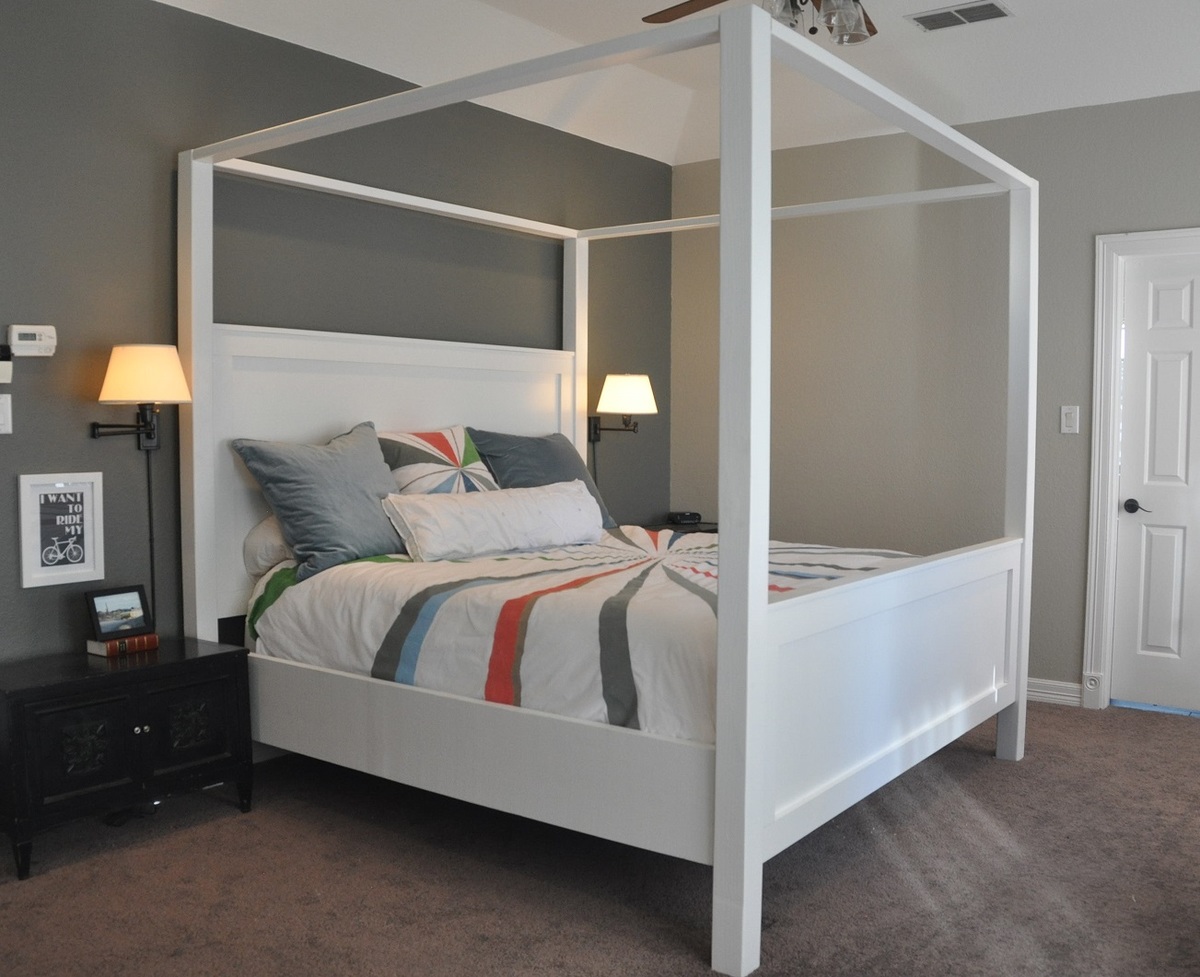
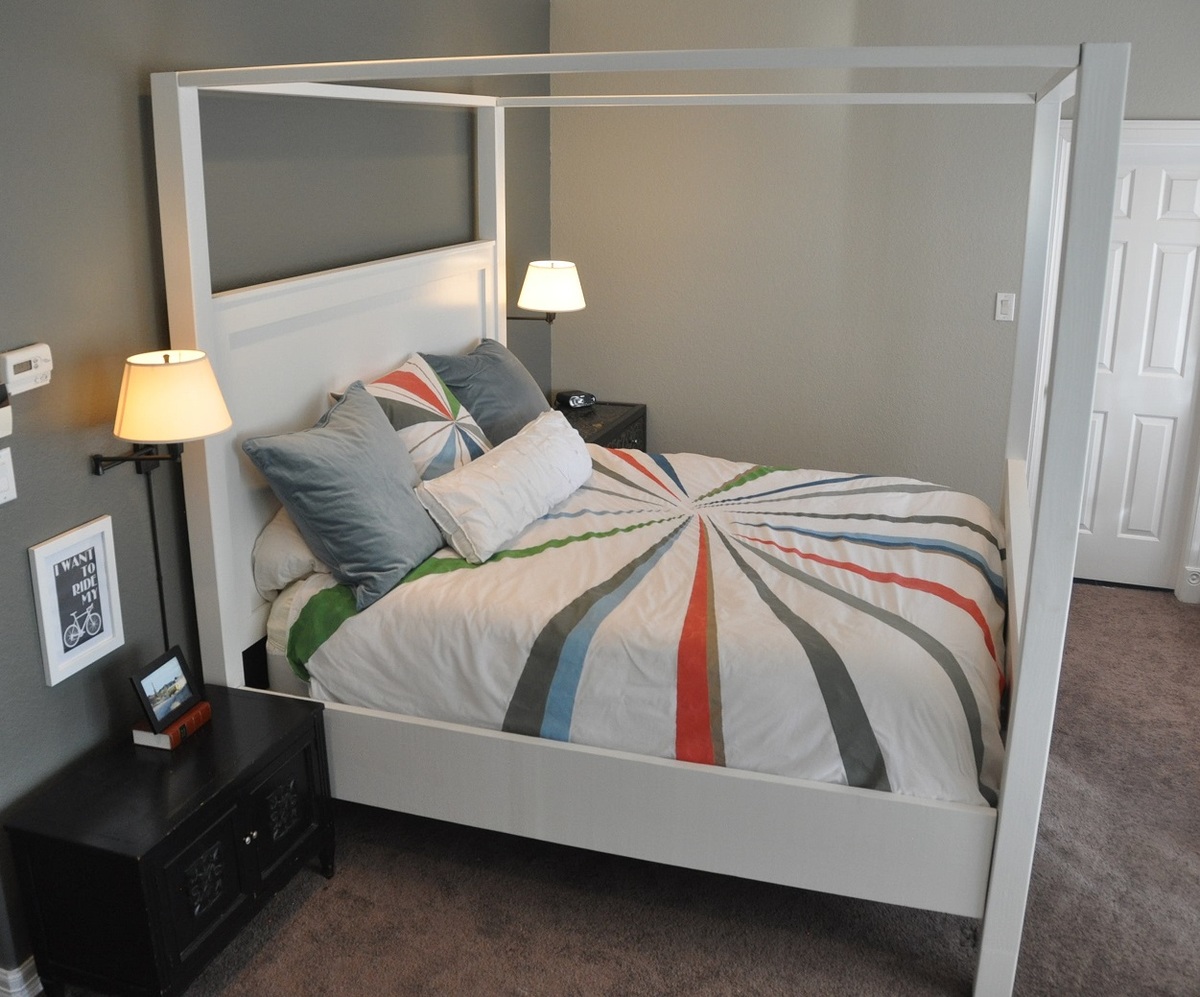
Queen Farmhouse Bed
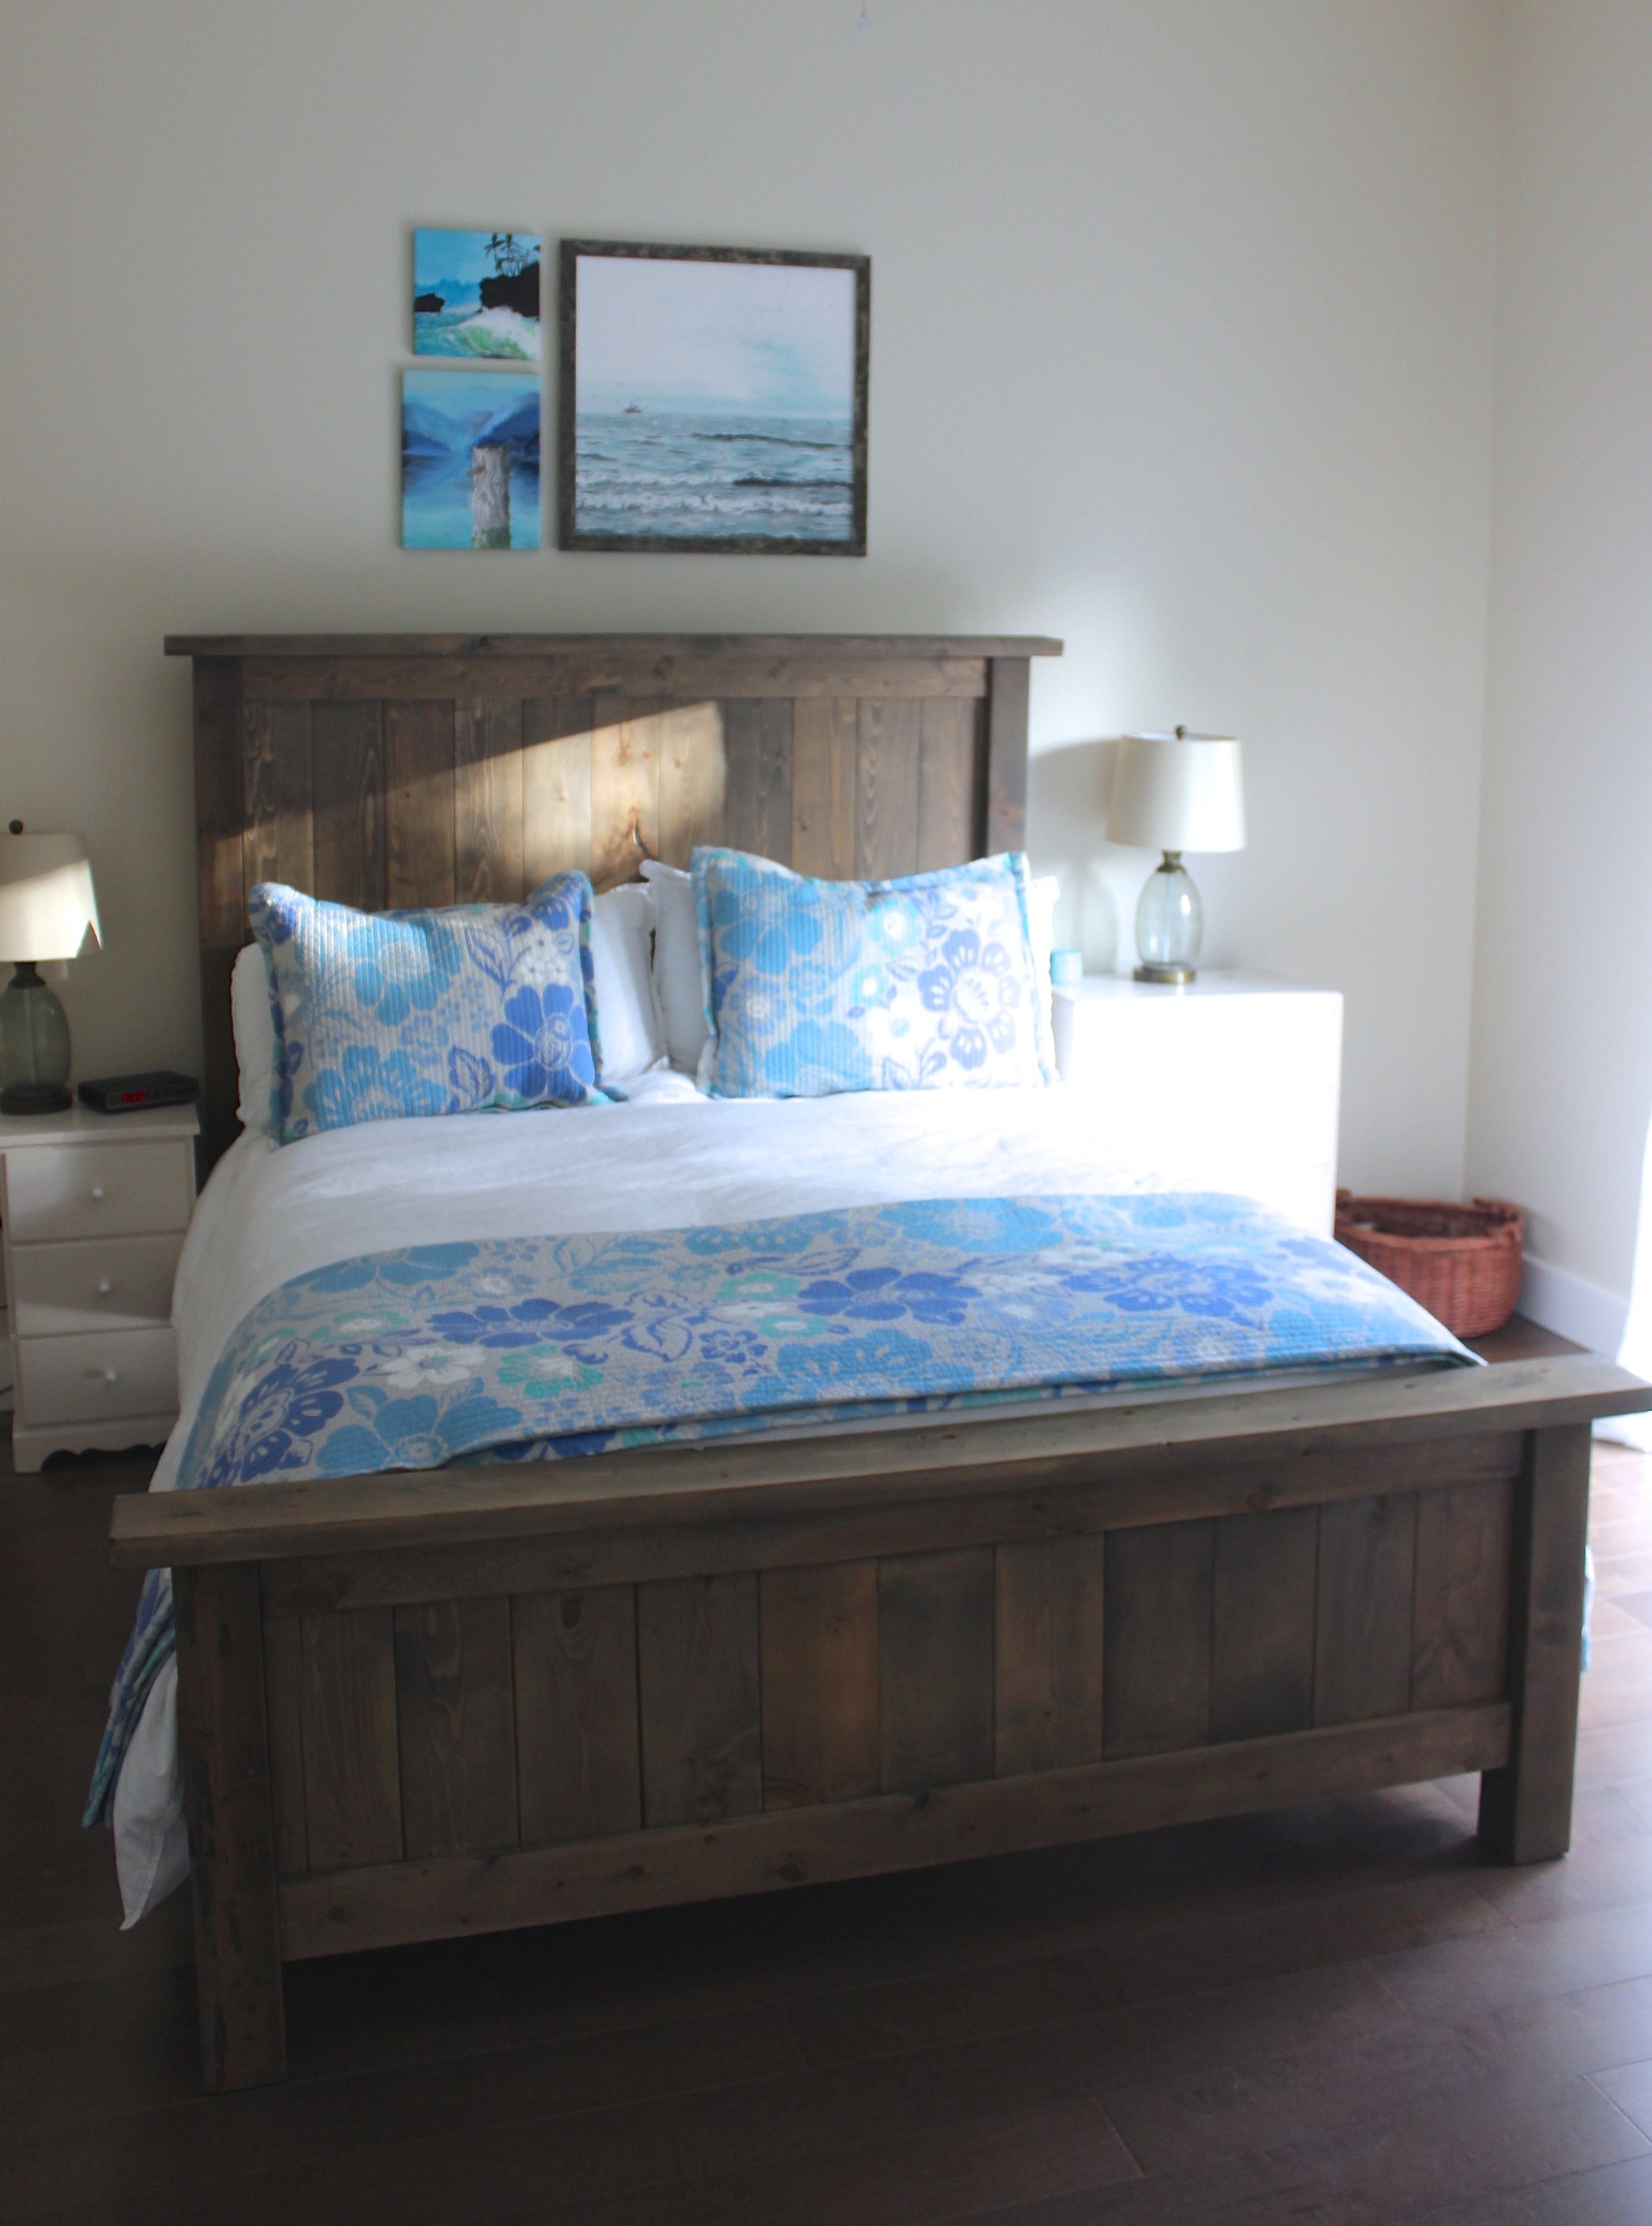
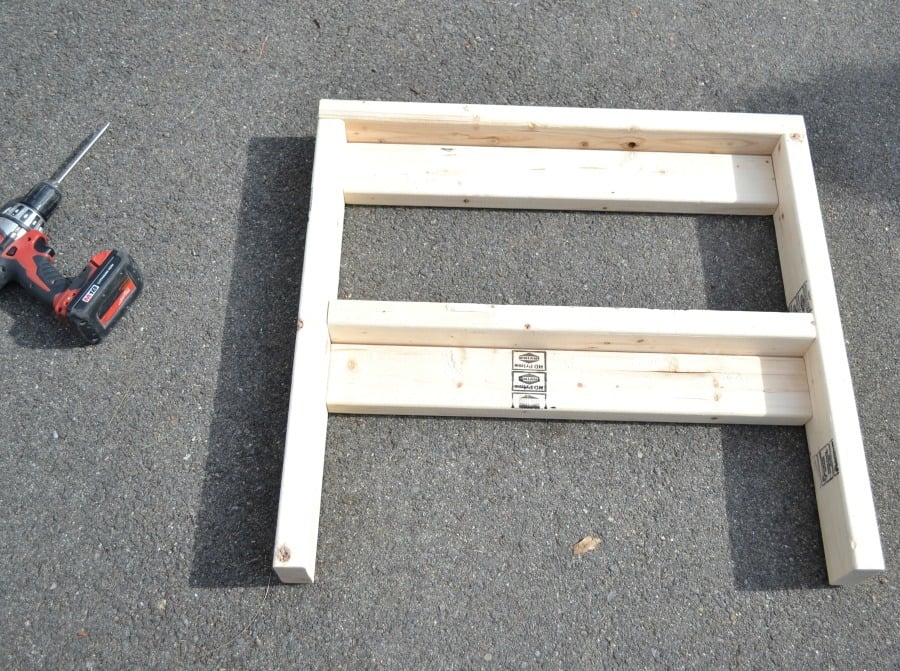
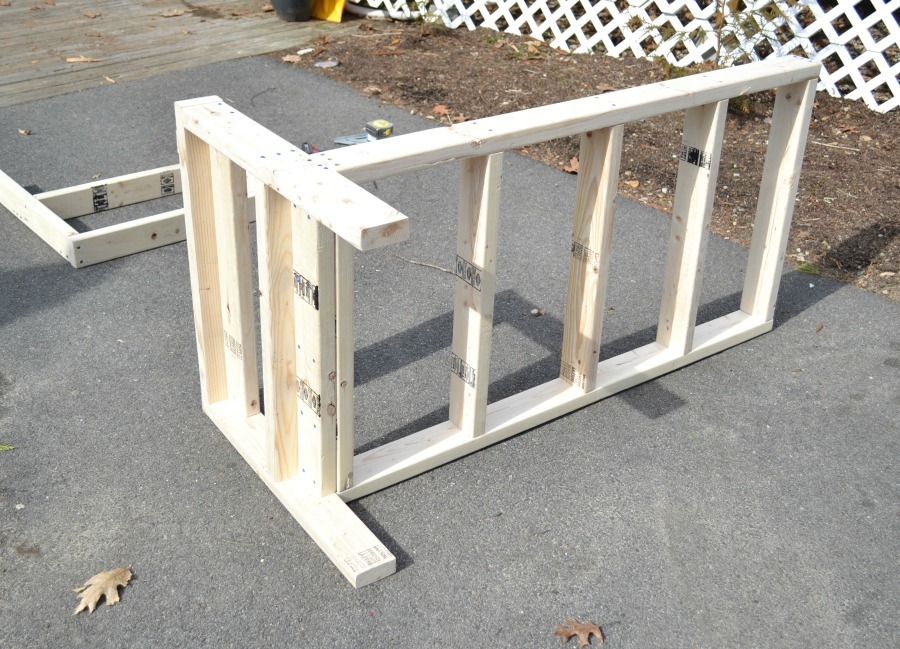
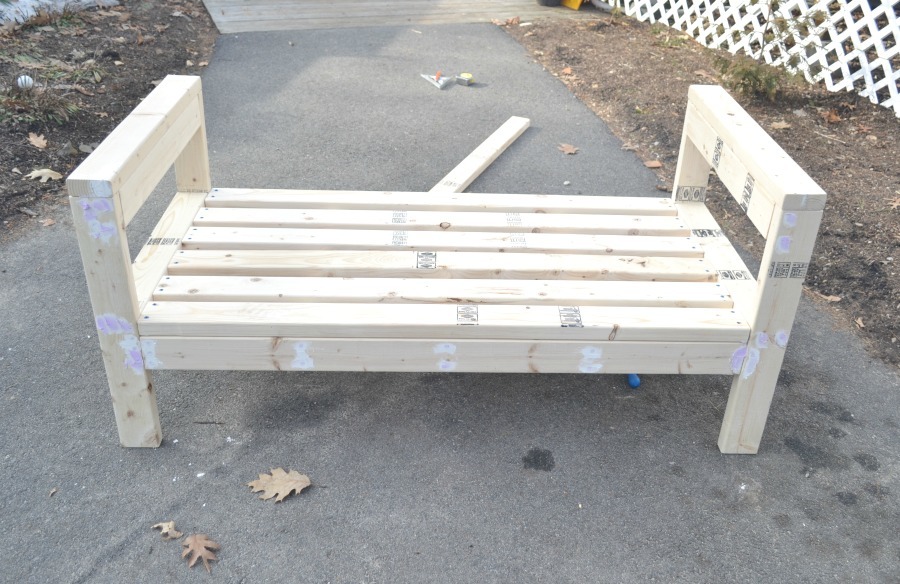
We've built over 100 of these farmhouse beds - we've tweaked the design ever so slightly.
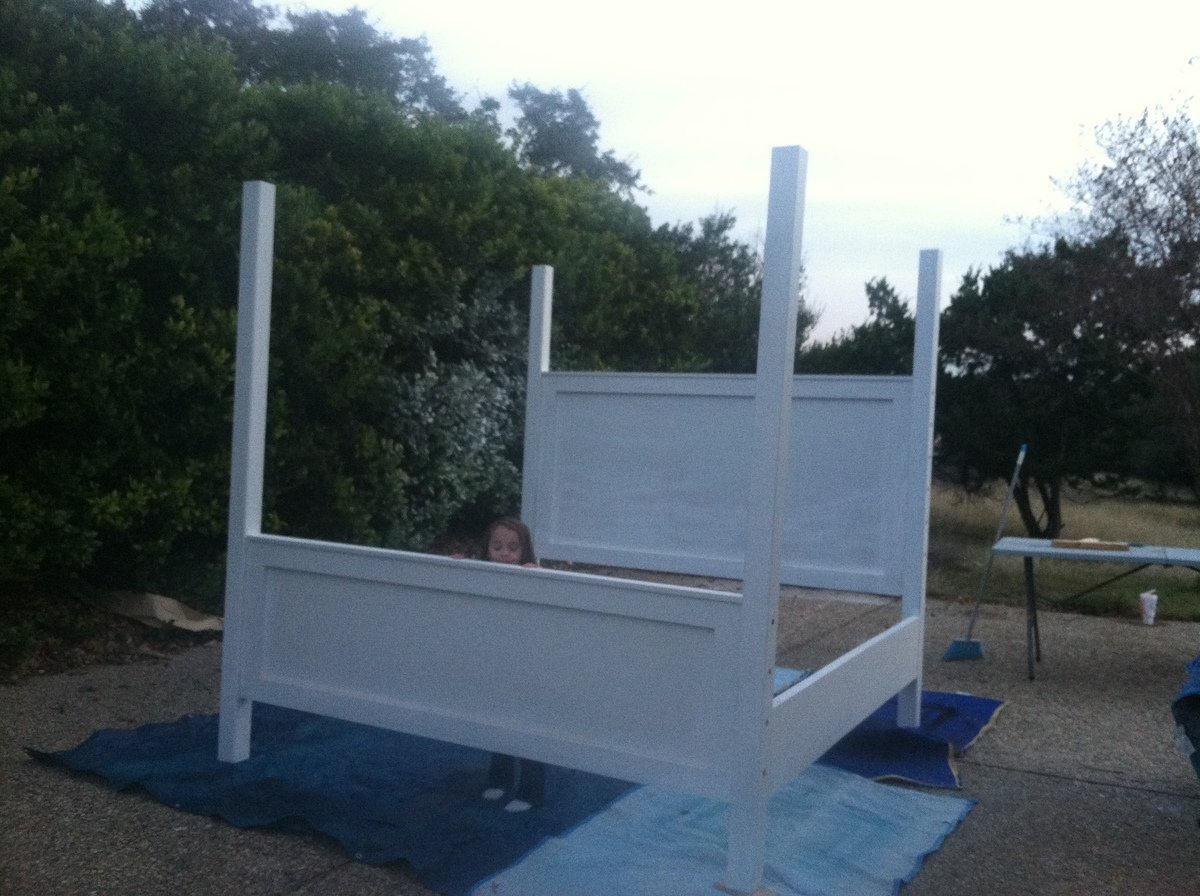
Our first Farmhouse Bed took roughly a day to complete. We sanded the entire bed, applied stain & then applied two coats of matte varnish. At least apply one. Stain can leak for weeks, and smell bad for longer.
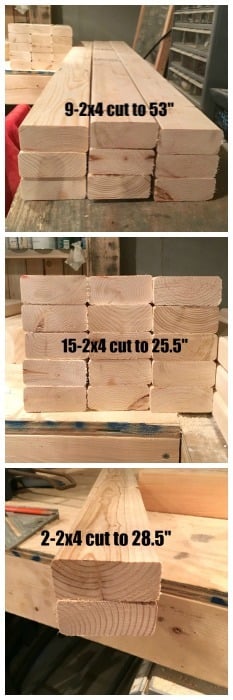
We use 2x3's for our slats and find them extra strong!

Built from Plan(s)
Estimated Cost
A Queen Costs roughly 160.00 for just the wood. That isn't including stain, screws, poly or any of the other materials.
Estimated Time Investment
Afternoon Project (3-6 Hours)
Finish Used
We used minwax stains mixed to make a custom stain called "beachwood".
Then we applied A matte polyurethane - We also used metal caps on the holes in the top of the footboard/headboard.
Then we applied A matte polyurethane - We also used metal caps on the holes in the top of the footboard/headboard.
Recommended Skill Level
Beginner