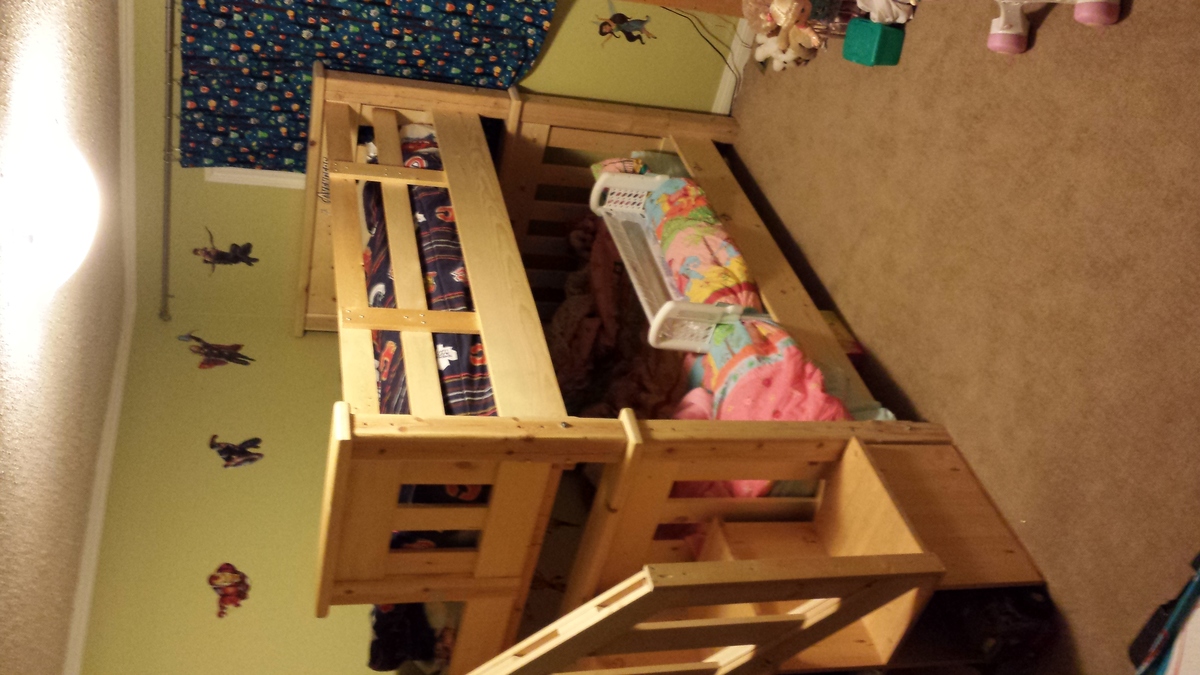
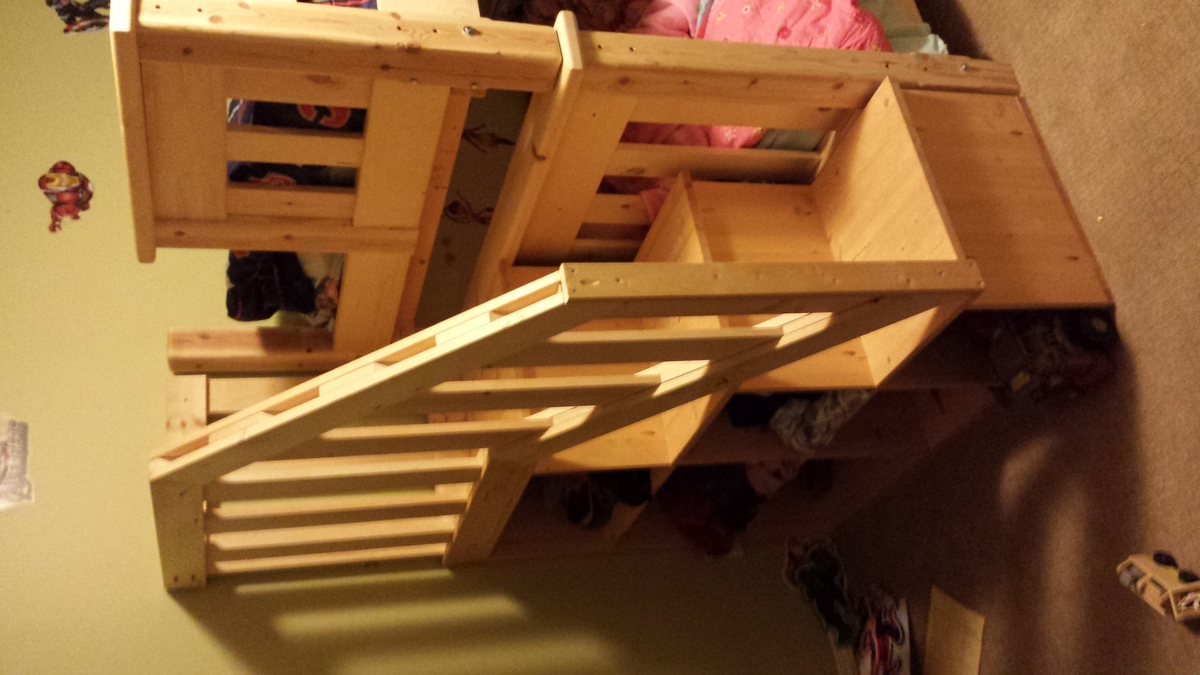
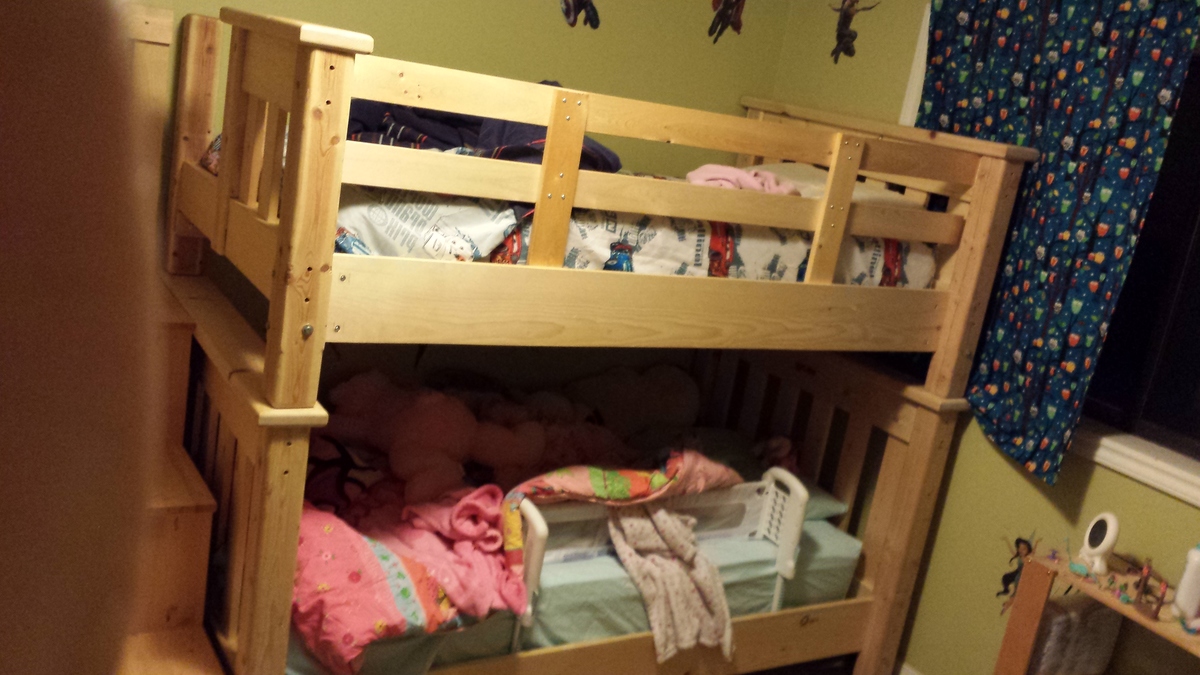
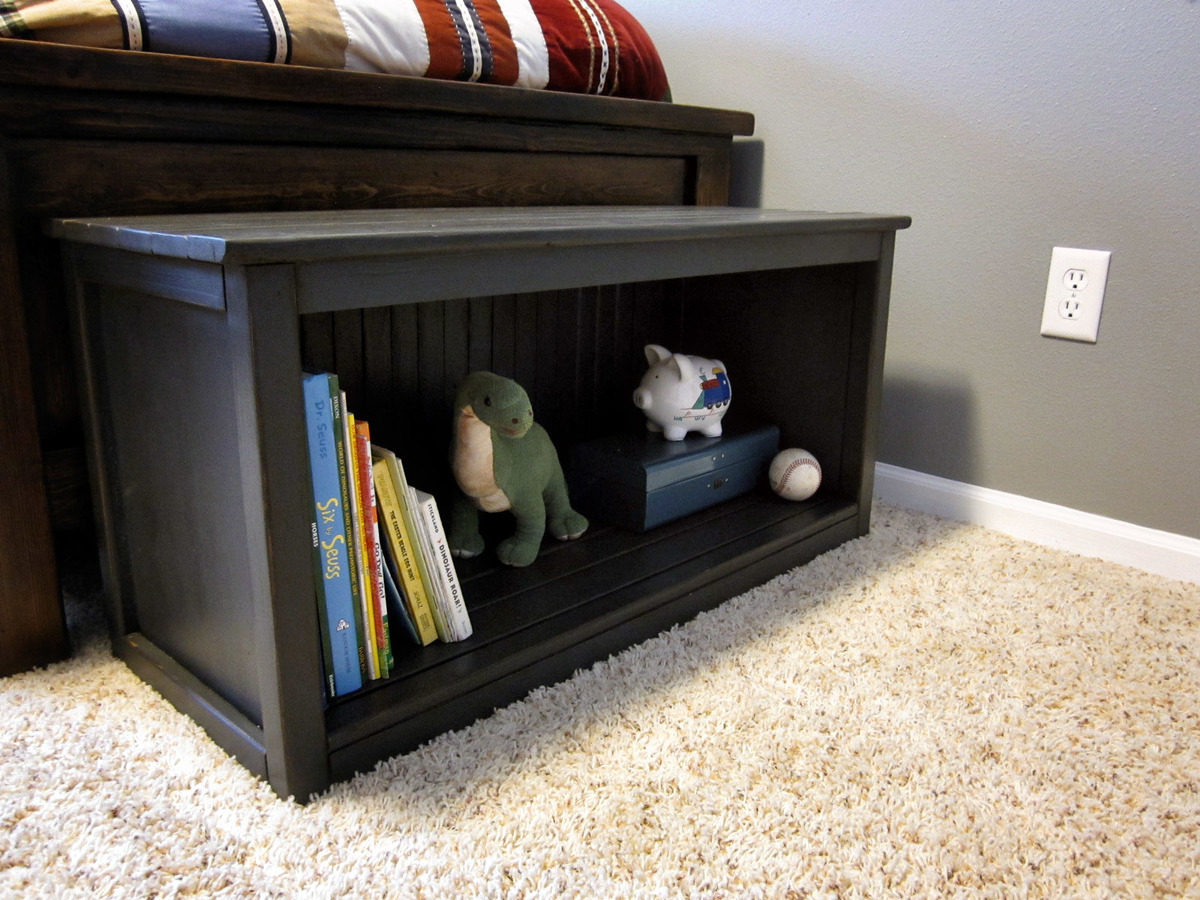
Bunk Beds with Steps
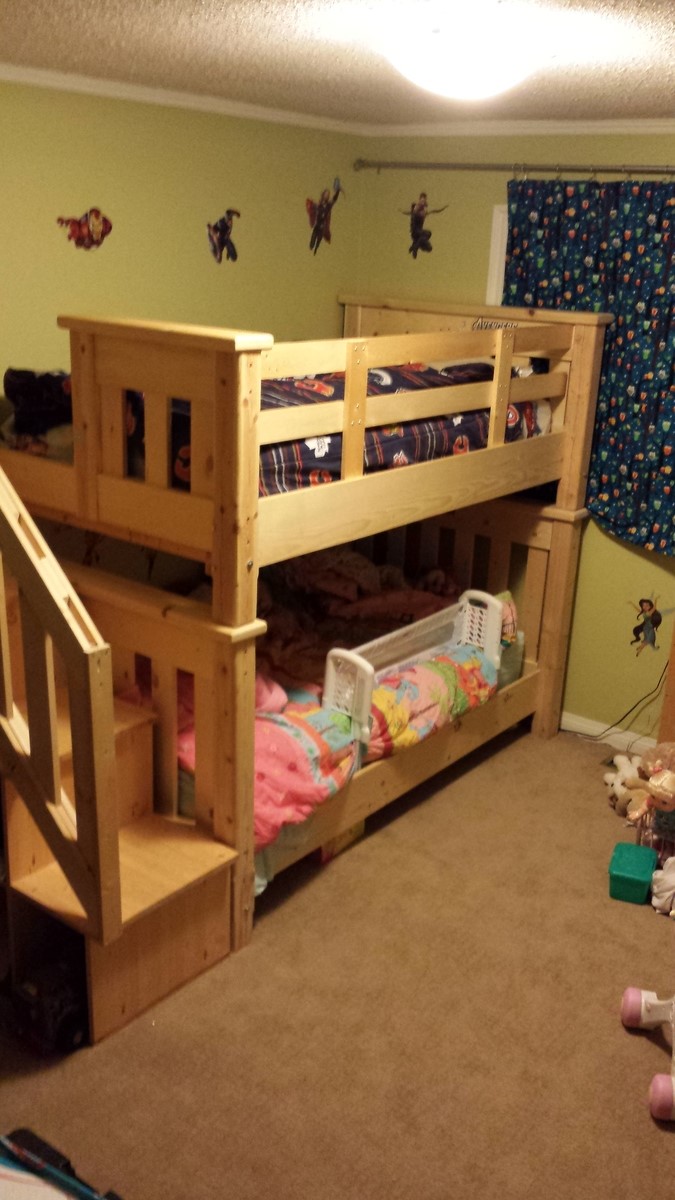
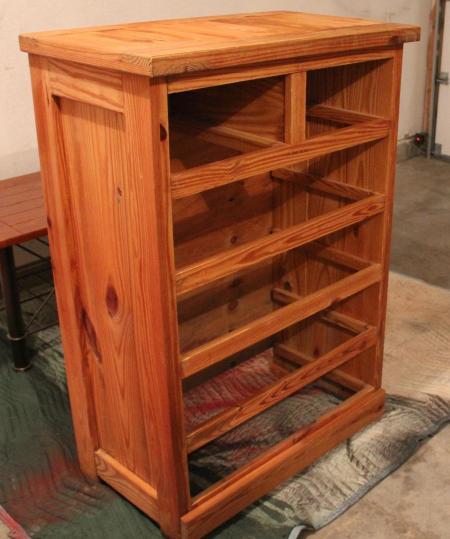
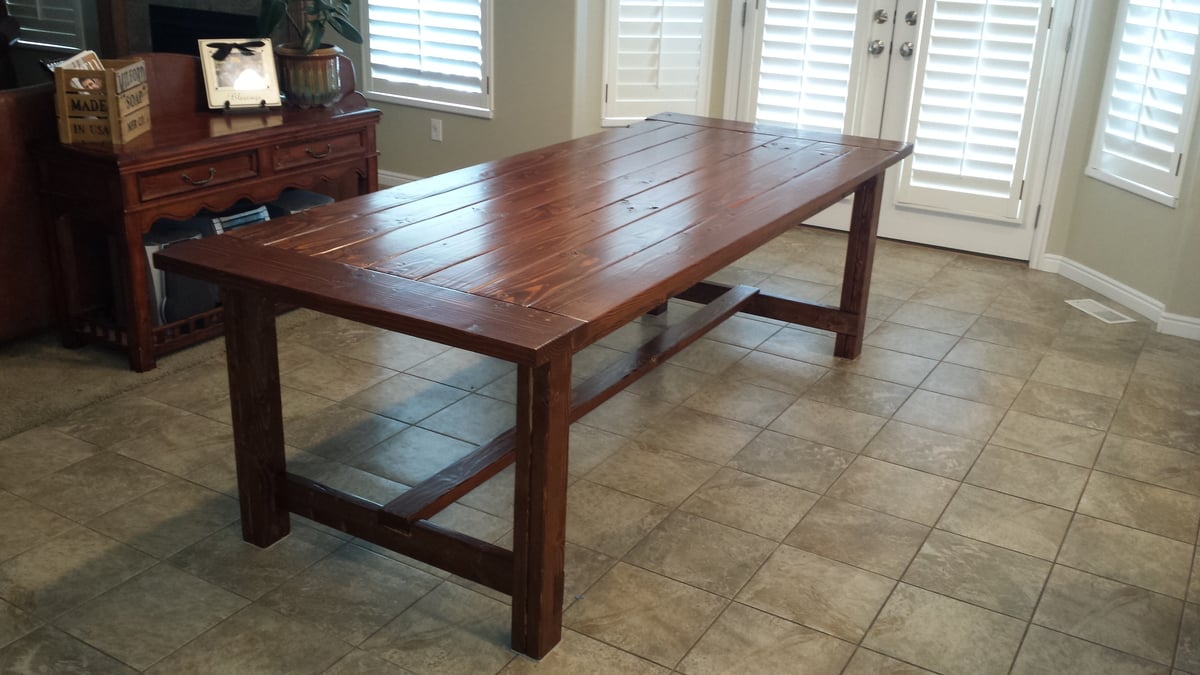
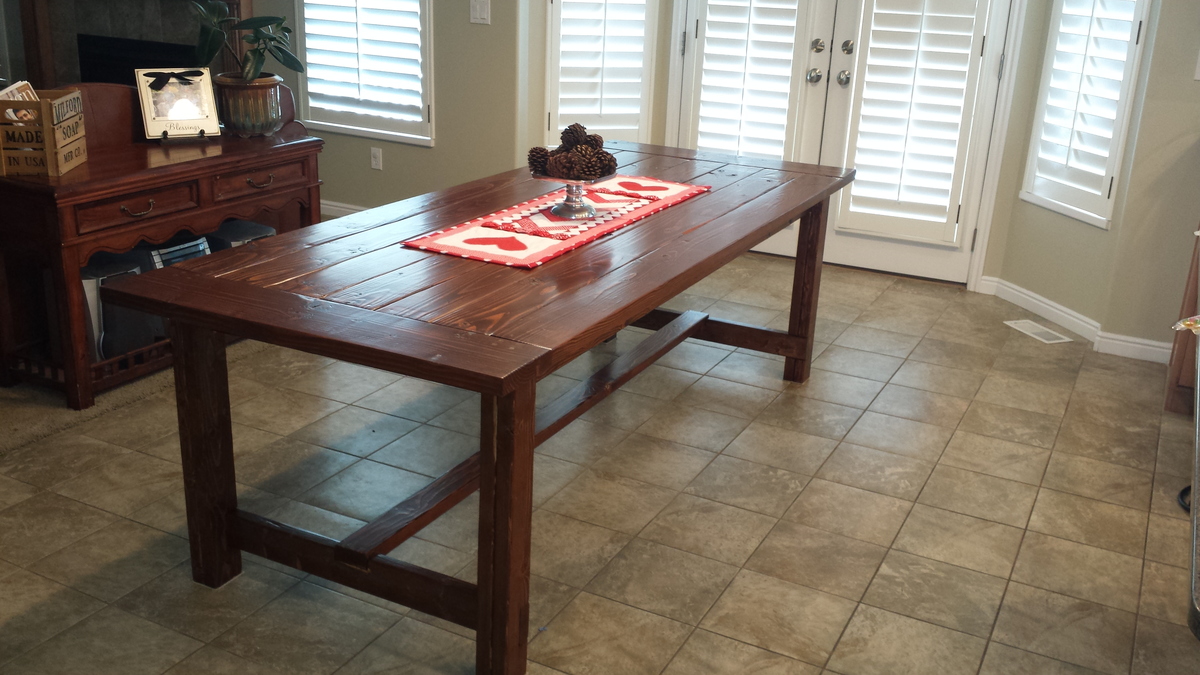
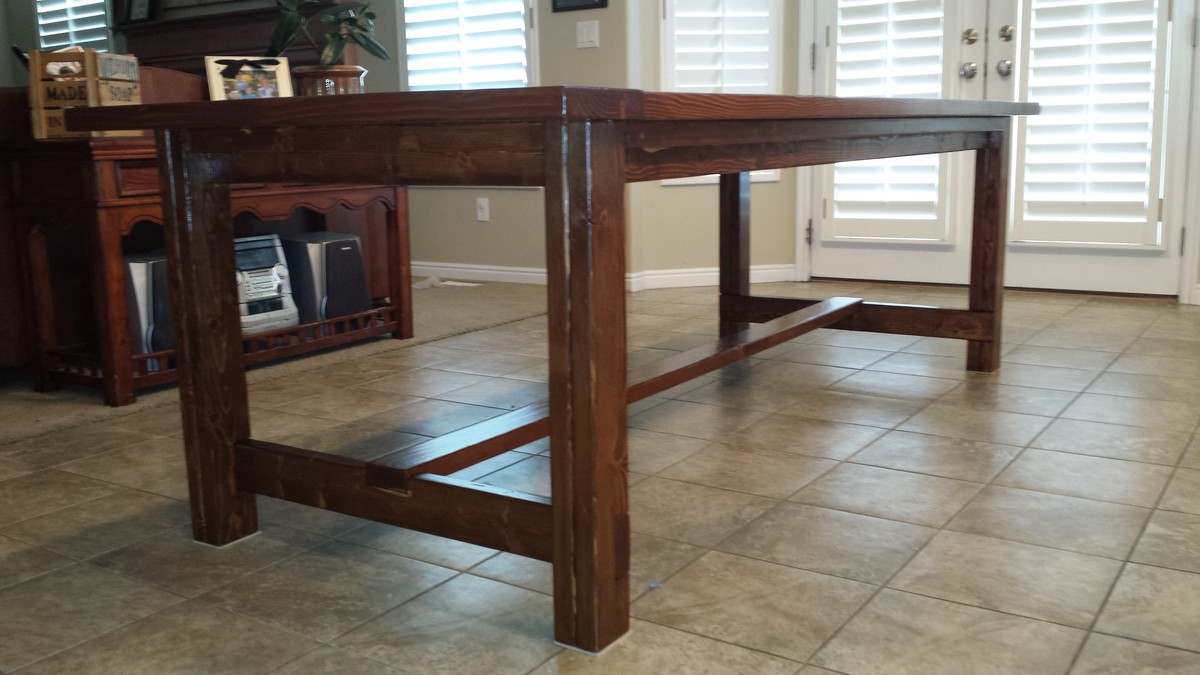
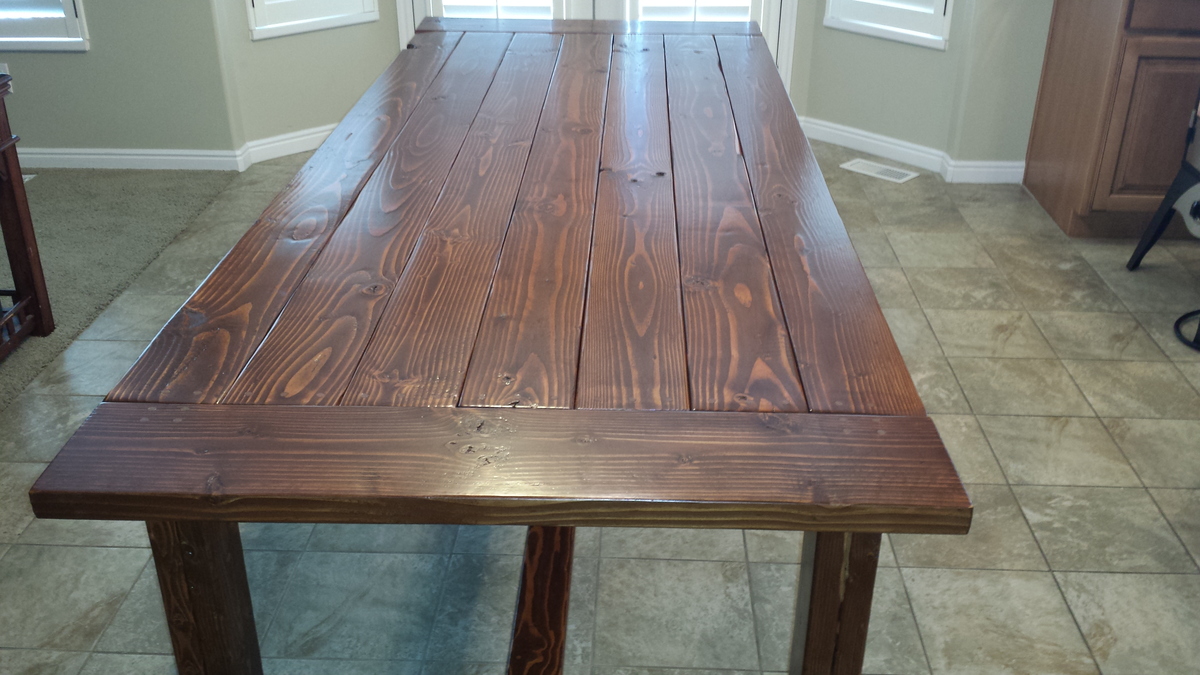
Well, this is my first post and my first real project. Bunk beds out of knotty Pine that can be used as single beds when the kids no longer want to share a room. I wasn't willing to spend $1500-$2000 on bunk beds when I knew I could make some myself. So here it is, I would do it a little different if I was too do it again. I know it's not perfect, but I'm proud of it.......always room for improvement.
Estimated Cost
$500-$600
Estimated Time Investment
Weekend Project (10-20 Hours)
Recommended Skill Level
Starter Project


Comments
spohl08
Thu, 01/23/2014 - 19:46
Plans
Would you be able to send plans to these?