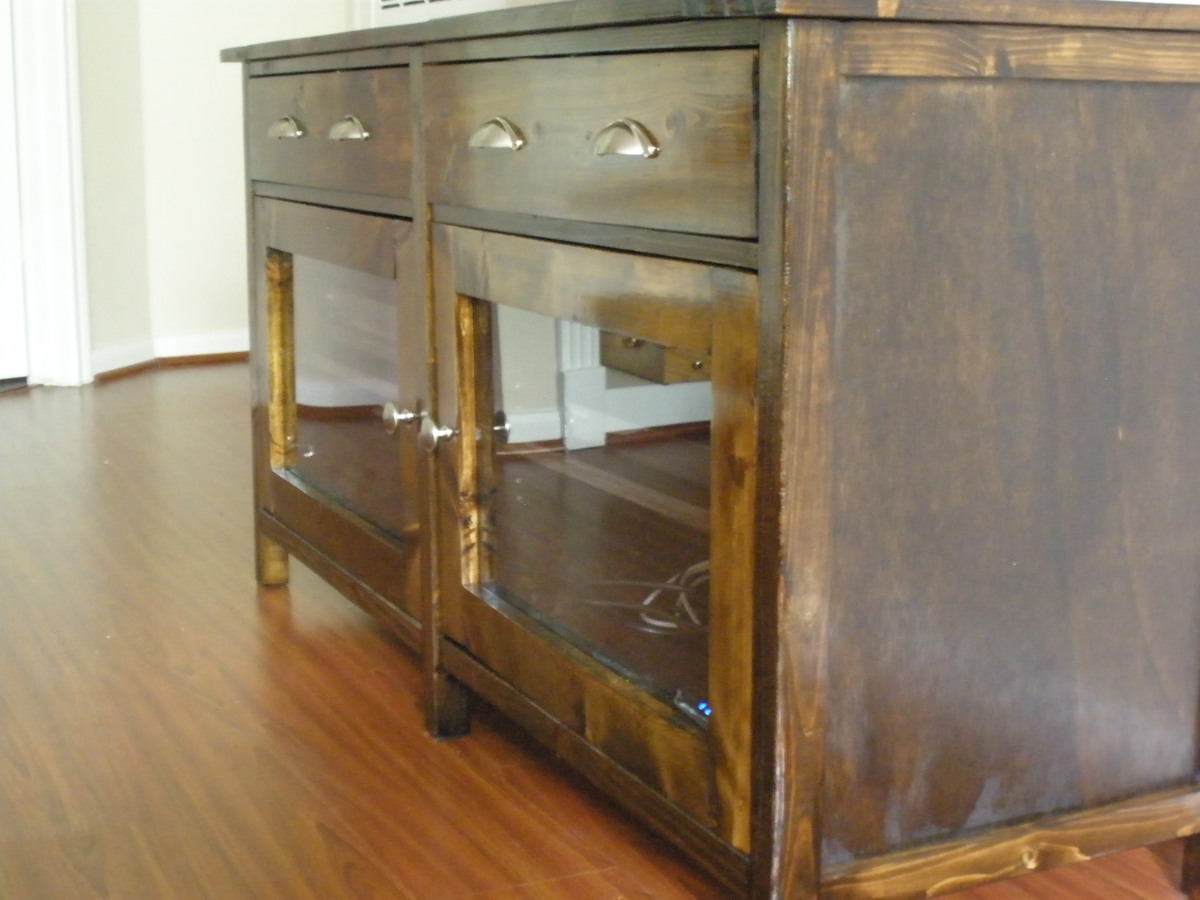
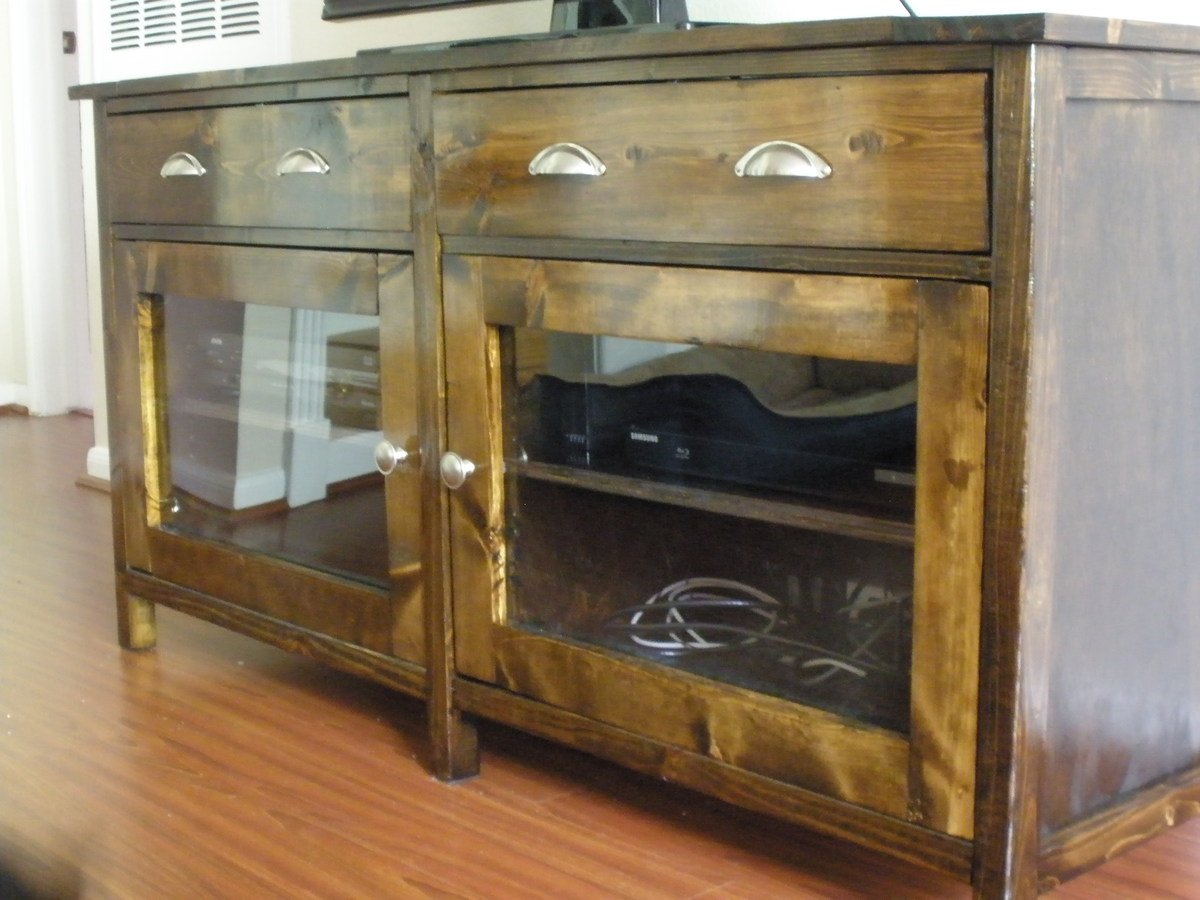
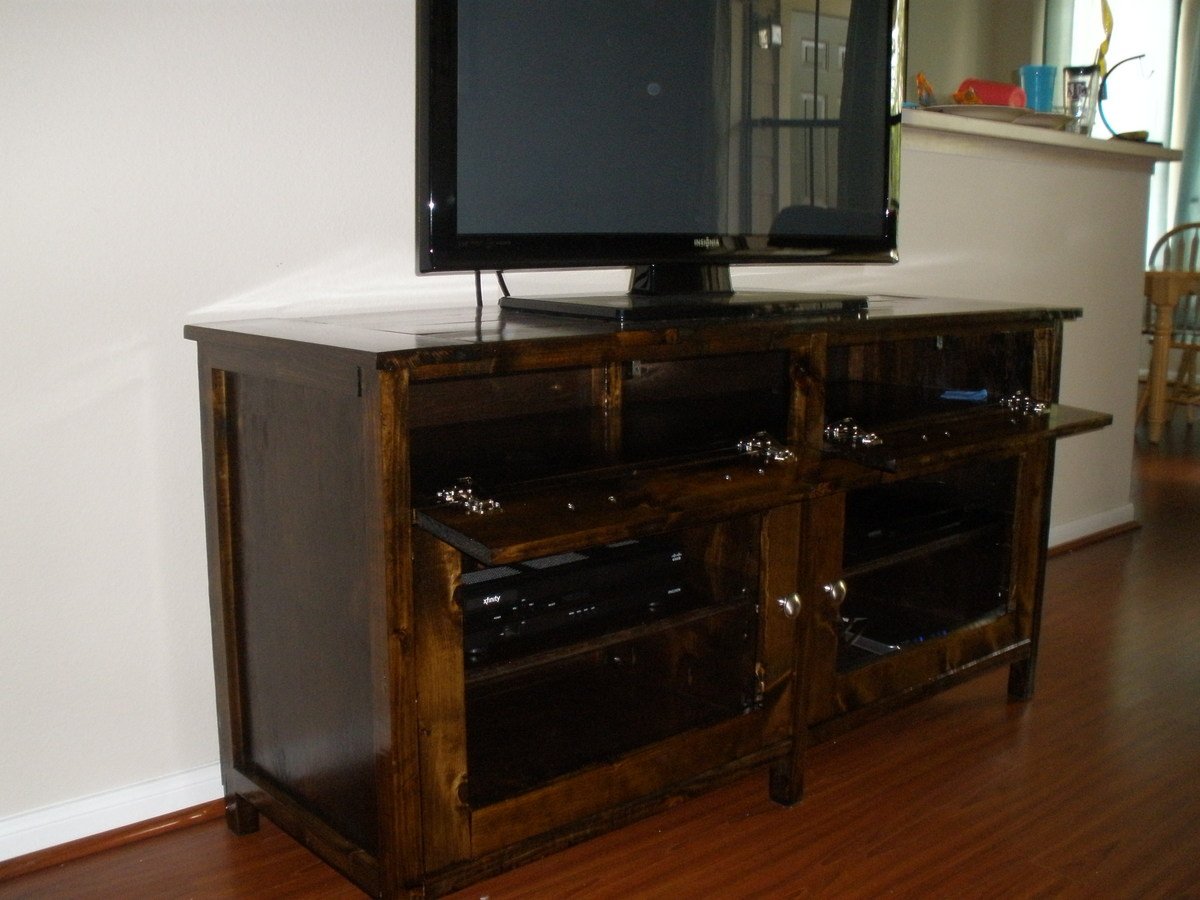
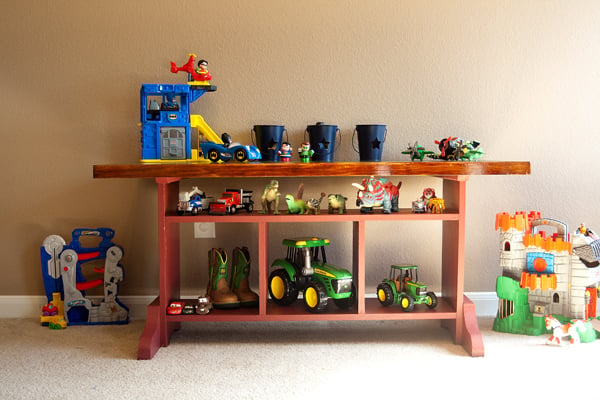
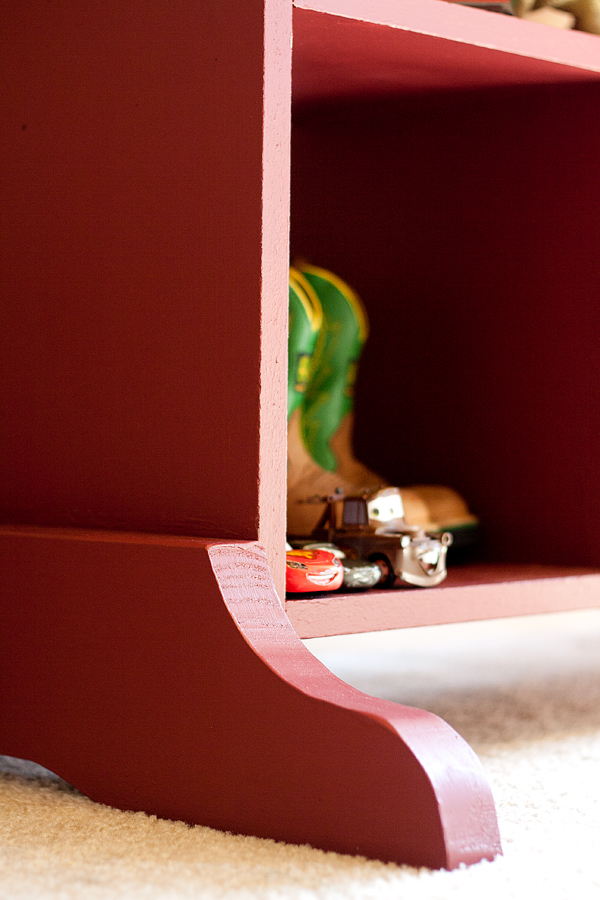
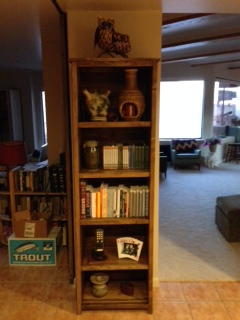
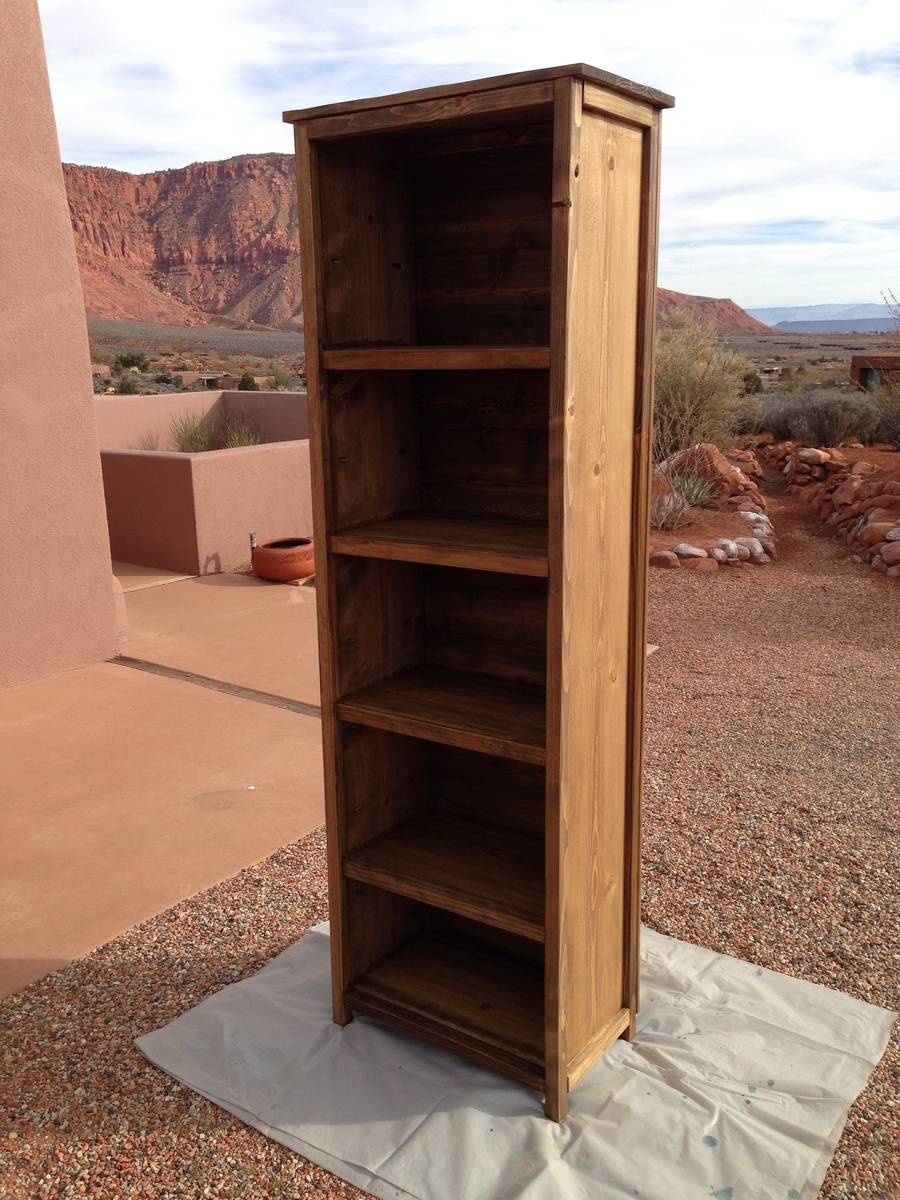
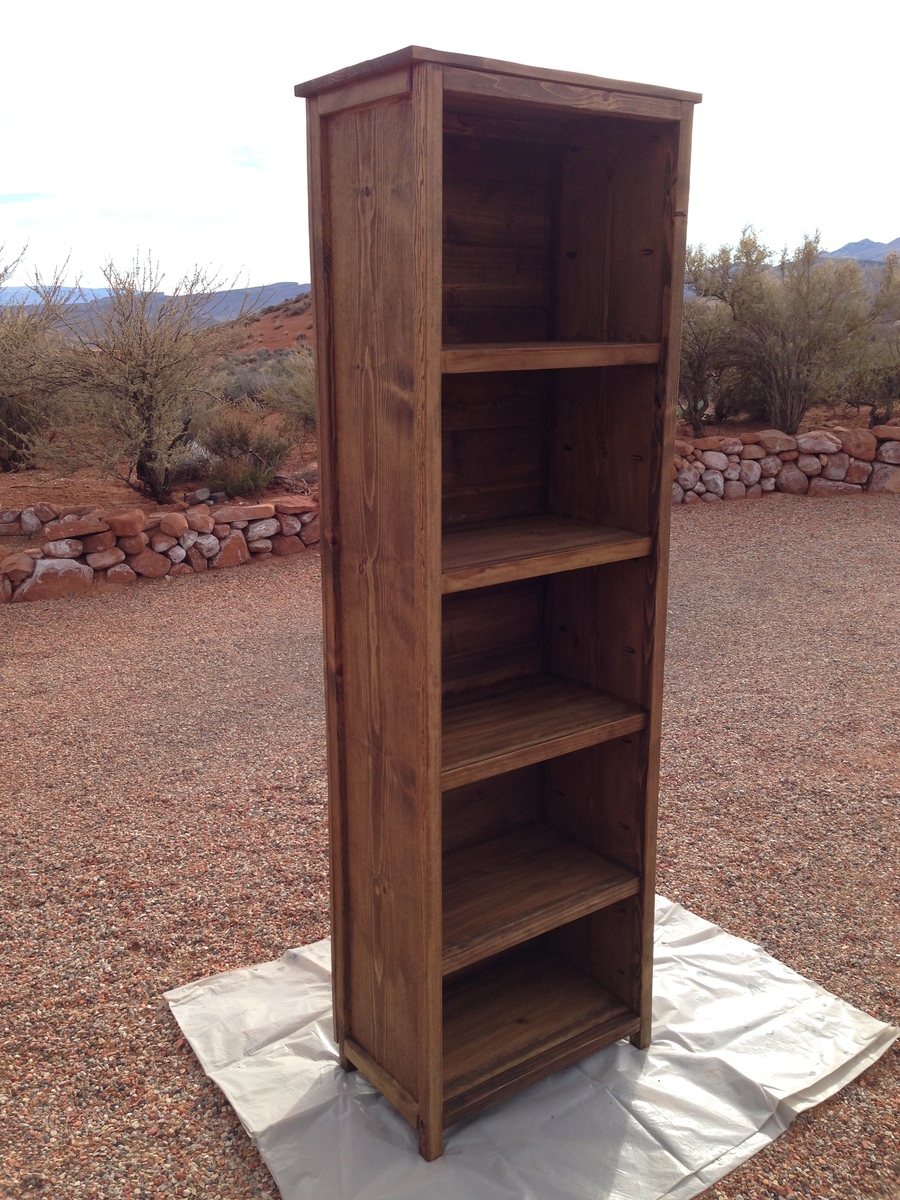
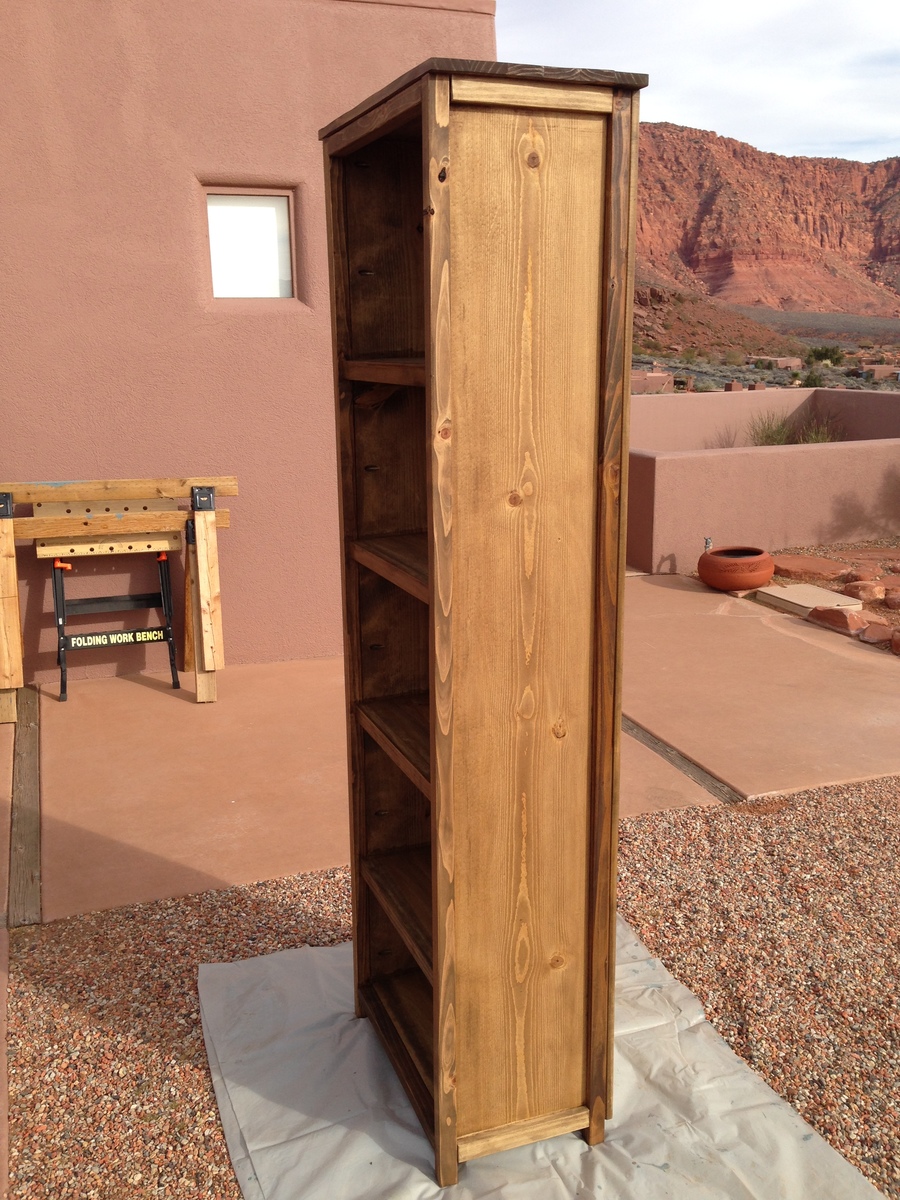
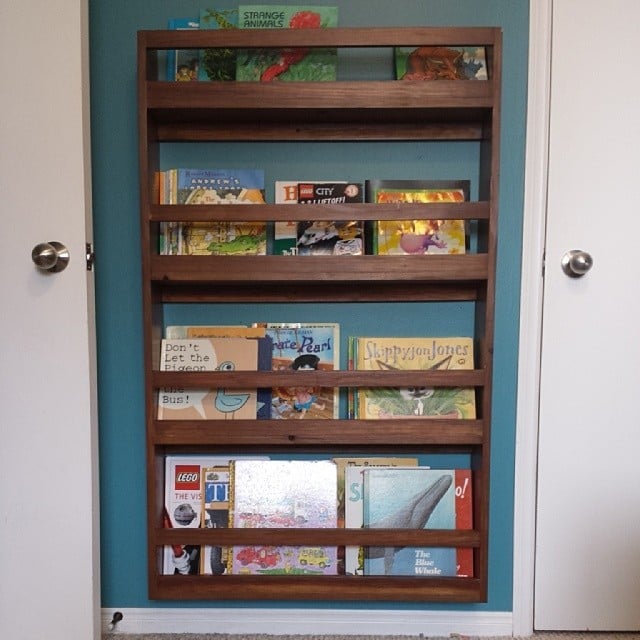
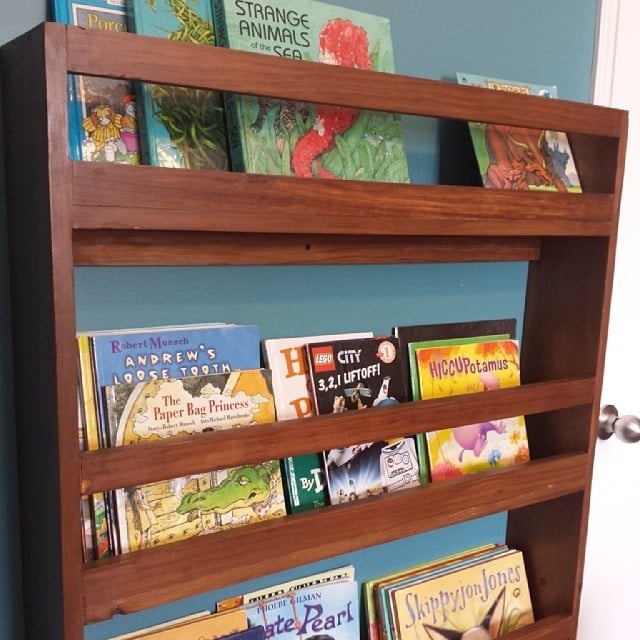
I loved the rustic look of this plan but decided to use prime pine and sanded it smooth. I also used tongue & grove 6" cedar for the backing running horizontal instead of vertical to not make the shelf unit look tall and skinny. I covered over the 2 side edges of the tongue & grove cedar with a pine strip 5/8" wide all the way from the top to the floor. I also increased the height to add an additional shelf. I definitely suggest using a Kreg tool. I also recommend not plugging the Kreg pocket holes. They look terrific just stained. I also recommend not bothering to screw the top slates together. Just glue them using clamps.
Here are the plan modifications I made for the extra height & shelf:
- sides 76 1/2"
- legs 78 1/2"
My next project is to make another shelf just the same except to make the shelves 31 1/2" wide. This time I will use 1"x4" backing vertically.
The end product looks spectacular. You couldn't' buy a bookshelf like this anywhere.
Estimated Cost
$100 plus $100 for the Kreg tool
Estimated Time Investment
Week Long Project (20 Hours or More)
Finish Used
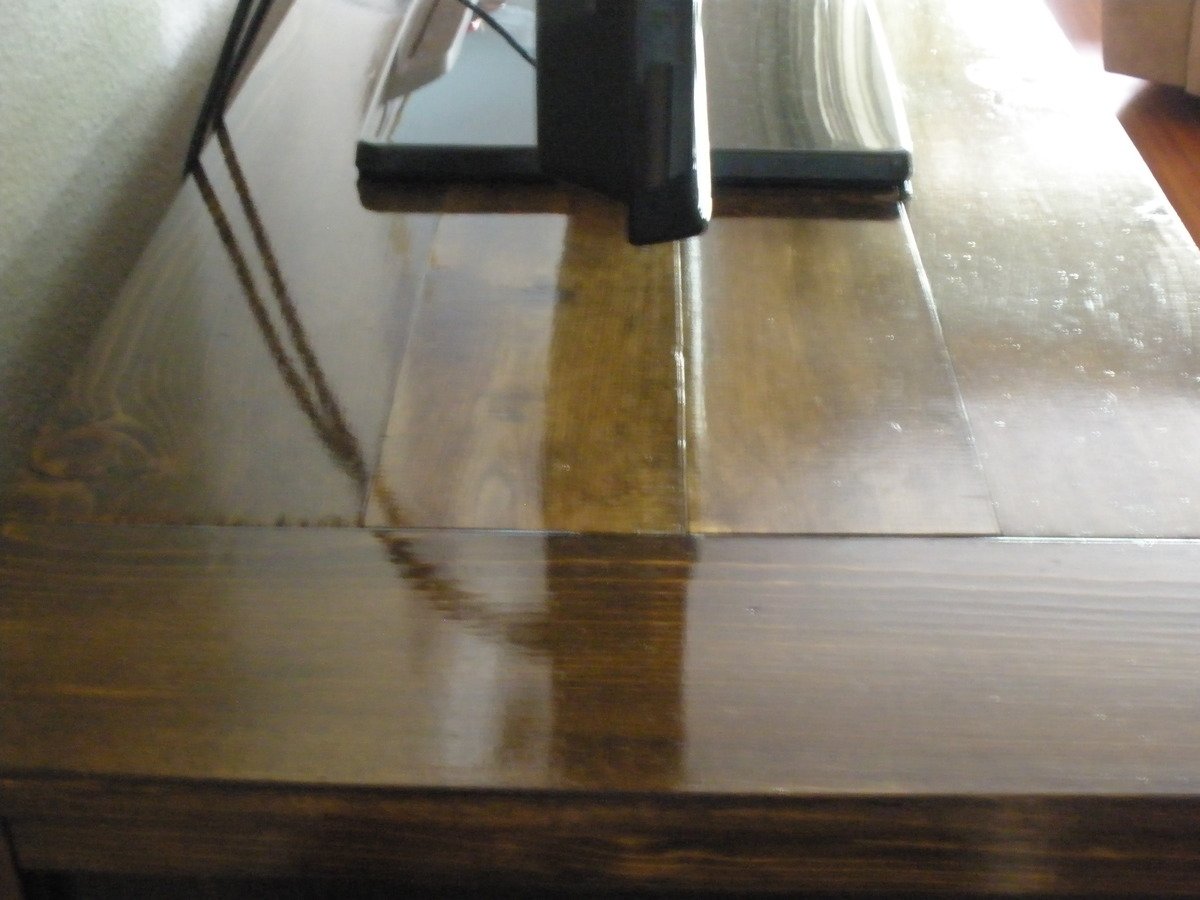
Used Old Masters Dark Walnut penetrating stain #41004. Applied with the expensive Bounty paper towels. Used a 1" foam brush to stain inside the pocket holes. Don't bother trying to plug the pocket holes. They look better stained. Also applied BRIWAX light brown wax polish applied with a plastic scruff pad after the stain dried. Warning, stain the whole project at the same time. If you let parts dry and stain over them, it will show up differently.
Recommended Skill Level
Intermediate