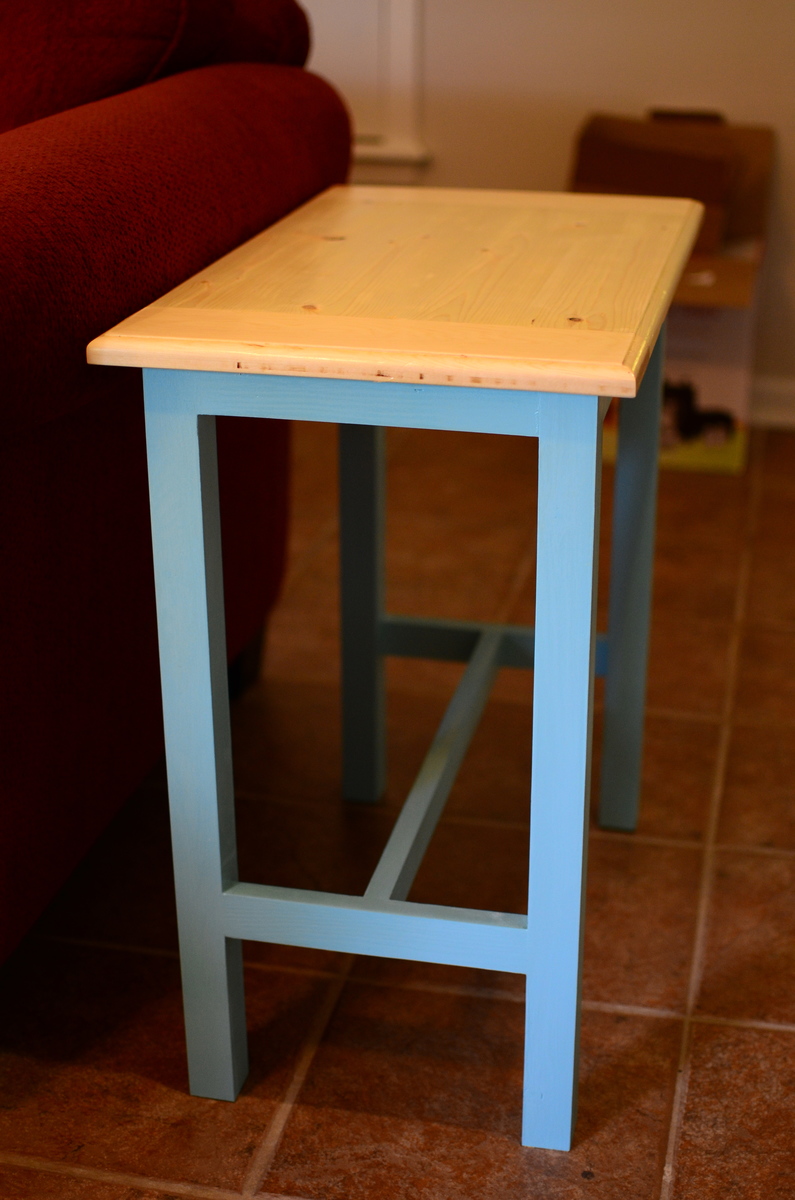
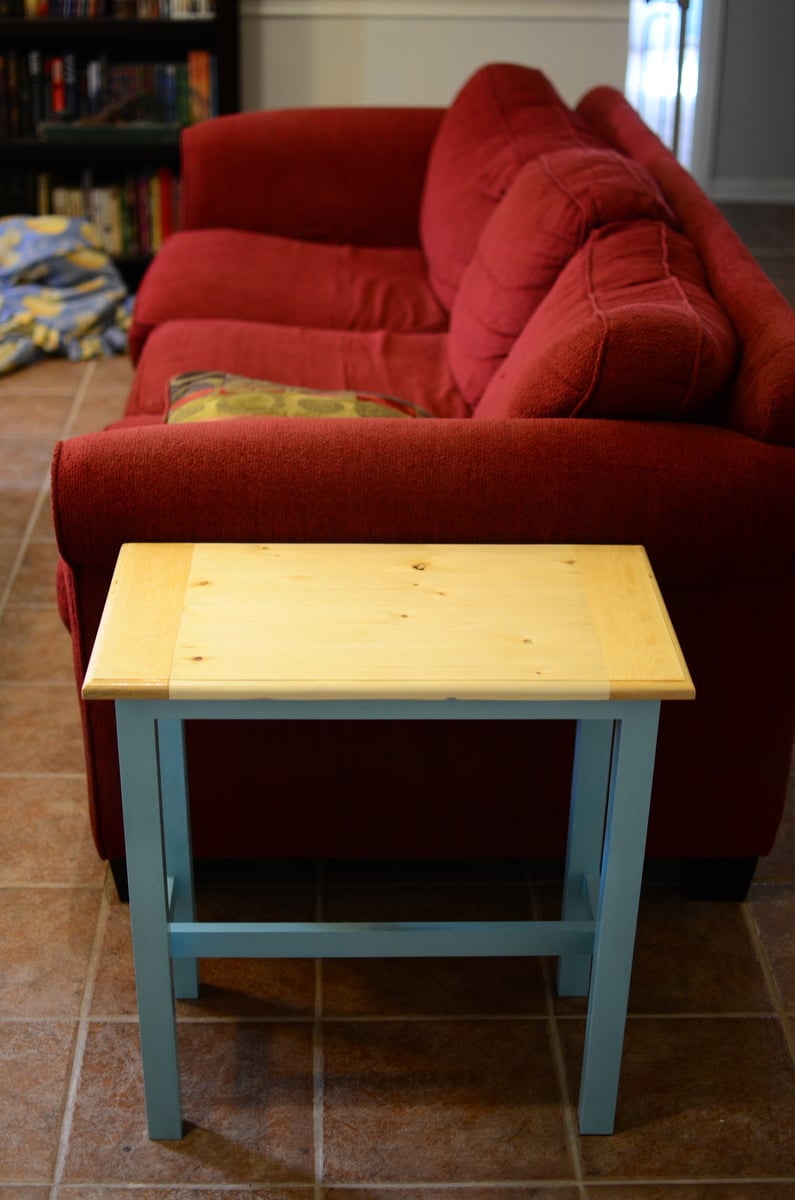
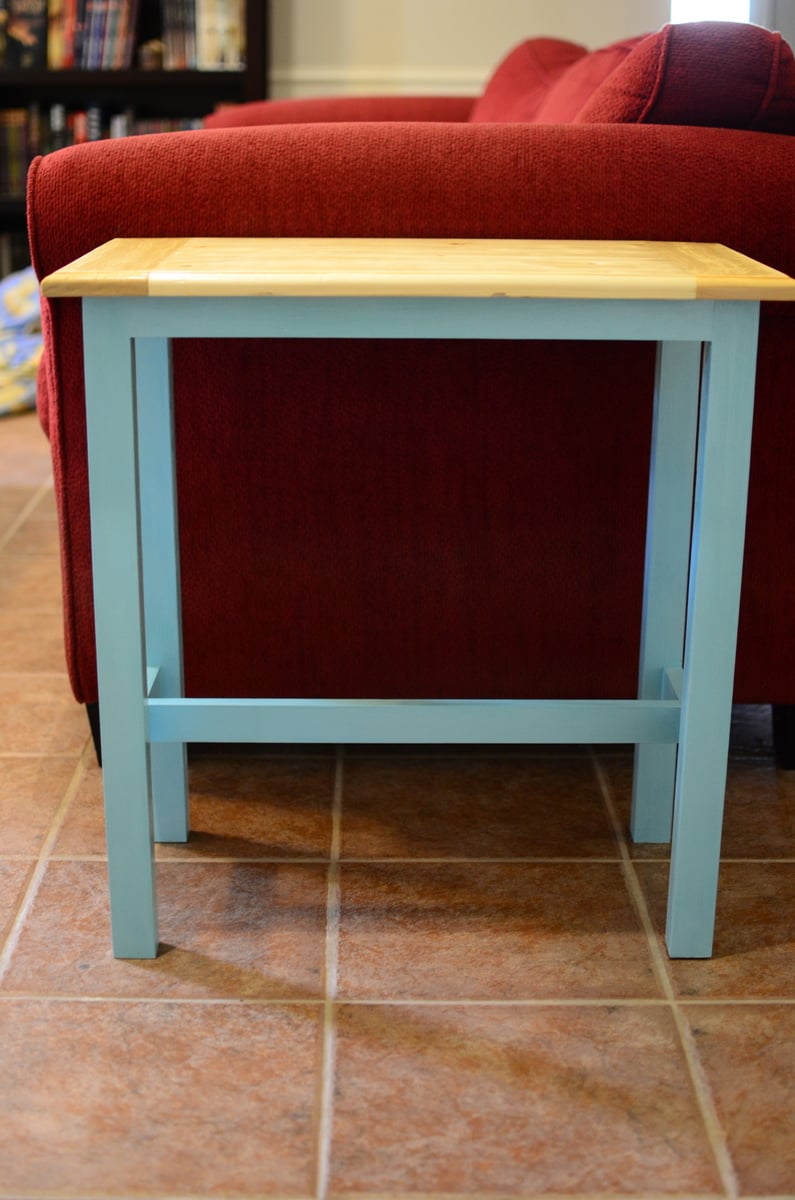
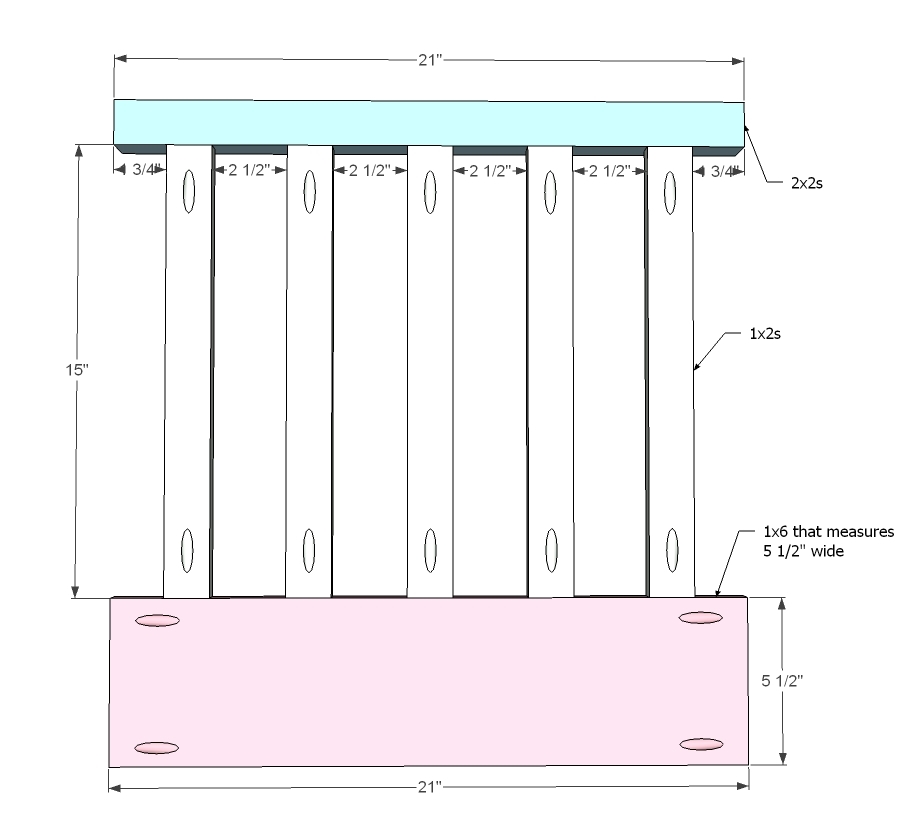
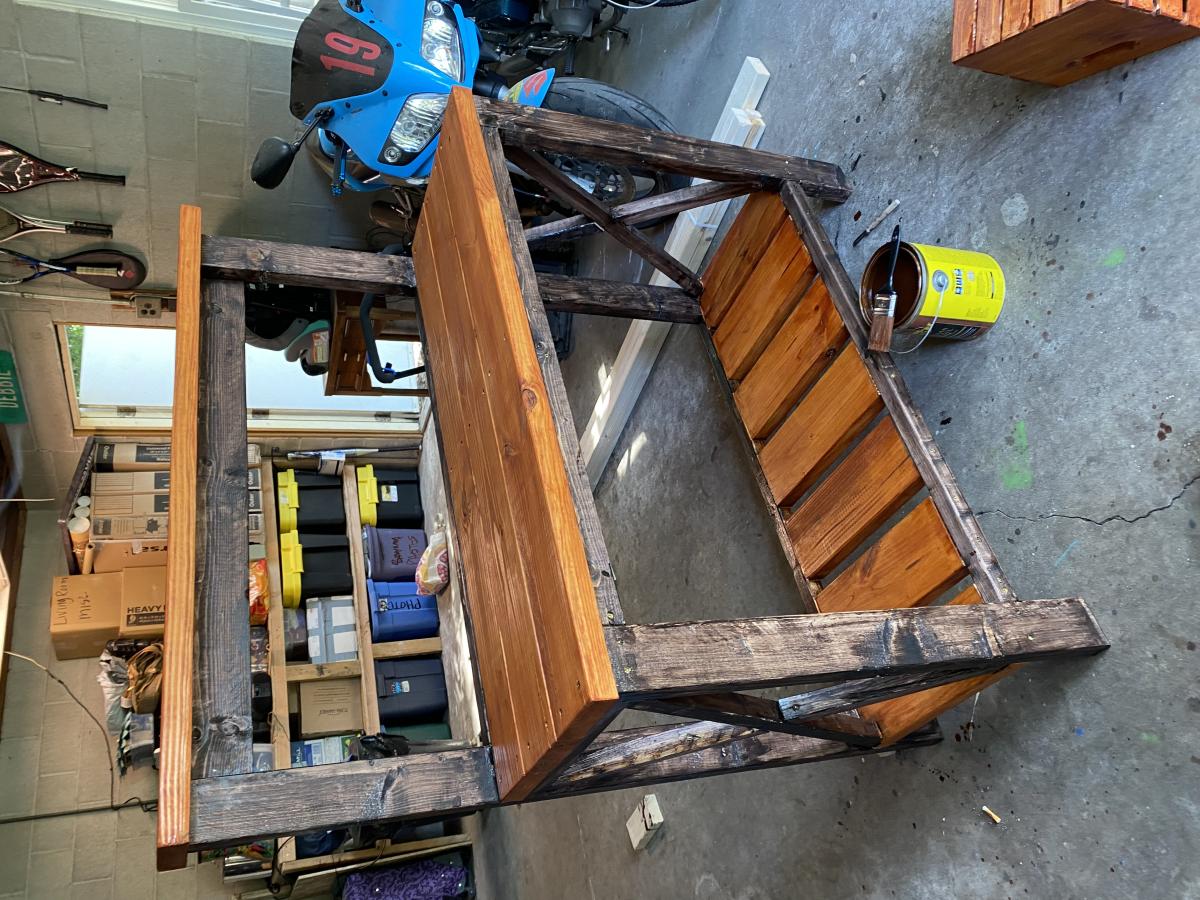
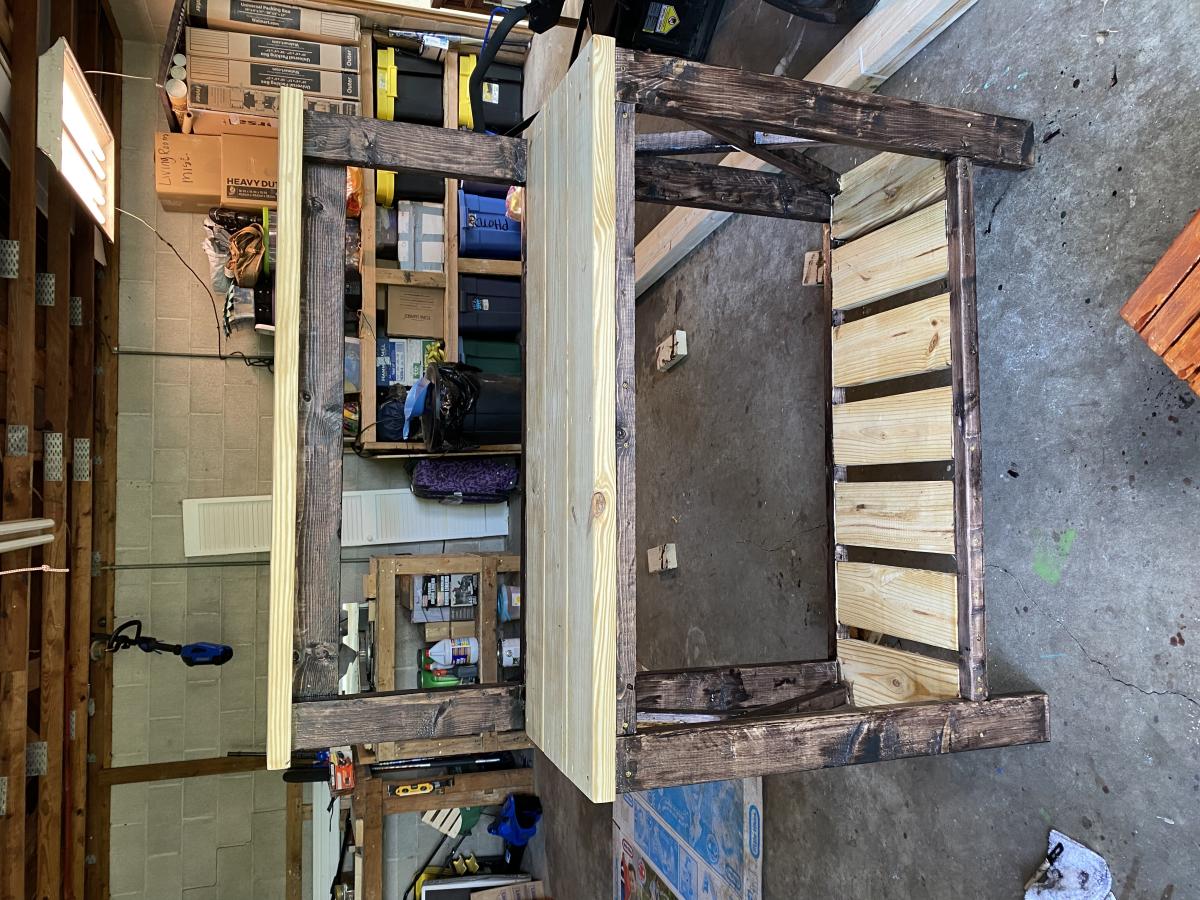
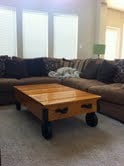
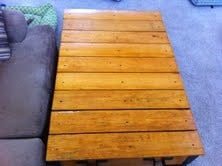
Simple Bar Stools
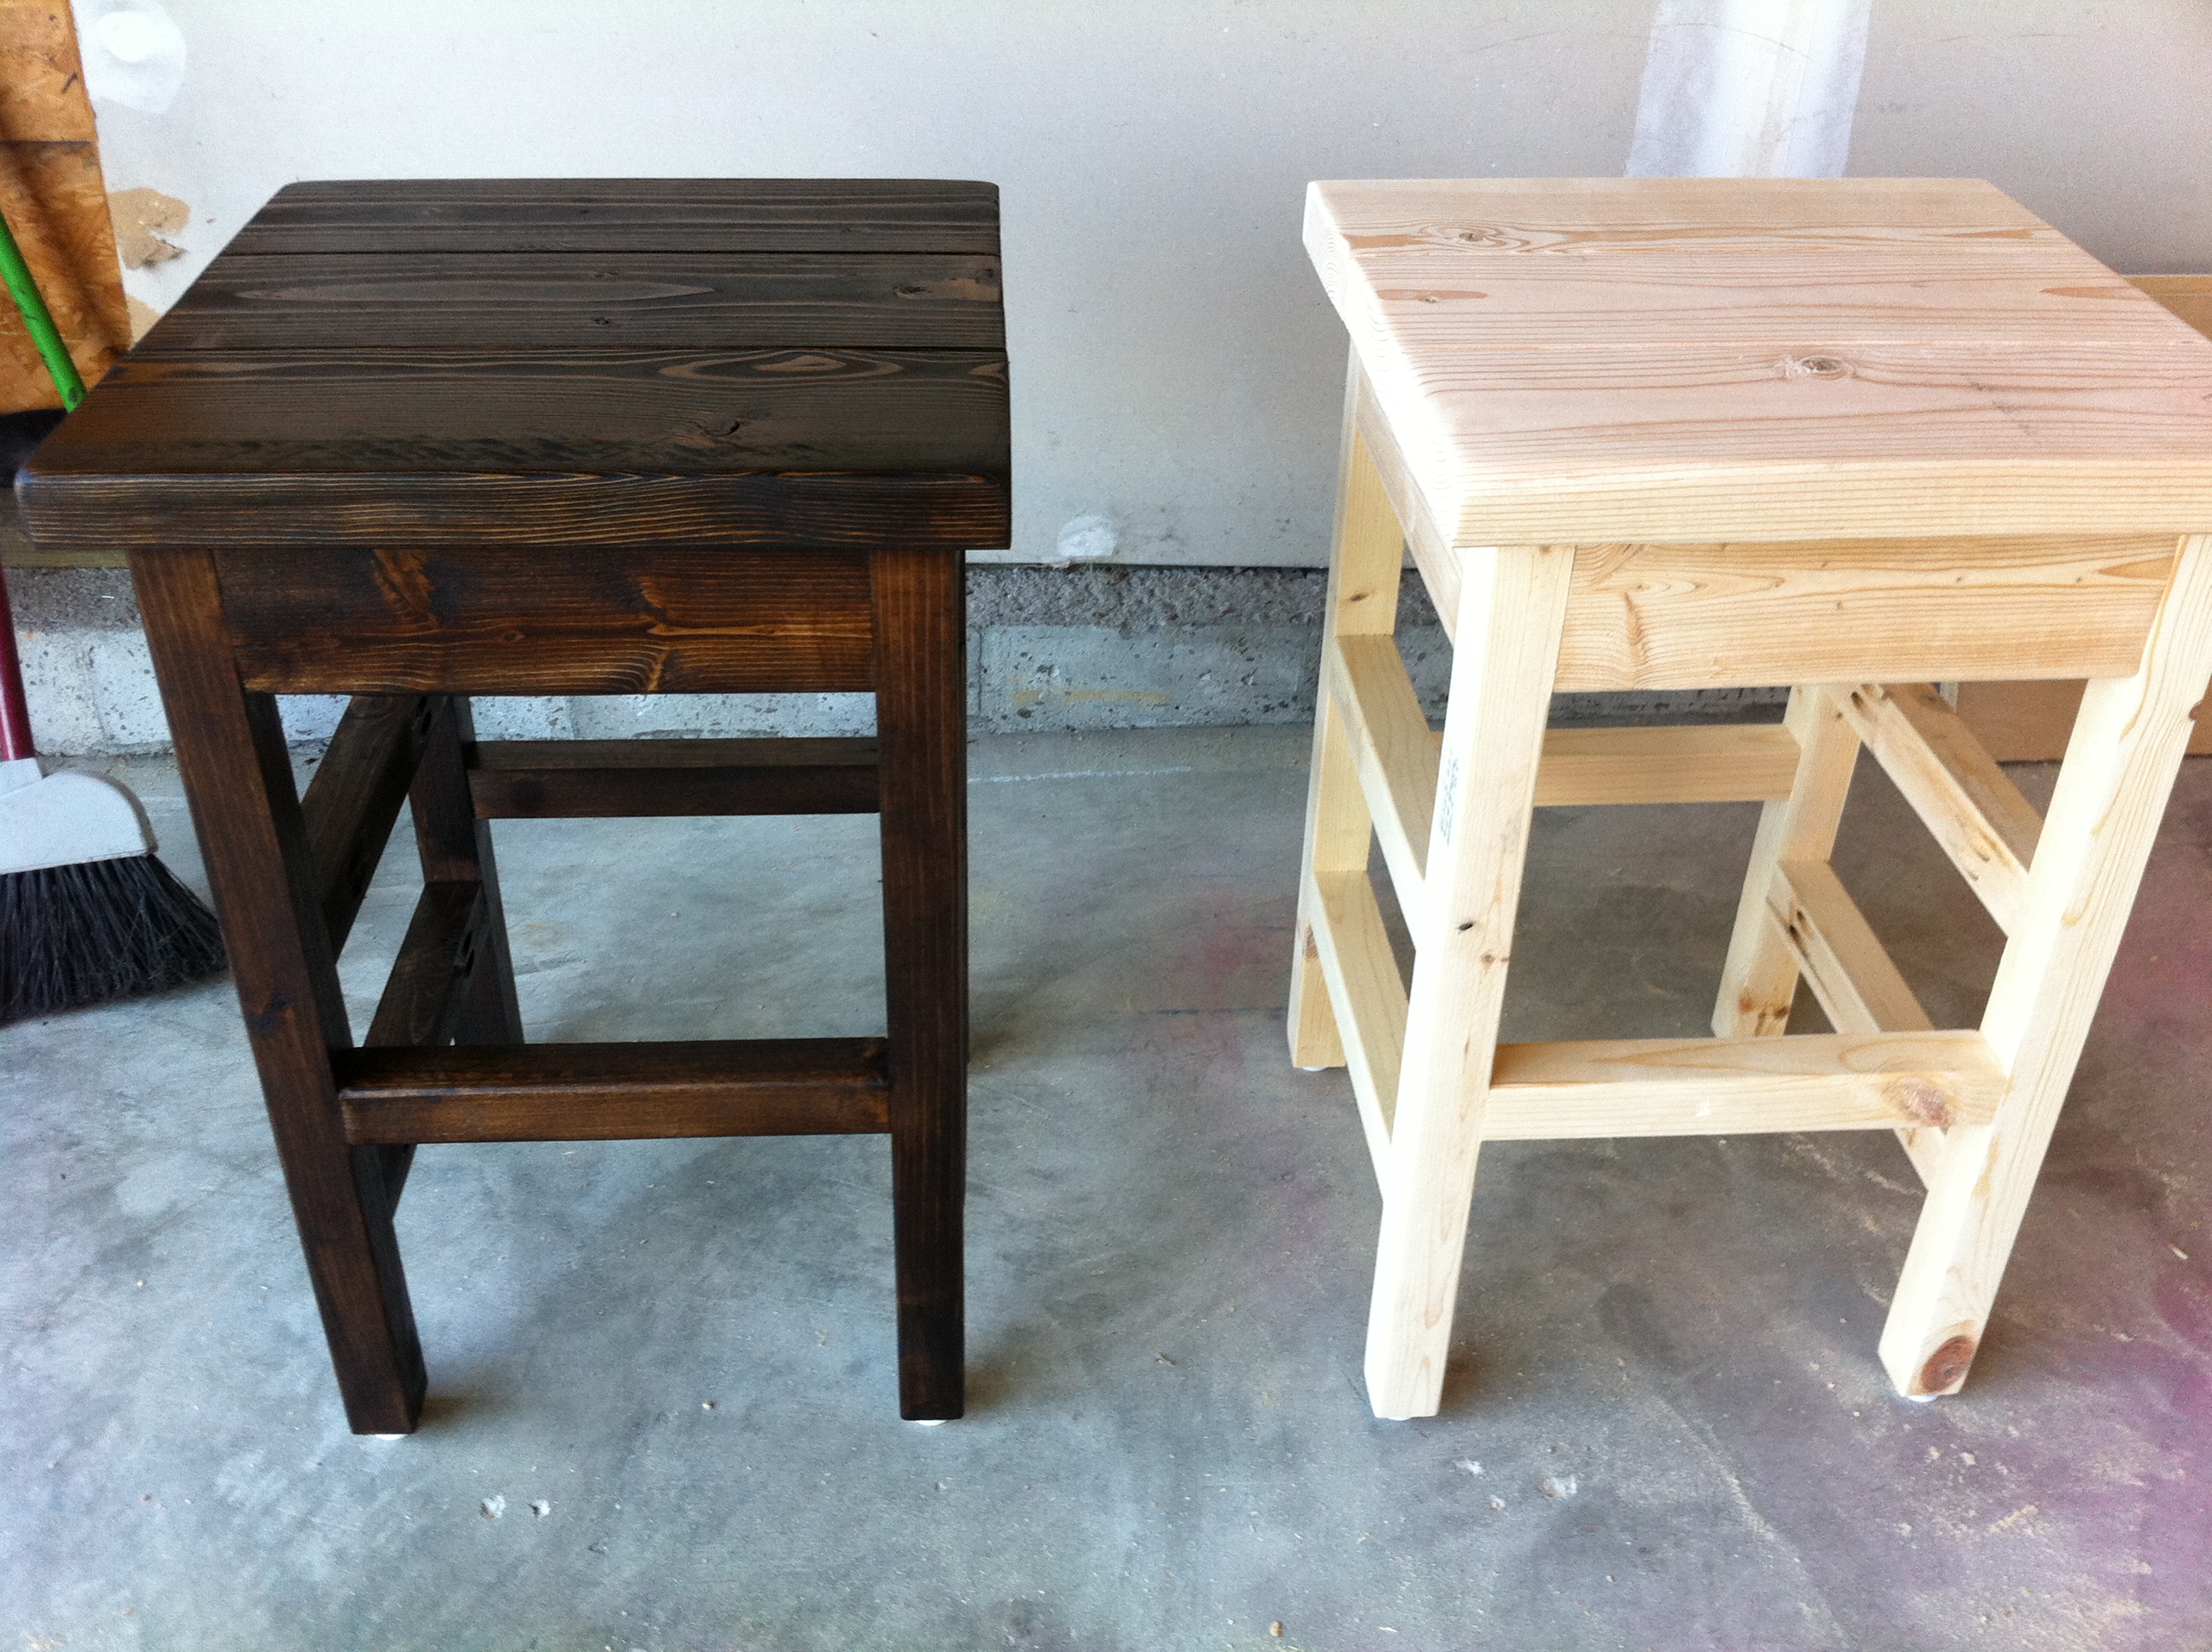
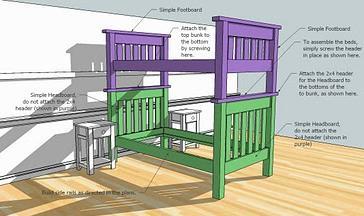
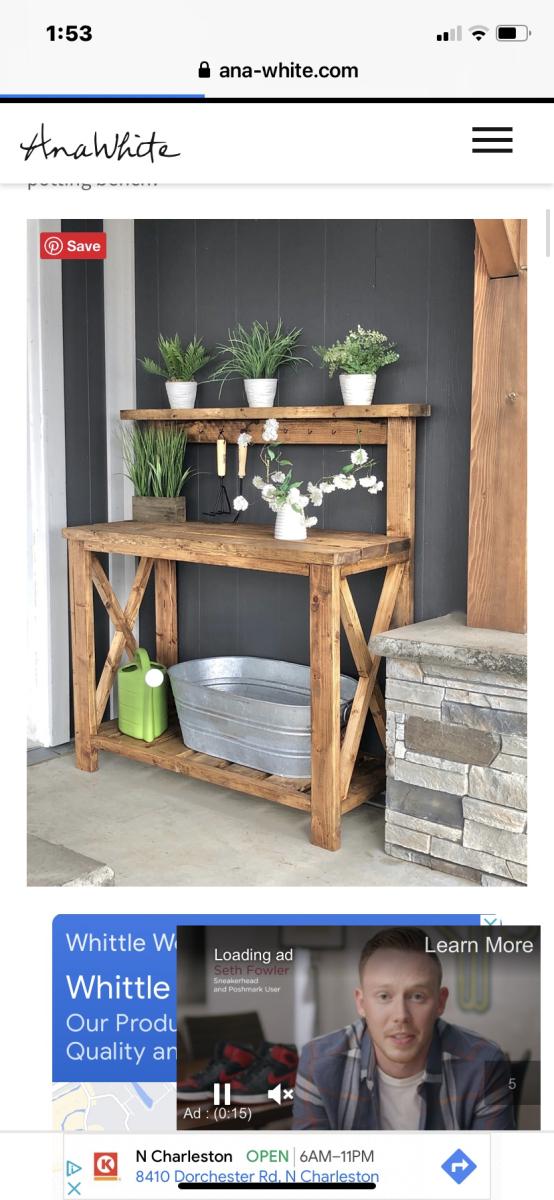
I used Ana's idea for the plan, but modified it slightly to stand up to my wrecking crew (aks the kiddos). I posted a step by step plan with photos on my blog if you want to use the information for yourself.
Estimated Time Investment
An Hour or Two (0-2 Hours)
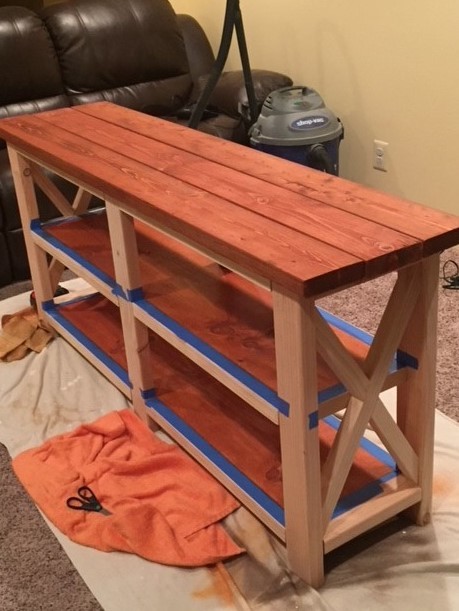
Finish Used
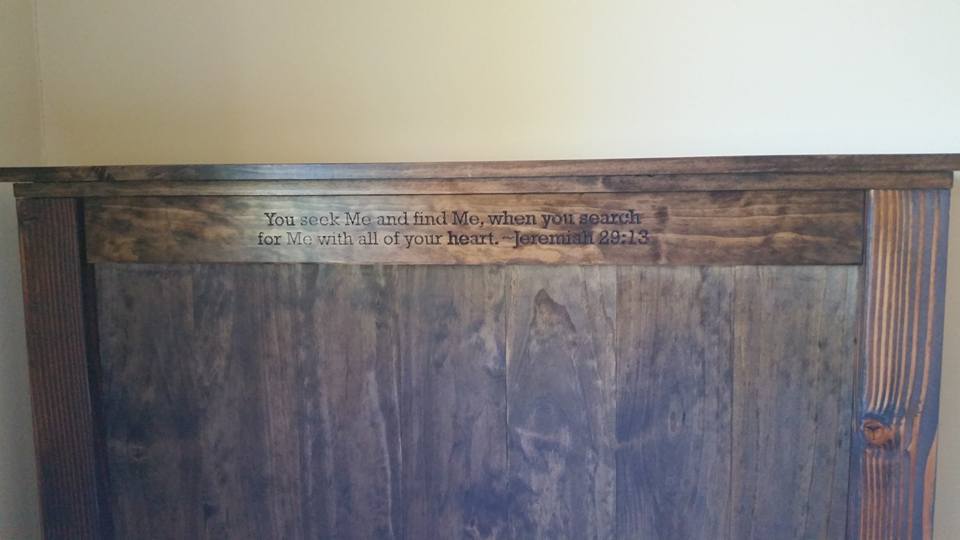
Walnut stain and three coats of poly
Recommended Skill Level
Beginner


Comments
jsle_bel
Tue, 07/05/2011 - 08:26
I tried posting on your blog
I tried posting on your blog but for some reason it wouldn’t allow me.
Okay, I seriously LOVE them! I'm in the process of making my own pub table for outside entertaining and was considering altering Ana's stool plans....now no need to! Thanks for posting, I'll just need to lengthen the legs a little and for that reason reinforce it a bit to make them sturdy (I've got three boys and a daughter that can be a rough as the boys). Thanks again and I'll be back to check out future posts. Check me out at: http://laundrywillwait.blogspot.com/
~Jen
In reply to I tried posting on your blog by jsle_bel
The Quaint Cottage
Wed, 07/06/2011 - 18:39
Thanks! Sorry the blog
Thanks! Sorry the blog wouldn't let you post. I'm new to the blogworld and I may not have something set up correctly. I'll share more projects as I complete them. Don't you just love Ana and her website? She is so inspiring. I'll check your site out too. Thanks again and happy building. :)
missy48
Mon, 05/28/2018 - 14:46
Measurements
are the measurements available?
missy48
Mon, 05/28/2018 - 14:48
Measurements
Will you post the measurements