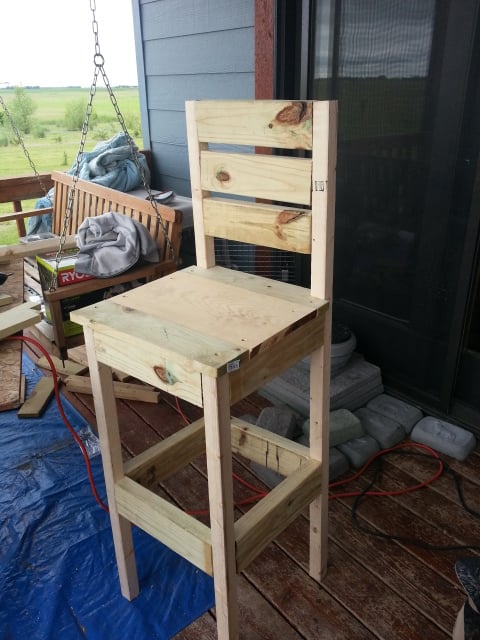
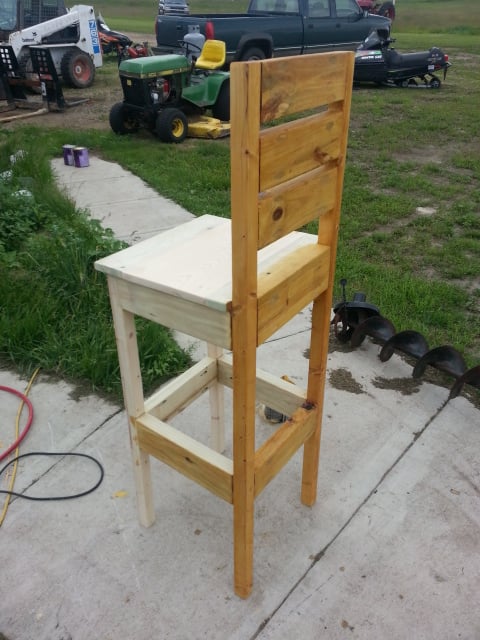
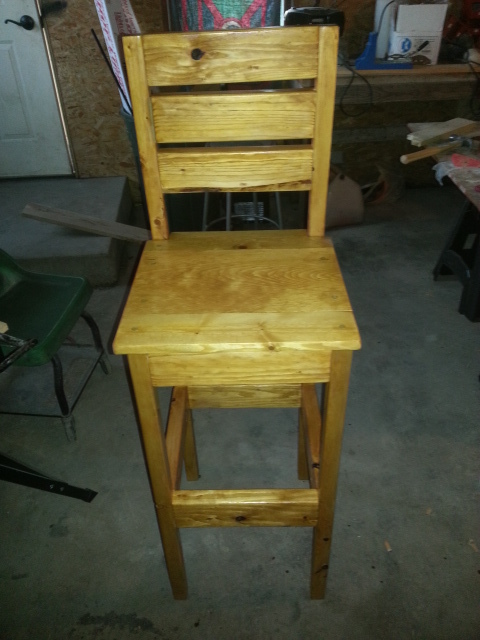
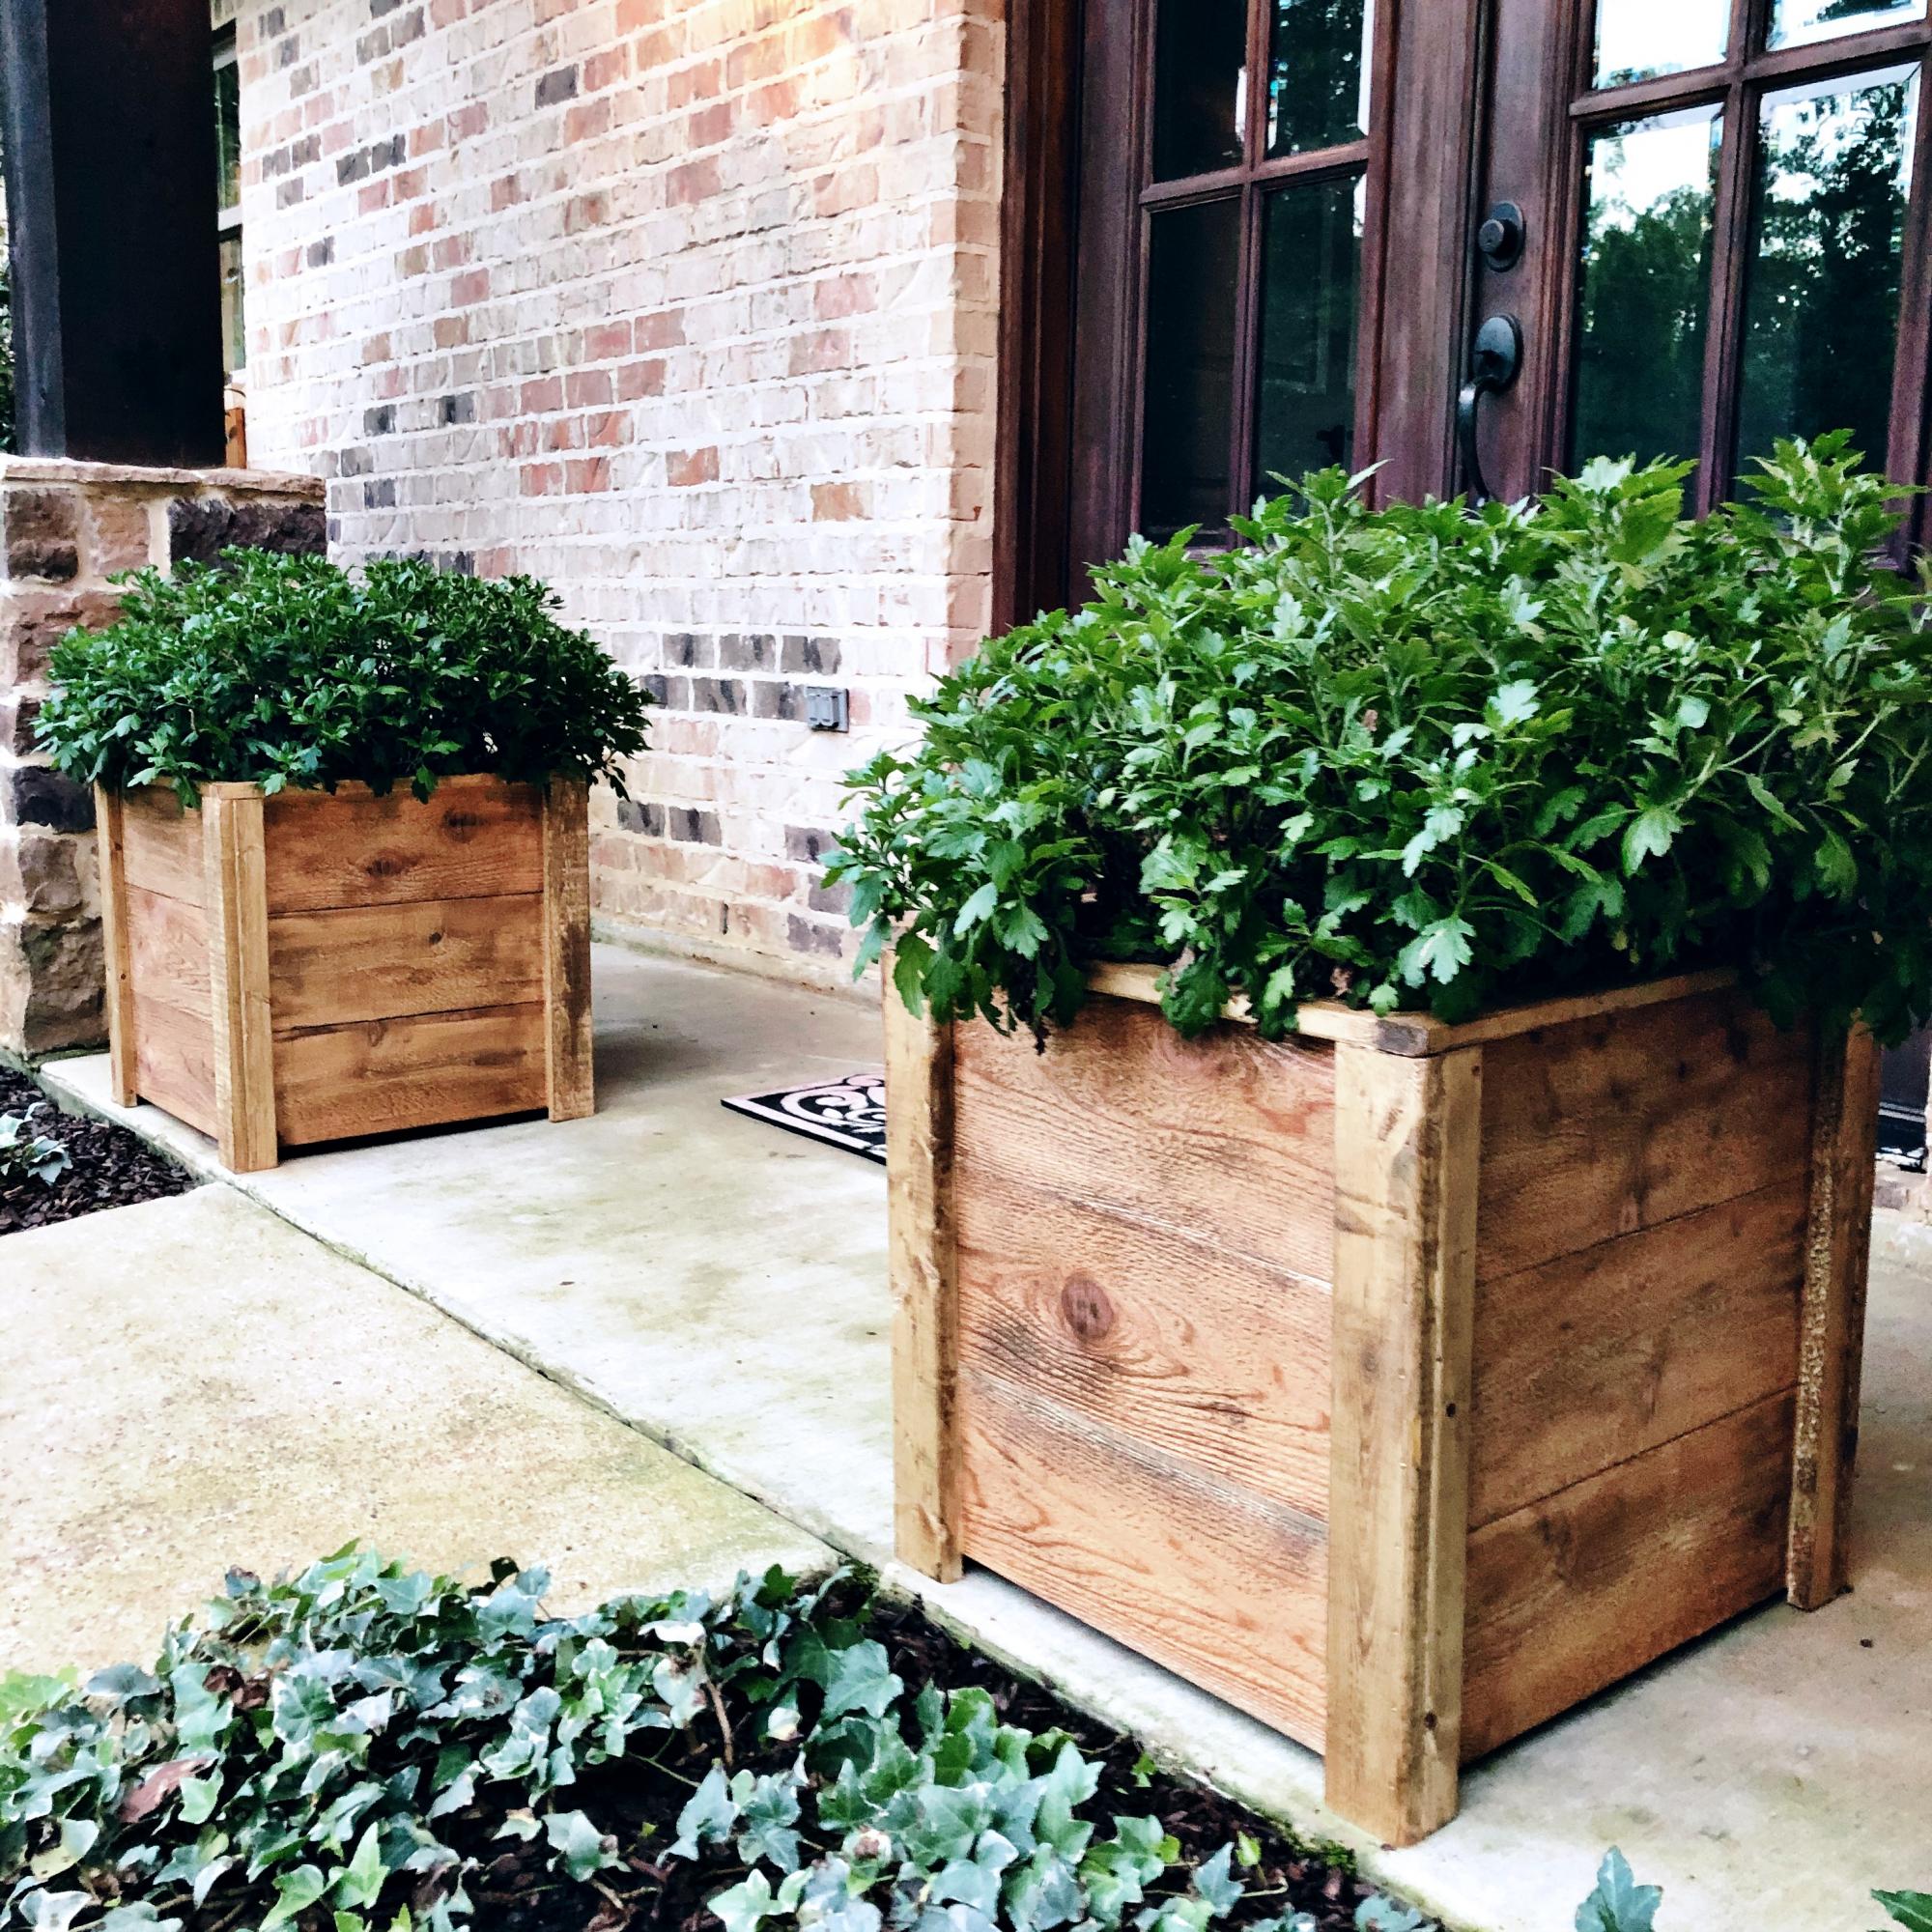
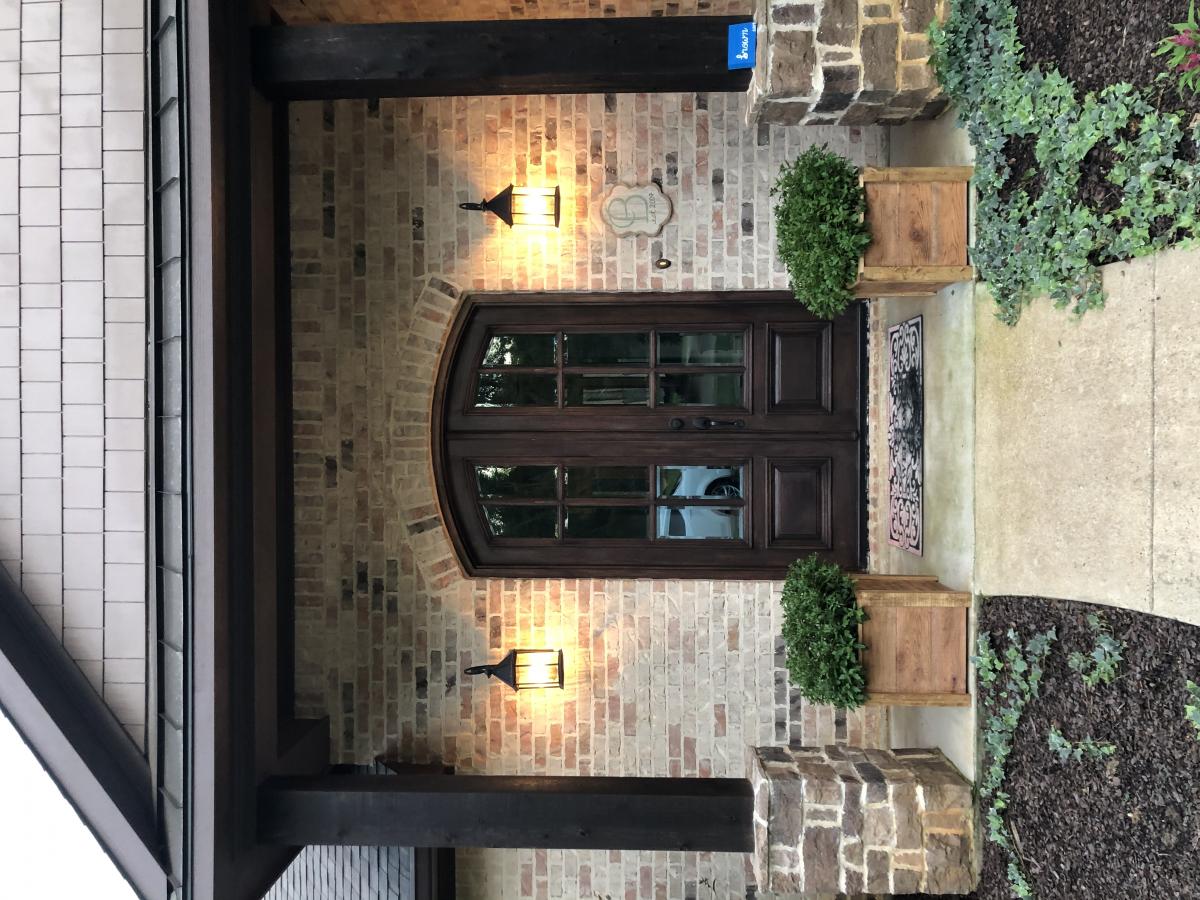
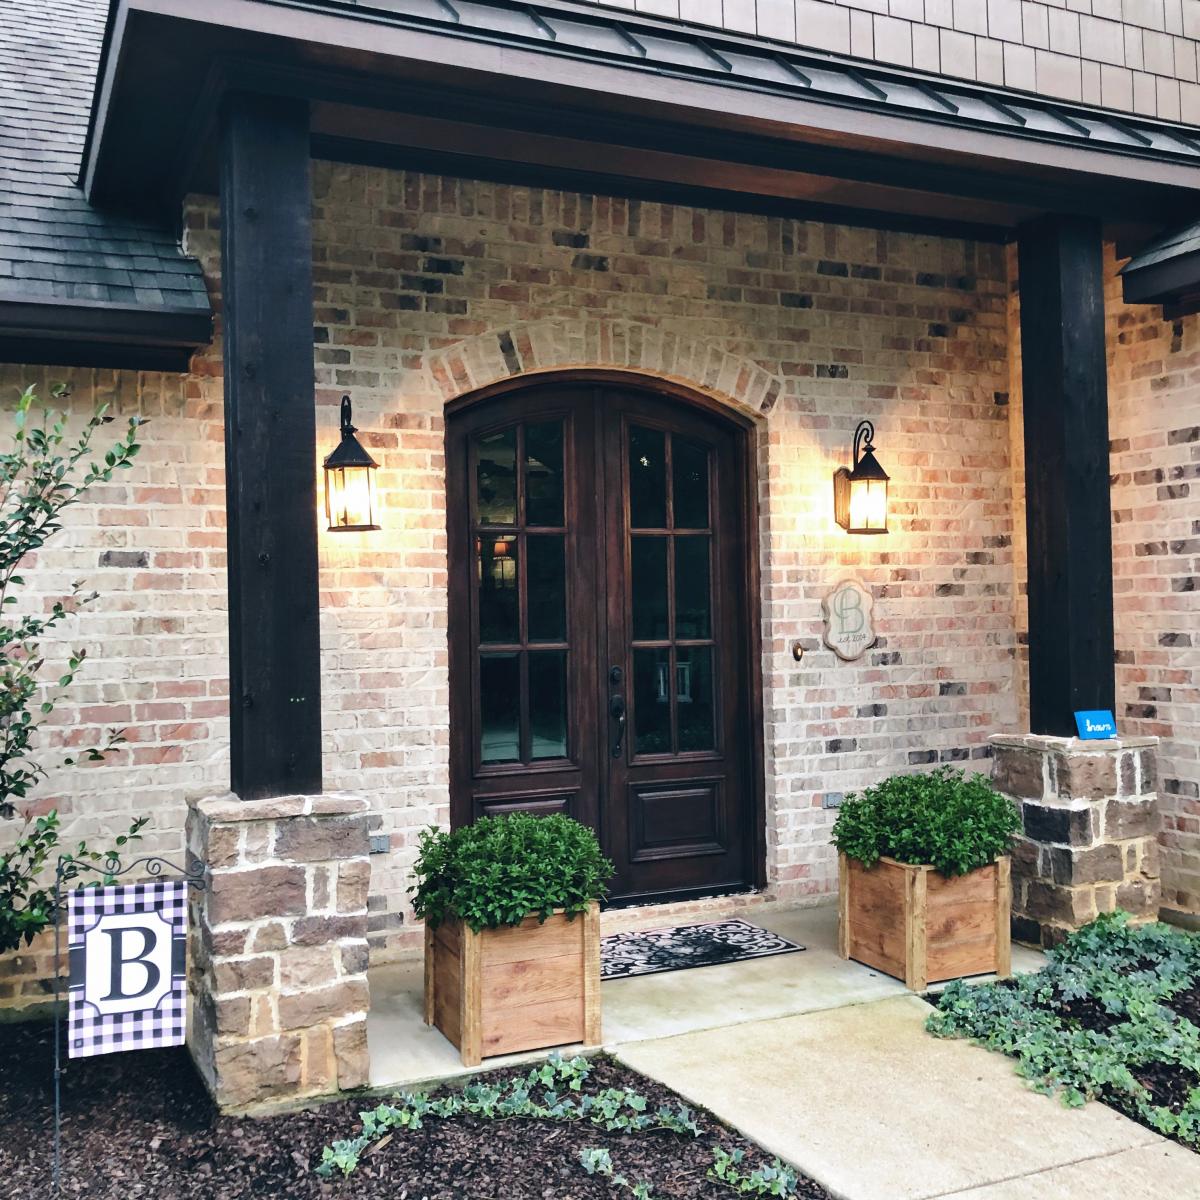
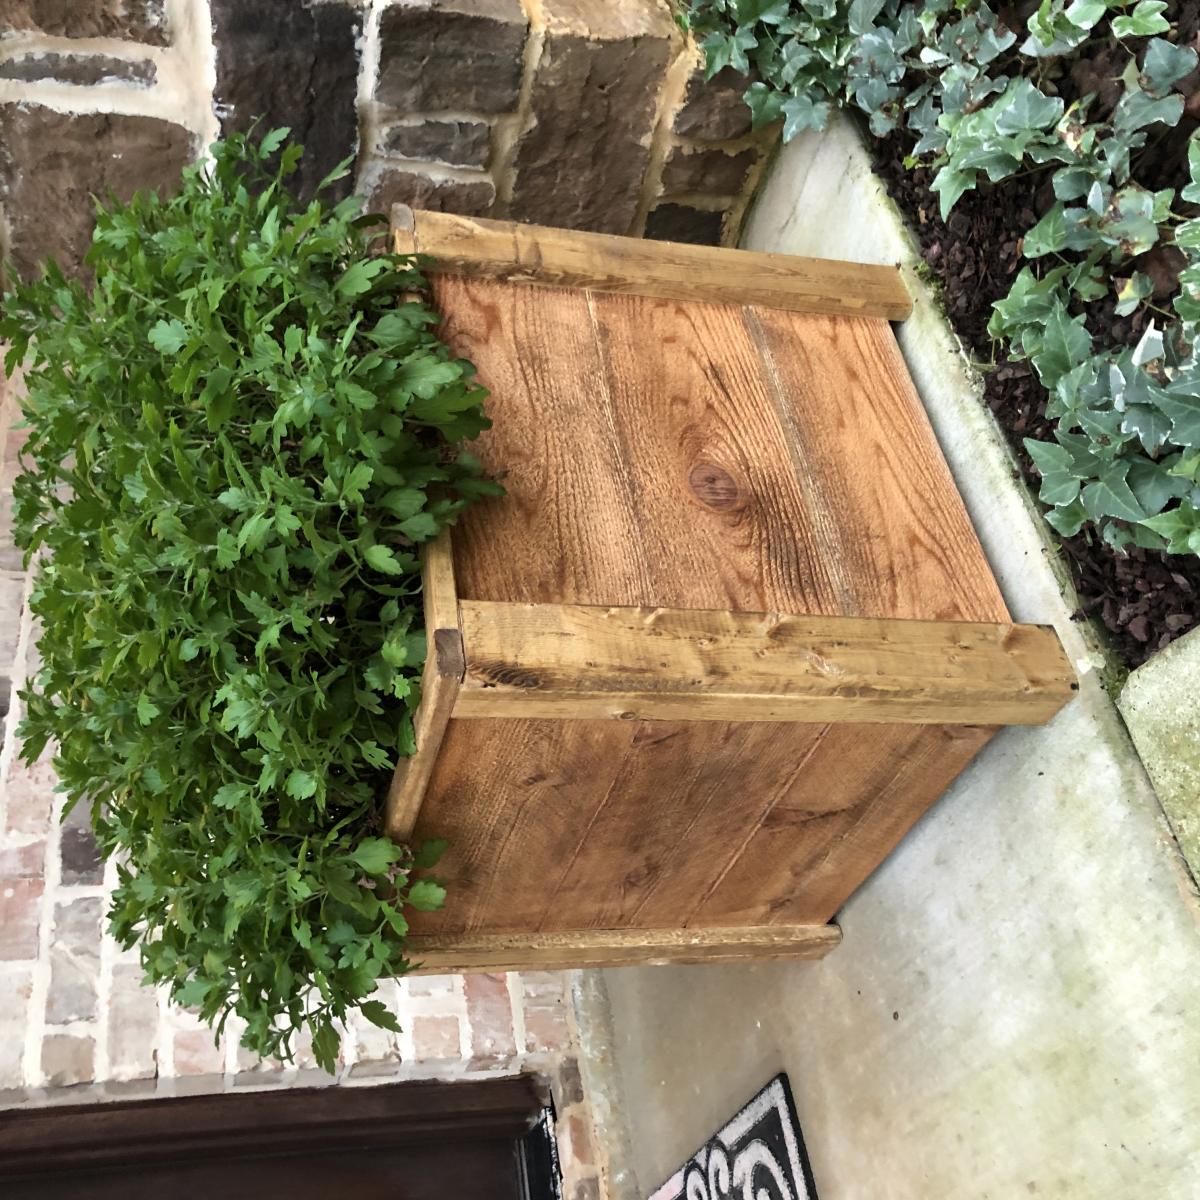
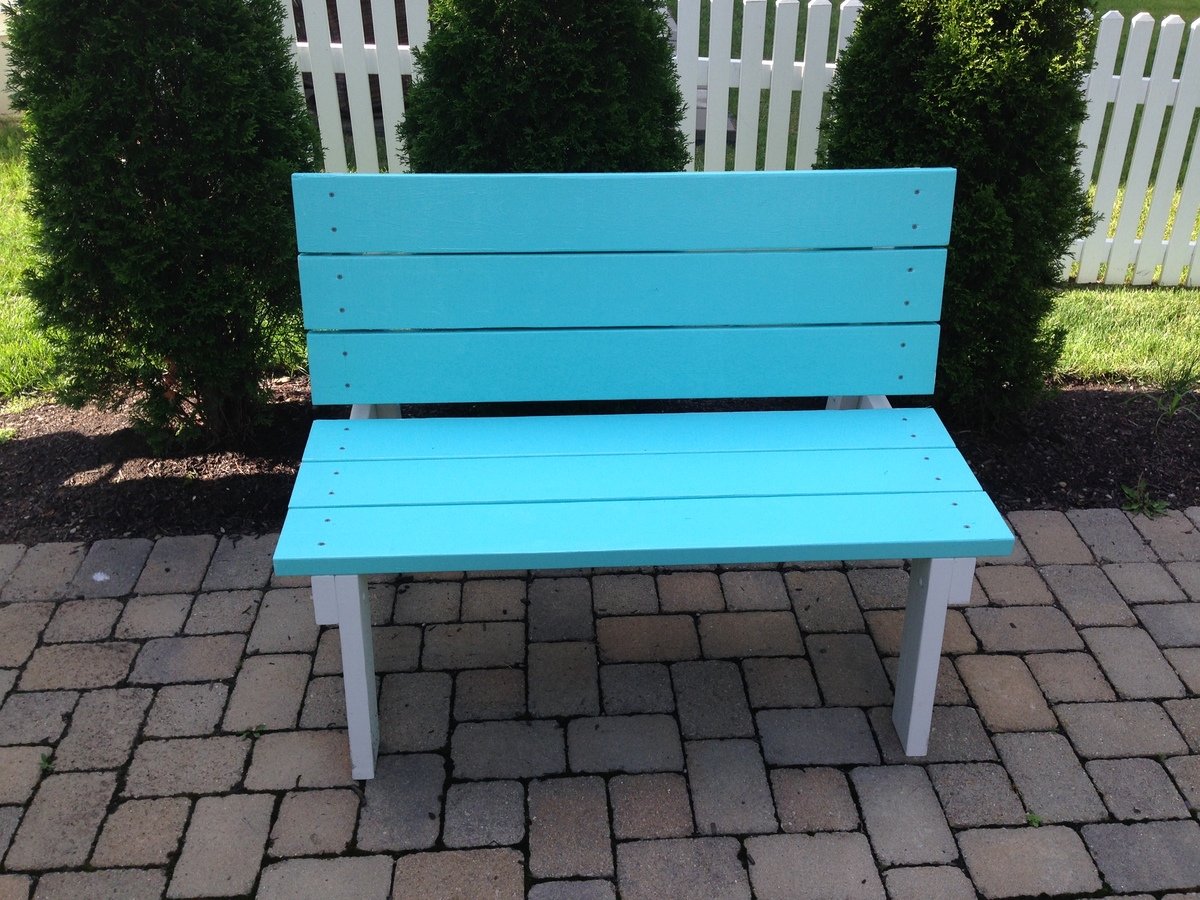
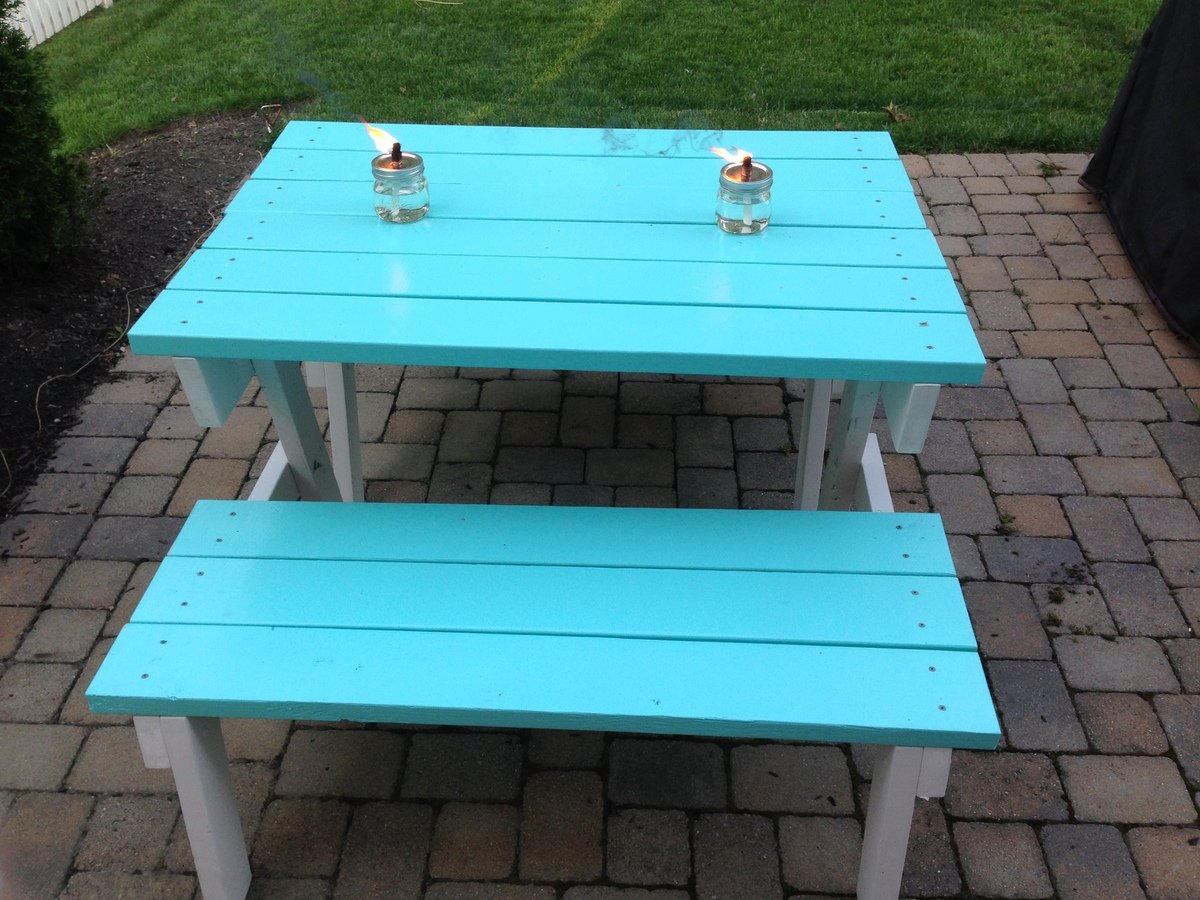
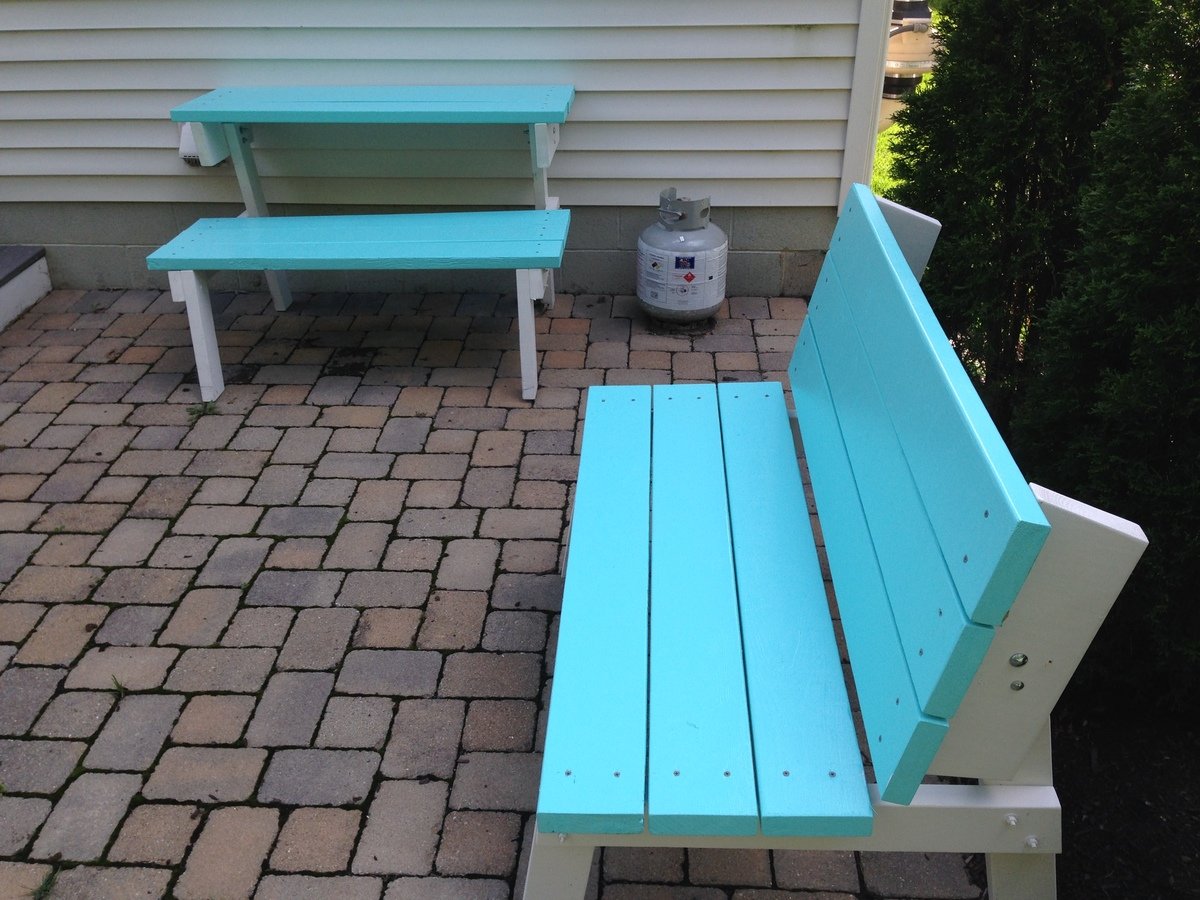
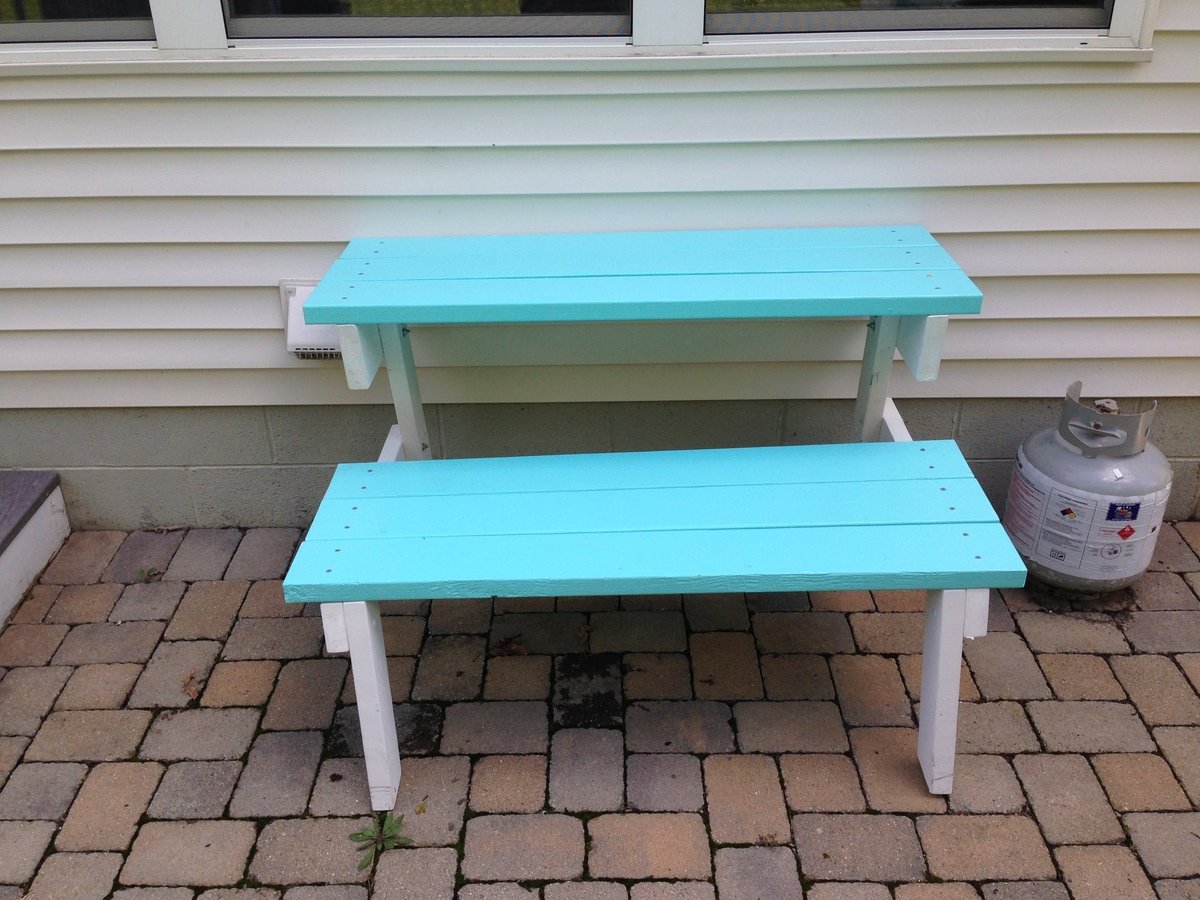
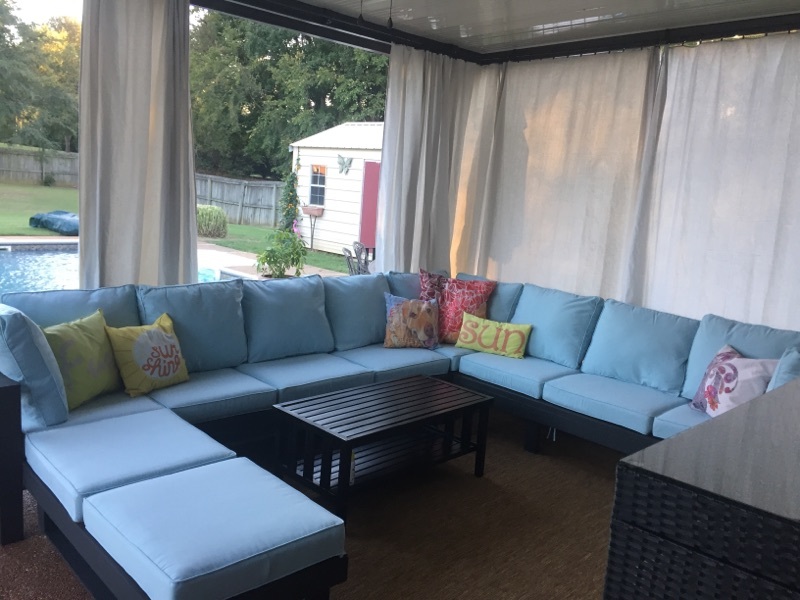
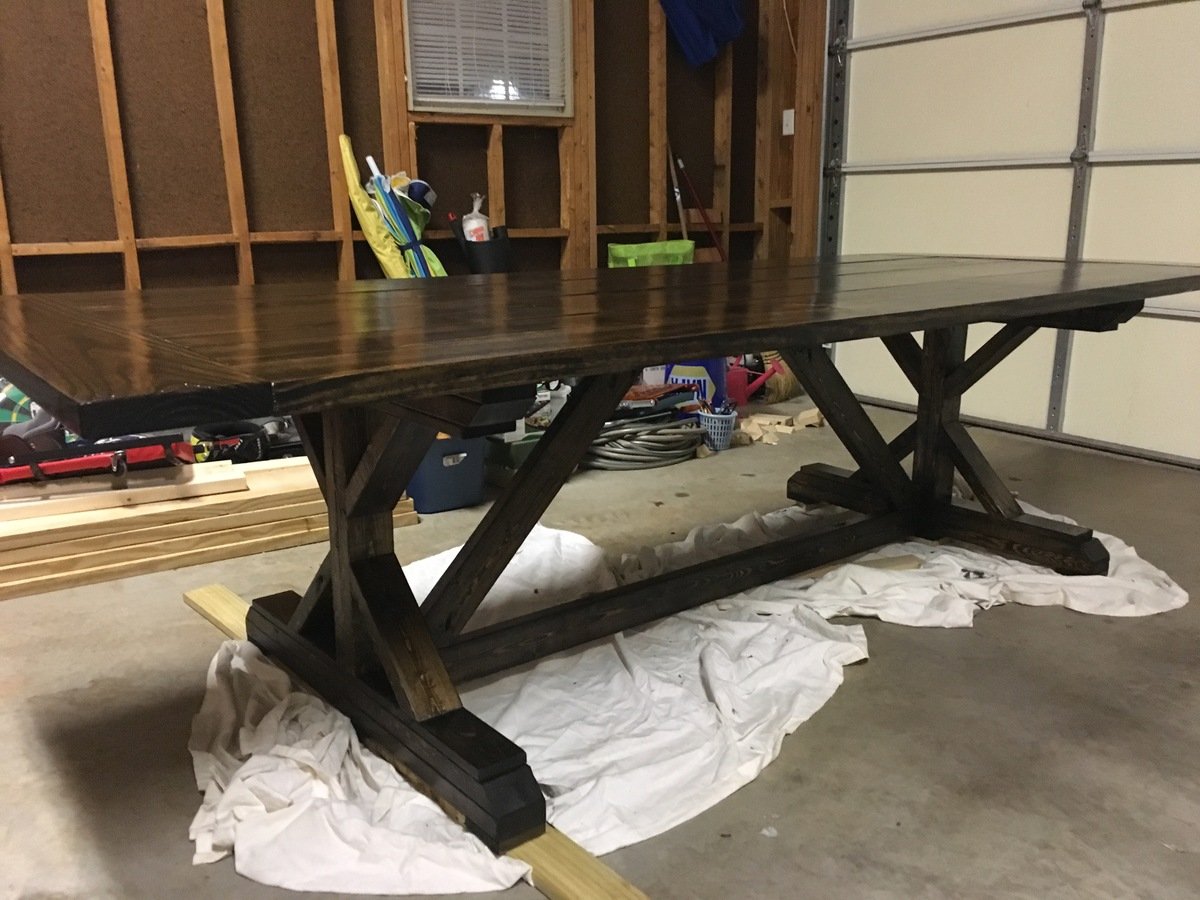
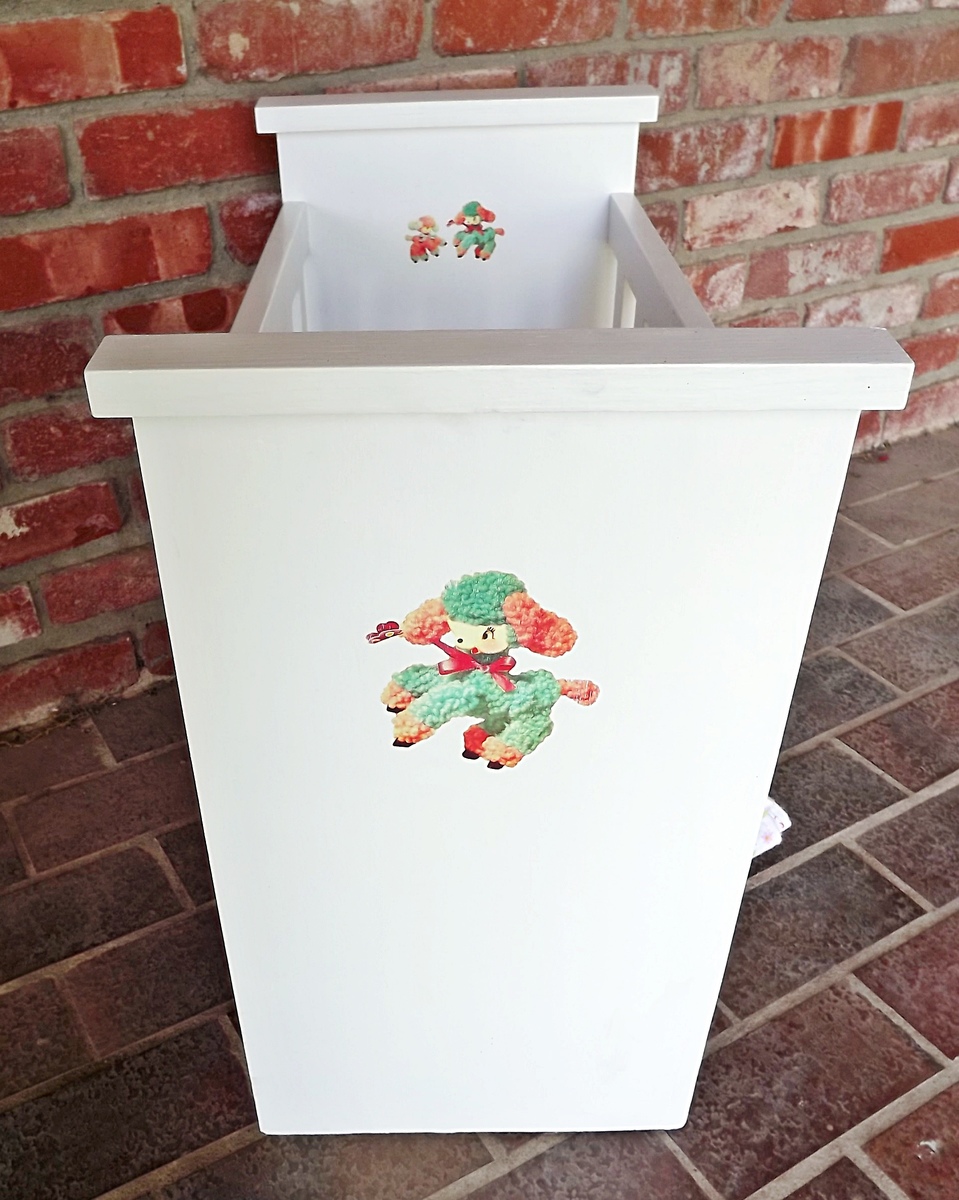
My first project! Thanks Ana!!!
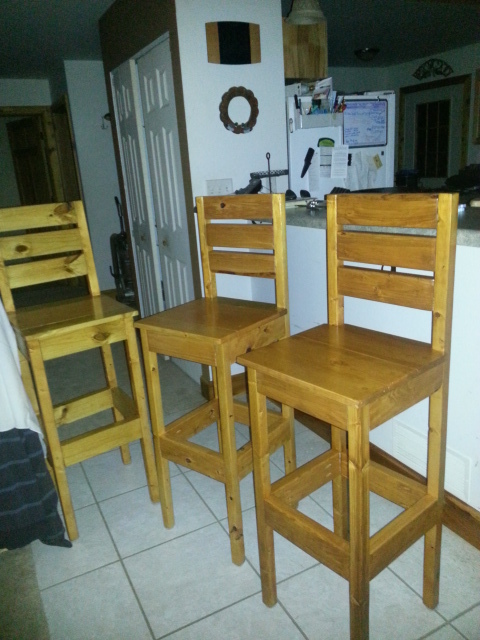
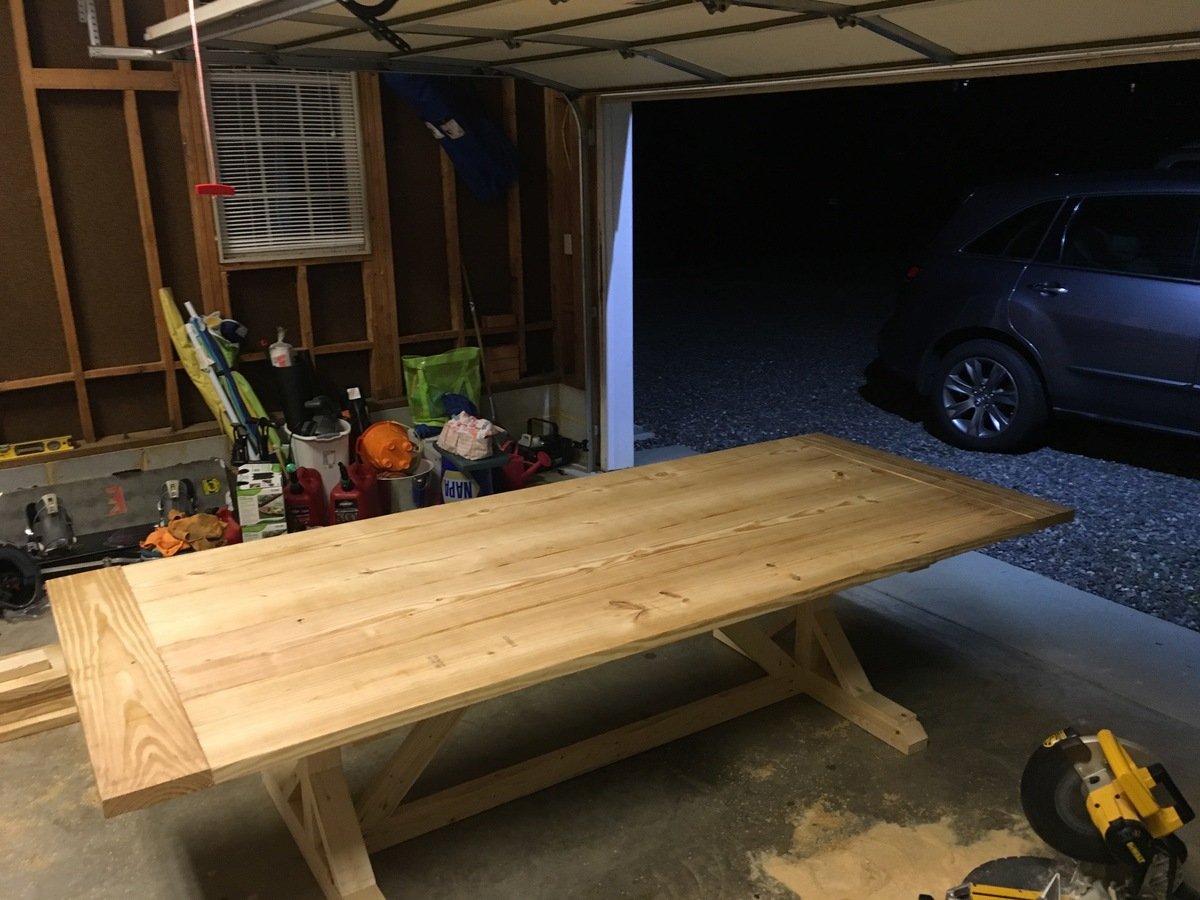
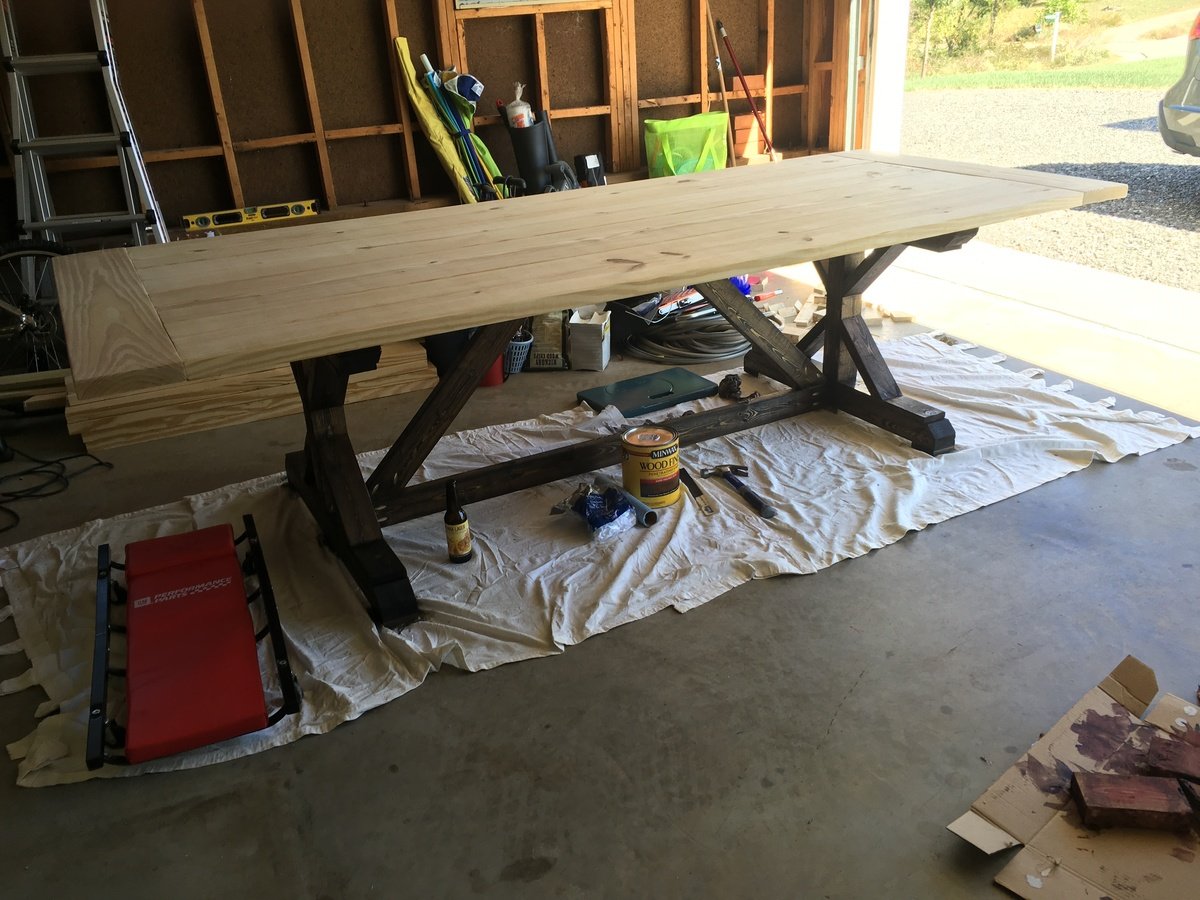
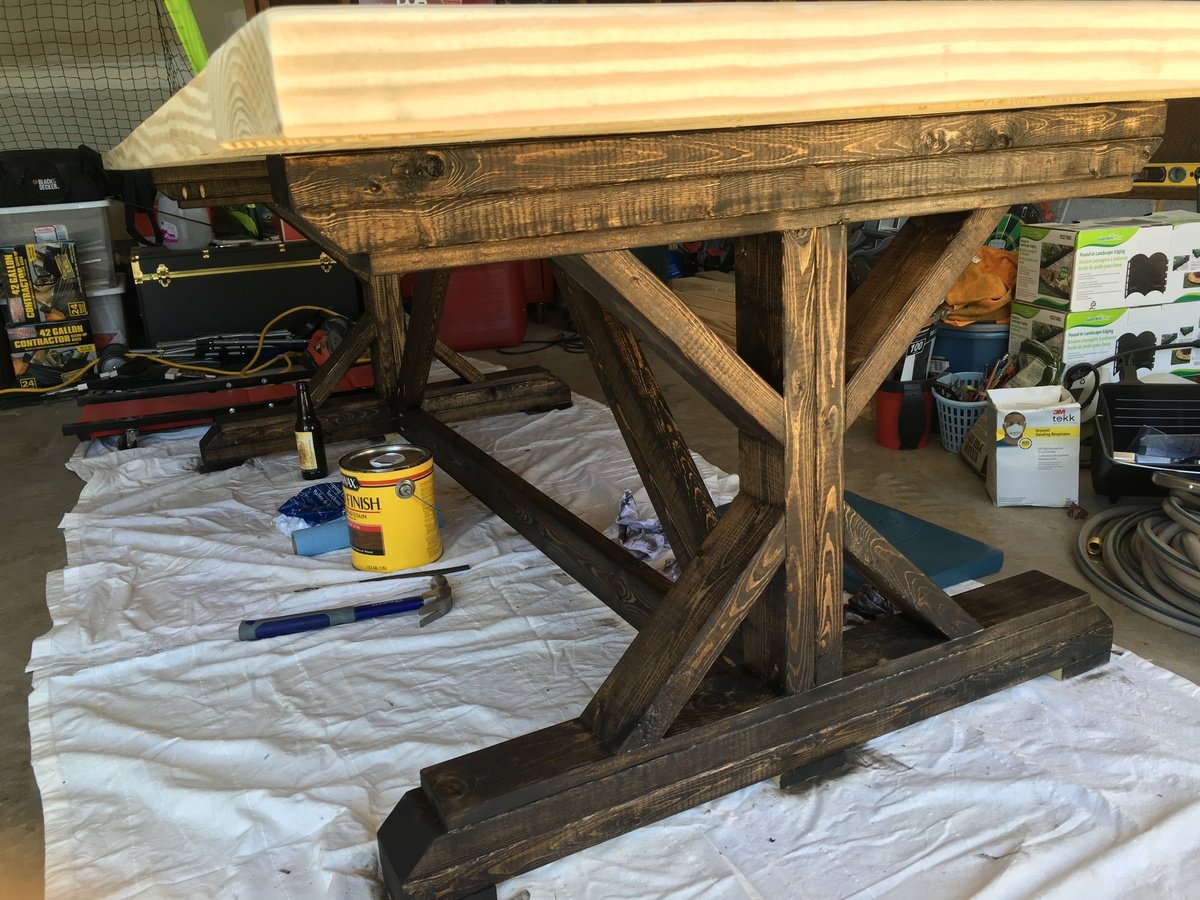
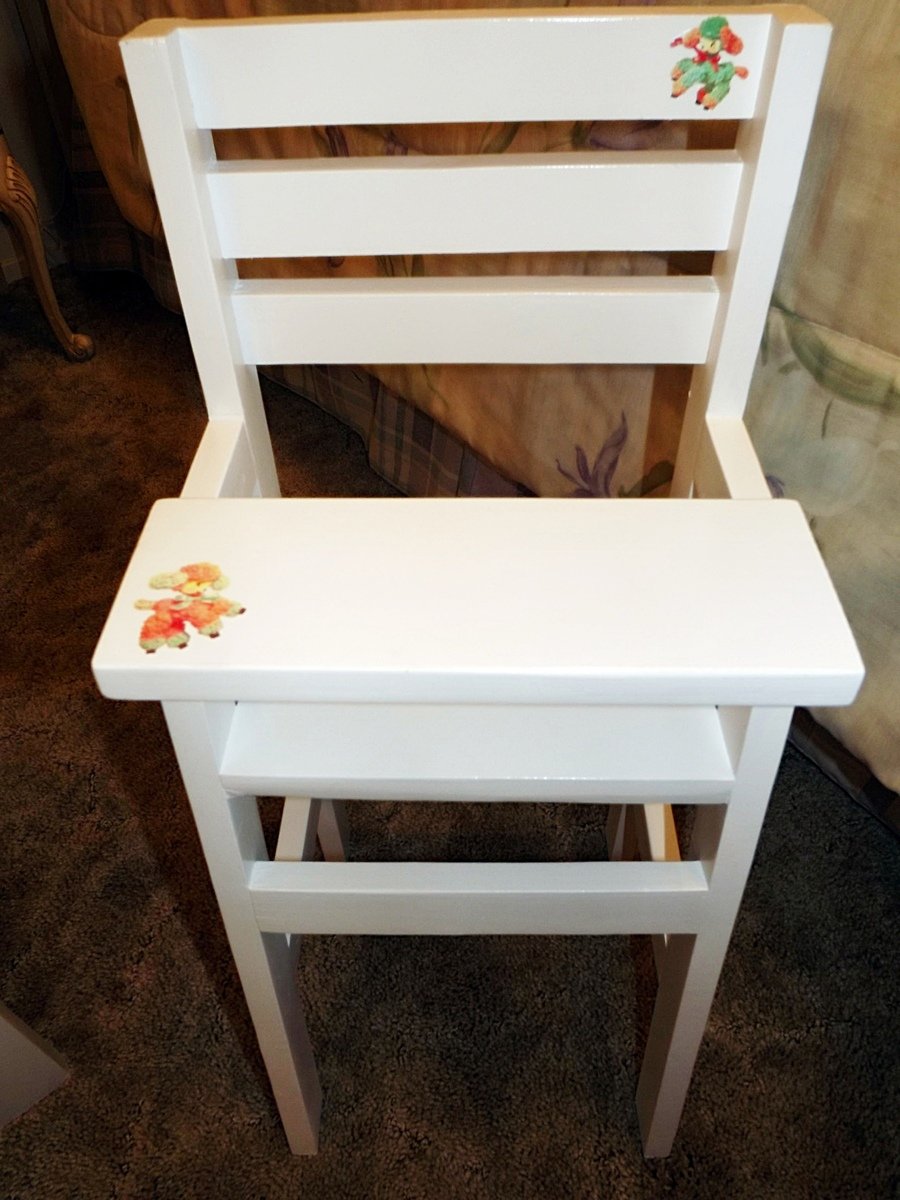
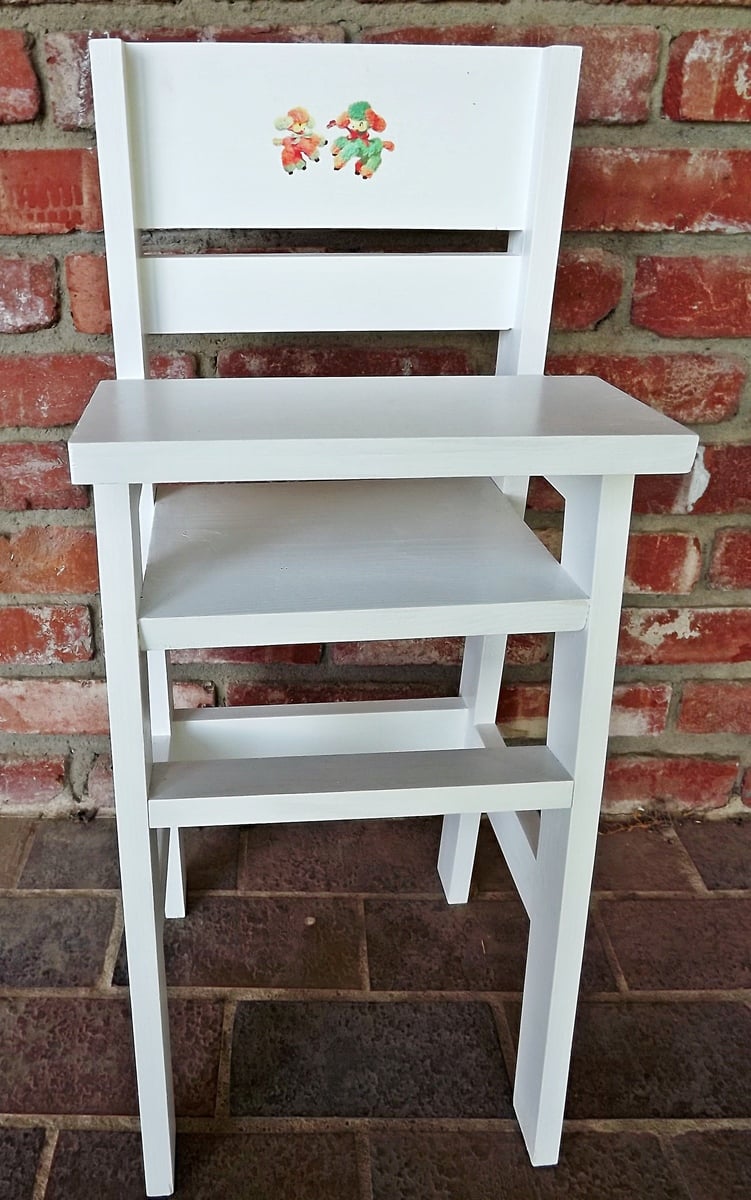
I recently resigned from my job to stay home with my kids. This gave me time to begin a long desired hobby! Thanks to this website and the awesome, easy to follow plans, I have been able to start practicing with some very practical pieces. I have been looking for extra tall stools for over five years, since moving to our current home, and have not been able to find any I'm willing to buy. They have to be special ordered and are ridiculously priced for the chintzy pieces they are. I had fun making these ones and they look gorgeous in my home.
It took me several days to complete all three, but for a more experienced person it would take much less time. I used the Kreg Jig for all holes possible. And with each stool I learned something, and each one was completed in less time than the last.
THANK YOU ANA!