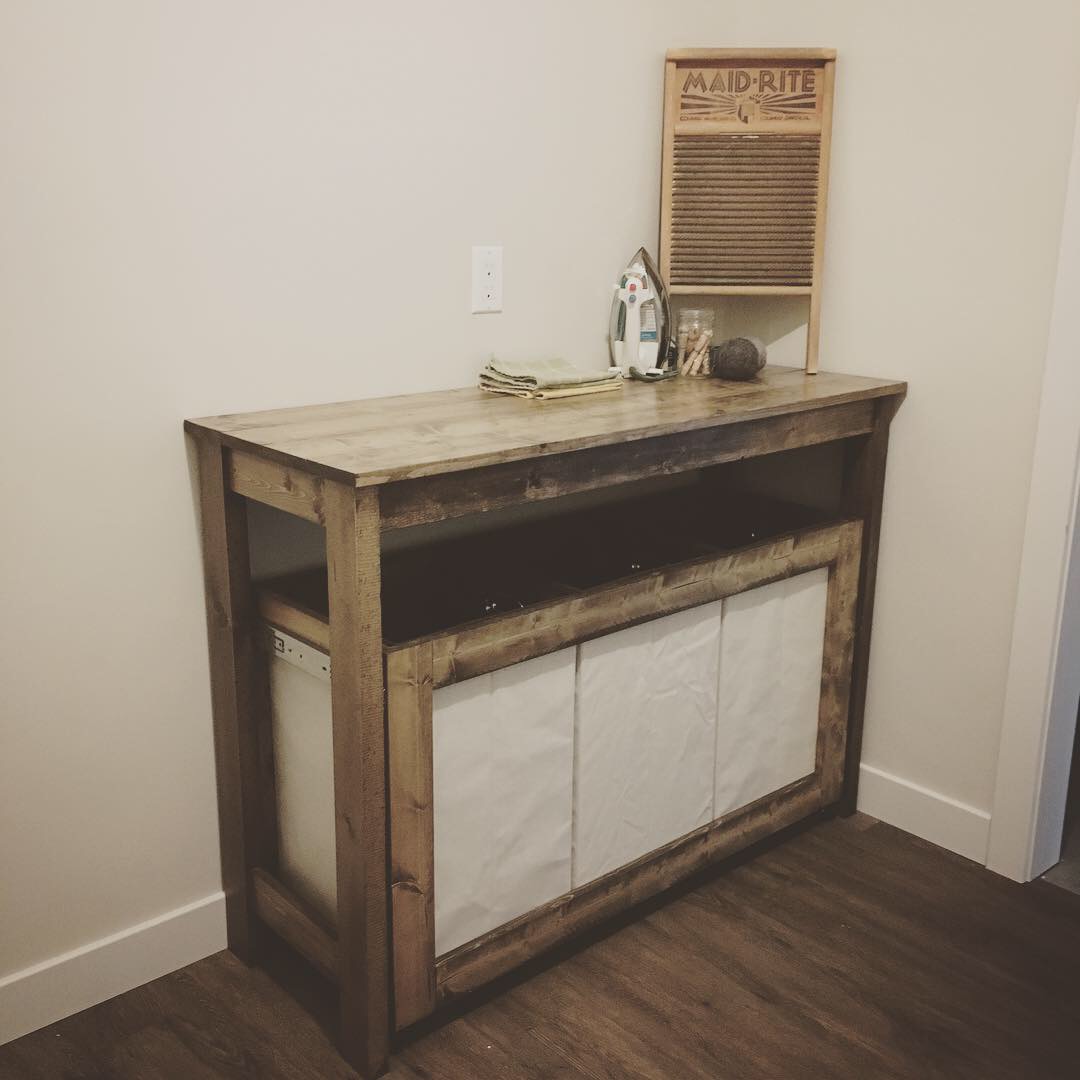
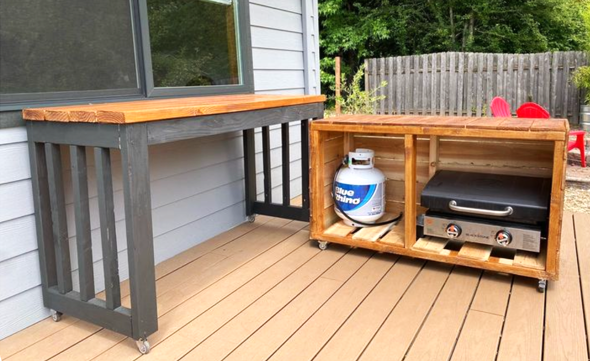
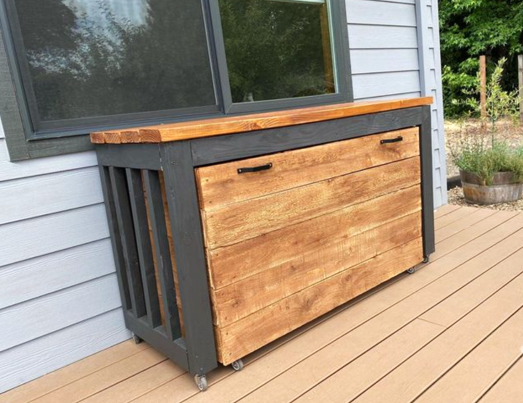
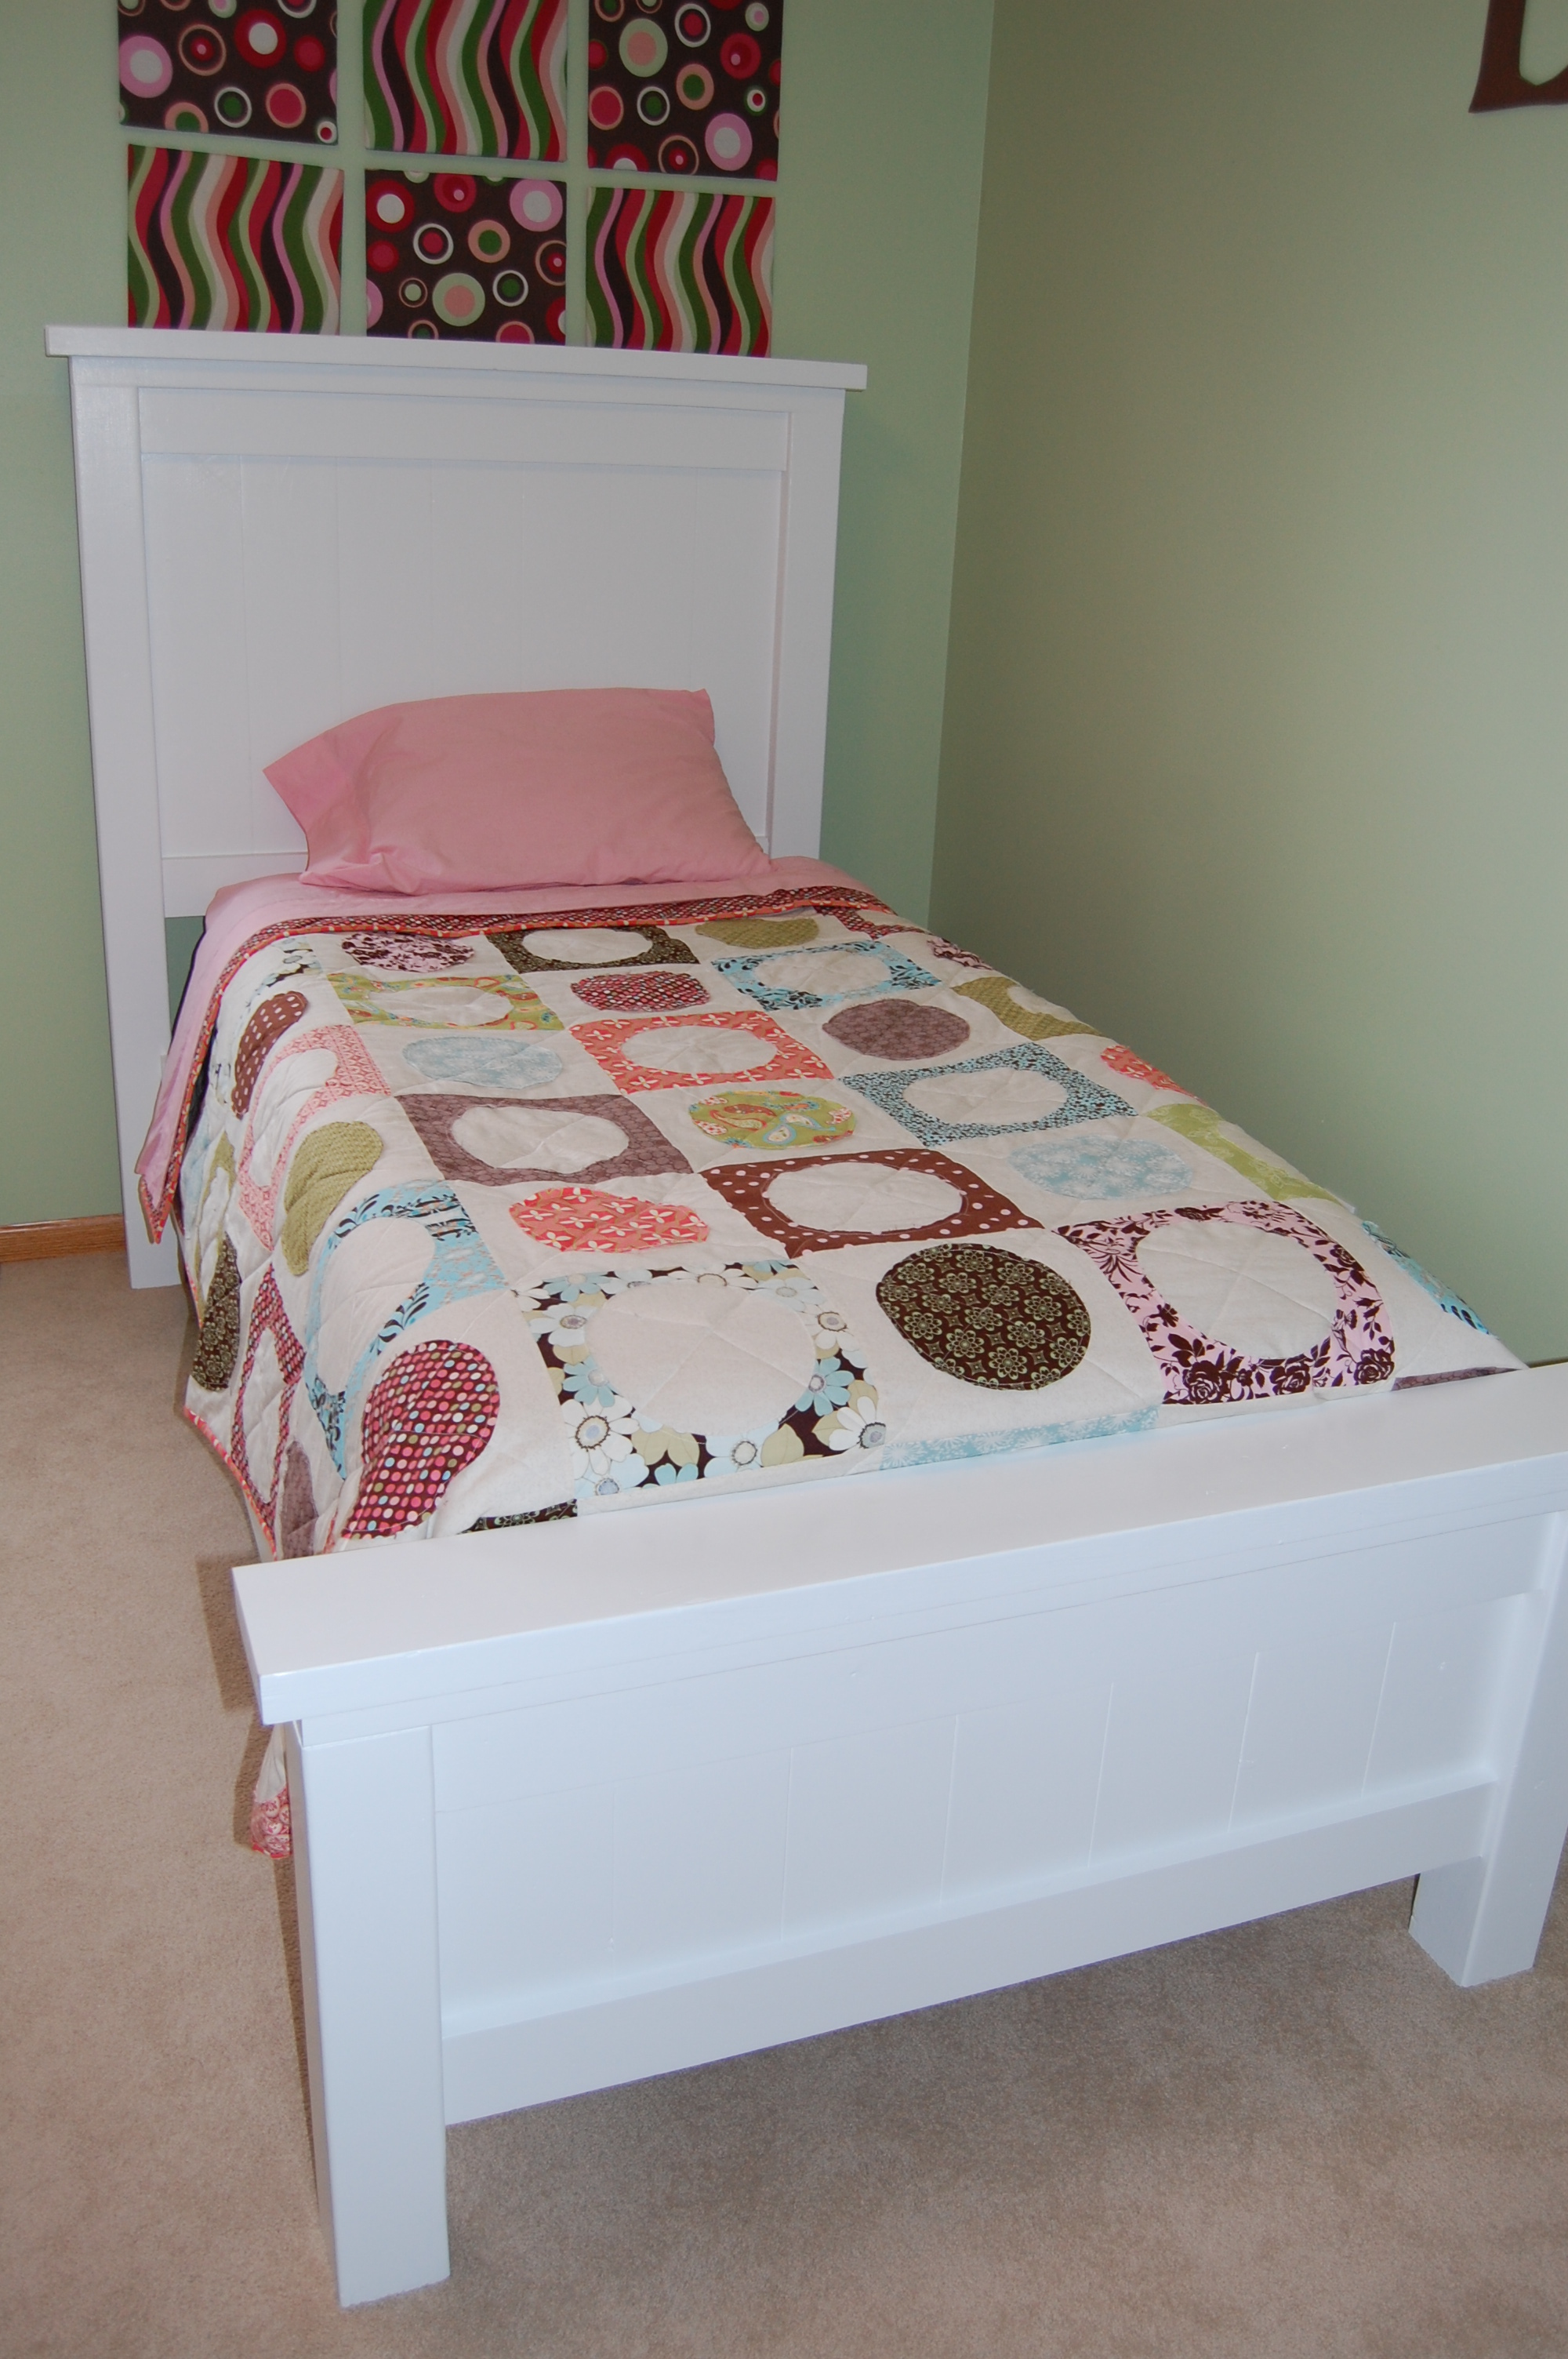
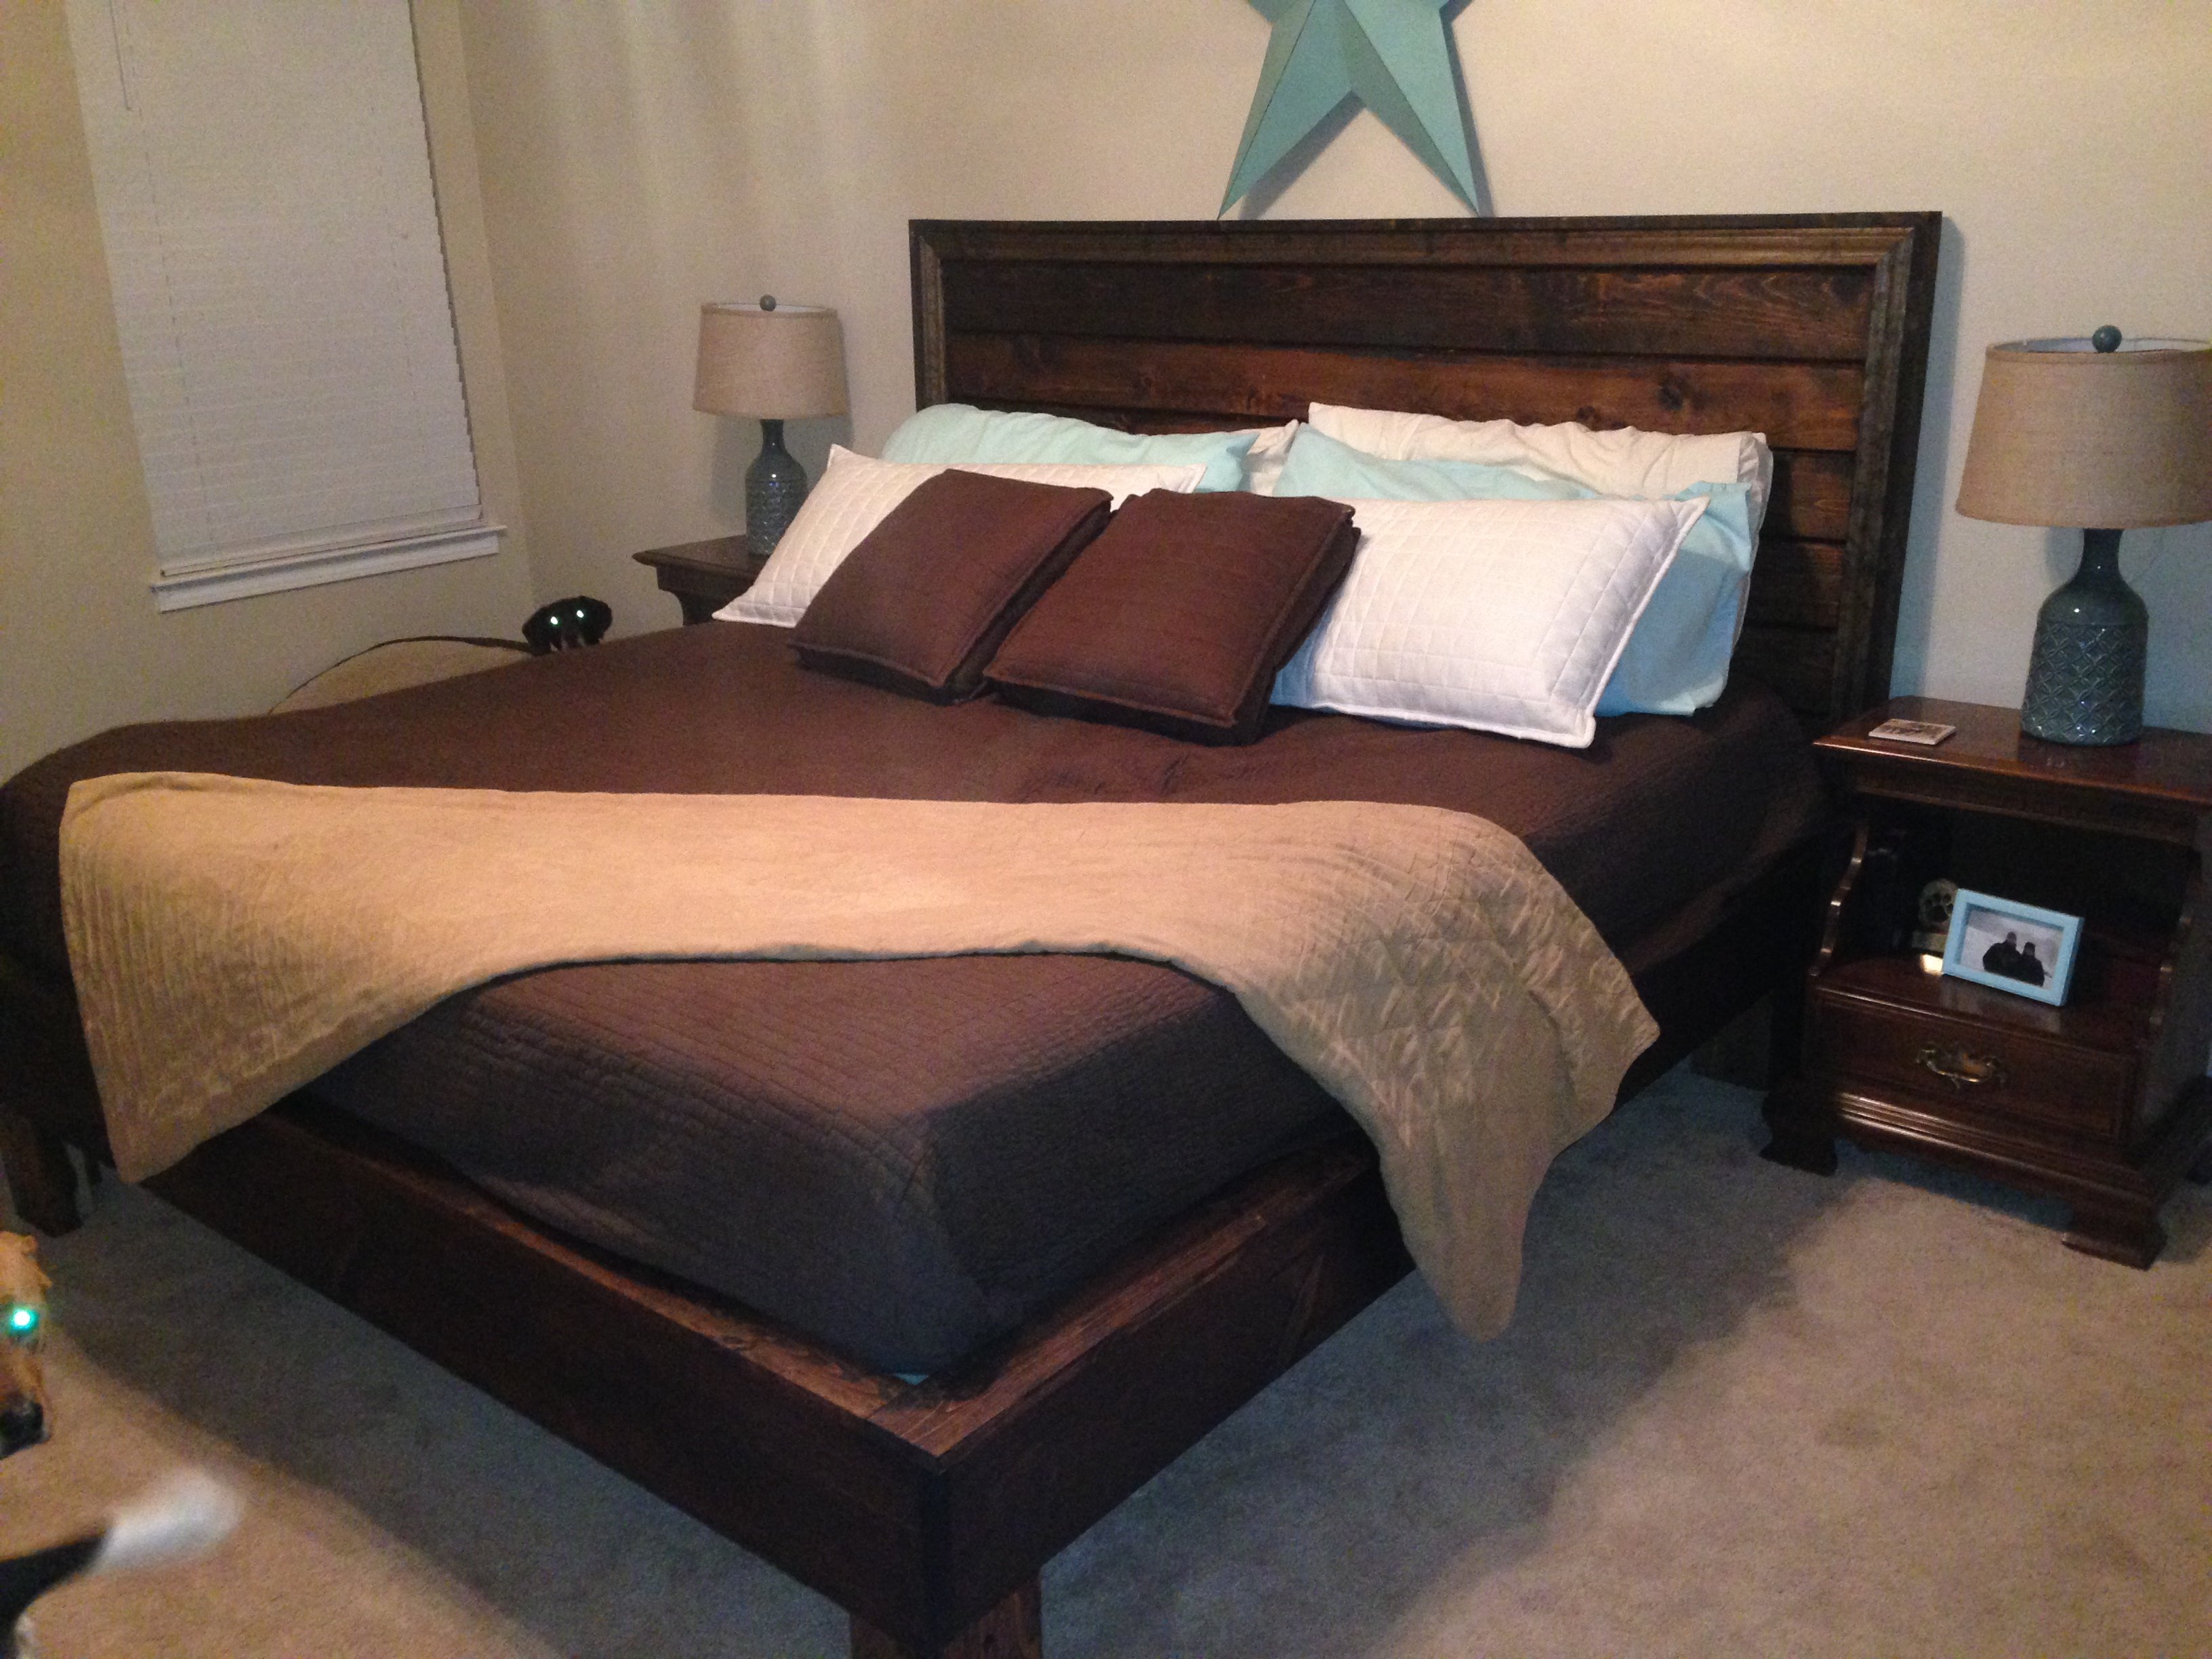
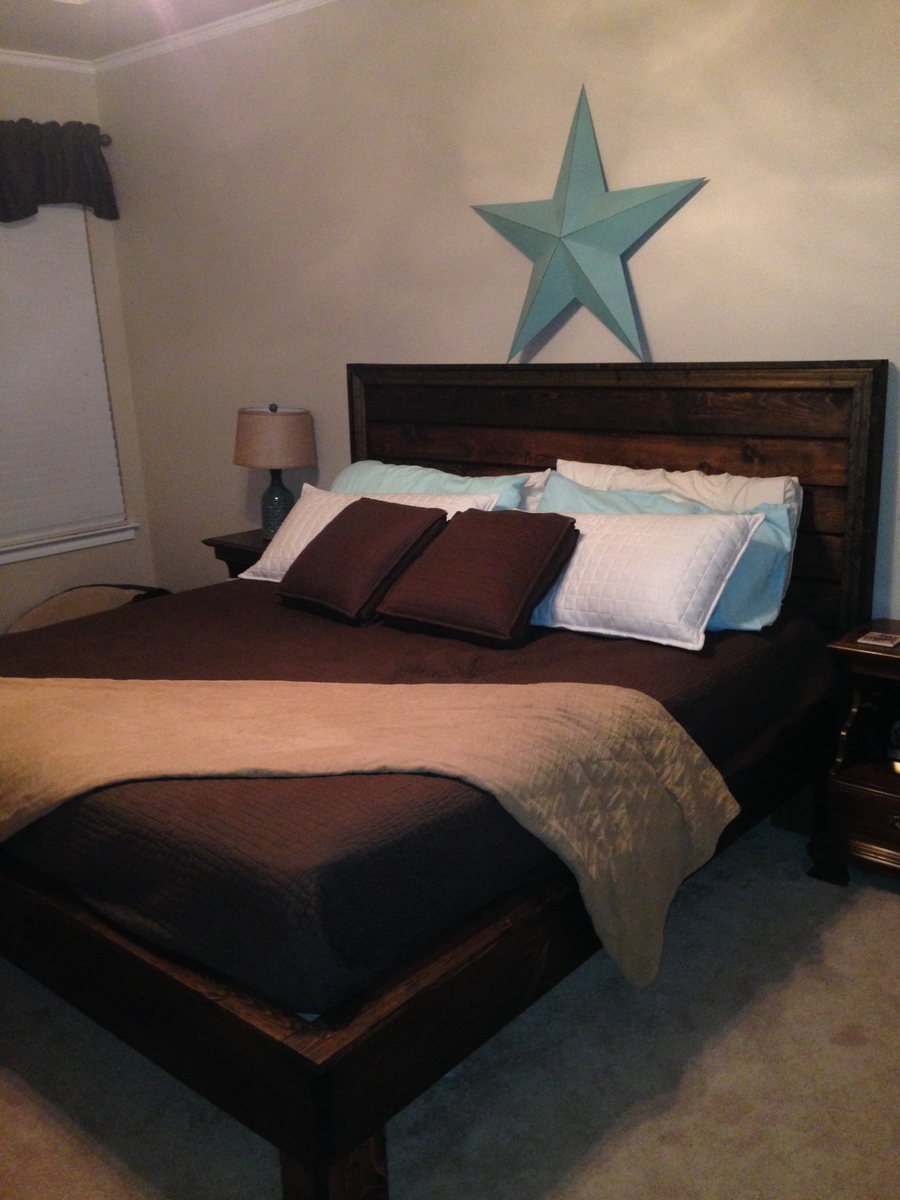
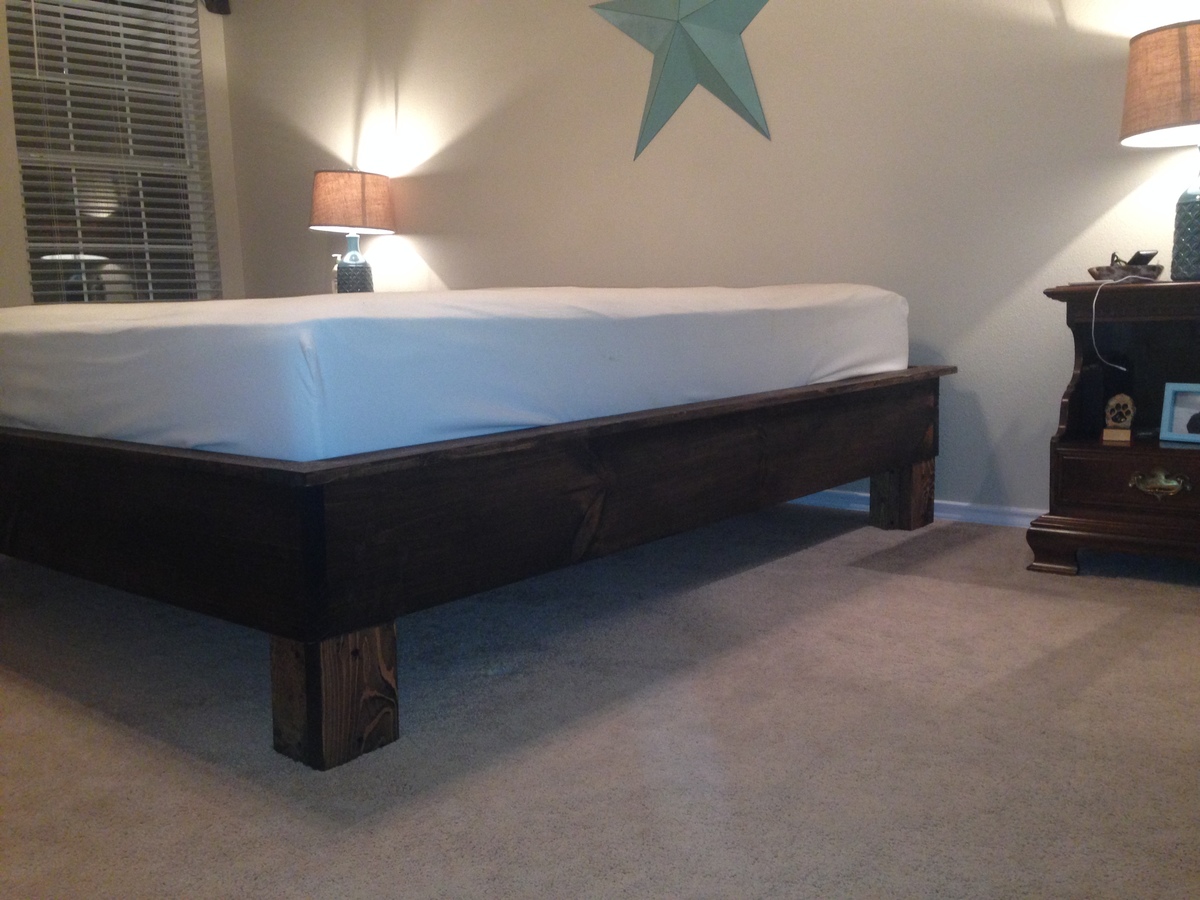
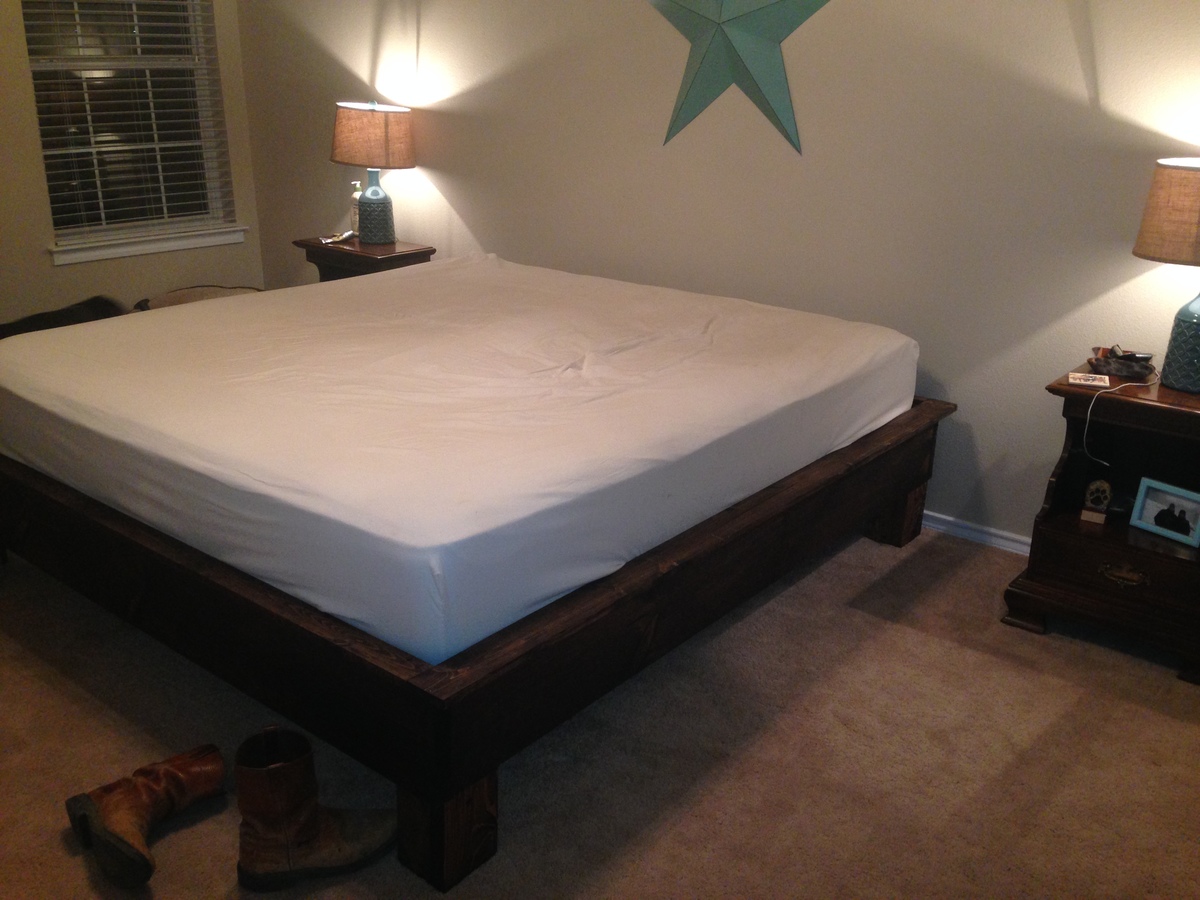
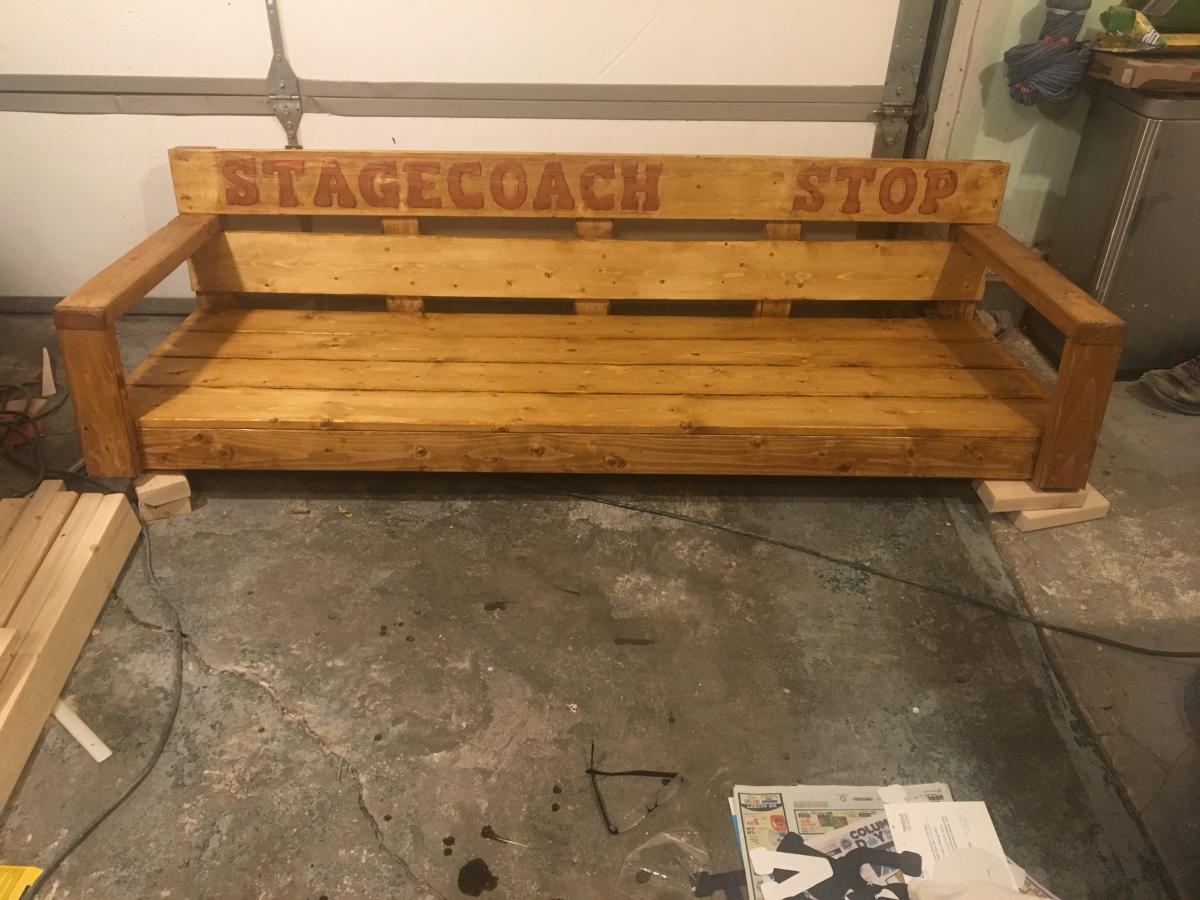
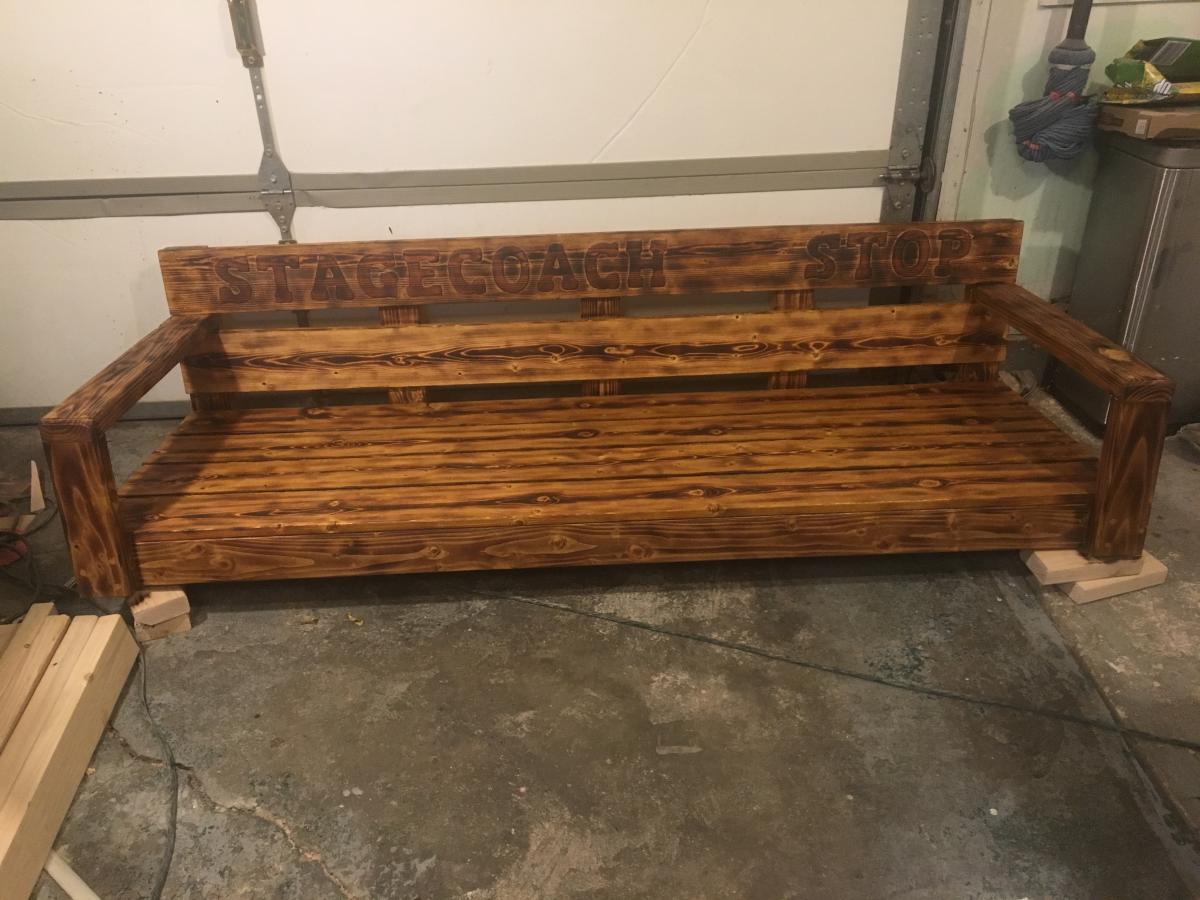
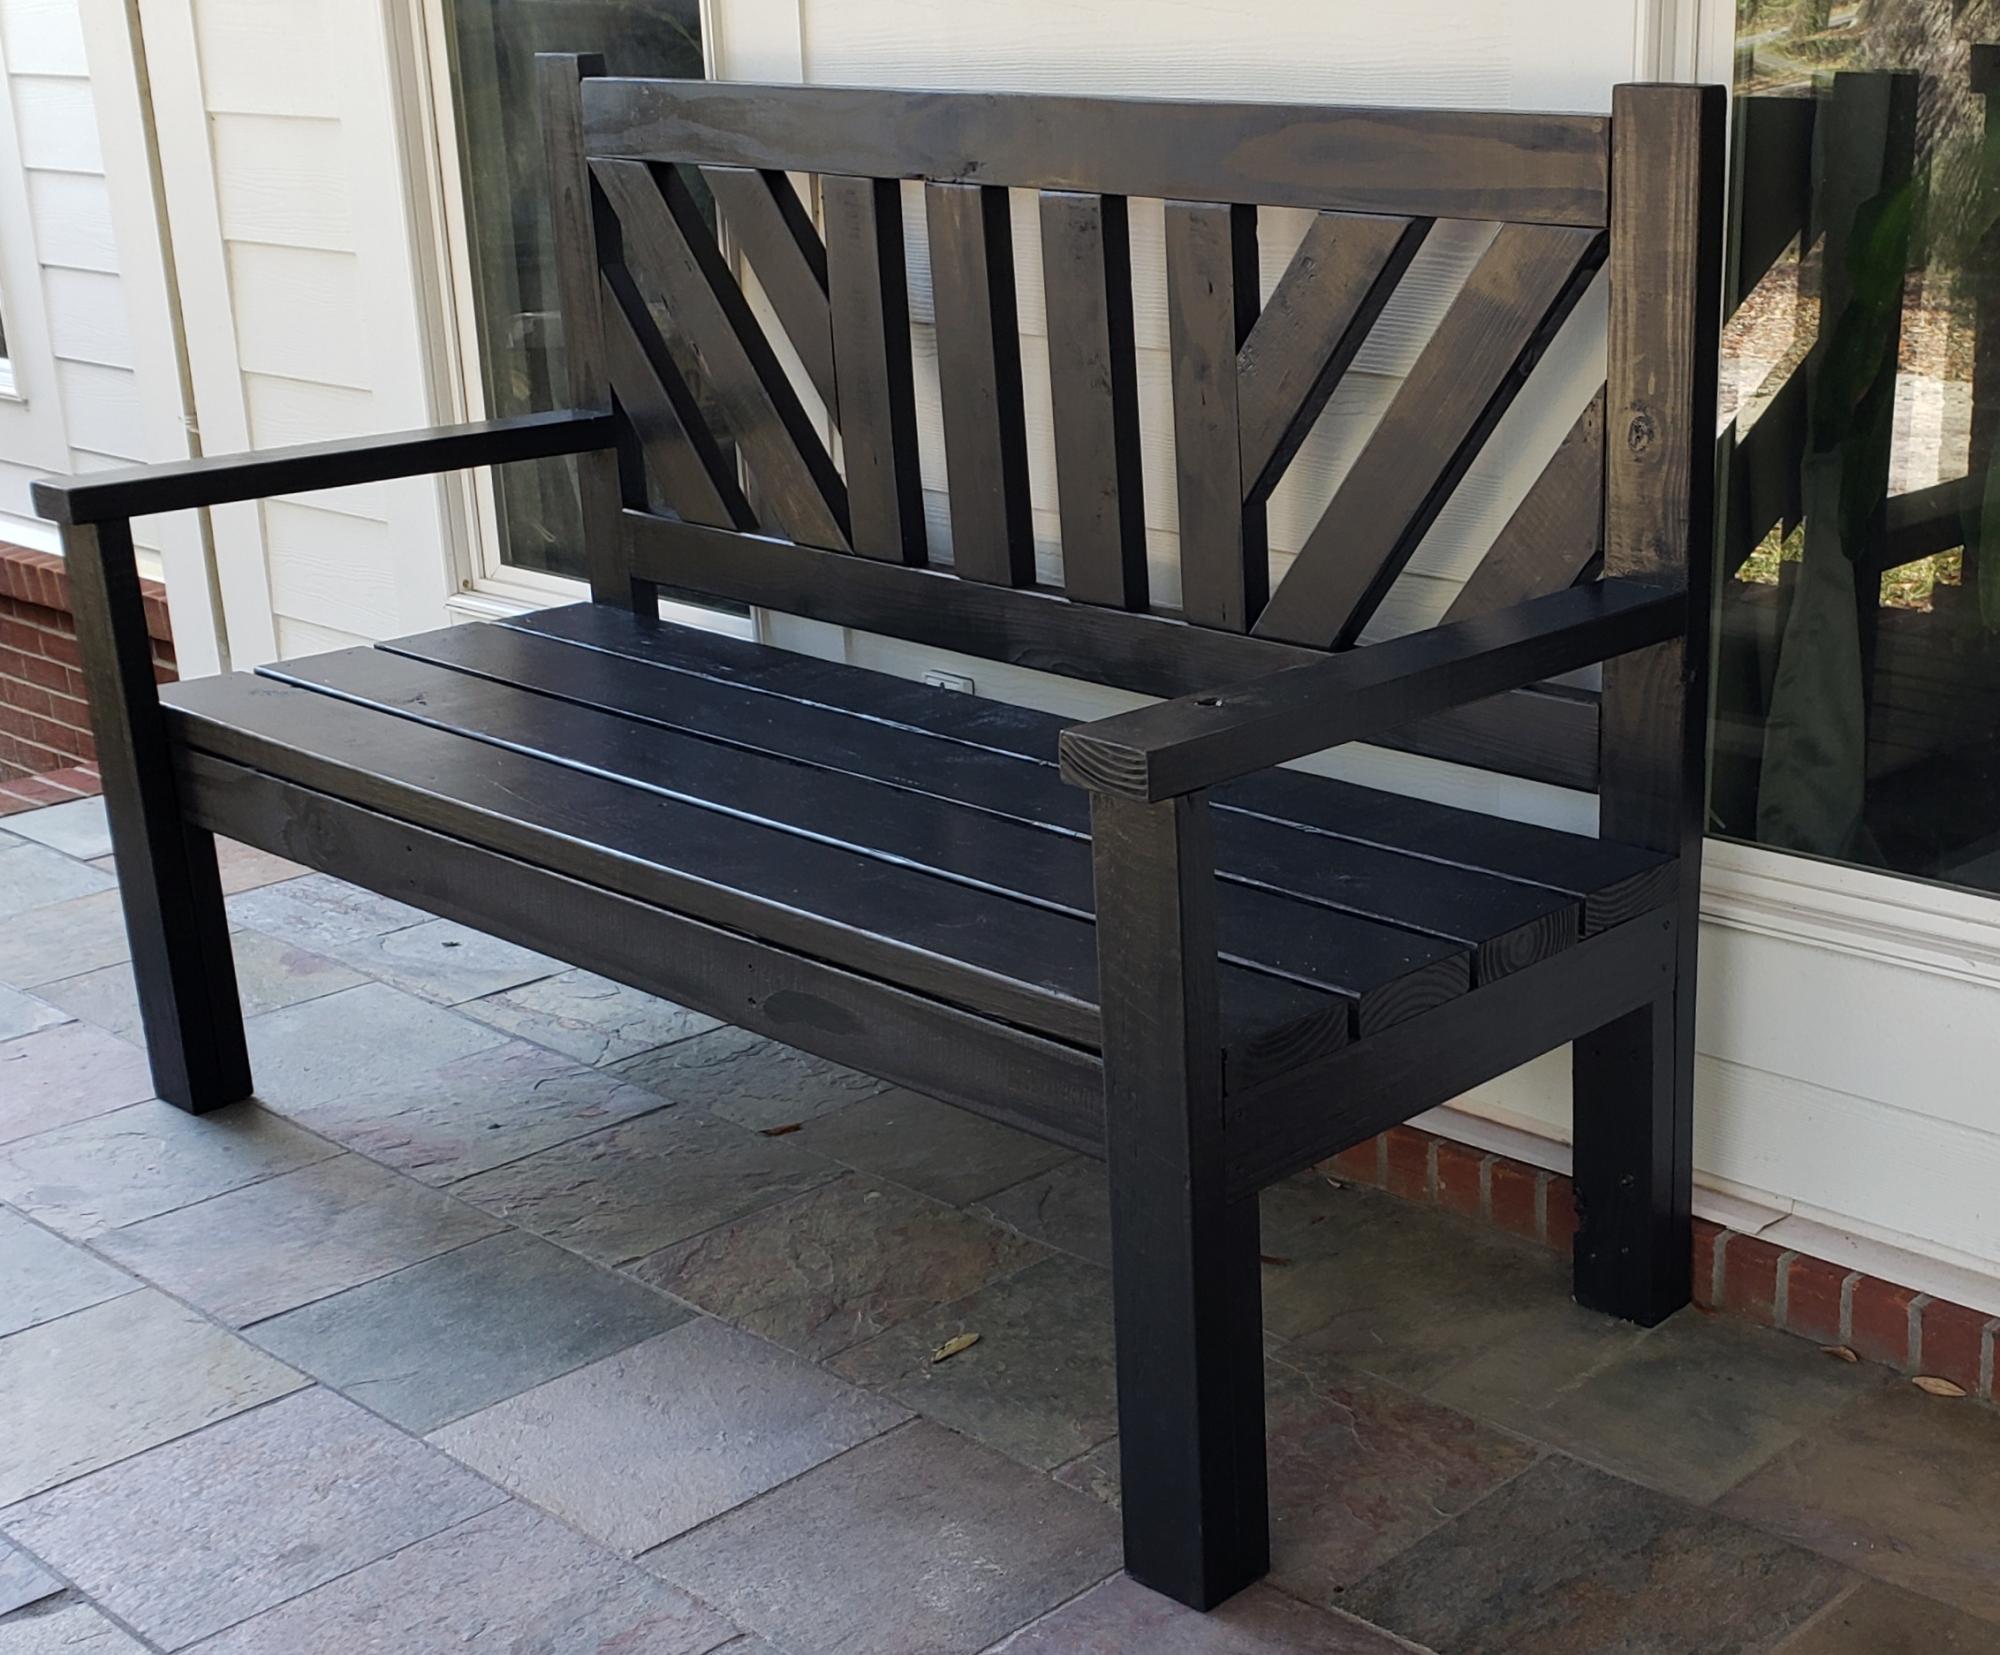
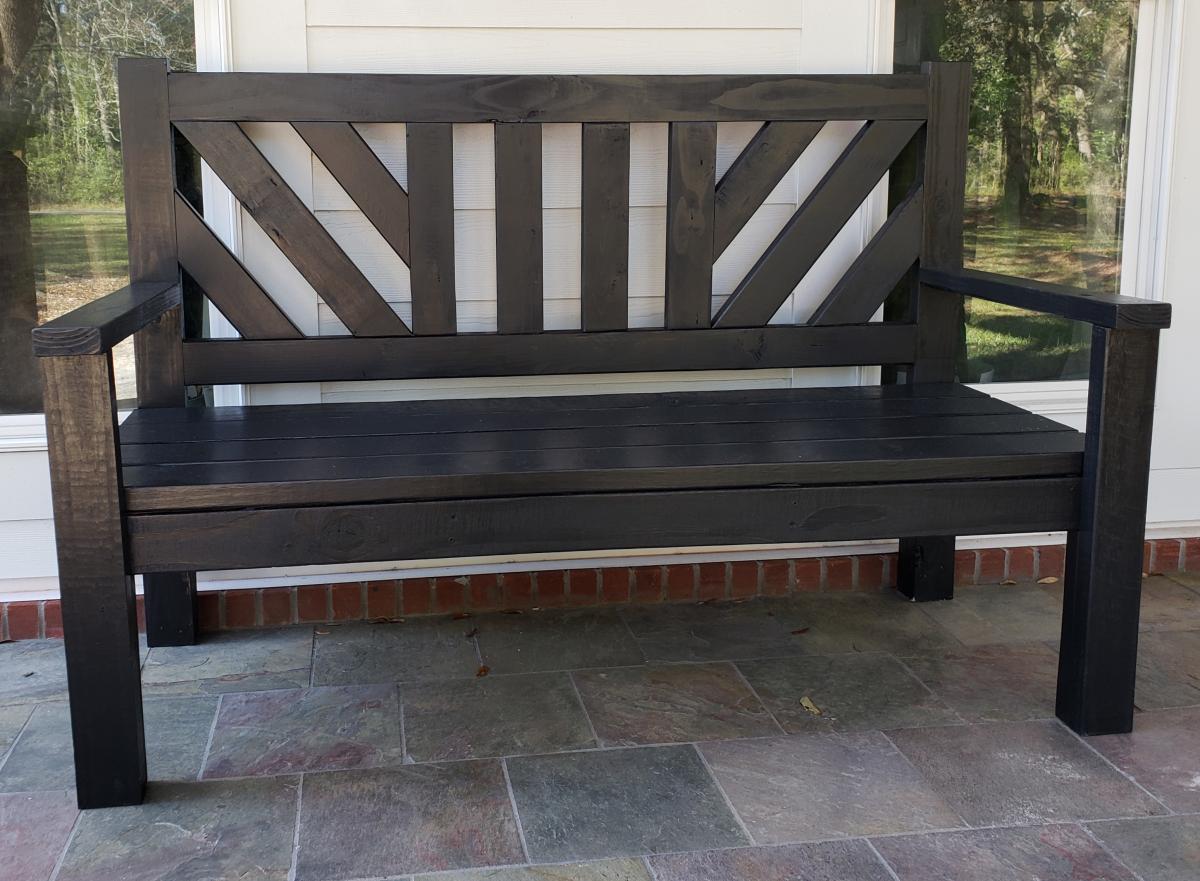
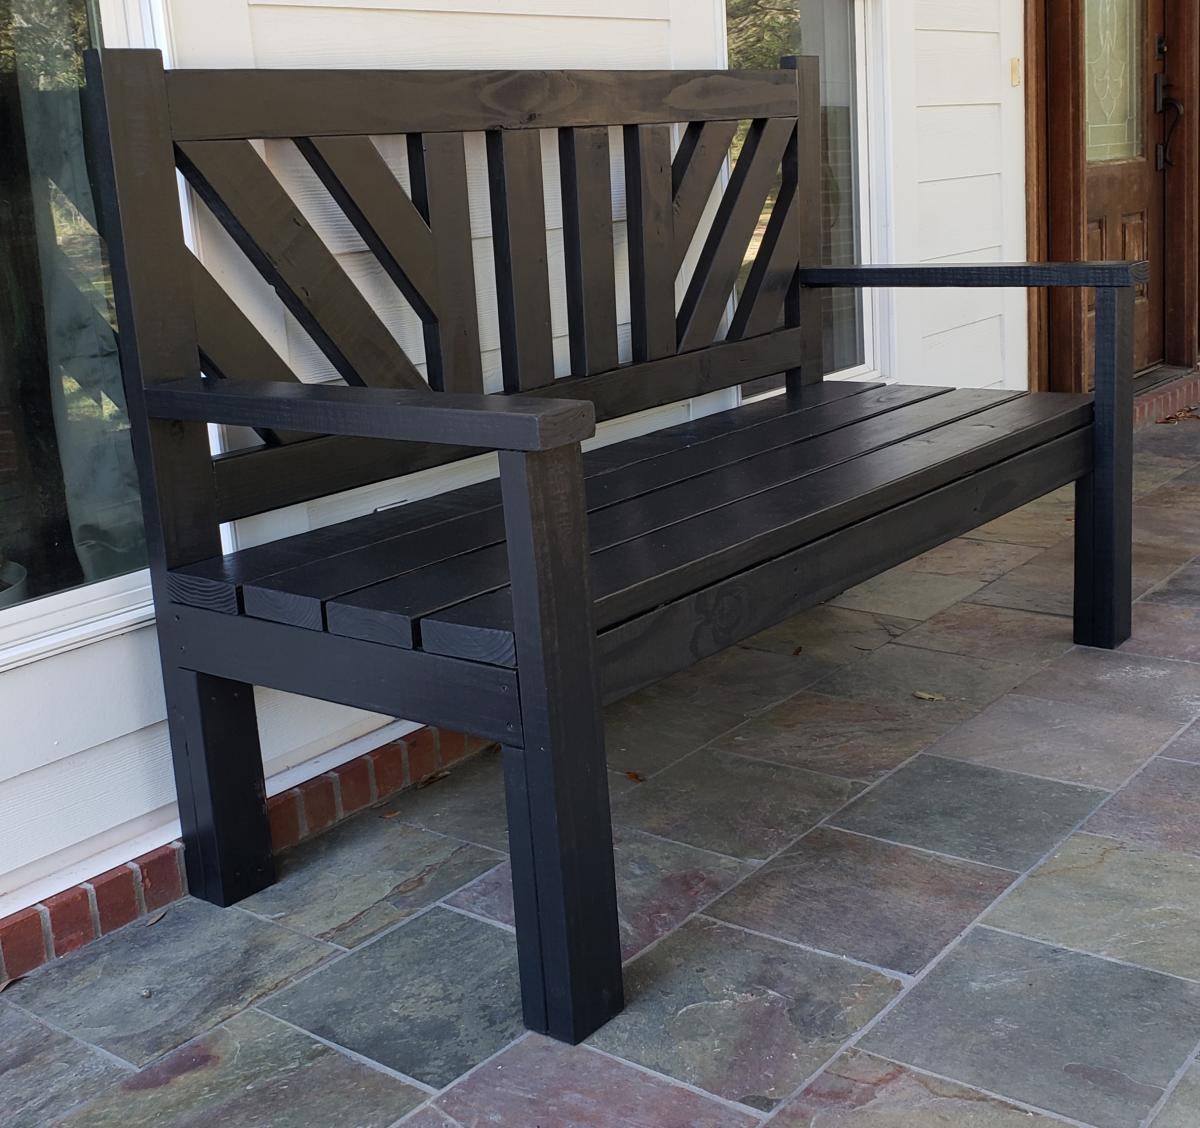
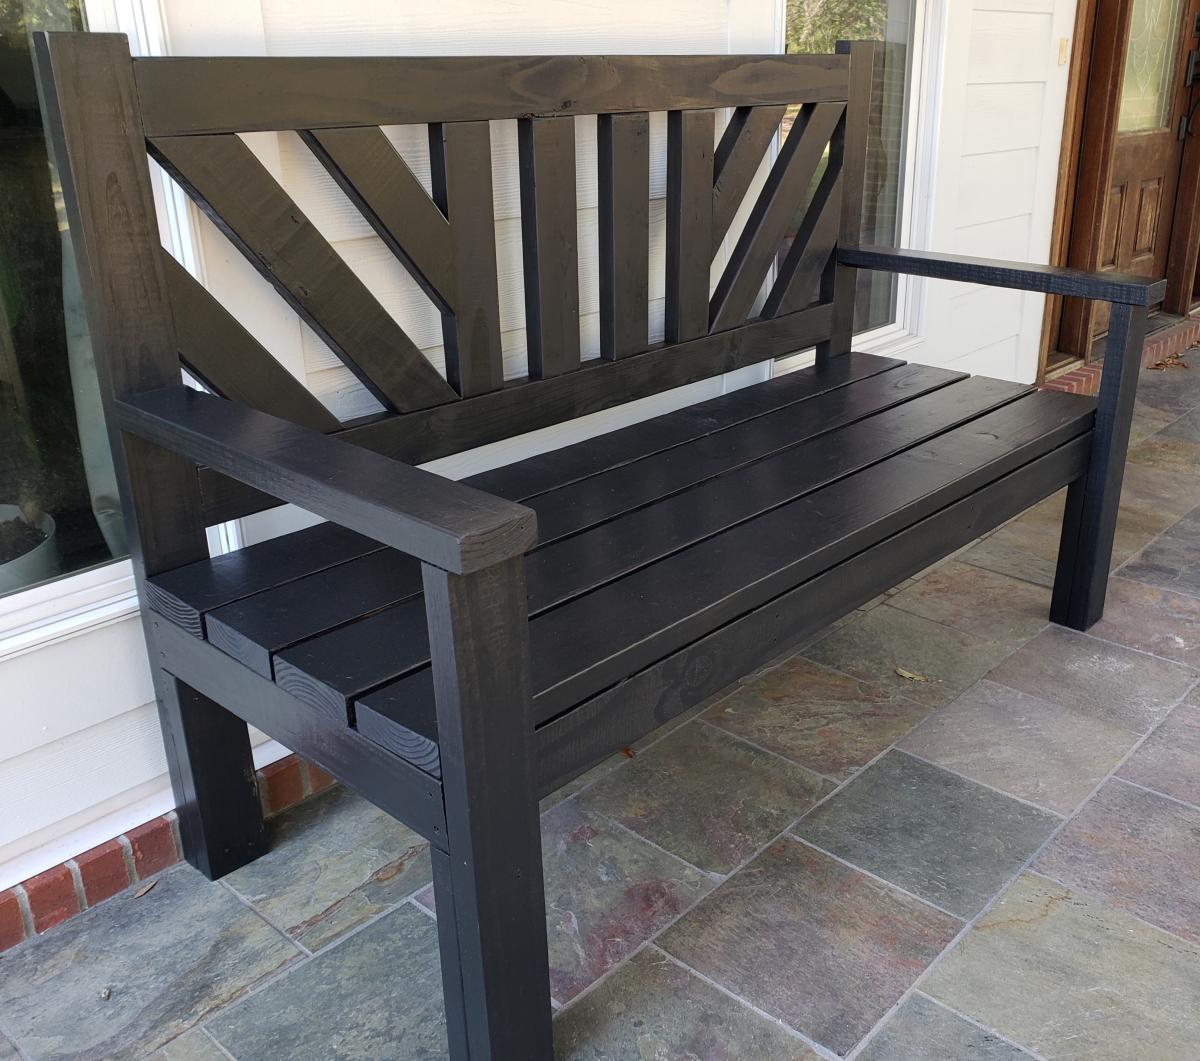
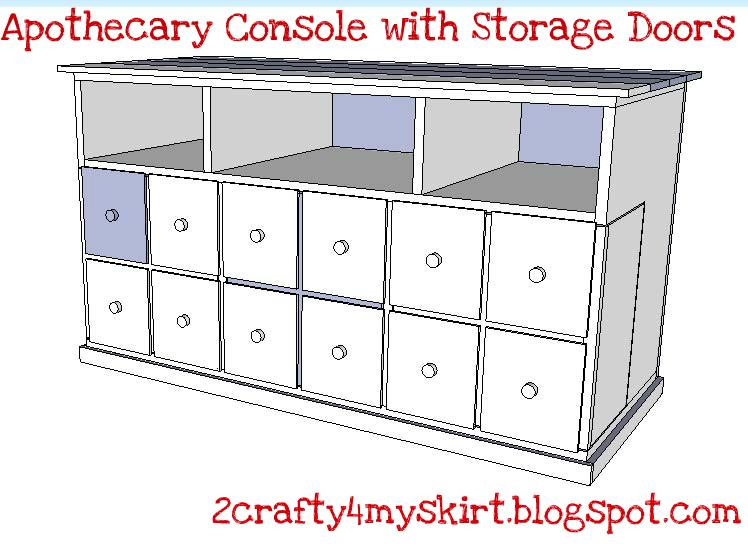
Pallet Wood Hinged Farmhouse Storage Queen
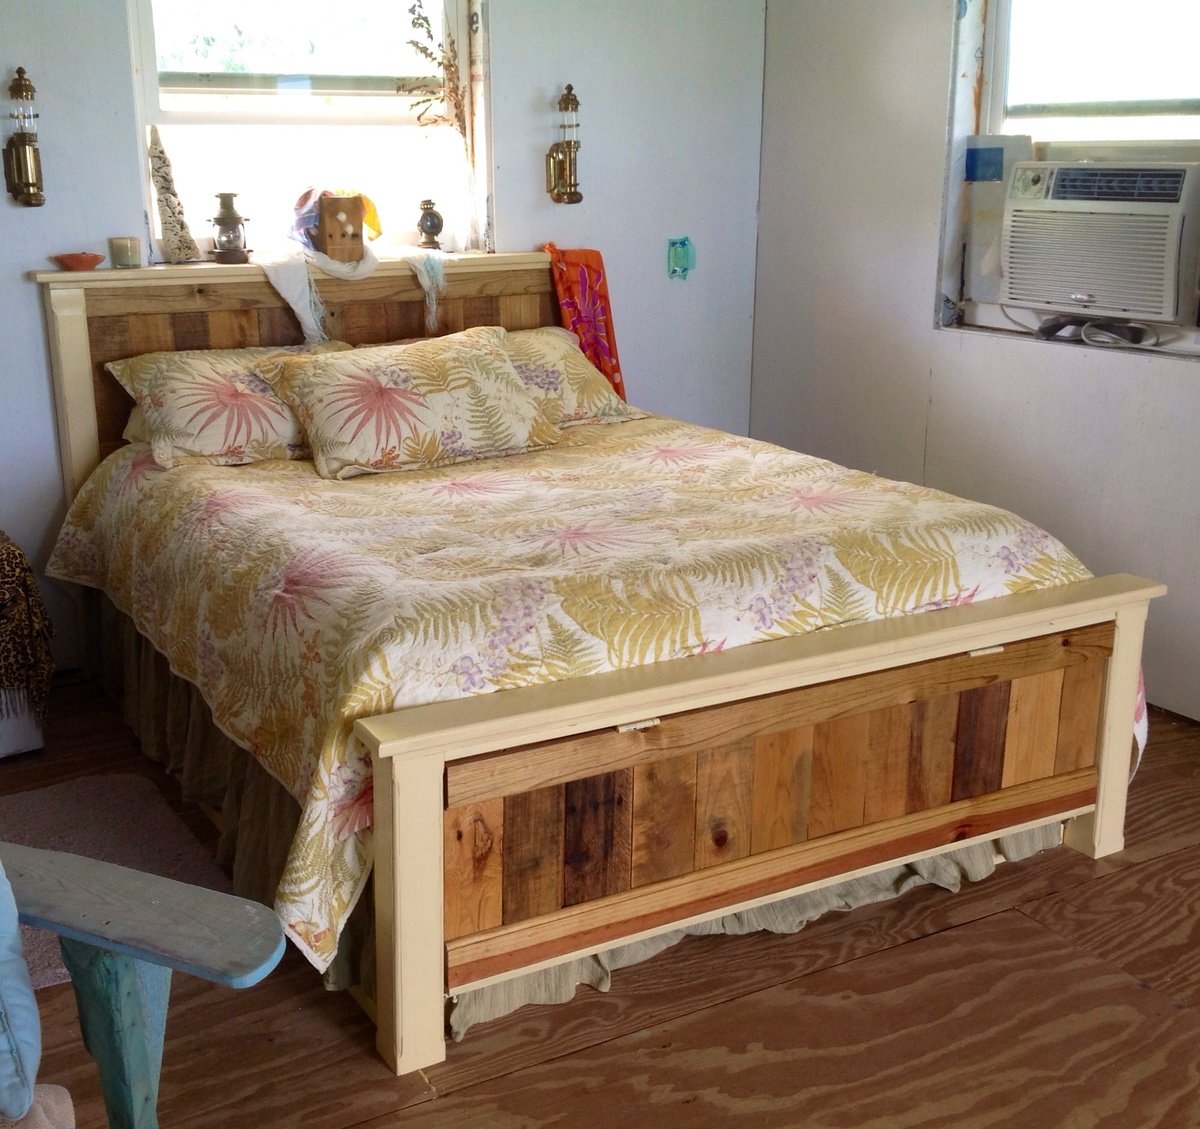
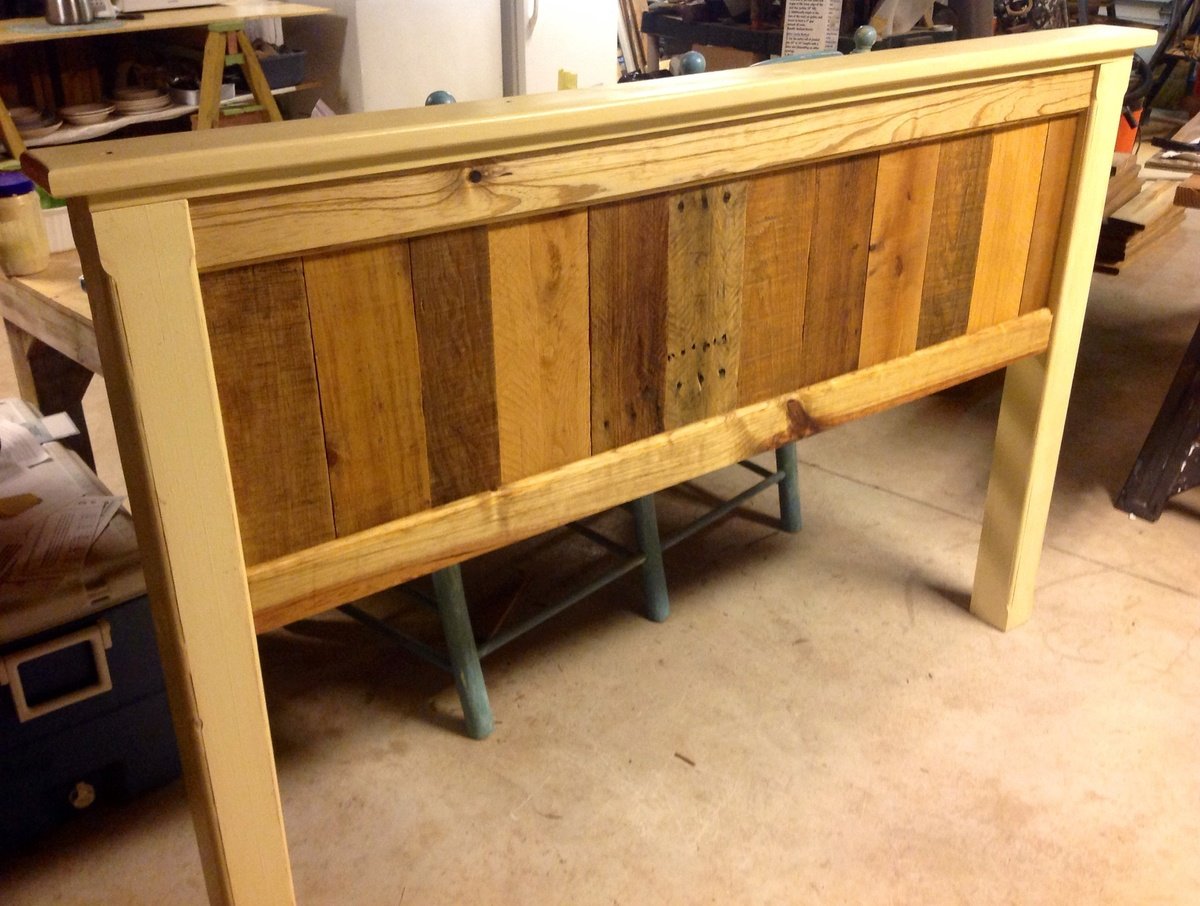
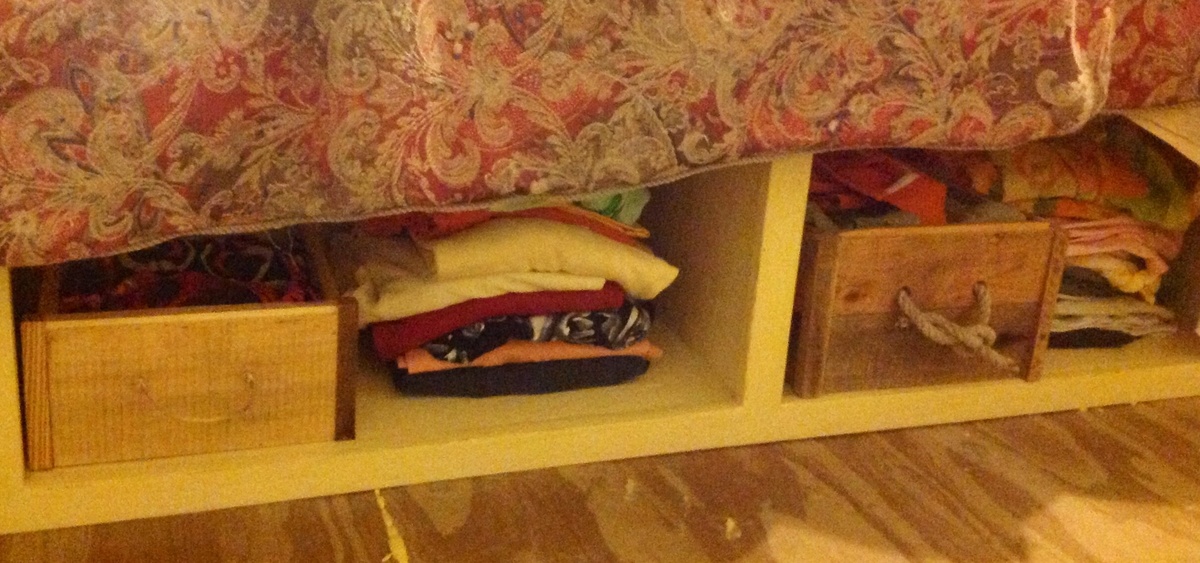
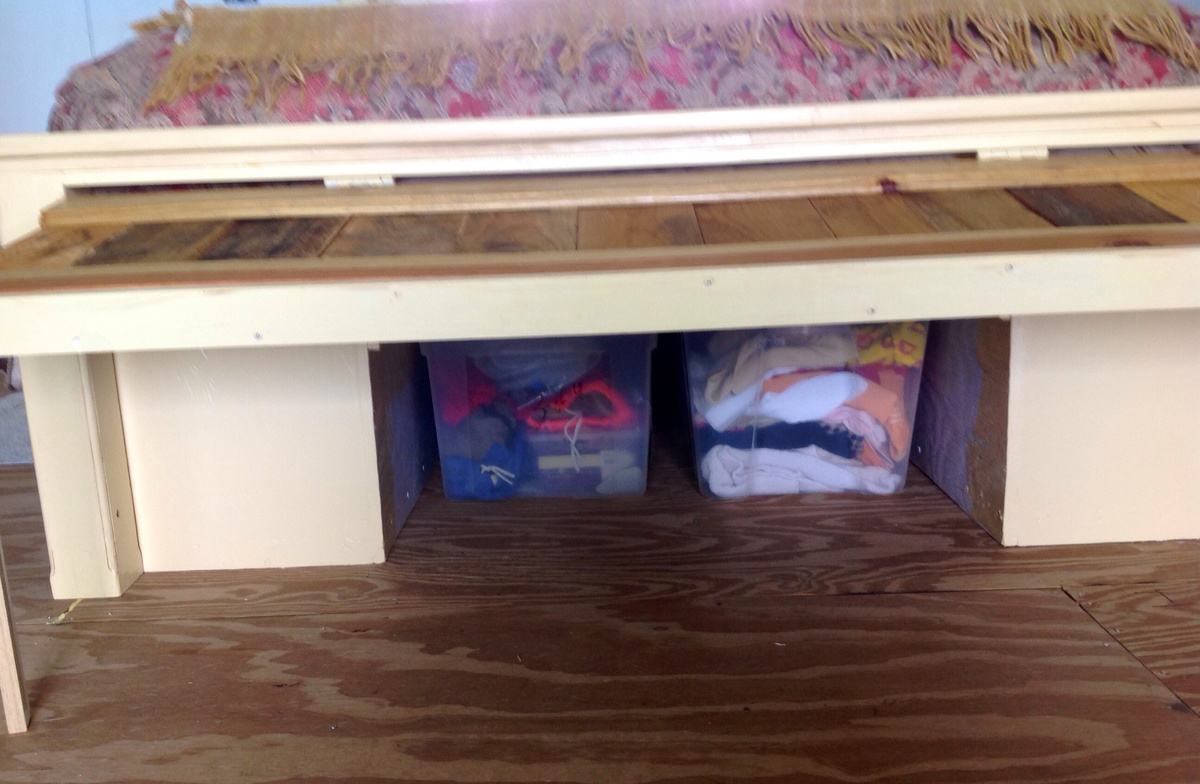
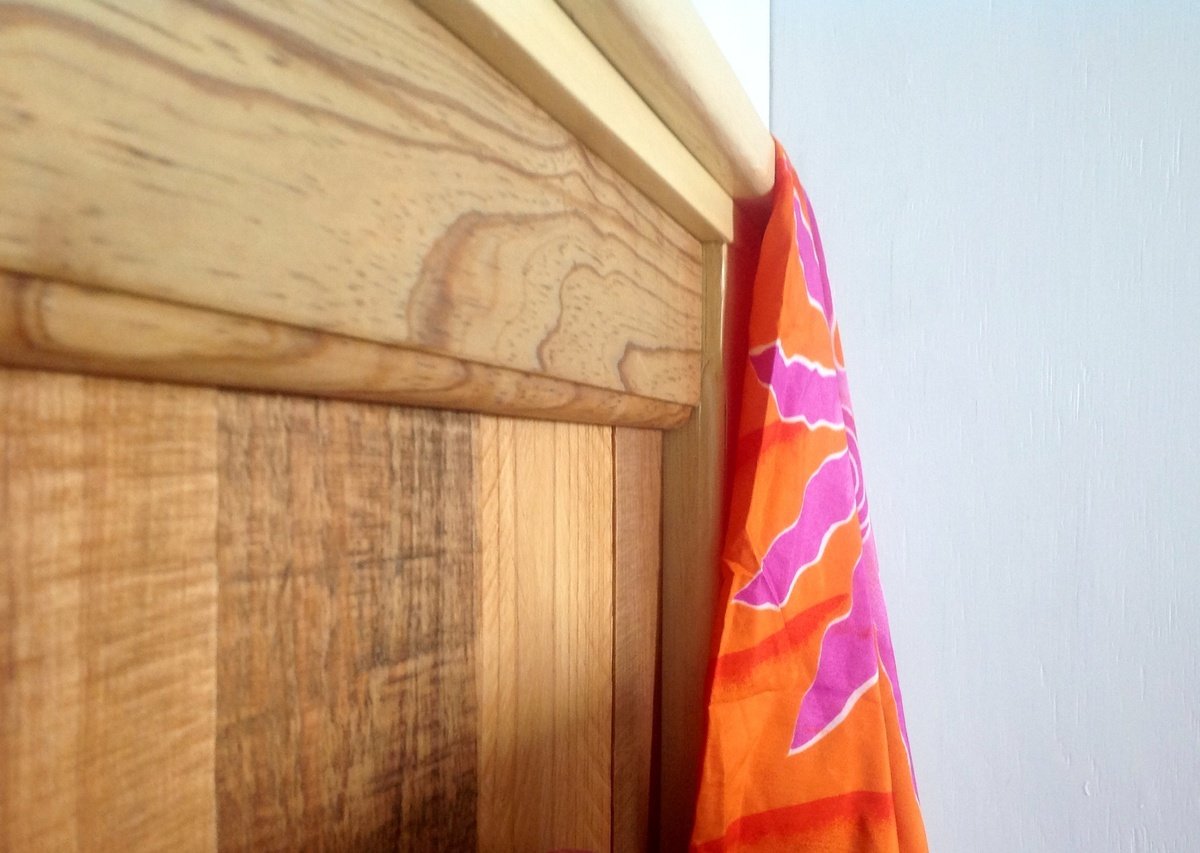
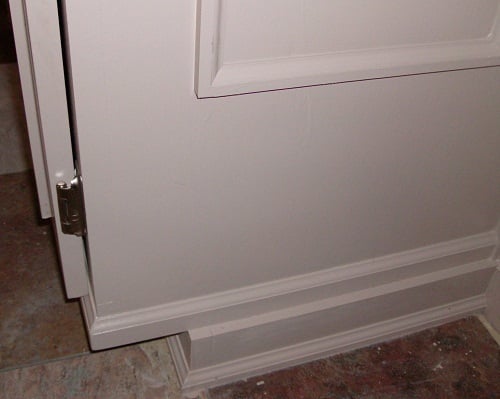
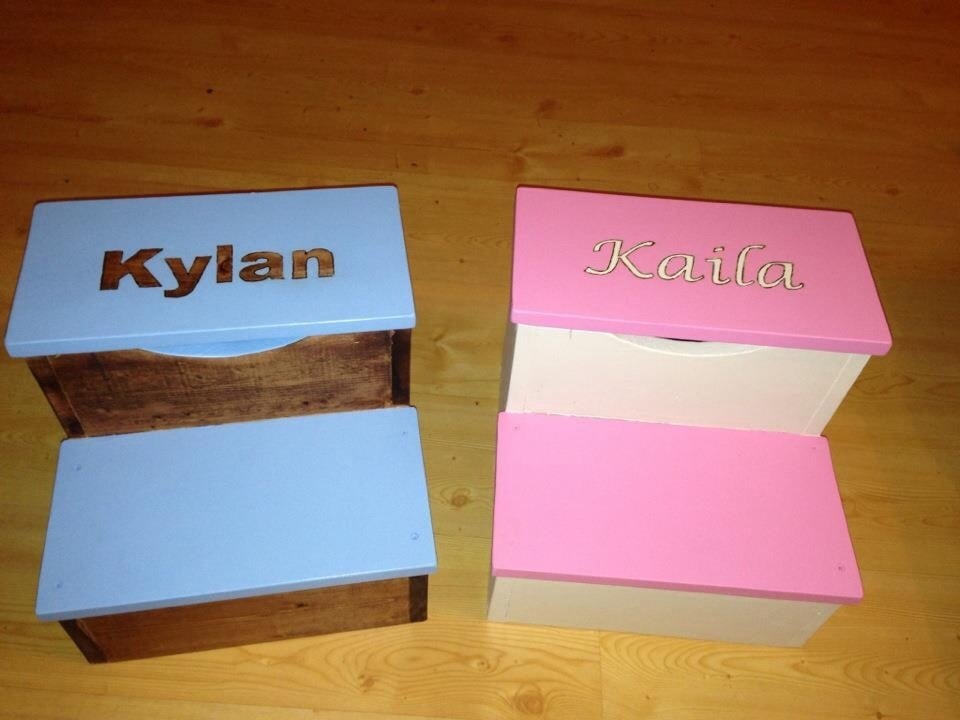
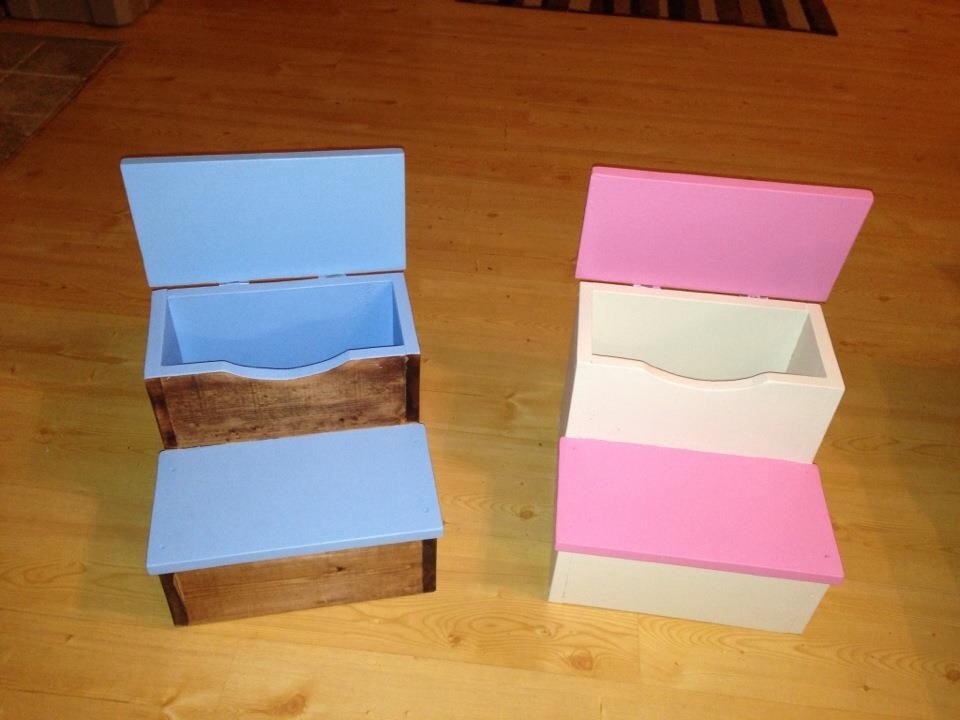
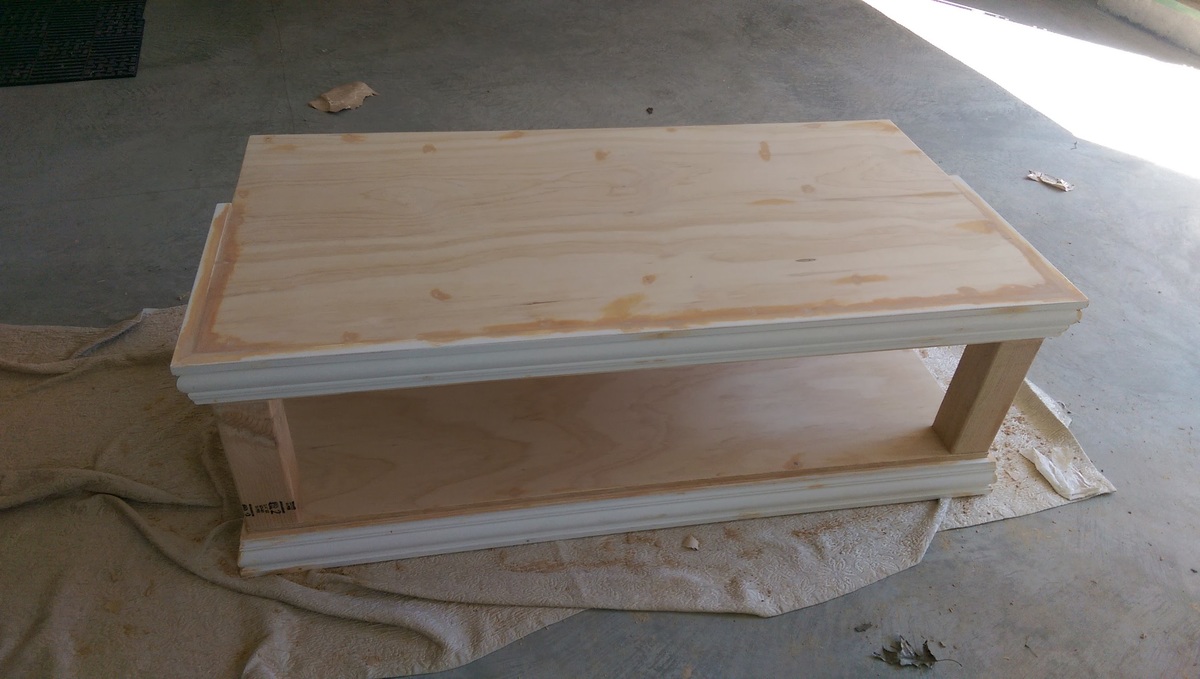
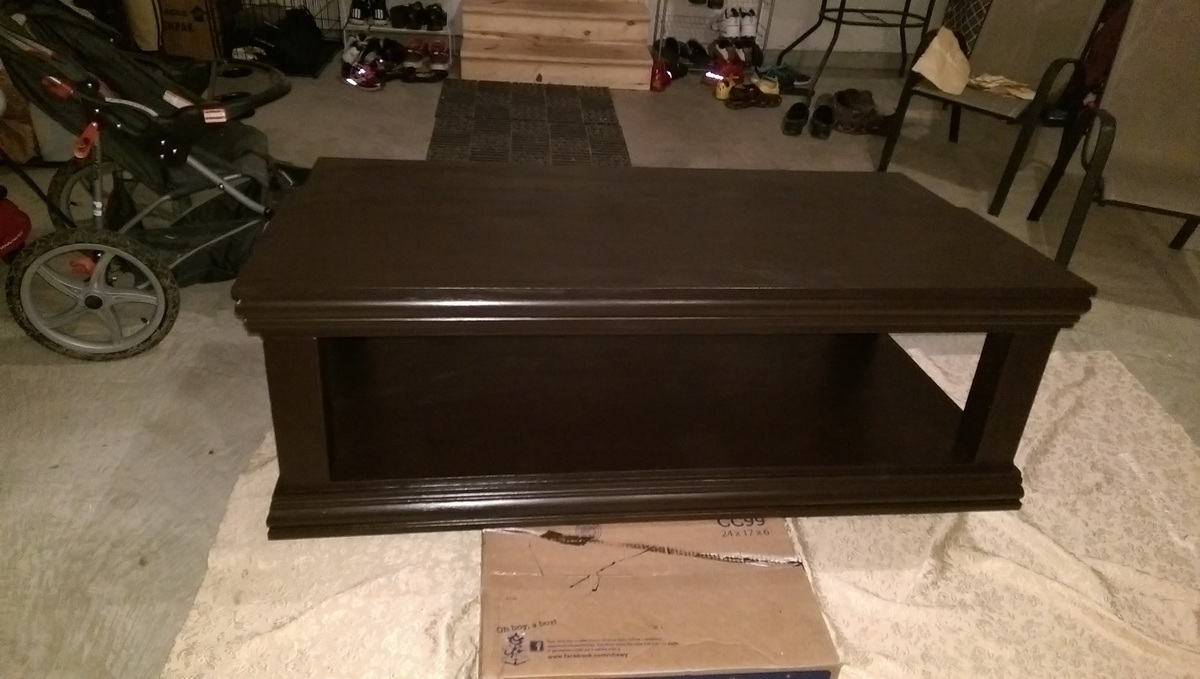
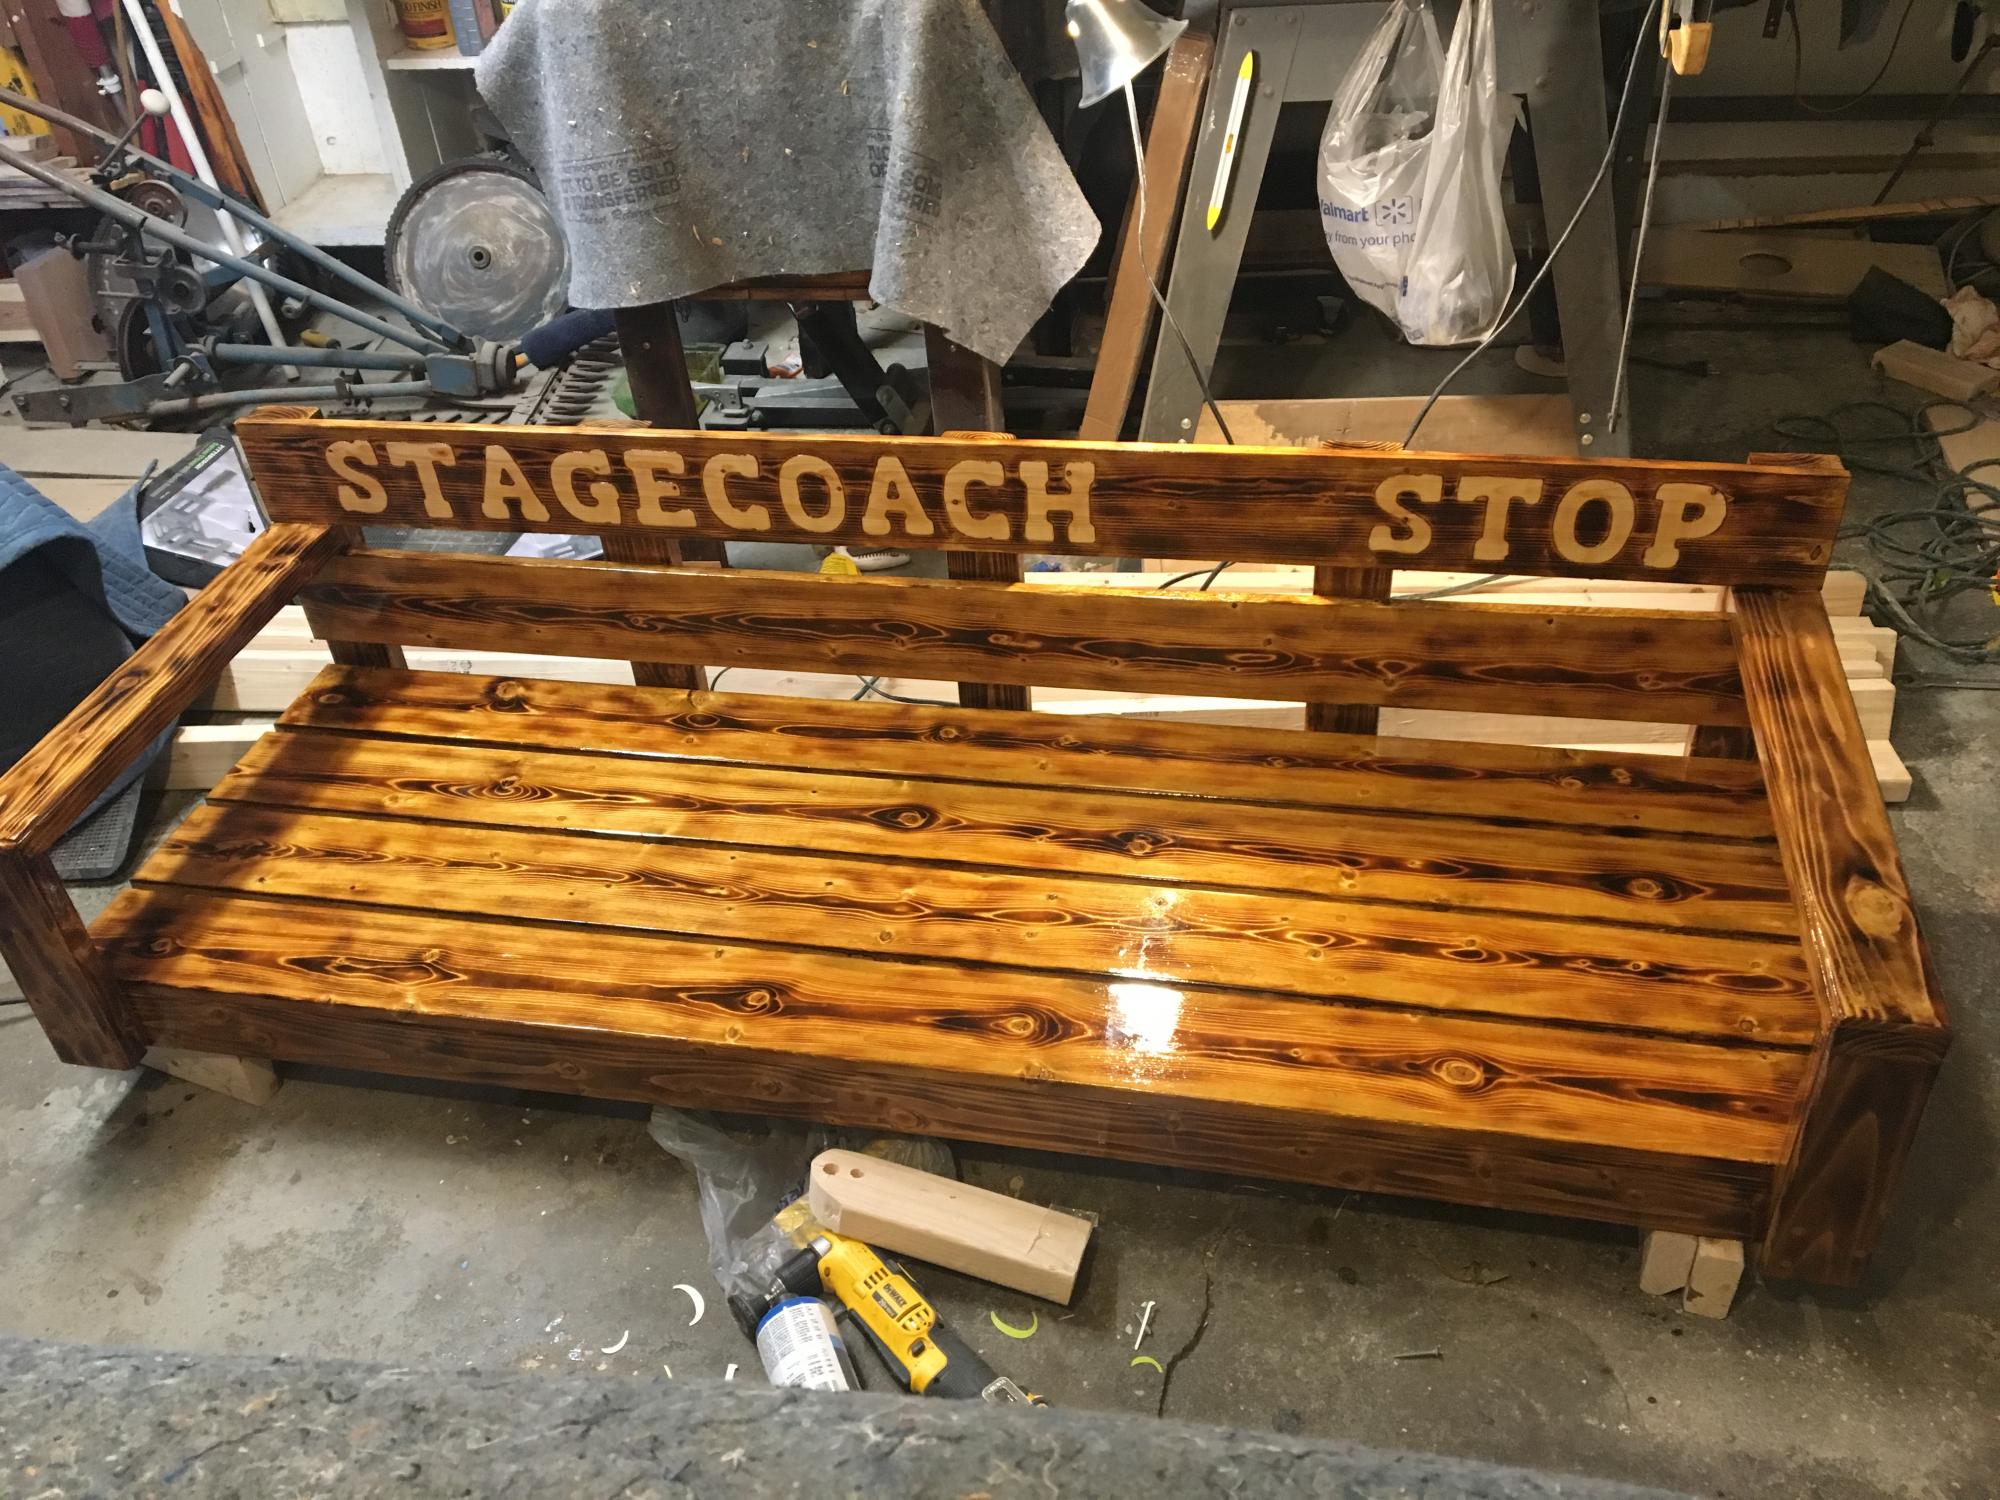
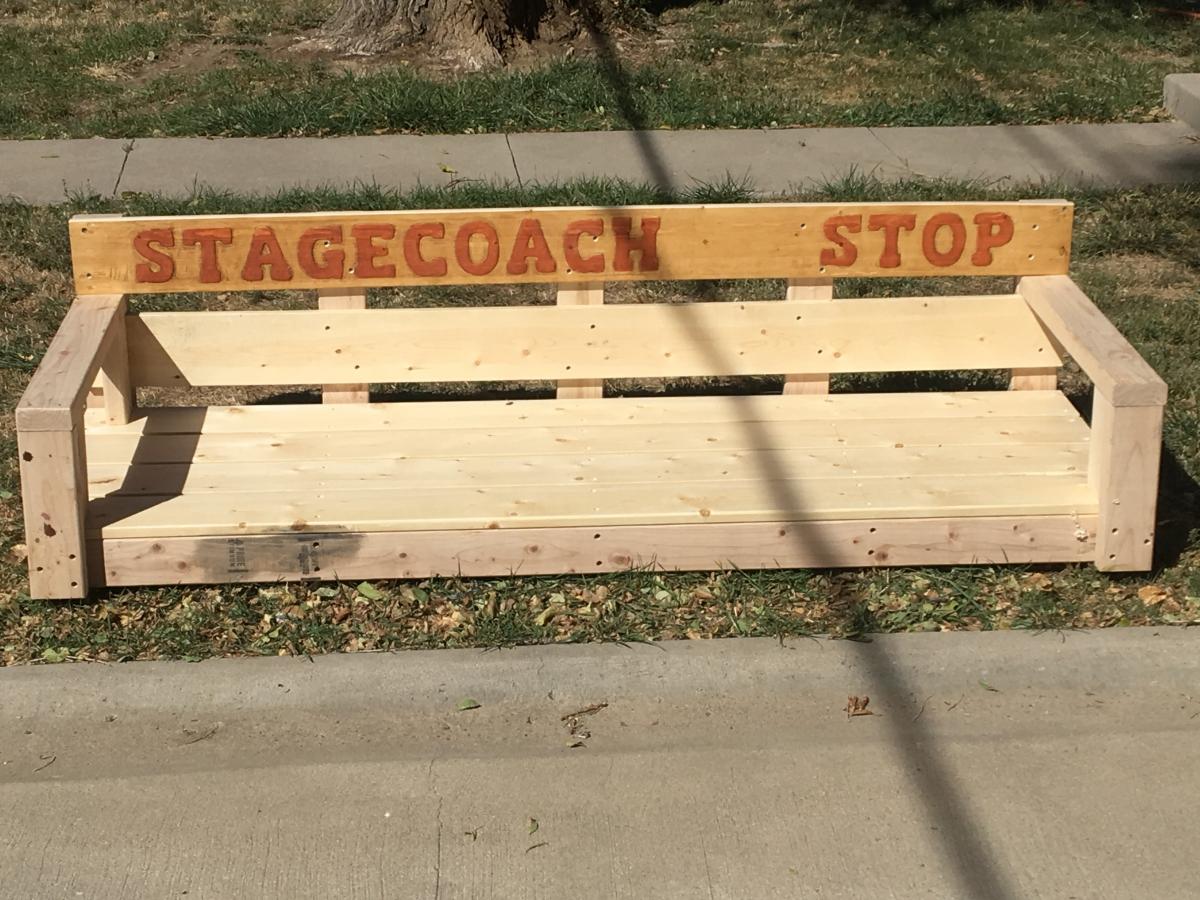
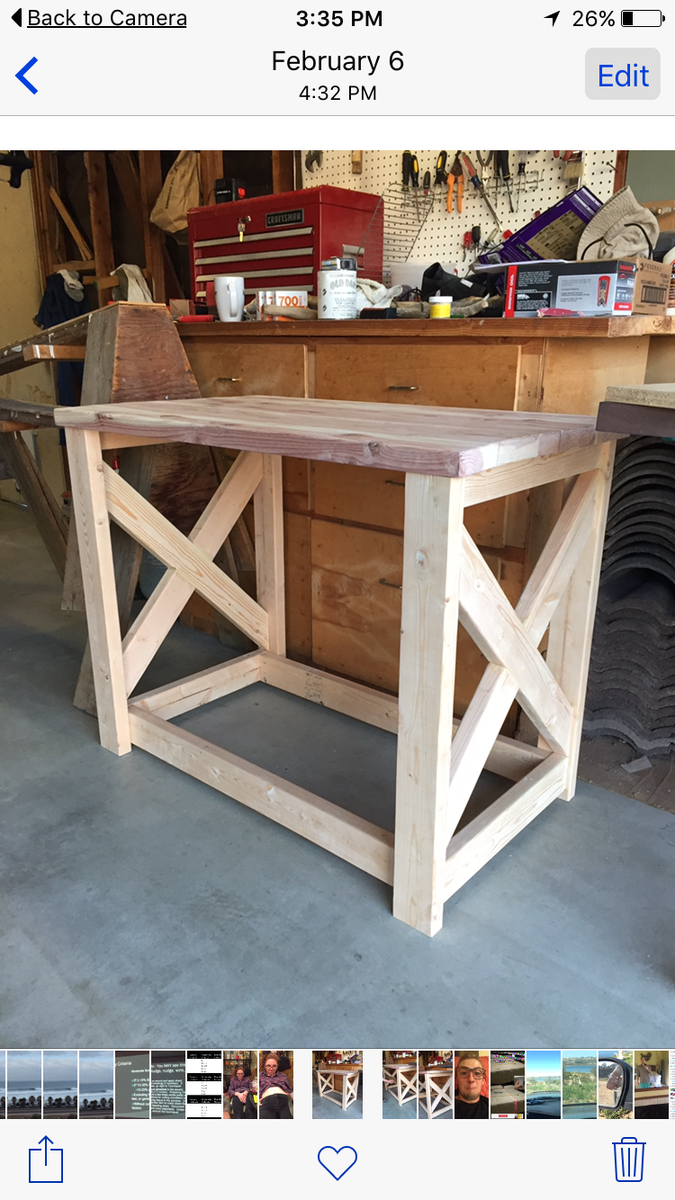
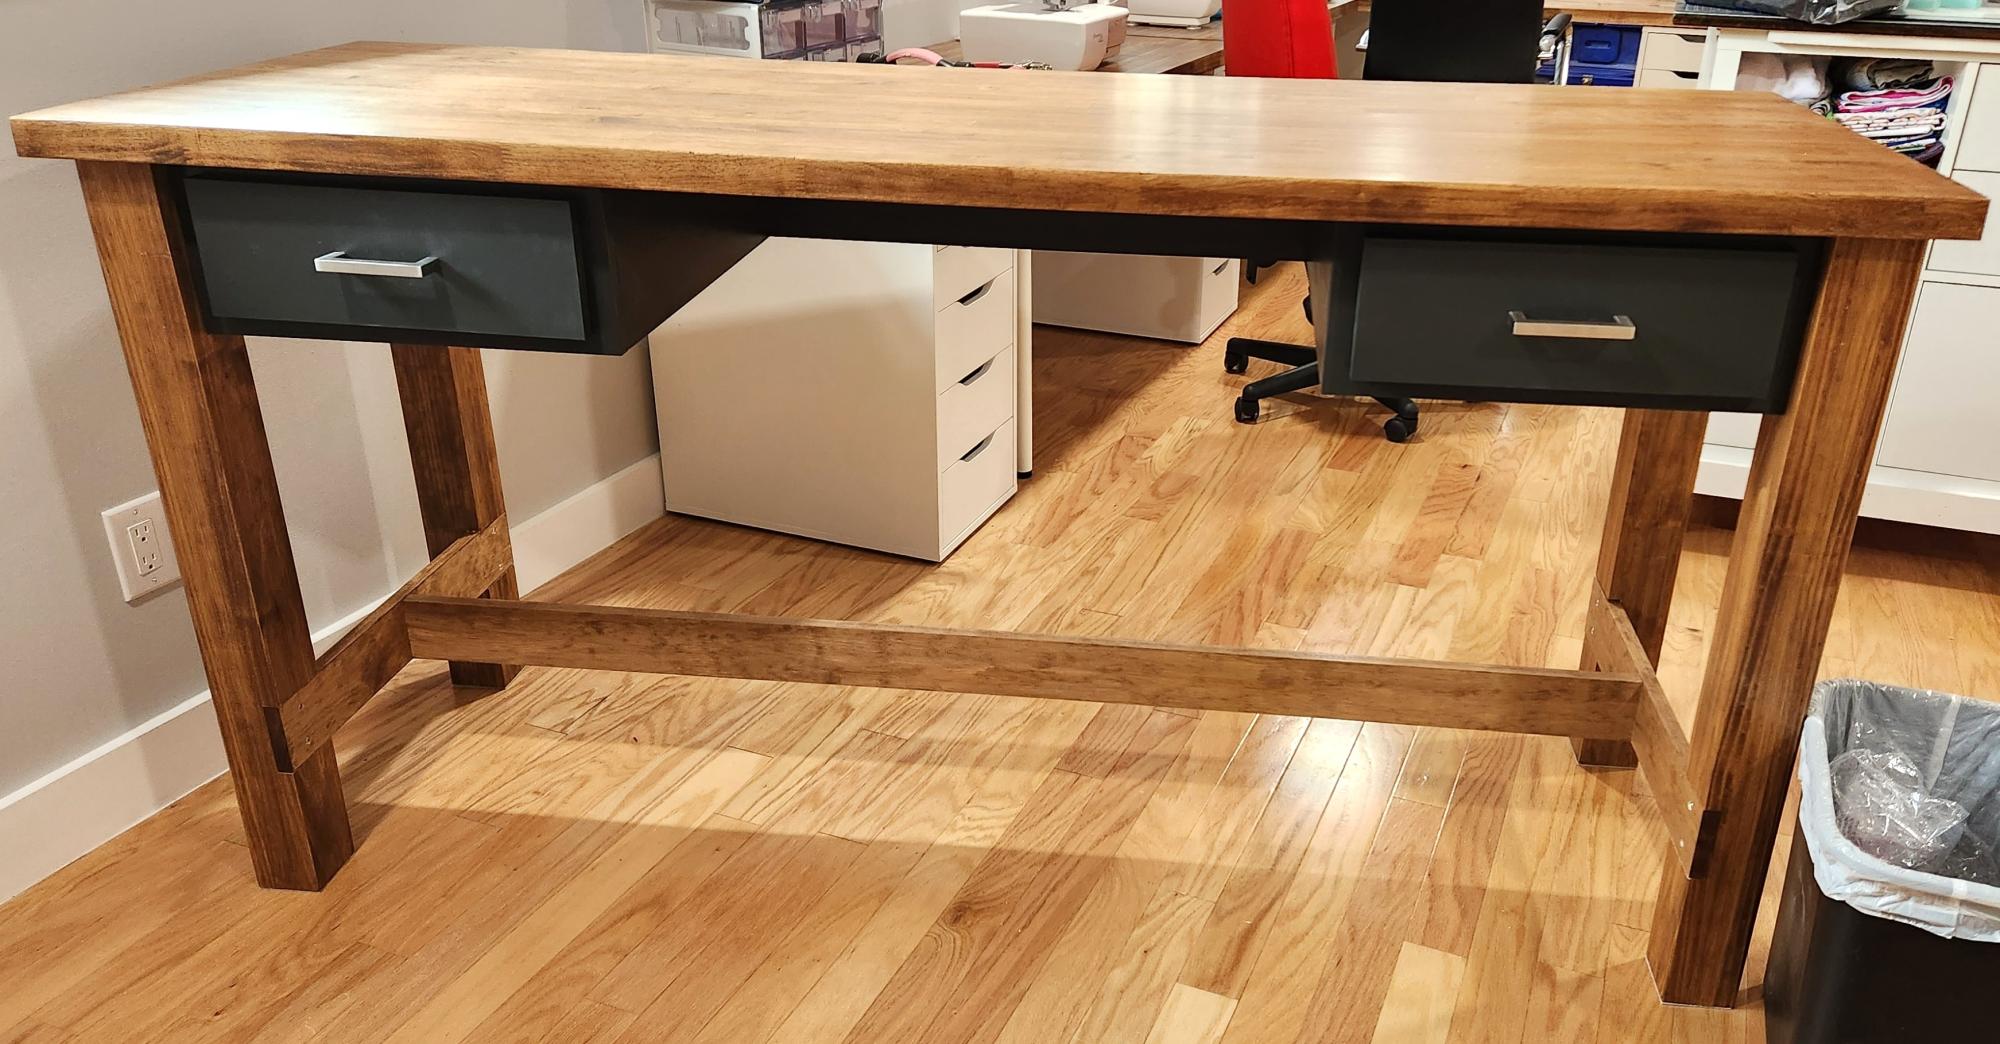
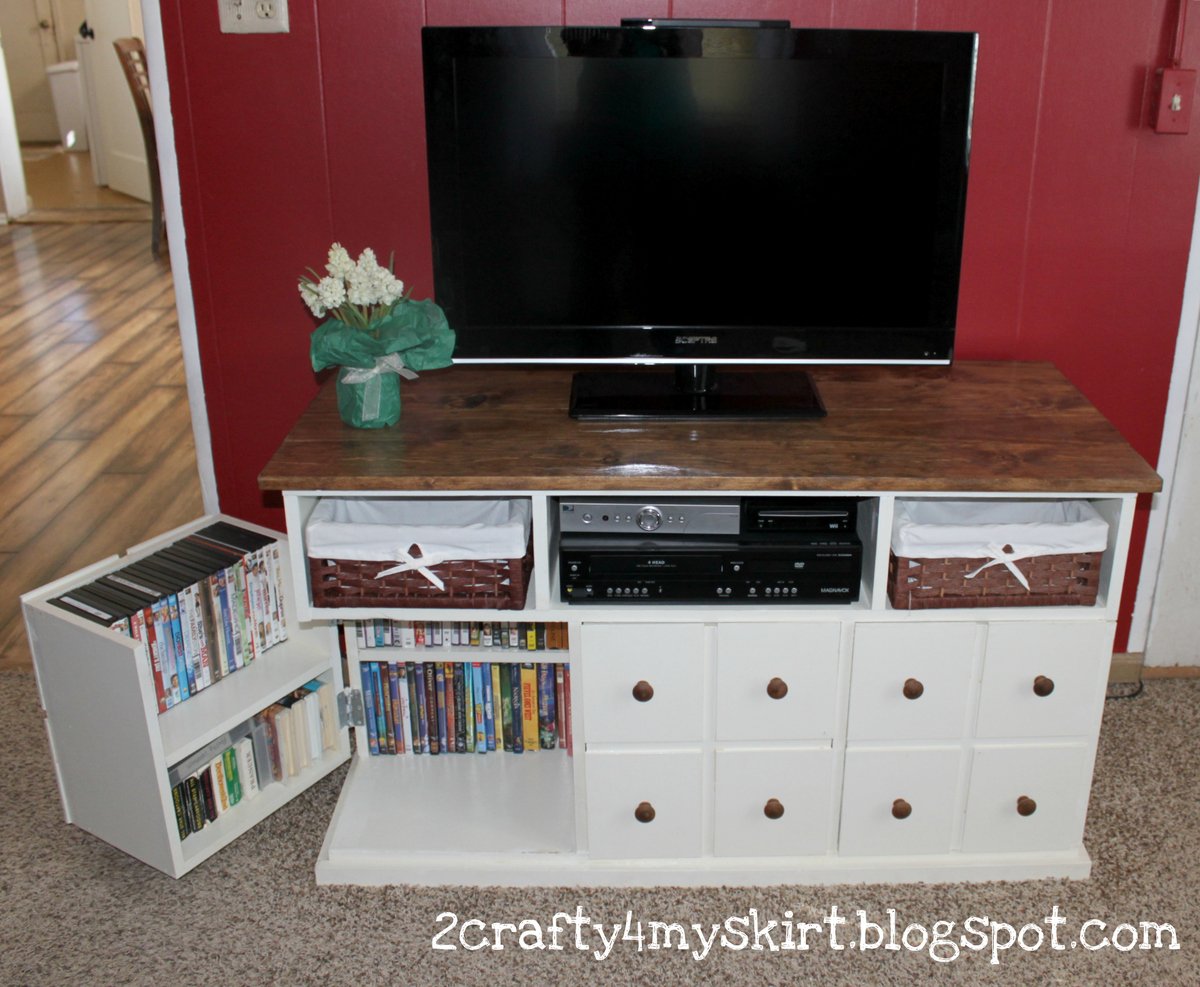
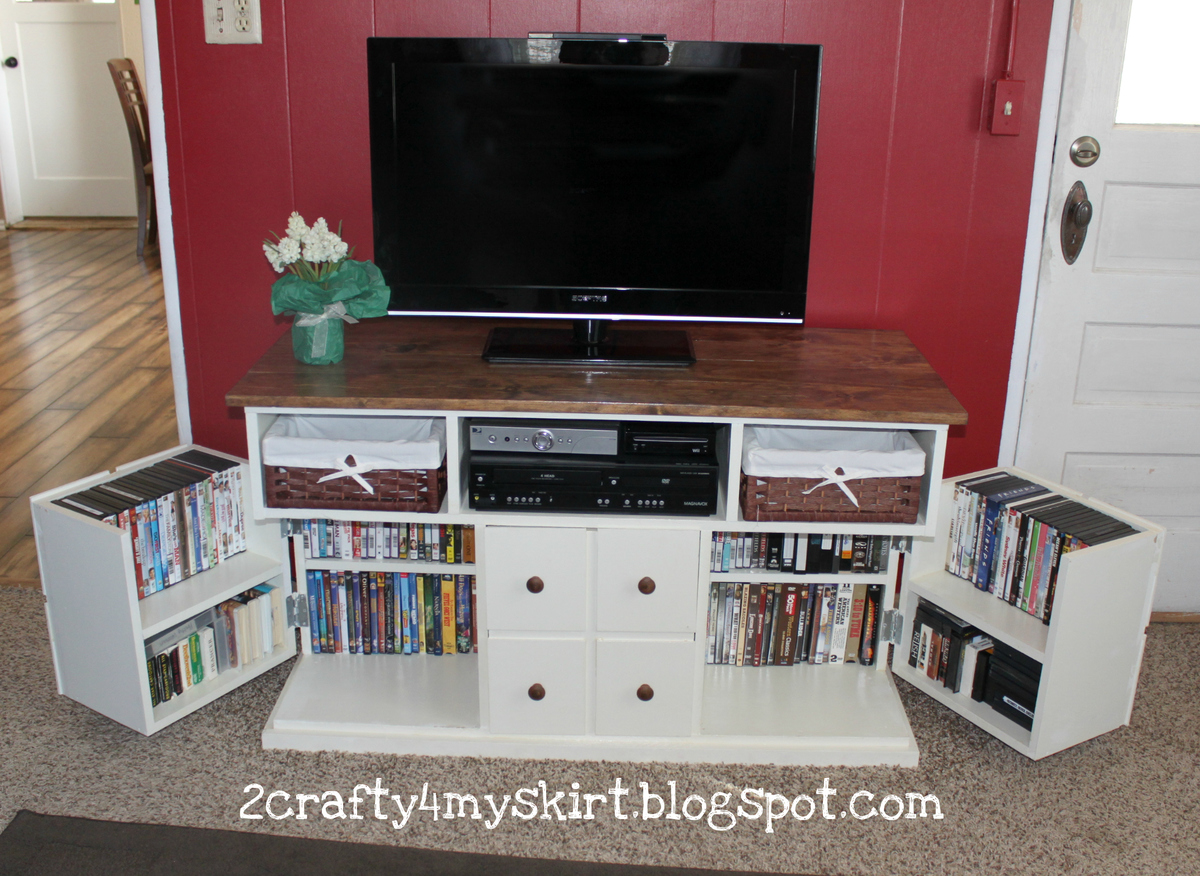
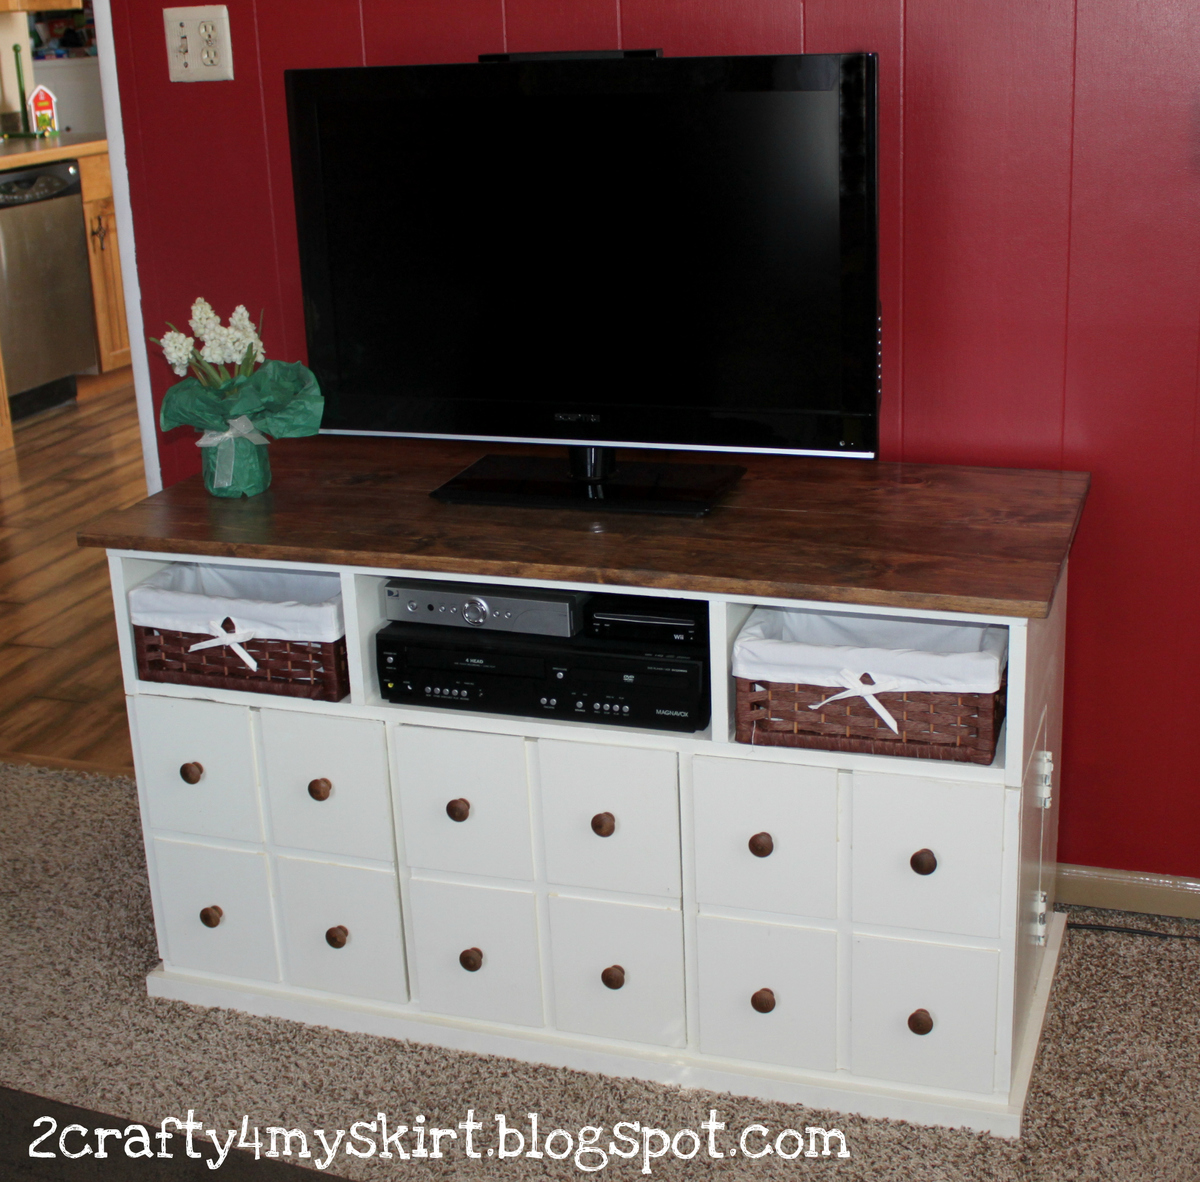
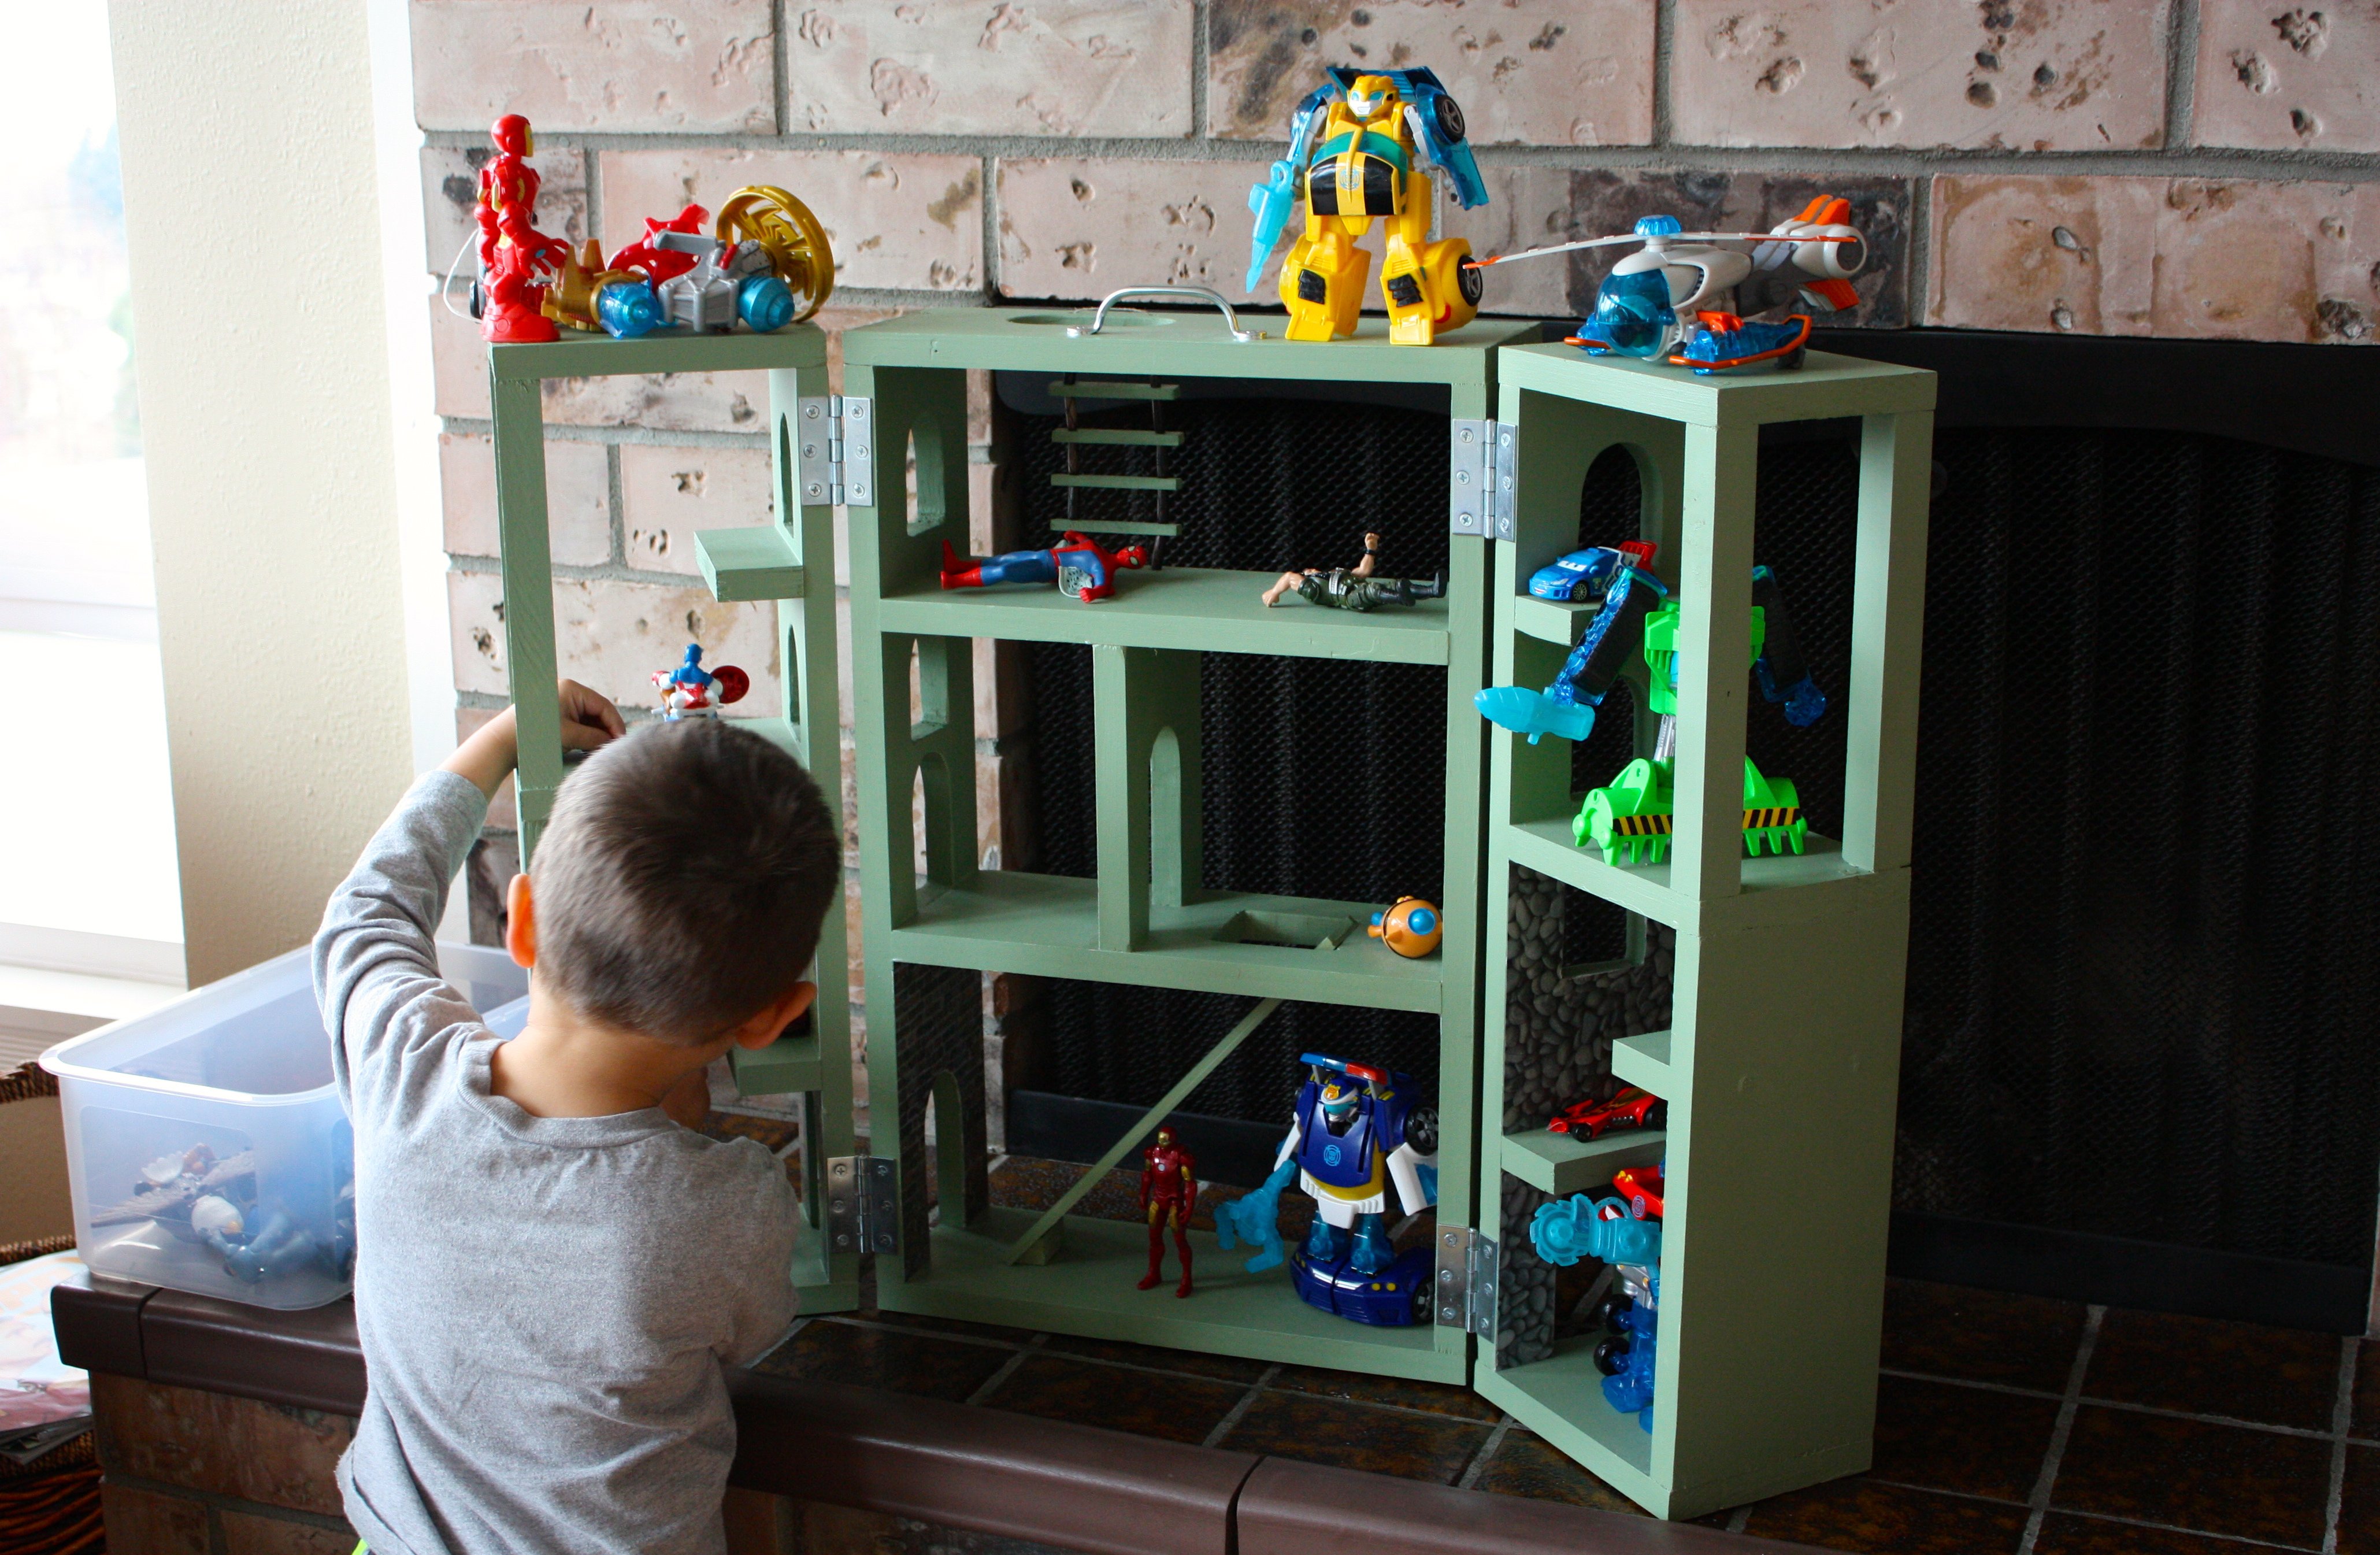
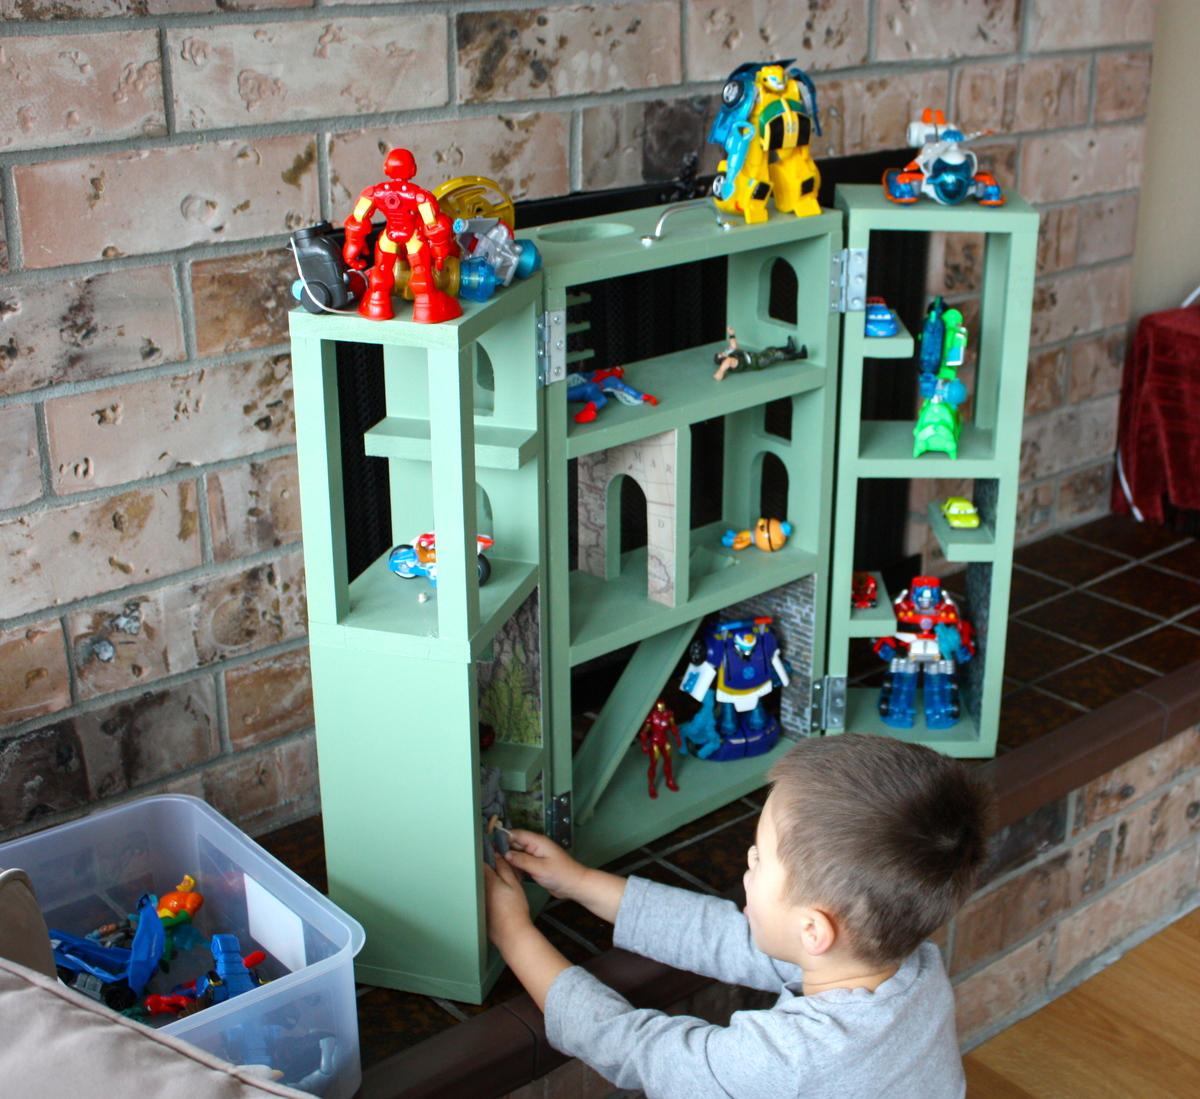
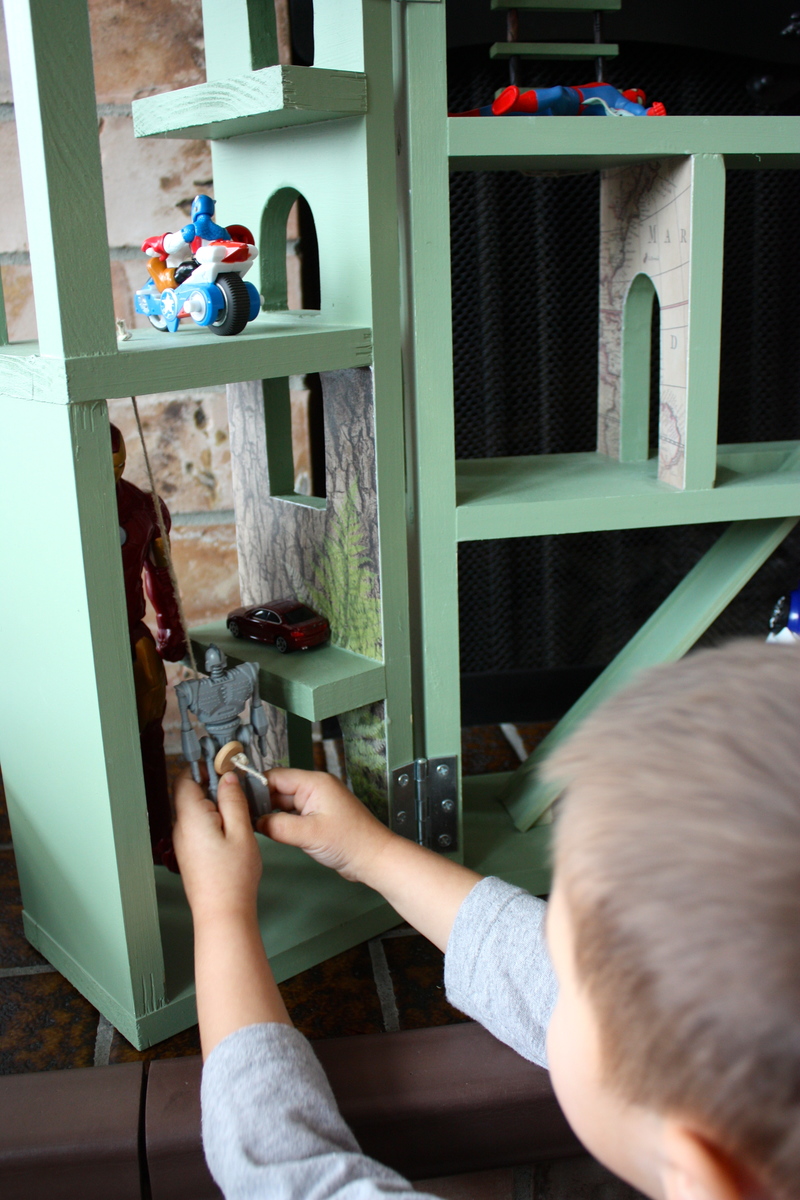
I used pallet wood for the head and foot boards and followed Jenny's Hinged Footboard plans at http://www.birdsandsoap.blogspot.com/ with a few modifications for stability so this can withstand my dogs' constant wrestling matches! The balance of the lumber was all house construction leftovers so all I bought were hinges and barrel bolts. I adore ALL the storage! I am in love with this site because it gets you "going" and then your imagination can take over and let you customize. Thank you Anna and Jenny! See my blog for a step by step.
Built from Plan(s)
Estimated Cost
$25
Estimated Time Investment
Week Long Project (20 Hours or More)
Finish Used
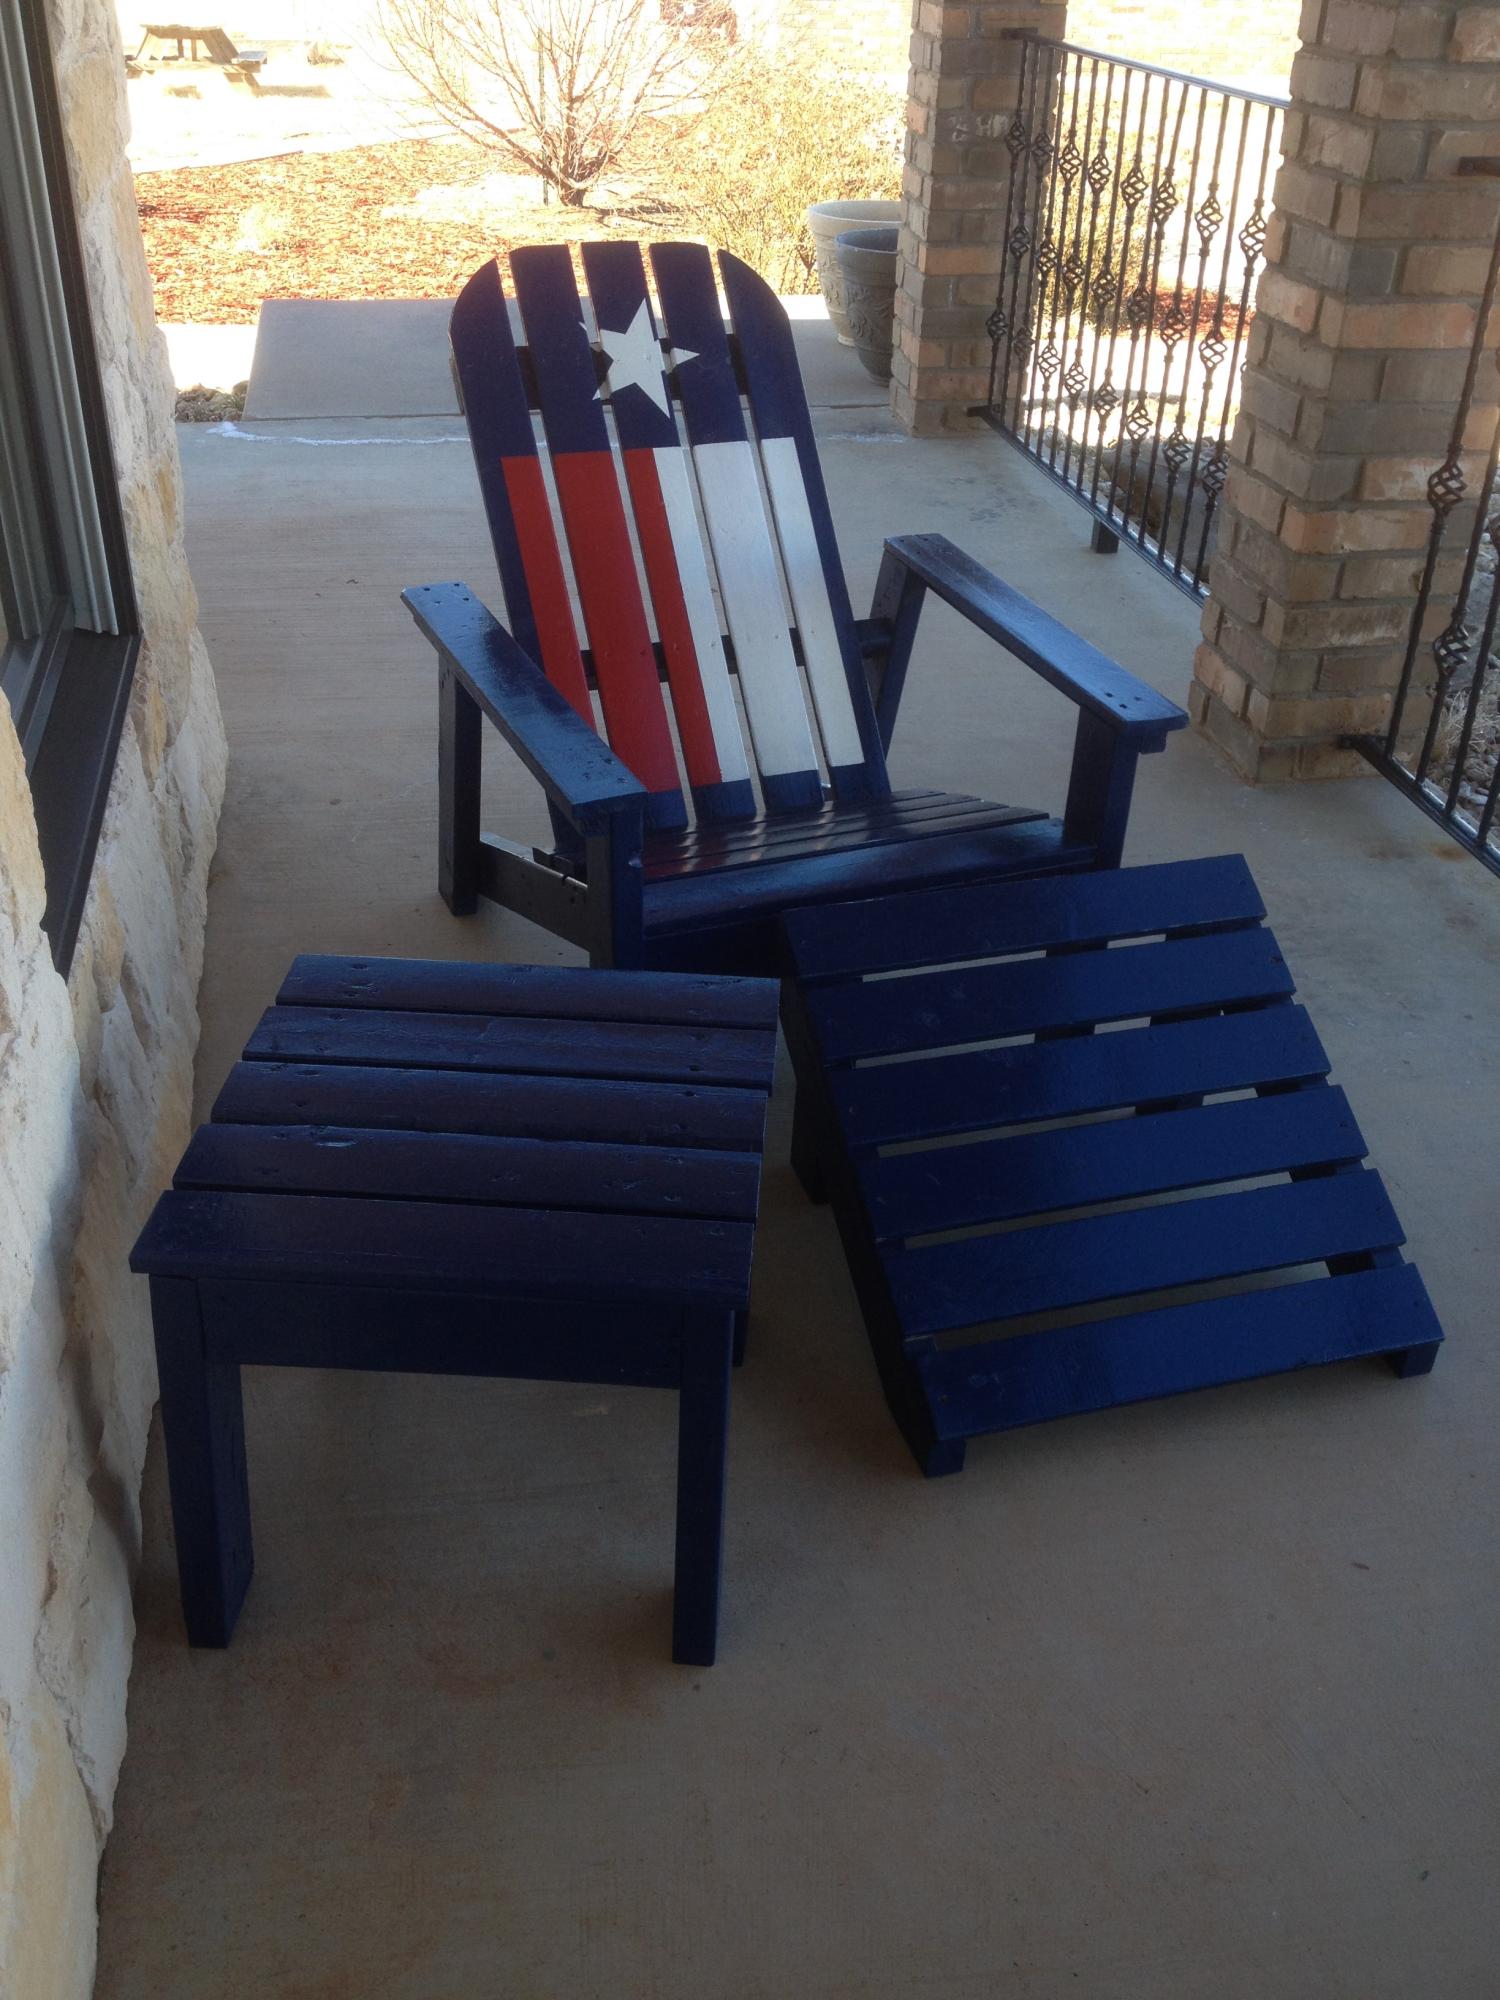
Boiled linseed oil/spar varnish/mineral spirits for the pallet wood and behr's super premium plus semi-gloss with an antiquing glaze for everything else.
Recommended Skill Level
Intermediate


Comments
birdsandsoap
Wed, 01/01/2014 - 18:31
love it!
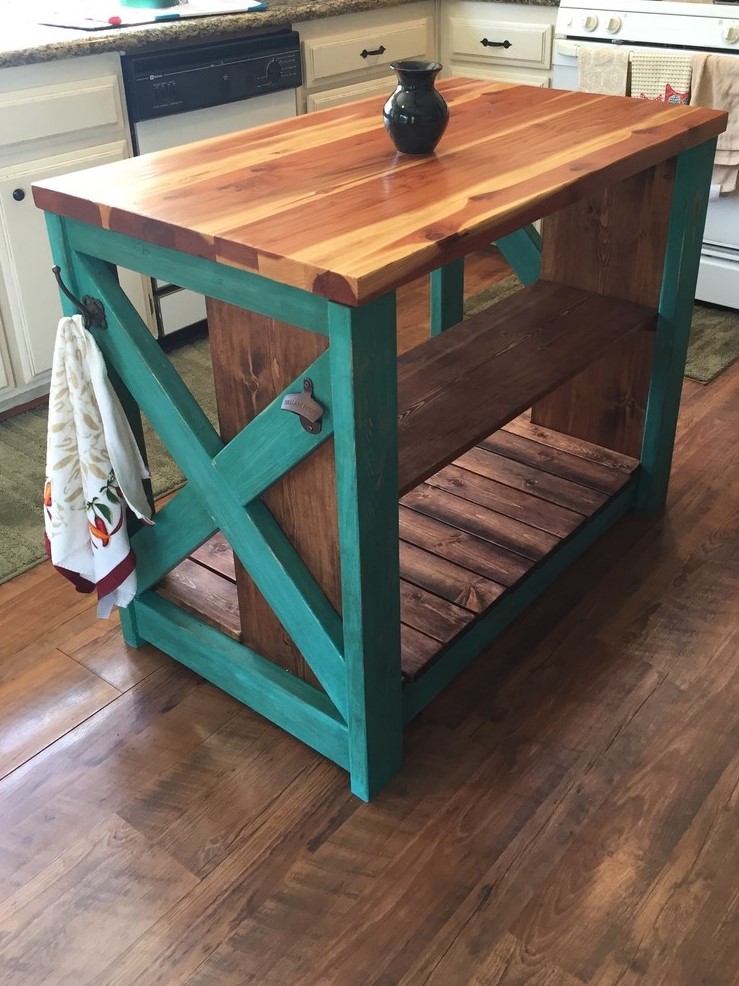
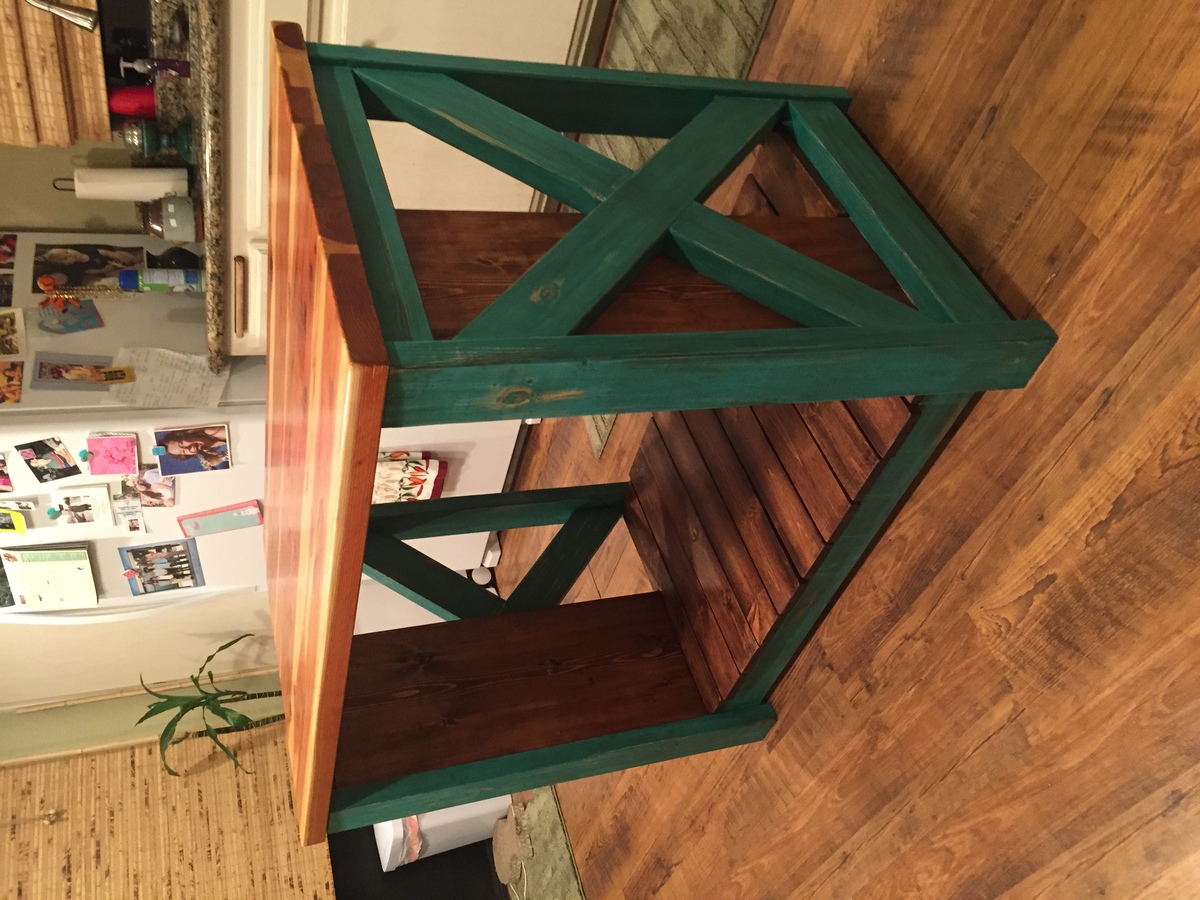
The mix of paint and reclaimed lumber looks great together!
romanweel
Tue, 01/07/2014 - 16:55
This is gorgeous!
Great use of "cast-offs." And the creative use of what you had on hand makes for a really striking, beautiful look. Great job!