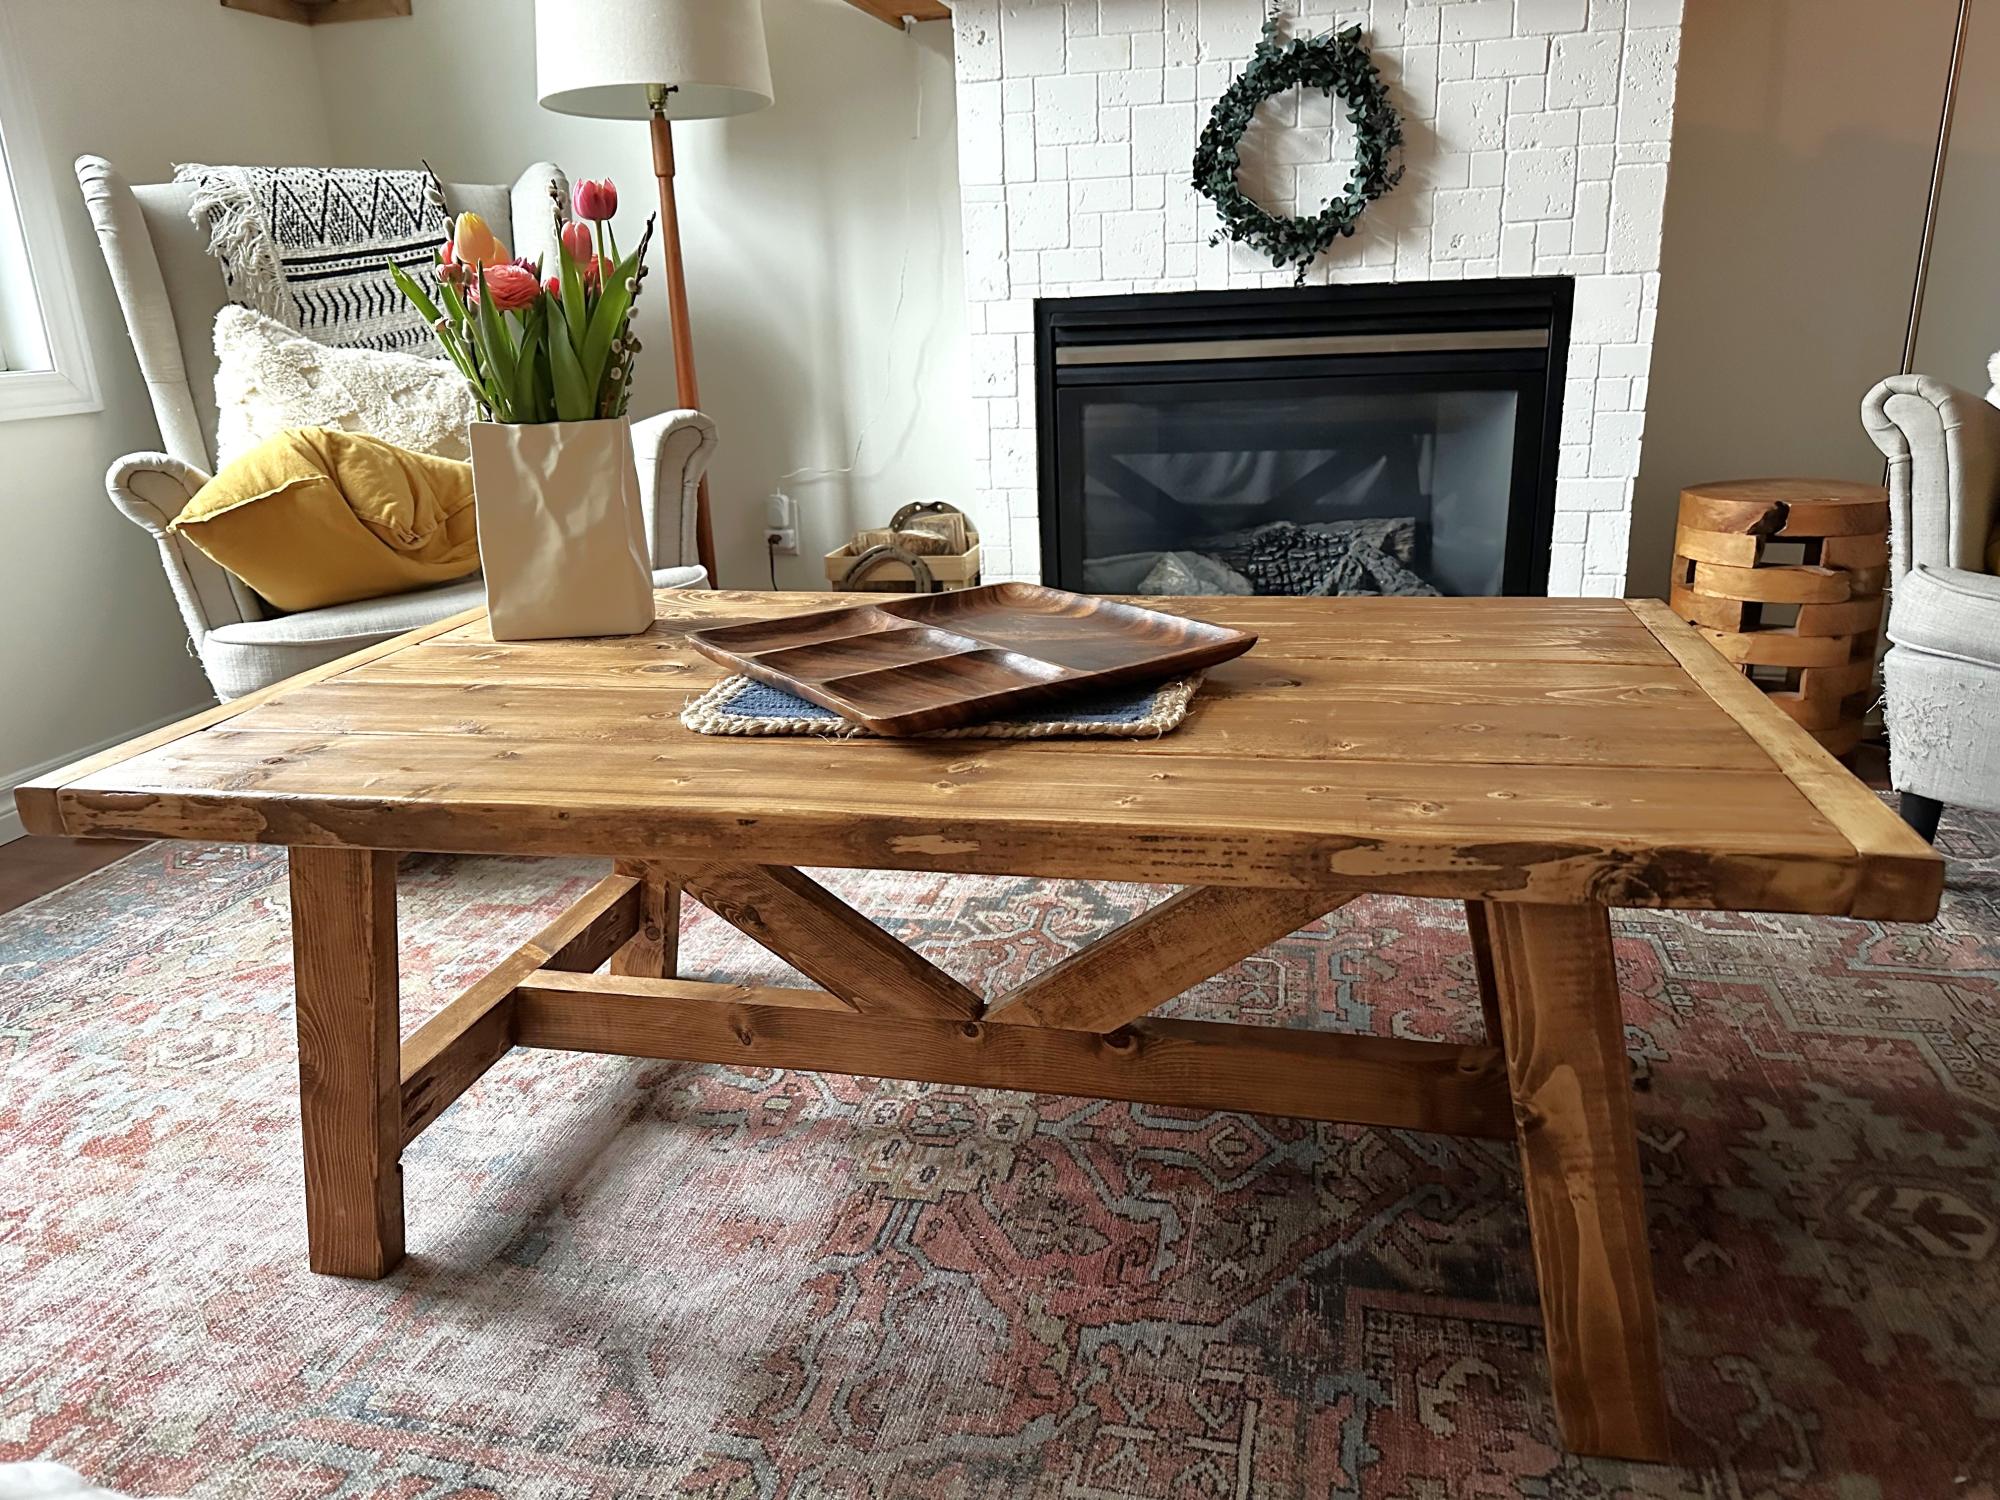
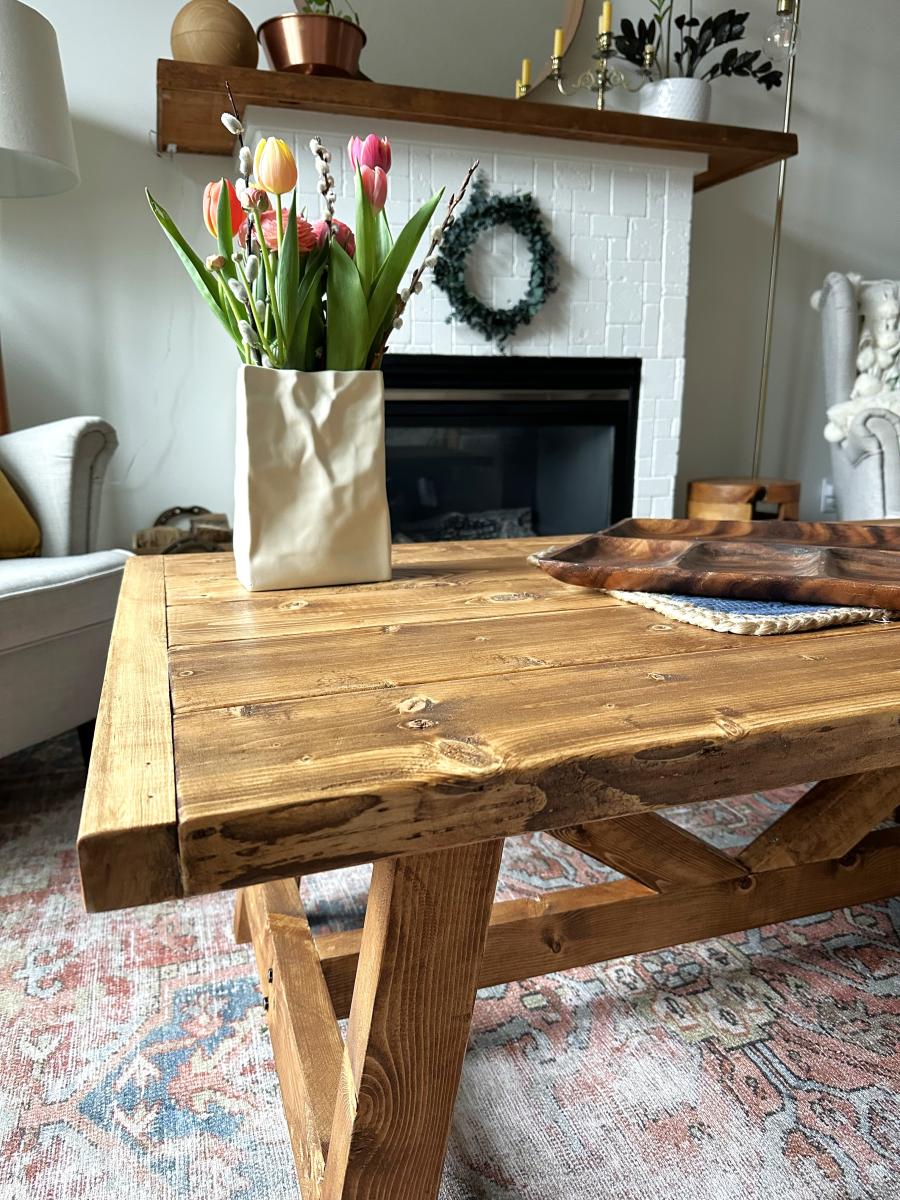
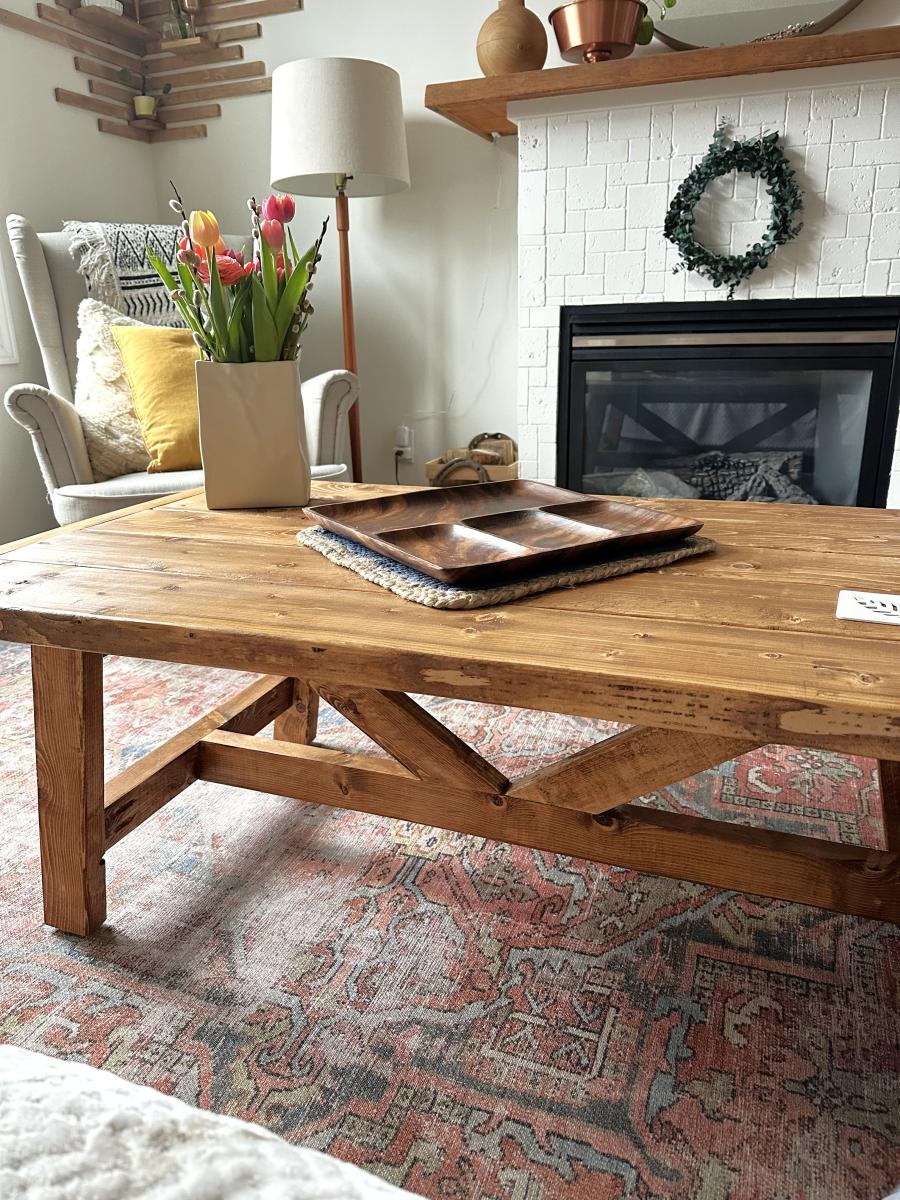
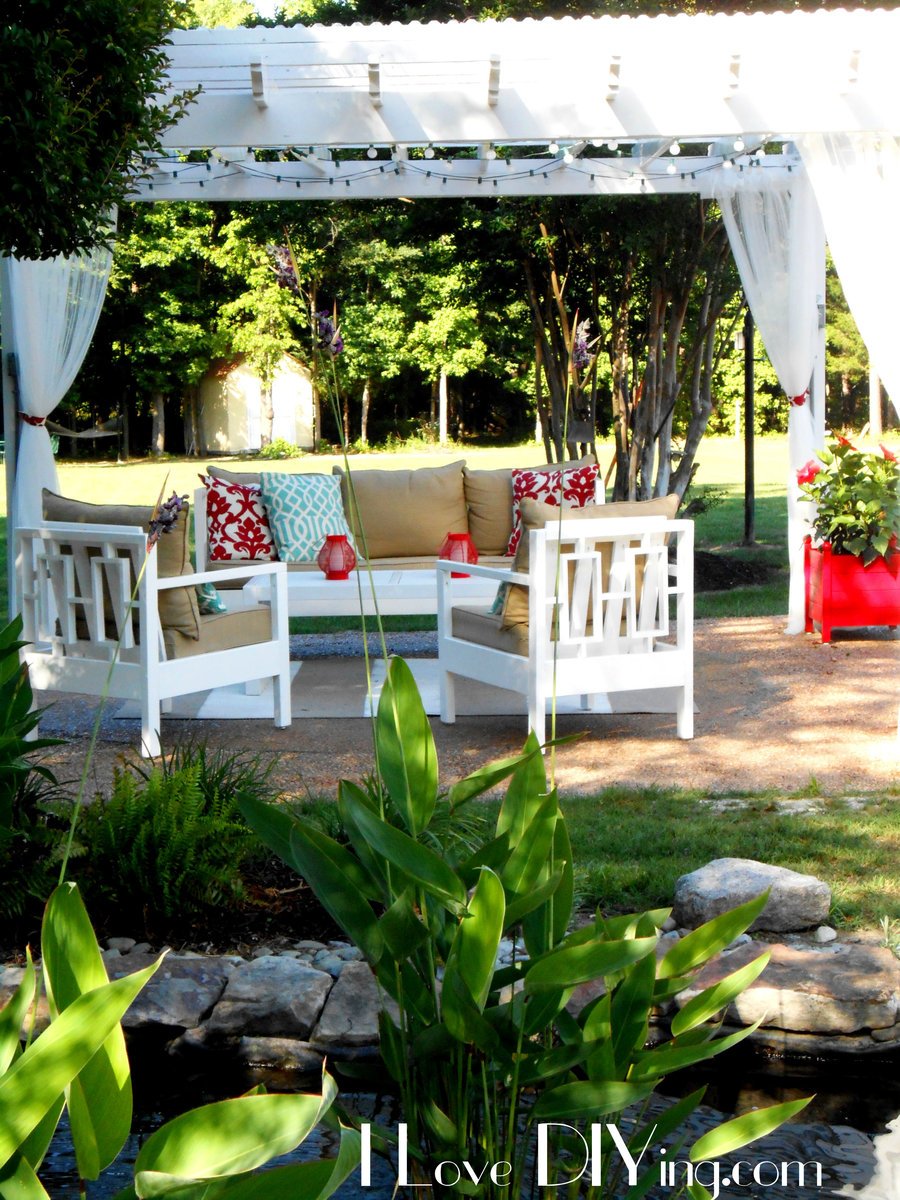
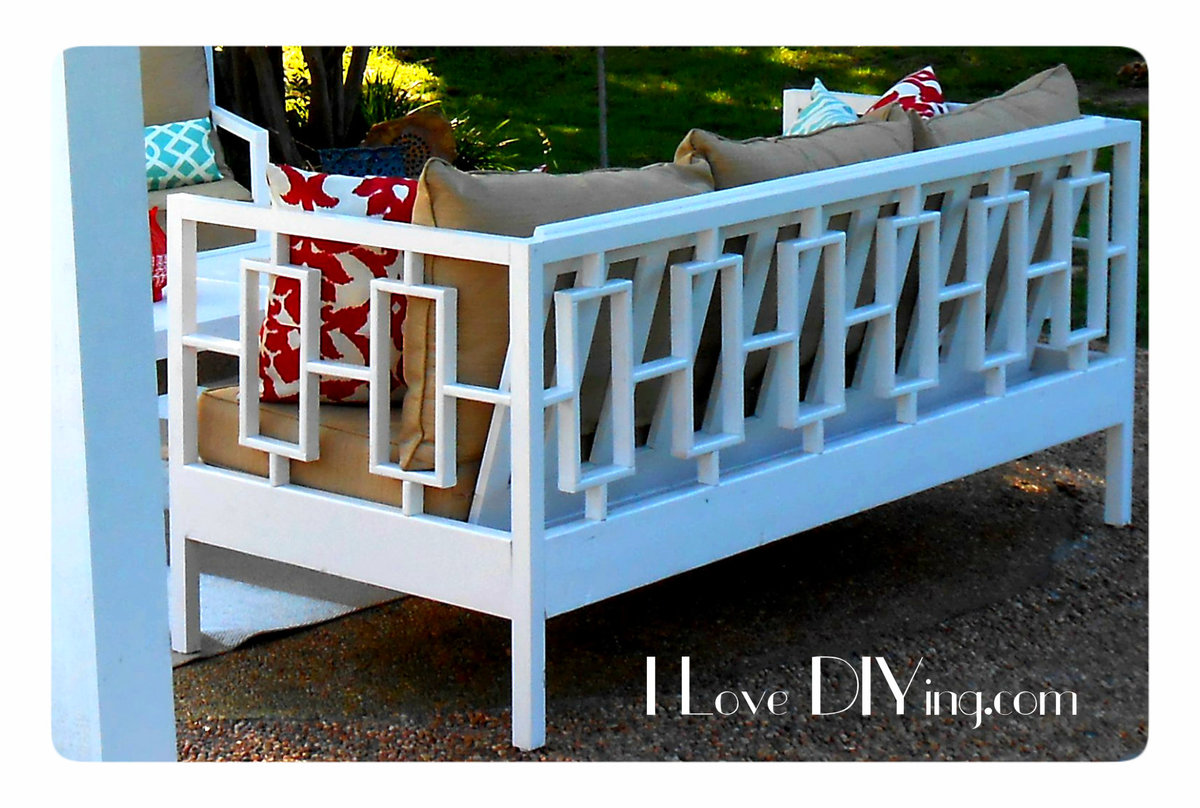
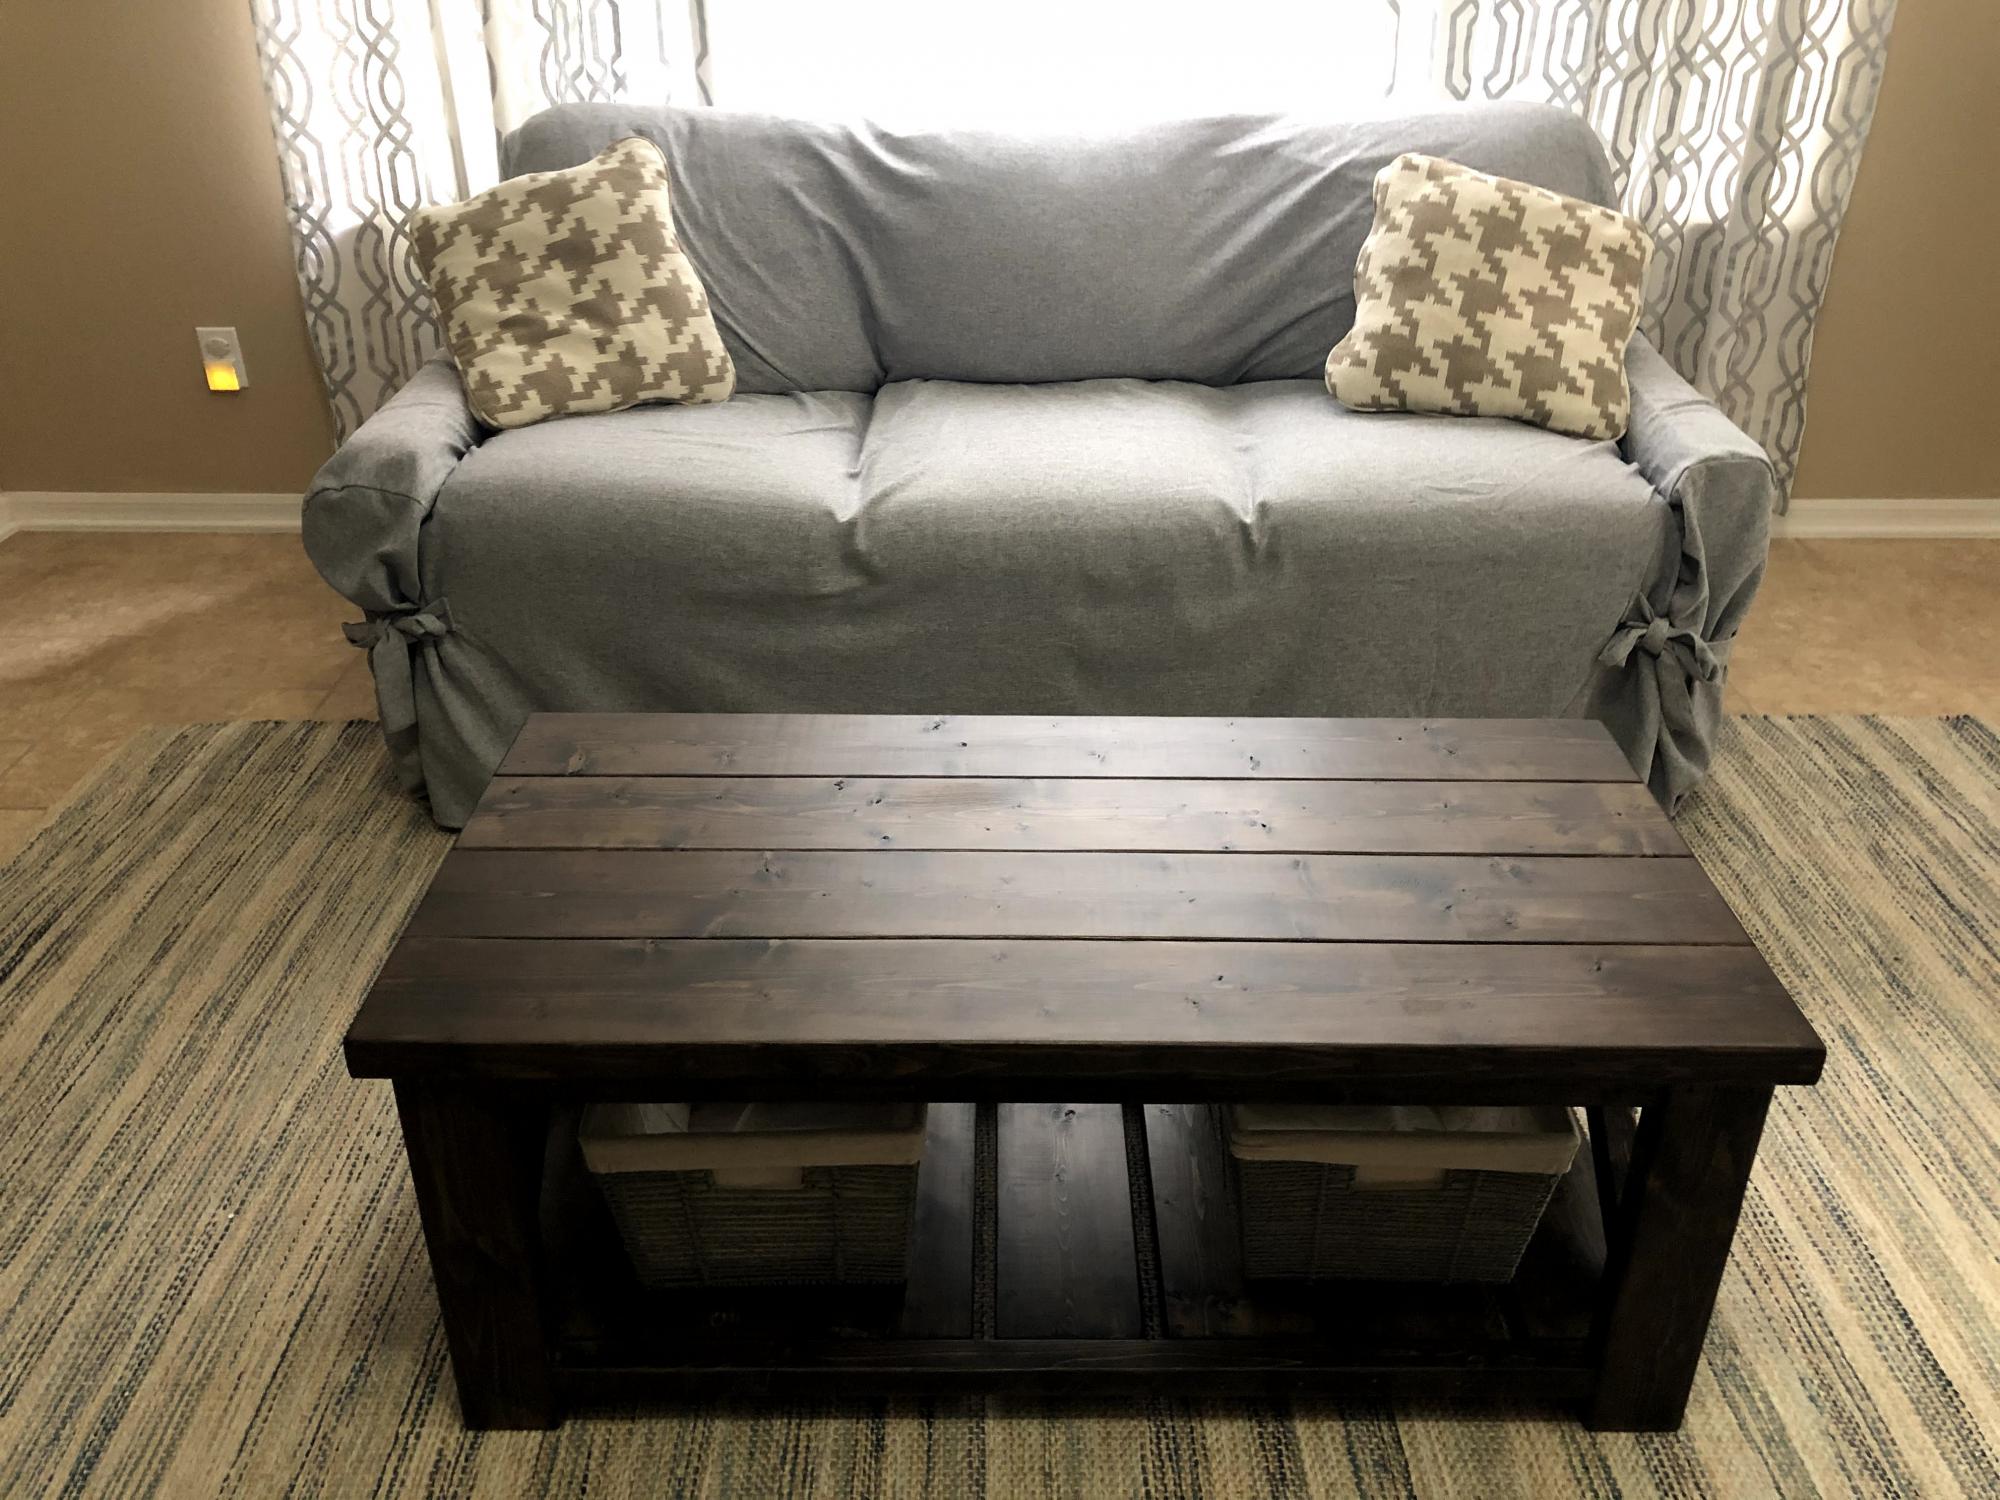
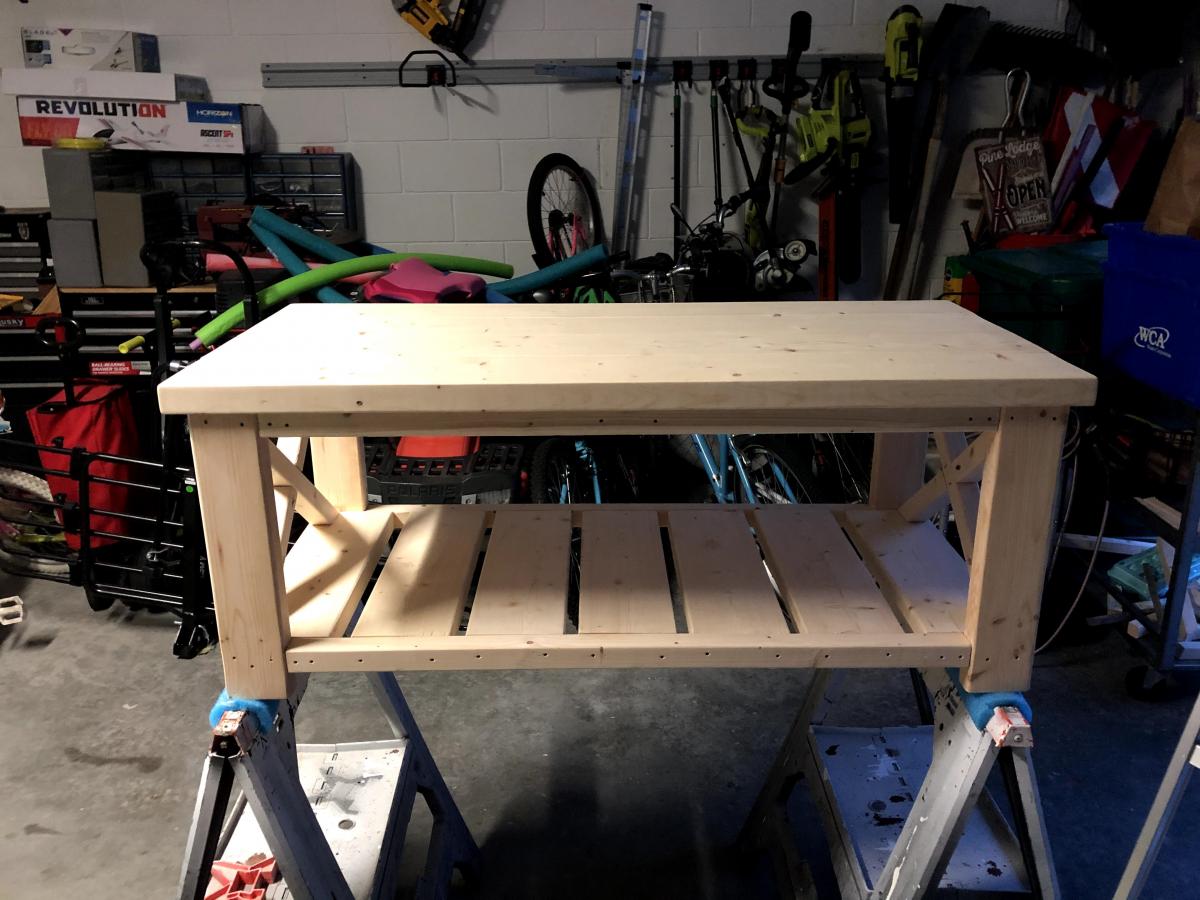
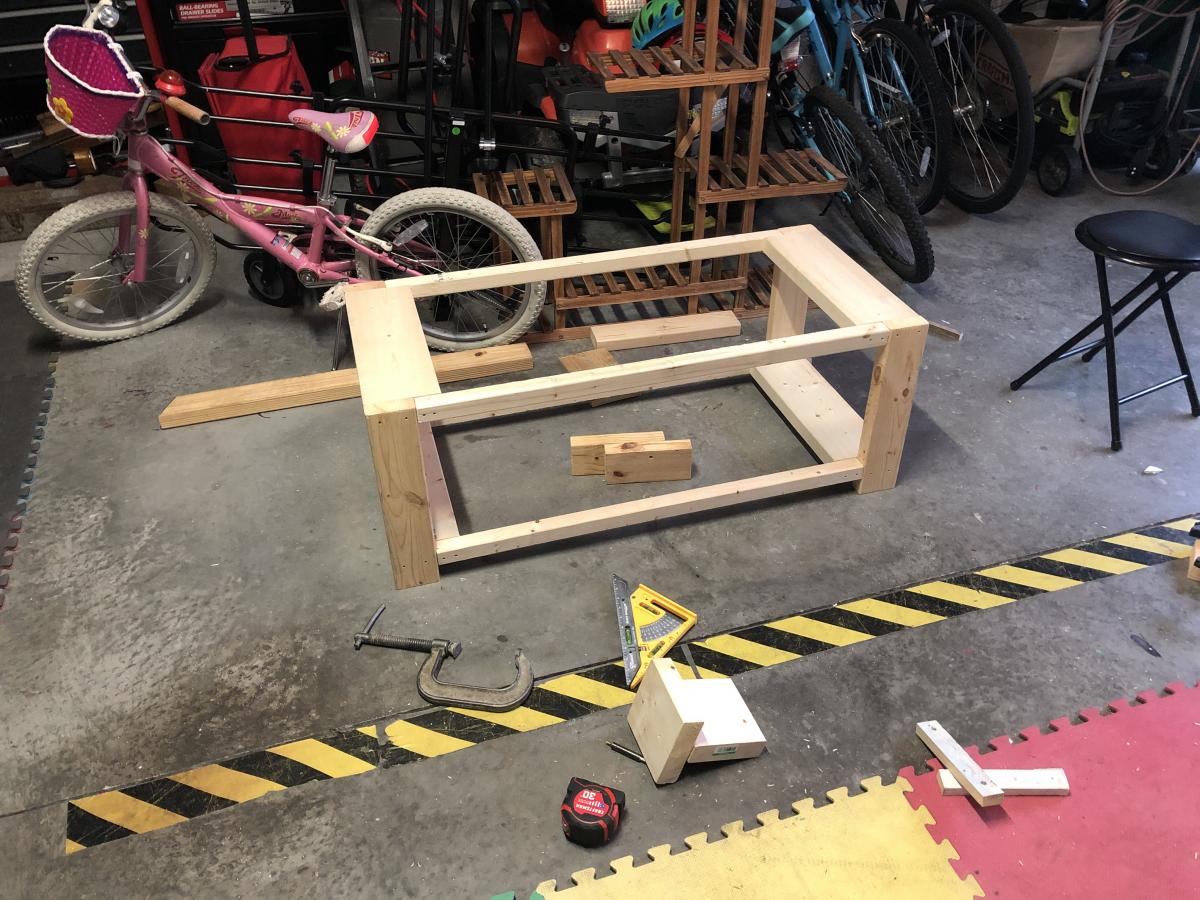
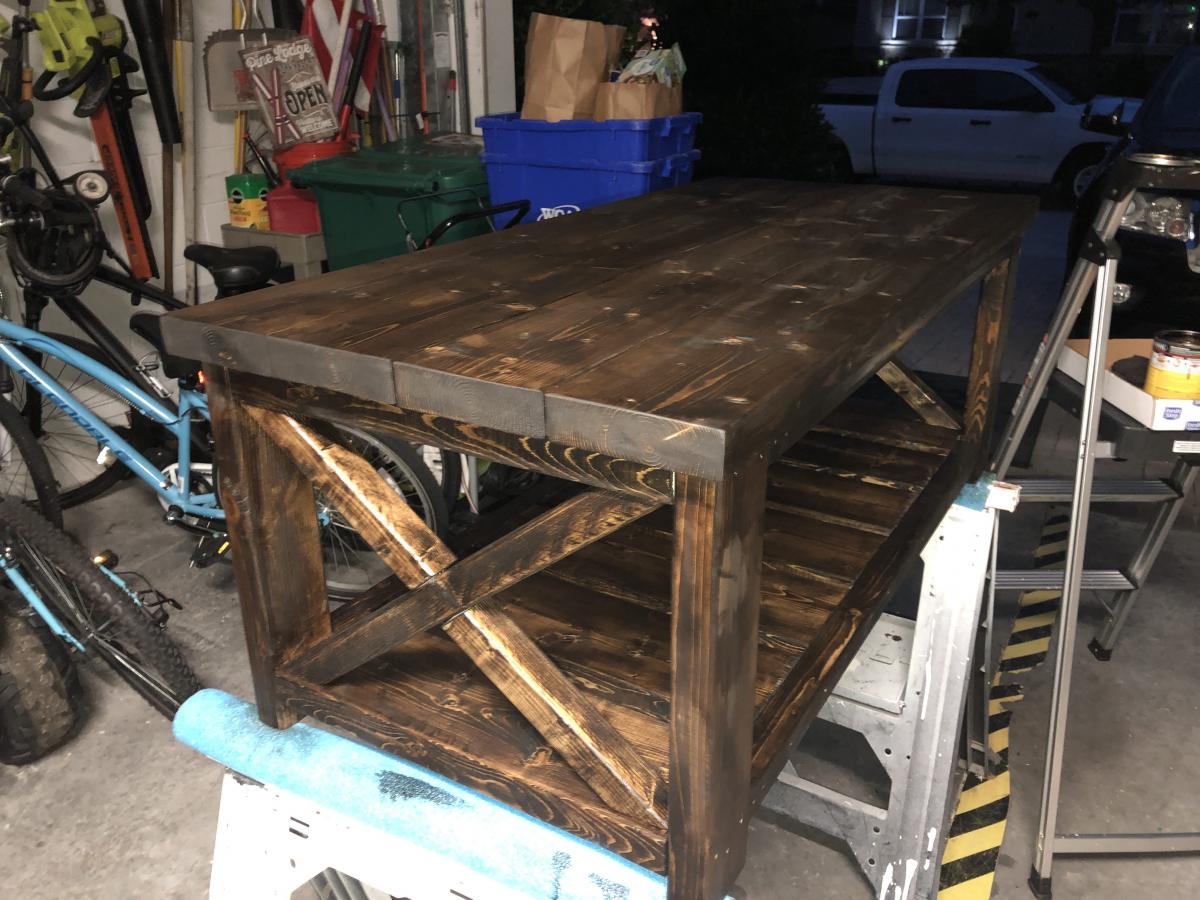
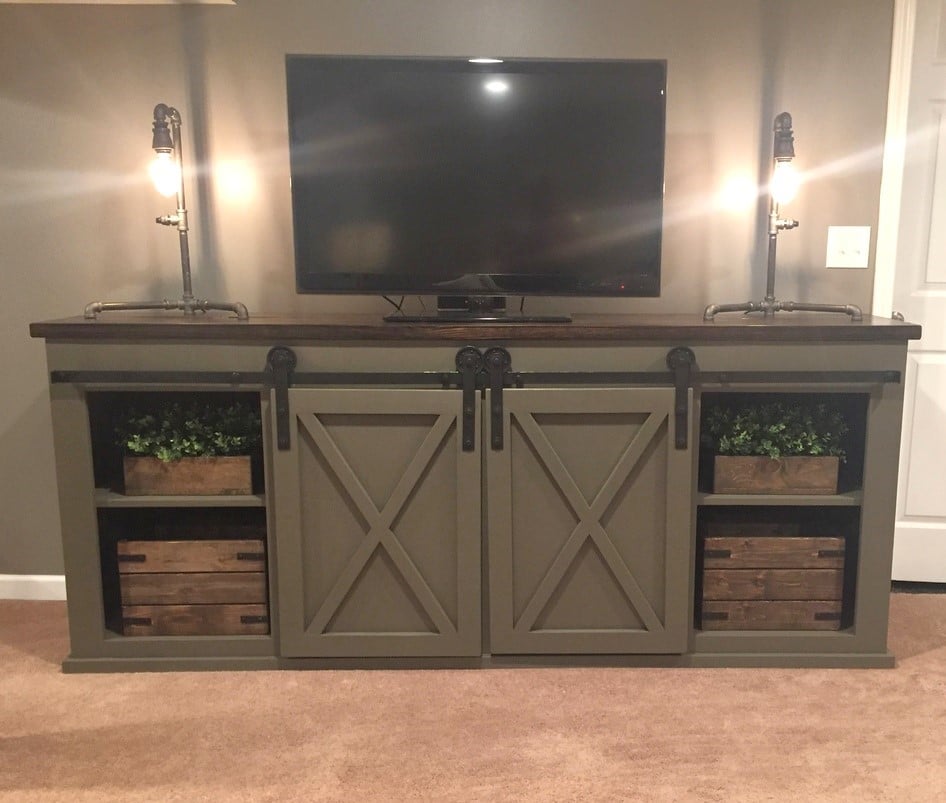
Rustic X coffee table

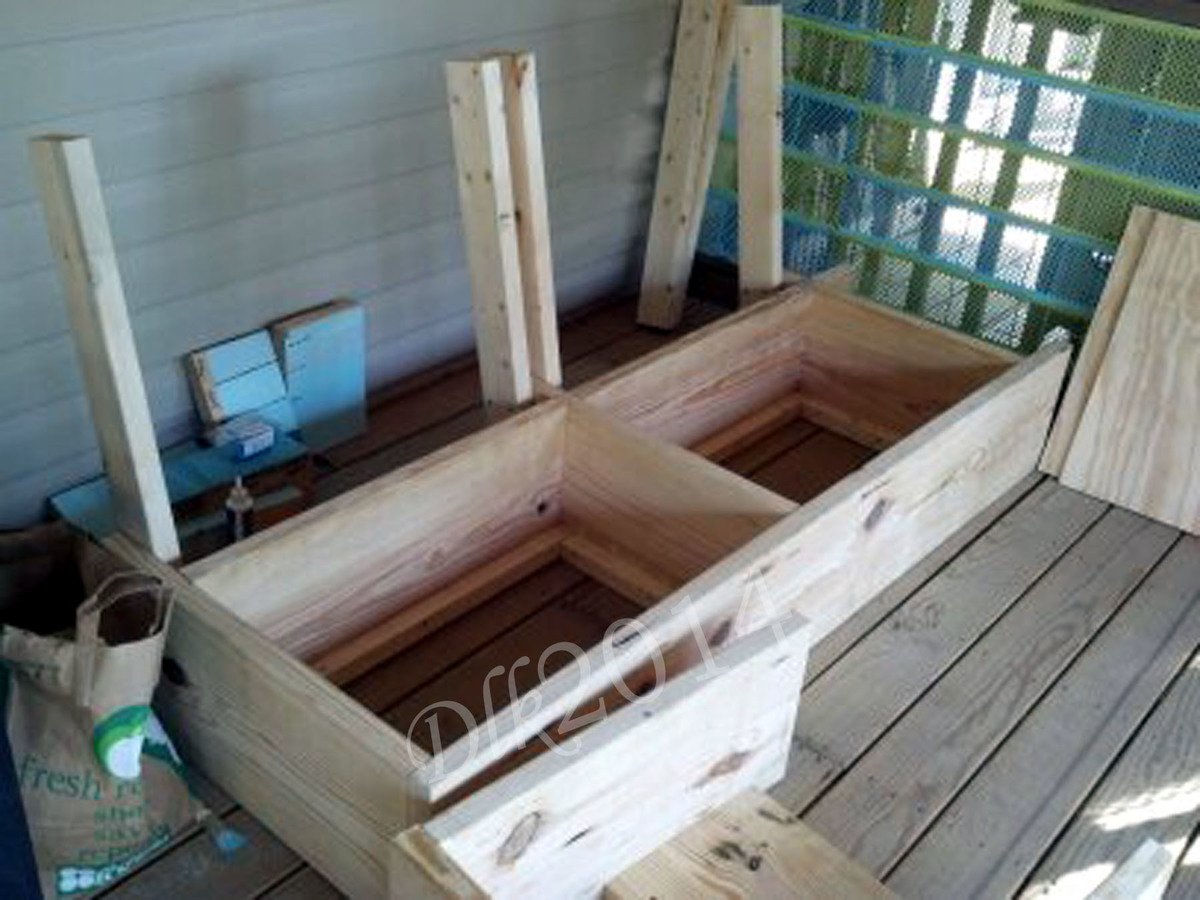
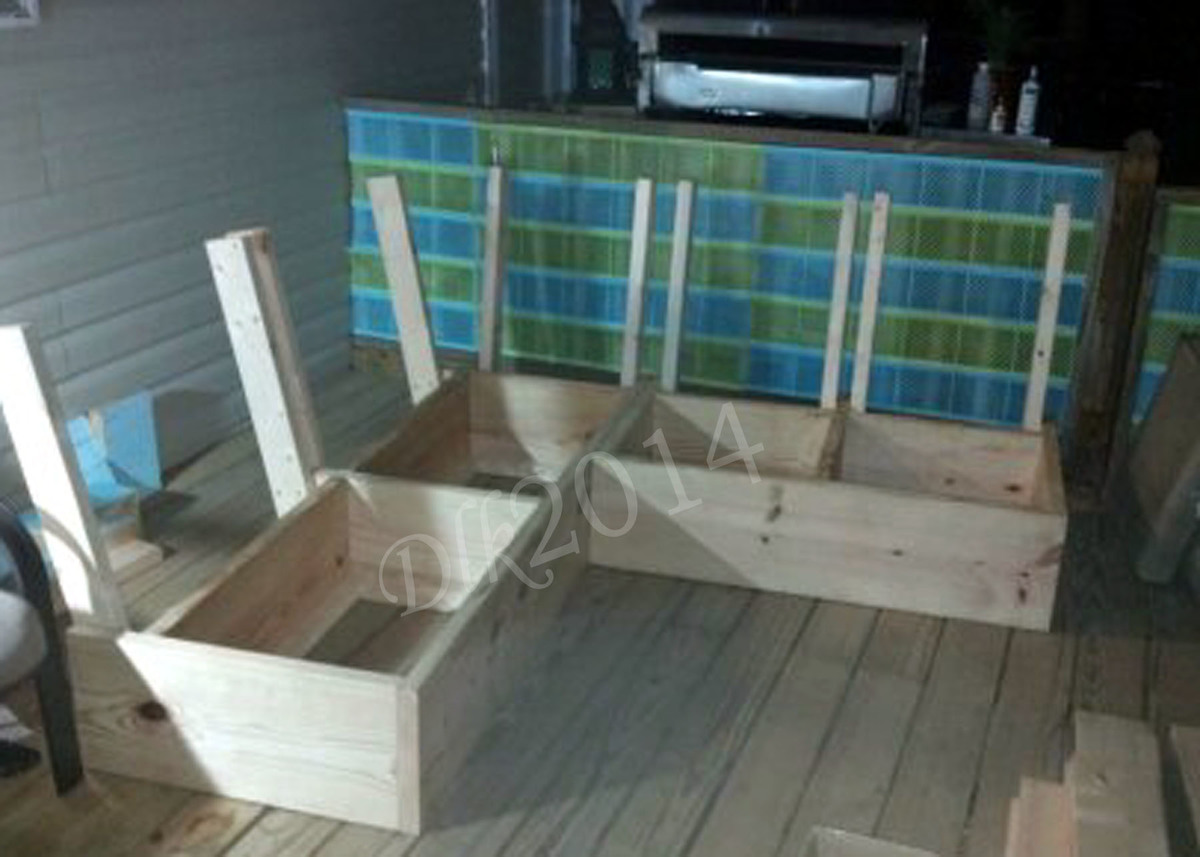
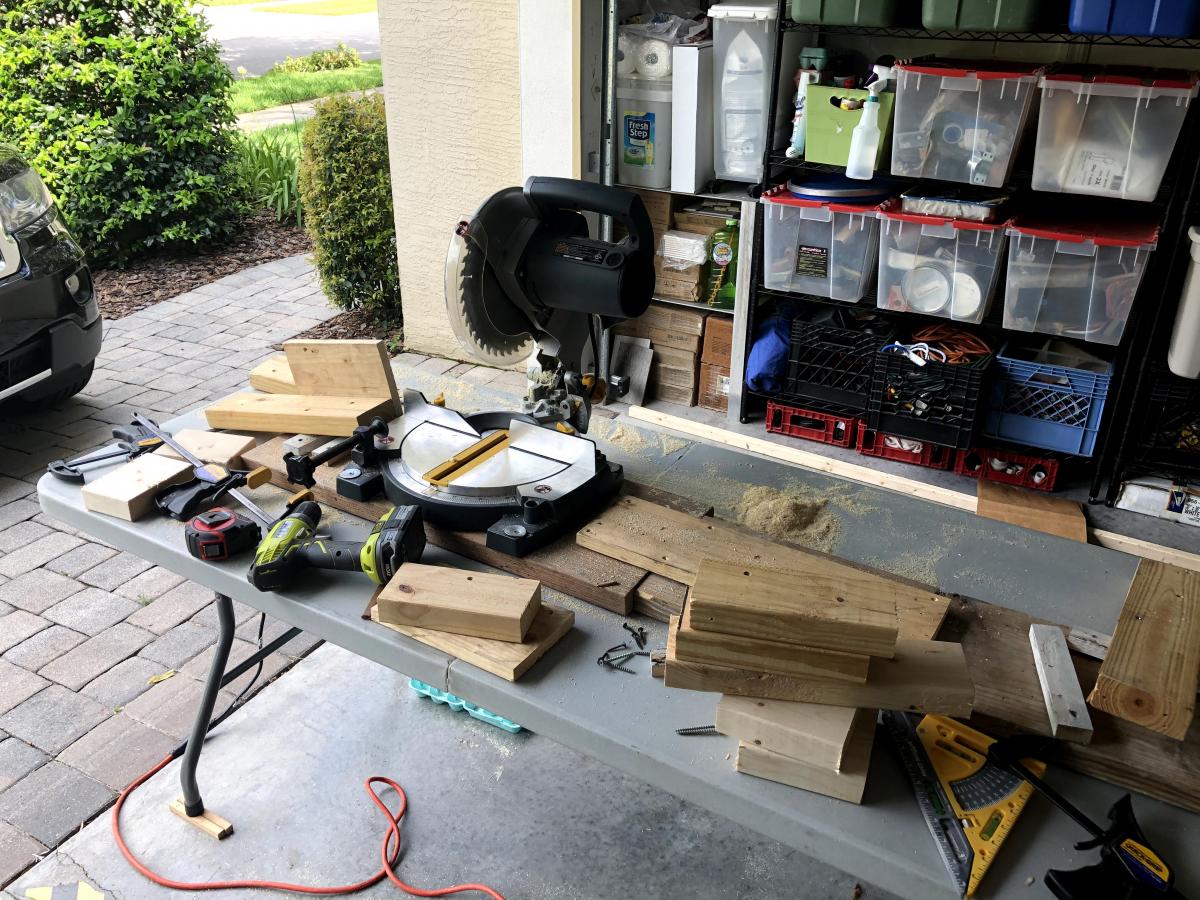
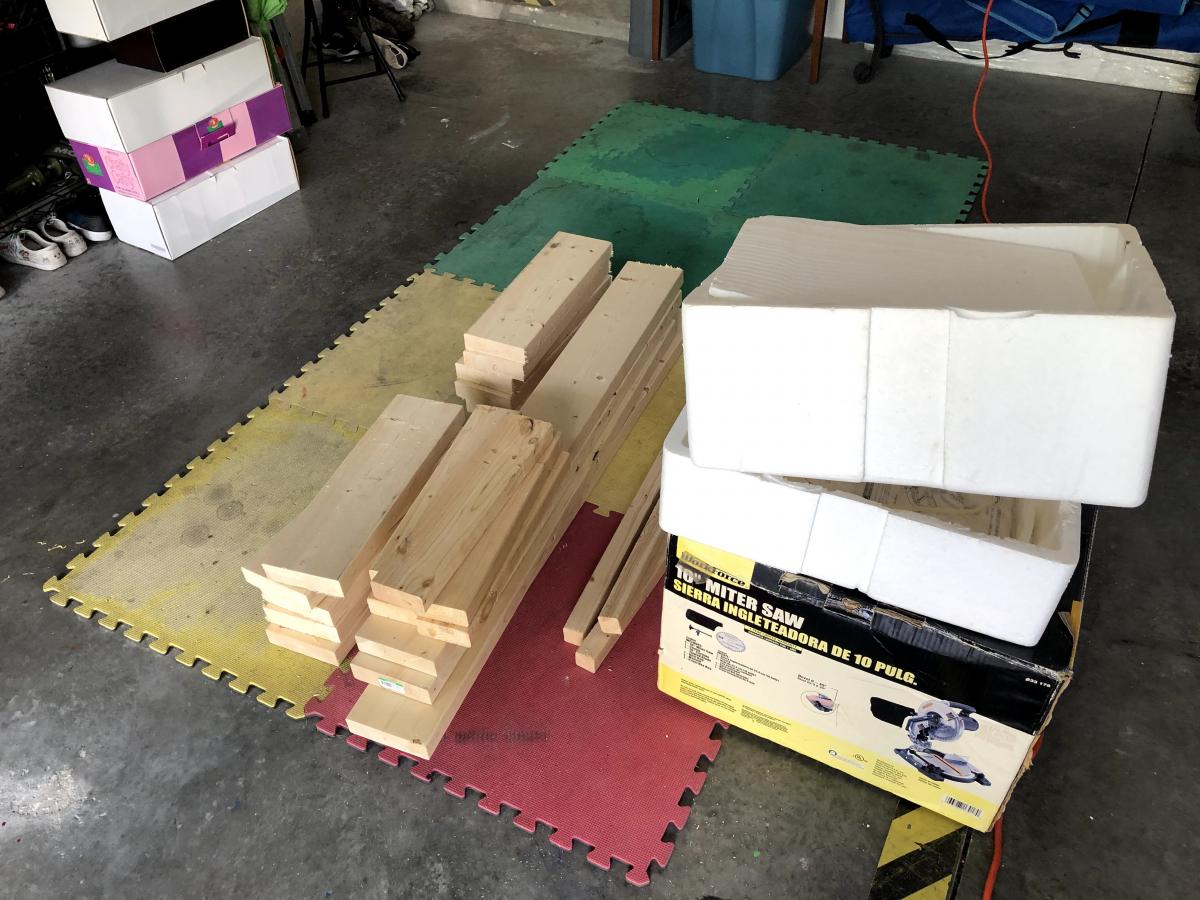
This was my first woodworking project and I absolutely love it. I think it turned out amazing and was actually very simple to do. I just got some construction grade lumber from Home Depot and borrowed some tools and got started. I did have to buy a Kreg Jig, which is an amazing tool by the way. I am not complaining about having to buy it since I have used it on many projects since!
Built from Plan(s)
Estimated Cost
$180
Estimated Time Investment
Weekend Project (10-20 Hours)
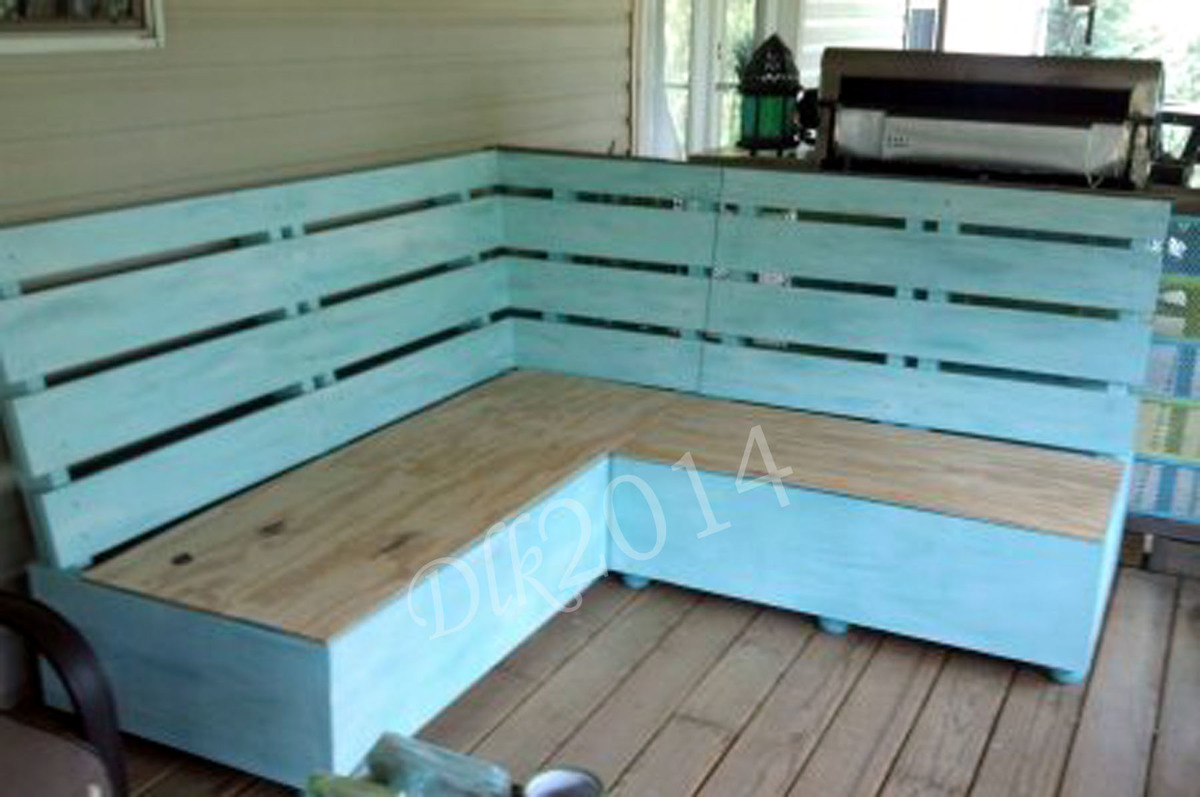
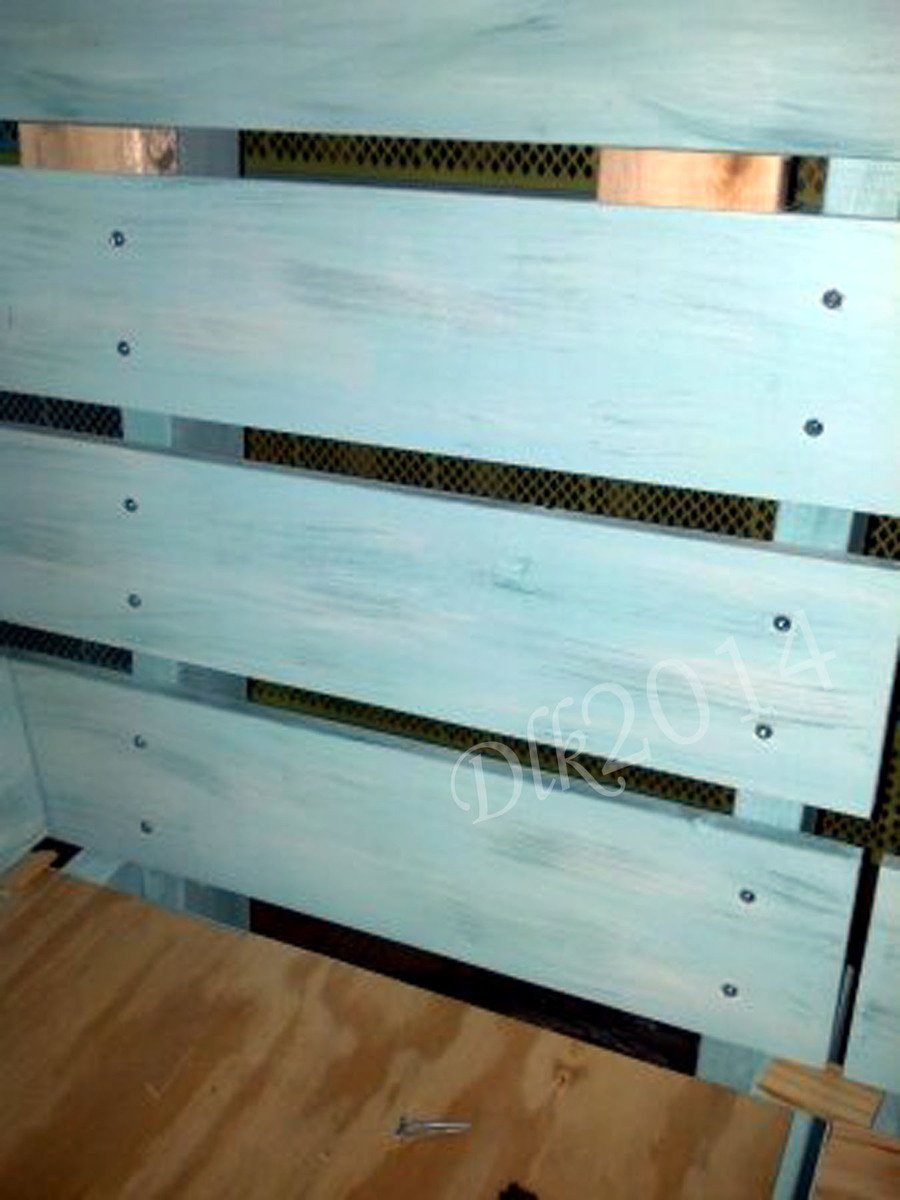
Finish Used
I used steel wool dissolved in vinegar to chemically distress the wood. Then I sanded it down and applied a dark stain, I can't remember exactly which one. I applied two coats of stain, then I applied 3 coats of polyurethane, sanding in between each coat.
Recommended Skill Level
Beginner