Community Brag Posts

Tall Cupboard based on Single Locker Plan

Submitted by mac226 on Fri, 04/22/2011 - 14:22

We have a funny alcove in our kitchen that is narrow but very high.  I didn't want the space to go to waste, but because of the odd shape I couldn't find anything that would work.  I modified the Single Locker Cabinet plans to design a tall cabinet and reclaimed a door from an old wardrobe we found on the street.  


I tried cutting the wood myself with a circular saw, but the cuts weren't straight enough.   So I took the wood to a lumber yard and had it professionally cut.  I had to get a little help from a handyman to get the cupboard square, attach the door and get it anchored to the wall.  (It's so tall it could easily topple without being secured!)

We primed the plywood with two coats and then used and Eco-Friendly eggshell in white to finish it.  To keep the door securely closed we used a long double sided magnet strip.  Now that funny alcove is being put to use.

Built from Plan(s)
Estimated Cost
50
Estimated Time Investment
Weekend Project (10-20 Hours)
Finish Used
Two coats primer with white eggshell for interior. Primed door and used Antique Cream cupboard paint.
Recommended Skill Level
Beginner

Nick & Leah's Farmhouse Bed

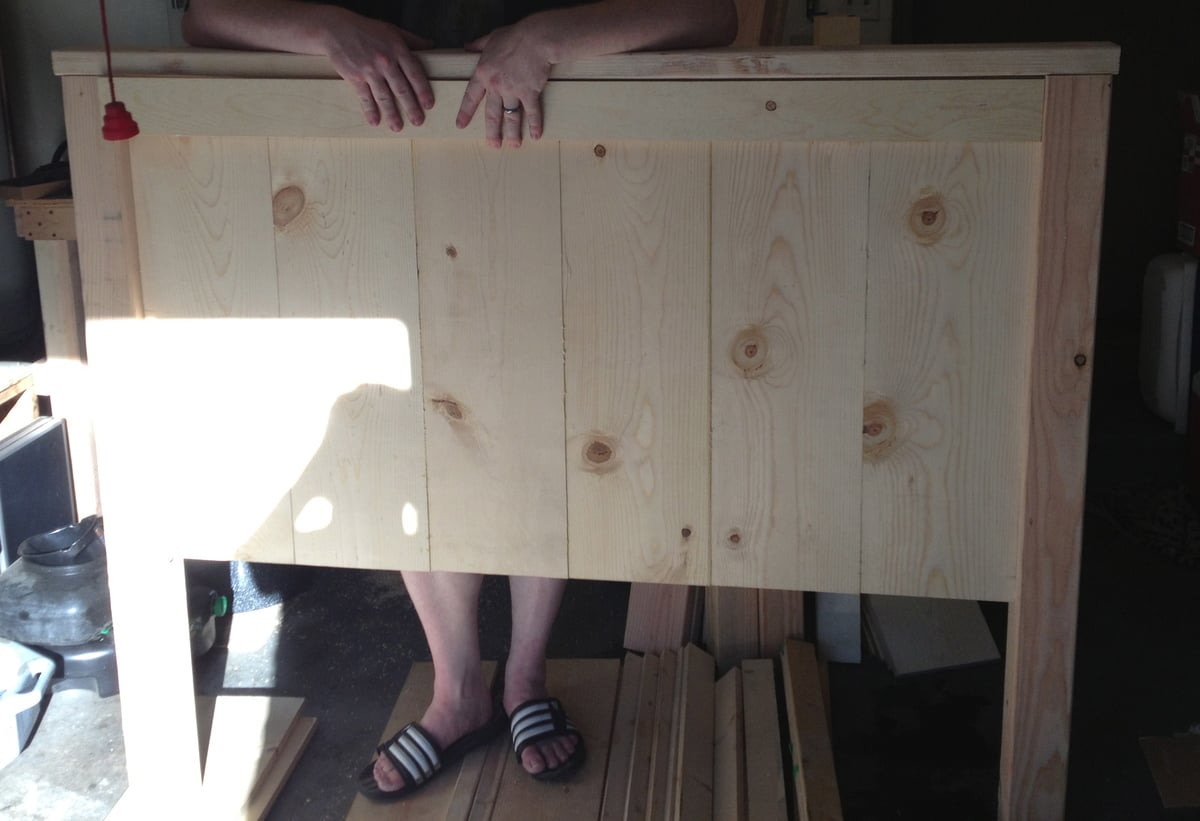
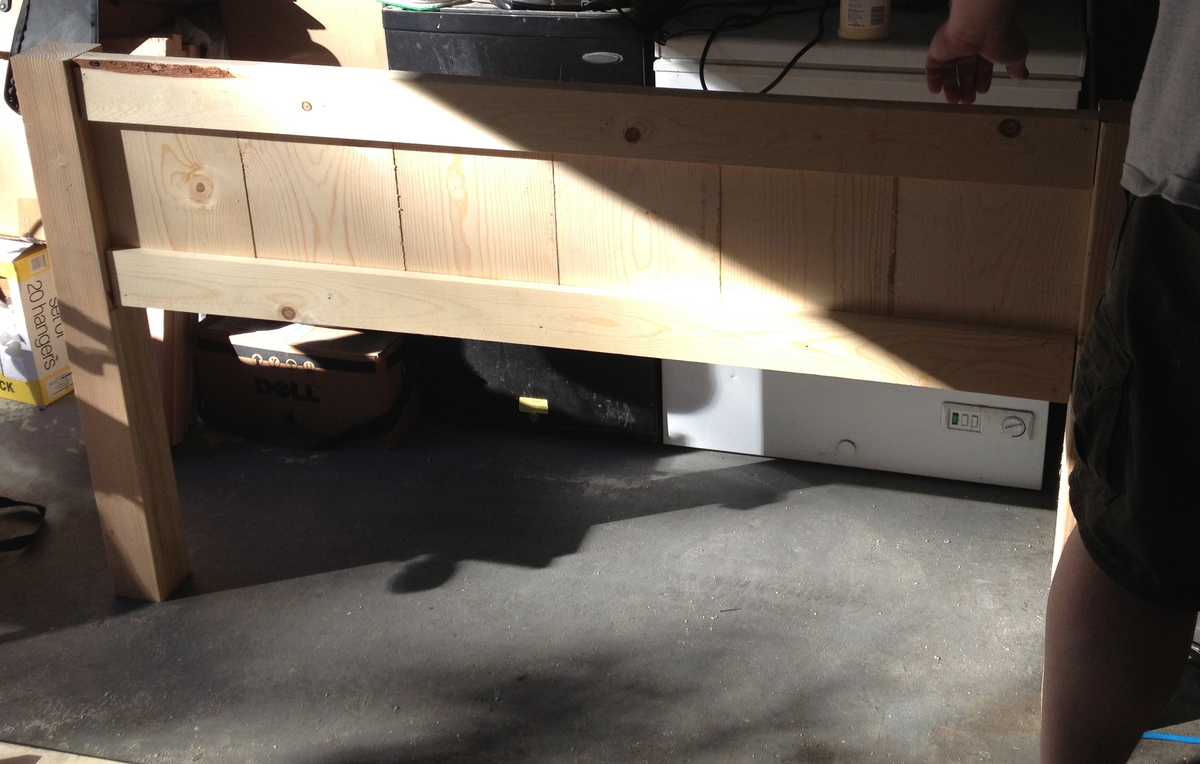
This was our first project & we worked on it together. My husband melded the Farmhouse plan with the Chunky Leg bed box. The box is reinforced & has 13 slats. We didn't sand out areas that had bark, but left them for the texture. We worked on it a few hours each night & then painted on Saturday & puit it together on Sunday. Design-wise we raised the bed so that the bottom of the frame sits at 12 inches. We also raised the footboard above the mattress level. These changes were just our preference, but we really love how it turned out. It is sturdy, substantial & beautiful!

Estimated Cost
$250.
Estimated Time Investment
Weekend Project (10-20 Hours)
Finish Used
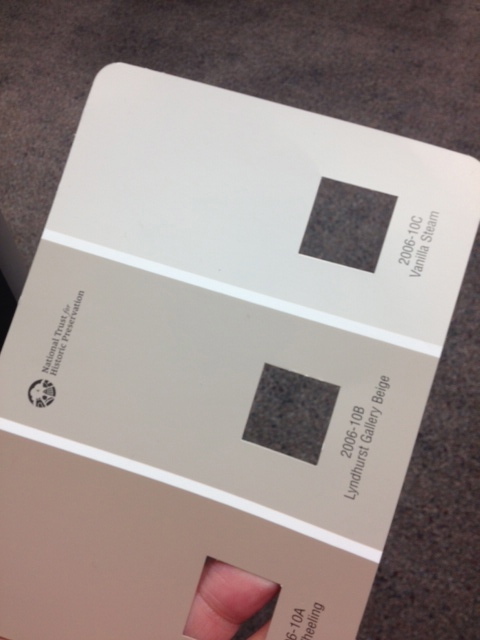
Valspar Signature Eggshell finish in Vanilla Steam. After sanding we only applied one real coat, but applied it liberally.
Recommended Skill Level
Beginner

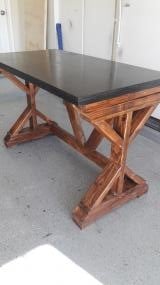
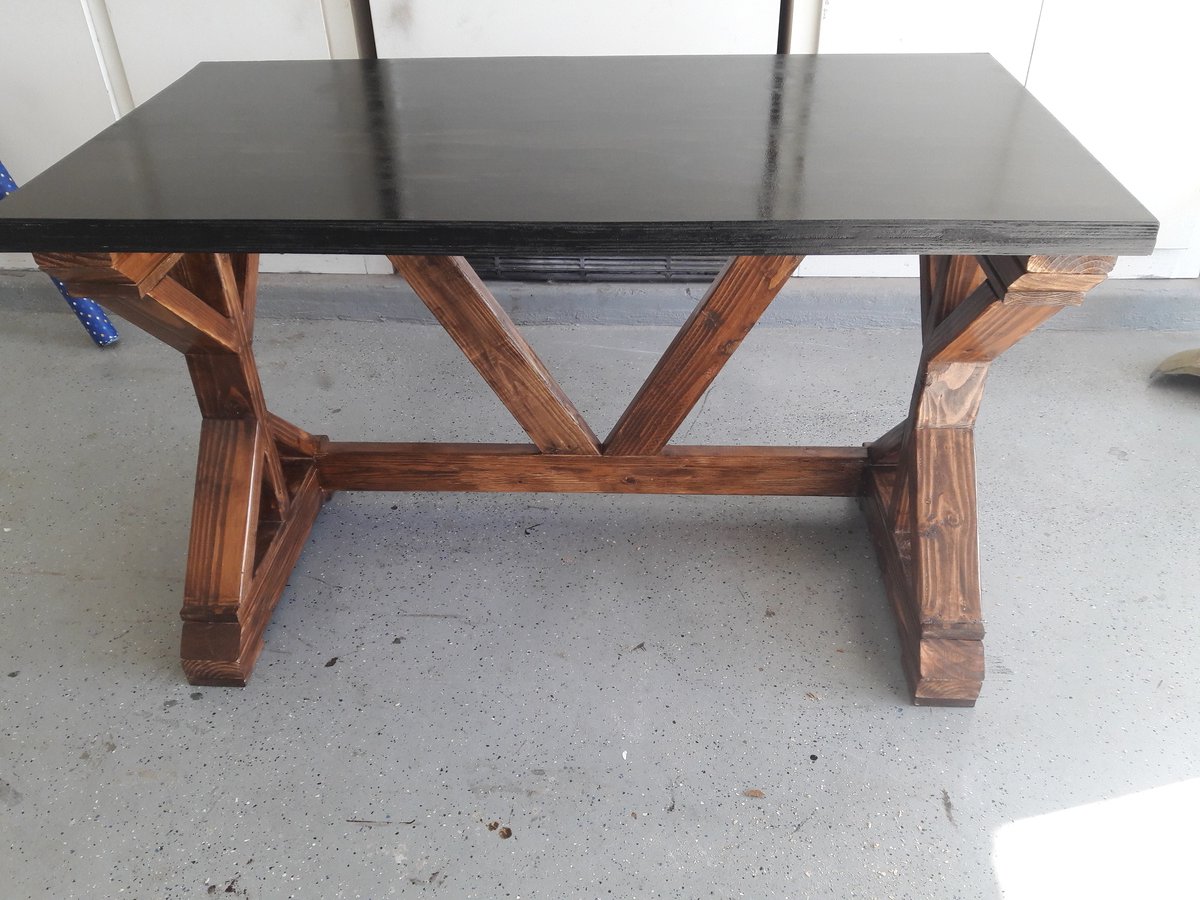
Farmhouse Table with Bench

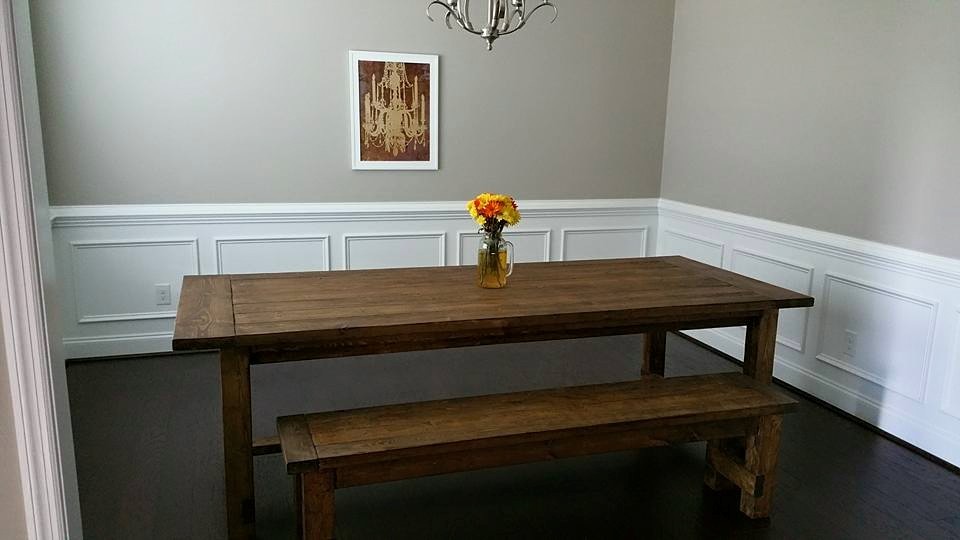
Awesome plans for a table that turned out perfect for our new home.

Estimated Time Investment
Weekend Project (10-20 Hours)
Finish Used
Honey Oak Polyerthane. Lightly sanded with a 320 sanding block after stain had dried for a day.
Recommended Skill Level
Beginner

Comments

Computer desk

Submitted by Amy22 on Sun, 12/31/2017 - 05:17

I built one for my husband but he said the top is too thin for big guy like him so when my friend asked me to build 1 for her son I attached 2 plywood together to make it stronger...

Estimated Cost
$60
Recommended Skill Level
Beginner

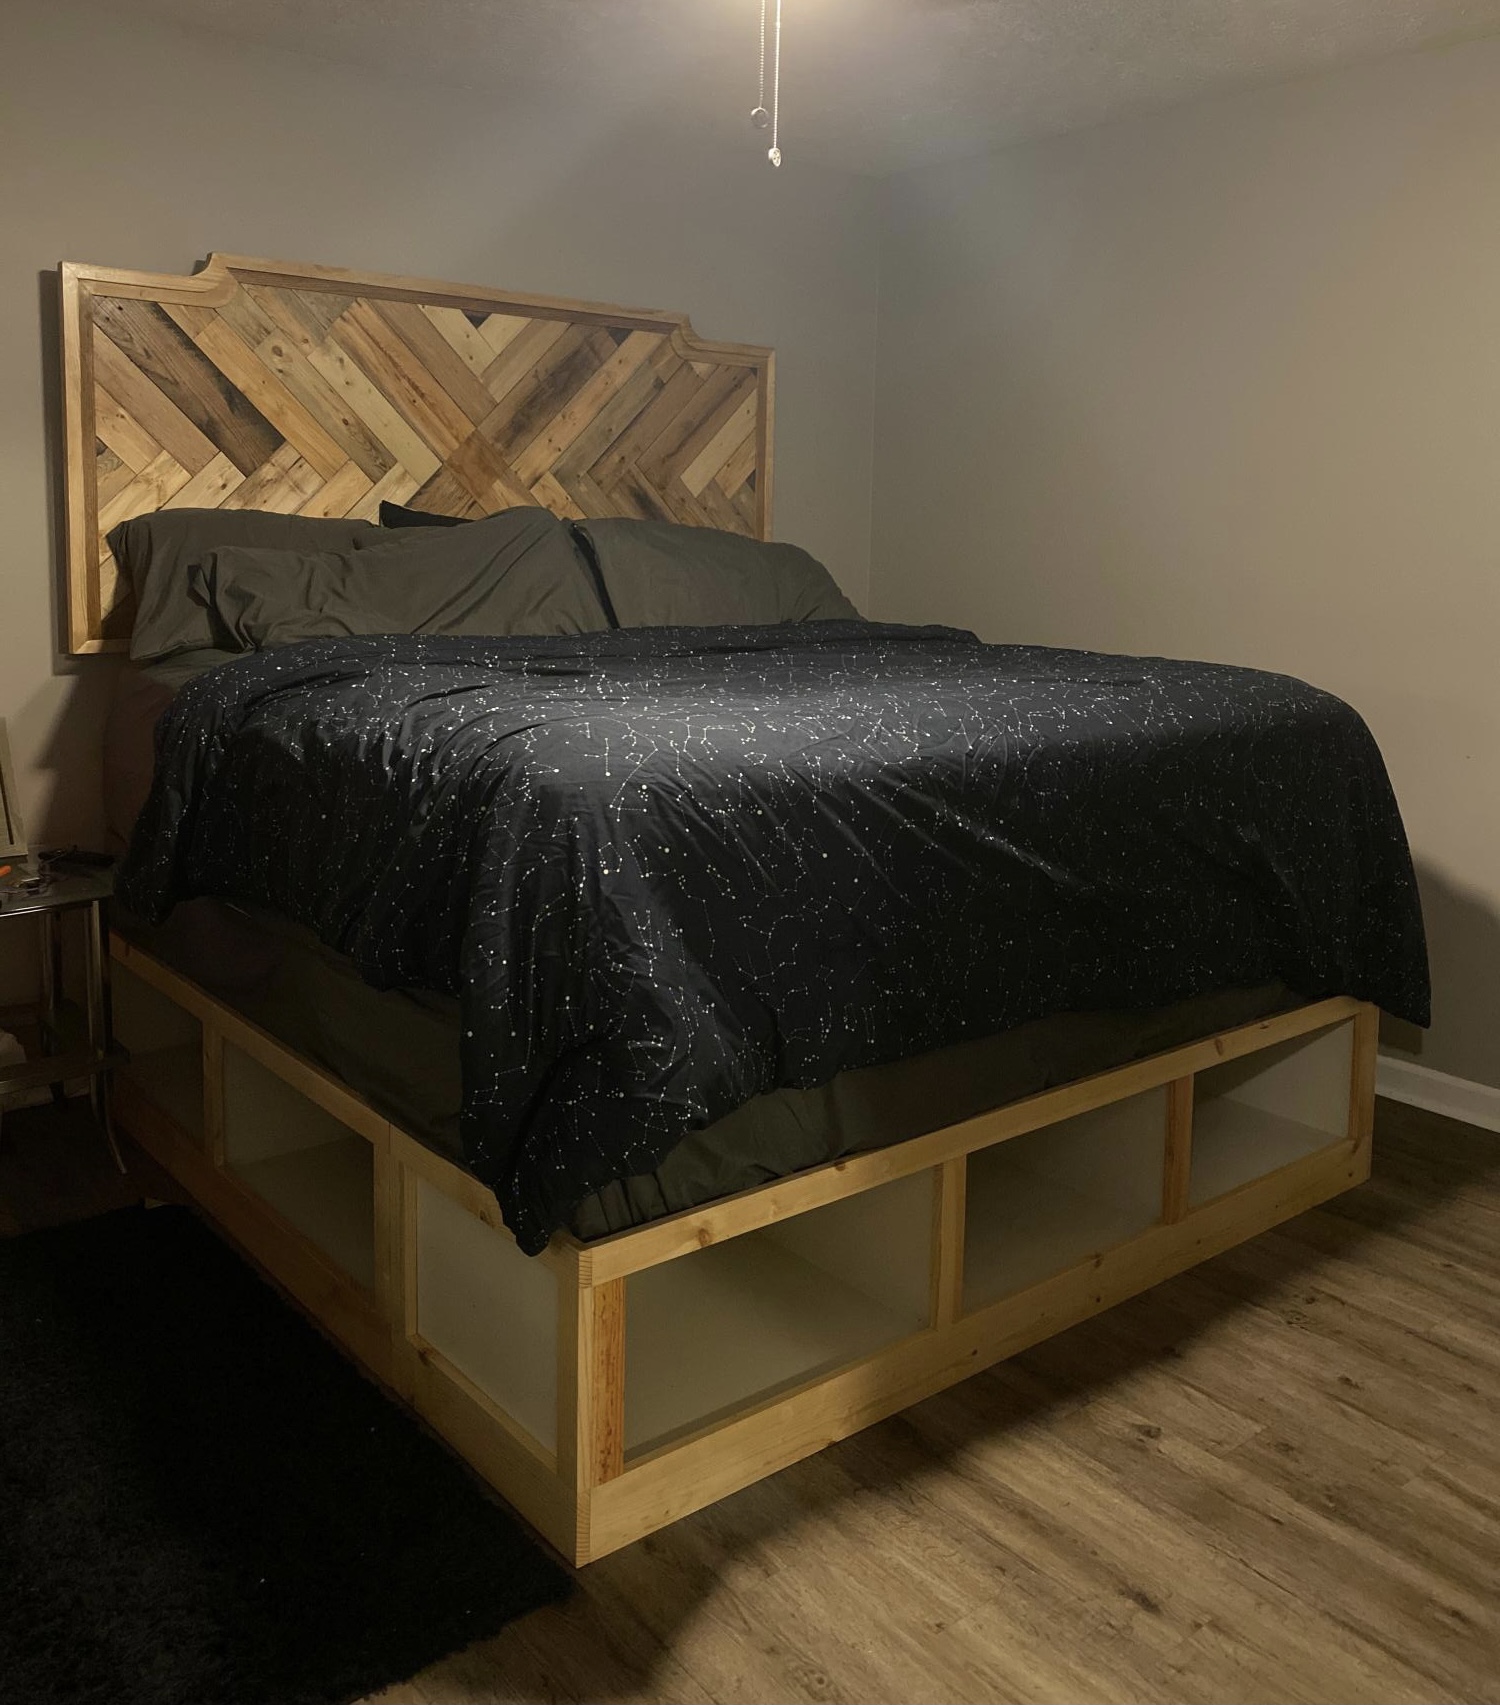
Basket bed frame and custom headboard

Submitted by Anonymous (not verified) on Sun, 12/26/2021 - 15:01

The base came from Ana’s site, the headboard came out of my head ;-)

I upsized this to king size for my daughter. I think I entered the correct ‘plan’ name below. It’s been a few months since I built it. I painted the basket cubbies and applied (I think) spar urethane to the rest.

Super plan on her part, Ana’s, I love the other things I’ve done from here as well. Sorry but the pics rotated when they were resized on upload.

Built from Plan(s)

Comments

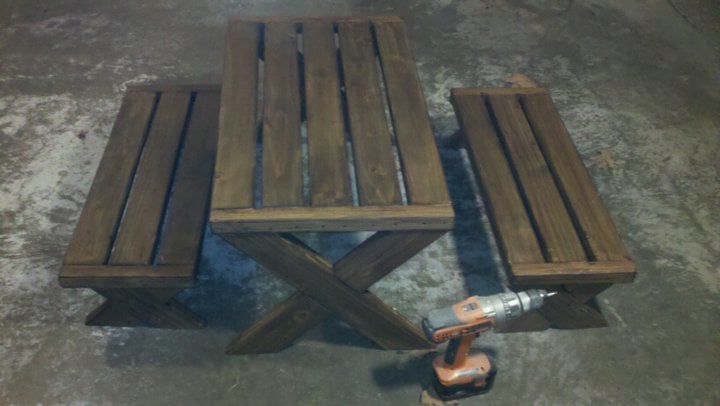
Little Bit Picnic Table

Submitted by Kevin on Tue, 04/26/2011 - 15:08

This is a great weekend project I would add supports to the table to make it a bit studier. I found out that any flat surface will be inviting for adults to want to sit on during a BBQ

Estimated Cost
$40
Estimated Time Investment
Afternoon Project (3-6 Hours)
Finish Used
semi transparent wood stain Behr tinted to Chocolate
Recommended Skill Level
Beginner

Sawhorse Table

Submitted by Alark on Wed, 06/26/2013 - 06:32

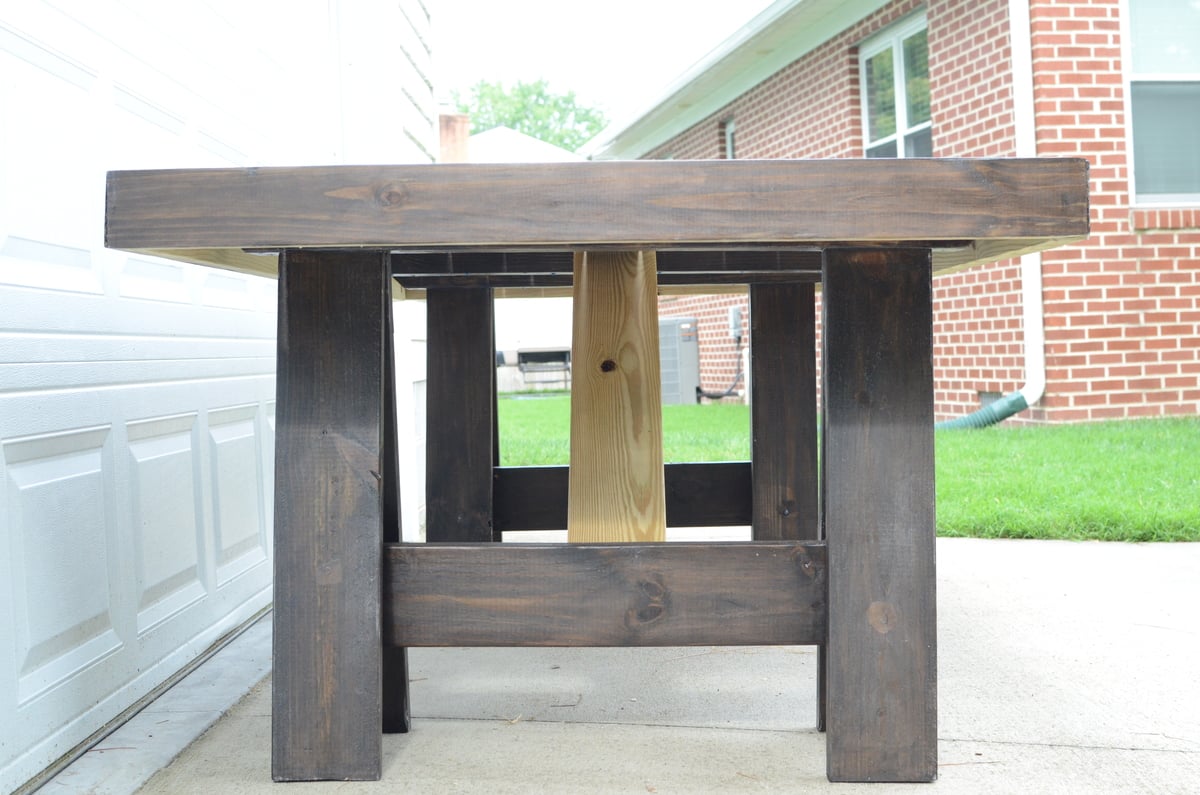
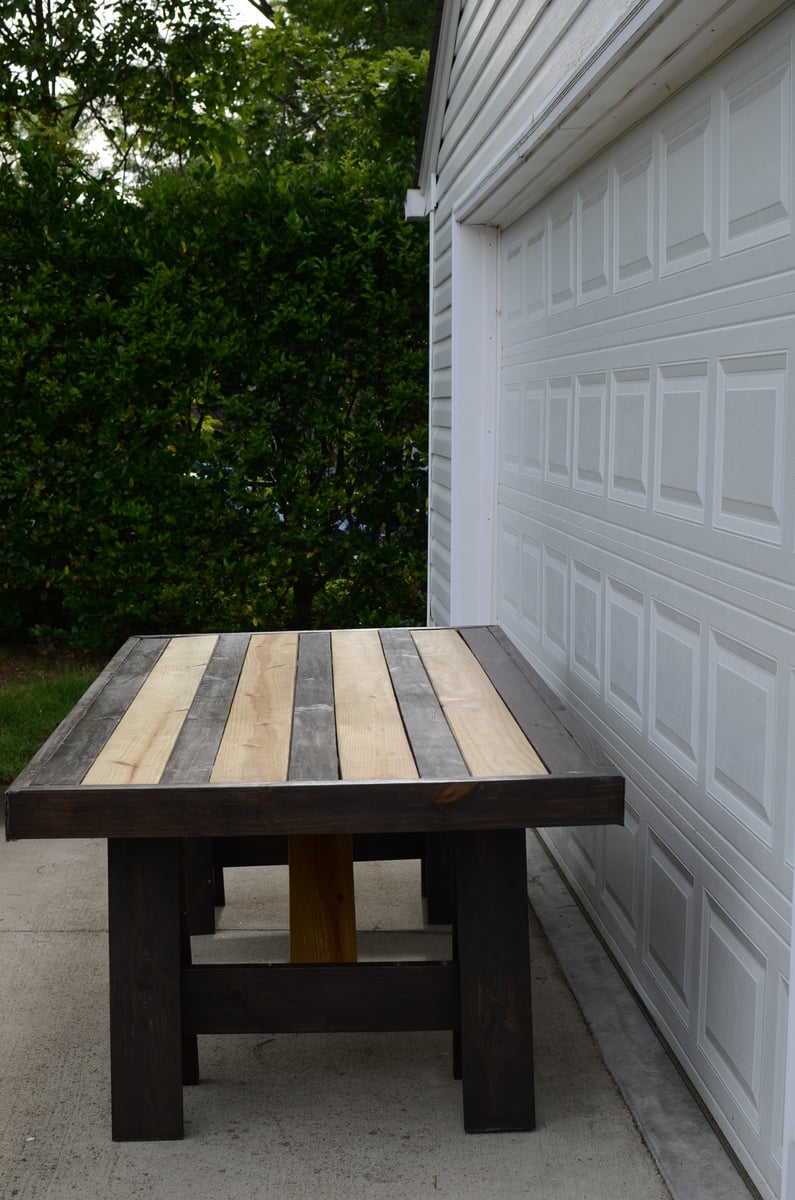
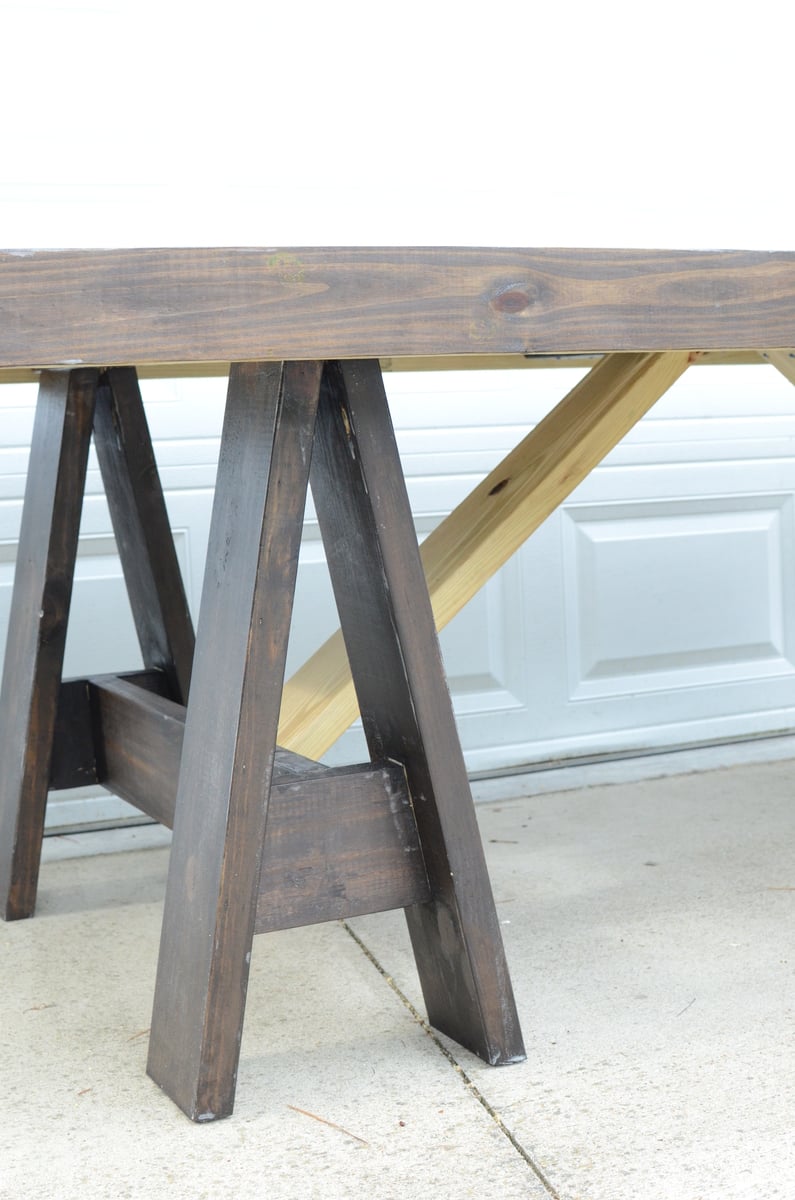
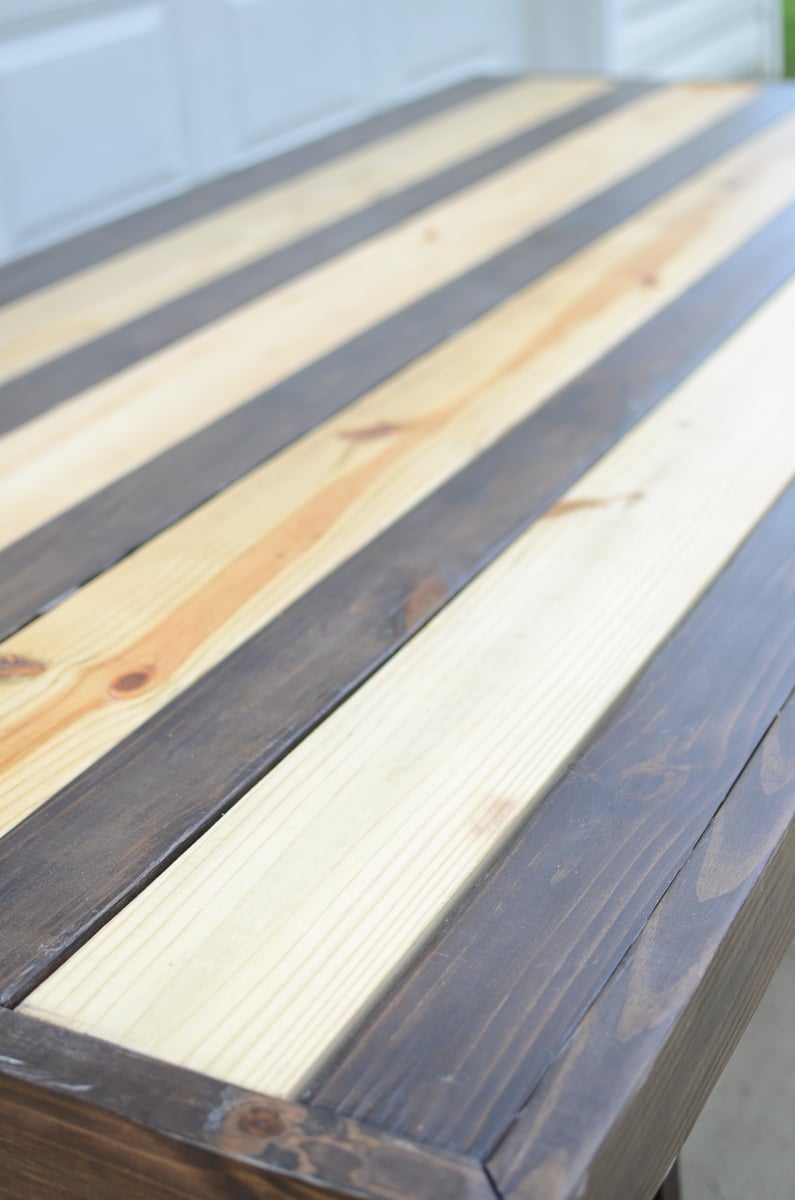
New table for our patio space. This was a fun, relatively easy project. The weather was my only hiccup in the building. Spent an afternoon making cuts, the next day sanding and staining and then assembly. Hubby saw the pieces laid out before staining was complete and loved the two tone look, so I went with it. I used minwax Kona for the stained area and covered everything with Spar Varnish.

Built from Plan(s)
Estimated Time Investment
Weekend Project (10-20 Hours)
Finish Used
Minwax stain - Kona,
Spar Varnish
Recommended Skill Level
Intermediate

Comments

St Louis Cardinal Cart

Submitted by g-berd on Wed, 06/10/2015 - 09:25

My first try and I had a blast. Being a St Louis Cardinal fan I decided to give the "simple rolling bar cart" a cardinal twist. It is great for using beside a BBQ grill. I actually gave this to my pastor for "Pastor Appreciation Day" and plan to build me another one.

Built from Plan(s)
Recommended Skill Level
Beginner

Comments

Doll beds

Submitted by Kimberwdld on Tue, 01/02/2018 - 09:14

We had our first American Girl Doll Christmas ... and it was a big hit ... the girls all love their American girl dolls.


So we decided to make them beds.  Found Ana project on line ... and it was so fast and easy, thank you.


We made 3 beds, from the supply list ....  and 1 cradle, from an old oak magazine rack we found at the thrift store ... turned out so cute.


And we are looking to make the couch and chair set.


Thanks you again,   Kim

Estimated Cost
less than $25.00
Estimated Time Investment
Afternoon Project (3-6 Hours)
Finish Used
sanded, paint and clear coat
Recommended Skill Level
Beginner

1st Porch Bench I made

Submitted by Anonymous (not verified) on Sun, 12/26/2021 - 16:49

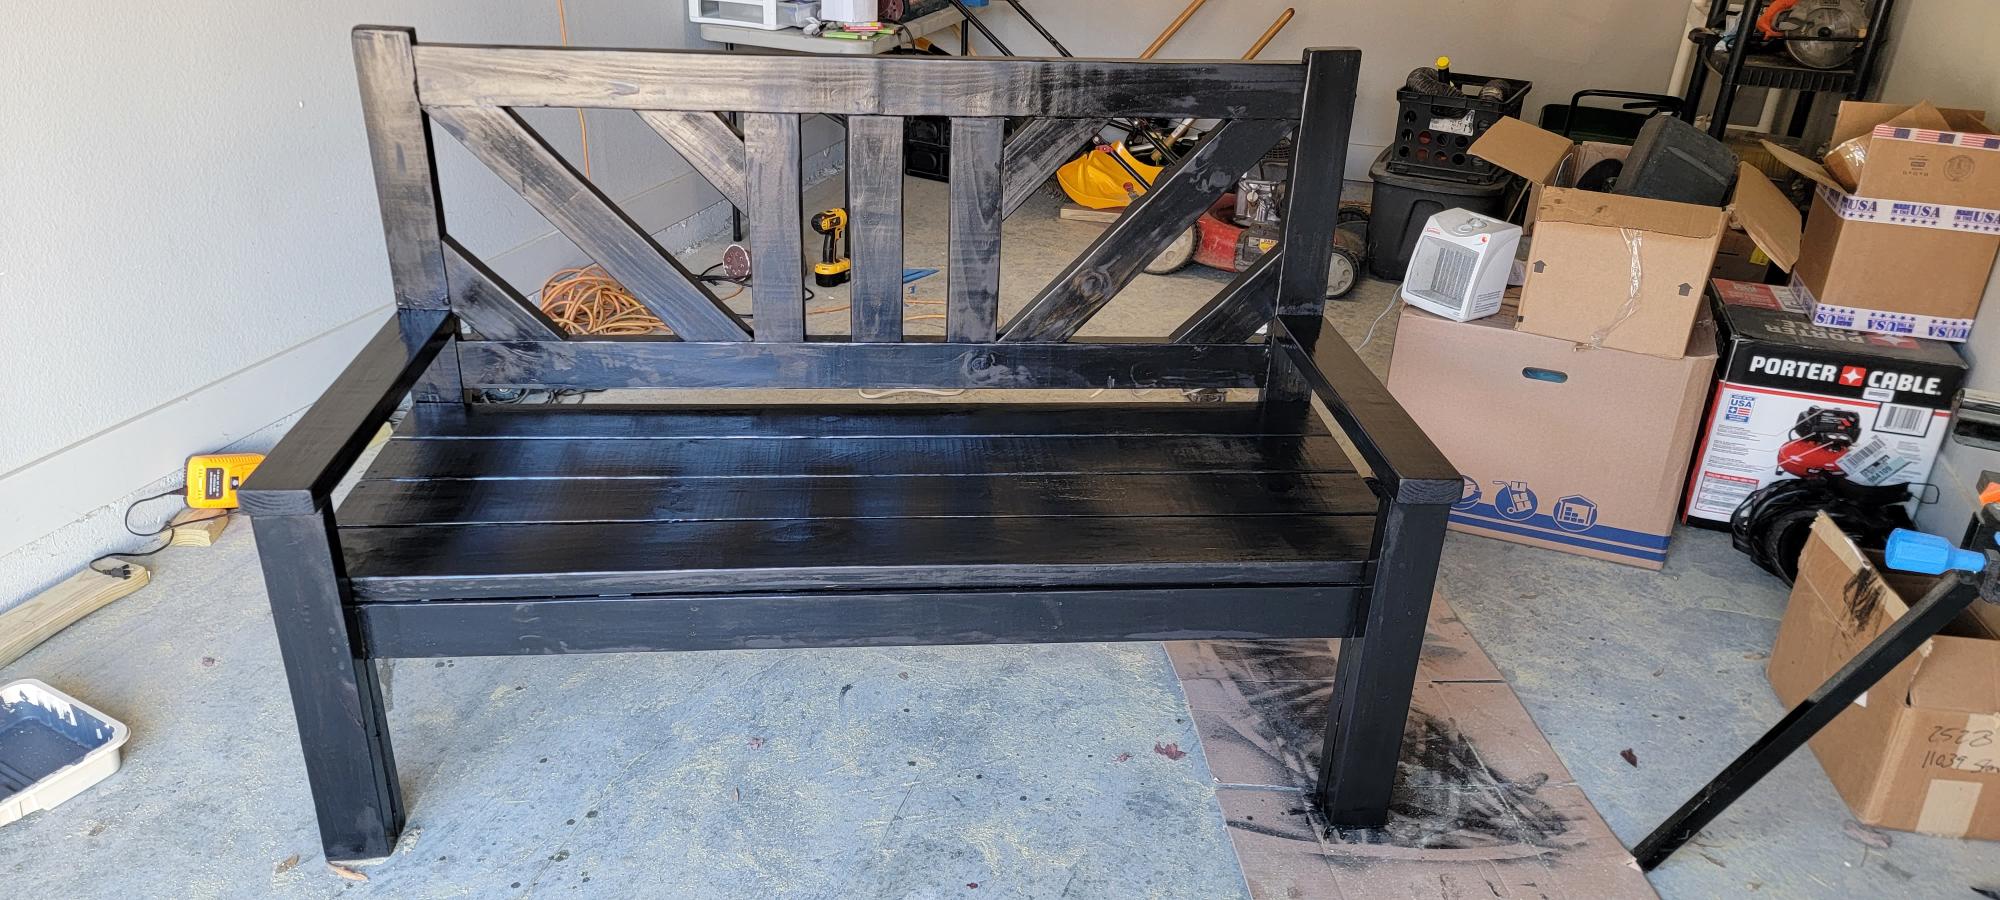
This is the first bench I have ever made.

Comments

Queen Storage Bed with Drawers!

This was our third major building project (I've built some frames and small shelves in my free time but our other two big projects were the bunk beds and the tryde coffee table).

This was our first time cutting plywood boards and it was a huge chore at first, until we got the hang of it and built a good circular saw guide that cut our cutting time by more than half.

We couldn't find the type of drawer slides we needed so we decided to forget them and built our own wood slides. They basically are just L-shaped brackets made of 1x3 (on the bottom) and 1x2 (on the top), adjusted to the right spot to hold the drawers in place. A little candle wax (a trick learned from my husband's grandfather) is all you need to make them slide nicely. All in all, we built drawer slides out of wood for the about $20 total. Huge savings and honestly I think I like it better that way.

Things I learned during this project:
Plywood is a lot heavier than I ever imagined.
Cutting plywood is not fun.
I will never complain again about cutting boards with the miter saw!
Stainable wood putty is a joke. You can clearly see every spot I puttied. From now on we buy the colored stuff that already matches the stain!
Building drawers isn't scary--I thought it would be. I actually built all the drawers by myself in one morning, when hubby wasn't even around to help.
90-degree gripper things are a must have. And the more you have, the better.
Elmer's wood glue is really stronger than nails. We glued something and didn't like it and were unable to break it off so we had to nail it as it was!

This project took us nearly a month, but to be fair, I was out of town for two weeks of that time and this is definitely a project for four hands, not two.

Overall, it was a great experience and I'm so excited for the extra storage--our house is small but we don't want to move so we are trying to make use of every inch of space, without the house LOOKING like we are making use of every inch of space.

Next up: new bedside tables to match the bed.

Built from Plan(s)
Estimated Cost
$400-$500
Estimated Time Investment
Week Long Project (20 Hours or More)
Finish Used
Varathane American Walnut: two coats. Applied with paint brush, allowed to soak and then excess wiped with old socks (loved the old sock trick, thanks, Ana).

One coat of minwax semi-gloss poly.
Recommended Skill Level
Intermediate

Sandbox (plus stage and puppet theatre)

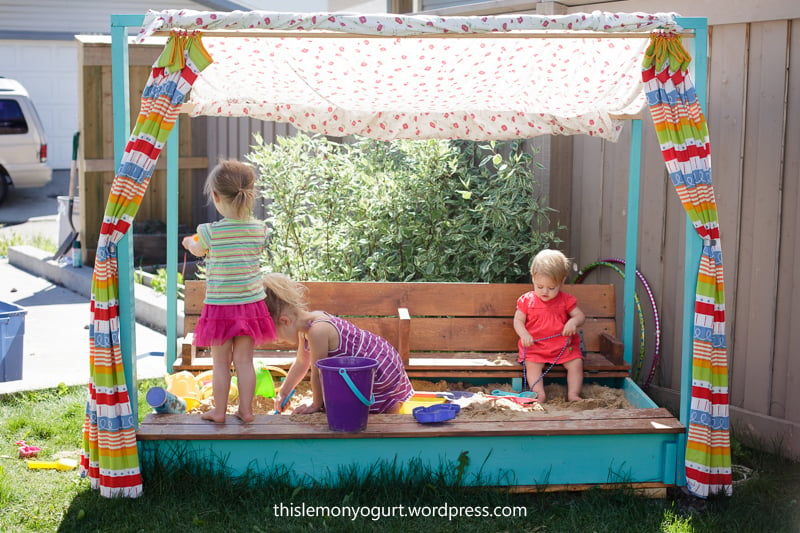
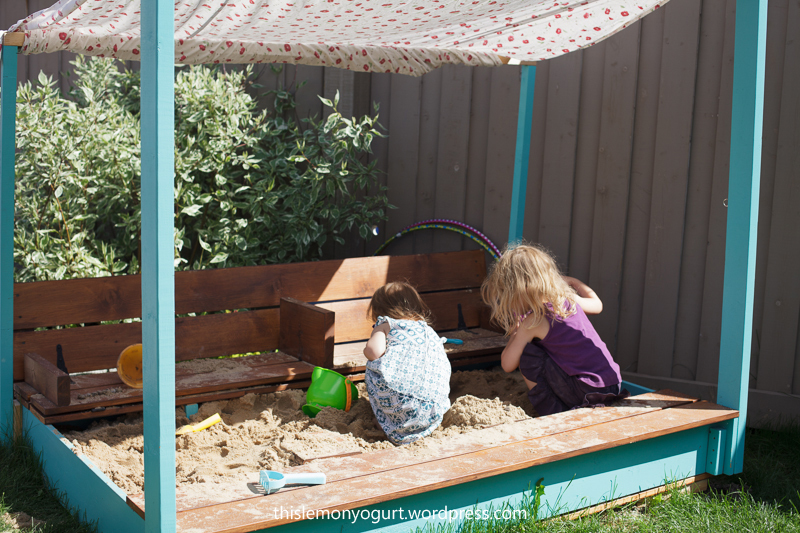
I started with the original plans for the sandbox with the benches, and then just sort of took off with the modifications.

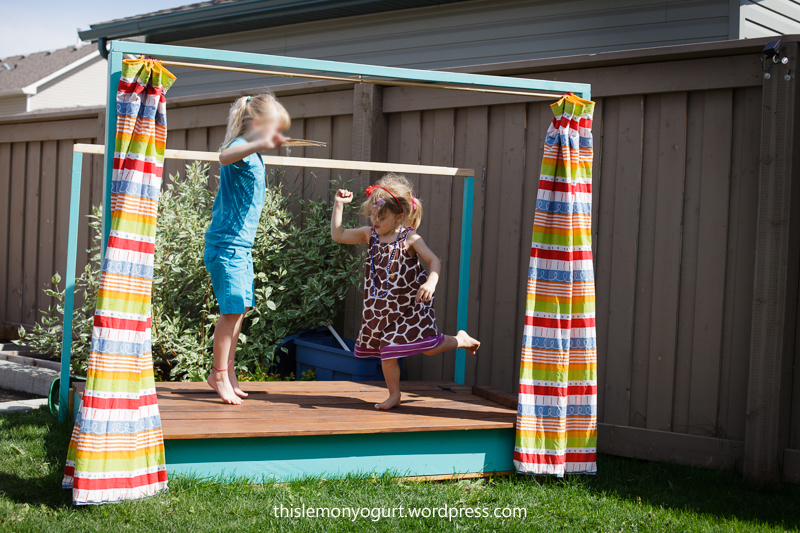
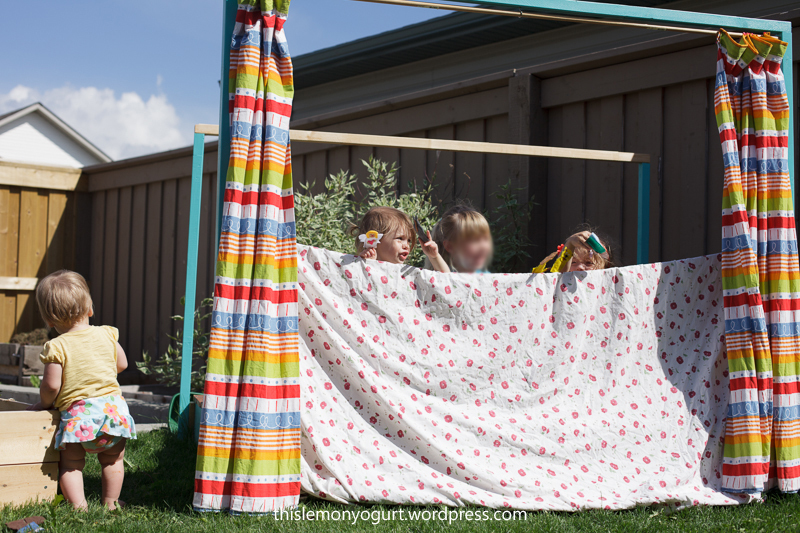
When it's open, it's a 4'x6' sandbox with a bench on one side and a canopy overhead. When it's closed, it's a stage complete with curtains, or can also convert into a puppet theatre.

I had to make several adjustments to the original plan to allow for enough support for the stage to be walked (and danced) on, including an extra armrest in the bench, and a few blocks built up from the base of the sand area. I also used 1x6 boards for the top instead of 1x4, to cover the entire 4' with only the one bench.

Thanks so much for the plans, my girls love it! (and thanks to KnittingEmily for posting the plans for the 6' sandbox, which gave me a jumping off point for the sizing I used.)

The story of how I built it can be found here:
http://www.thislemonyogurt.com/a-box-of-sand/

Built from Plan(s)
Estimated Time Investment
Weekend Project (10-20 Hours)
Recommended Skill Level
Beginner

Comments

Lasso the Moon

Fri, 06/28/2013 - 07:51

Oh, this must seem magical to those little ones. It looks like so much fun. Great job!
Anna

DIY Restoration Hardware Queen Bed Frame

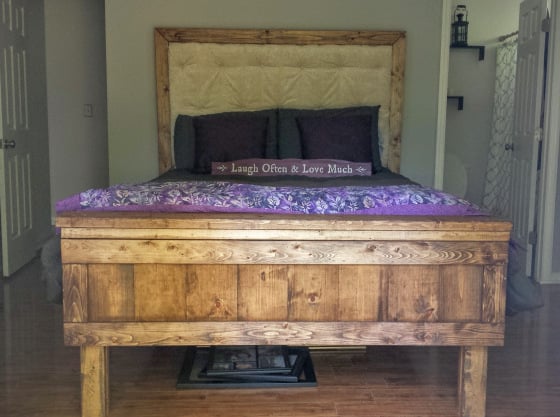
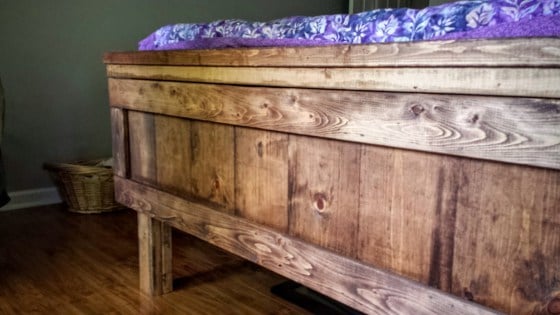
This bed frame was born from a compromise of Will’s desire for something soft to lean on, my desire for something rustic, and both of our desires to have a bed that doesn’t slowly inch away from the wall. What happened was an amazing Restoration Hardware meets Pottery Barn DIY masterpiece.

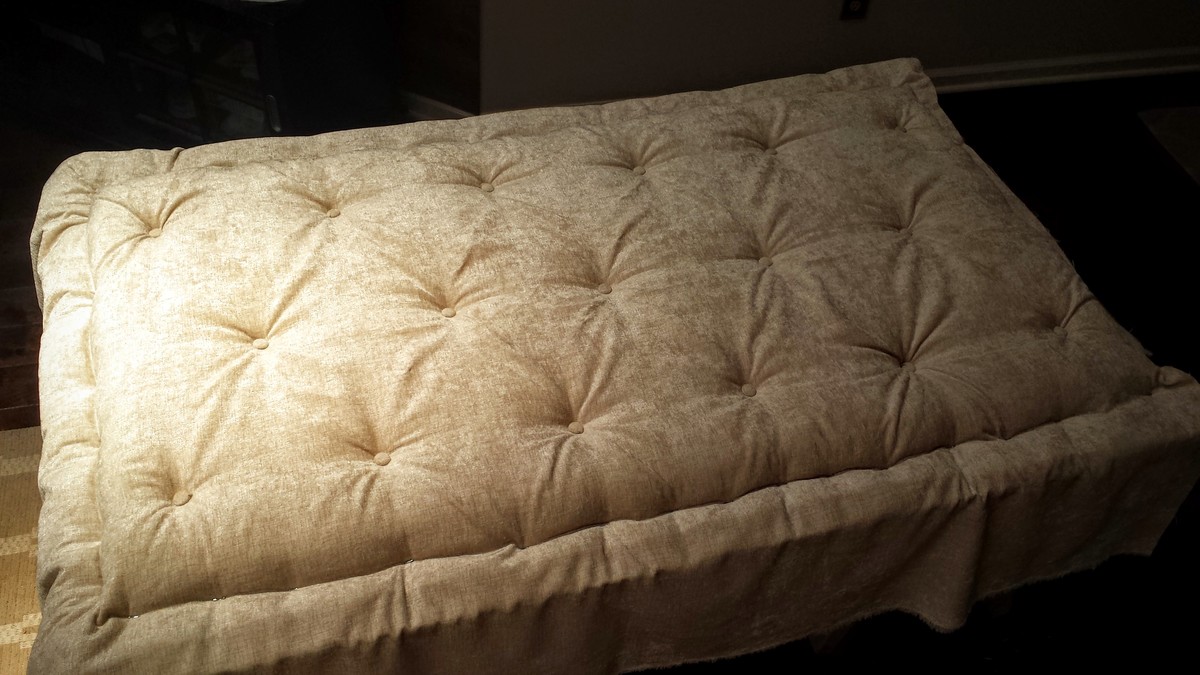
This thing is sturdy! No wiggling or anything. And that headboard is ultra comfy and plush!

We used 2 – 2×4’s instead of 4×4’s for the posts because the 4×4’s are pressure treated.
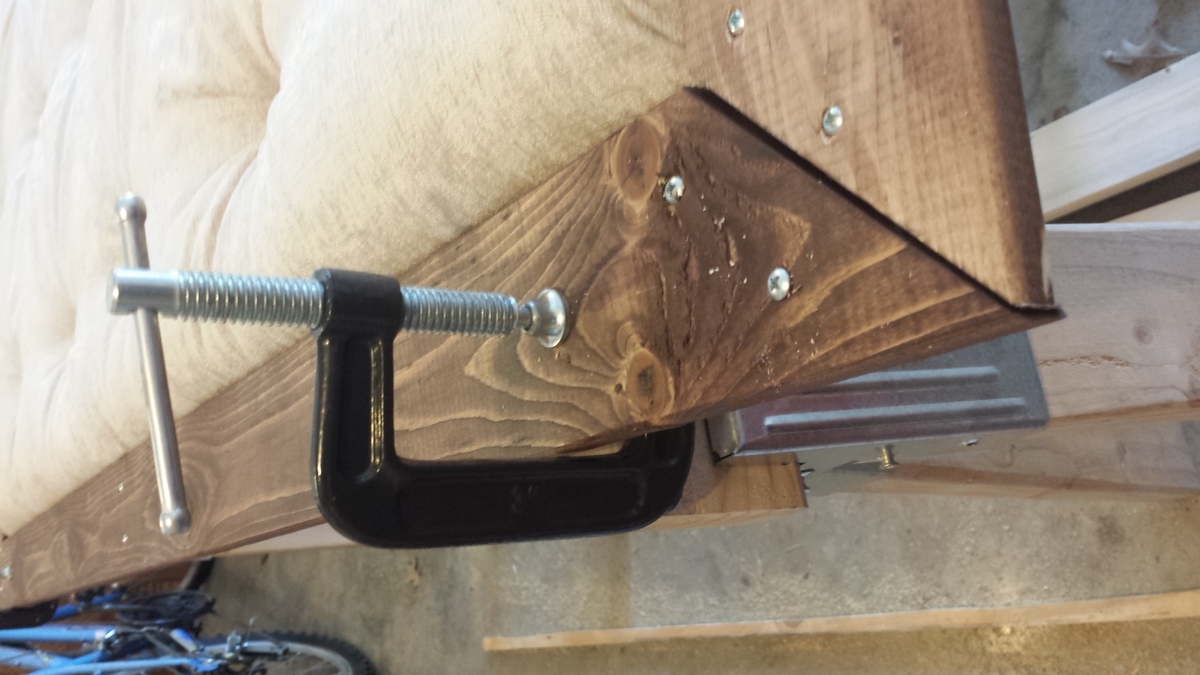
We put in an upholstered headboard instead of planks and “sandwhiched” it on all sides rather than only top and bottom. It was at this point that we realized that we liked the way the simple, framed upholstered portion looked so much that we didn’t want the posts on the outside and the trim pieces on top. So we left those off.
Another change here is that the head board became a little wider than the Anna White plans… that would be because I did not measure along the edge of the upholstery… Also, it was taller than the Anna White plans because I wanted plenty of the upholstered section to lean on/show up above our pillows.
The foot board then needed to be a little wider as well, and there was no clean way of doing that. We figured it out, and I built it pretty easily. However, I did not take into consideration the fact that, although the headboard was wider…. The posts were not. This created problems during assembly.
One last change, was we made it about 6″ taller than the plans to give us room for under the bed storage.

Built from Plan(s)
Estimated Cost
$250
Estimated Time Investment
Weekend Project (10-20 Hours)
Finish Used
Minwax Special Walnut Stain
Recommended Skill Level
Beginner

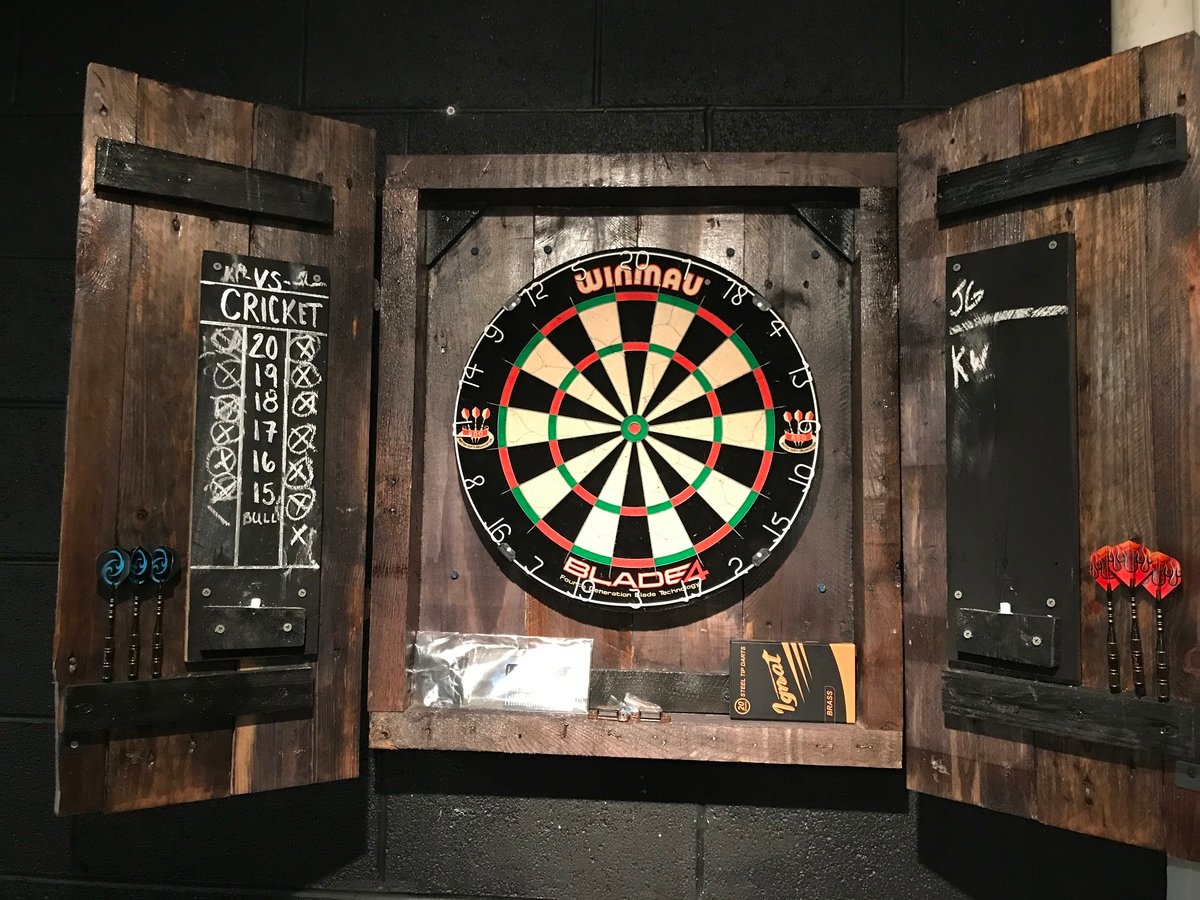
Dartboard Cabinet

Submitted by Knathu121 on Fri, 01/05/2018 - 20:38

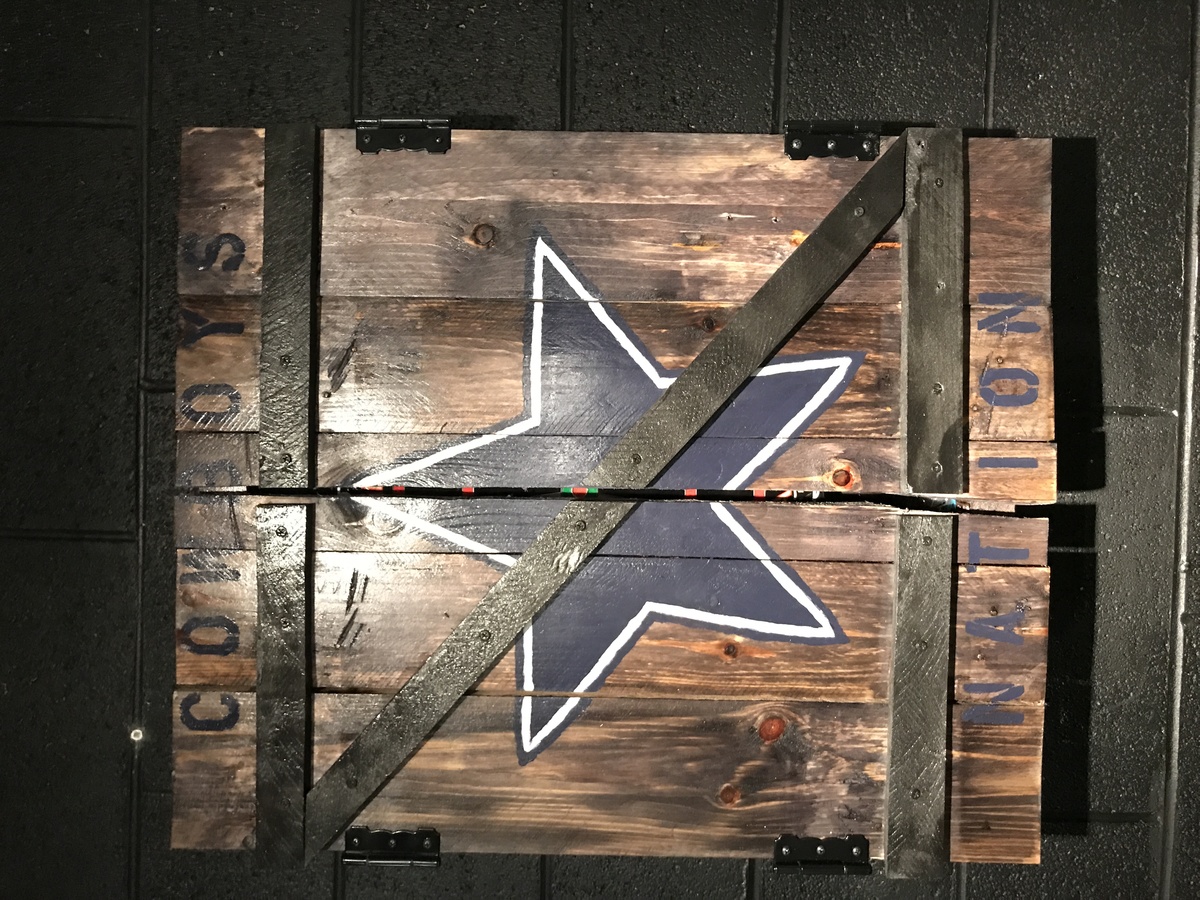
I made this dartboard Cabinet from pallets to give it a really rustic and weathered look. I stained it with rustoleum weathered wood accelerator. 

Estimated Cost
$20
Estimated Time Investment
Afternoon Project (3-6 Hours)
Recommended Skill Level
Beginner

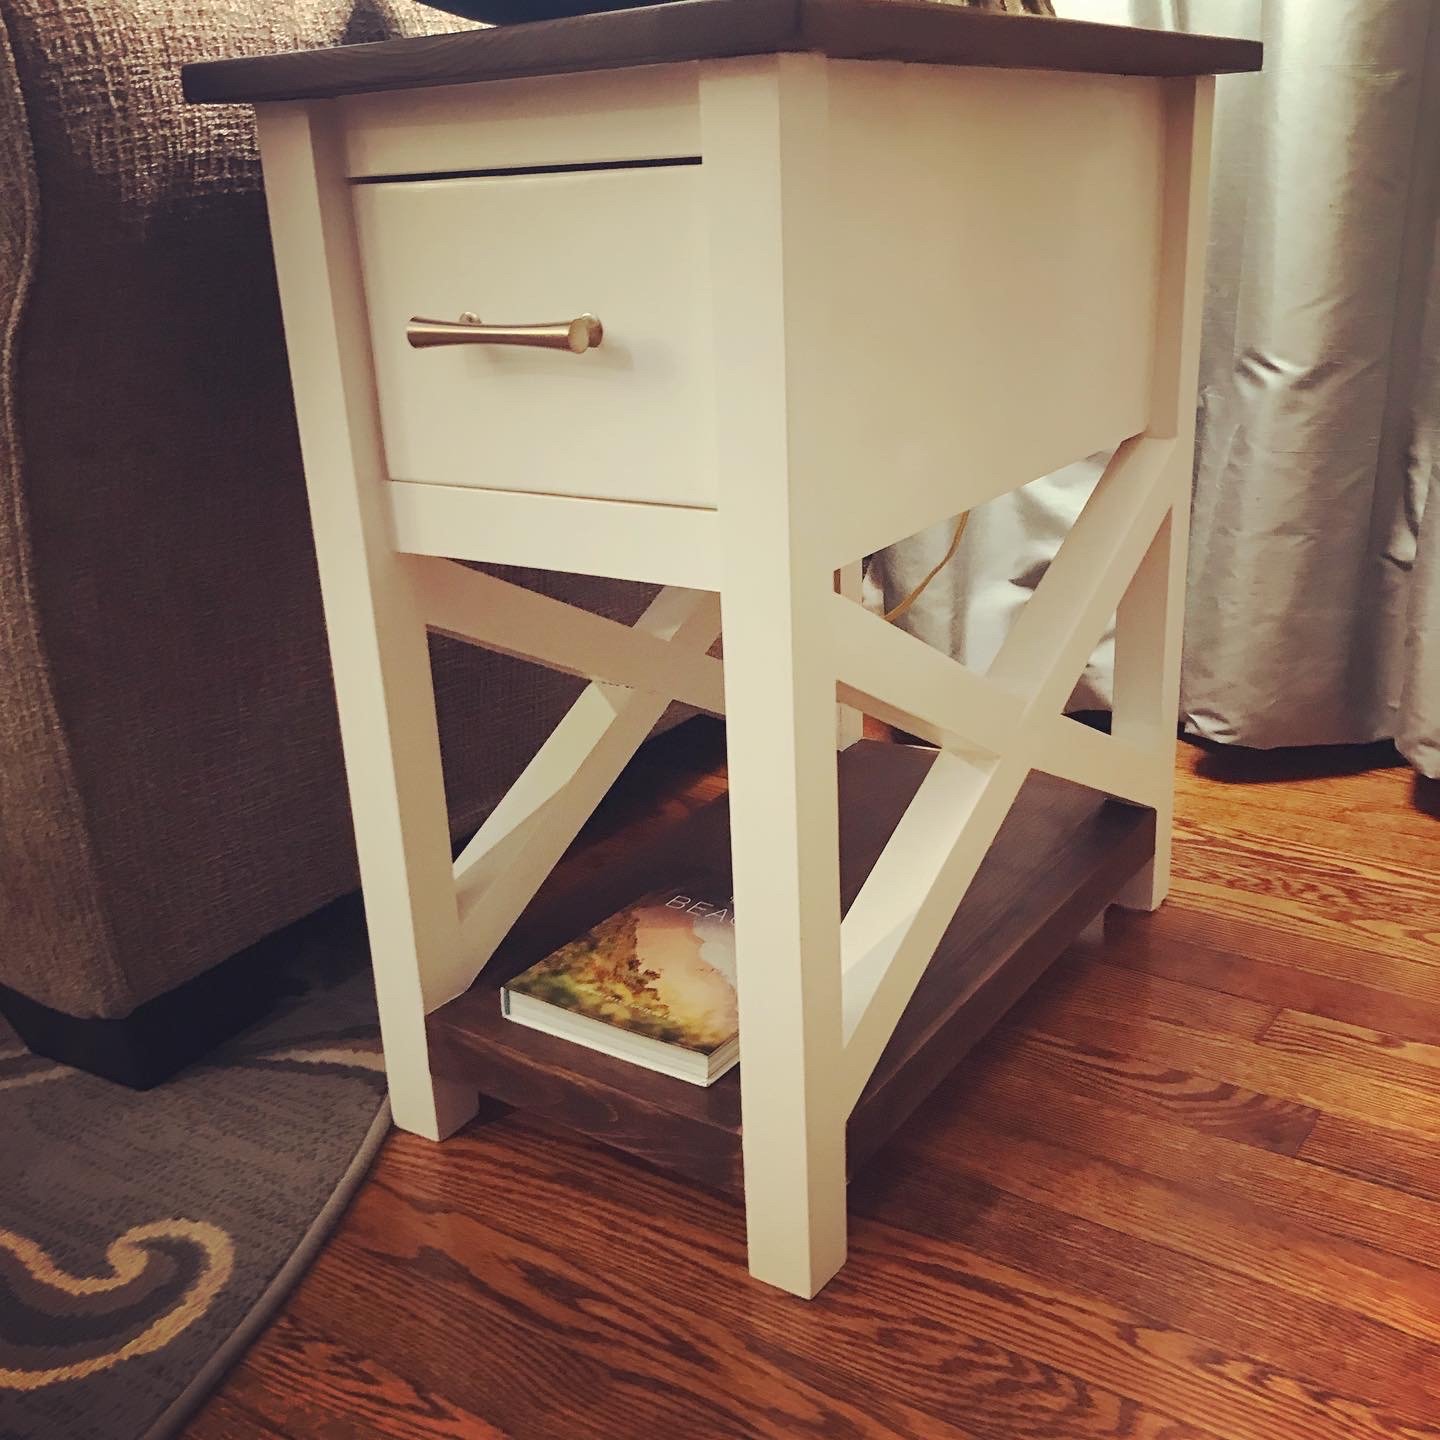
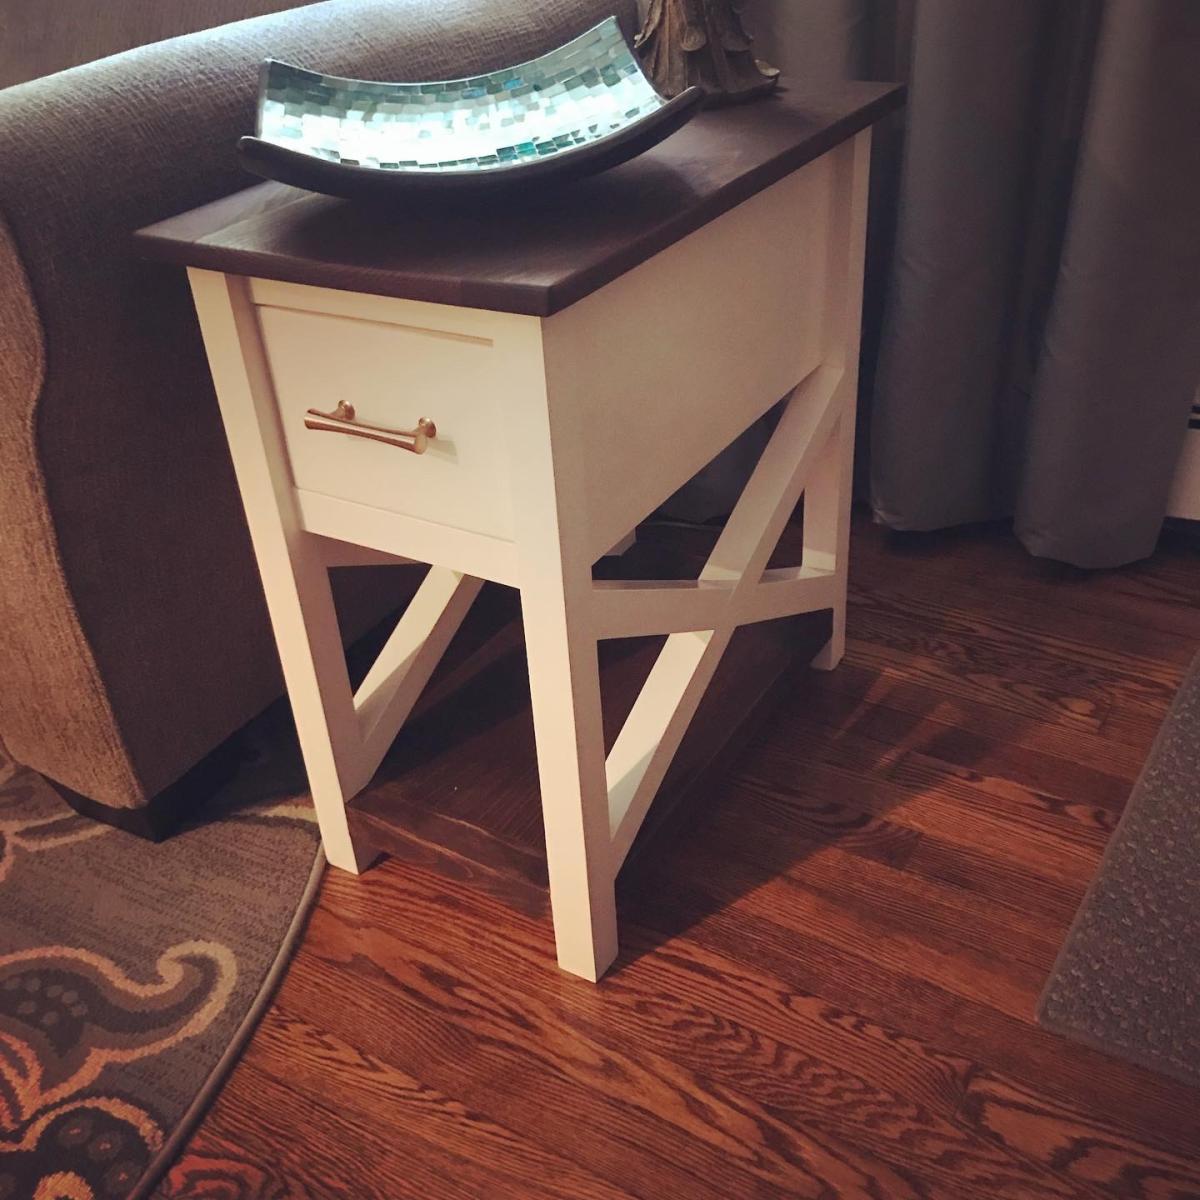
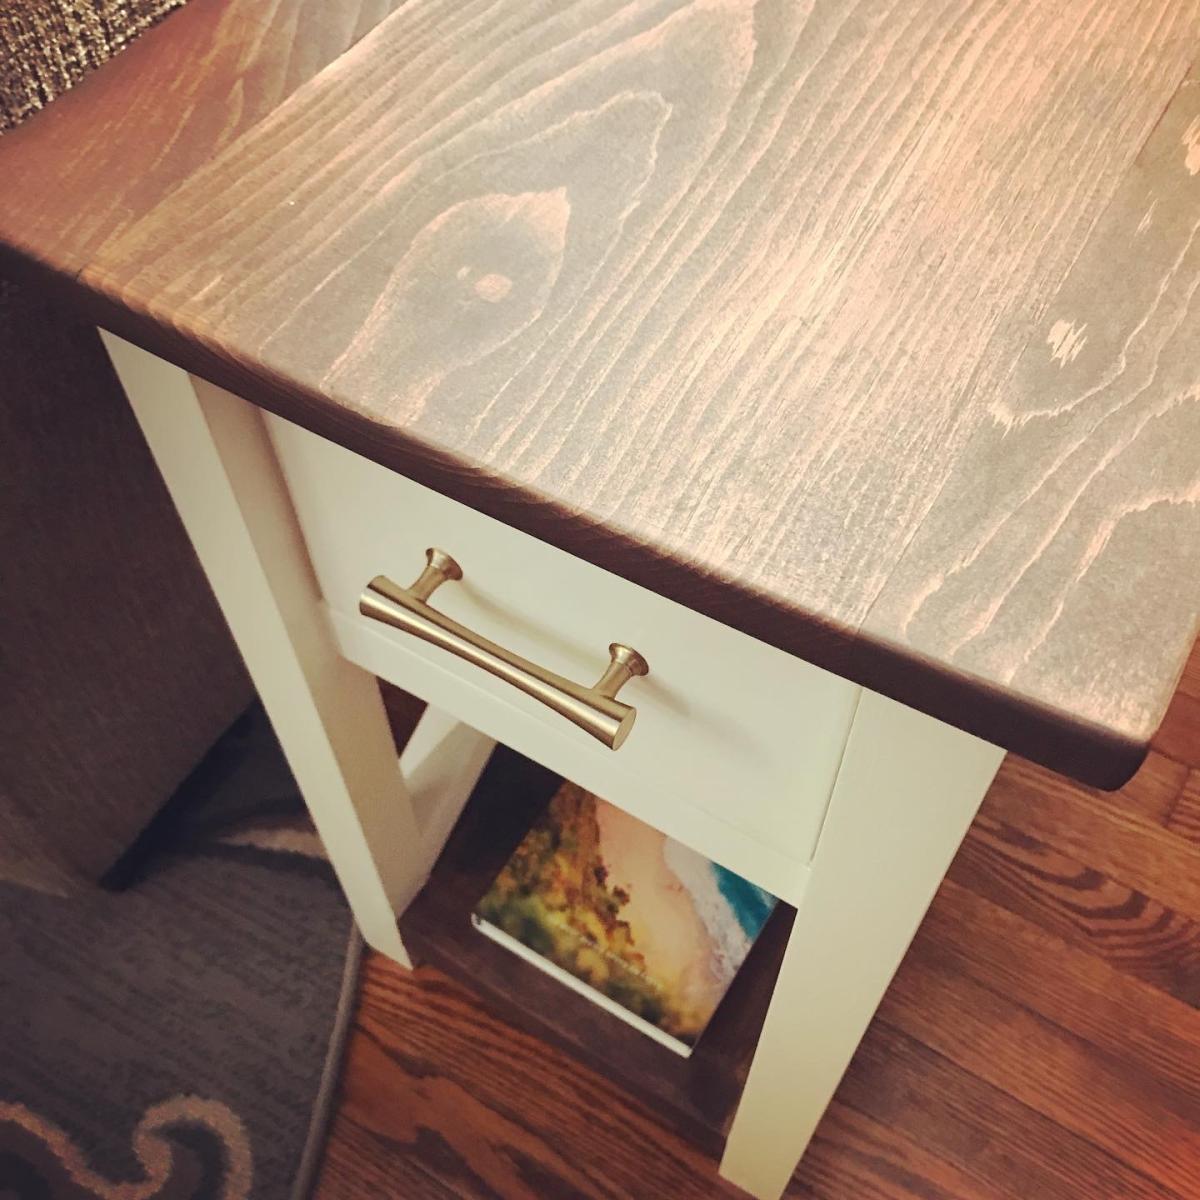
Cottage end table w/ rustic x

Submitted by Anonymous (not verified) on Sun, 12/26/2021 - 21:51

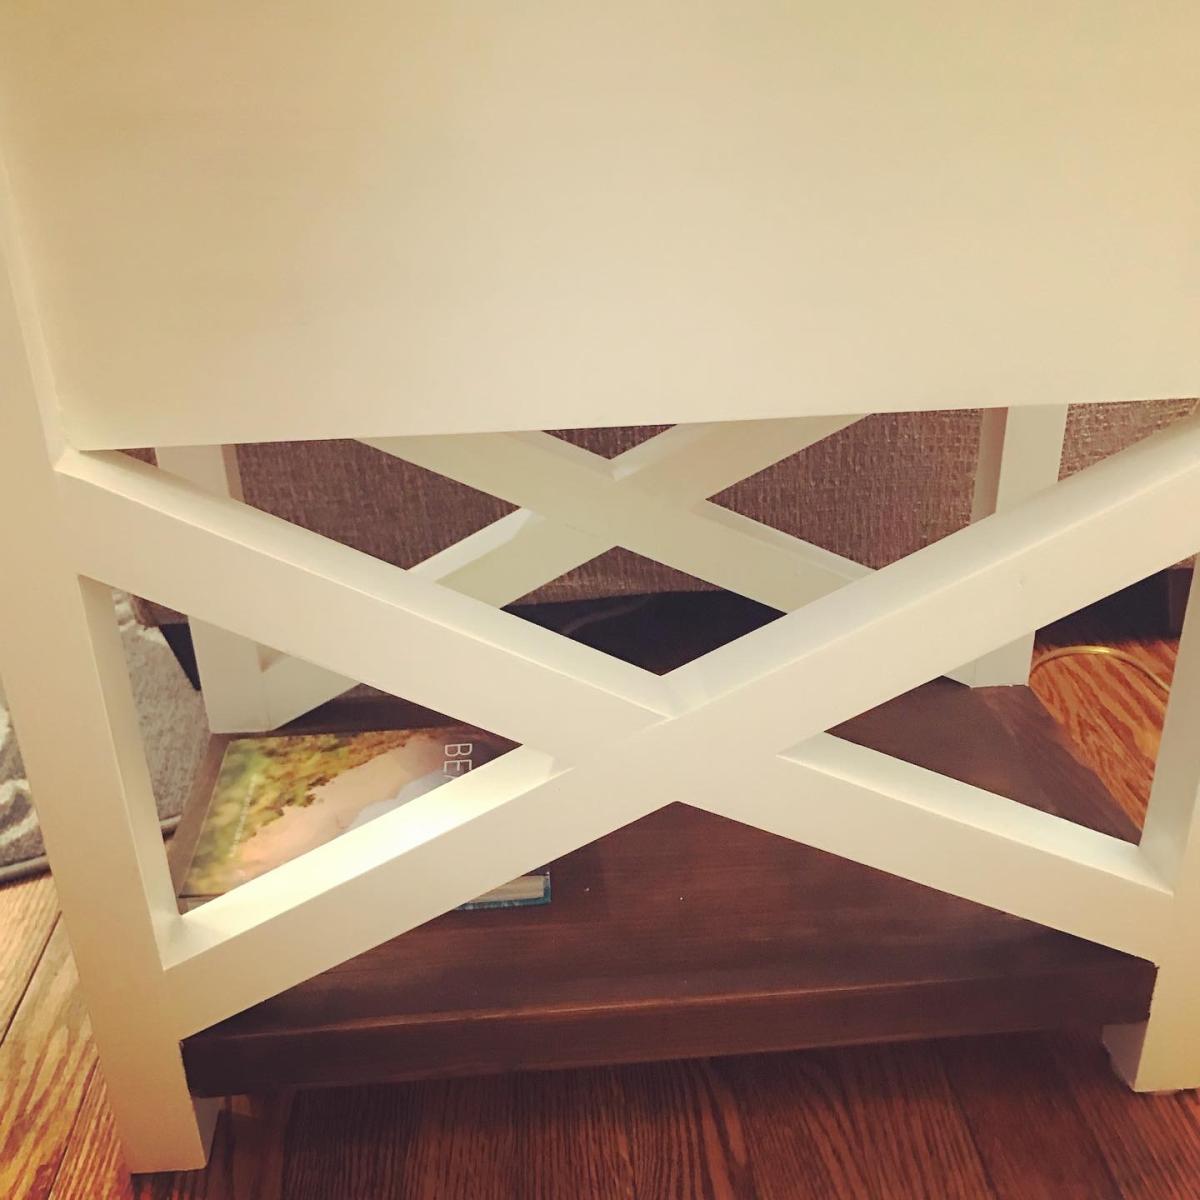
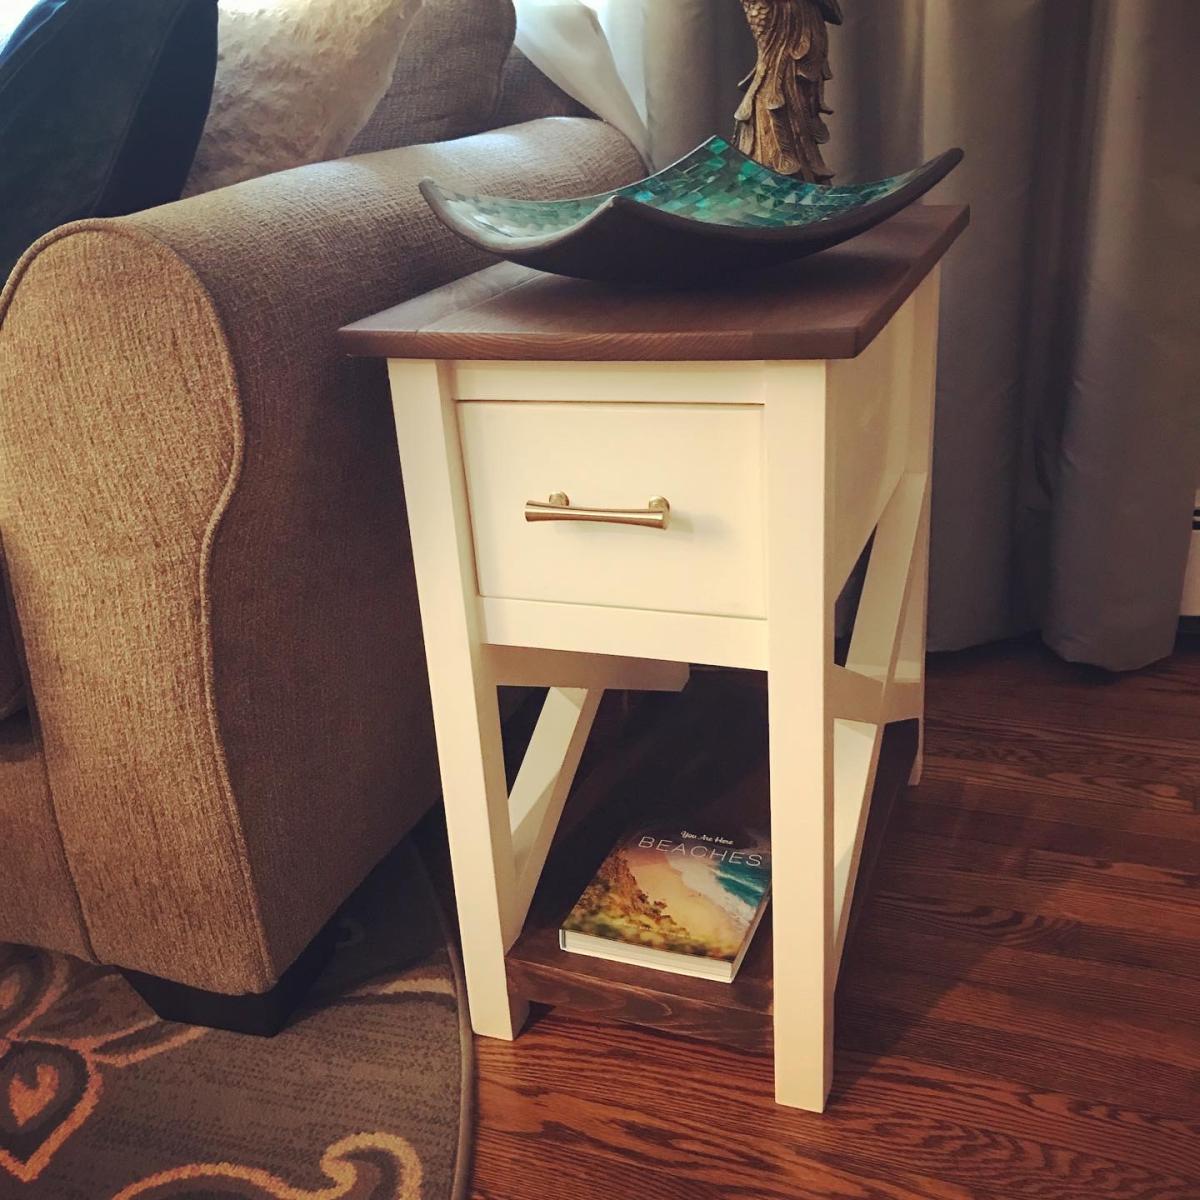
Made the cottage end table, but through in the rustic x style. I really needed a narrow end table. Oh and I threw a shelf on the bottom. First time making a drawer! Loved it!

Built from Plan(s)

Comments

Entry table

Submitted by Marisol on Wed, 05/04/2011 - 20:14

2nd project, but learning quickly! :)

I first started with the wall treatment, love board and batten walls, they add such a crisp look and tons of character, but then the entry way was a little bare. So I needed a table for our keys and some lighting...so this table was perfect, narrow and Pottery Barn looking...

It took about 1 hour to build, including cuts and everything....the staining was the task...my God was I impatient!
I started with the wood conditioner, which only gives you a 2 hour window to add the stain, but do need to wait 15 minutes to start...then I did 2 coats of dark walnut stain and after 8 hours of drying time came in the top coat...which takes 4 hours to dry and then a 2nd coat needed to be added (which I skipped) but I love the color, love the turn out.

So light, I carried it ALL by myself. :)

Built from Plan(s)
Estimated Cost
$15.00
Estimated Time Investment
An Hour or Two (0-2 Hours)
Finish Used
Minwax wood conditioner & Minwax Dark Walnut
Recommended Skill Level
Starter Project

Little helper

Submitted by dijo284 on Sun, 06/30/2013 - 14:01

We used ana's plans and they were great!
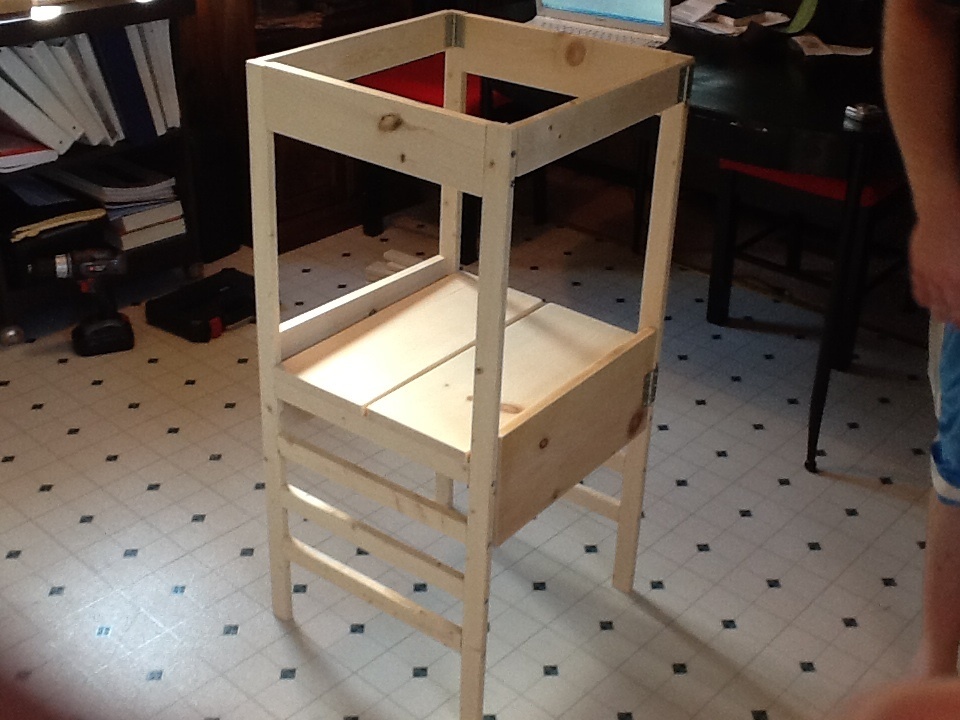
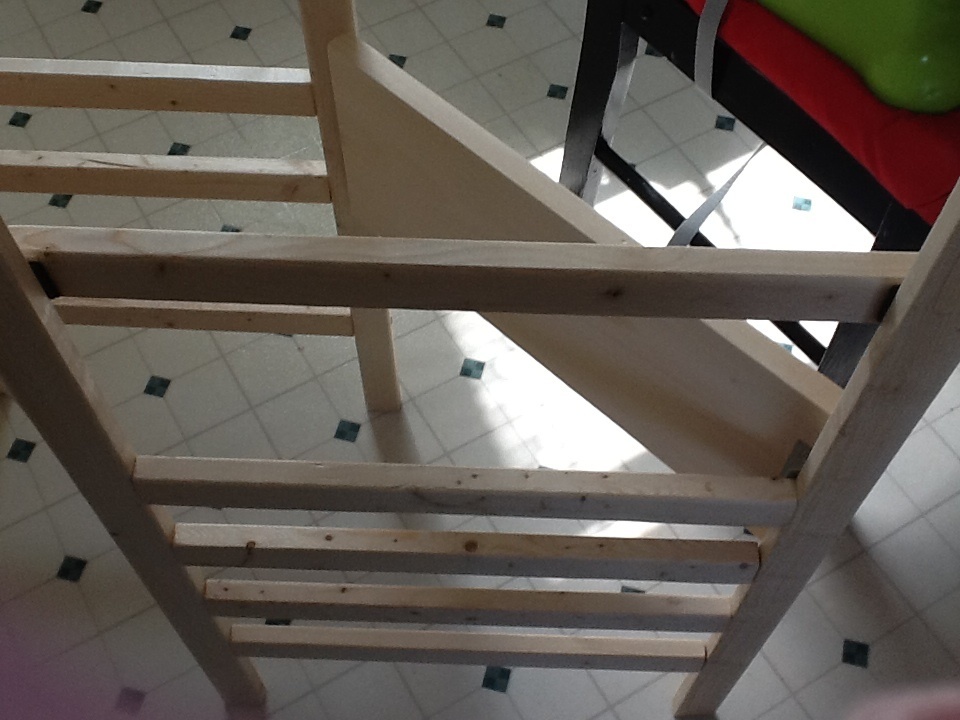
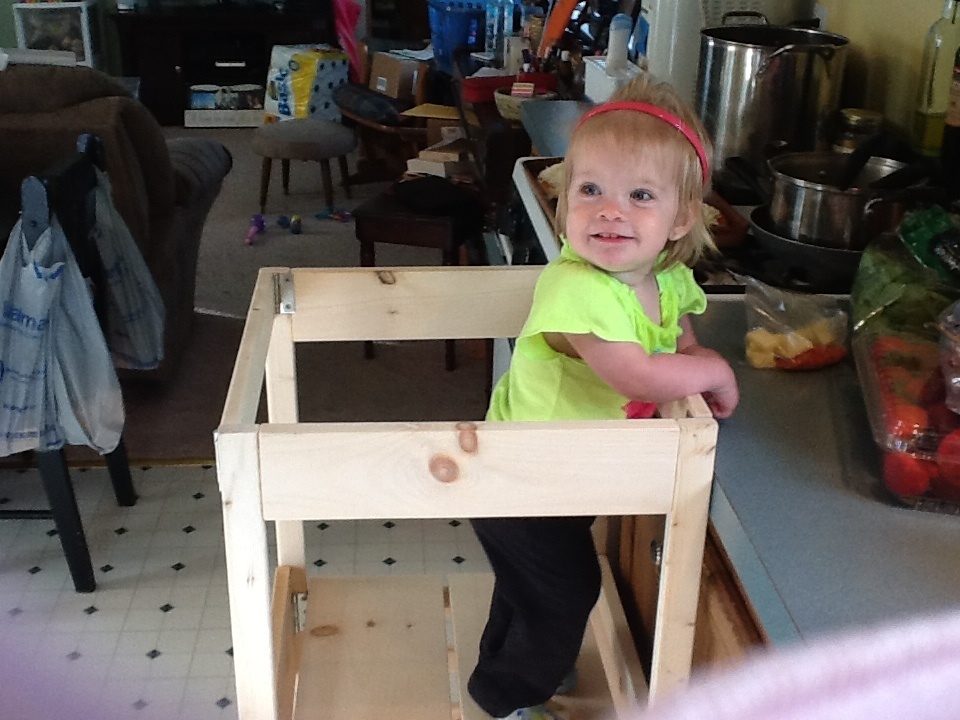
We did not do the curved pieces we made it square all the way around. We did the modification and used hinges.
We have all the pieces for the anti-tip and will be adding that later.
We added on extra side pieces for safety using industrial strength velcro so they can be removed in the future when our 15 mo old gets big.
We do not own a kreg jig....so we just did screws and wood glue...making sure to pre-drill holes since the wood is thin and could split...

Estimated Cost
$40
Estimated Time Investment
Afternoon Project (3-6 Hours)
Finish Used
We will be painting or staining in the future.
Recommended Skill Level
Beginner

Slatted bench

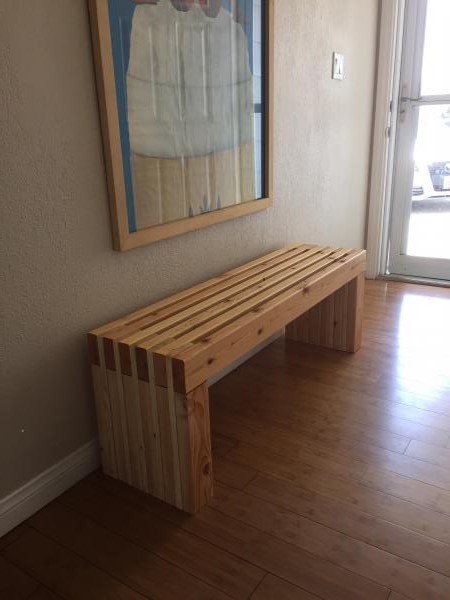
Such an amazing and easy project with a big impact in a home or outside. A few 2x4's and 1 bys. I wanted to keep the original look of the wood but want to enhance the gain and add a little richness to it. I applied a natural stain and 3 coats of brush on poly. I started with spray on and that stuff sucks!!! More of it gets wasted in the air then on your material. Finished the bottoms with some felt rounders and voila!!!

Estimated Cost
50
Estimated Time Investment
Day Project (6-9 Hours)
Finish Used
Natural stain and Clear gloss poly
Recommended Skill Level
Beginner

Comments

SeltzerandSon

Mon, 07/06/2015 - 15:38

Hi I'm sorry I just saw this. I personally don't have plans but can write some out for you if that helps. I just made another bench and stained it a kona color and it looks amazing!

Nightstand

Submitted by fiddlepics on Mon, 01/08/2018 - 07:24

Built this nightstand for my boy's bedroom- built the farmhouse headboards to match. Was a straightforward project. I actually bought a circular saw instead of having the store make the cuts- best decision ever. Much better to cut as I go along. 

Built from Plan(s)
Estimated Cost
$75
Estimated Time Investment
Day Project (6-9 Hours)
Finish Used
Minwax penetrating stain- 2 coats dark walnut, 1 coat red mahogany. Spray Minwax Lacquer in Satin
Recommended Skill Level
Beginner

Your kitchen island

Submitted by Anonymous (not verified) on Mon, 12/27/2021 - 11:27

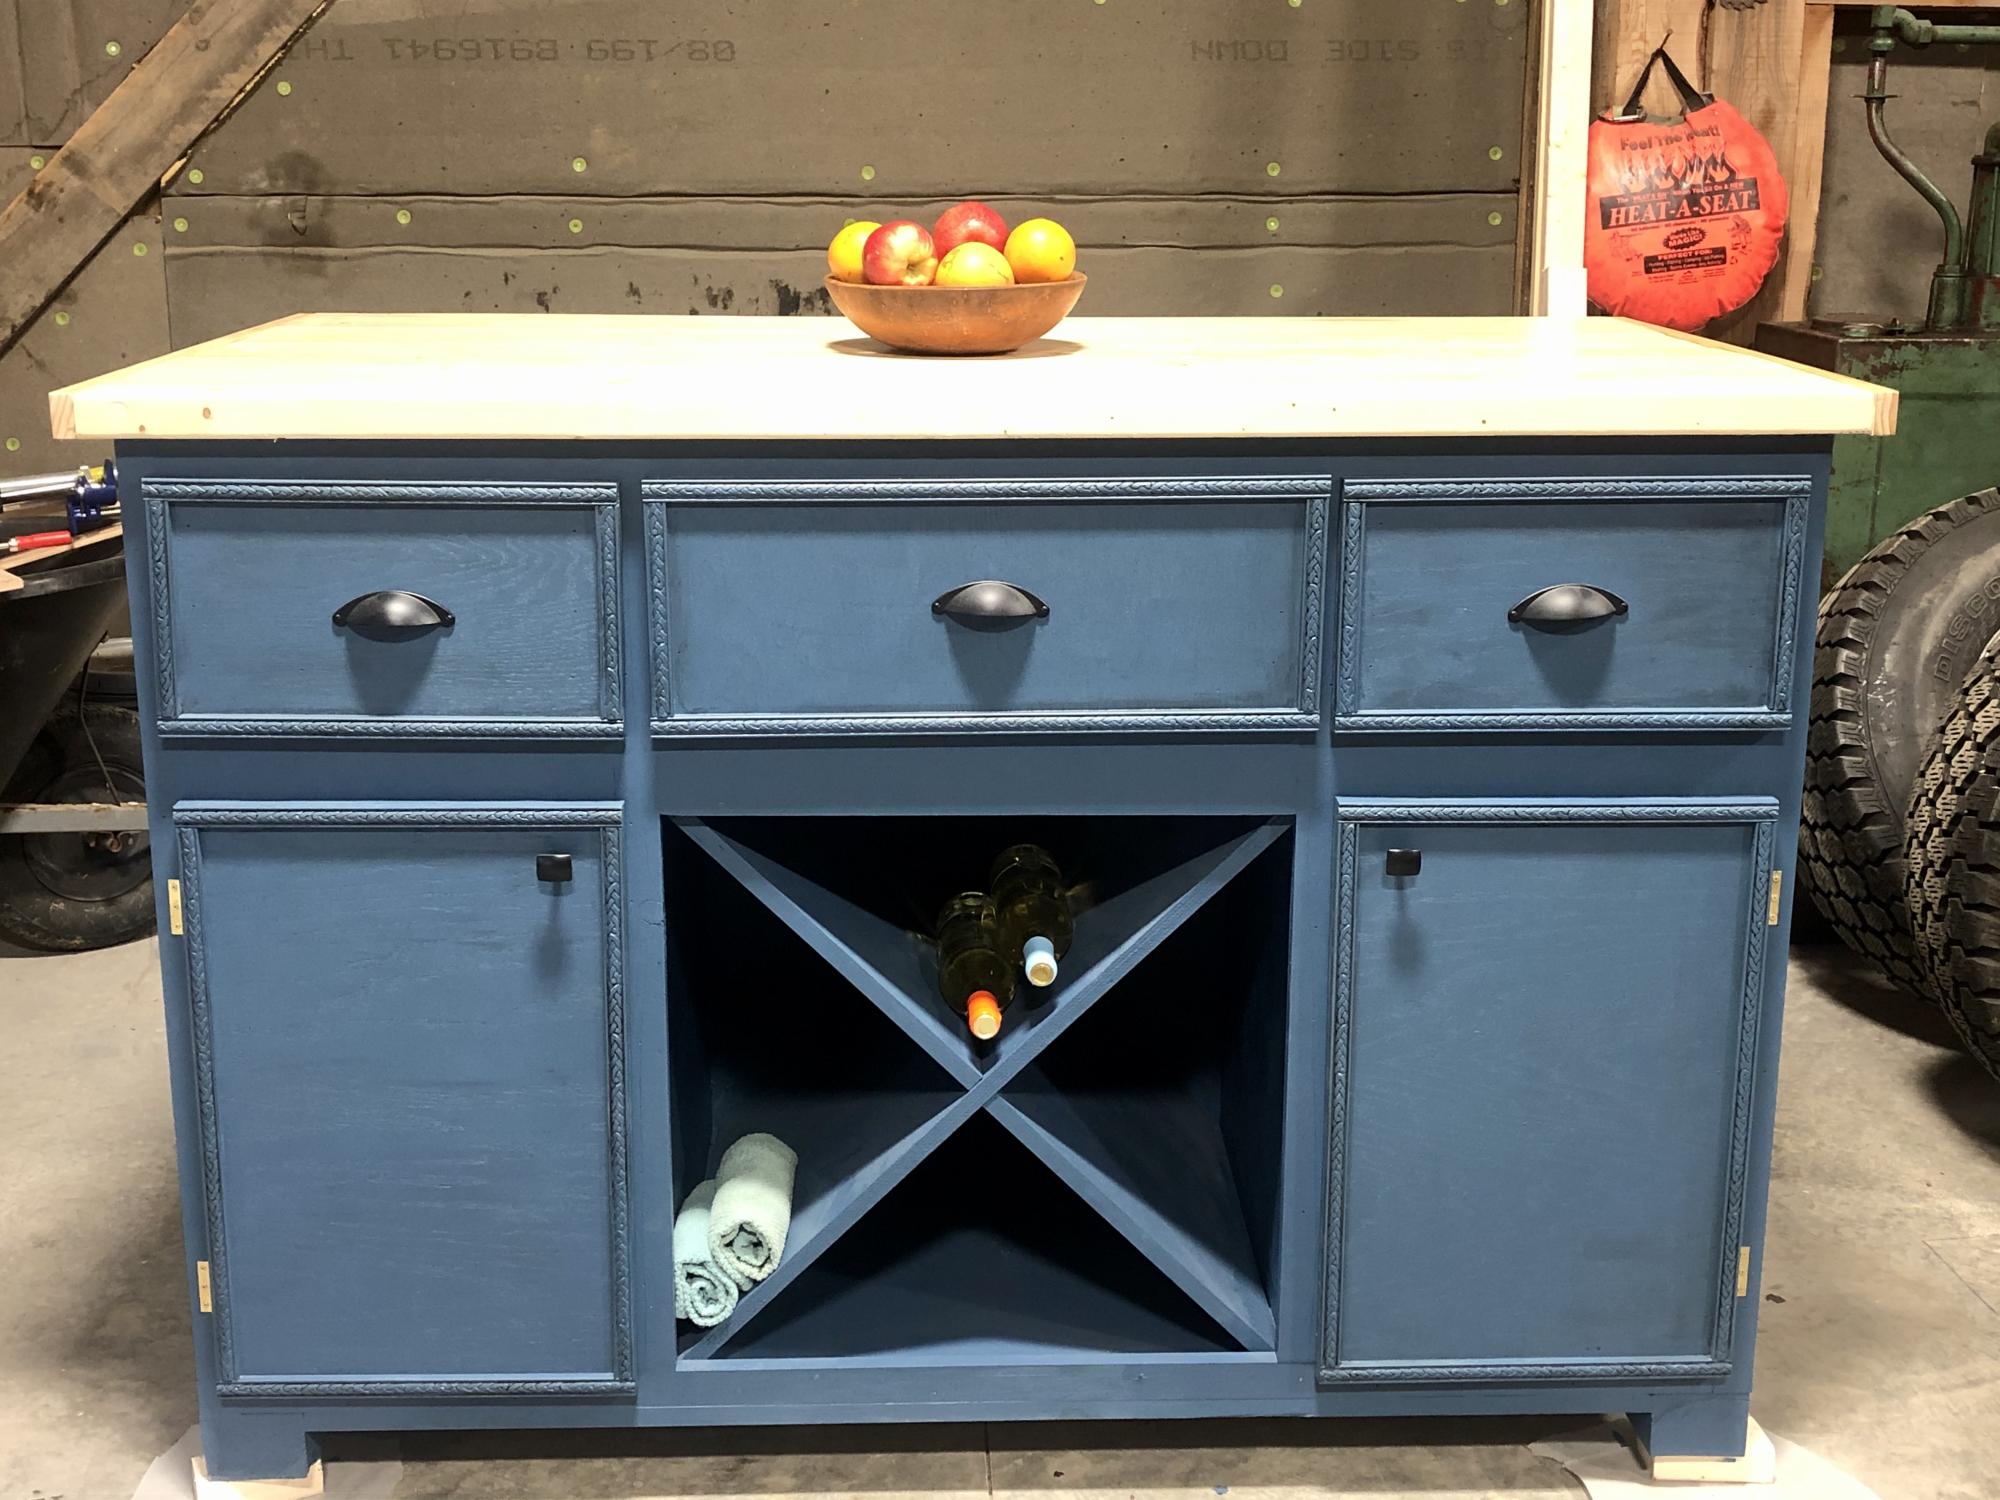
My first real project, which you gave me the courage to try!!! The kitchen island!
Made one error that I had to spend a bit of money to correct but in the long run the finished product is beautiful, I even used the same color you used.
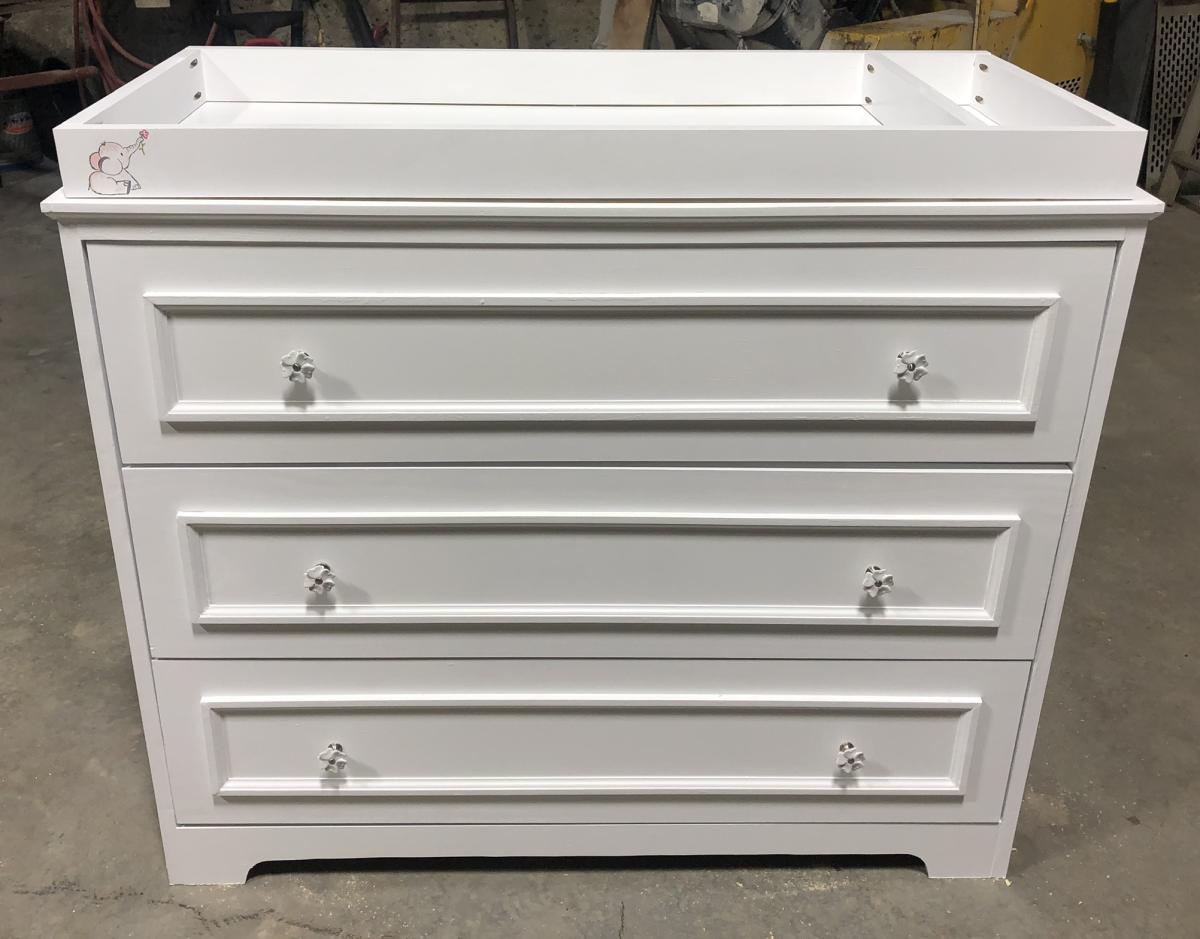
After that success my daughter-in-law asked me to build the changing table for my expected granddaughter, I went into that with a little more confidence. Thank you for the inspiration that you give so many!

Built from Plan(s)

Comments

Crate Cart

You would think I would build this first because it was EXTREMLY easy. This was so fun to make and it's perfect for my daughters toys (junk). I used all reclaimed pallets except for the sides. The only reason it cost $8 is because the wheels were $5.

Built from Plan(s)
Estimated Cost
$8
Finish Used
Sanded
Recommended Skill Level
Starter Project