Community Brag Posts

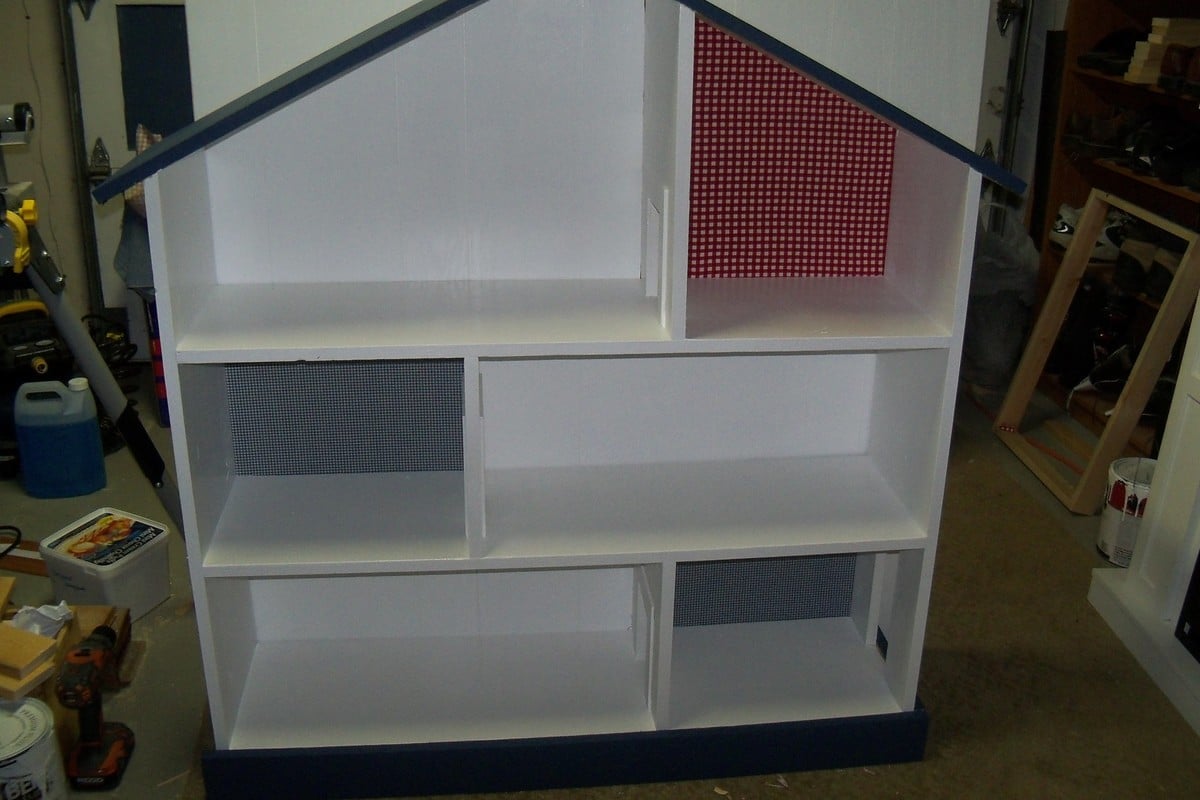
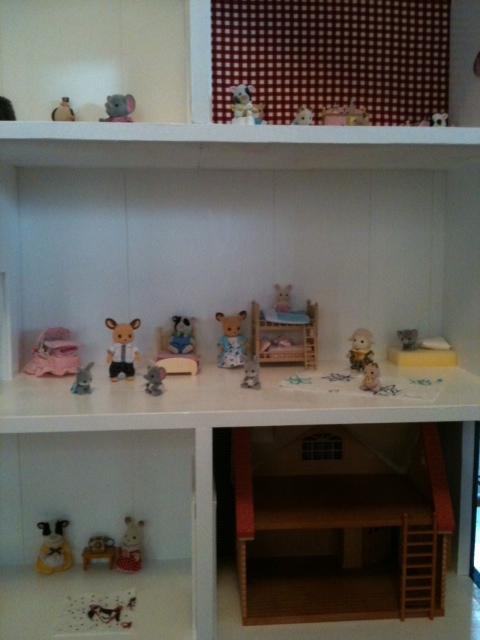
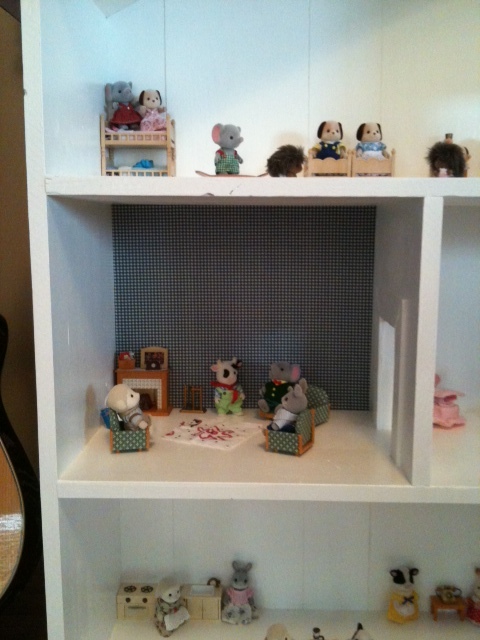
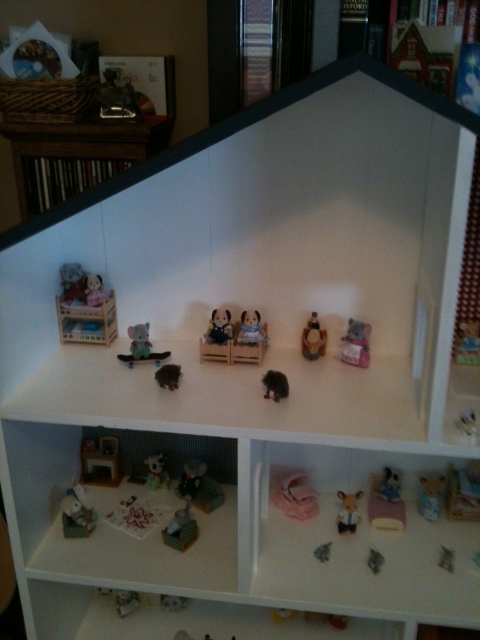
Doll house book shelf

Submitted by mybartmart on Tue, 12/25/2012 - 12:34

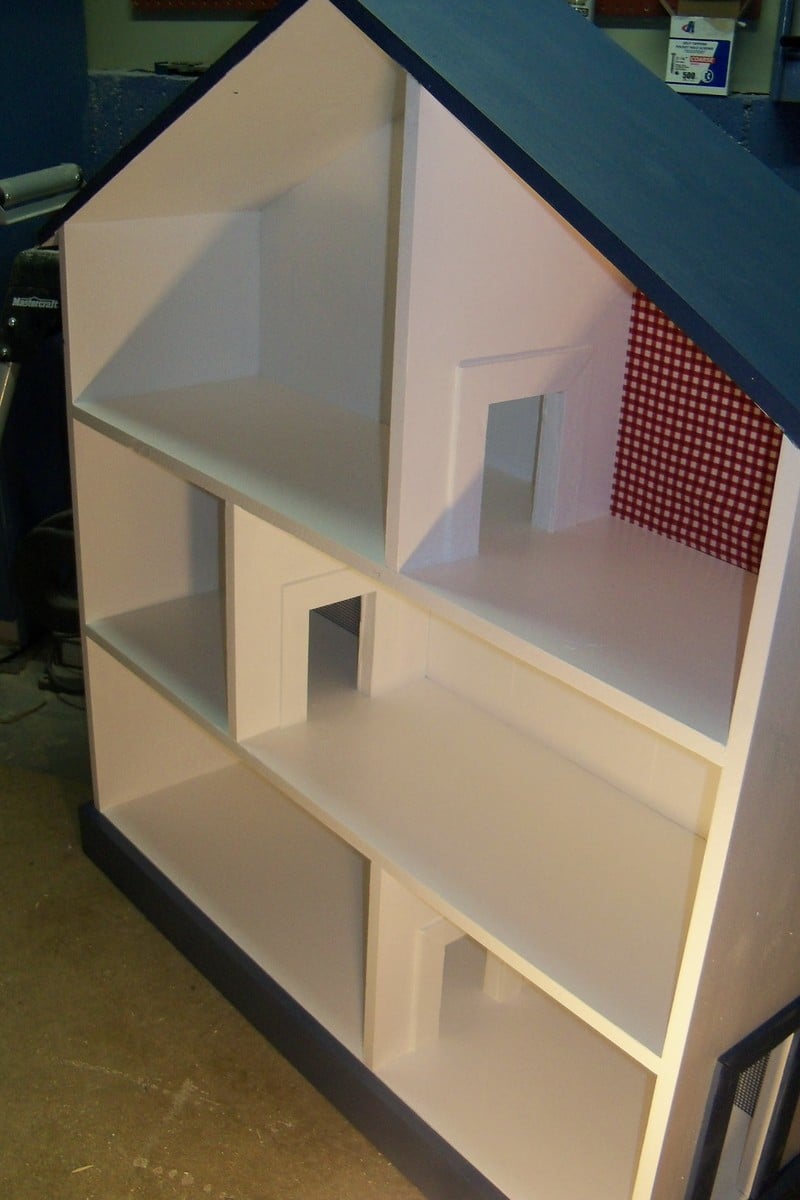
Doll house book shelf: made this for a friend and her daughters. At first I didn't realize my chop saw could not cut the 12 inch wood, had to use my circular with clamps. I think if I build again I might try mdf as it is cheaper or pocket drill some wood together.

This was a bit harder to build than I thought it would be had help from hubby!

Built from Plan(s)
Estimated Time Investment
Week Long Project (20 Hours or More)
Finish Used
White high gloss door and trim paint the blue is a custom colour I made and had tinted at Home Depot.
Recommended Skill Level
Intermediate

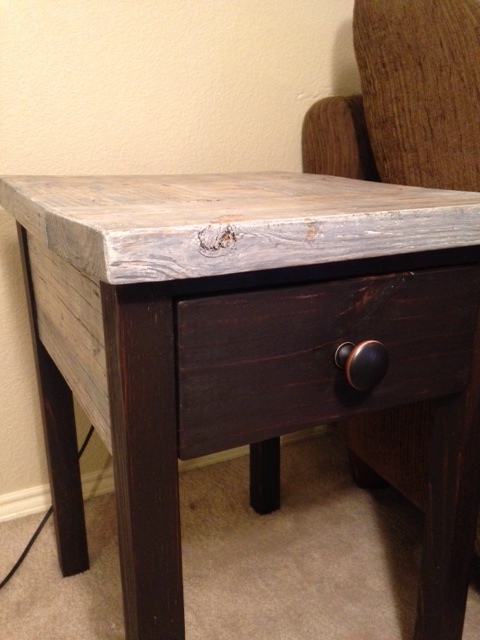
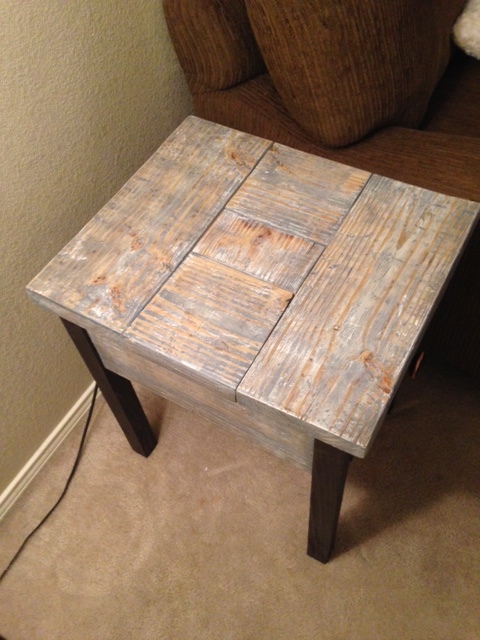
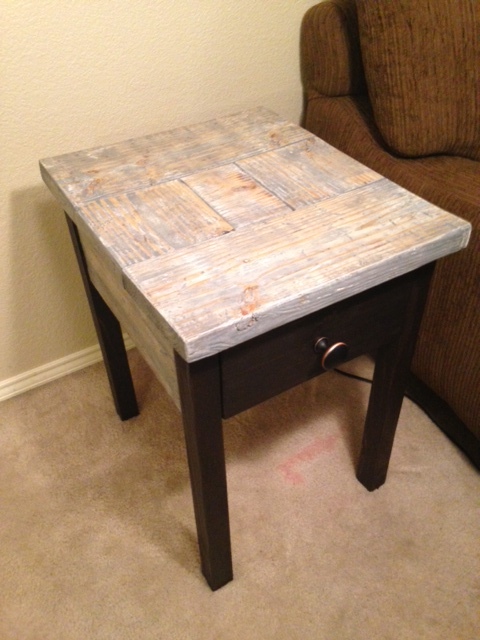
End Table

Submitted by zjlawlor on Sun, 10/05/2014 - 19:22

I used some of the remaining reclaimed boards from my buffet table build to make an end table for the living room. The build itself was very similar to the buffet table, just to a smaller scale. I didnt have long enough boards remaining, and had to get a little creative with the top, but I'm pretty happy with how it turned out. 

Estimated Cost
25$ or so after wood for the legs and drawer, drawer slides, and knob.
Estimated Time Investment
Day Project (6-9 Hours)
Finish Used
Top and aprons - light coat of primer, weathered grey stain. Wait til dry and sand everything down to expose the layers.

Legs and drawer - Dark stain (kona) and poly over everything
Recommended Skill Level
Beginner

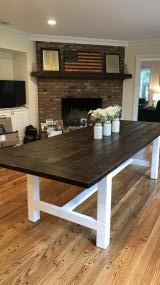
55" x 44"- Custom Size

Submitted by Anonymous (not verified) on Wed, 01/18/2017 - 12:36

I made this table 55" x 44" and it came out great.   Fun project and not very difficult. On to the next project! 

Estimated Cost
$200
Estimated Time Investment
Day Project (6-9 Hours)
Finish Used
Minwax stain...any color works. I highly recommend spending time sanding the top and sides enough to get that smooth finish.
Recommended Skill Level
Intermediate

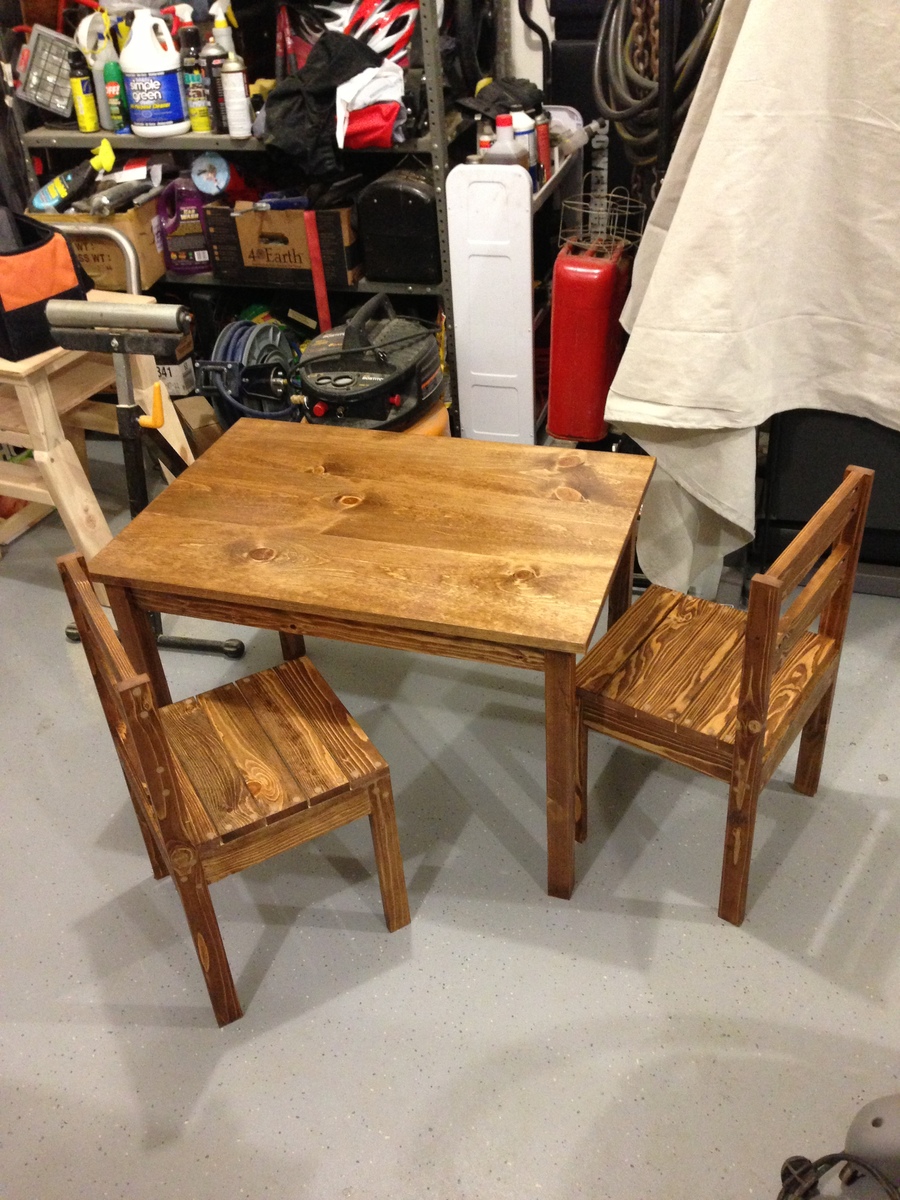
Clara Table and 4 Dollar Chairs

I recently built the Clara table and the four dollar stack-able chairs for my two kids as a Christmas present. Like most plans on this site, they were easy to follow and the materials were easy to find. I own a Kreg pocket hole jig, so putting the pieces together was really easy. It took me about two hours a chair and around three to assemble the table. I used glue along with the pocket holes, so the joints are nice and strong.
I sanded and finished the table and chairs with a stain called "Early American" and I thought it turned out nicely. I also coated the table top with a polyurethane, to give it a nice, durable finish. Not only did it add some shine to the top, but also made the #2 pine I used much more kid resistant!
Thanks again for the great plans, I look forward to building more.

Built from Plan(s)
Estimated Cost
$60
Estimated Time Investment
Afternoon Project (3-6 Hours)
Finish Used
Minwax Early American stain.

Sand all parts with 60-80 grit. Fill all holes with wood filler. Resand with 120 grit. Sand table top with 220 grit prior to stain. After two stain coats, coat table top with polyurethane. Resand with 220 after two to three hours. Coat with polyurethane and let dry overnight.
Recommended Skill Level
Beginner

Fancy X Desk

Submitted by KSmith123 on Thu, 10/09/2014 - 13:59

This was my first build.  After searching high and low for a desk for my husband for Christmas, I decided to build him one......2 weeks before Christmas.  With some help from my father, we somehow pulled it off! (without killing each other) I followed the plans exactly, except for one thing.  I used a pine panel for the top so my hubby would have a flat writing surface.  I purchased a 6ft panel (i think) and cut it down to 5ft.  When he went away on a business trip, I transported it from my parents house (where the build was taking place) and assembled it.  Then I put a big red bow on it and surprised him!  Don't know how I'm going to top that gift!  

Built from Plan(s)
Estimated Time Investment
Weekend Project (10-20 Hours)
Finish Used
Steel wool and vinegar for the whole thing finished with a poly topcoat.
Recommended Skill Level
Beginner

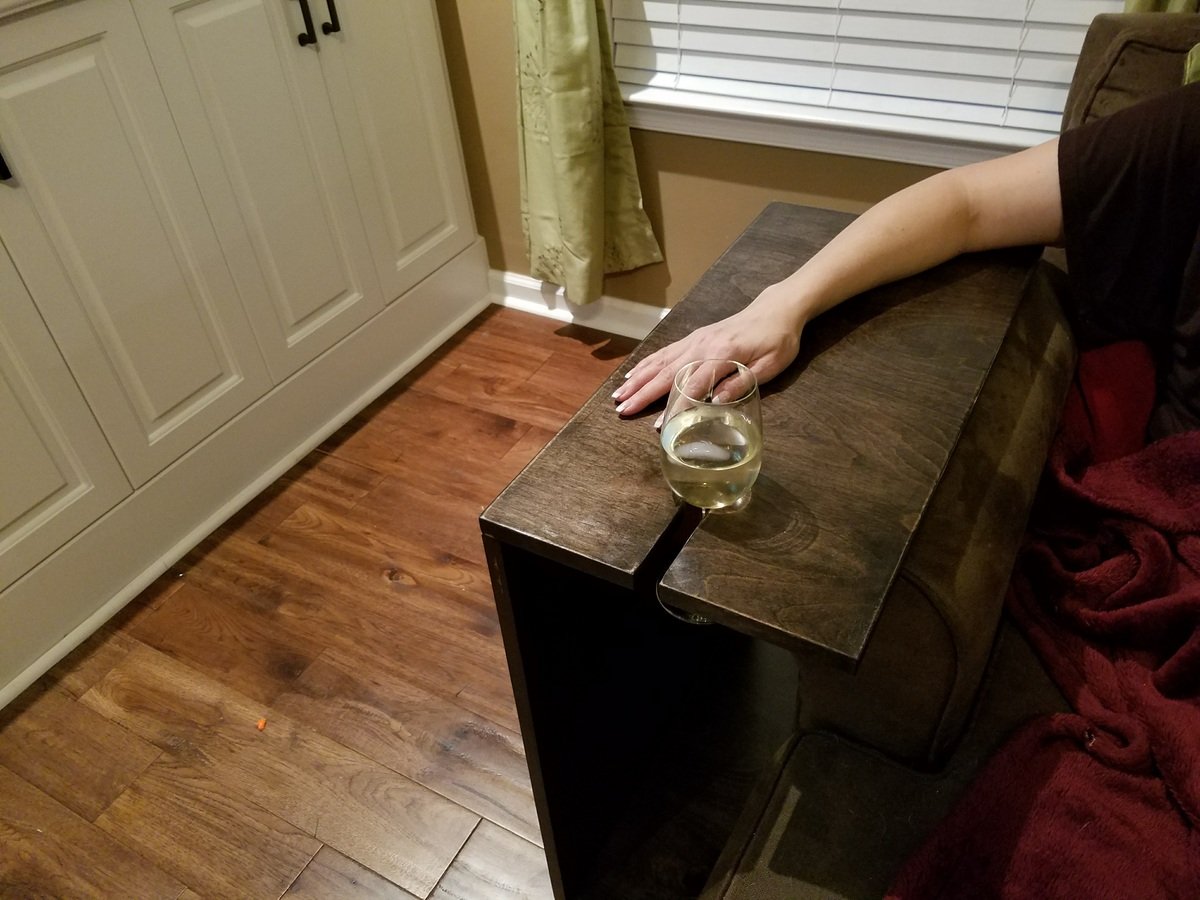
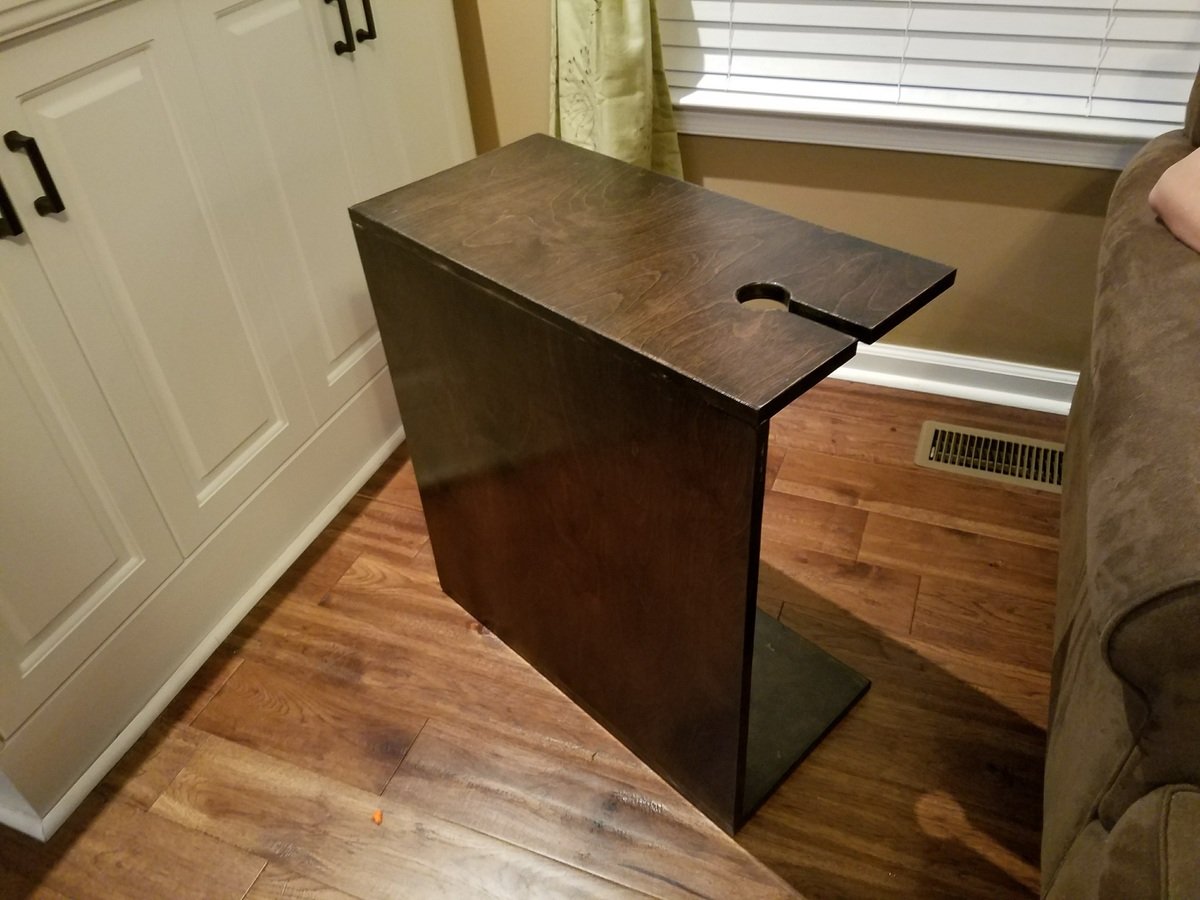
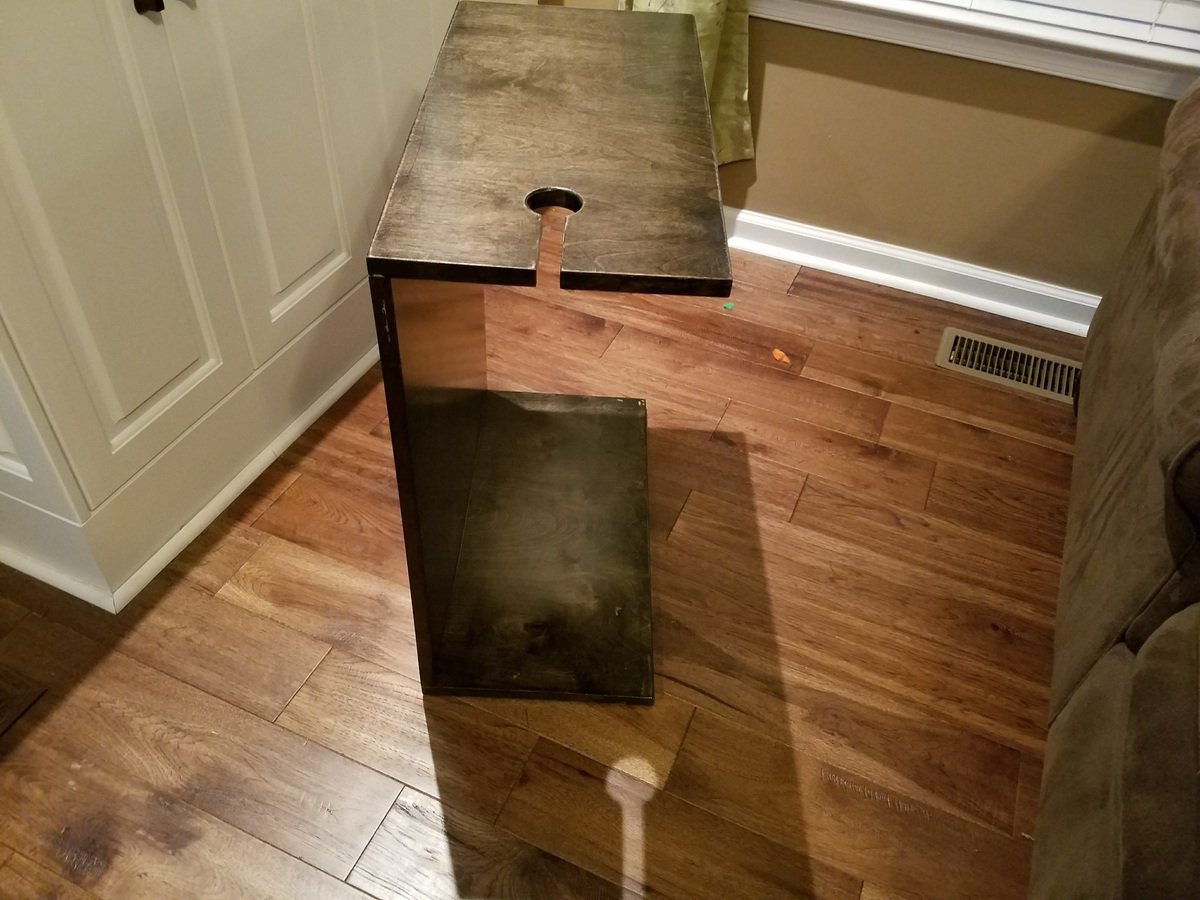
C table with Keyhole slot for wine glass

Submitted by Anonymous (not verified) on Sat, 01/21/2017 - 08:29

This was a great simple design, My wife now has a place for her wine glass and doesn't need to worry about the dogs knocking it over. It also doubles as a workspace or table by simply turning it sideways to stradle her while sitting on the couch.

Estimated Time Investment
Afternoon Project (3-6 Hours)
Recommended Skill Level
Beginner

$5 Recycled Wood Adirondack Chairs

Submitted by amsheehan on Thu, 10/08/2020 - 11:05

A few months ago I noticed two 2 X 10 X 10s in the damaged wood pile at Home Depot so I snagged them. I am a veteran so I get 10% off on top of the 70% off. The rest of the wood and even the screws and paint were from other projects. Thanks for the awesome, free plans. They are comfy for me at 5'8". Whoop whoop!!

Estimated Cost
$5 each
Estimated Time Investment
Afternoon Project (3-6 Hours)
Finish Used
The white paint is Behr for fences and the blue paint is named Mermaid Treasure.
Recommended Skill Level
Beginner

Comments

Handmade Soap Rack

Submitted by Anonymous (not verified) on Mon, 11/11/2024 - 16:41

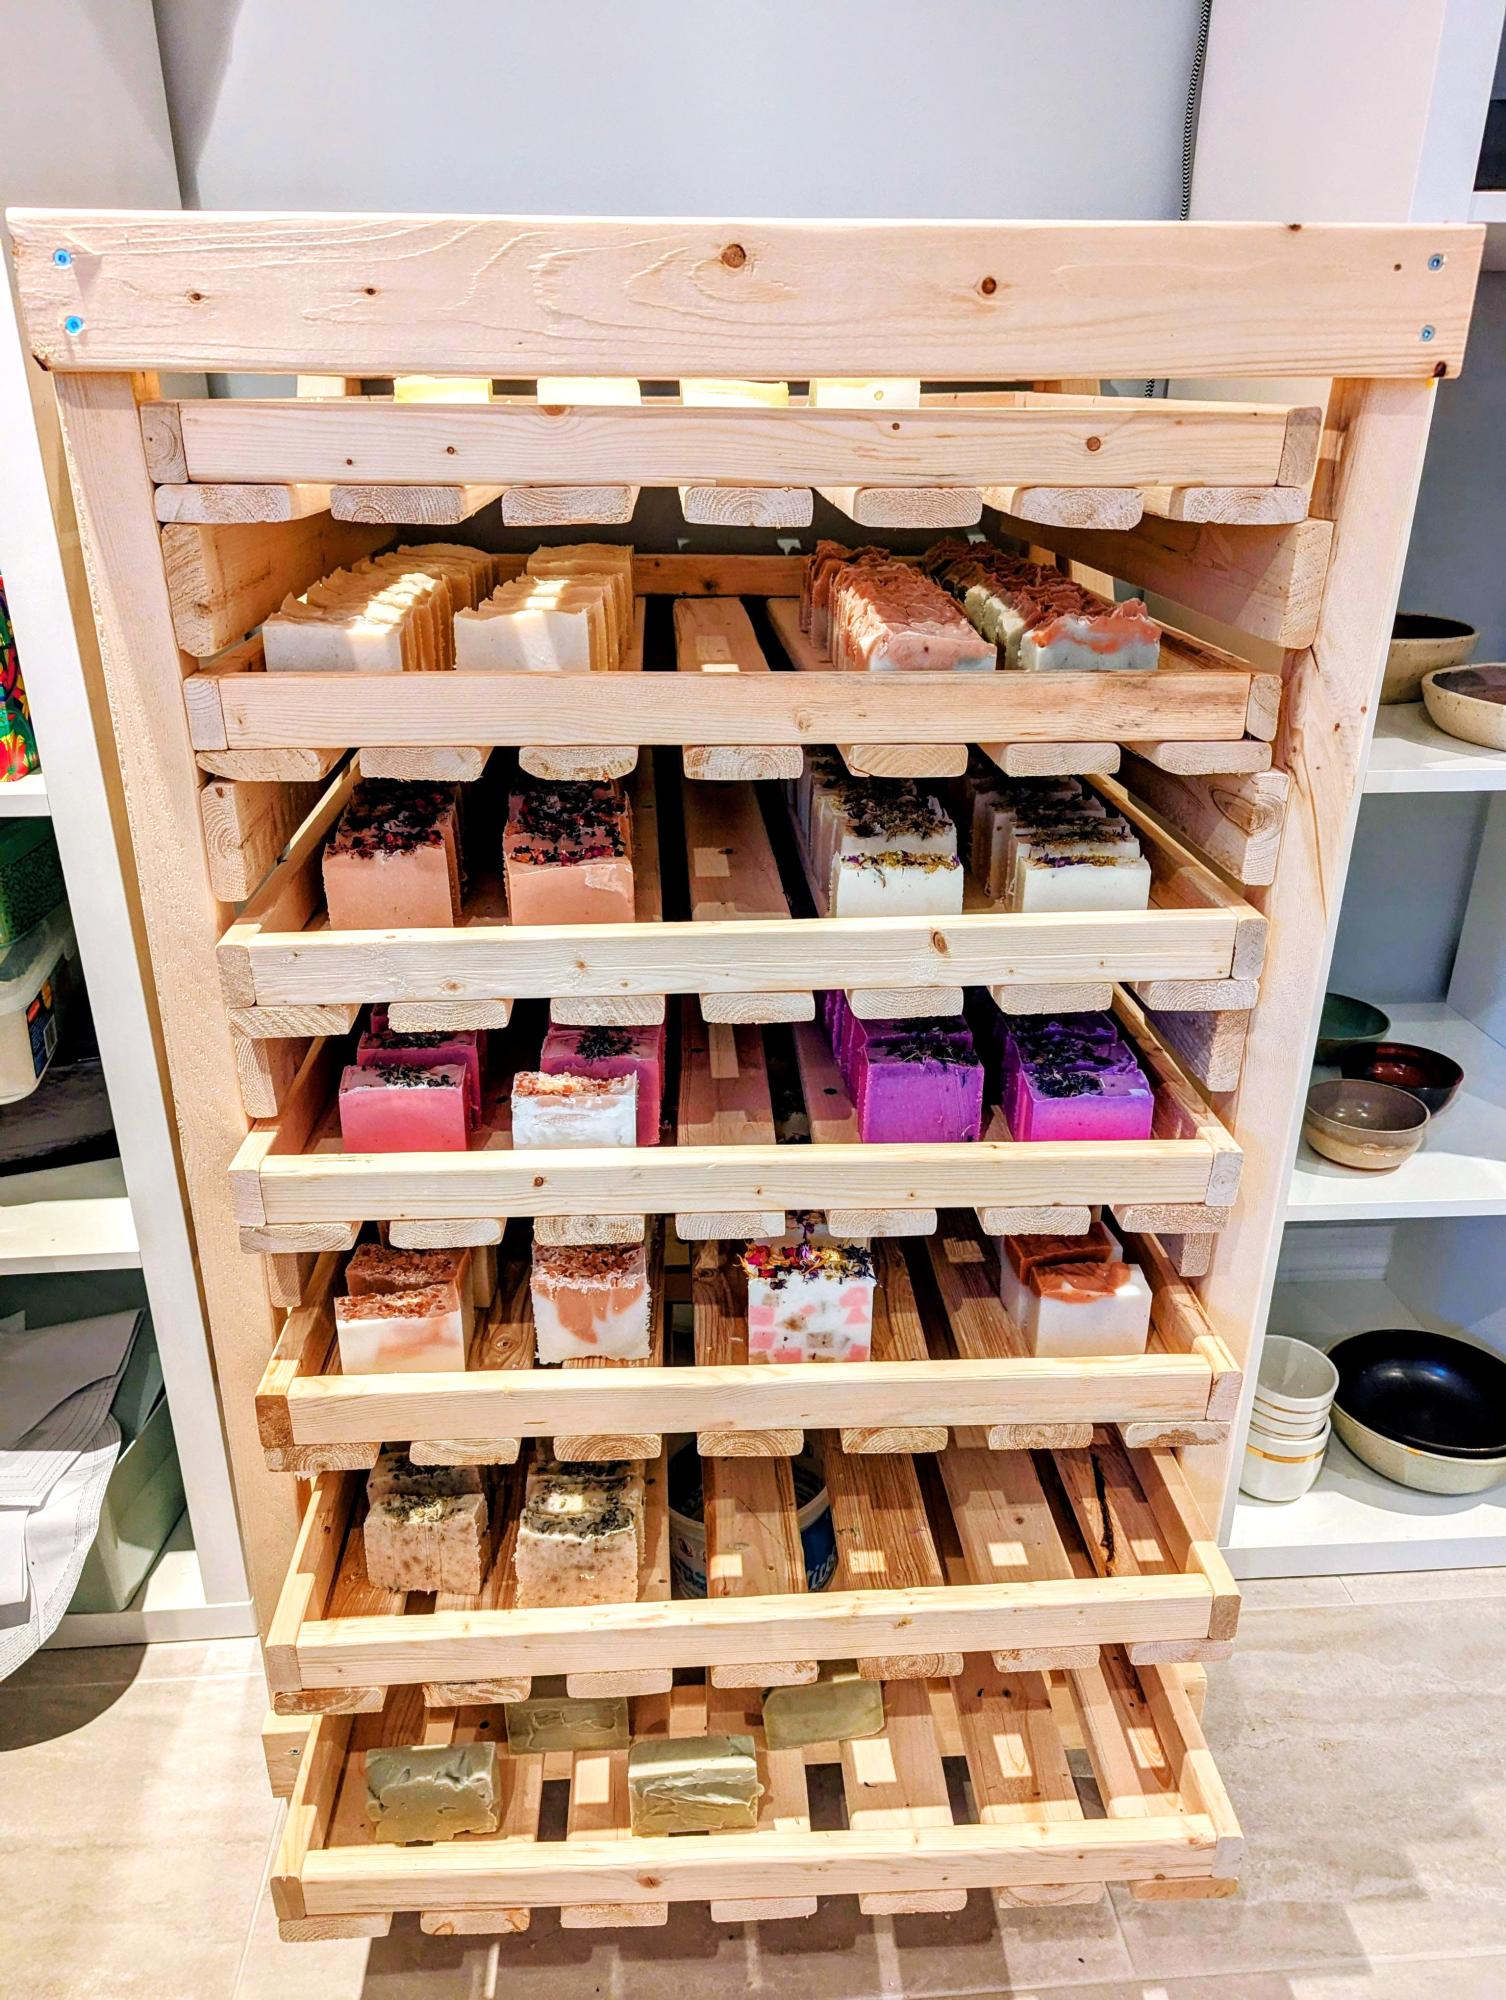
My wife loves handcrafting soap, potery, weaving, etc. She needed a solution to cure her soap and she found your plan. We made a deal : I'll do the project but I'll (finally!) buy a brad nailer. It turned out to be a great project to do for her. The plan is very well explained and the design optimizes the usage of wood. Thank you so much Ana for the idea and the plan! - Martin

Seasonal And Holiday

Playhouse Loft Bed With Stairs And Slide, Playhouse Loft Bed, Loft Bed

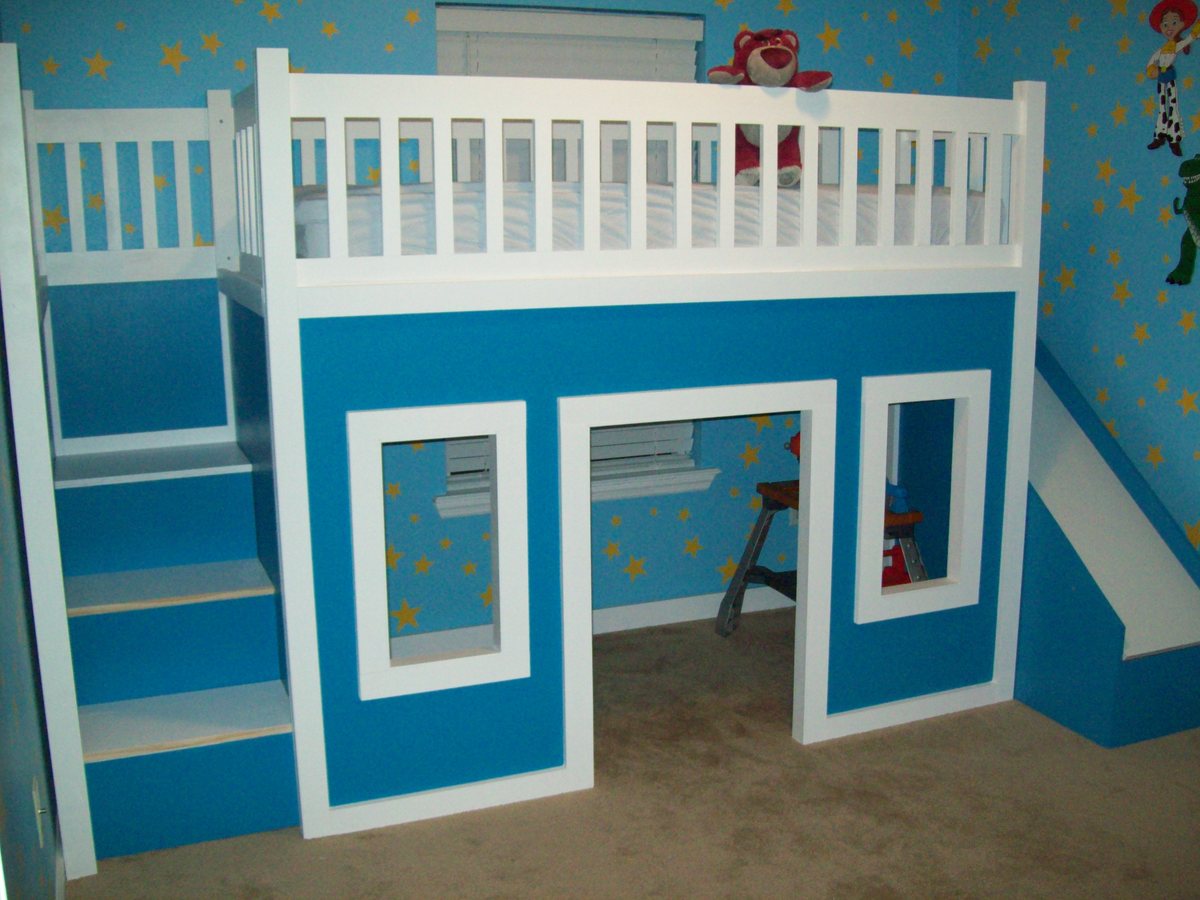
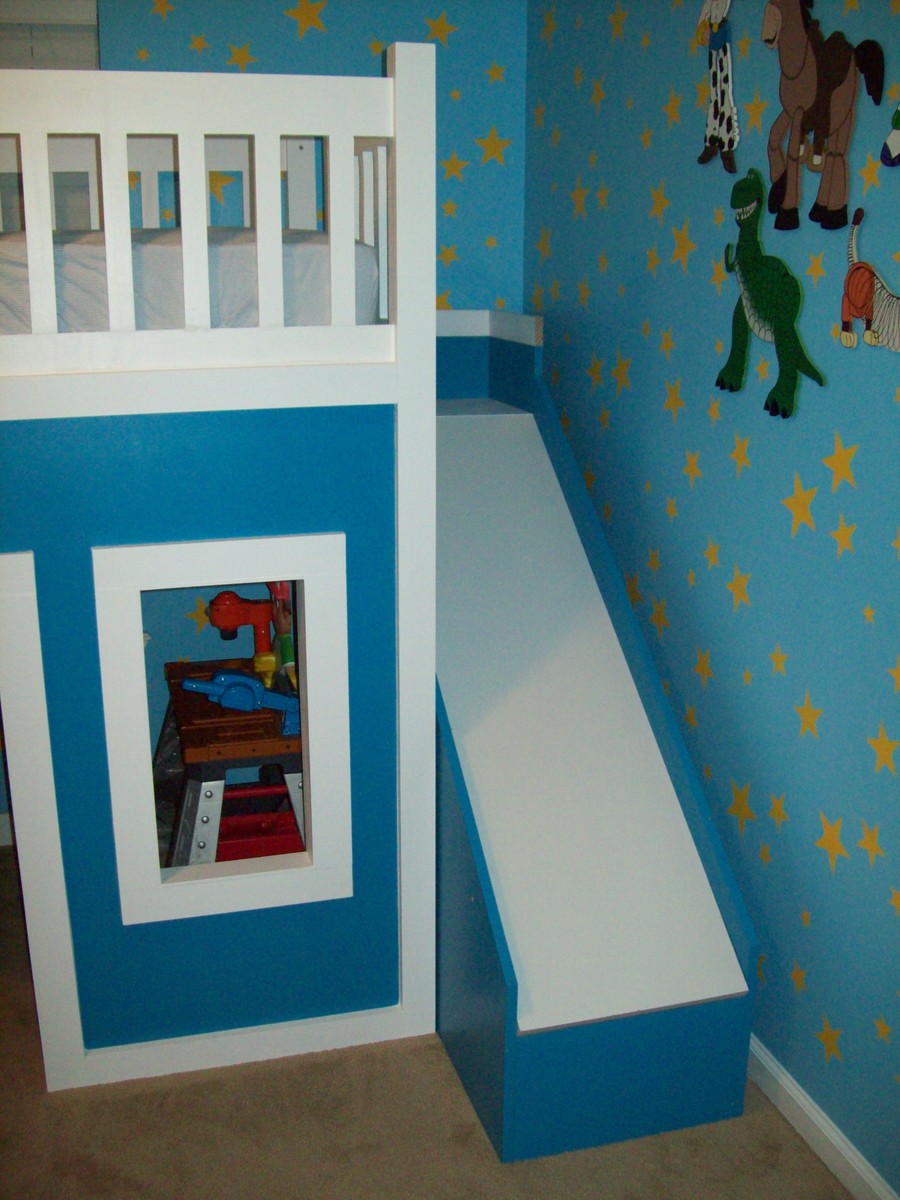
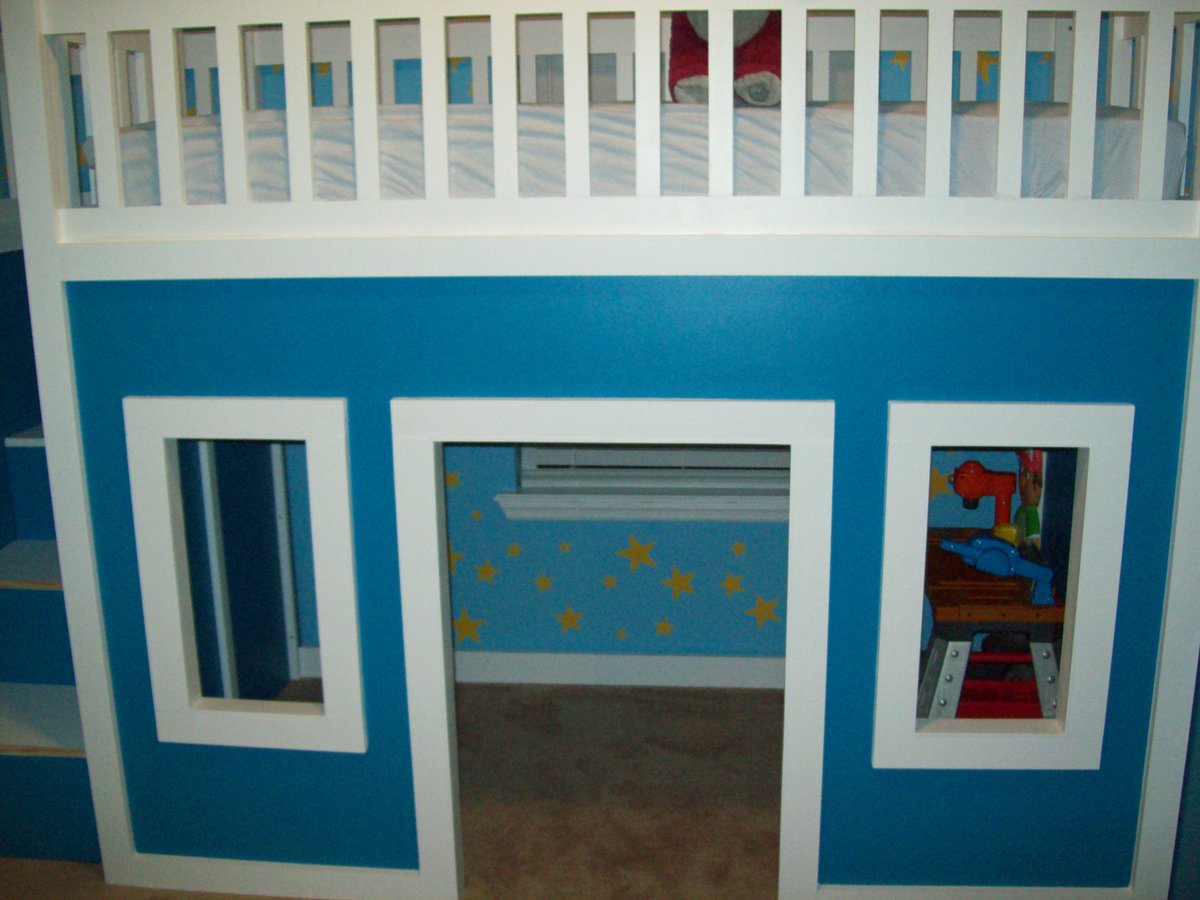
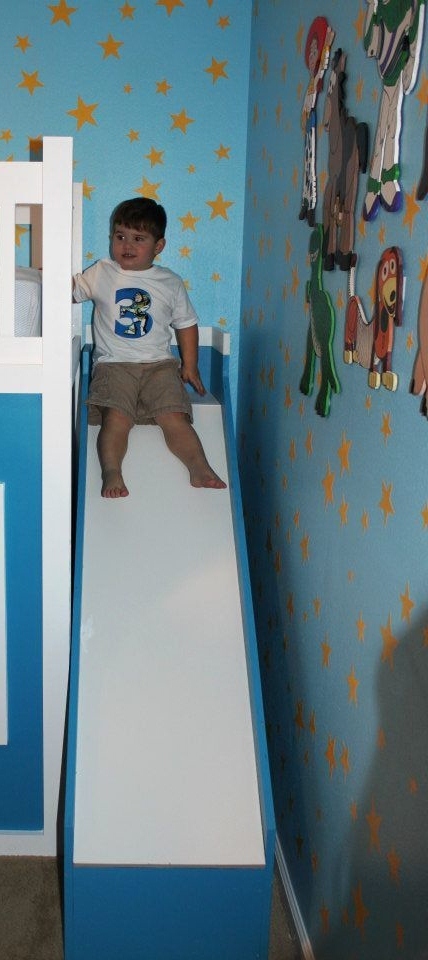
My son was about to turn 3 and I really wanted to redesign his bedroom as a birthday surprise. We went with a Toy Story themed room, he just loves Toy Story. I started off by painting the walls blue with yellow stars like Andy's room in the movie. I added some custom painted art work and then it was off to find a cool playhouse bed. My husband and I were shopping around and we could never really find what we were looking for in the store. So we decided to build one ourselves using plans from this website. I used the playhouse loft bed and the playhouse loft bed stair plans, for the bed and the stairs. I used the castle loft bed plan as inspiration for the slide. The project took us about 5 weeks from start to finish. We both have full time jobs and we did most of the work on the weekends. I looked at each plan very carefully and made notes. I had to modify the stair plans slightly to fit the space where we wanted to put the bed. The stairs look narrow, but they work just fine. My husband and I can both use them to get up in the bed. The stairs feature hinged stair tread with built in storage. We built them like that at first, but then later decided to make them stationary stair treads, with plywood. I didn't like the way the hinges looked and the top stair was so deep that I was worried my son would fall in there and get stuck. The storage idea was neat, but his safety was more important to me. The bed turned out really nice and VERY sturdy. Both my husband and I are able to get up there with my son (not at the same time). Another modification that I made was instead of slats to hold on the mattress, I used a piece of plywood. I wanted the roof in the playhouse to look finished, and I didn't want to see his bedding hanging down from the slats. I painted the top of the plywood white, where the mattress goes to blend in with the slats, and the other side was painted blue to match the walls inside the playhouse. I did modify the playhouse front facade to have 2 windows and one door. I like the symmetrical look. The total project cost about $400. I used birch plywood and select pine boards, and about 6 quarts of paint. I noticed AFTER we had finished the bed using the birch plywood, that Home Depot had cabinet grade plywood on a random end cap, that was just as nice for $12 less a sheet. If I could do it all over again, I would definitely use that!. I wanted the paint to have a nice smooth finish, without having to do a lot of sanding or patching. We had Home Depot cut the plywood to the dimensions we needed. I had my husband cut the rest of the wood dimensions listed in the plans, and then I painted all of them before we put the pieces together. I used a small roller and self priming paint. The paint finish looks great. After assembling the bed I can not imagine what I would have gone through trying to paint it after the fact. The slide was a bit tricky, I looked at the plan for the castle loft bed and attempted to use those dimensions, and for the most part they worked. But when we went to assemble the slide, we did end up recutting some of the wood to different dimensions. I used a piece of the melamine coated closet shelf material for the slide. It is already finished in white and its nice and slick, like a slide should be! I hate MDF, but for this it seemed the best fit. We cut the top edge at an angle to meet up with the slide platform. PLEASE BE CAREFUL with this material. After it was angle cut the edge was razor sharp and I sliced my fingers up. Once it was installed it butted up perfectly to the slide platform, and the edge was hidden and not a danger. But use caution during the install. Clamps are your friend! We used Kreg clamps for everything. They kept the wood in place while we were screwing the parts together. The coolest thing that my husband came up with was clamping two identical pieces for plywood together, and drawing the template for the slide support walls. Then he used his circular saw to cut them out. We ended up with two mirror image pieces. They looked awesome. I left them clamped together when I sanded the edges as well. We really didn't have any building experience other, than building tables and chairs for children, We got the deluxe Kreg jig kit and a miter saw on Craigslist for $50 each and they were both practically brand new. This was the first time we had ever used a Kreg jig and we are both addicted. That thing is the bomb. We locked my son out of his room for a week while we assembled everything. We had the big reveal at his birthday party and all of the guests were excited to see it after seeing my facebook teaser posts of our progress. There were 8 kids up there at one time and the bed did not budge. They all enjoyed the slide. I did the planning and paint and my husband did an awesome job making all of the cuts and sanding everything. We are both very proud of the final product. My son love his new big boy bed. DISCLAIMER: This bed is not recommended for a child under 6 years old. My son is mature for his age and we monitor him carefully.

Estimated Cost
$500
Estimated Time Investment
Week Long Project (20 Hours or More)
Finish Used
BEHR PAINT IN BRIGHT WHITE AND RIVIERA PARADISE SATIN FINISH
Recommended Skill Level
Beginner

Comments

krissy2696

Wed, 07/06/2016 - 10:05

Hi, my husband is building this bed for my 6 yr old daughter, but in purple blue and white. We adding the slide too. May I ask what size bedroom you guys have for your son, and did the bed fit well? Did you have to make any adjustments for it to fit in the bedroom?  Thanks in advance! Your bed looks great! I hope ours turns out as good.

Christine N in PA

Bass Speaker Cabinets

Submitted by SaraLodise on Mon, 10/13/2014 - 06:33

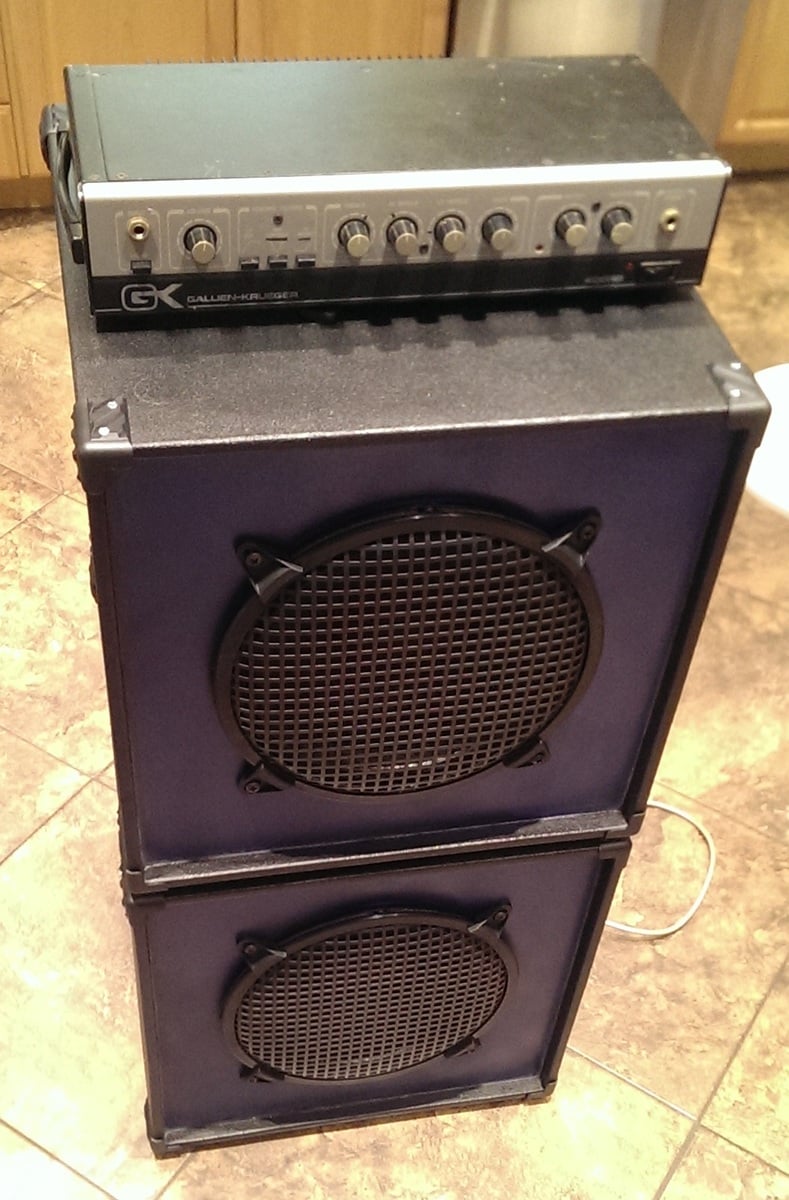
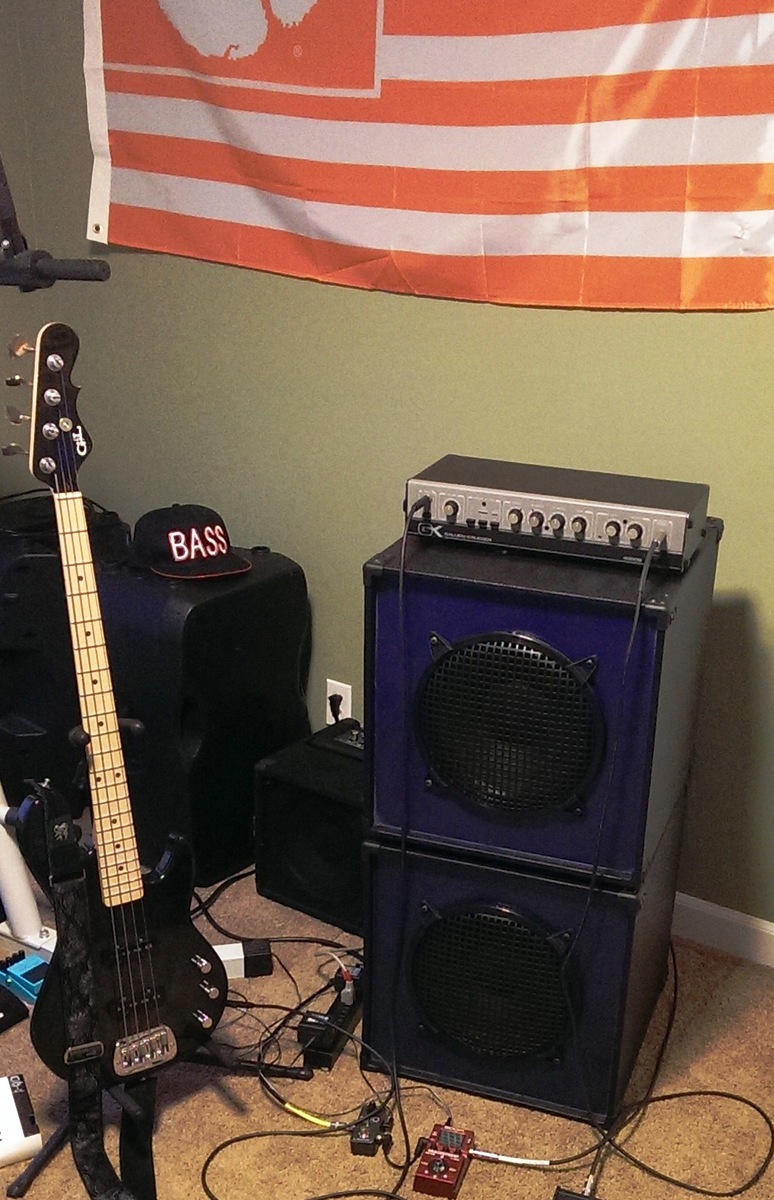
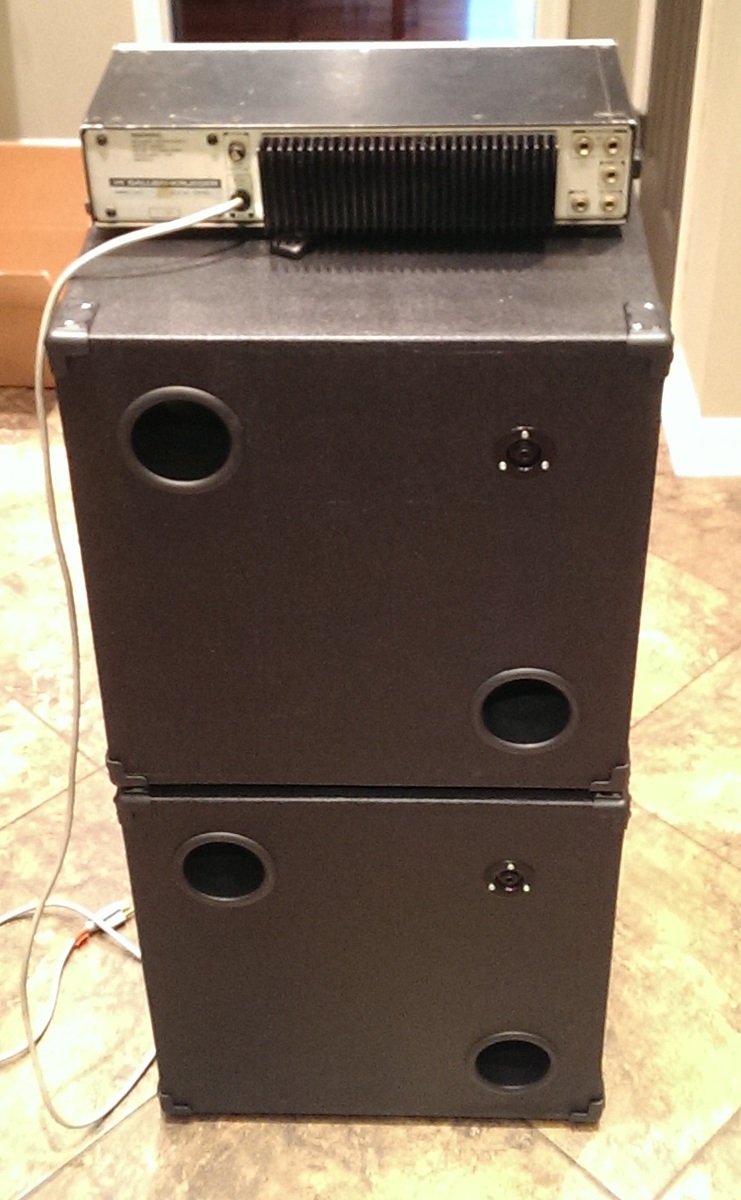
A little bit of a different project for me.  My husband concocted a plan to build his own bass speaker cabinets to take to band gigs.  Wanted them to be lightweight and easy to carry.  He bought the speakers, grates, ports, cable jacks, corner bumpers, and handles.  I built the boxes :)

Built out of two sheets of half-inch birch plywood and coated with Duratex speaker cabinet texture coating for wear resistance.

Estimated Cost
Birch Ply: $90 Duratex Coating: $25
Estimated Time Investment
Weekend Project (10-20 Hours)
Finish Used
Duratex http://store.acrytech.com/Speaker-Cabinet-Texture-Coating-Duratex-Roller-Grade-Trial-Size-Kit-Black.html

Front face: blue/metallic spray paint w/ clear coat
Recommended Skill Level
Beginner

Comments

Blanket Ladder

Submitted by travhale on Mon, 01/23/2017 - 19:45

Reclaimed this wood from a >100 year old home that was being renovated. The plans were from www.akadesigns.ca

Built from Plan(s)
Estimated Cost
Wood - Free
Bolts - $20
Estimated Time Investment
An Hour or Two (0-2 Hours)
Recommended Skill Level
Beginner

Grandy Barn Door Consoles

Submitted by Hartke22 on Mon, 10/12/2020 - 22:26

I started a custom woodworking bussiness about 18 months ago. Since then we've build everything from consoles to dining room tables to baby cribs. And to this day, I still refer to Ana White plans. Thanks a bunch!!

Estimated Cost
100
Estimated Time Investment
Weekend Project (10-20 Hours)
Finish Used
Minwax Dark Walnut
Minwax Early American
Minwax Jacobean
Minwax Clear Gloss
Recommended Skill Level
Beginner

Childs toy stove

Submitted by stevendaun on Tue, 01/01/2013 - 07:14

I built this stove for a close family friend for her 3rd birthday. For the burners I used heart shaped wooden cutouts. I also added her first name initial to the backboard as well.

Estimated Cost
$30
Estimated Time Investment
Weekend Project (10-20 Hours)
Finish Used
High gloss spray paint
Recommended Skill Level
Intermediate

Pallet Christmas Tree

Submitted by nickdevos on Fri, 10/17/2014 - 13:45

Built this pallet christmas tree for decorating the house during the season, nothing too difficult, just cut/paint/assemble.

Estimated Cost
$0.50 in screws
Estimated Time Investment
An Hour or Two (0-2 Hours)
Finish Used
Paint
Recommended Skill Level
Starter Project

Outhouse

Submitted by Speedbump on Fri, 10/16/2020 - 21:04

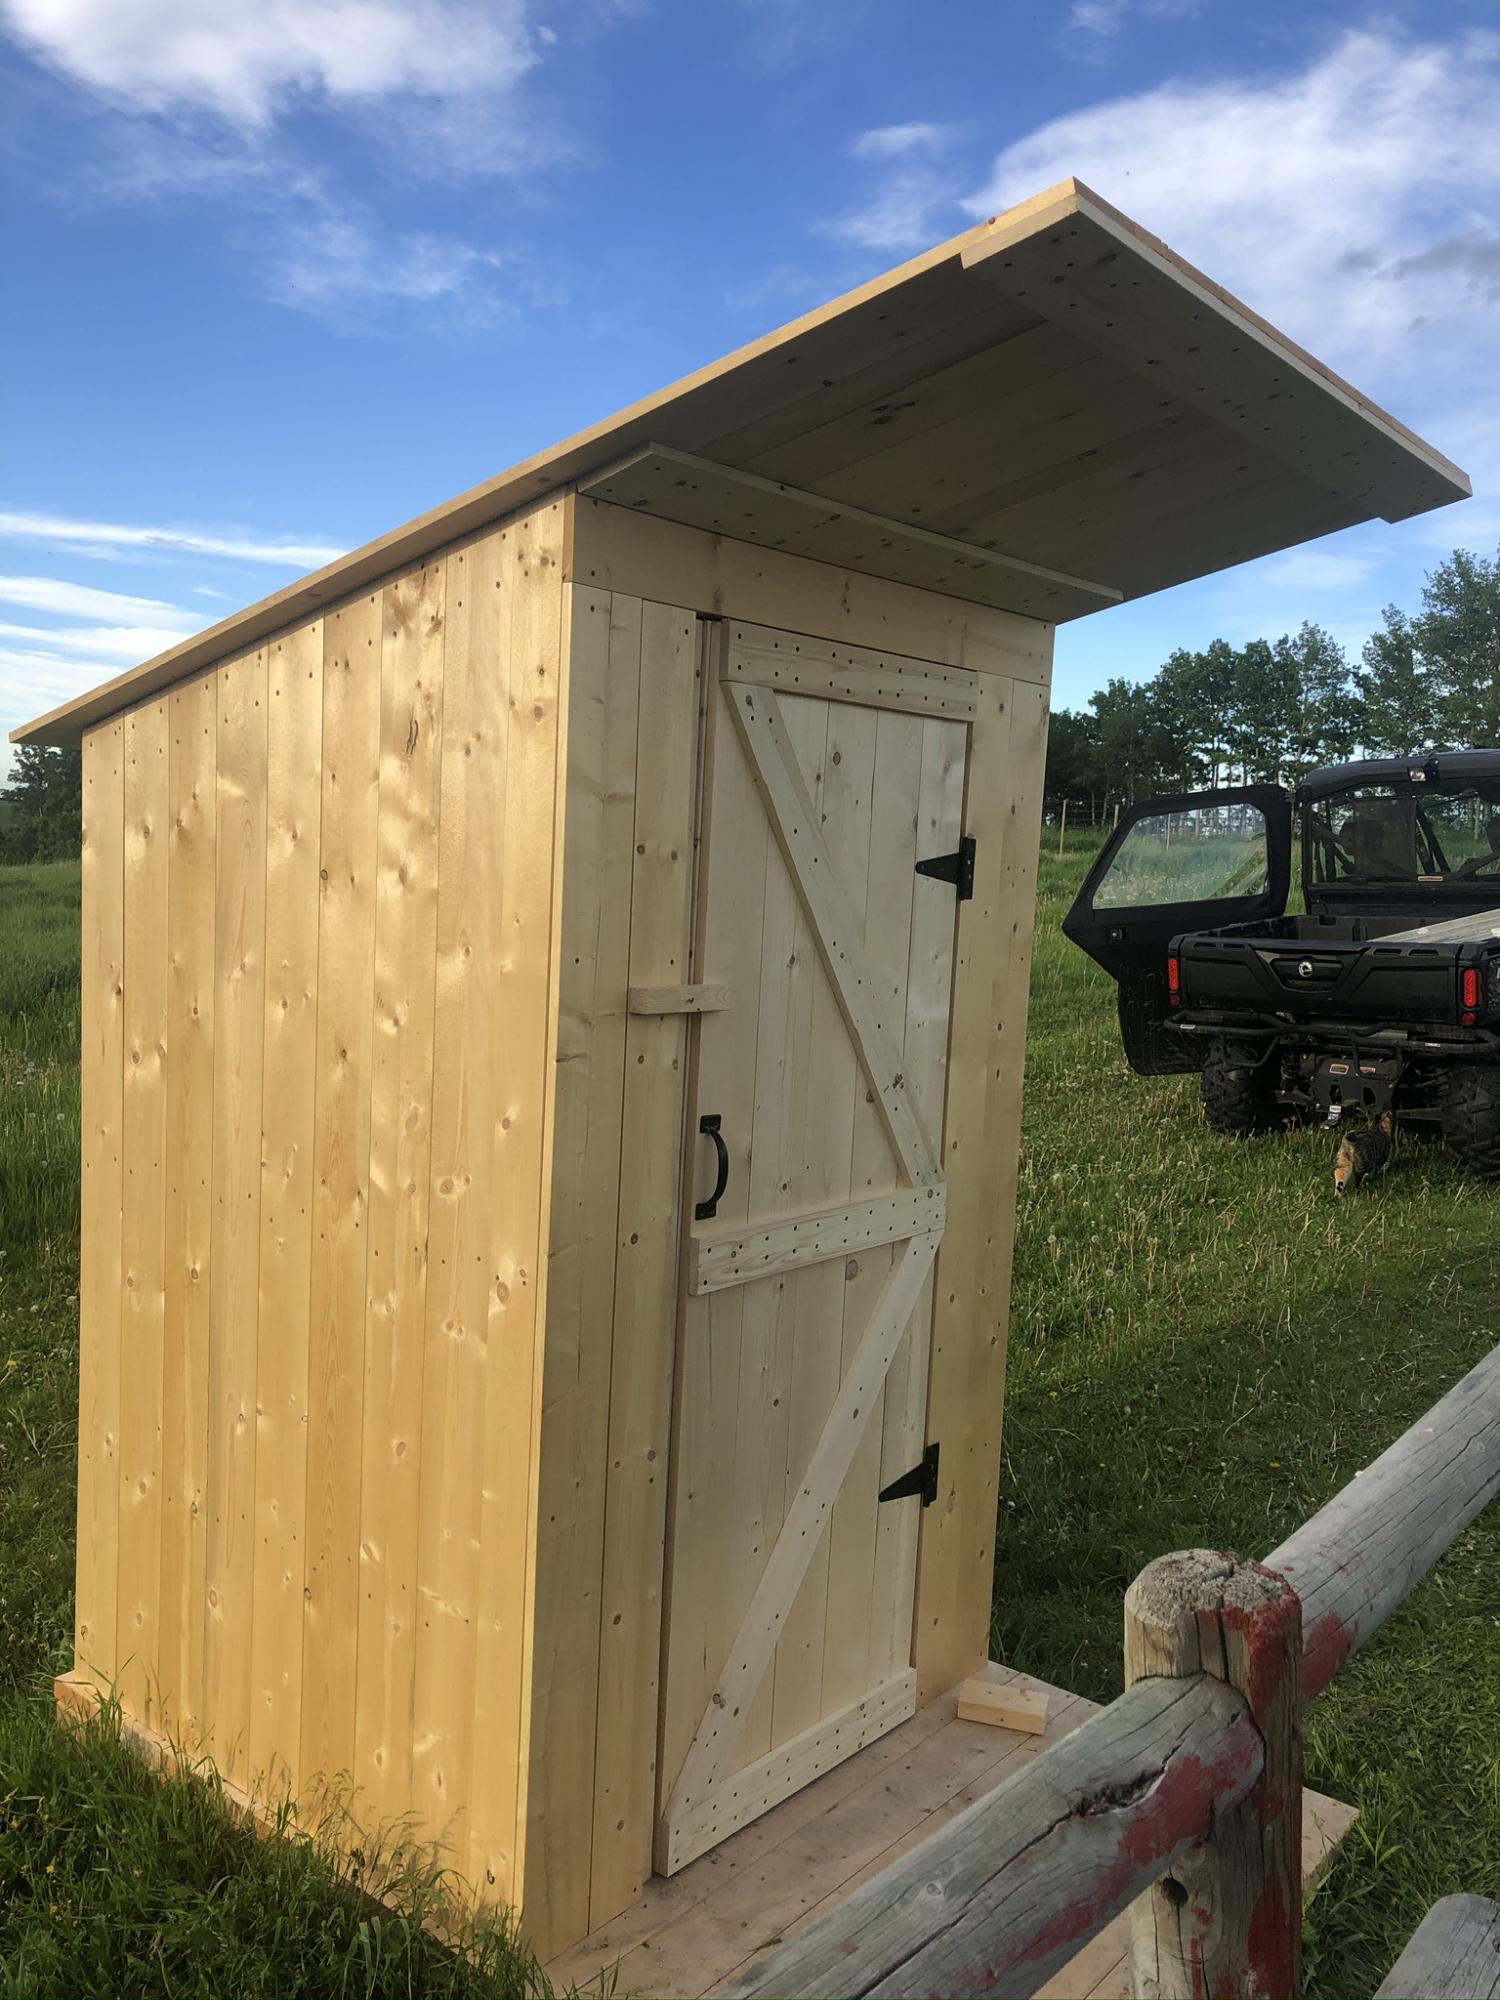
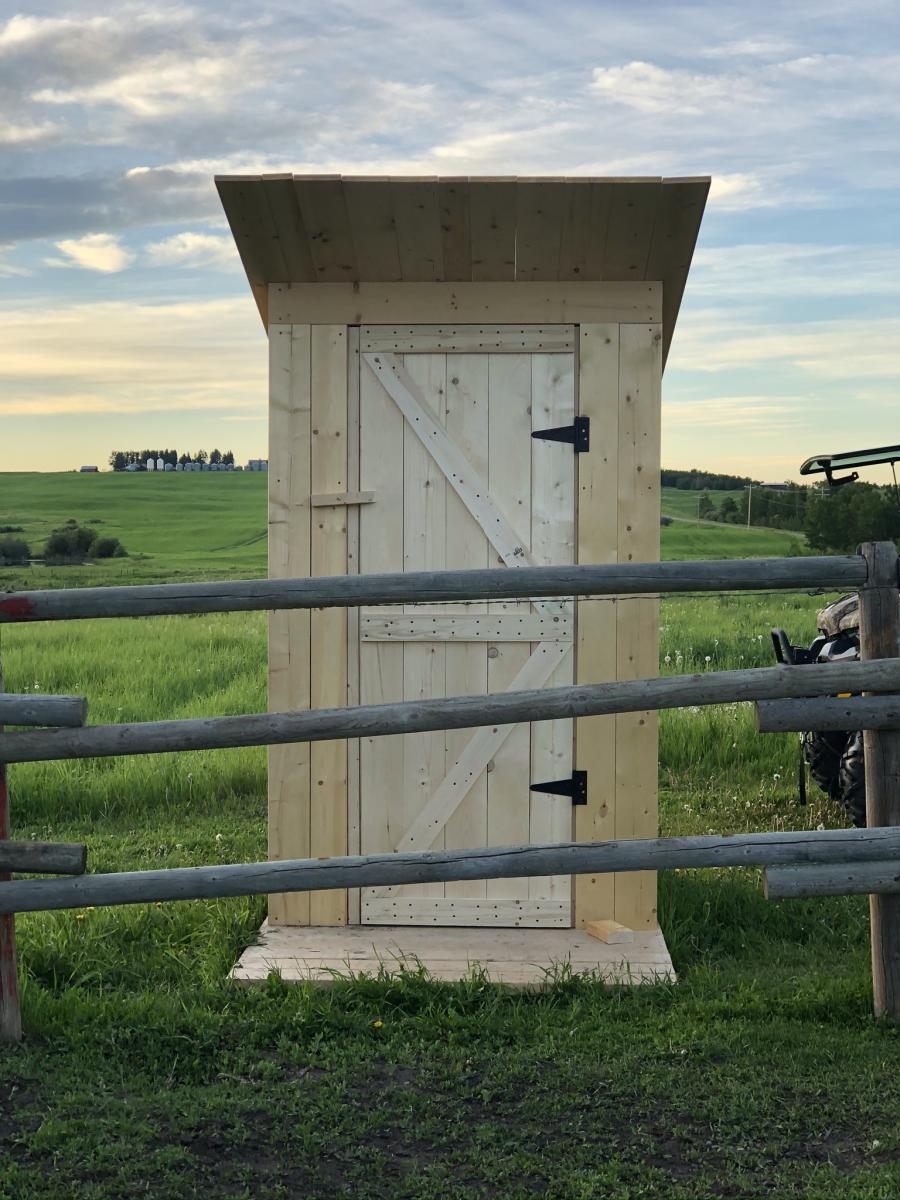
I built this outhouse for beside our barn. My first large project and I’m really pleased with how it turned out!

Built from Plan(s)
Estimated Time Investment
Week Long Project (20 Hours or More)
Recommended Skill Level
Intermediate

Comments

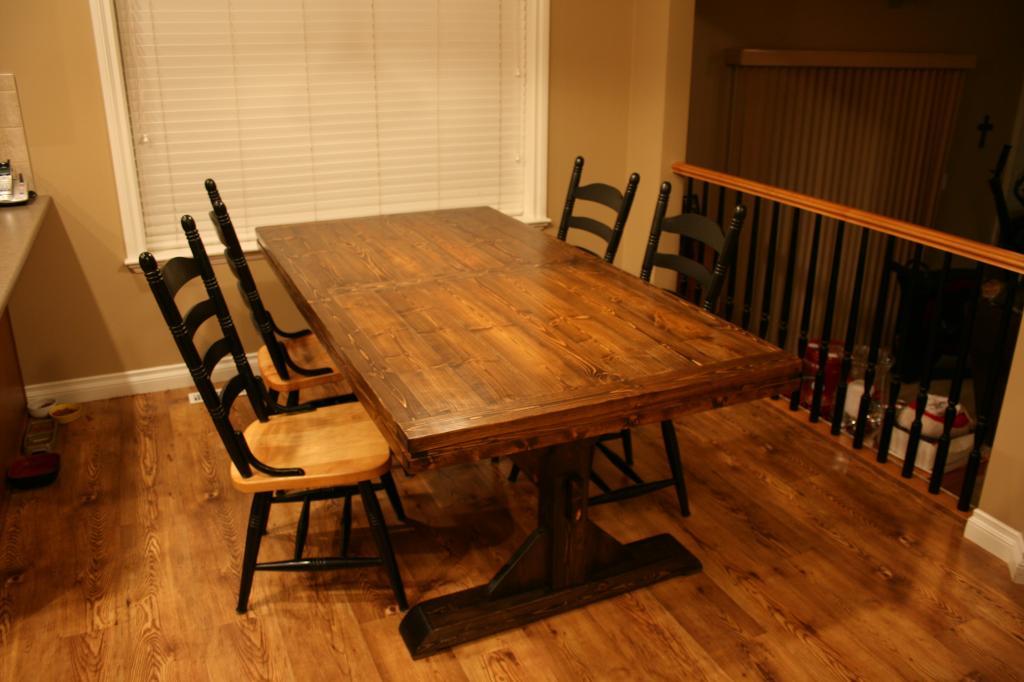
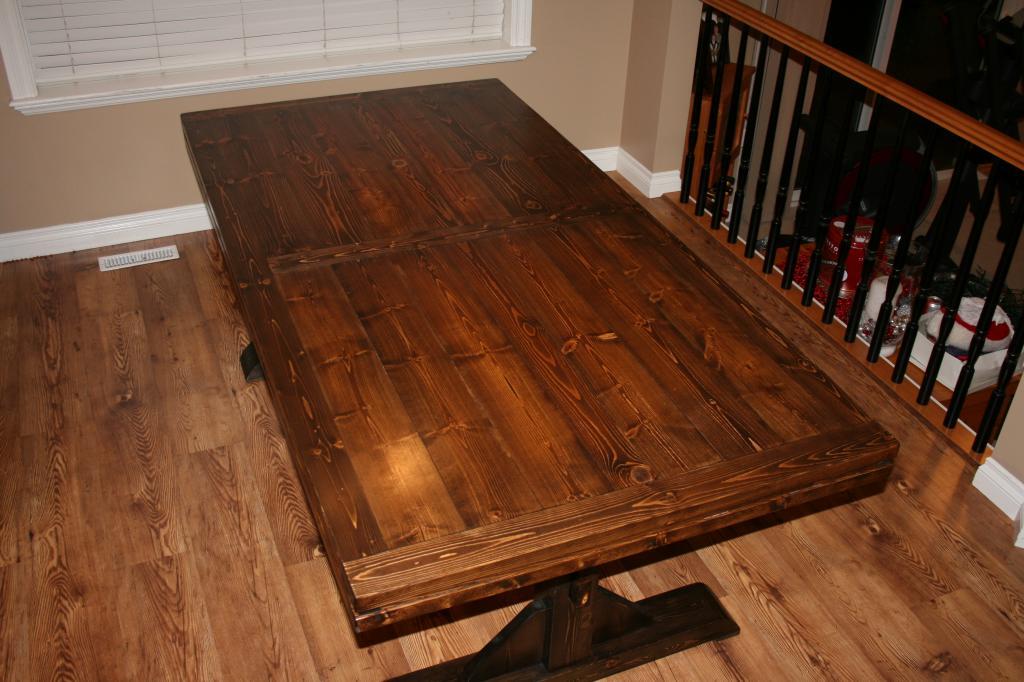
Pedestal farmhouse table

Submitted by Nate74 on Tue, 01/01/2013 - 23:33

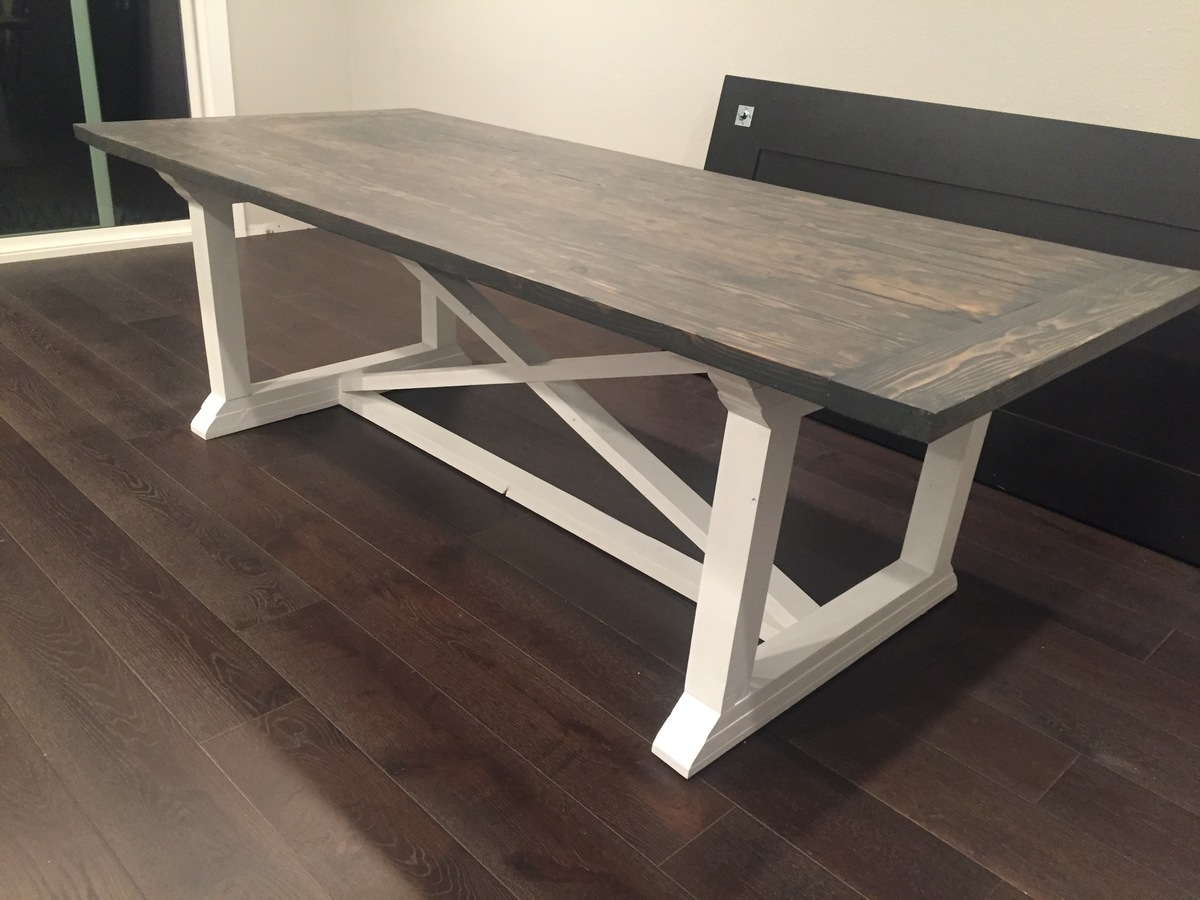
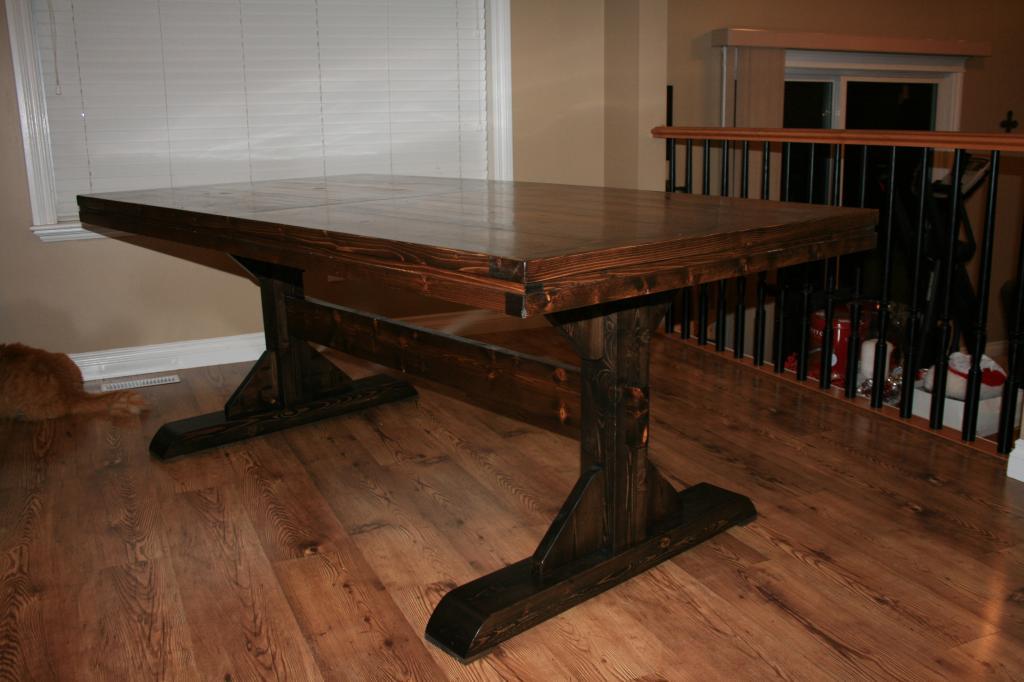
After my wife pinned the triple pedestal table, I took a look at the plans and redid them for a double pedestal table 78"x40". This is the first wood project that I have done in close to 12 years, it was good to get back to wood and I look forward to builing some more.

Estimated Cost
$200
Estimated Time Investment
Weekend Project (10-20 Hours)
Finish Used
Varathane stains and minwax wipe on poly. The stains I used are Varathane Kona on the pedestal legs and a mixture of Tuscan (2 coats) and 1 coat of Kona over top, on the table top and spreader beam. This was followed by 4 coats of Minwax wipe on poly.
Recommended Skill Level
Beginner

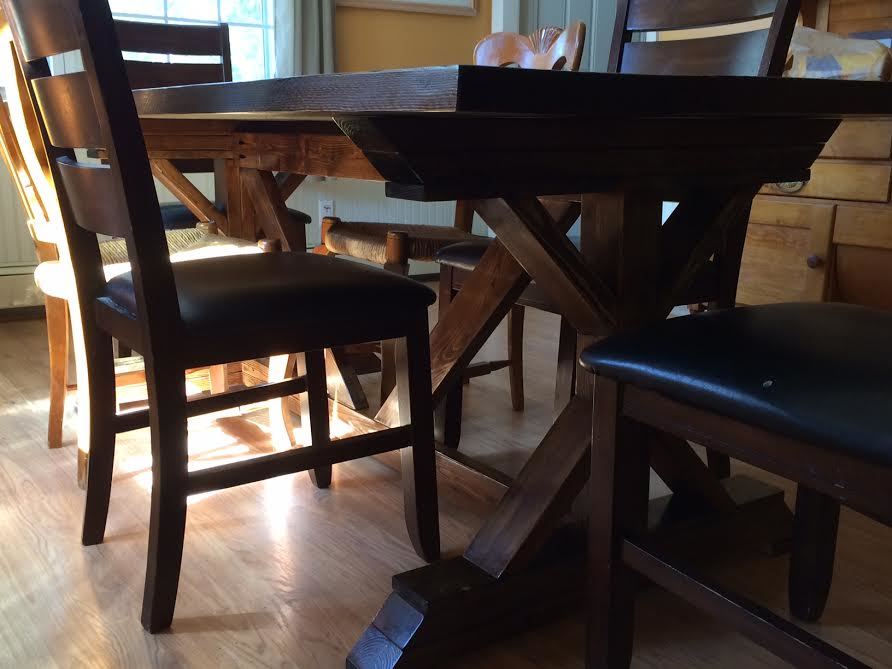
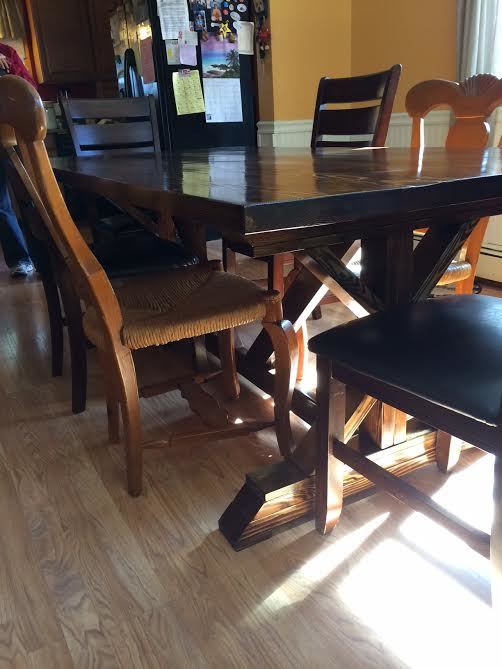
7 Foot Fancy X Farmhouse Table

Submitted by Dan in RI on Mon, 10/20/2014 - 14:49

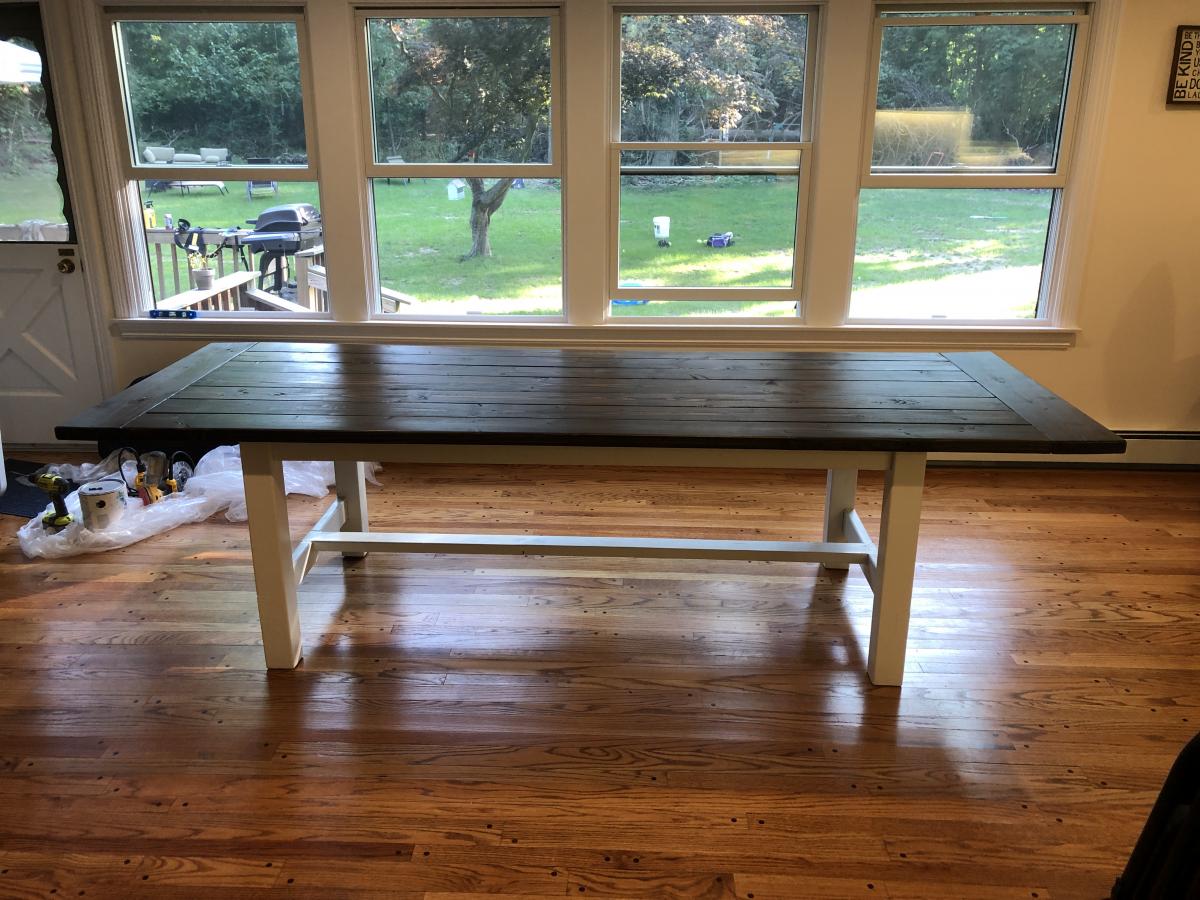
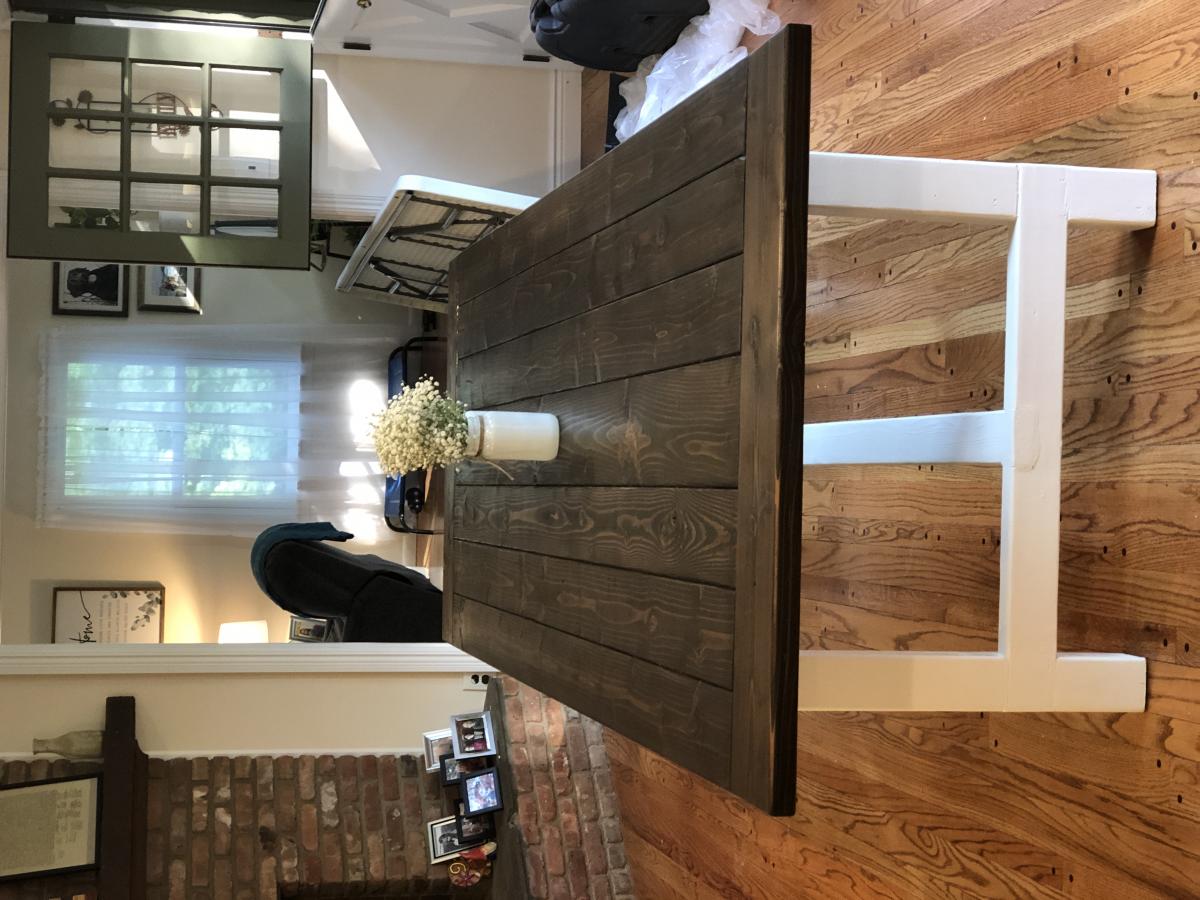
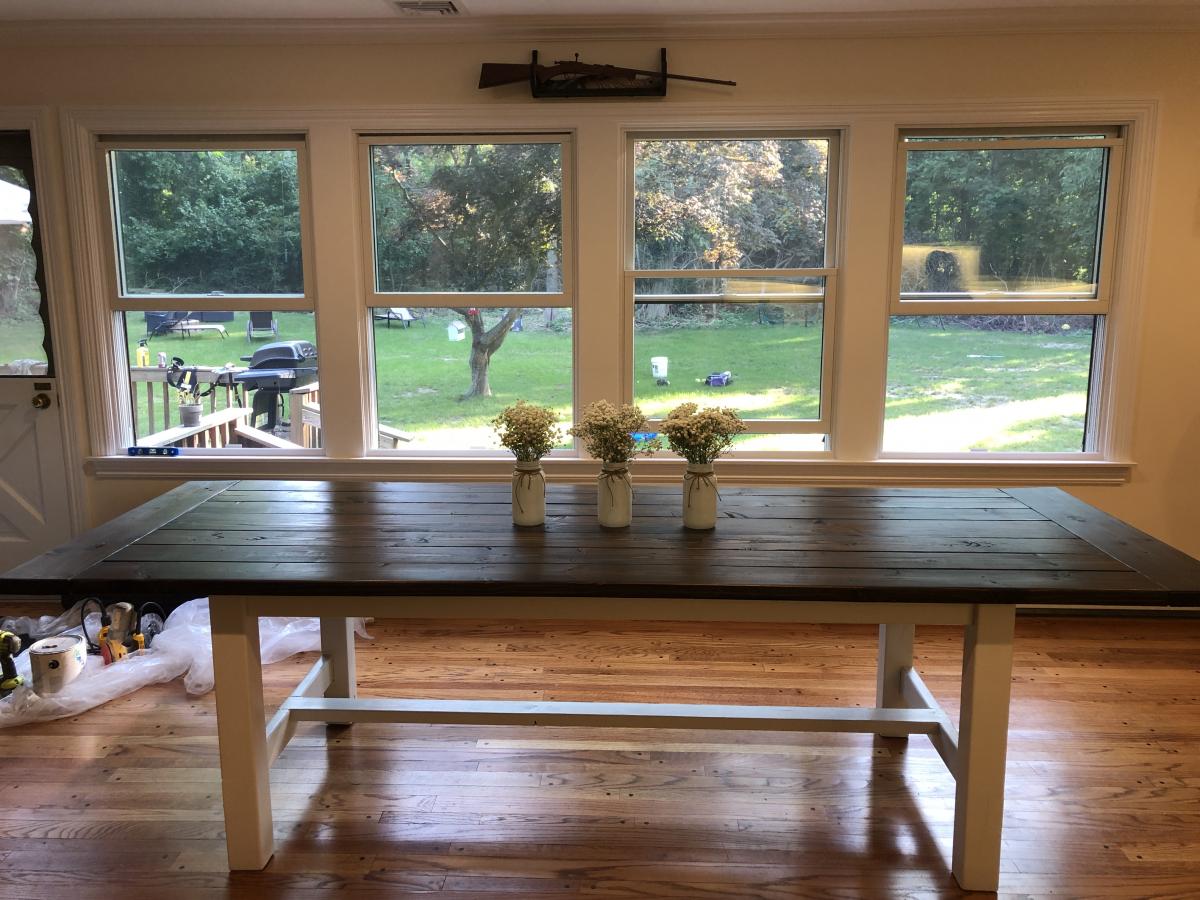
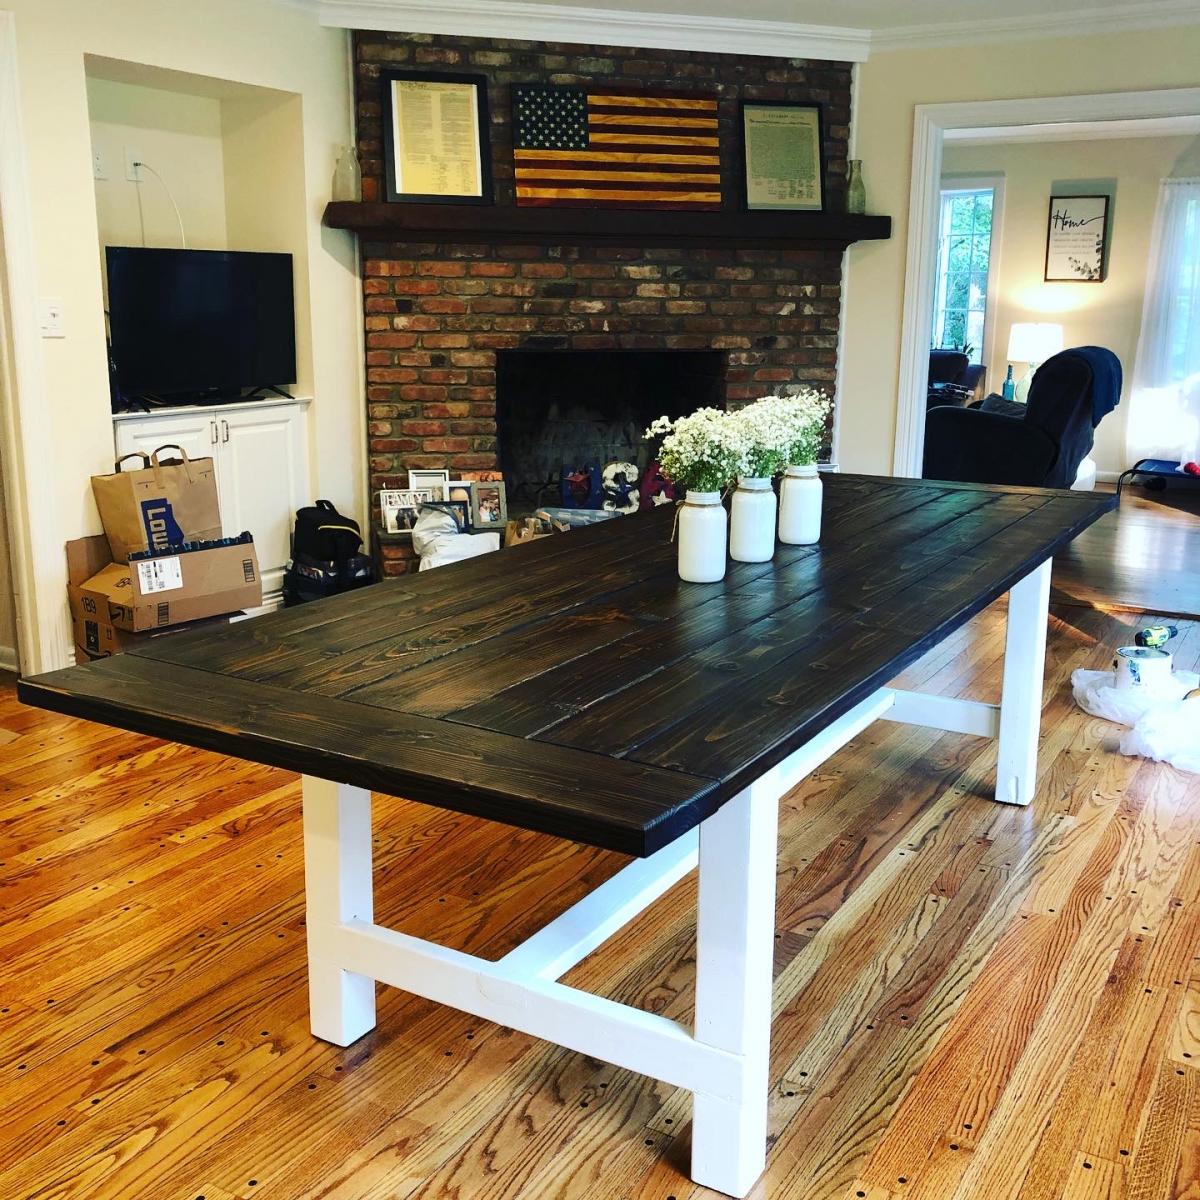
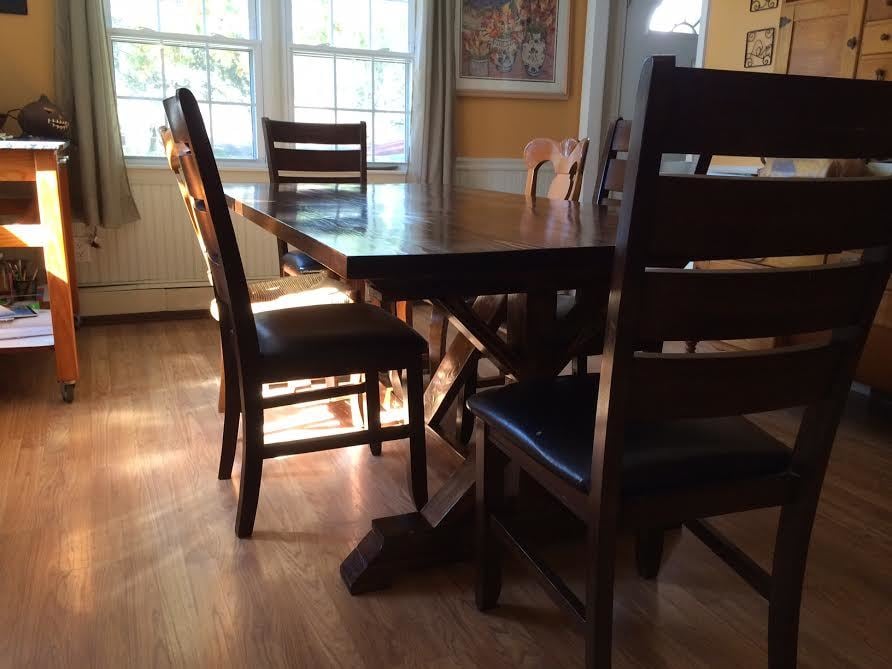
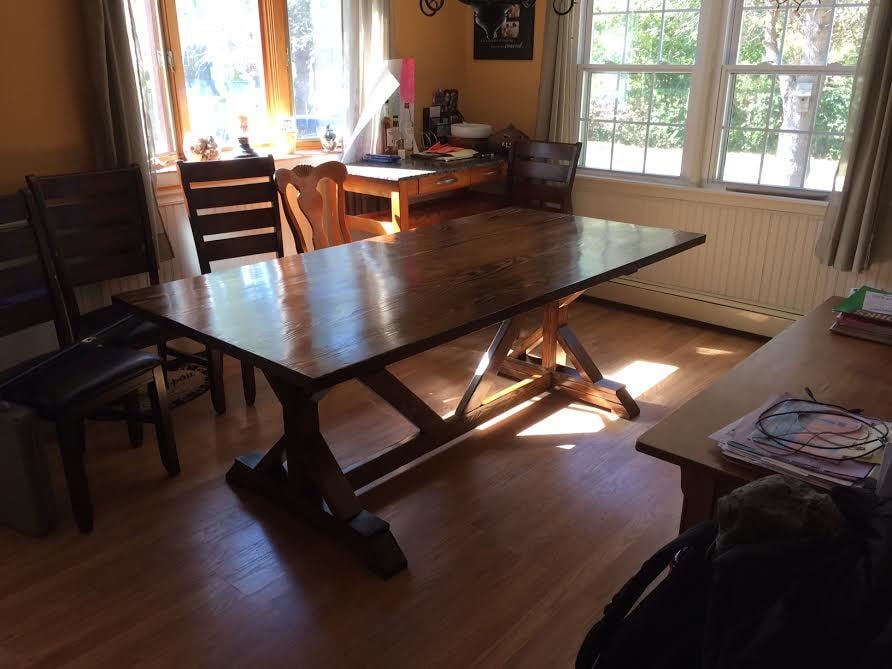
This 7 ft fancy x farmhouse table was built as an anniversary gift for some close friends, so they'd have a dining table large enough for their blended family.

Modifications to original plans

I shortened the top to 84" long, widened the top to 40"wide, and the (outside edge to outside edge) of the legs / supports to 60". This left plenty of room for a chair on each end. The diagonal support brace cuts were not modified.

Instead of pine, I used kiln-dried Douglas fir 2x4s for legs / supports. My local lumberyard sells in 8 ft pieces for well under $10 each. I rifled through the racks to find a bunch of straight, virtually knot free (ie clear) ones.

For the top, I sourced Clear Mixed Grain (CMG) Douglas Fir. Four 10 ft 2x12s were over $250 delivered. Not cheap! But they were straight and flat. No messing around with racked or warped big box stuff this time!

I ripped them down to 10" wide with a good table saw, rip fence, and fresh 60 tooth blade. I did not cut to 7 ft length immediately. Rather, I cut down to a few inches over that (more on that in a moment). I used the Kreg jig to drill pocket hole screws underneath, but I used Titebond III wood glue and pipe clamps / 5' galvanized pipes (6 of them, in alternating directions) to clamp the top together. I added 2" coarse thread blue-coated pocket hole screws the next day - really more for peace of mind.

To cut down to 84" length, I marked the lines with a straightedge & carpenter's pencil. I then used my circular saw (also with a fresh 60 tooth high quality blade) and a straight edge clamped to the wood as a guide. This gives you nice smooth end cuts without the worry of lining everything up perfectly during glue-up. Warning - you can splinter the ends if you aren't careful.

Sanding

I used a cheap Harbor Freight belt sander with 80 and 120 grit (be careful if you've never used a belt sander before, especially with coarse grits!) to even out the top and bottom. It didn't take much, luckily. (I bought a planer *after* completing this piece).

All cuts were sanded 60, 80, 100, 150, 220, 320 and 400 grit. Lesson learned: in the future its okay to stop at 220 or so. Sanding was done with a basic Dewalt quarter-sheet sander, with a 3m rubber hand sanding block, and plain ole-sandpaper in my hand. I shaped all edges by hand with 100/150/220.

Nails & Glue

I used a pneumatic nailer and Titebond III wood glue on the legs and supports, then a nail punch and wood filler to hide any nail holes. The aprons / stretchers were fastened with pocket hole screws and glue. I used plugs on the lower one, as it is more visible. The plugs are pretty much seamless - use glue and wood filler and sand out, nobody will ever be able to tell :)

A Quick Word on Wood Glue Selection

Many of the project plans on this site (and brag posts) mention the use of expanding glues like Gorilla Wood Glue, Elmer's Carpenter's Glue etc. These long open-time adhesives are easy to work with but they expand and are not as strong as Titebond.

Stain & Poly

I used a clean rag (cut up an old t shirt..) to apply a generous coat of Minwax wood conditioner, wiping off any excess after about 15 min. I then immediately applied a coat of Minwax Dark Walnut stain. I used stain applicator pads but a good rag works just fine and wiped off excess after 10 or 15 minutes.

The top received 2 coats, the second coat applied a week later.

2 coats of Minwax fast dry polyurethane were applied via brush (high quality natural bristle brush). I lightly sanded with 220 after the 1st coat was fully dried, and with 320 after the second. Semi gloss was used for the 3rd and final coat. If I had a 'do over', I would have used wipe on poly and thinned with mineral spirits to eliminate brush marks more effectively. OR I would have used a foam roller (still thinning a coat or two with mineral spirits).

Important: I applied a single coat of poly to the underside of the table as well. Coating the entire piece stabilizes the wood, according to a few articles. This means its less likely to shrink or swell unevenly over time.

Attaching the Top

In Ana's / Shanty 2 Chic's original plans, there are comments from people wondering how to attach the table top to the supports. Originally, I planned on drilling through the sandwiched 2x4 supports and deeply counterinking screws. You can buy a surprisingly decent countersink drill bit set at Harbor Freight for very little money. You could also use something like 3M velcro tape. Either way, you would be able to separate the top from the legs for transport. If you do use Titebond III to glue it down, I'm confident it will never come off.

This is my first brag post and only my 4th completed DIY furniture project, so please LMK if I've forgotten to cover any important details.

Dan Gendreau
S Kingstown, RI
Built from Plan(s)
Estimated Cost
$300 for lumber.
Estimated Time Investment
Week Long Project (20 Hours or More)
Finish Used
1 coat of Minwax wood conditioner, 2 coats Minwax dark walnut stain, 2 coats Minwax clear gloss fast dry polyurethane (by brush). 1 coat Minwax semi gloss poly. 1 coat Antiquax furniture wax.
If I could do it over, I would have used a roller the way Family Handiman magazine recommends (google it - there are a few great and informative pieces on applying poly for best results). I also would have thinned 50% with mineral spirits if using a brush again. It's just too easy too 'pull' the poly when brushing and leave flat or dry spots.
Recommended Skill Level
Intermediate

Tryde end table

Fun weekend project! I had never tried pocket hole joins before. The Kreg jig worked out great. Looking forward to trying a bigger coffee table in this same style. Thanks for the plans!

Estimated Cost
$50 or so including wood, stain and poly finish
Estimated Time Investment
Weekend Project (10-20 Hours)
Finish Used
Minwax American Maple and wipe on poly
Recommended Skill Level
Beginner