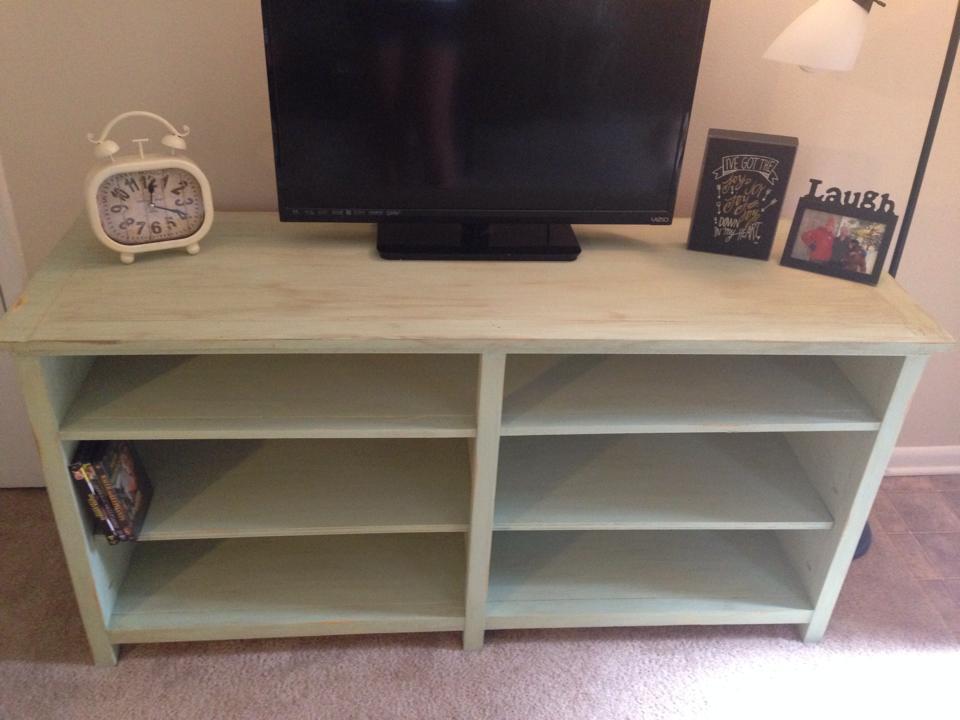
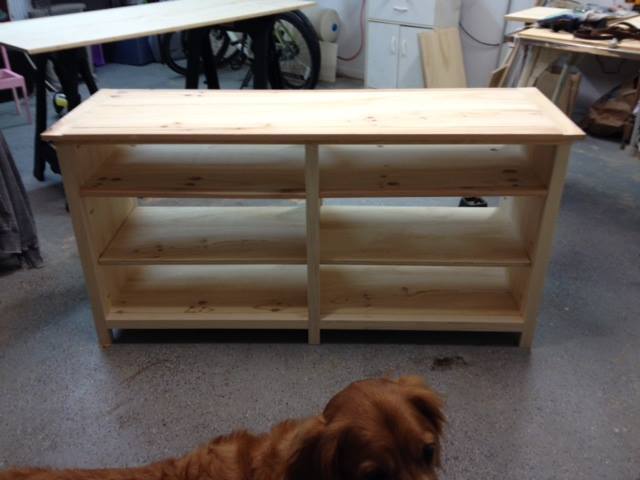
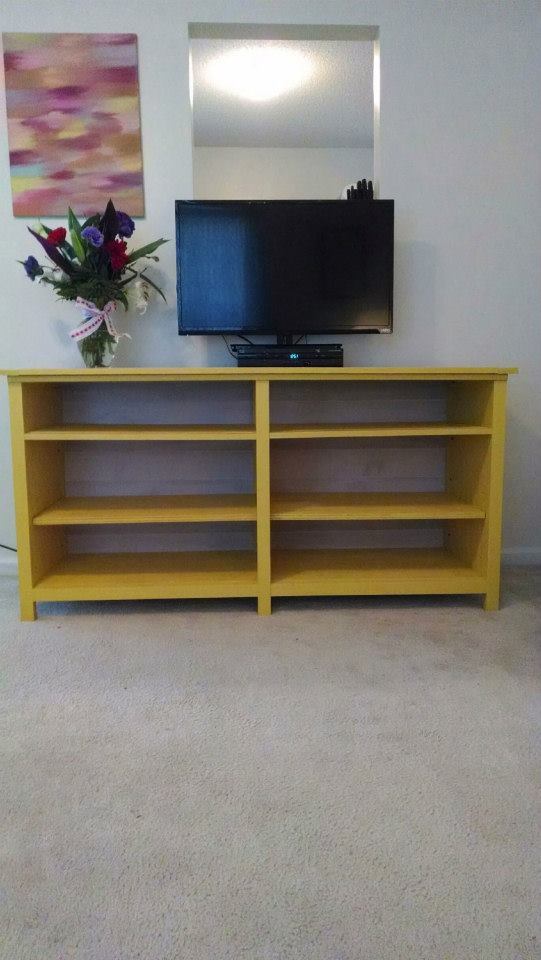
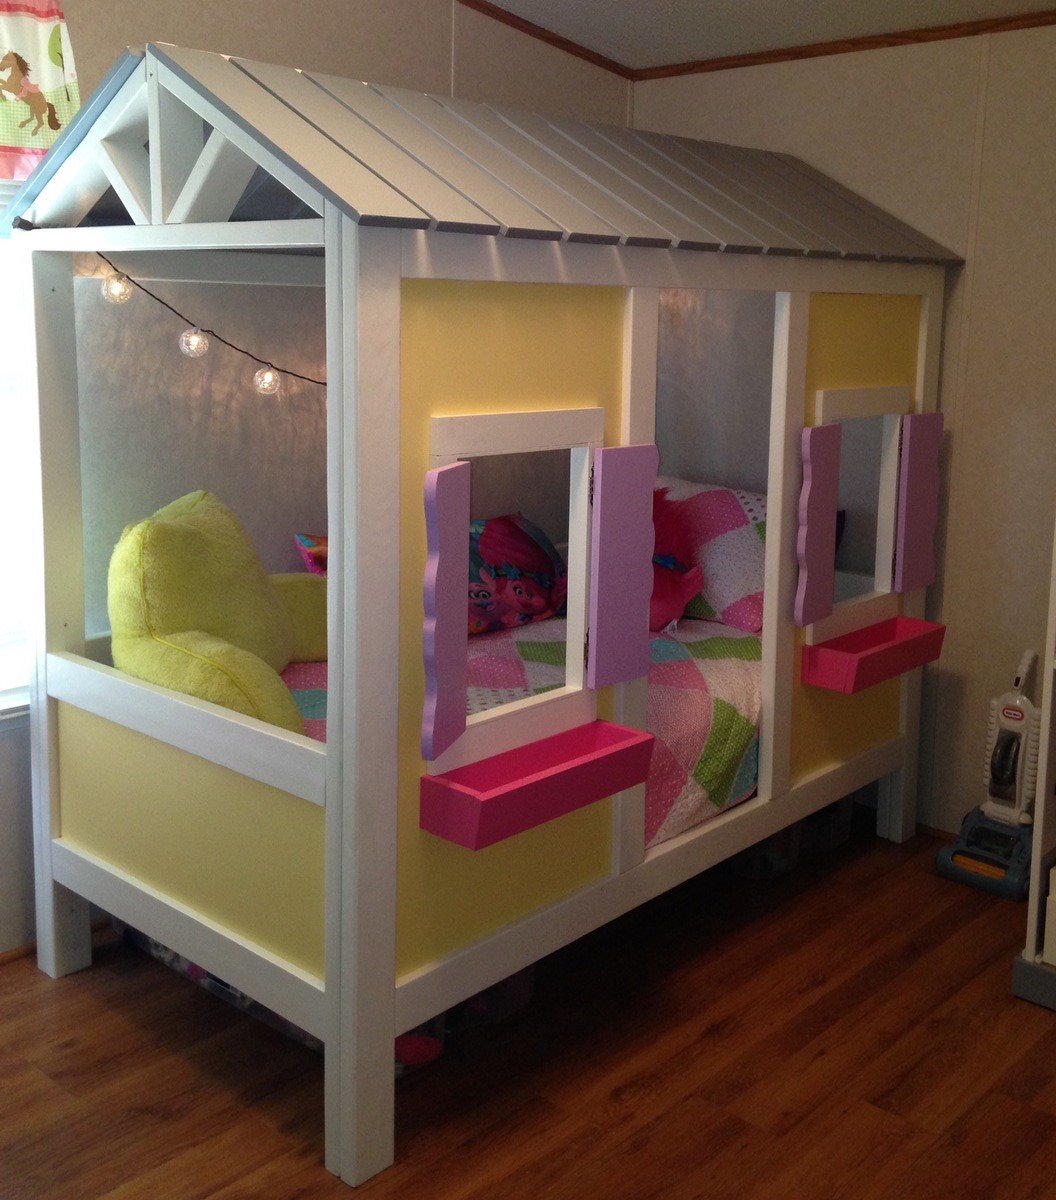
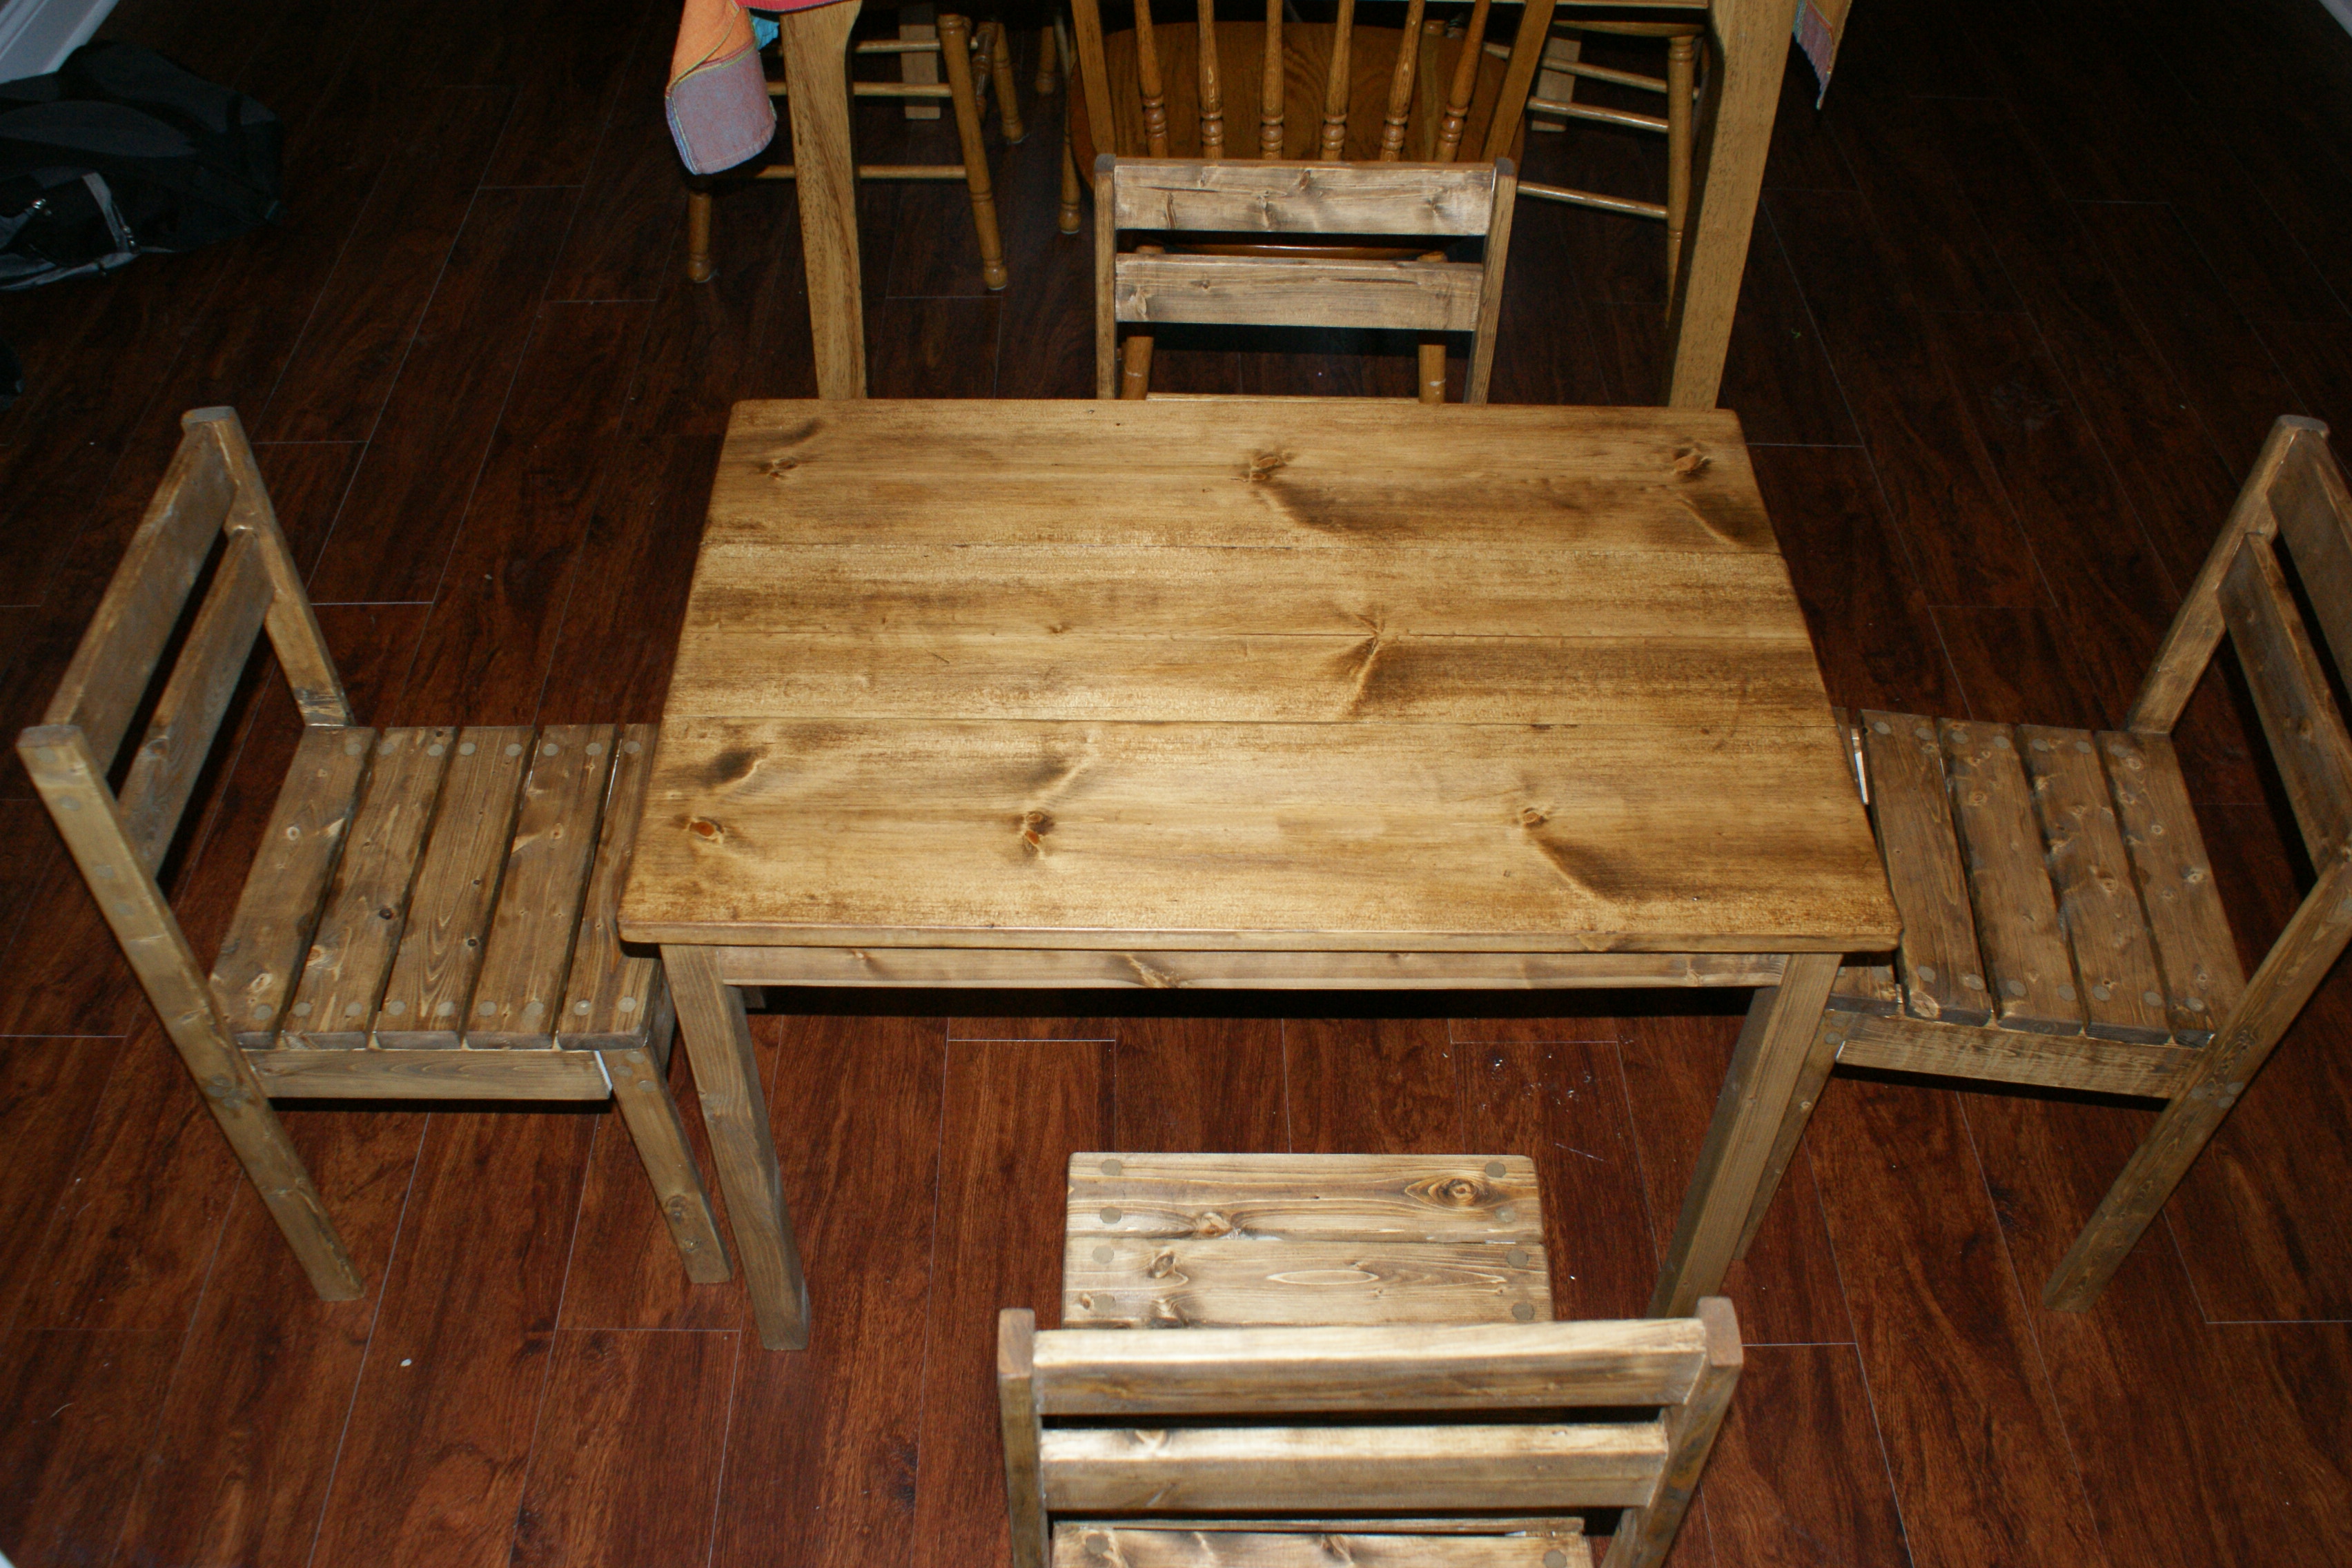
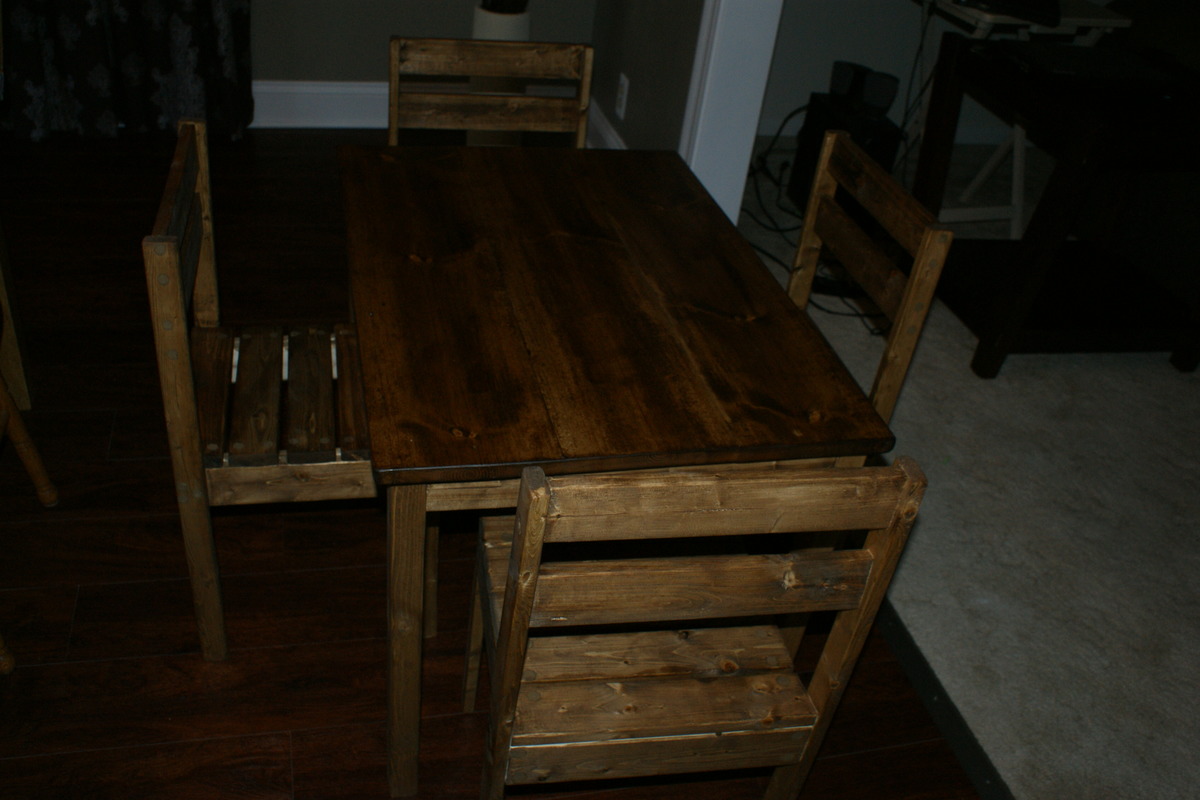
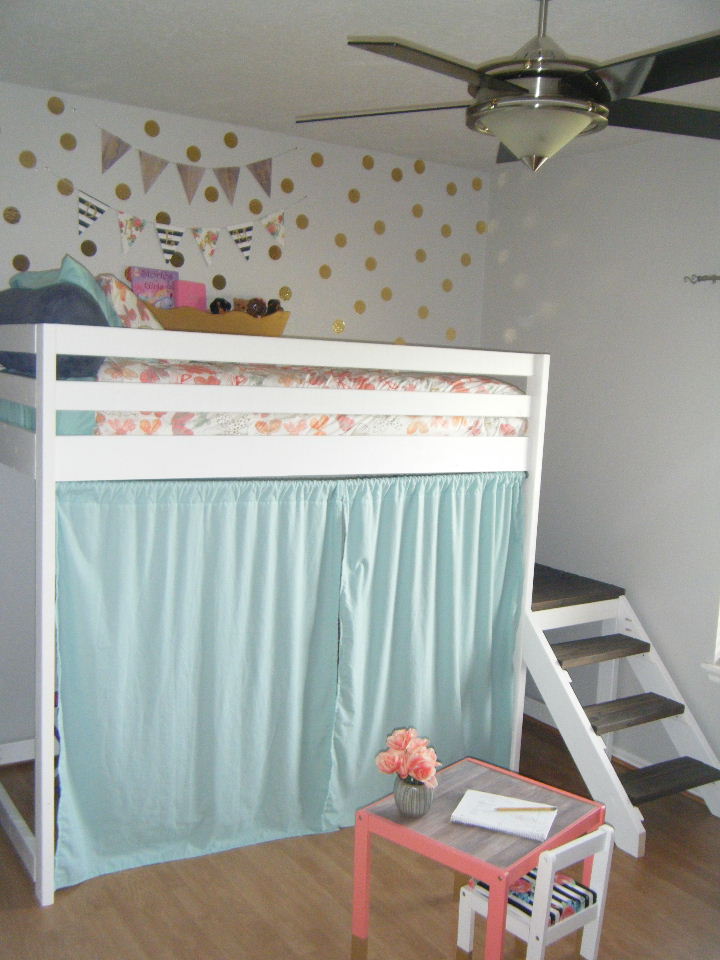
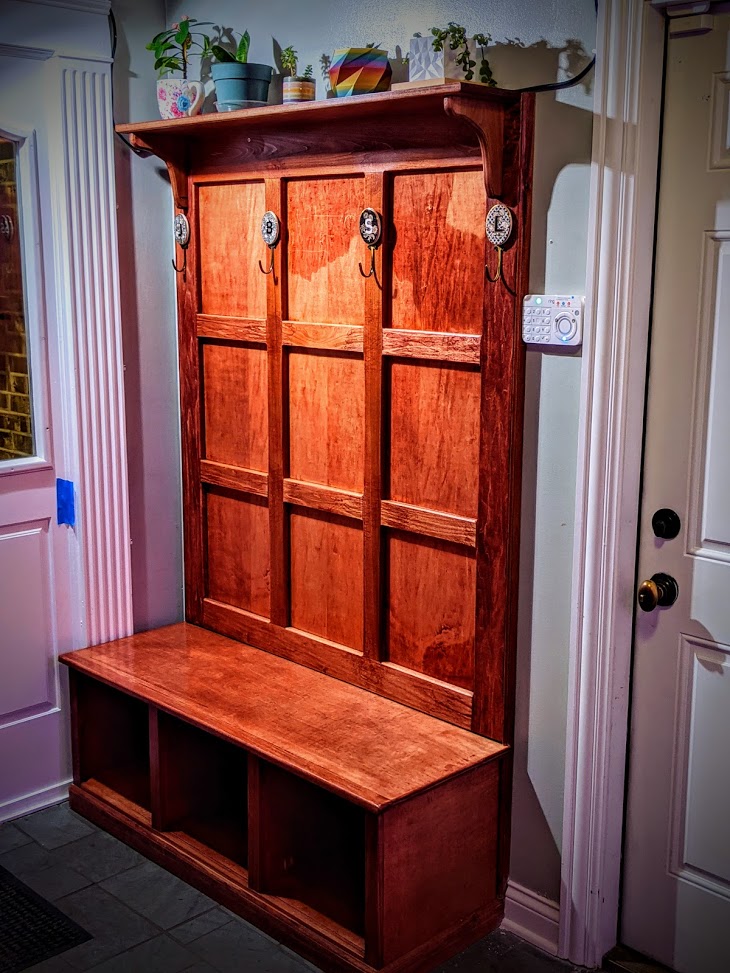
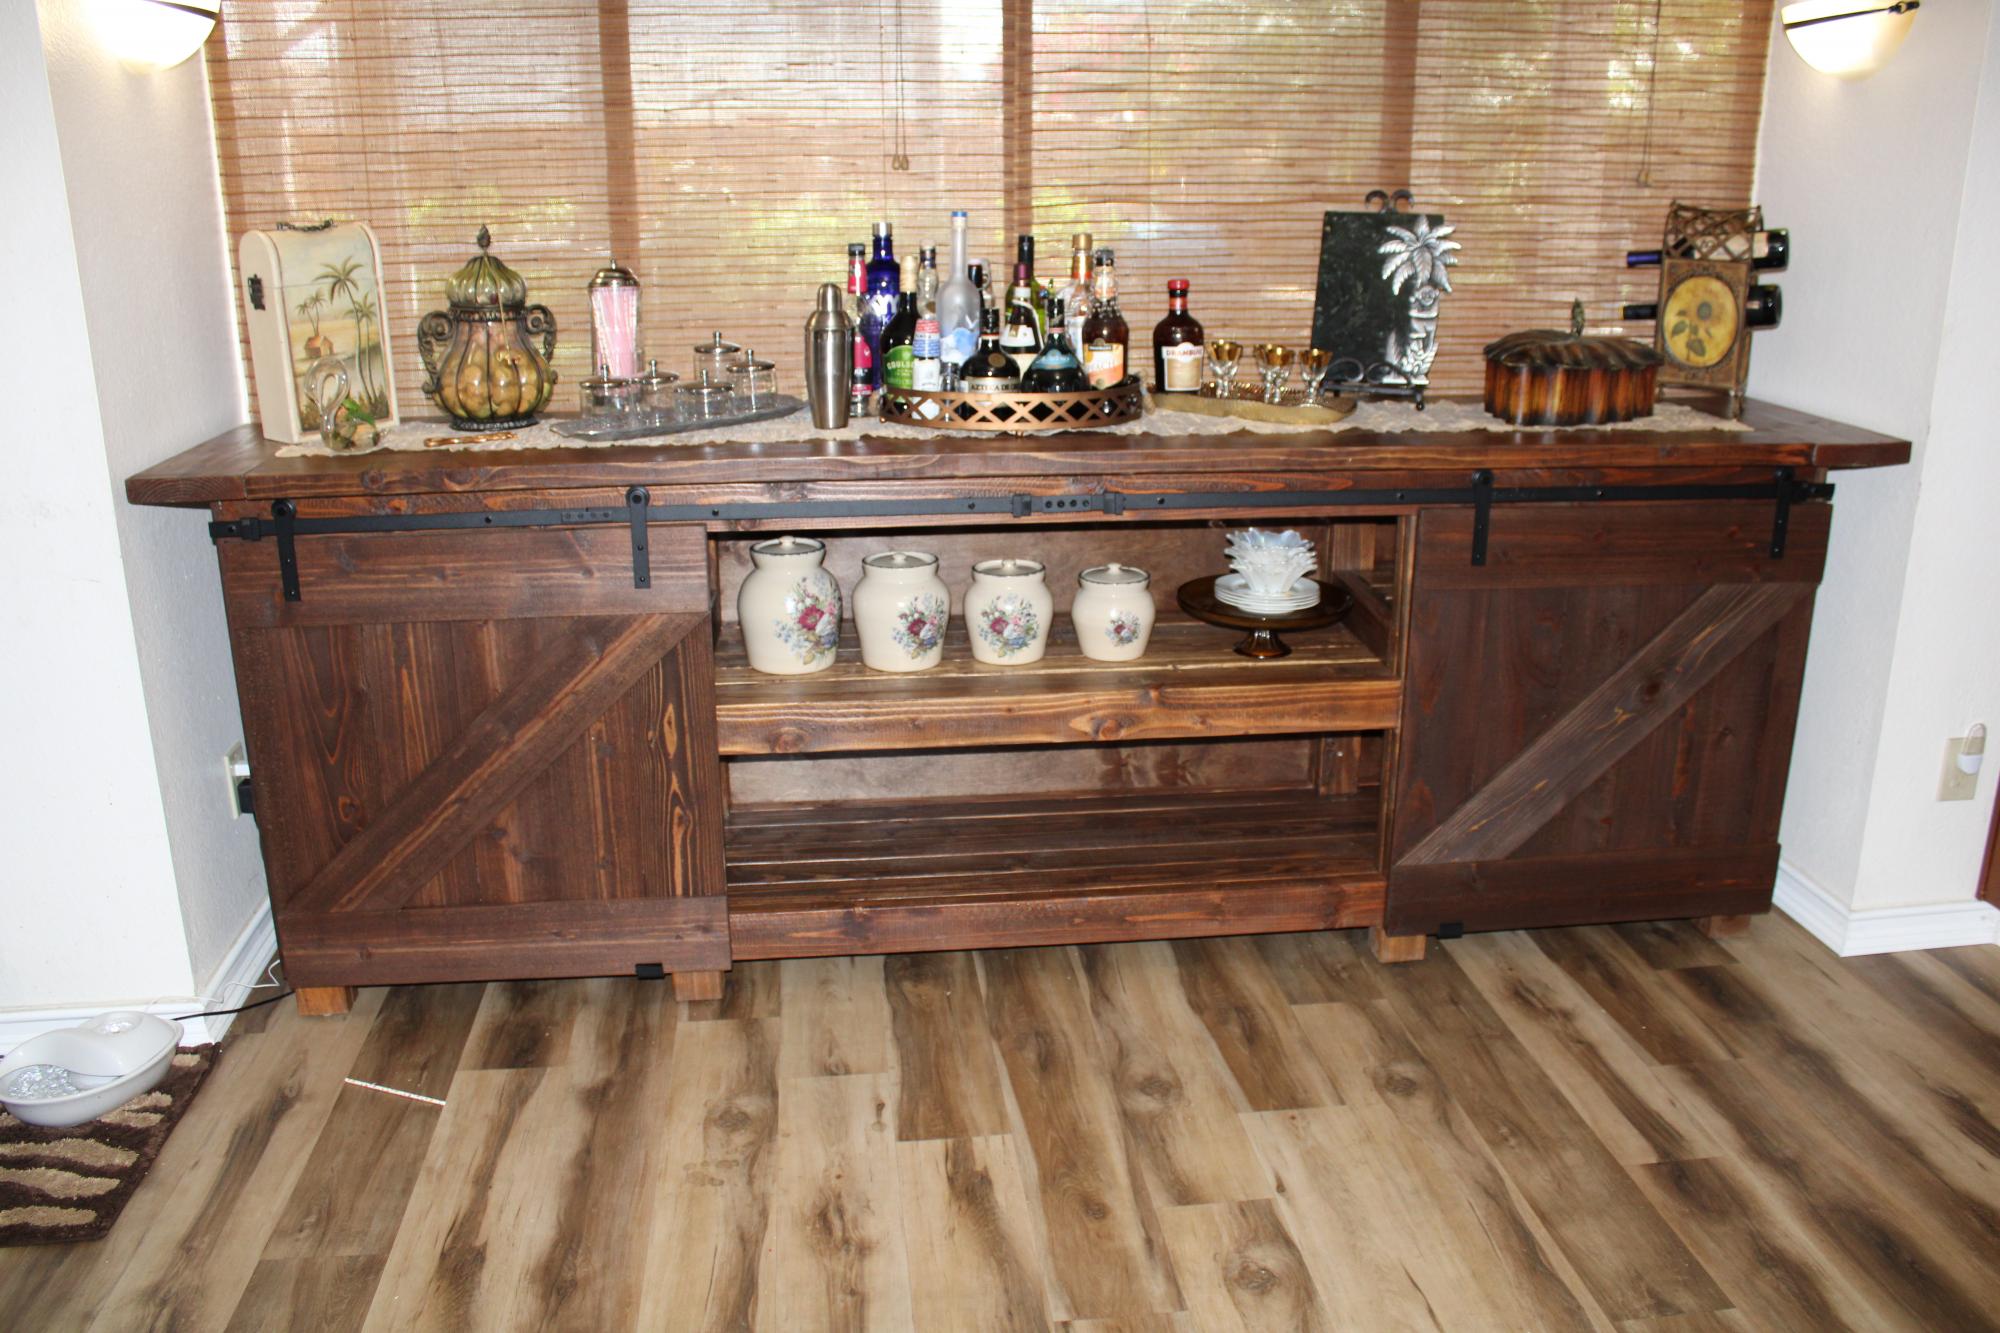
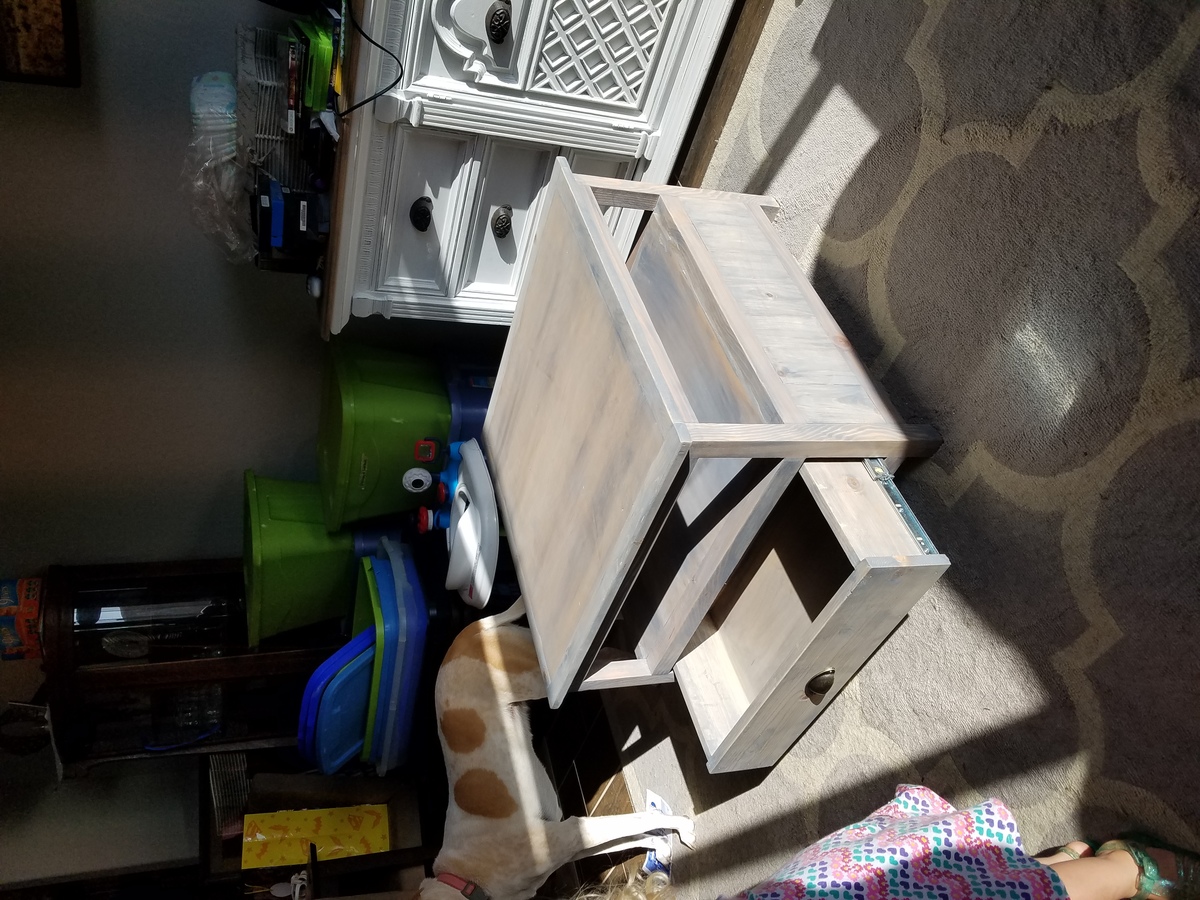
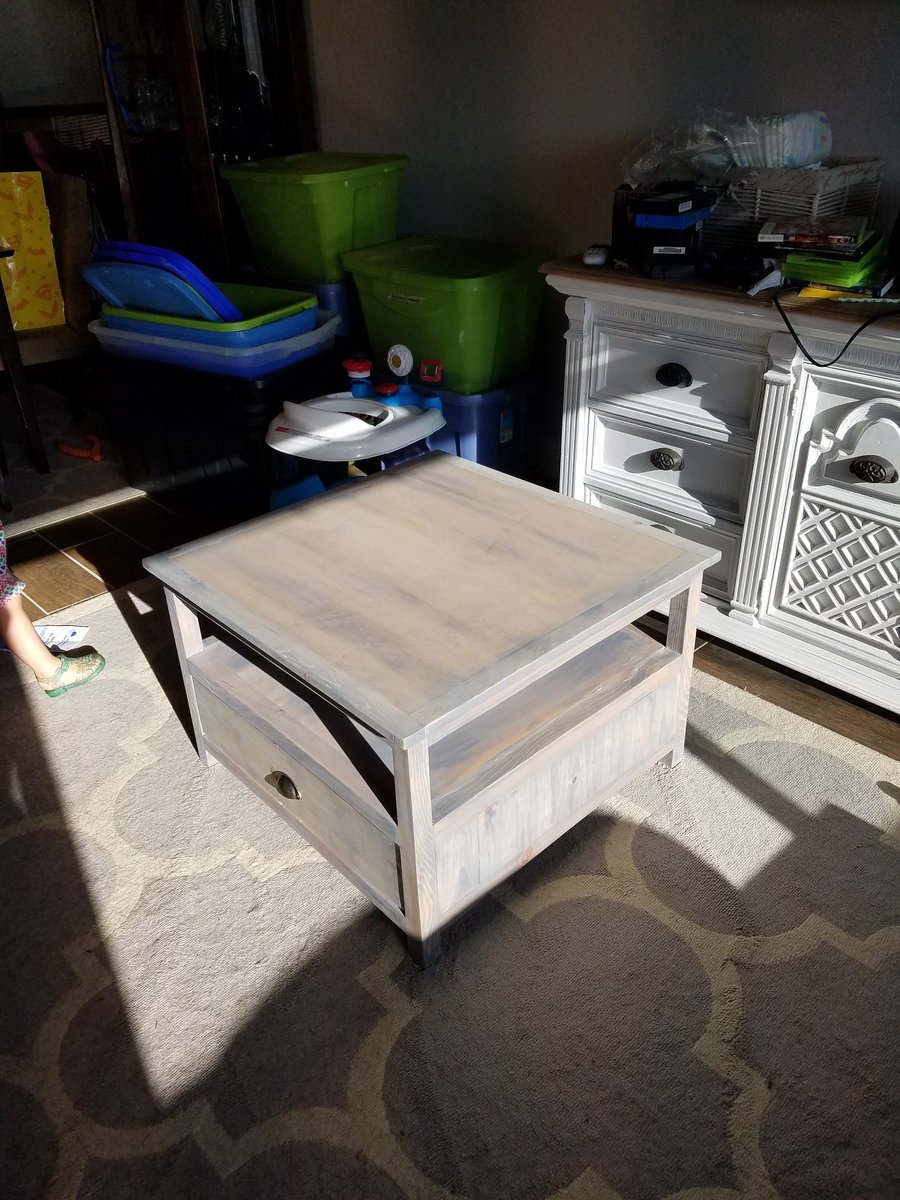
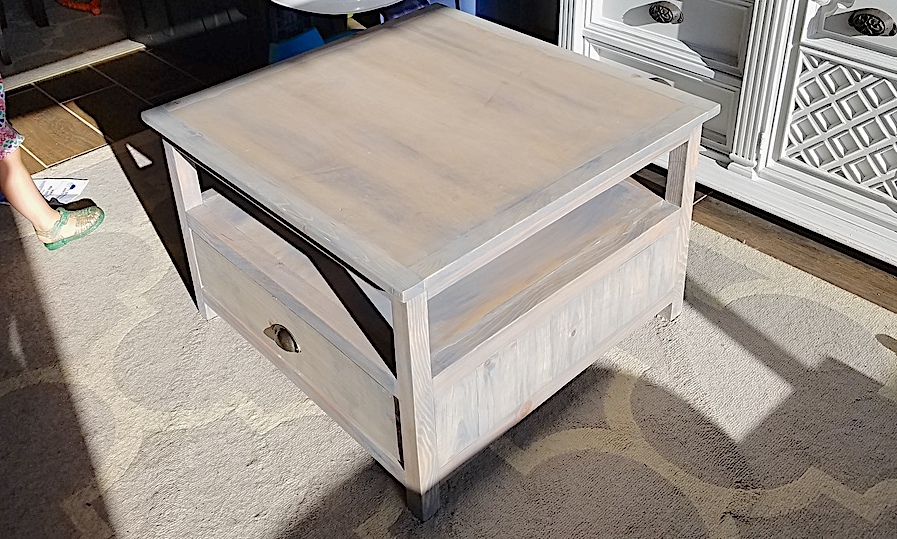
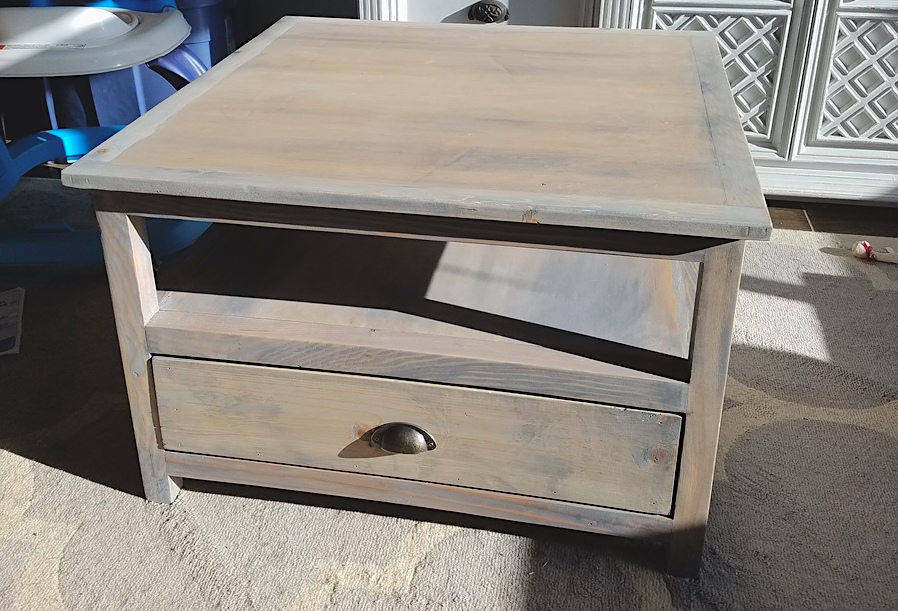
Val's Toy Box
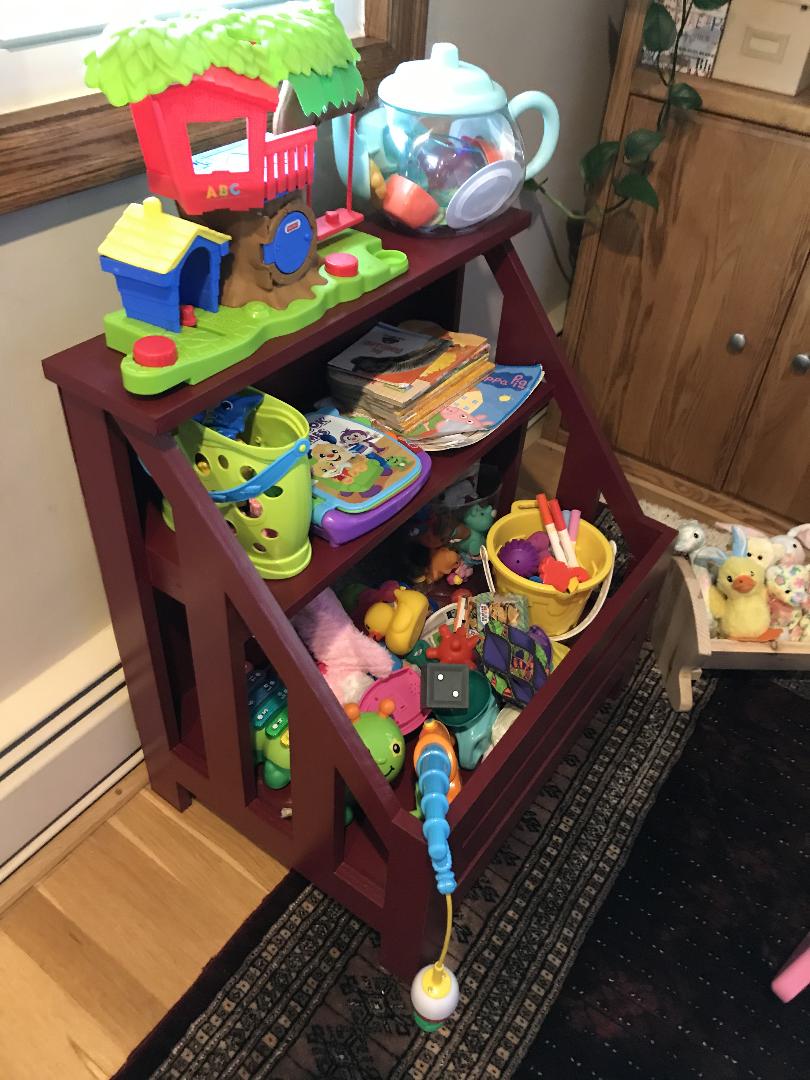
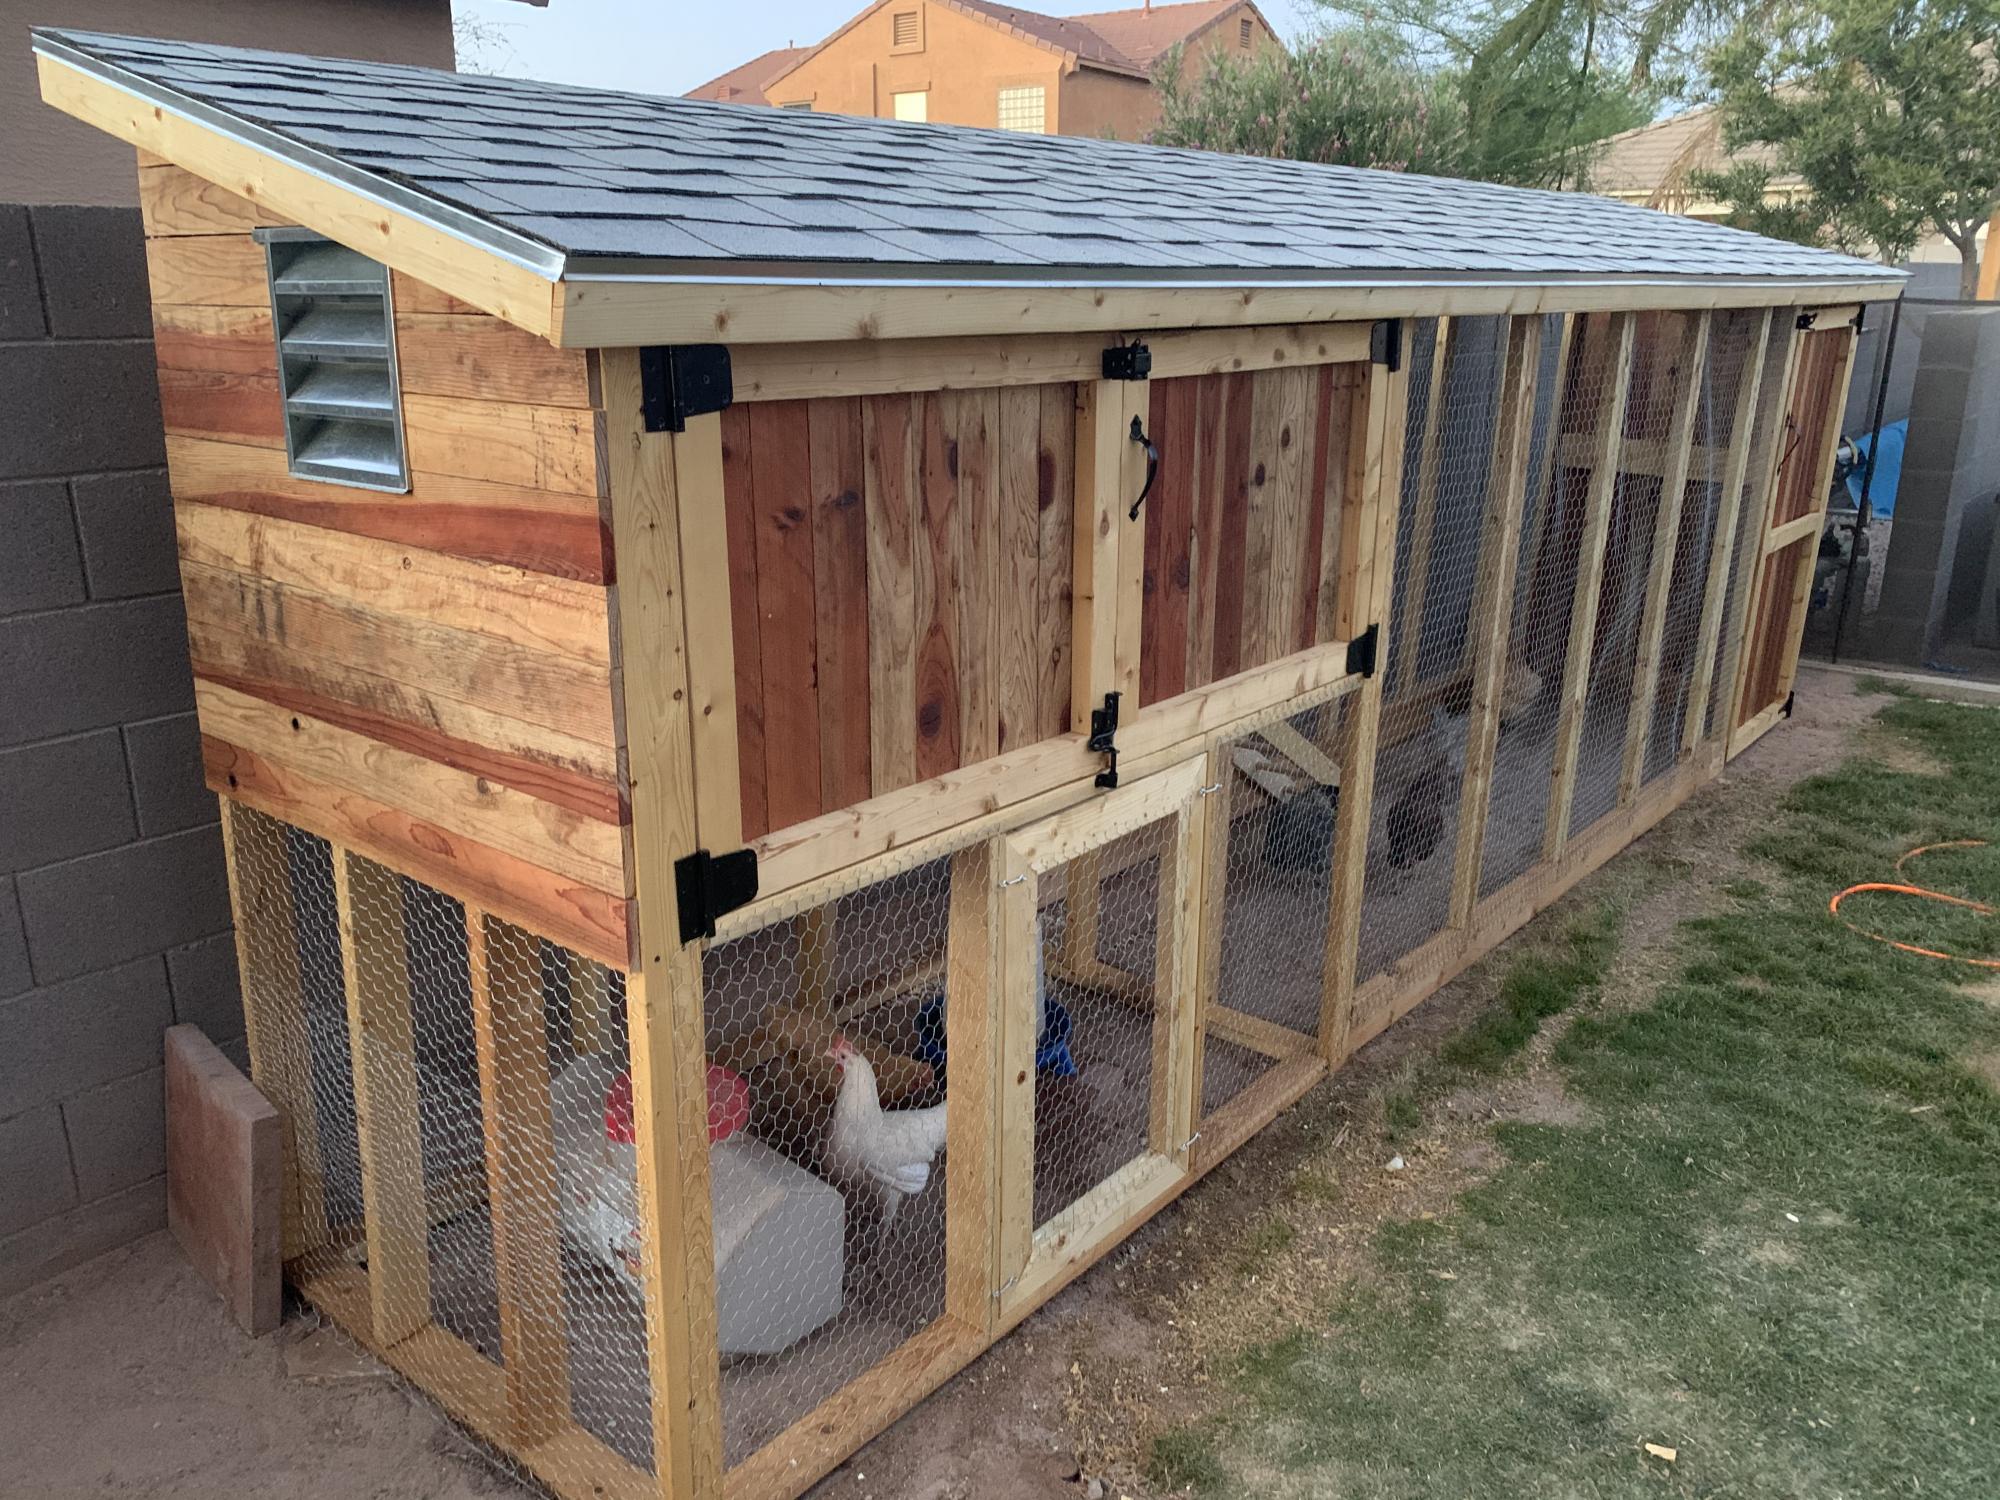
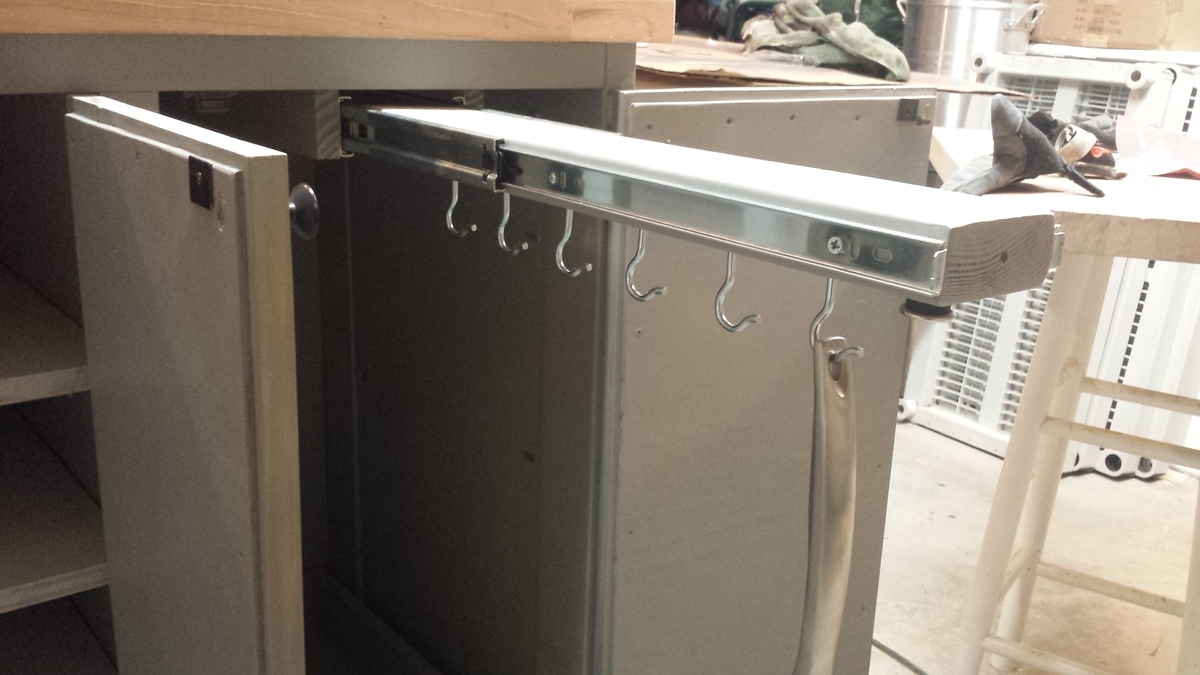
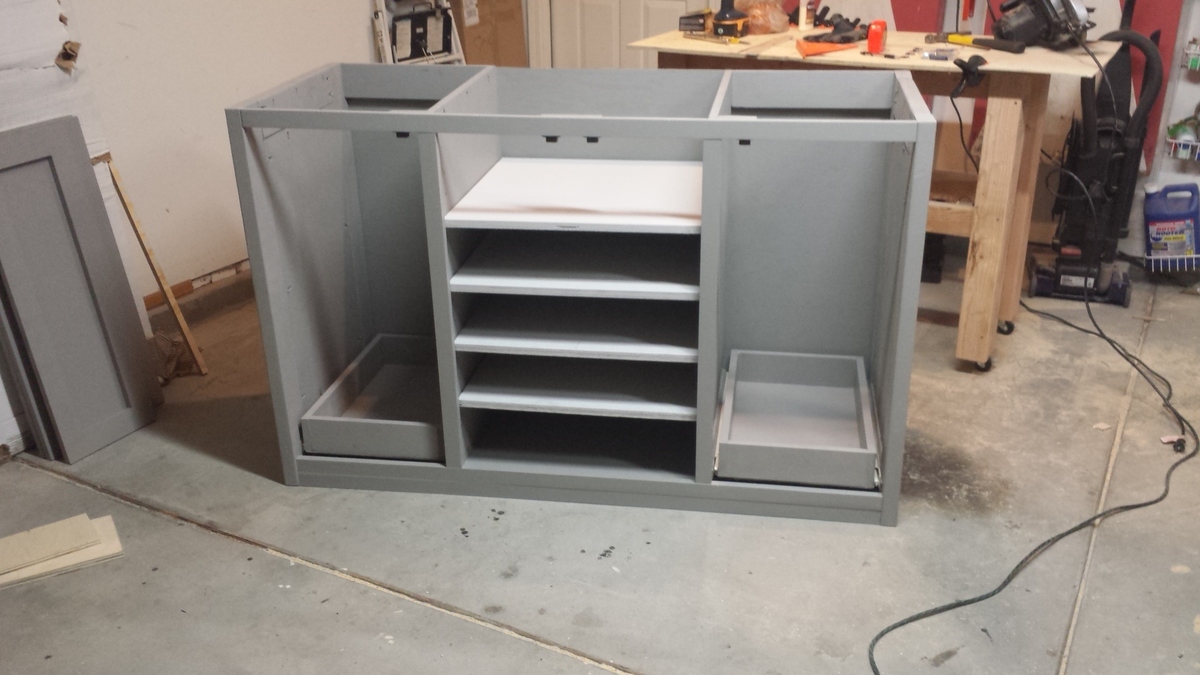
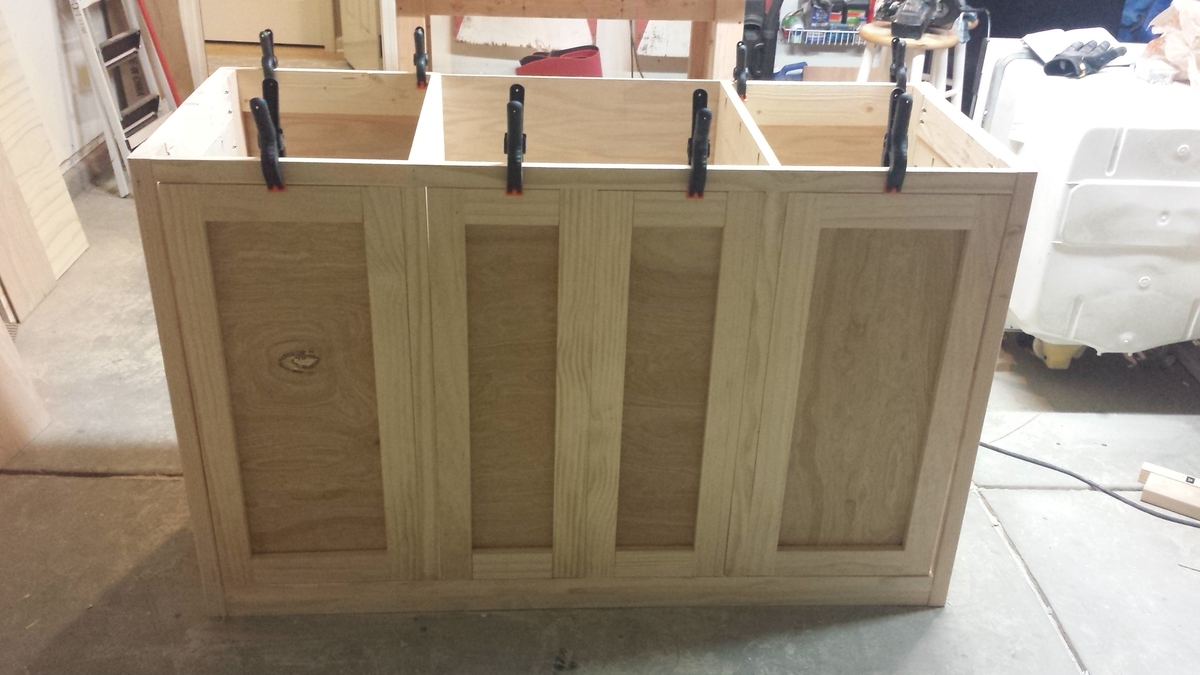
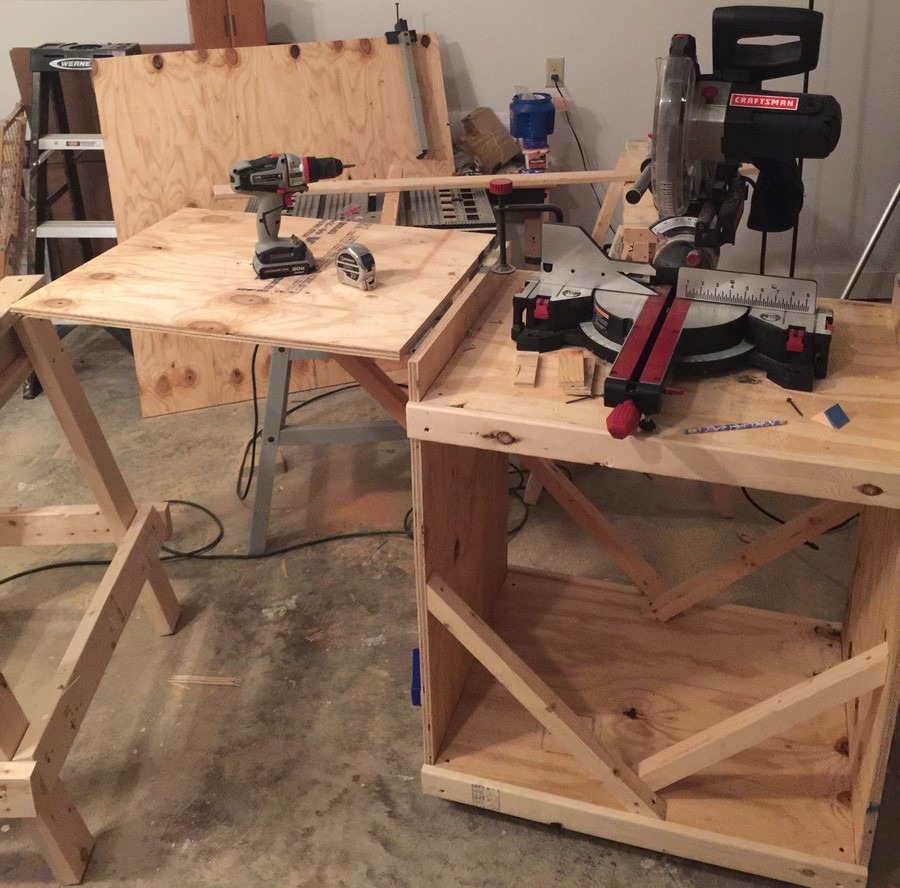
Used 3/4 plywood cut to nominal size instead of stock lumber. I'm a newbie so I thought it turned out great!
Built from Plan(s)
Estimated Cost
free wood, $10 for paint.
Estimated Time Investment
Weekend Project (10-20 Hours)
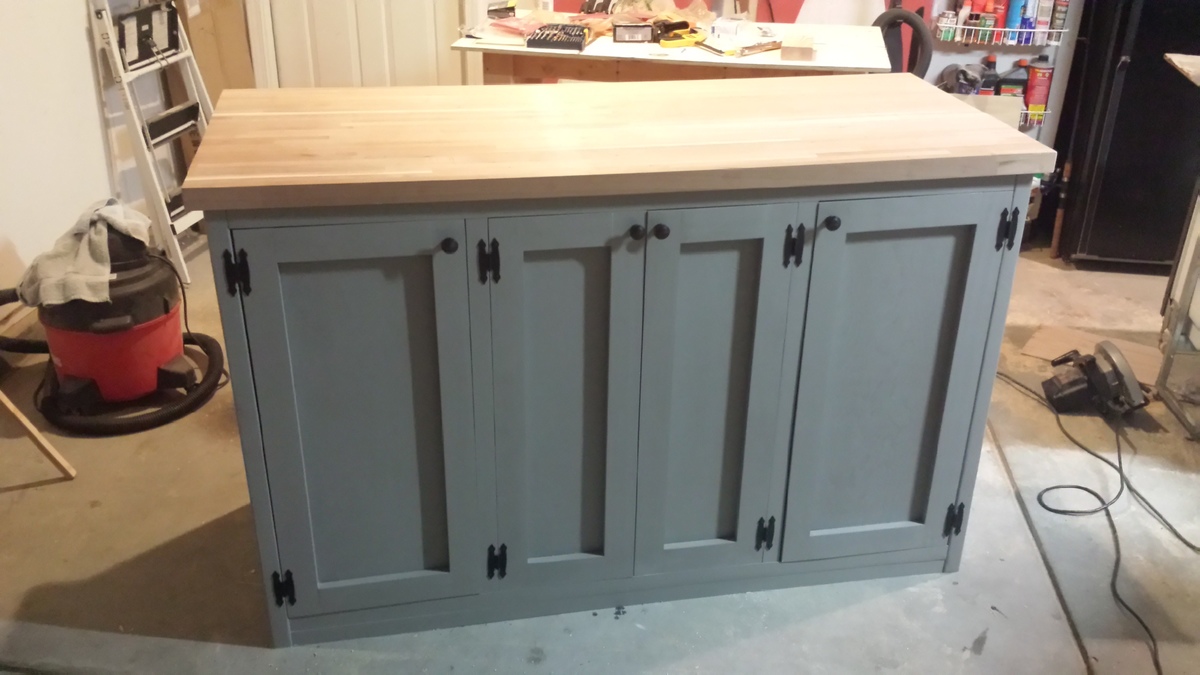
Finish Used
Rustoleum satin finish in claret red.
Recommended Skill Level
Intermediate


Comments
Ana White Admin
Thu, 05/13/2021 - 08:15
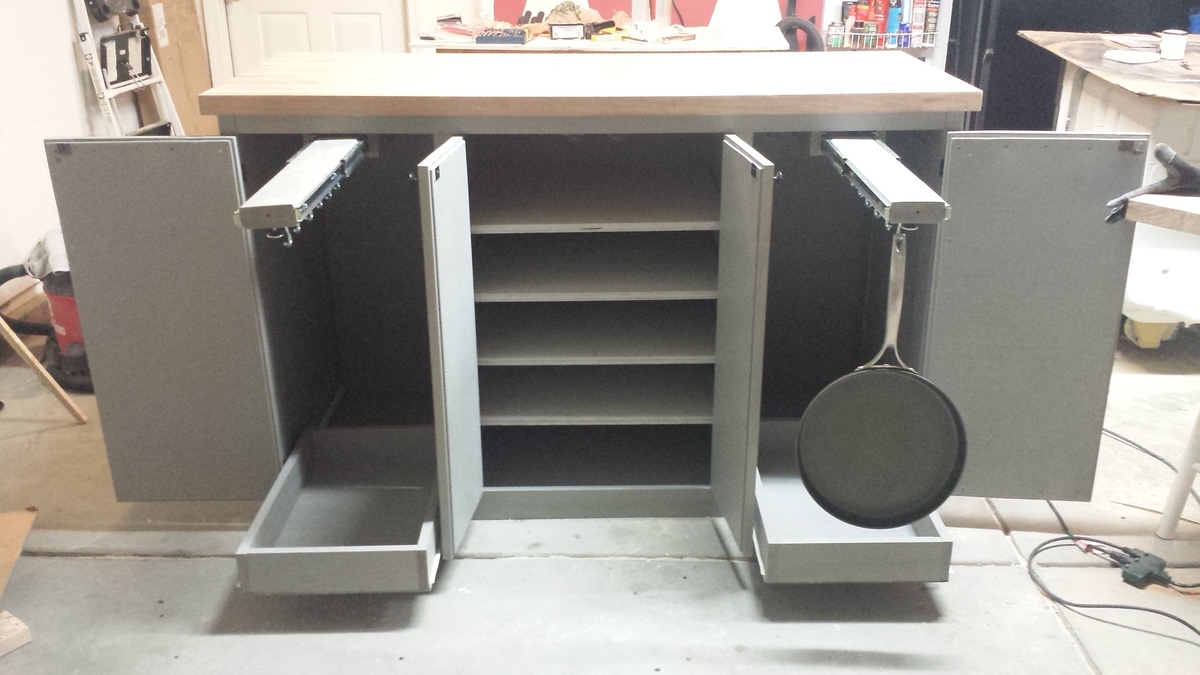
WOW!
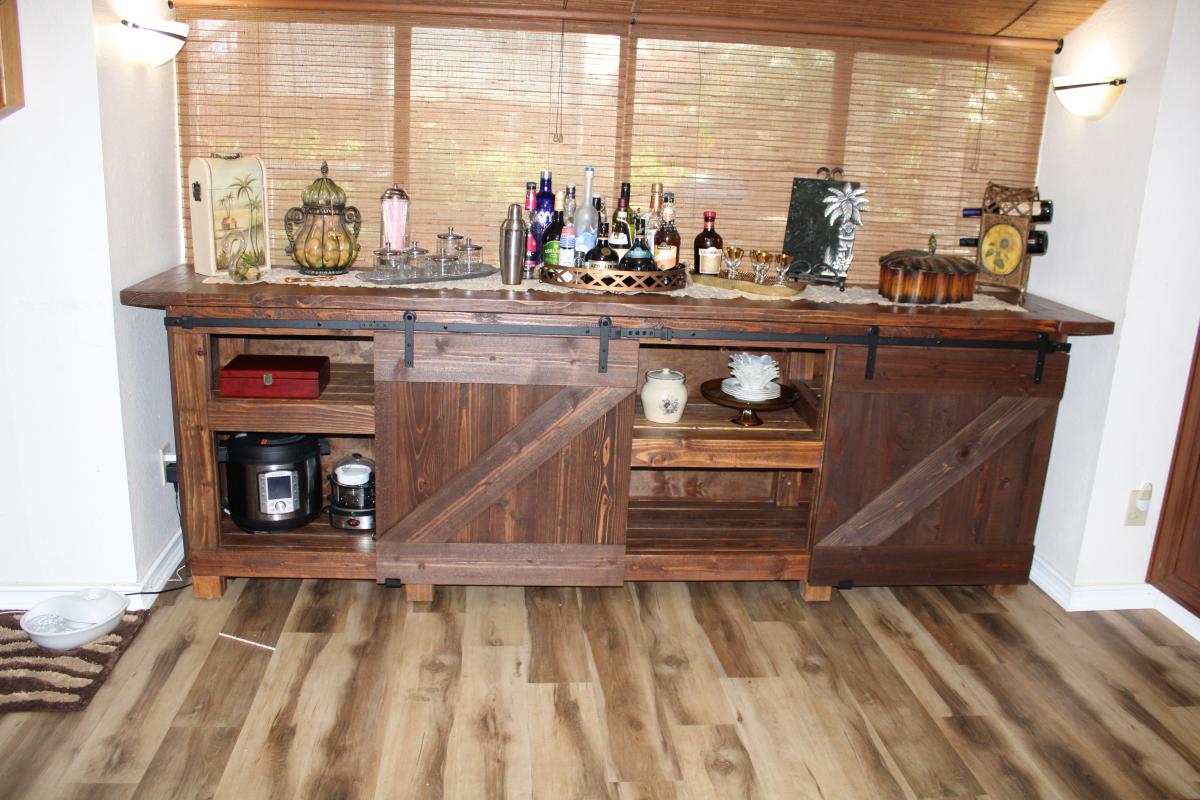
You did a great job and it holds so many toys!