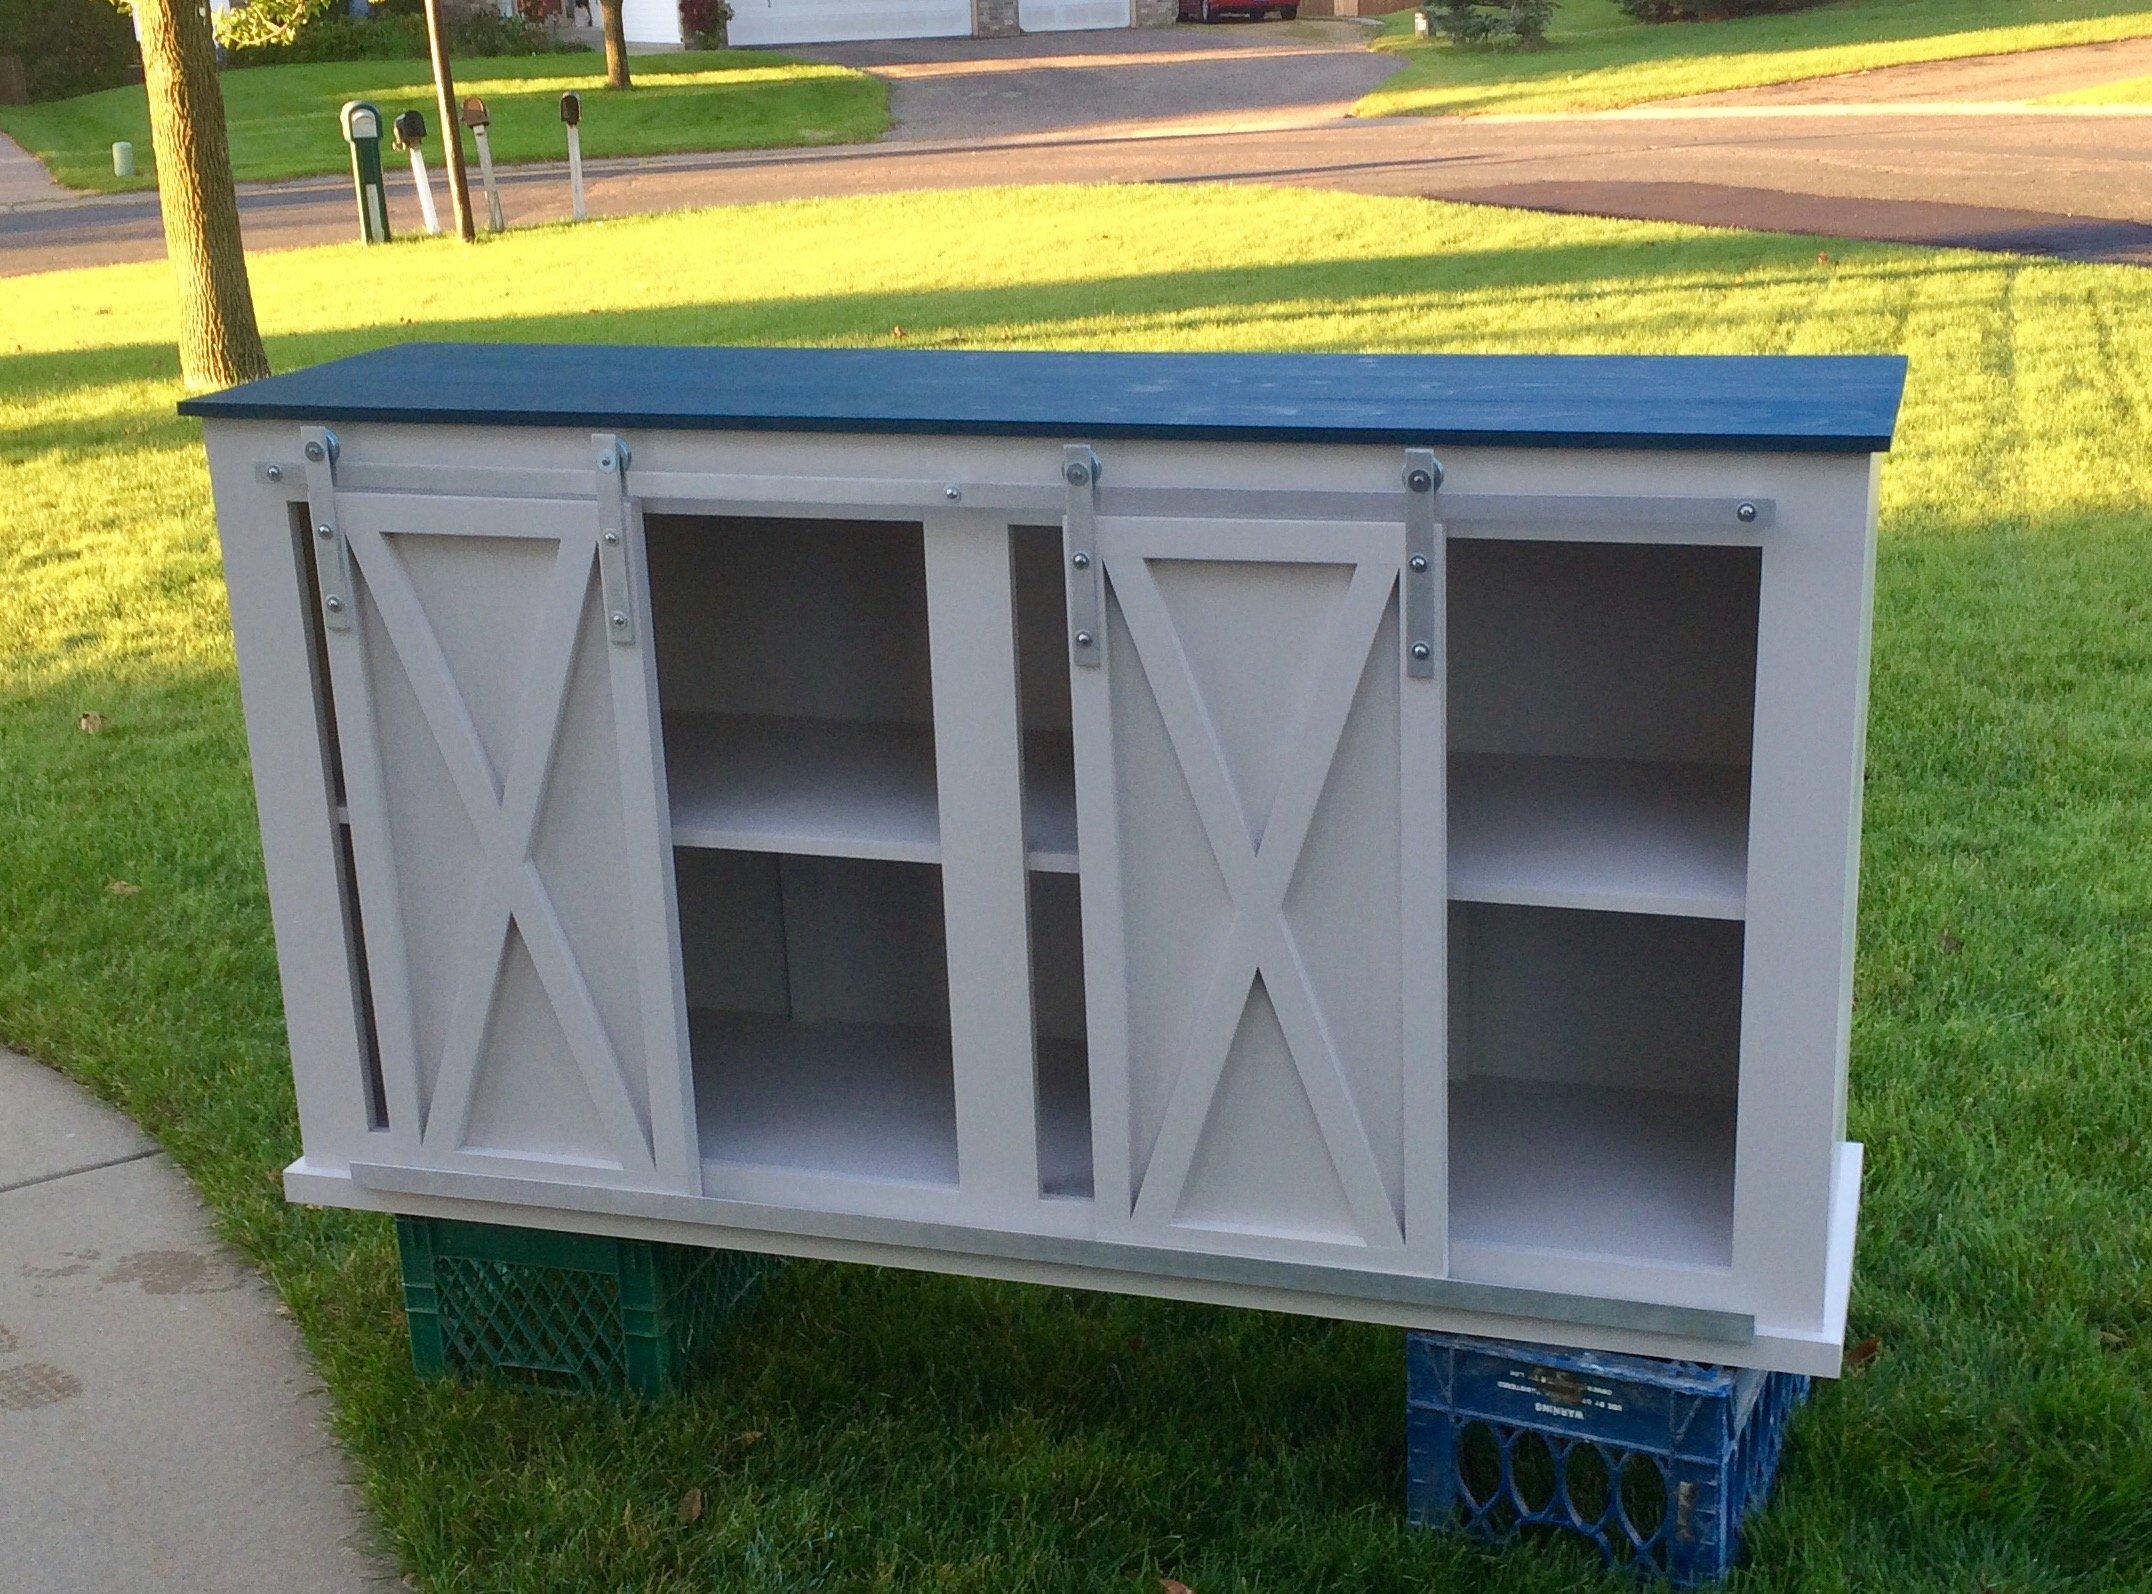
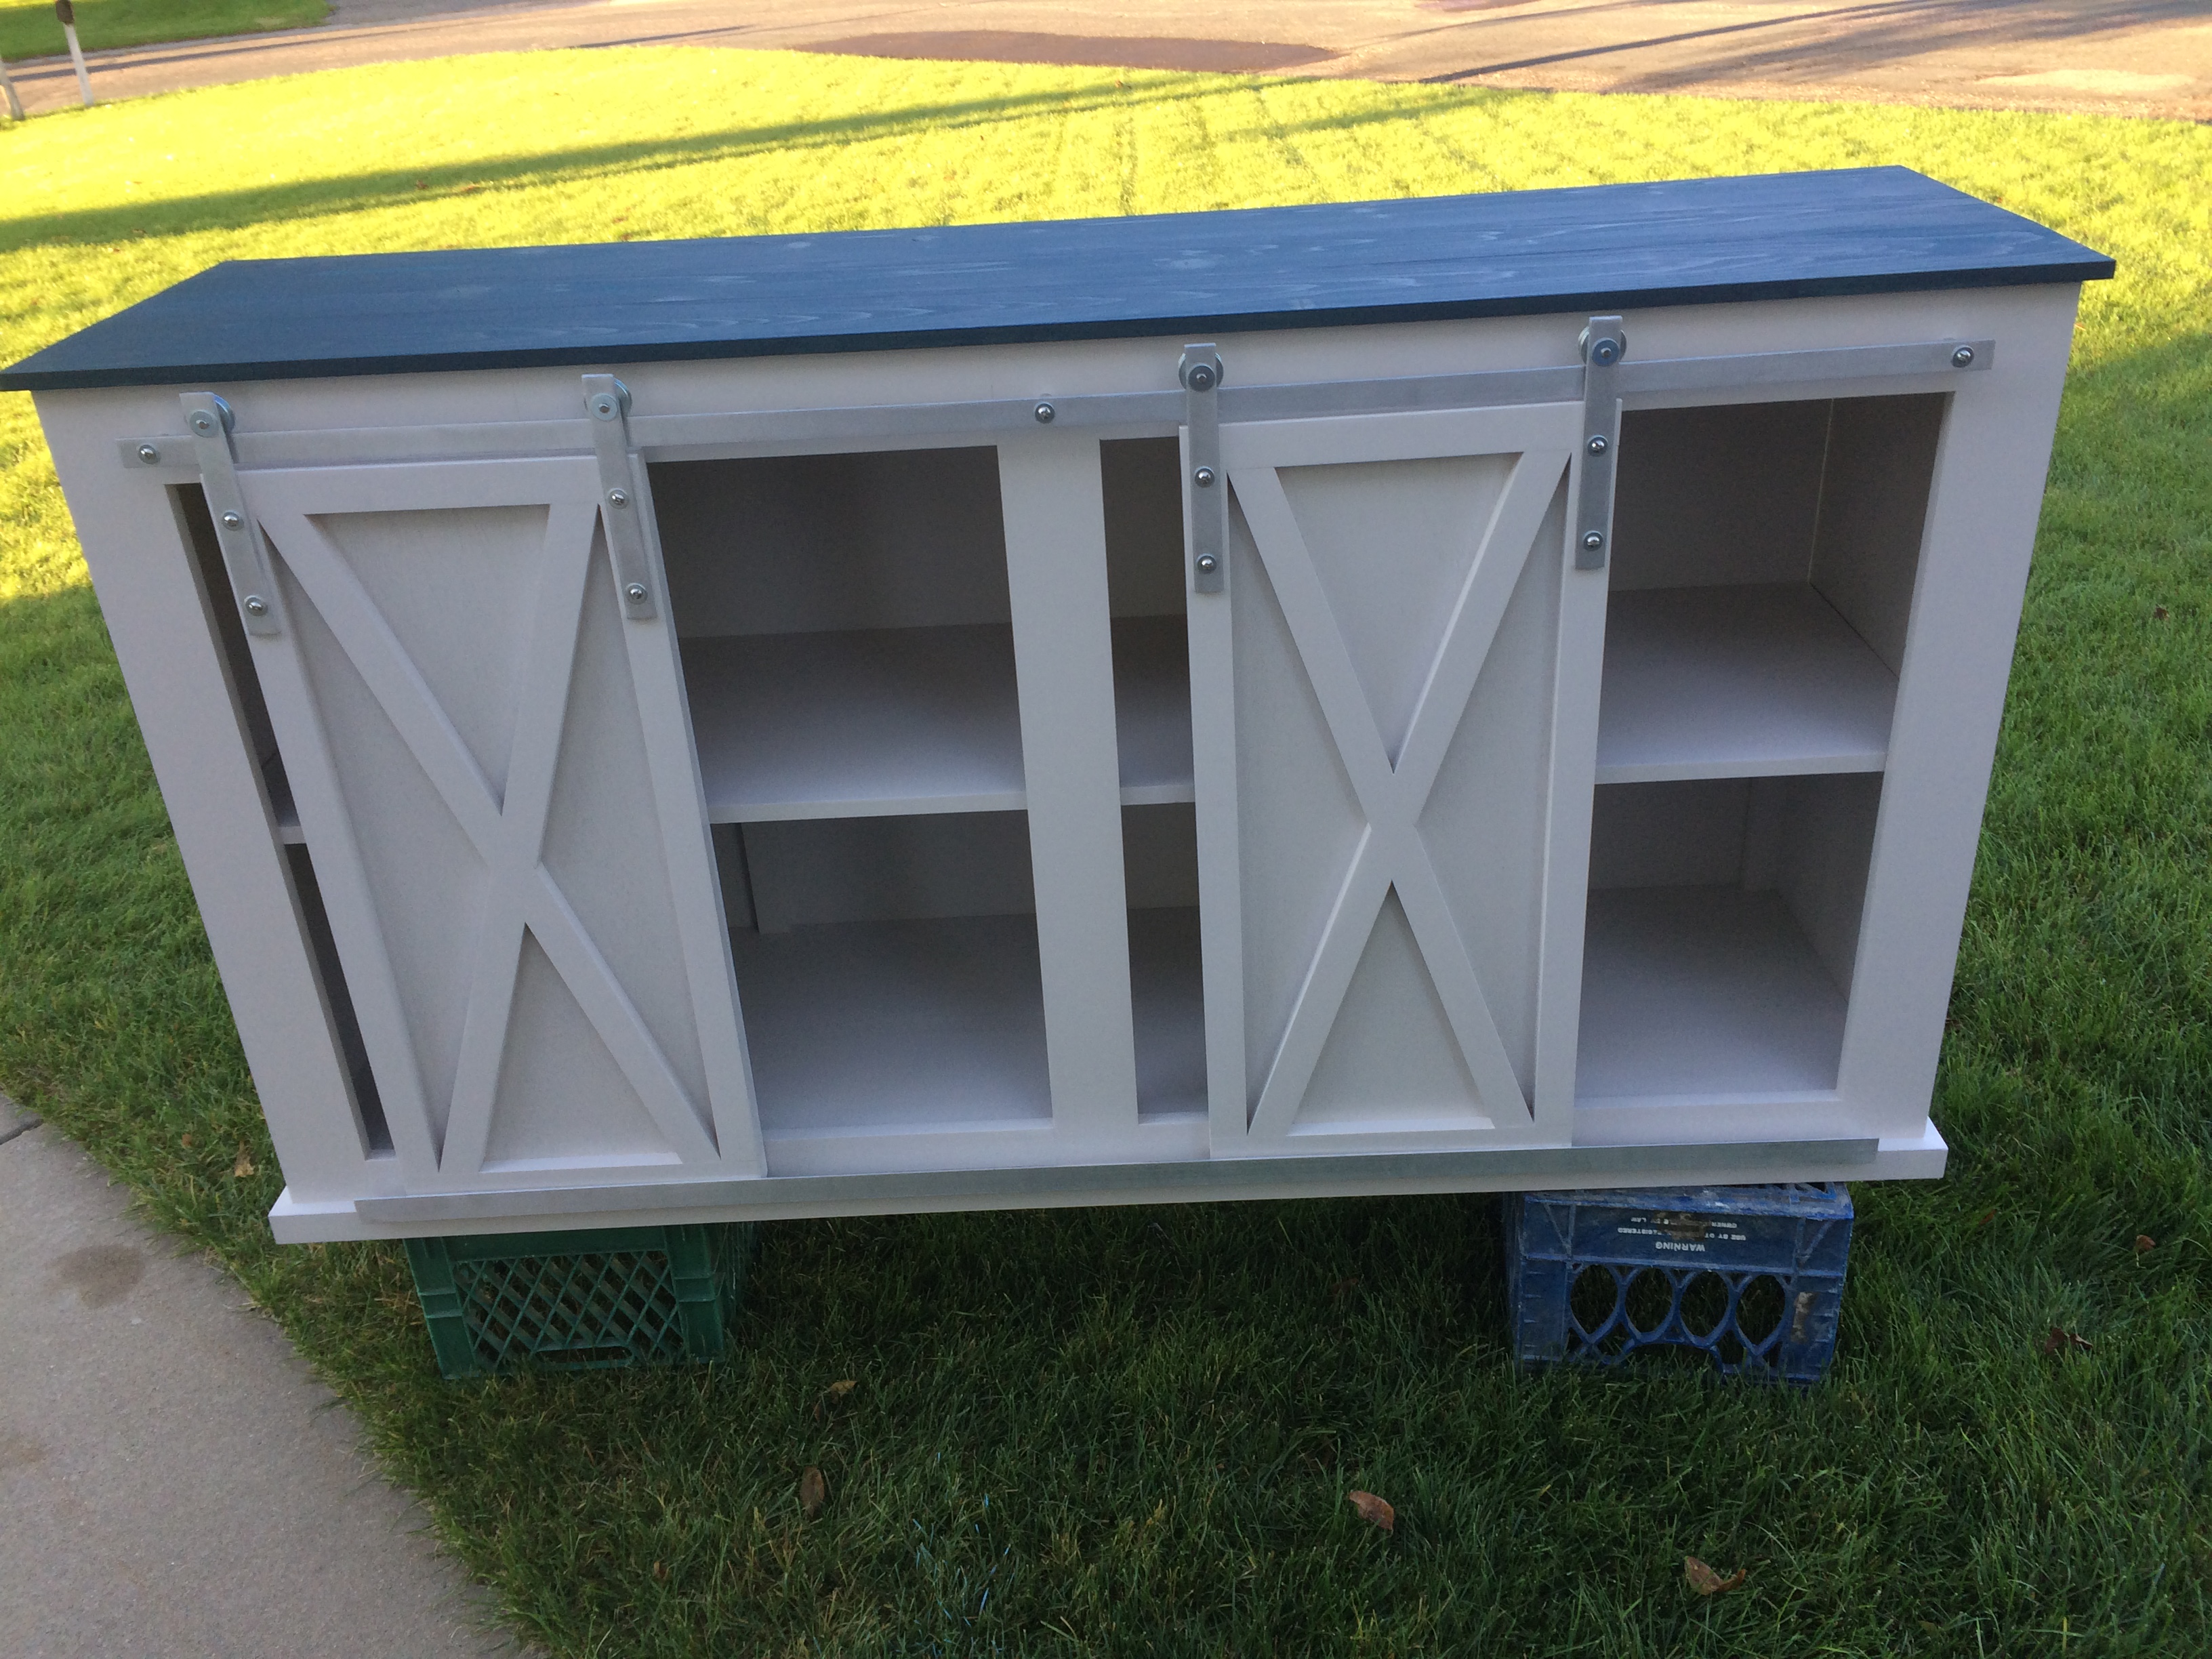
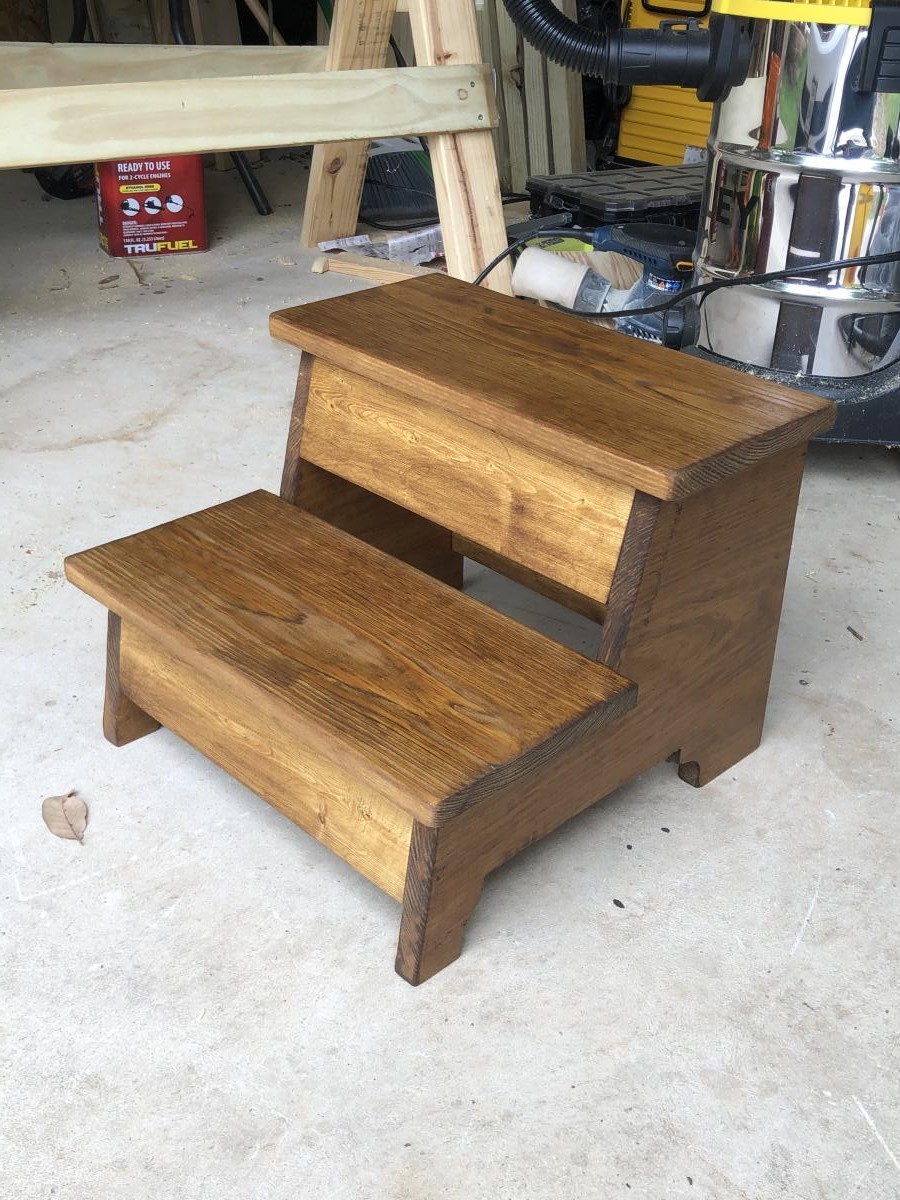
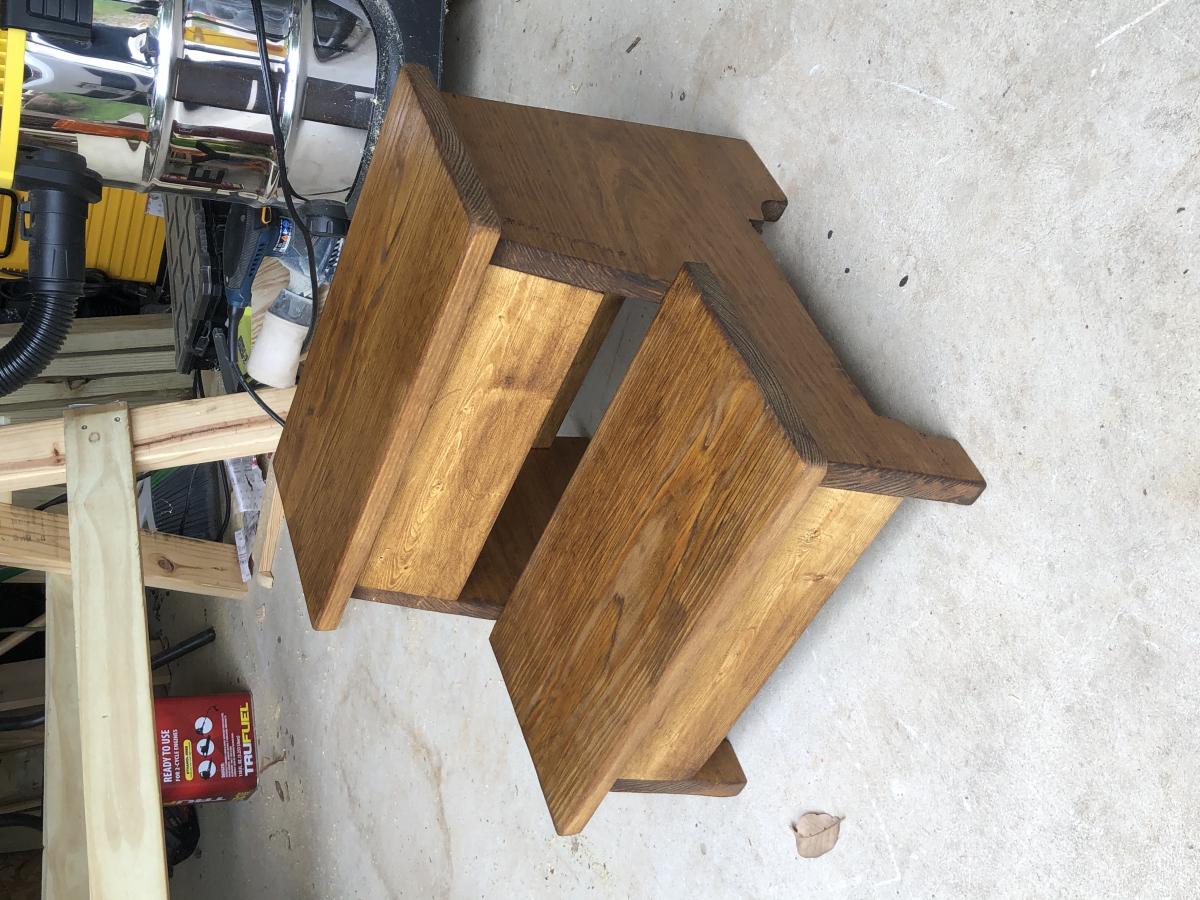
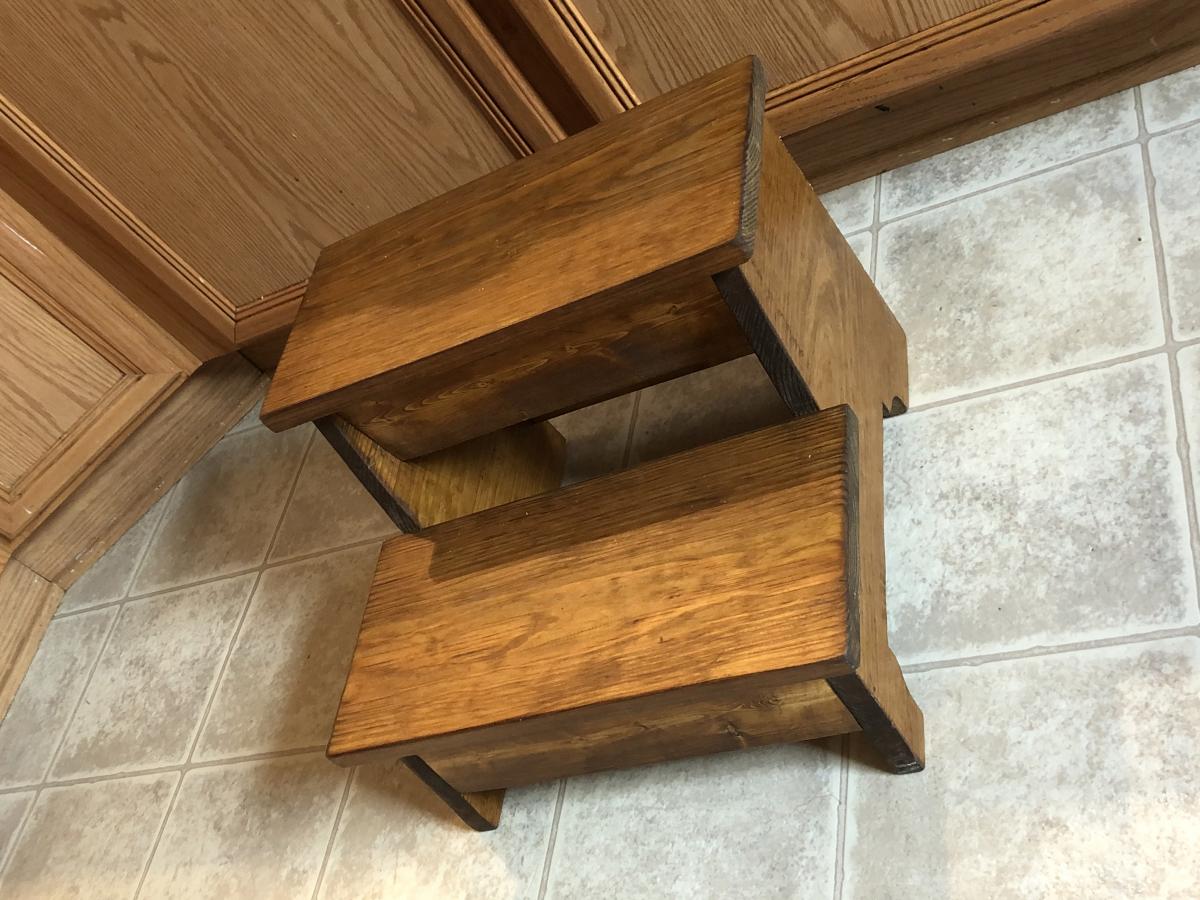
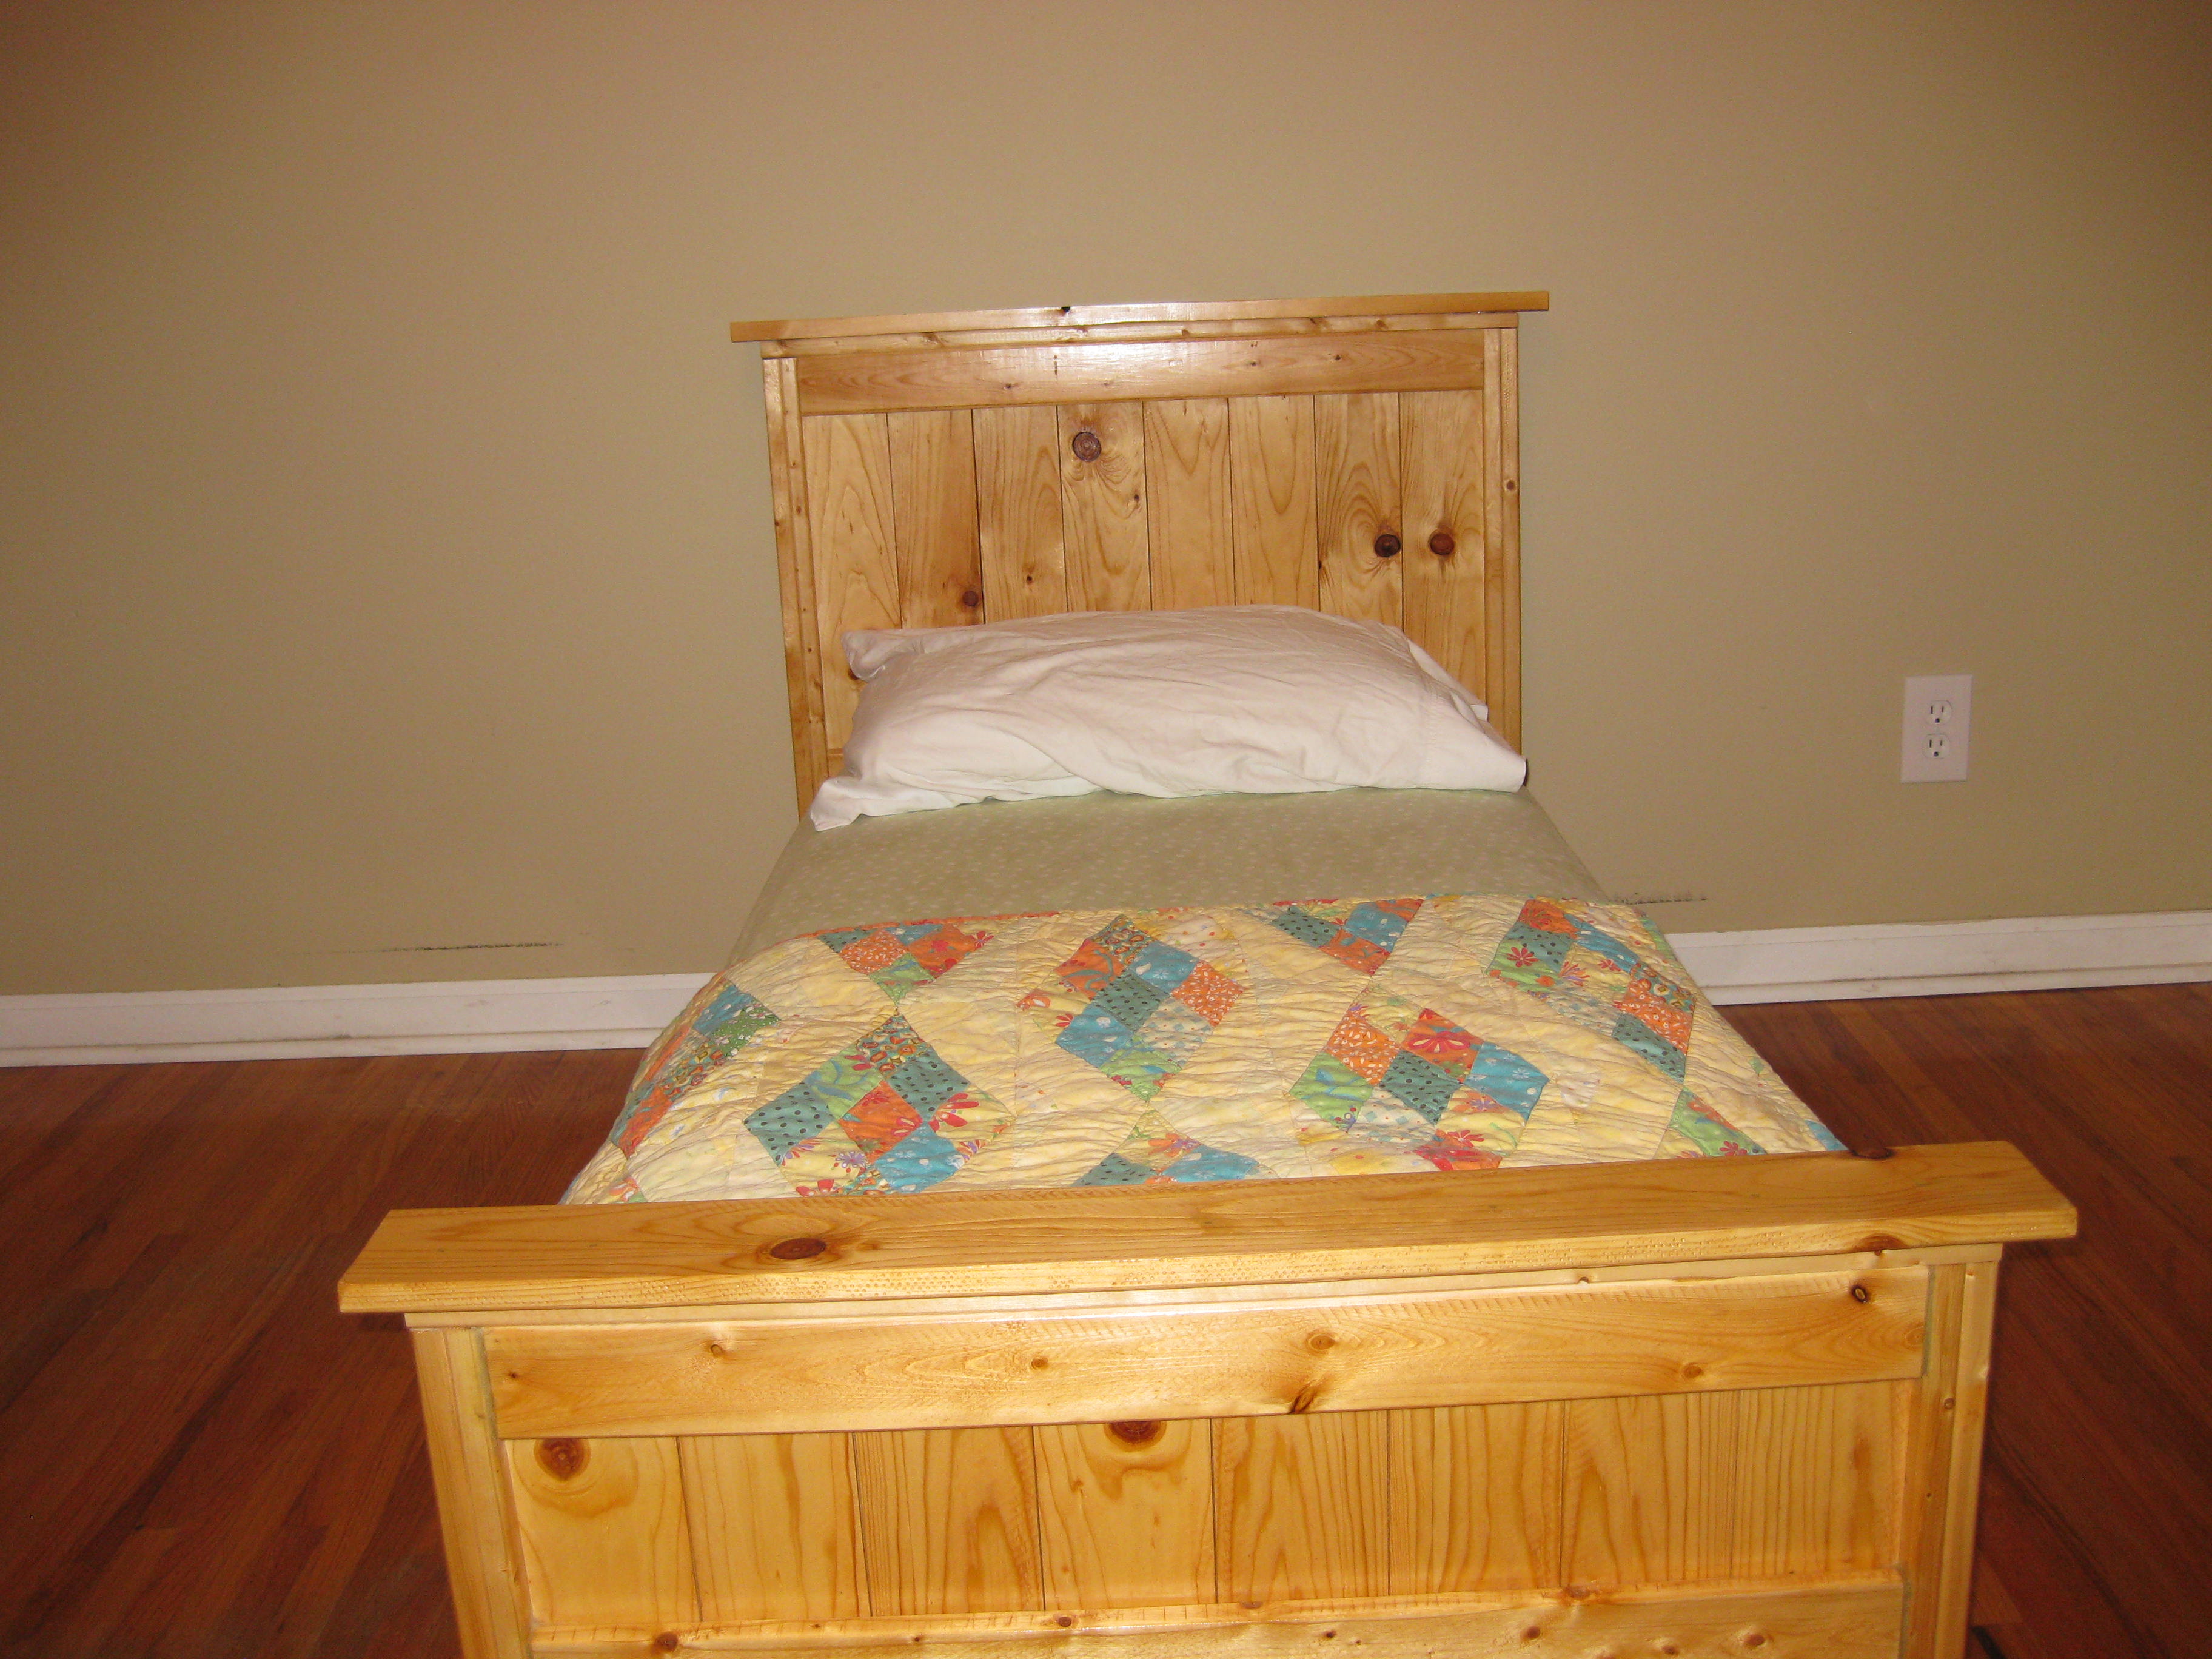
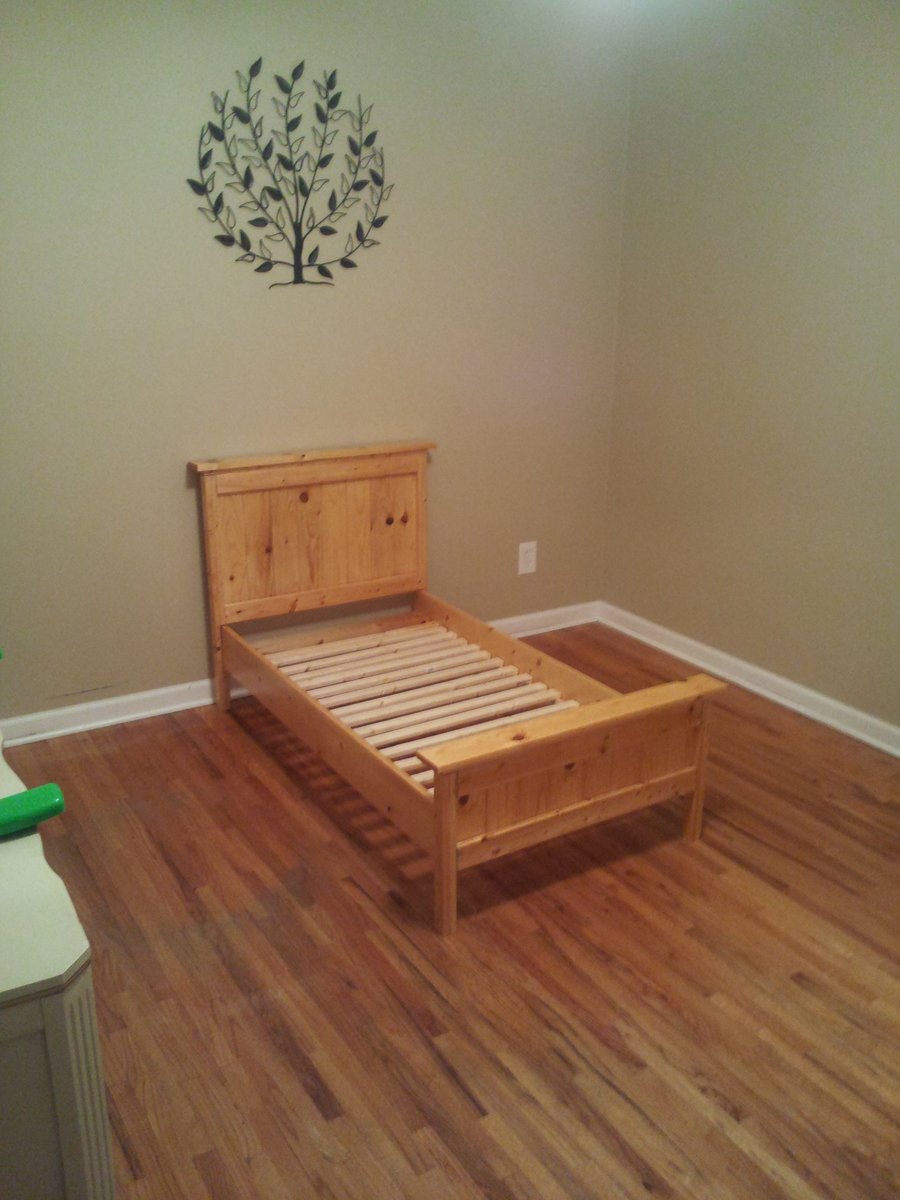
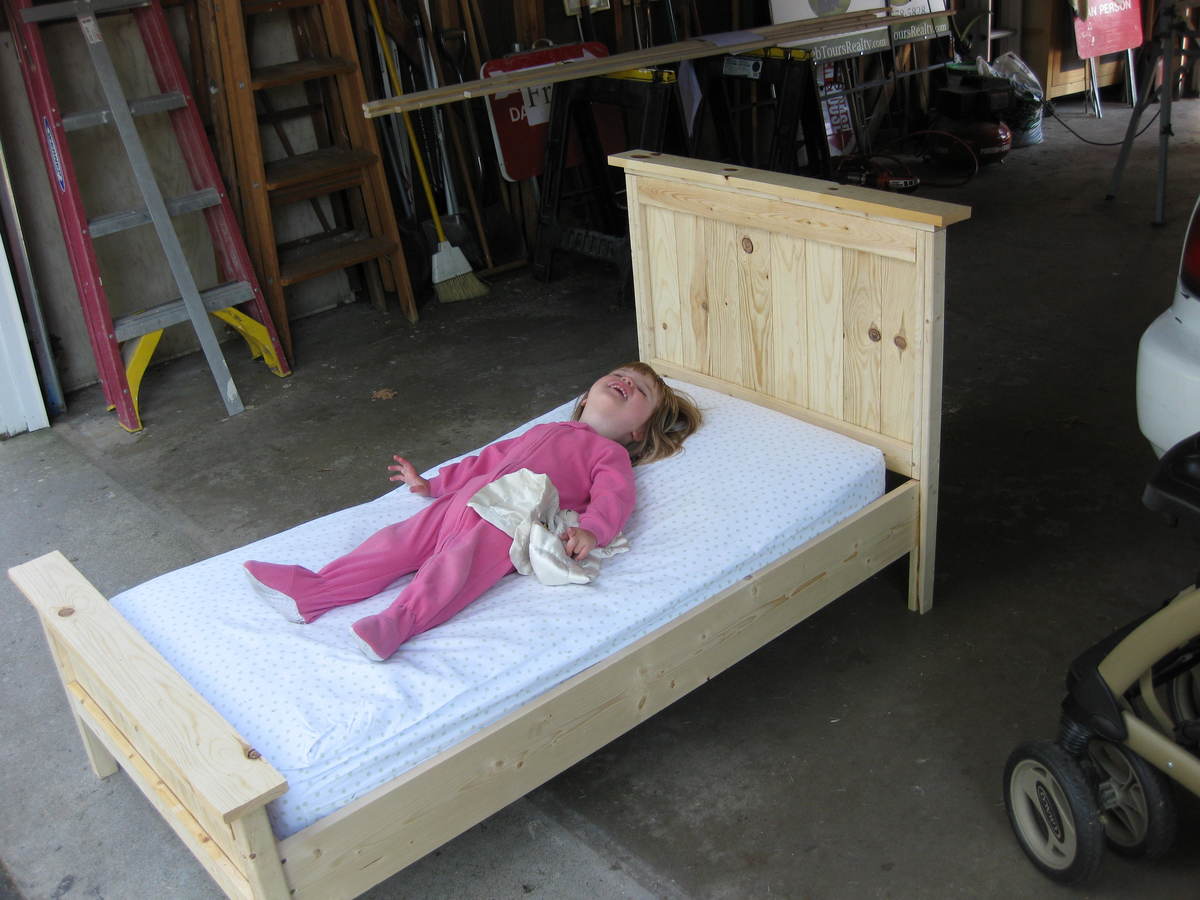
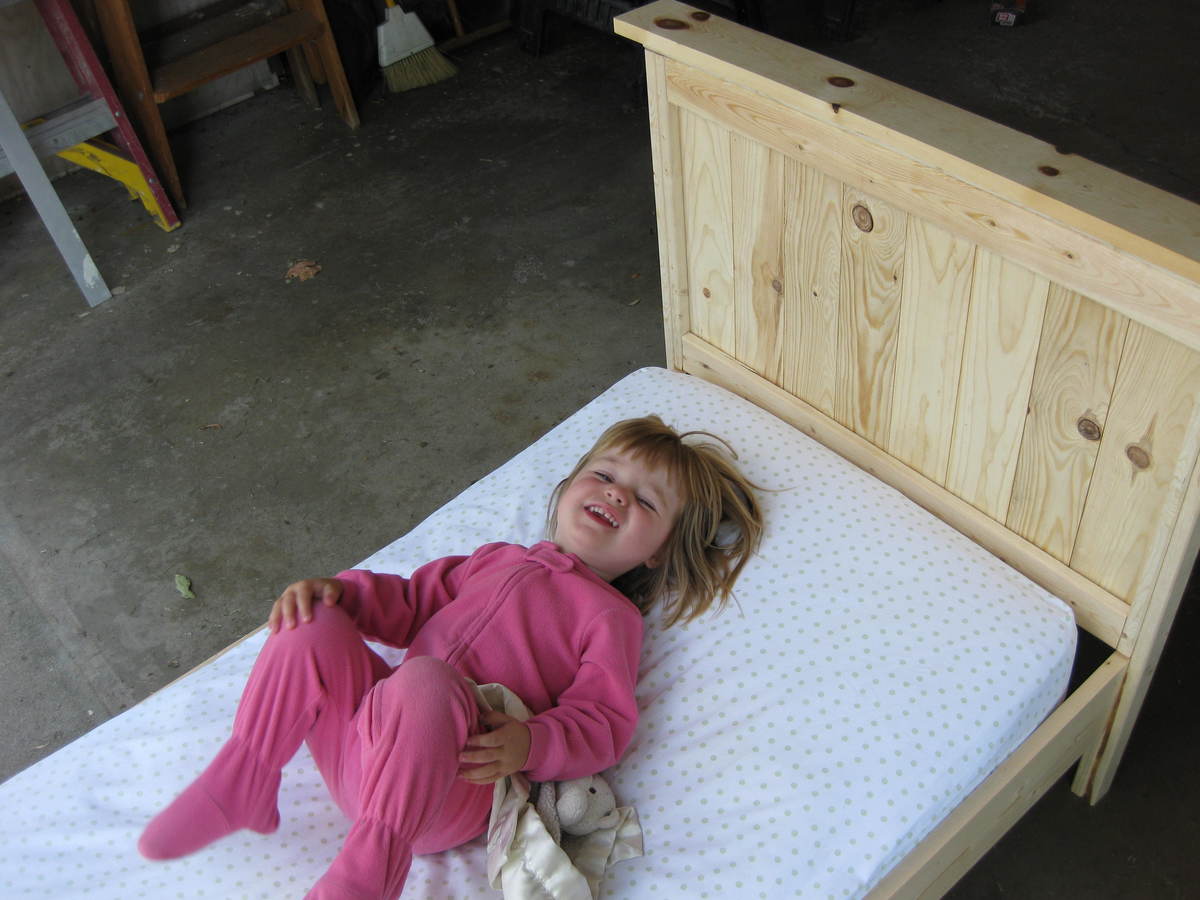
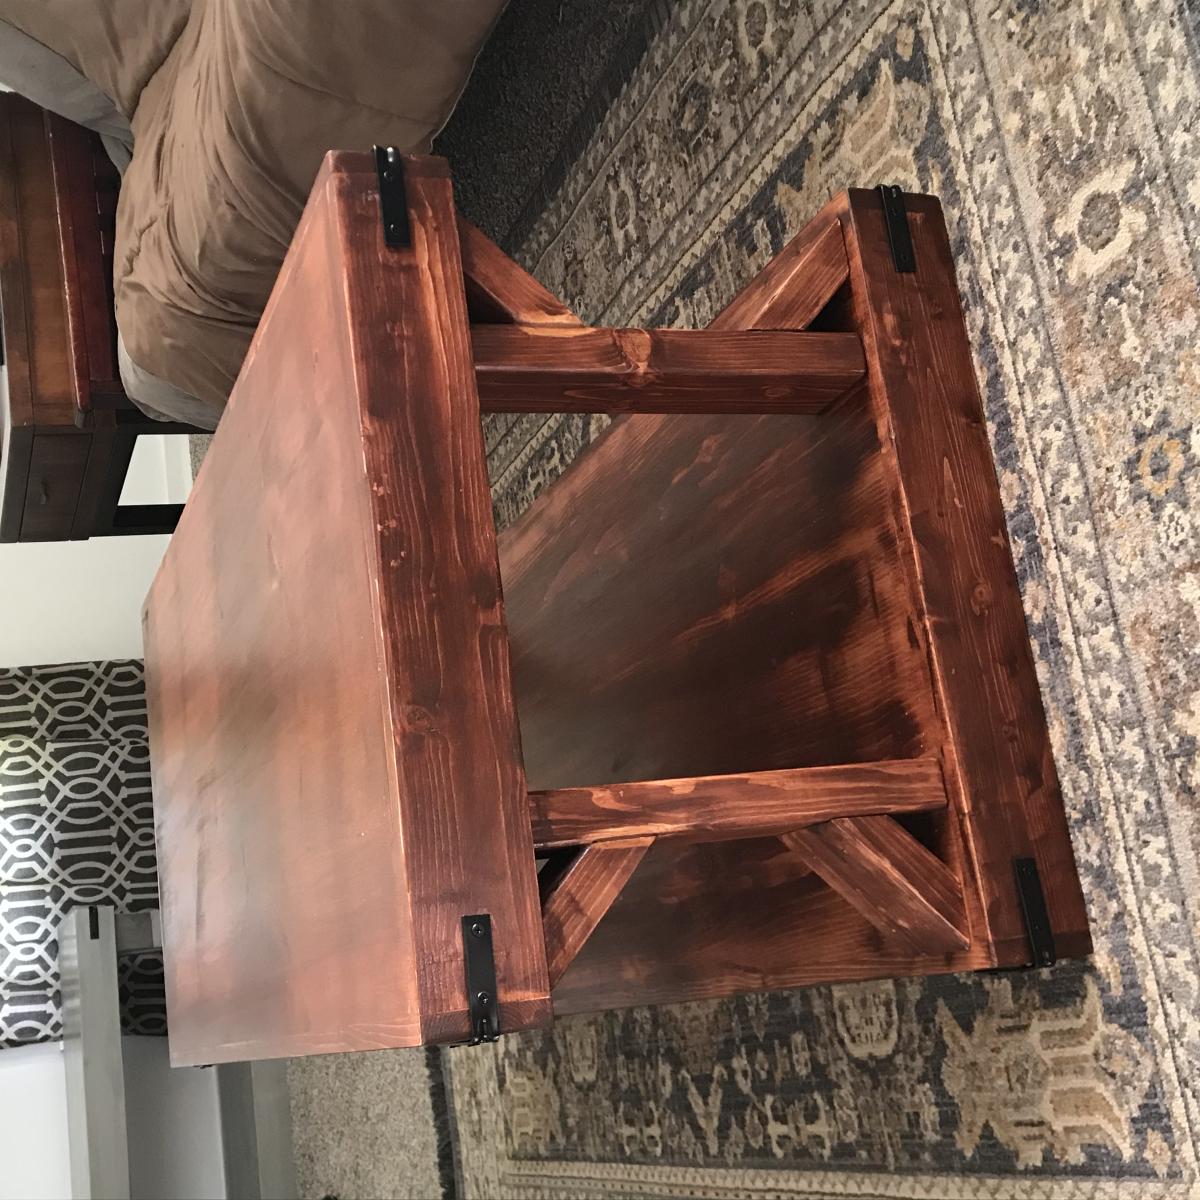
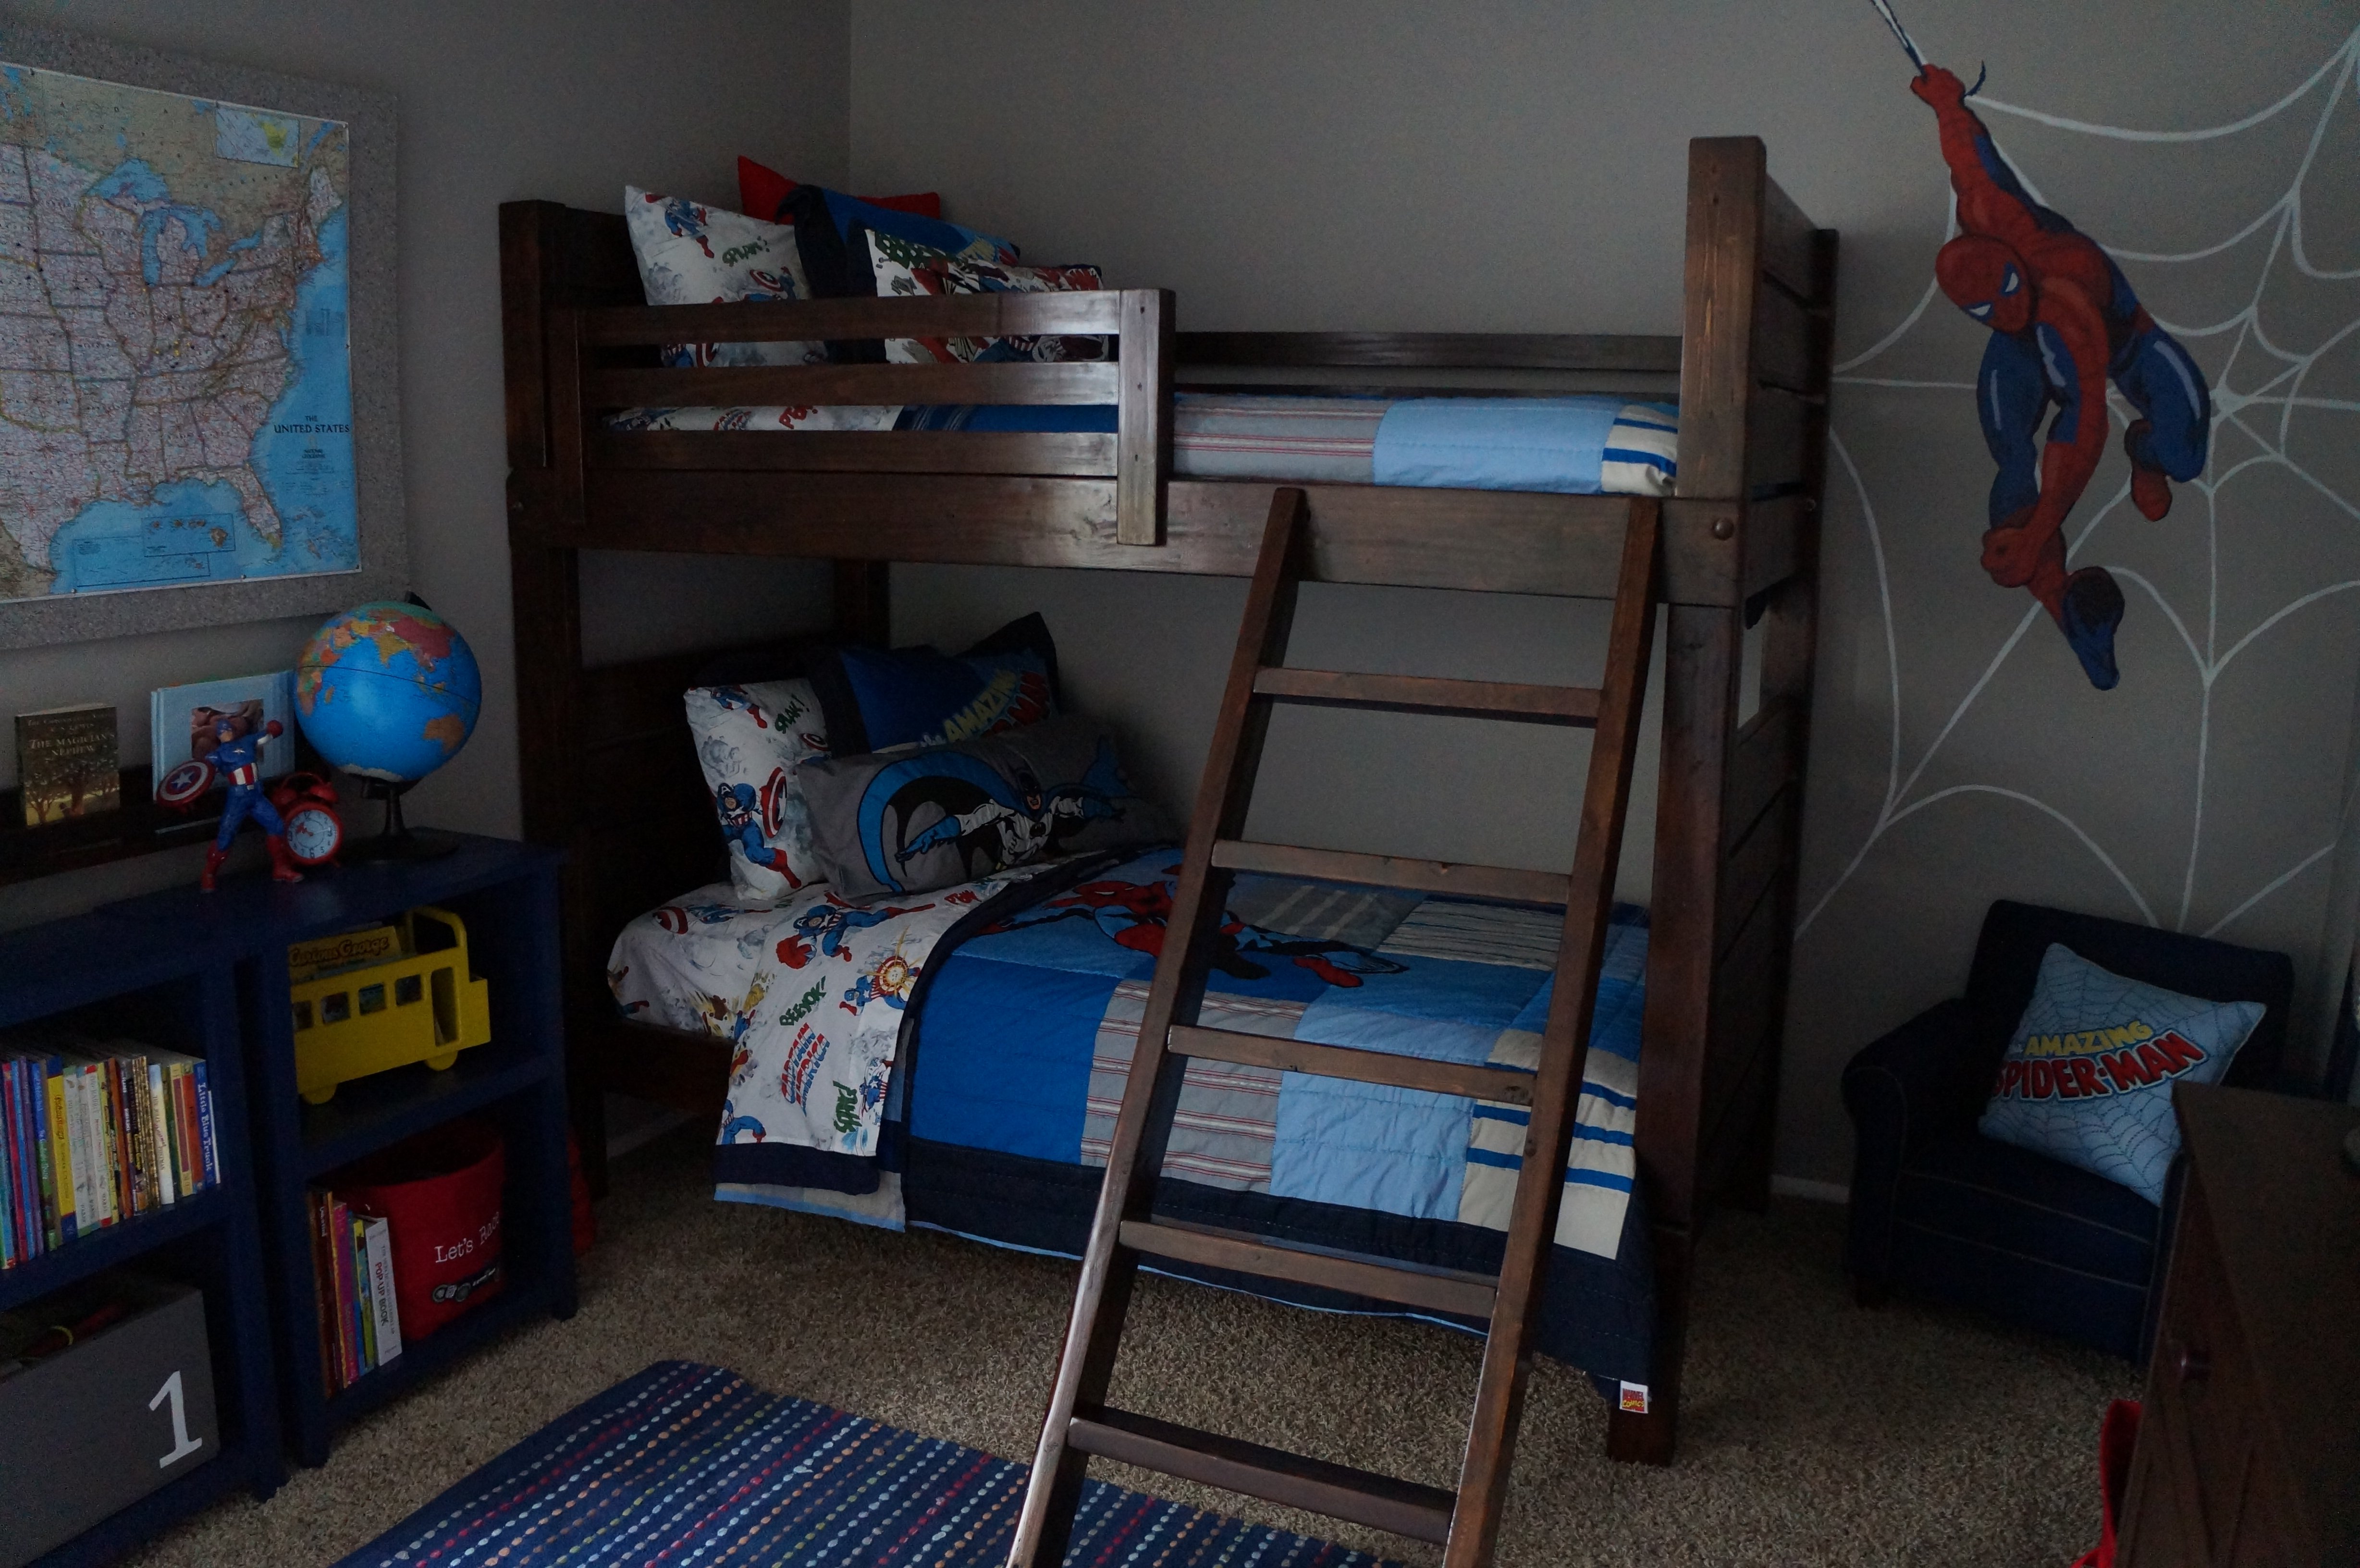
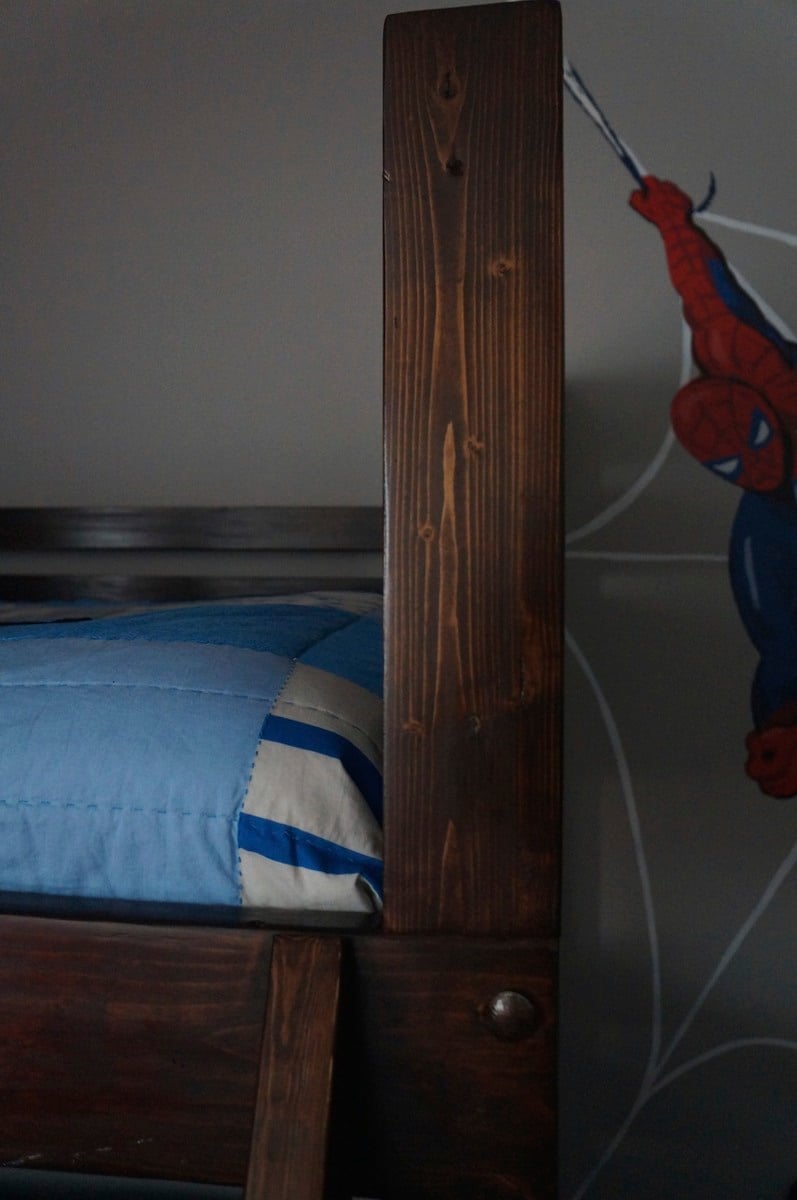
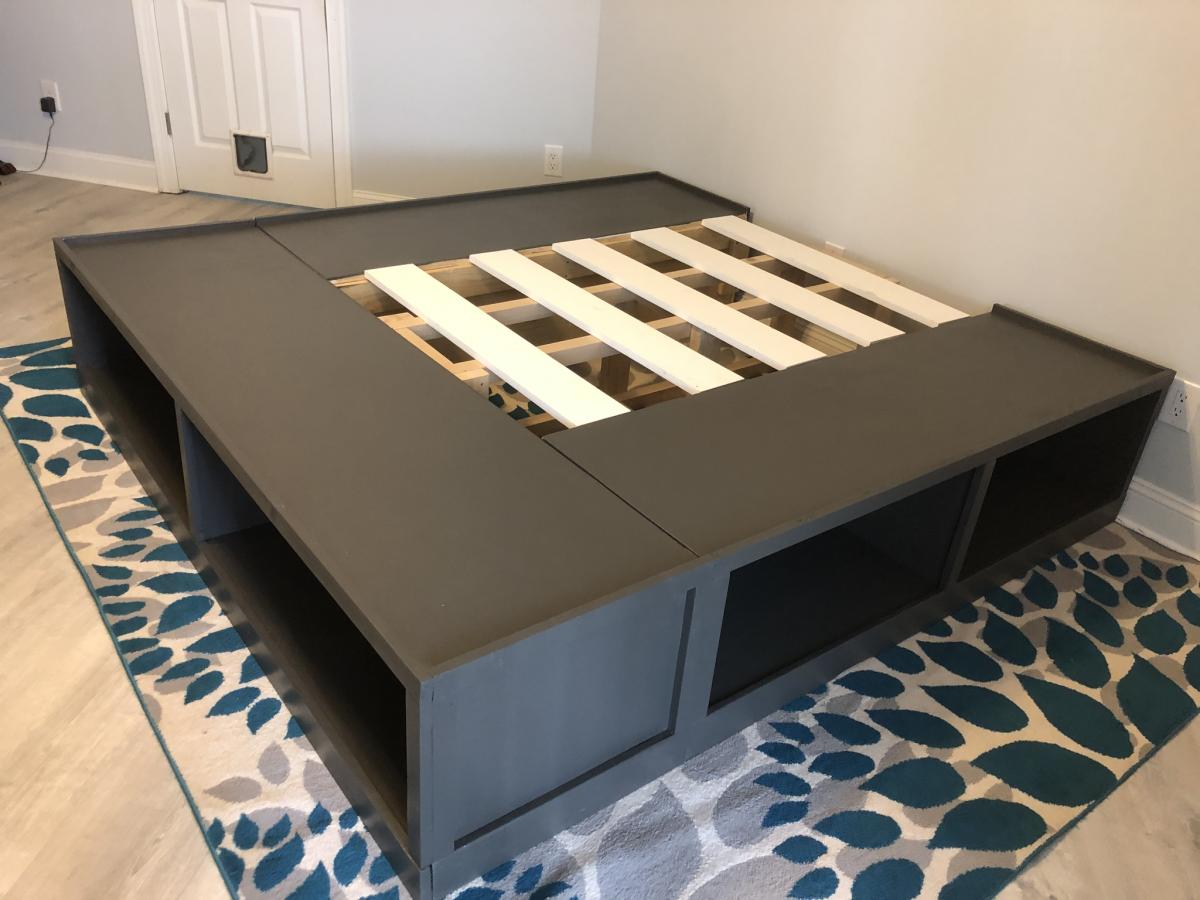
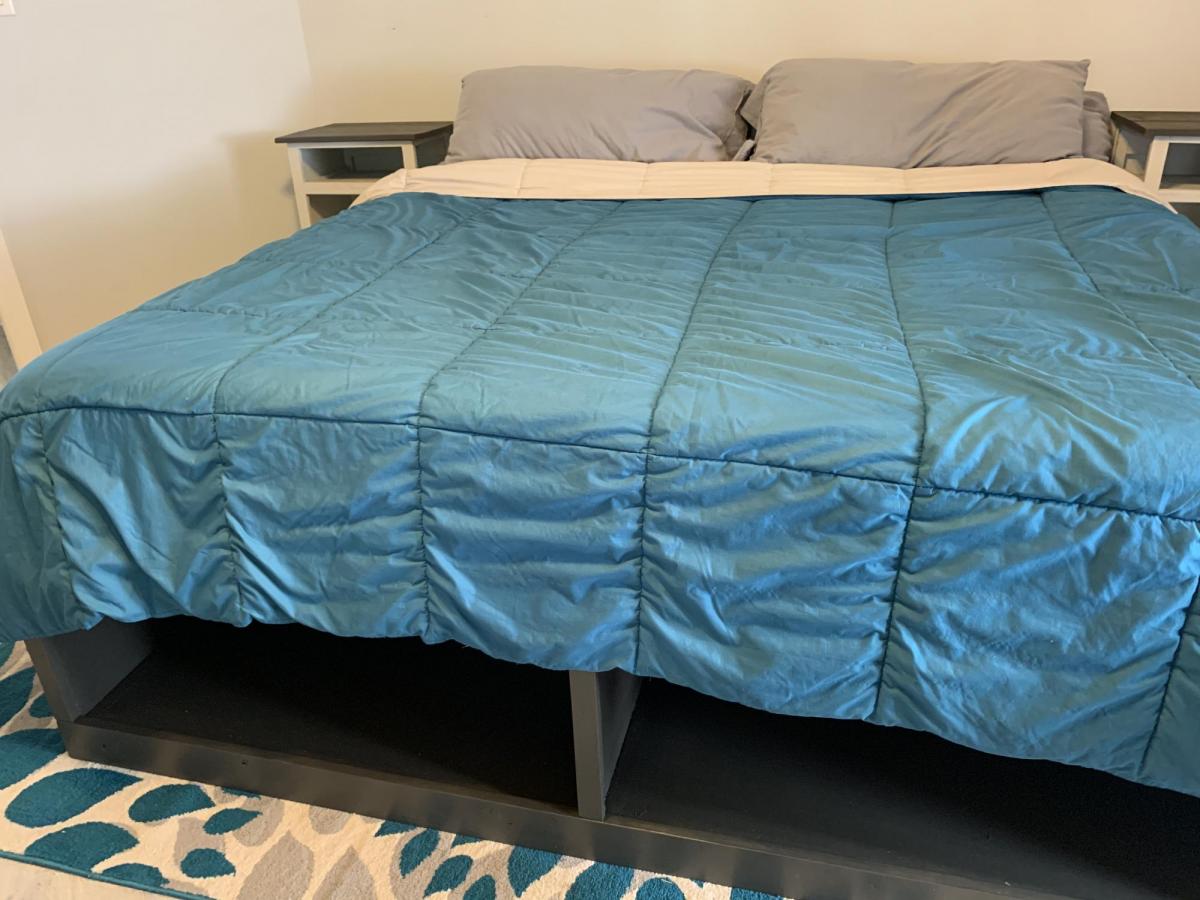
King classic storage bed

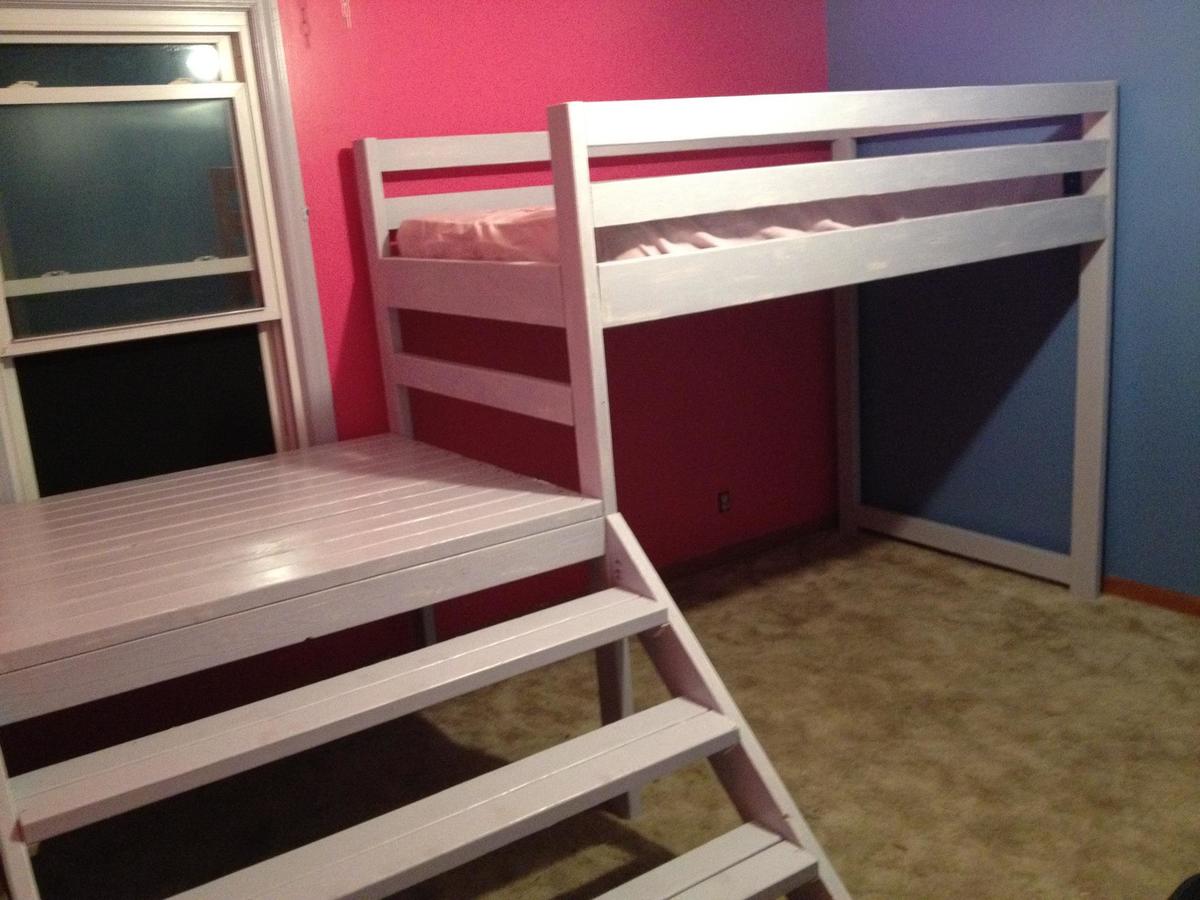
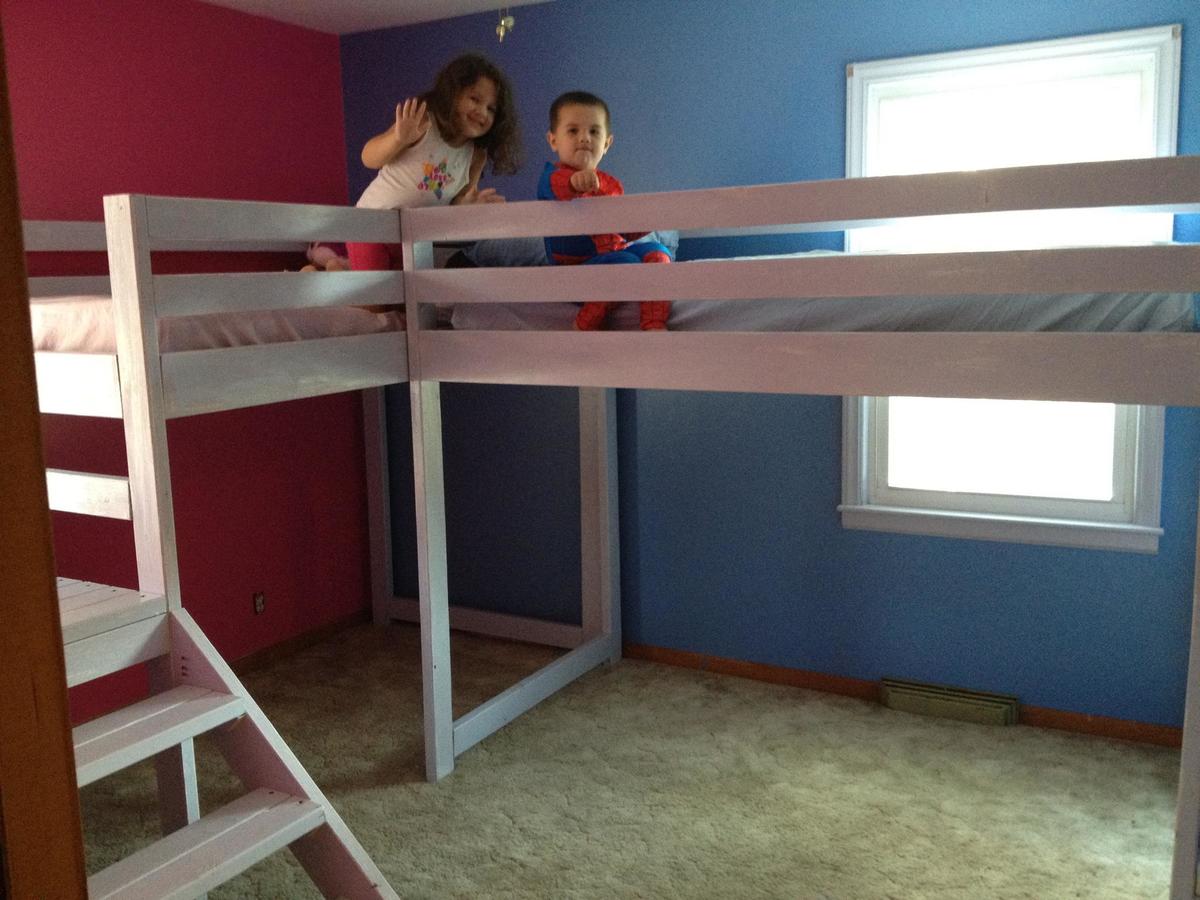
Built fairly close to original plans. Though we did modify slightly to create a slightly taller bed.
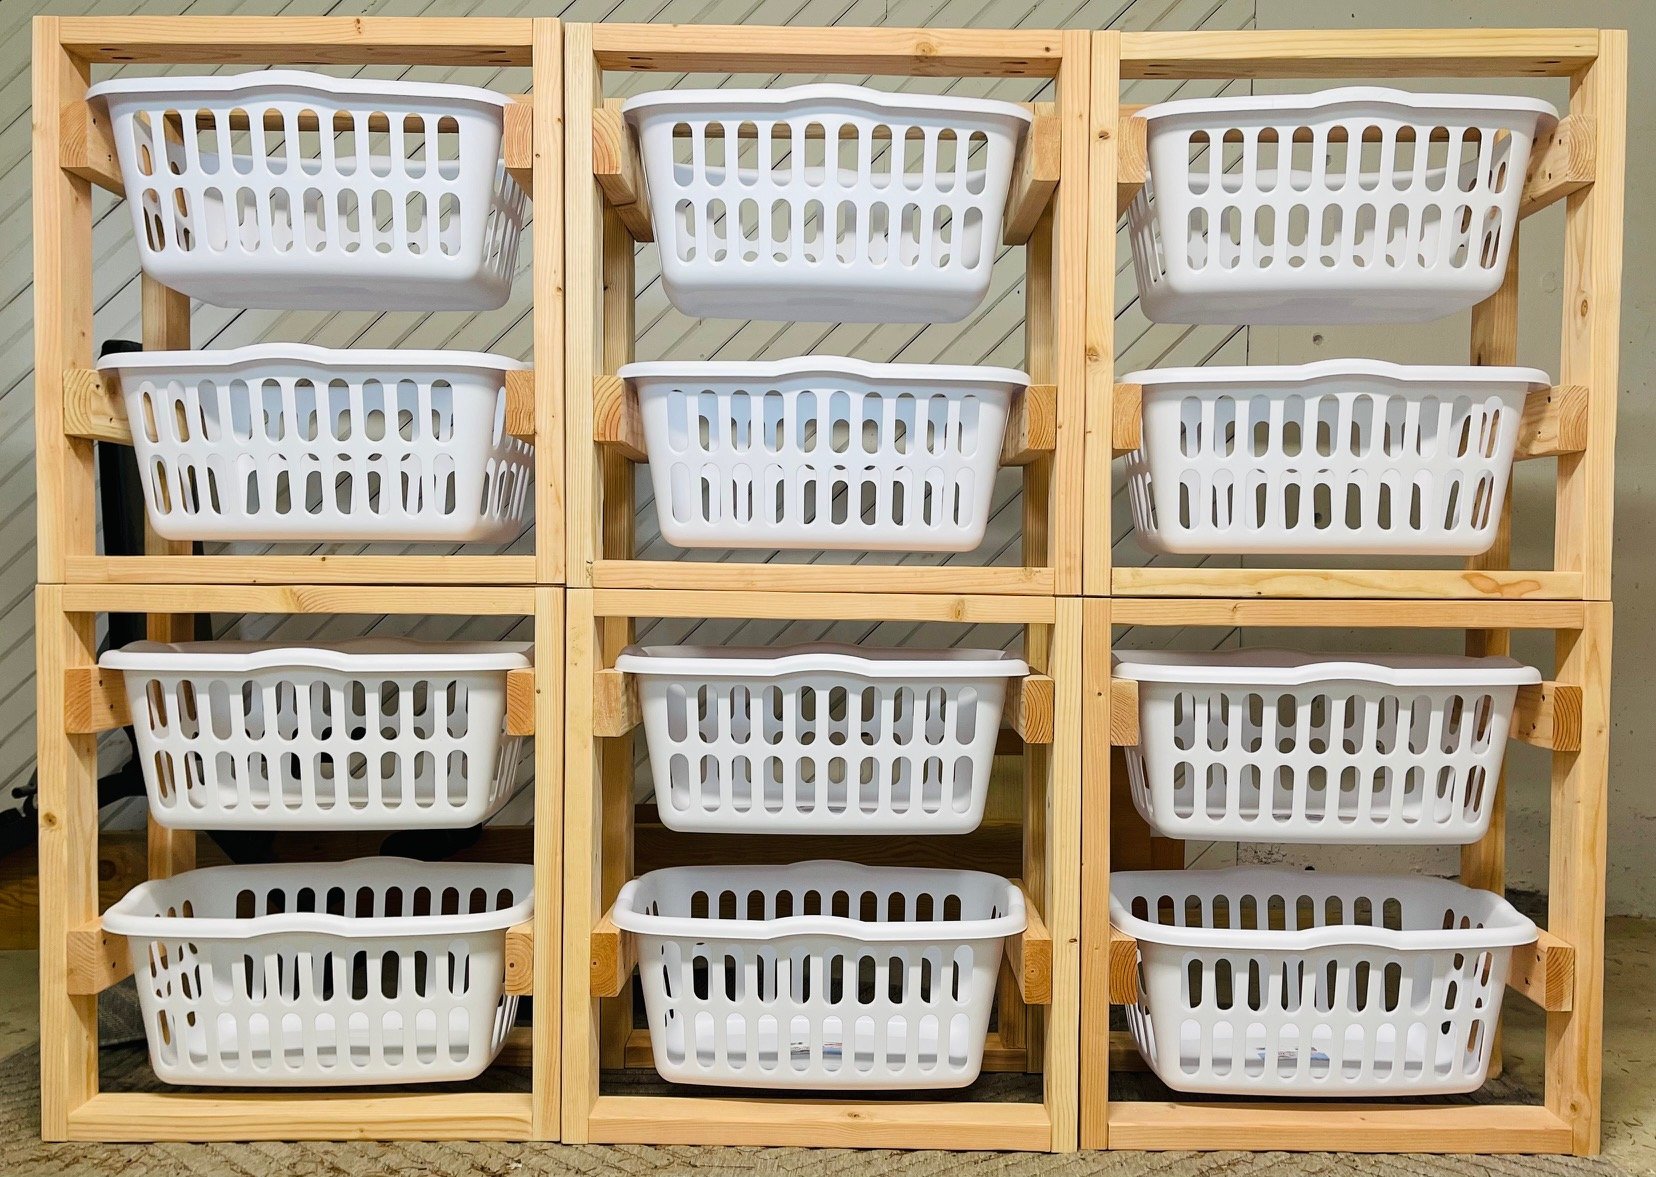
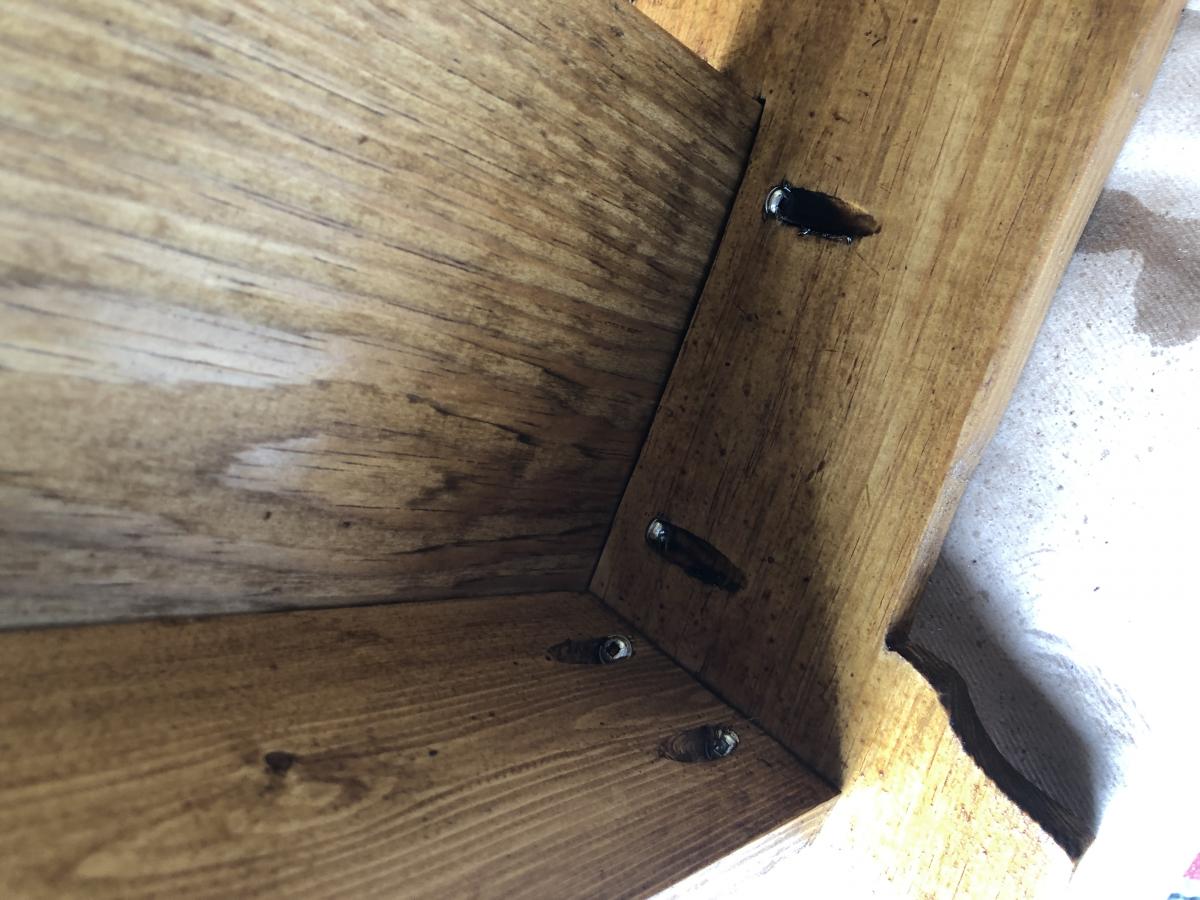
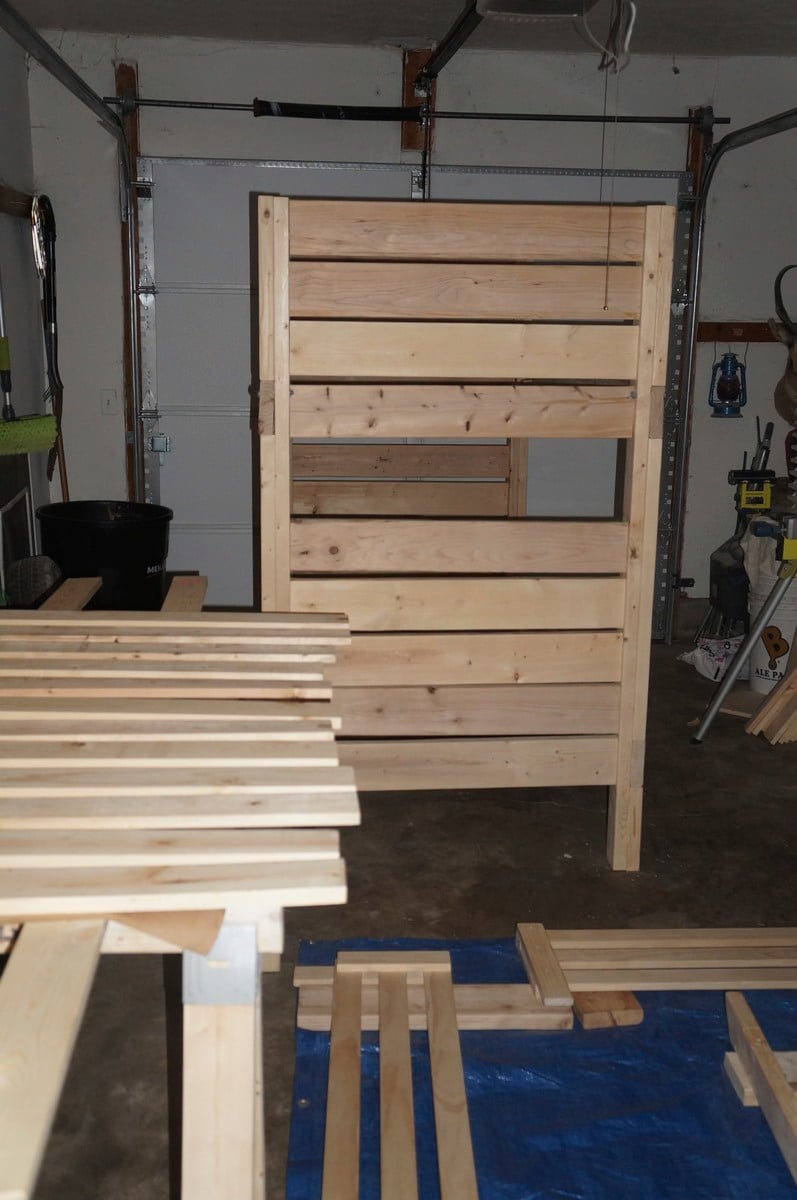
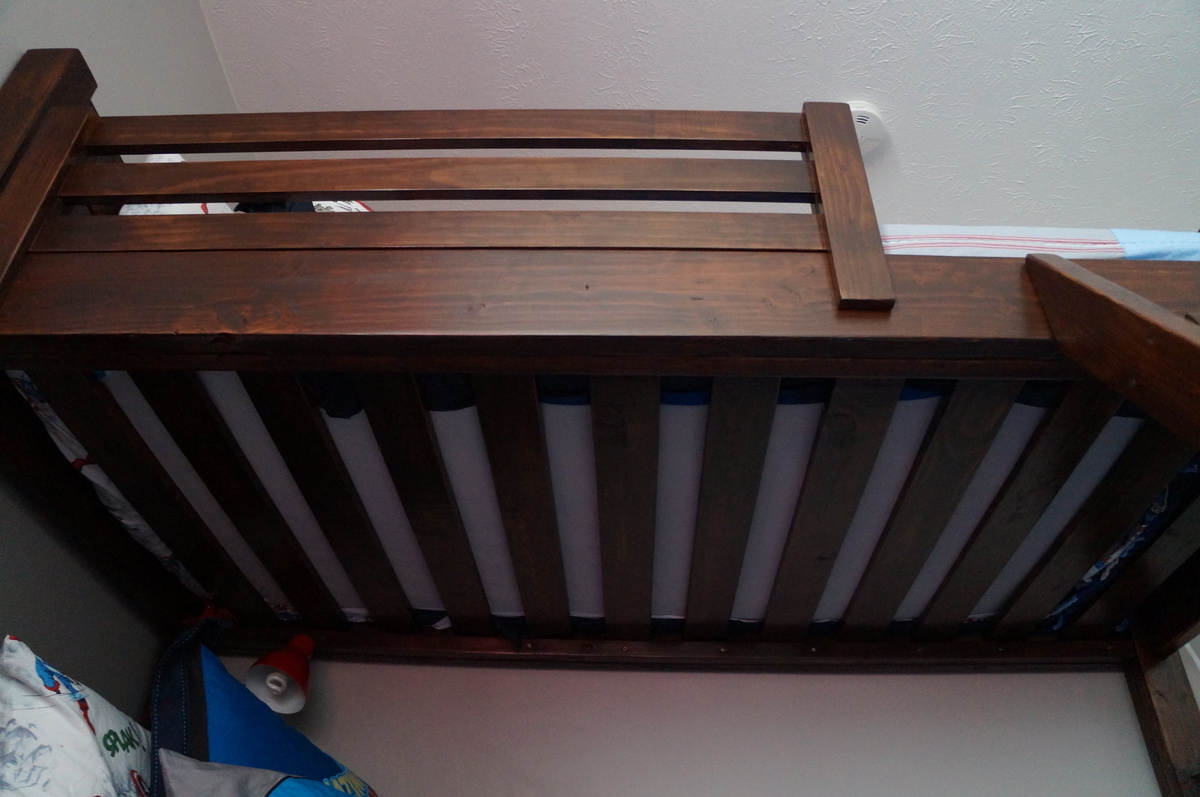
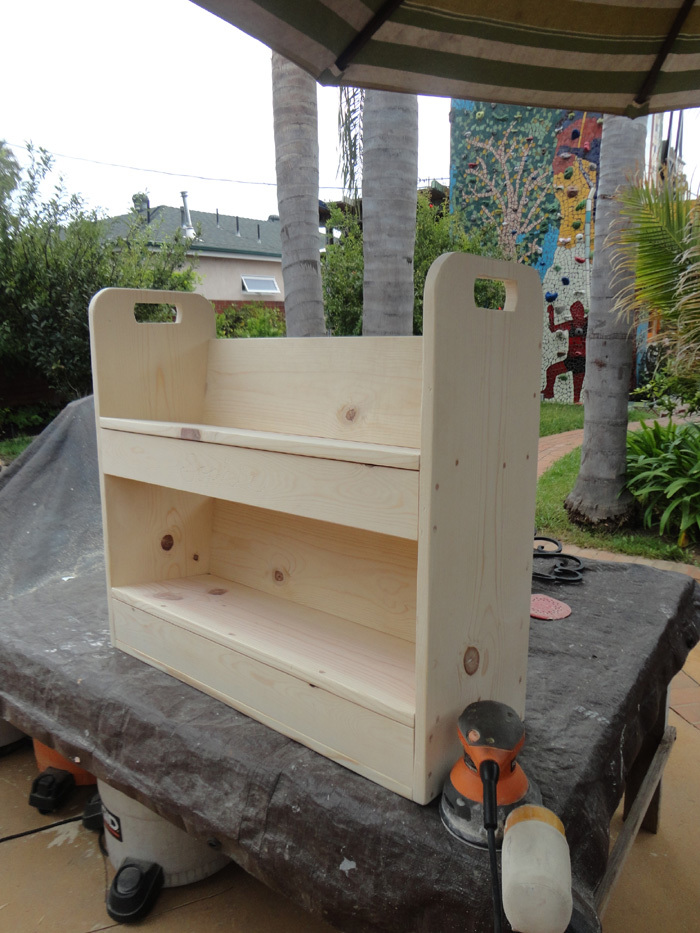
We placed a simple - but sturdy 2x4 frame between the sides. The span seemed a bit wide and we did not want any sagging.
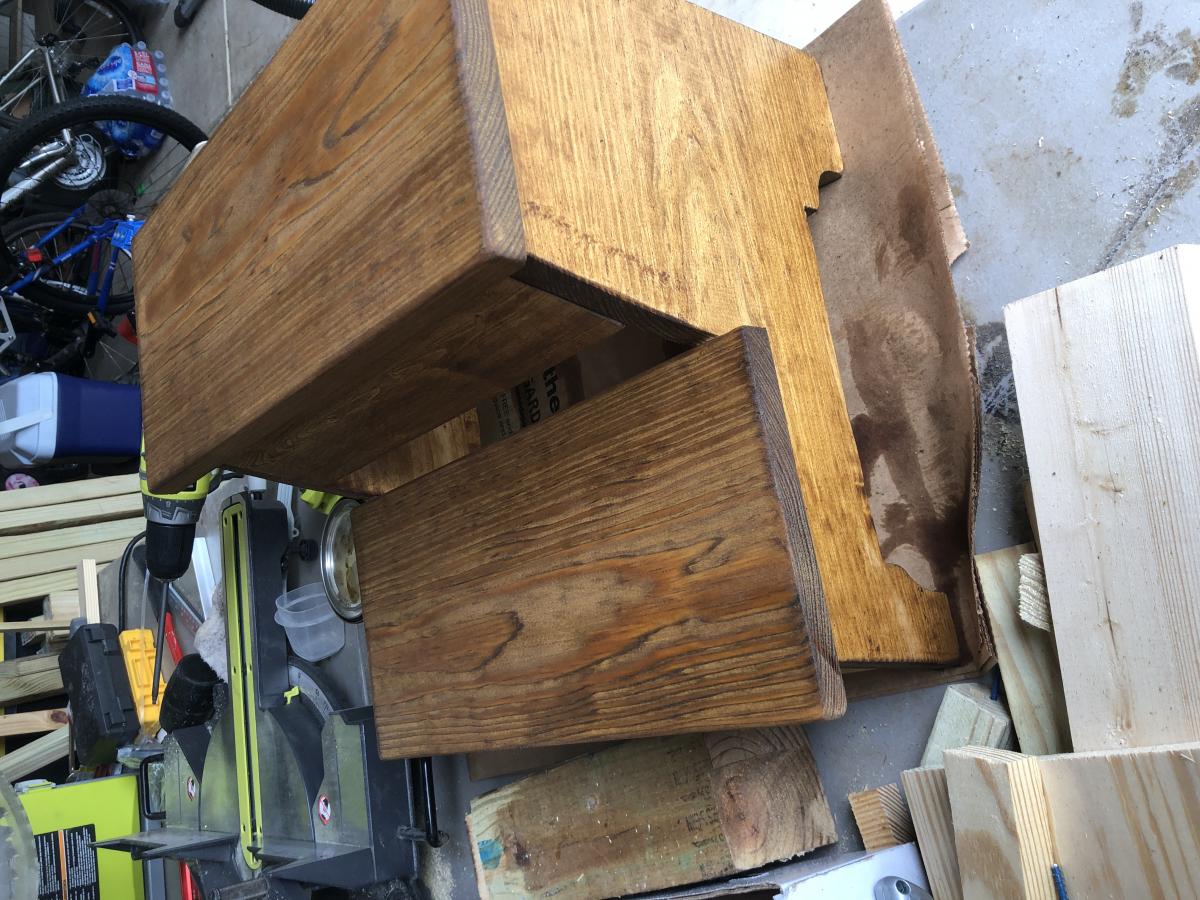
We skipped the optional drawers, instead we will be building lightweight wooden storage crates to fit the storage spaces specifically.
Not a hard project. Though be sure to measure twice before you cut. 🤣
Built from Plan(s)
Estimated Time Investment
Weekend Project (10-20 Hours)
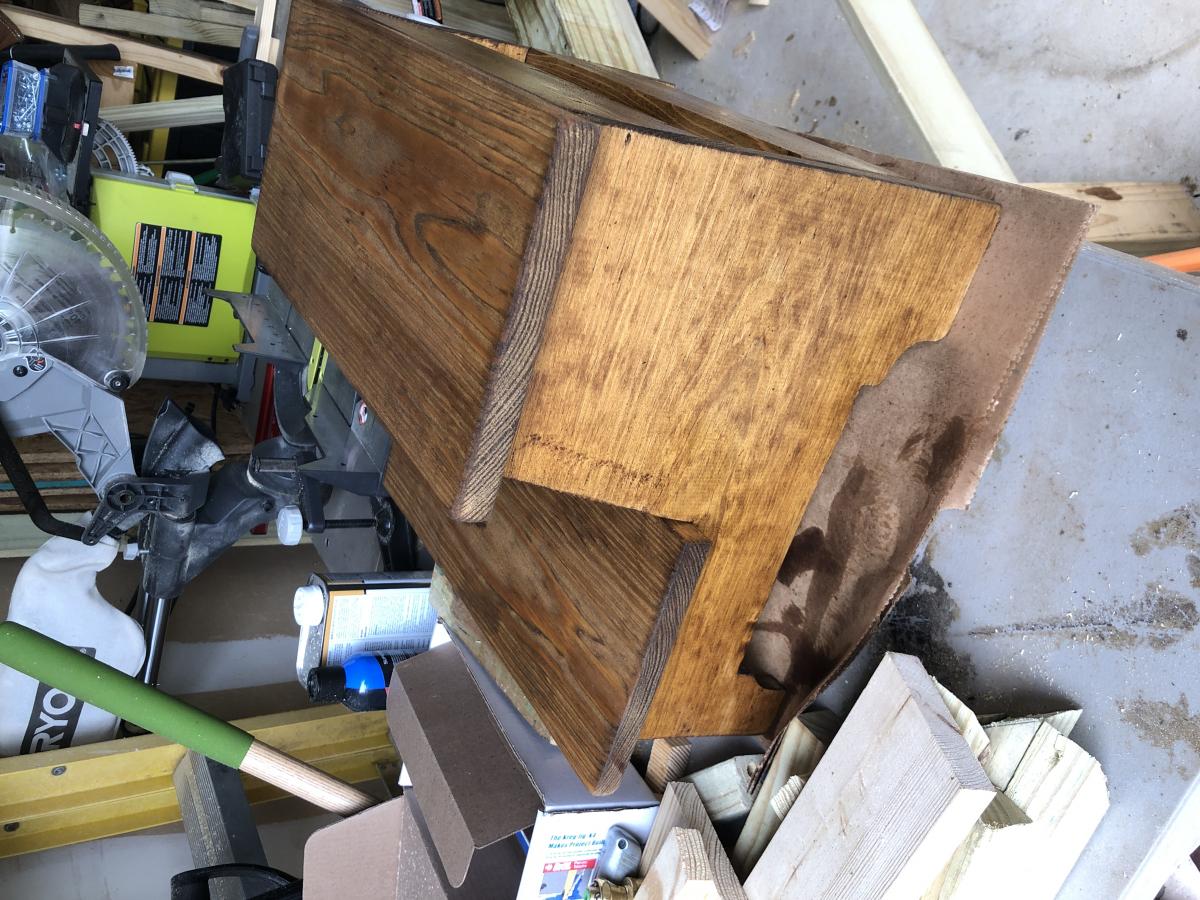
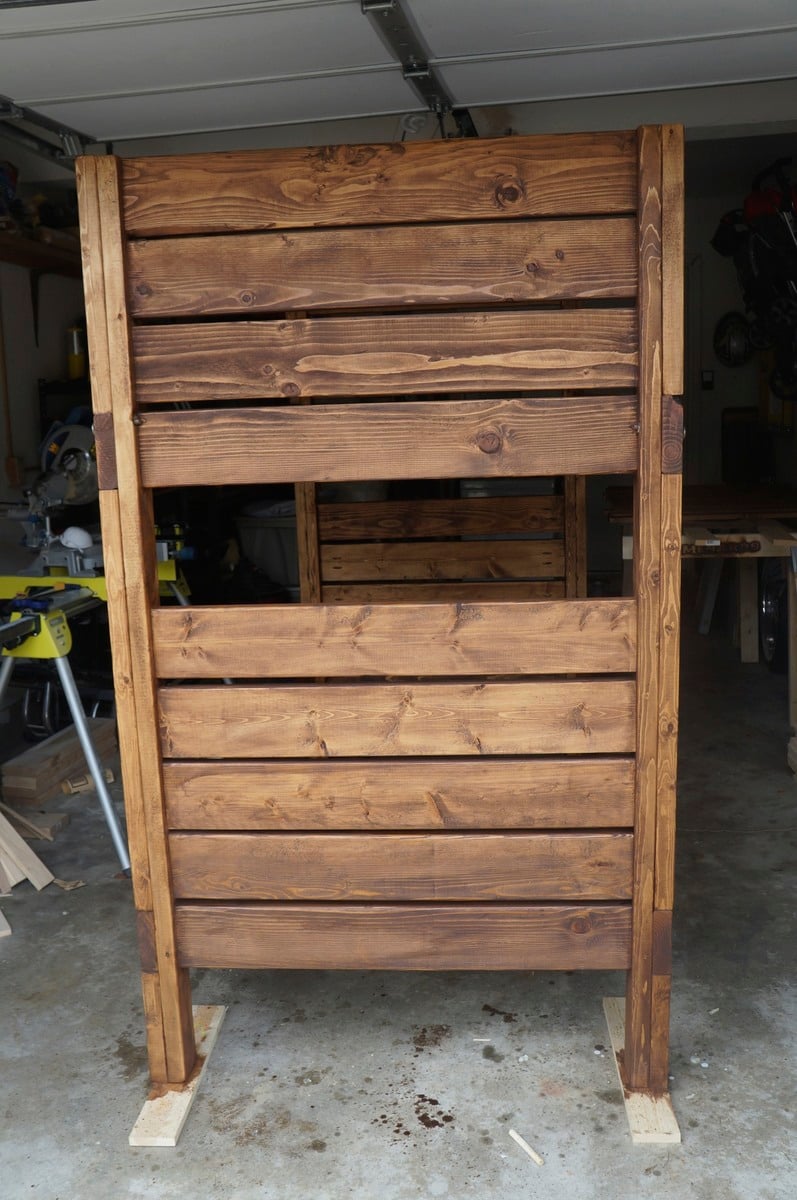
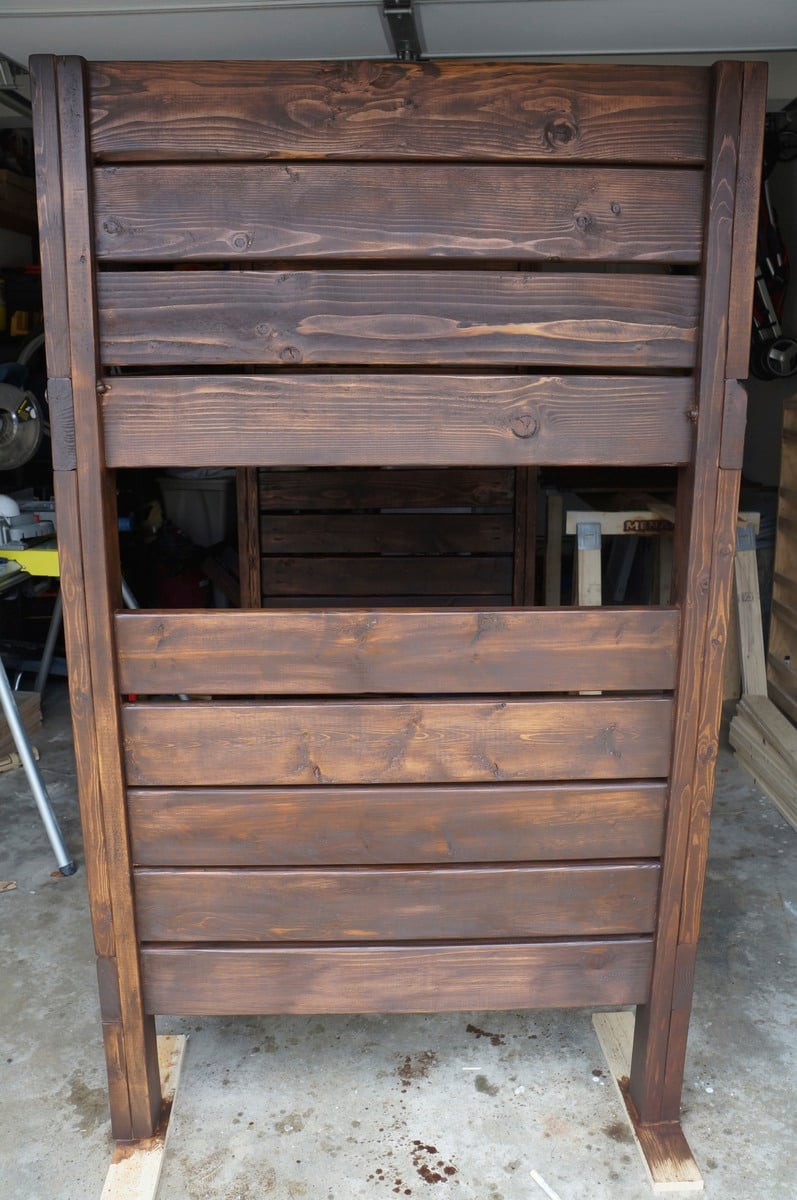
Finish Used
VALSPAR SIGNATURE INTERIOR PAINT & PRIMER in ebony field.
Recommended Skill Level
Intermediate