Farm house media cabinet
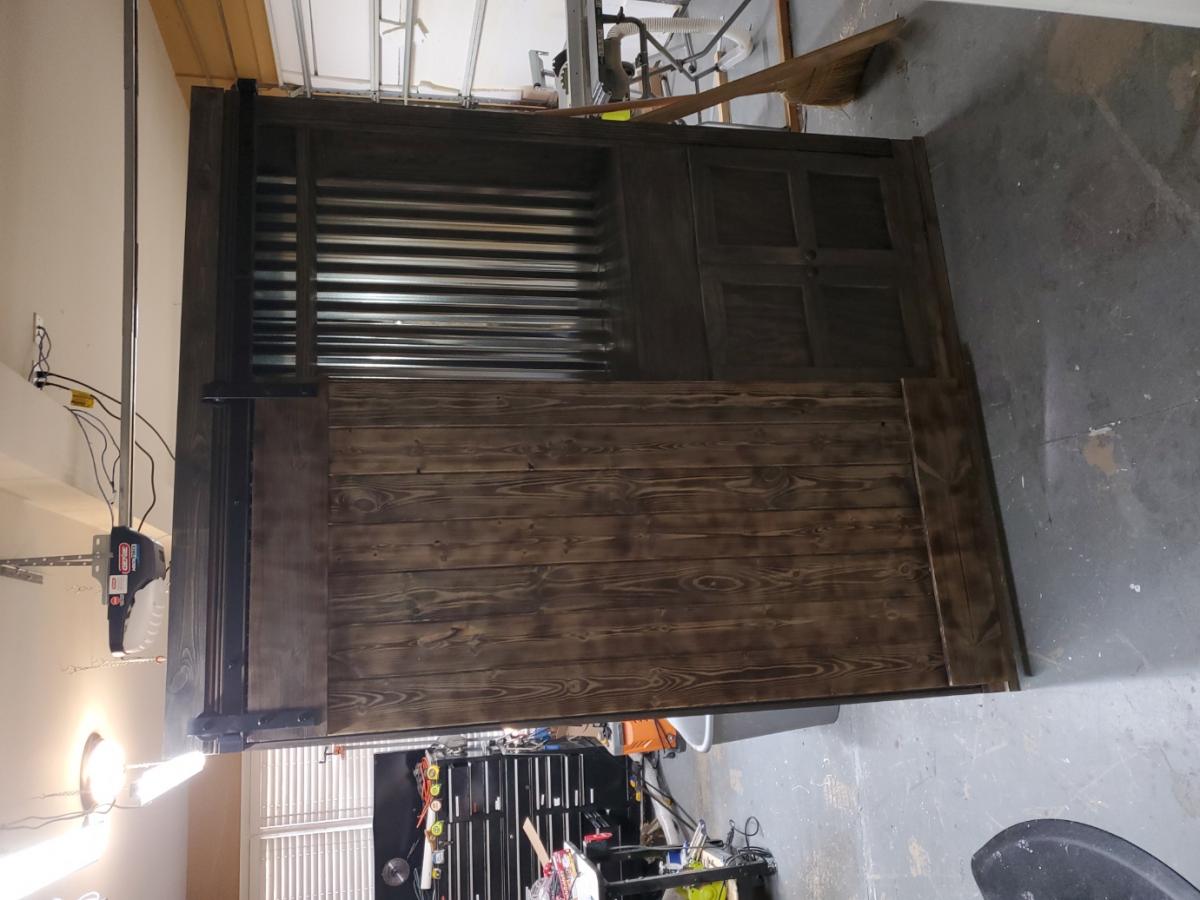
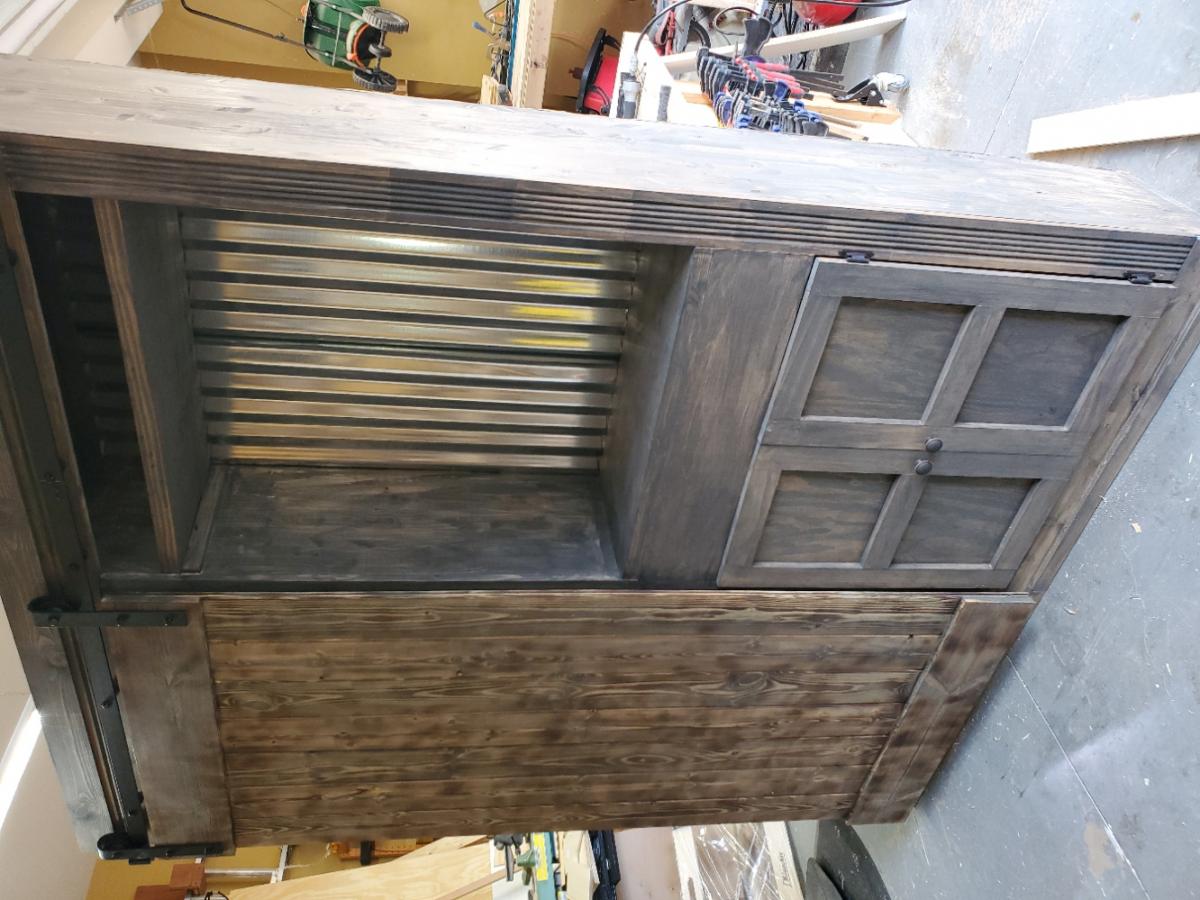
Followed the plans on the site but made it 3" wider to better fit our electronics.
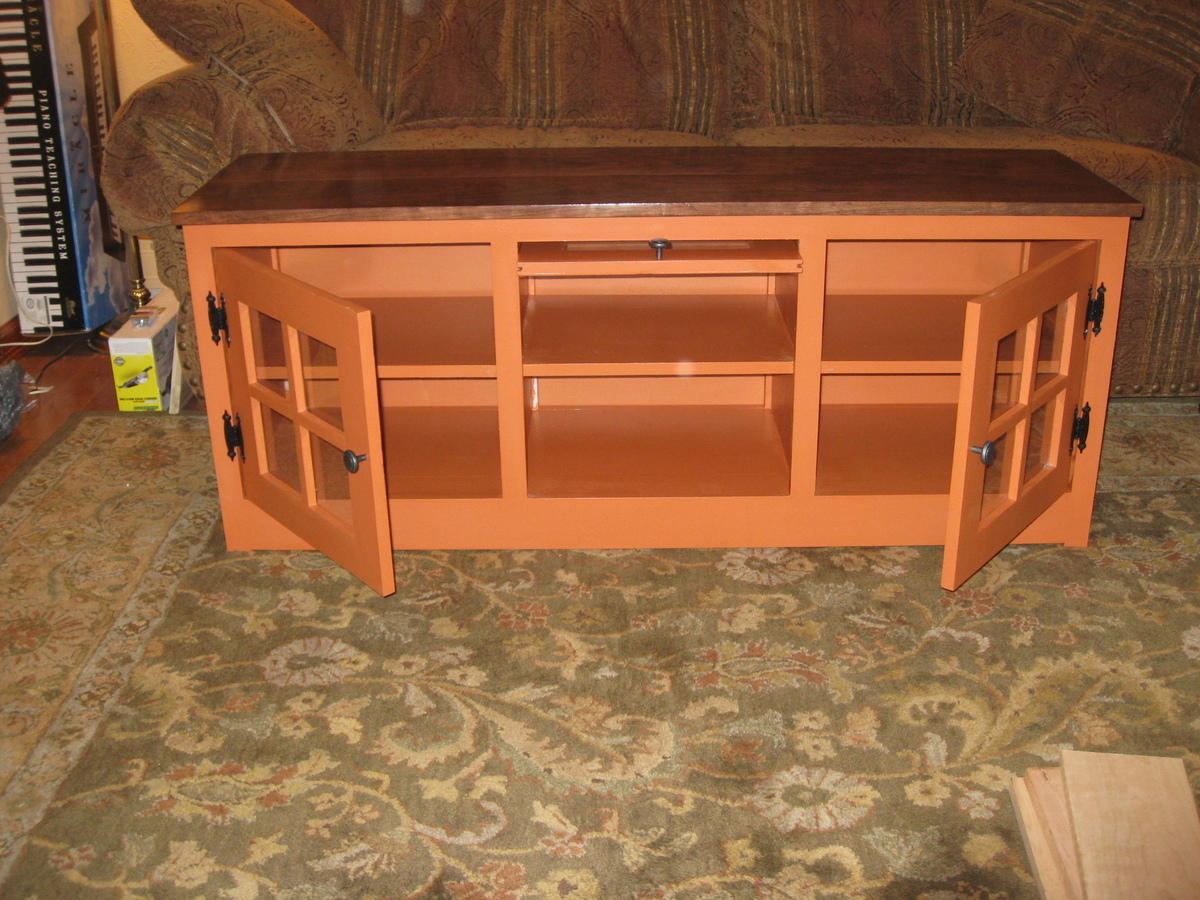
Followed the plans on the site but made it 3" wider to better fit our electronics.

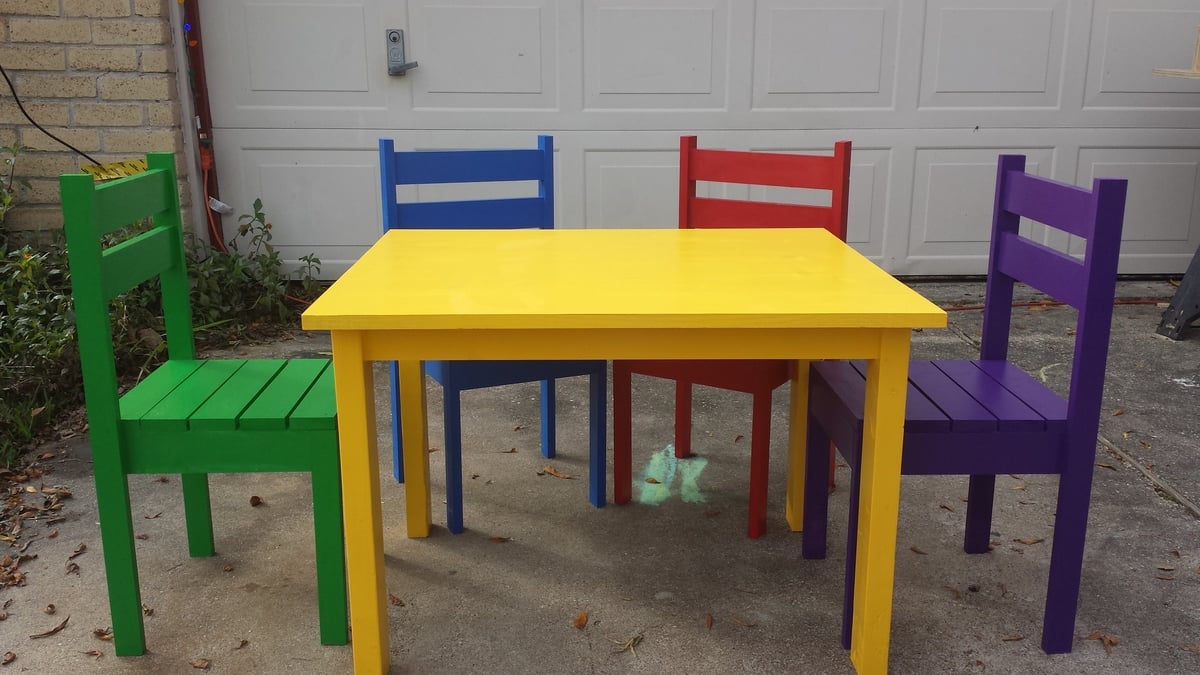
built for my mother, for all the grandkids
Made a couple of mods because I didn't want shelves on the two ends and changed to "z" doors. I had a welder make the hardware.
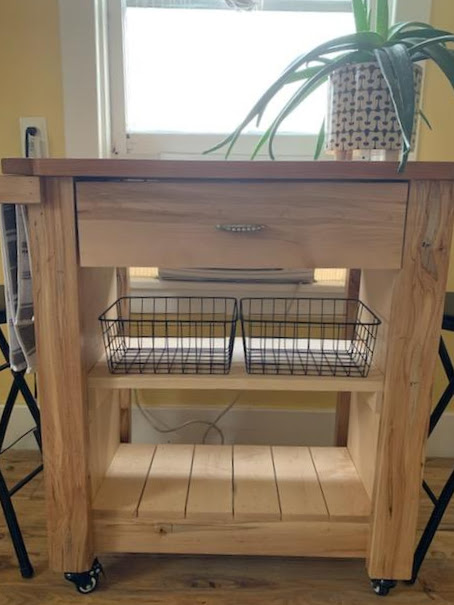
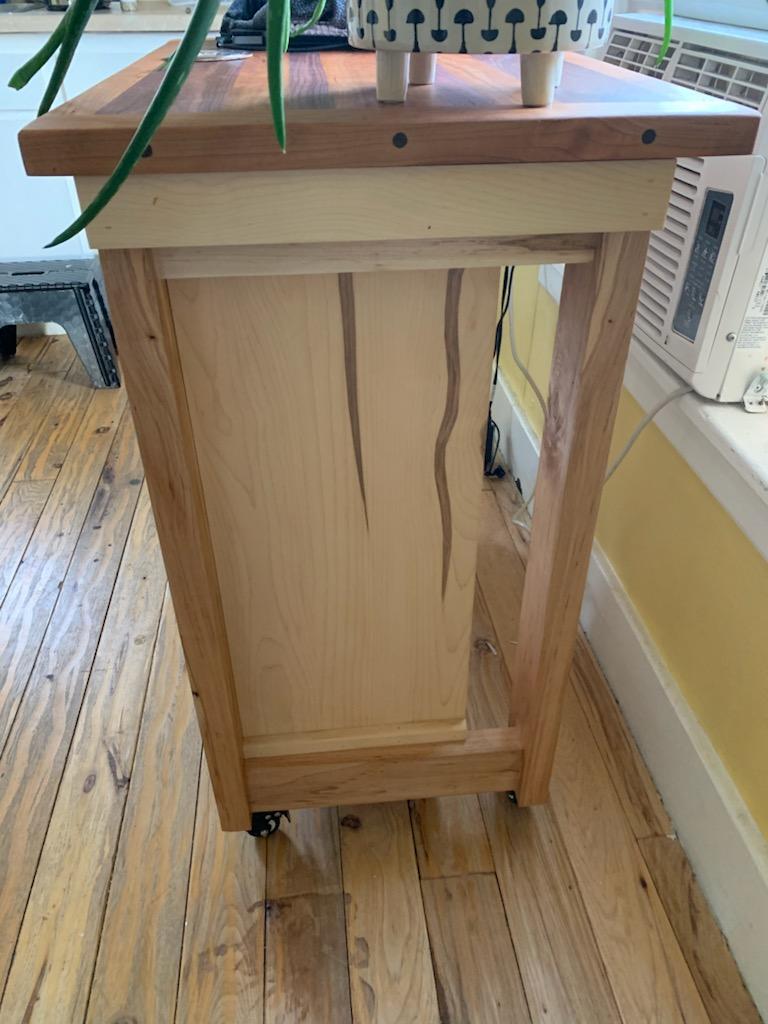
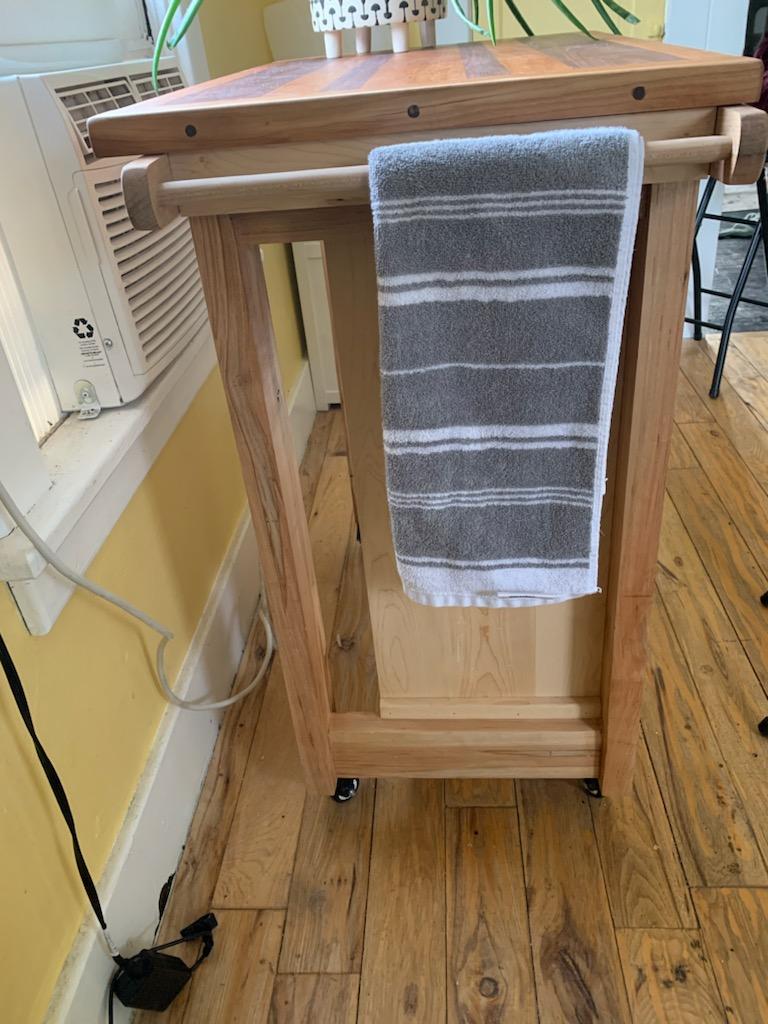
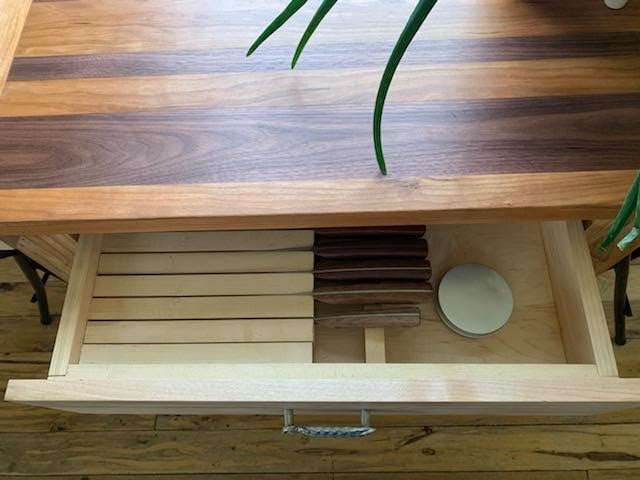
Used your plan as a base to make this kitchen island for my daughter. It is made from ambrosia maple and soft maple, has an integrated knife block in the drawer (also from one of your plans), and has a cutting board top made out of cherry and black walnut.
Wed, 01/27/2021 - 12:12
This is beautiful, love the cutting board top and knife block!
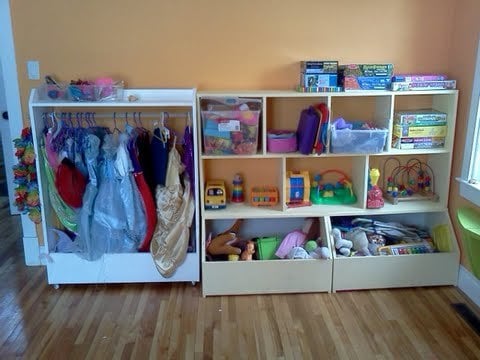
There are three plans combined here in this picture. All three completed in the past year. The toy boxes are from the one plan, the cubby shelves from another and finally the dress up stand is the third. It is never this tidy in our playroom! Ah ah, what you cannot see is the other half :D But the girls do enjoy it quite a bit and it does keep most toys off the floor and easily accessible. Thanks Ana for a great variety of plans!
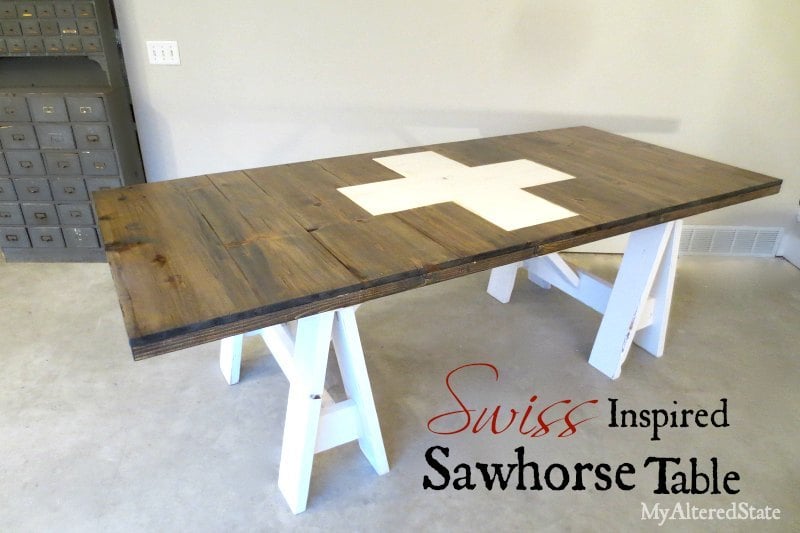
I saw an outdoor Pottery Barn Table that Shanty 2 Chic did, and used the same plans they collaborated with Ana White on.
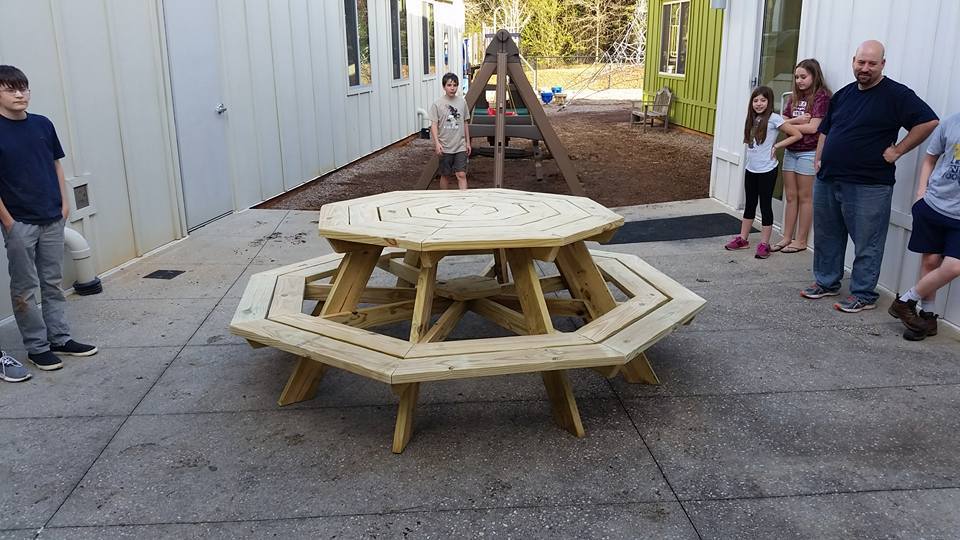
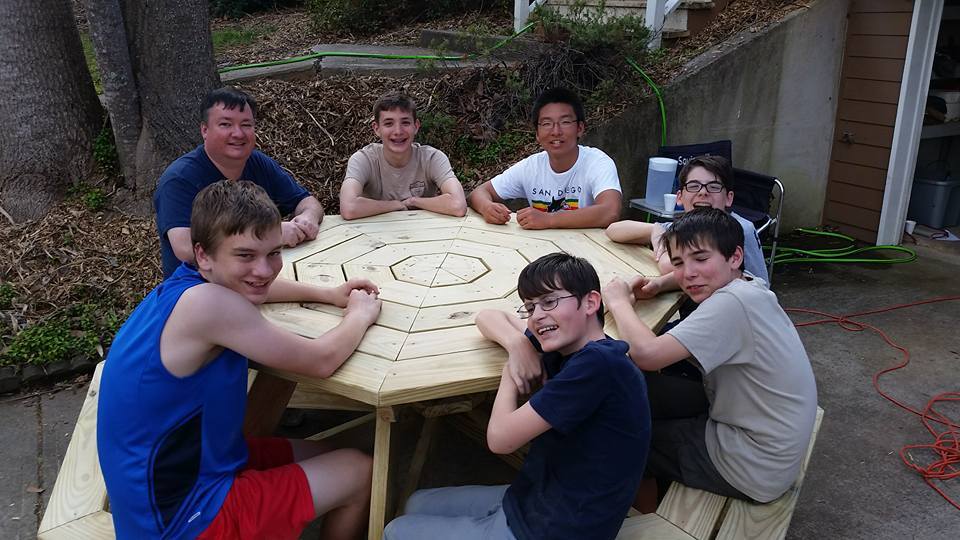
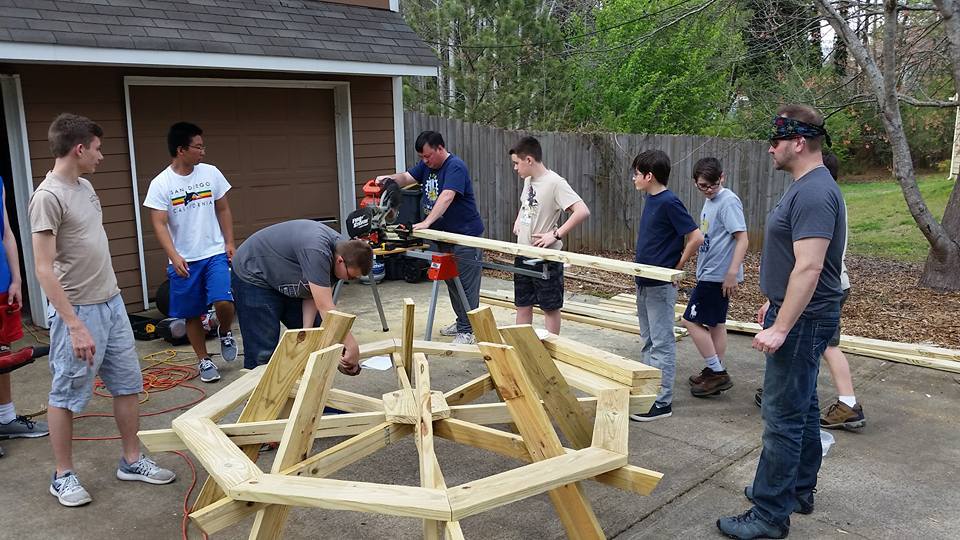
Table created for the chartering organization for Troop 4900 in Woodstock, GA (Woodstock Community Church).
Some deviations from the plans...we notched two of the cross member that support the seats and glued/screwed them together for greater strength in the center. That left 4 supports to be installed with pocket screws (weak). We added two small 2x6 supports where all these members join in the center and screwed the supports to the cross members, reinforcing the center and taking load off the pocket screws (see photo). Also, as you can see, we built the framing for the seats and table top, then added legs and placed the table top last to assure a level table top.
Finally, a recommendation - use 1x6 boards for the table top and seating areas for a lighter and more manageable table.
Modifed the Rustic X console to fit the width of den area's windows. Wife wanted storage, I needed a project.
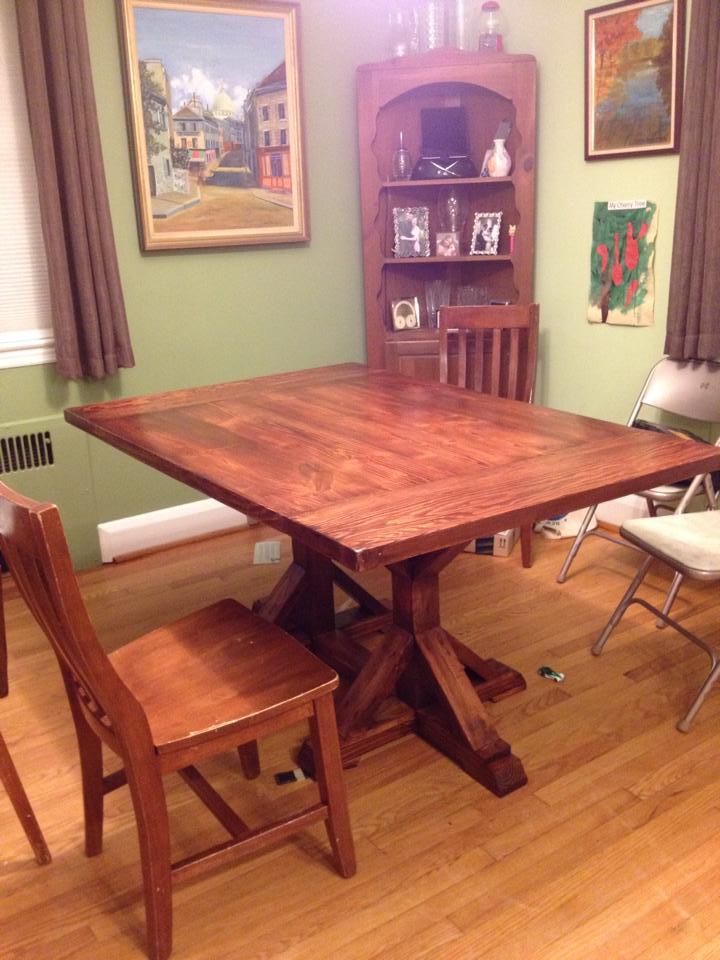
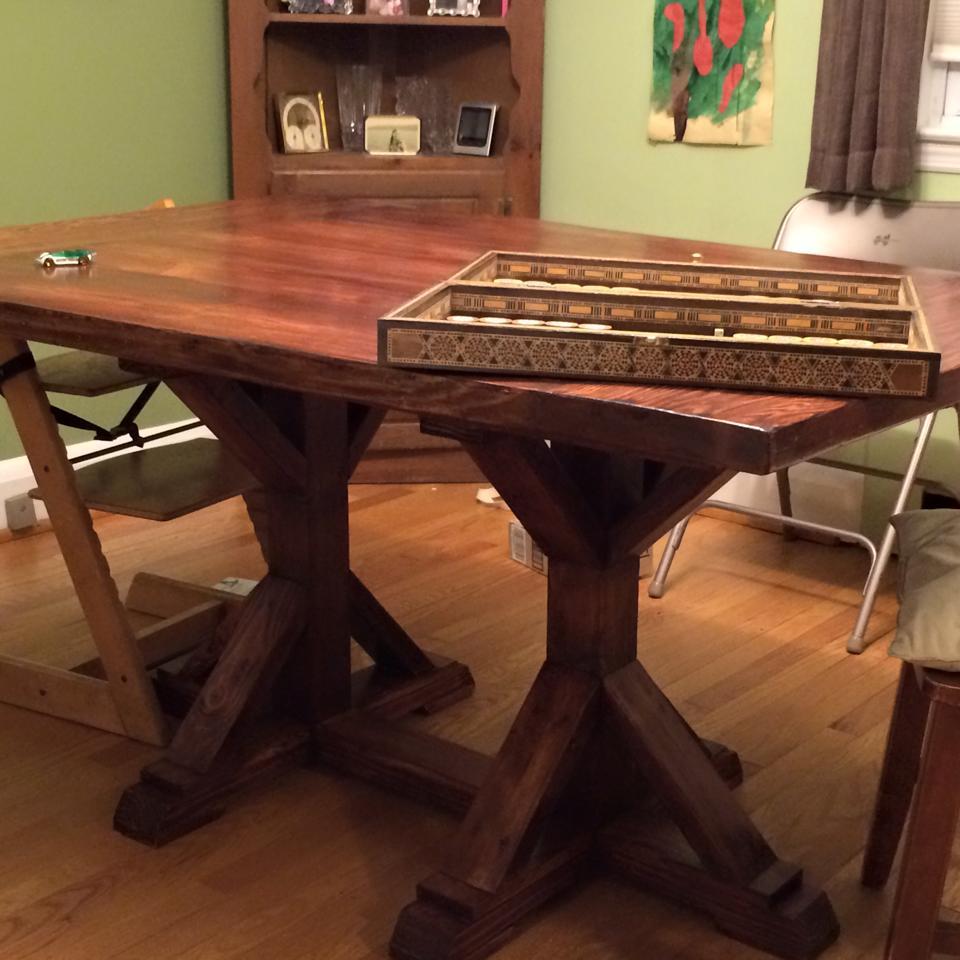
Thanks for the great plans. I modified them slightly by building a 60x40 farmhouse style top and a double pedastel. The other change is that I made the side 4x4s into 2x4s.
Fri, 08/12/2016 - 12:58
Your table looks great! Love the farmhouse top and your revisions.
Would you mind sharing what dimensions you went for the table top and what width you went on the doubt pedestal length?
THanks so much!!! I hope I get to have one like yours someday soon :)
I accidentally found these plans on Anna's website when I was looking for deals on mattress sets.
After mulling it over a while, I decided to give it a try. It just so happend that it was our anniversary coming up, and I thought hey, better than dinner and a movie.
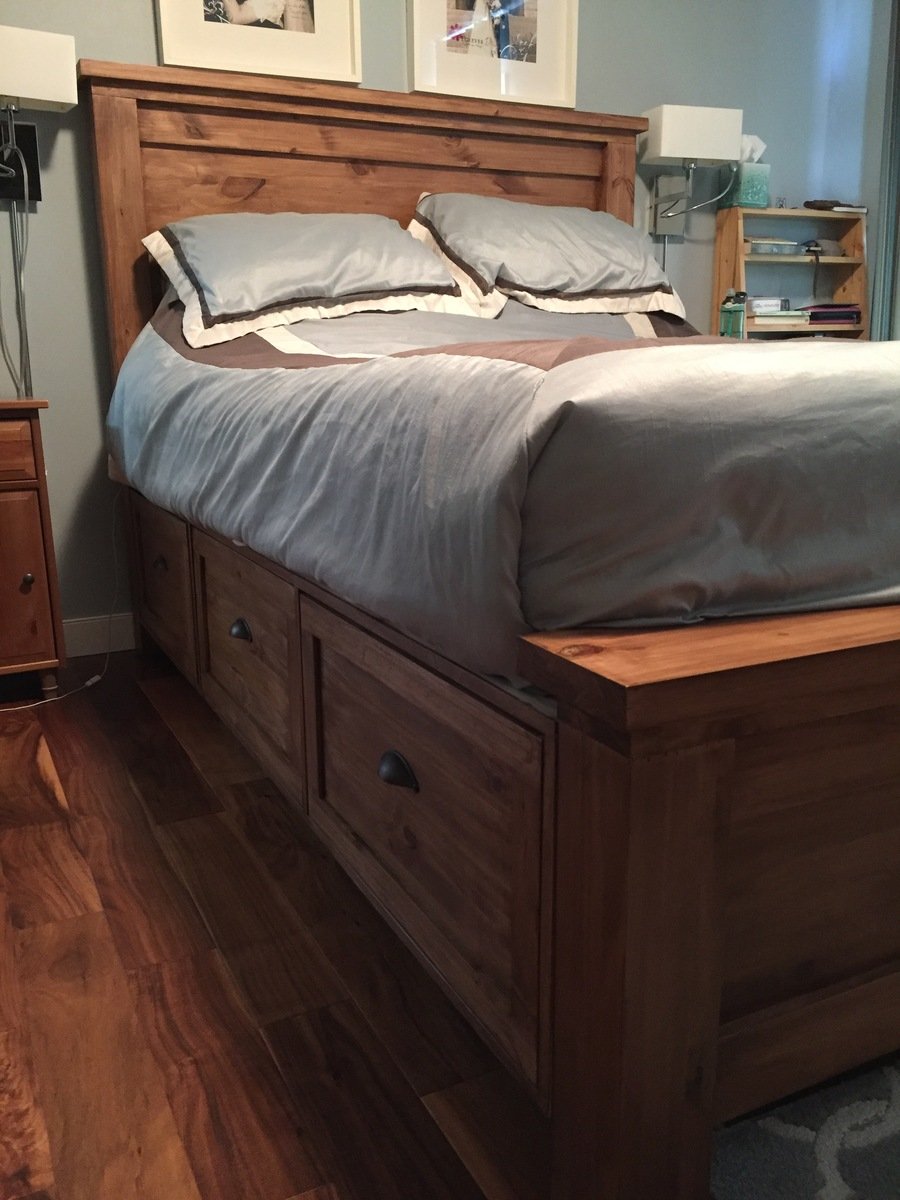
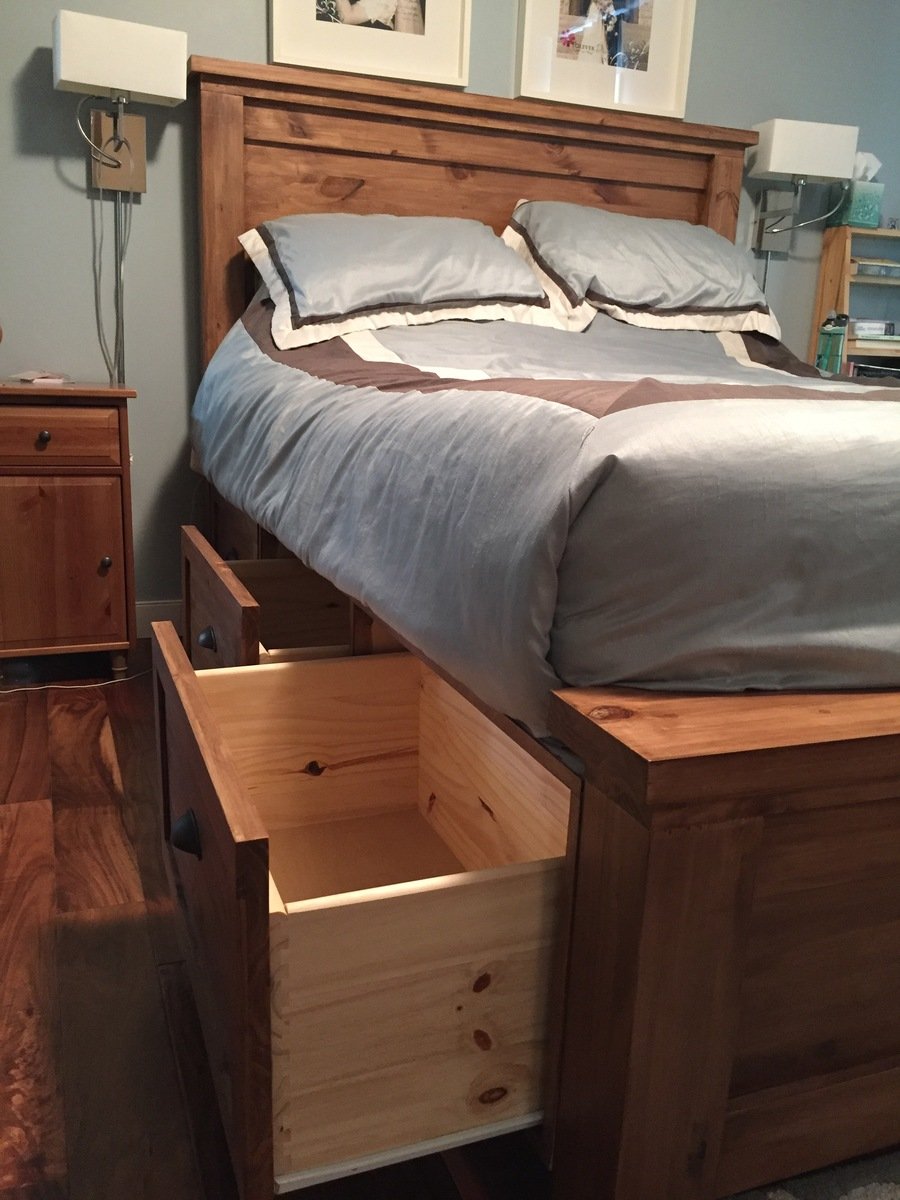
I reviewed the plans, and upgraded the wood to entirely knotty pine. Even the posts. Since I couldn't buy what the plans called for in knotty pine, I bought cheap pine shelving and milled the pine, then laminated for the posts, 2x4s, 2x6s and drawers. Easier to work with than plywood.
About 35 hours later, I finished the pieces and parts with Polyshades Royal Walnut, and voila!!!
My wife absolutely loves the bed, and now she even has a place to store more shoes!
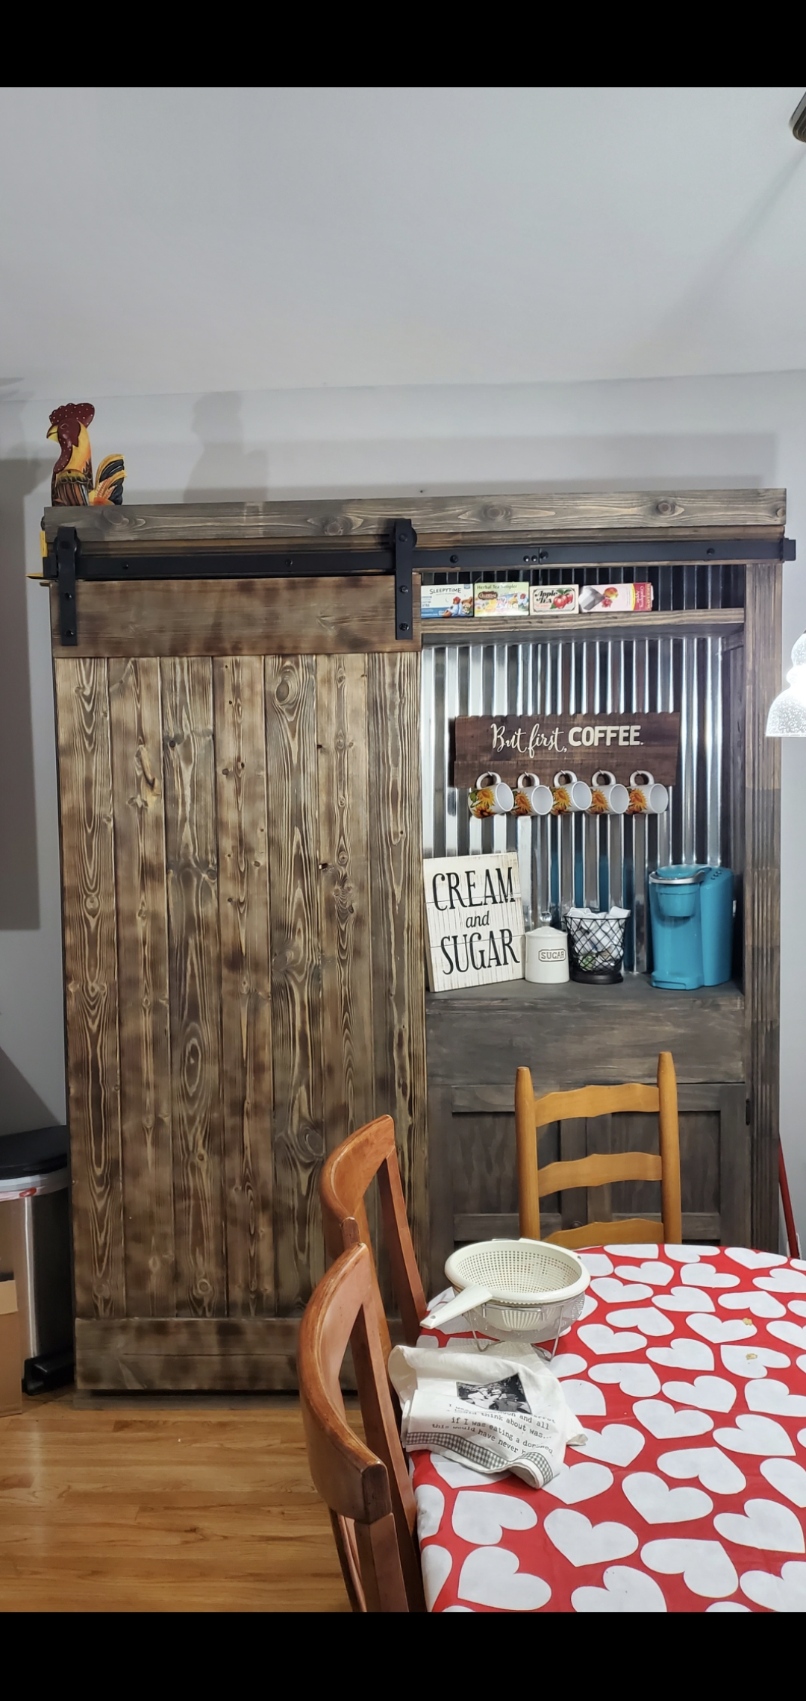
I loved doing this project, I did a burn treatment on the door and I made the shelves adjustable. It took me a weekend to build and 2 days to stain and do a matte poly finish.
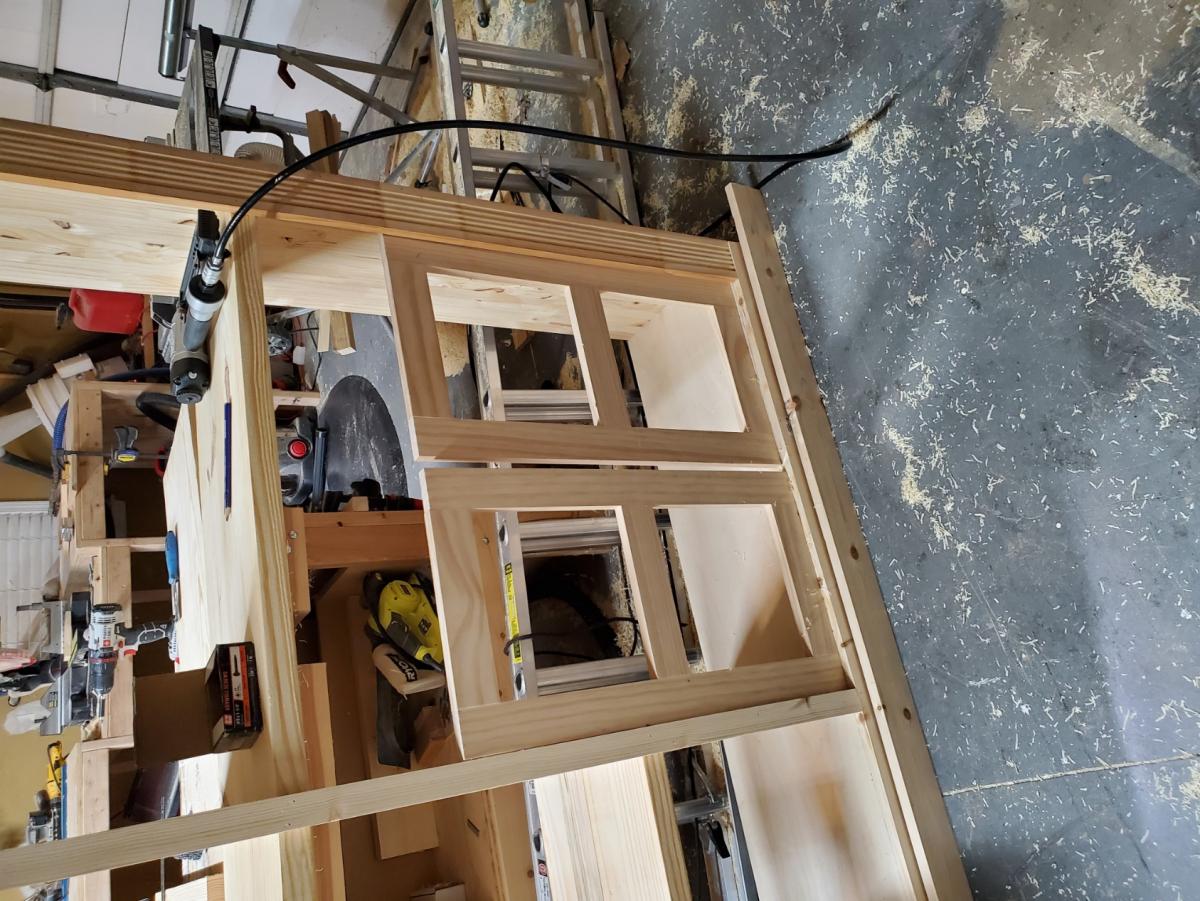
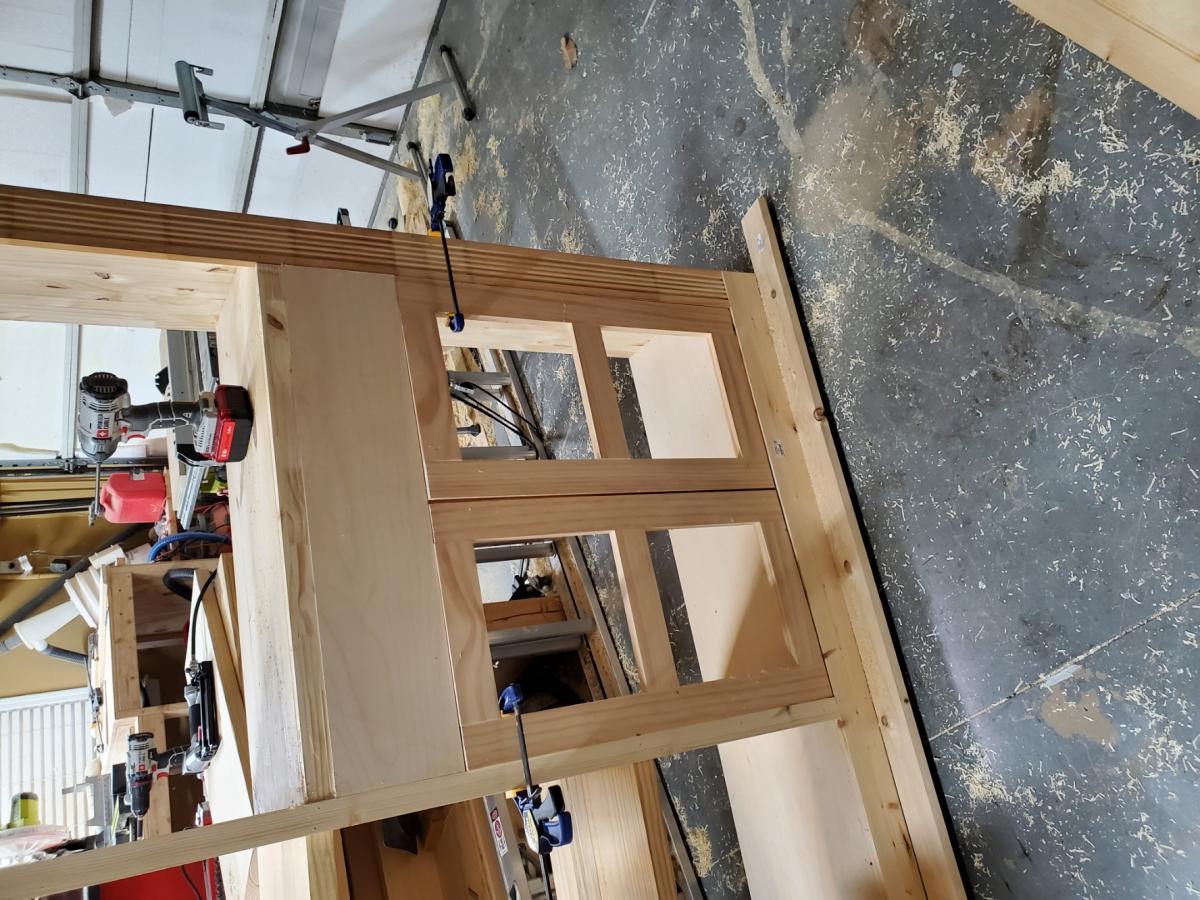
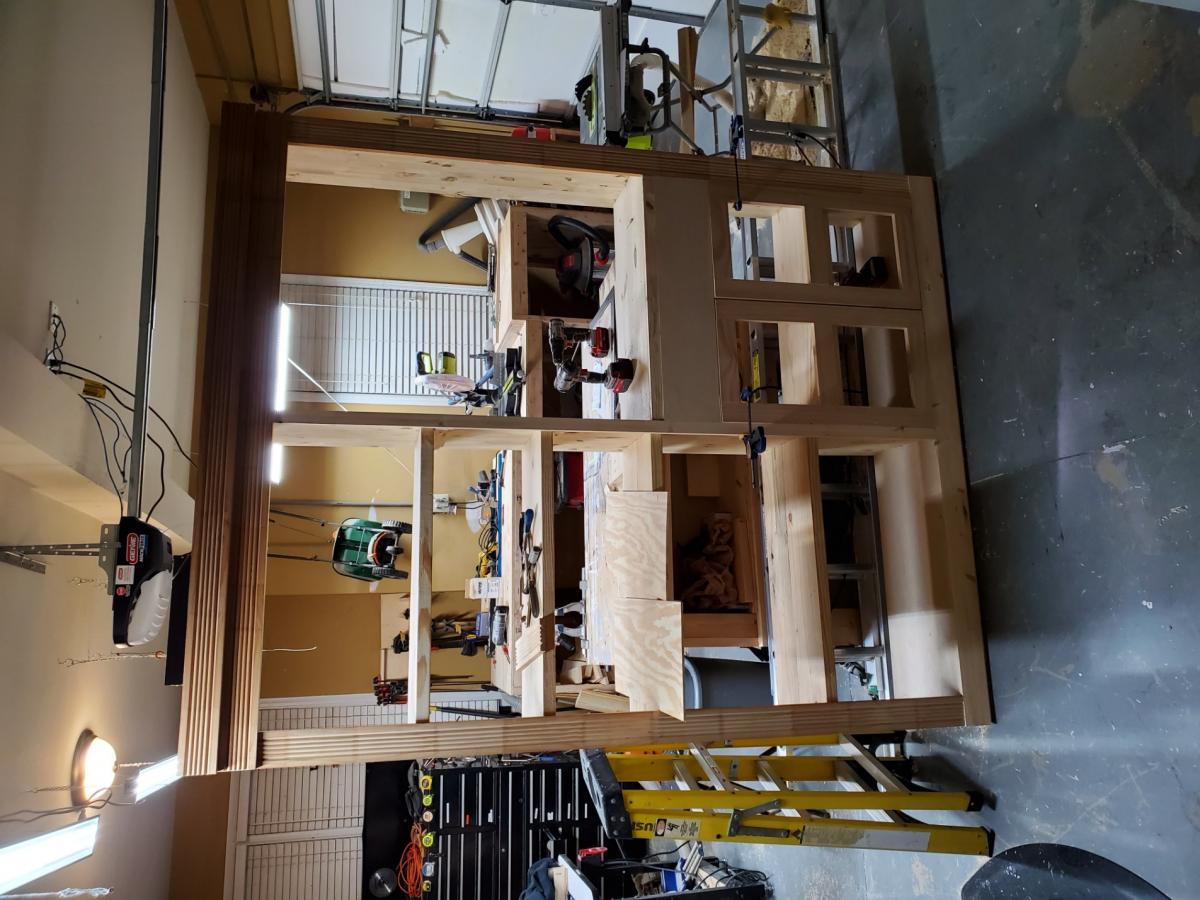
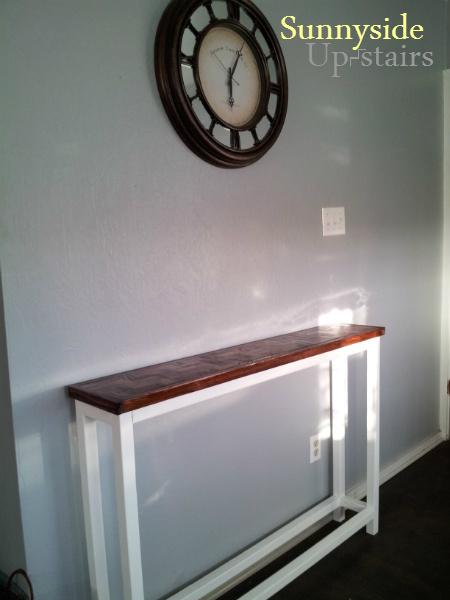
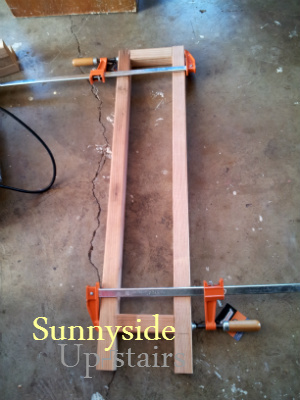
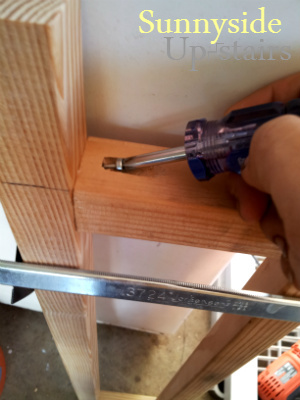
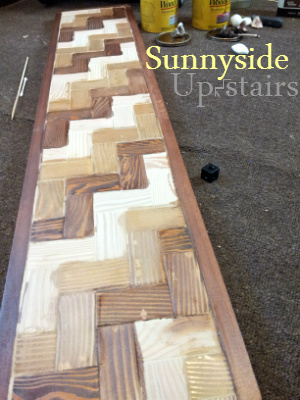
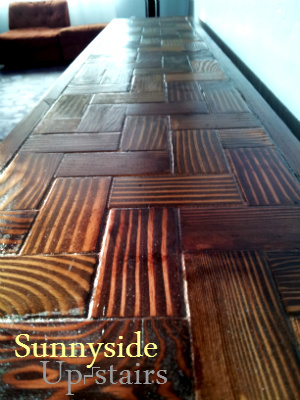
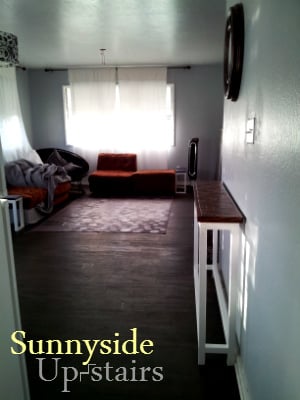
I was looking for a "super easy console table" and once I was ready to build it, I mustered the confidence to try a more complex table top design. Using pocket hole joinery, 2"x2" legs and supports, scrap 1"x2" "blocks" for the herringbone pattern, scrap 1/2" 8"x4' plywood, 3/4"x1/2" pieces to frame the top, and much wood glue, I built this 8.5" narrow console table for under $30. The plan shared on this site was one of the inspiration pieces that helped me believe I could do this too!
Wed, 02/27/2013 - 19:06
I'm going to have to copy you now, you know! What a fabulous idea, fabulously implemented!
In reply to Really beautiful! by romanweel
Fri, 03/01/2013 - 00:17
=D It was satisfying to make, although watching glue and wood filler dry made me feel like I was the most impatient person in the world. Thank you for your kindness!
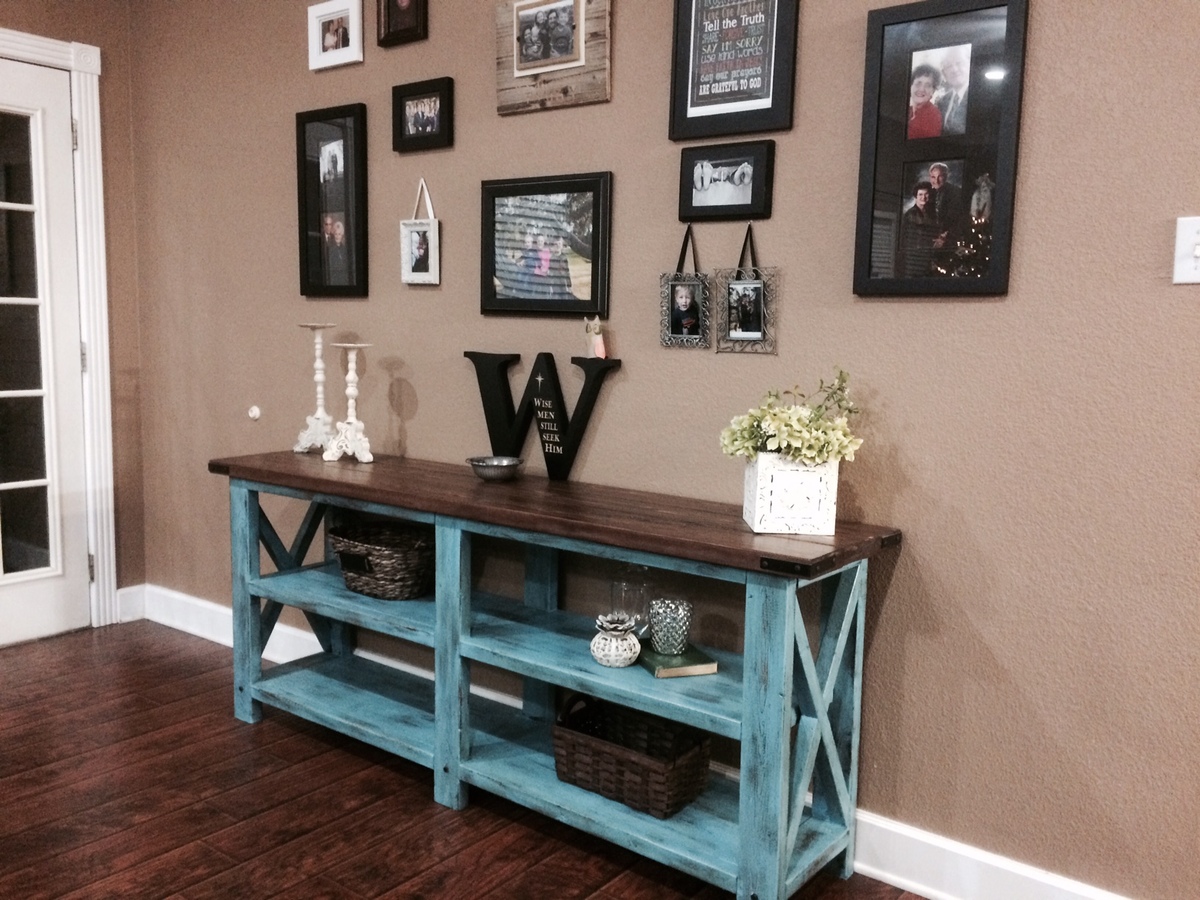
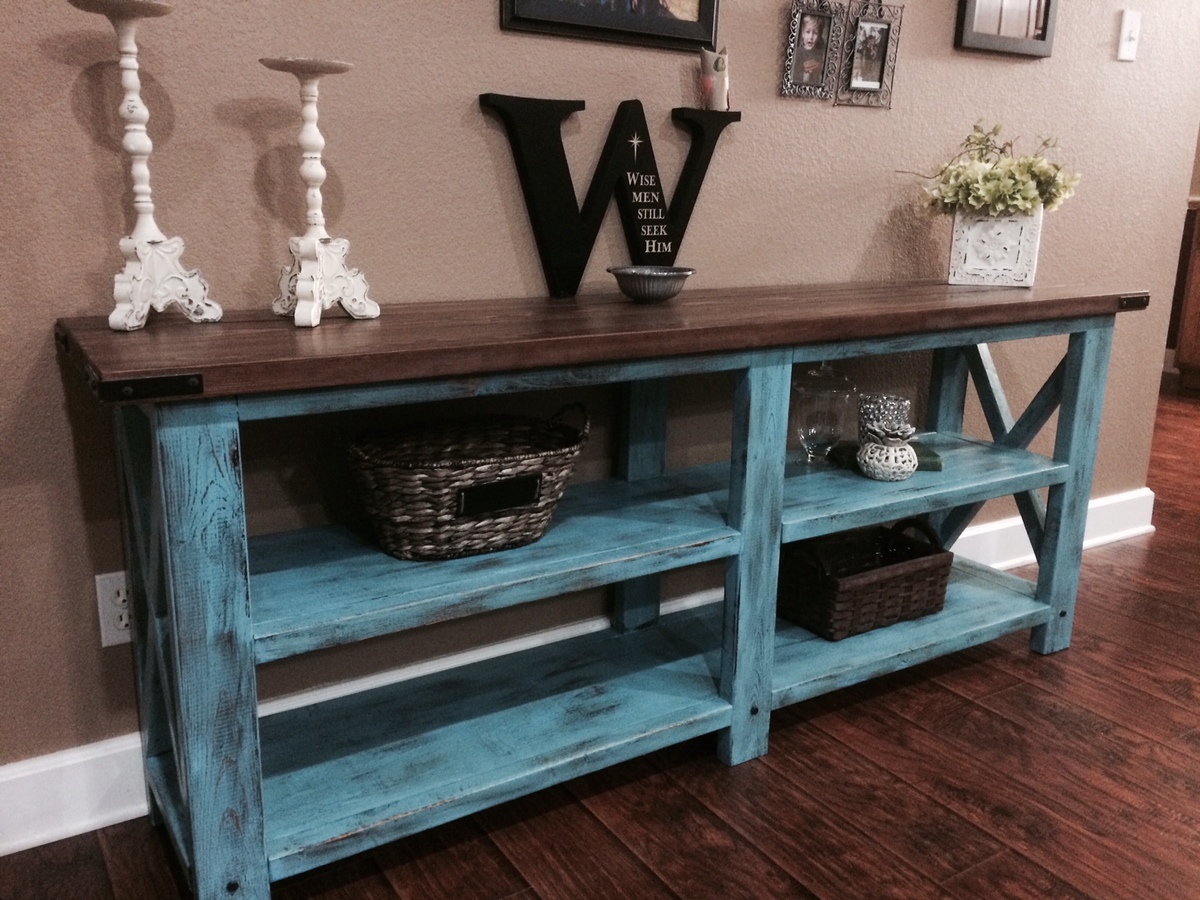
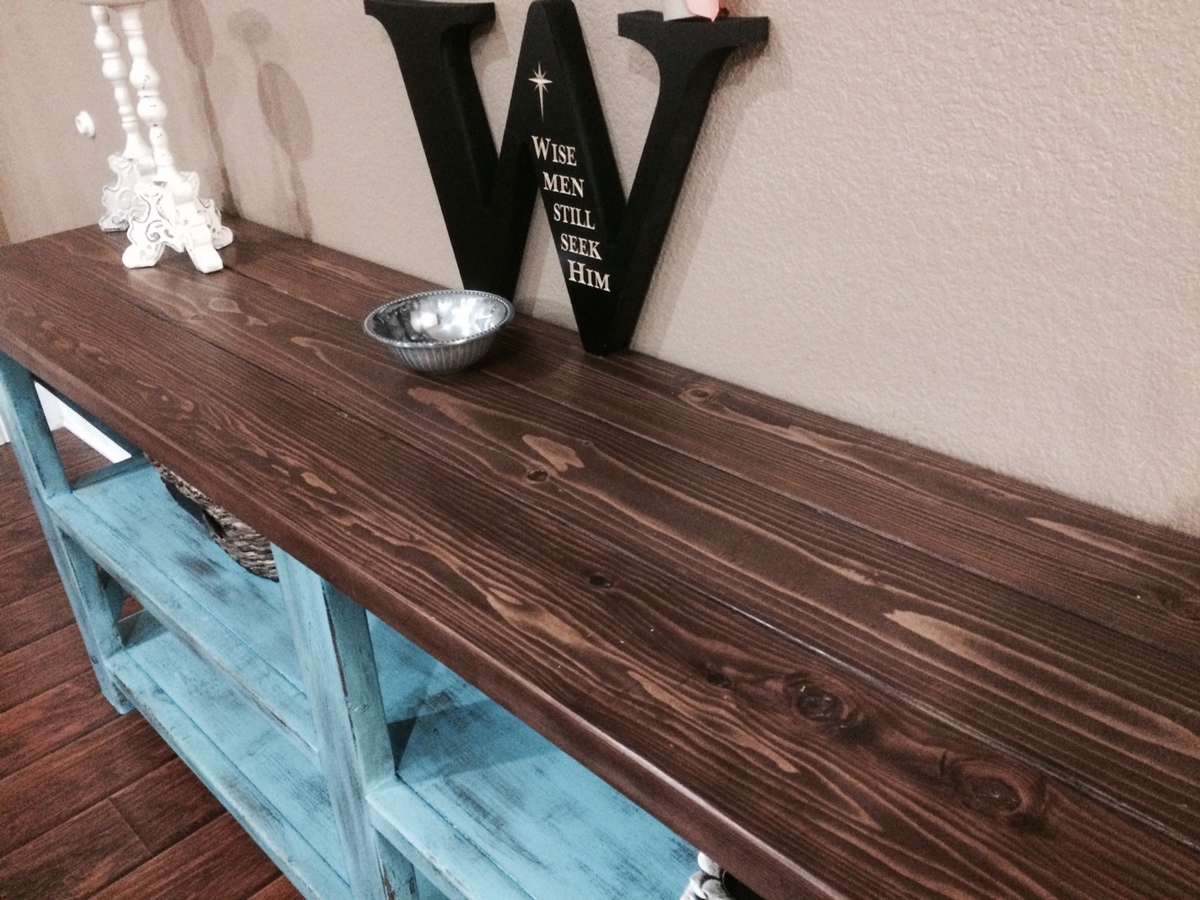
Finally got a miter saw and a pocket hole jig. So decided to try this for my first project with new tools. Turned out great and I learned lots of things I'd do differently next time to save headaches.
Sun, 01/04/2015 - 17:39
This was one of my Christmas presents this year from my husband. It's all reclaimed redwood from a house that was being torn down.
Sun, 01/04/2015 - 18:19
I bet using the redwood made it look fantastic!
Tue, 10/18/2016 - 19:44
I'm doing a riff on this project this weekend; Two tables actually to go in front of matching windows in our den, each about half the length of the original @ 41" long on top. My question is this: How do you securely attach the rails to the ends? I'm all about a pocket jig, but use of 2x2's means I can basically only get 1 screw between the rails and the side of the 2x4 legs. Is that enough to support the weight on the shelves? How did y'all connect them, pocket holes or inset screws drilled from the outer ends through the 2x4s?
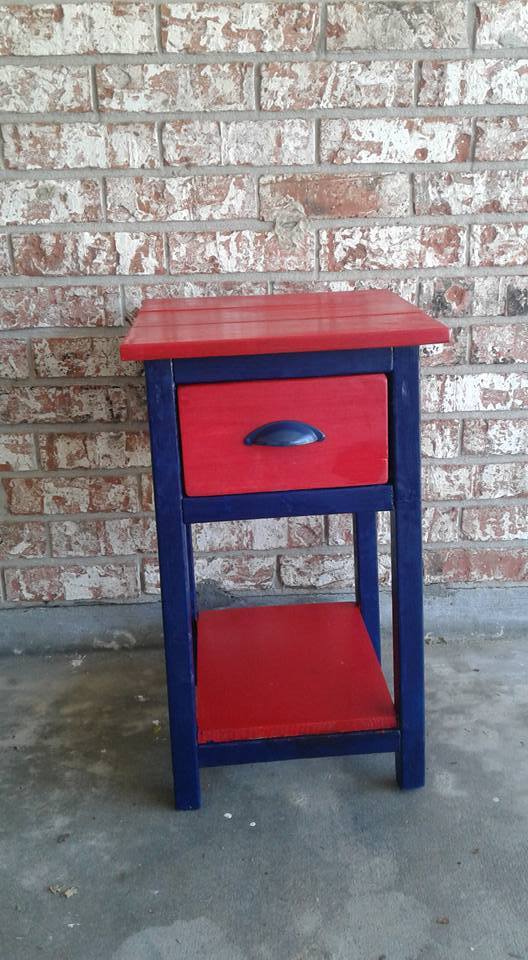
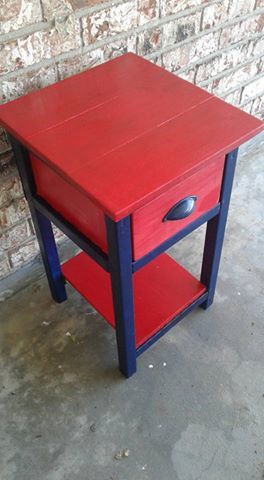
Needed a night stand for my sons bedroom. this was perfect....
this project called for sewing the cushion covers, but i was to lazy to take out the sewing machine, so instead I stapled the fabric and it turned out pretty good if I do say so!! thanks for the plans!!
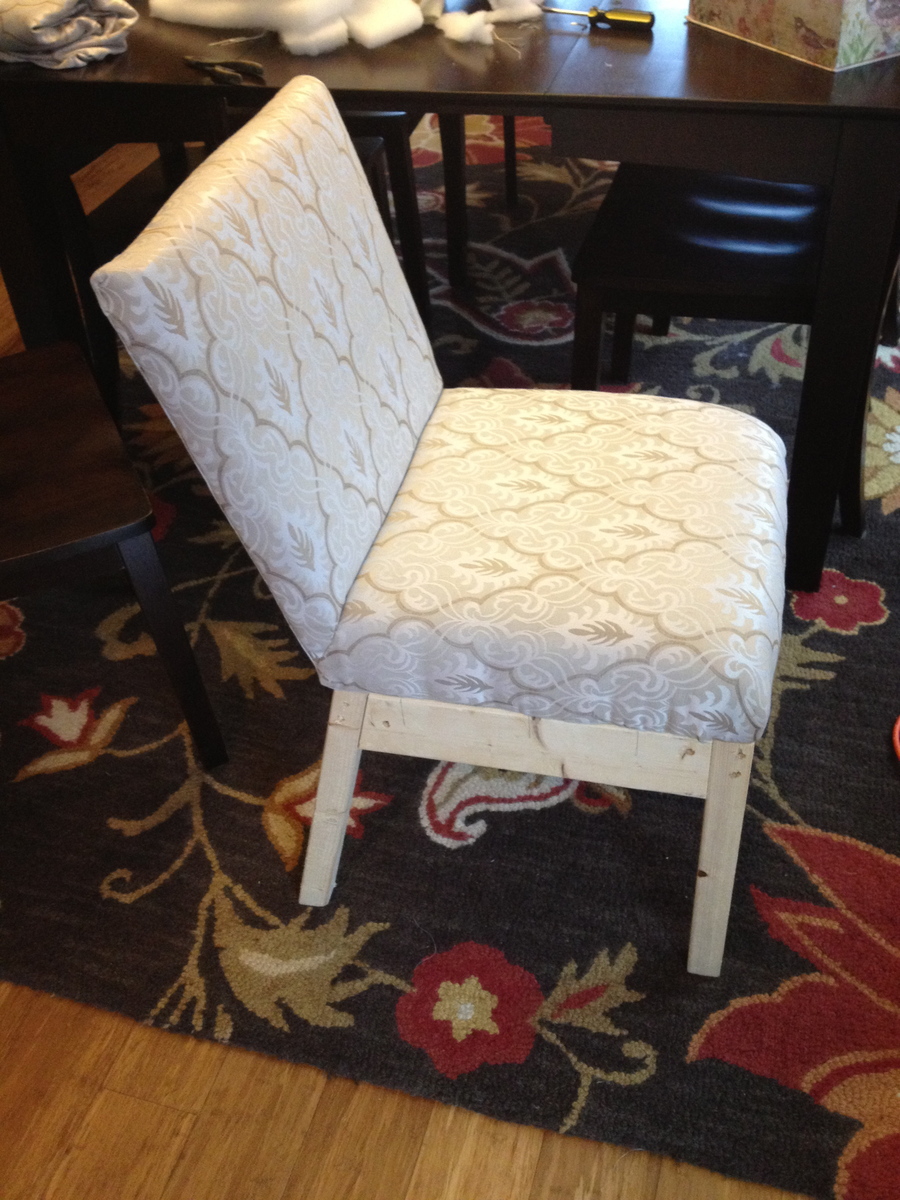
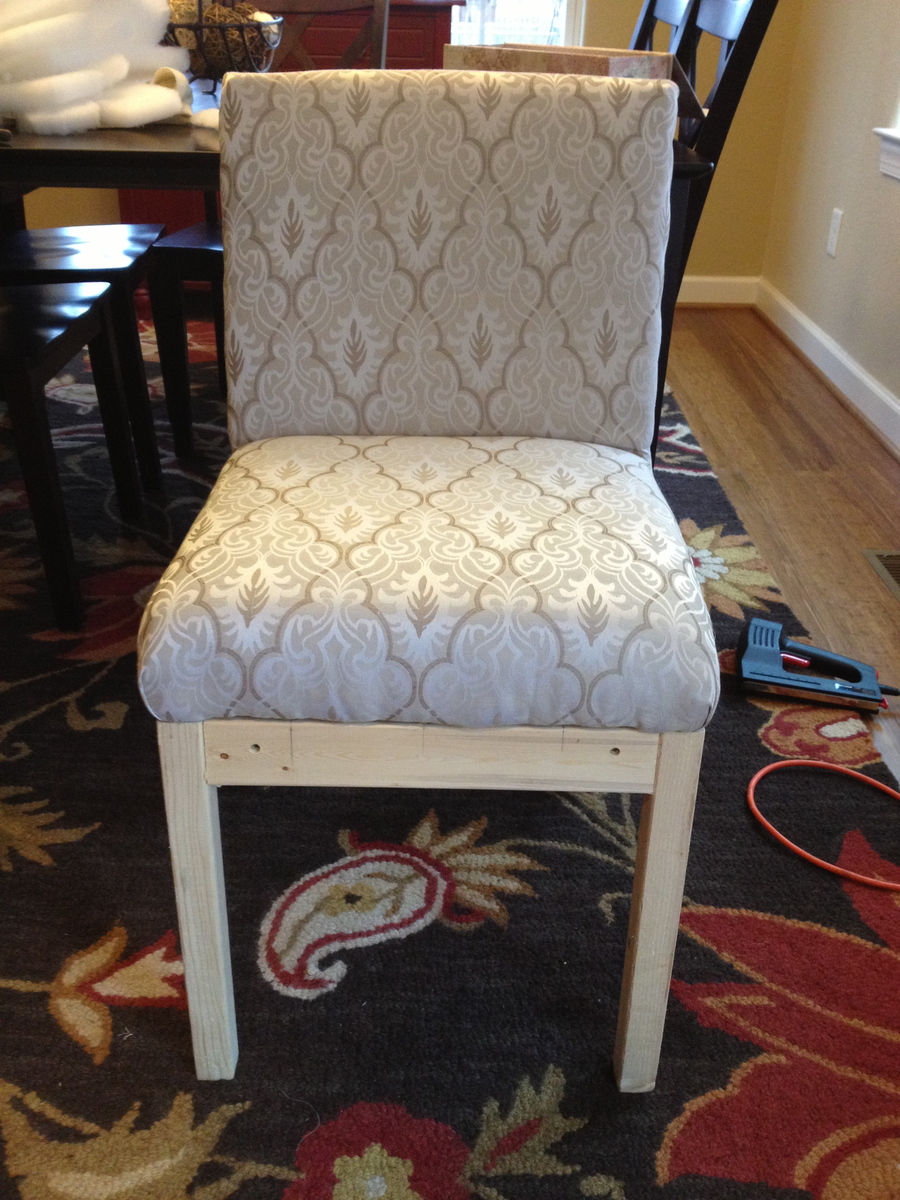
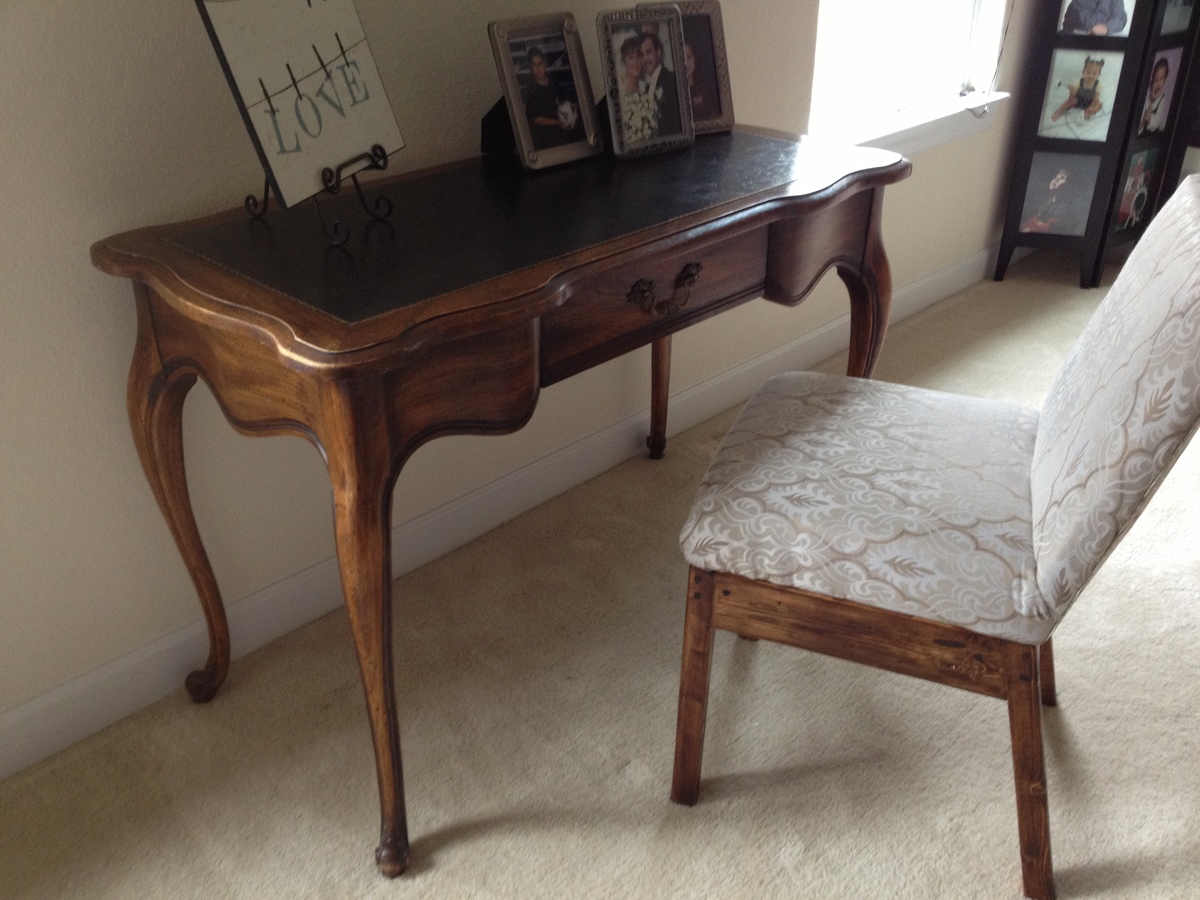
Tue, 02/26/2013 - 16:07
Oh, very nice! I am making one of these right now. I need to go out to get the foam before I can proceed. I'm excited. It's great to see how nice yours turn out!
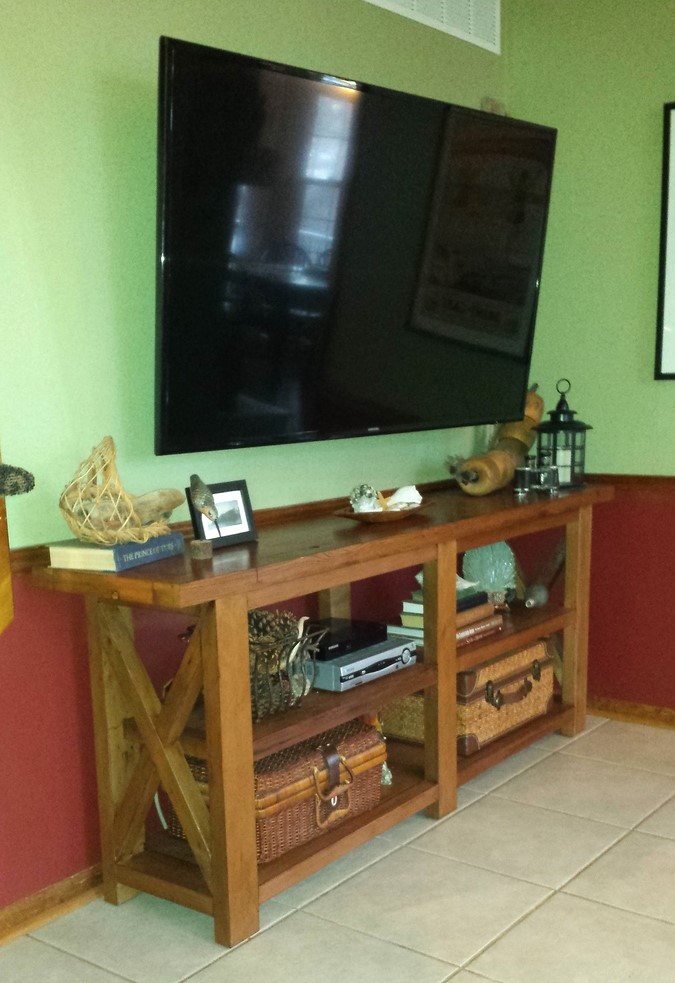
<p>My husband made this from some redwood salvaged from and house being torn down. The finish is Briwax, very easy to apply and polish to a nice shine. It also comes in a variety of colors. Make sure the wax is done in a well ventilated area. A Kregs Jig is a must for fastening this together.</p>
7 ft long gigantic sideboard. Removed the options for the drawers and extended the cabinet doors for extra storage needed. My favorite project to date.
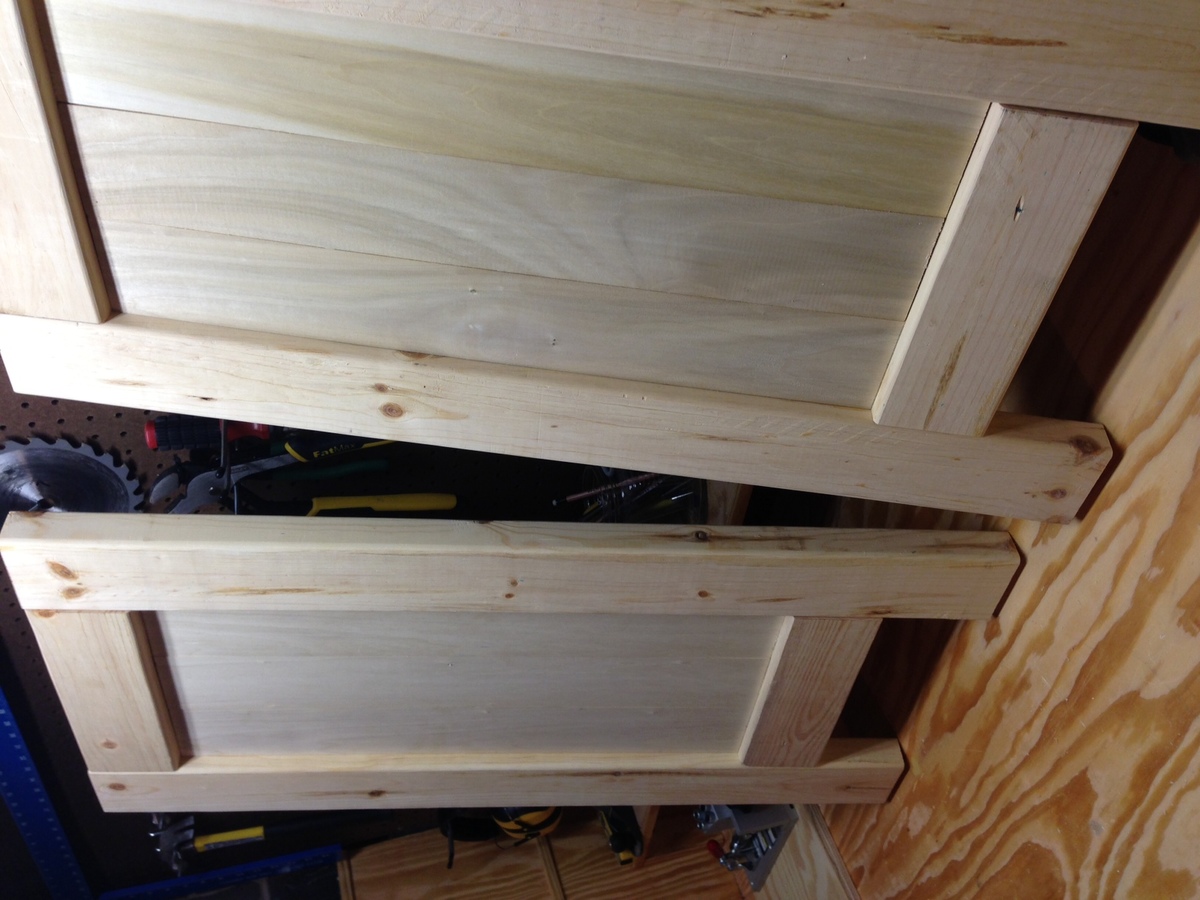
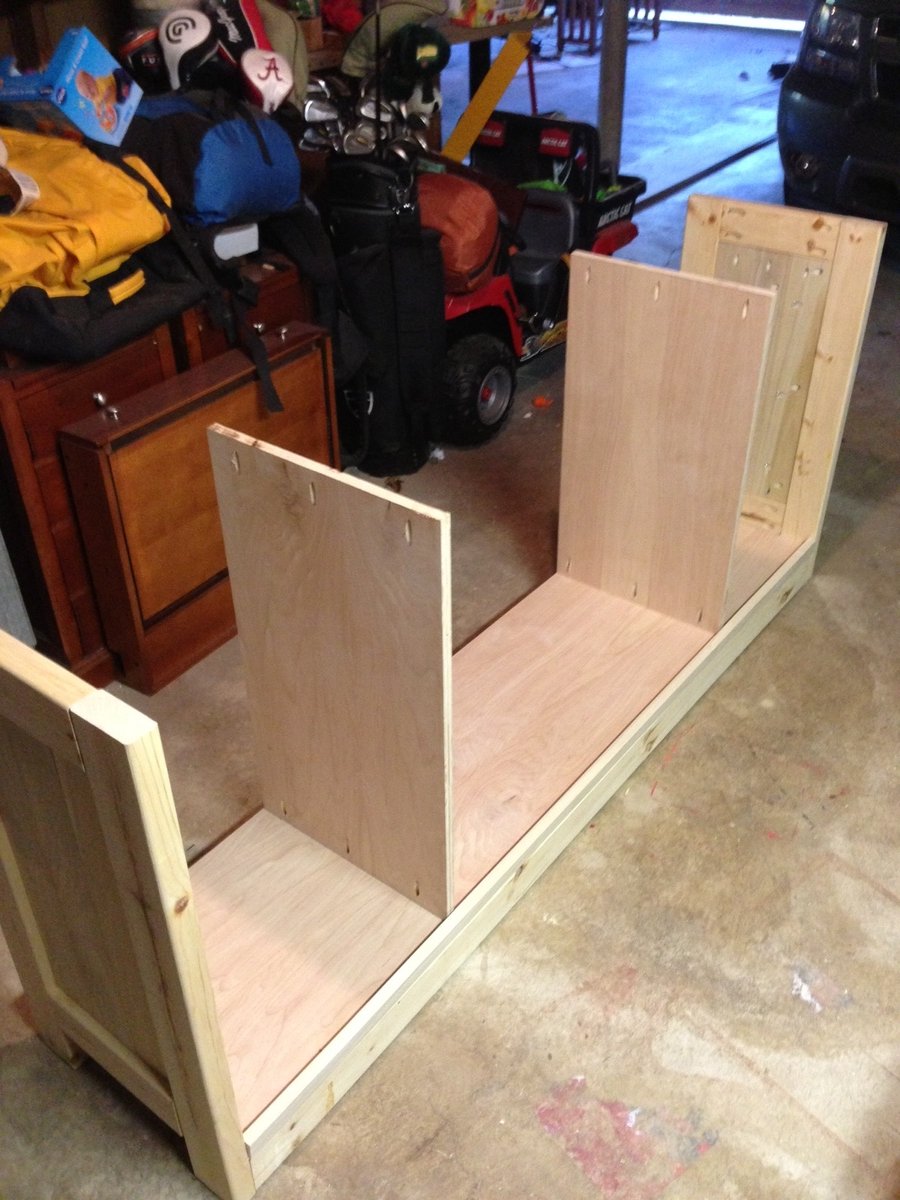
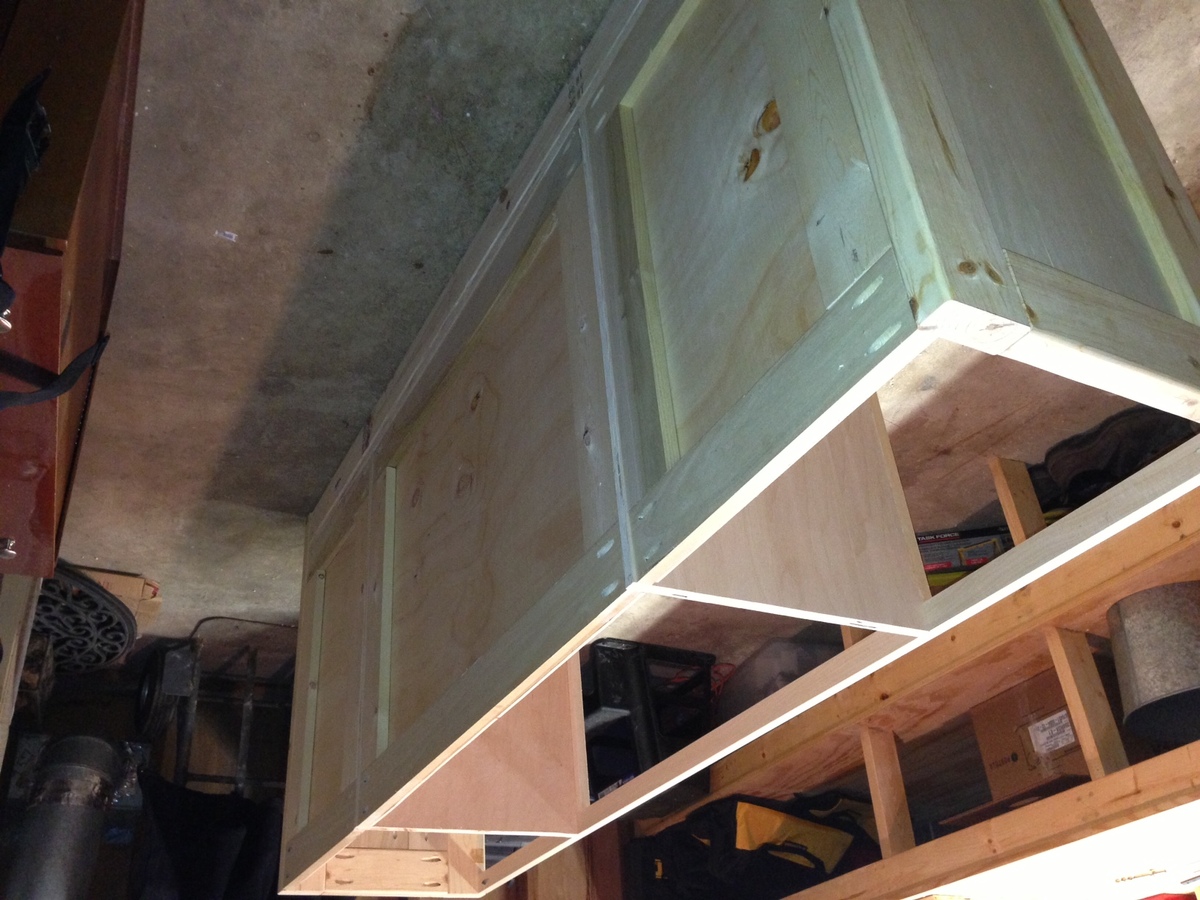
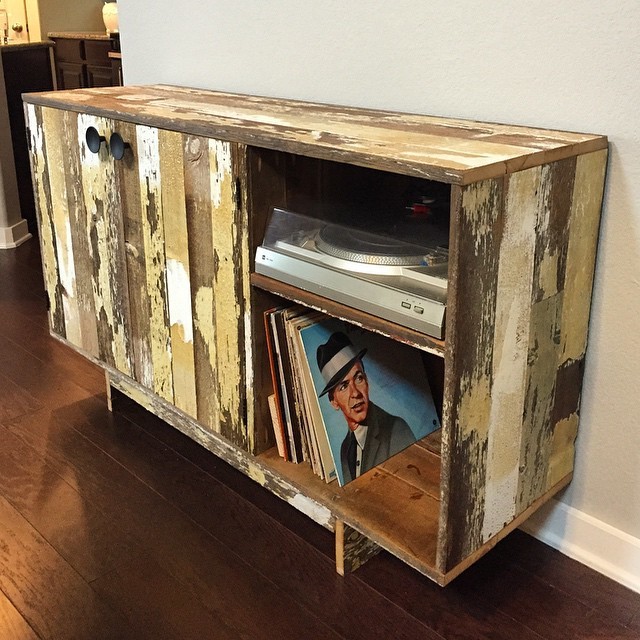
Slightly modified the plans to fit our record player and albums below. Wood is reclaimed from a barn. Bought off Craigslist. The wood was originally planned to go in a restaruant but when they sprayed it with poly the white paint turned yellow. The owners no longer liked it so I was able to buy it off of them.
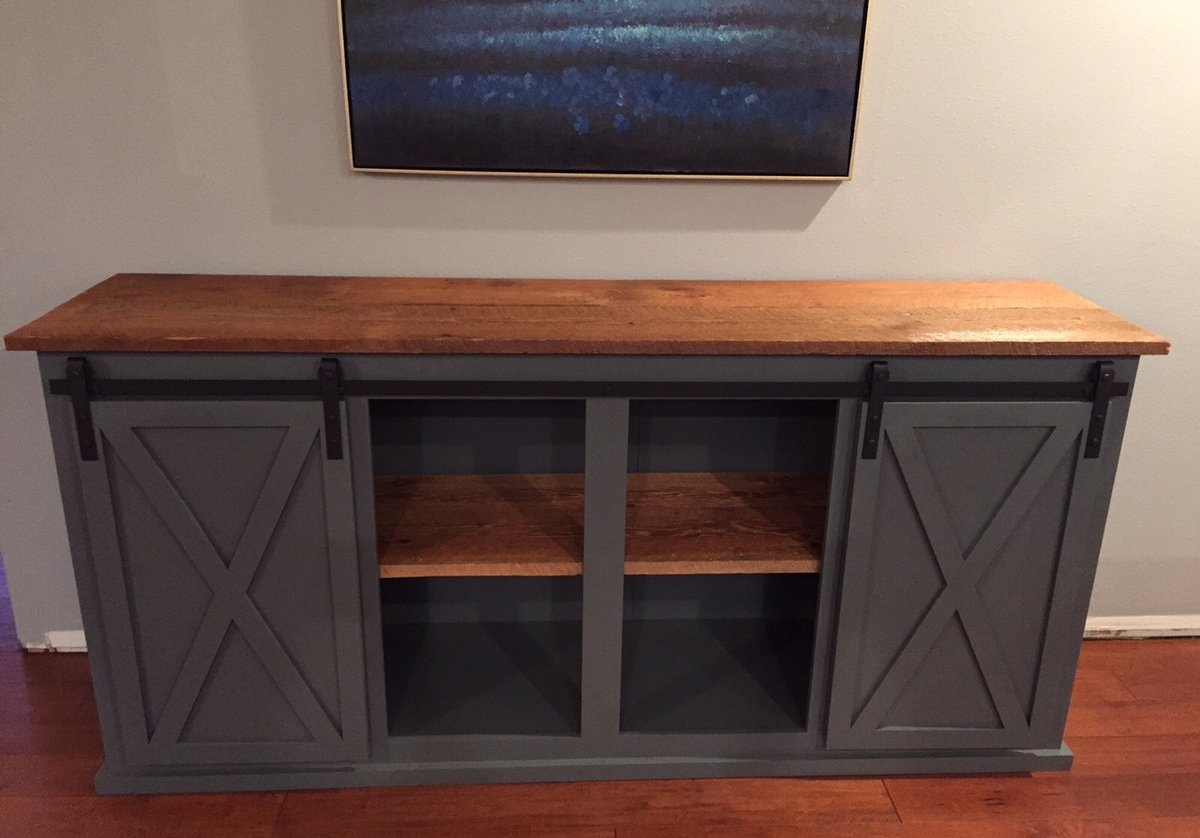
Built the buffet and doors in one day...spent two days making the hardware....1" flat bar (1/8" for mounting wheels and 3/16" for track). For the wheels I used screen door sliding wheels.. materials for sliding hardware totaled $30. Barnwood was obtained from a CL guy tearing his barn. Donated this buffet to my local high school Booster club for their auction.
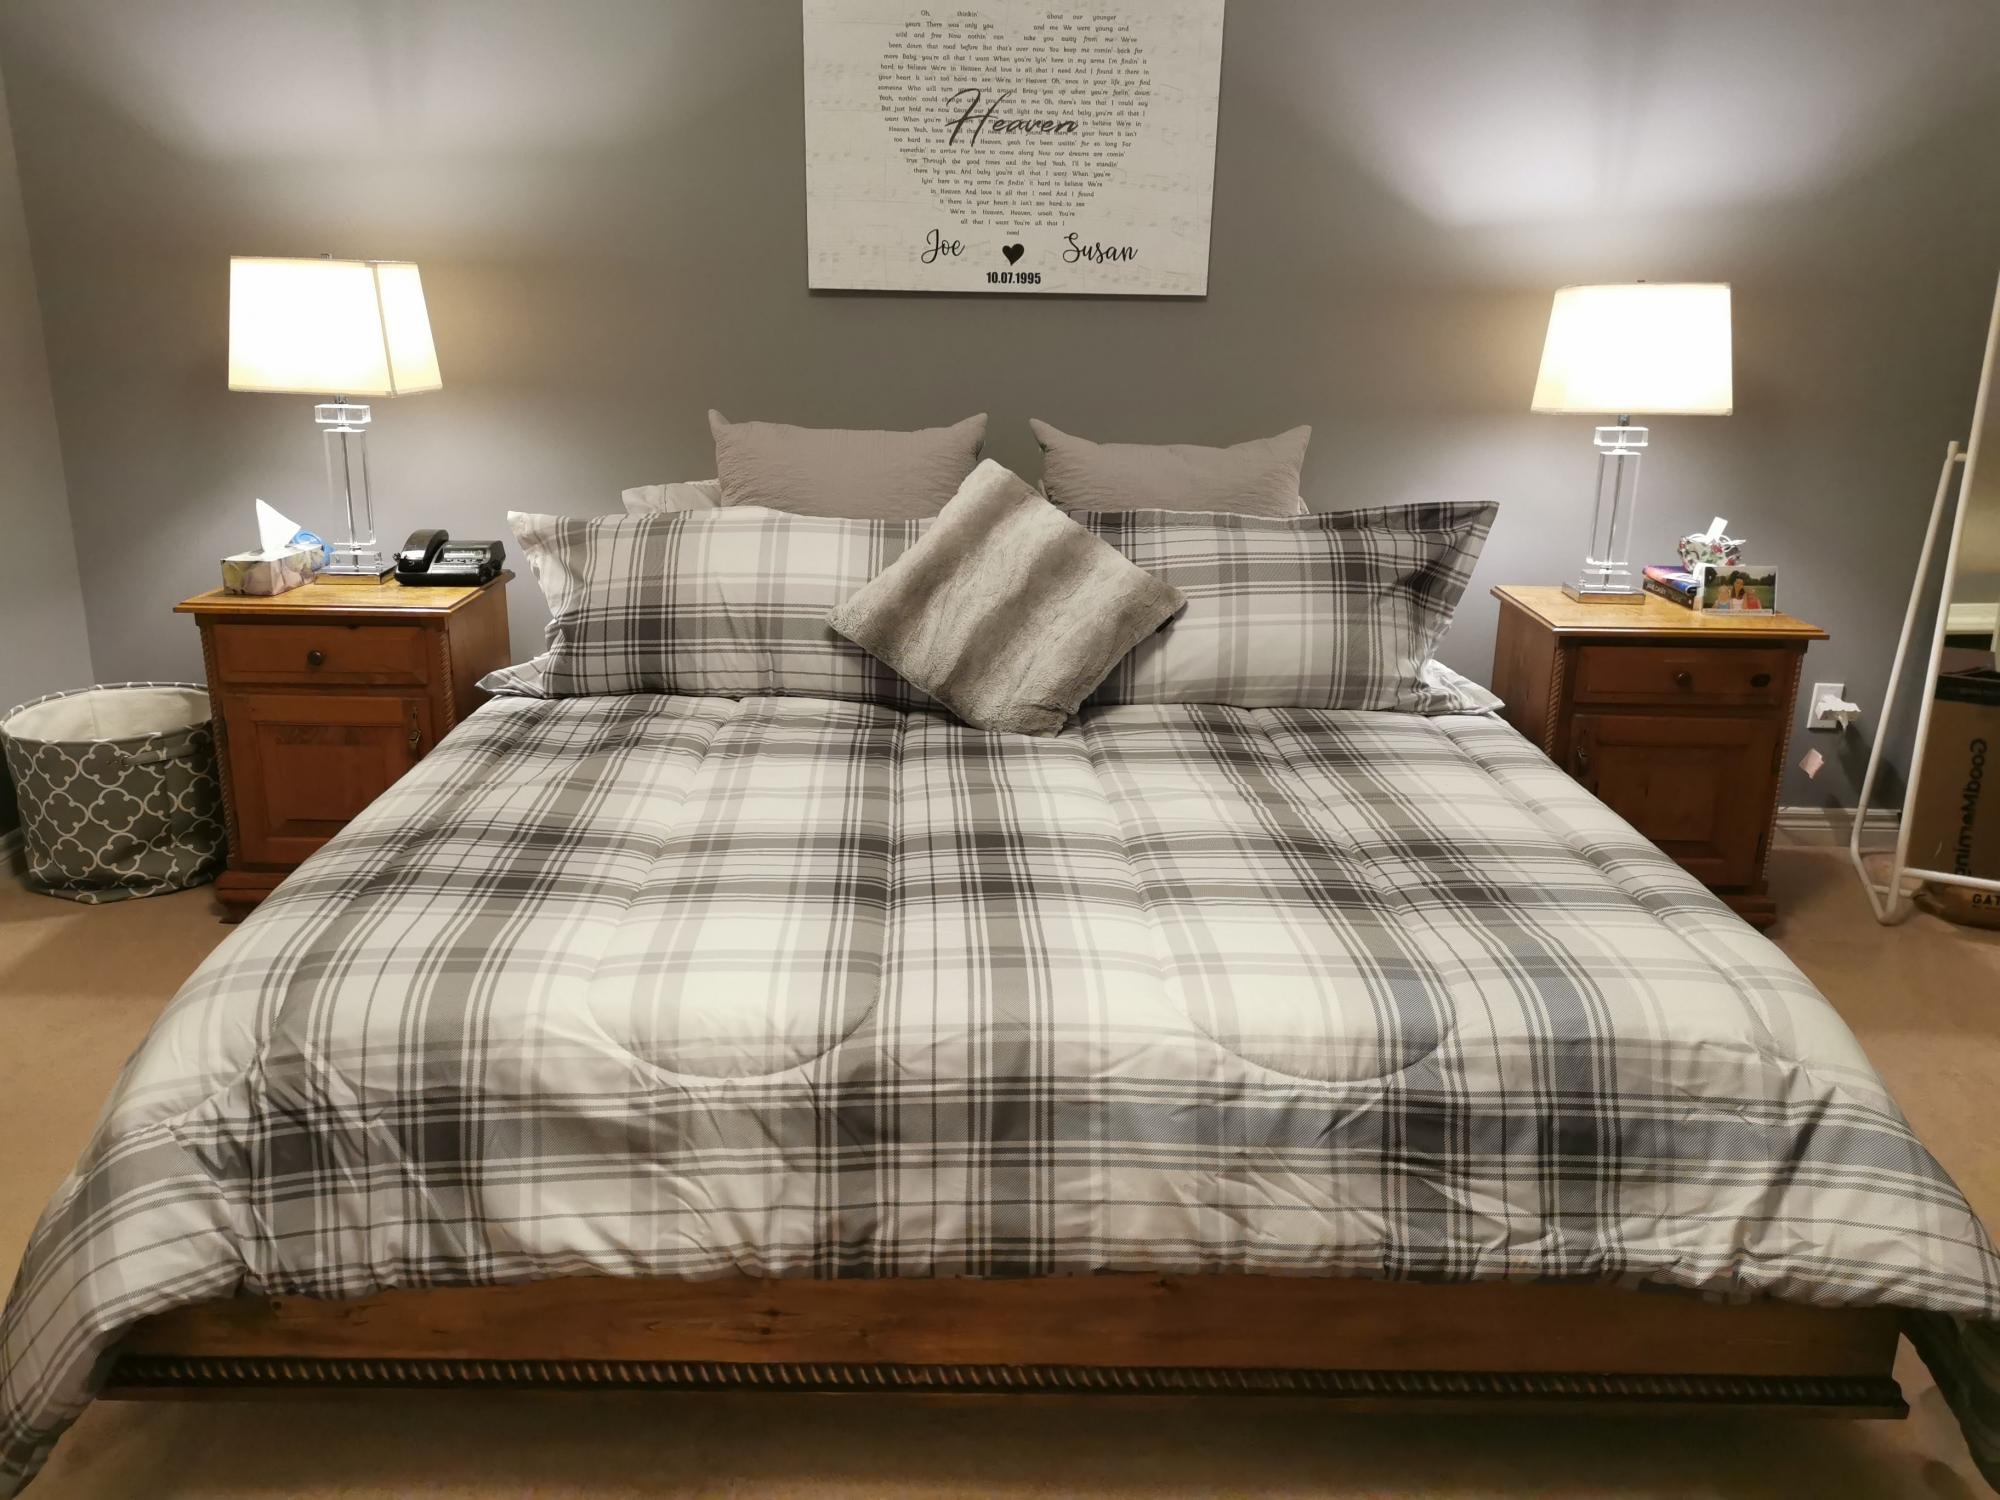
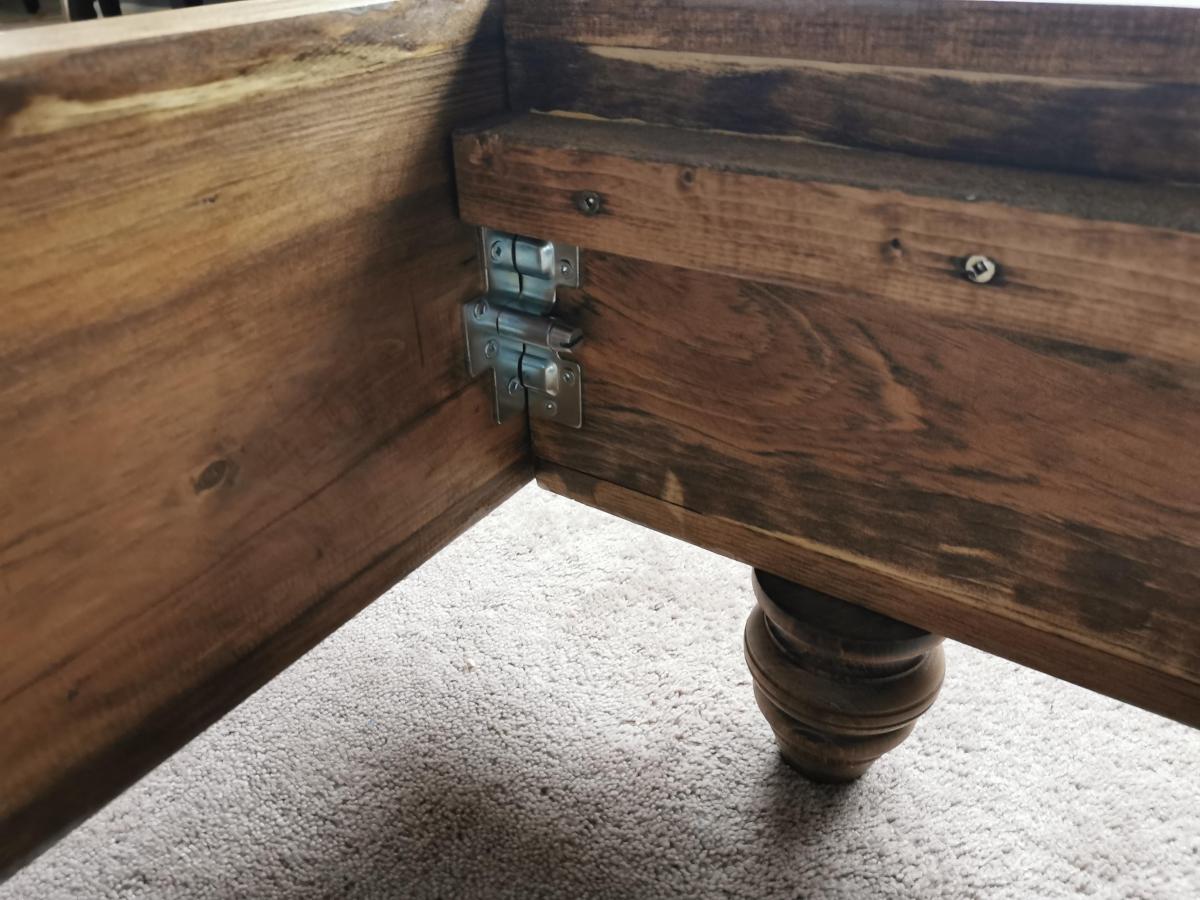
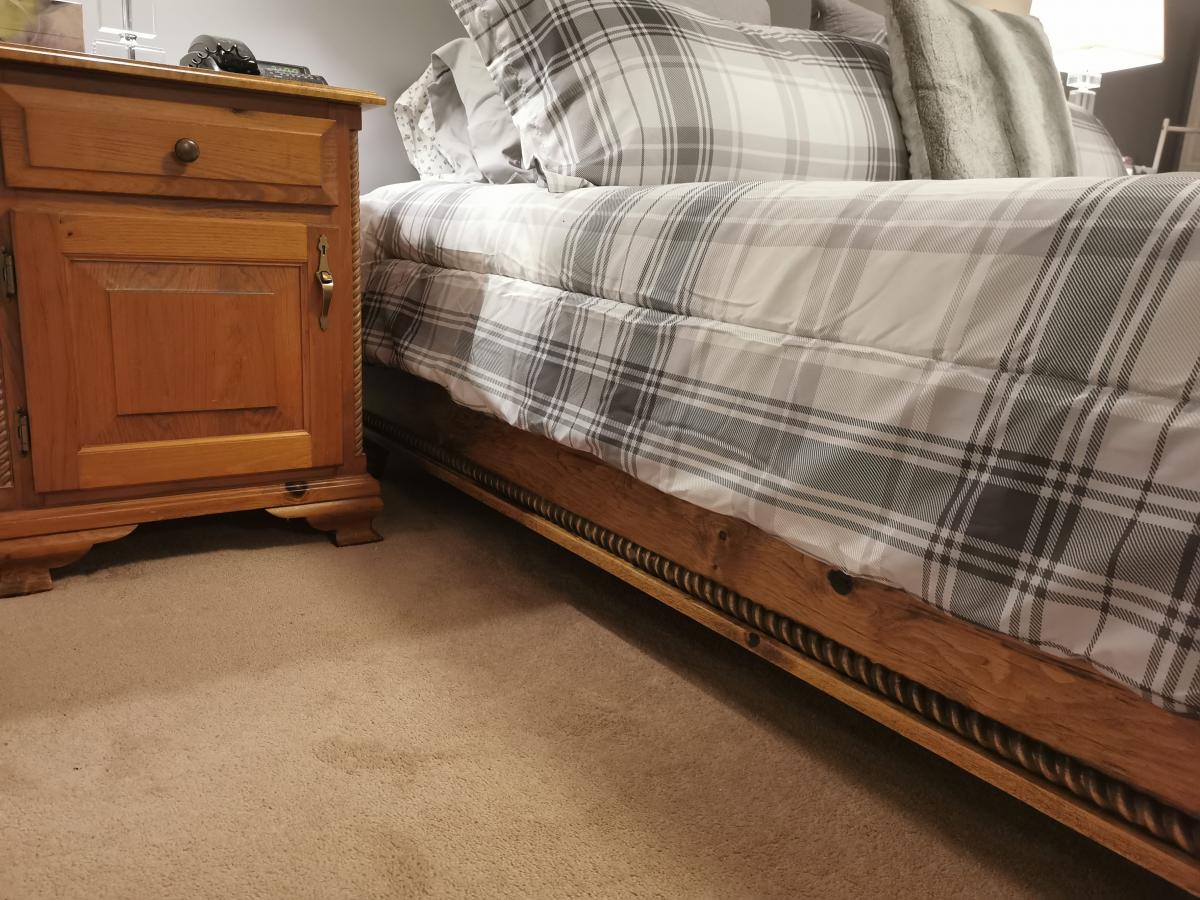
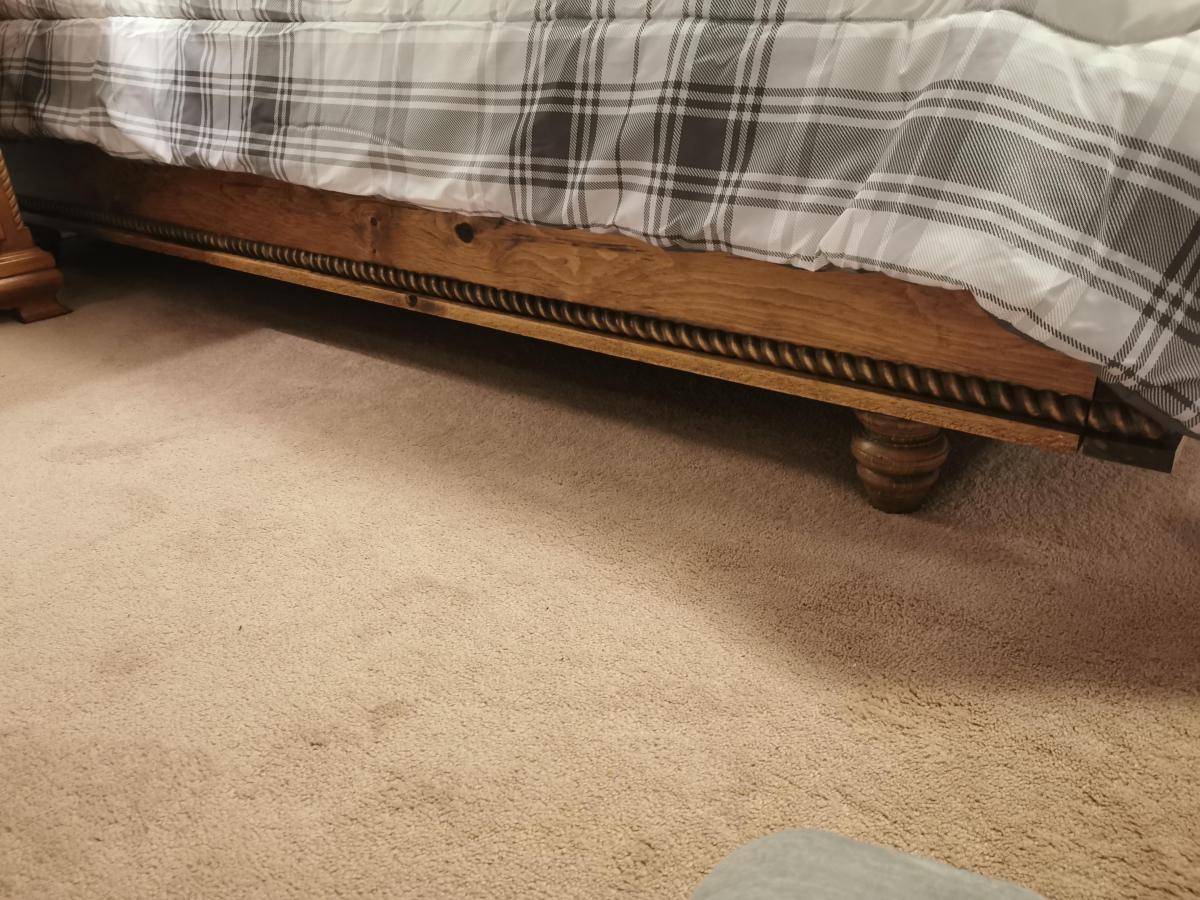
Wanted to build a simple platform bed to match our existing set that only had a queen. So I built a modified version of the Chestwick Platform Bed. Modified the plans to allow for a king size. I used rope molding at the bottom to match with our existing side tables. I wanted to be able to take it apart when needed, so I used knockdown hardware to be able to move it around in pieces if I ever needed.
Tue, 10/26/2021 - 10:46
Can you please provide the measurements for the king? Your bed turned out amazing! I love the details.
Comments
Maureen K
Sun, 02/17/2013 - 20:46
Beautiful job!
Beautiful job!
patrickhosey
Sat, 03/09/2013 - 16:26
wow
You nailed it. This is a hard one too. Great job!