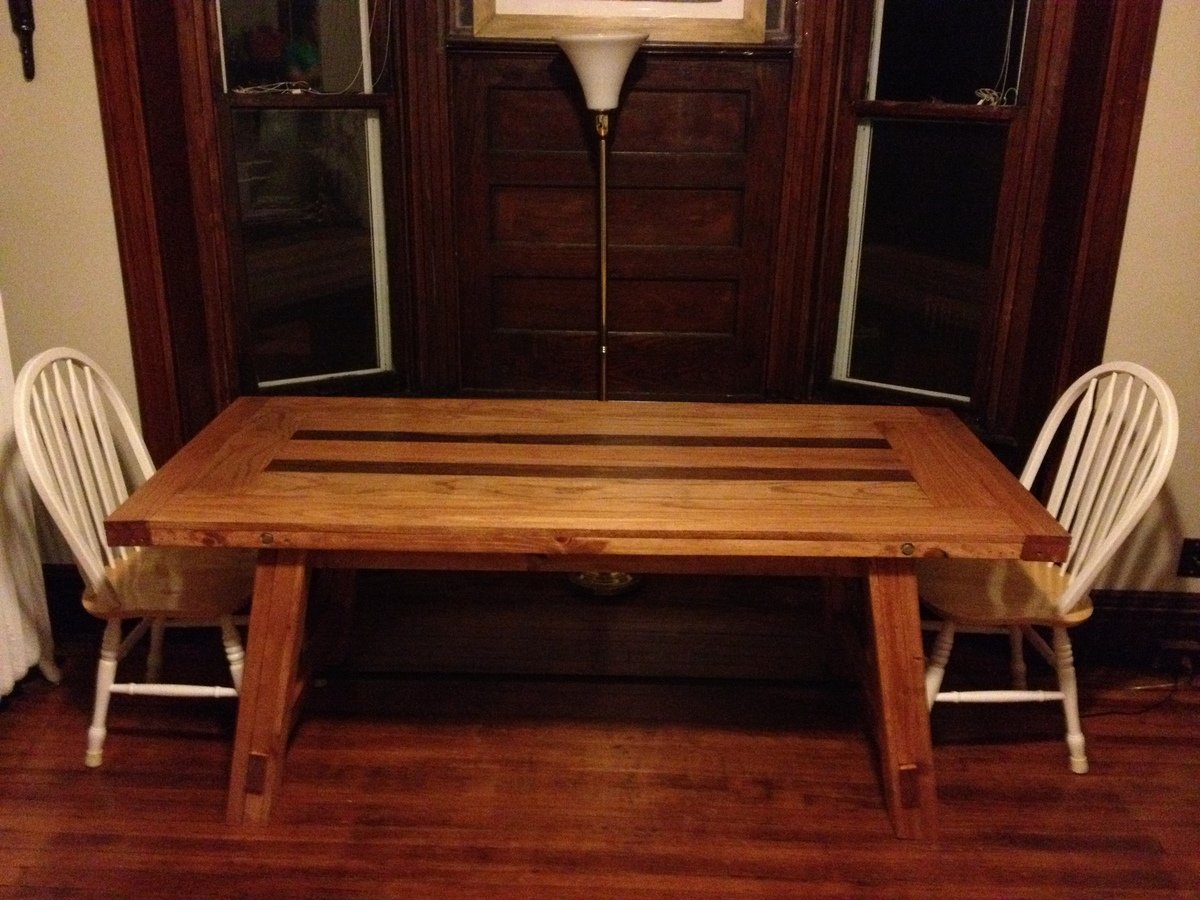
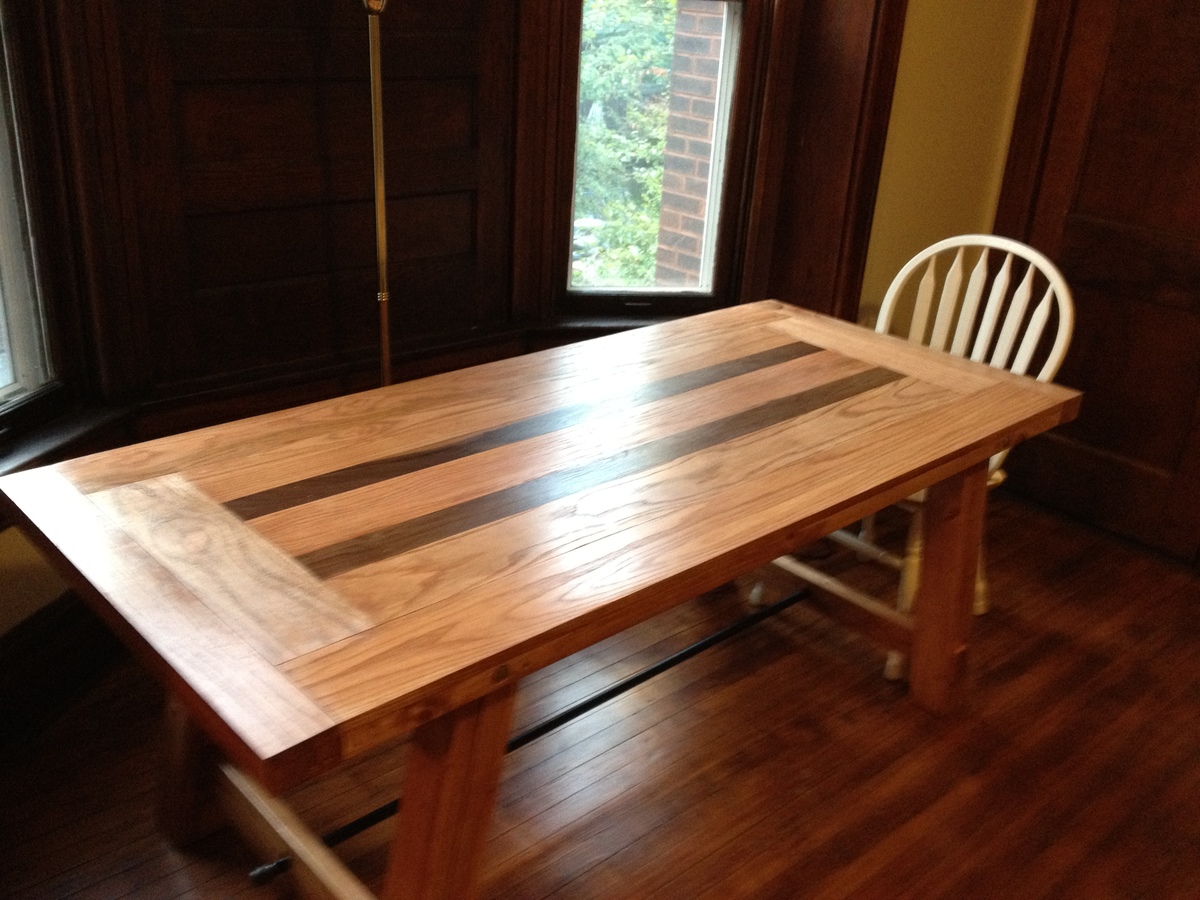
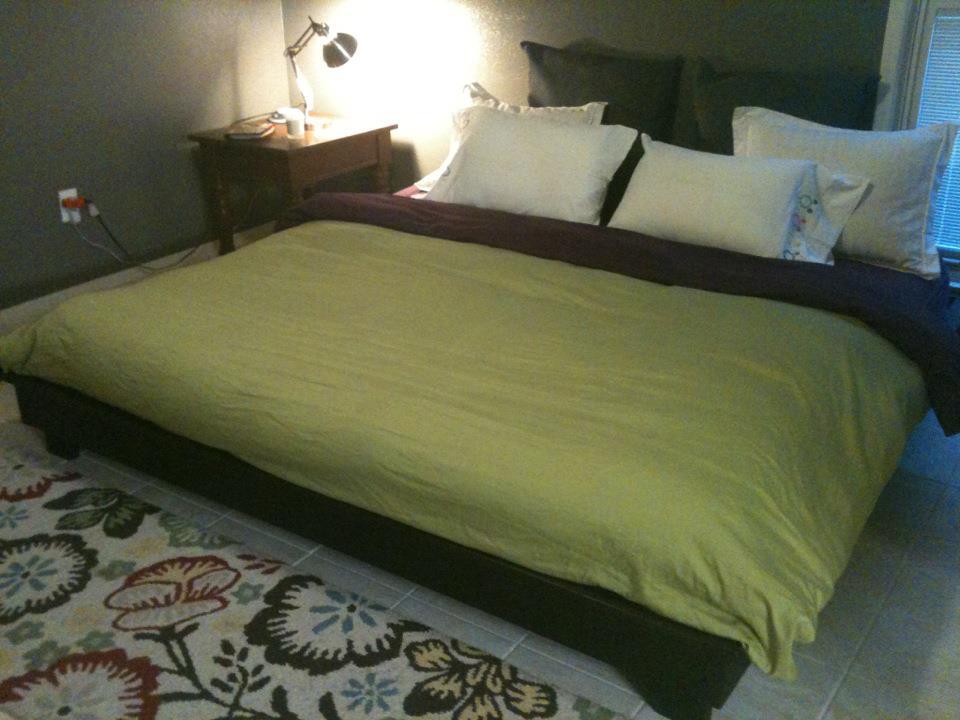
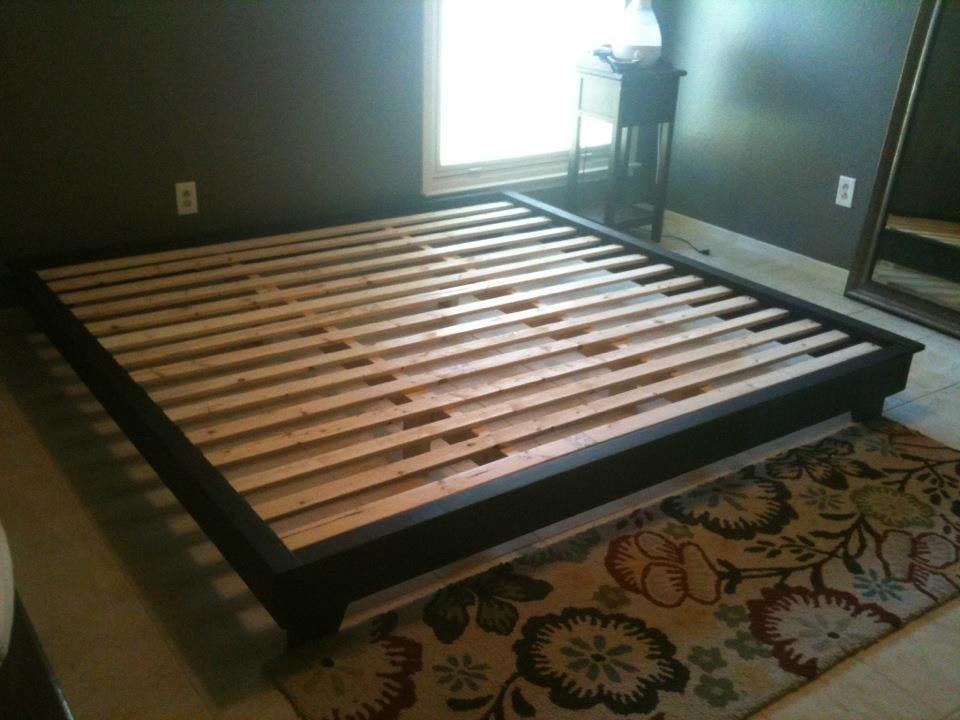
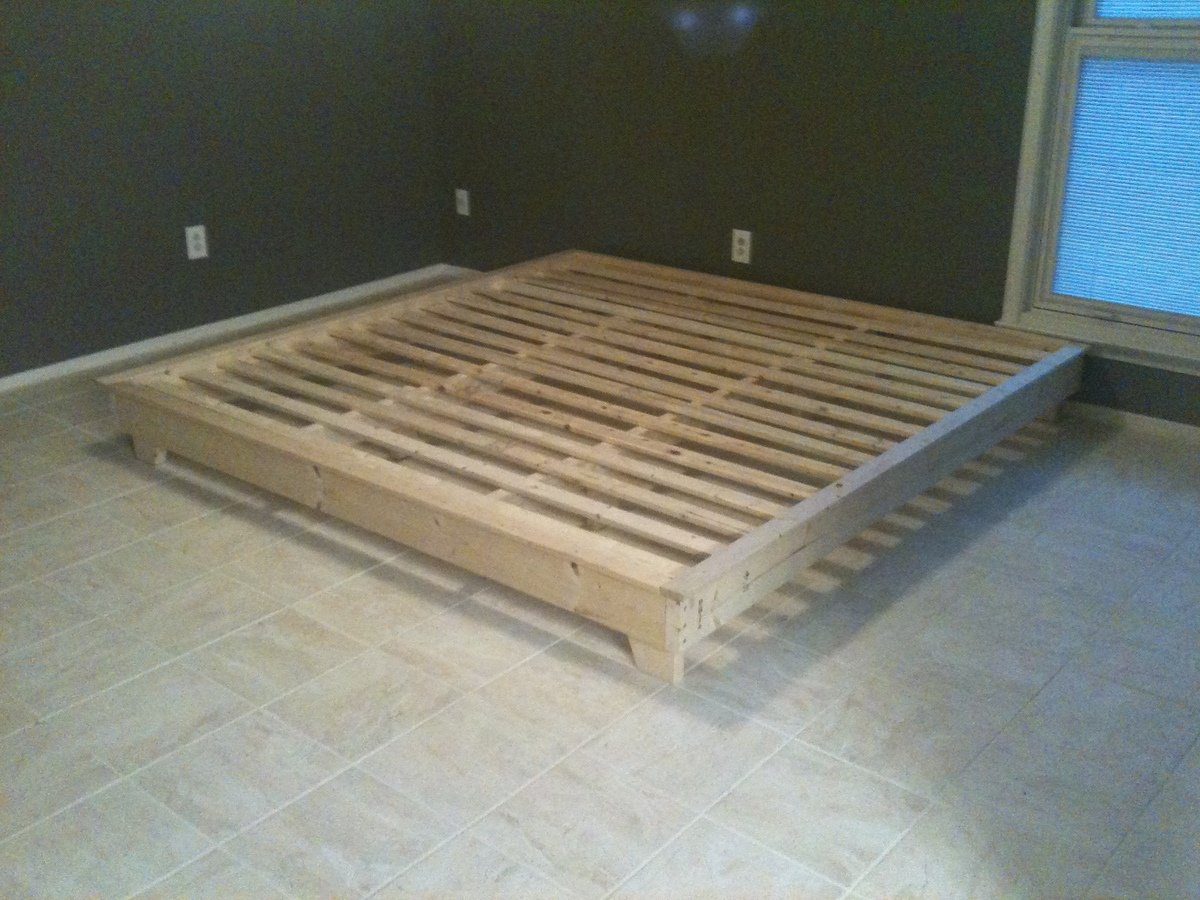
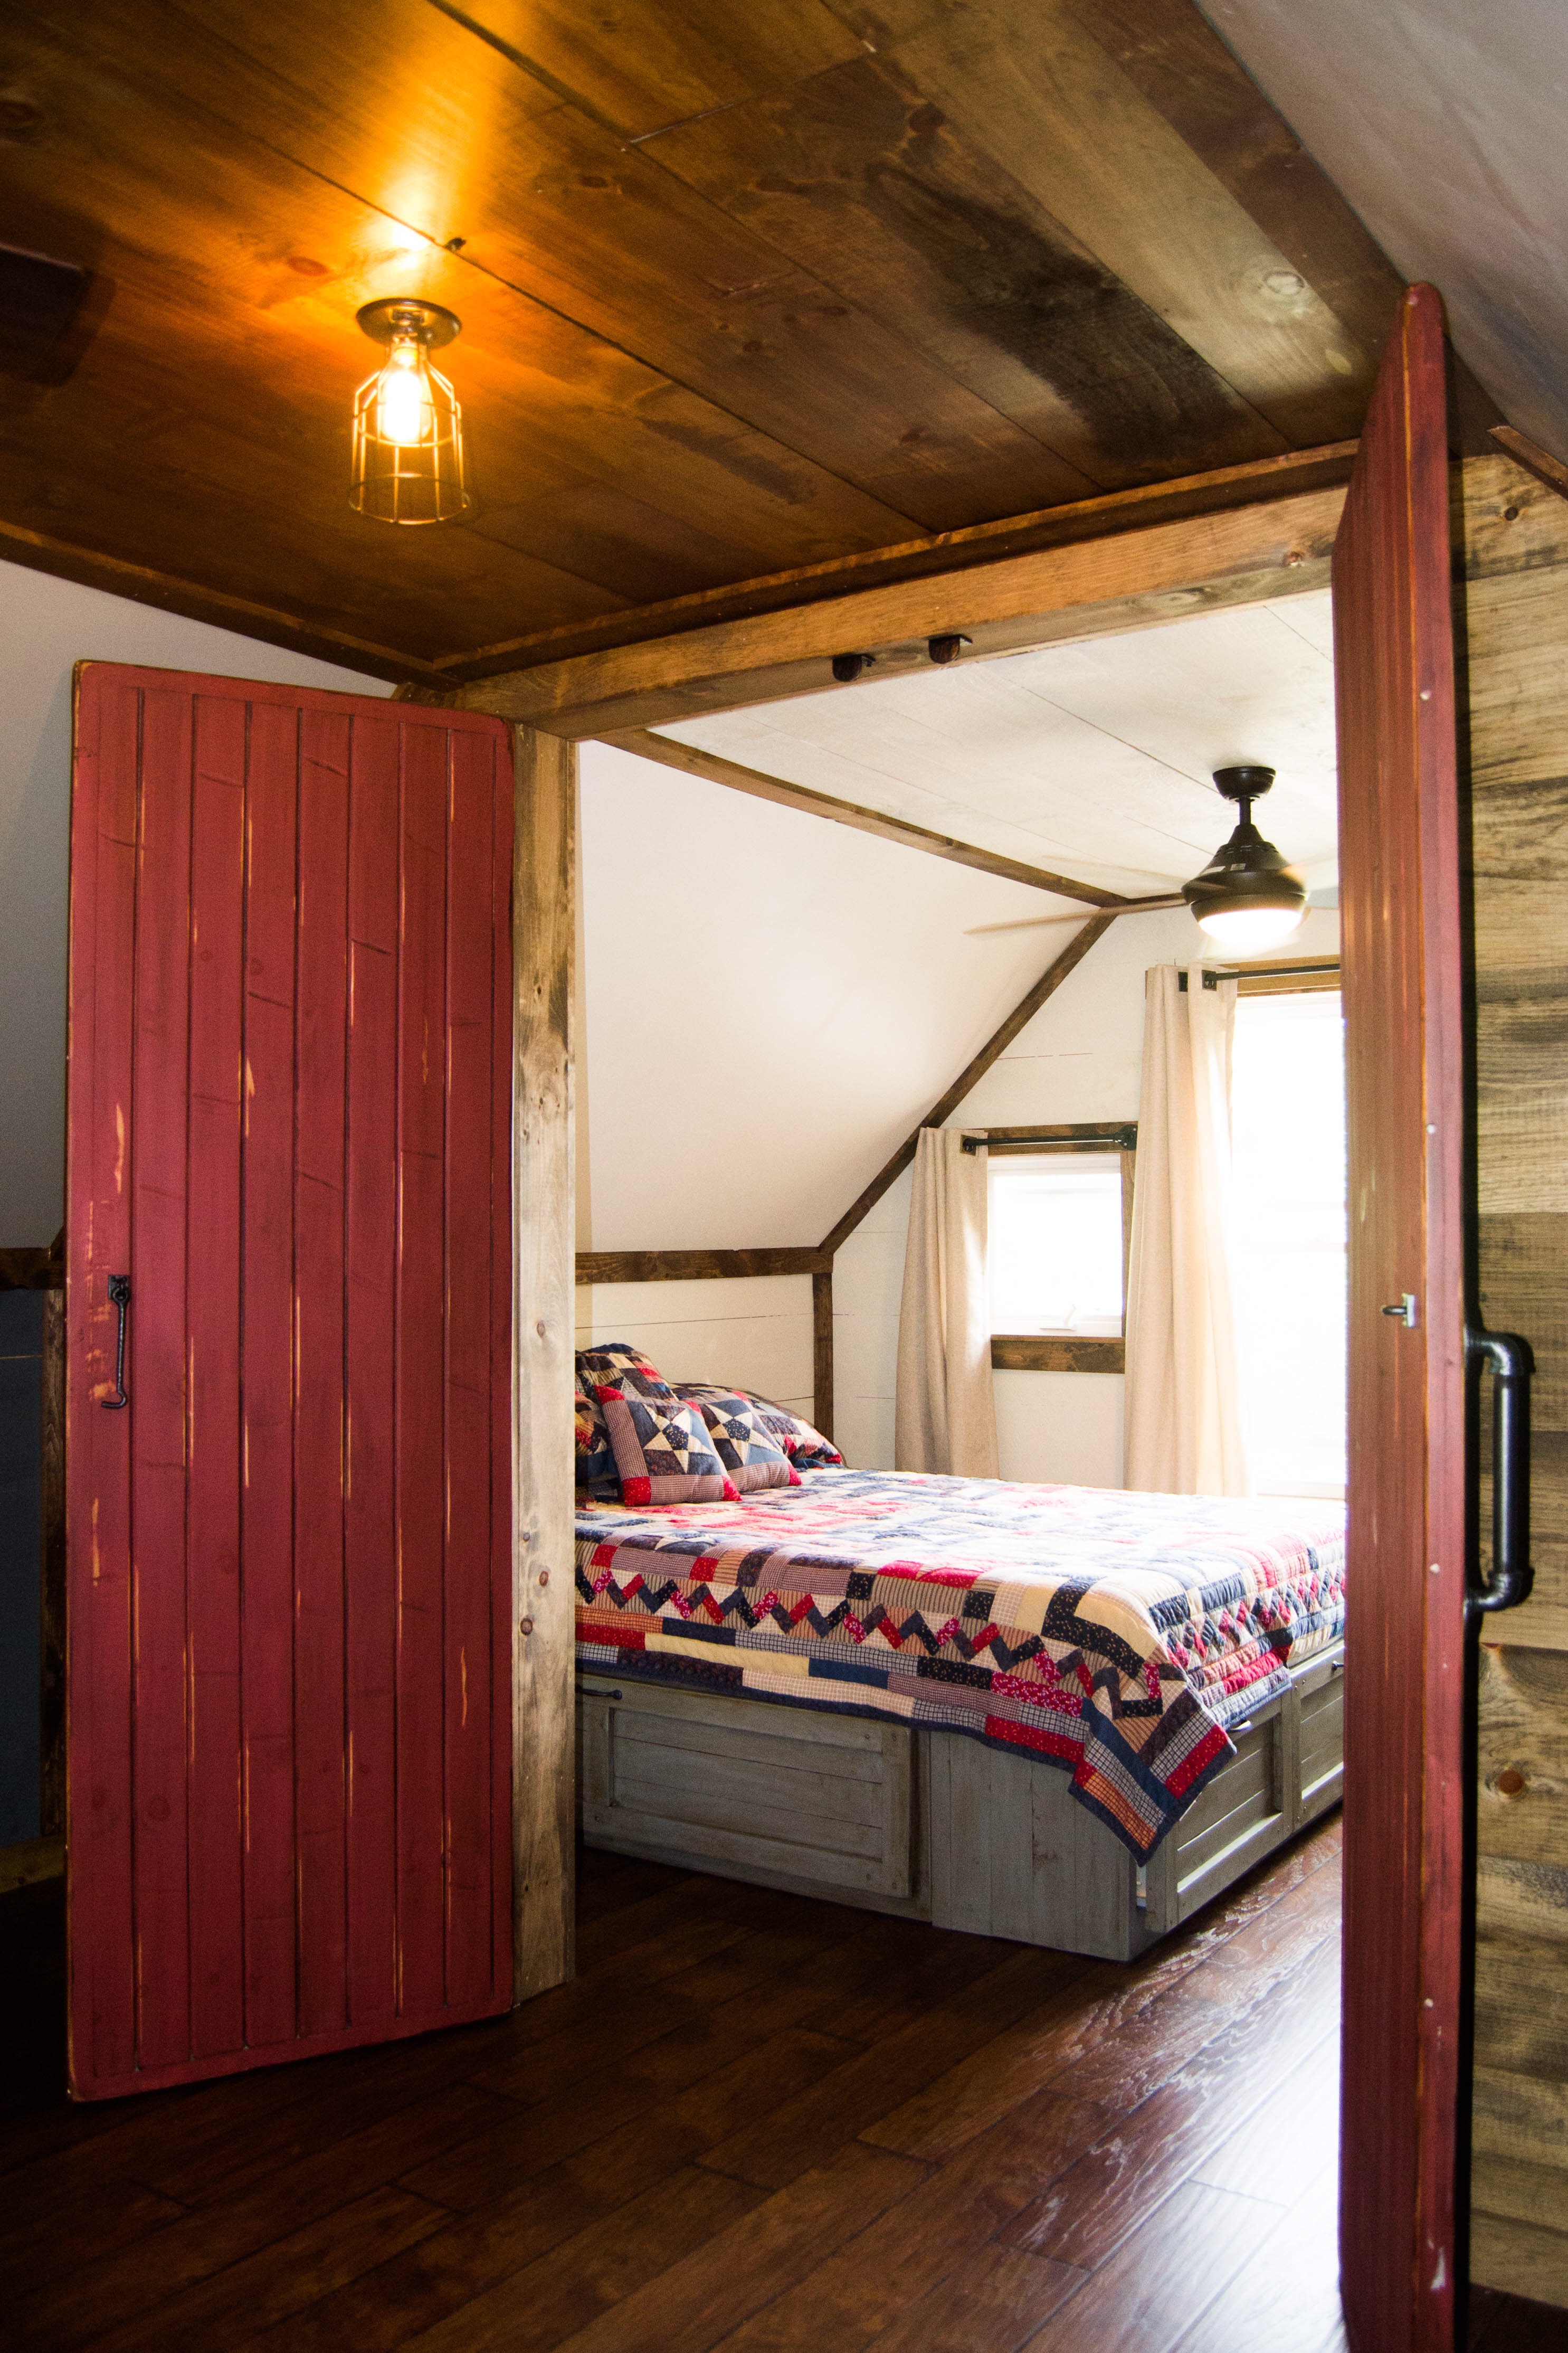
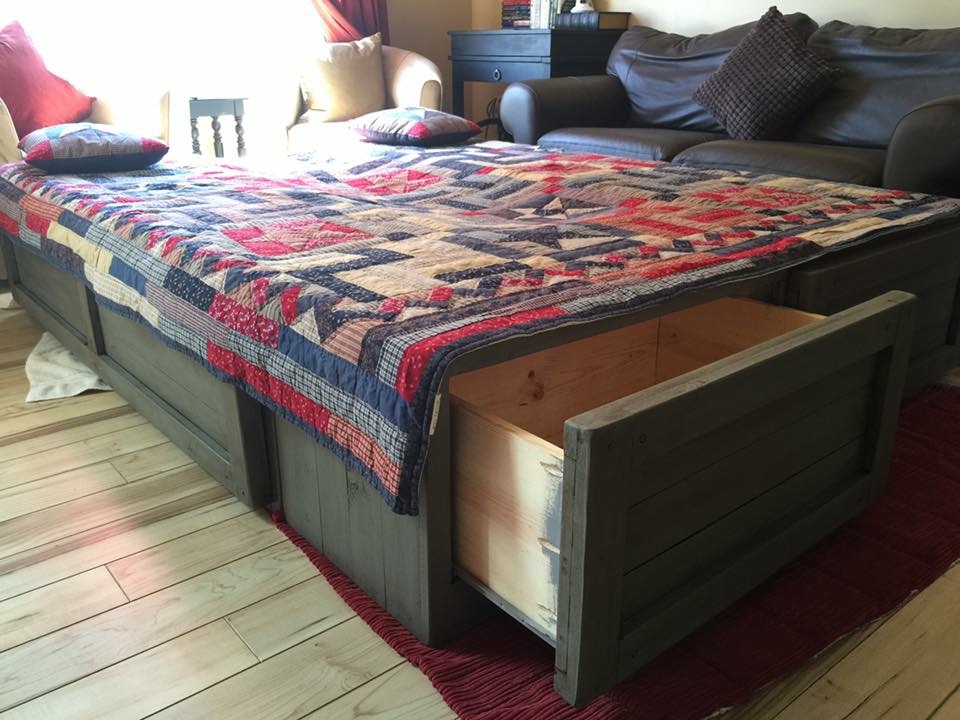
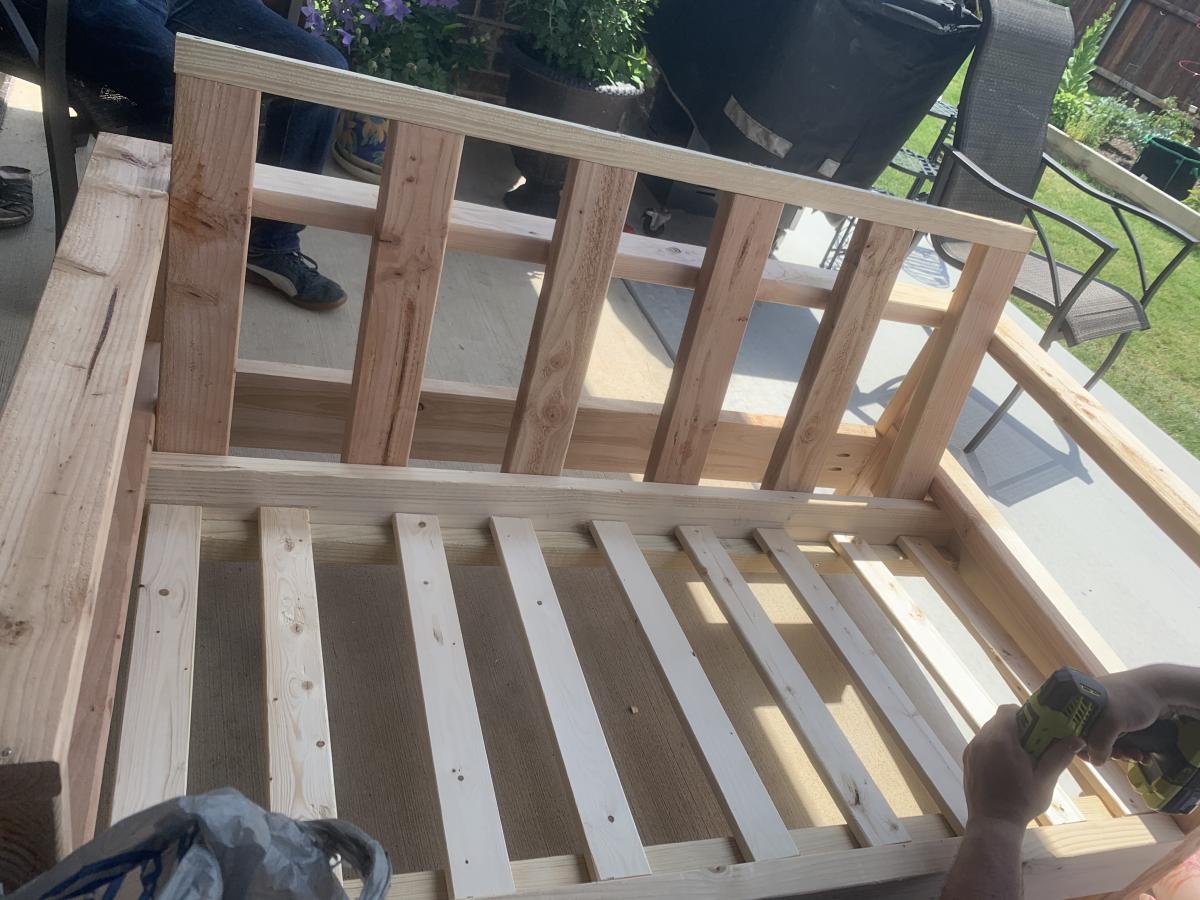
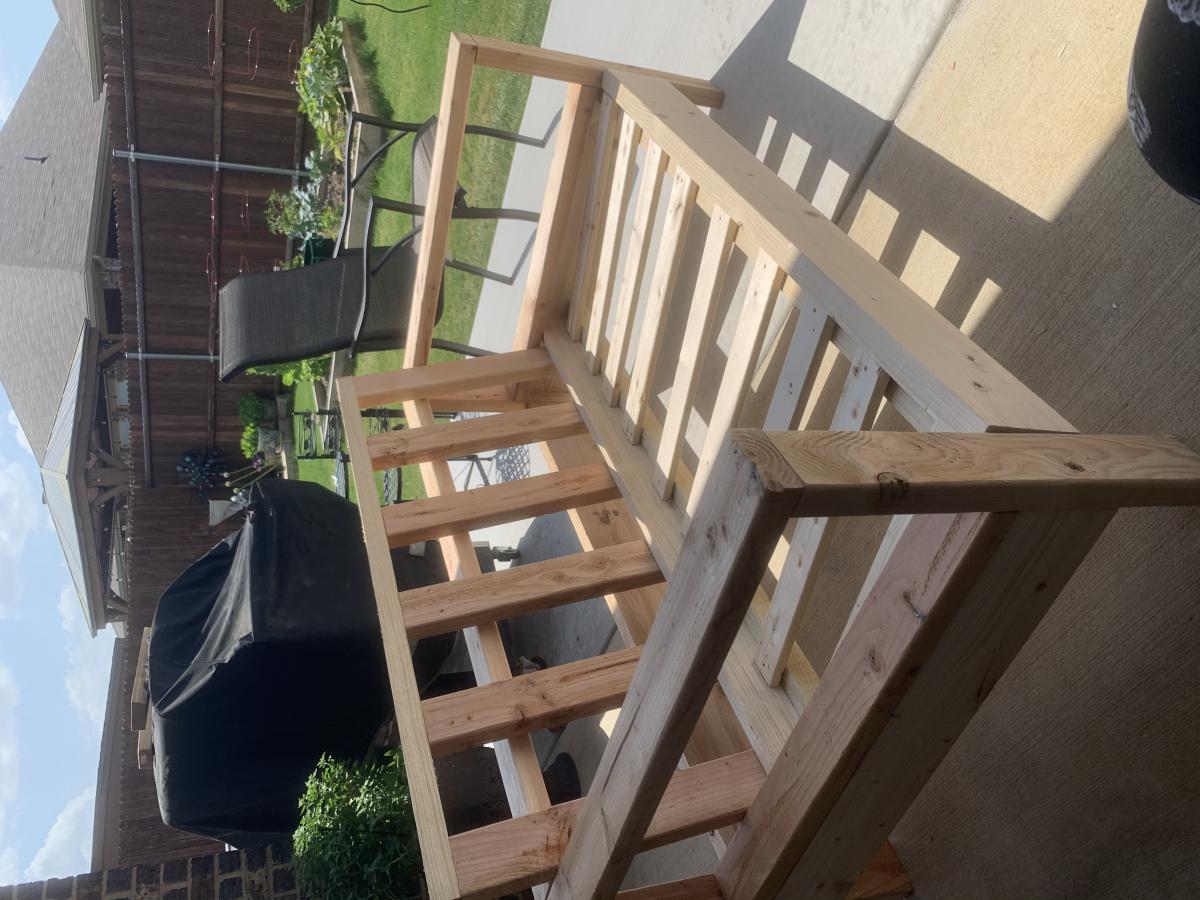
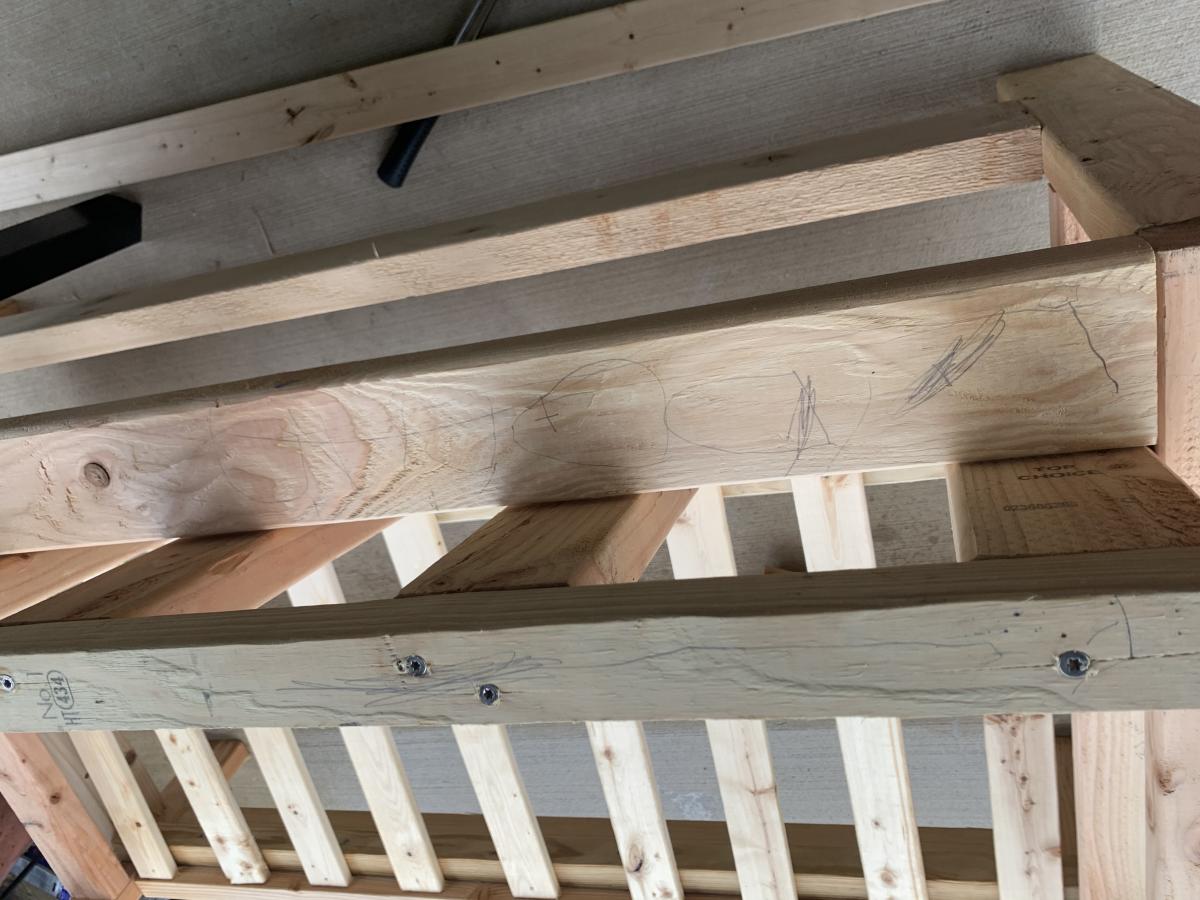
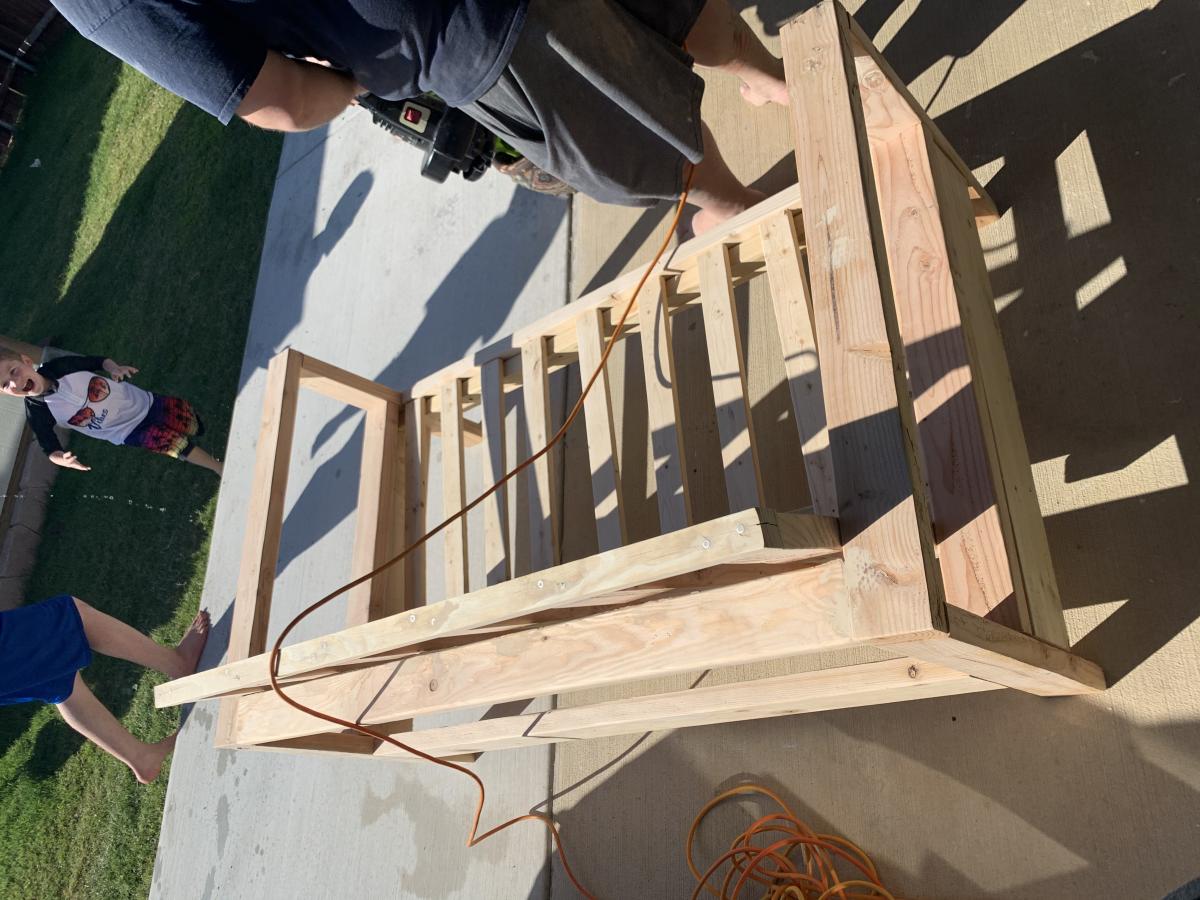
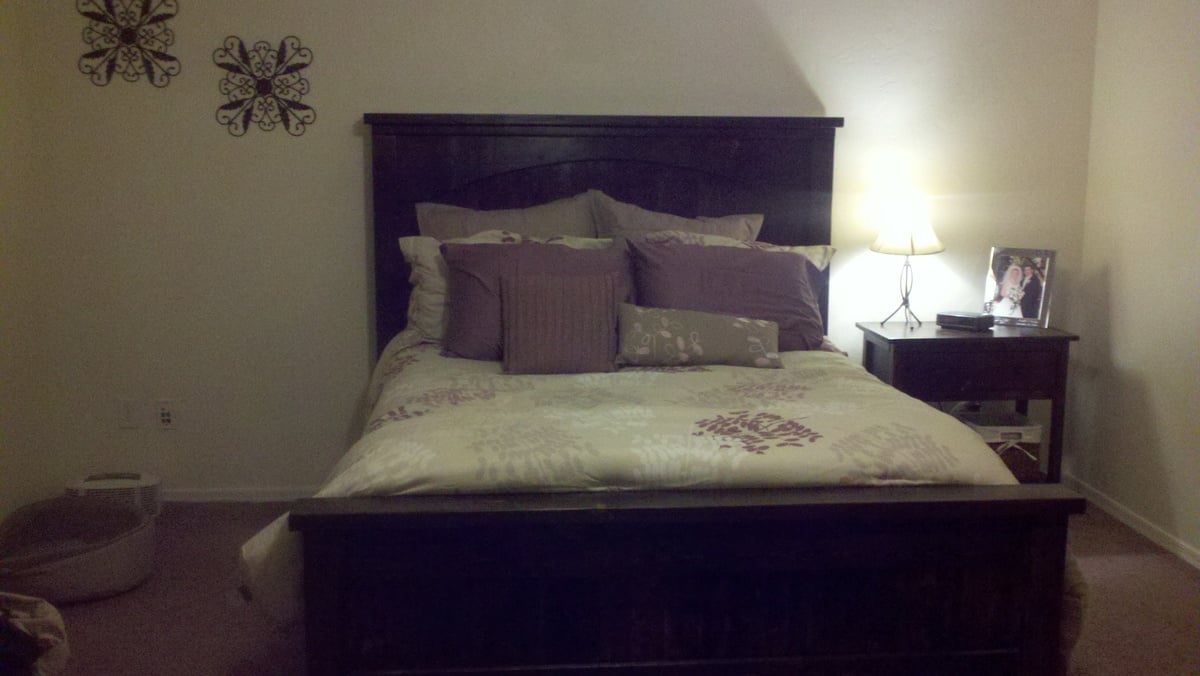
Queen Farmhouse Bed with Arch
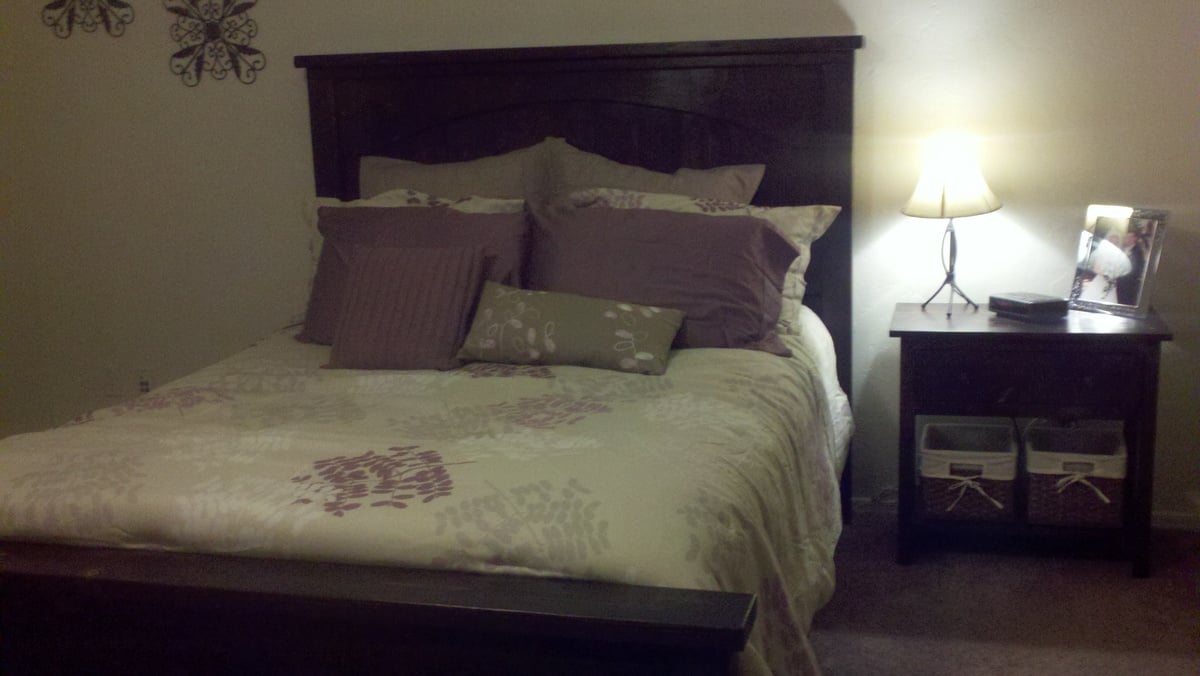
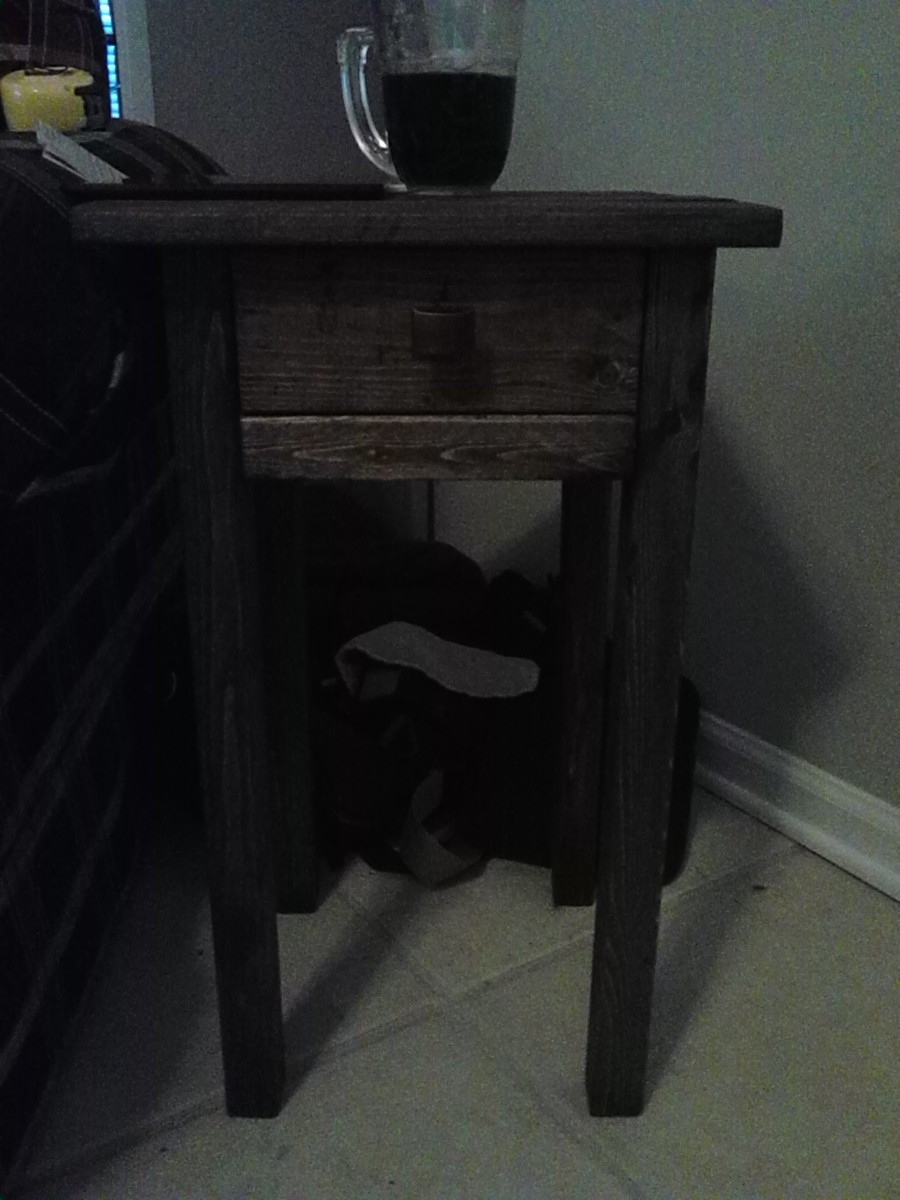
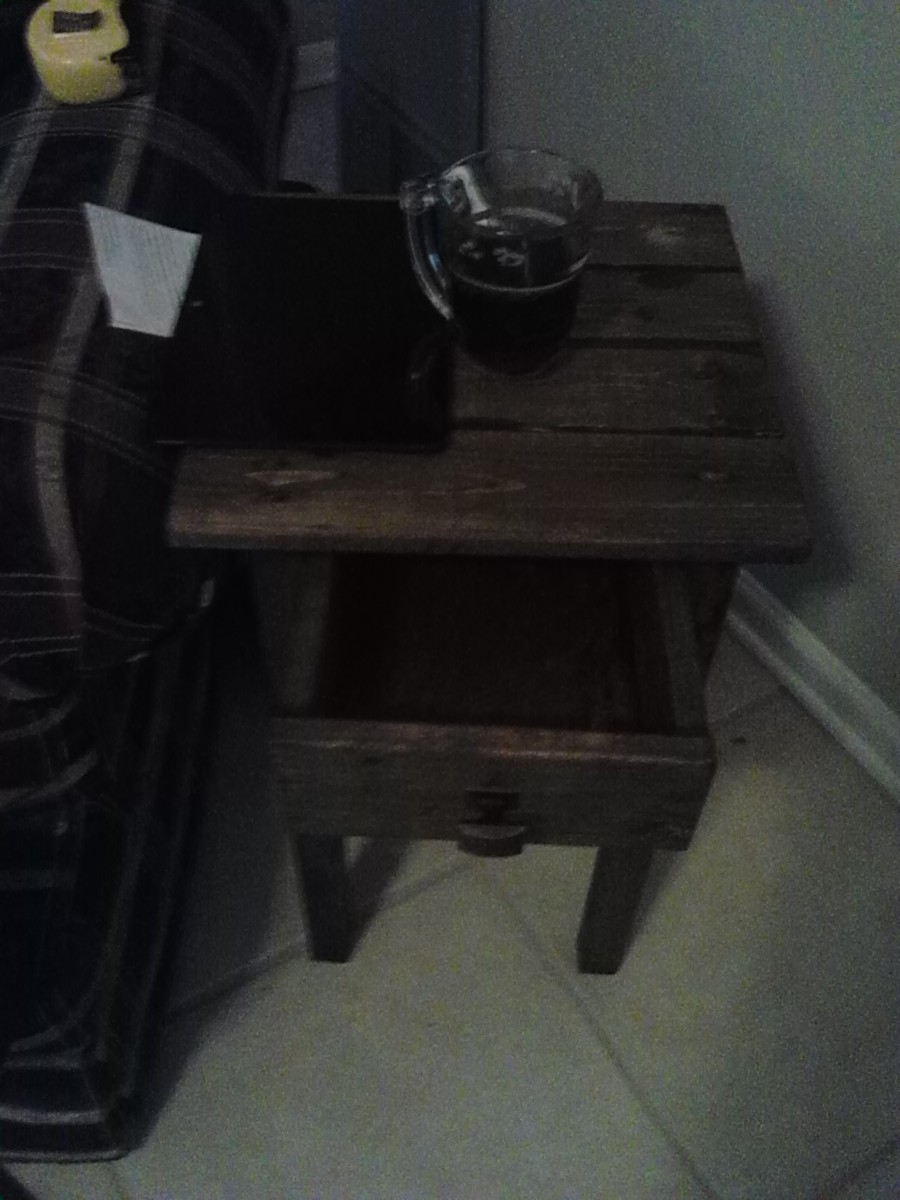
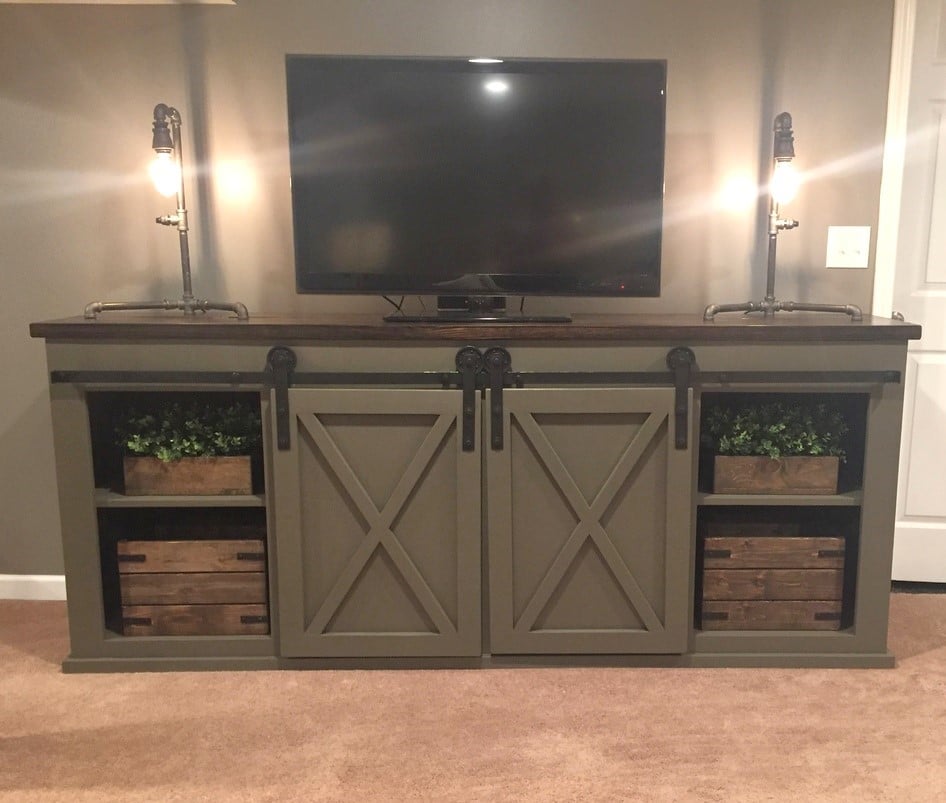
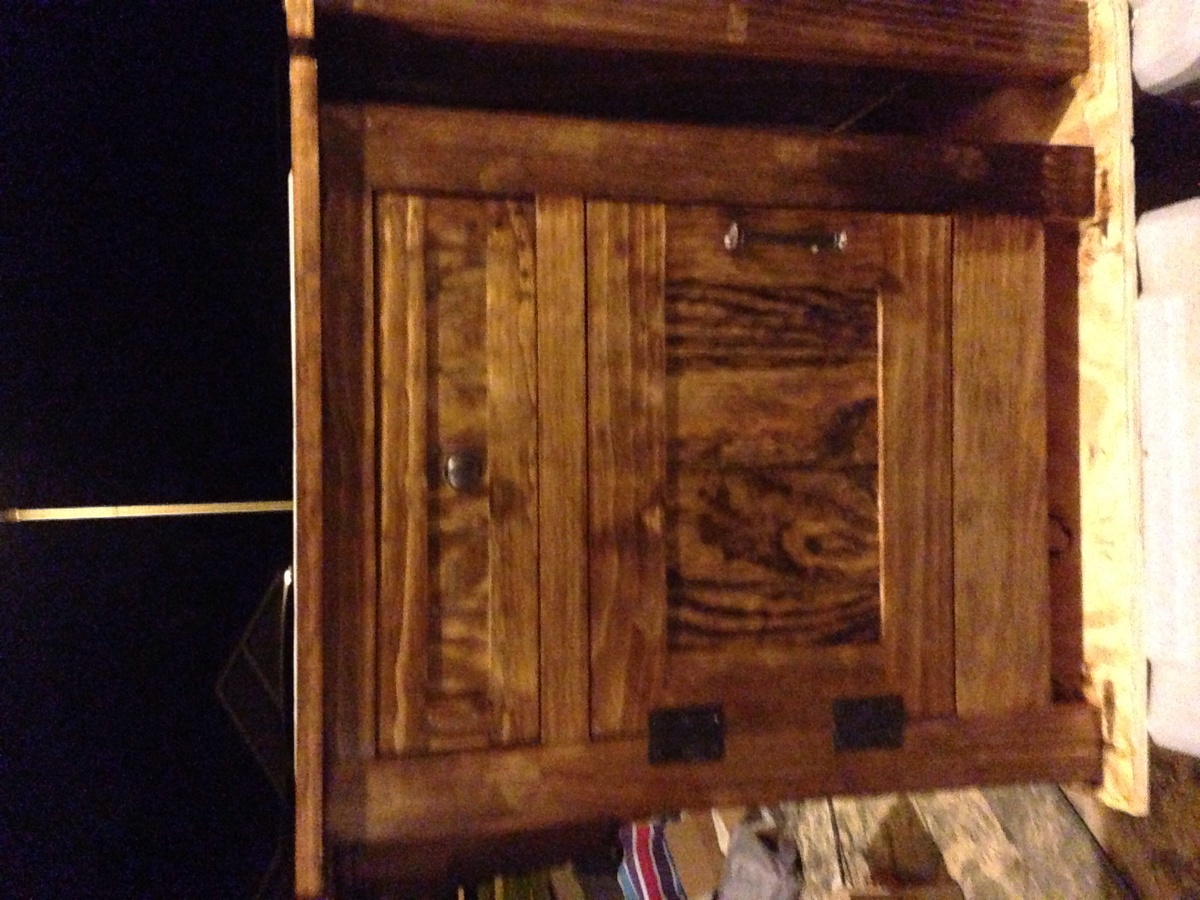
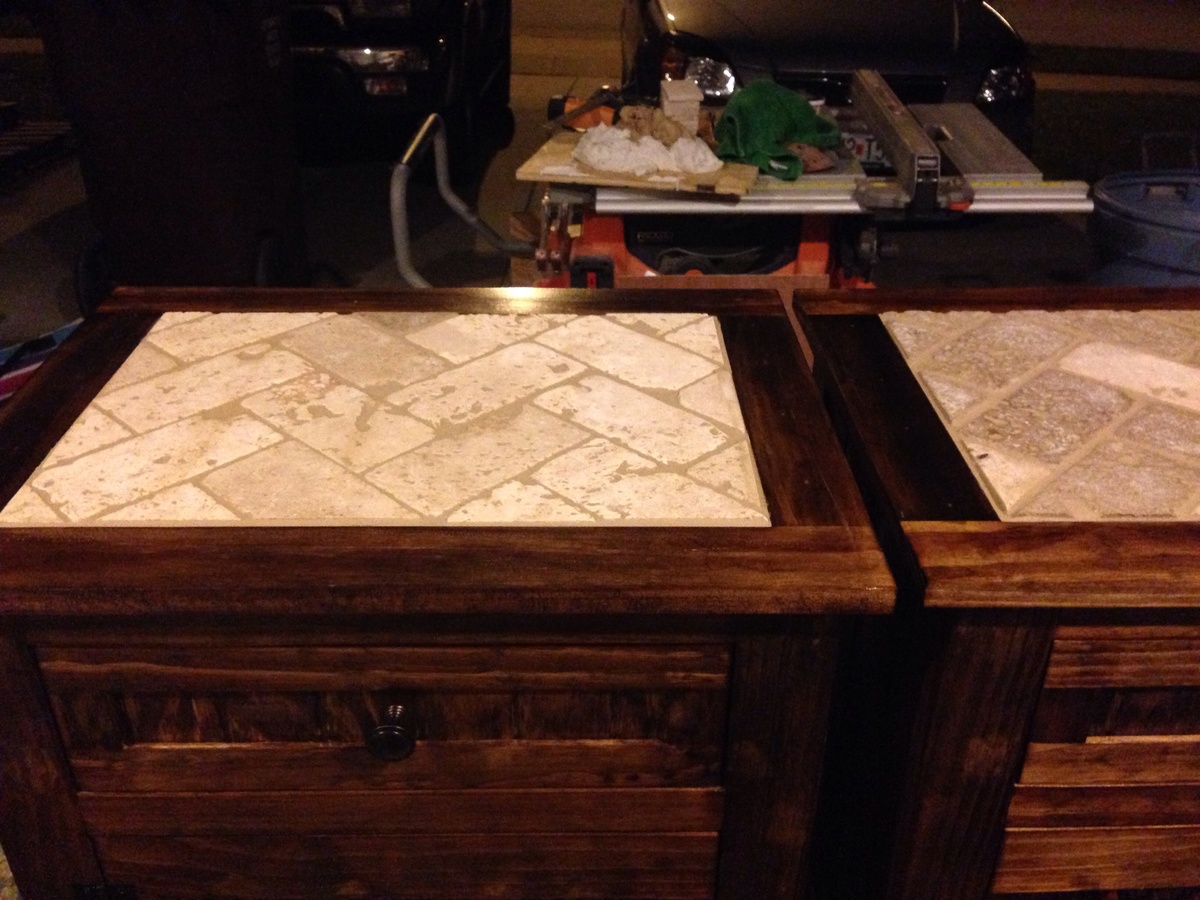
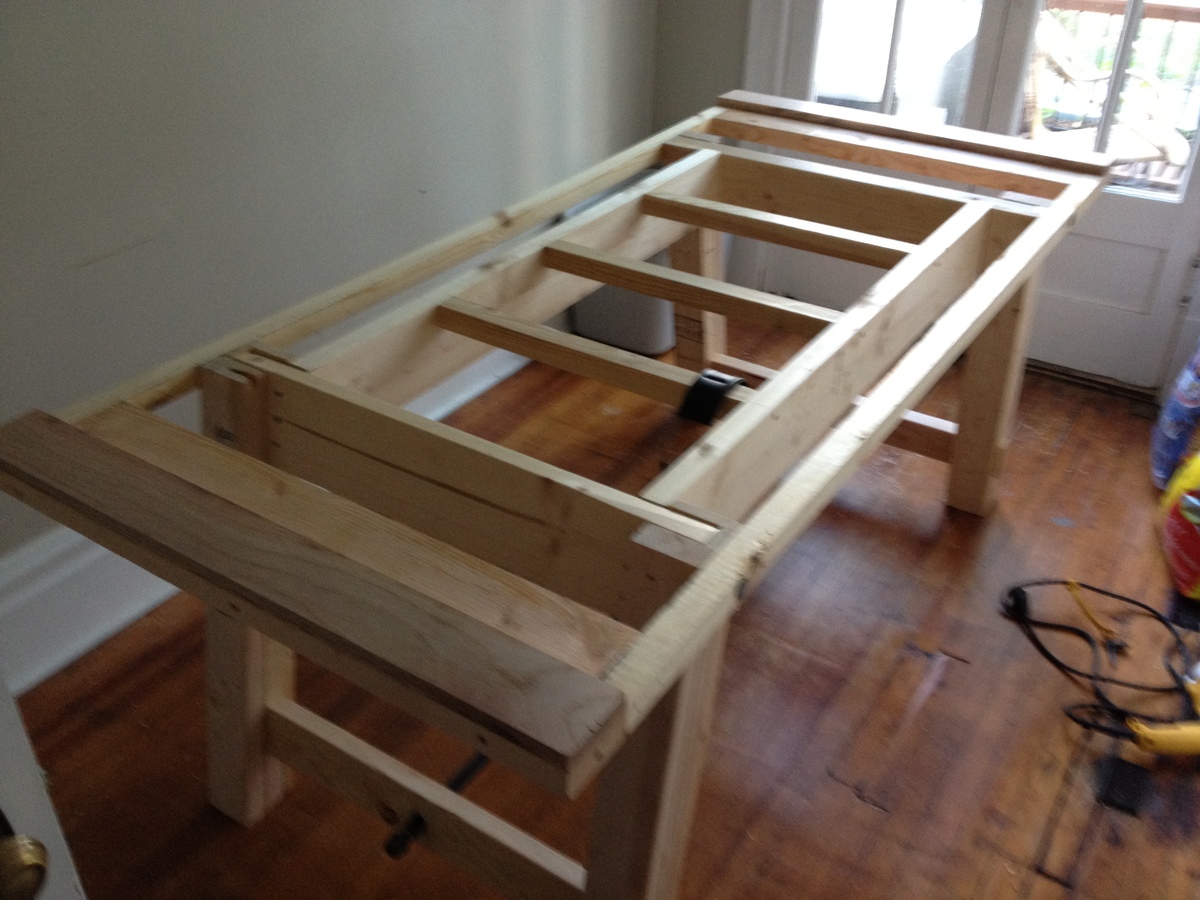
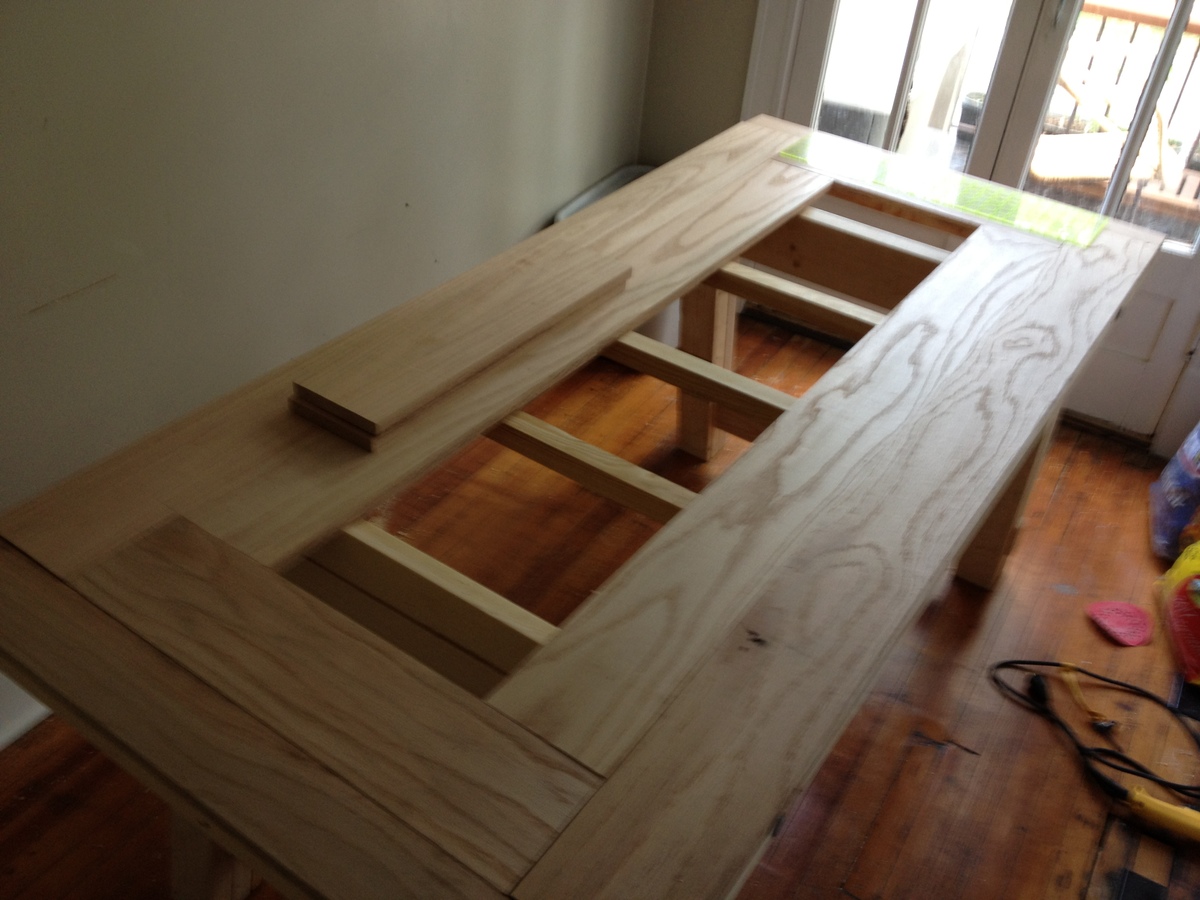
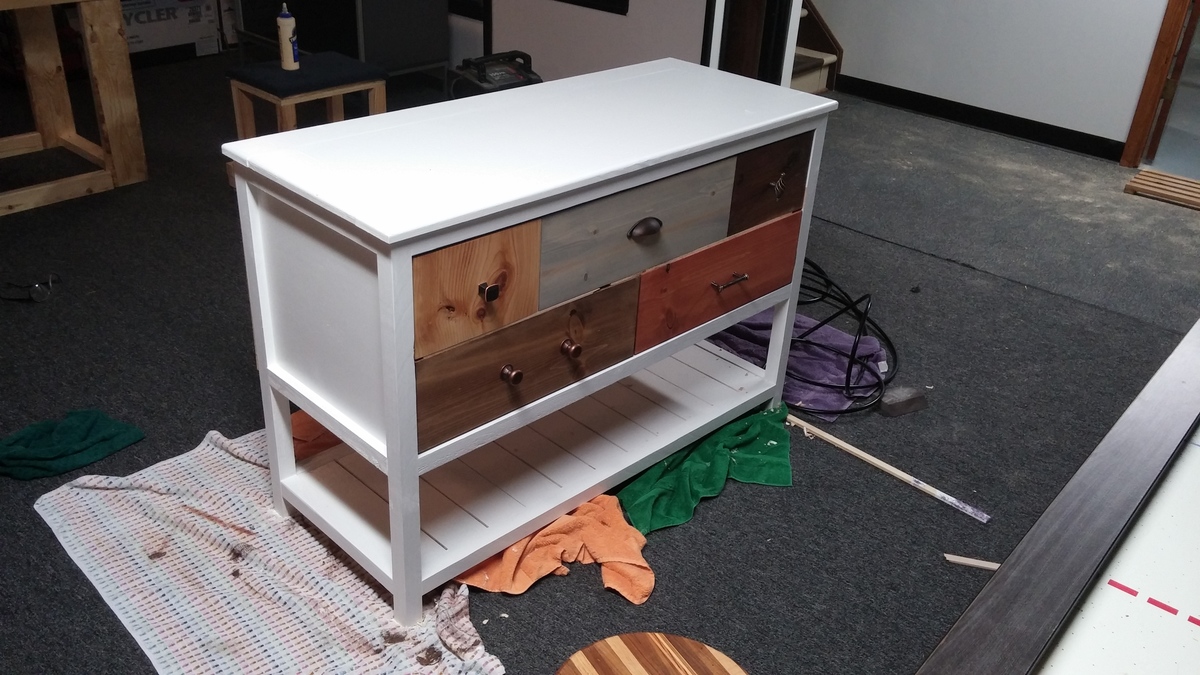
We saw this bed and decided to make it after getting tired of the sad state of our bedroom furniture. My husband built this as a weekend project. We also built the Farmhouse Nightstand, and plan to build the Wide Cabin Dresser stained to match. The bed is very sturdy, even with three kids horsing around.
Built from Plan(s)
Estimated Time Investment
Weekend Project (10-20 Hours)
Finish Used
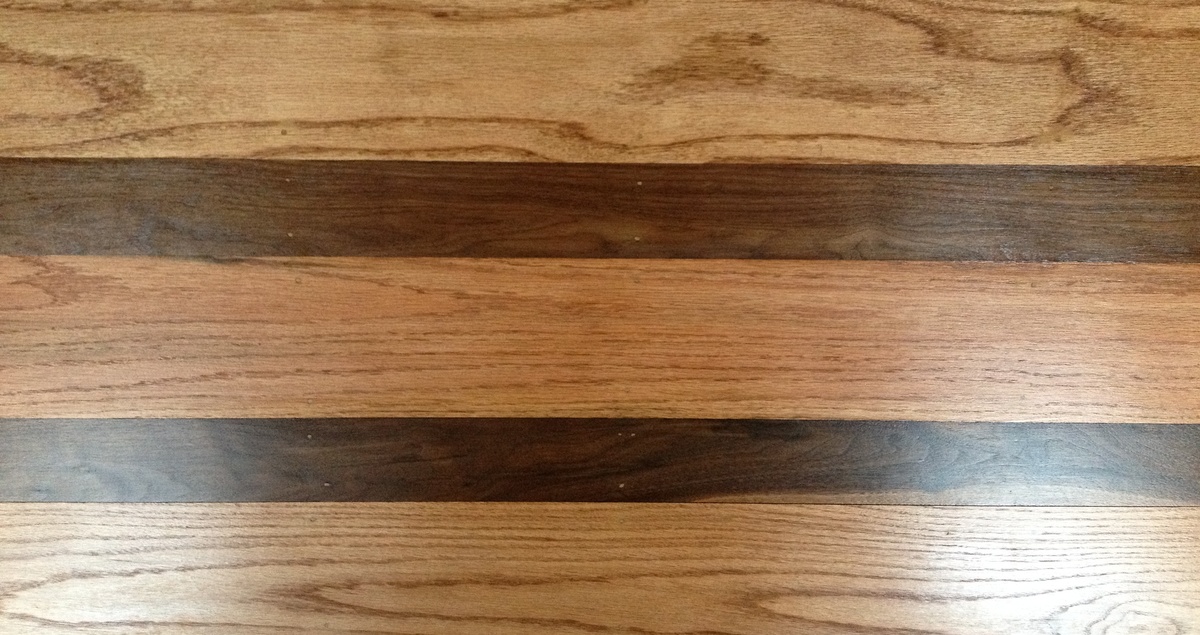
Rustoleum Java Stain
Recommended Skill Level
Beginner