Community Brag Posts

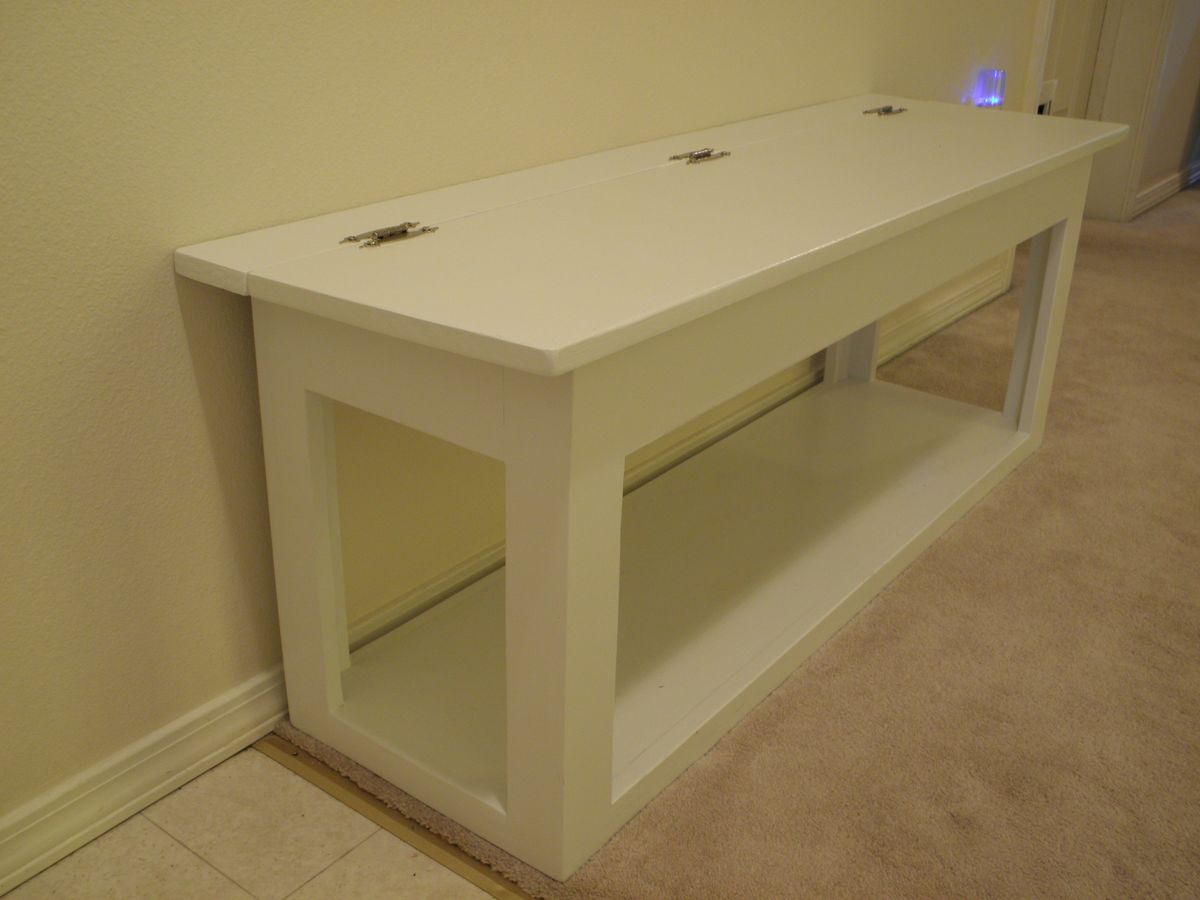
Flip Top Storage Bench
Submitted by lphair on Mon, 10/29/2012 - 15:11

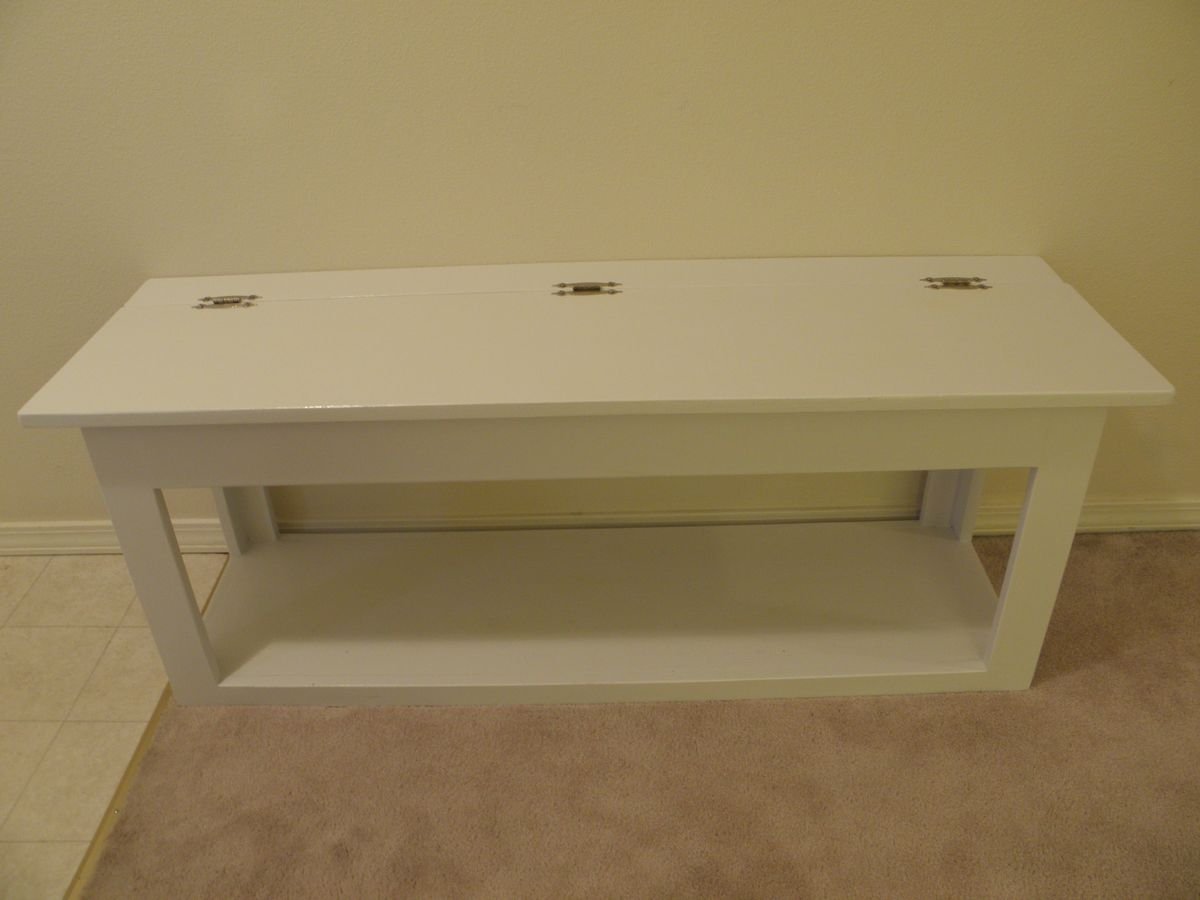
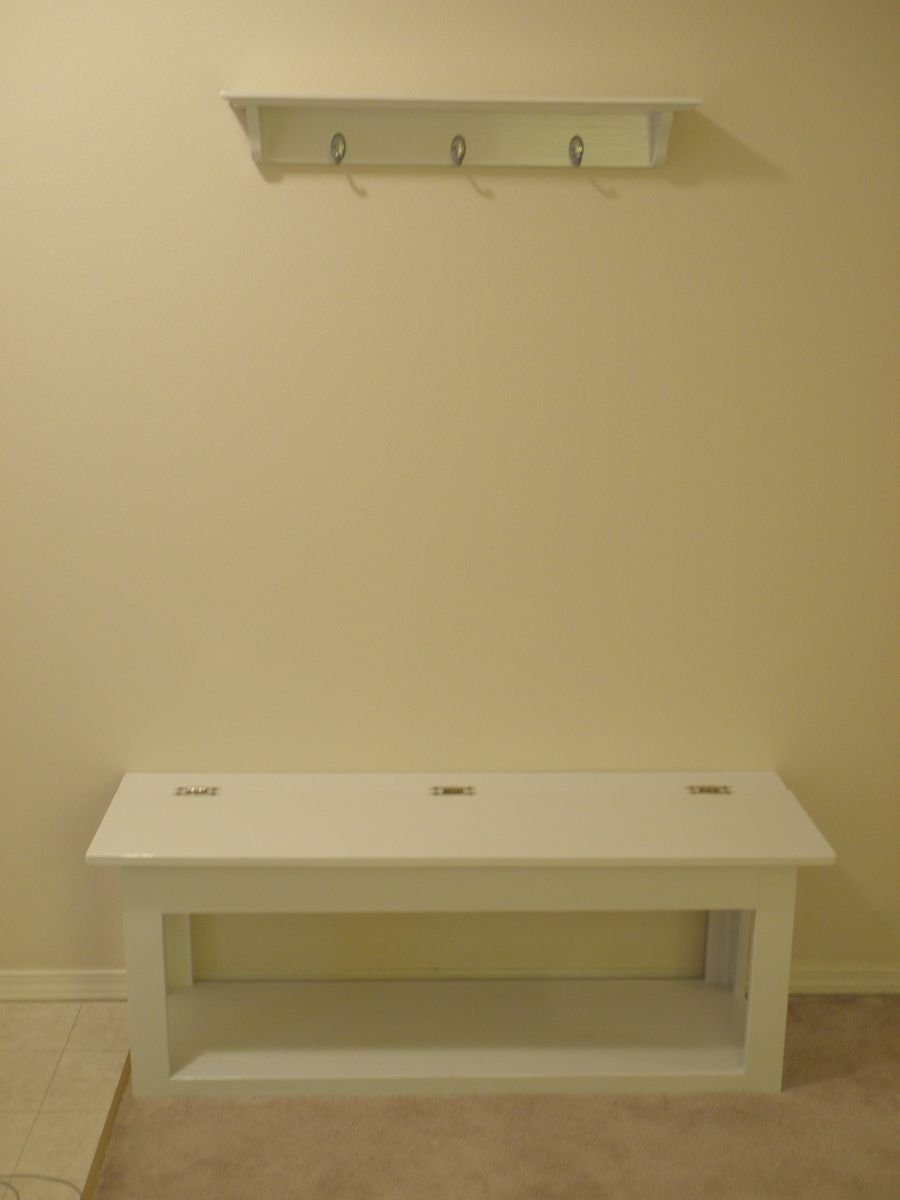
My first build! Very simple and straightforward. I chose to not have the bench raised off the ground; however, the legs were cut at the same length as the plans, so my shoe storage is a little taller than the plans, giving me more room for boots.

If I was to do it again, I would not use 1x3's for the lower cross boards, instead I would use 1x4's to match the upper cross boards so there's some symmetry, since it just sits on the floor rather than being raised up.

The build itself took me about 3 hours, which seems like a lot for something this simple, but again, it was my first build, first time using the Kreg Jig (love it!!), and it took me a while to deal with my less-than-perfect boards.

The hardest (and longest) part of this project was the painting! I have alway just used wood stain when I have refinished furniture, but I decided to go with white Rustoleum primer followed with 2 coats of Rustoleum paint, and finished off with a coat of Rustoleum lacquer. The paint was very thick and even with a $20 paint brush it did not go on evenly--it was a huge source of irritation! I also decided to use decorative hinges on the exterior rather than slim hinges on the inside.
Estimated Cost
$50
Estimated Time Investment
Weekend Project (10-20 Hours)
Finish Used
Rust-oleum Primer (white)
Rust-oleum latex paint (flat white)
Rust-oleum lacquer (clear gloss)
Recommended Skill Level
Starter Project

Comments

m.livingston (not verified)

Wed, 01/16/2013 - 12:16

This looks awesome! I am about to start building this as my first project and I bought a Kreg Jig too! Hope mine turns out as good as yours! Thanks for sharing your photos!

lphair

Mon, 01/21/2013 - 19:50

Thanks! I have no doubt yours will turn out amazing--it's funny how getting used to a tool (like the Kreg Jig) can instill confidence! I've since built a frame (easy) and 2 farmhouse tables and am working on a triple pedestal farmhouse table...I'm so glad I started with this bench because I learned a LOT from it. Good luck on your project(s)!

Jake

Wed, 01/16/2013 - 17:56

Lots of posts recently with first projects. You learn very quickly that it isn't the length of time that it takes you to build the box but the care you put into accurate measurements and cutting and checking for square constantly. I still take a long time to build even the most simple project. Then you find that it is the finishing that really takes a long time. Just take your time and you will end up with great results. By the way I add a tiny bit of water to latex paint to help eliminate brush strokes and use a foam brush for the final coat. Also I use spray paint for small projects.

lphair

Mon, 01/21/2013 - 19:46

Jake--thanks for the tips, I appreciate it! I've discovered I LOVE building, but it's quite the learning process, so I'm thankful for any feedback I can get :)

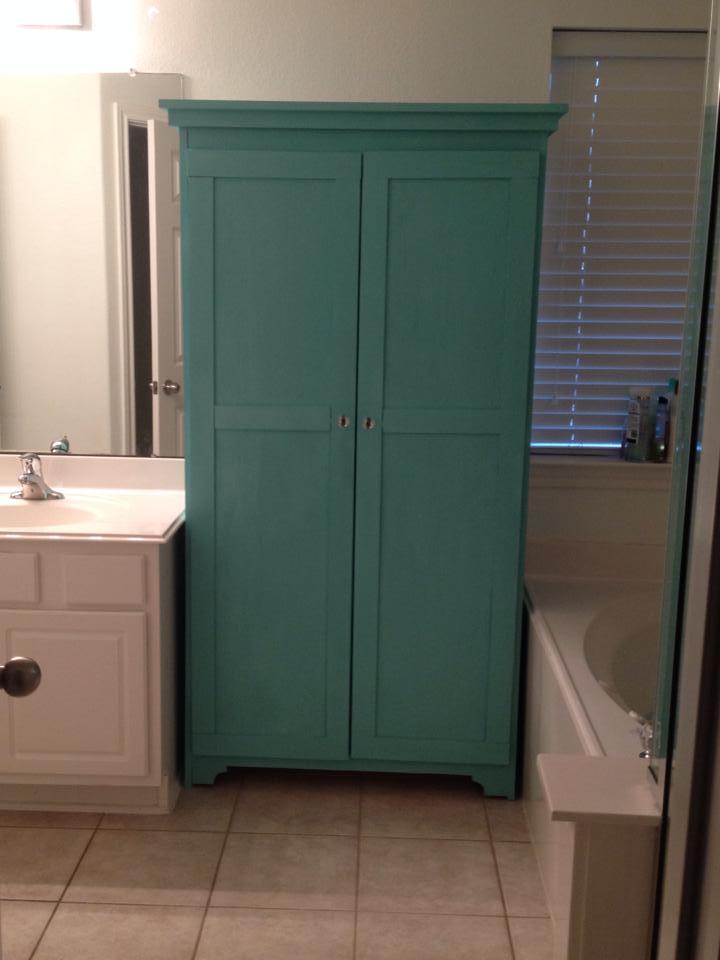
Linen closet

Submitted by Texjan on Sun, 08/17/2014 - 19:38

I needed a place to store towels and other items in my bathroom. This was the perfect project for this. I have friends begging me to make one for them. Not too hard and it definitely does the job!

Estimated Time Investment
Weekend Project (10-20 Hours)
Finish Used
I used Annie Sloan Chalk Paint on this (2 parts Pure White and 1 Part Florence).
Recommended Skill Level
Intermediate

Farmhouse Table

Submitted by Anonymous (not verified) on Sat, 12/03/2016 - 03:30

I built this table from your Farmhouse table plans for my friends.  They did the fabulous job of staining it.

Great site!

Estimated Cost
$130.00 for the legs, $70.00 for the rest.
Estimated Time Investment
Weekend Project (10-20 Hours)
Finish Used
Early American
Recommended Skill Level
Intermediate

Truss Dining Table

Built this table for my wife a few weeks ago. Pleasantly surprised how it turned out. Love this site and it has sparked a real joy within me in woodworking.

Built from Plan(s)
Estimated Cost
125ish
Estimated Time Investment
Day Project (6-9 Hours)
Recommended Skill Level
Beginner

Fanxy X Table

Submitted by joyride805 on Fri, 11/02/2012 - 14:05

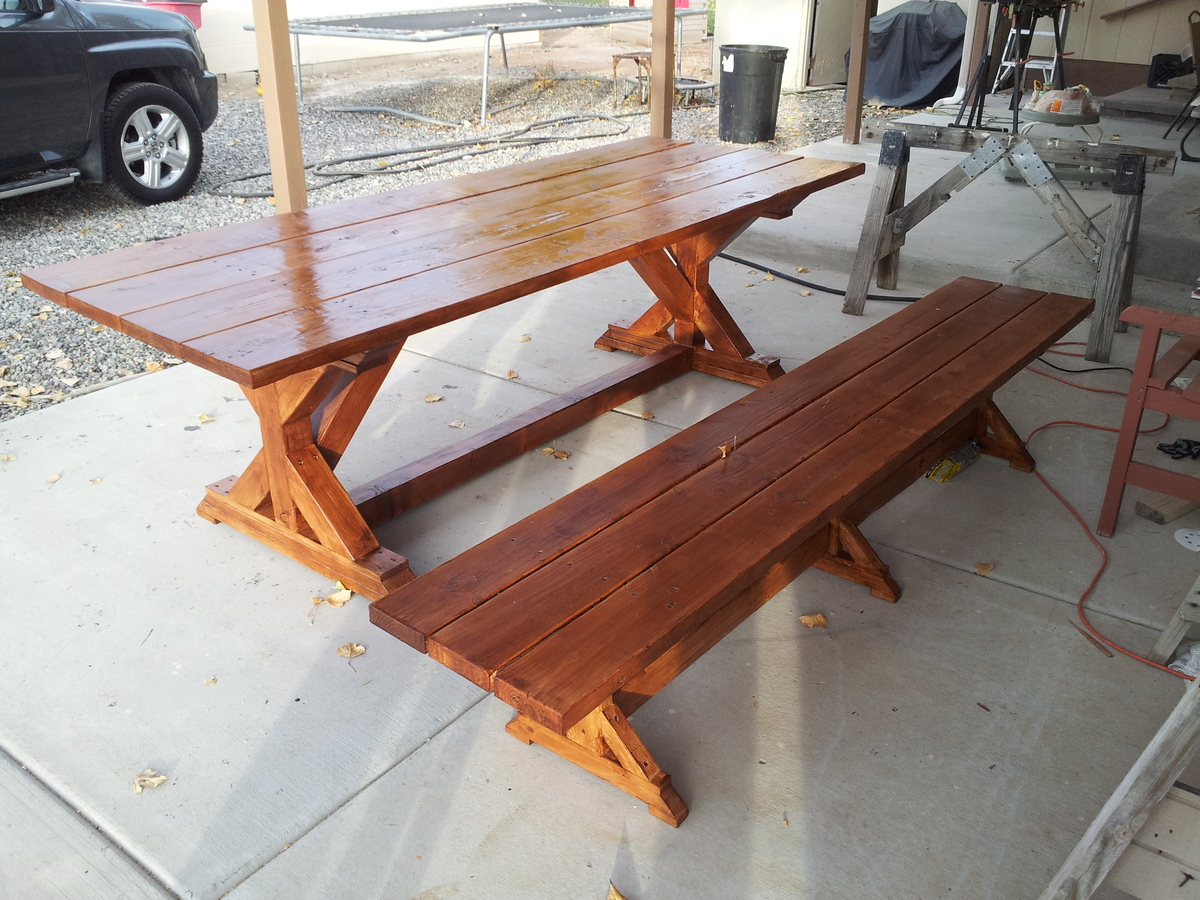
Our fancy x table and bench

Estimated Time Investment
Day Project (6-9 Hours)
Recommended Skill Level
Beginner

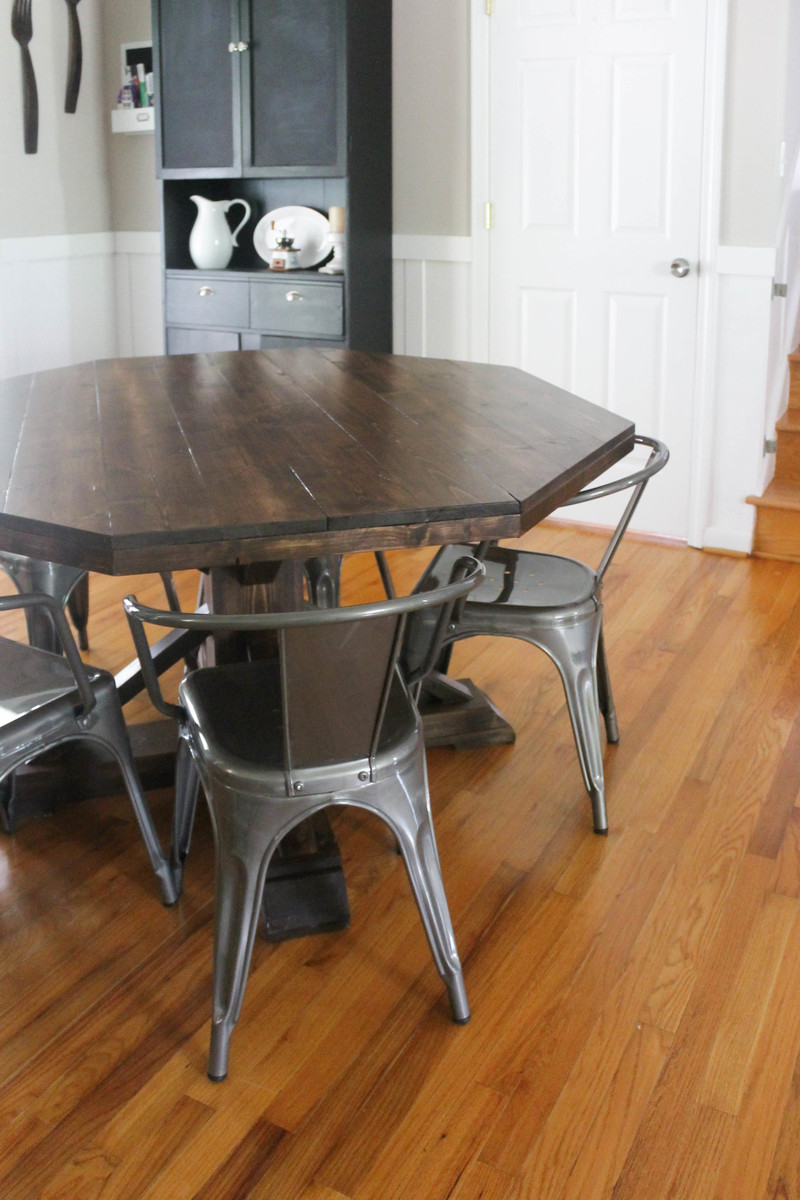
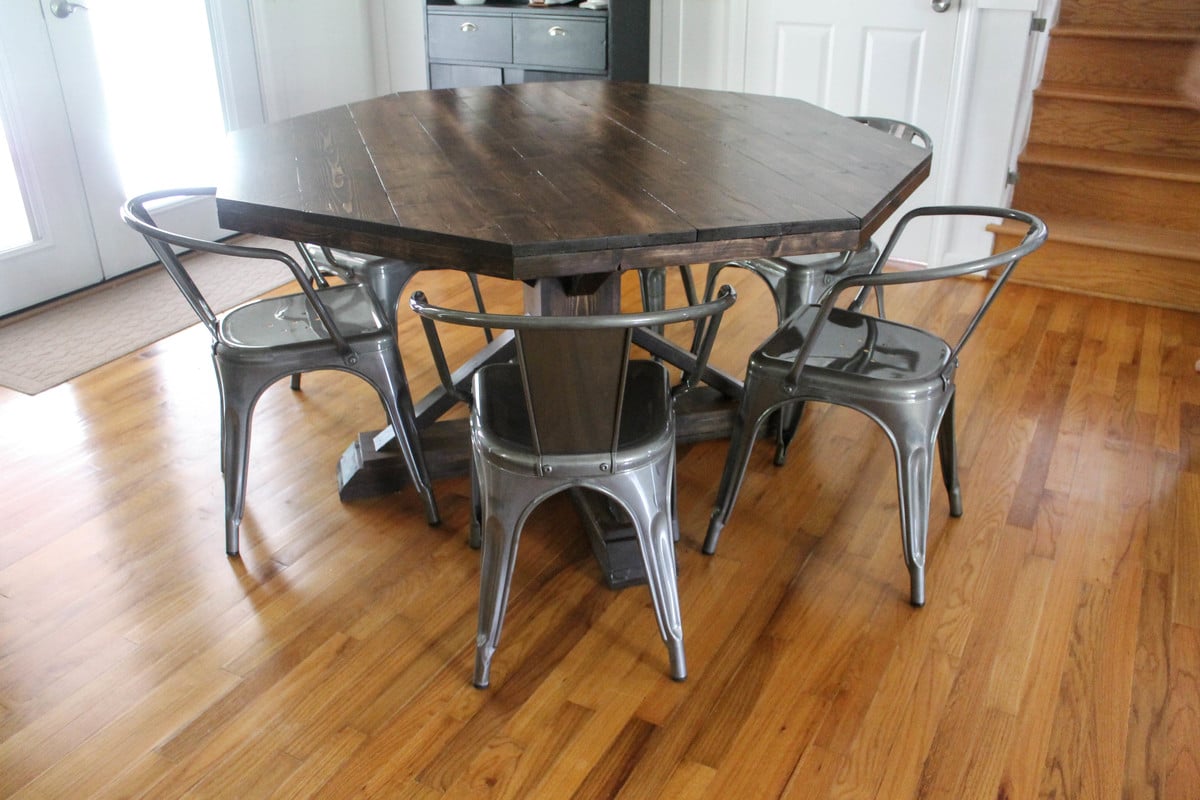
DIY Octagon Table

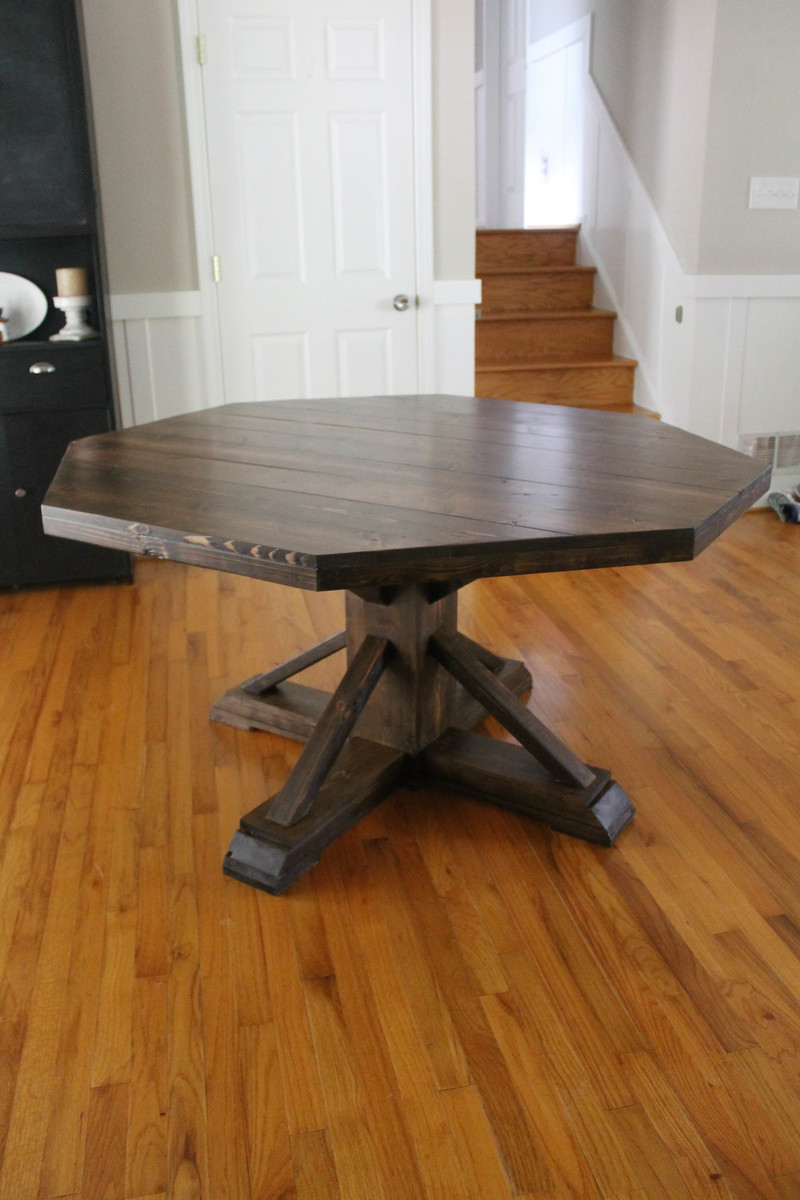
Why an octagon shape? I wanted a round table and my husband wanted square, so we met in the middle and built this! Very easy and fun to build!

Estimated Cost
$100
Estimated Time Investment
Afternoon Project (3-6 Hours)
Finish Used
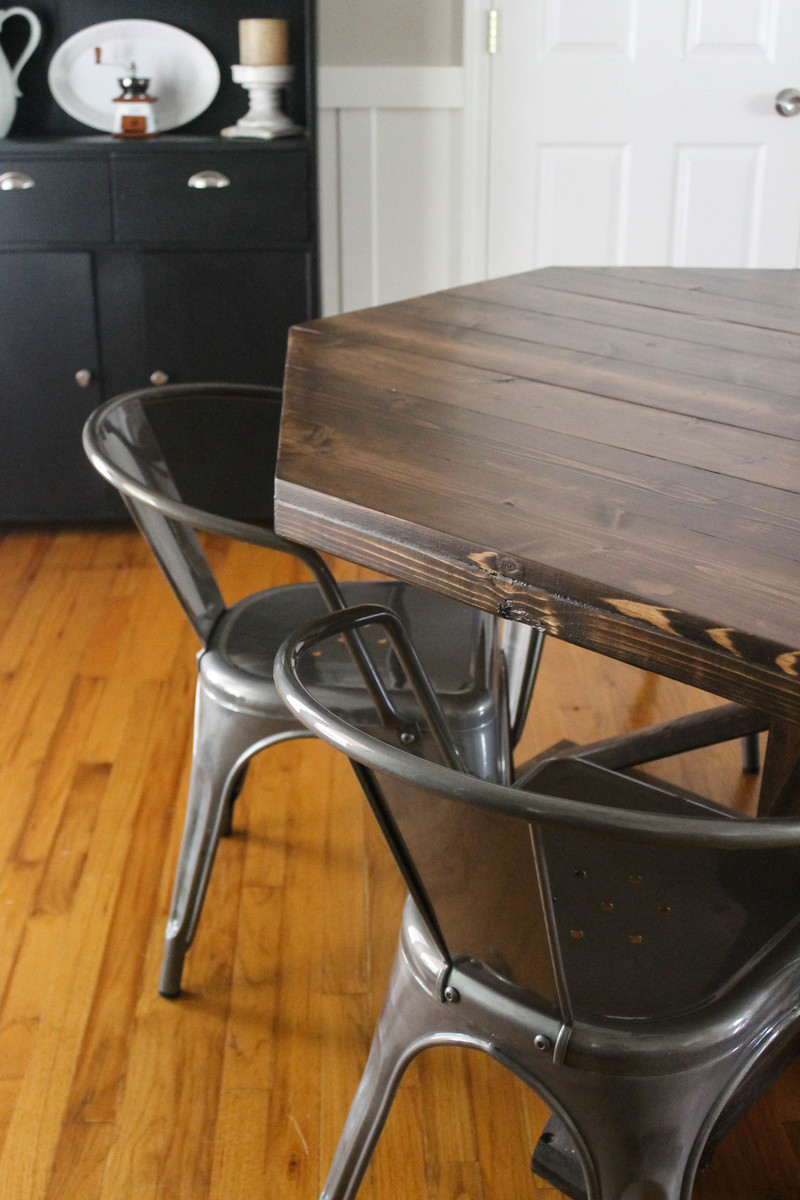
Stain color Dark Walnut and polyurethane in matte finish. I applied one coat of stain with a sponge applicator and worked it in with a cotton cloth. I applied 4 coats of poly on the top and 2 coats on the base and legs.
Recommended Skill Level
Intermediate

Comments

booksnotbombs

Thu, 08/21/2014 - 07:40

Thank you for the reply! We have a beautiful old solid wood turned-leg farmhouse table (and matching chairs) that has been in my family since the 60's that needs to be refinished, but it just isn't our style. So we're thinking of building our own in our more modern style but would have to get chairs to accompany it. I LOVE these, so I think we've found our new chairs! I hope our table turns out as beautiful as yours.

I still have plans to refinish the old table and pass it along to someone who will show it as much love (aka abuse) as it received in my childhood...

The Caboose Bunk bed

Submitted by Anonymous (not verified) on Tue, 12/06/2016 - 20:03

Hi Ana,

My wife and I wanted to creat a caboose bunk bed for our boys.  When we saw the cabin bed plans we loved the look for the caboose.  We used your plans as a guide and made a few modifications.  We are really happy with how it turned out!  It just needs a ladder and maybe some train wheels.  Thanks for sharing your wonderful ideas. They have inspired us!


Travis and Krista Lundell

Built from Plan(s)
Estimated Cost
$250 - $300
Estimated Time Investment
Week Long Project (20 Hours or More)
Finish Used
Yellow latex paint for base color. Red paint for roof, stripe, and numbers. Dark walnut stain for antiquing (just apply and wipe off immediately).
Recommended Skill Level
Beginner

Comments

Skanda

Tue, 07/09/2019 - 19:32

Hey there. Do you have measurements or a description of how the top modification part was done?

my father wants to make a caboose bunk bed for my train   Fanatic Son.  


Thanks,

-Amanda

farmhouse coffee table

Submitted by Twheat91 on Wed, 08/19/2020 - 21:57

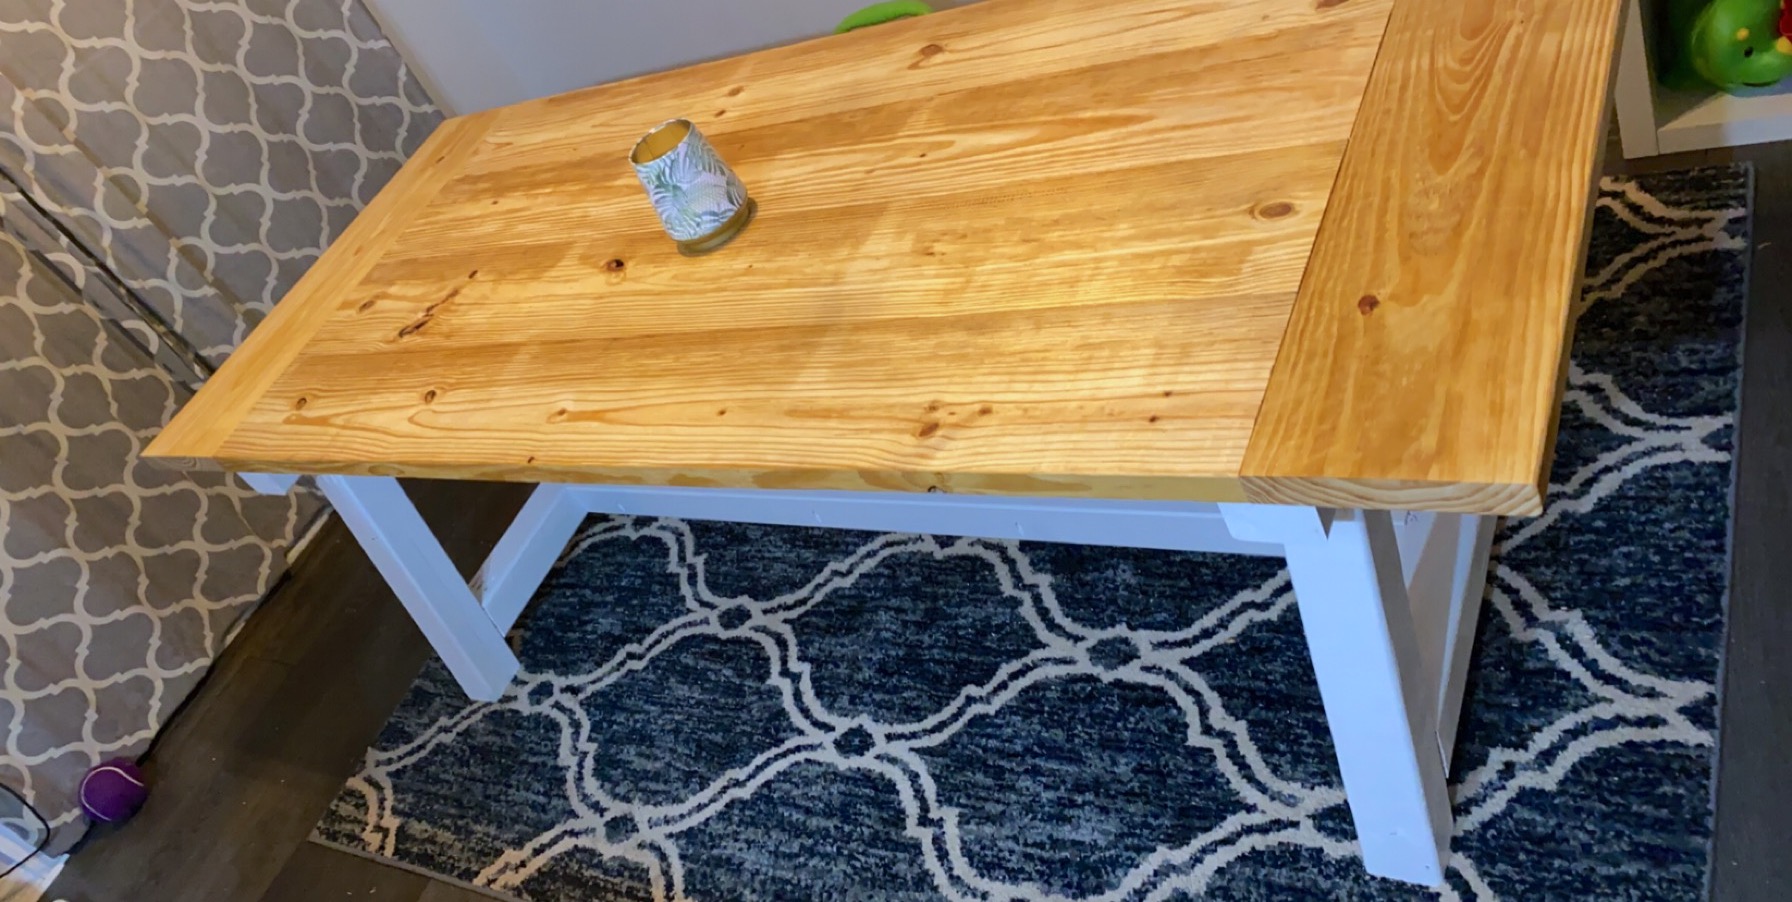
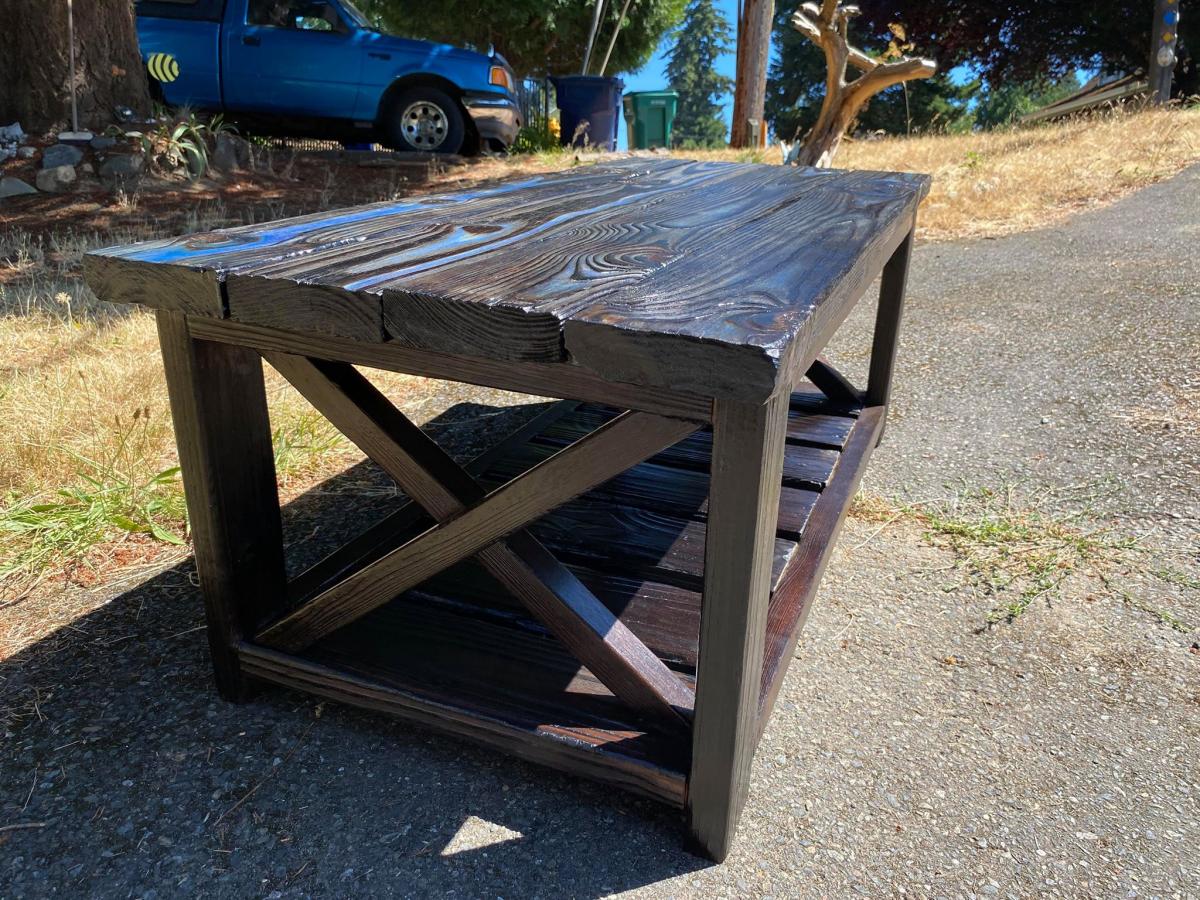
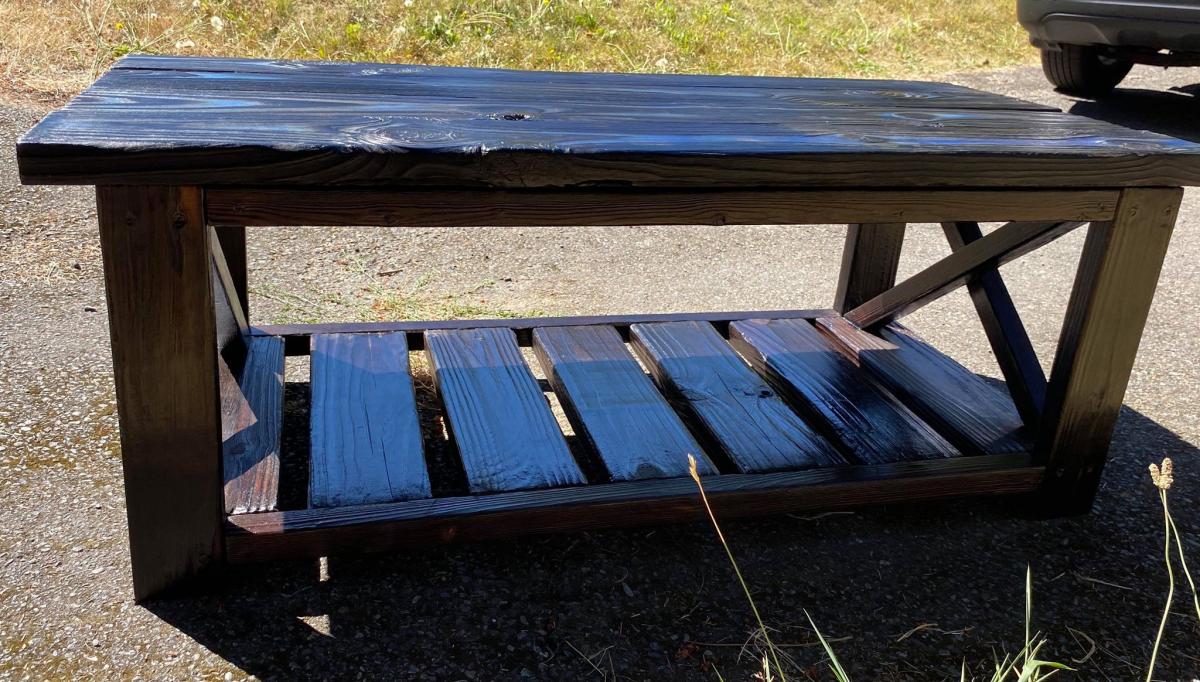
I have been wanting to start woodworking for a good while now, and I finally had the oppurtunity to venture into my shop and actually build. This is my first build, and im rather happy with how it came out, and im constntly finding motivation to grow and learn more from these plans, quick shoutout to Miss Ana White and her family, as I am a big fan of the DIY culture she and her family represent.

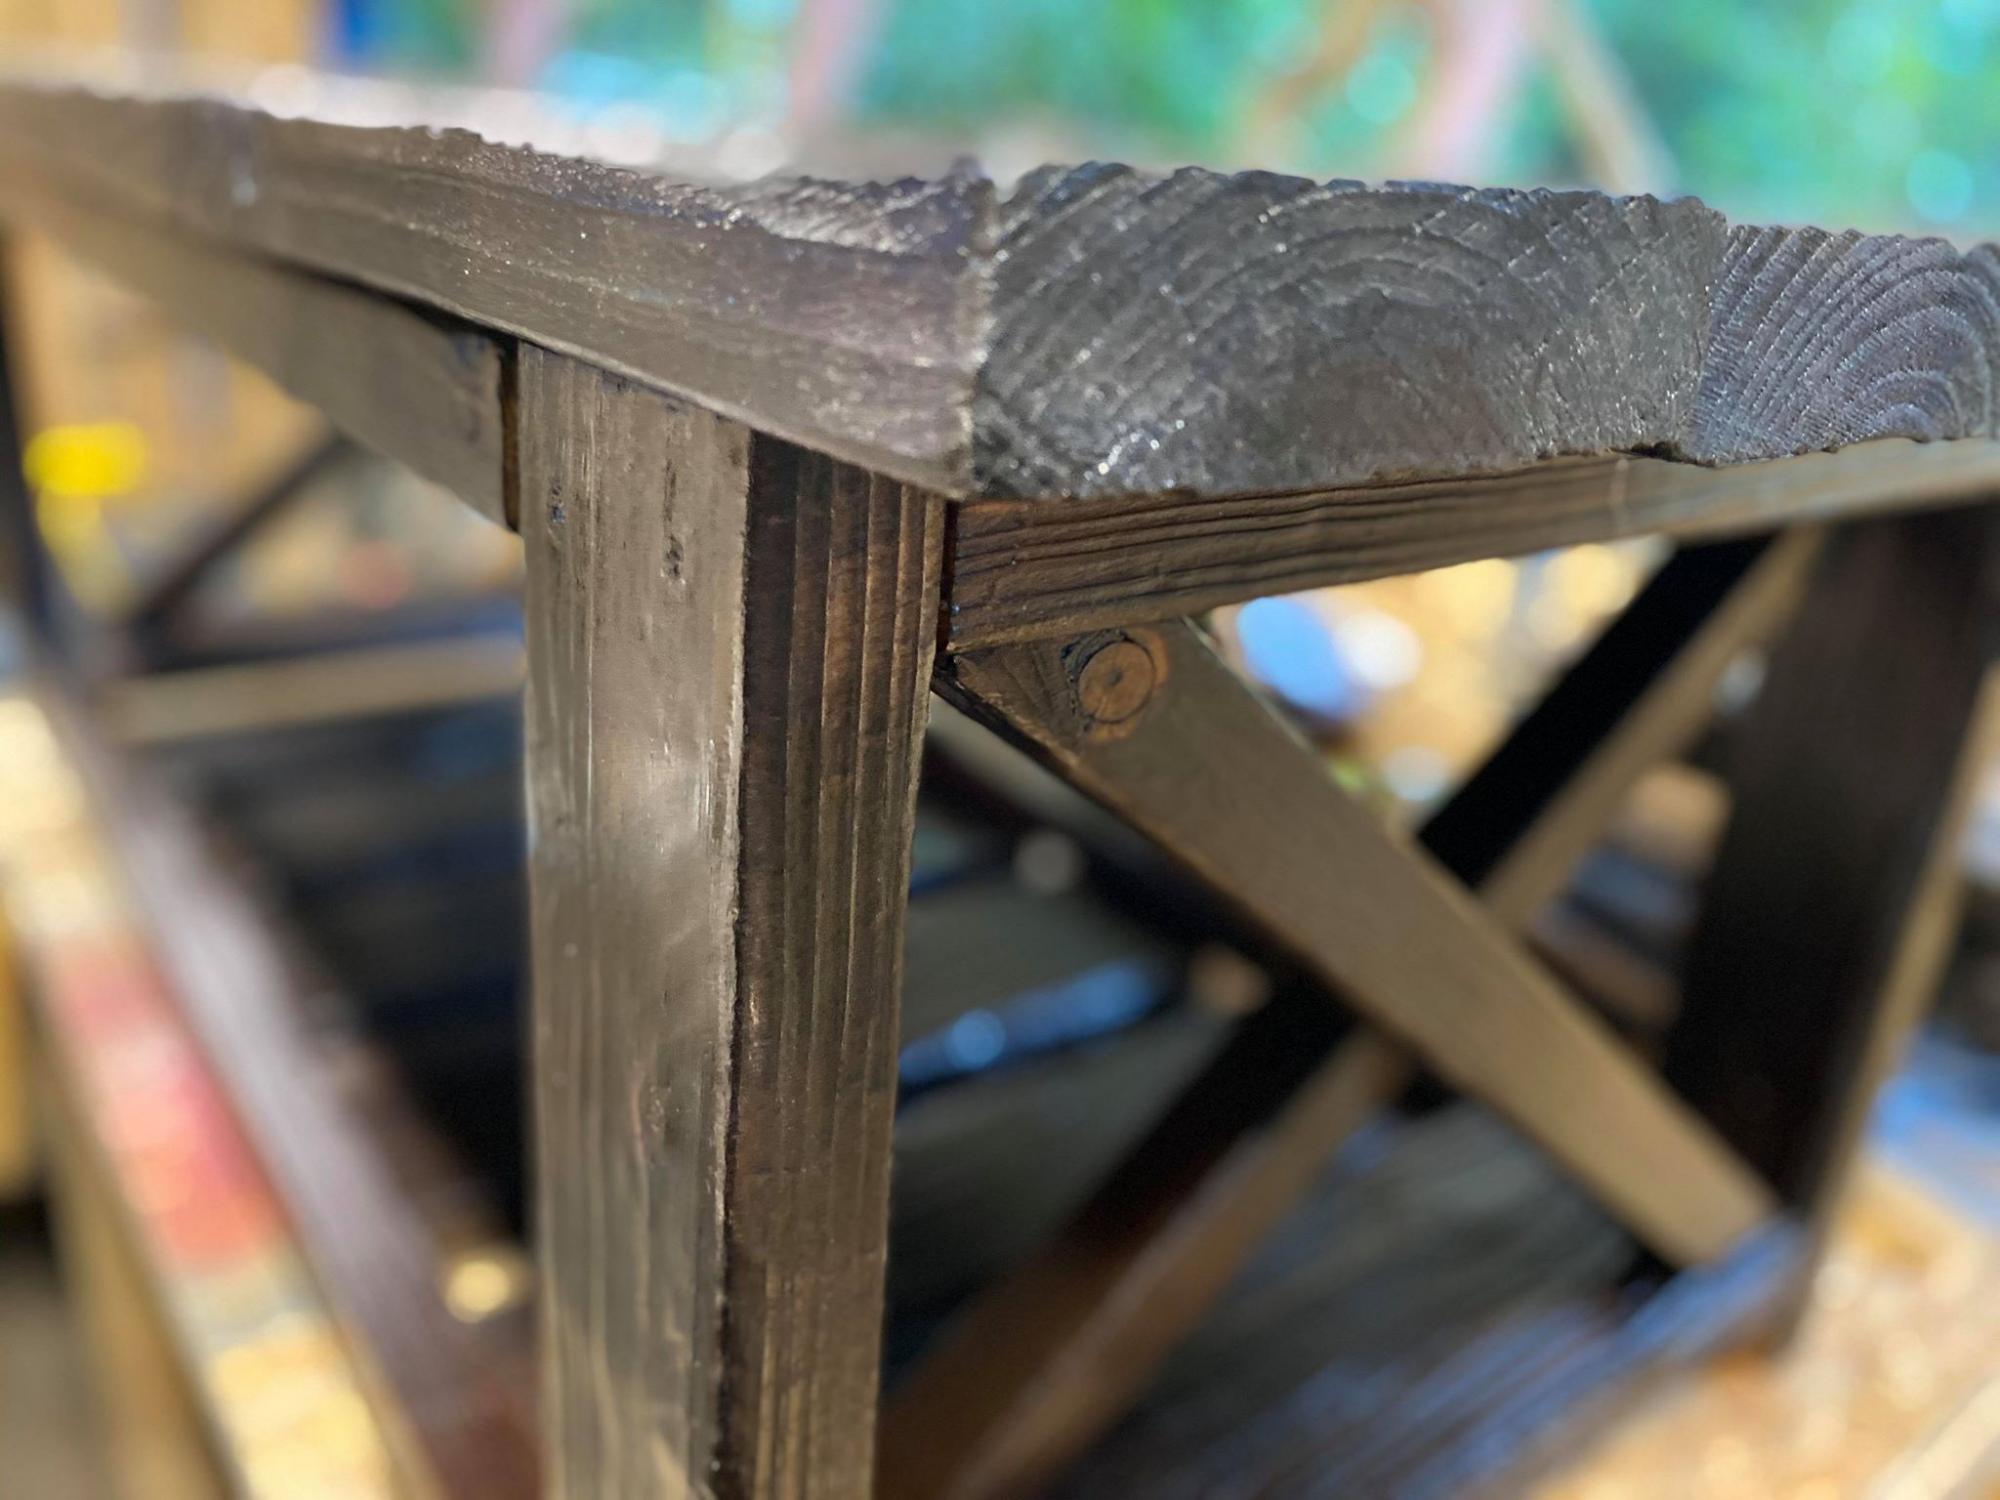
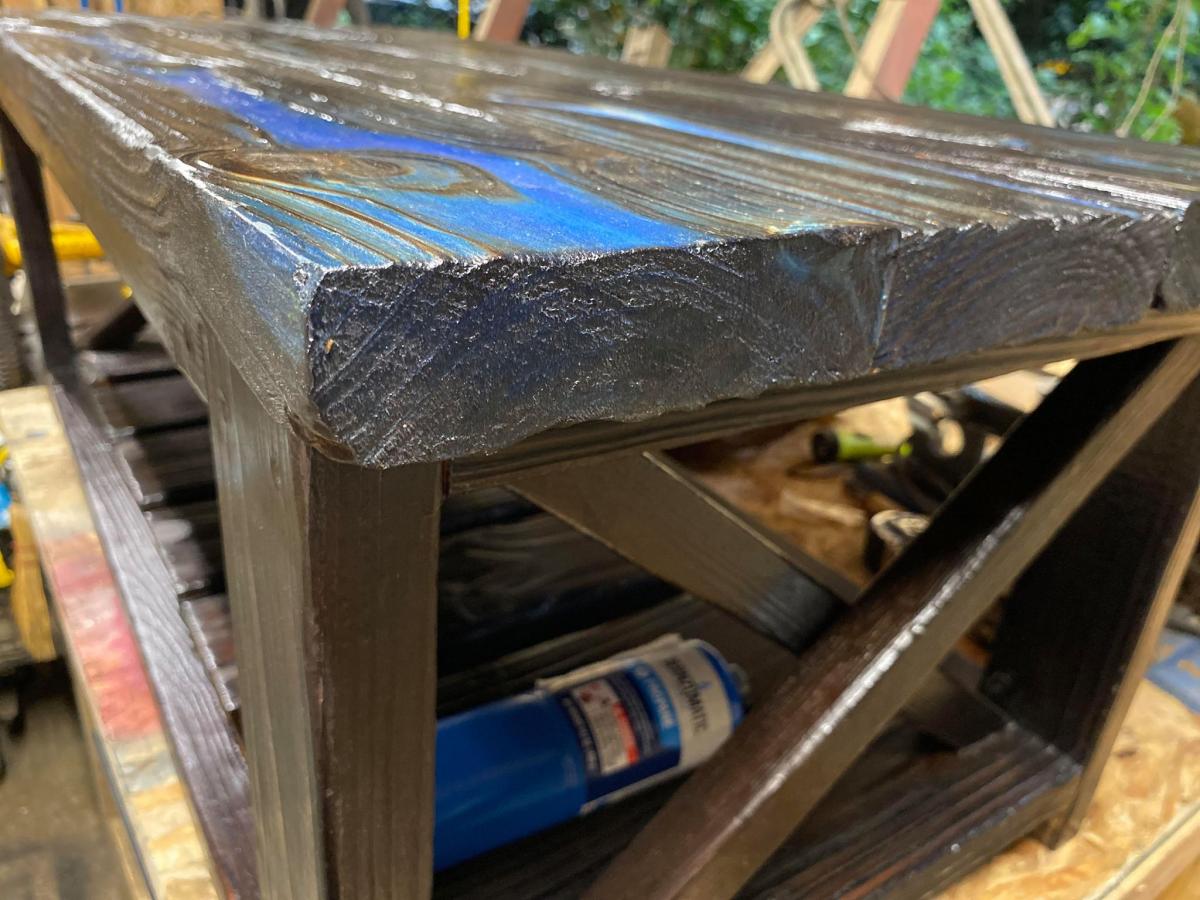
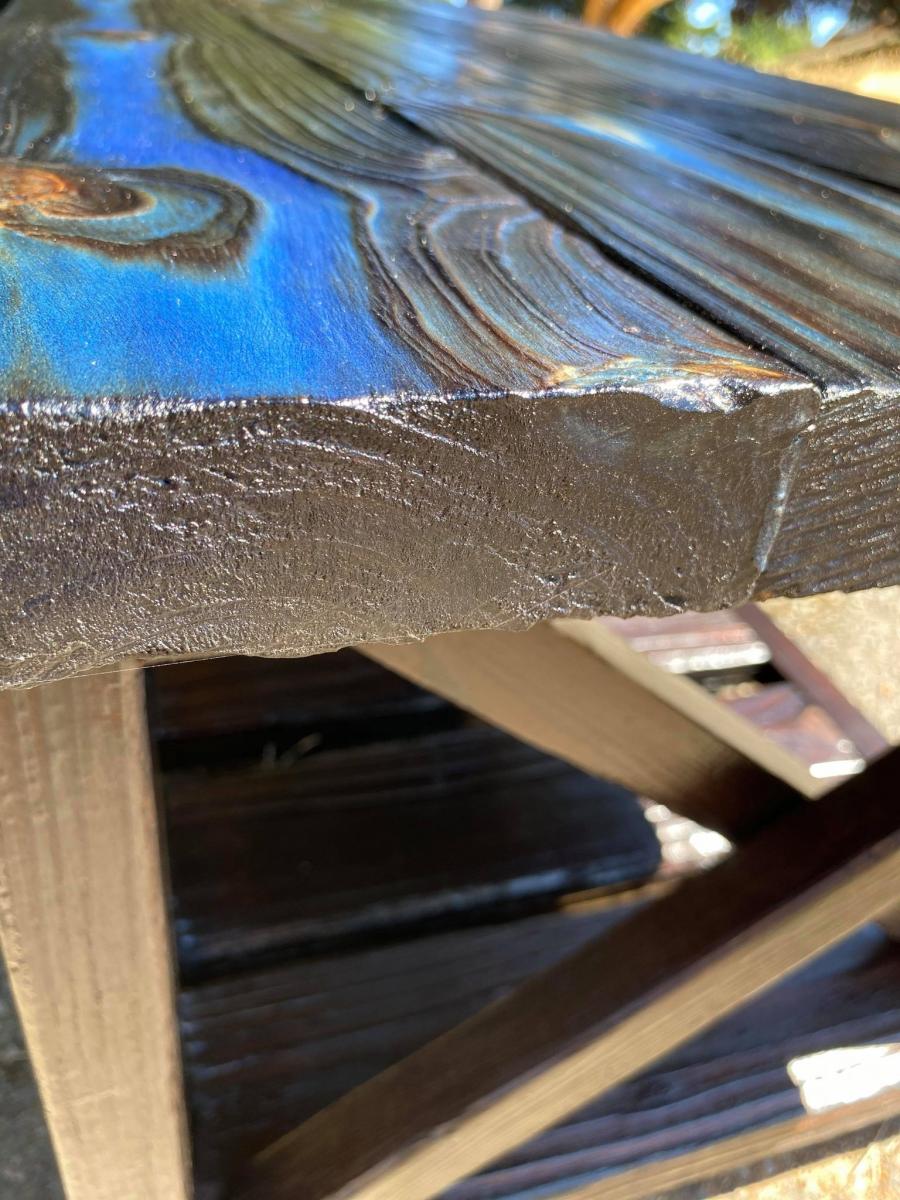
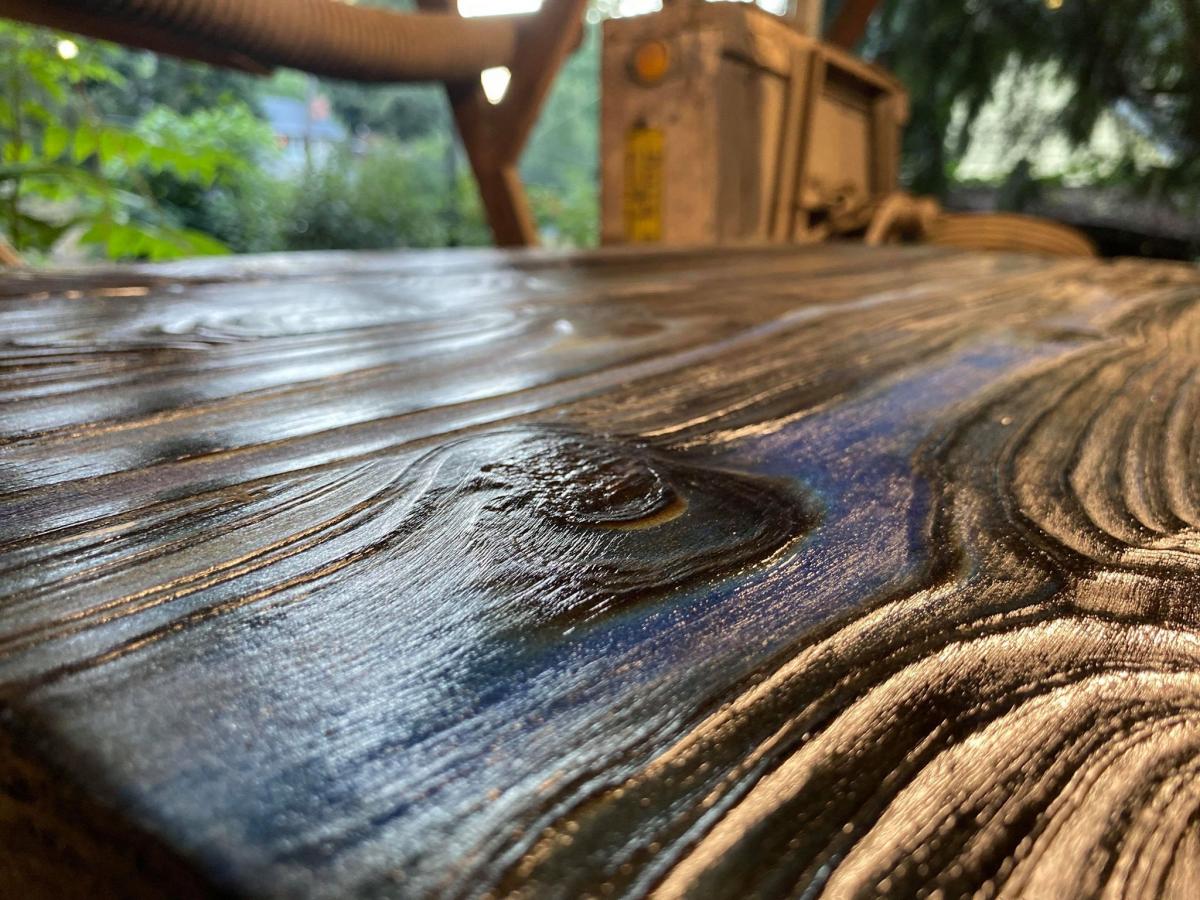
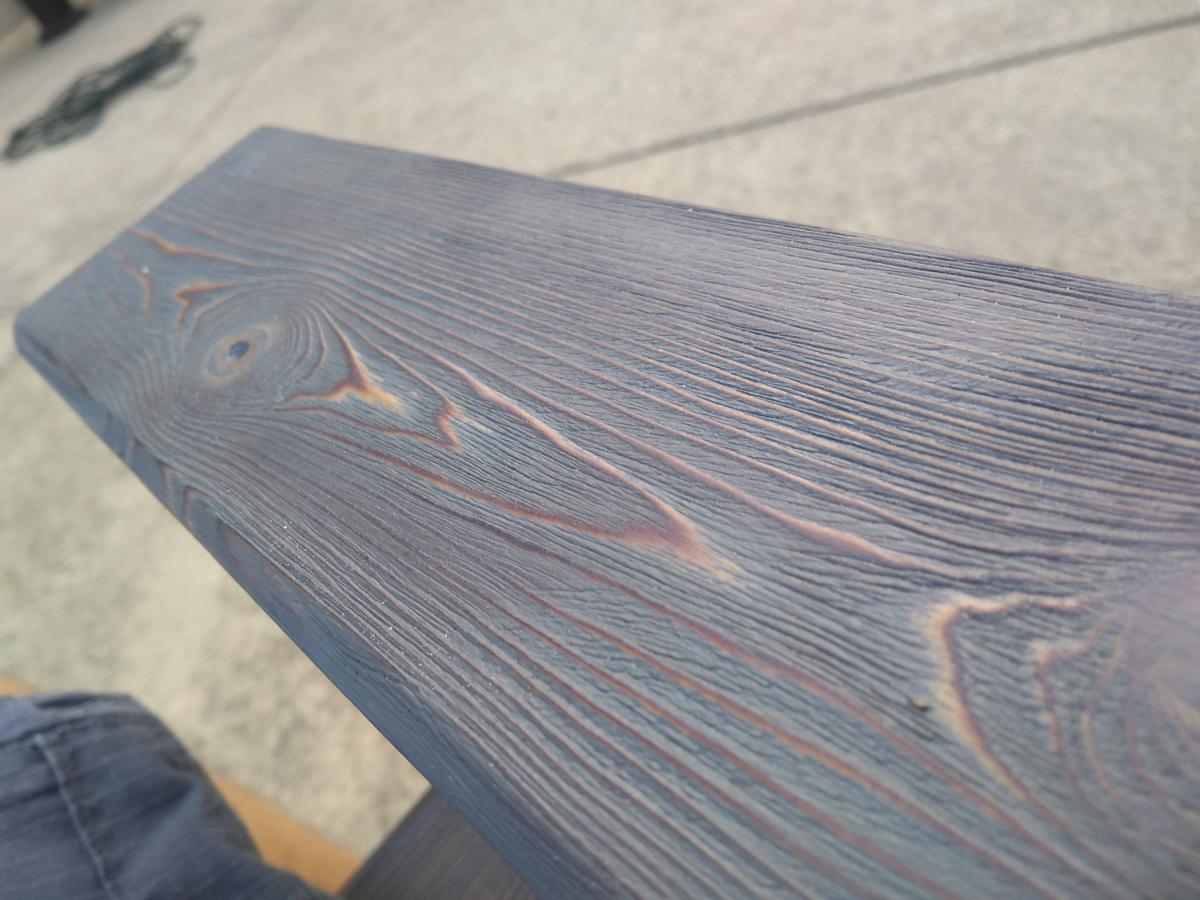
The table top is reclaimed lumber i salvaged from an old skid at an old job. Ive had them for years and finally was able to put them to good use rather than just burn them. (id still say thats good use.) The shou sugi ban inspired techique of burning and carving the char out has been a favorite of mine, and so I attempted to use it in this project. However because of this, the project also took more time than it probably should of. As a result though this table has a good contrast and texture to it. I also love the feeling of a "real" product and this table defiitley has that feel.

I found myself in a few different situations that I had learned from. I didnt want to have my screws visible in this table, and I didnt realize that until I had already put some of them in. I dont have a stainable wood filler so the task was on to find a way to fill these holes, and make them a little less noticeable. I settled on woodglue, char from when I carved out all the boards and some Ebony stain I had laying around. the result was something that burned decently and somewhat seemed like it belonged. It blends well enough with the darks in my opinion.

Overall I learned alot from this and am already beginning my next one. Thanks again to Ana White and the community. And thanks to all who took the time to read my long babbling post. Happy building!

Estimated Time Investment
Weekend Project (10-20 Hours)
Finish Used
general finishes Blue waterbased stain, Varethane Polyurethane and a propane torch to get that deep rich brown.
Recommended Skill Level
Beginner

Clothesline Frame

Submitted by lphair on Sun, 11/04/2012 - 21:55

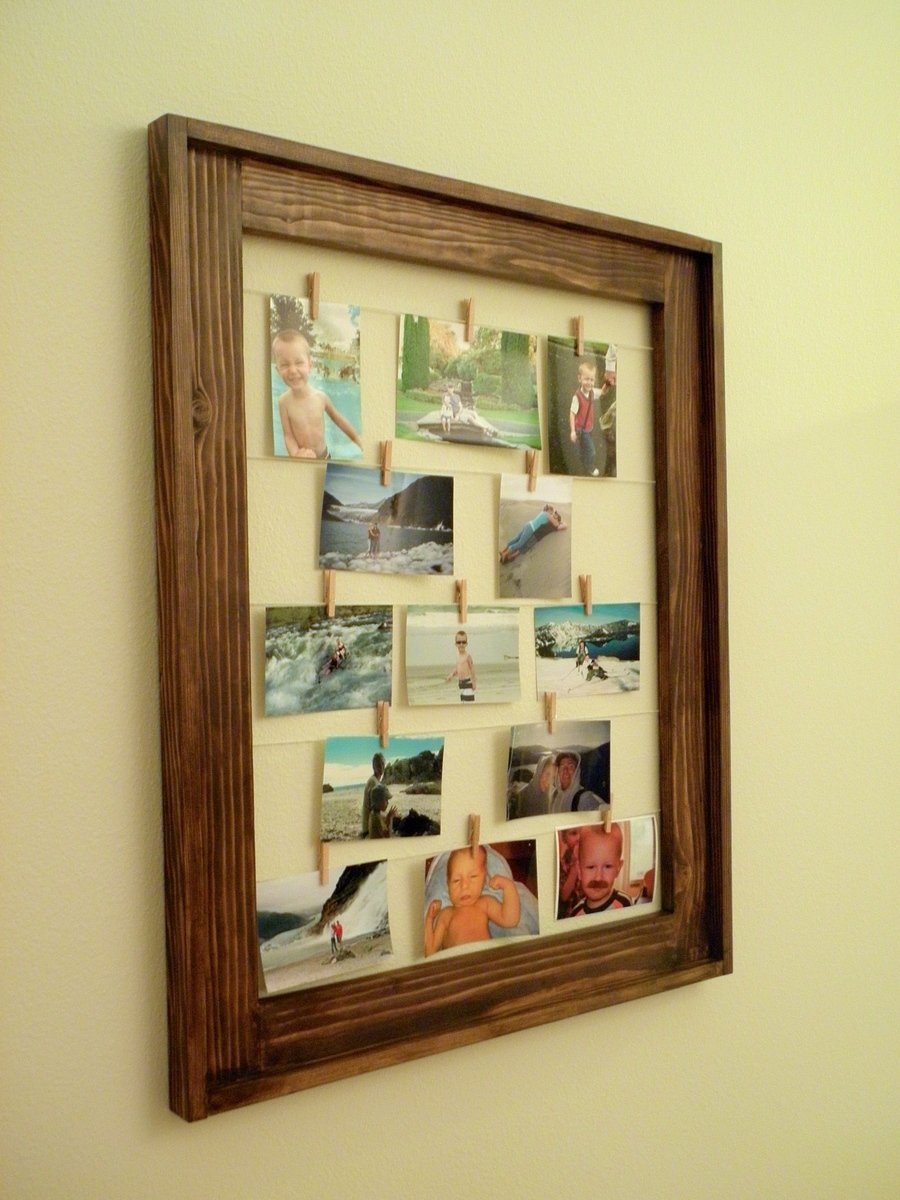
I loved the simplicity of this project. I scaled down the original size, to make the 1x3's 33 inches high by 22 inches wide. I also went with my kreg jig set at 1/2" and used 1" screws. I did this because I cracked the first board without even blinking when the kreg jig was set to a depth of 3/4", using 1 1/4" screws.

Estimated Cost
$15
Estimated Time Investment
An Hour or Two (0-2 Hours)
Finish Used
Minwax Express Finish in Walnut
Recommended Skill Level
Starter Project

Garage Workshop Workbench

Submitted by Anonymous (not verified) on Sat, 12/10/2016 - 21:57

I followed the plans to a tee.

Estimated Cost
$80 - California
Estimated Time Investment
Afternoon Project (3-6 Hours)
Finish Used
Spray Poly
Recommended Skill Level
Starter Project

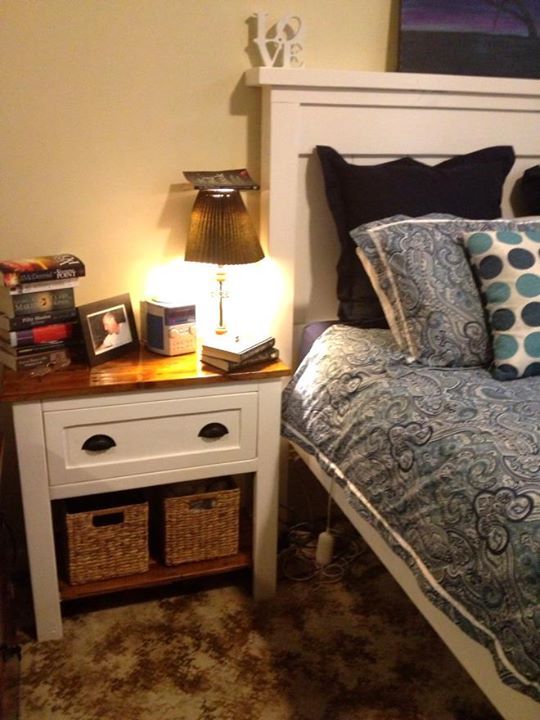
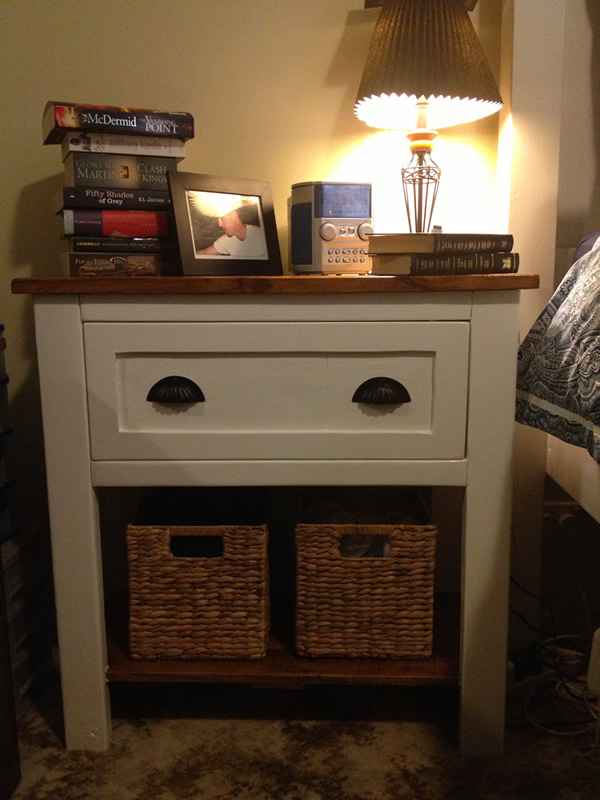
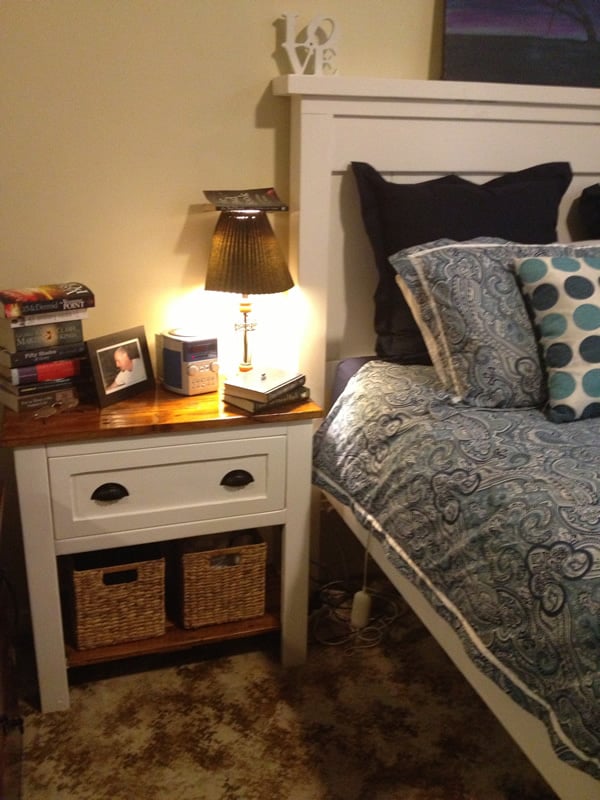
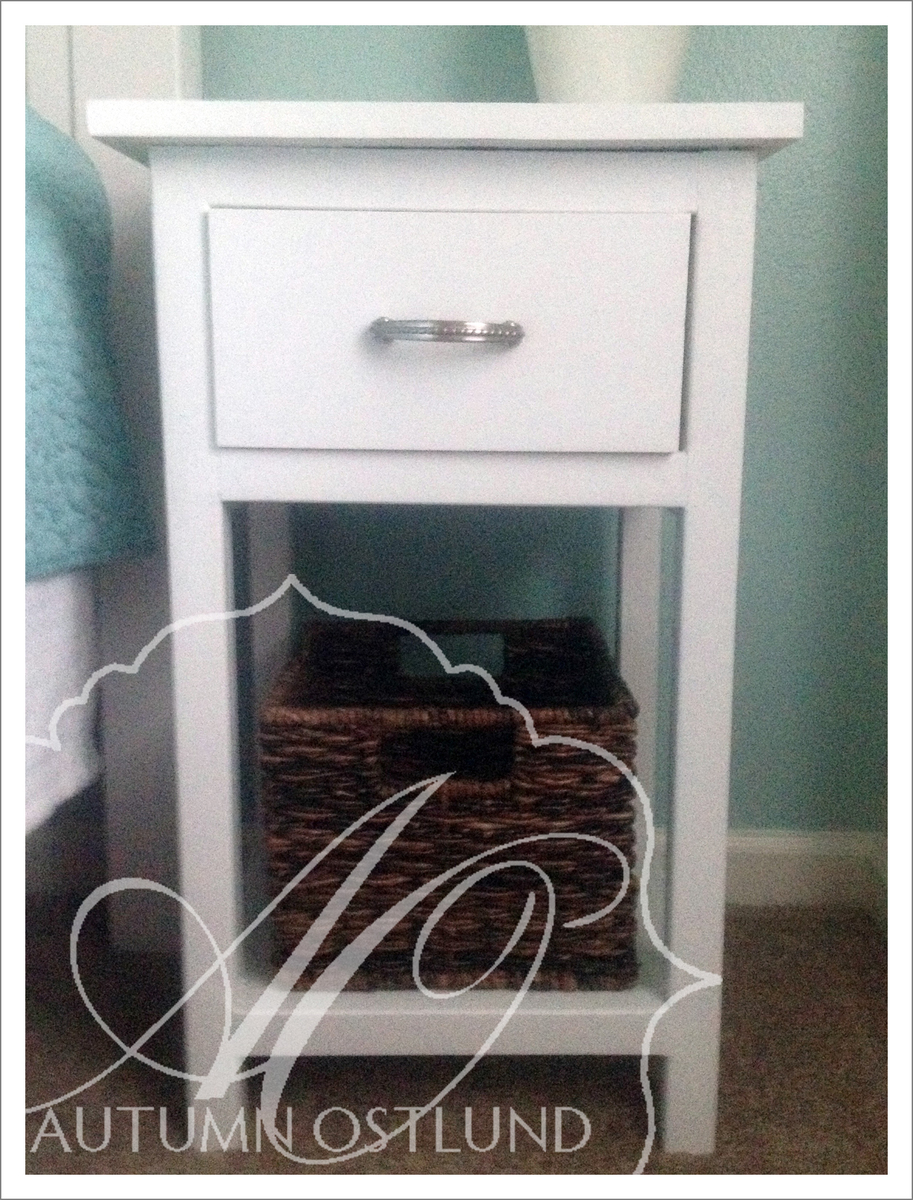
Farmhouse Bedside Table

Submitted by naomi on Fri, 08/29/2014 - 06:52

Built to go with my farmhouse bed.

Estimated Time Investment
Weekend Project (10-20 Hours)
Finish Used
White enamel paint and walnut stain
Recommended Skill Level
Intermediate

Dining Room Table - Dual Trestle and Extension Slides

My 40”x80” dining room table with equalizer extension slides that bring it to 110” when both leaves are installed. This was initially inspired by the Farm Hose trestle table. I've got details in some blog posts on my build. It’s not exactly the most complete blog with every detail, but it has a bunch of pictures along the way.

Estimated Cost
$1,200 for wood. Probably around $1,500 total if you add in some tools / supplies I didn't have.
Estimated Time Investment
Week Long Project (20 Hours or More)
Finish Used
Aqua Coat grain sealer. General Finishes Prairie Wheat Gel Stain, General Finishes Arm-R-Seal poly seal coat.
Recommended Skill Level
Intermediate

Comments

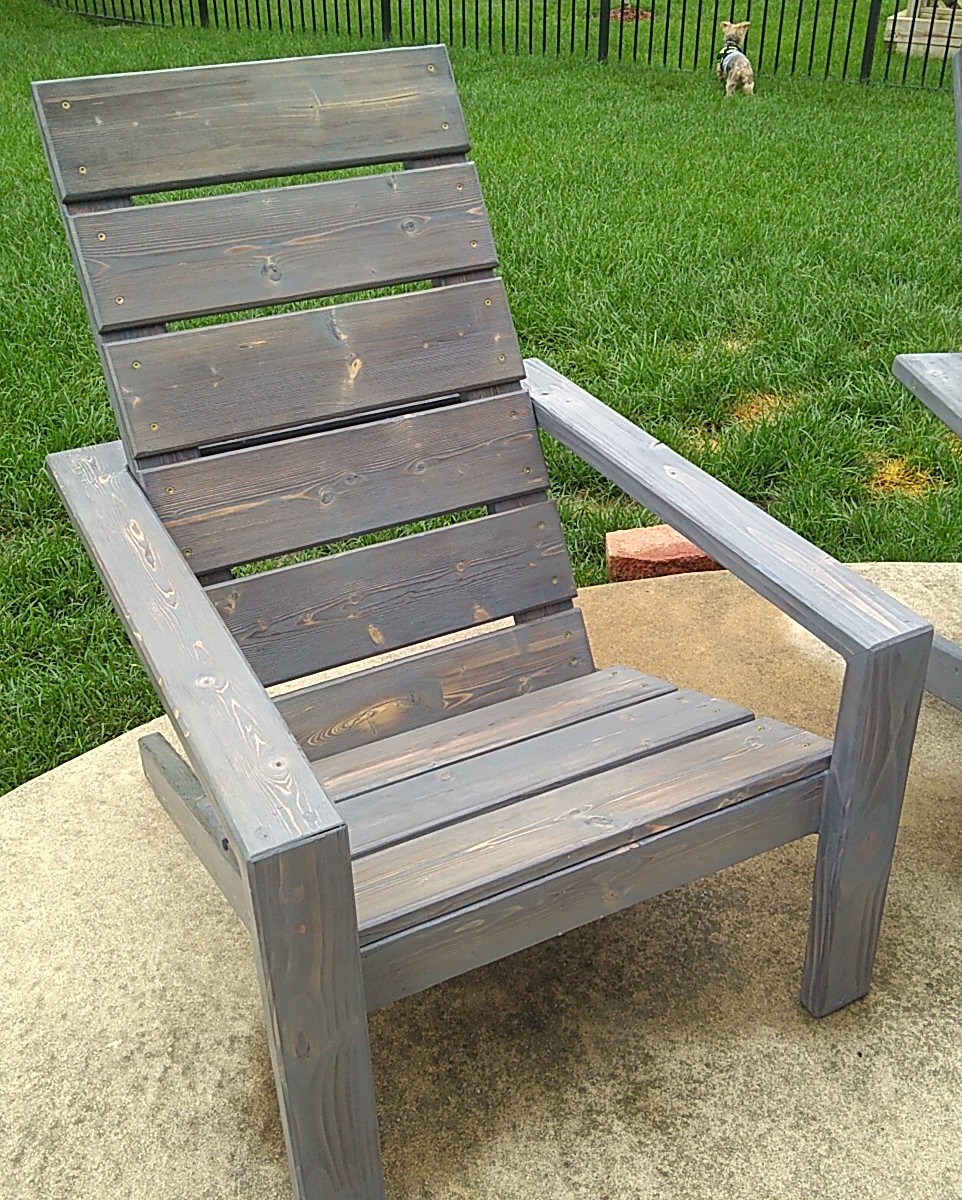
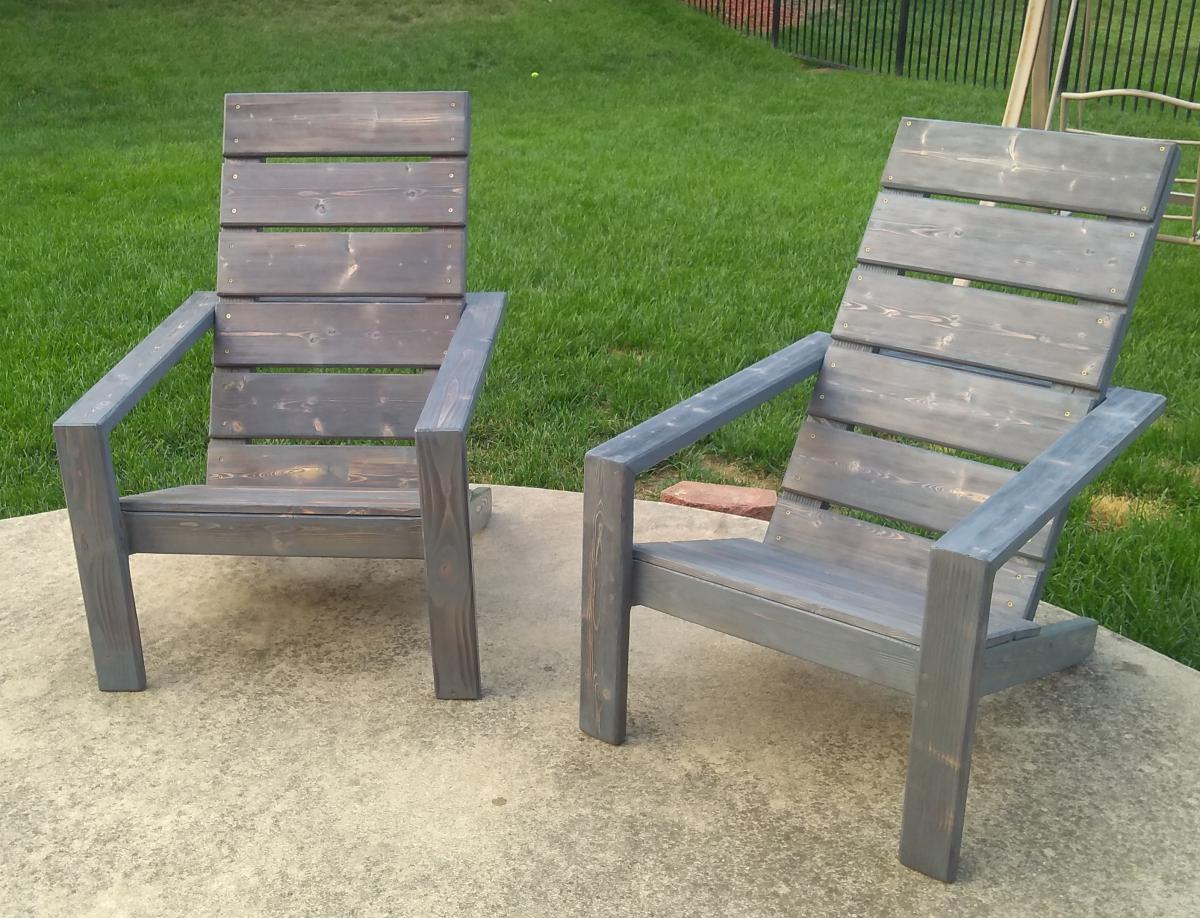
2x4 modern Adirondack chairs

Submitted by Anonymous (not verified) on Sat, 08/29/2020 - 08:46

Chose 1x6 instead of the 1x10s in the plan and made the back supports a few inches taller to support my head laying back. 1st chair came out great however the second chair I made the seat wider just under 24in wide (had all the 1x10s precut to 24in at home Depot to easily transport them home.) My knees feel less cramped when sitting down in the wider chair.
Since I used warped scrap wood I had laying around I milled the 2x4s with jointer and planer. Way too much work honestly.
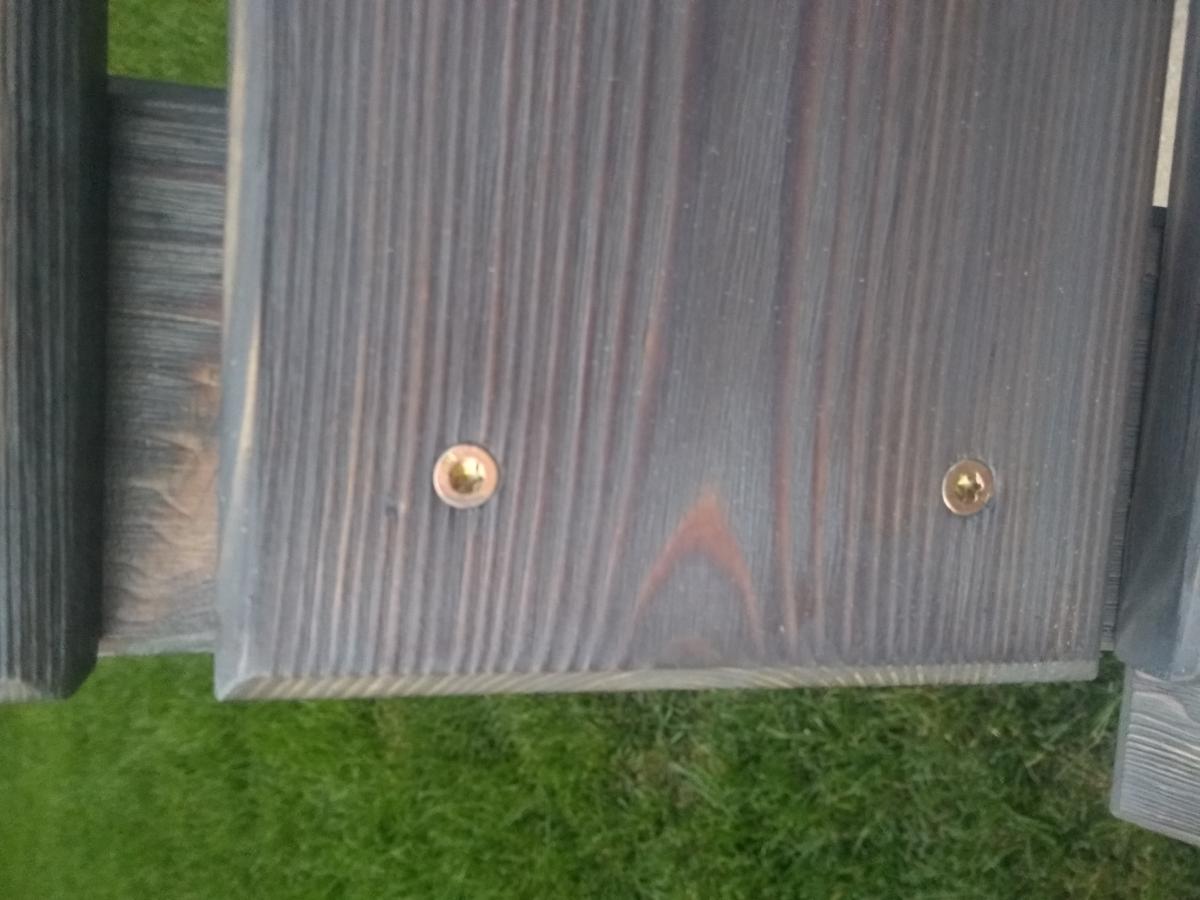
Glued and assembled the frame with dowels, Routed a 45° bevel on all edges then finished and sealed all faces before assembly. I used untreated lumber so I sealed all faces before assembling to give it a better chance of surviving on my uncovered patio. I also used a thick epoxy on the feet base that touch the ground to prevent rot.

Estimated Cost
Under 50 dollars
Estimated Time Investment
Weekend Project (10-20 Hours)
Finish Used
shou sugi ban all faces of the assembled 2x4 frame and 1x10 seat/back panels. Stained with varathane weathered gray and sealed with clear deck sealer.
Recommended Skill Level
Intermediate

Oak Easy Vintage Step Stool

Submitted by kcragun on Sat, 08/30/2014 - 19:53

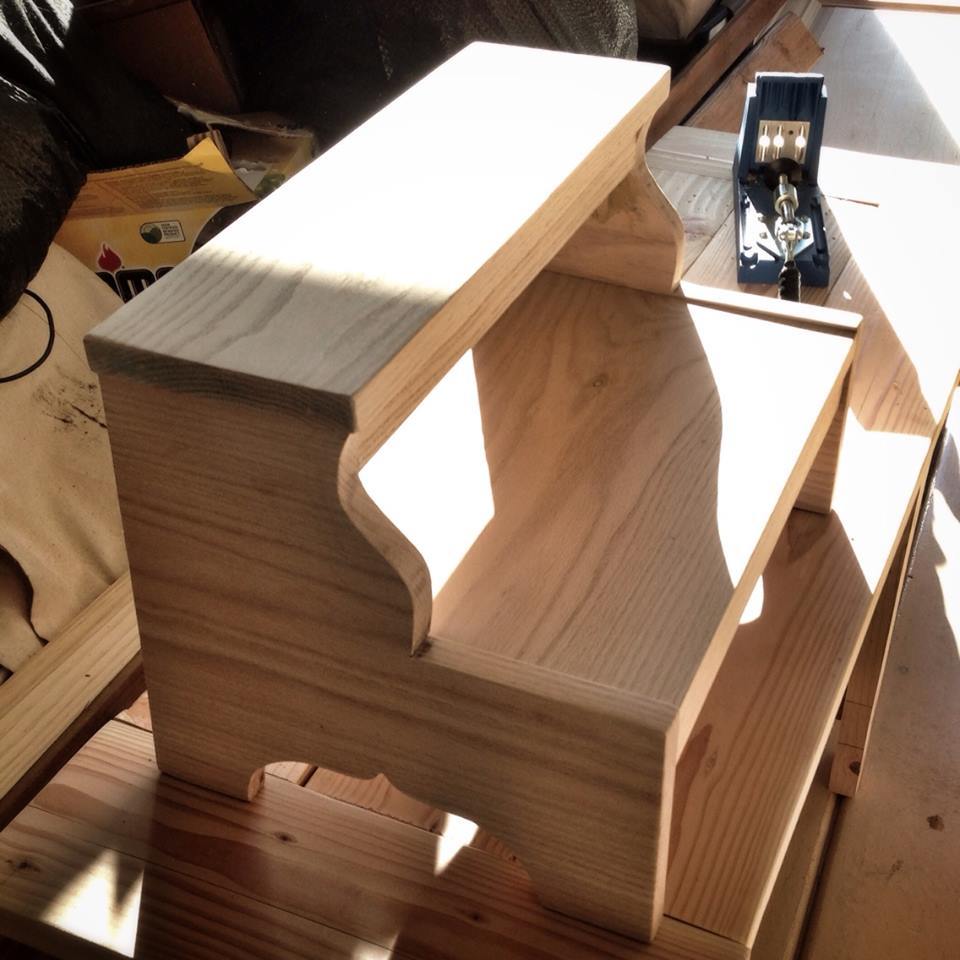
I bought a box of oak scraps from a local lumber store - sold a firewood for $6.00 and I was able to get enough big pieces to make this step stool for my granddaughter.

Built from Plan(s)
Estimated Cost
$6.00
Estimated Time Investment
Afternoon Project (3-6 Hours)
Recommended Skill Level
Intermediate

Lego Table

Submitted by Jessi_ites on Sun, 12/18/2016 - 17:45

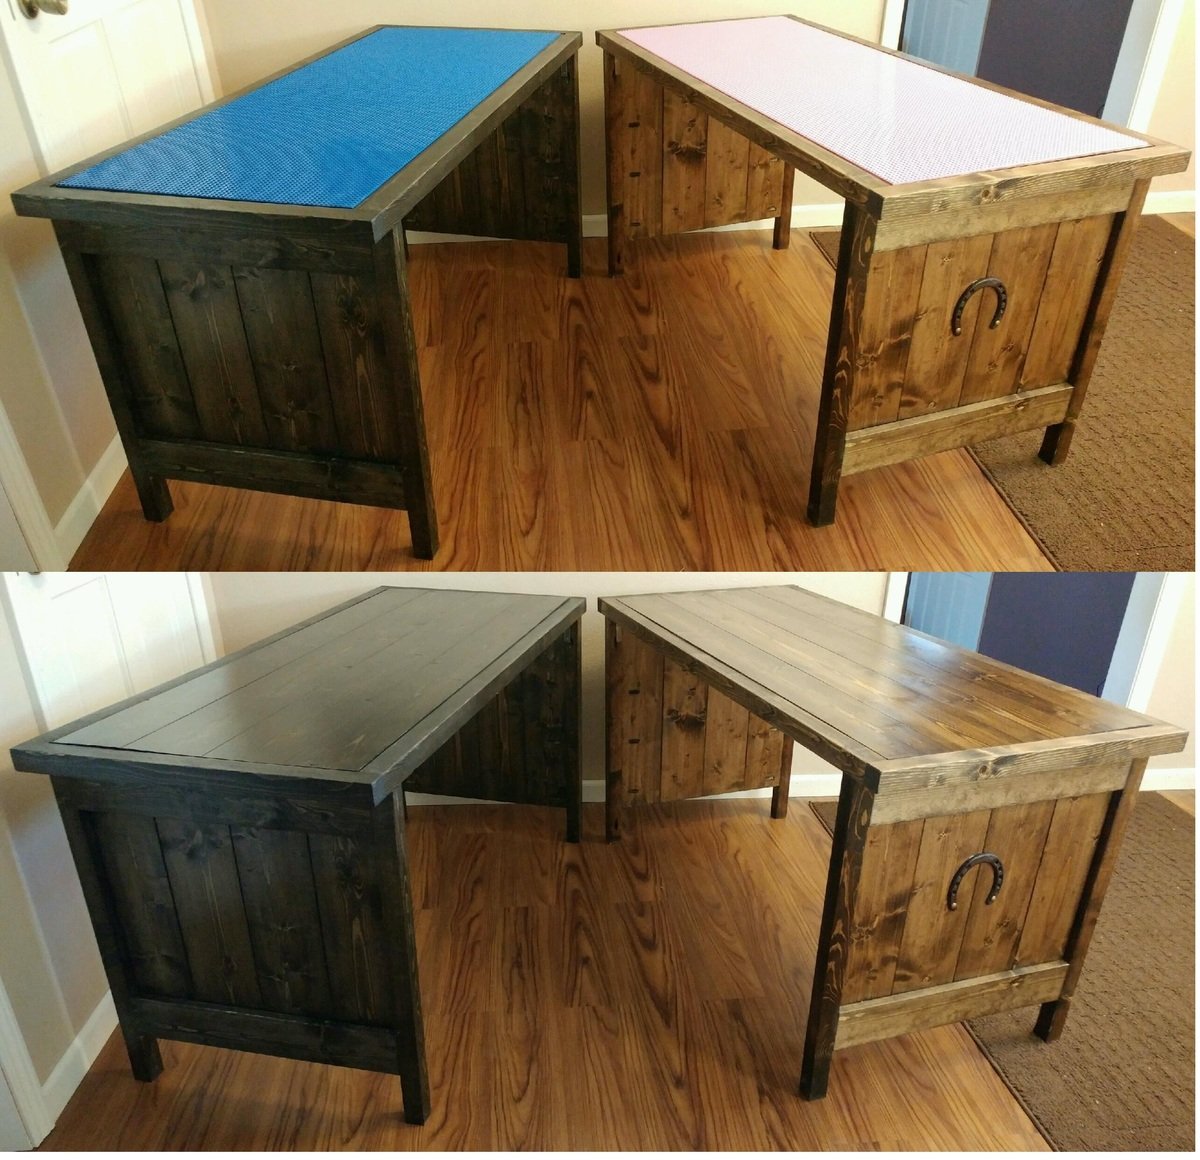
I wanted 2 large lego tables but also didn't want to waste space...so I came up with this! The top flips over and it becomes a desk.

Estimated Cost
$80
Estimated Time Investment
Weekend Project (10-20 Hours)
Recommended Skill Level
Intermediate

modified spa-bench

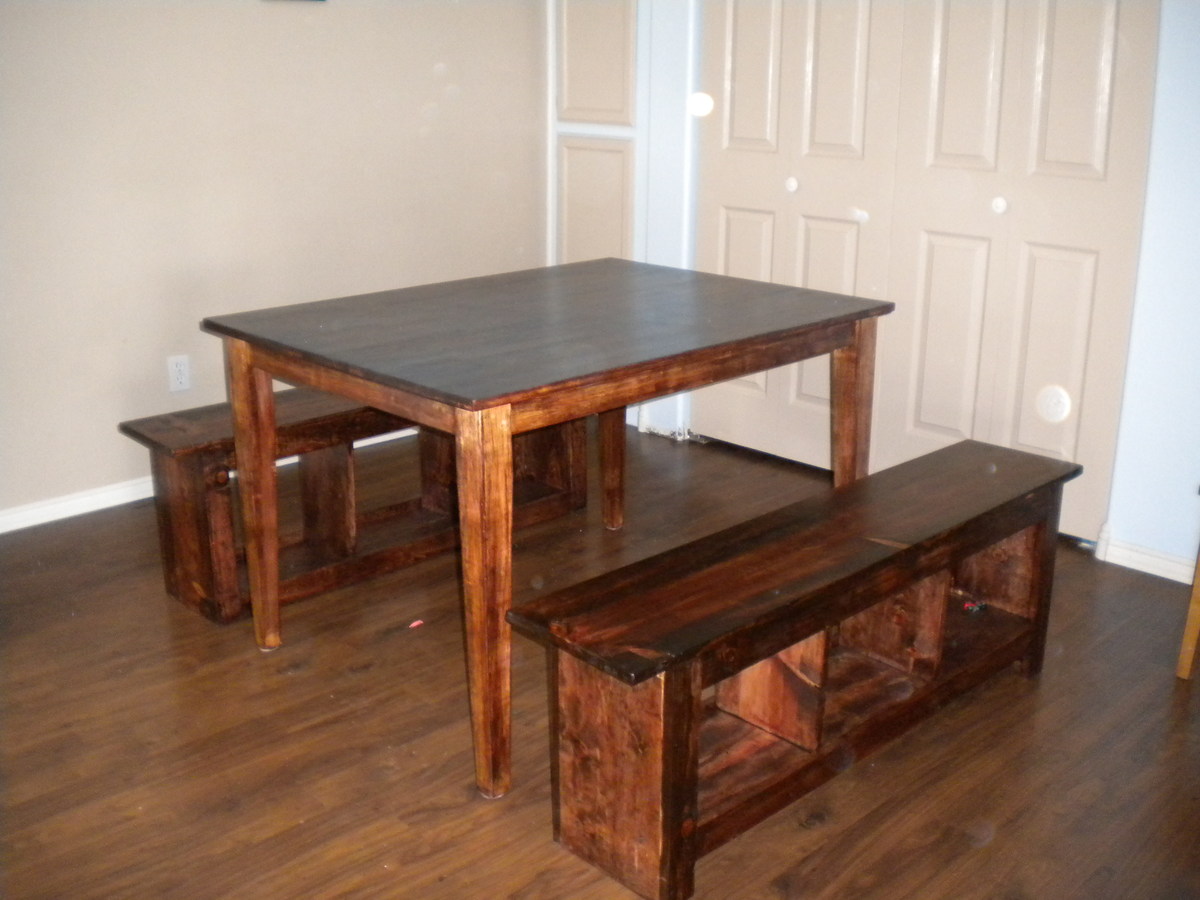
I've wanted to build benches for my dinningroom table for years. When I first saw the plans for the spa bench 2 years ago I bookmarked it, saying thats the one. Now all this time later Ive finaly gotten to it! I modified my benches by making them longer, they are 48 inches, adding the dividers/supports to the inside to make 3 cubbie compartments, (I will eventualy put baskets under there to store stuff) and raising the bottom edging up a half an inch to create a lip to keep the baskets on. I made 2 benches, sanded and restained my table at the same time. the benches took about 3 hours and $50 each to build. Simular benches cost aobut $150 for the cheep particalboard ones, thank you so much Anna White for making this possible!

Built from Plan(s)
Estimated Cost
$50
Estimated Time Investment
Afternoon Project (3-6 Hours)
Finish Used
minwax red mahogany 225, 2 coats of red mahognay 225 applyed with sponge brush, 3 coats of polyurathane gloss(2 hours between coats) applyed with sponge brush
Recommended Skill Level
Beginner