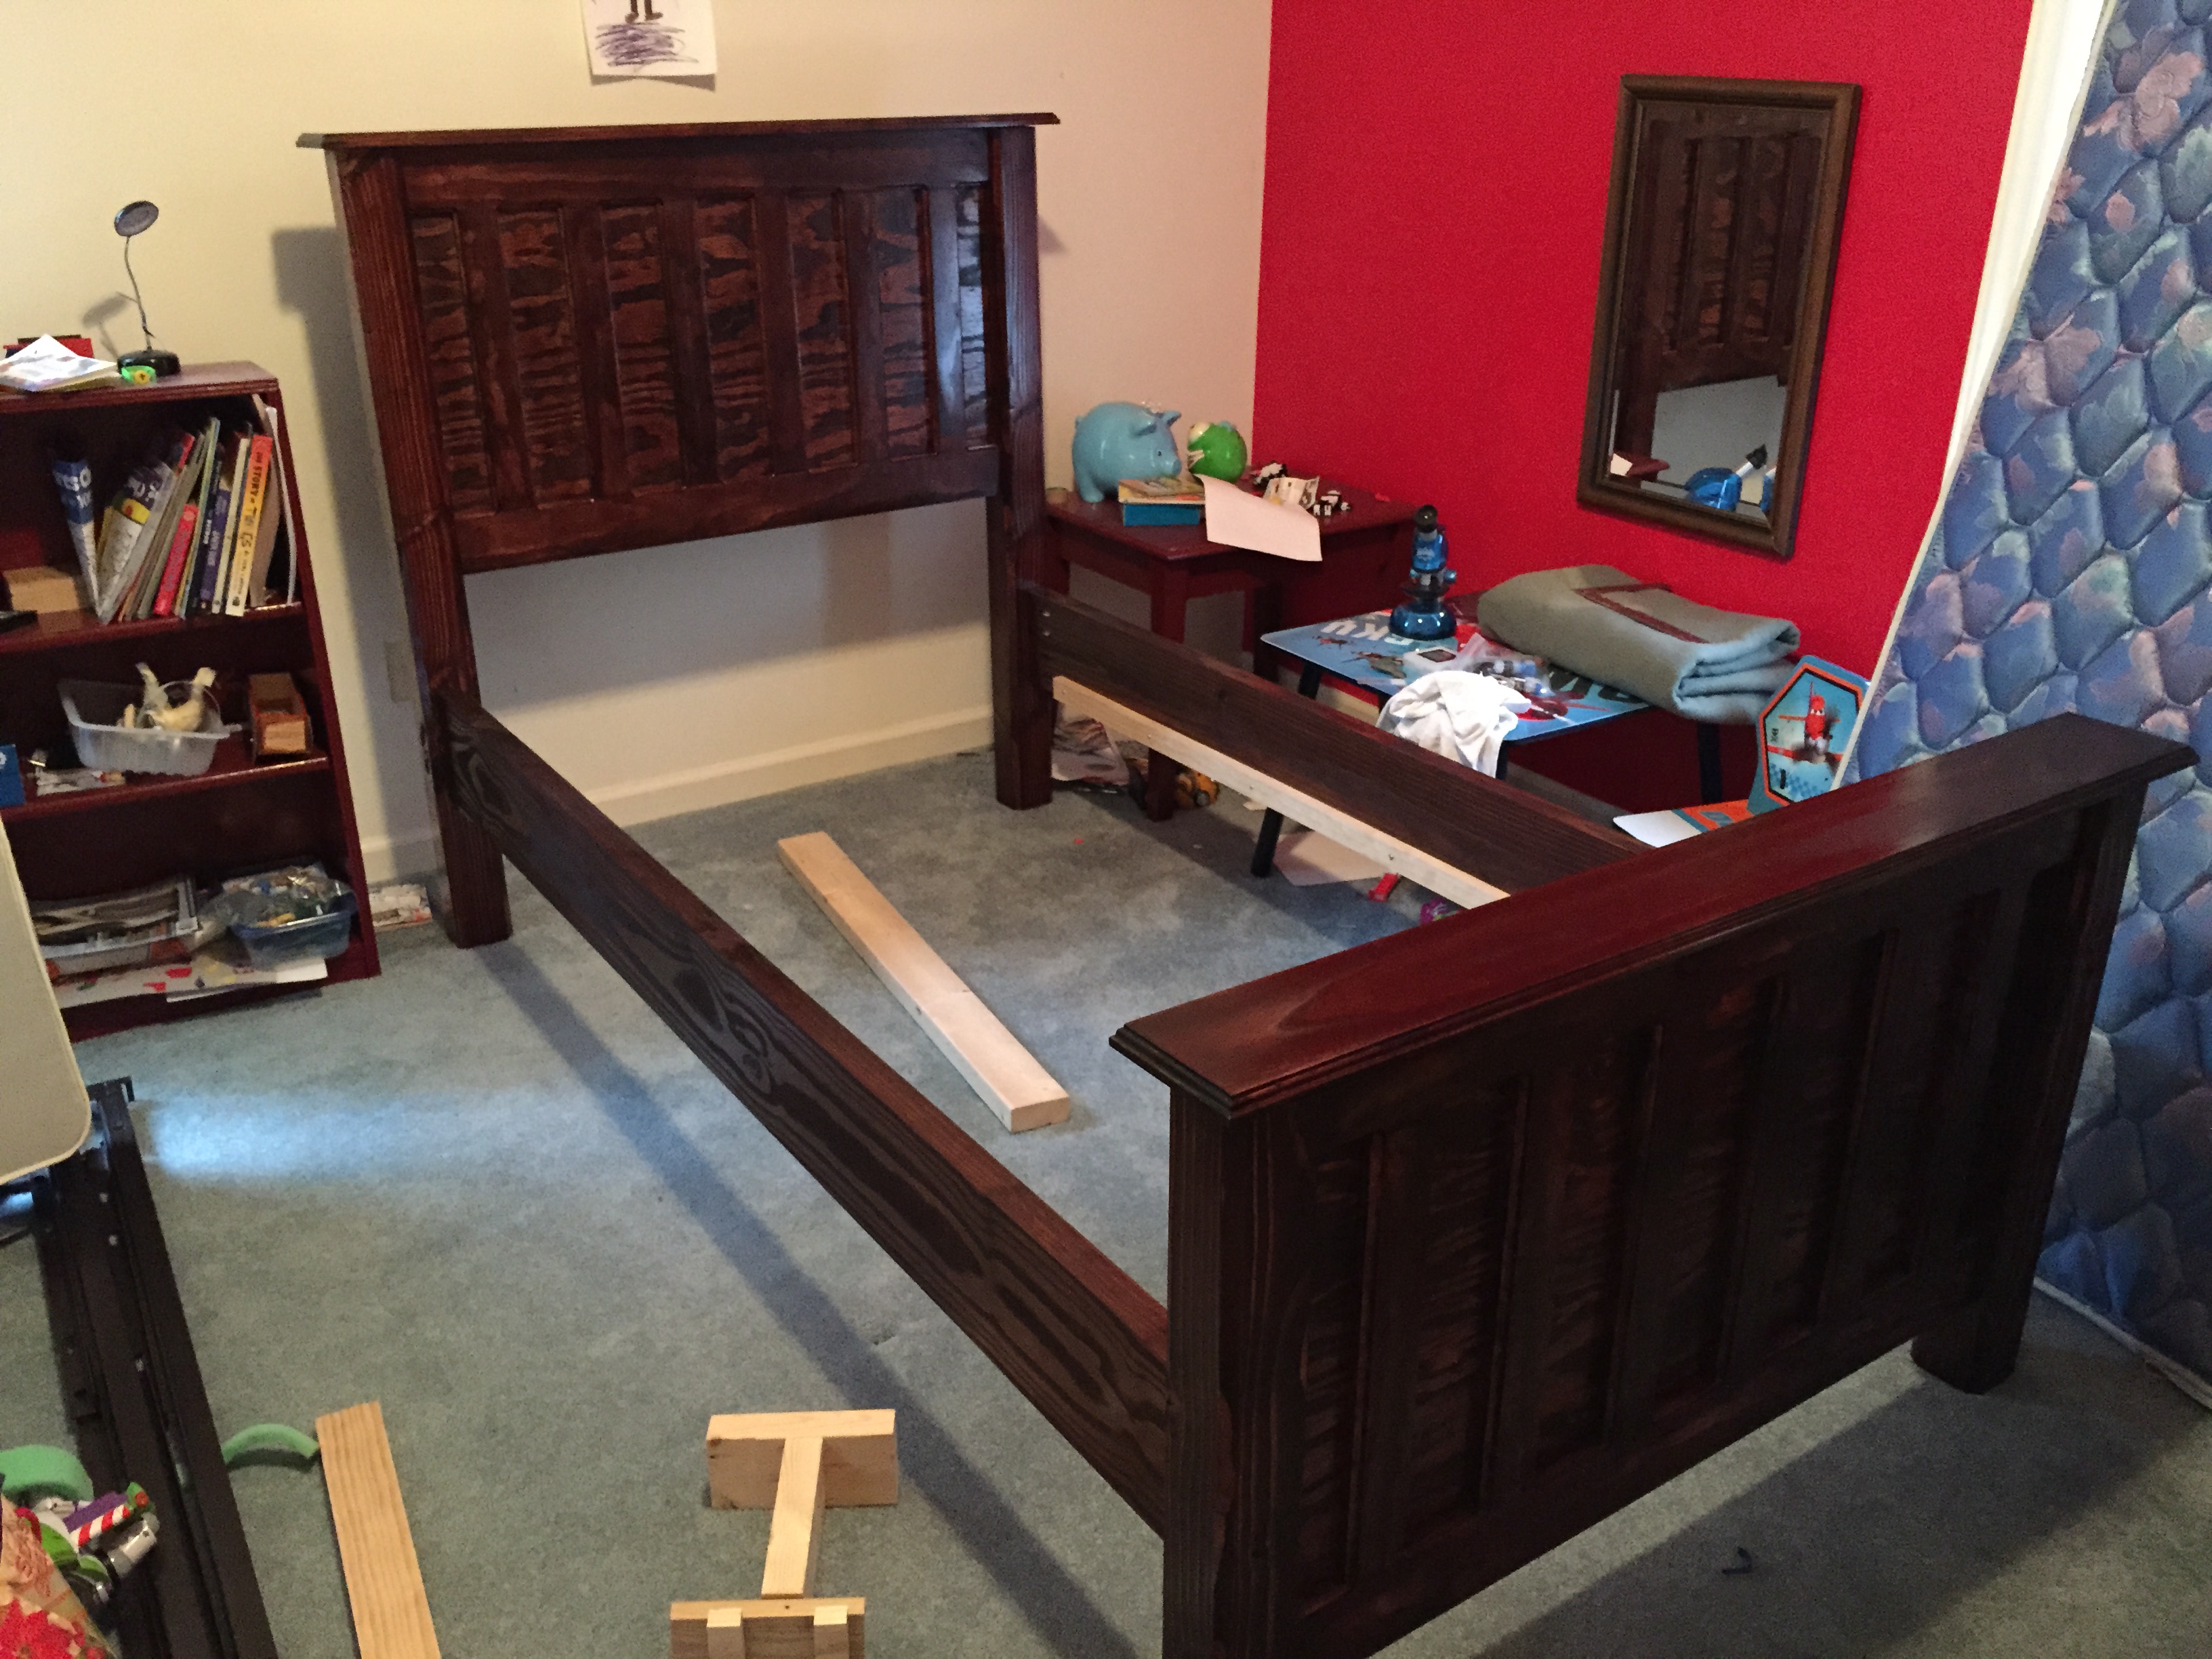
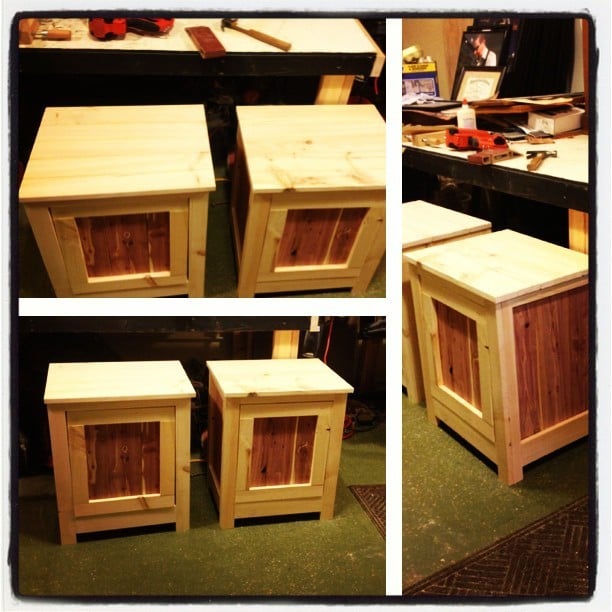
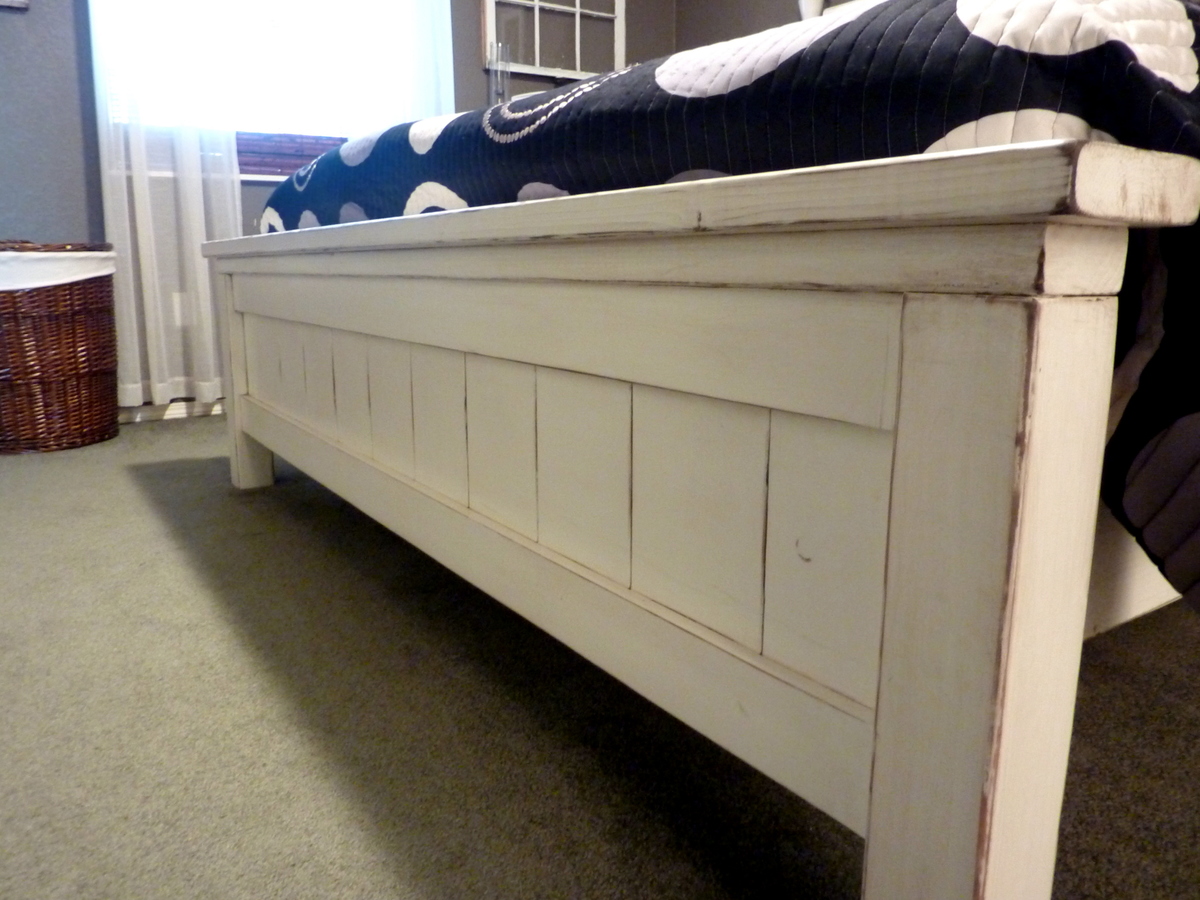
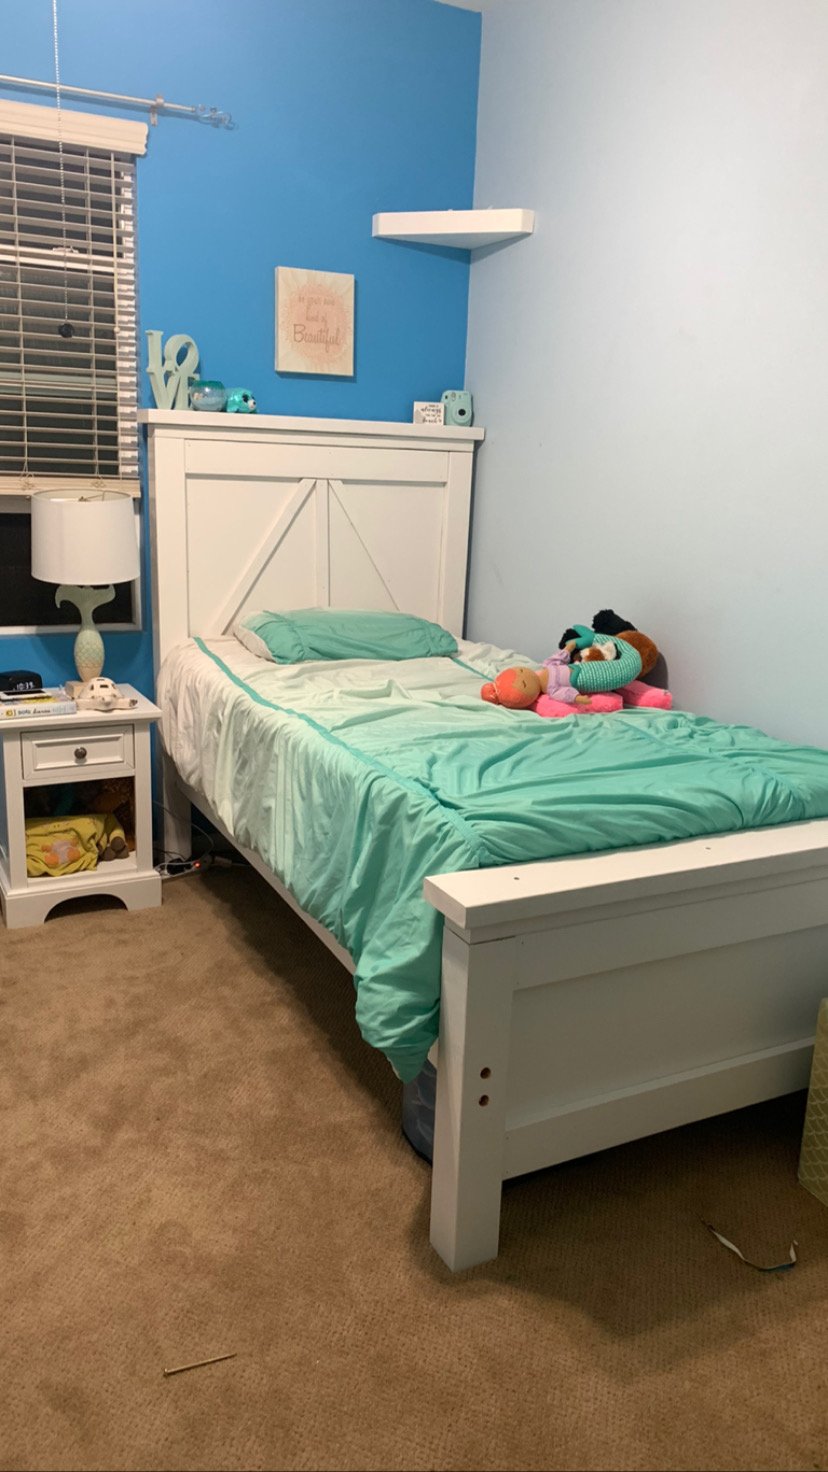
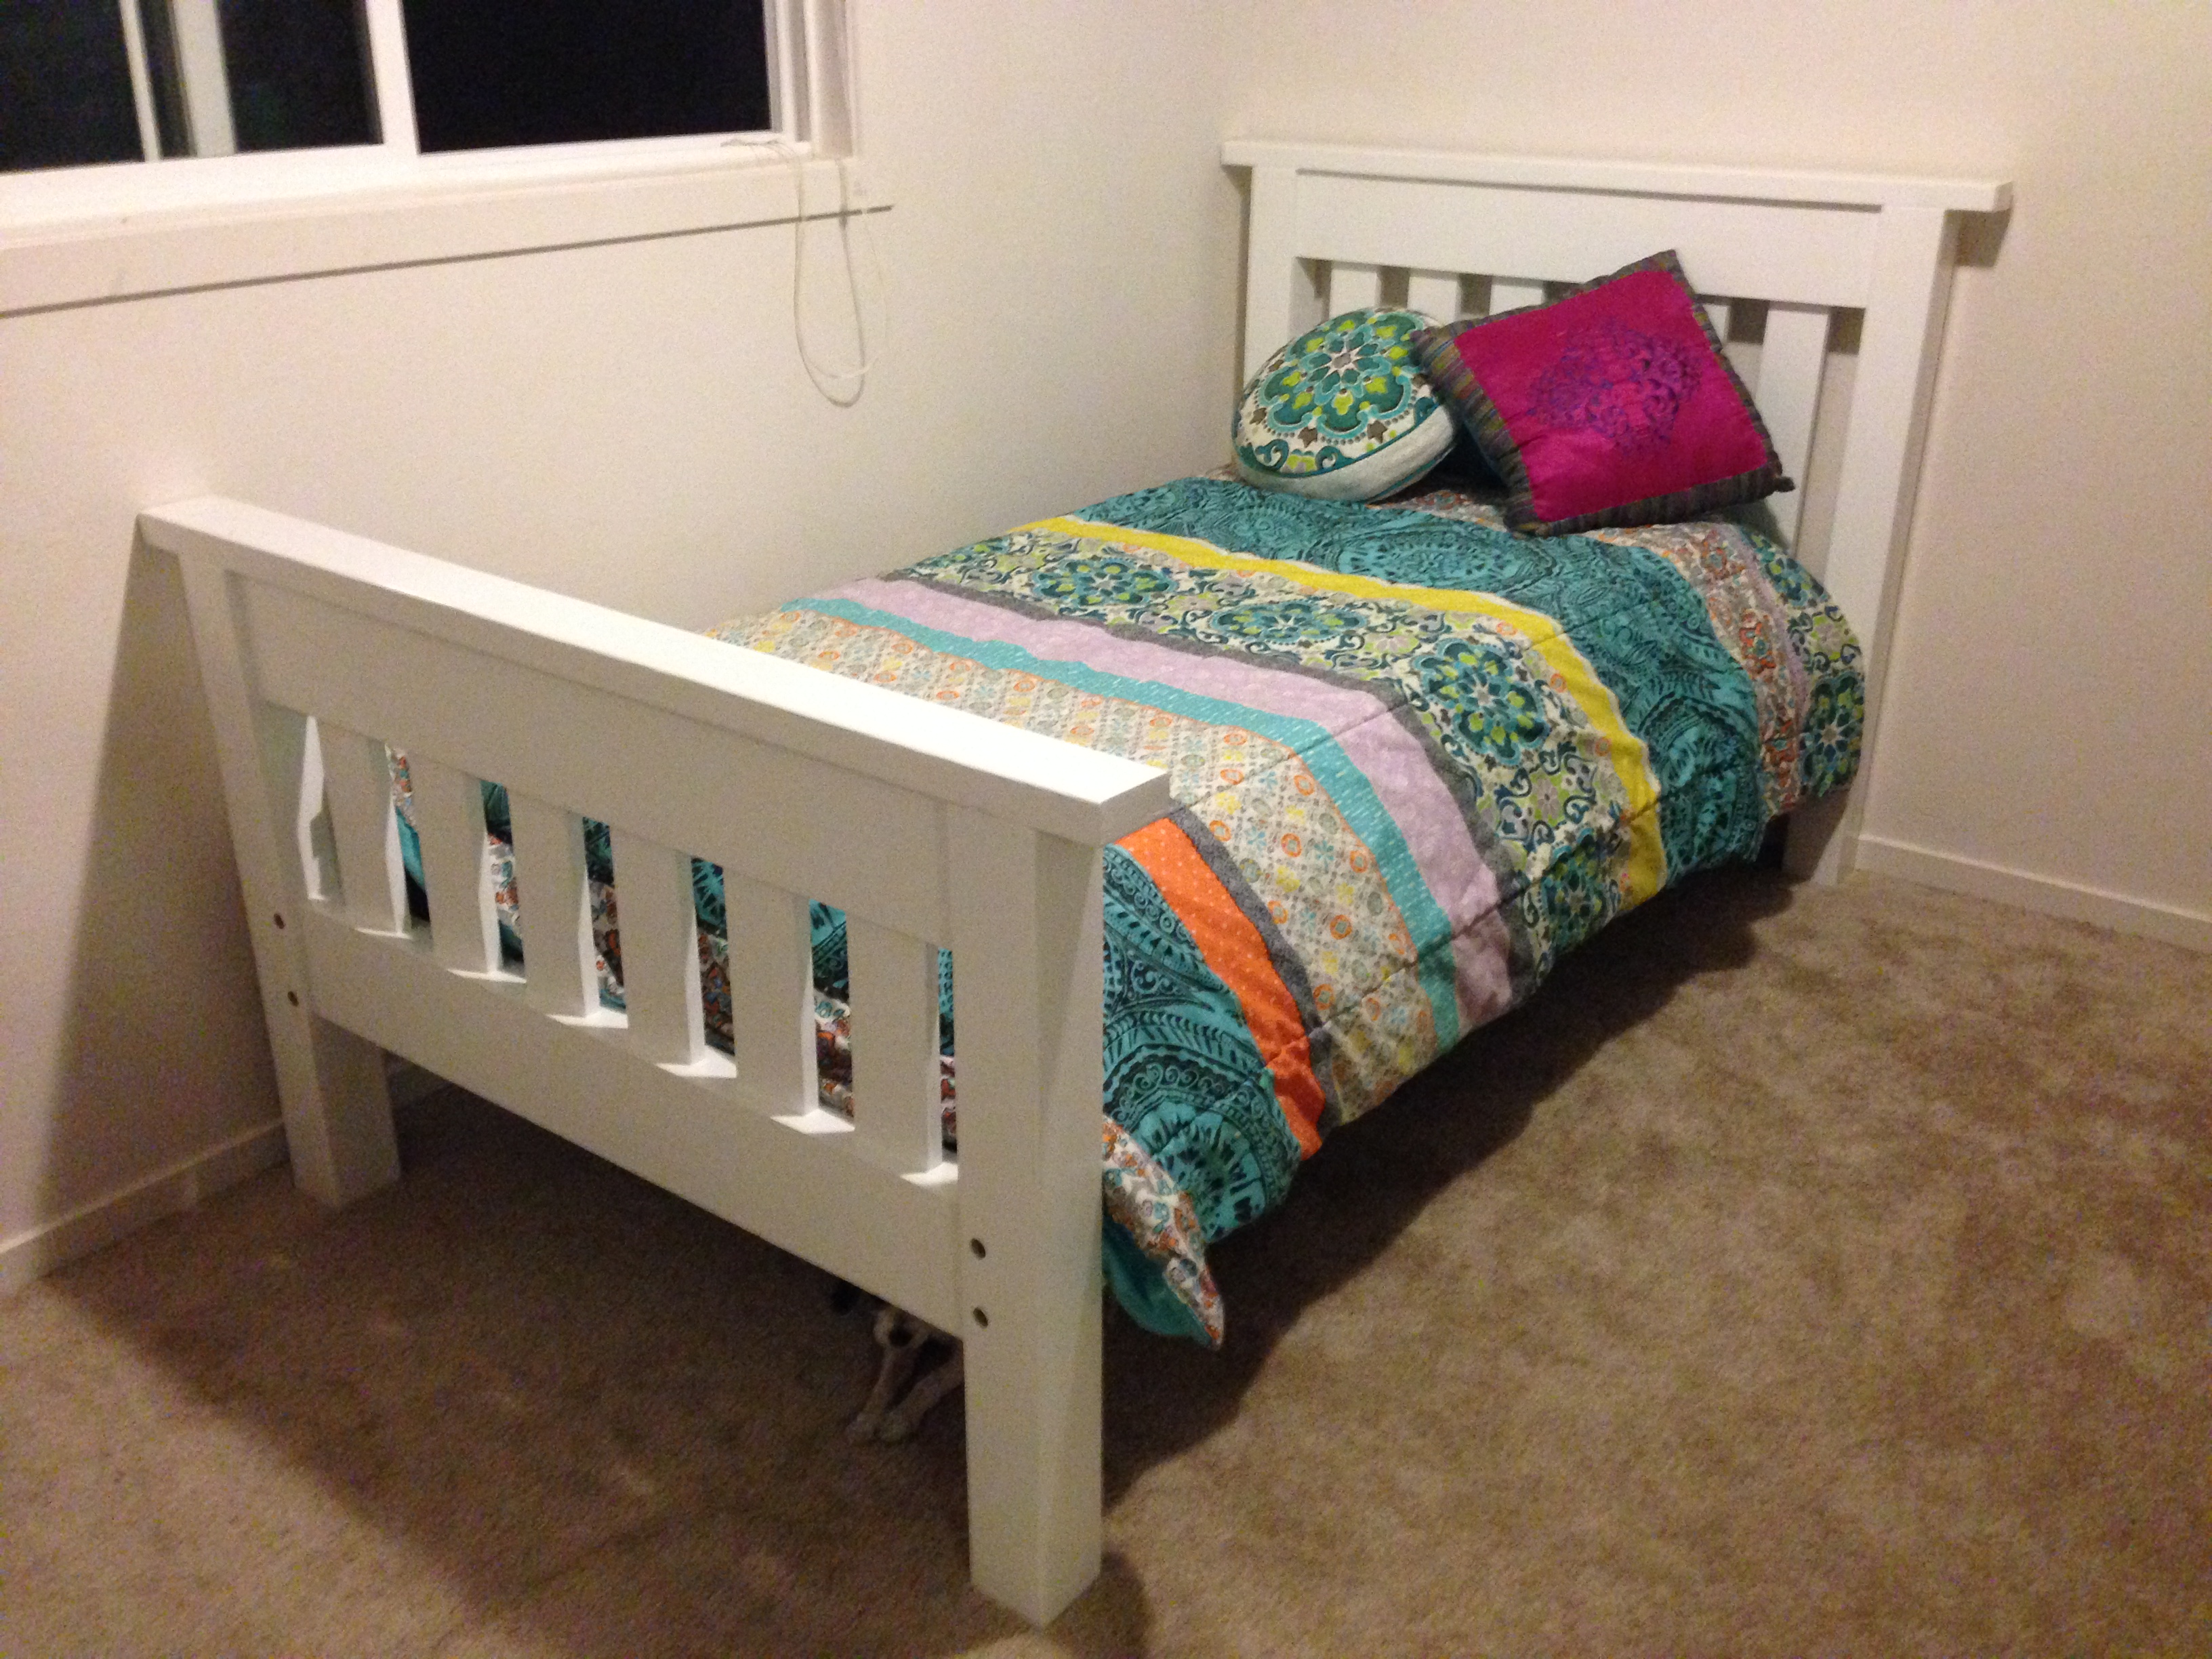
My wife and I have couldn't decide where to start our DIY projects, so we picked the Kentwood plans out of a stack and got to work.
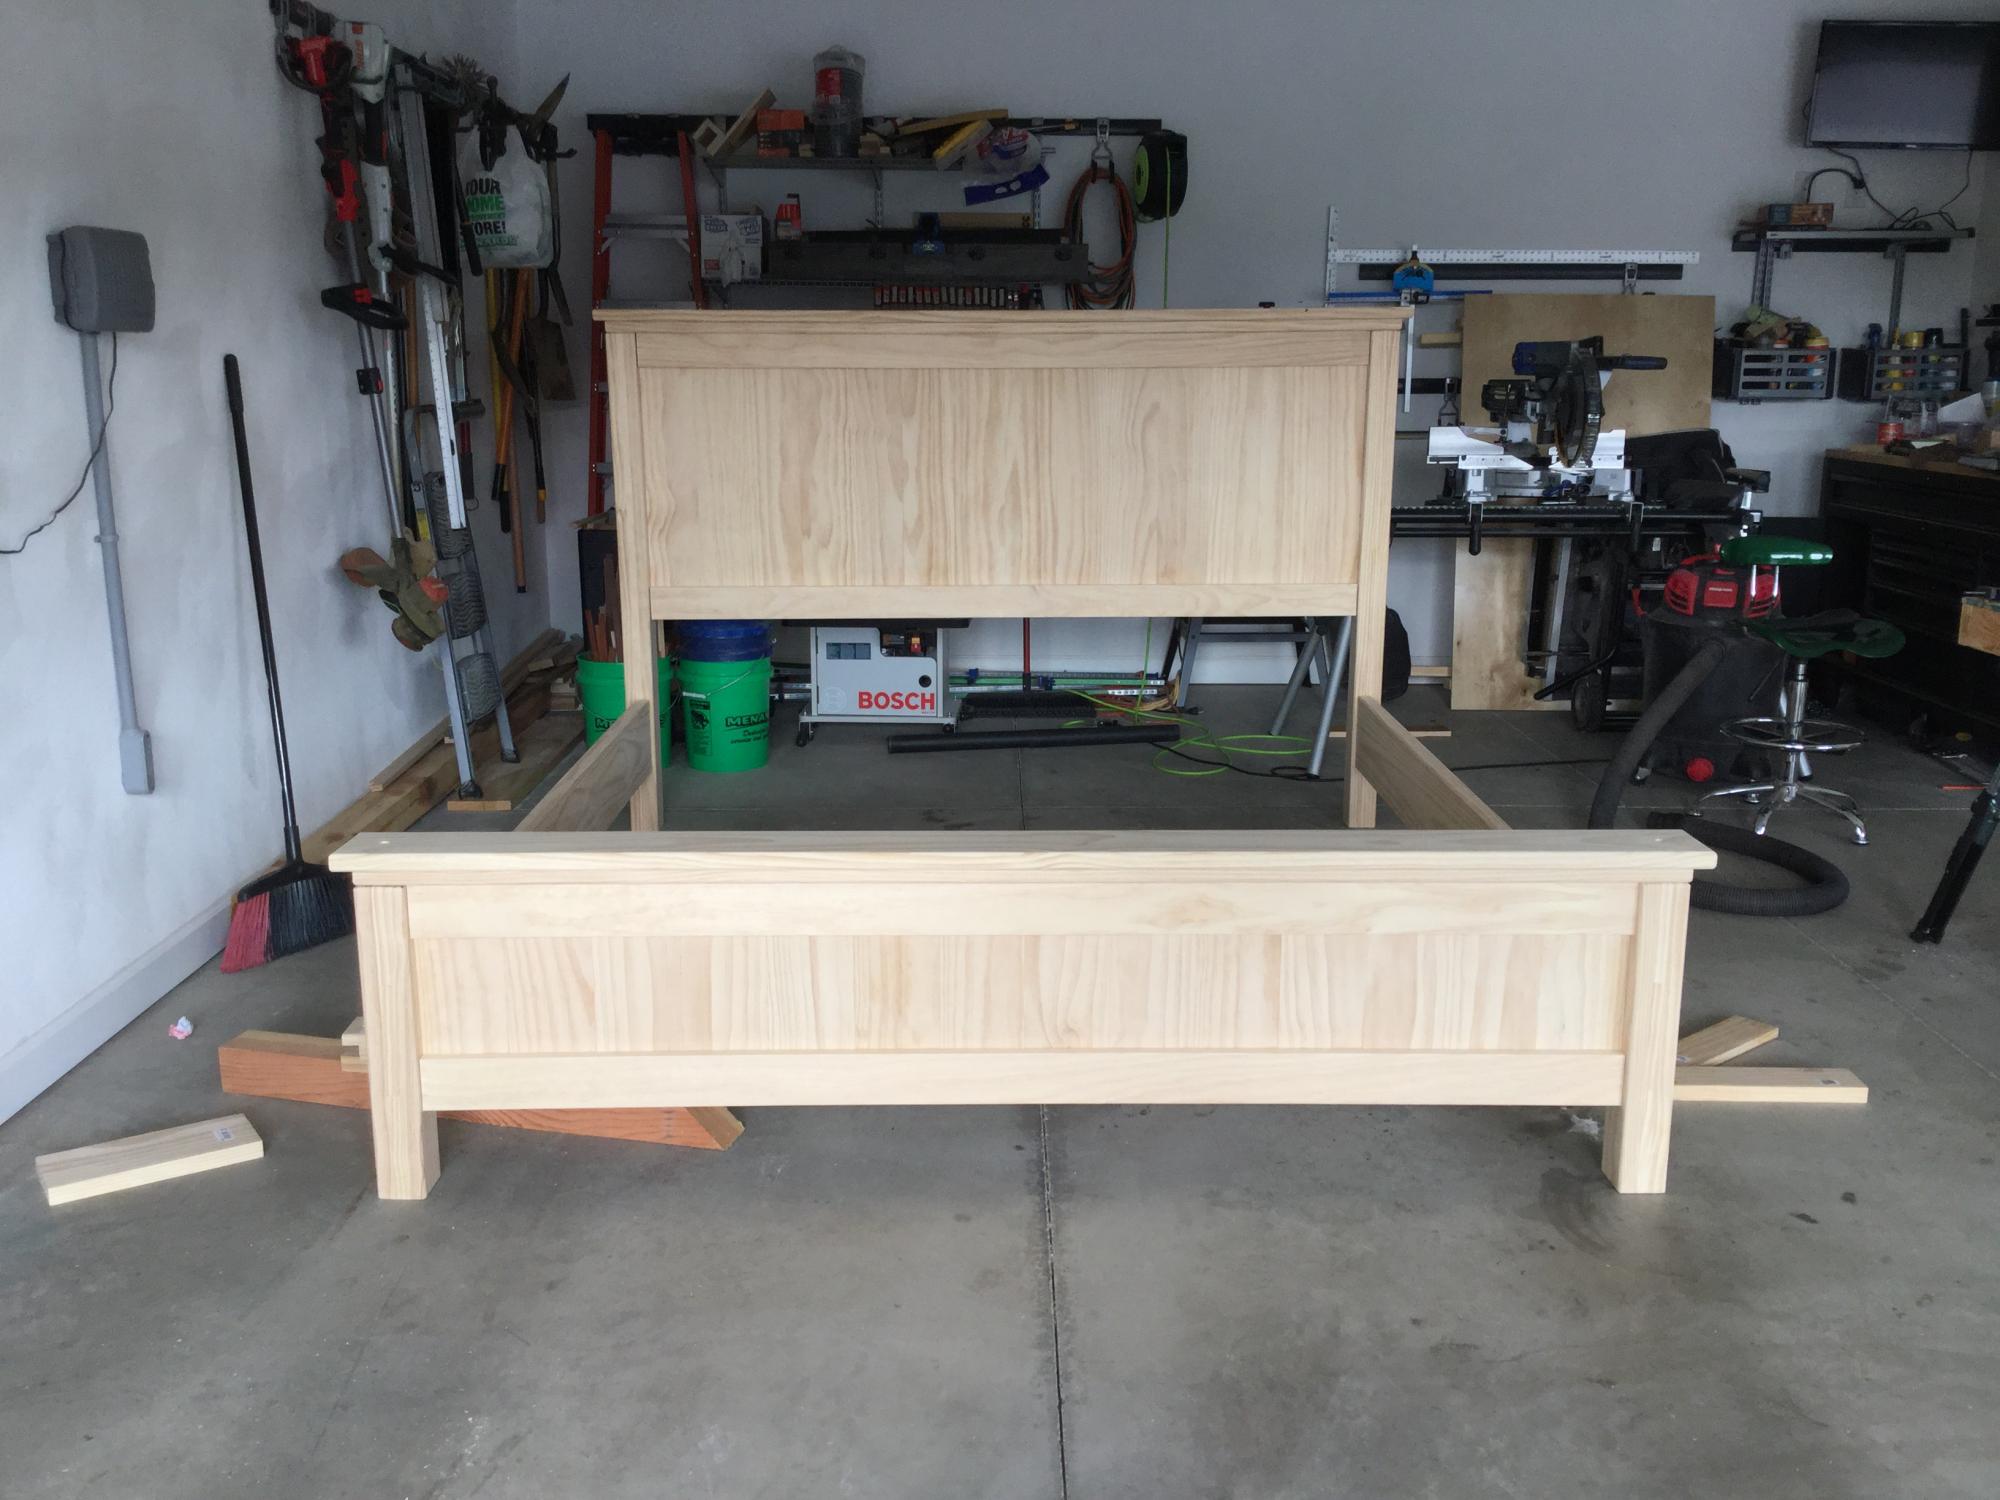
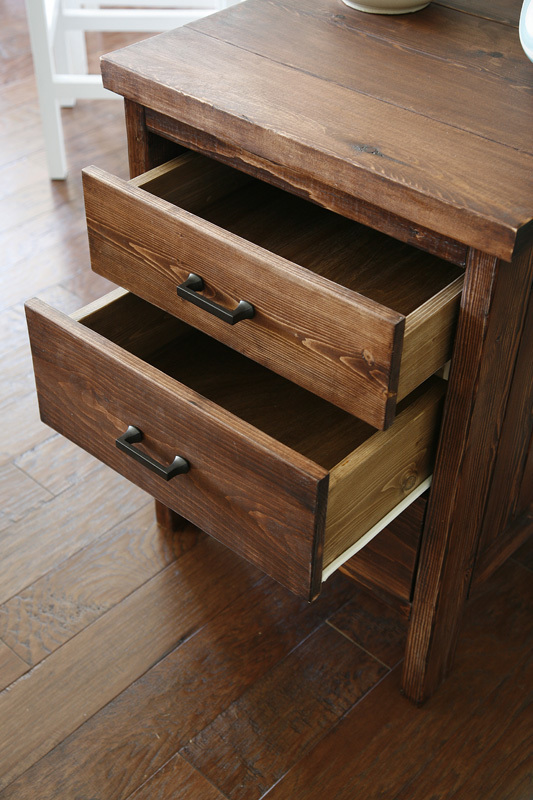
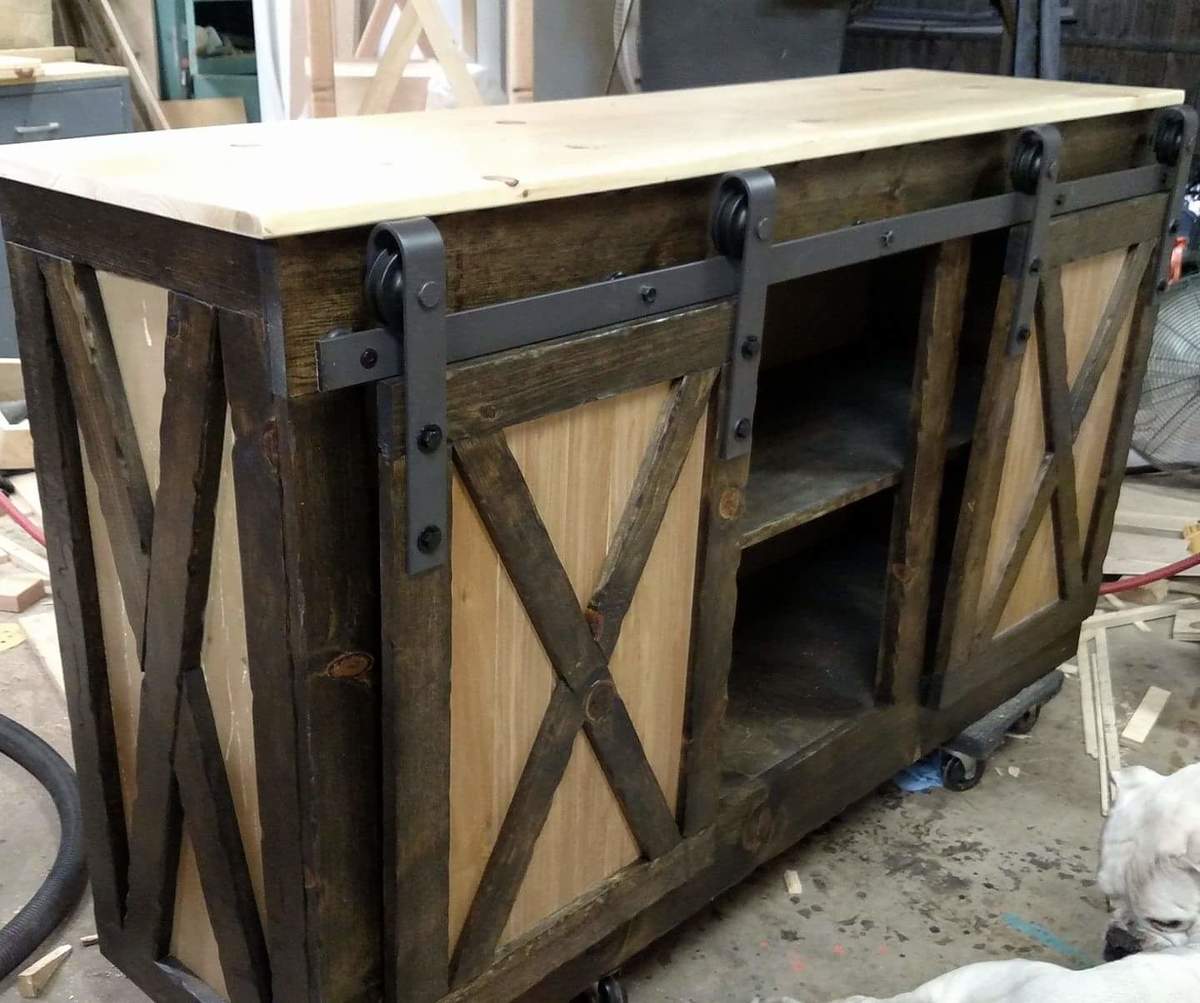
Ours are fashioned out of two 1x 12 pine boards, (7/8 x 11 1/4) cut for size. There is a great mom and pop lumber yard about an hour from where we are, and has spectacular prices on just about every kind of wood...saves us about 67% off the box stores.
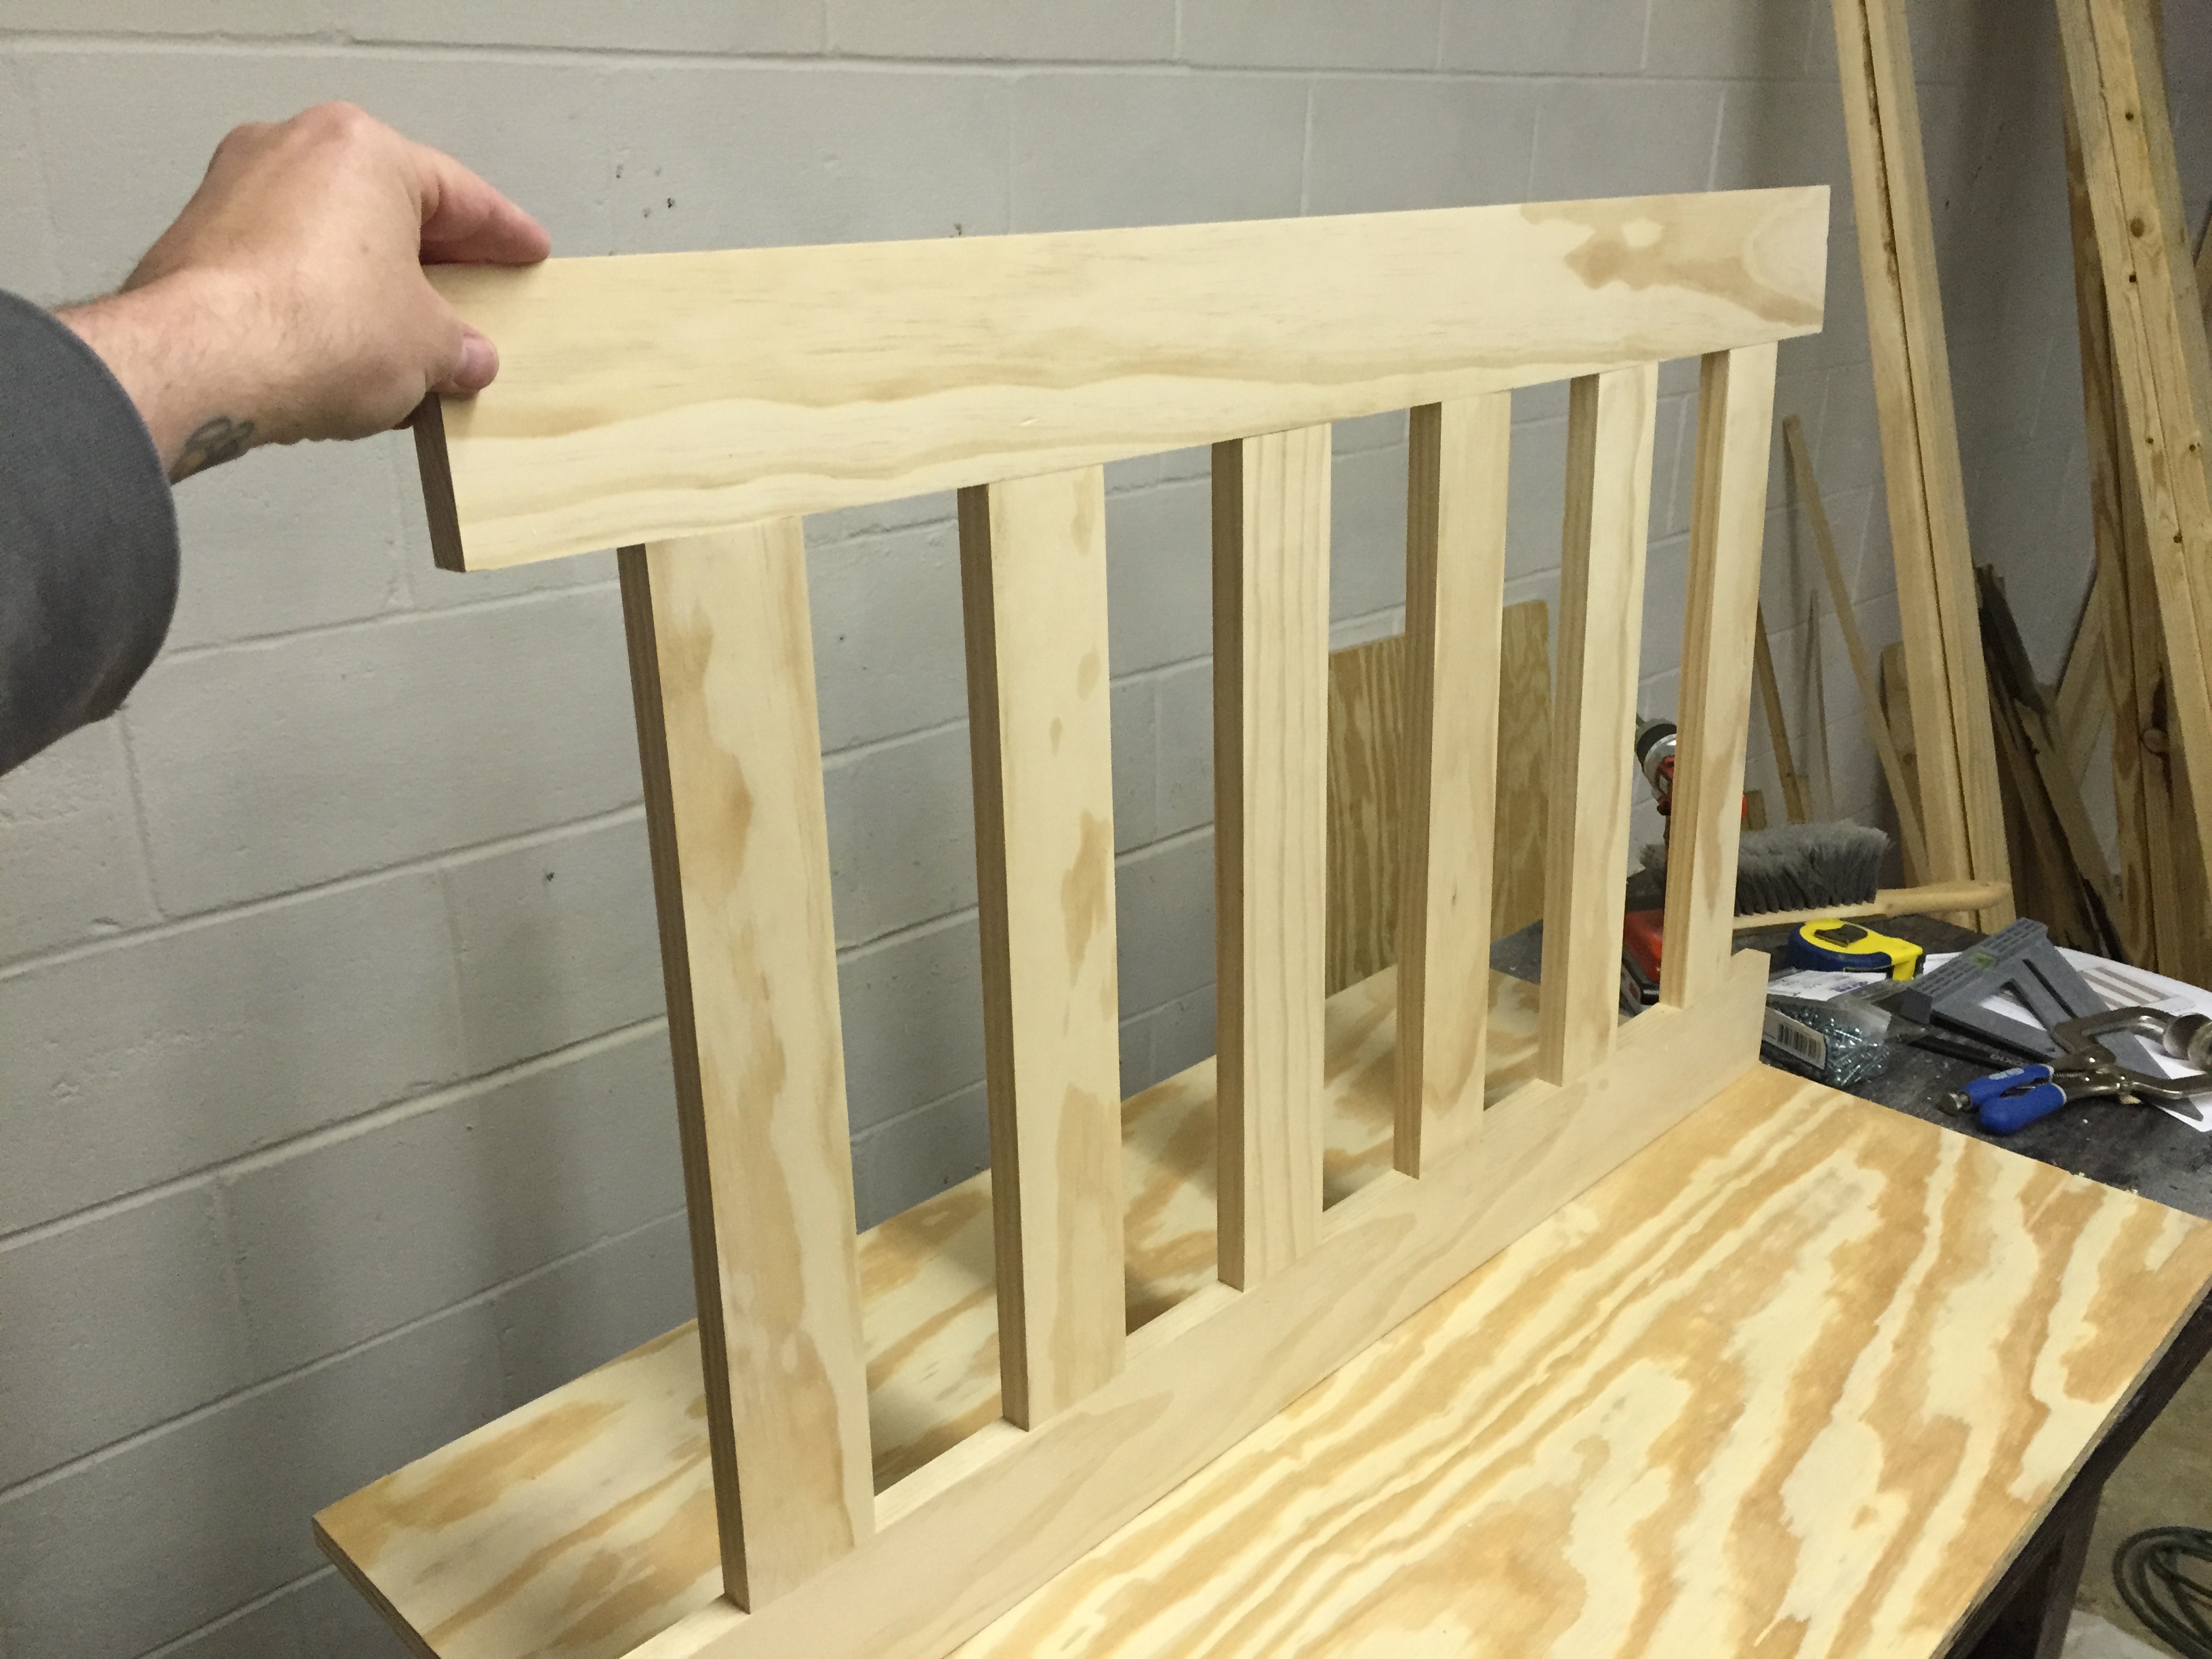
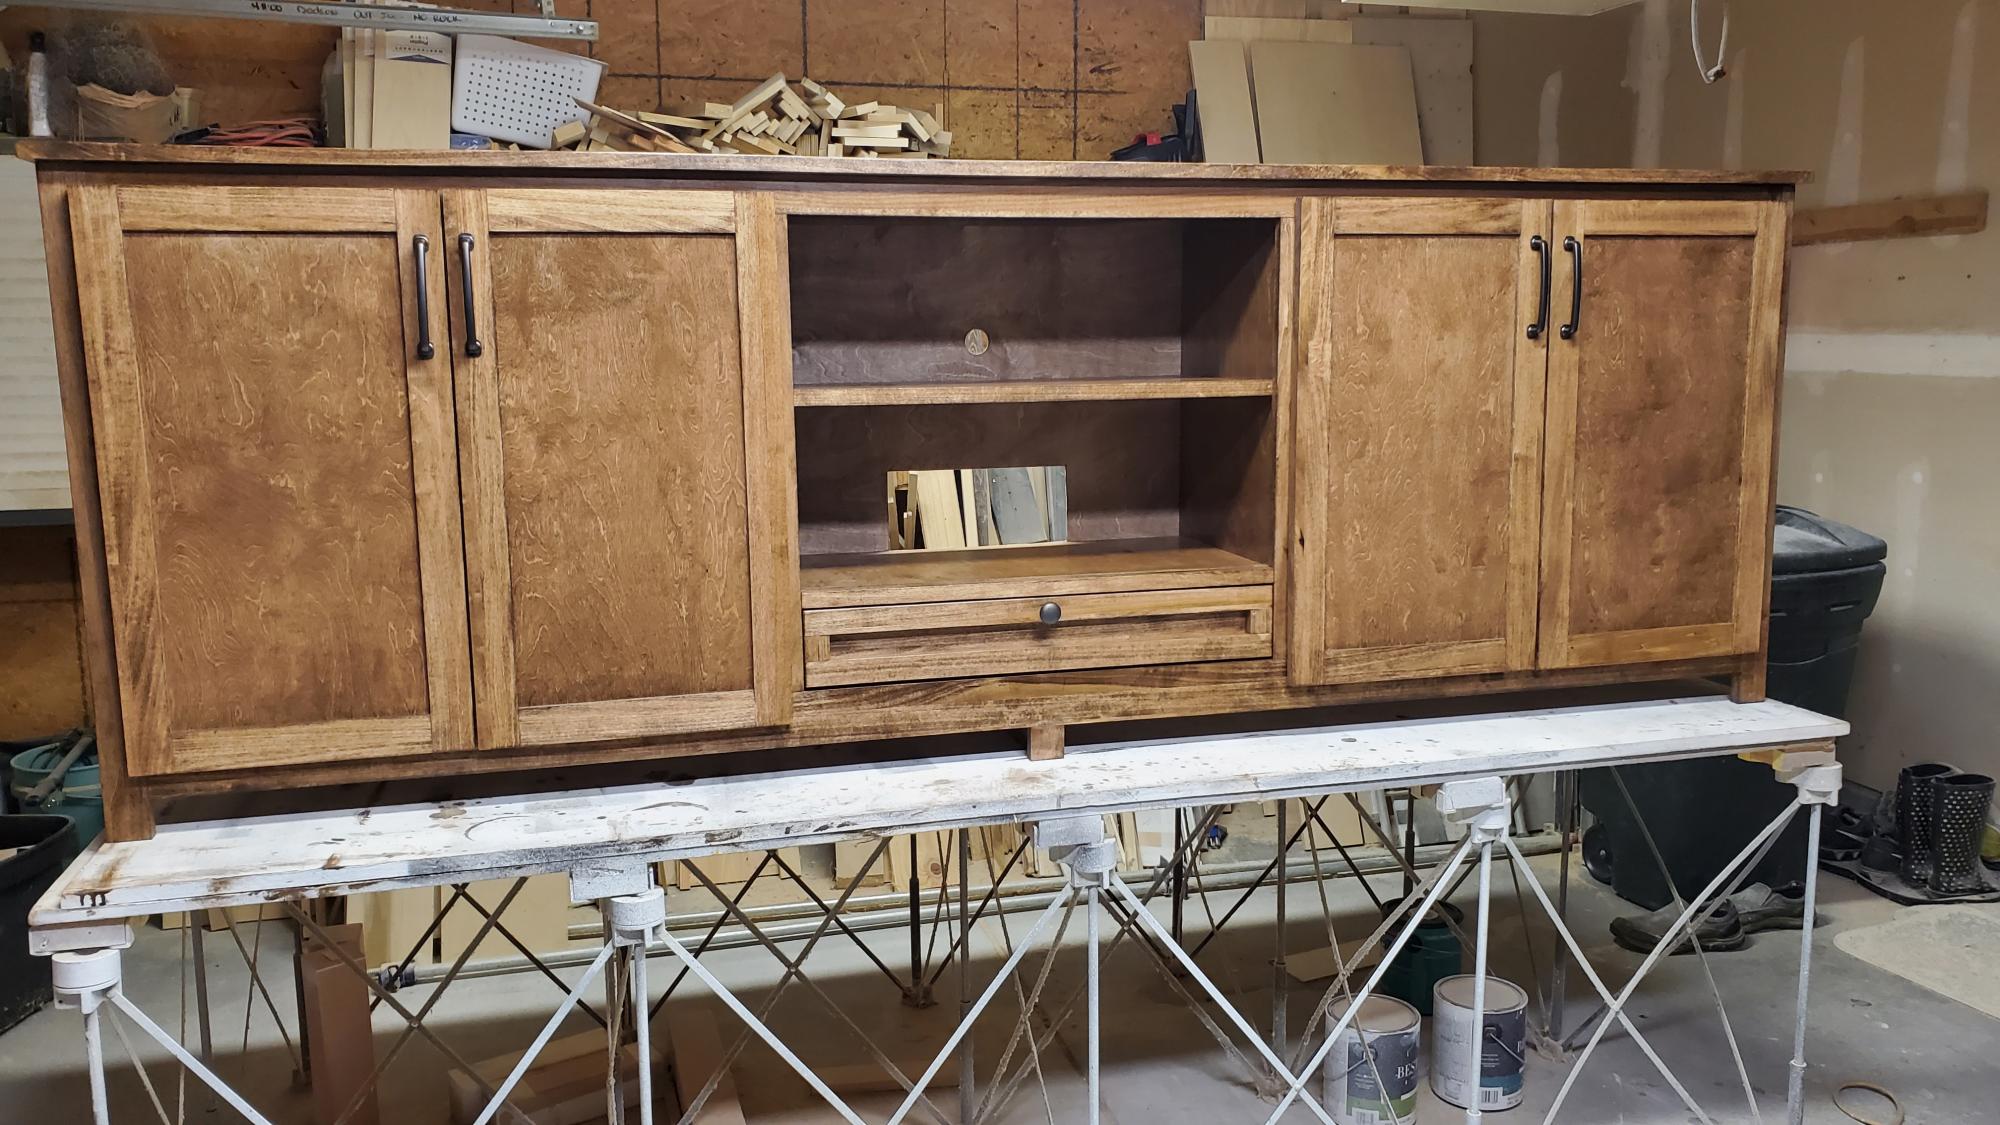
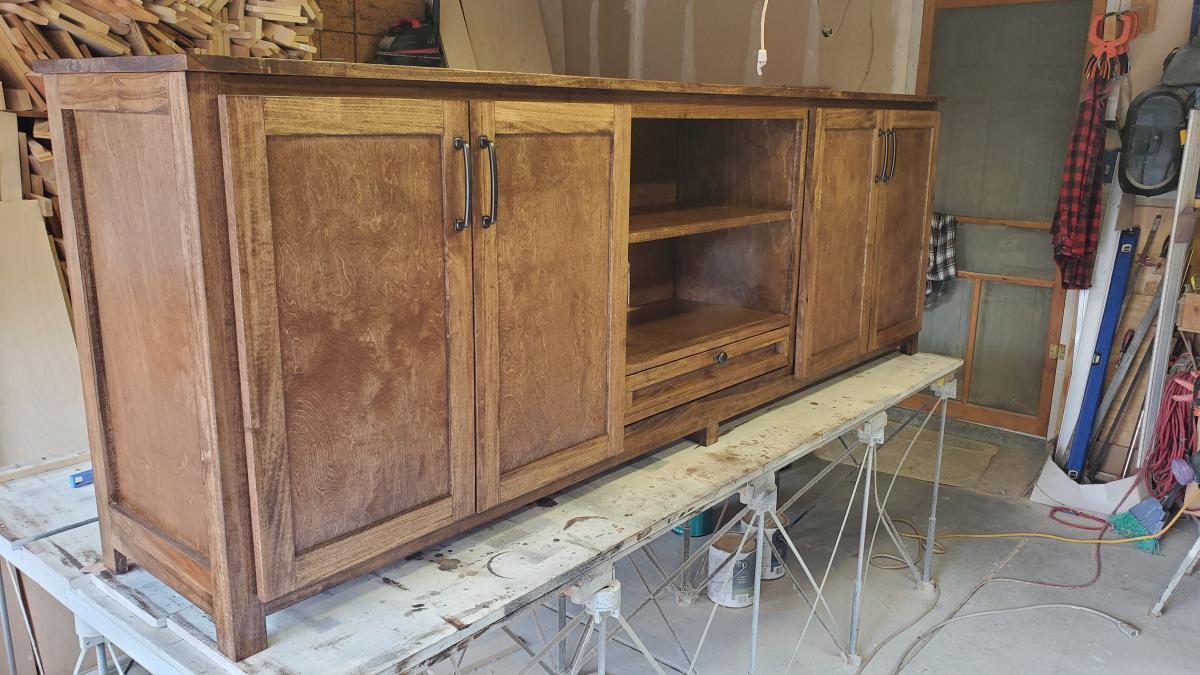
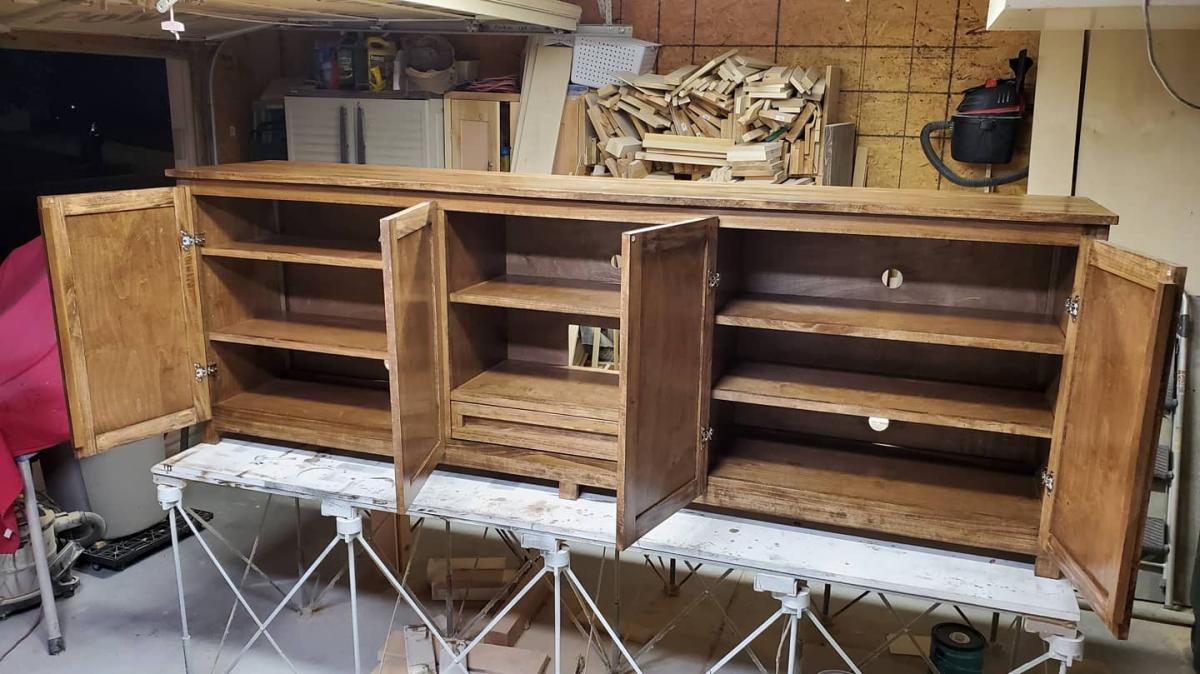
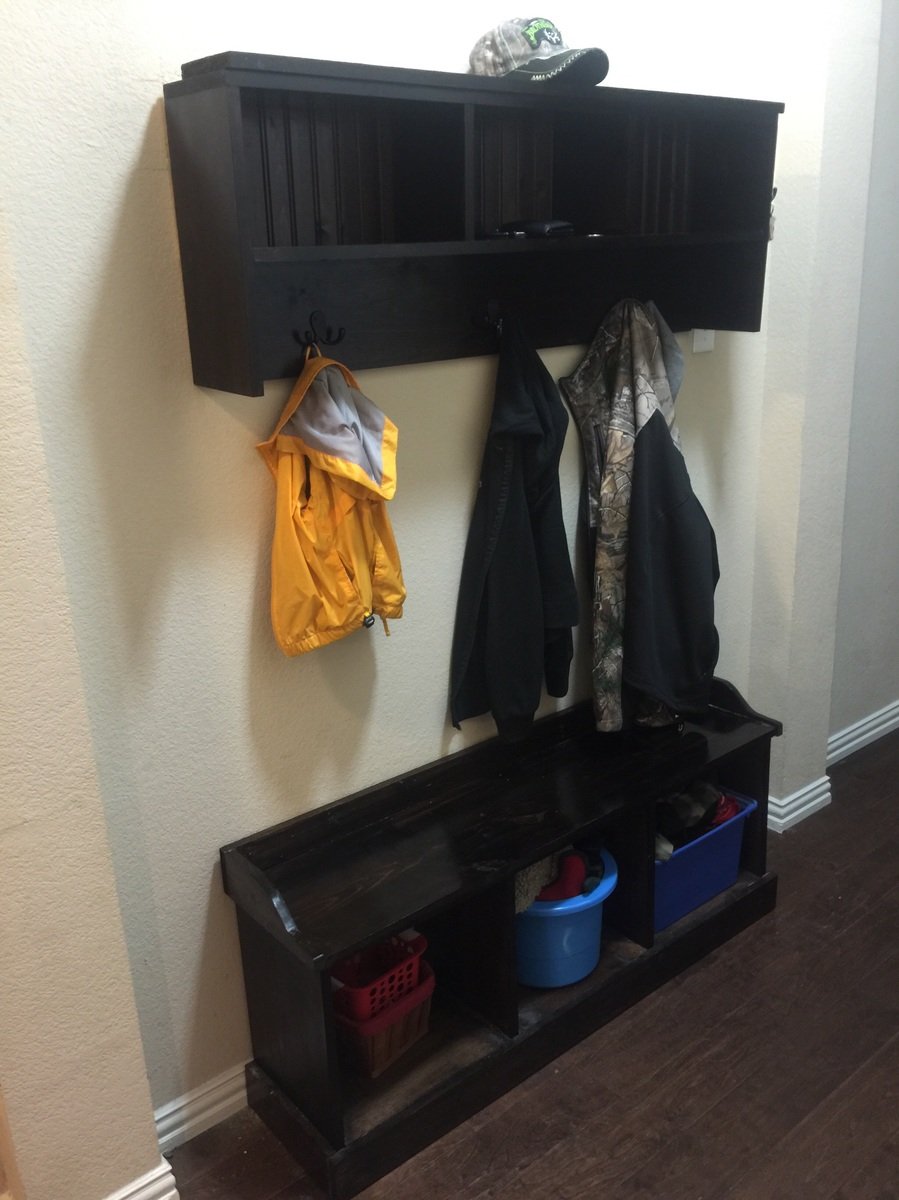
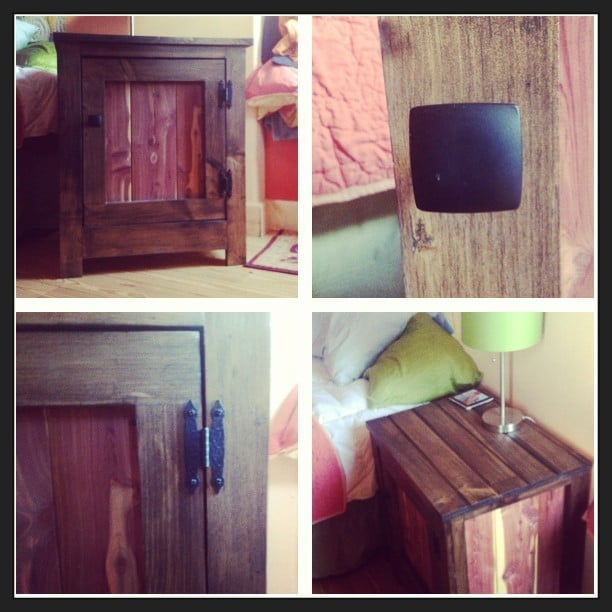
We had some cedar tongue and grove boards lying around, so I used the cedar for the side and door panels. We also opted to add a shelf to the interior, measuring 13' off the bottom deck.
We did not finish the interior, aside from sanding the shelves, and putting on a top coat.
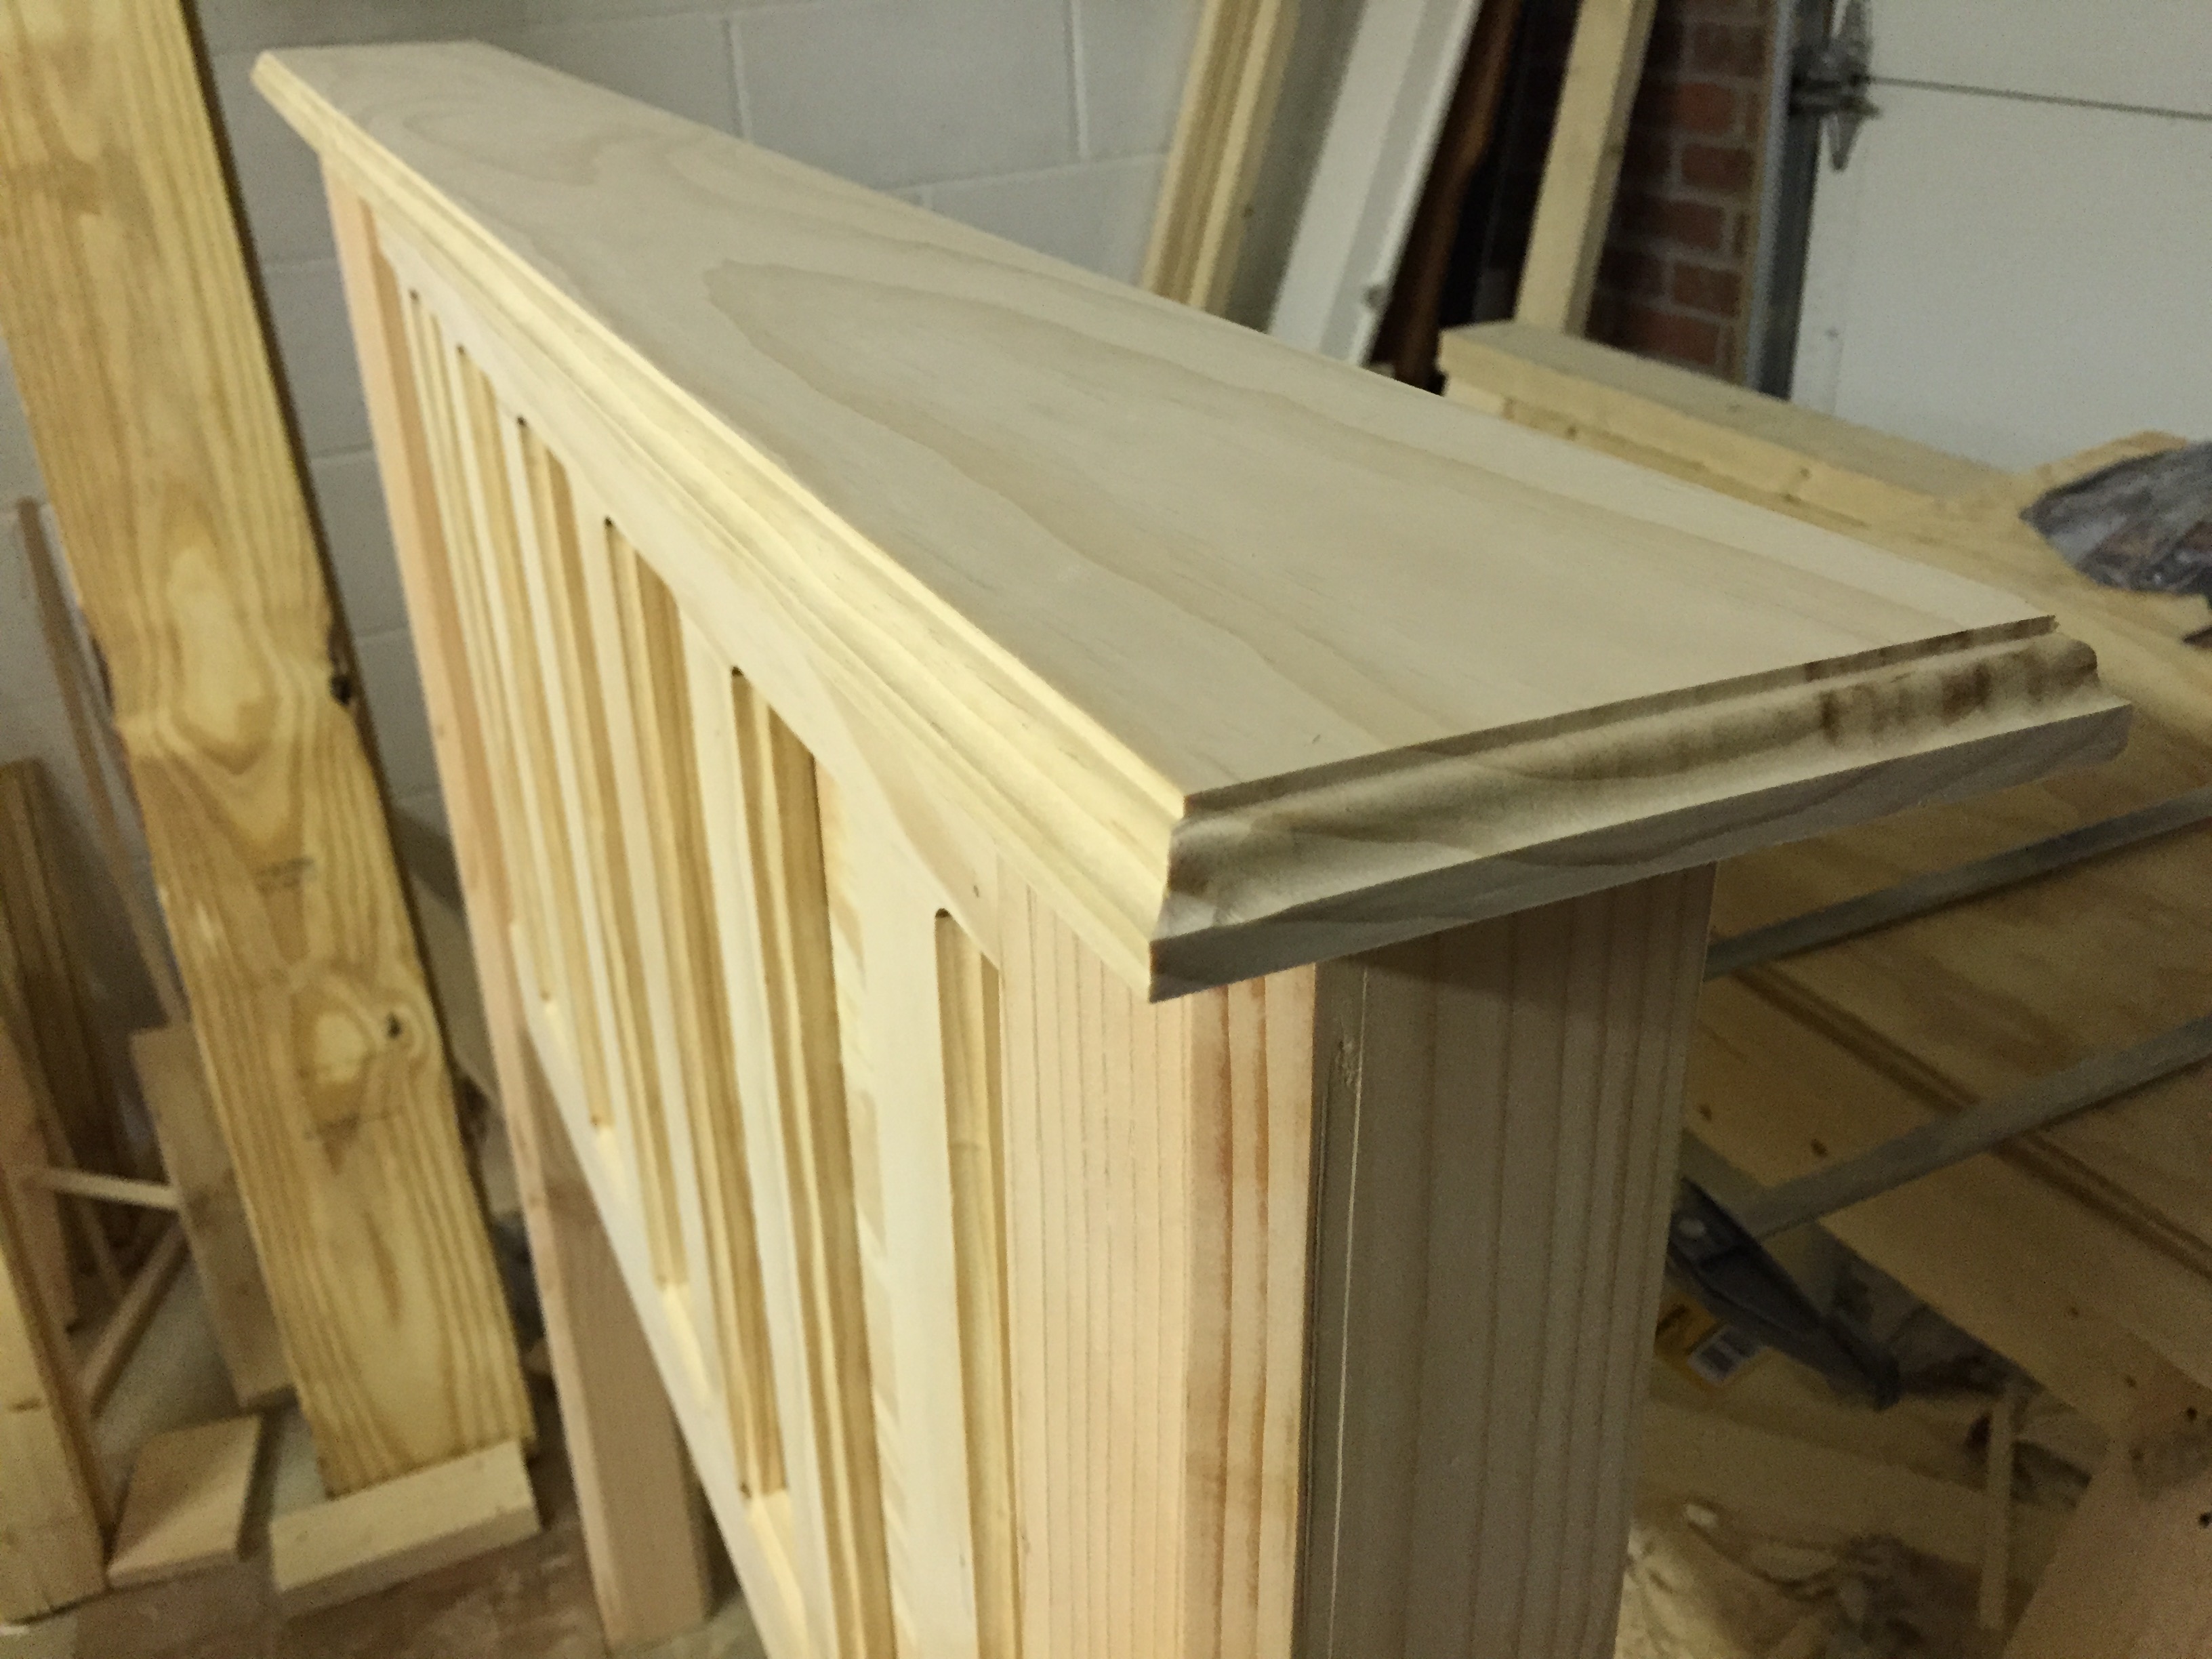
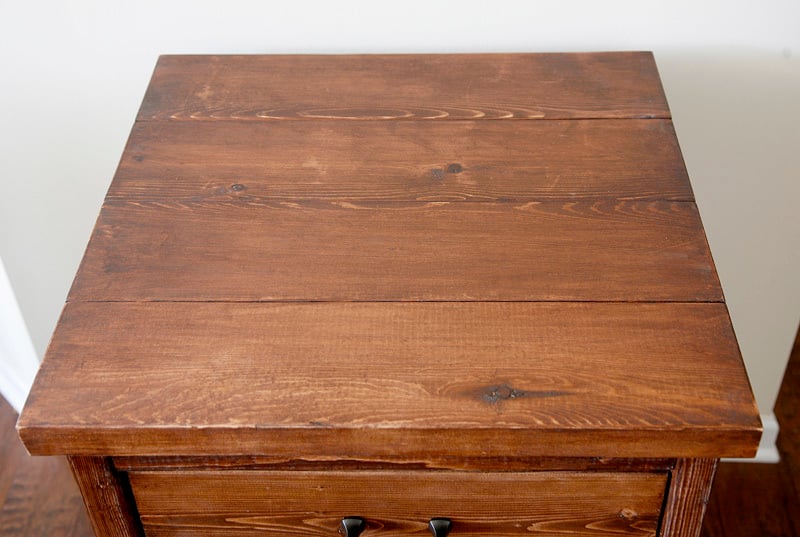
The top of the nightstands are made with scrap tongue and grove pine wall panels my father-in-law had sitting in his wood shop.
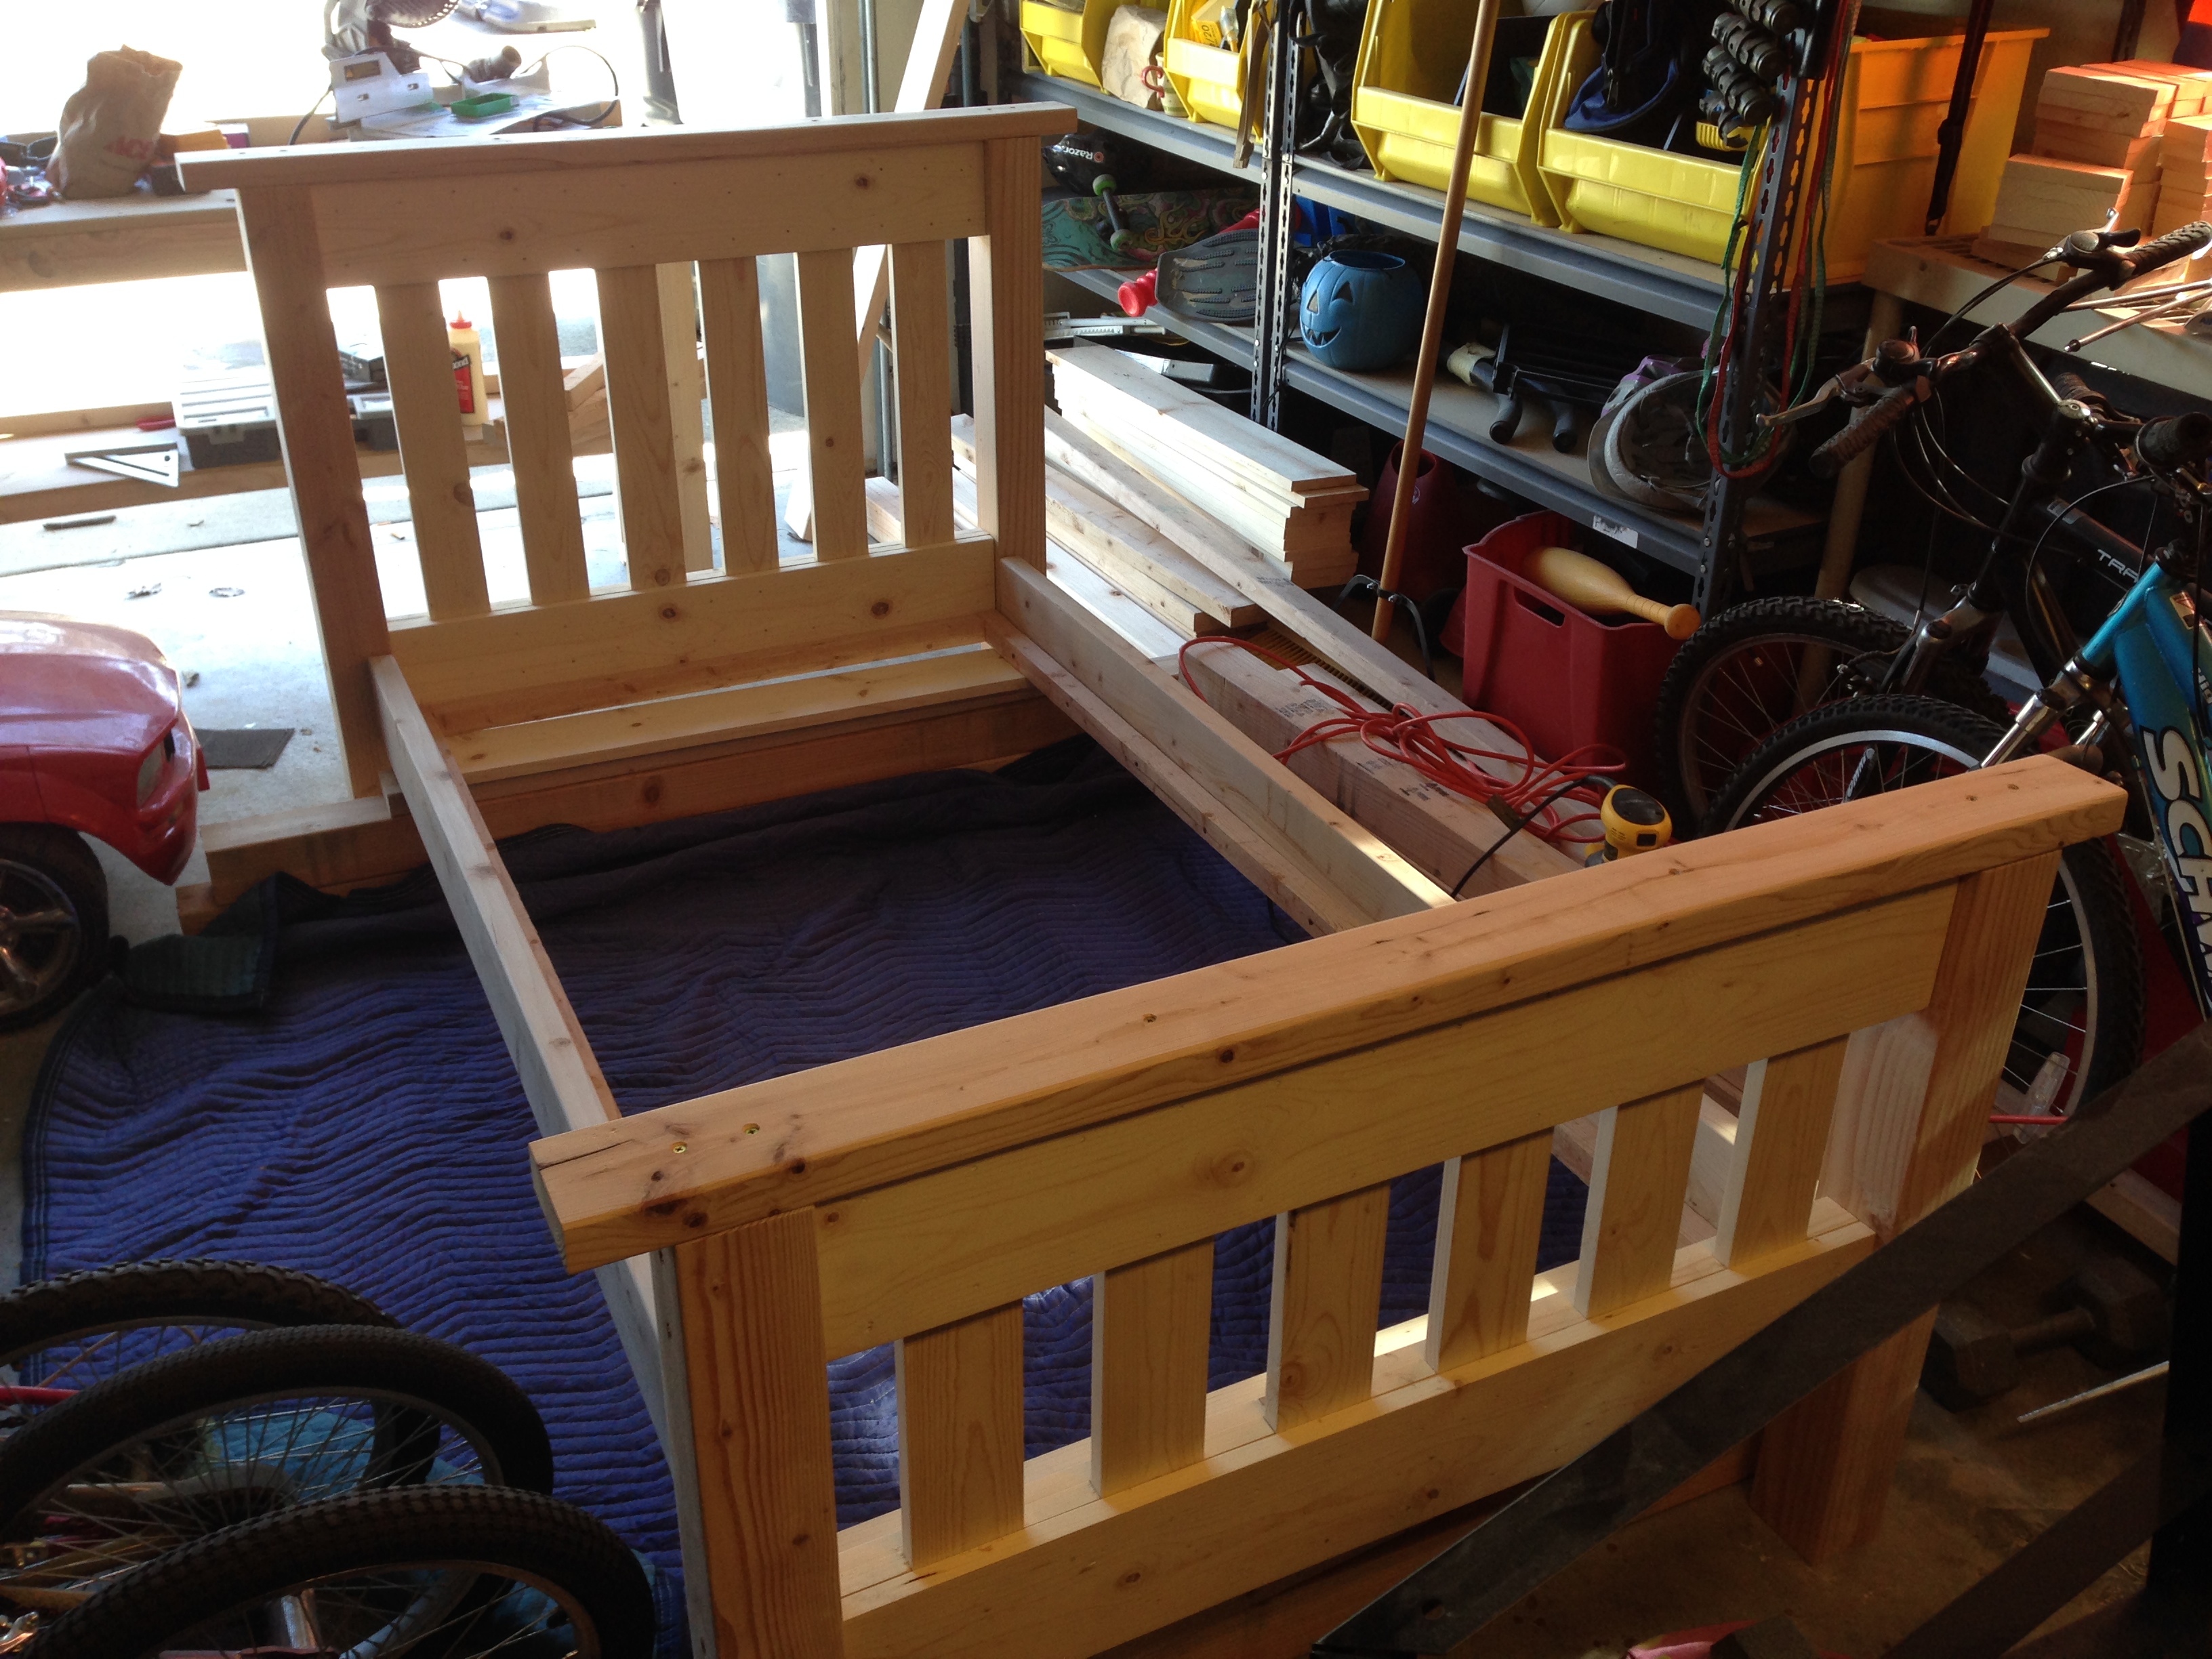
Really fun, enjoyable first foray into the ana-white.com community. Gotta say, having a Kreg jig makes joinery a snap.
Estimated Cost
$50-$100. Mostly in hardware and finish materials.
Estimated Time Investment
Weekend Project (10-20 Hours)
Finish Used
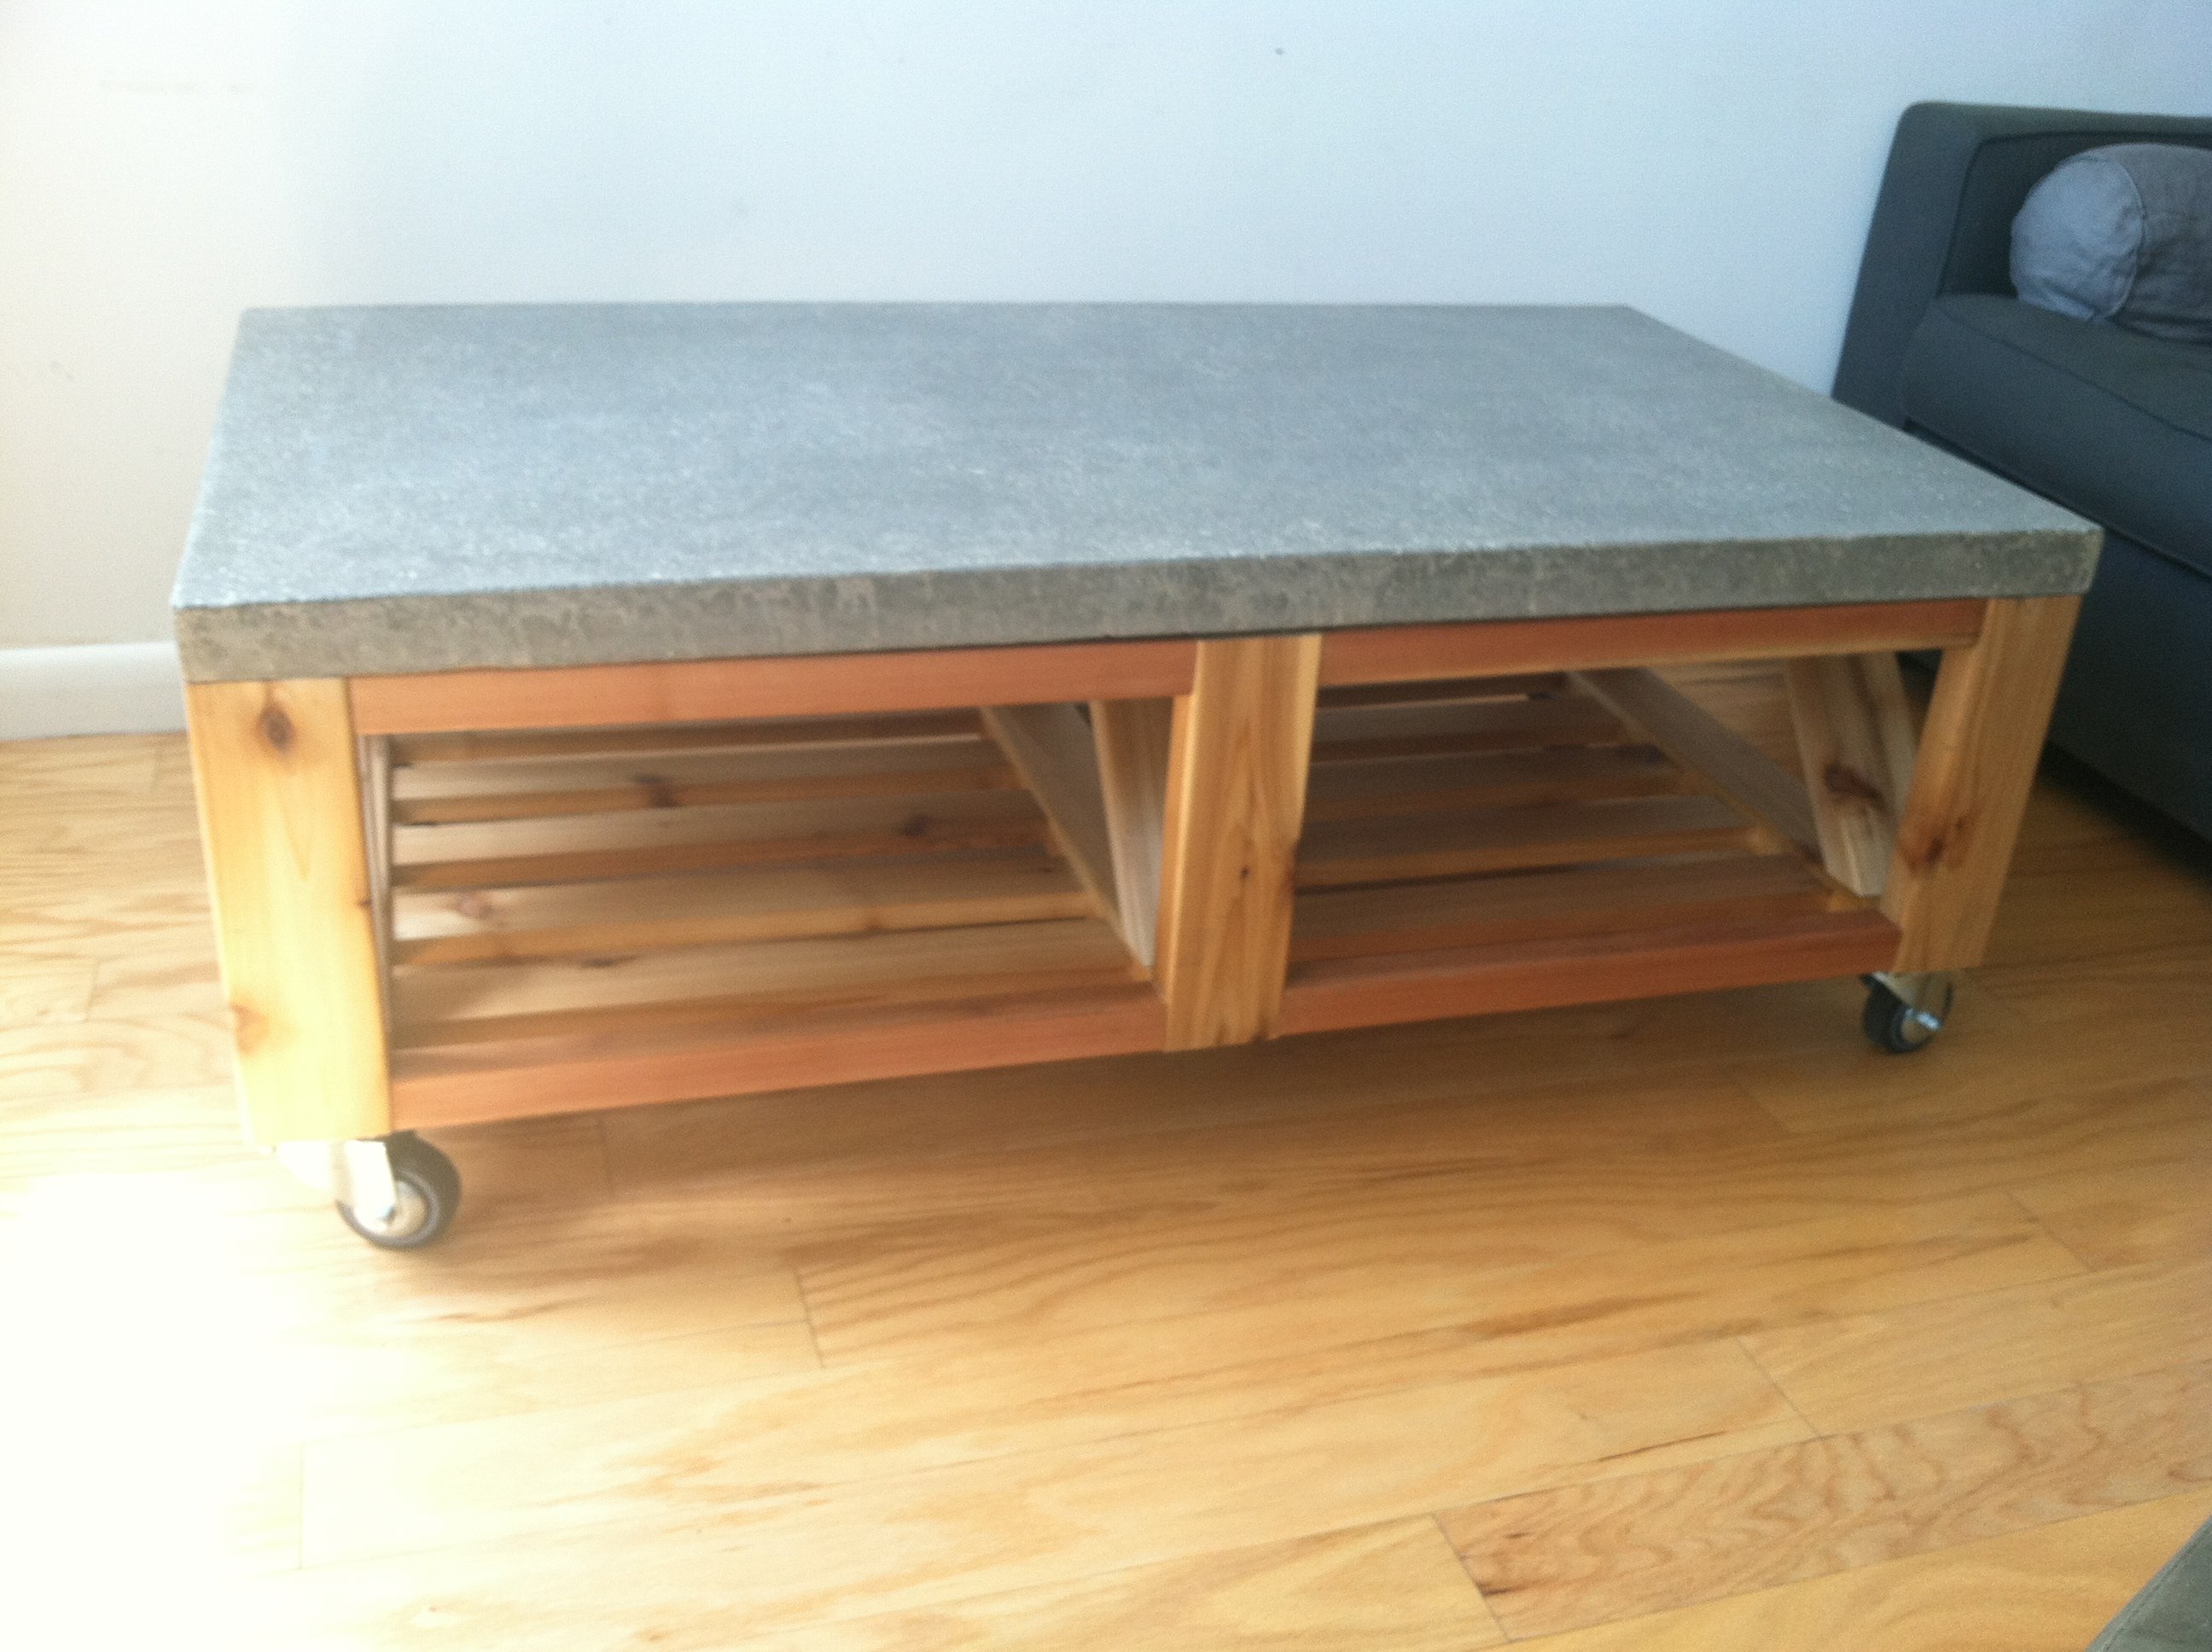
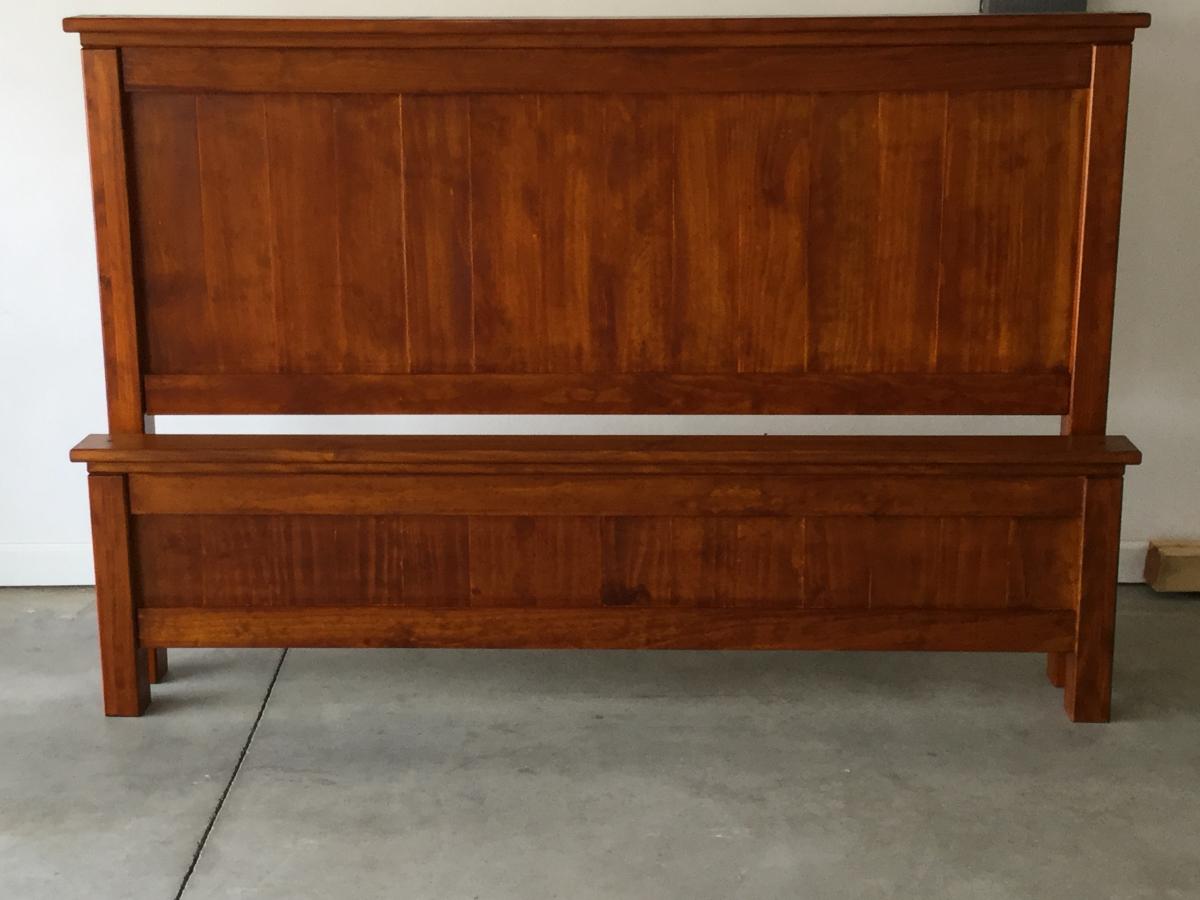
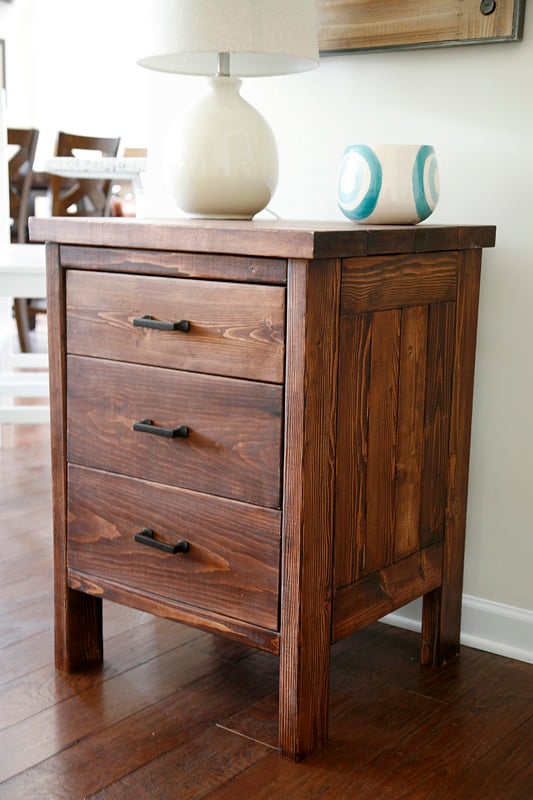
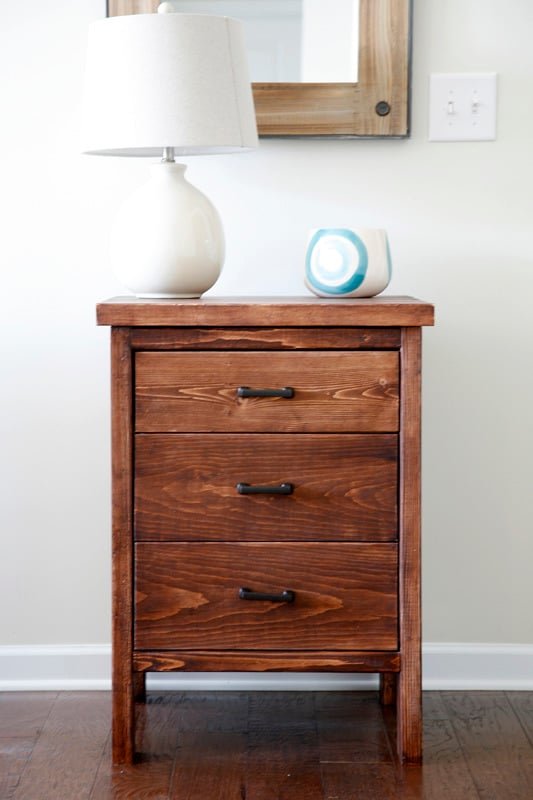
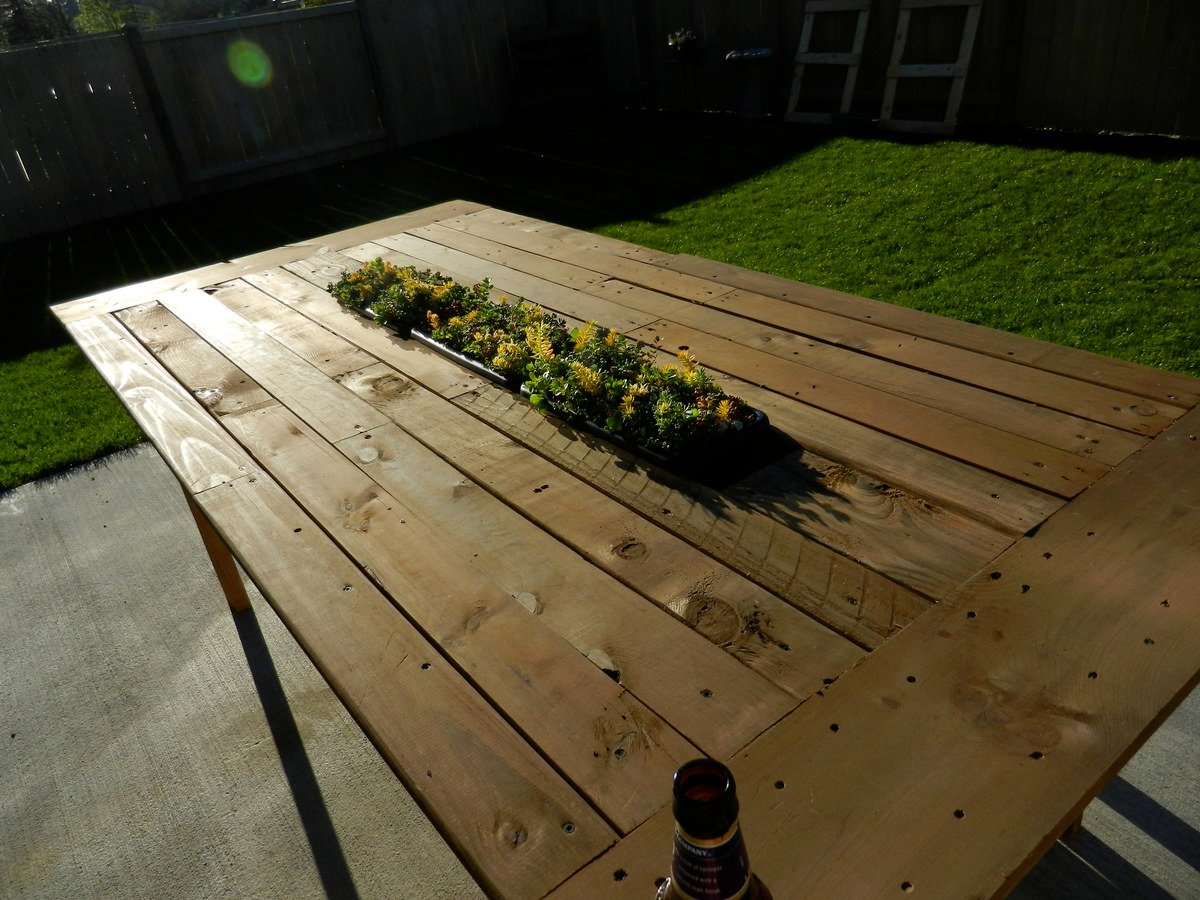
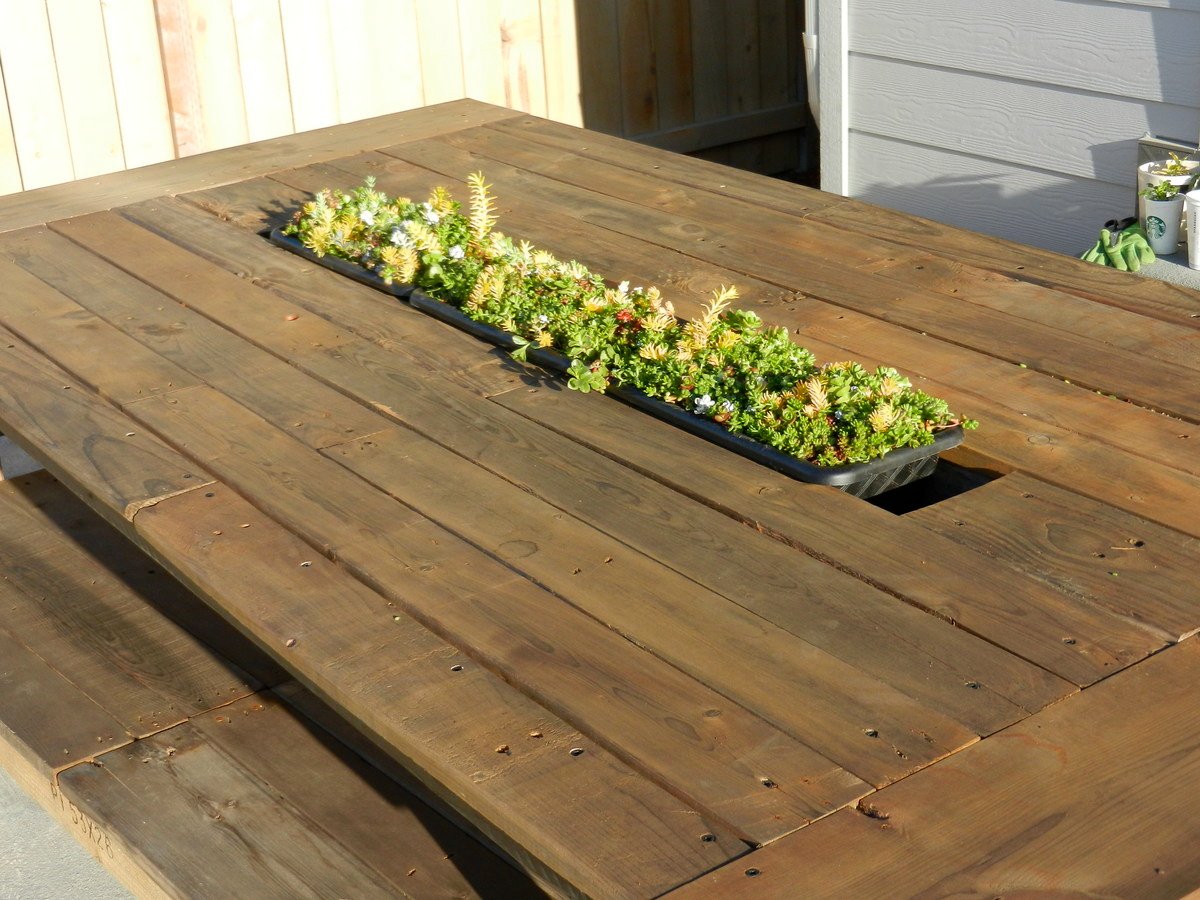
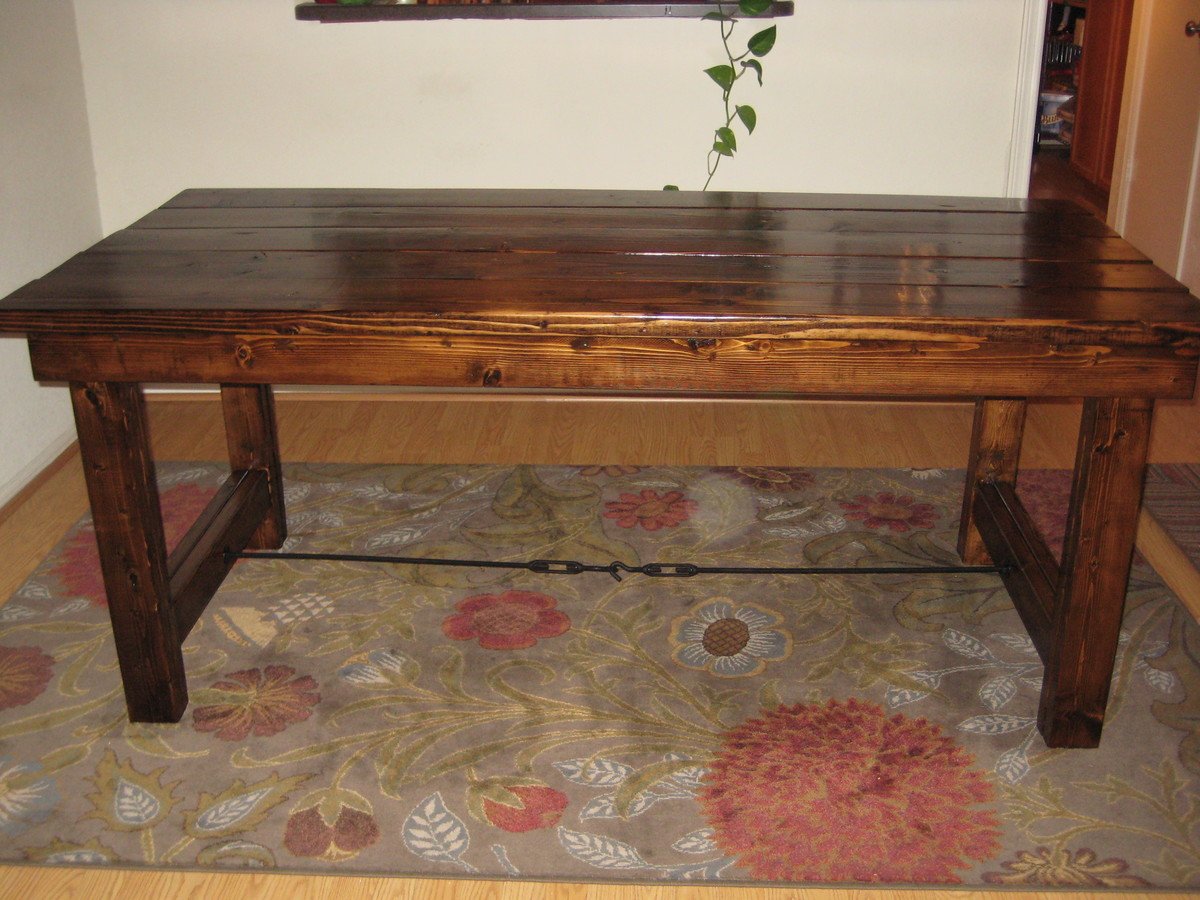
Heavily sanded all pieces with 120, followed by 220. Covered with Rust-oleum Ultimate Kona, topped with Rust-oleum Satin finish. We brushed on the stain, let it sit for a few minutes, then wiped it off with a cotton rag. Repeated the same process with the clear coat. Put second coat of stain varnish on table top then lightly passed #0000 steel wool over all surfaces to knock off any imperfections from the poly coat. For comparisons sake, the steel wool seems to make a softer finish than sand paper, and does not scratch the finish.
Recommended Skill Level
Beginner


Comments
ART.S
Thu, 01/28/2021 - 02:55
Looks great!
Looks great!