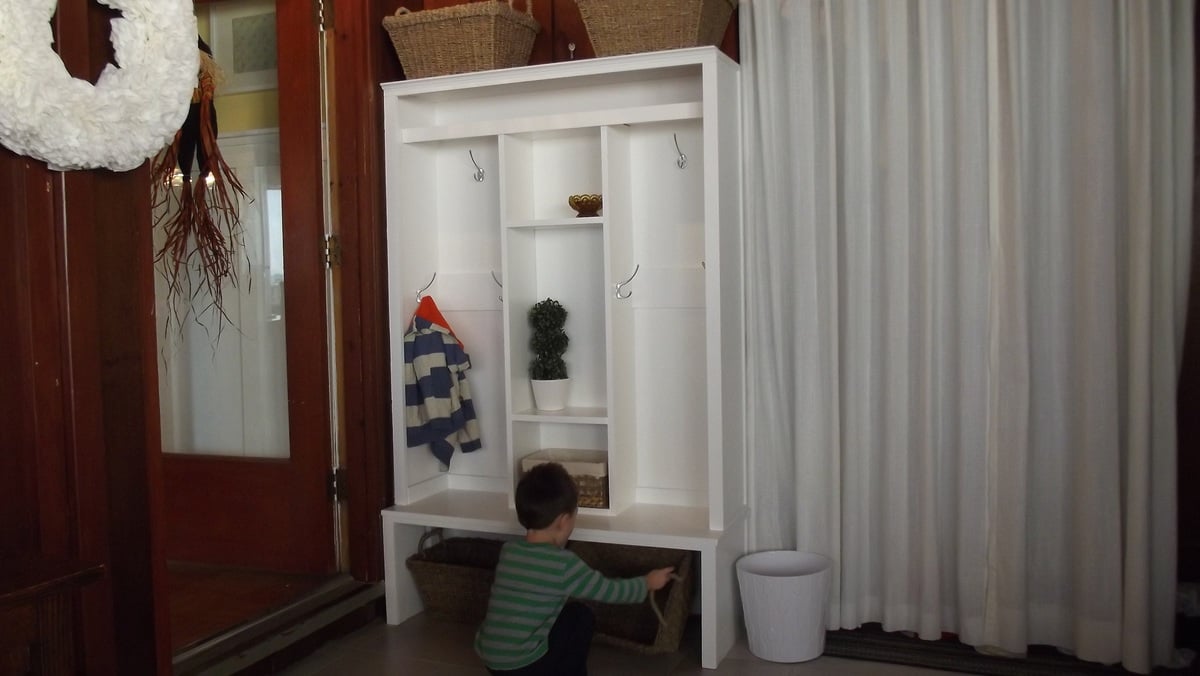
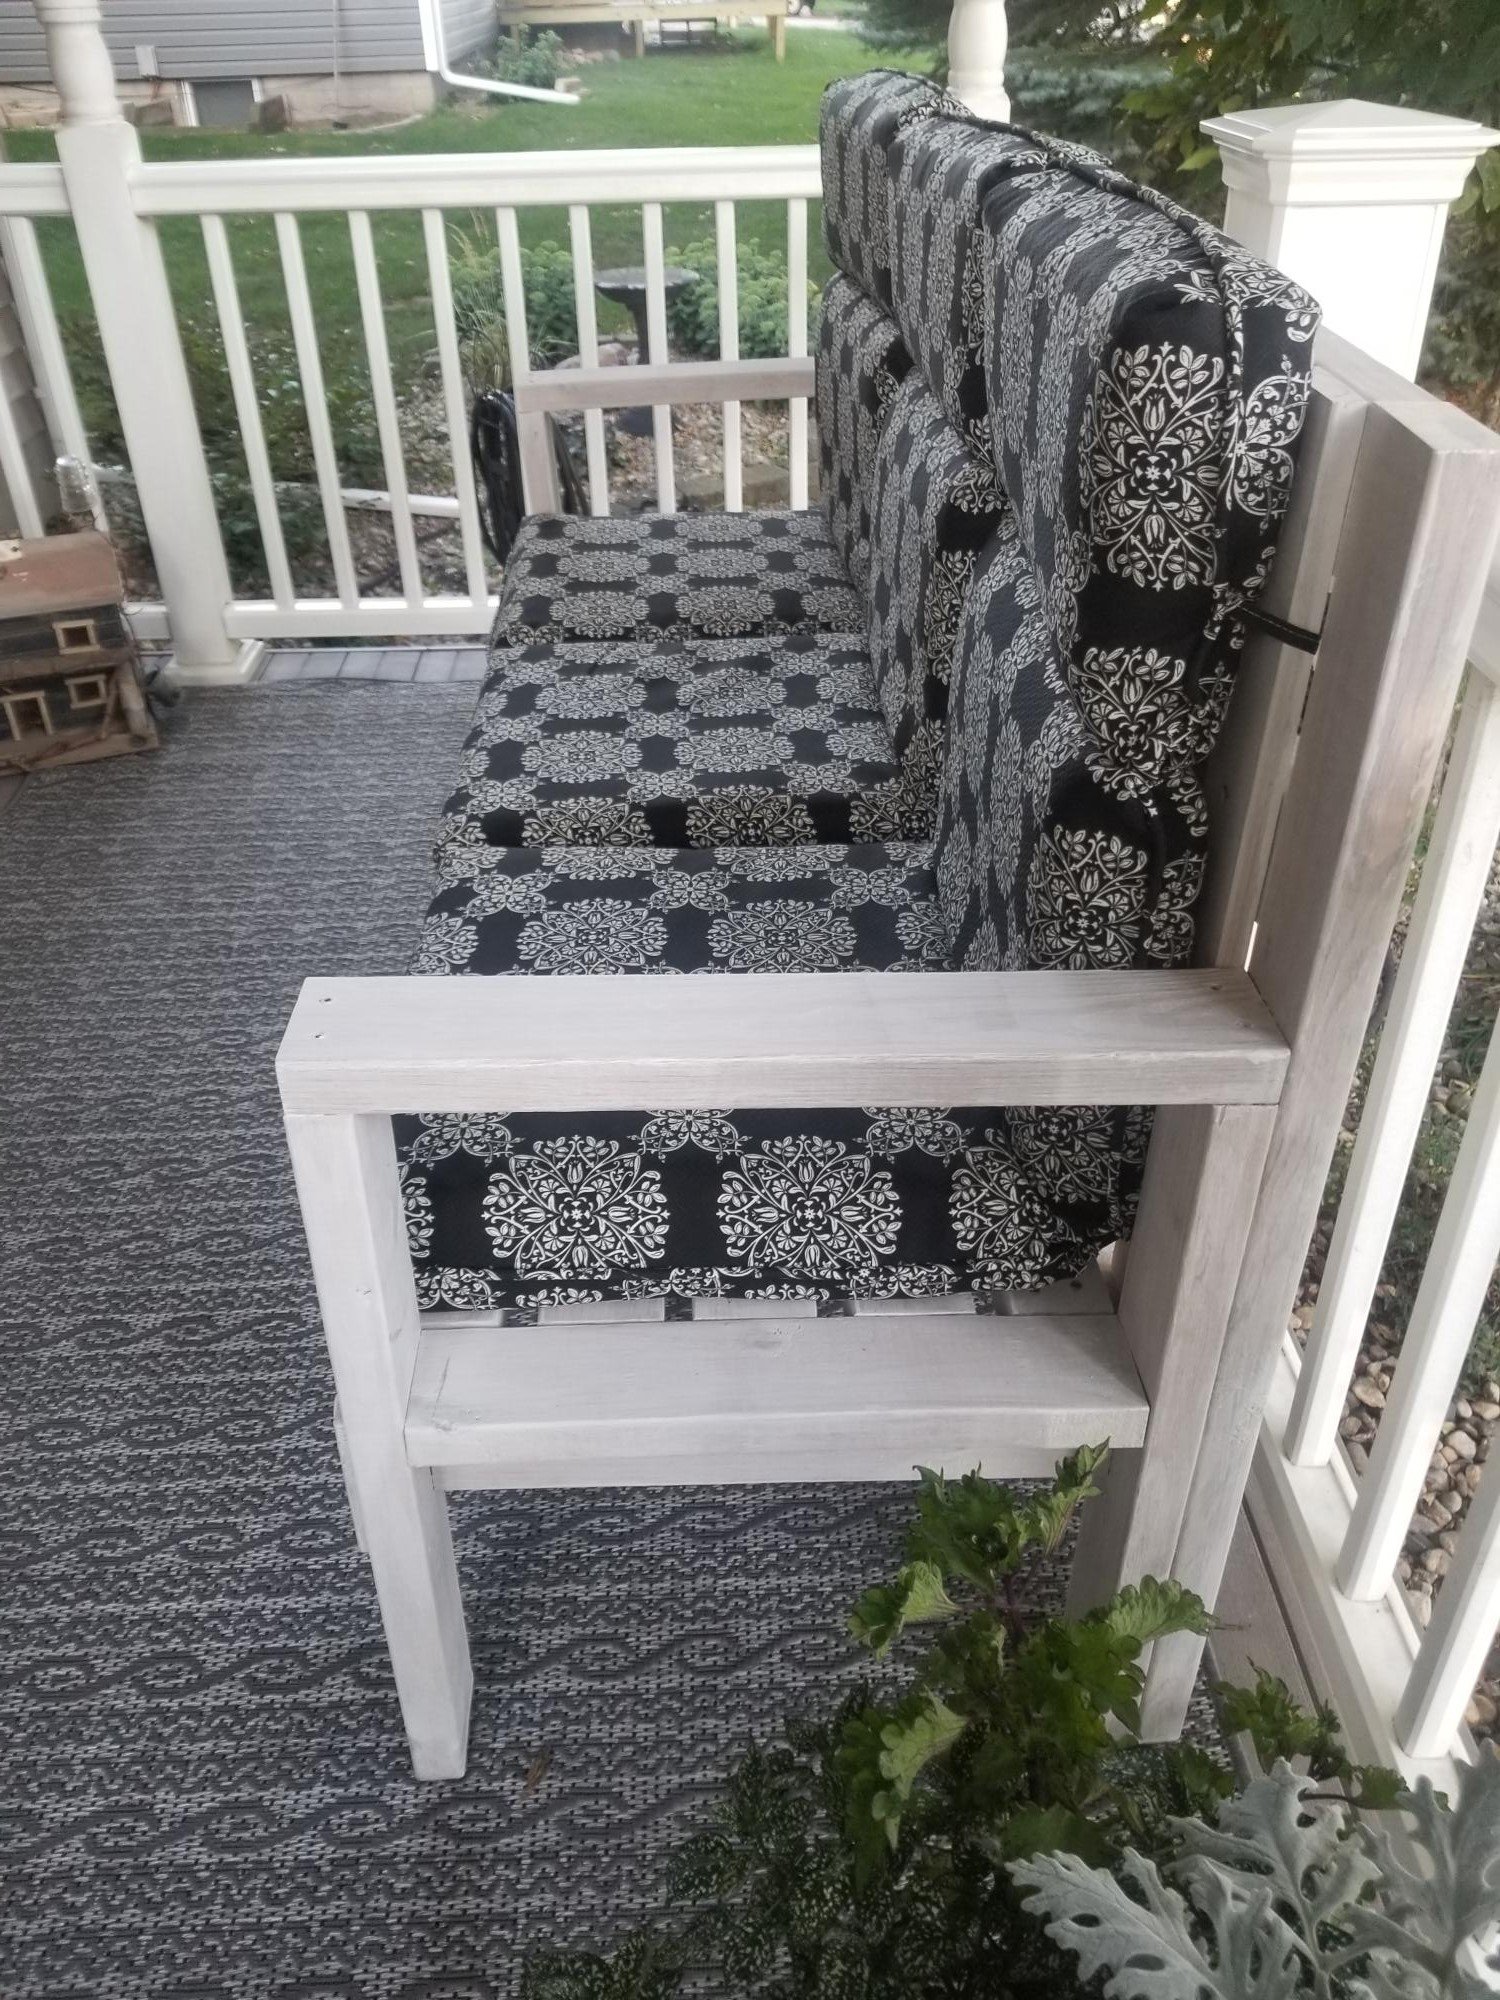
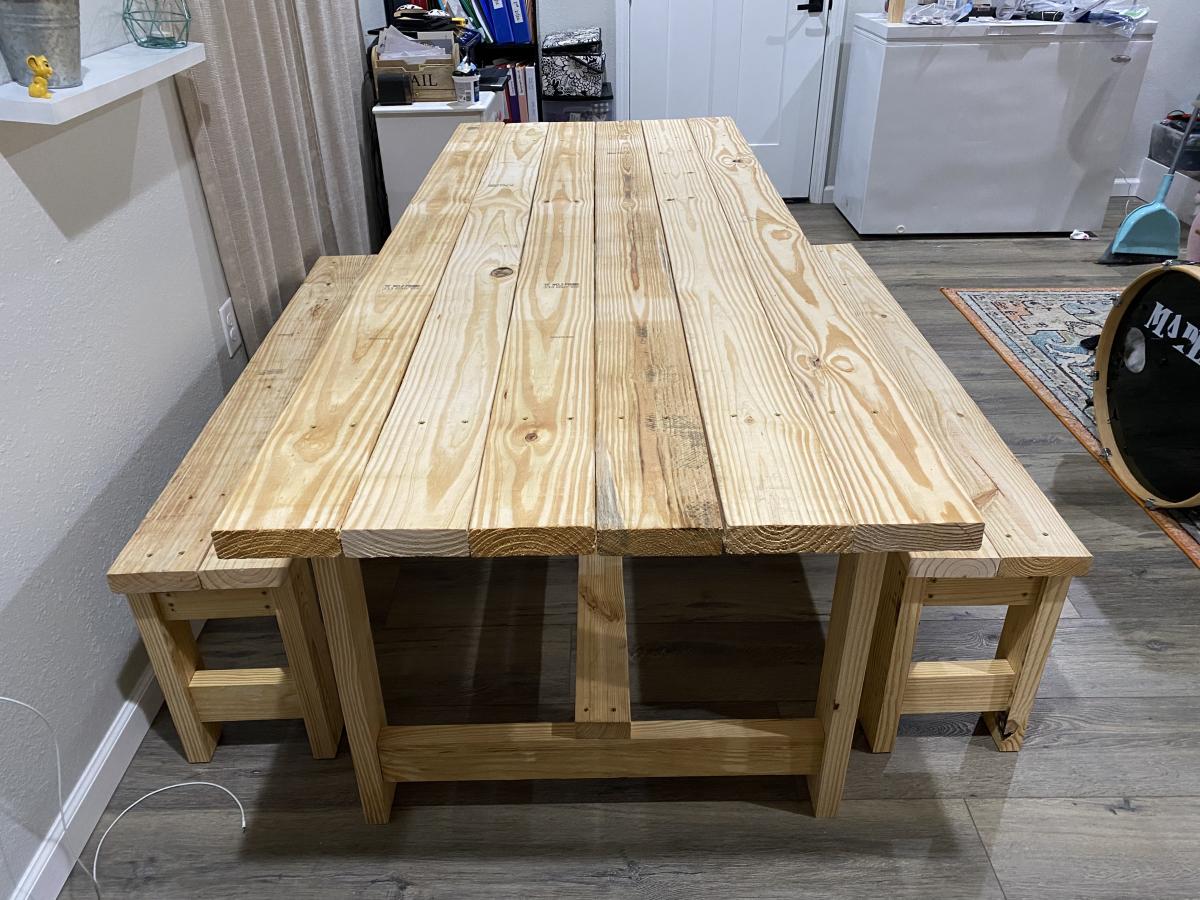
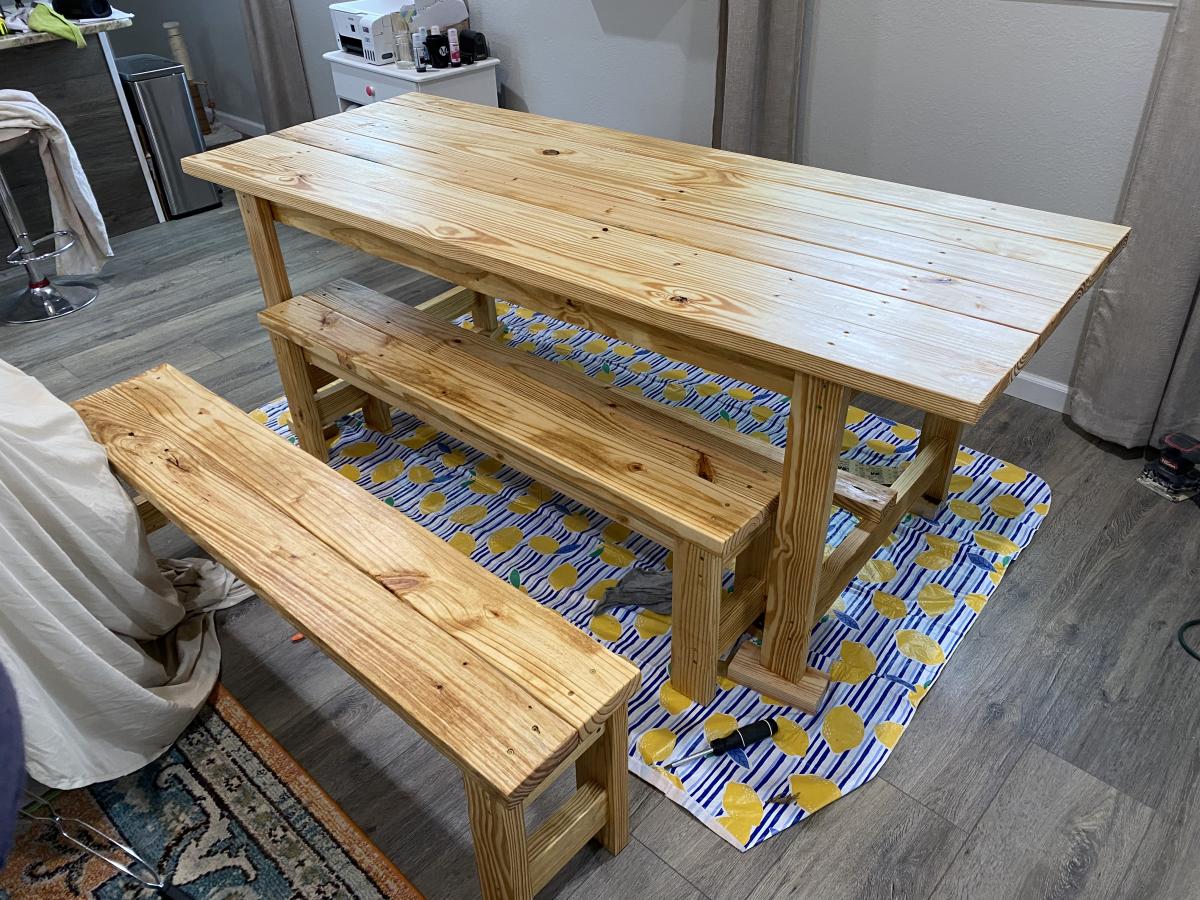
Entryway/Mudroom Cabinet
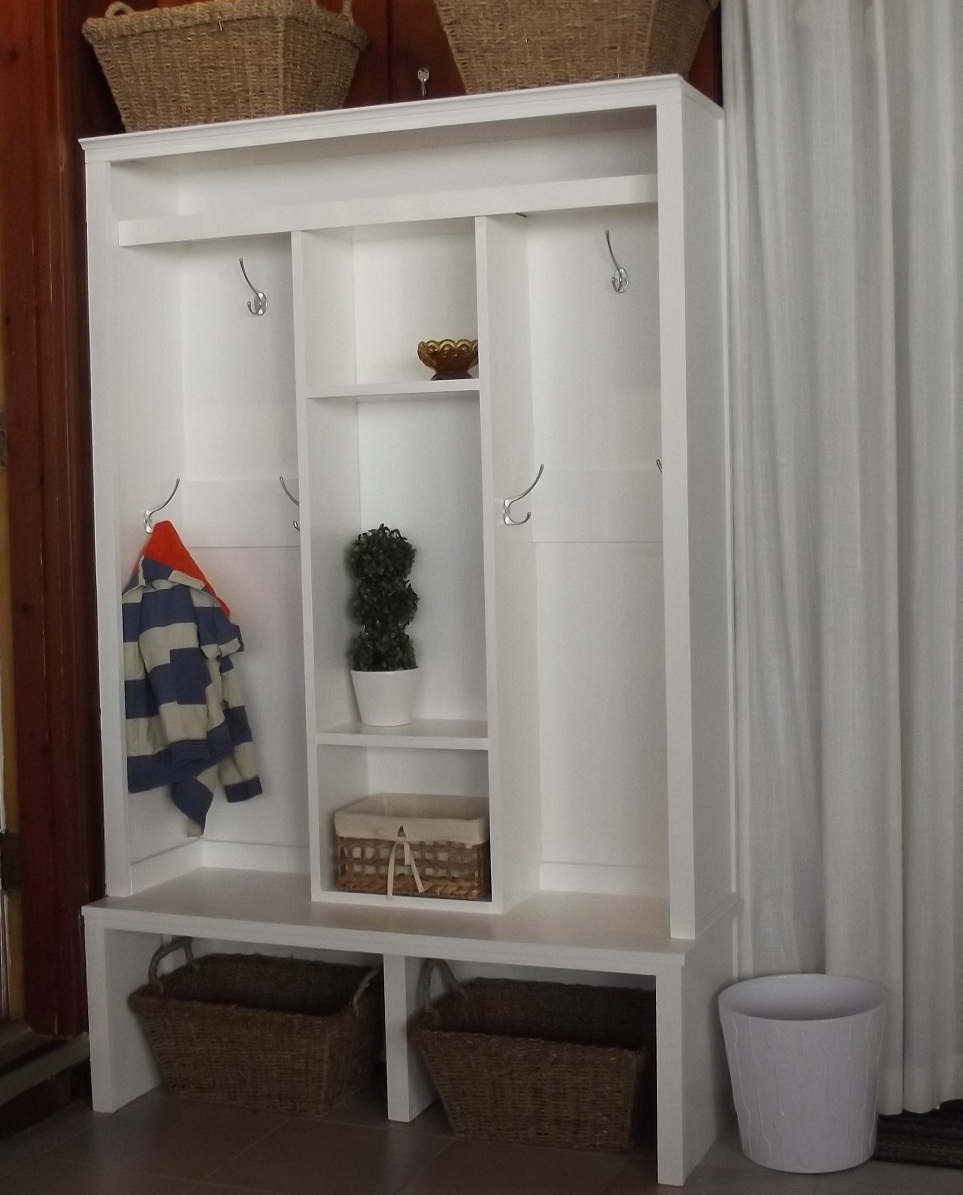
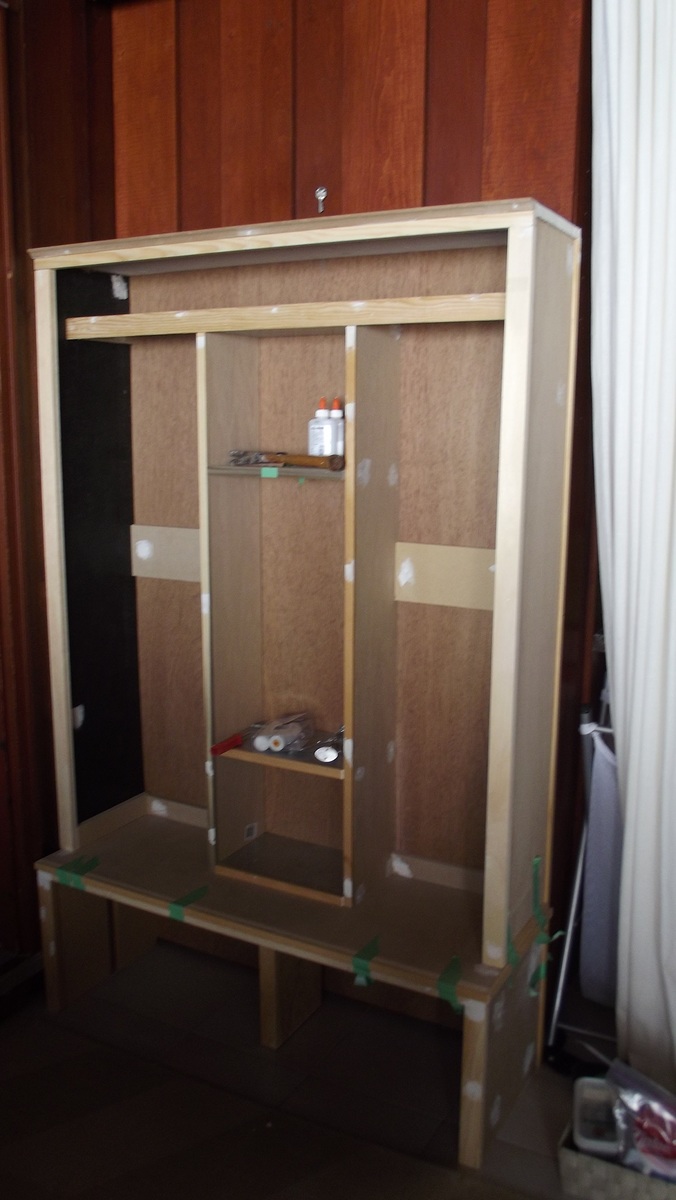
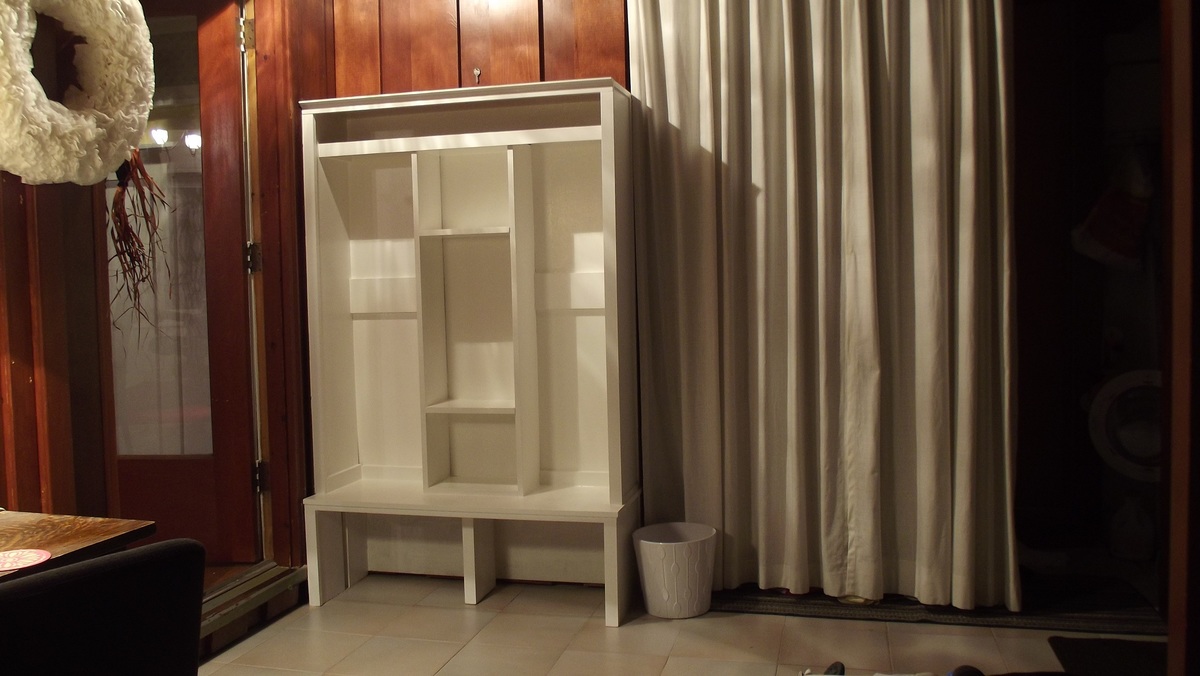
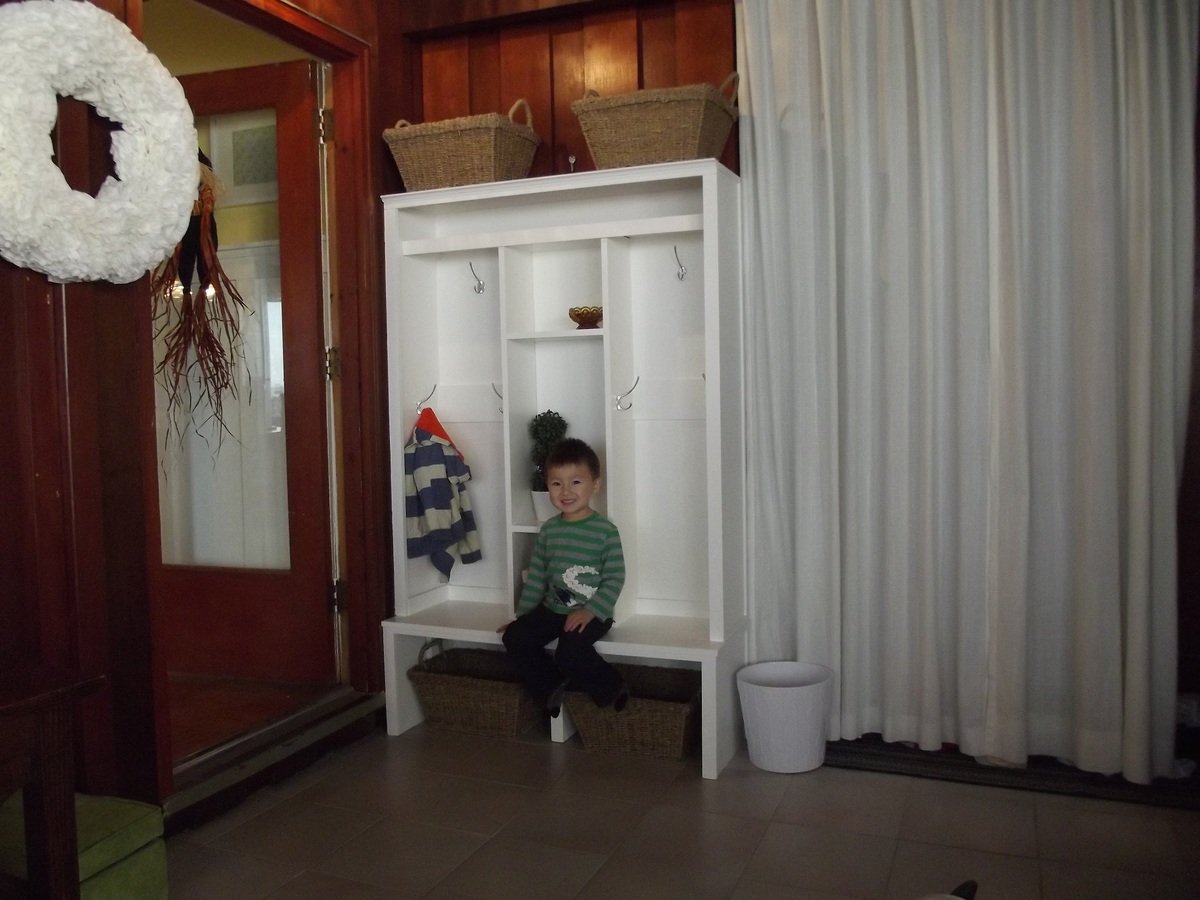
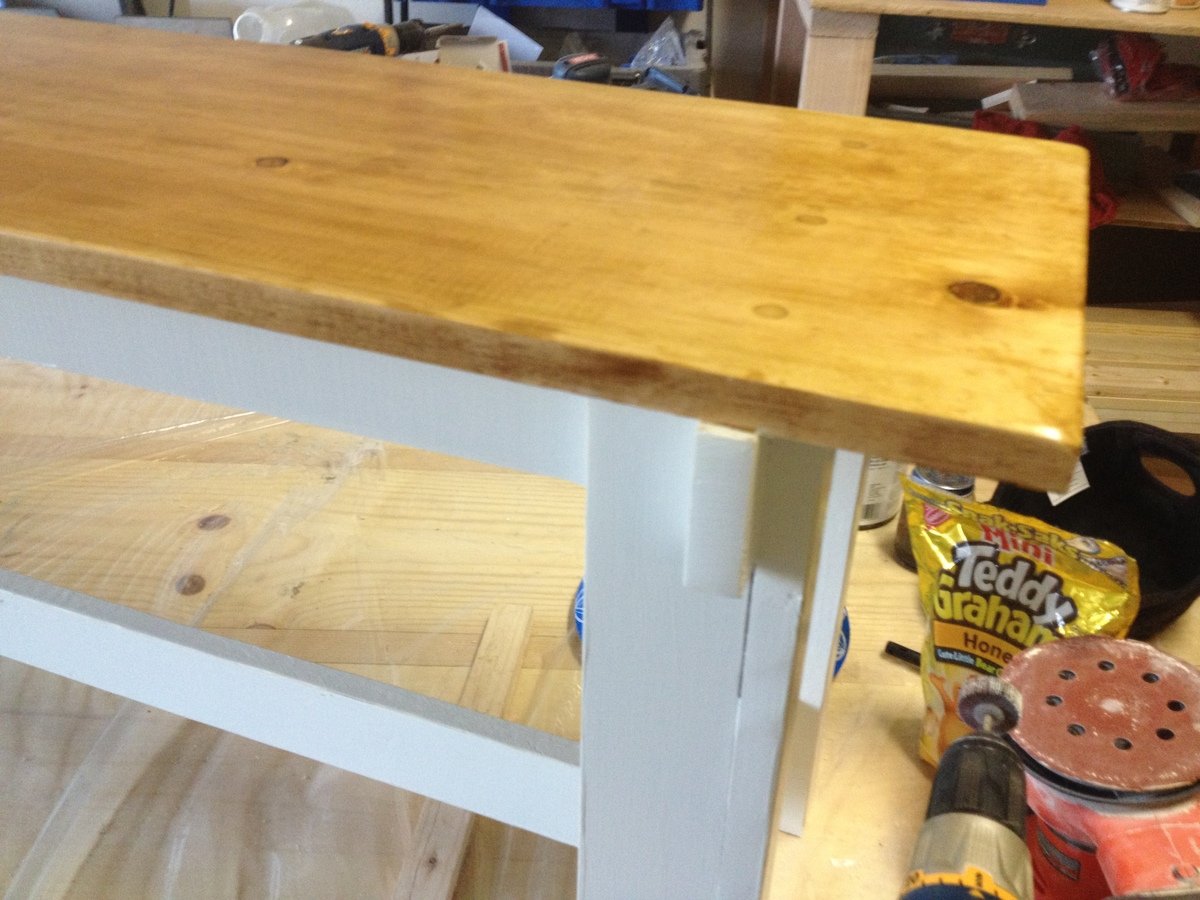
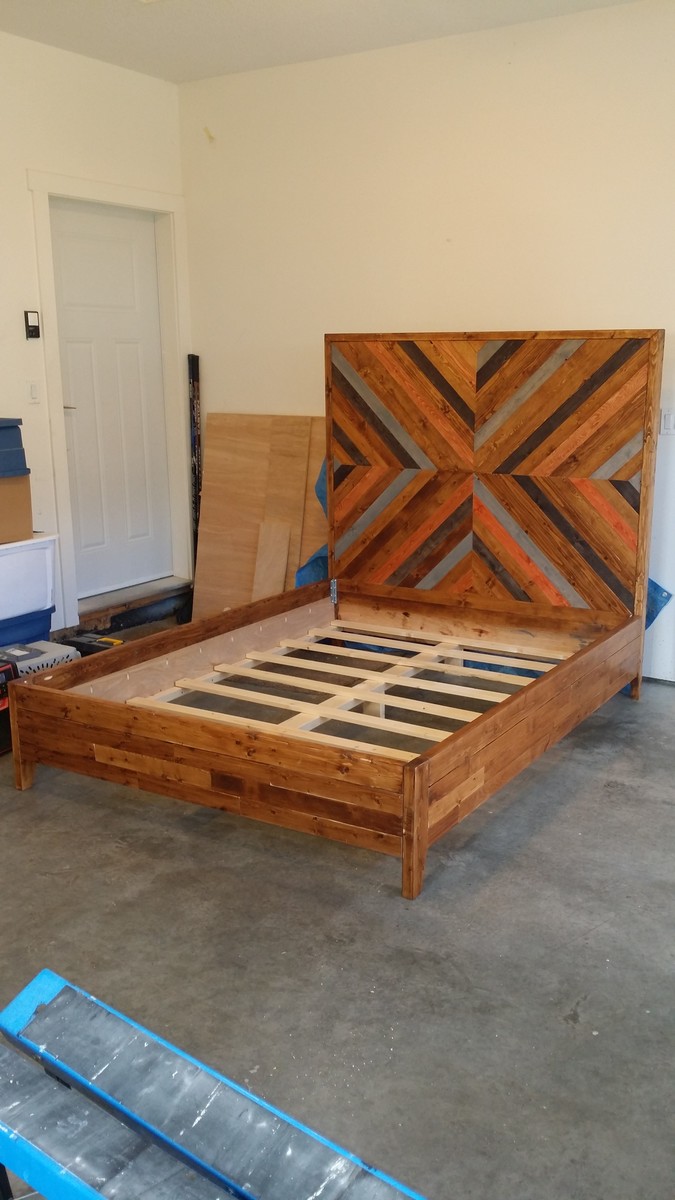
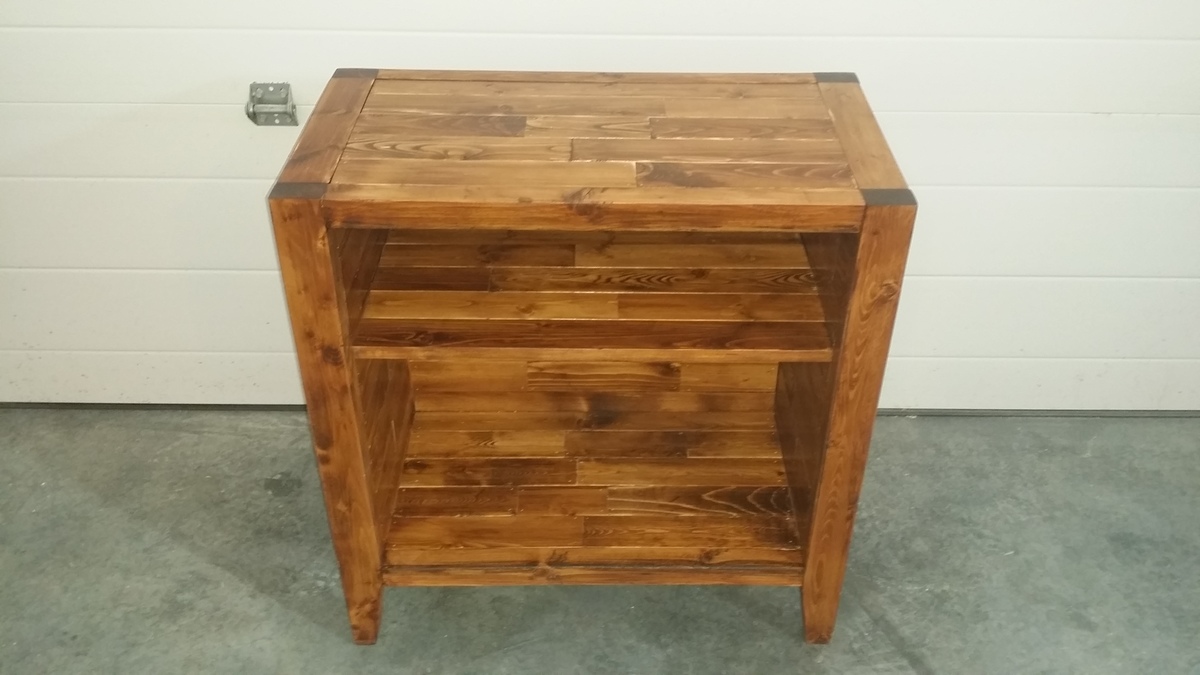
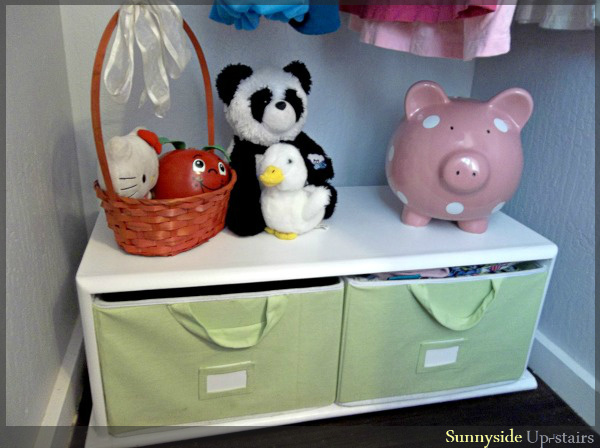
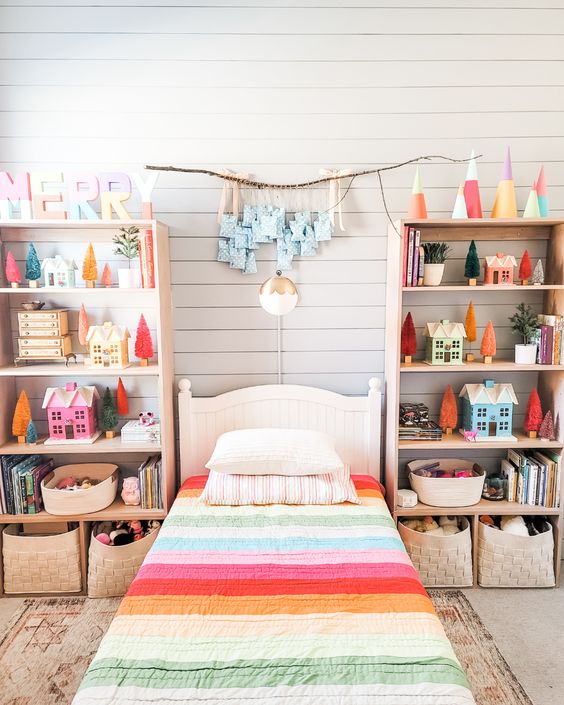
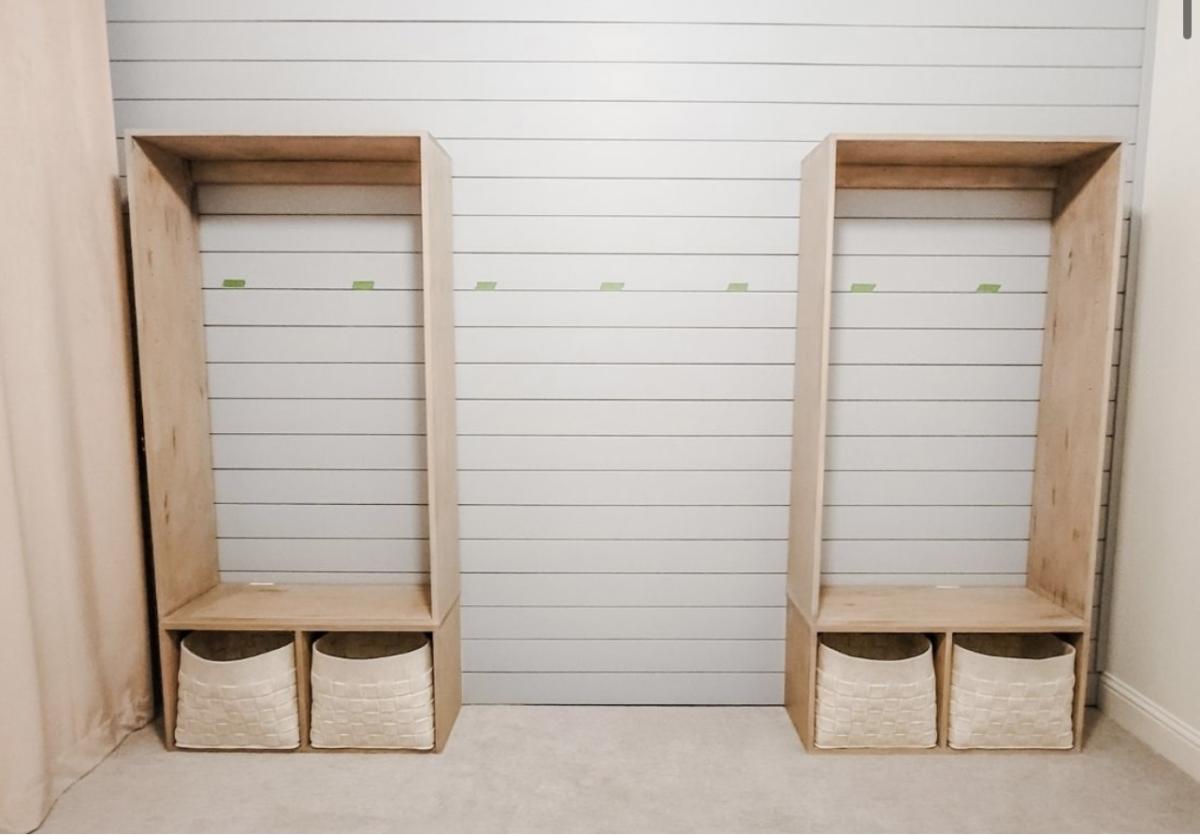
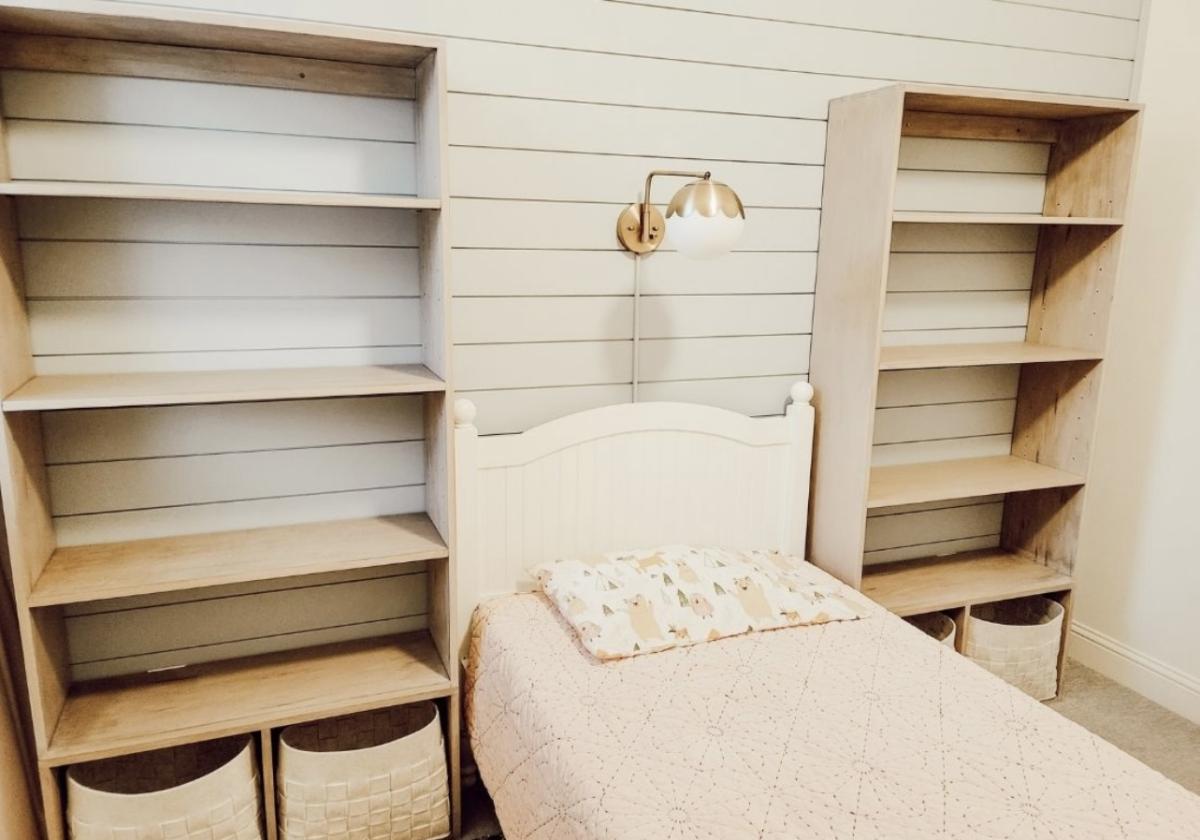
My most *favoritest* project ever. I modified the Braden plans like crazy to fit my family's needs for the sunroom/mudroom. I kept the bottom open so the it woould allow for baskets to slide it easily (which makes sweeping inside a snap). Also, I added some braces about midway down to hold the coat hooks for my 3 and 5 year-old. I had them show me how high they could reach and I just placed the braces there.
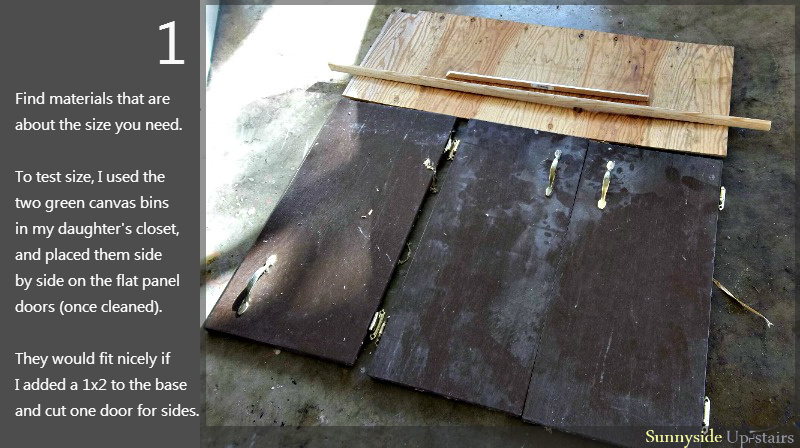
I literally used up whatever I could find in my garage for this project. We had a TON of scrap wood in varying thicknesses and lengths so I just used that. The only thing that I had to buy for this project was some 1x2 to finish off the trim.
Can't wait to get hardware on and style her up pretty! Will post final pics as soon as I do. :) I've been DYING to get something up on Ana's brag board and I can't wait to keep 'em coming.


Comments
CLee
Thu, 09/22/2011 - 07:48
So cute!
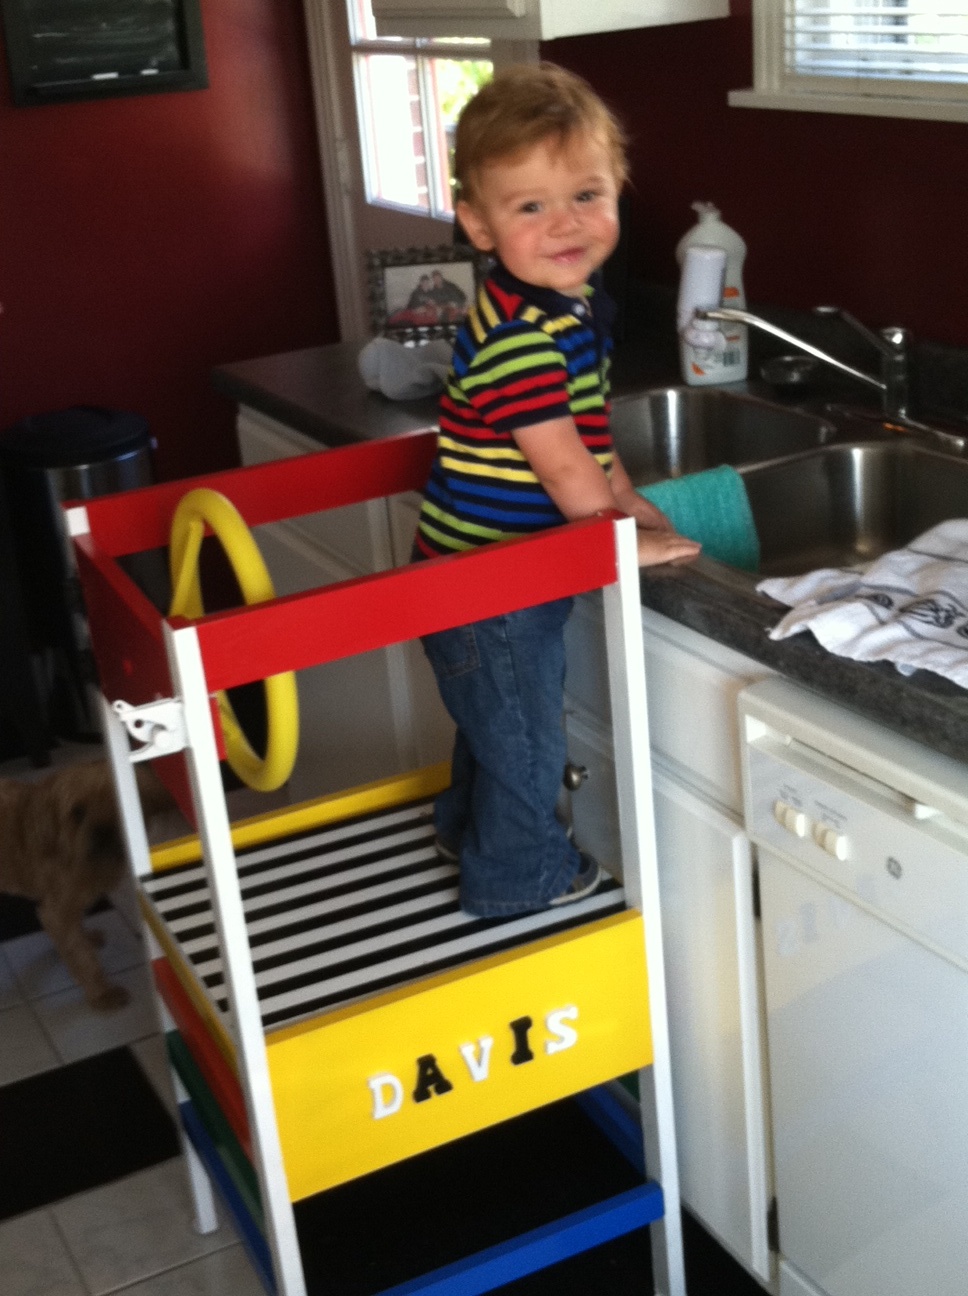
I love the divided shelf in the middle! And did you make the wreath (I think I made the same one out of unbleached filters!) And your son is adorable!
wibblee
Thu, 09/22/2011 - 15:21
Thanks!
I *did* make the wreath! It's homeless right now while I decide where to put it. That sucker is HUGE. Did yours turn out enormous, too?