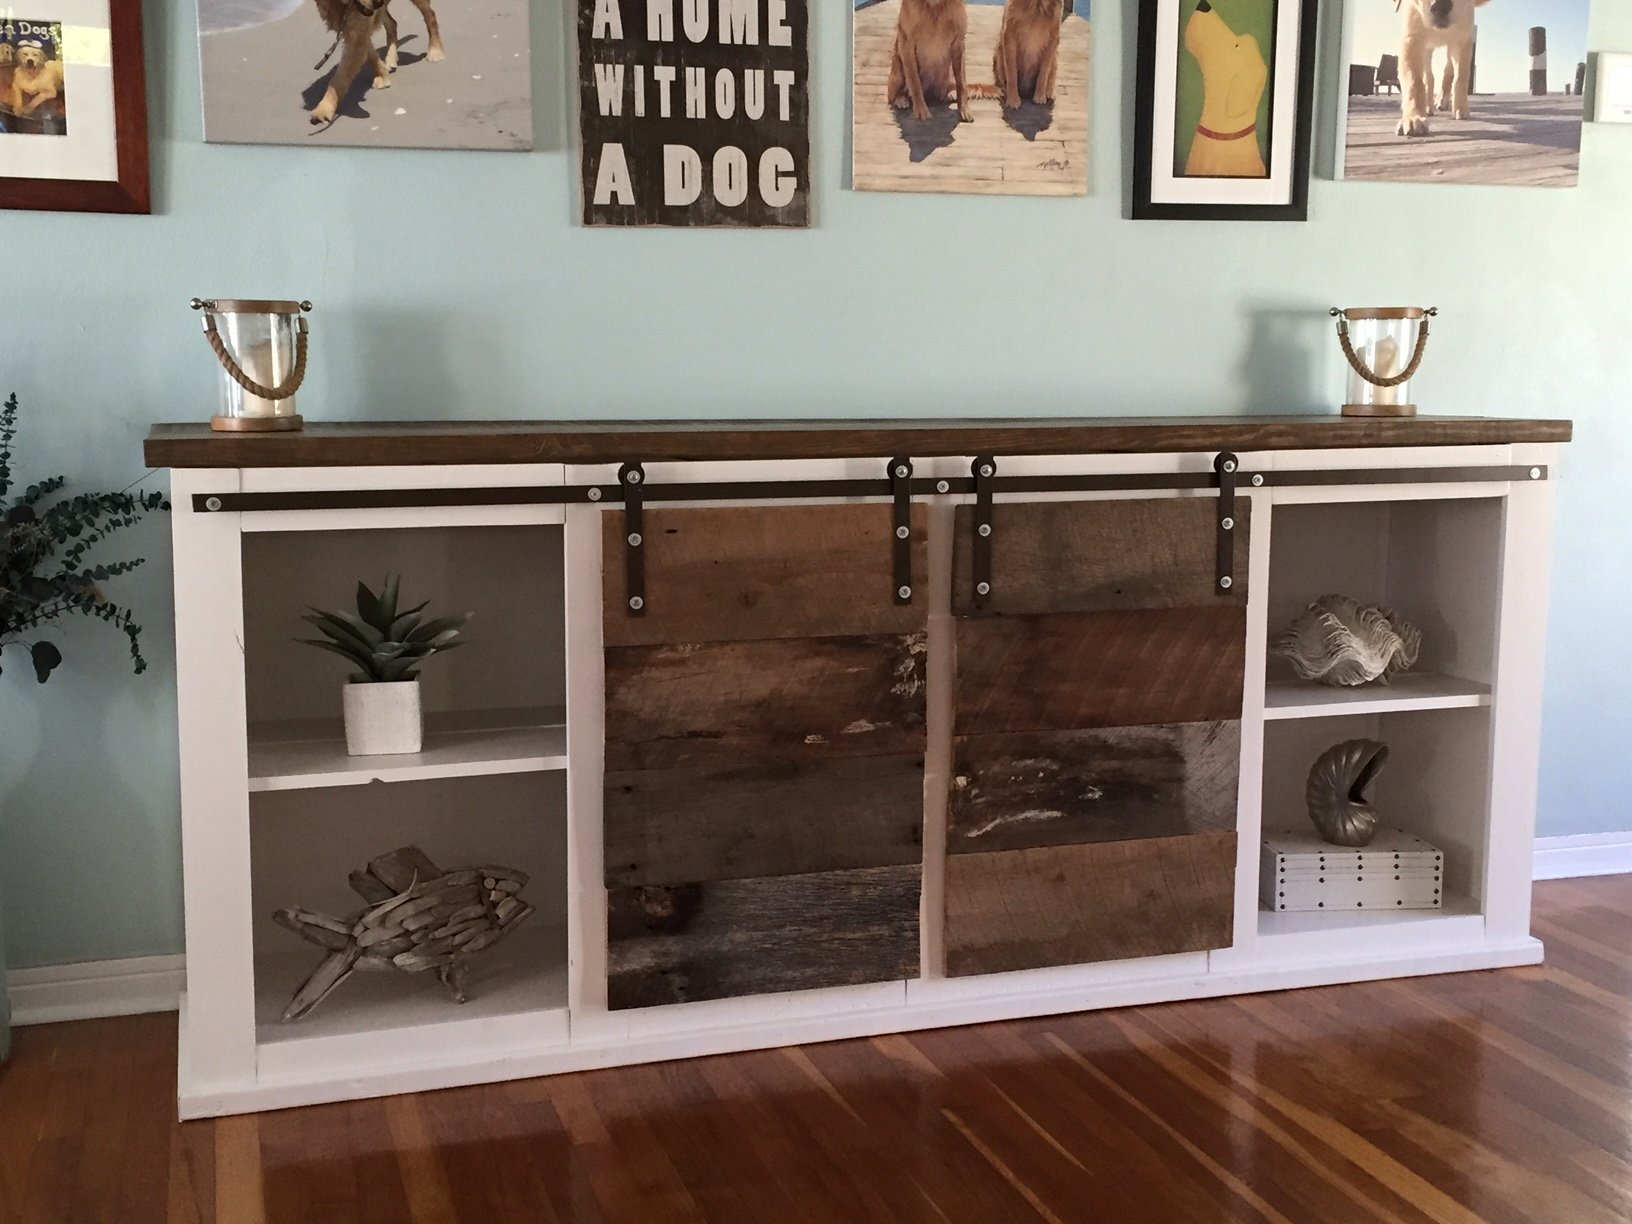
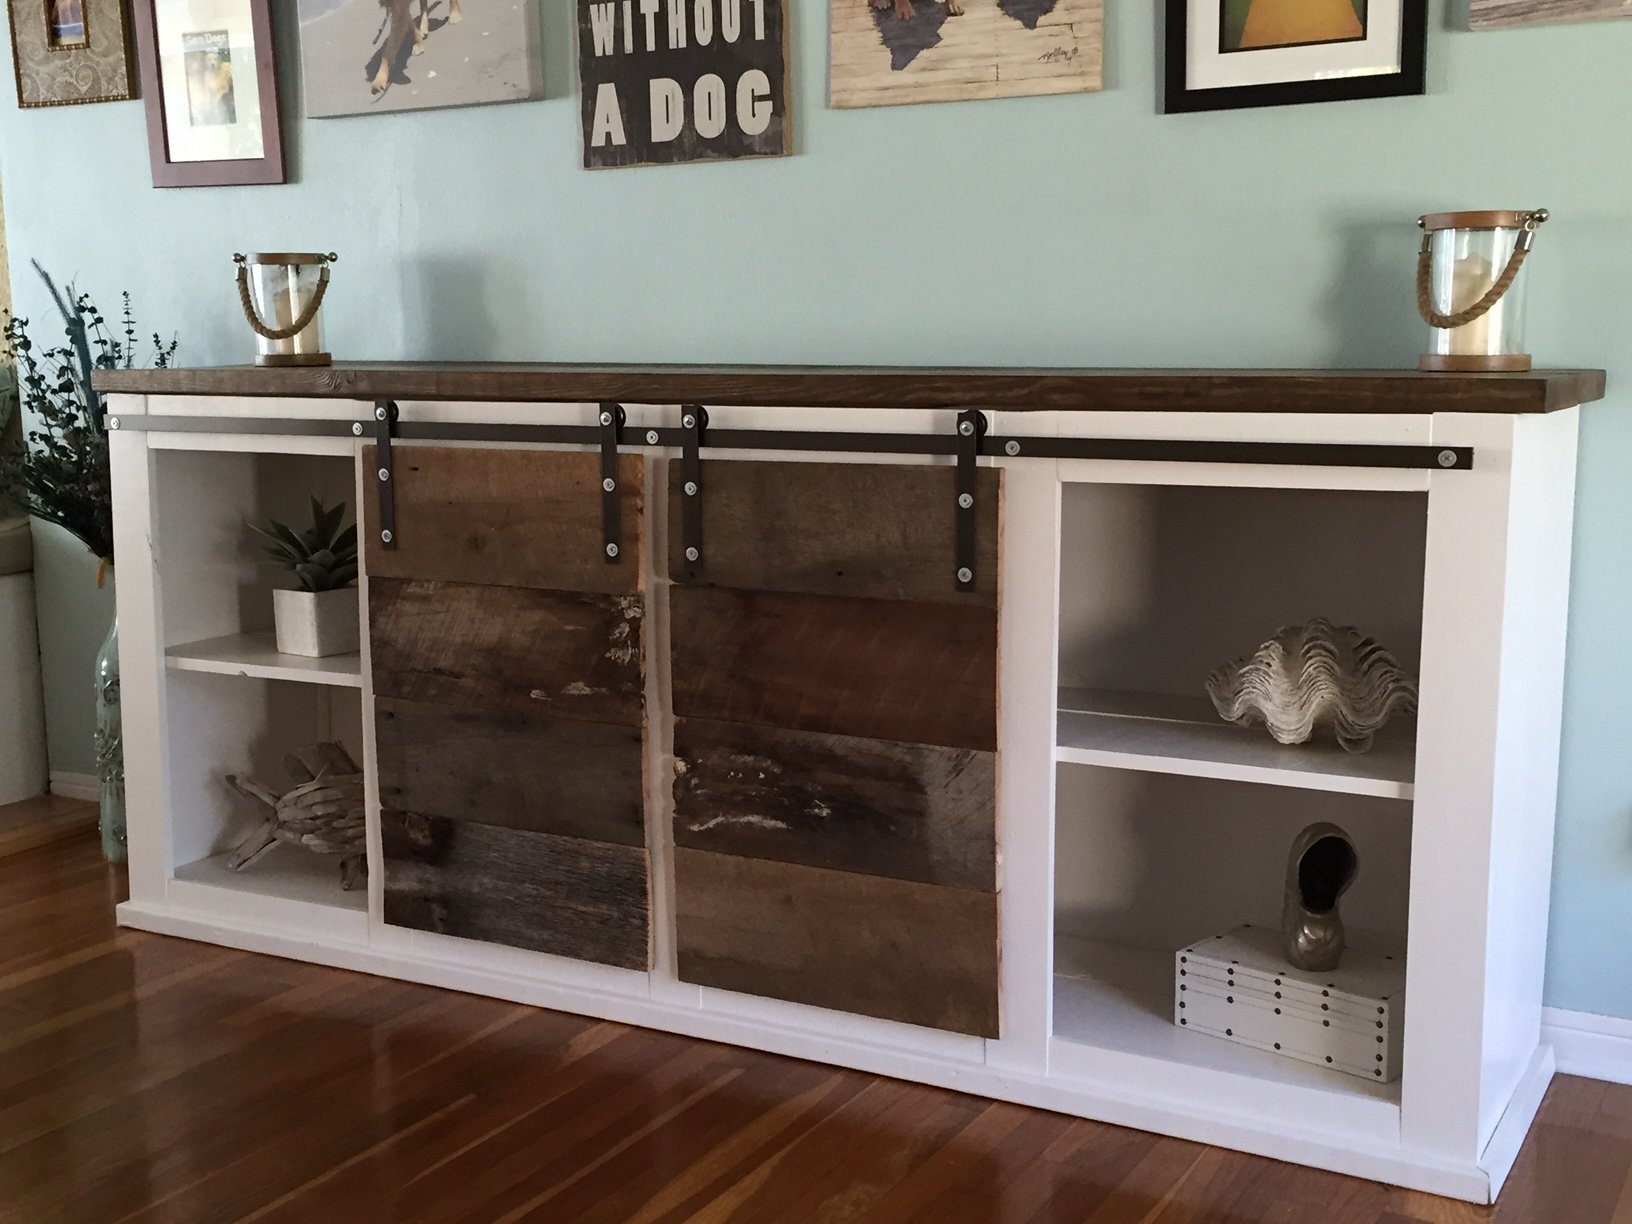
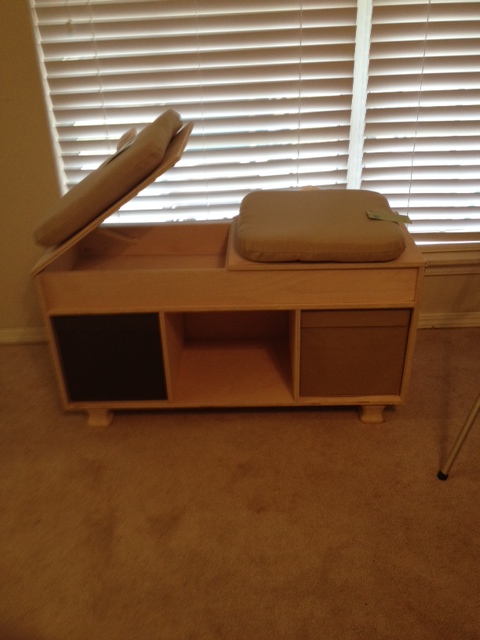
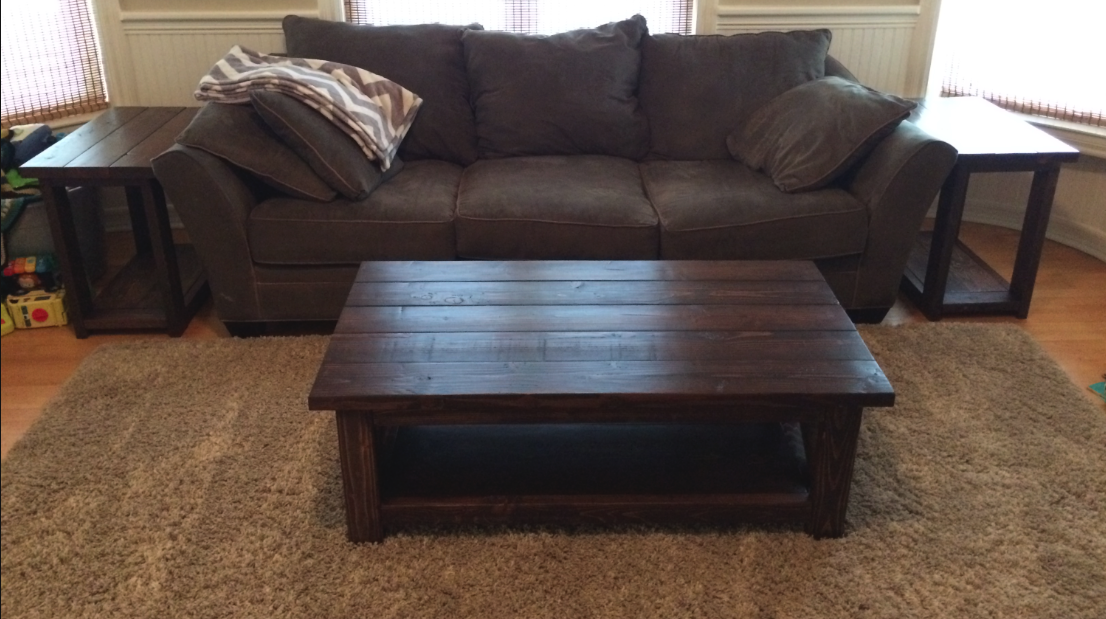
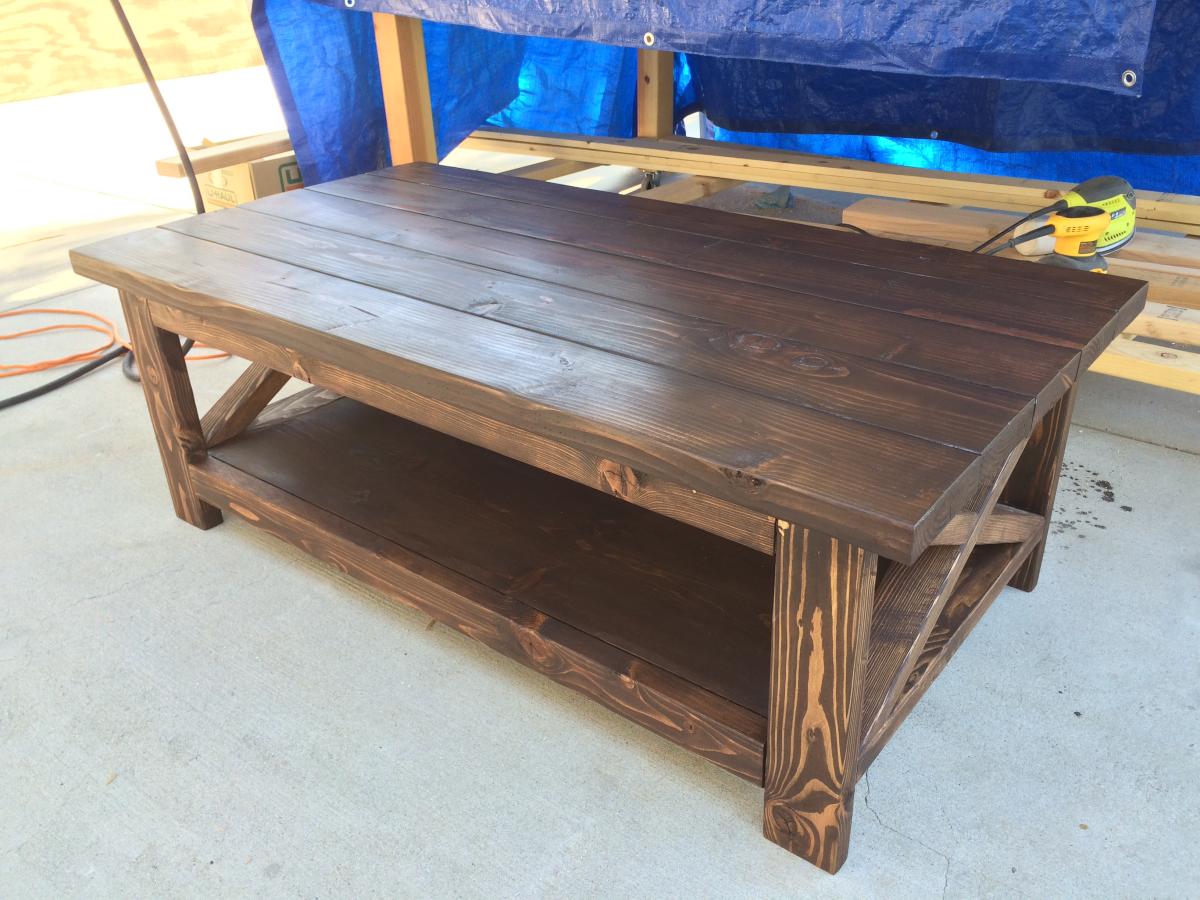
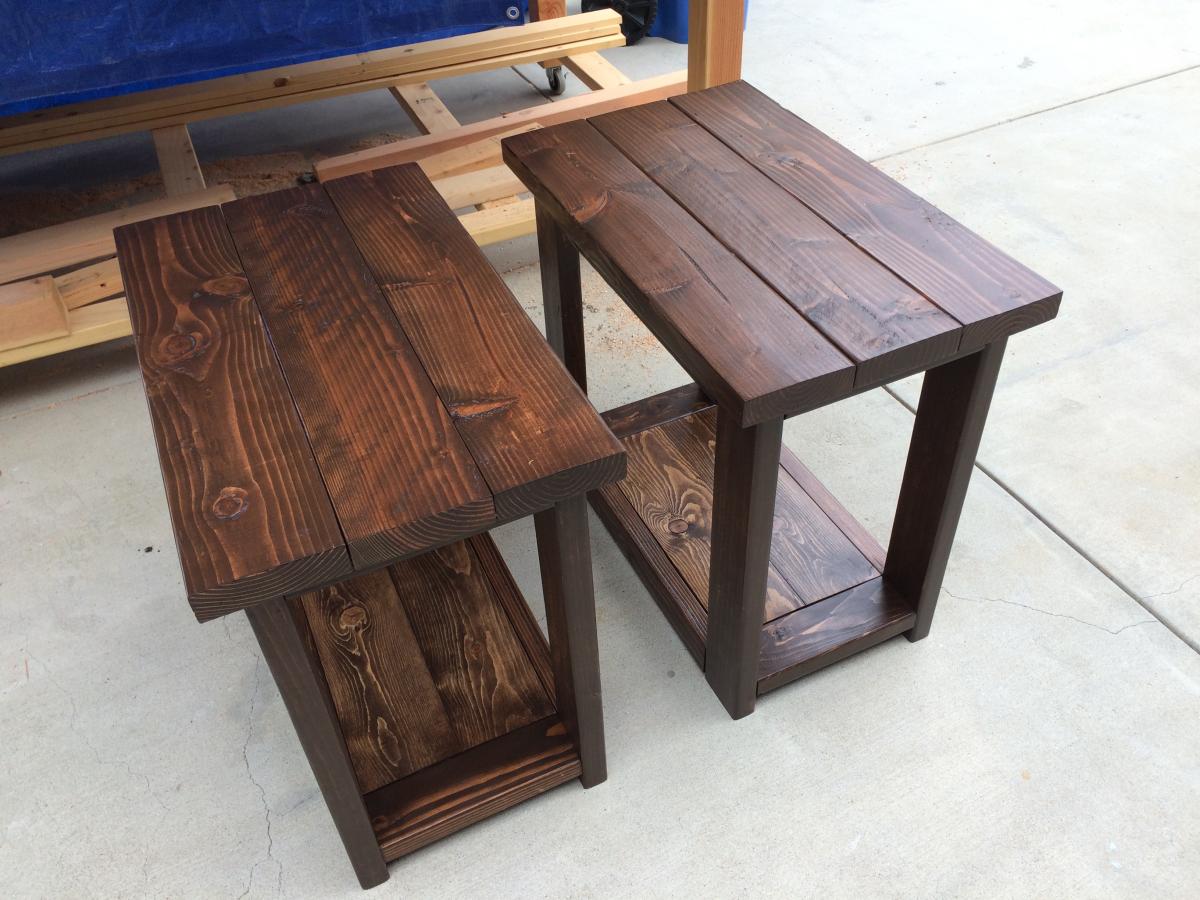
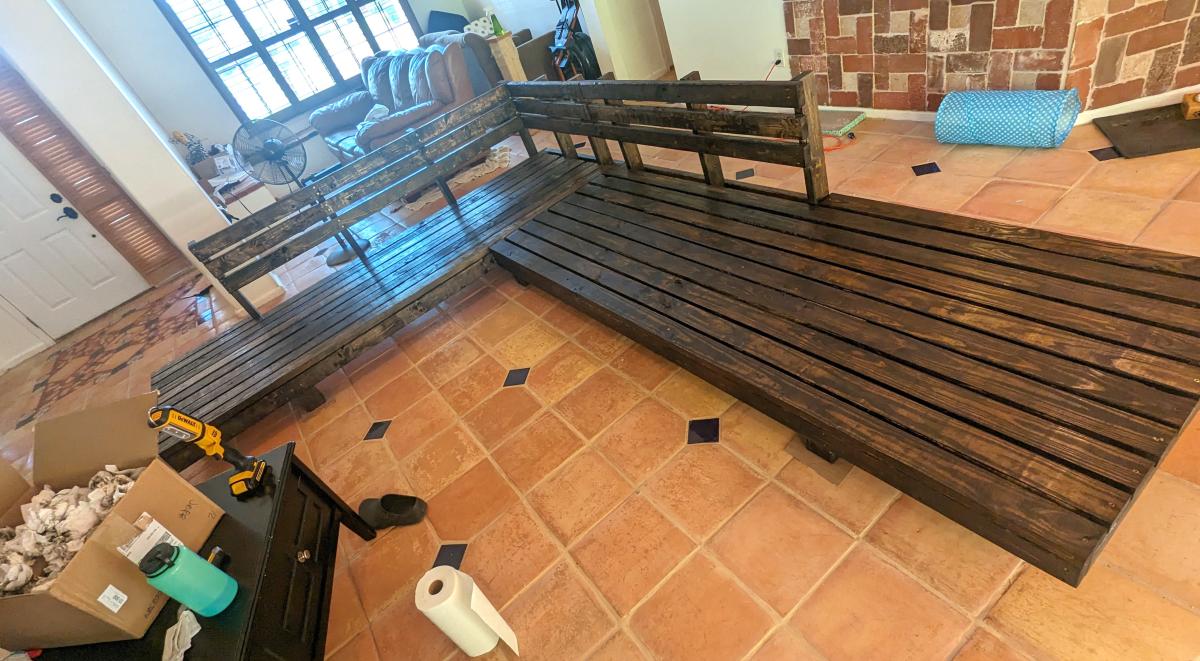
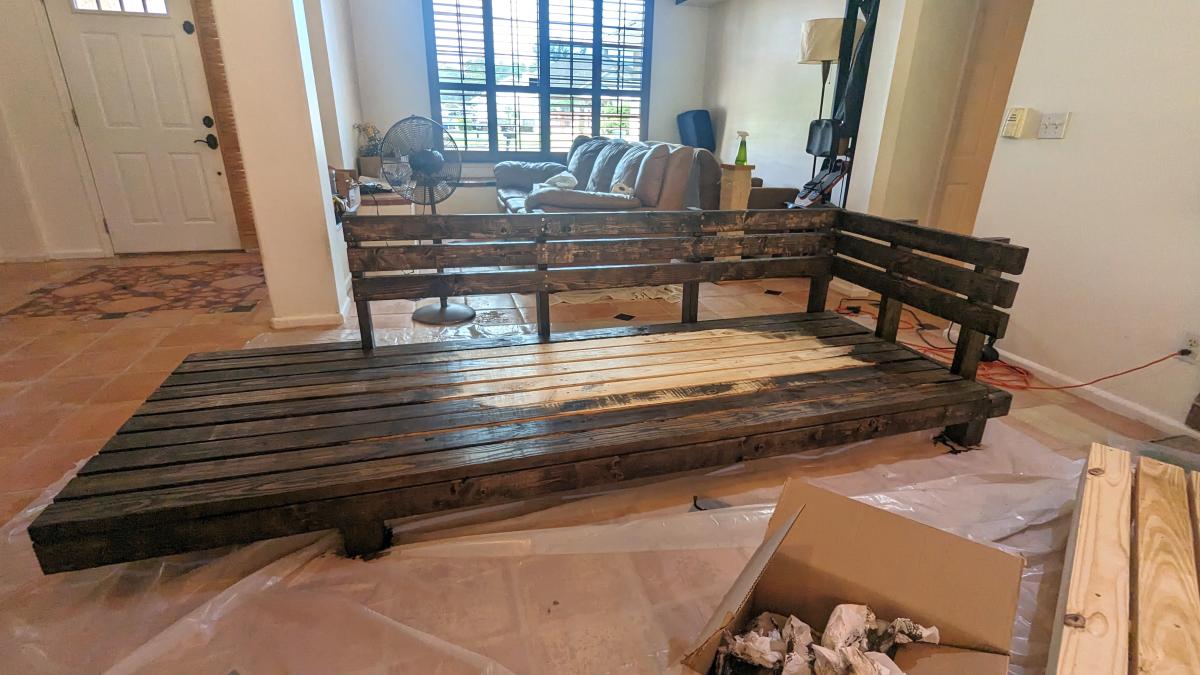
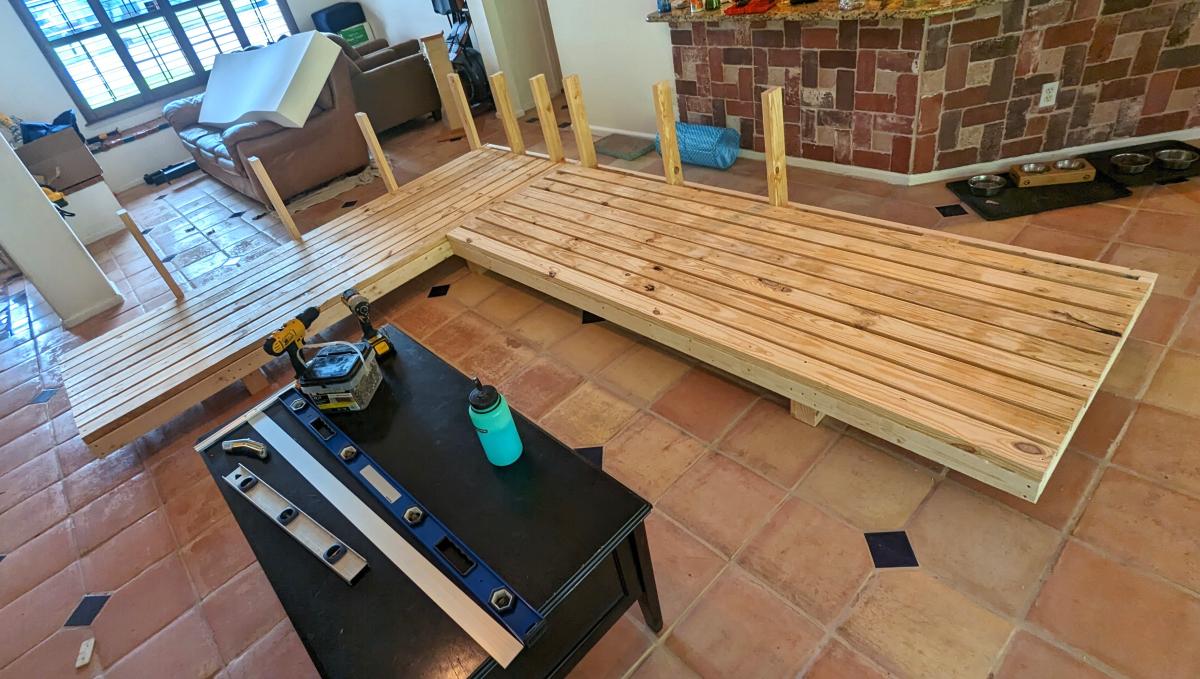
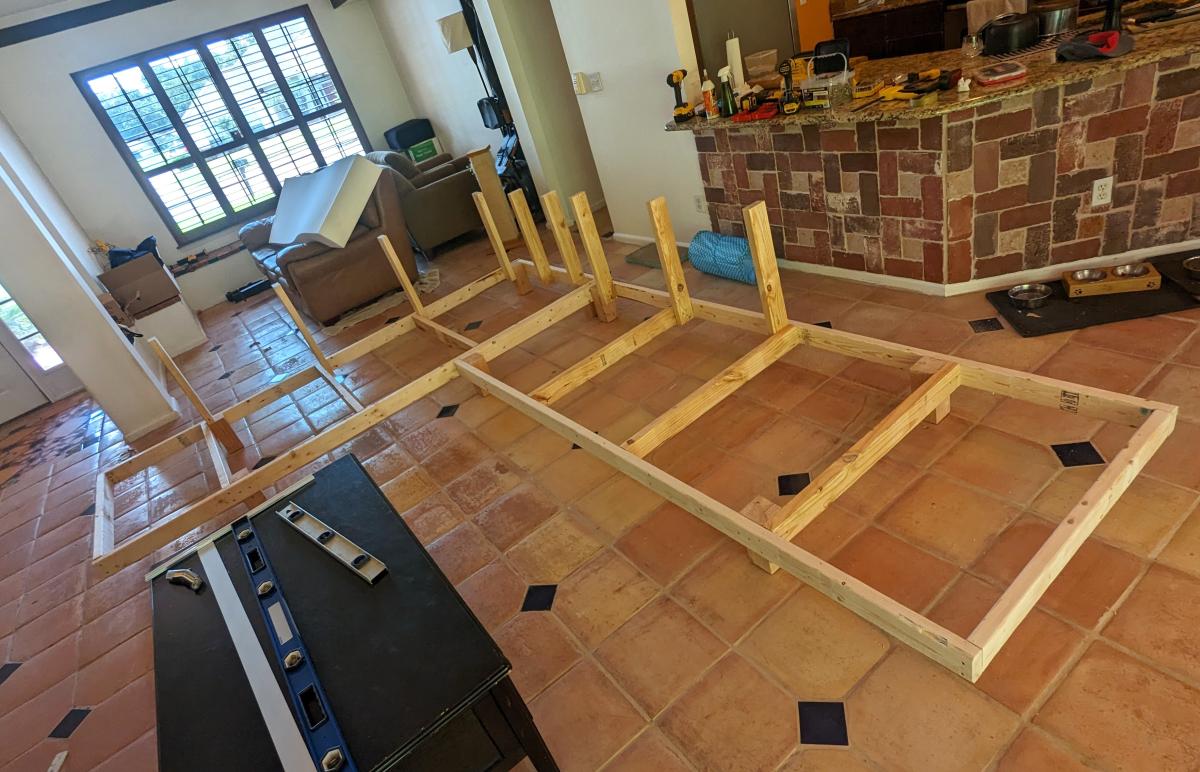
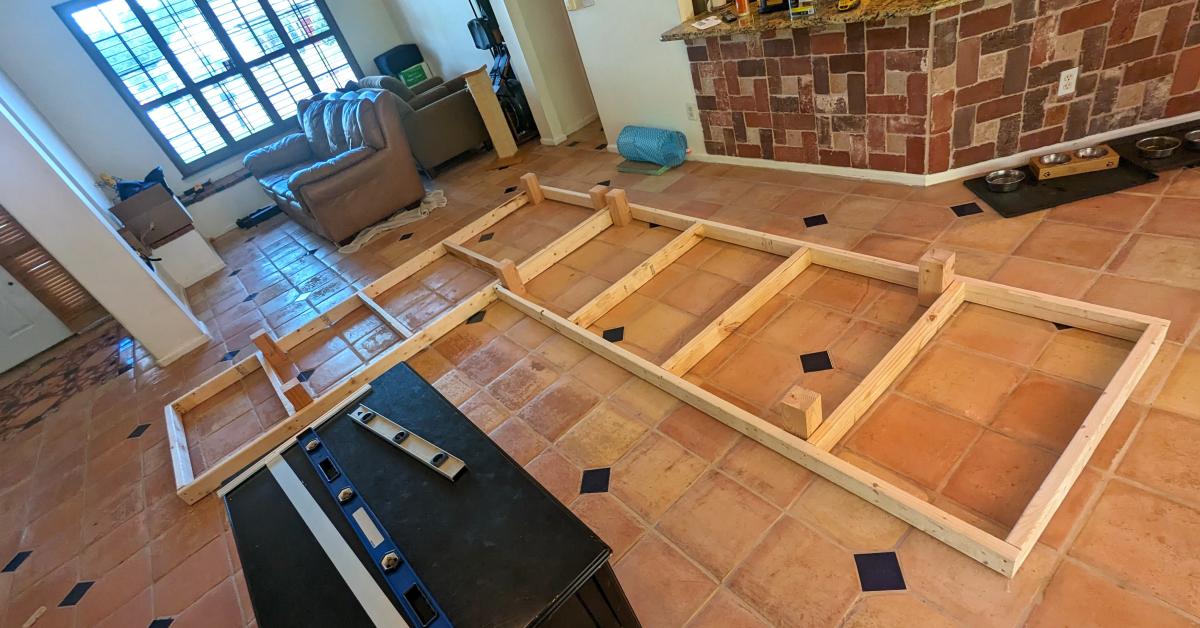
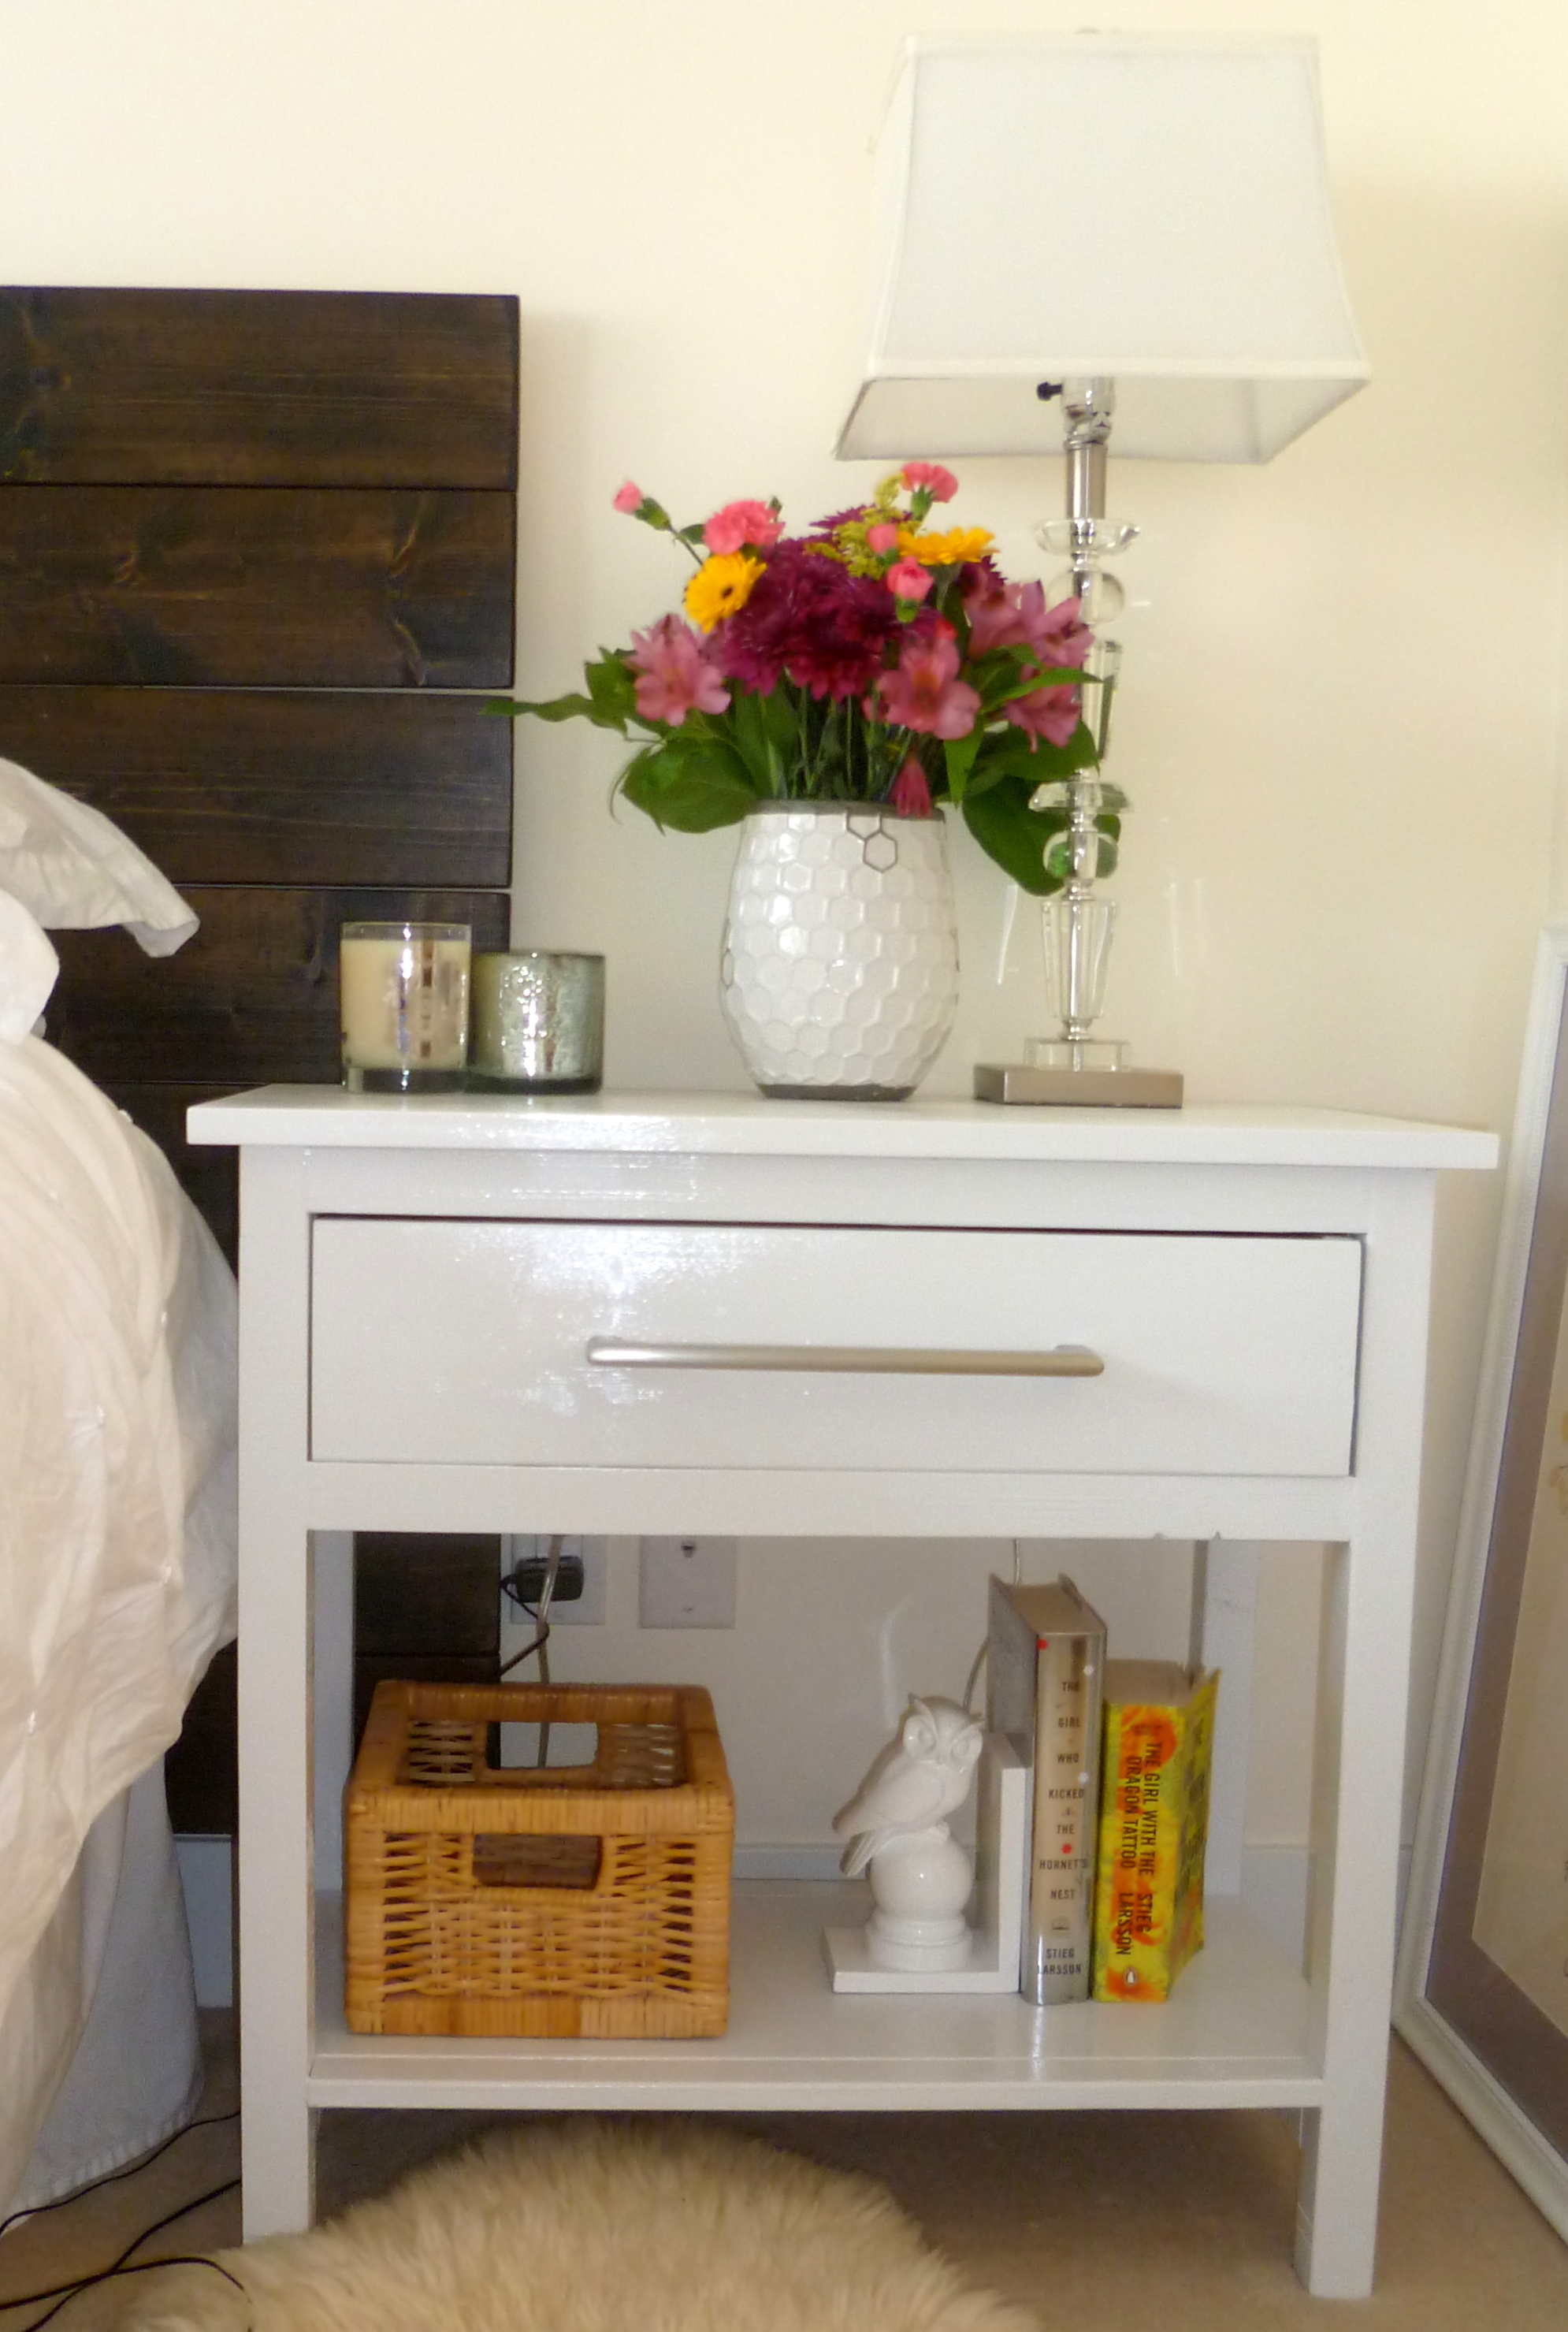
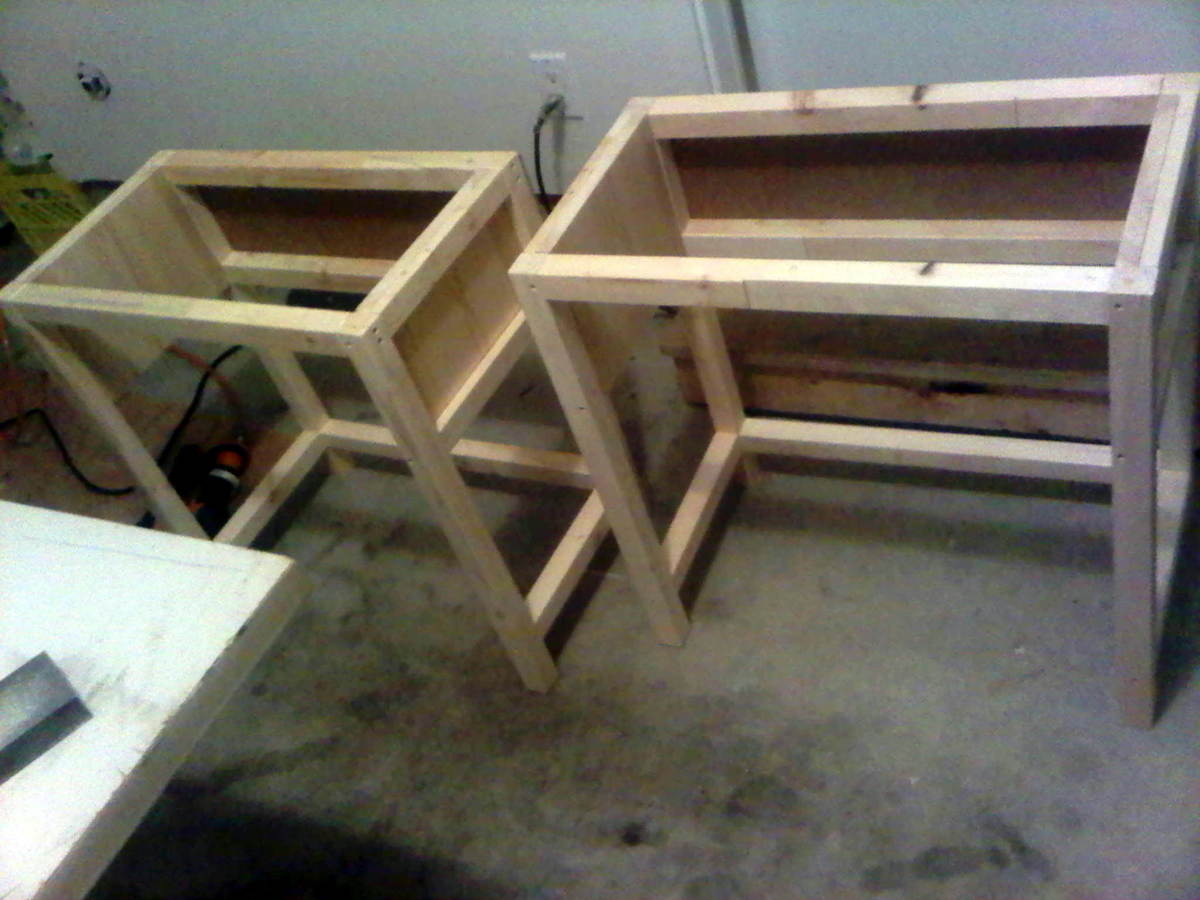
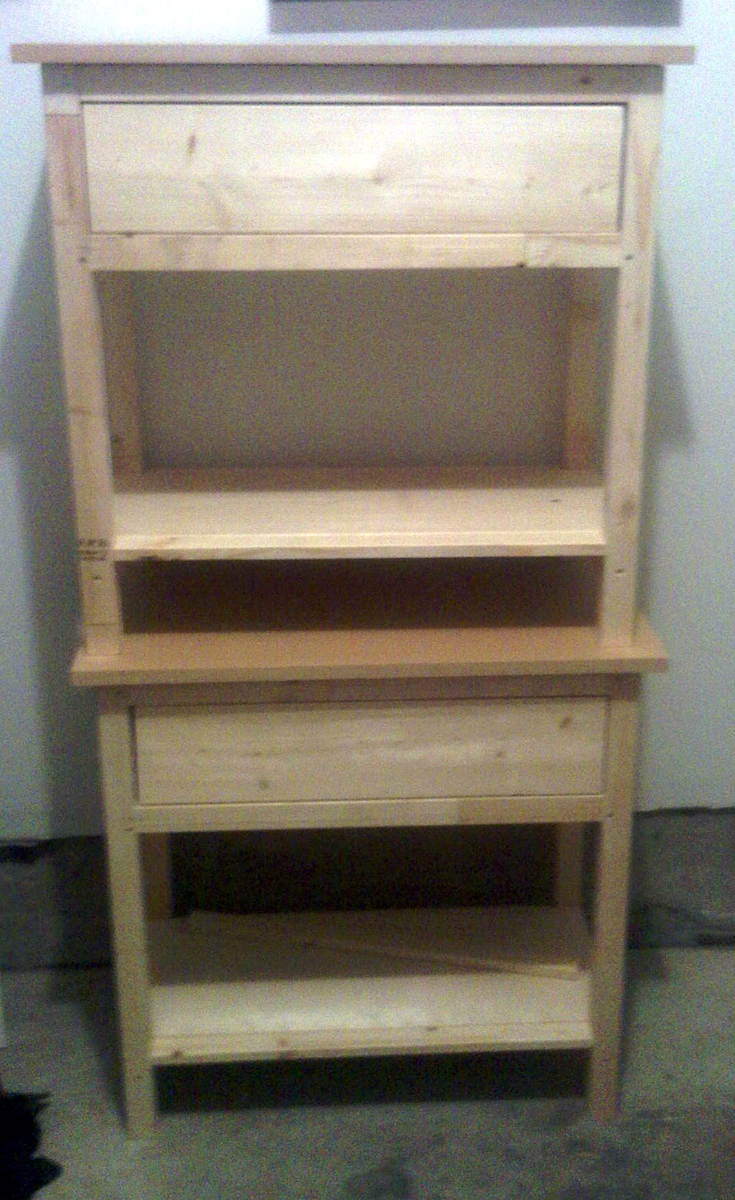
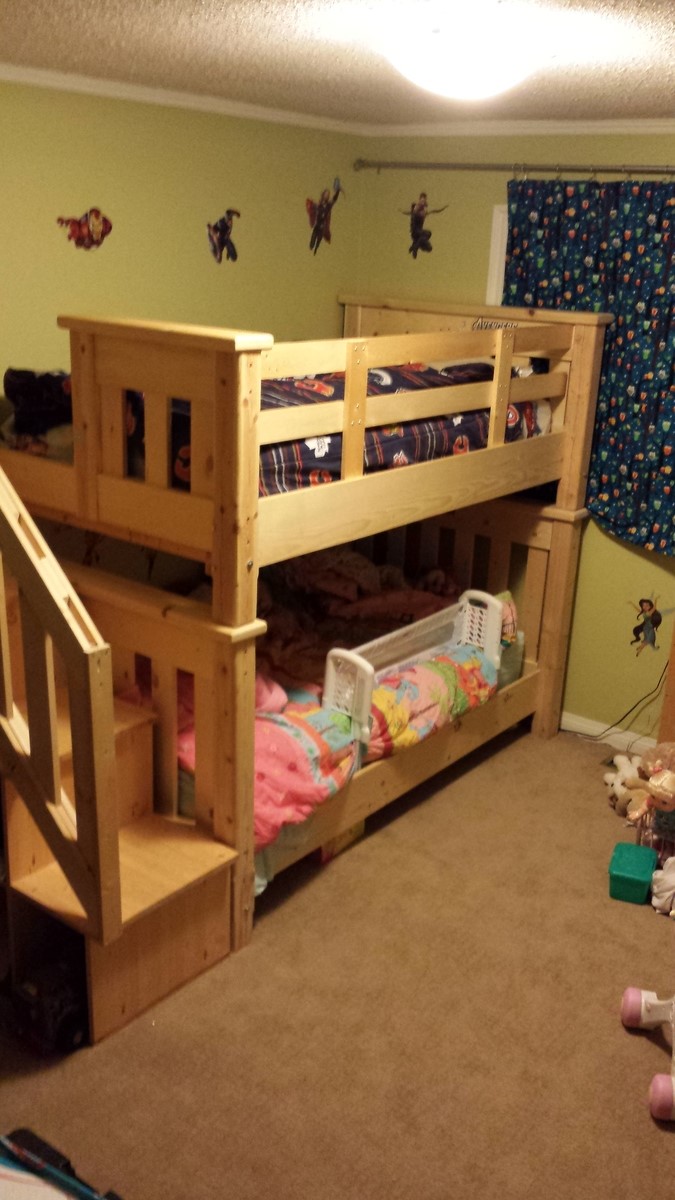
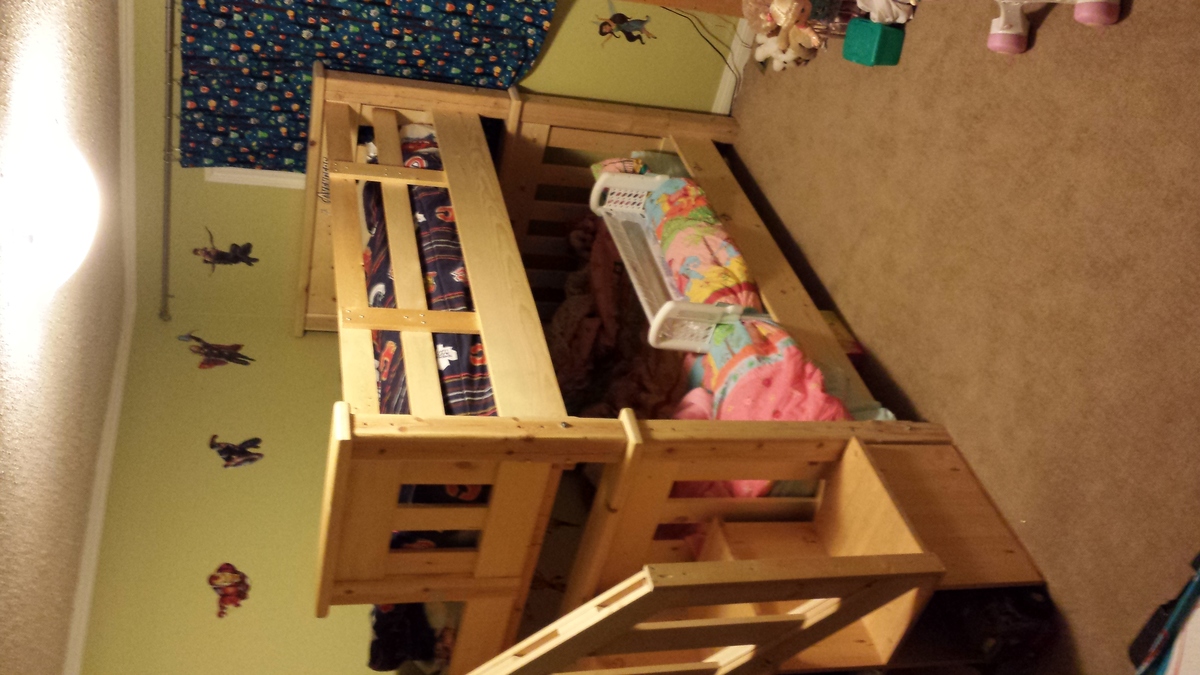
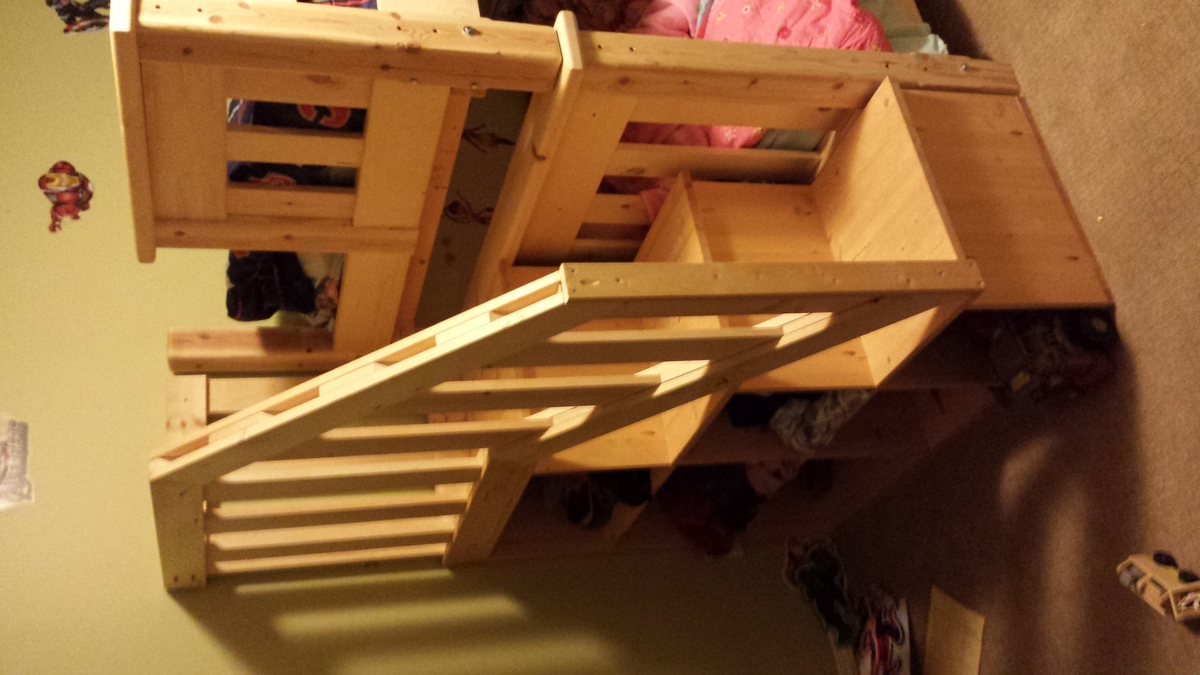
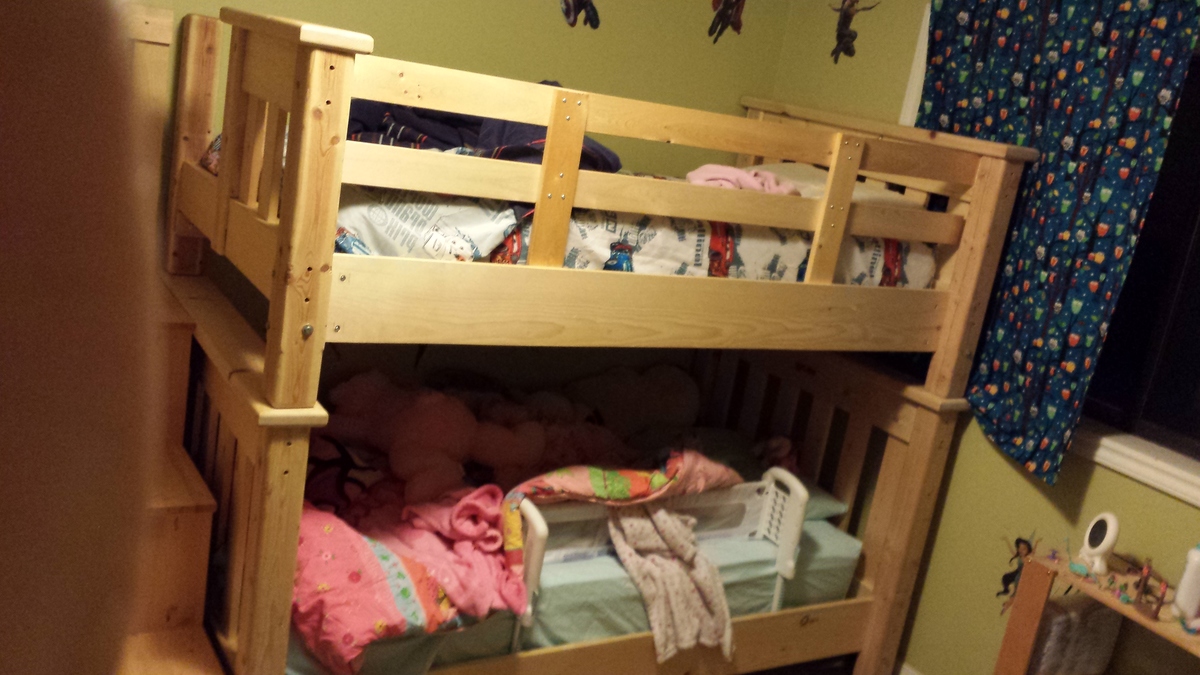
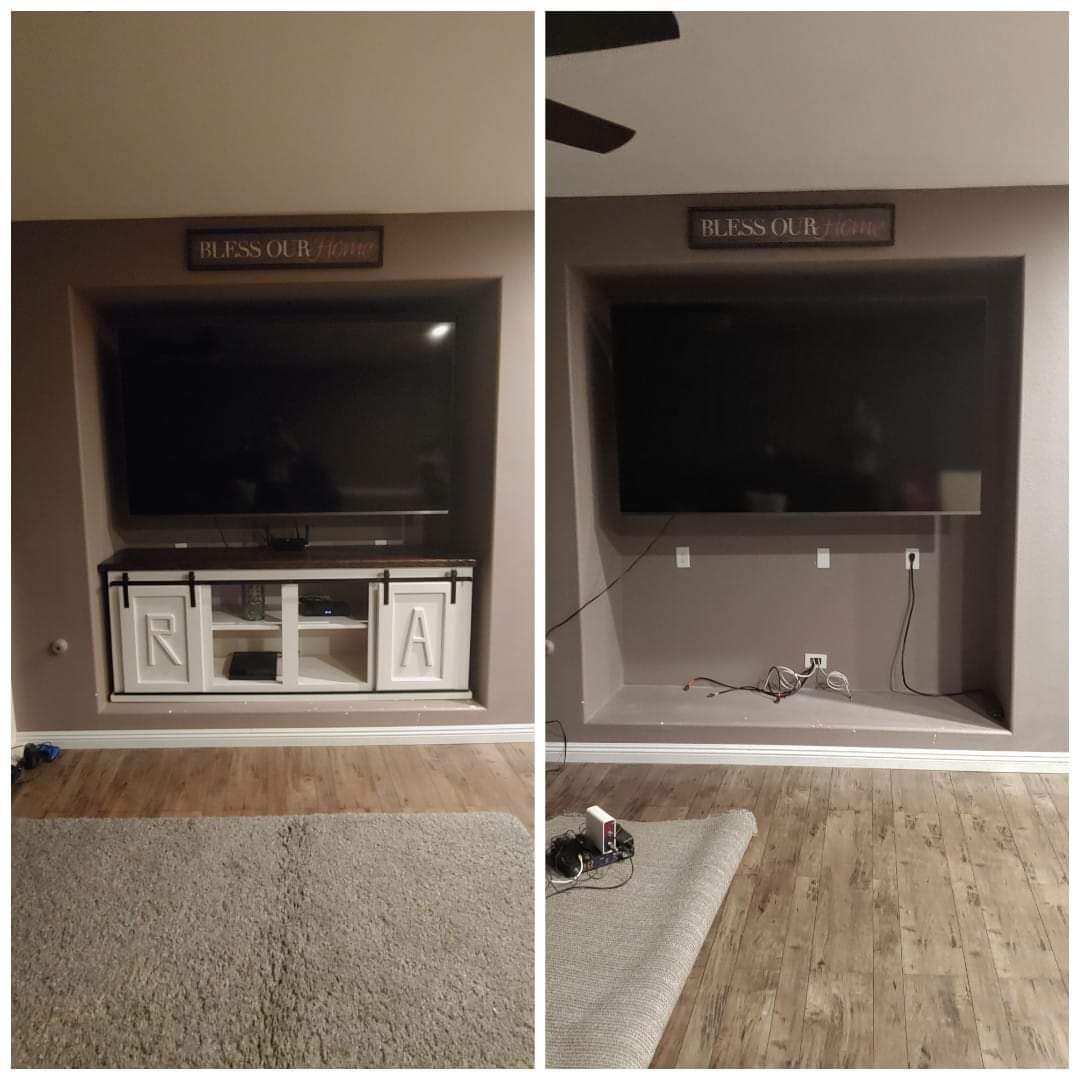
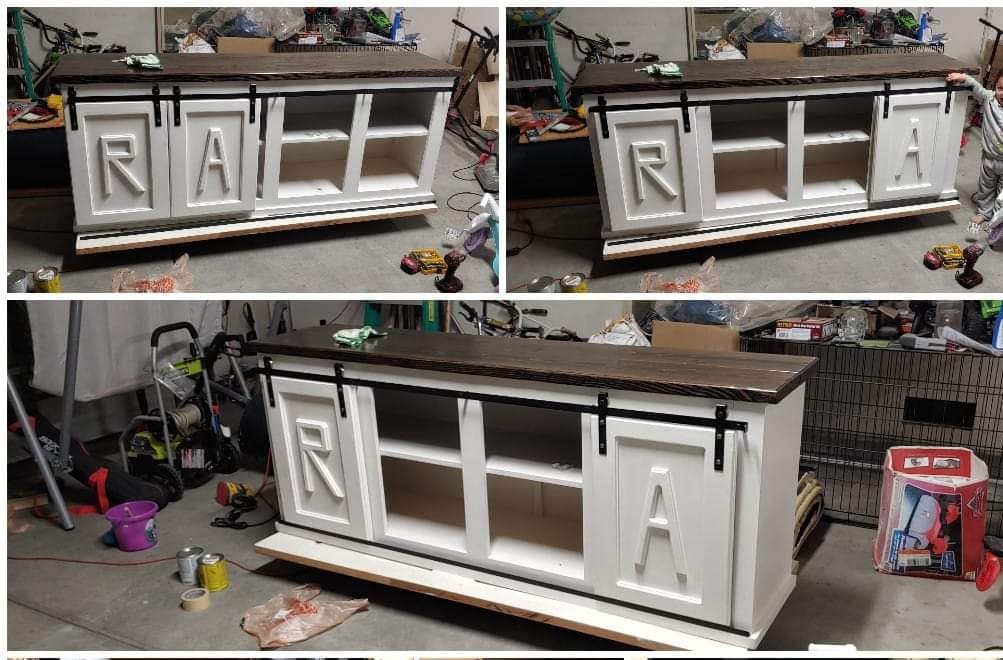
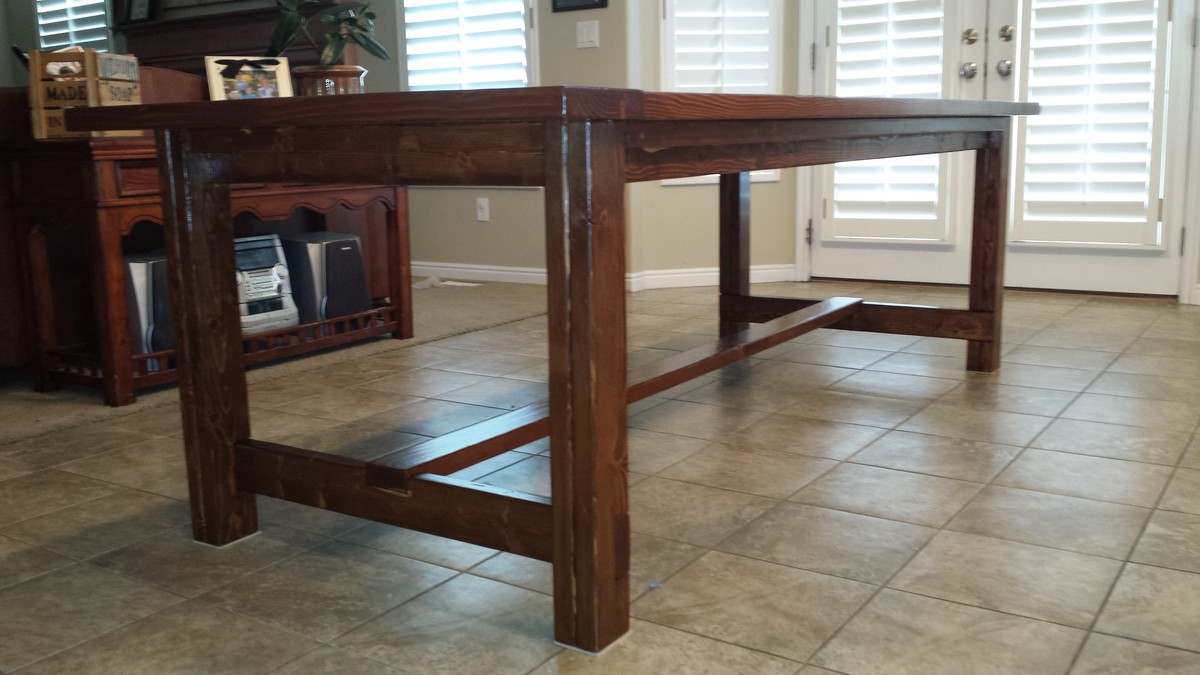
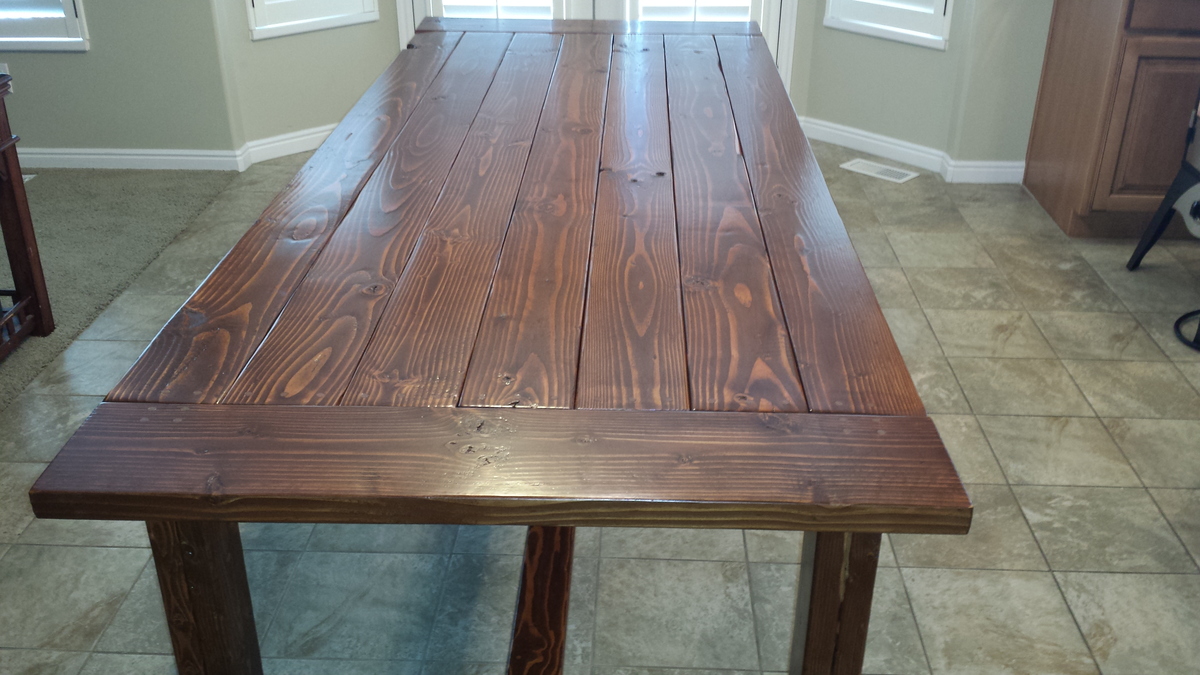
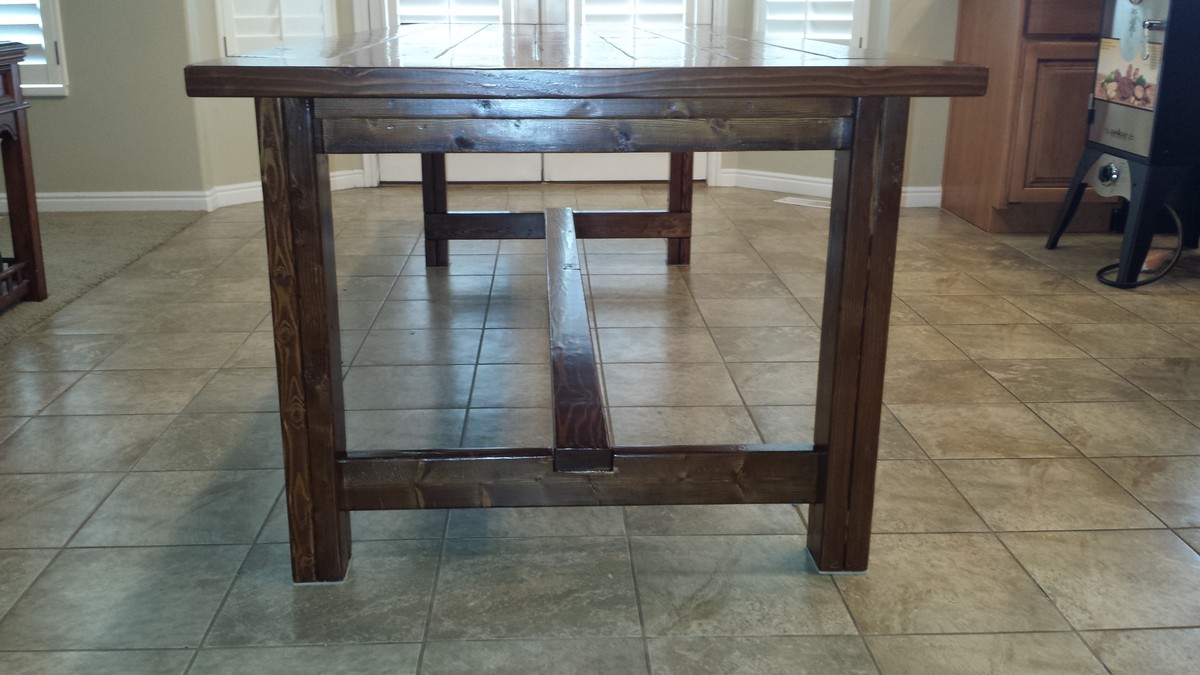
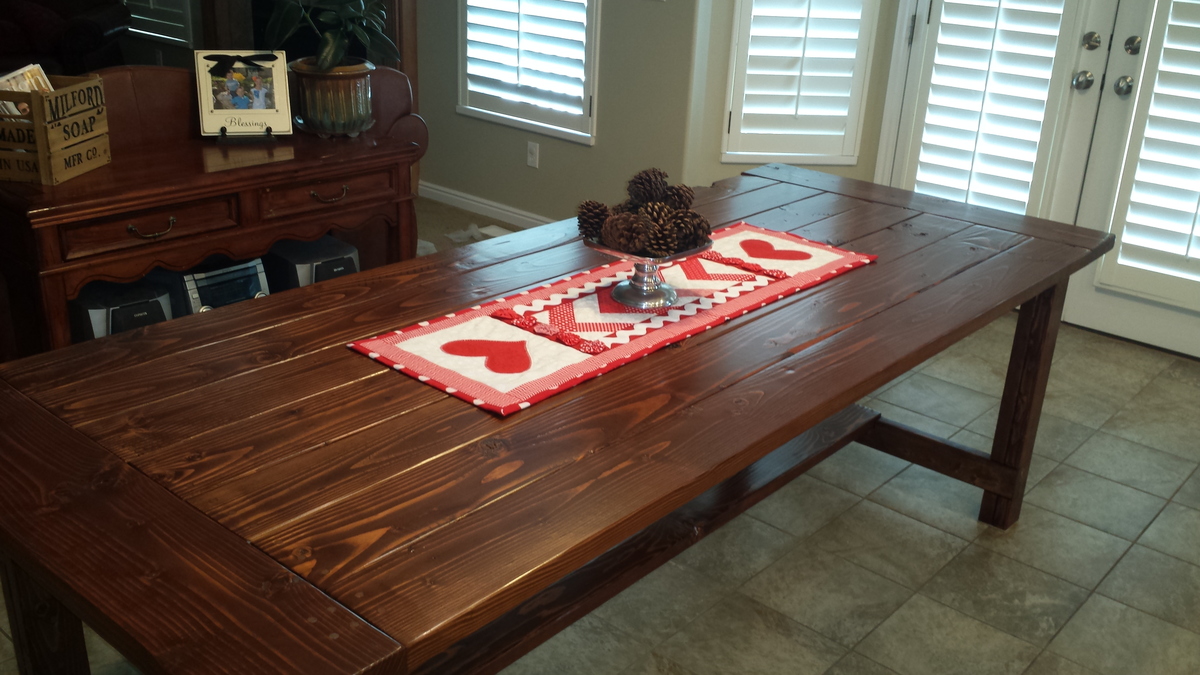
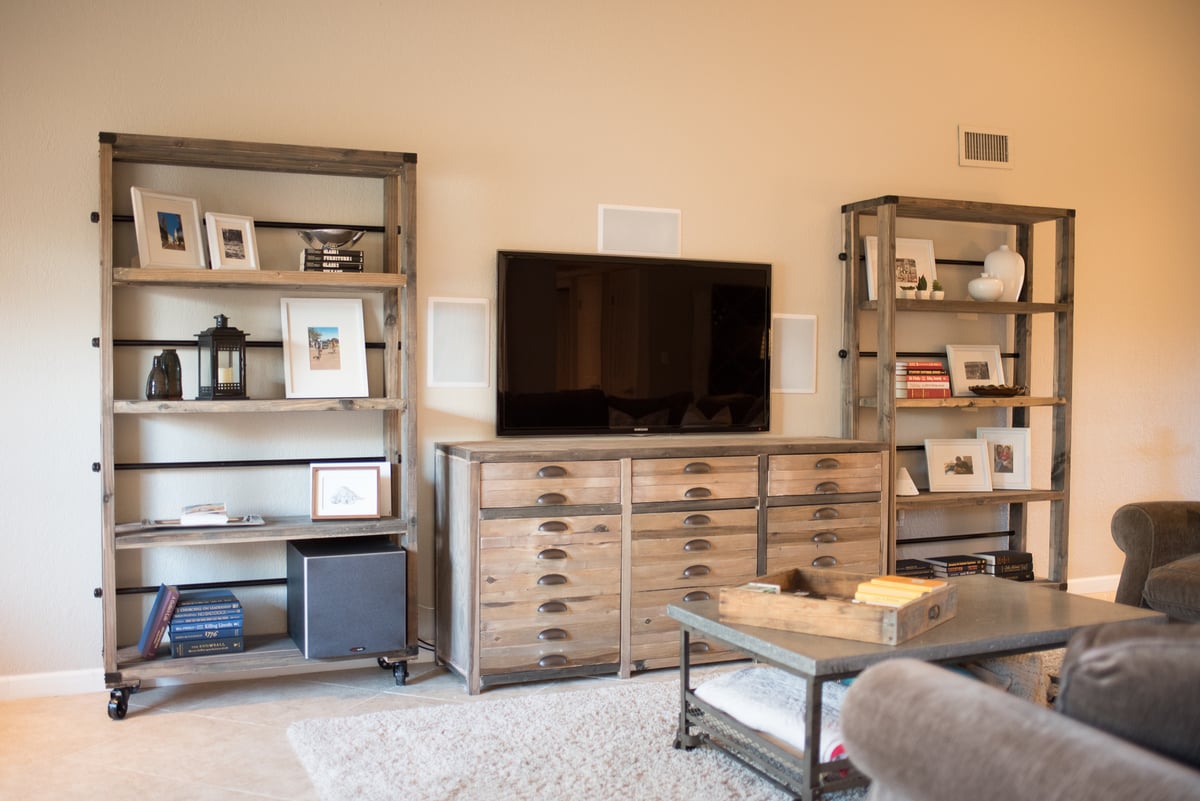
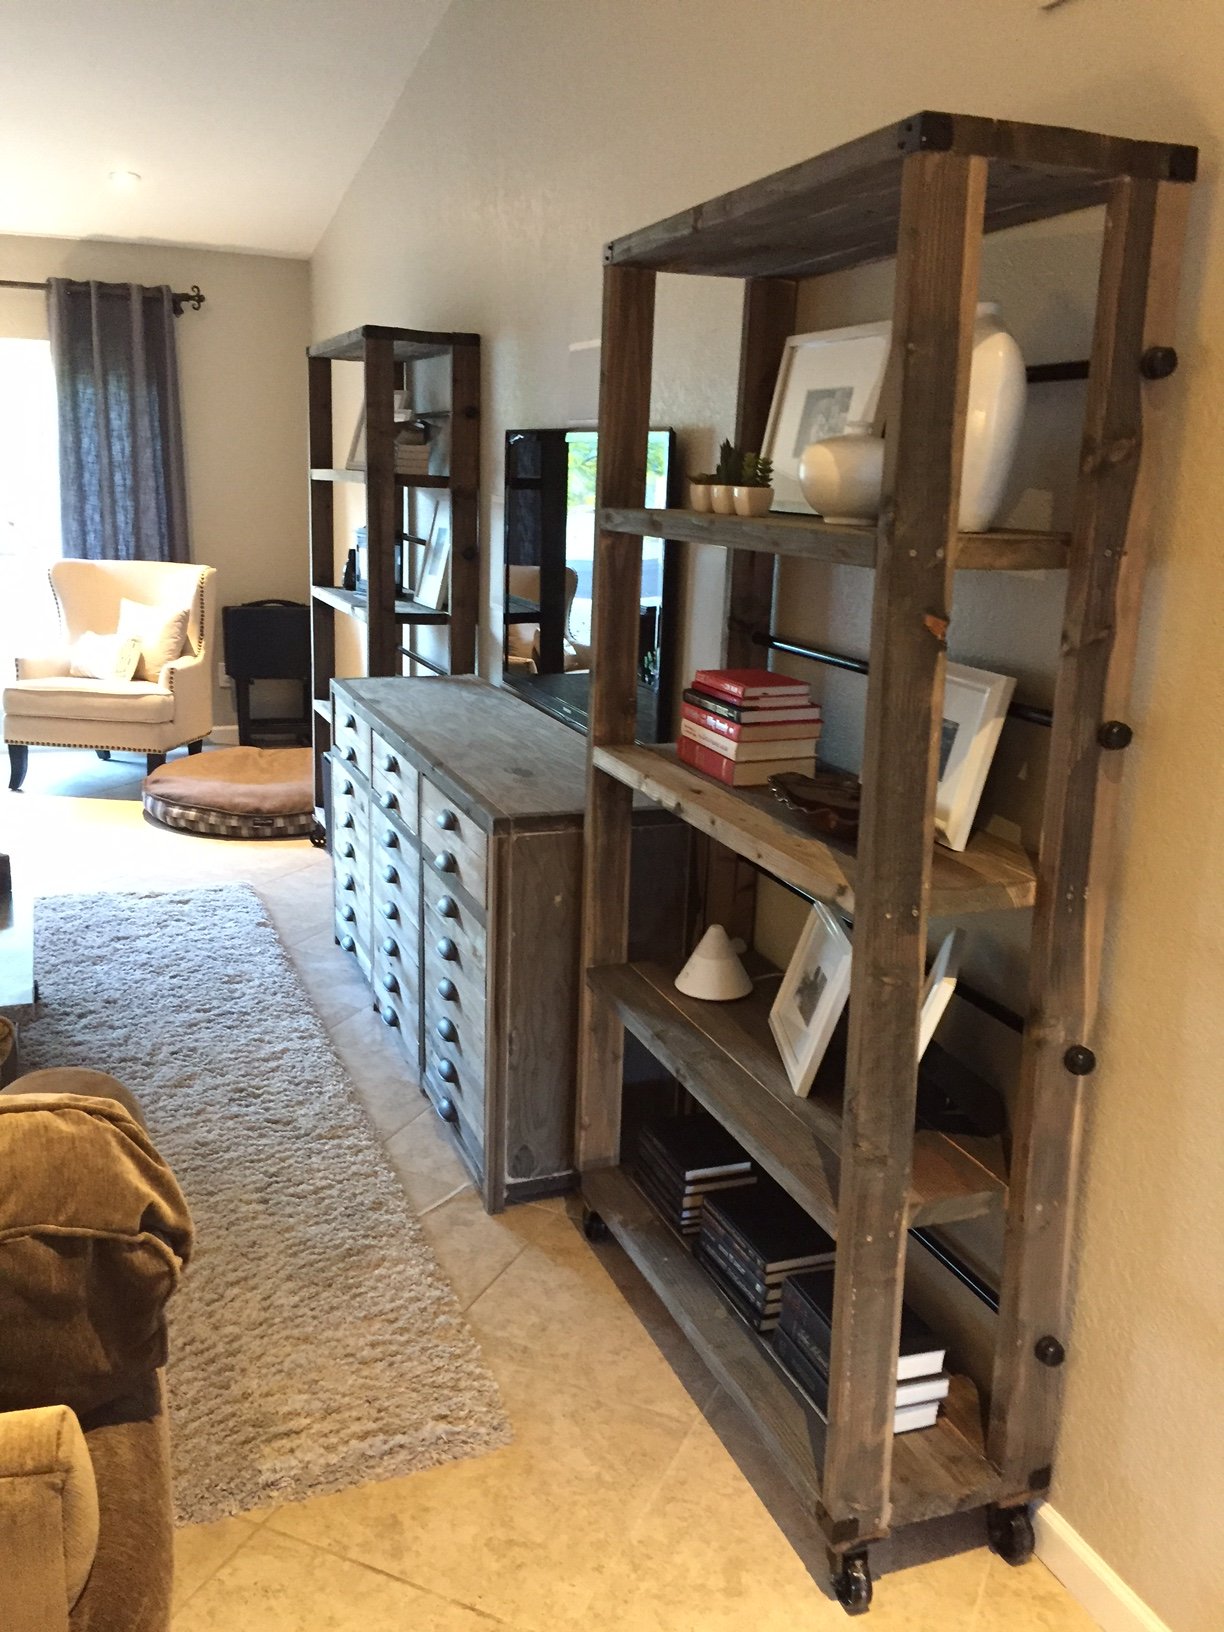
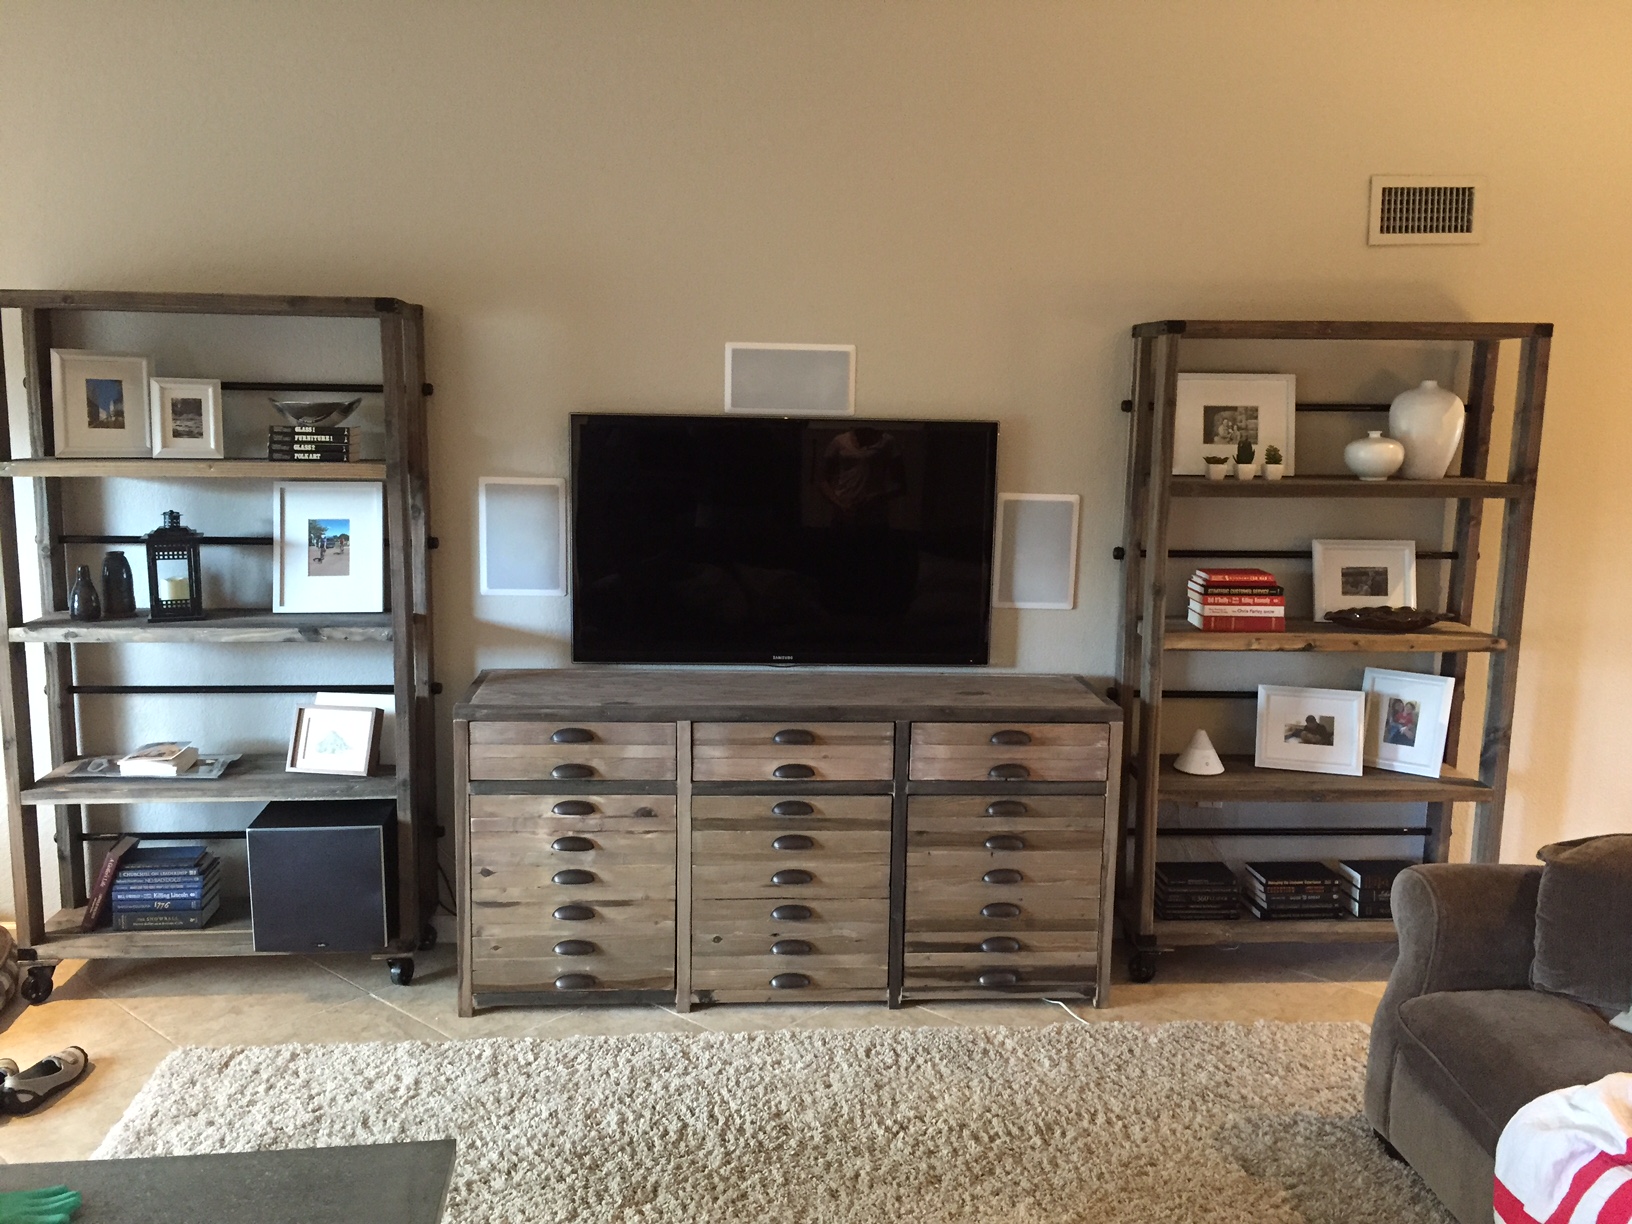
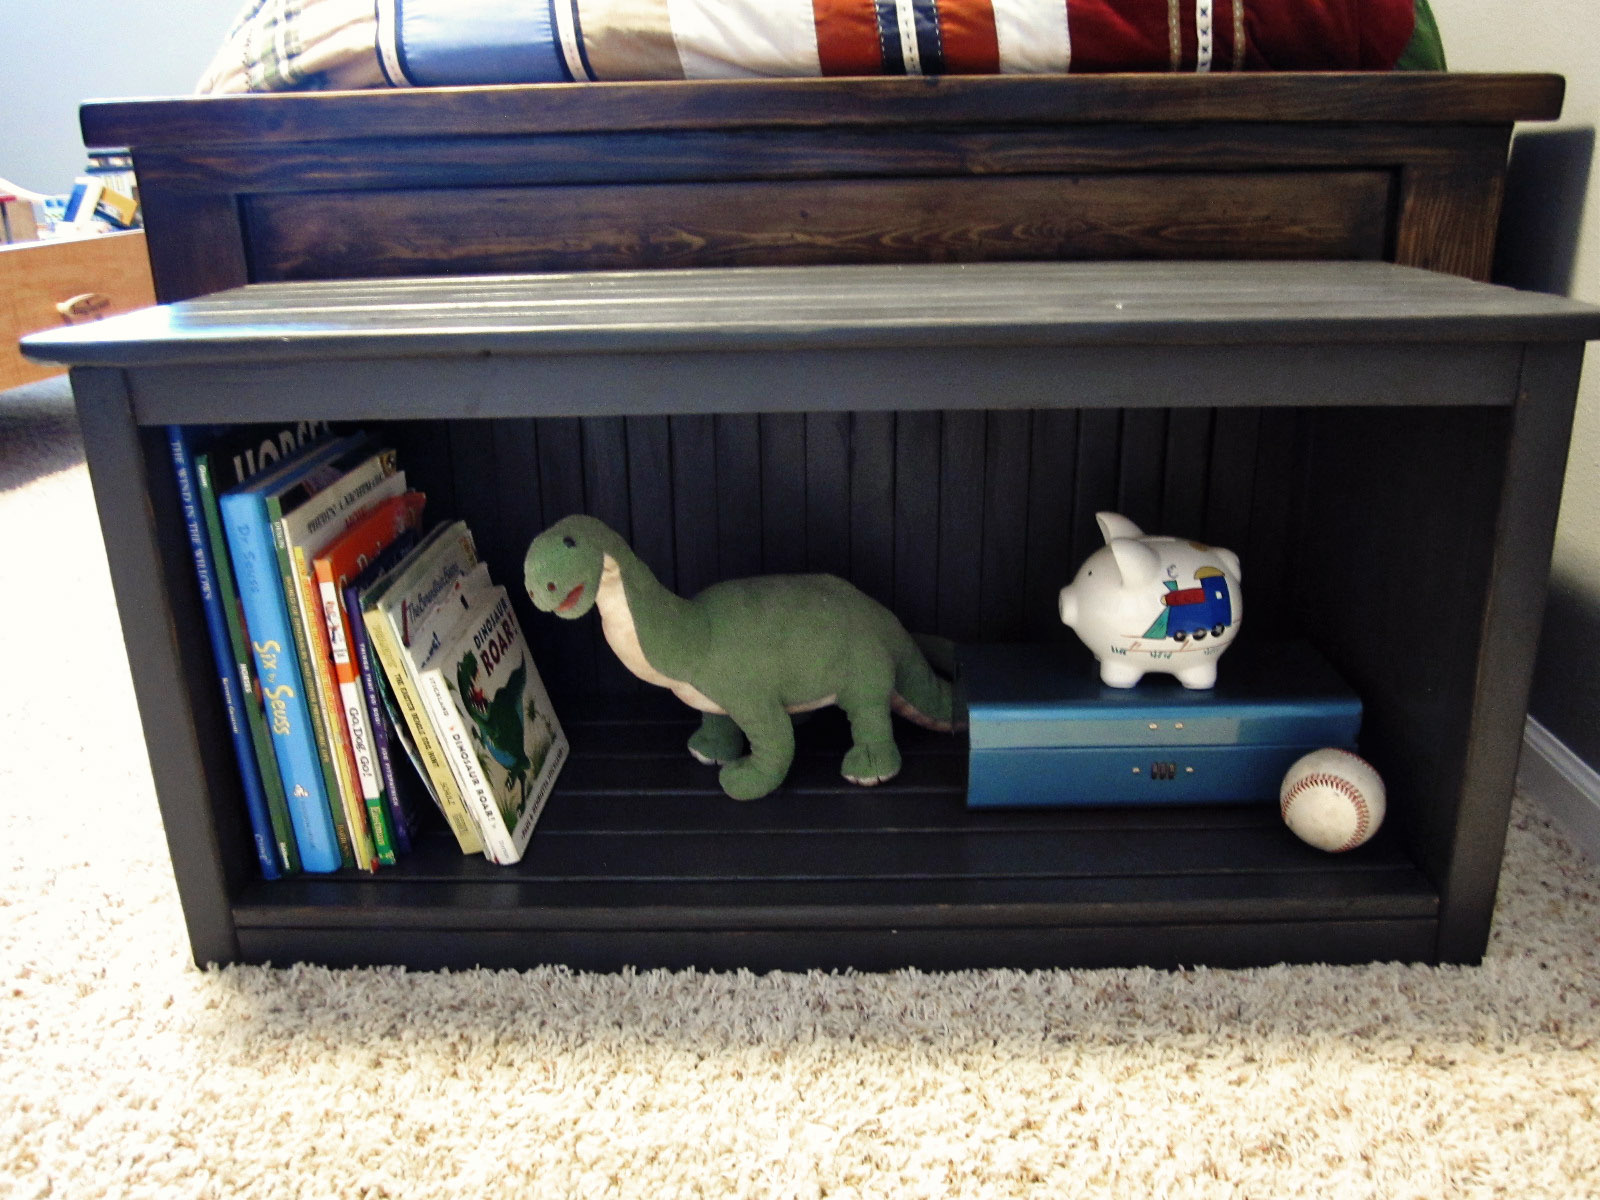
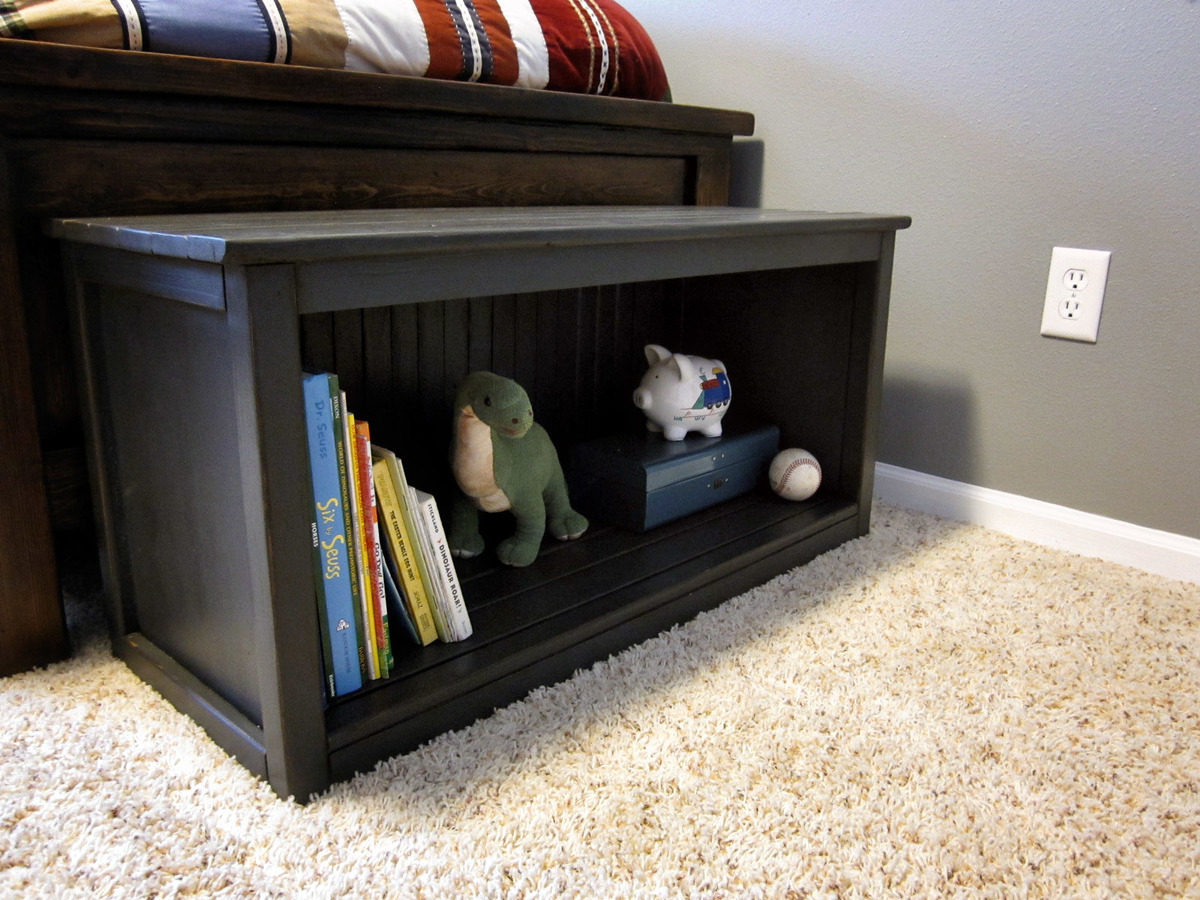
Grandy Sliding Door Console
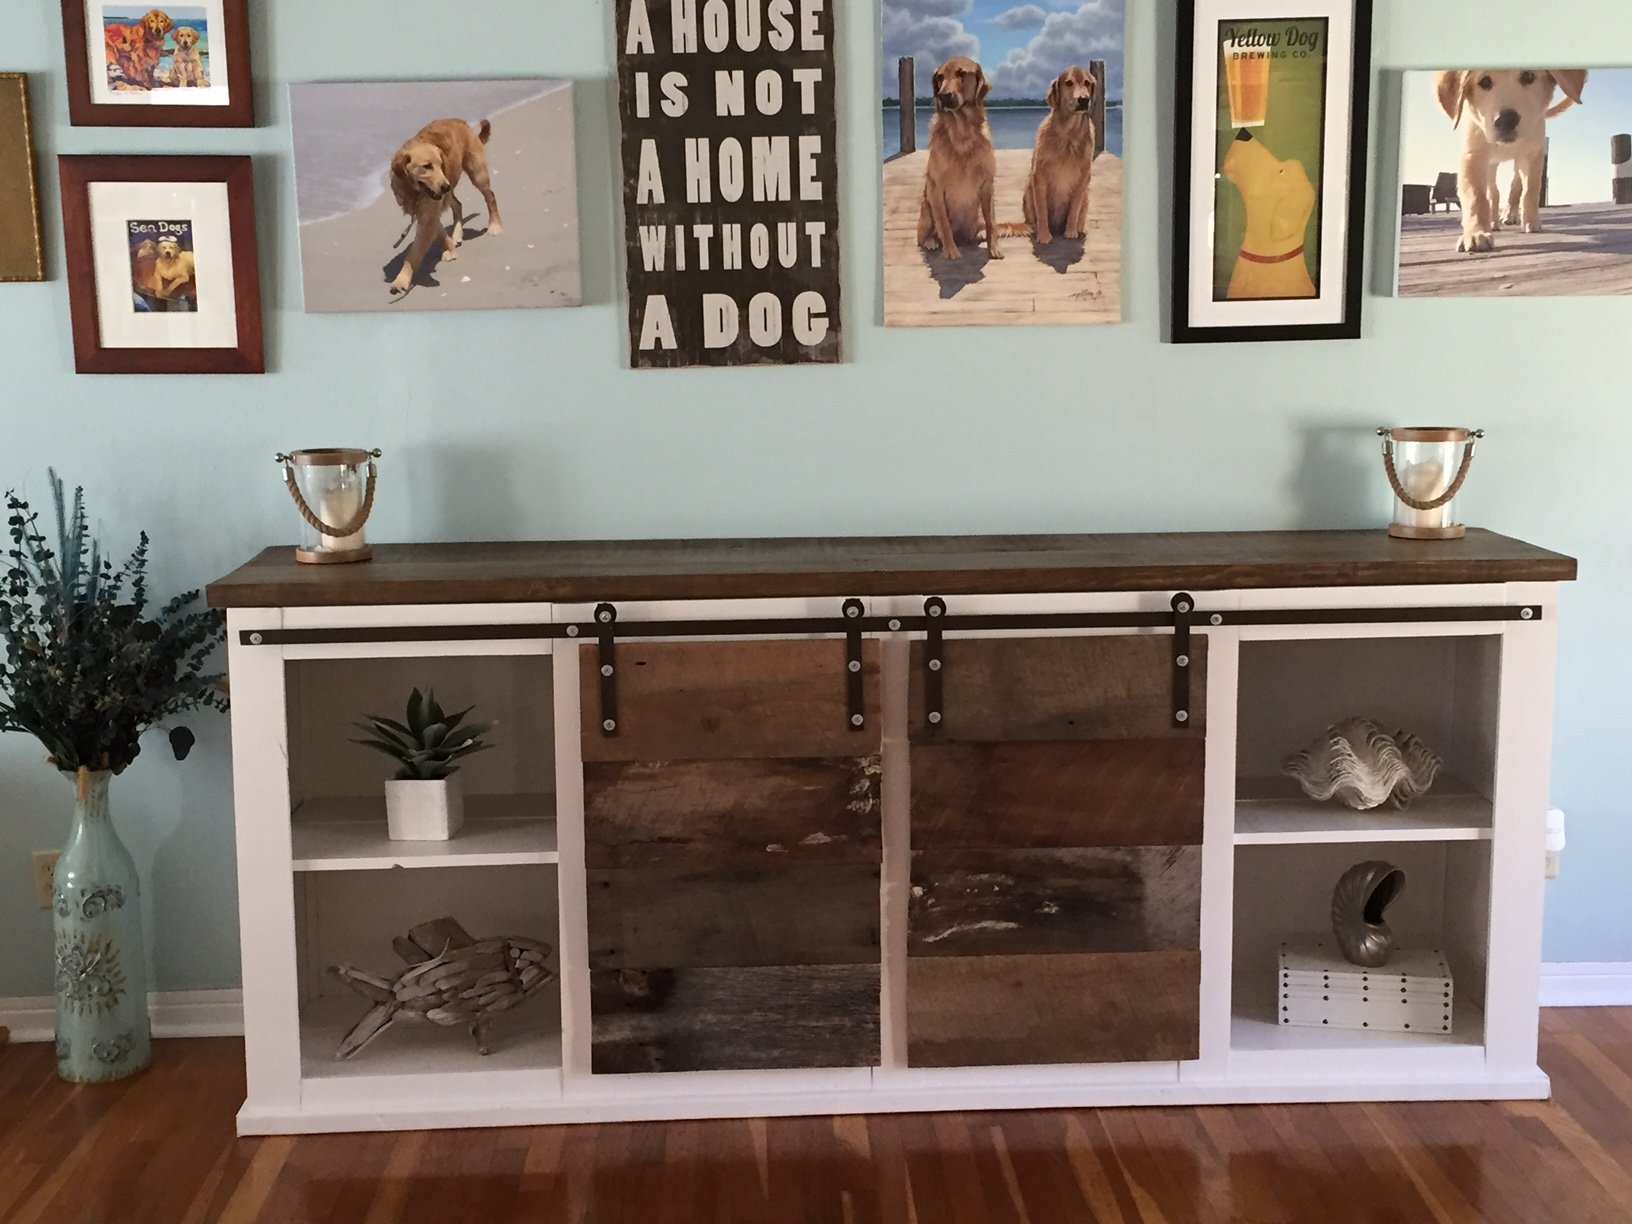
I used the plans here and the hardware plans that are linked in the comments (with the 1-1/2 inch pulleys). In retrospect, it wasn't that hard, although I built it up to be so since I was doing so many things for the first time, including cutting and drilling metal. With the right blades and drill bits, it was a breeze. This took me a few months to actually finish, but if I were to do it again start to finish, I'd say one person could do it in 3-4 days. I got the reclaimed barnwood from a local salvage place. I used the tea/steel wool/vinegar stain for the top and regular paint for the body. Total cost was somewhere in the low $200's. I absolutely love it and am so grateful that a site like this exists! Thank you!!
Built from Plan(s)
Estimated Time Investment
Week Long Project (20 Hours or More)
Recommended Skill Level
Intermediate


Comments
tgrott
Sat, 04/02/2016 - 16:02
Beautiful!
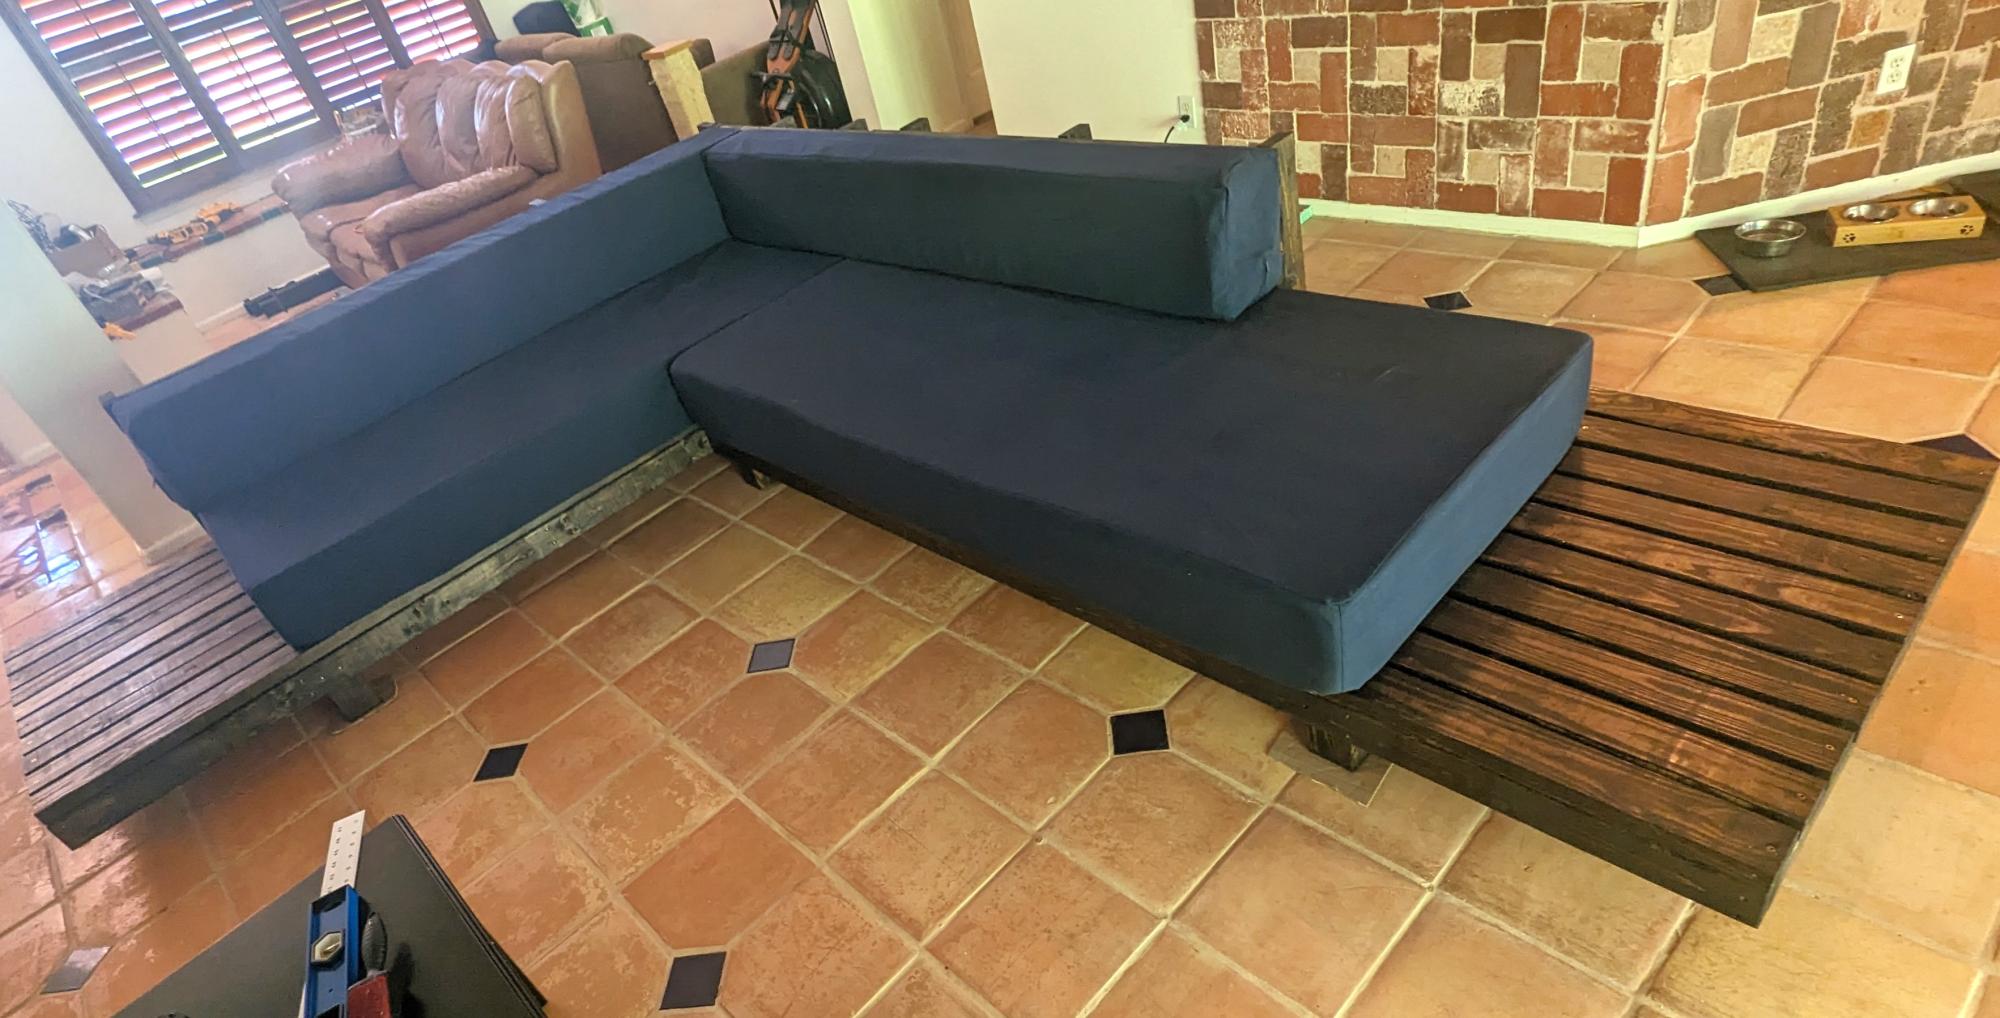
You did an amazing job! It looks beautiful! Also love the dog wall!!! :))) Can you email me the instructions on how to make the hardware at [email protected] or post them?
lseib262
Mon, 04/04/2016 - 07:12
Thank you! I followed the
Thank you! I followed the instructions found here:
http://thatsmyletter.blogspot.com/2014/10/s-is-for-sliding-door-console.html
I used a sawzall with a blade for metal to cut those pieces. I also found pulleys that had a removable pin that released the wheel, so I didn't have to cut those apart. Overall, the process was not terribly painful :)
tgrott
Mon, 04/04/2016 - 19:02
Thank you...
...for passing that link on! :)))