Community Brag Posts
Tv console
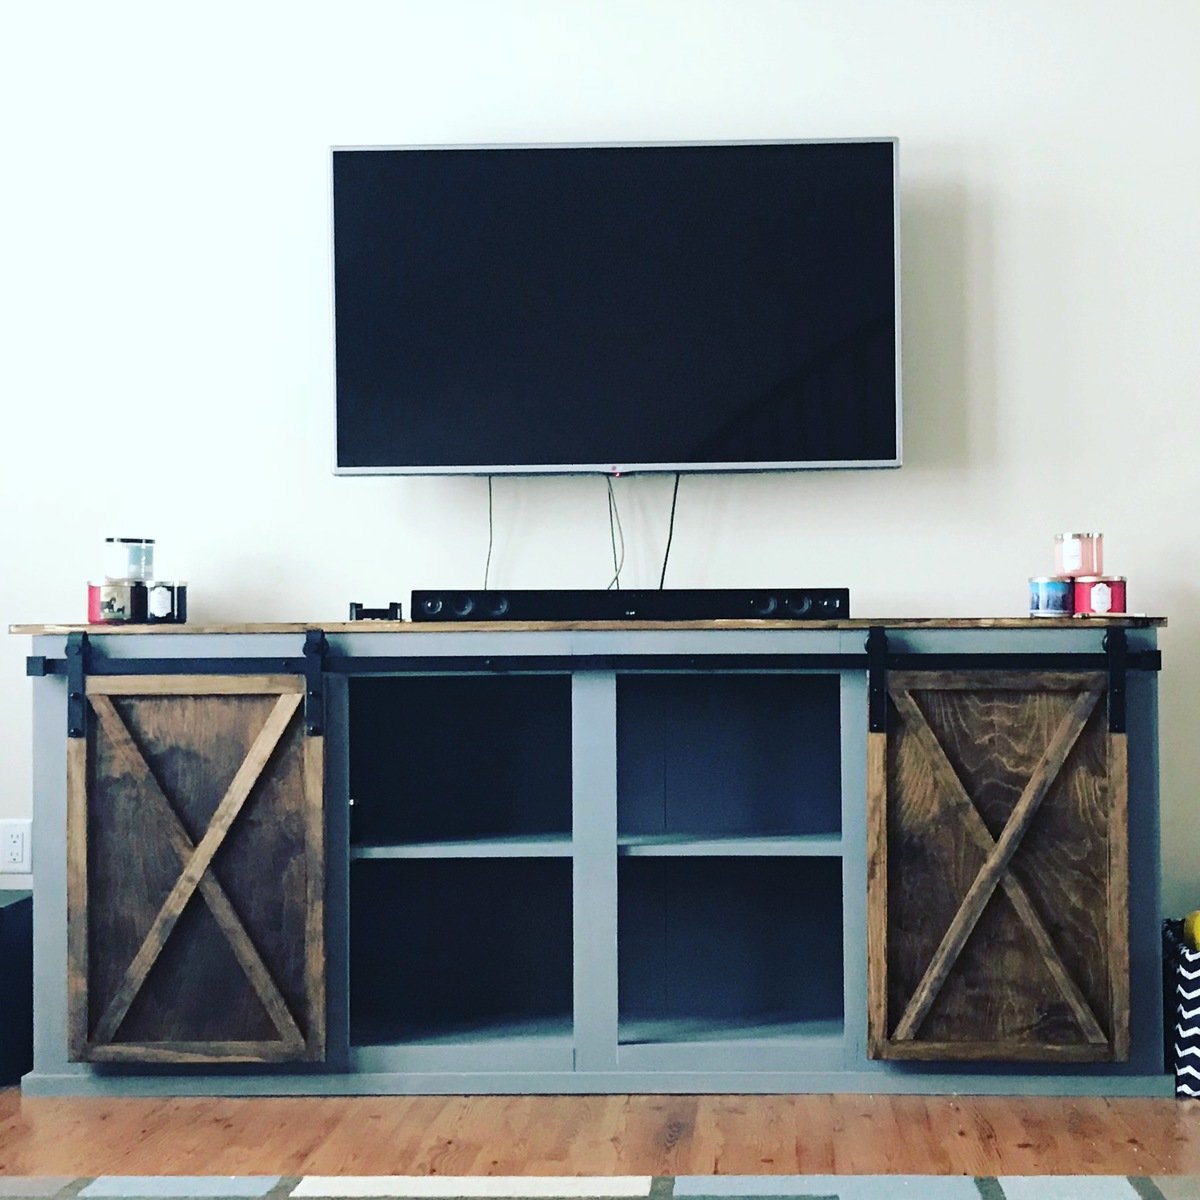
This project was fun. The hardest part was trying to find barn door hardware. I did end up finding one on amazon but it was still too long and had to cut it down. Very doable in a weekend.
Rust-Oleum gray chalk paint
Numbered Cubbies
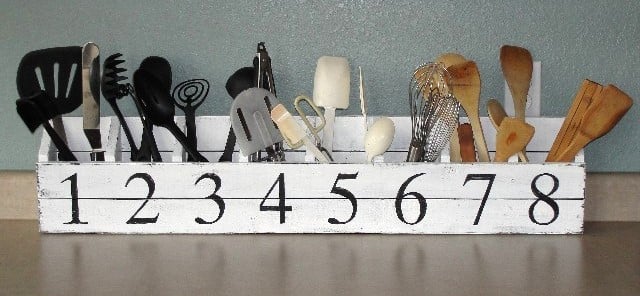
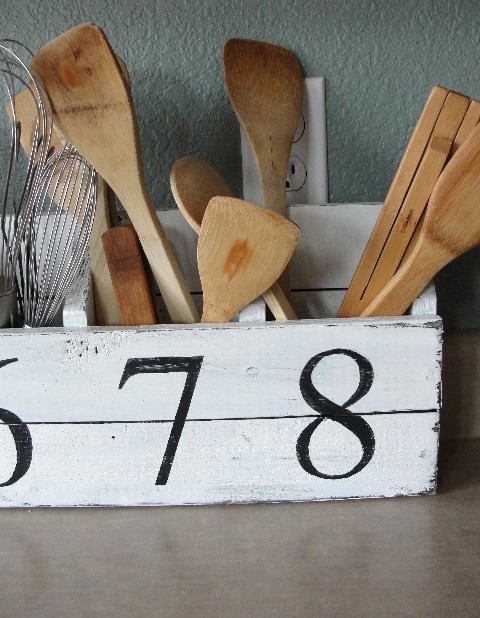
Like so many others, I saw this and had to have one of my own. It was cute and quick - perfect! I had the same height issues that others had. The center supports are too tall for the 1x2 and 1x3 on the front. I wound up using all 1x3's, 2 on the front and 3 on the back. Because the cubbies came out a bit deeper, I thought I would try it as a utensil holder in the kitchen. Cute, huh.
Comments
Mon, 08/29/2011 - 11:01
What a great use for the
What a great use for the cubbies! I never would have thought of that!
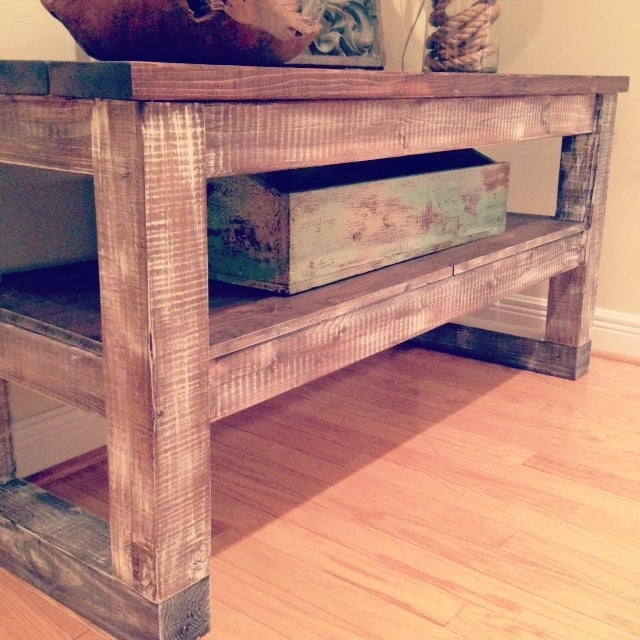
Taylors console
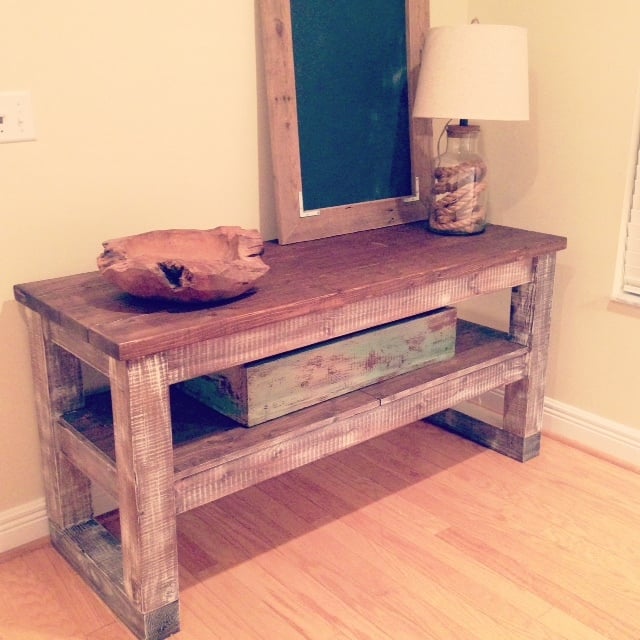
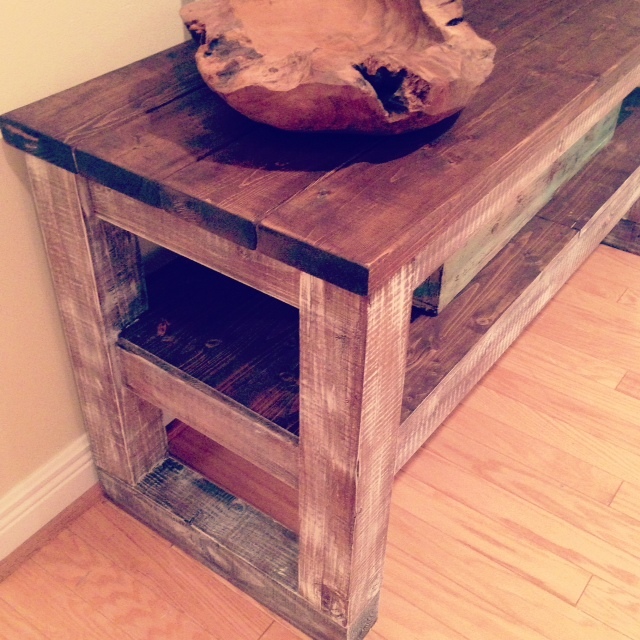
Loved working on this table. An easy build for sure. Couldn't find wheel casters that I liked so had to use another 4x4 to give it height. Will be building another one soon :)
Thank you so much for sharing the plans.
Comments
Sat, 09/21/2013 - 08:15
Unique Finish!
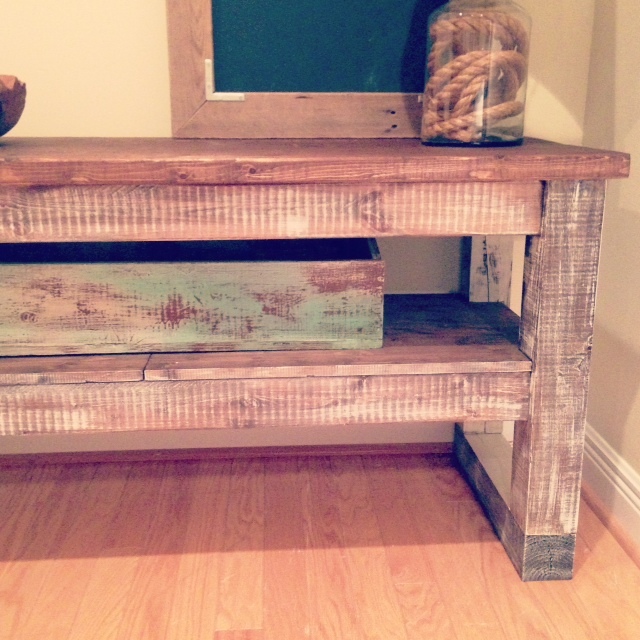
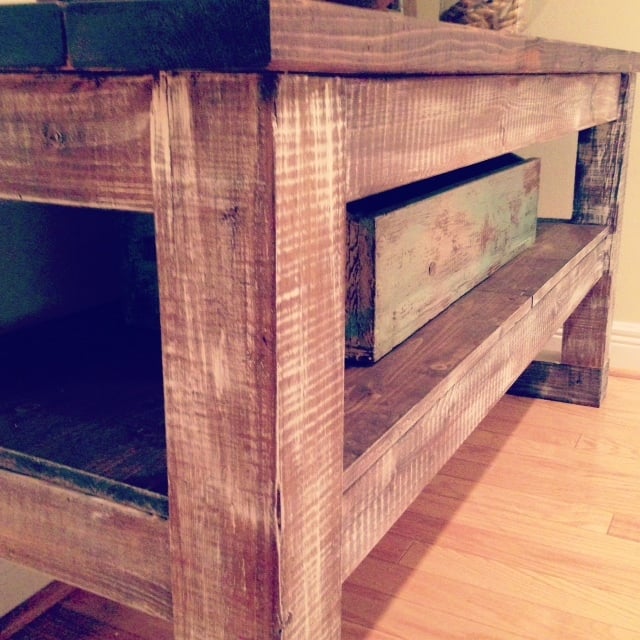
I love how you finished your project!
And the 2x4's across the bottom really make it look solid.
Val
artsybuildinglady
Mon, 09/23/2013 - 05:40
Love the finish, could you elaborate
Love the finish, would it be possible to elaborate on how you got it to look so AWESOME!!! Did you just brush on the stain and the use a wire brush????
Mon, 12/30/2013 - 19:28
Hi! What color stain did you
Hi! What color stain did you use and technique? It looks beautiful! Would love to make something similar!
Classic Bunk Beds for our boys!
We found the plans for the Classic Bunk Bed look and we loved it. Since our boys share a room this bunk bed design was the perfect match for us. We used Red Mahogany stain with a polyurethane clear coat to give it a good shine. I made a little revision to the slats but adding a 1X6 crossbea, across the bottom and top bunk to give added support for the boys as they get older but other than that the beds are directly from the plans. Now onto the same design for our girls!
Farm house bed king
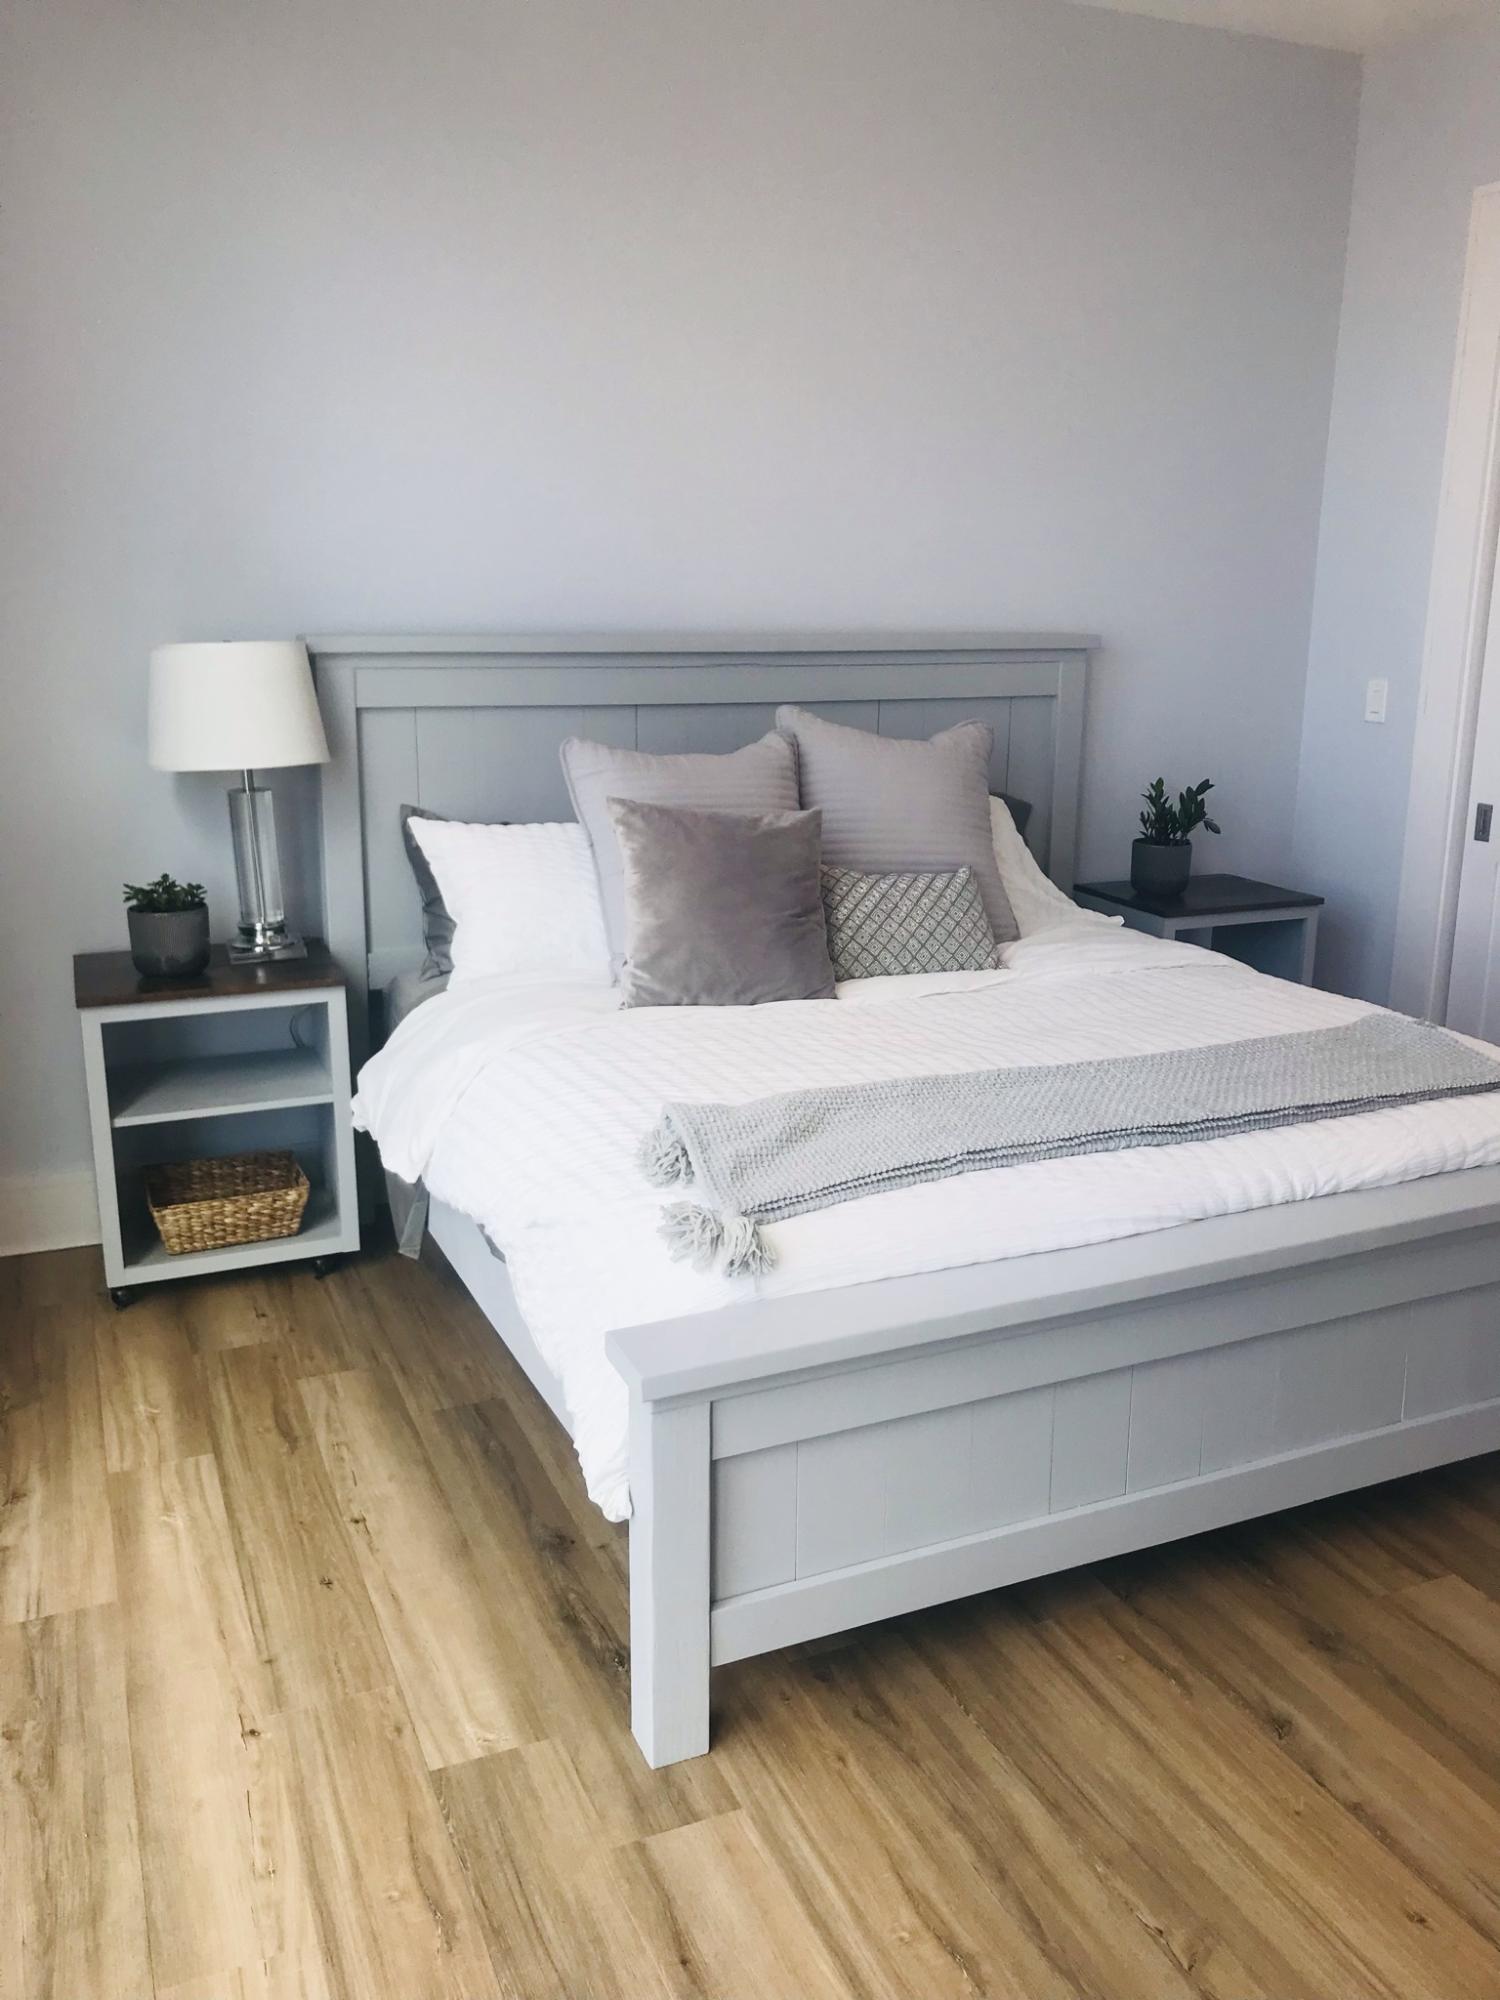
Easy to follow plans. This was only my second woodworking project so any beginner can do it. Thank you, Anna!
Comments
Thu, 11/17/2022 - 08:13
Beautiful bed!
WOW, this looks amazing and I love the color choice! Thanks for sharing.
Classic Storage System Desk
This was my first furniture project. I made this desk/vanity for my twin daughters' 9th birthday. I sized them to fit the space and added doors rather than drawers. I also made the stools using the plans for the upholstered bench - just resized. It was a fun project and I can't wait to start another! You can read more on my blog: http://karlakroese.blogspot.com/2011/08/new-hobby.html
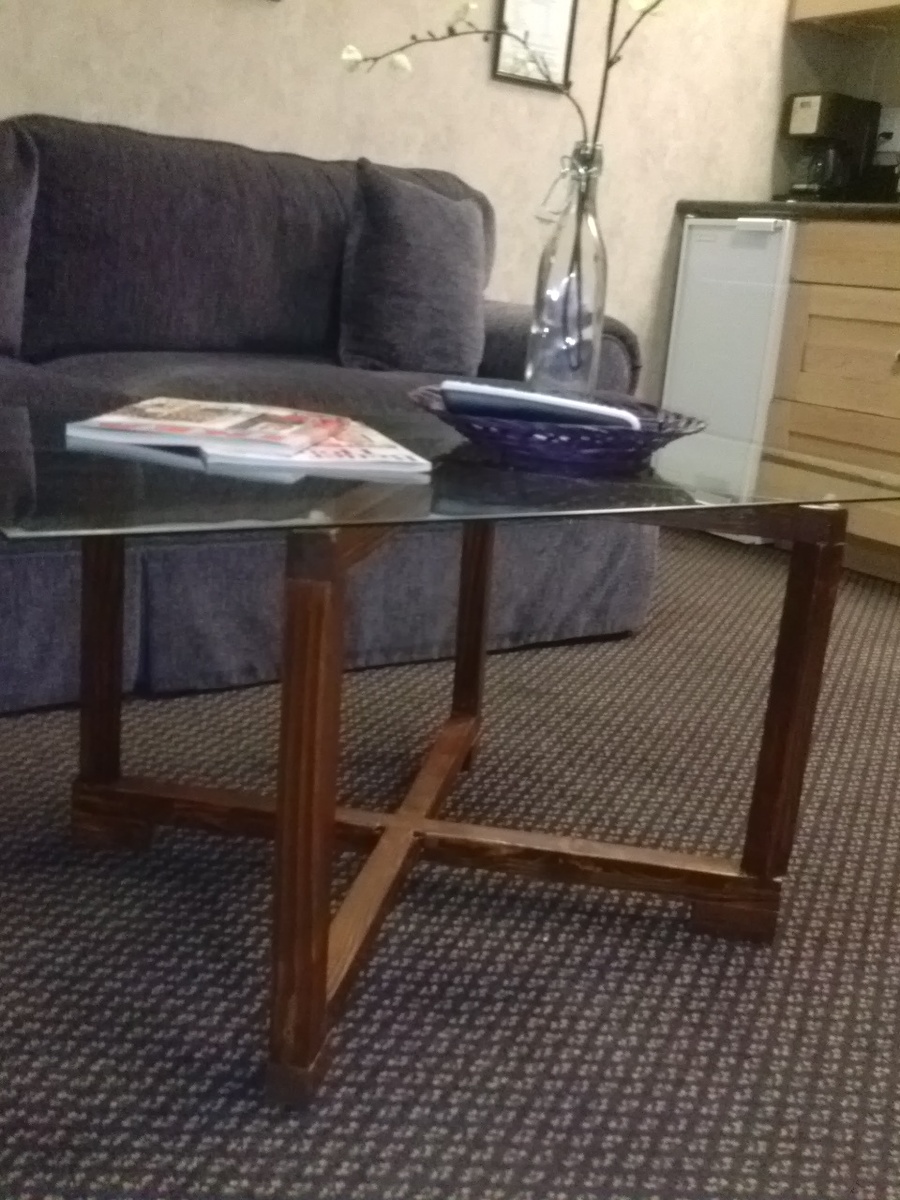
Lisette Coffee Table
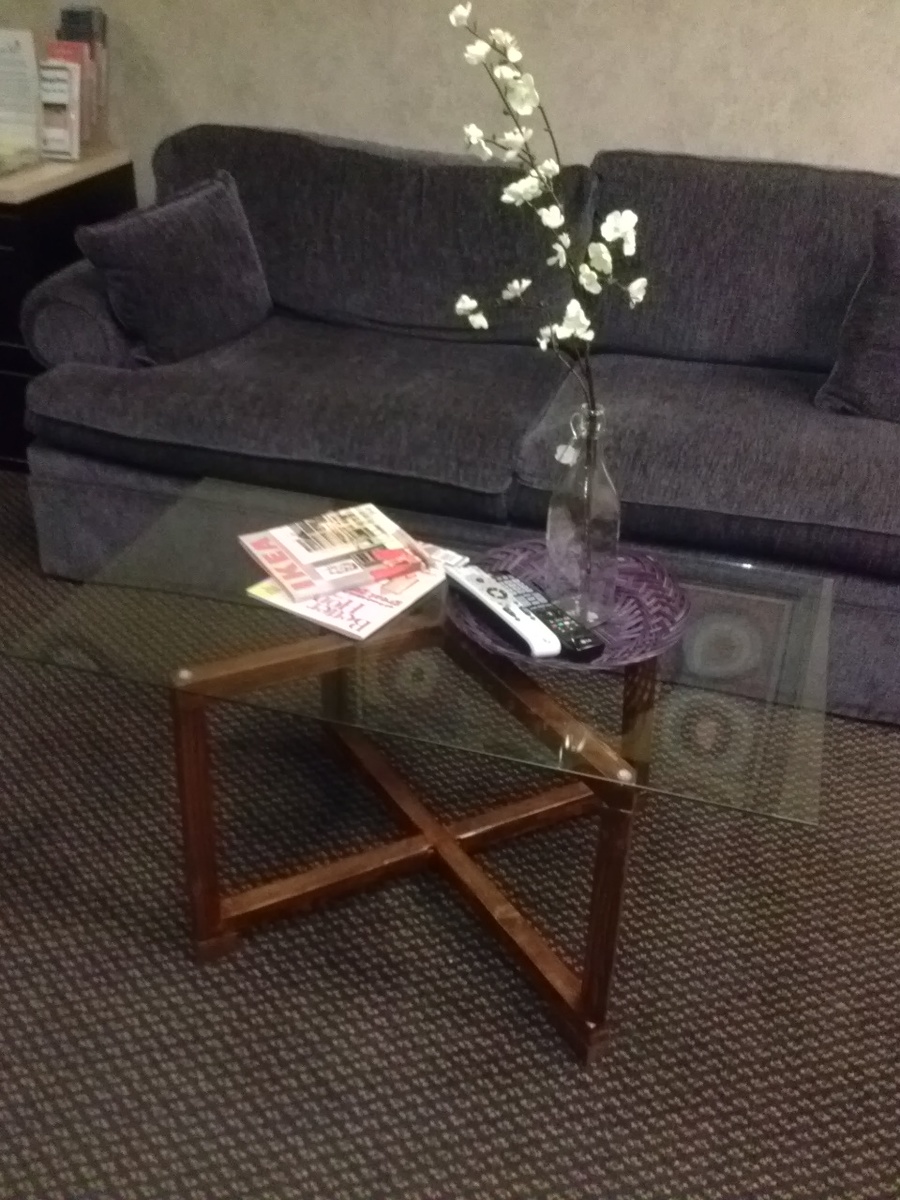
My friend "Lisette" asked for a small modern coffee table. For her small studio apartment. So I came up with this modern-ish table. Made of 2x2's and a 20"x40" glass top.I found it on the side of the road with a FREE sign on it in Pacific Beach. Oh how I love beach people and all the free stuff they leave around :)
Hall tree
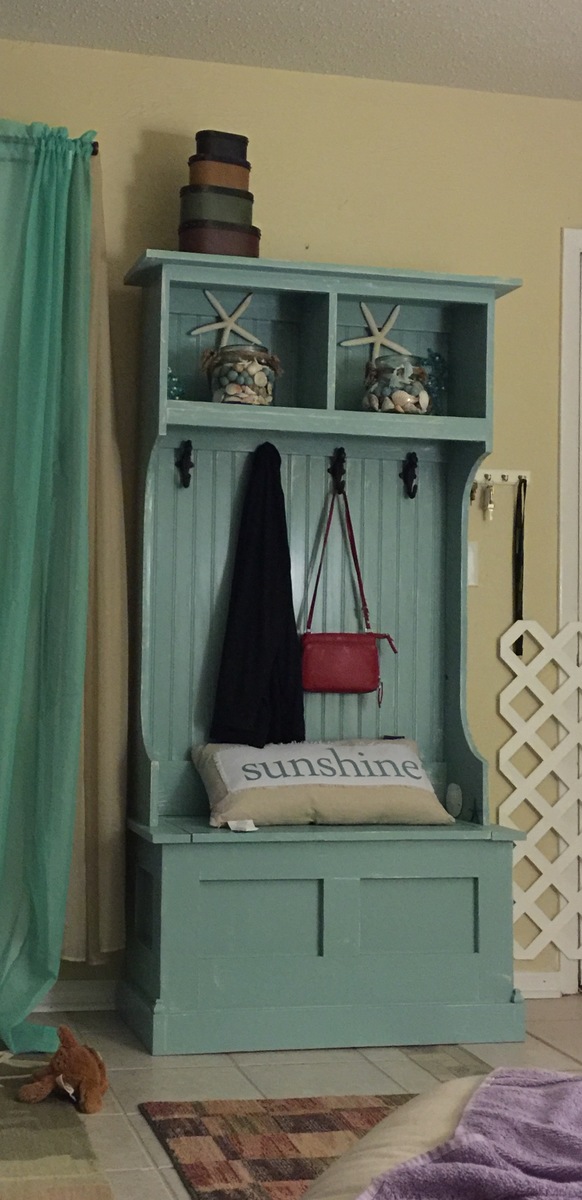
We had a great time building this
We did the bottom half one weekday, and the top piece another day. Primer, painting, and sanding in all took us 6 days.
It look fantastic
Comments
Thu, 12/03/2015 - 10:18
Fantastic!
Thanks for sharing your awesome project, posted to our Facebook page today!
Handmade by the Ensmingers
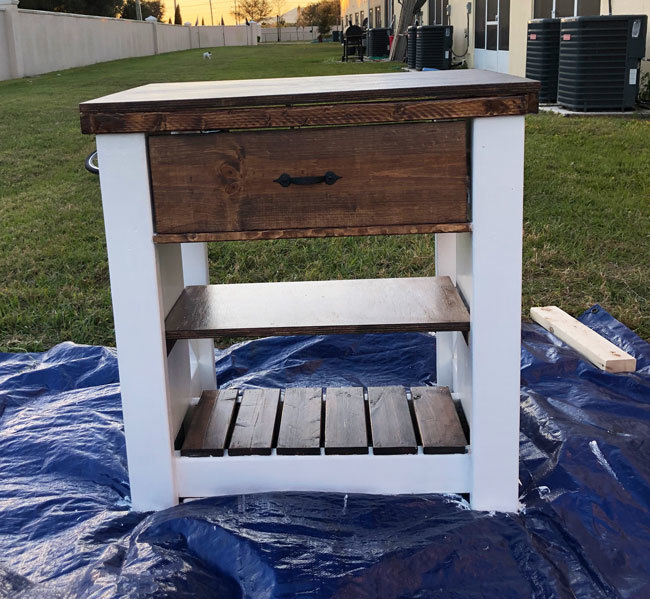
Had a lot of fun making this! Followed plans exactly!
Hallstand
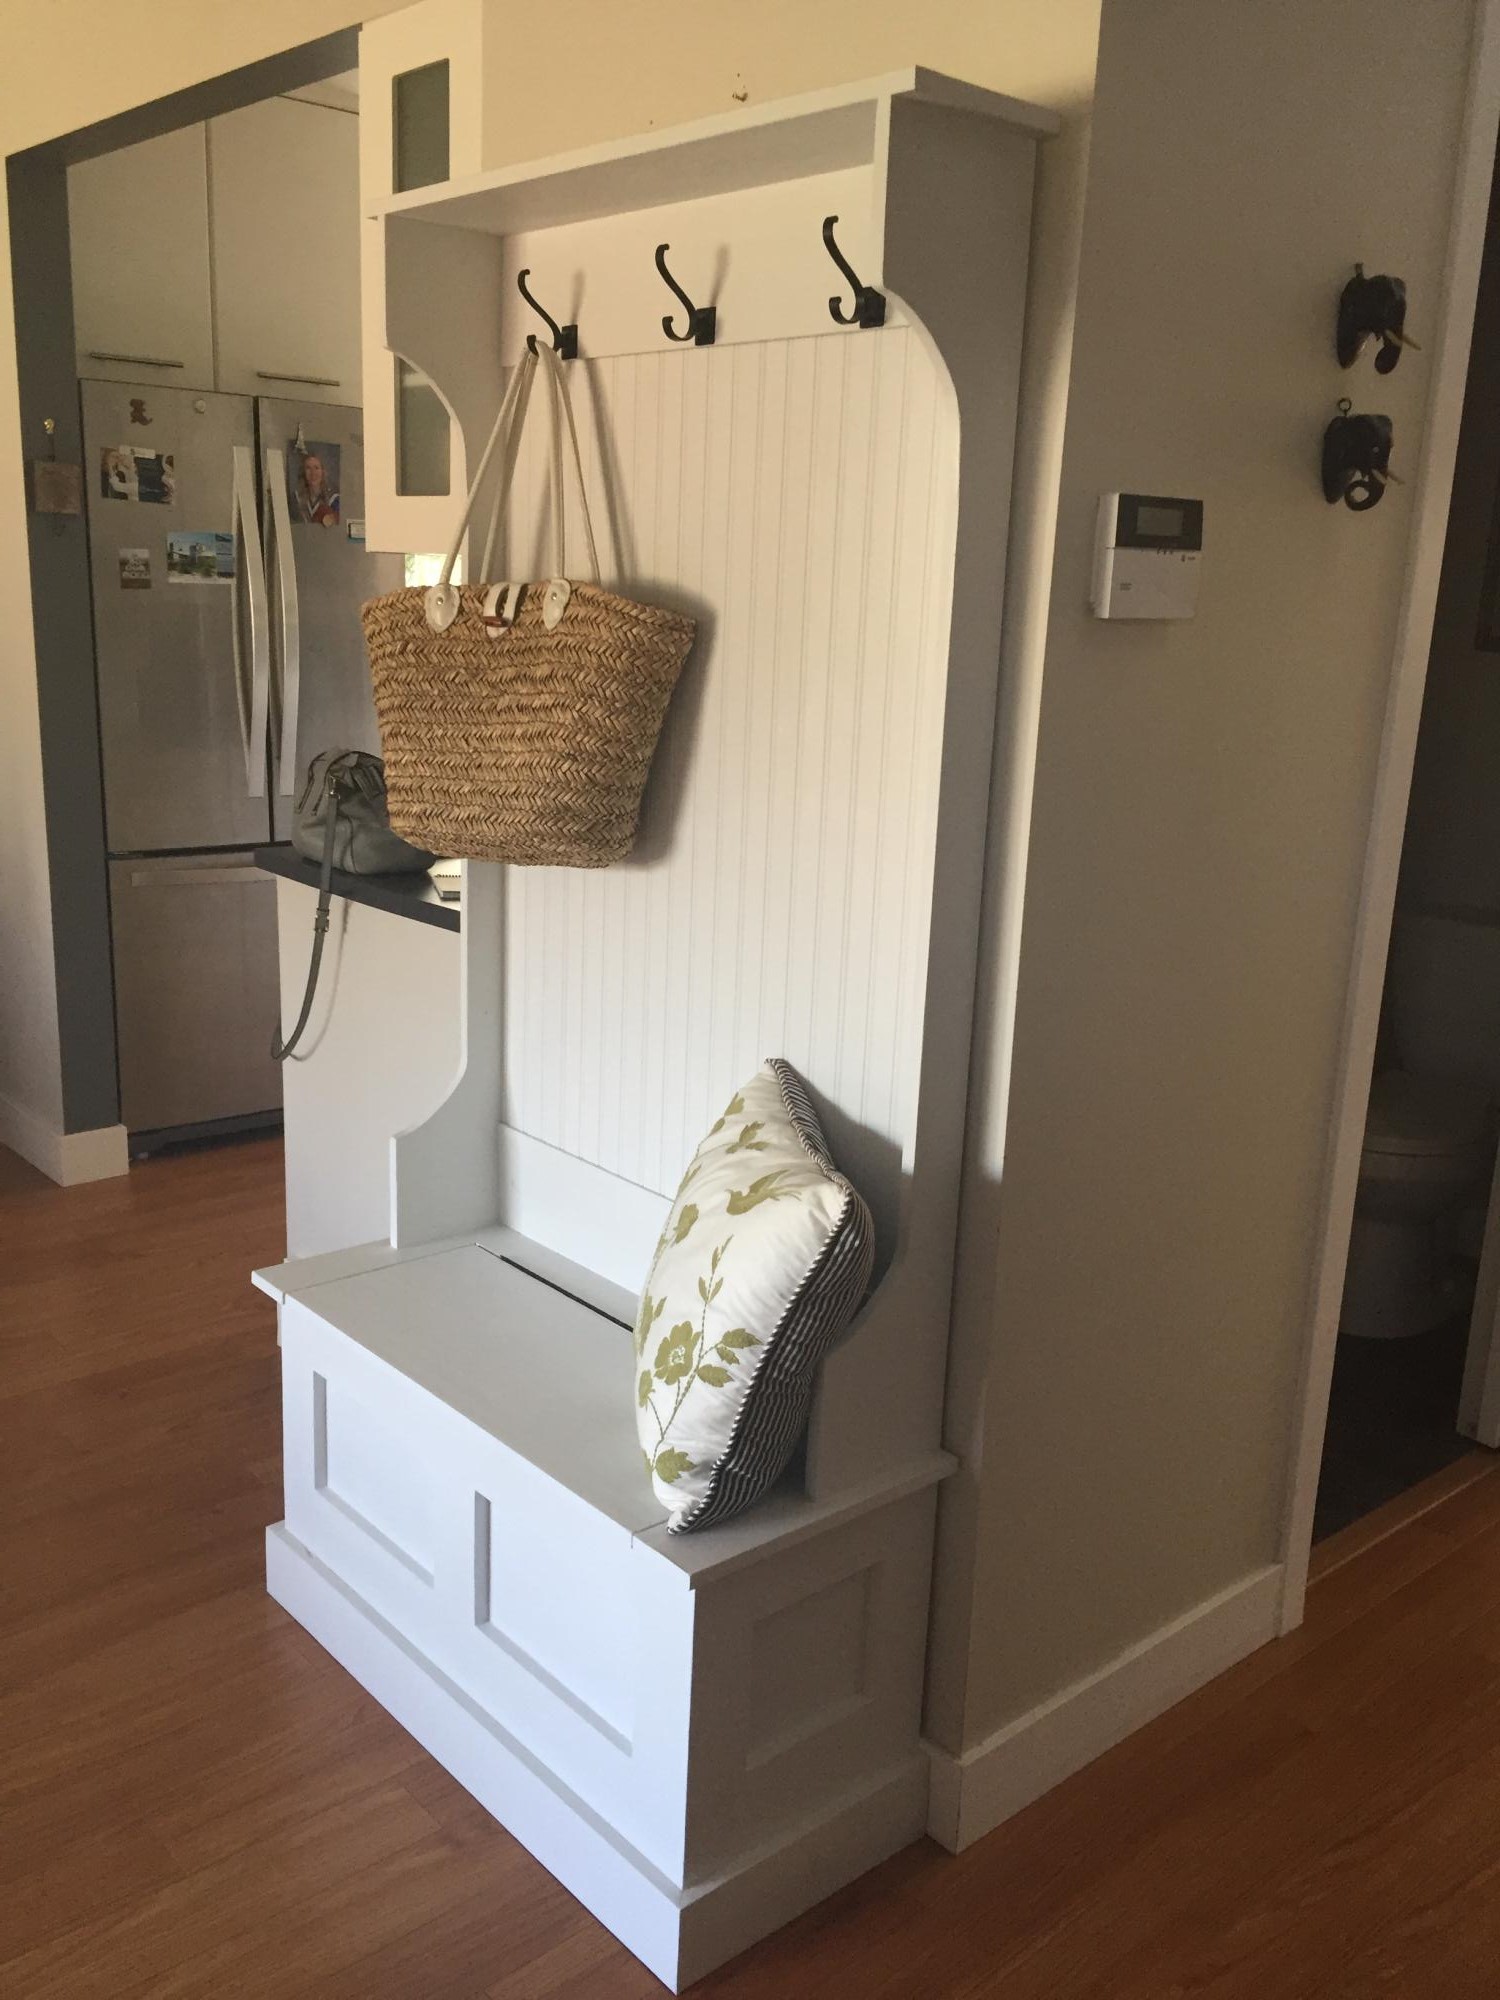
Just a fun plan free build from leftover wood
Comments
Tiled Rustic Bench
I used the Rustic Bench plans, but adjusted the length to make it smaller, since my plywood top was a bit wider and shorter than the top on the plan. It was the last remnant from our incredibly versatile plywood sheet. I also had to cut out the two cross supports, because 1) they’re too difficult for me to figure out (they’re not right in either of my benches) and 2) I didn’t feel like buying a board just for those. I had just the right amount of spare lumber lying around, and I was going to maximize it!
At first, I wanted to just build a bench for my sister for Christmas, and paint it like our island. But after visiting my parents over Thanksgiving and taking home some reclaimed tile from their old outdoor bar, I knew this bench had a better destiny than mere paint. When I laid down the tile scraps and they fit perfectly, I knew serendipity had spoken.
This was the first time I’d ever worked with tile. I did a little research (aka grilling my husband’s best friend, who is a tile guru), and discovered I didn’t really need any fancy materials to lay the tile down on. As it’s just a bench, and in no need for mold-prevention or cement board like bathroom walls, all I needed to do was rough up the plywood top with my grinder and a steel-wool like disk. With the bench already sanded and painted, I started the tiling process. I bought a bucket of tile adhesive and grout all-in-one, and went to town. I didn’t have a trowel, so I made do with my putty spatula. I just had to make the grooves in the adhesive one-by-one as opposed to one quick stroke. I spread the adhesive, laid the tiles, carefully washed off any overspread on the sides, and let it sit for 24 hours. Then I spread in the grout (it’s all the same stuff, just different application), washed the overspread off again, and let it sit for another 24 hours. Then I had a gorgeous top!
Comments
Camp Loft bed - modified
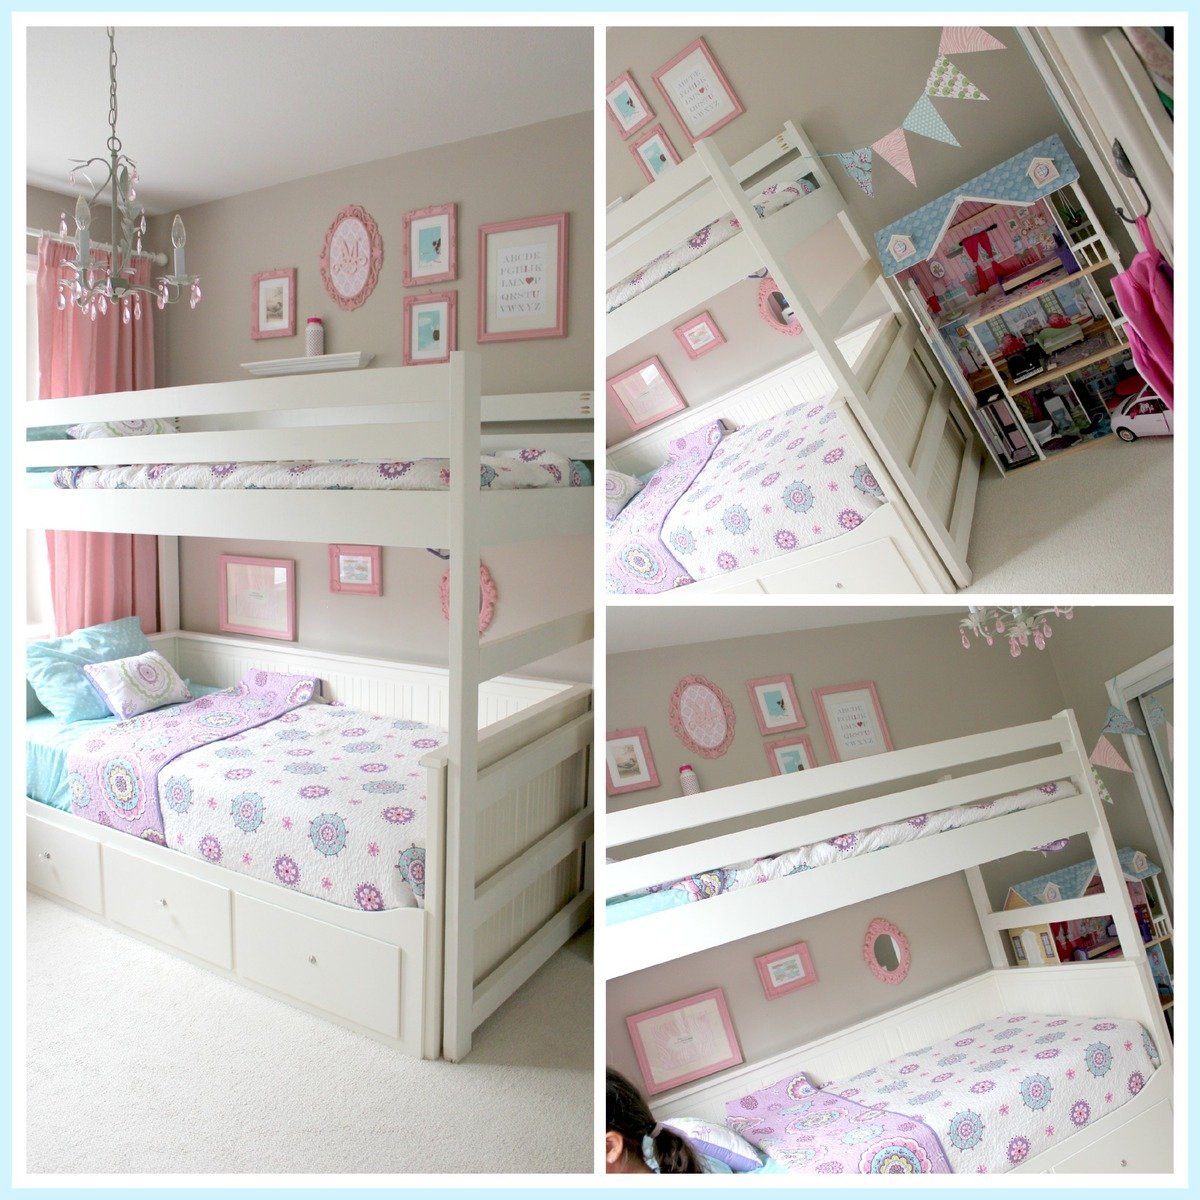
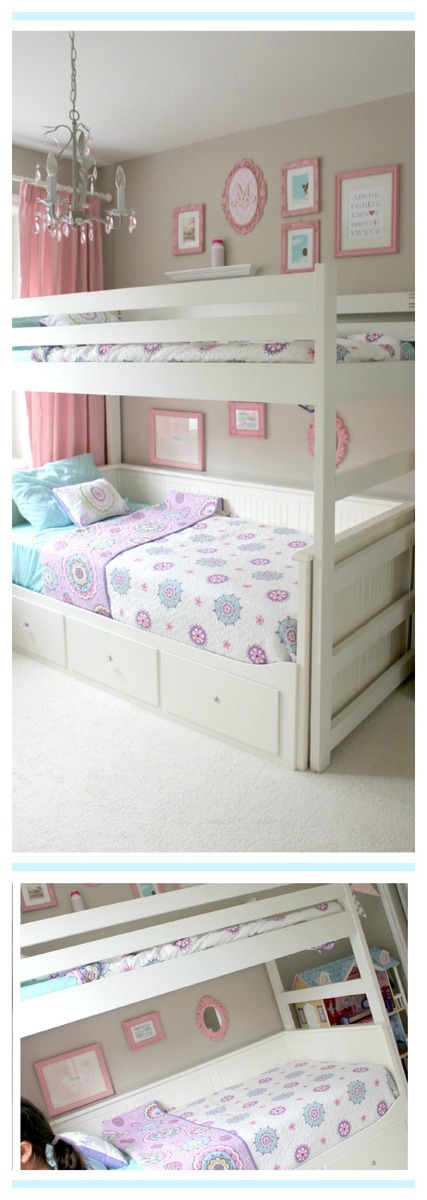
I liked the simple design of the camp loft bed, so I took the plan and modified it to fit over top of our existing Ikea daybed. I adjusted the width of the loft bed and made it a little taller, so that I could sit on the bottom bed and read to the kids with out hitting my head on the loft bed all the time.
I built the ladder into the side of the loft bed so that it wouldn't interfere with the drawers on the front of the daybed. This worked out well, as it also gives the girls more room to play!
This build is super easy, but I have to say that I don't like working with 2x4s. They are so rough....I spent a lot of time sanding and filling, and it's still not perfect. But I'm ok with it ;) I may add another cross support because it is a bit wobbly (probably b/c I made it taller).
The finish is a color matched 'All surface enamel' from Sherwin Williams.
Comments
Wed, 08/04/2021 - 06:38
Modified loft bed over hemnes
Hello Millhouse. I love the loft bed you created. I have the exact hemnes daybed for my daughter and I beg to build the same loft bed. Do you have the exact modified plan you used with the measurements that fit the bottom bed? This would be super helpful!! Thanks in advance!
Craft Table
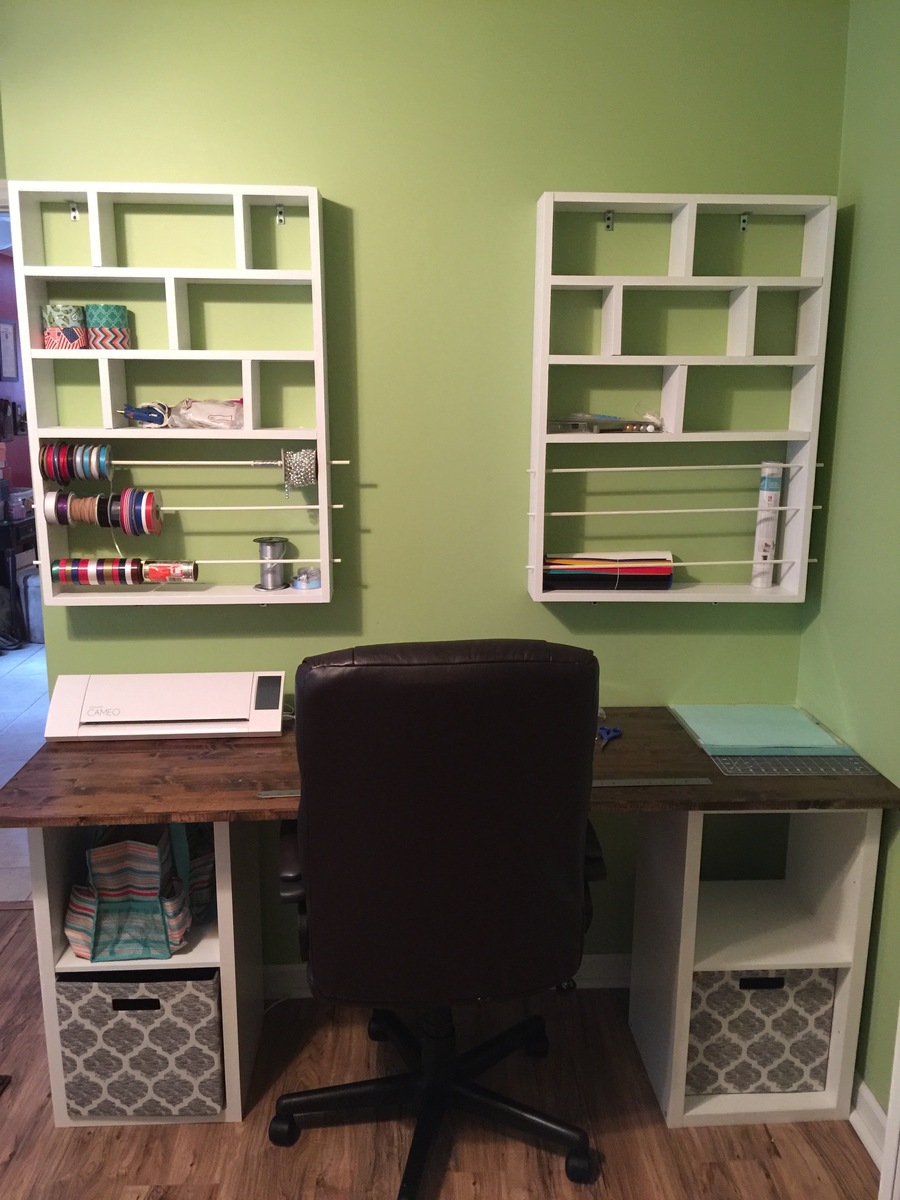
Project was rather simple. Just wanted to create a space that my wife could work her projects rather than always working on our dinning room table. Took the concept of the plans and made the table work for the space we had available.
Coffee Table Finished
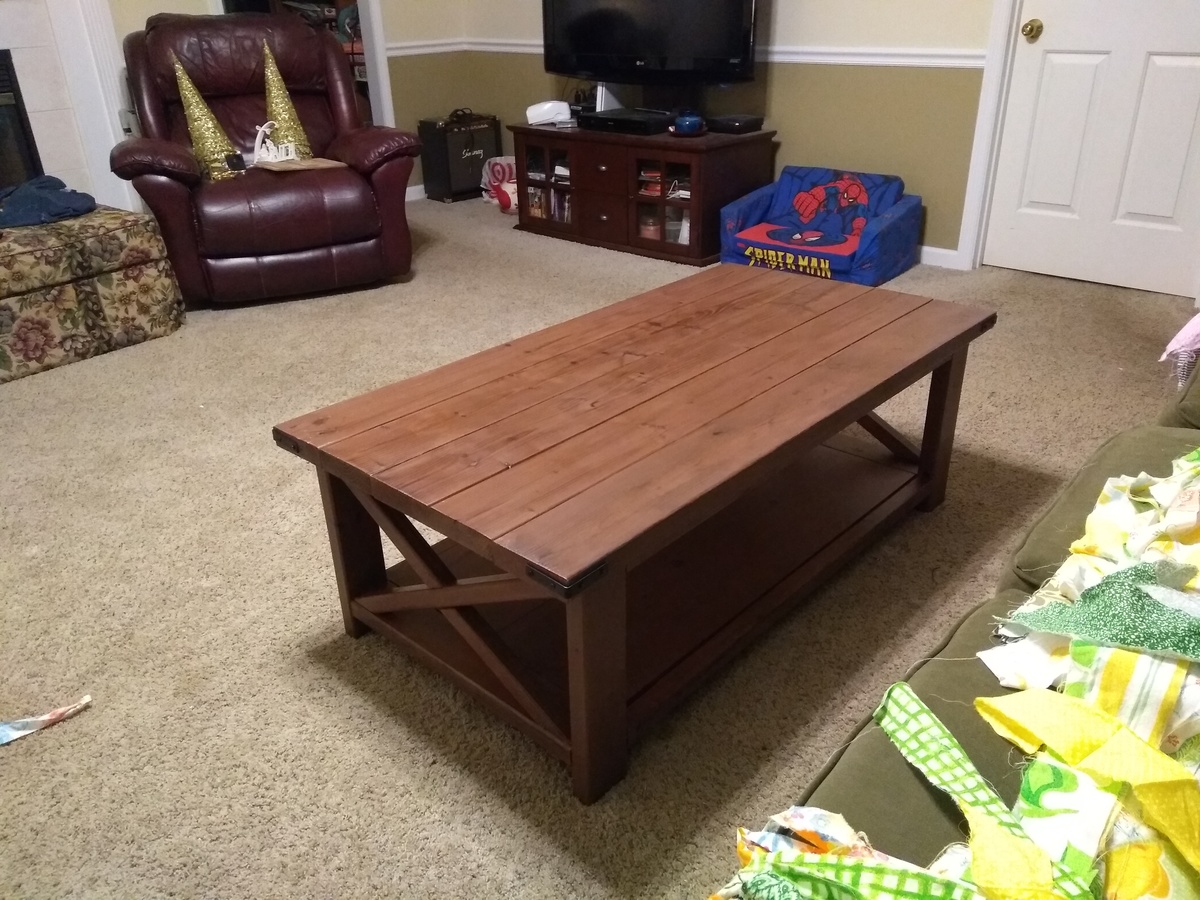
Glad to finish this build. Completed the matching end table over a year ago. Finally got around to find this table. I enjoy Ana's plans and look forward to selecting my next project. Thanks for the free plans!
School papers organized
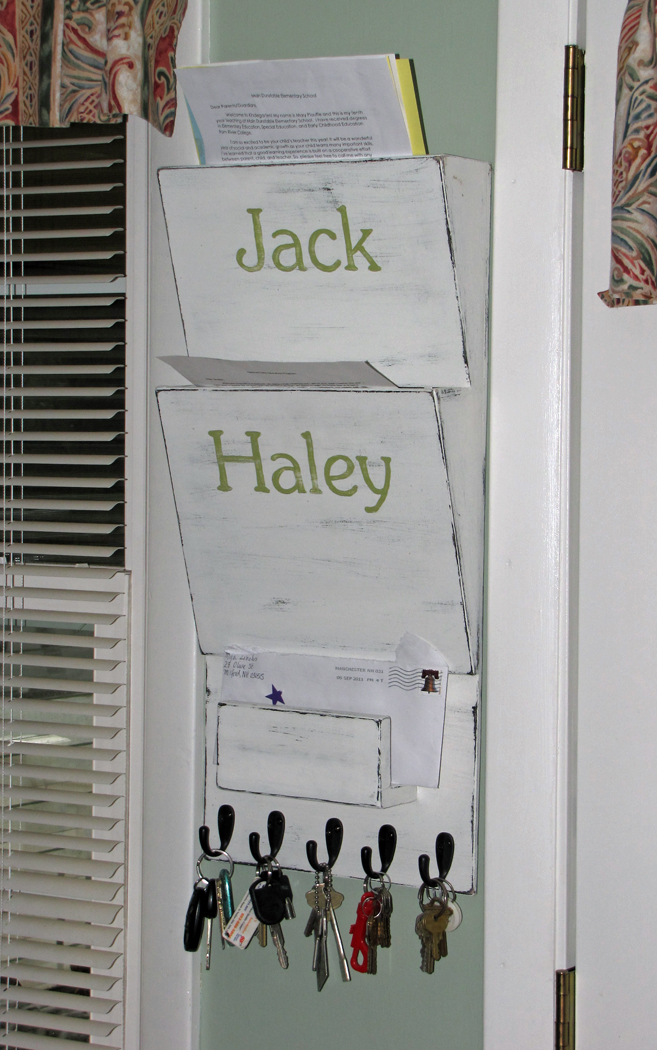
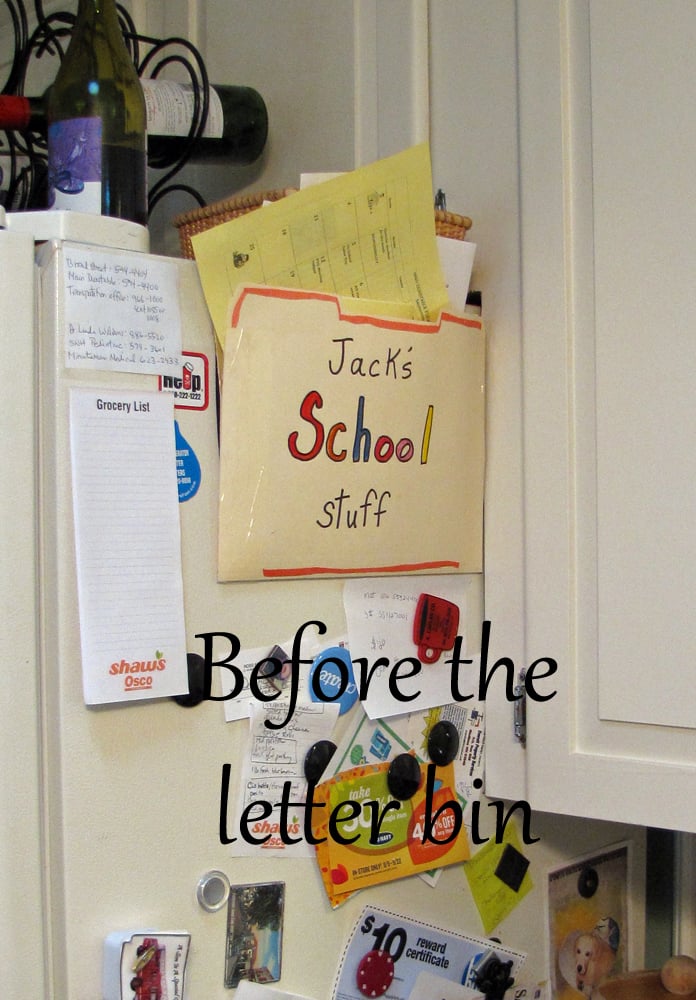
Now that we've got two kids in school, the previous system of storing school papers just wasn't going to work (see pic below). I used the plans on Ana's site as a guideline and made the letter bin to fit my space. I decided to also make it a holder for the mail and all our keys.
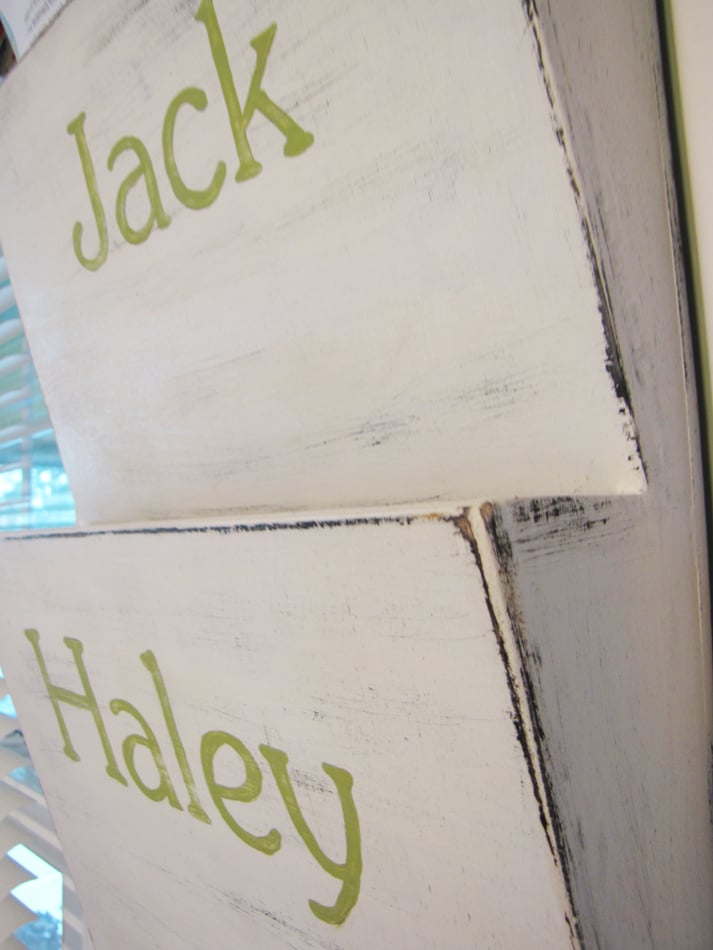
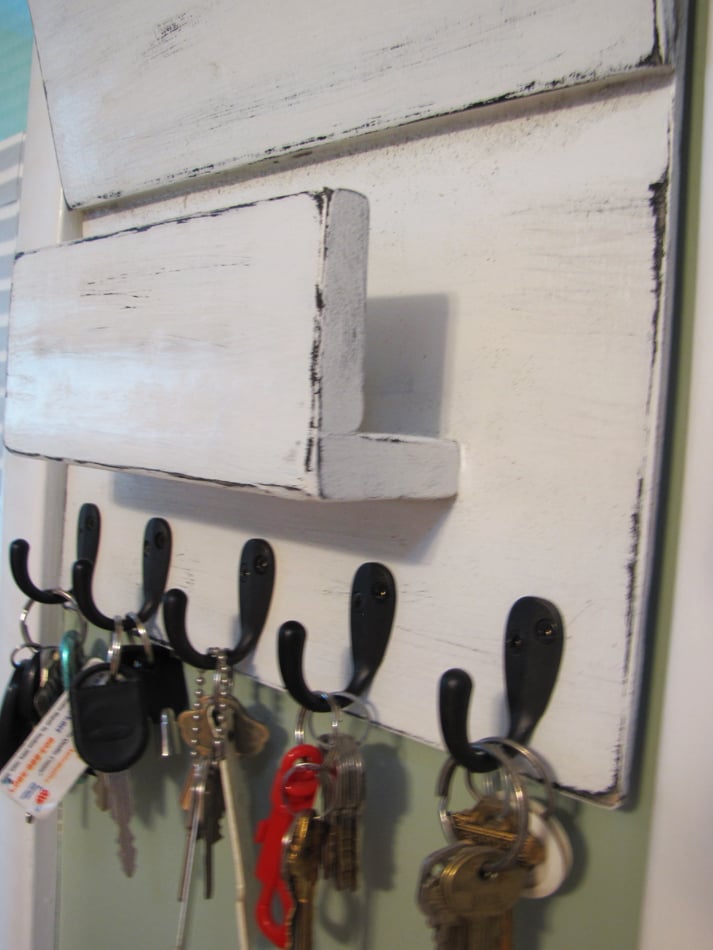
This was made used all leftover wood hanging out in the garage. Luan was used for the letter bin, and strapping (1/2" pine) was used for the mail holder. I spray painted black and then painted it a creamy white, the color of our house trim. I distressed a little bit and then added the hooks. I hope it can stand the test of time.
Comments
Fri, 09/09/2011 - 10:17
Looks Great!
I'm actually getting ready to make something like this. I love what you did to yours. Great work!!!
Fri, 09/09/2011 - 16:42
Awesome
I just made the PB letter bin and now I wish I would have added the key hanger to the bottom since with 6 cars, we have tons of keys all over the place. Maybe I will make a separate one..
This looks awesome and I live the distressed finish.
Providence Bench
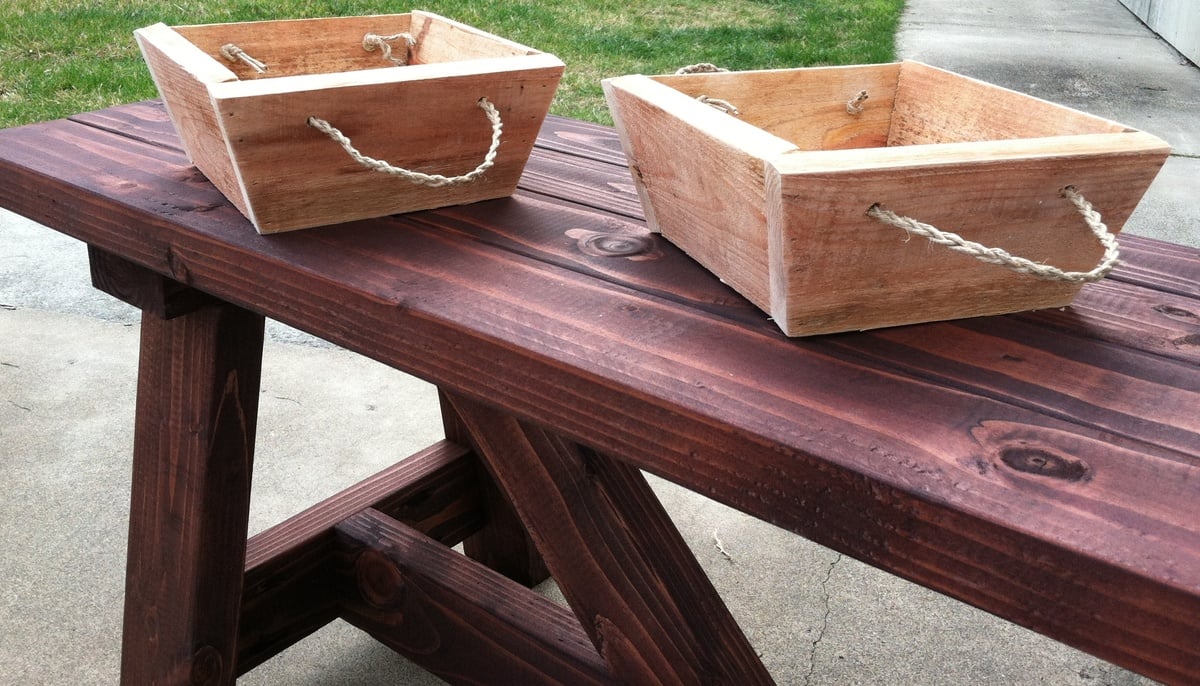
2x4s and a kreg jig is all you need!
Pallet wood daybed

I used silvered pallet wood that was constructed using the method outlined in the farmhouse bed headboard plans. In addition, I rabbeted the edges of the boards and glued them together. I took a cue from another builder and put the rear "box" legs more towards the center. It's a little high, but I love it! Thanks, Ana!

Twin Storage Bed
Built and shared by Romona Haney
Markham Workbench Console and Rustic Hutch
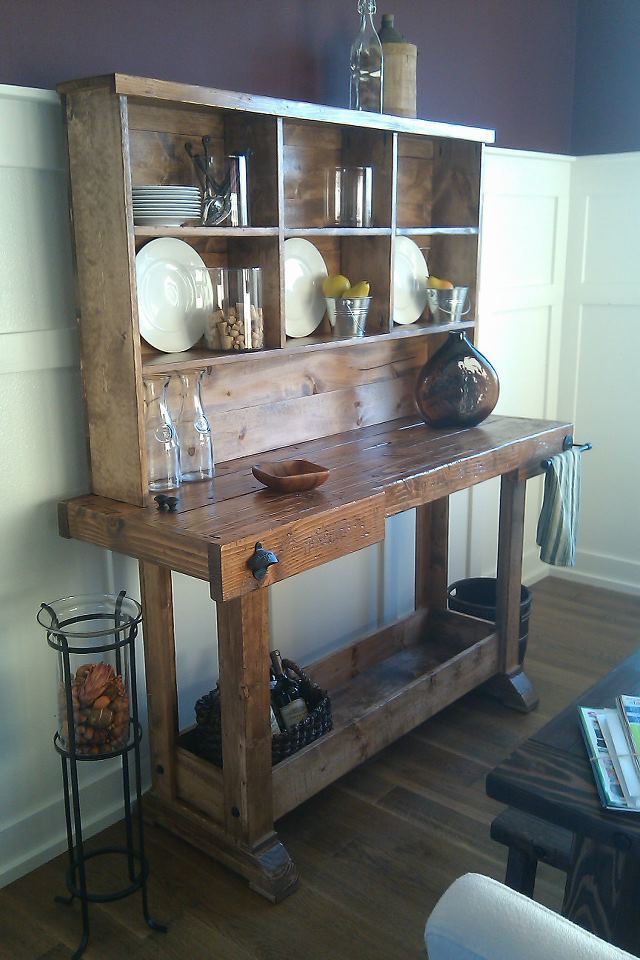
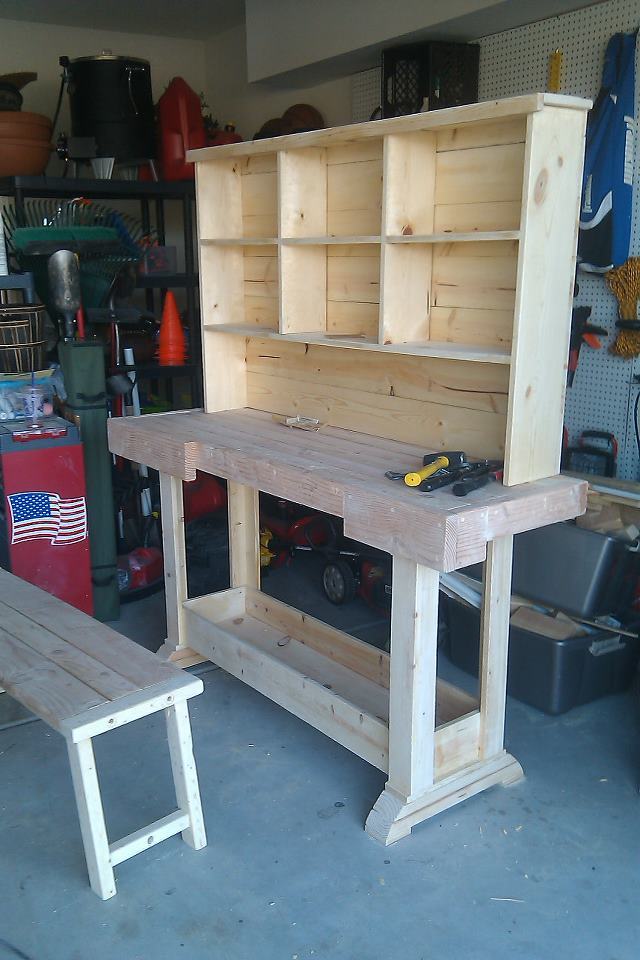
I first saw this workbench and hutch on Ana's website, but didn't commit to the project until I saw them in person, as part of a model home that had been decorated by local Pottery Barn design services. I was sold. I built this for roughly $1900.00 less than PB charges. It was an easy weekend build for a guy with less than one years' experience in this arena.
Comments
Thu, 09/15/2011 - 16:20
Nice dude! I just finished
Nice dude! I just finished my console last weekend. Was it worth it making the matching hutch? I haven't decided if I'll do it yet.....Great job though.
Thu, 09/22/2011 - 11:23
Absolutely. It's minimal time
Absolutely. It's minimal time investment, and it really seems to finish the piece off. I went with seven 1x6's (instead of a plywood backing) to give the hutch a planked look.
Sat, 09/17/2011 - 15:19
Very very nice. This has
Very very nice. This has been on my build list for way toooo long. It is beautiful and inspiring! Thanks!!!
Fri, 02/24/2012 - 05:43
legs and the kreg jig
Great job! I'm starting this same project and just purchased the kreg jig system but I'm stuck on assembling the table legs using pocket holes. I don't want to have visible pocket holes, could you give a quick description on how you assembled the legs and attached them to the feet using pocket holes? Thanks!


Comments
kandre05
Wed, 11/30/2016 - 10:39
Chest
Thank You!