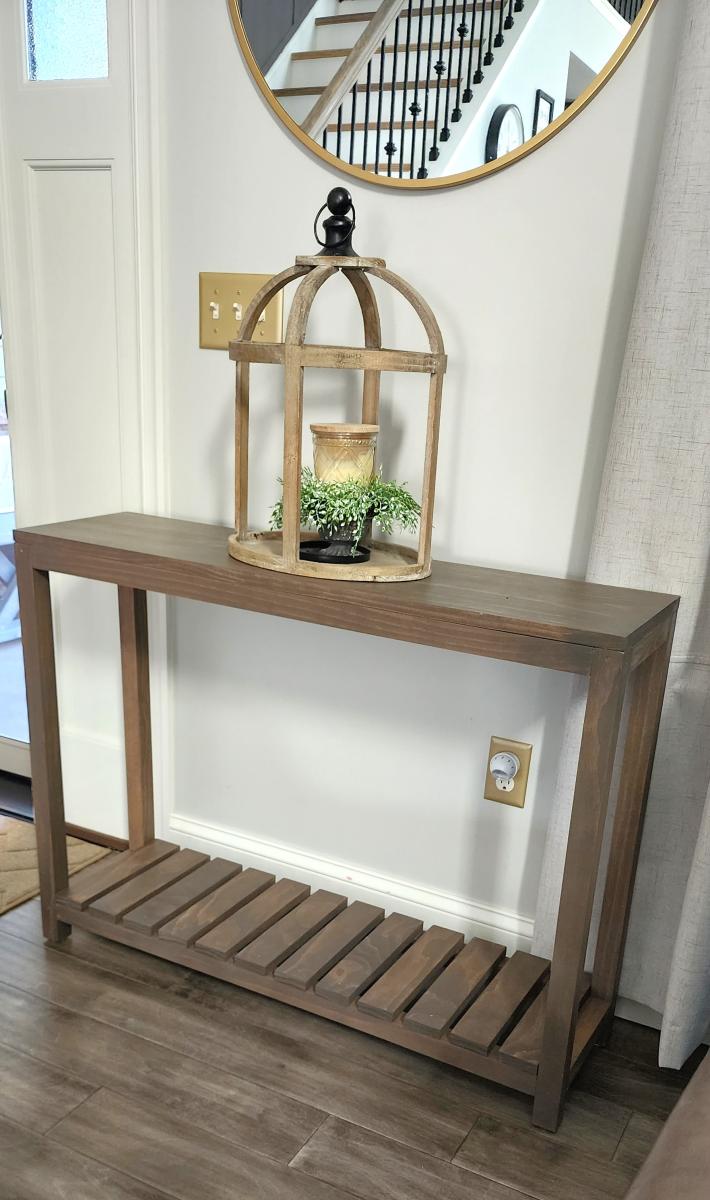
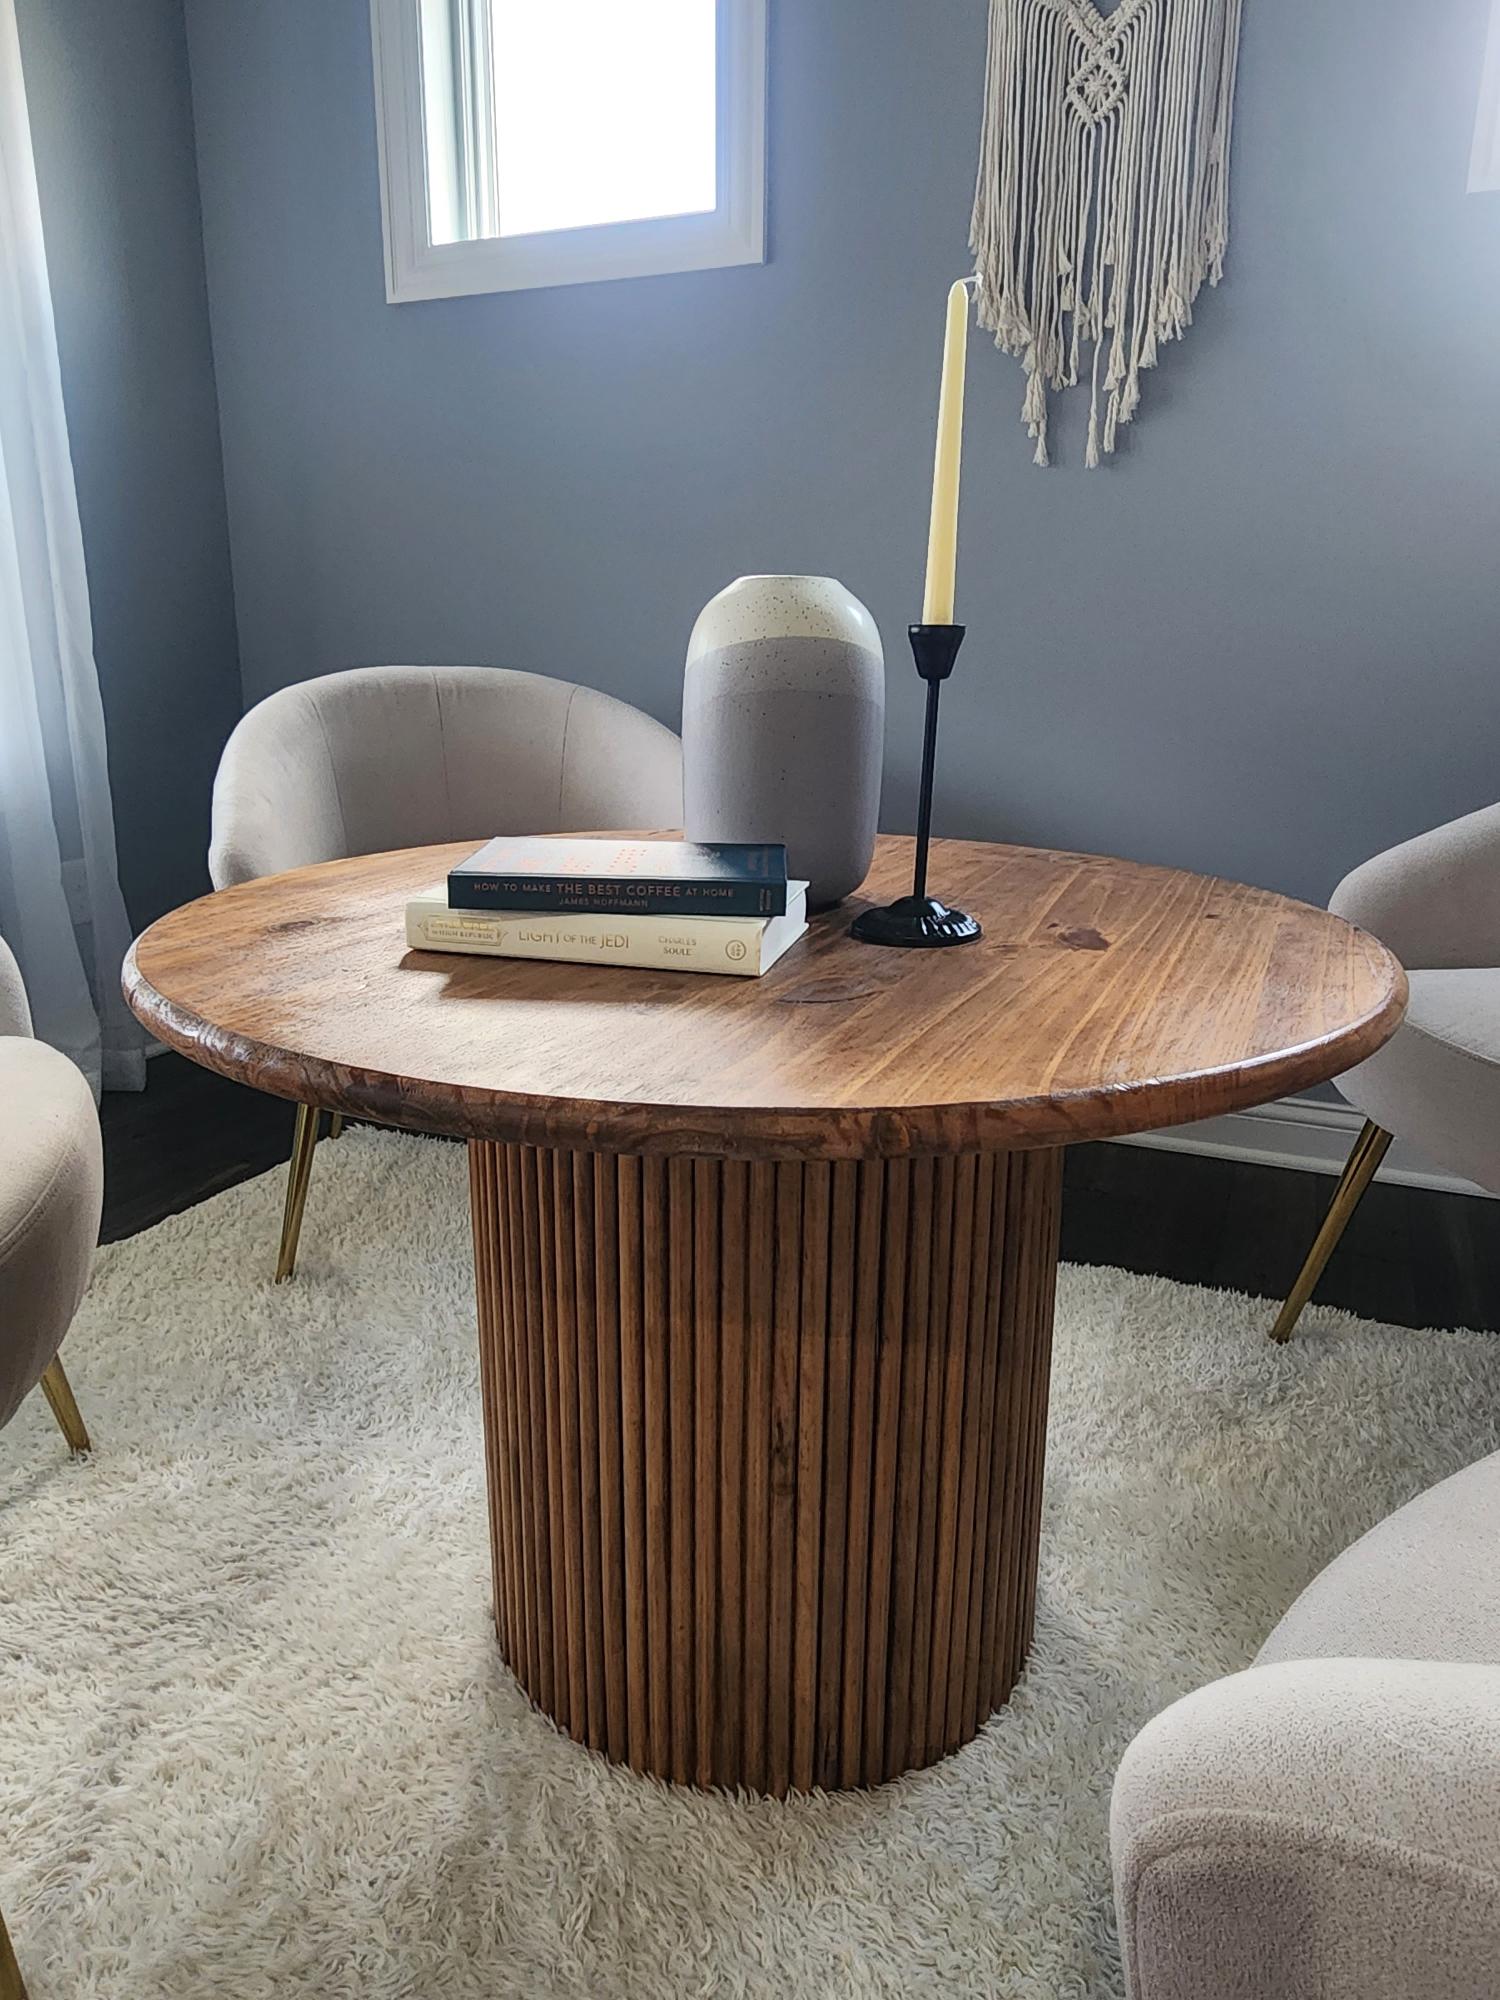
Box Frame Console with Bottom Shelf
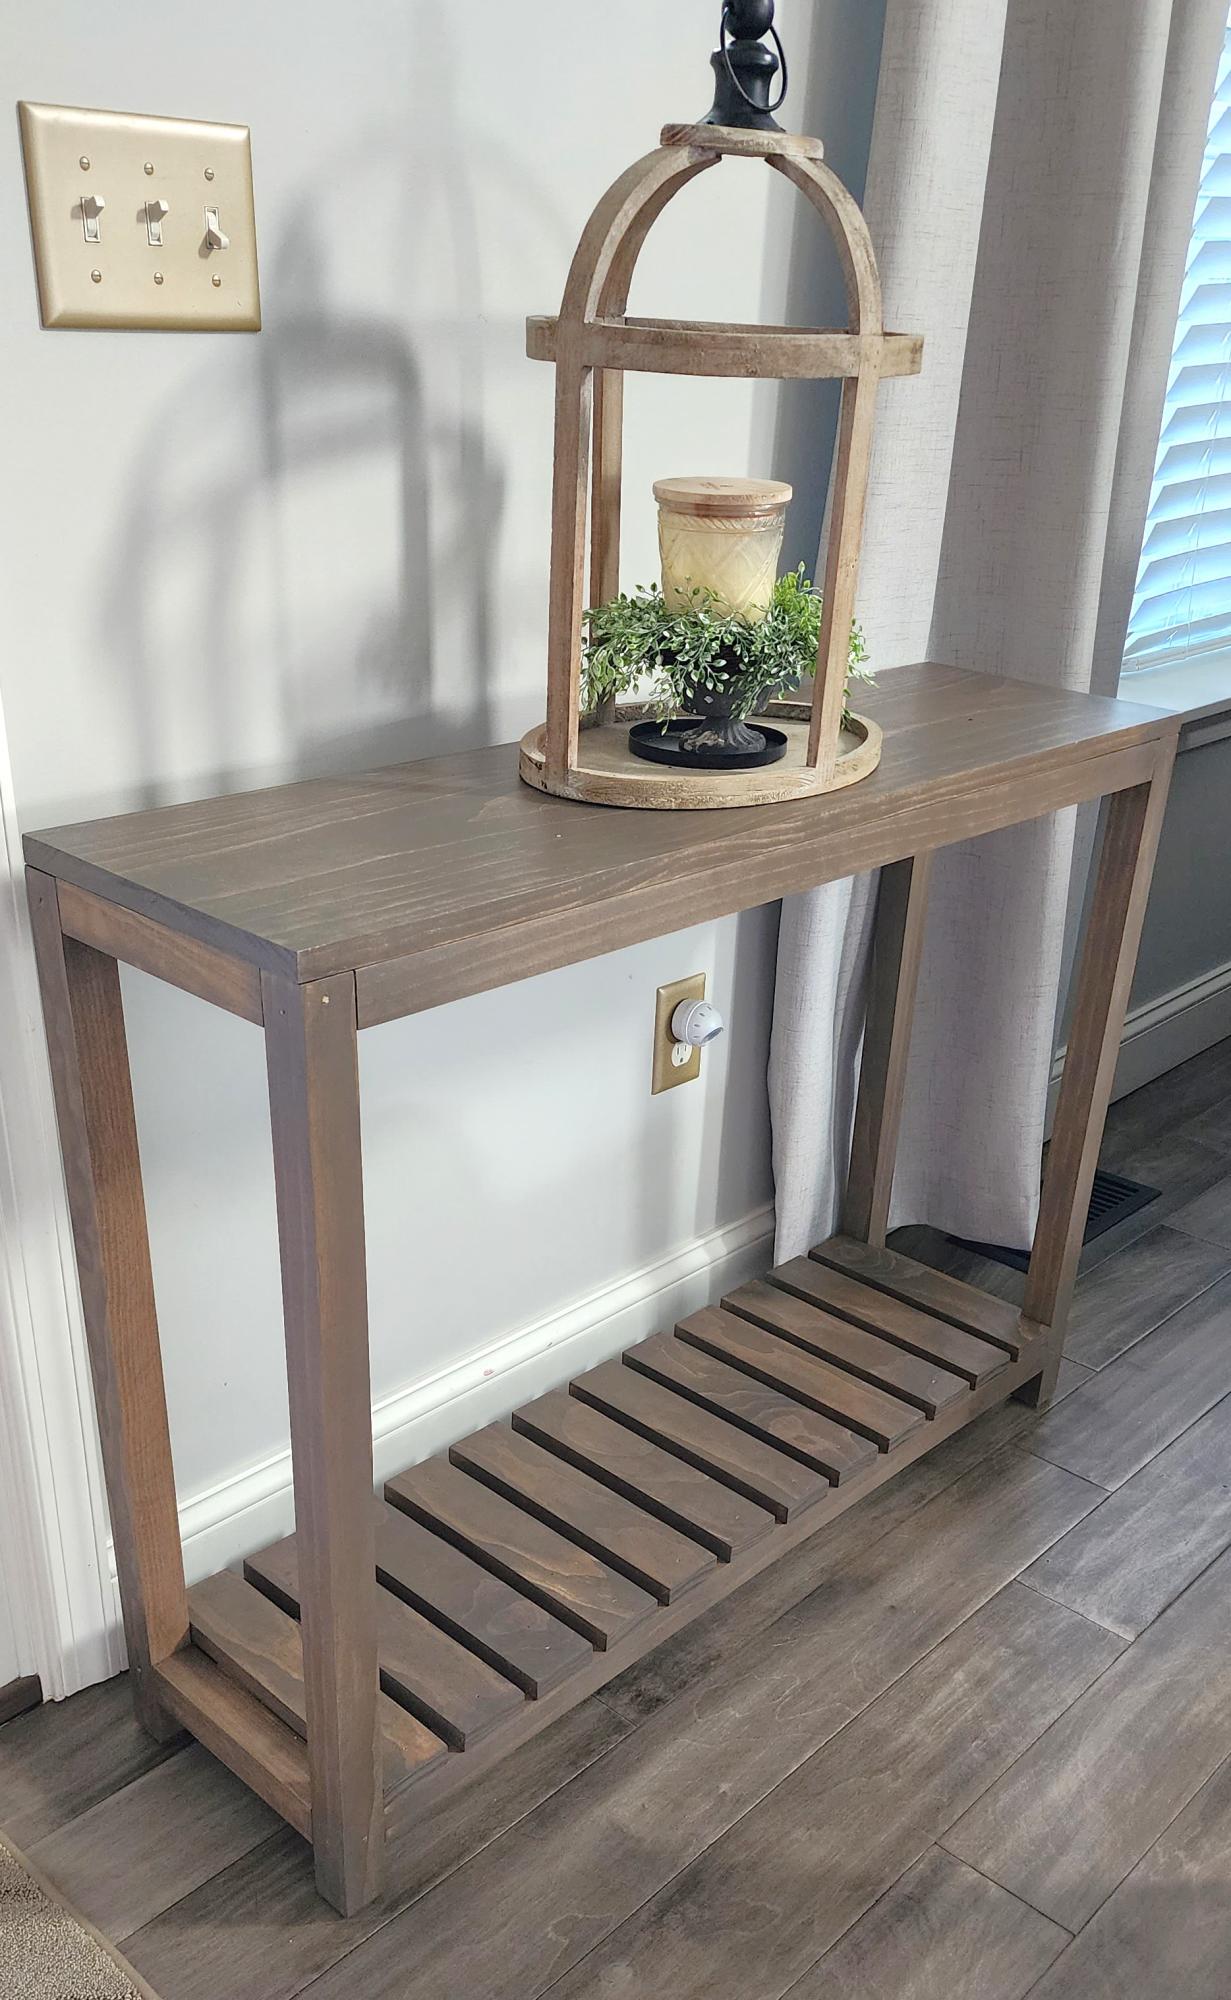
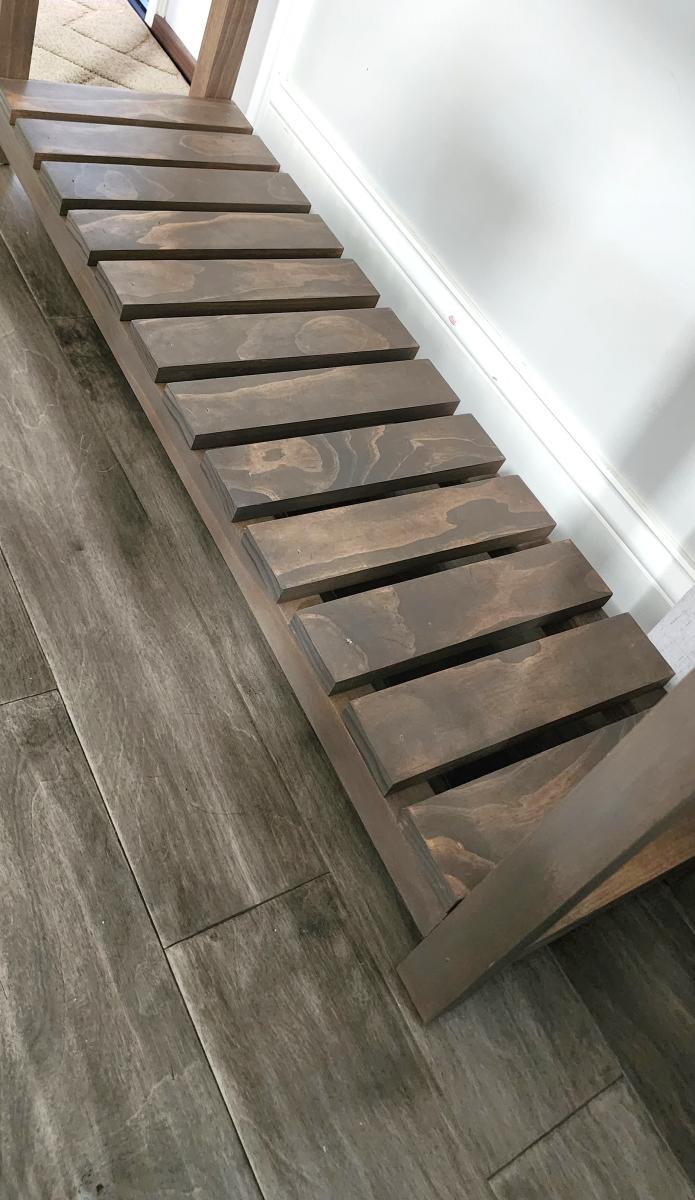
Entry Way Table with Slatted Bottom!
Built from Plan(s)
Entry Way Table with Slatted Bottom!
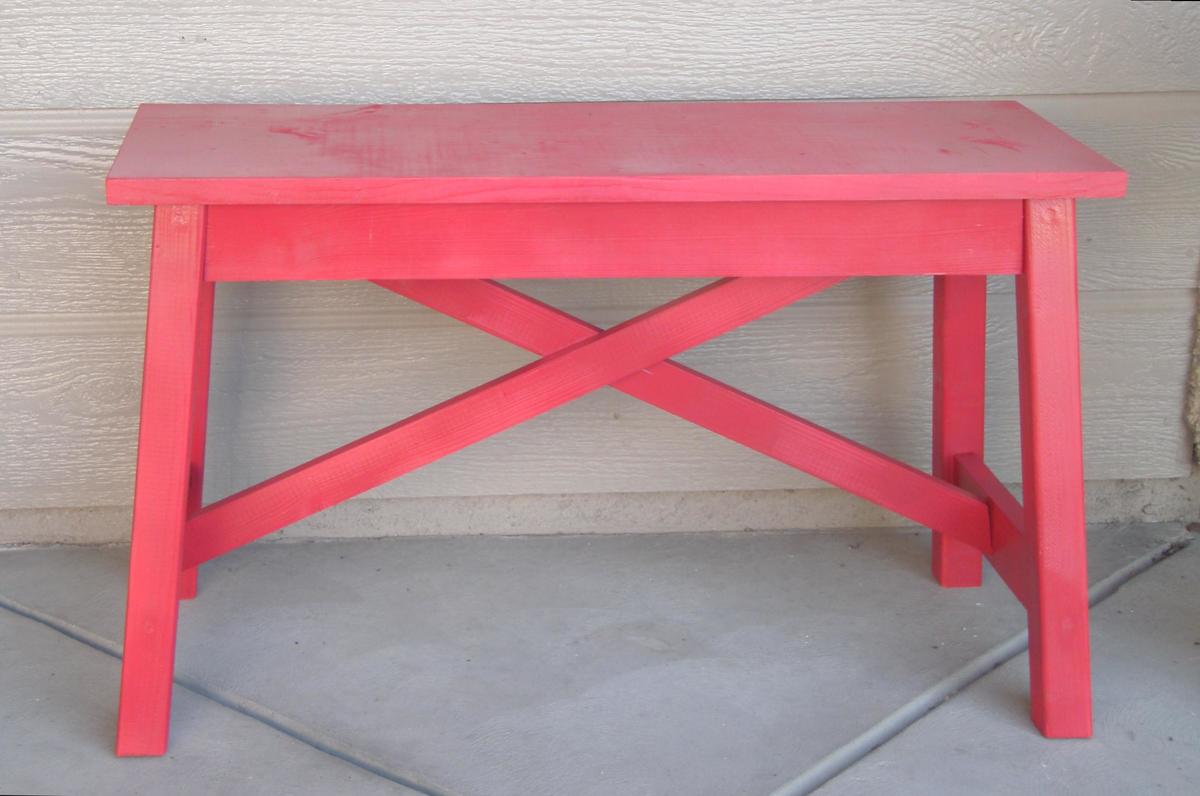
When I saw the plans for this bench I knew I had to make it. I had been looking for something to put on my porch, but hadn't found anything I liked.
I, or should I say, my husband had all the tools just sitting in the garage.
It was a great starter project. I definitely felt the learning curve. Thank goodness for wood filler and paint!

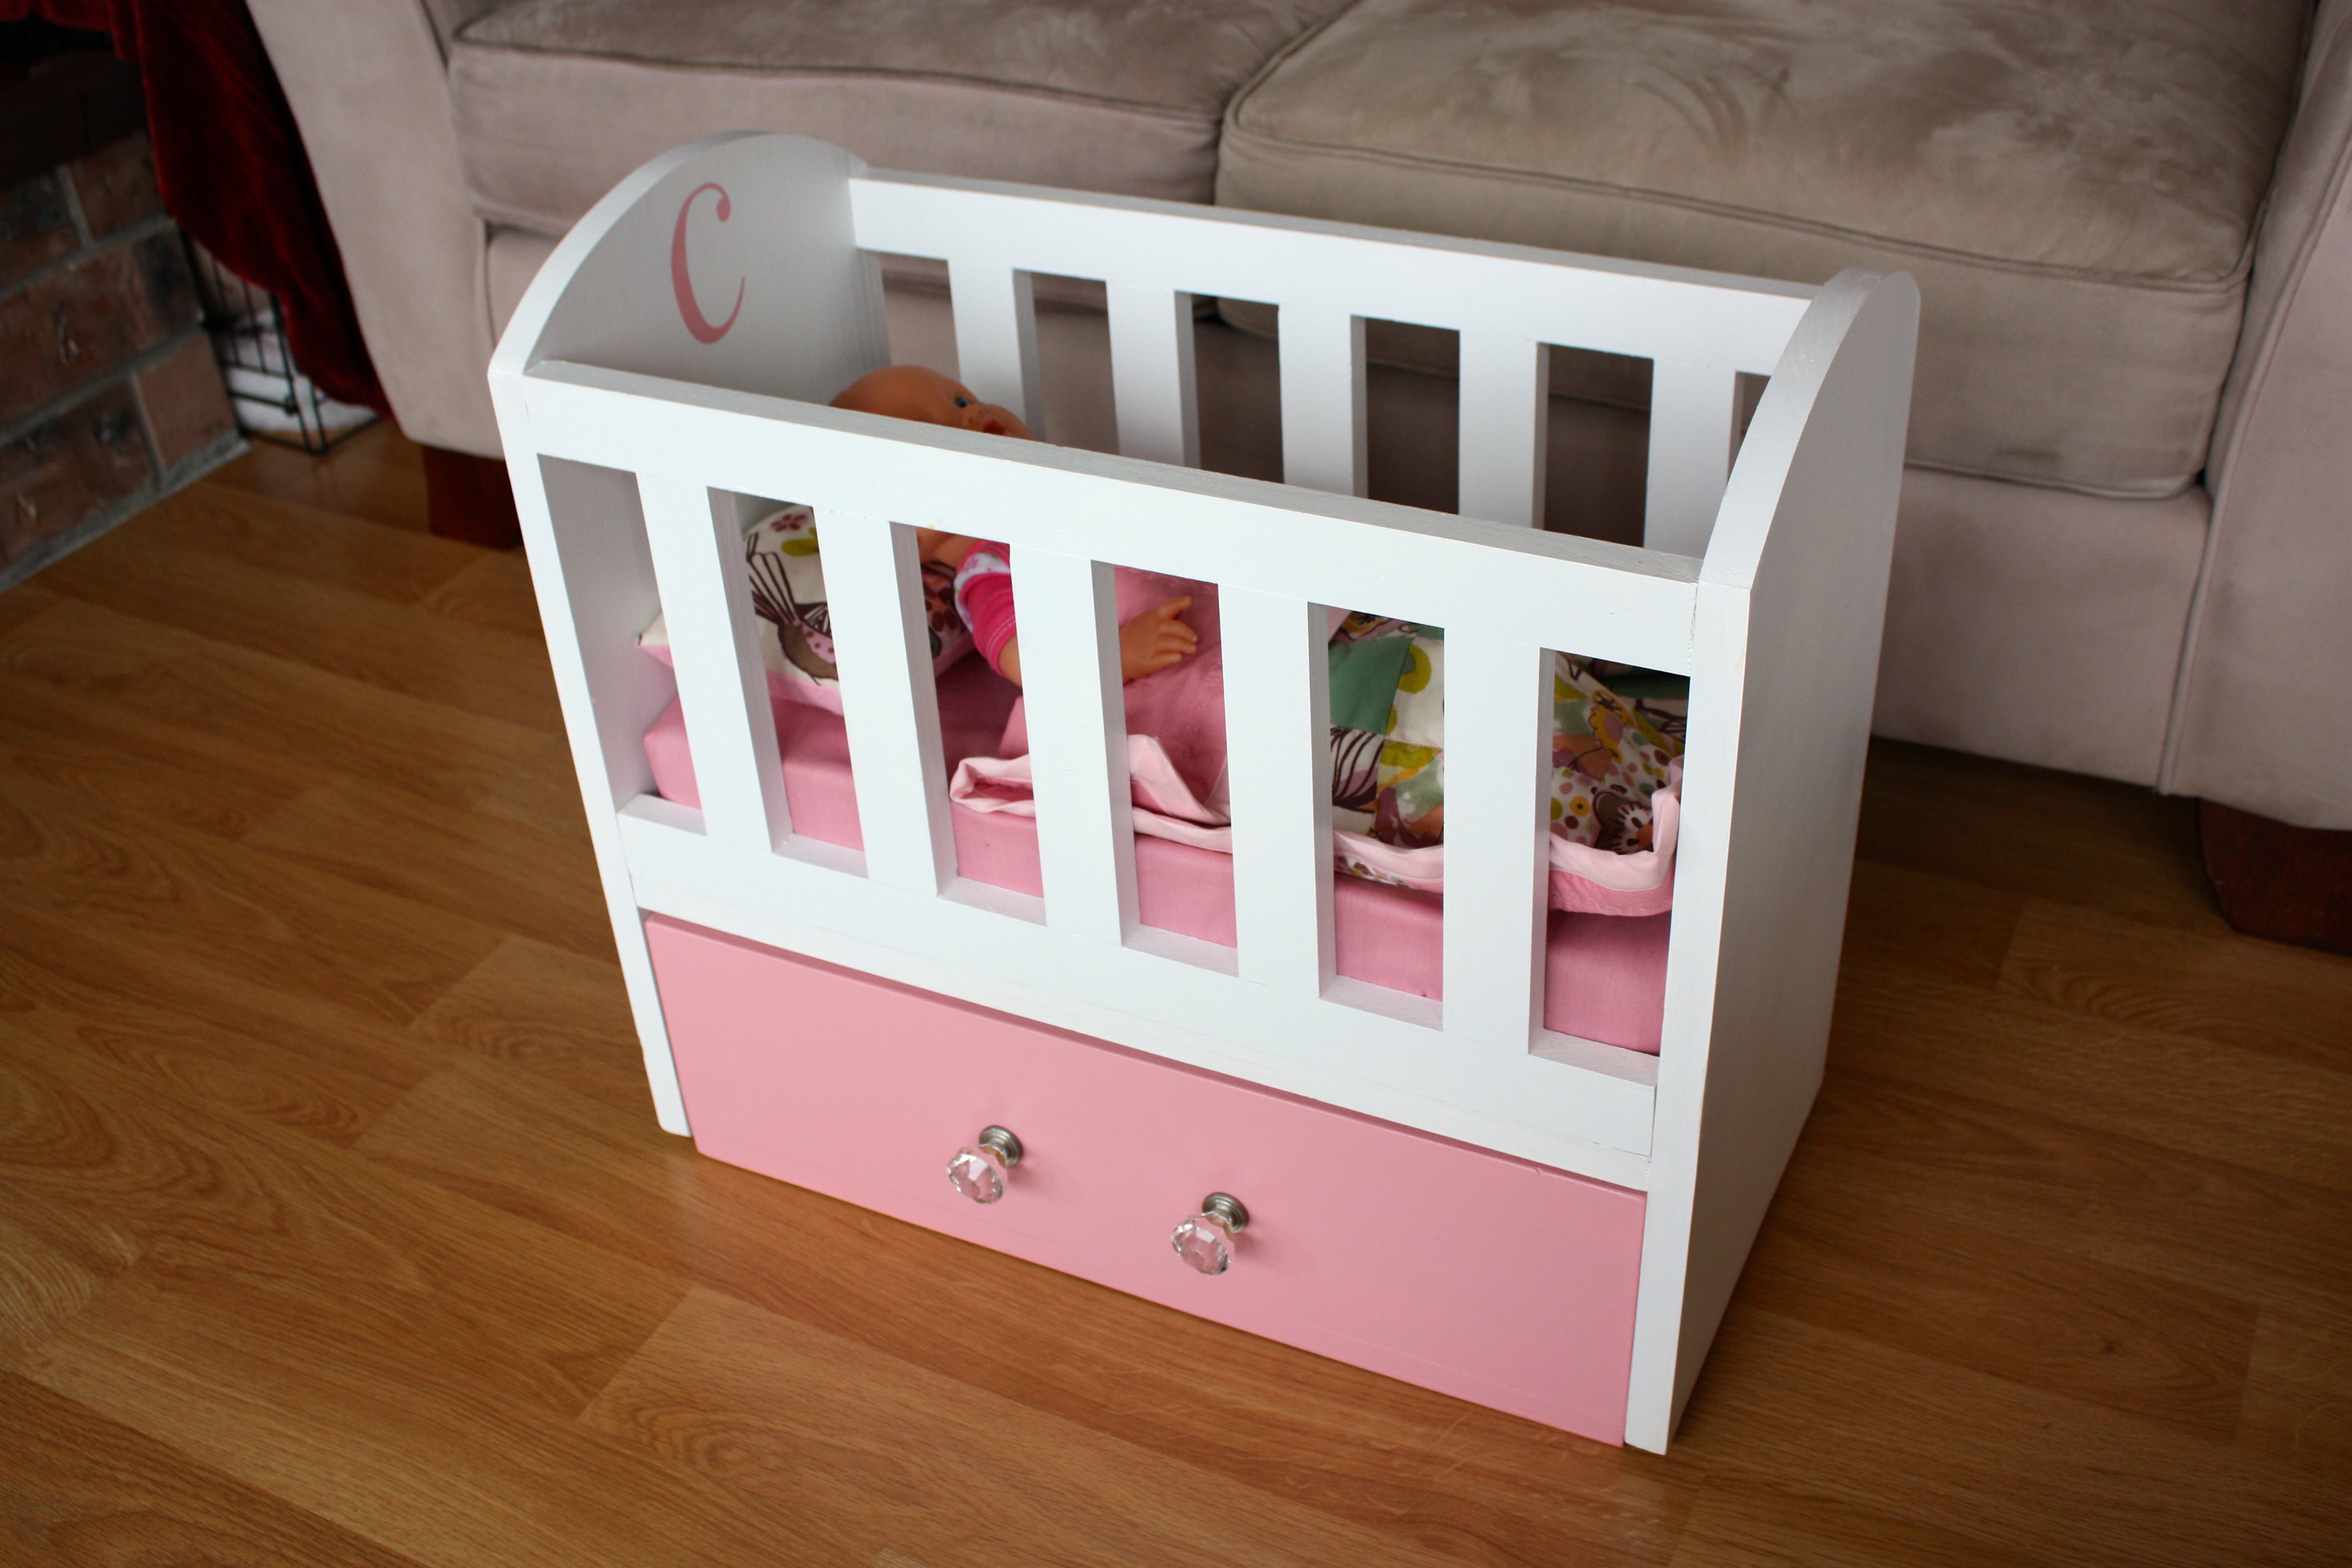
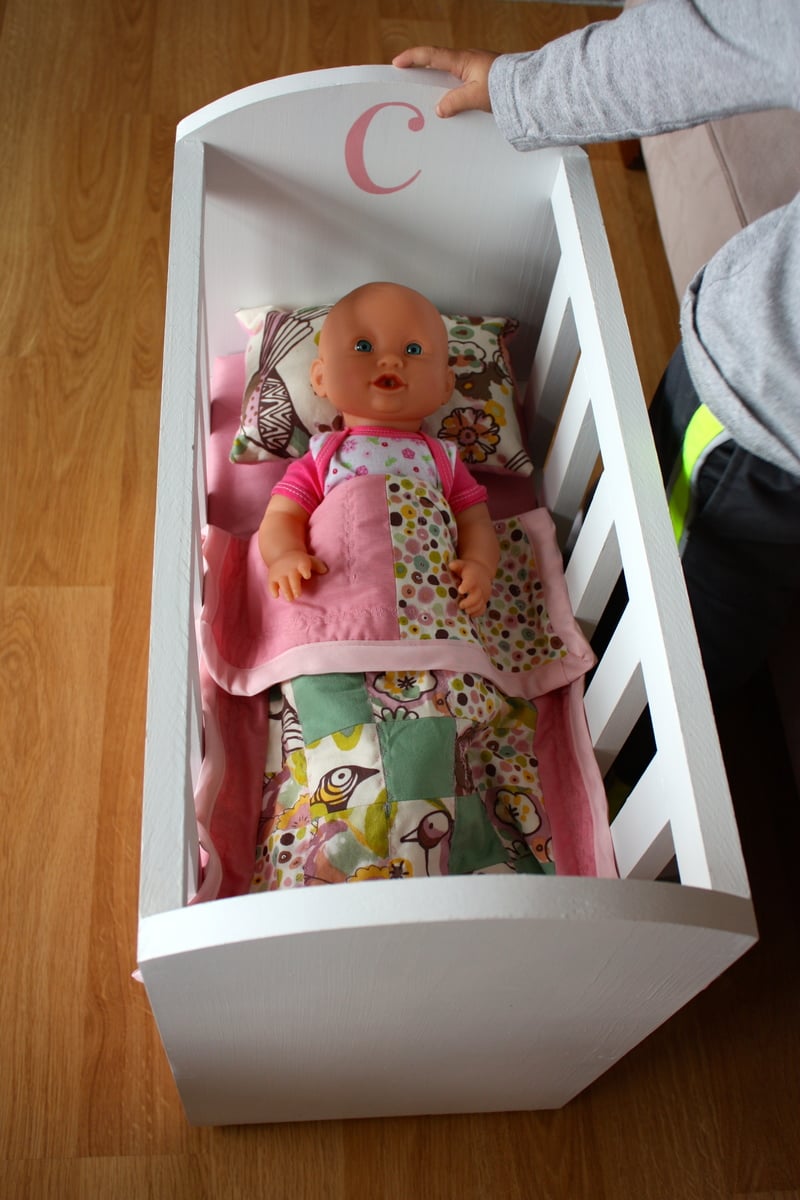
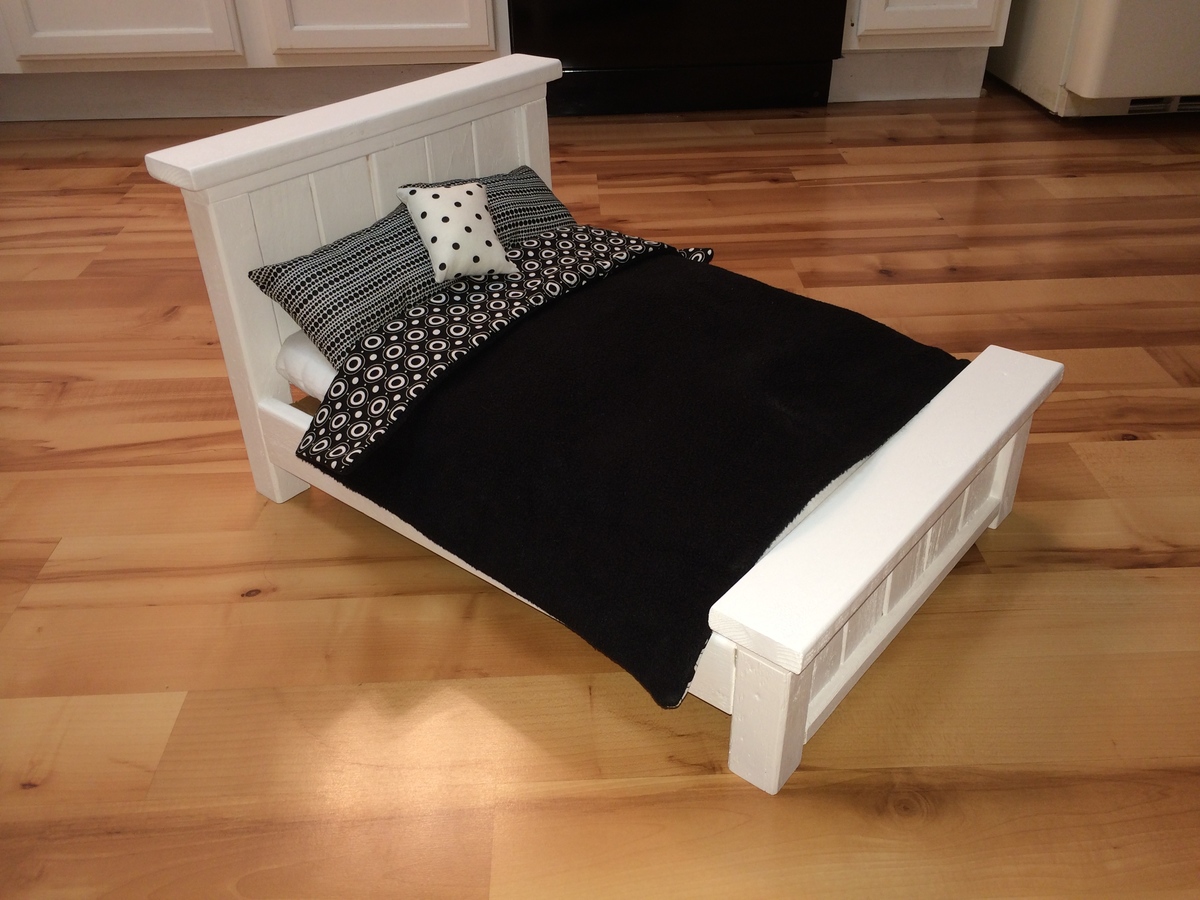
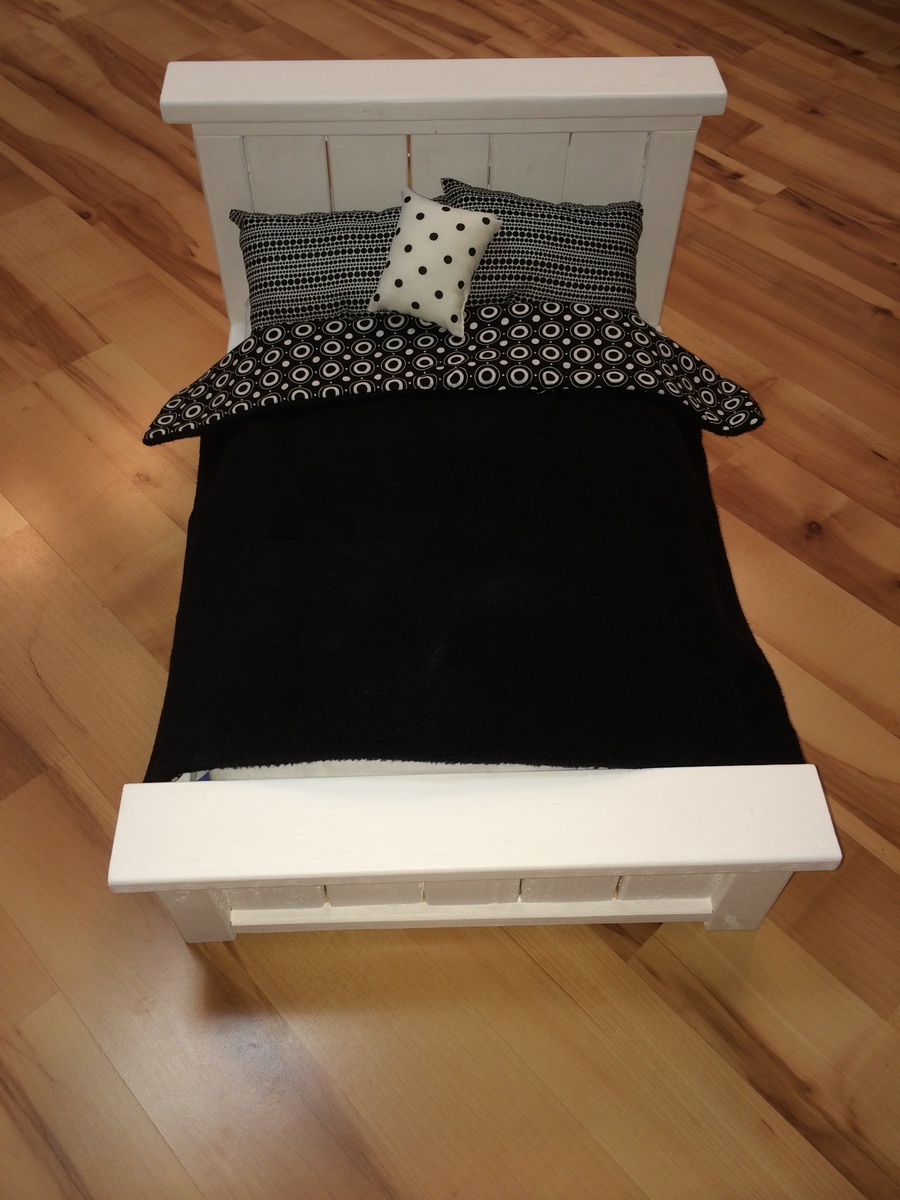
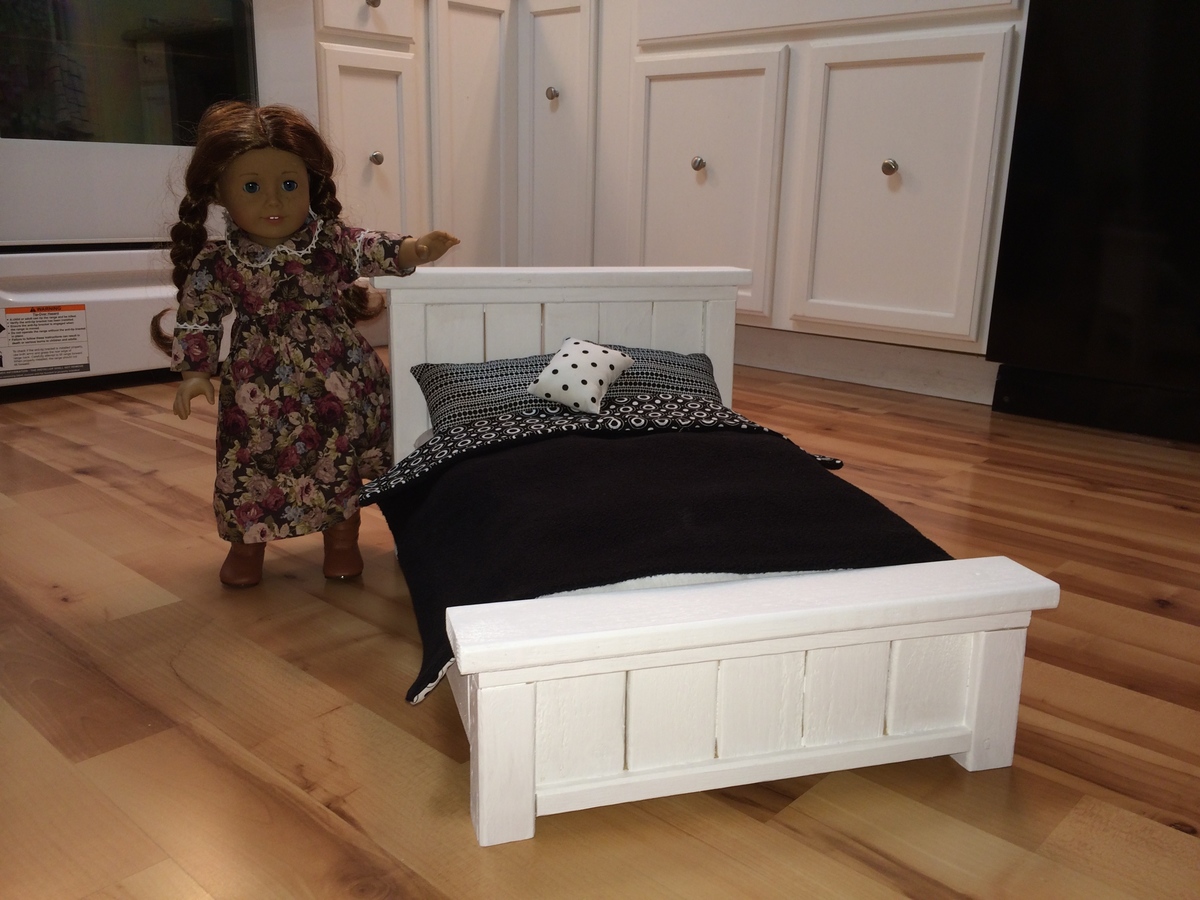
The moment I saw these plans I knew it would be the perfect Christmas gift for my daughter. We followed the plans fairly exactly, only using knobs instead of a notch in the drawer and adding some small furniture slides on the bottom. I had some left over fabric from the linens I sewed for my daughter's room and used these to create a mattress cover, pillow, and small quilt. She loves it. The drawer underneath is great for extra doll clothes, bottles, diapers, etc.
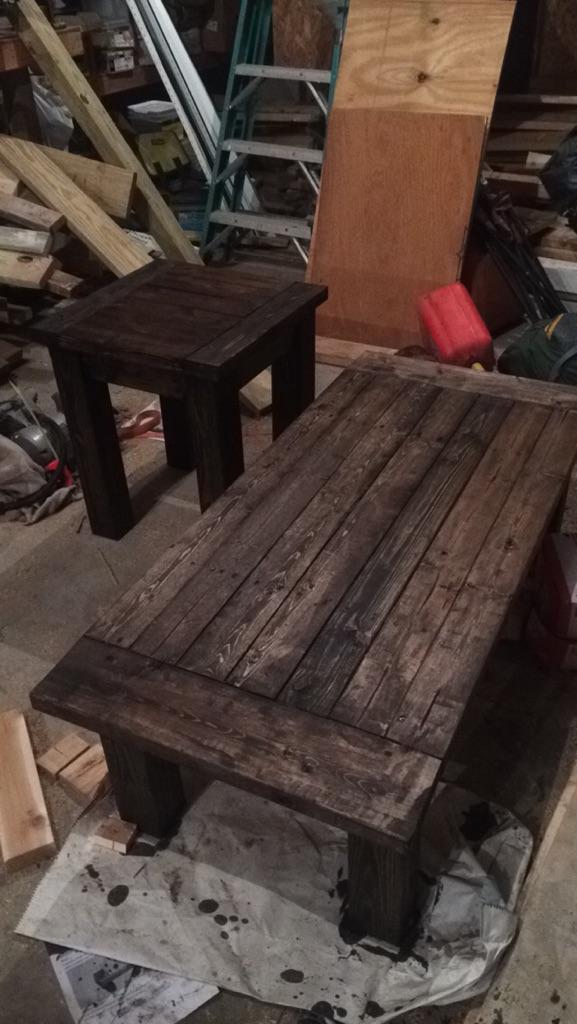
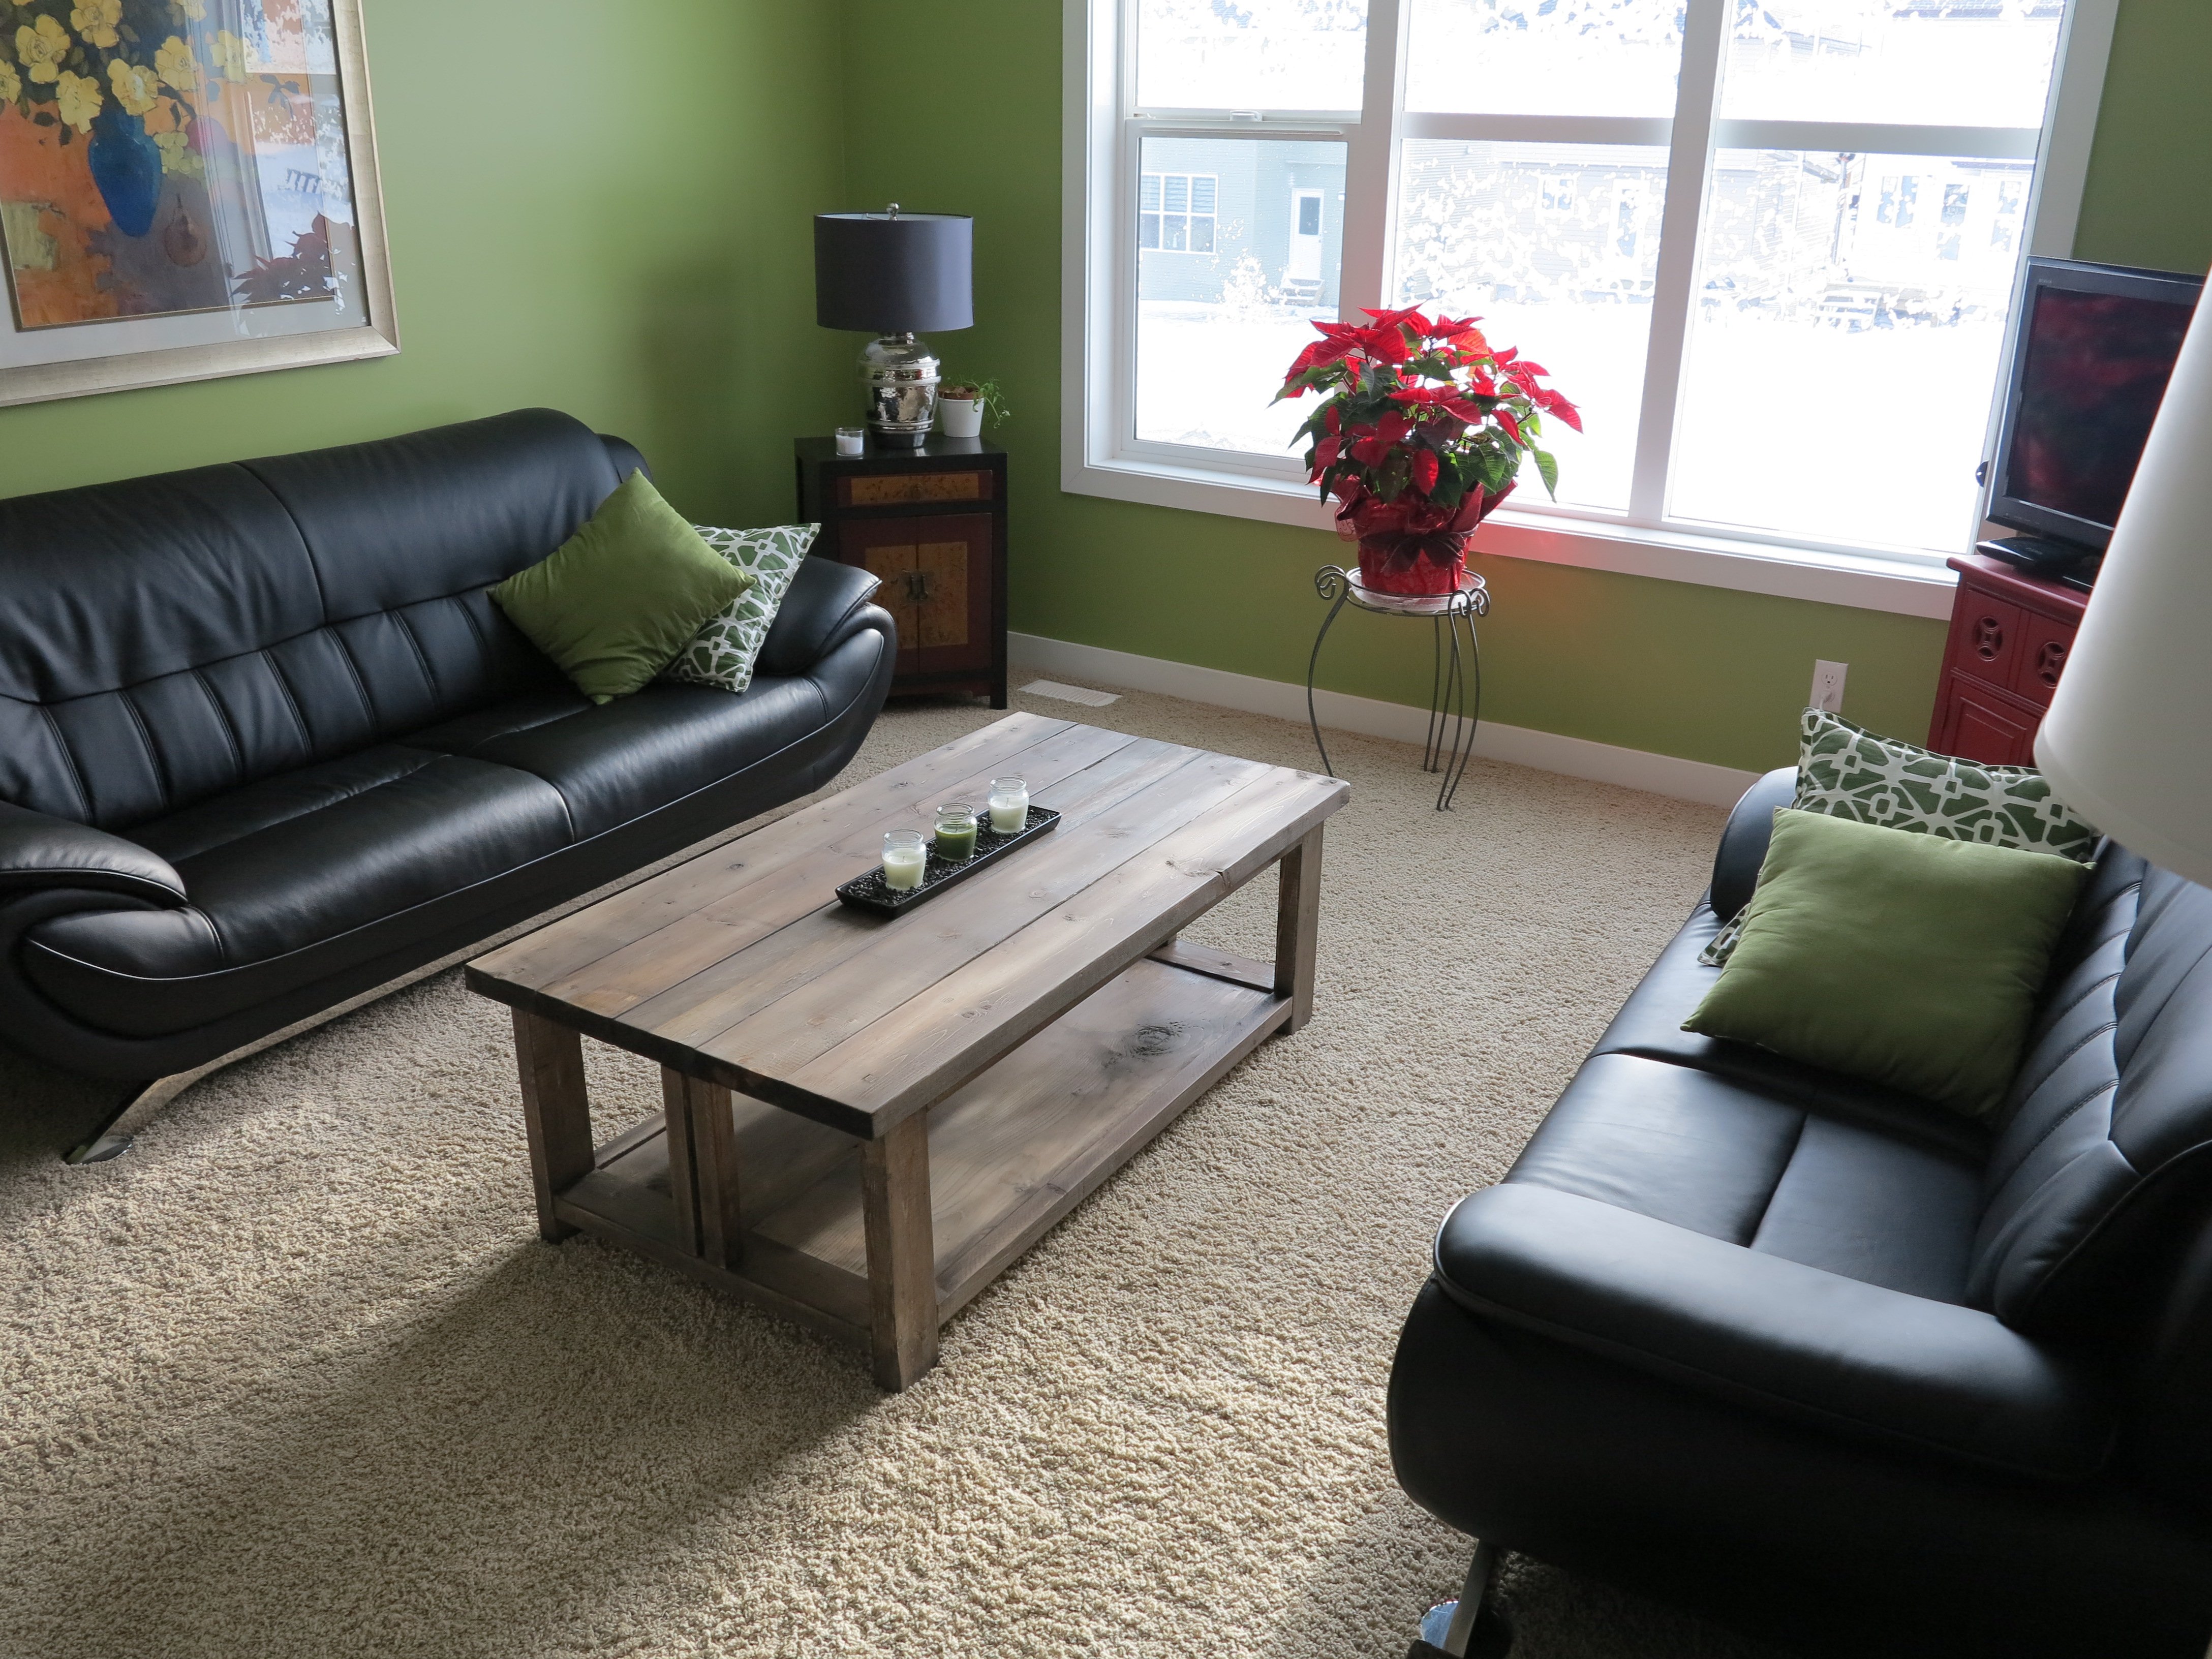
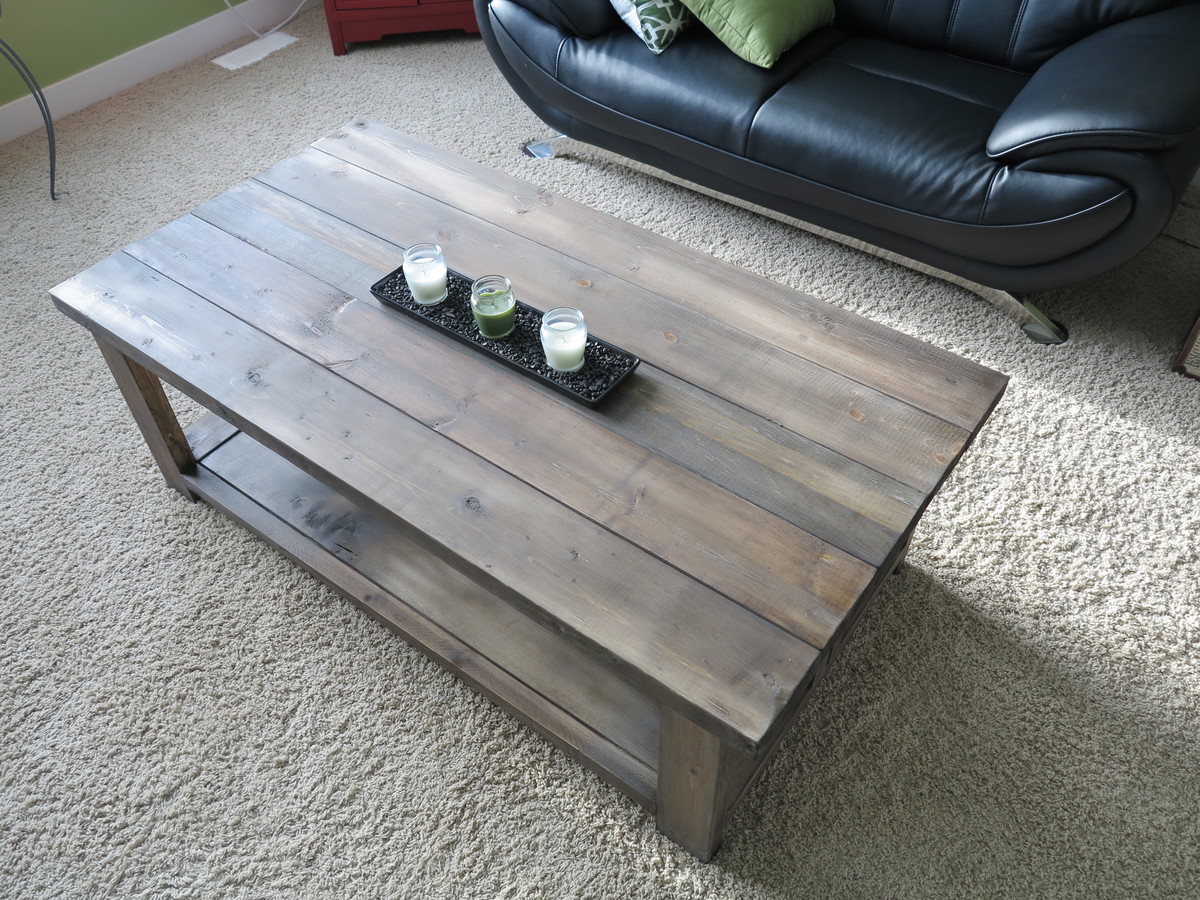
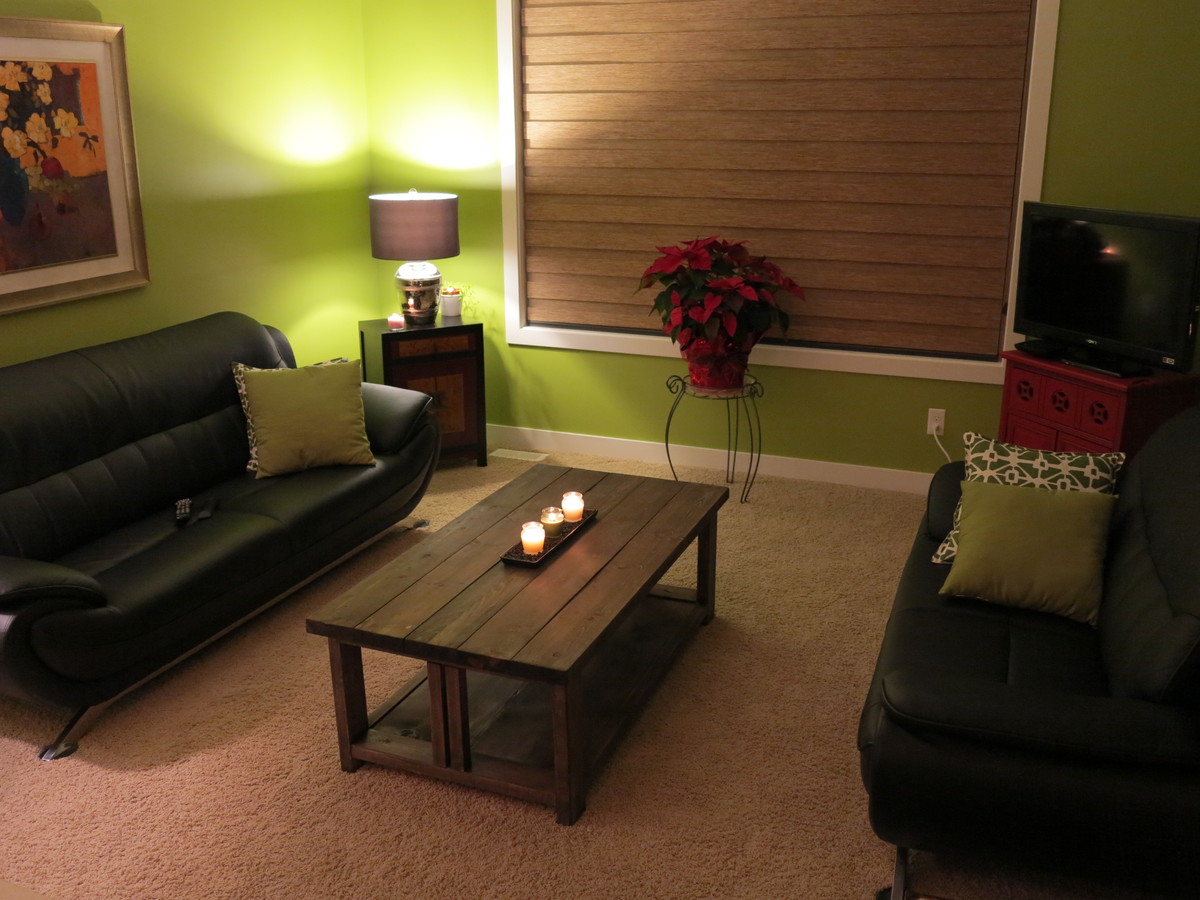
Great plans. I got a lot of attention for these tables. I think they're easy to build and a few bad cuts/mismatches can make it look more rustic so no need to worry about perfection with these. I use them in my apartment and they're both really nice. I stained with miniwax jacobean and used a satin clear poly on it after. I only needed one layer of stain.I think a dining room table version of this plan would be really awesome too!
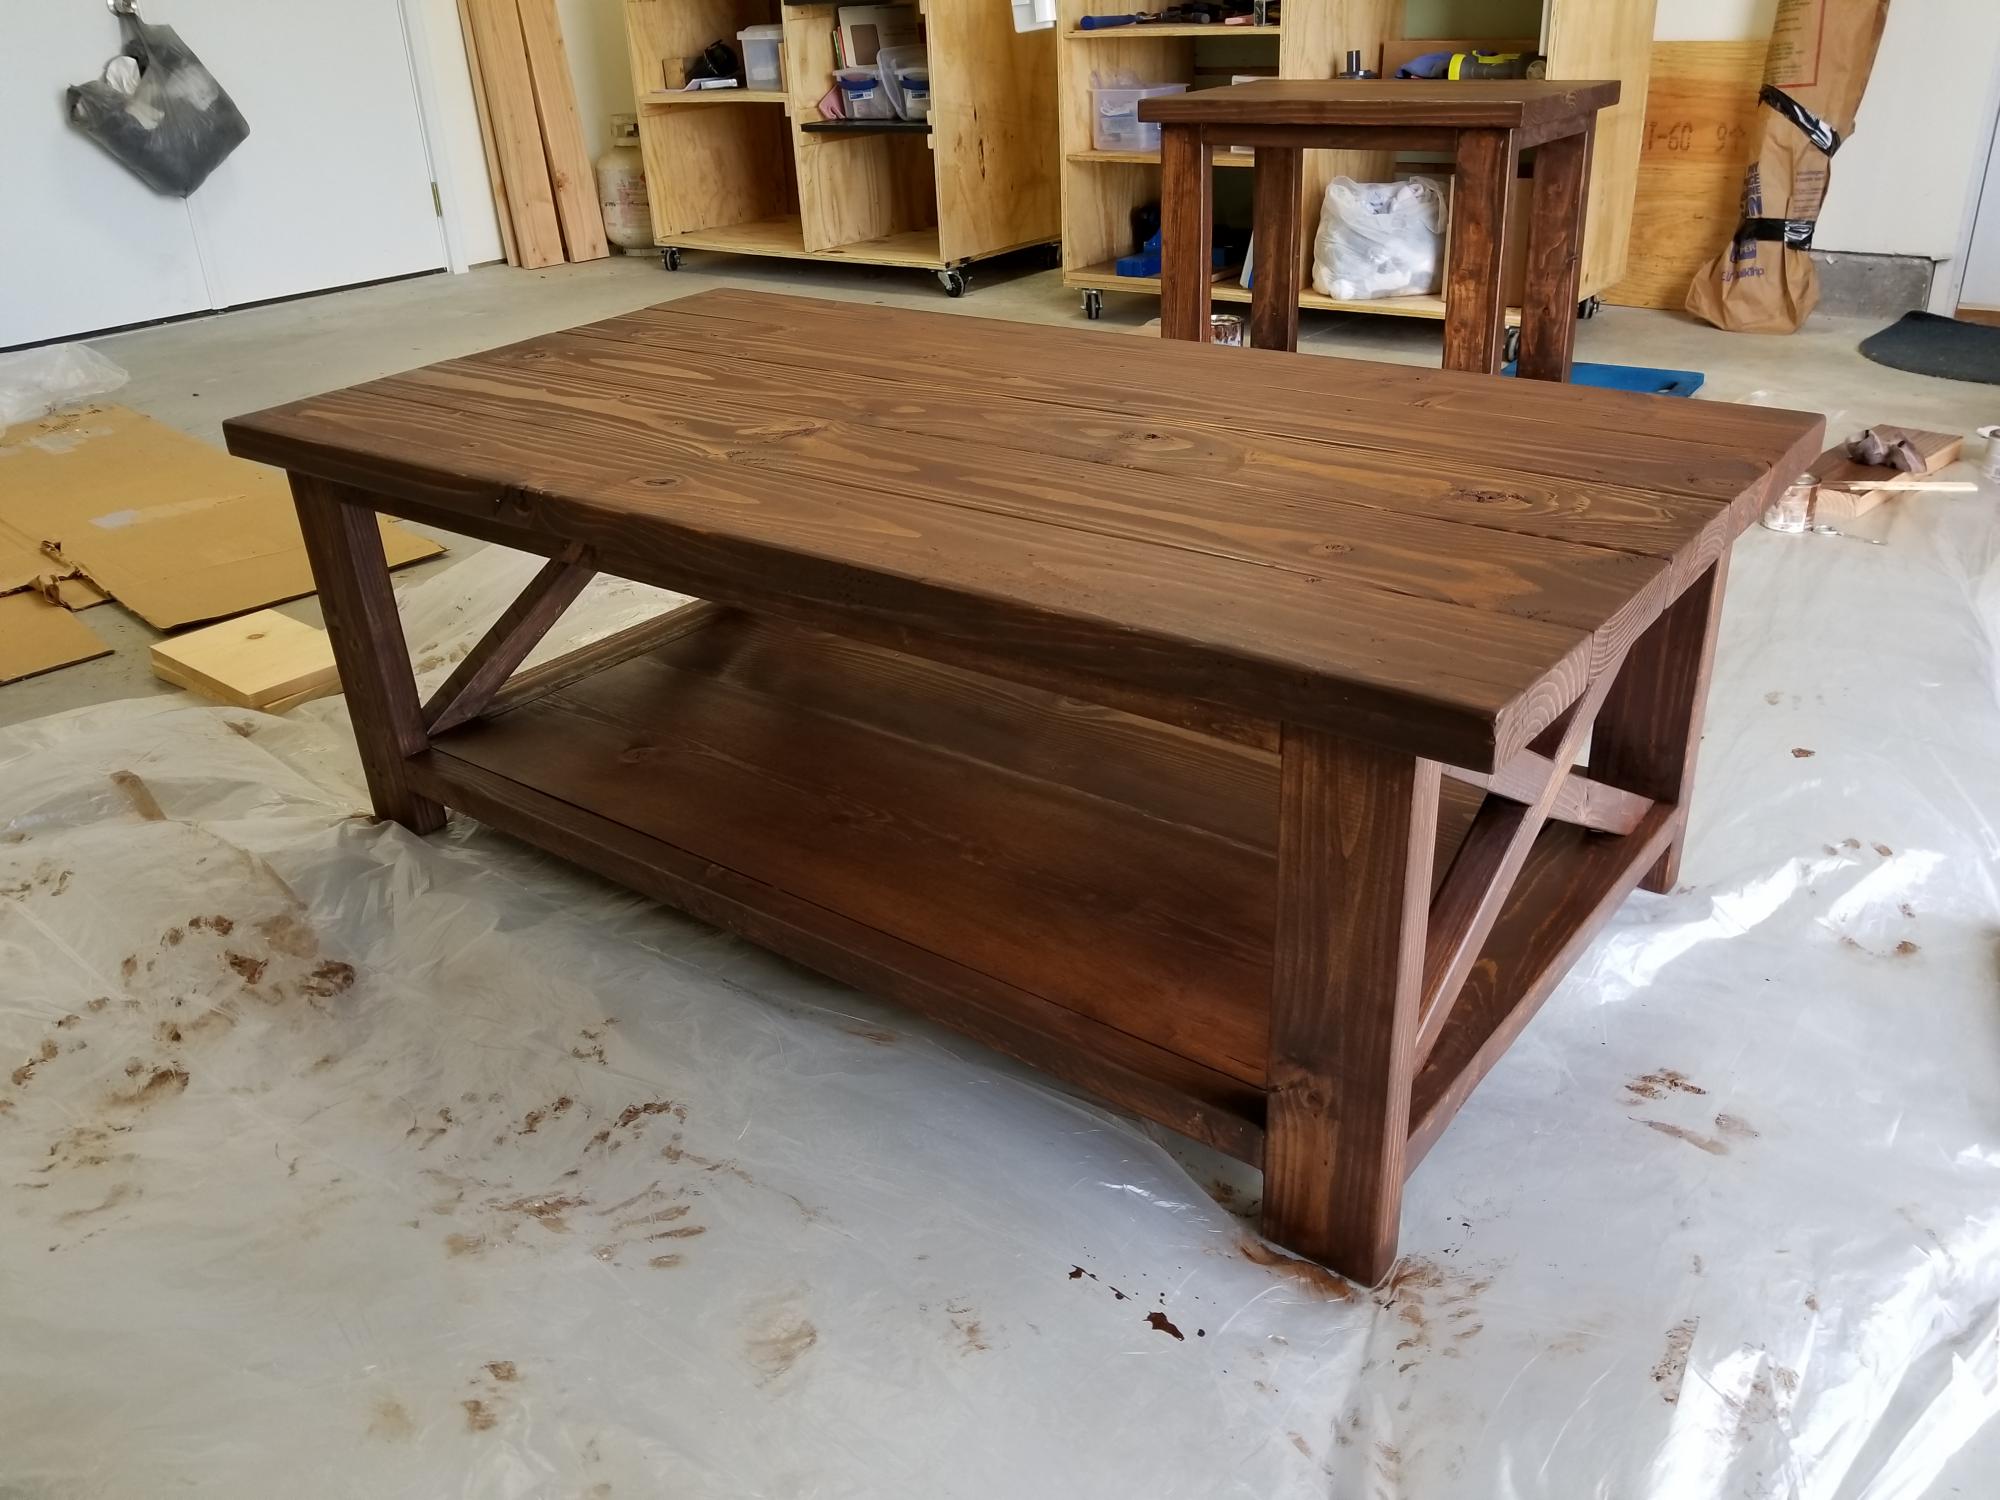
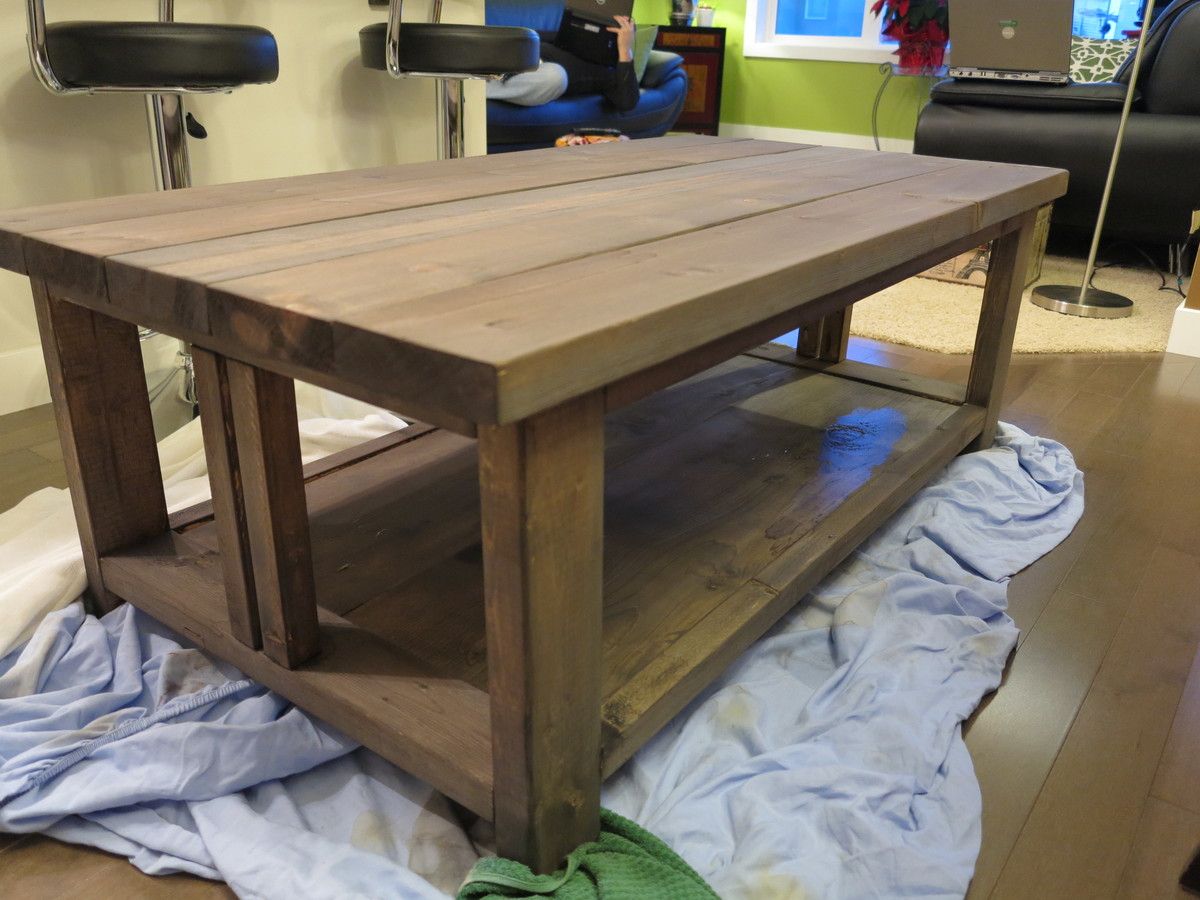
I built this coffee table for my son's first apartment, along with the rustic X end table. It's a very sturdy table and the plans were easy to follow! It's so much fun being able to build my kids furniture!
This is my very first build ever! I learned so much from this project. I also bought my first power drill and brad nailer for this project. My husband helped me cut the wood pieces to my measurements and I did everything else. I never knew how fun woodworking can be!
Emily Mangiaracina
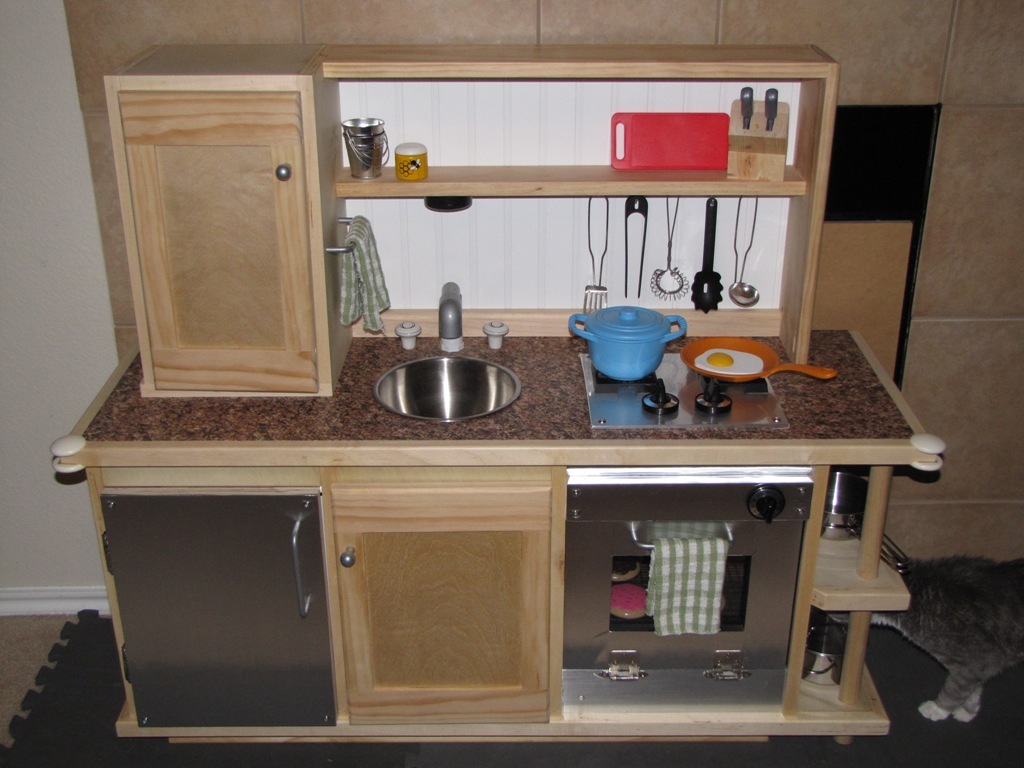
After my wife commented how much our son enjoyed playing with a pretend kitchen during play group, I began thinking about building one of our own. Searching online I found all of the amazing work that had been posted here and drew inspiration from all of the examples already shared.
Yesterday was the grand unveiling and I'm happy to report it was well received. Our son had to be dragged away from it for his bath and bed after hours of opening and closing all of the door and restacking his dishes. Thanks to all of you for the great ideas and the confidence to build on my own!
PS: The Kreg jig is the greatest DIY invention of all time.

Mon, 03/19/2012 - 09:21
Man, this looks like a real kitchen! Love the stove and fridge!!!
Sat, 09/01/2012 - 16:05
The countertop and appliances were both done with just plain old Contact Paper. I found both at Lowe's. Good luck!
My primitive mitre plastic template didn't allow me to get a 60 degree angle so I went with the very simply upright thingies instead! The vinegar, wire wool and tea oxidisation worked a treat and was far easier to apply than stain.

This is my first project ever built. I can't thank you enough for this site. I already have several other projects I want to build around the house because of this site. Thank you so much!
This was our first project like this .. was last minute cost about $64 with lumber and screws , we already had the stain and paint .. only took 2 days ! I’m so happy !!! The only thing different I would do is put pocket holes in which we might add . Perfect project for a beginner !
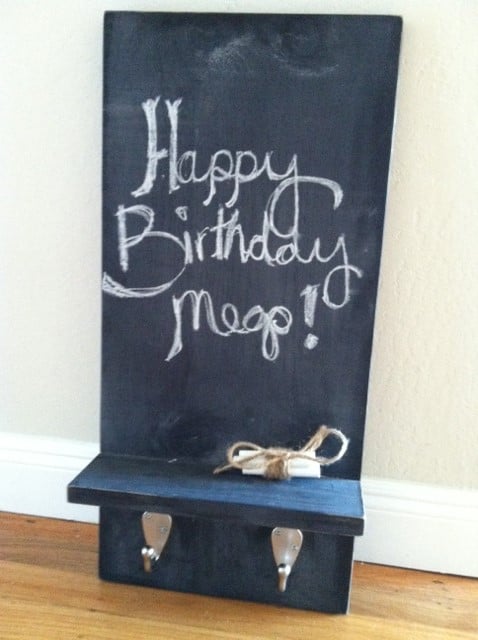
I wanted to make my girlfriend a gift for her birthday and came across this shelf. It turned out wonderful and I can't wait to make one for myself now!
I needed a dresser to match the two farmhouse sidetables I built for the room and this design fit the bill. I really had to take the time to figure out where to place the pocket holes. Finishing is my least favorite part of the process, but I'm glad to have really taken my time. This was a really challenging project and I'm so pleased with the end product. By far, my favorite build yet!
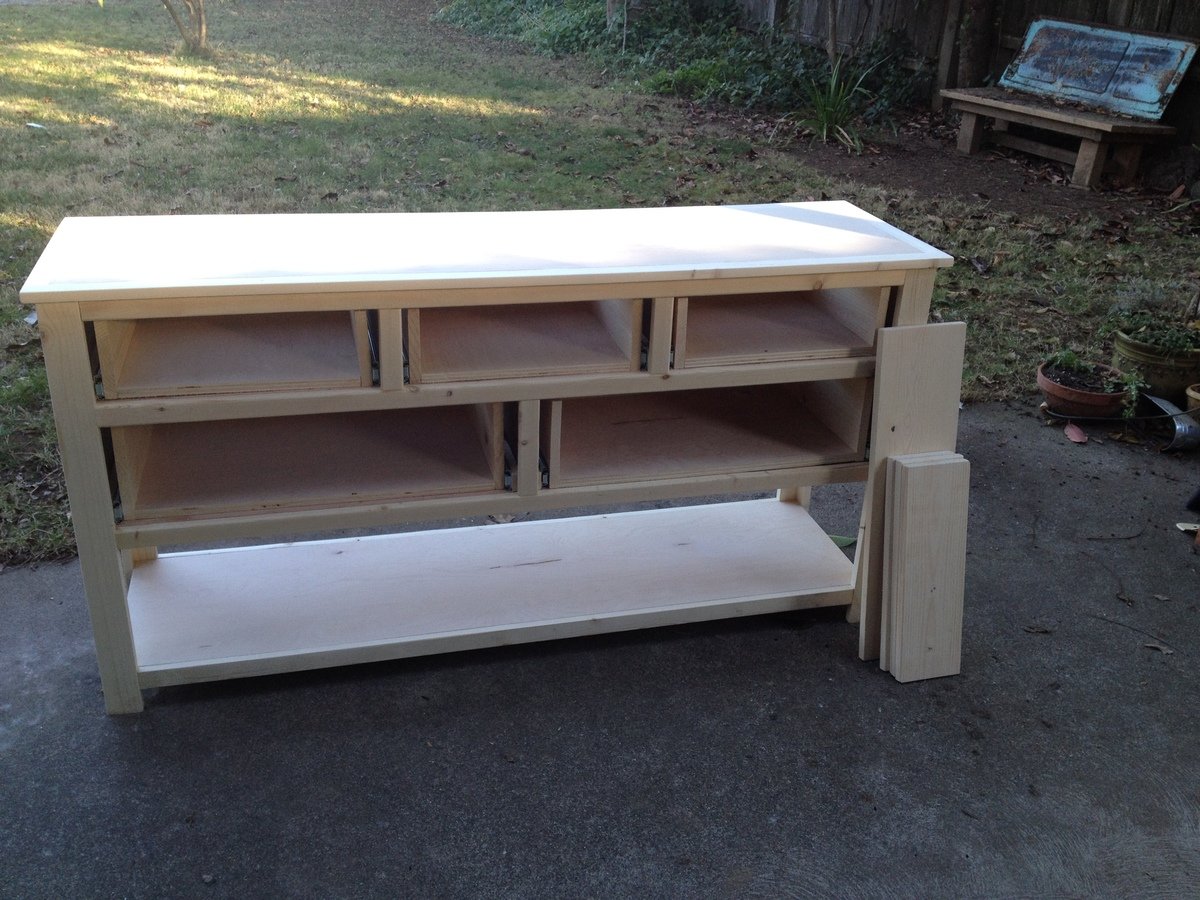
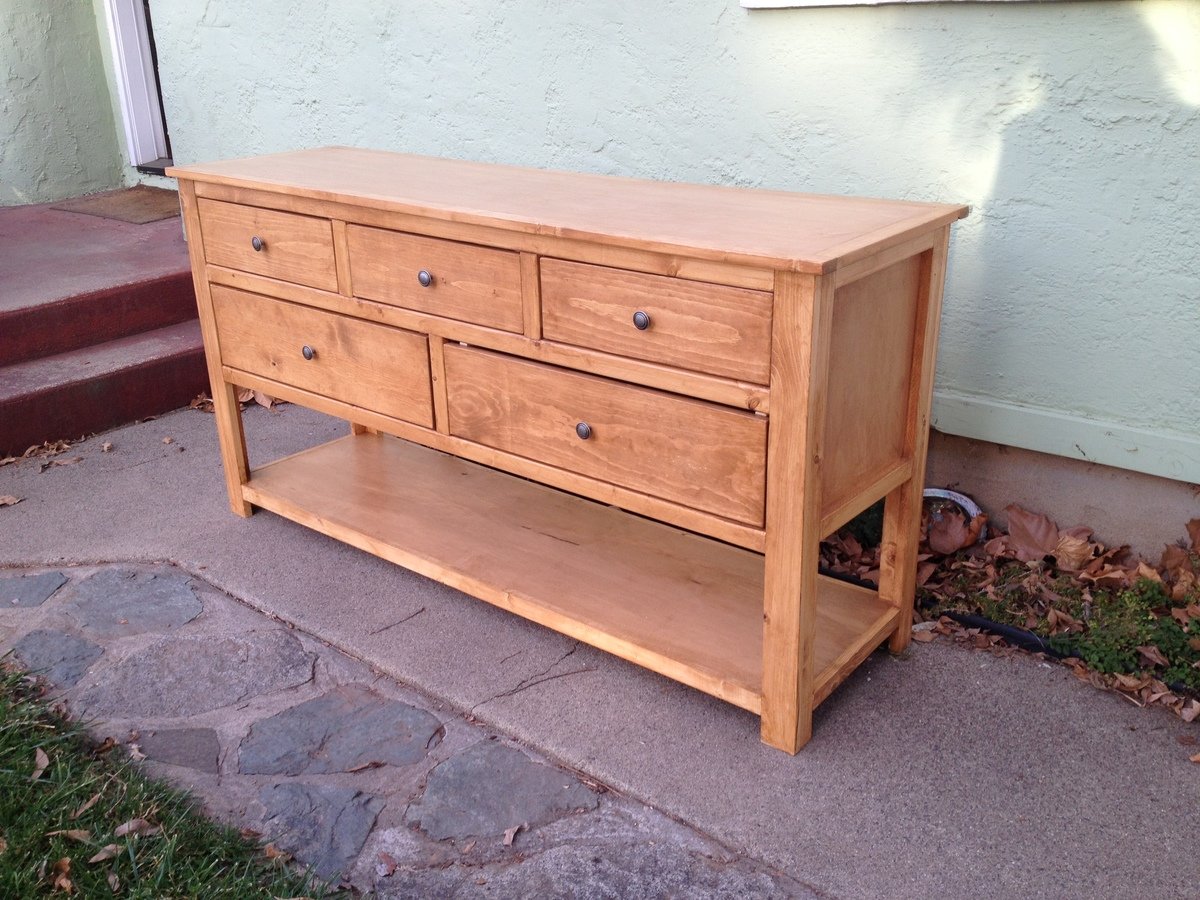
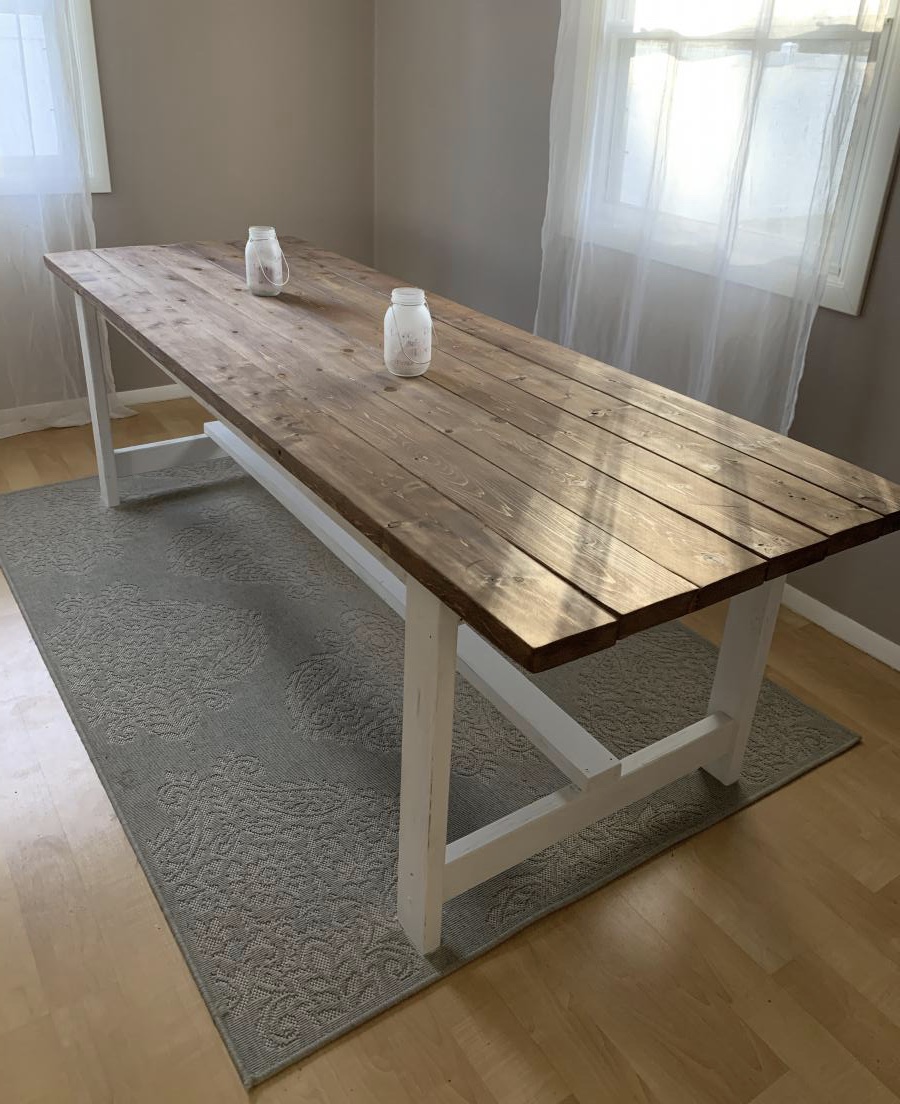
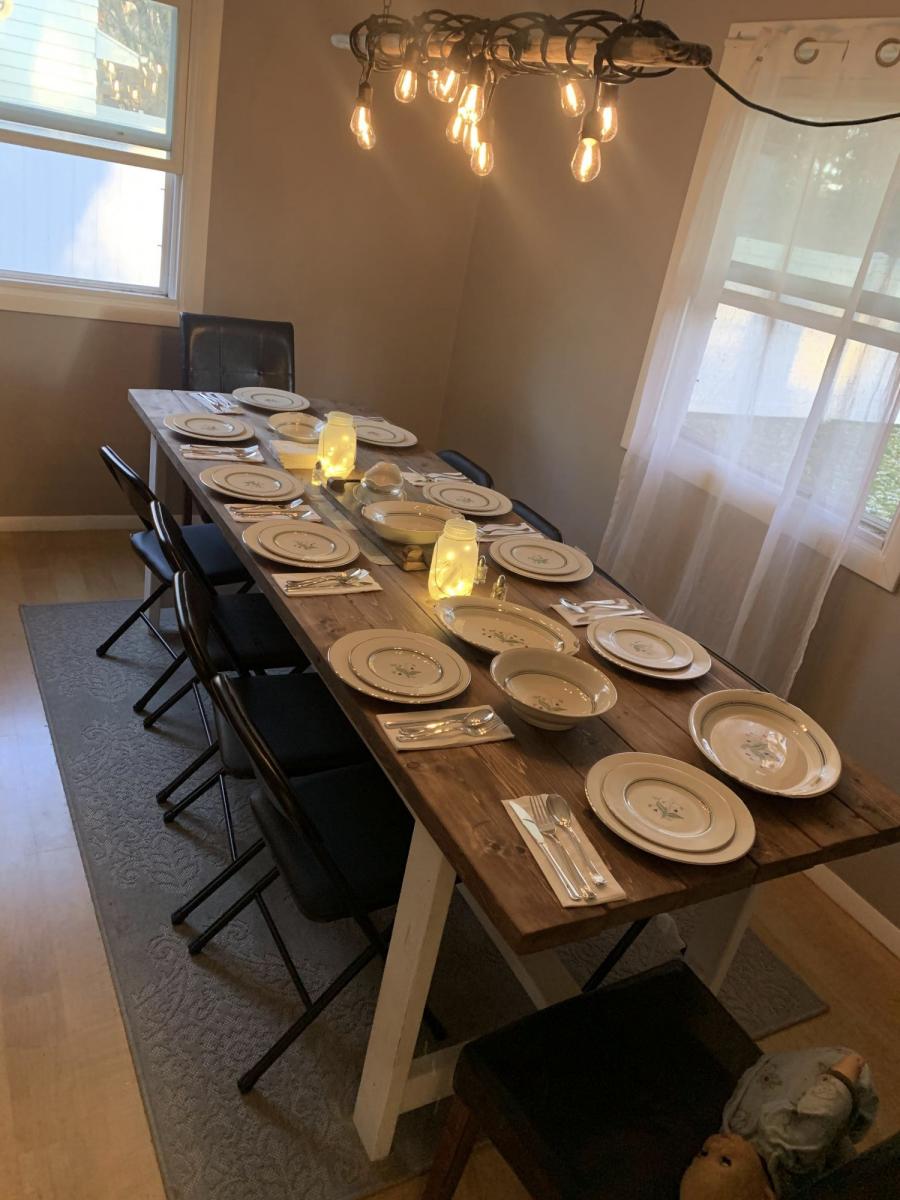
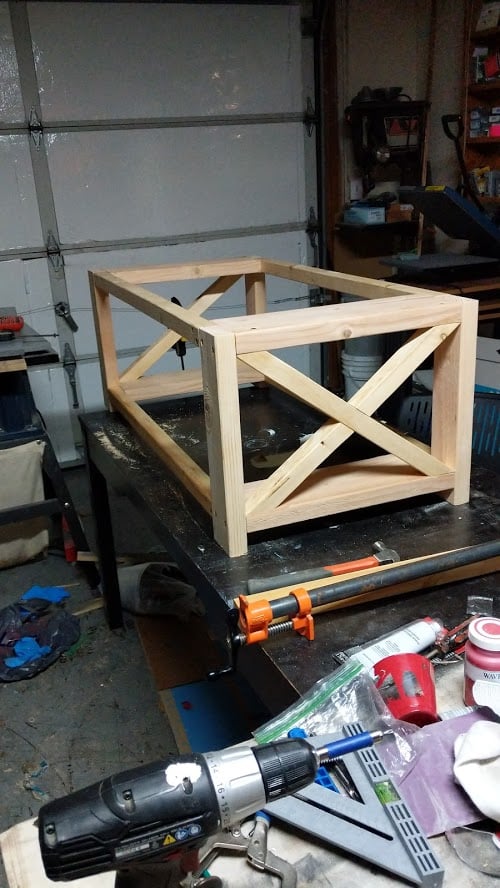
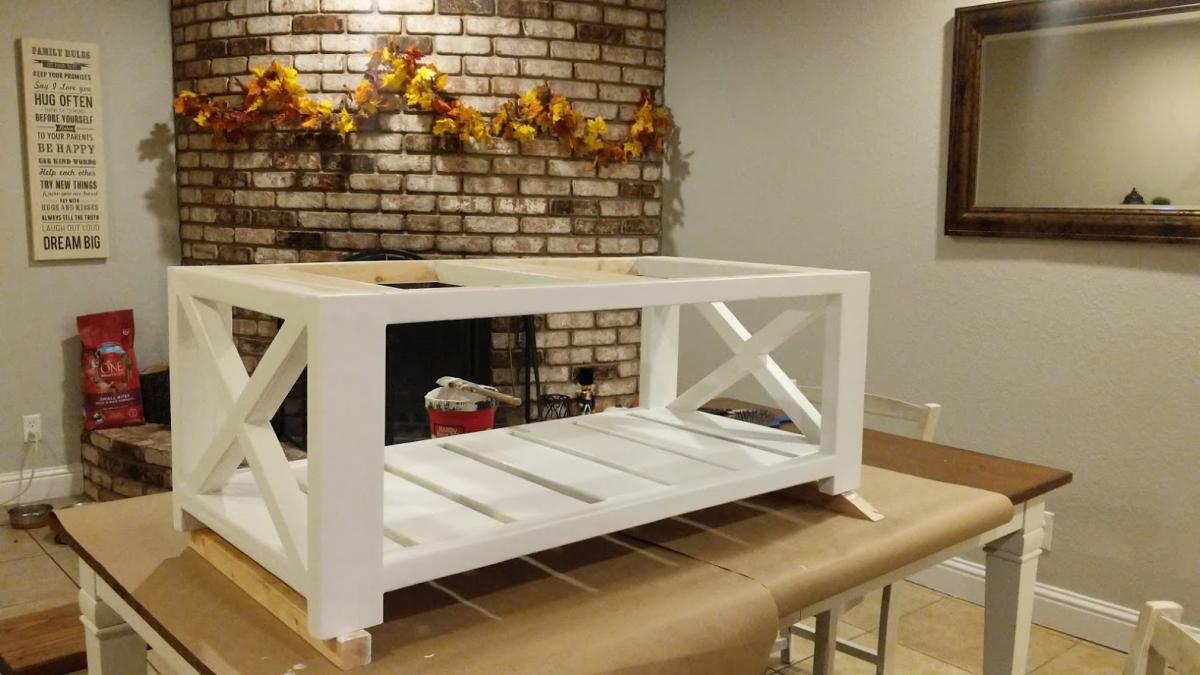
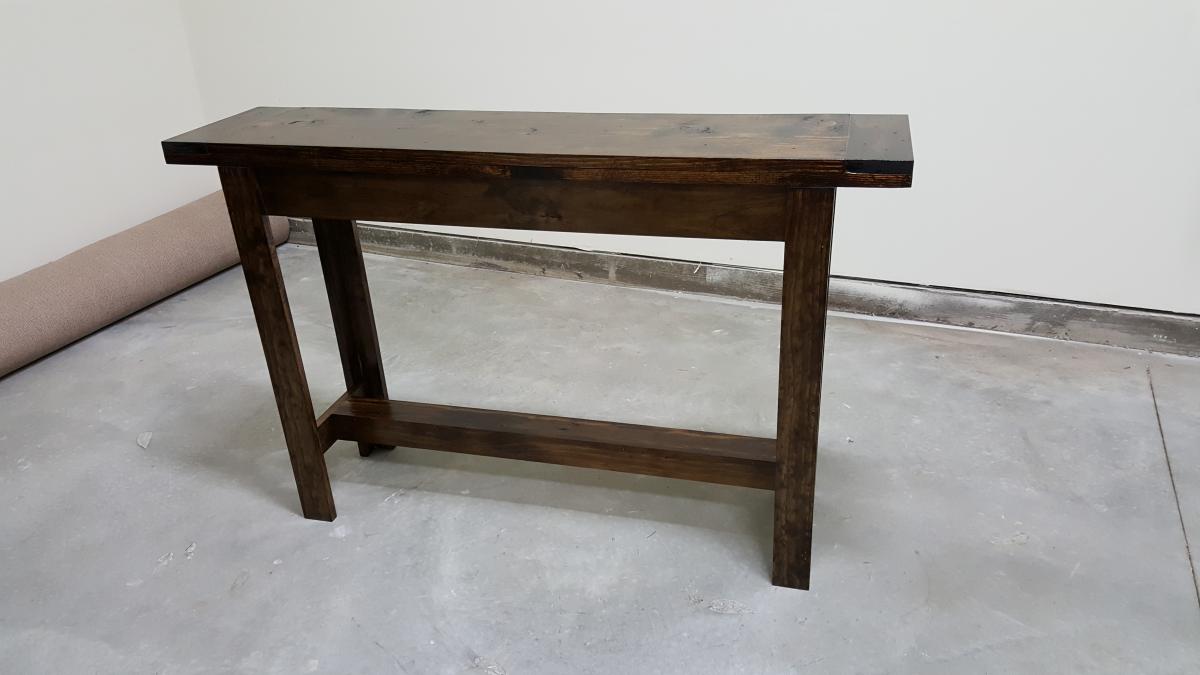
I wanted a smaller table than the plans called for, so I built this one at 51 inches. The side design is slatted rather than built with an X. I love the more modern look with this mission-style modification. This was my first build and I'm pretty happy with it and how easy these plans were to follow.
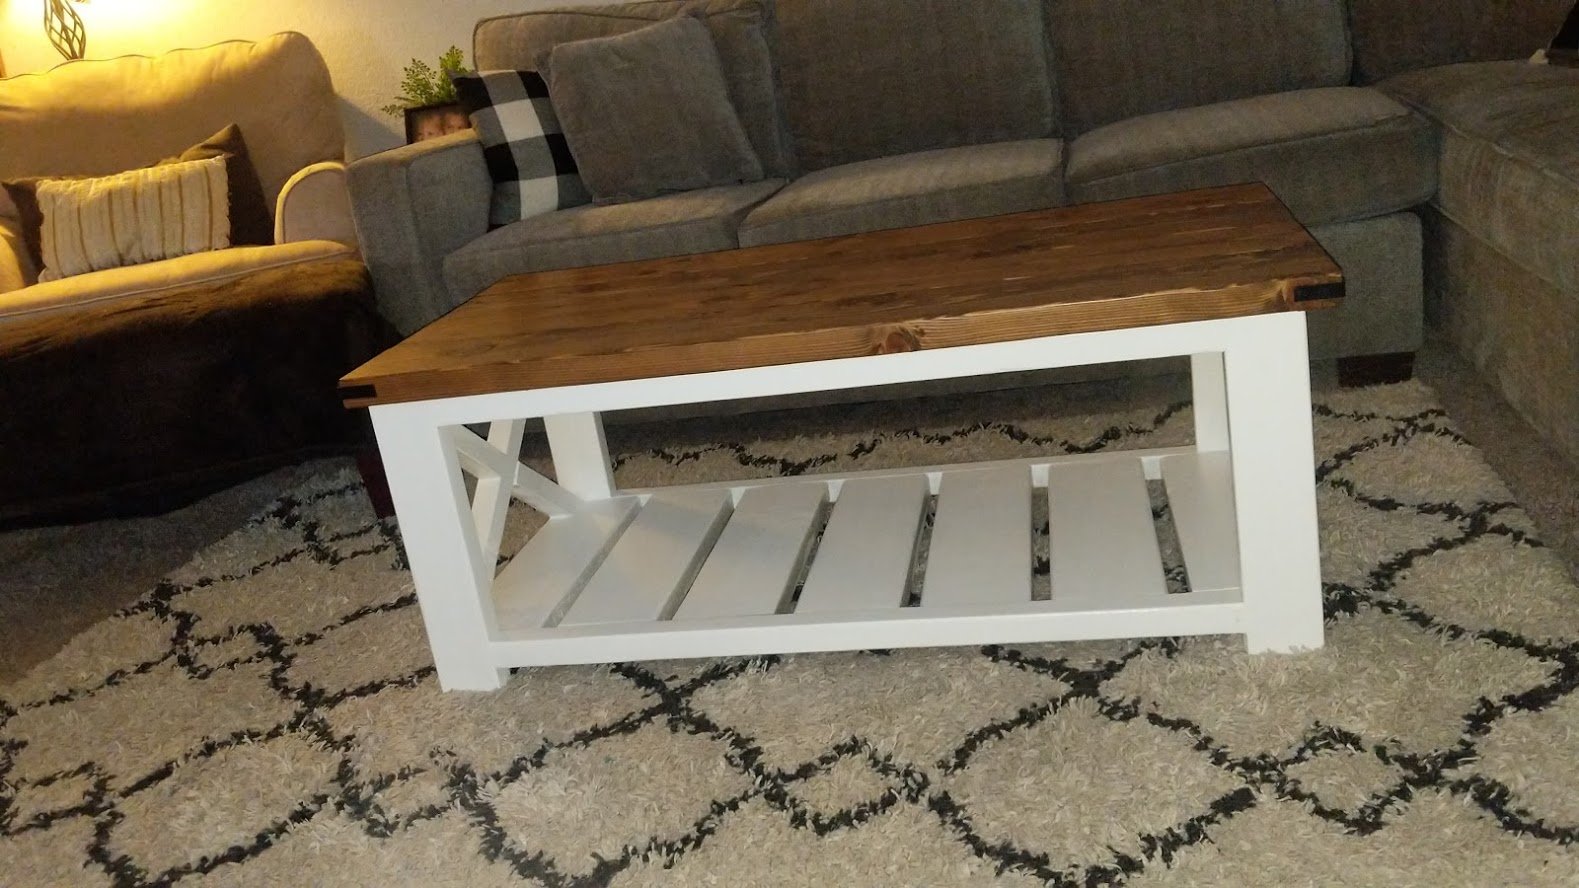
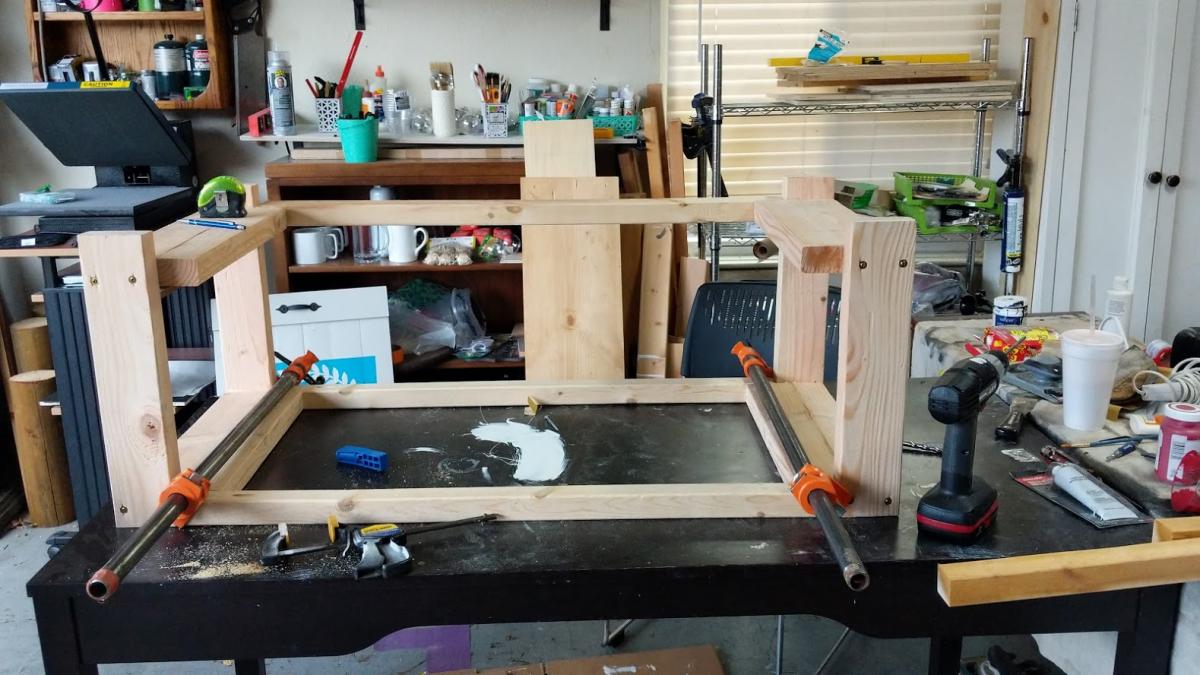
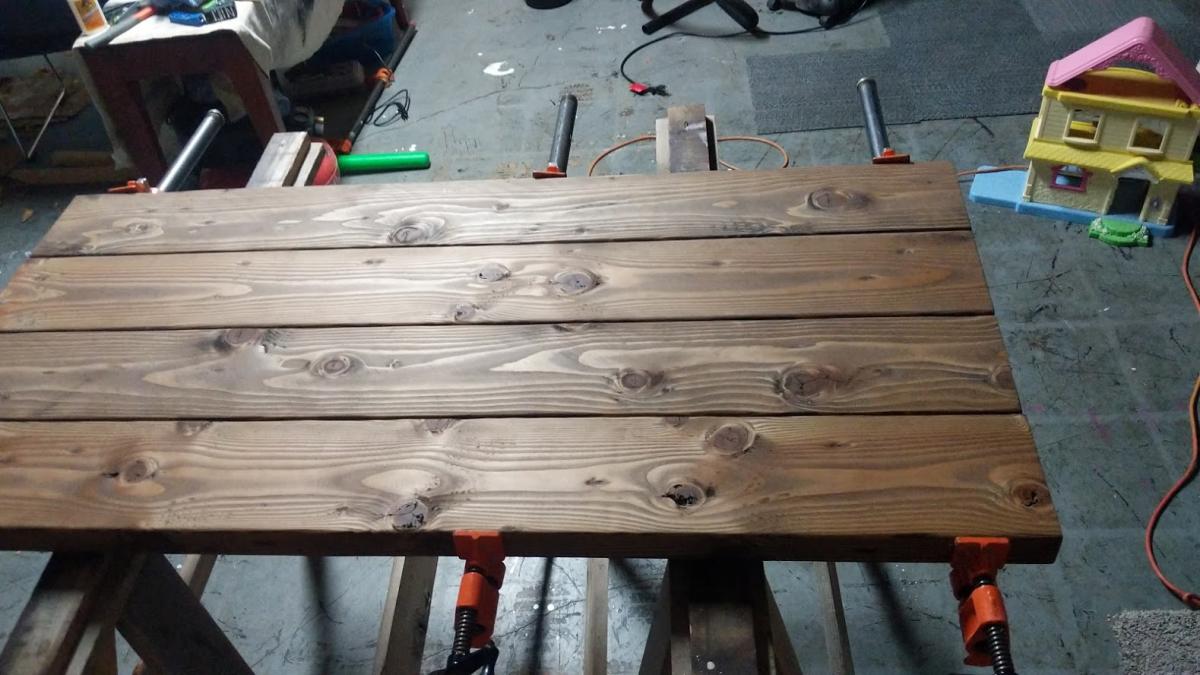
I altered the design slightly by using pocket holes on the top and the bottom slats. I didn't want any of the screws to show since i was painting the base white. I used all purpose bondo to smooth the seams for a more finished look. This has been my favorite build so far and I can't wait for the matching end table to be released.

Sun, 12/08/2019 - 21:24
Awesome!
Ill get the side table plans posted in the next couple of days
Fri, 12/27/2019 - 11:13
That looks so good! ....and is exactly how I want to paint mine (stained wood top, white painted bottom). I have two questions-
1. Did you paint the base white after assembling it together (minus the table top piece) or did you paint it before assembly?
2. Did you bondo every gap, or were you referring to just the table top?
Again, it looks so great and now I really want to get going on making my own.
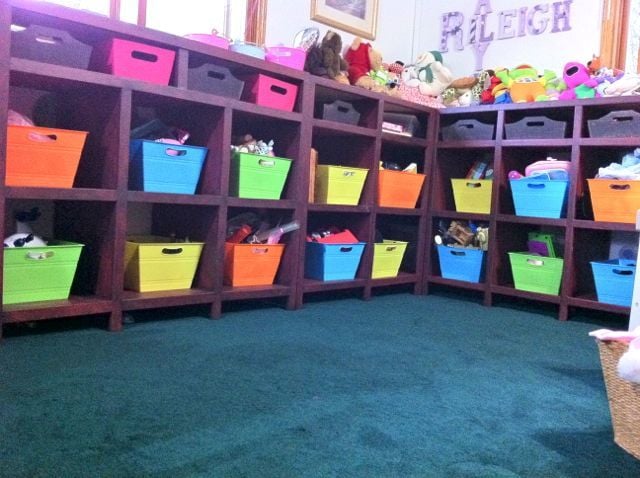
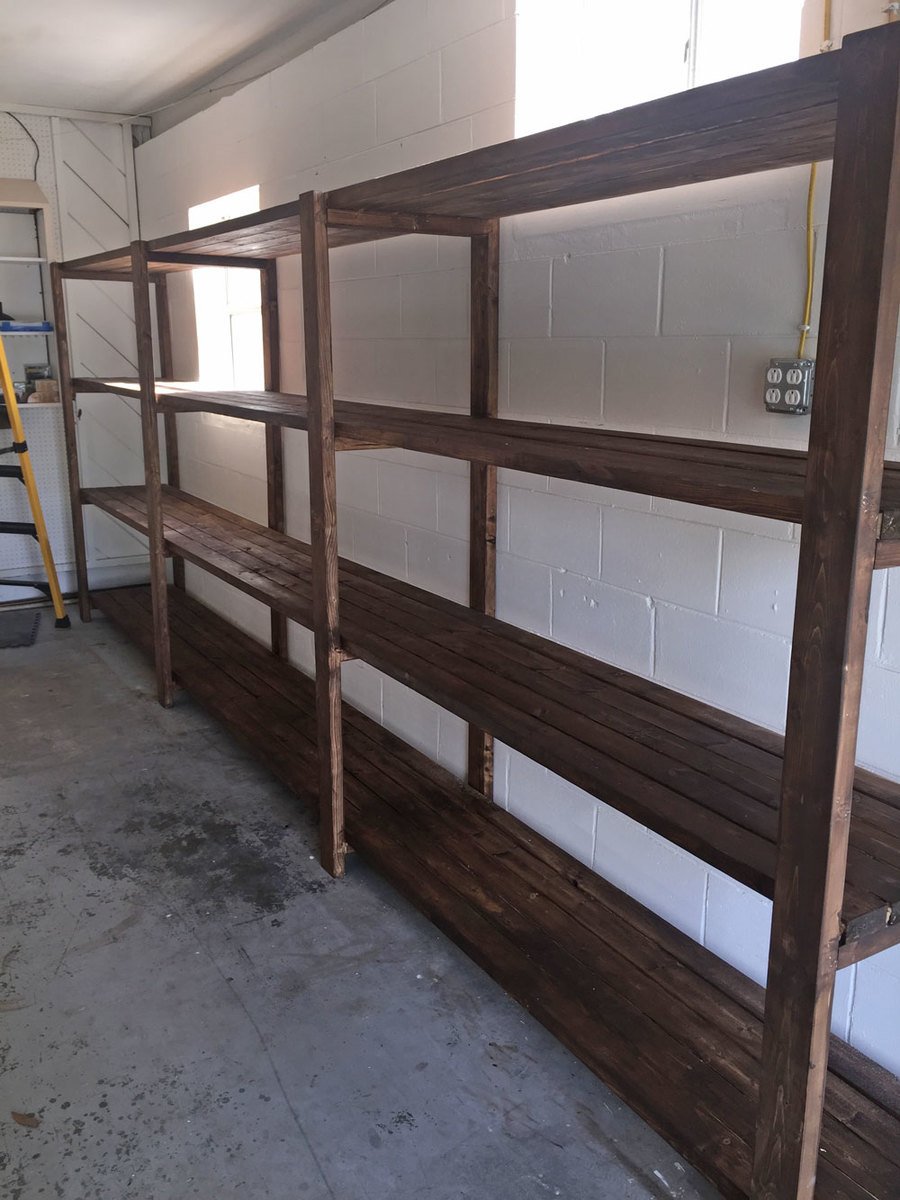
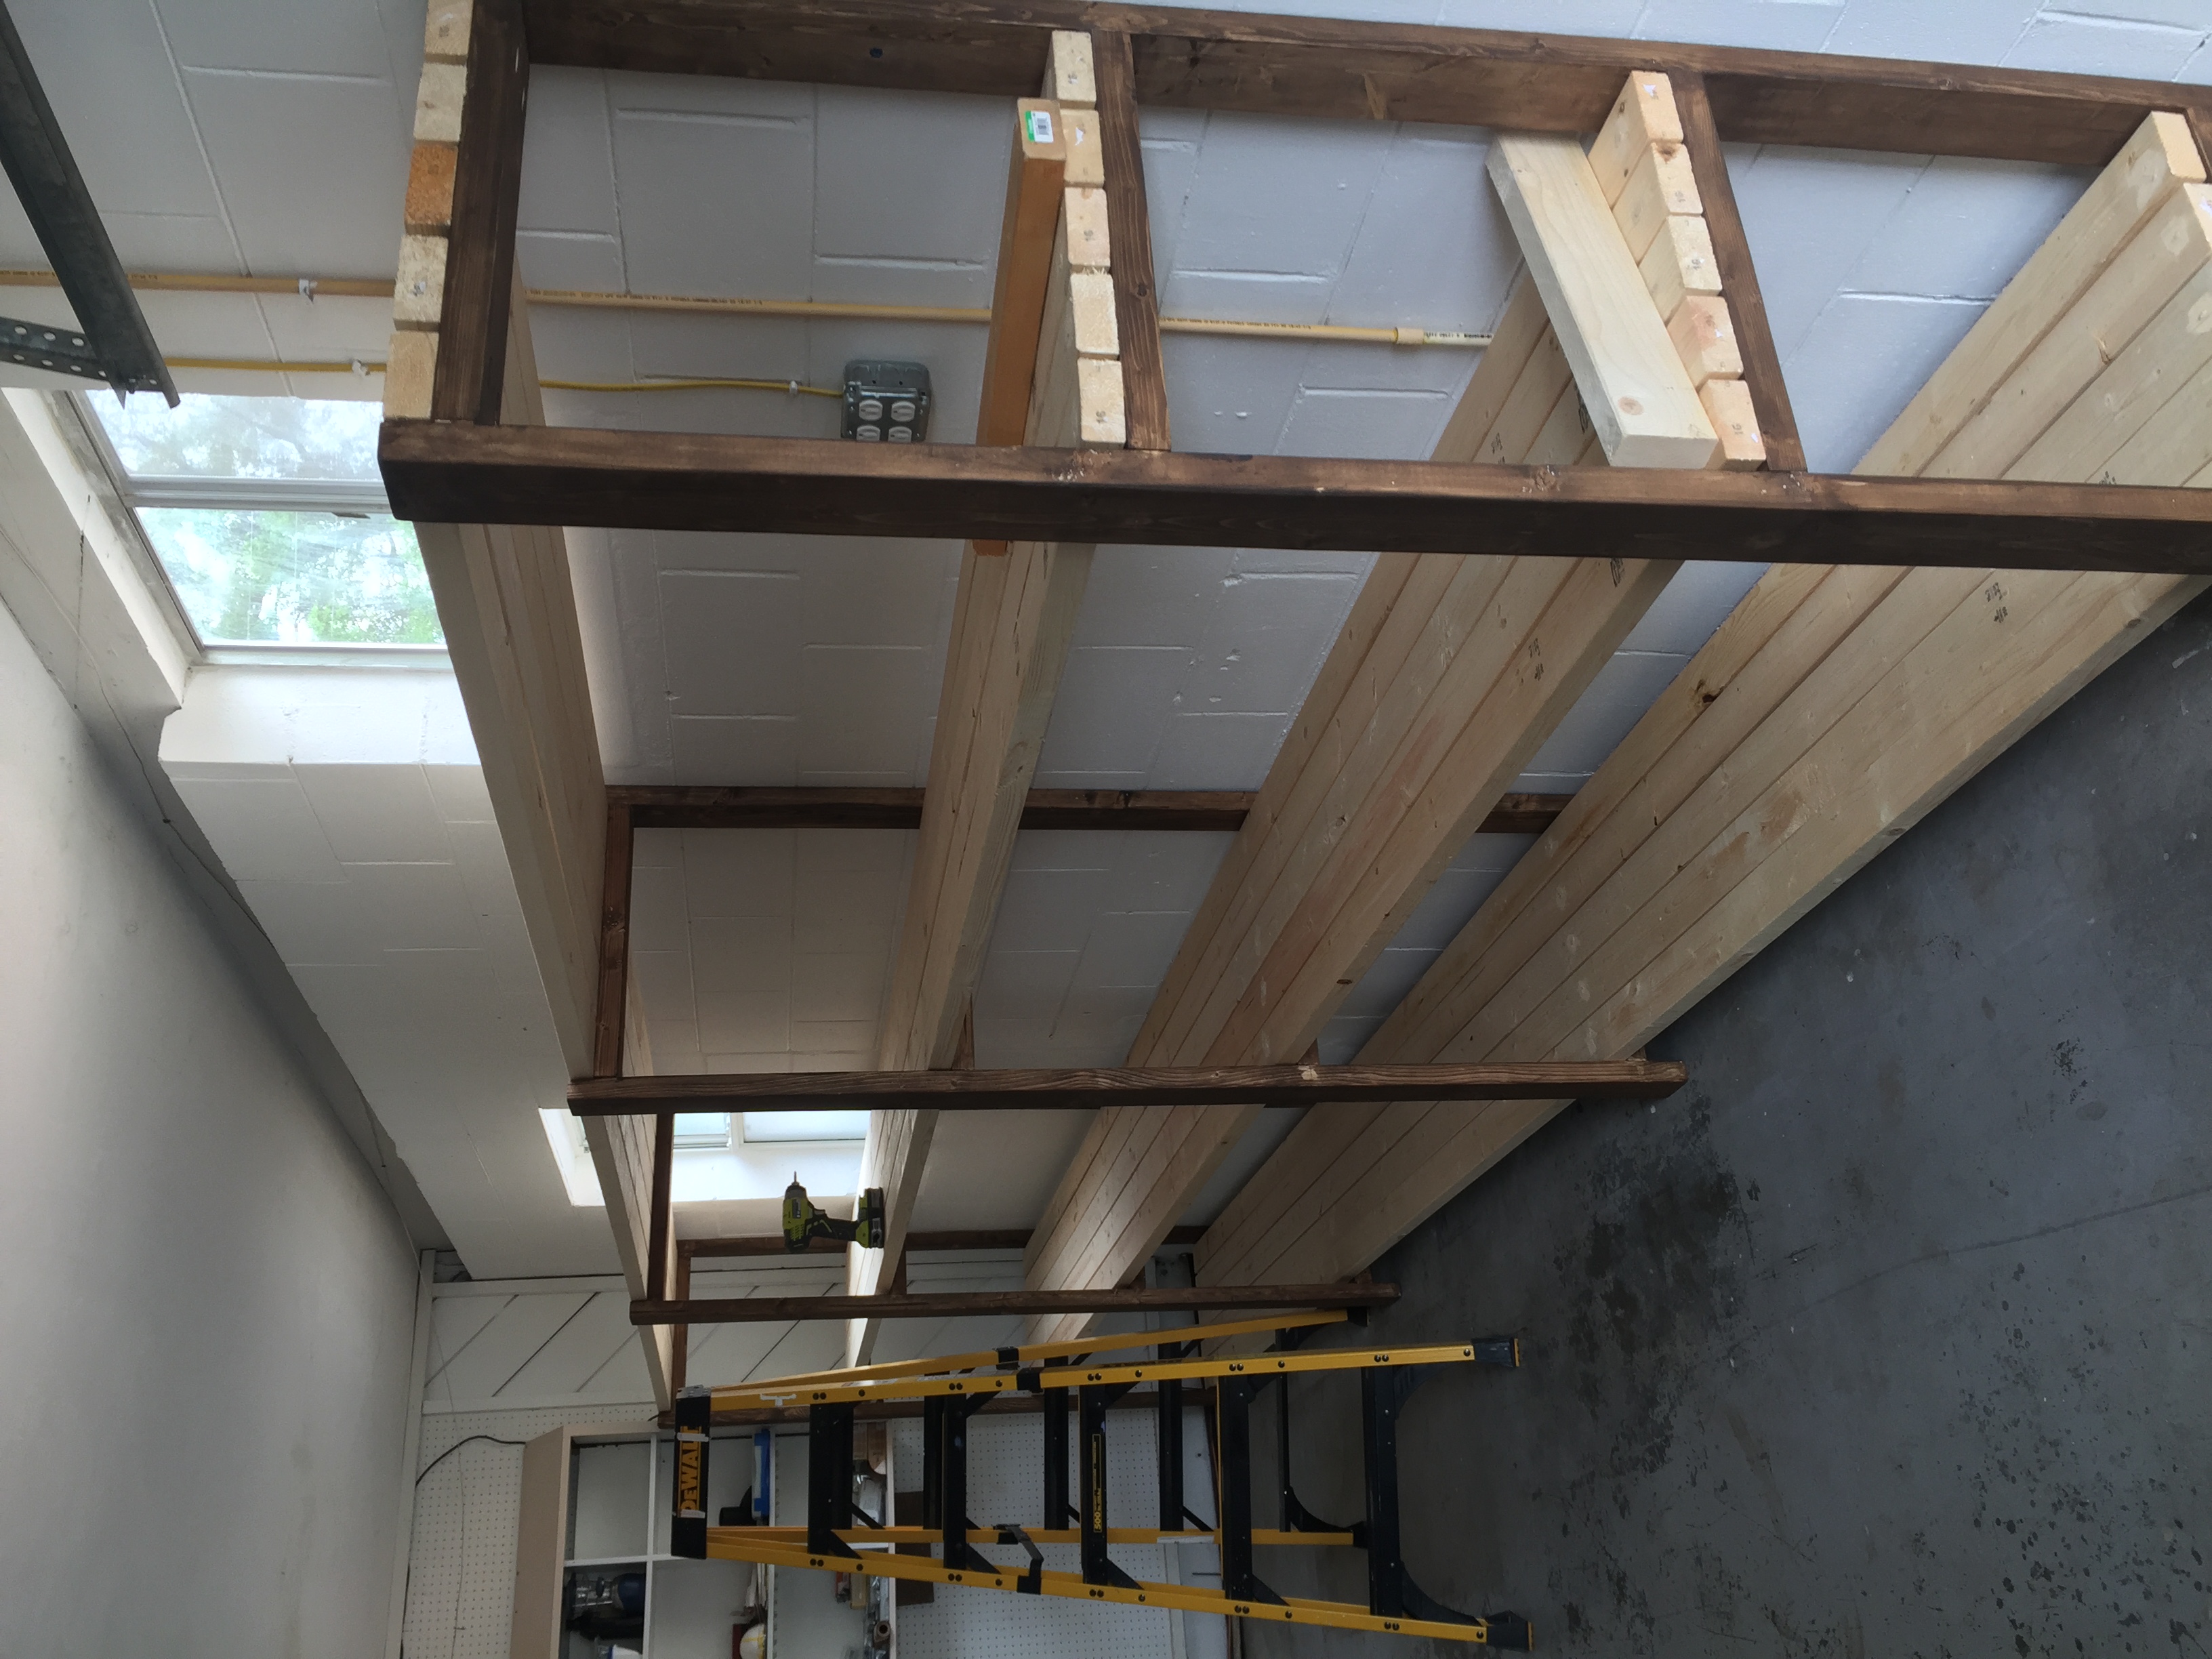
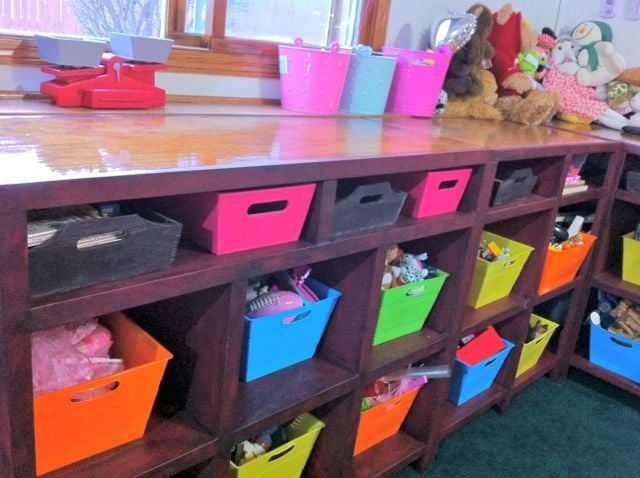
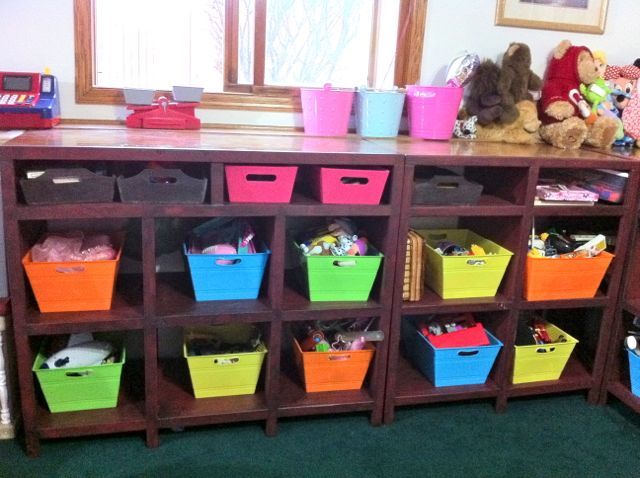
In our basement we have an 8 inch oak ledge on the outside walls. I love the oak finished ledge, but it makes it hard to place furniture up against it. The furniture is either shorter or taller than the ledge and looks awkward. So, I built several storage pieces to fit our area and ledge. I modified a couple of different plans to create our toy storage area. It's so useful and looks great.
This was my first wood working project. I made this for my little sister for Christmas. It was a great starter project. I may be biased but I think it turned out pretty good.

Mon, 01/13/2014 - 07:31
Looks good! I especially like the black and white bedding. I'd do that for my own bedroom!
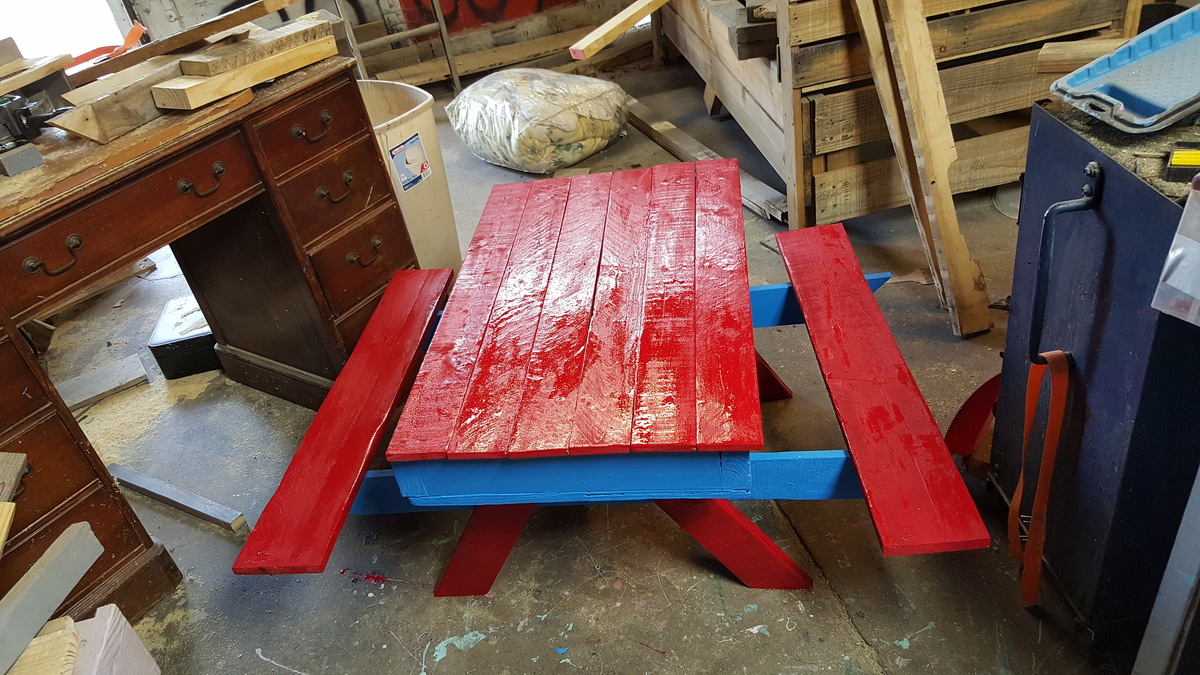
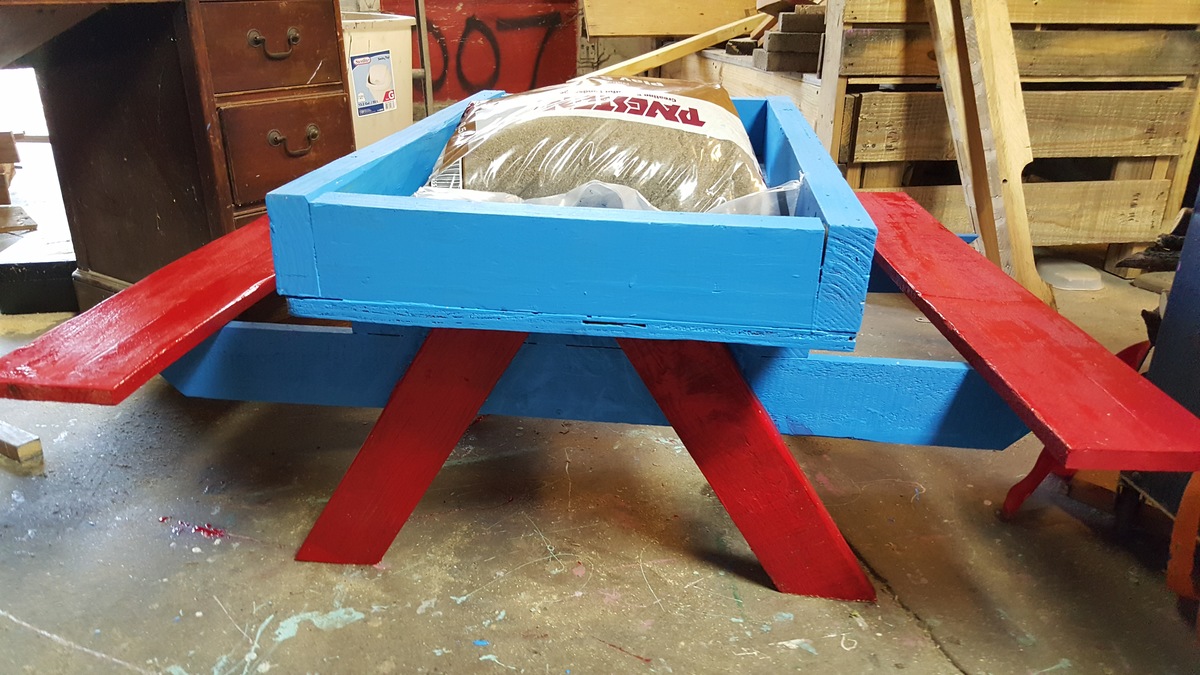
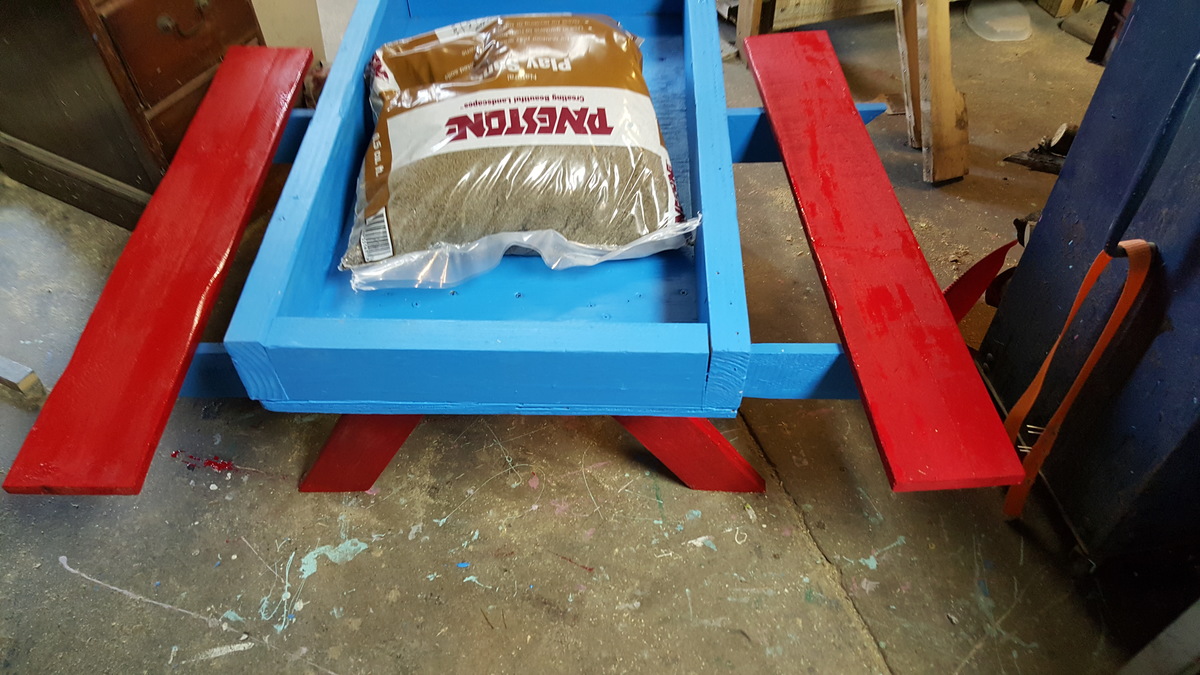
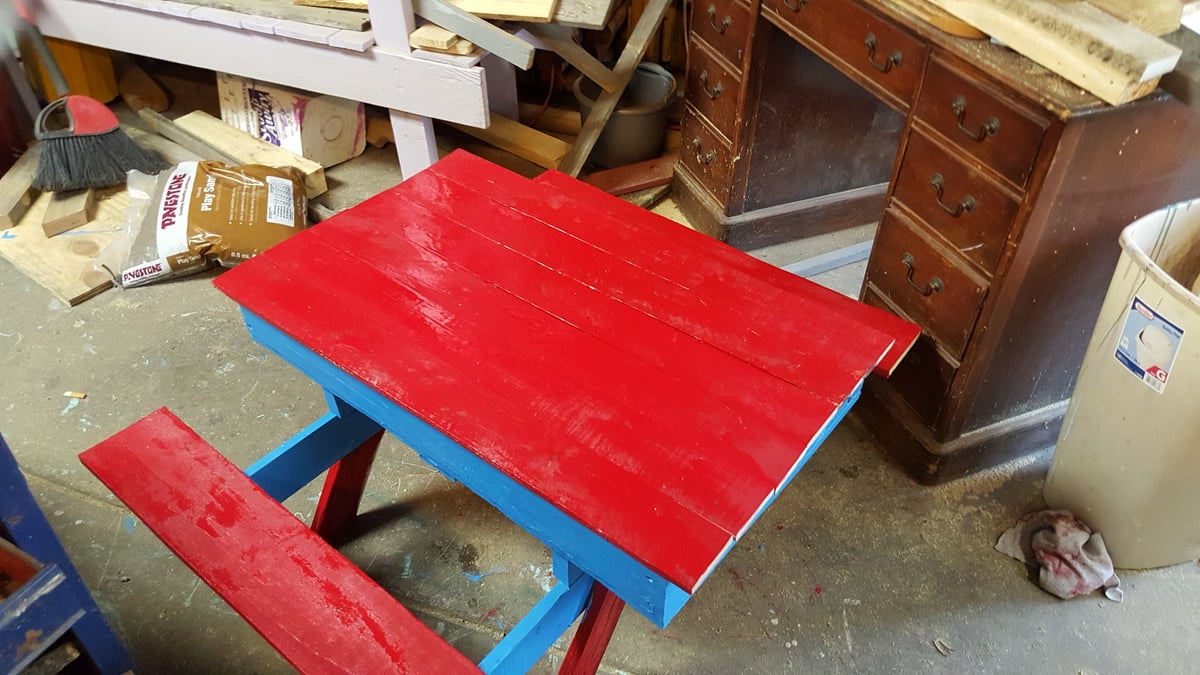
I saw this on pintrest and took the big Kids picnic table and modified it to include a removable top and sandbox.
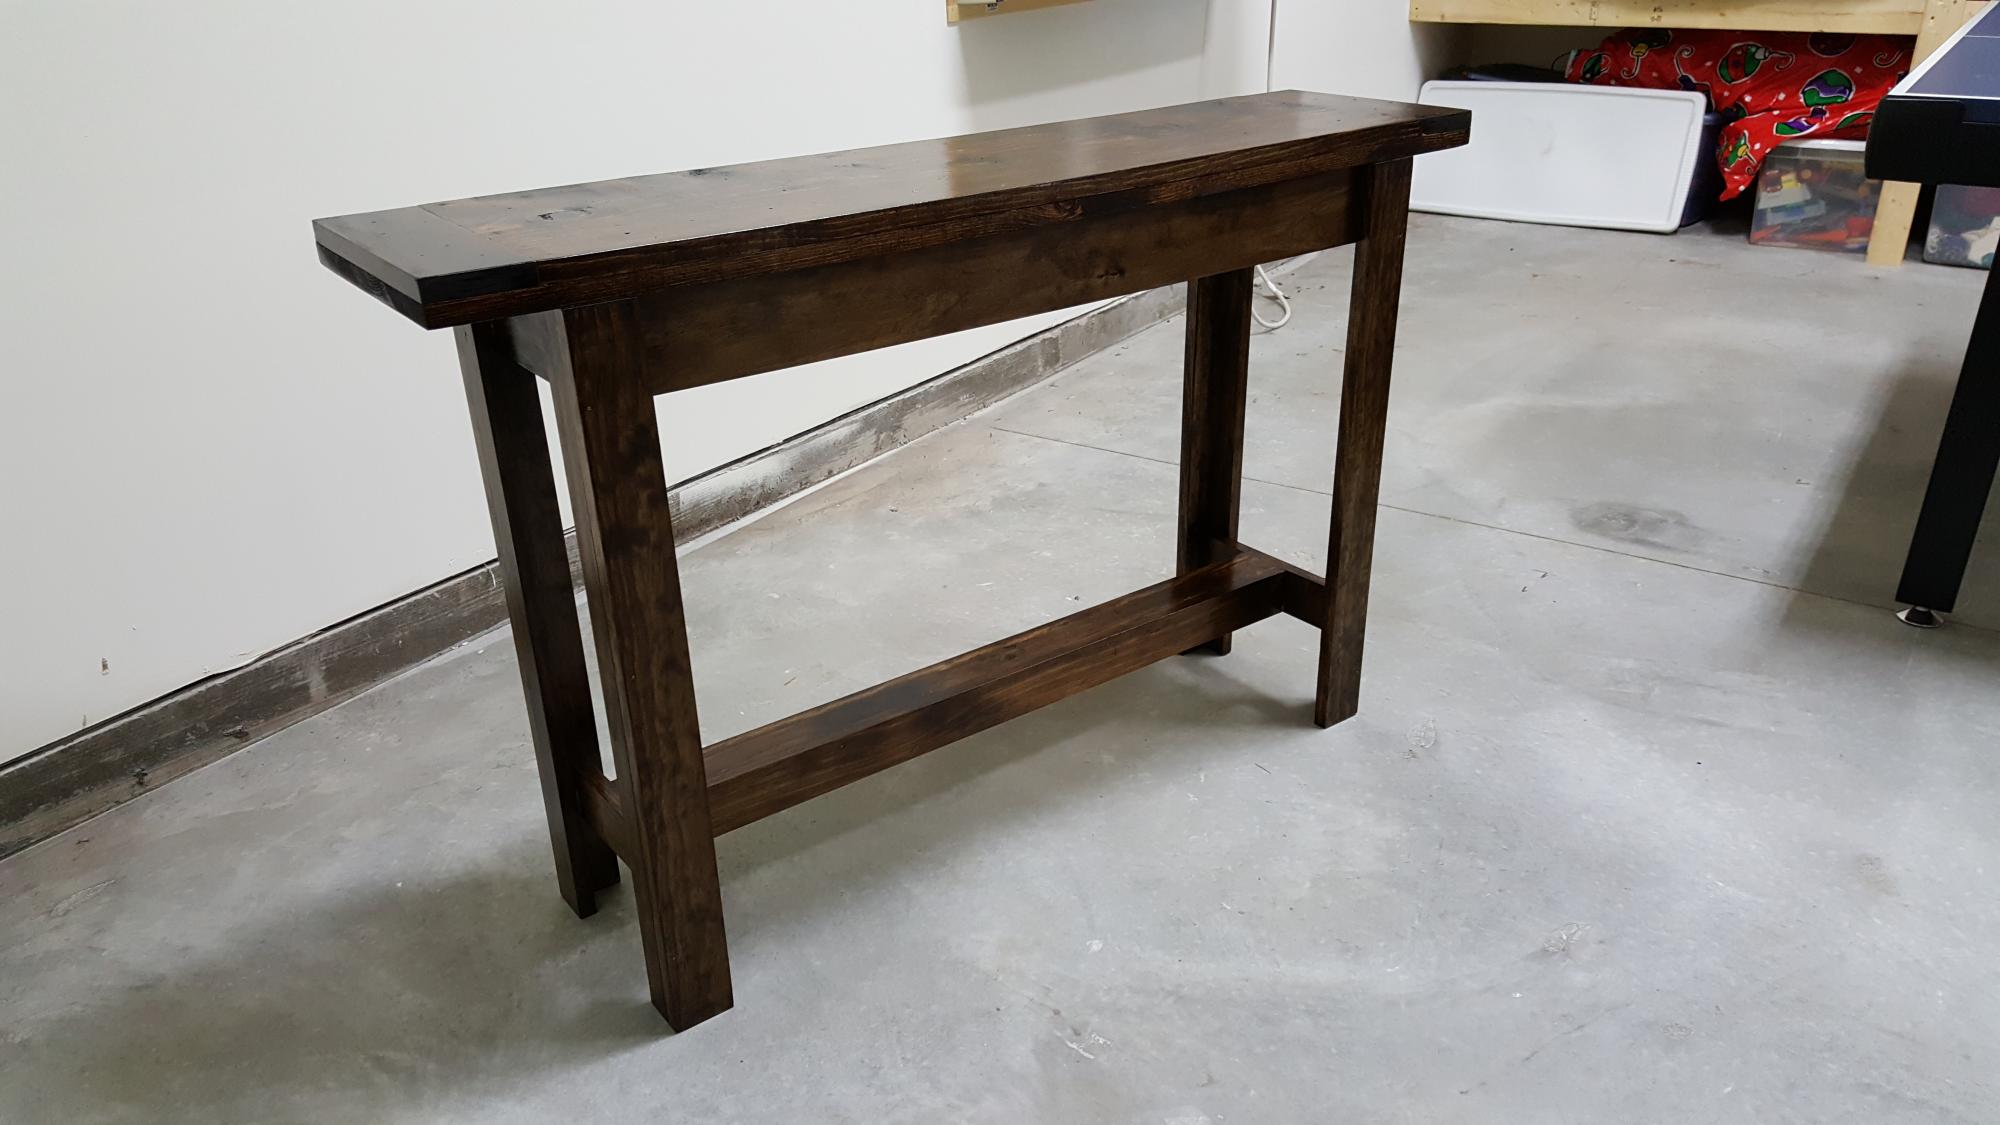
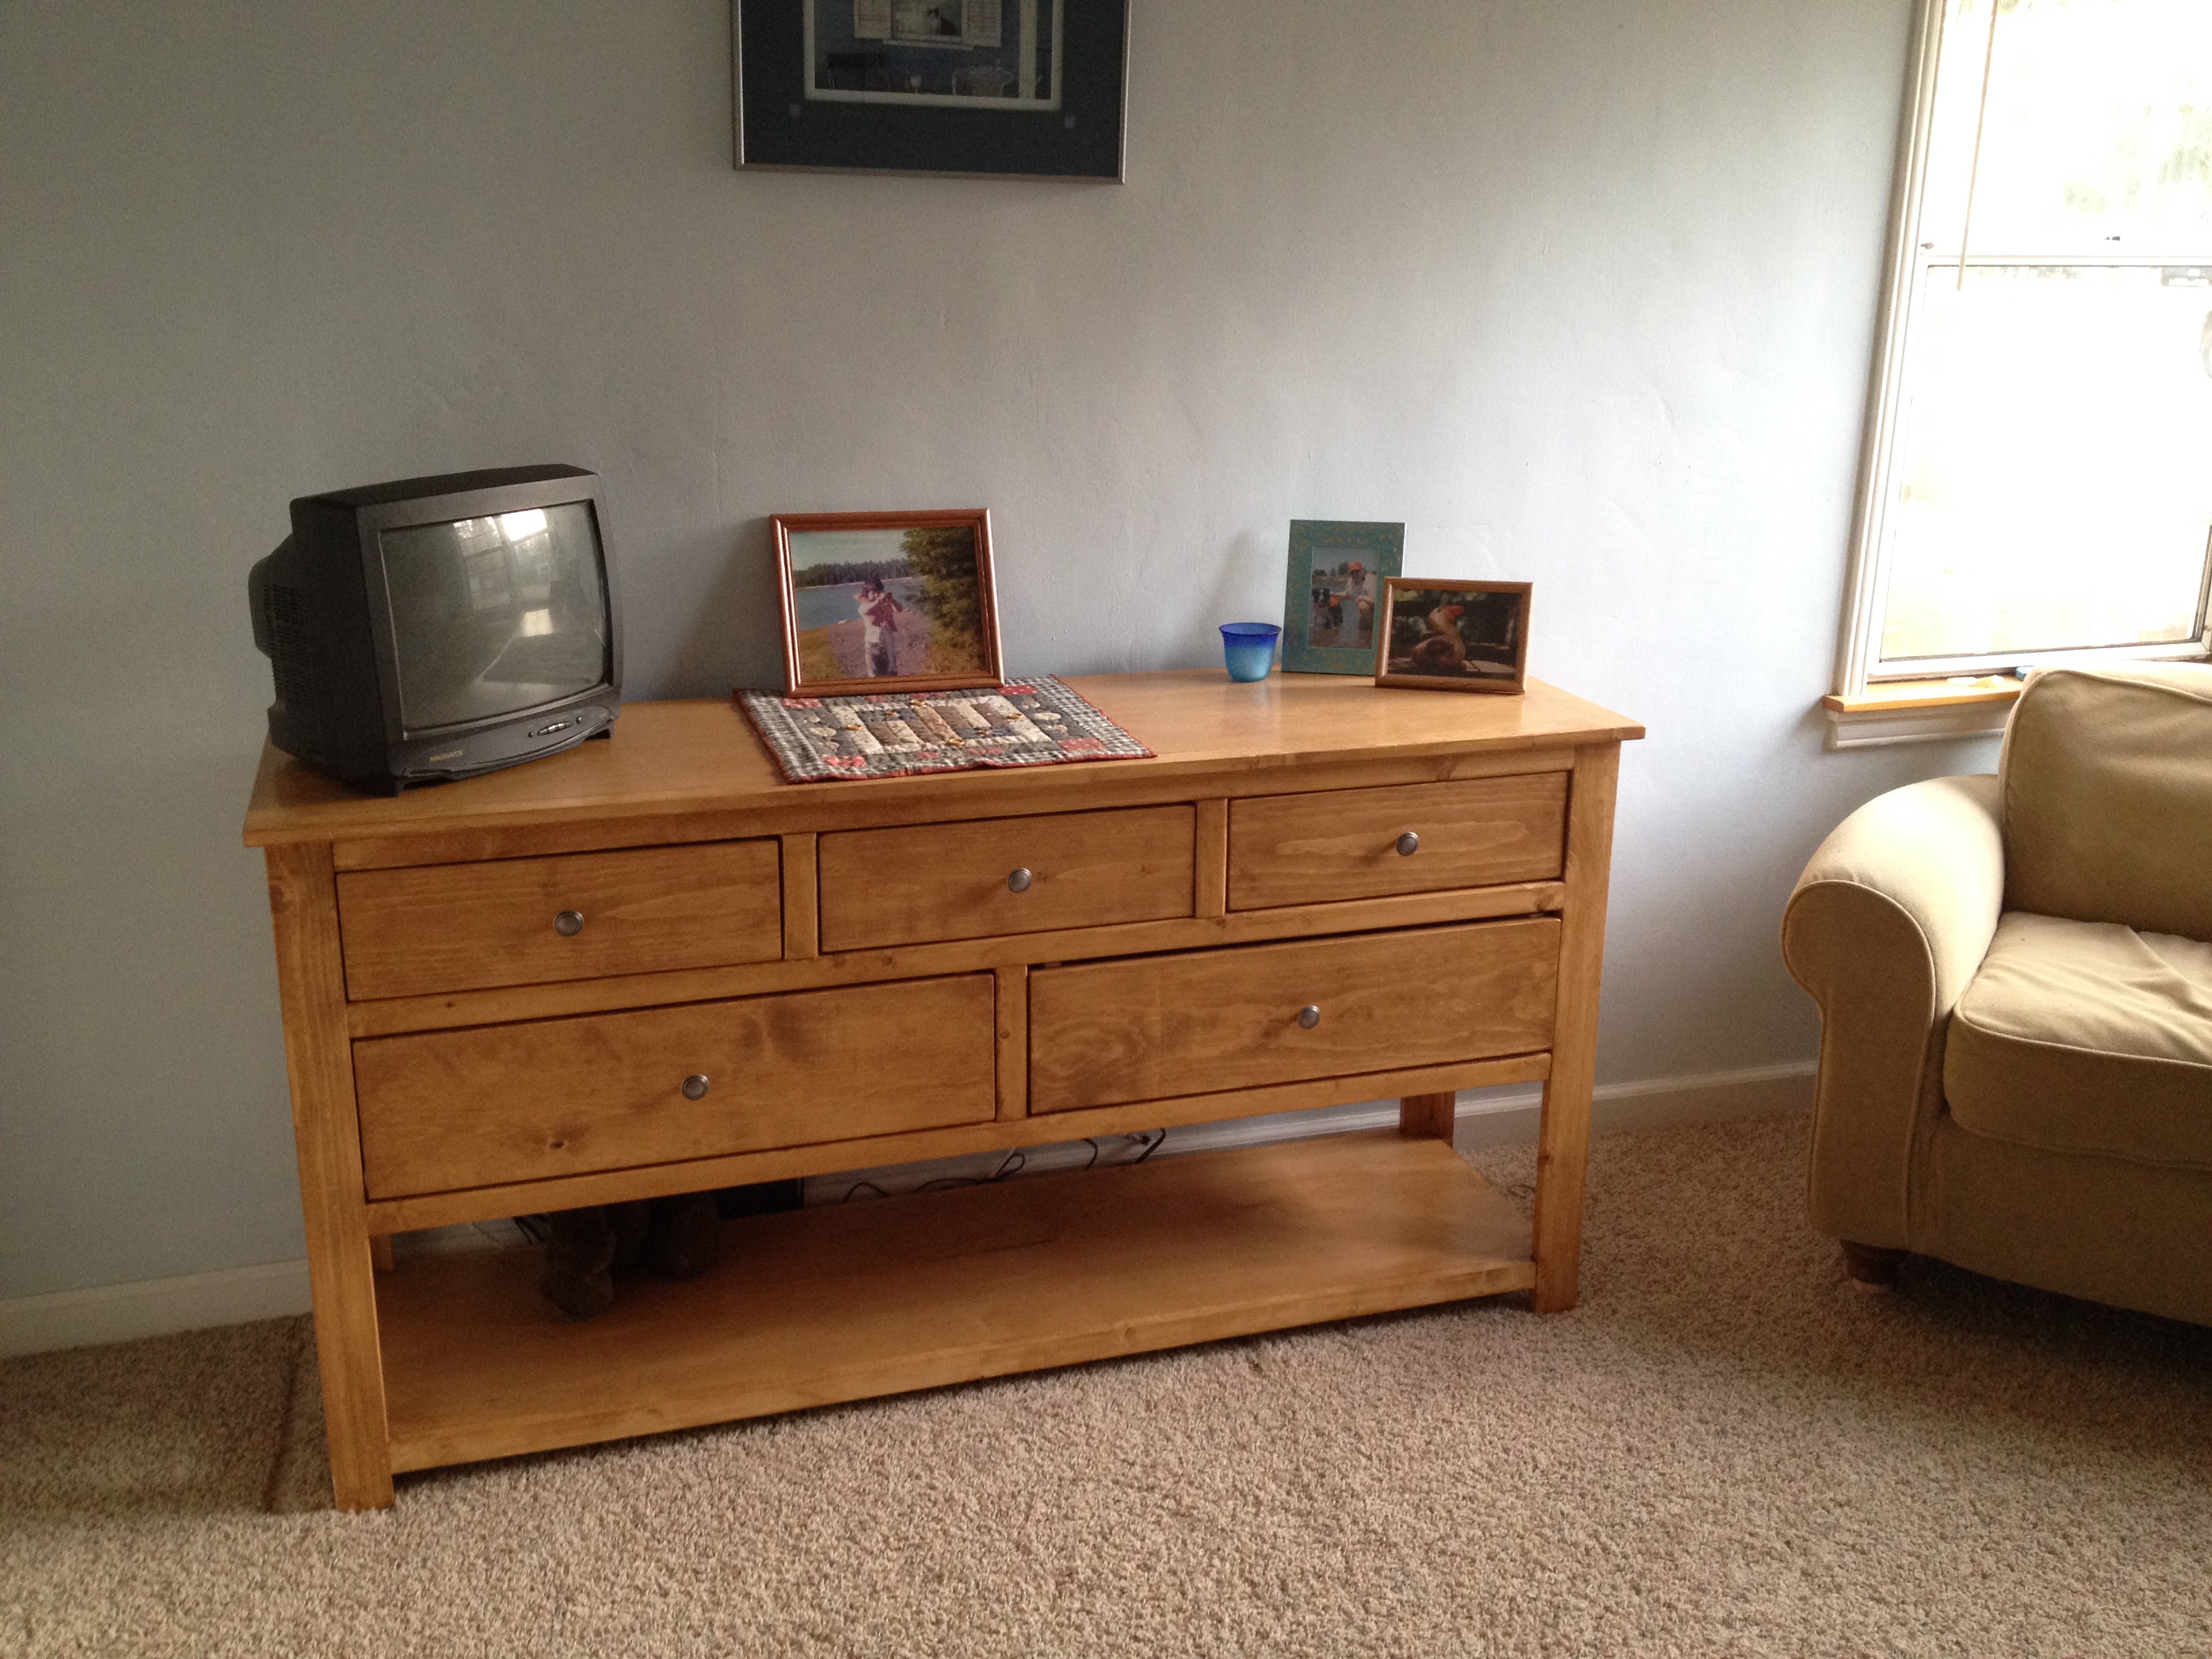
This was my very first build... a few years ago. I built it for my son's first apartment and it has survived several moves since then. It's great for an entry table or for a flat screen tv. Thanks for all the plans, Ana!
One of the kitchen accessories is
a bottle rack. There are many kinds of bottle
rack depending on the type of bottle (oil or whiskey) and the use of it
(sliding, stable under the sink, in a single cabinet roundtrips etc).
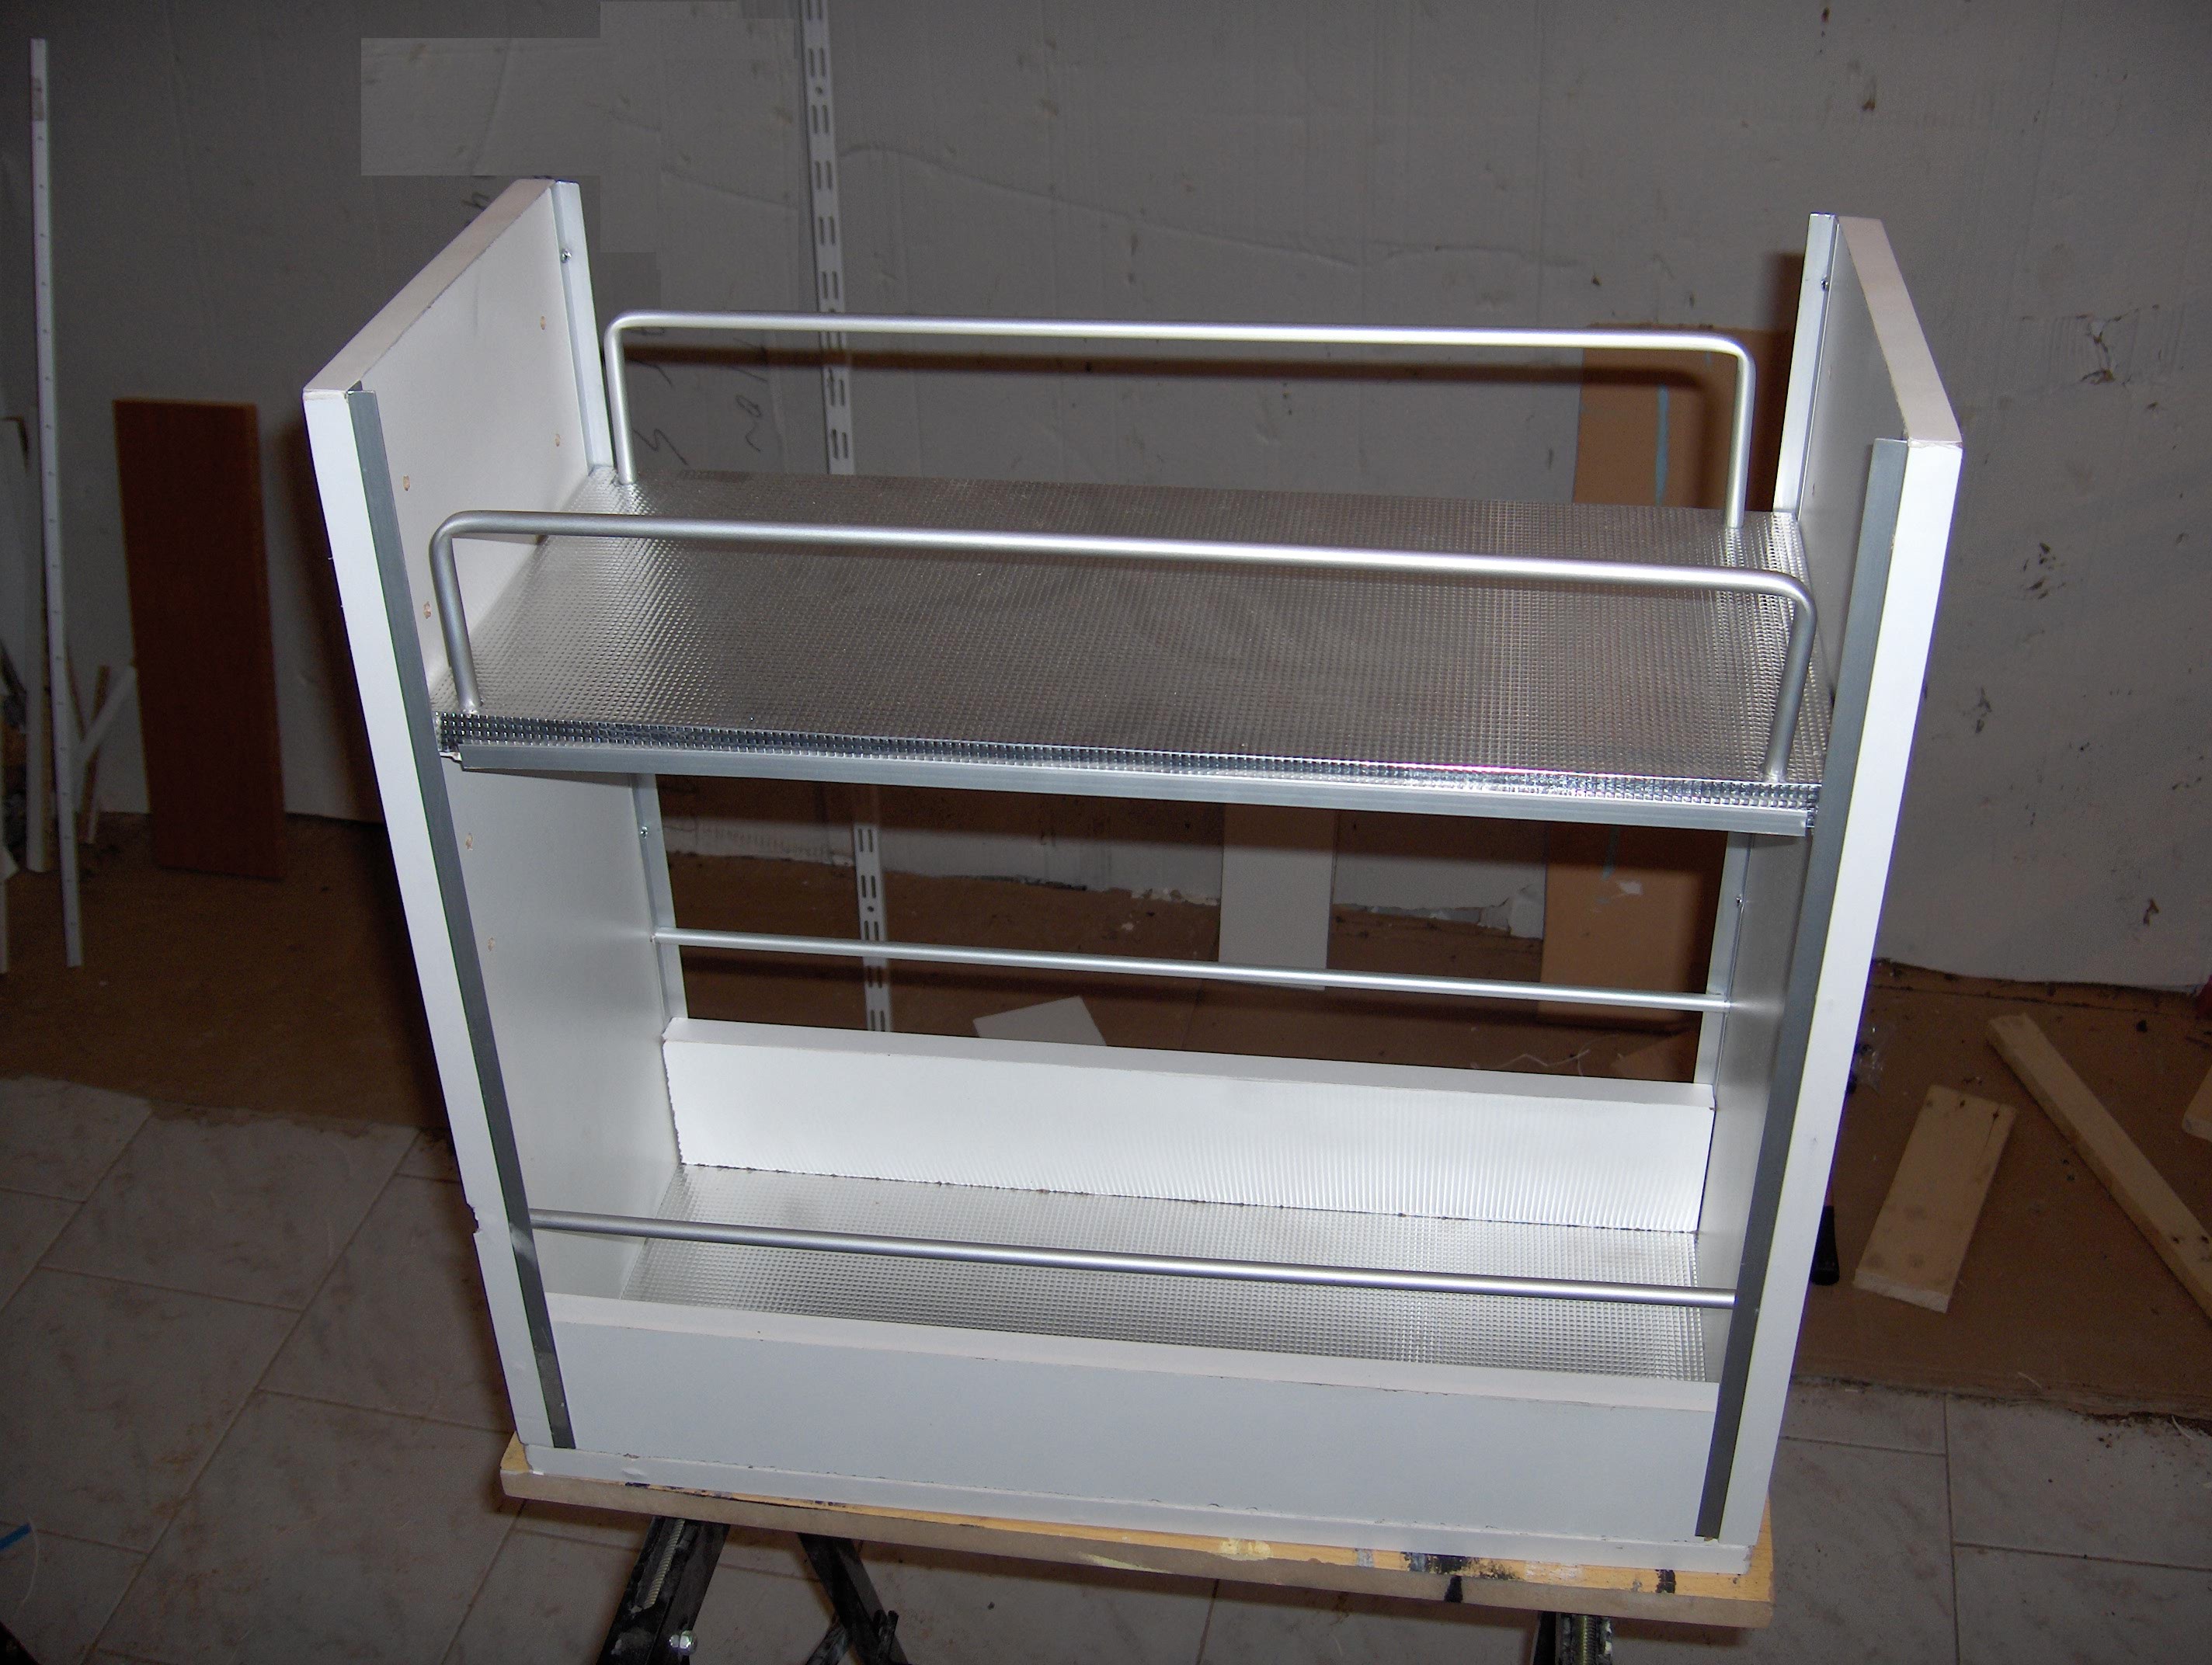
The demands of my own
construction is on bottle rack wagon (ie kitchen pulled out of context), will
find below and next to the sink that will use the entire height of the cabinet
and will have bottles of oil that can be dirty and will therefore be wash.Finally it is two storey with
the second shelf can be moved in height. The dimensions are length
height 50cm. The materials we use are white
melamine 16mm aluminum angle, aluminum tubes and aluminum sheets to dress
racks.
 Materials of Construction
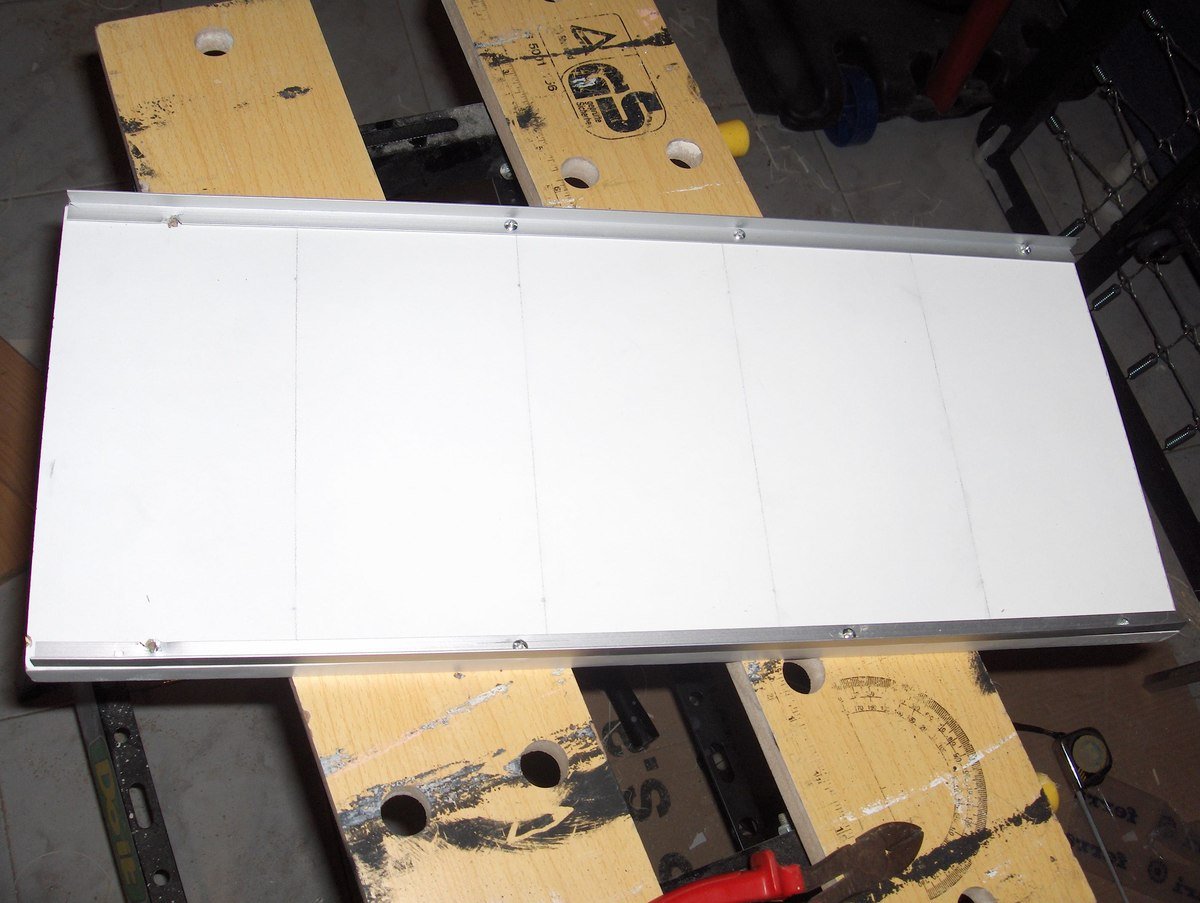
Melamine White 16mm: 4pcs x
(25cm x 50cm)
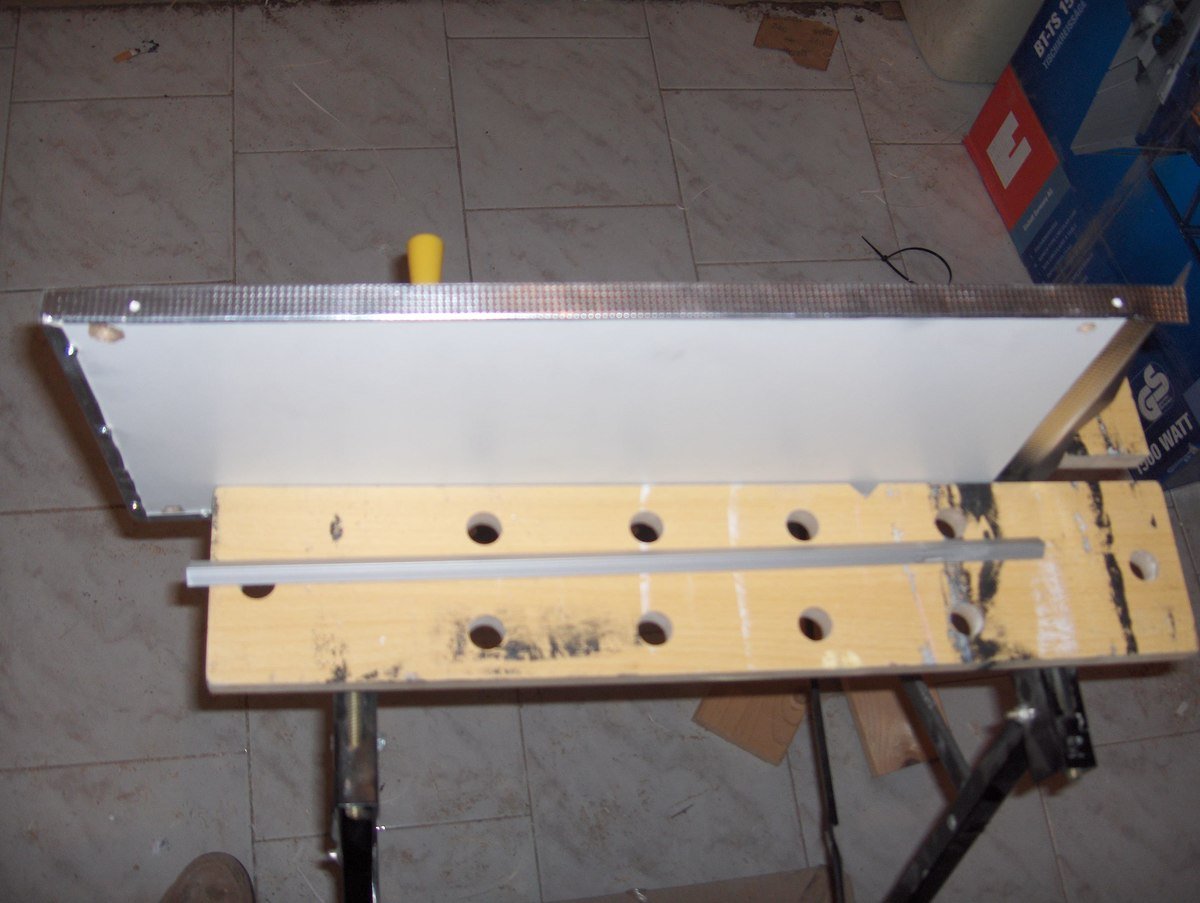
Aluminum angles (15mmx15mm):
4pcs 4pcs x 50cm x 47cm and
Aluminum tubes 10mm: 2 pcs and
2 x 52cm x 54cm pieces
Aluminum Sheets: 2pcs x 32cm x 57cm
Cost of construction
Melamine
m
euros
Guide Ferrari50 cm 1pc x 9 = 9
euros
Aluminum angles
10
euros
Aluminium tube
11 euros
Aluminum Sheets 8 euros
Mounting rack 1
euros
Total: 45.75 euros

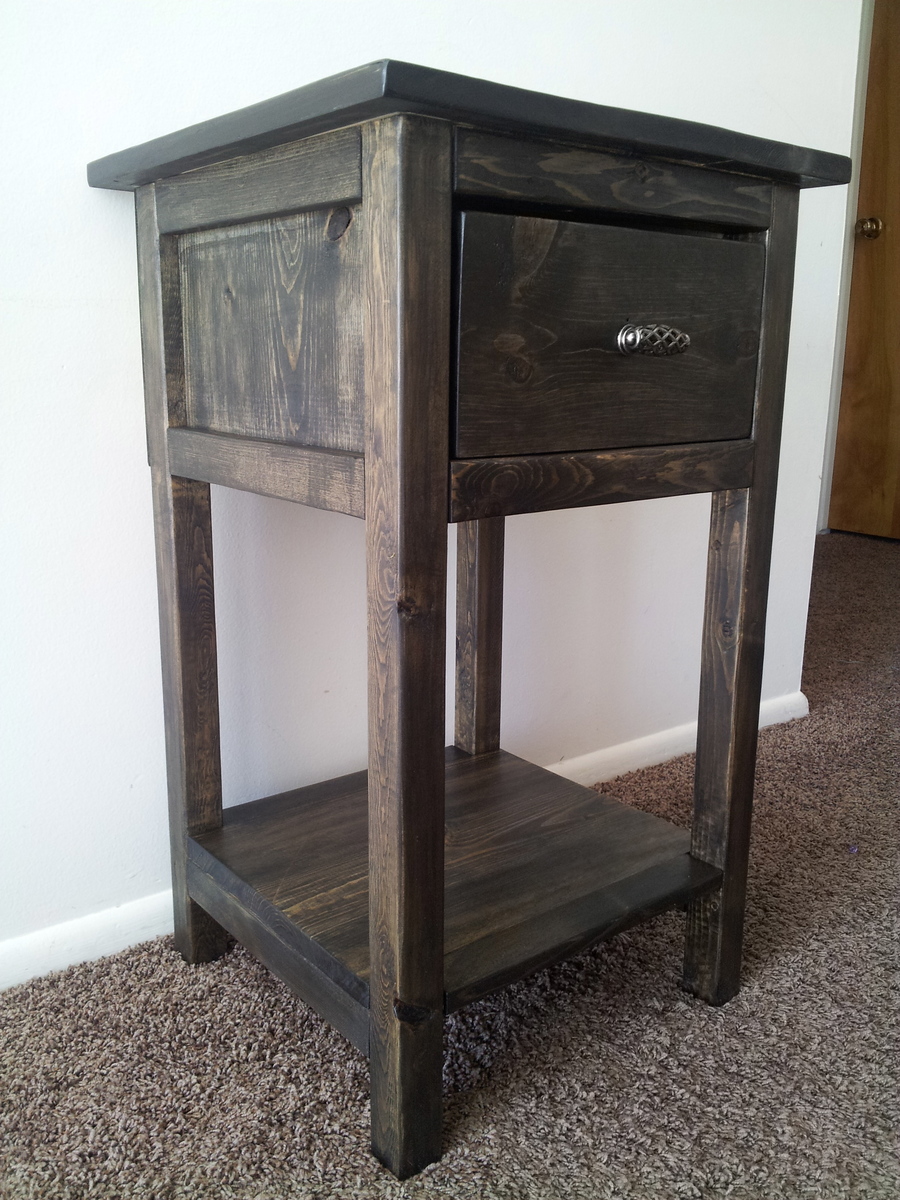
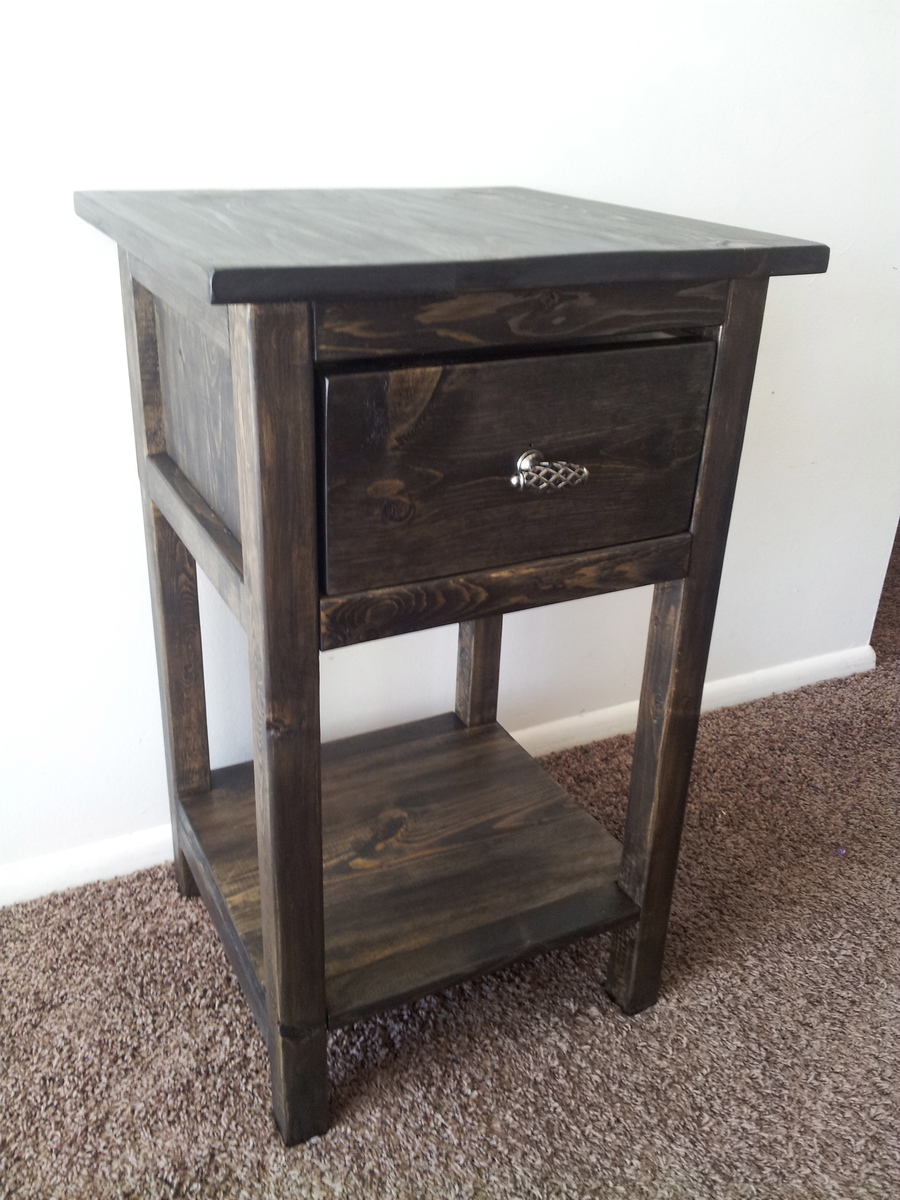
FIRST BUILD!! We've been using metal decorative plant stands as our nightstands, but they're just too wobbly on the carpet in our bedroom, and don't have any storage except the top of them, so when we saw the plans for the Mini Farmhouse Bedside Table, we knew it would be perfect. We don't have a lot of space next to the bed, so we went with the Mini plans, and built 2 of the nightstands, one for each side. We do a lot of projects, and I have refinished furniture for a few years, but we've never built anything from scratch. We have all the tools, so we decided to give it a try. This is our first build, and even though they're not perfect, I think they turned out nice, and we learned a lot that we will bring into future builds. We've already since built a Farmhouse Bench, and are getting lumber this weekend to build a dining table! Thanks to Ana's plans, there are endless possibilities!!
We used 3 pieces of 1x6 for a planked top instead of one large piece of wood, just because we had extra 1x6. Otherwise, we followed the plans pretty close to exact. We bought a Kreg Jig mini before starting on this project, and it's the BEST tool ever!! I want the more expensive kreg jig now, haha I love it!

Comments
Ana White
Mon, 07/24/2023 - 20:19
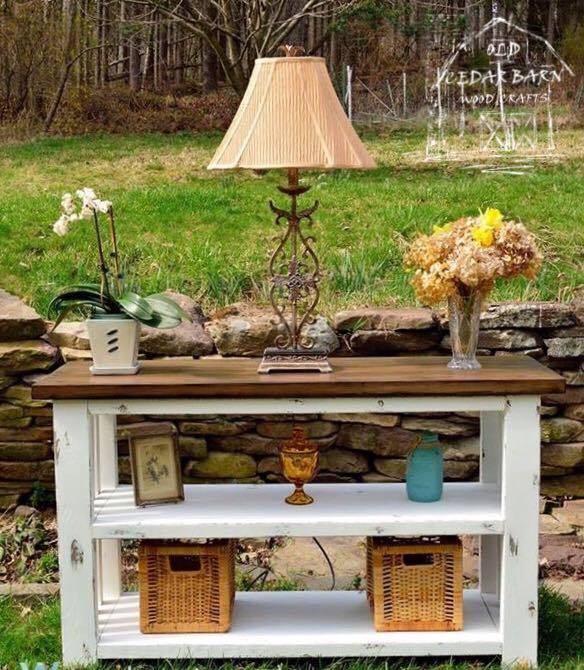
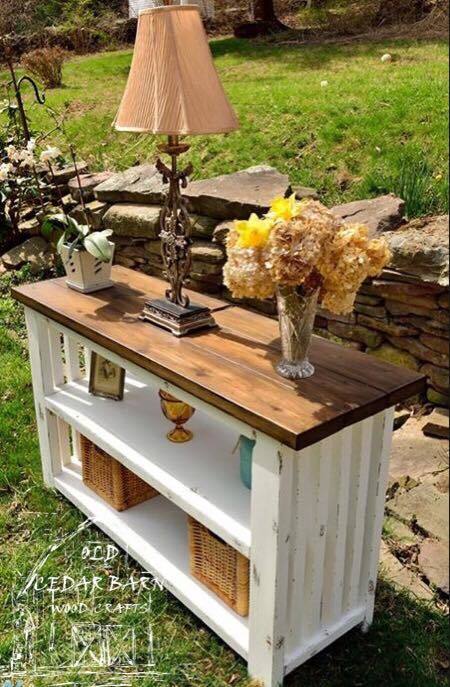
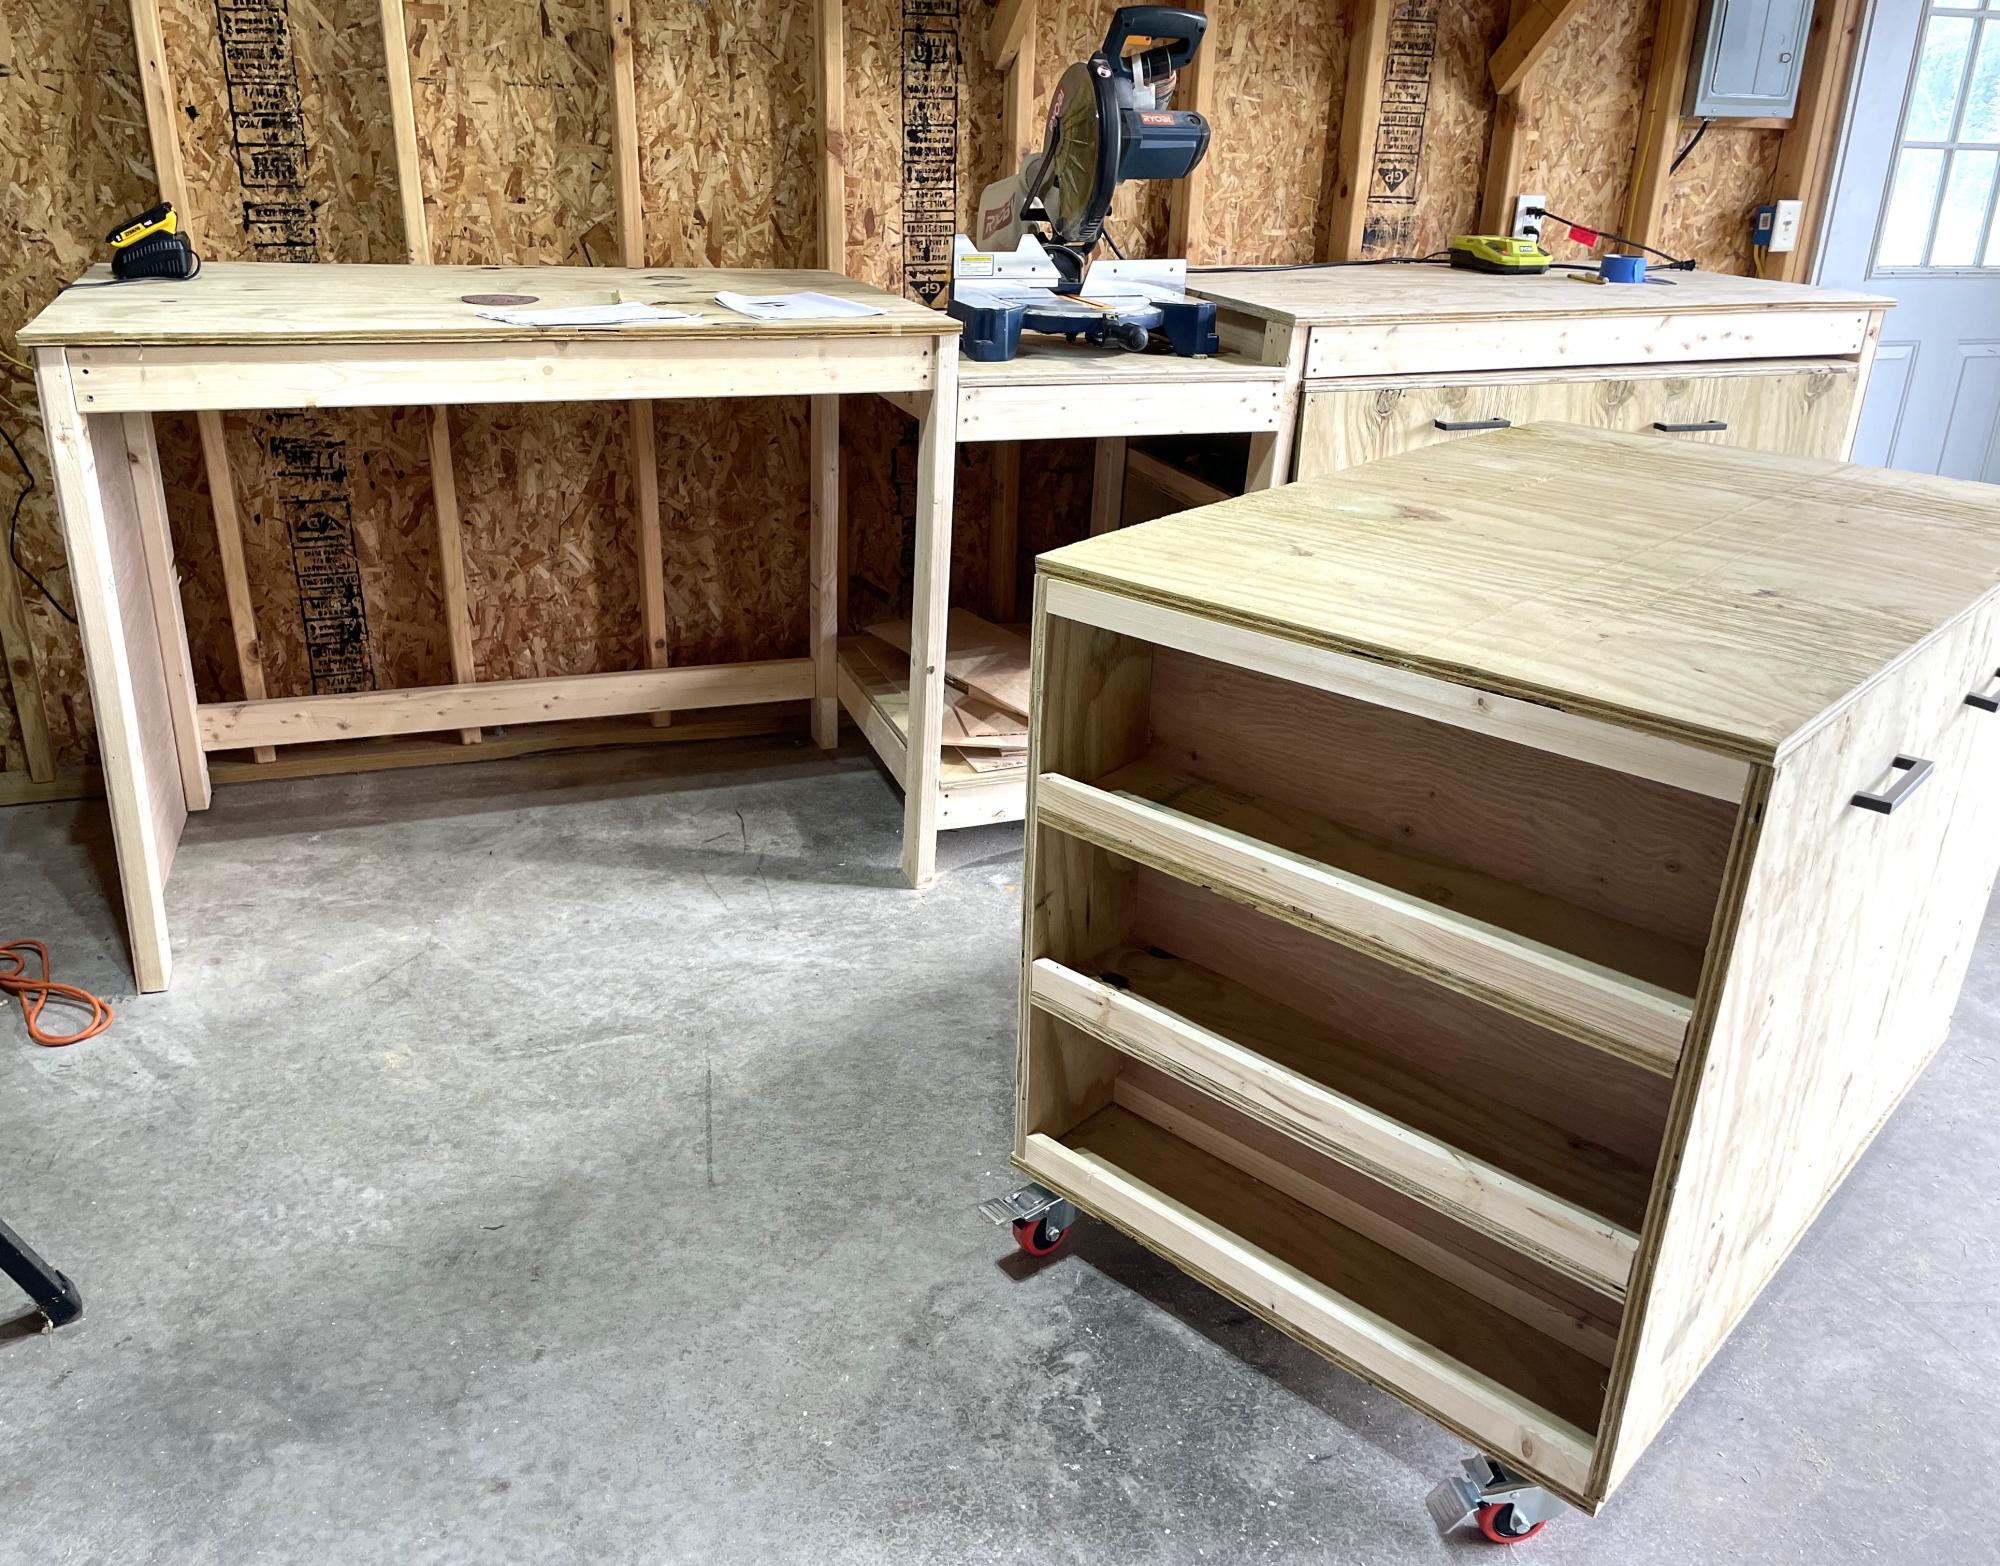
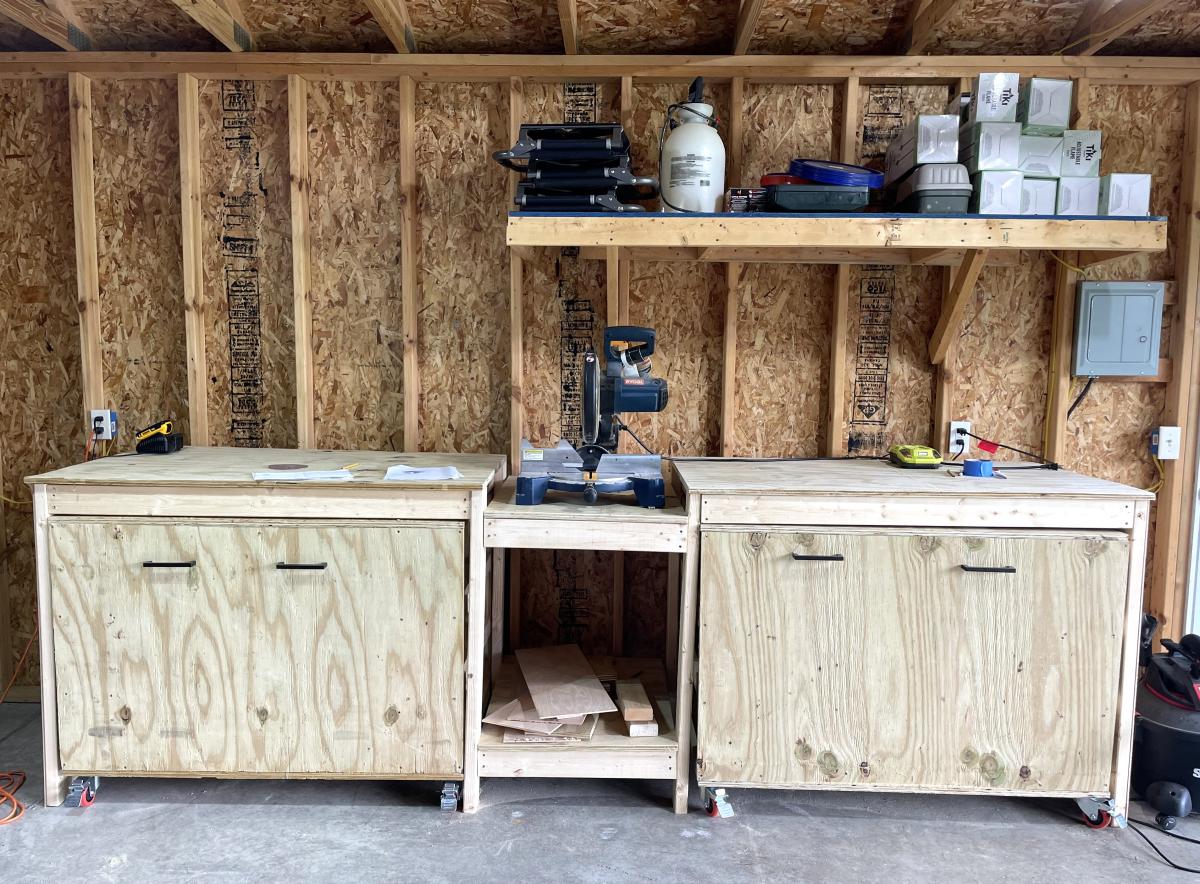
So perfect with the bottom…
So perfect with the bottom shelf! Love this! Thank you so much for sharing a photo!