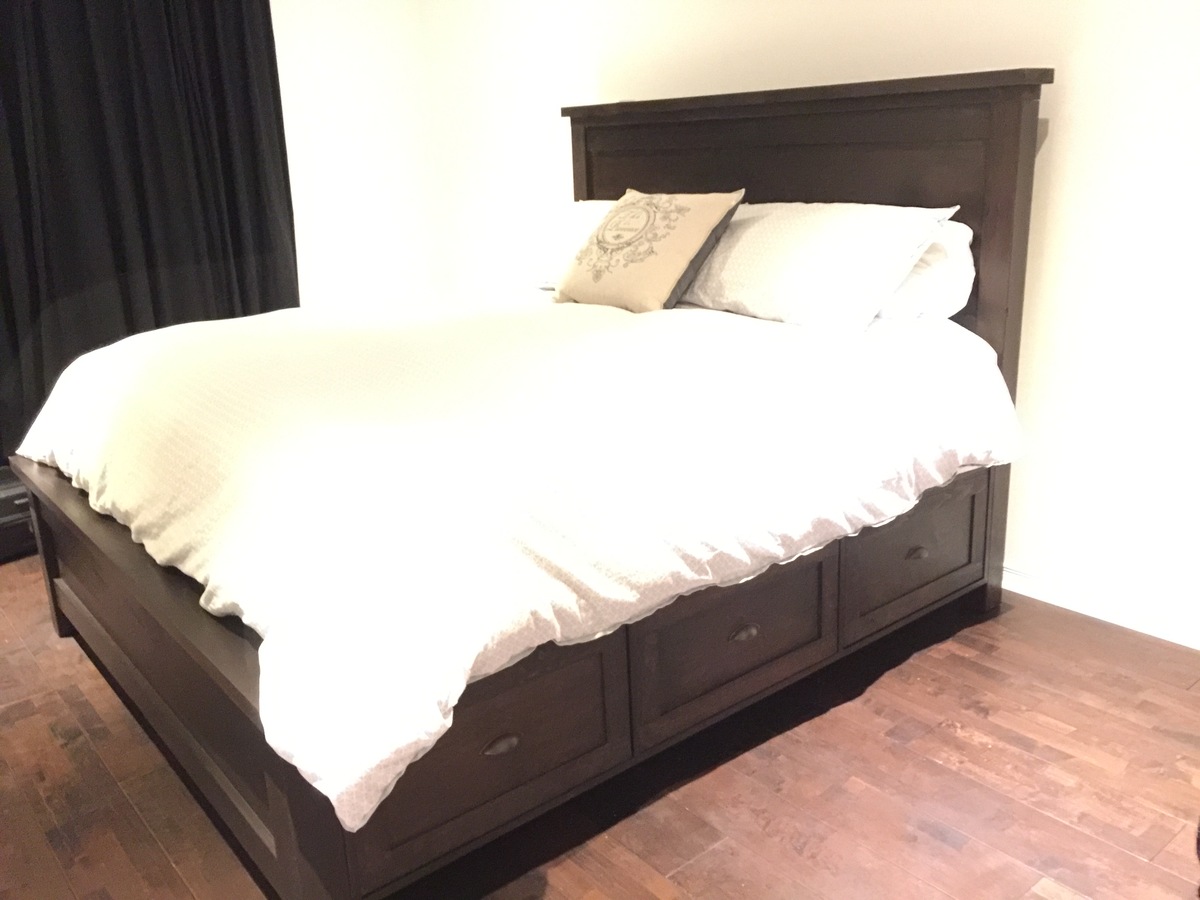
Modern Farmhouse Bed - First Wood Project!
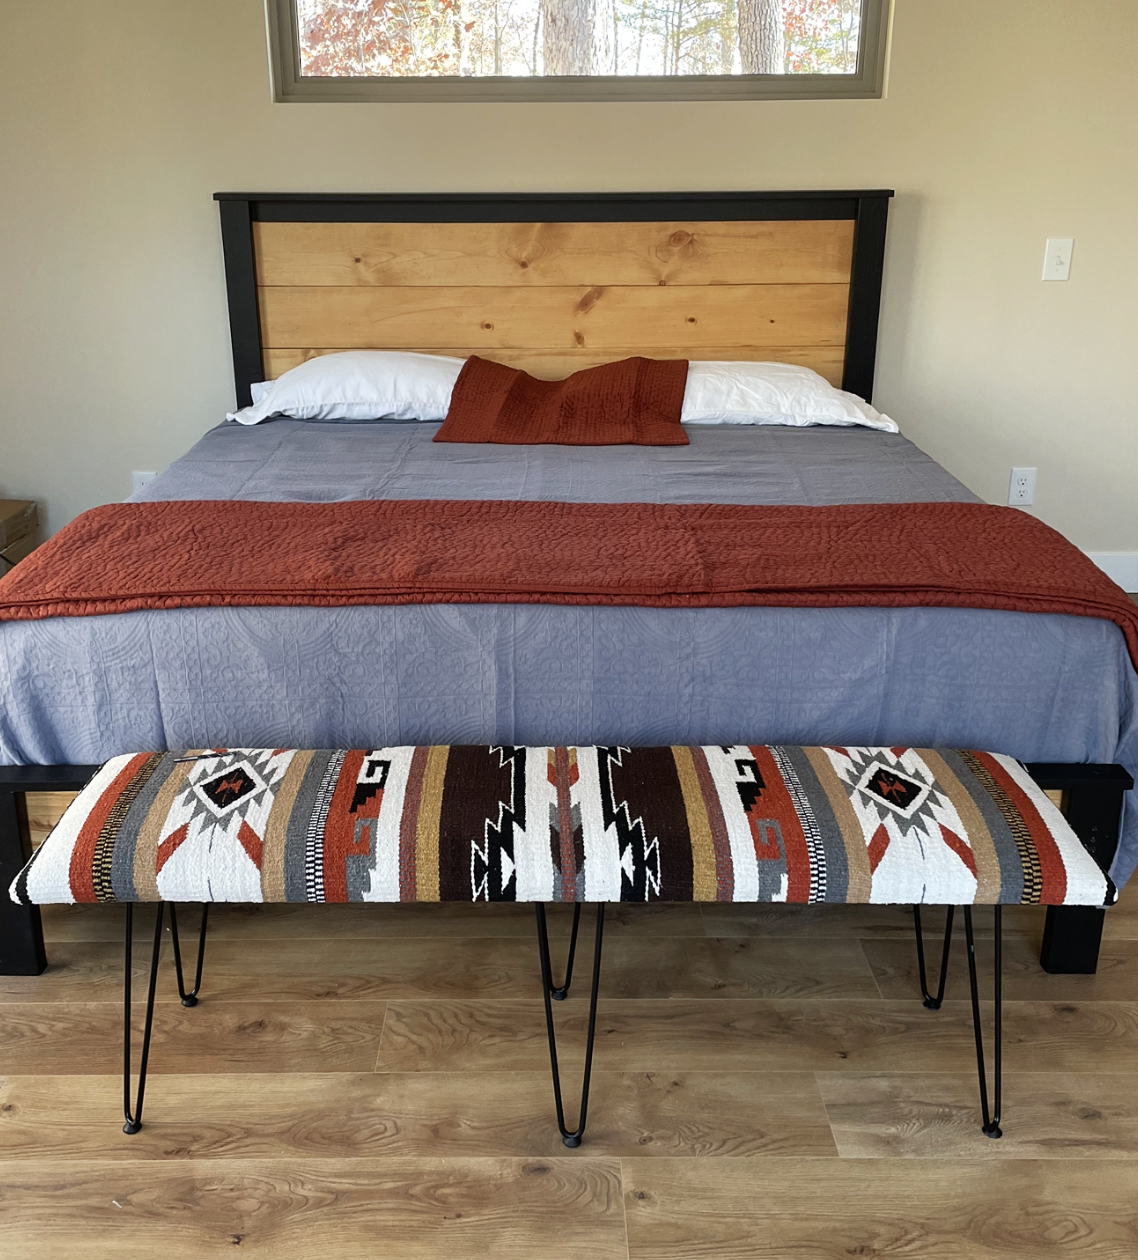
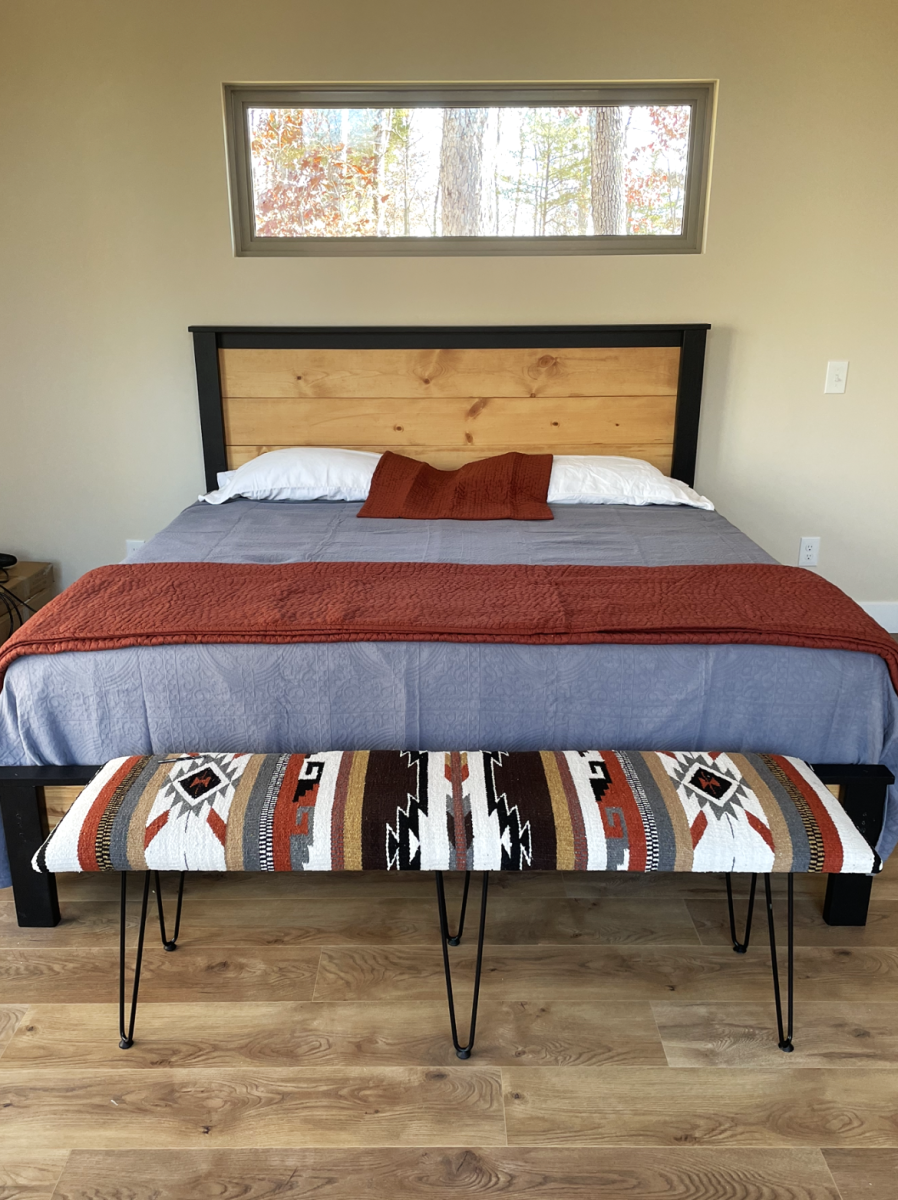
King sized bed. My first project. I’m a 69 year old female and had a blast making it.
Built from Plan(s)
King sized bed. My first project. I’m a 69 year old female and had a blast making it.

This was my first project! WIth some guidance from my husband, we were able to complete this during naptime (minus paint, of course). It was a fun project and I can't wait to try a different one! (Not sure why it looks so crooked in this picture! It looks nice and even in person.)
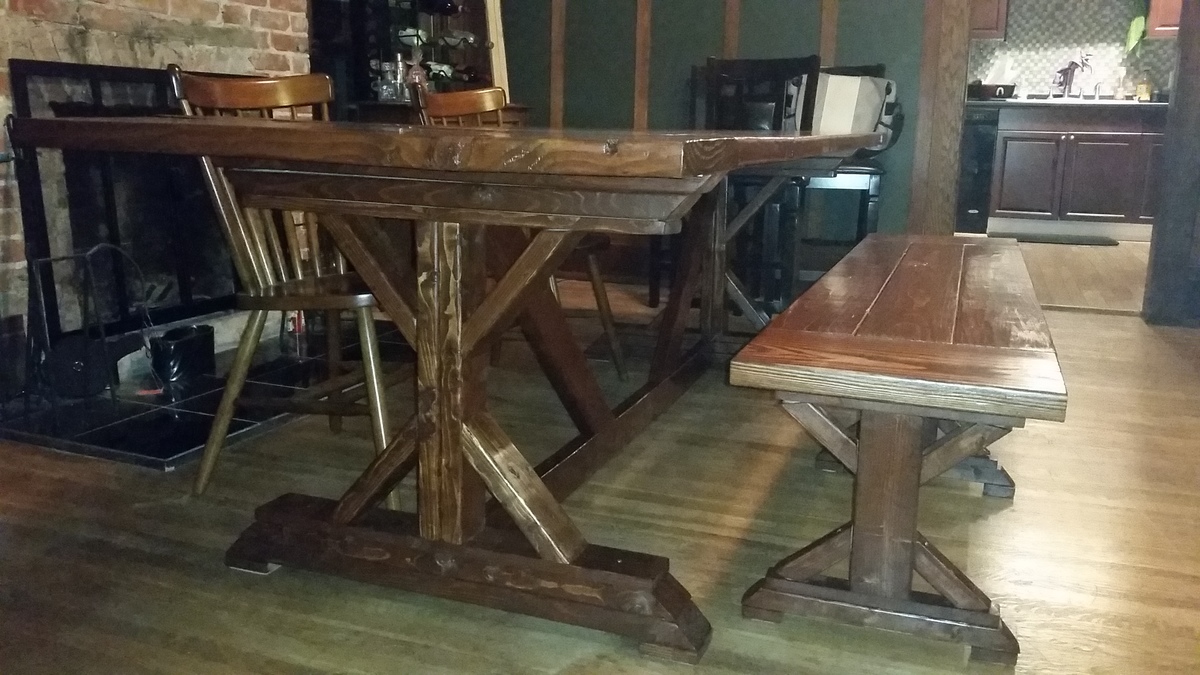
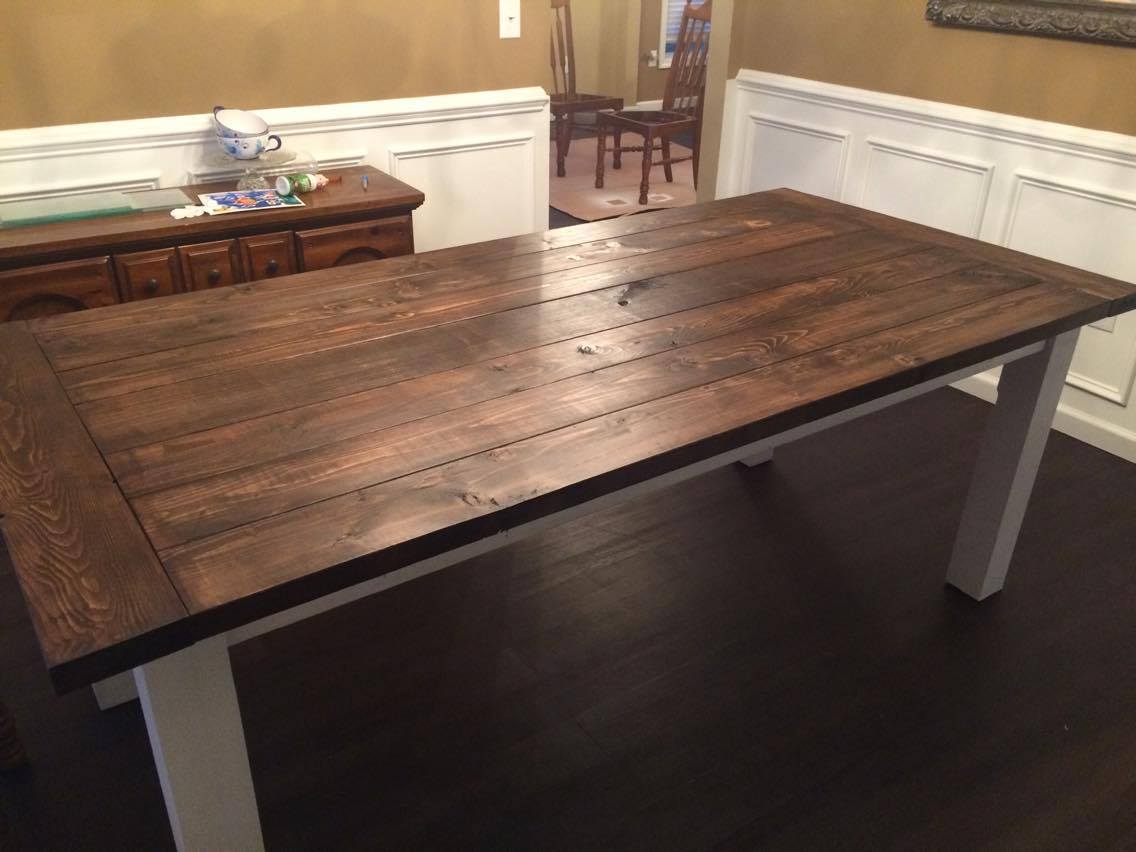
We decided to adjust this plan by removing the stretchers on the bottom. We knew we wanted to use the ends of the table for seating fairly regularly without adding a leaf on the end. The lack of support doesn't seem to have any effect on the sturdiness of the table. This was a super fun (and first woodworking) project! Can't wait to knock out the bench!
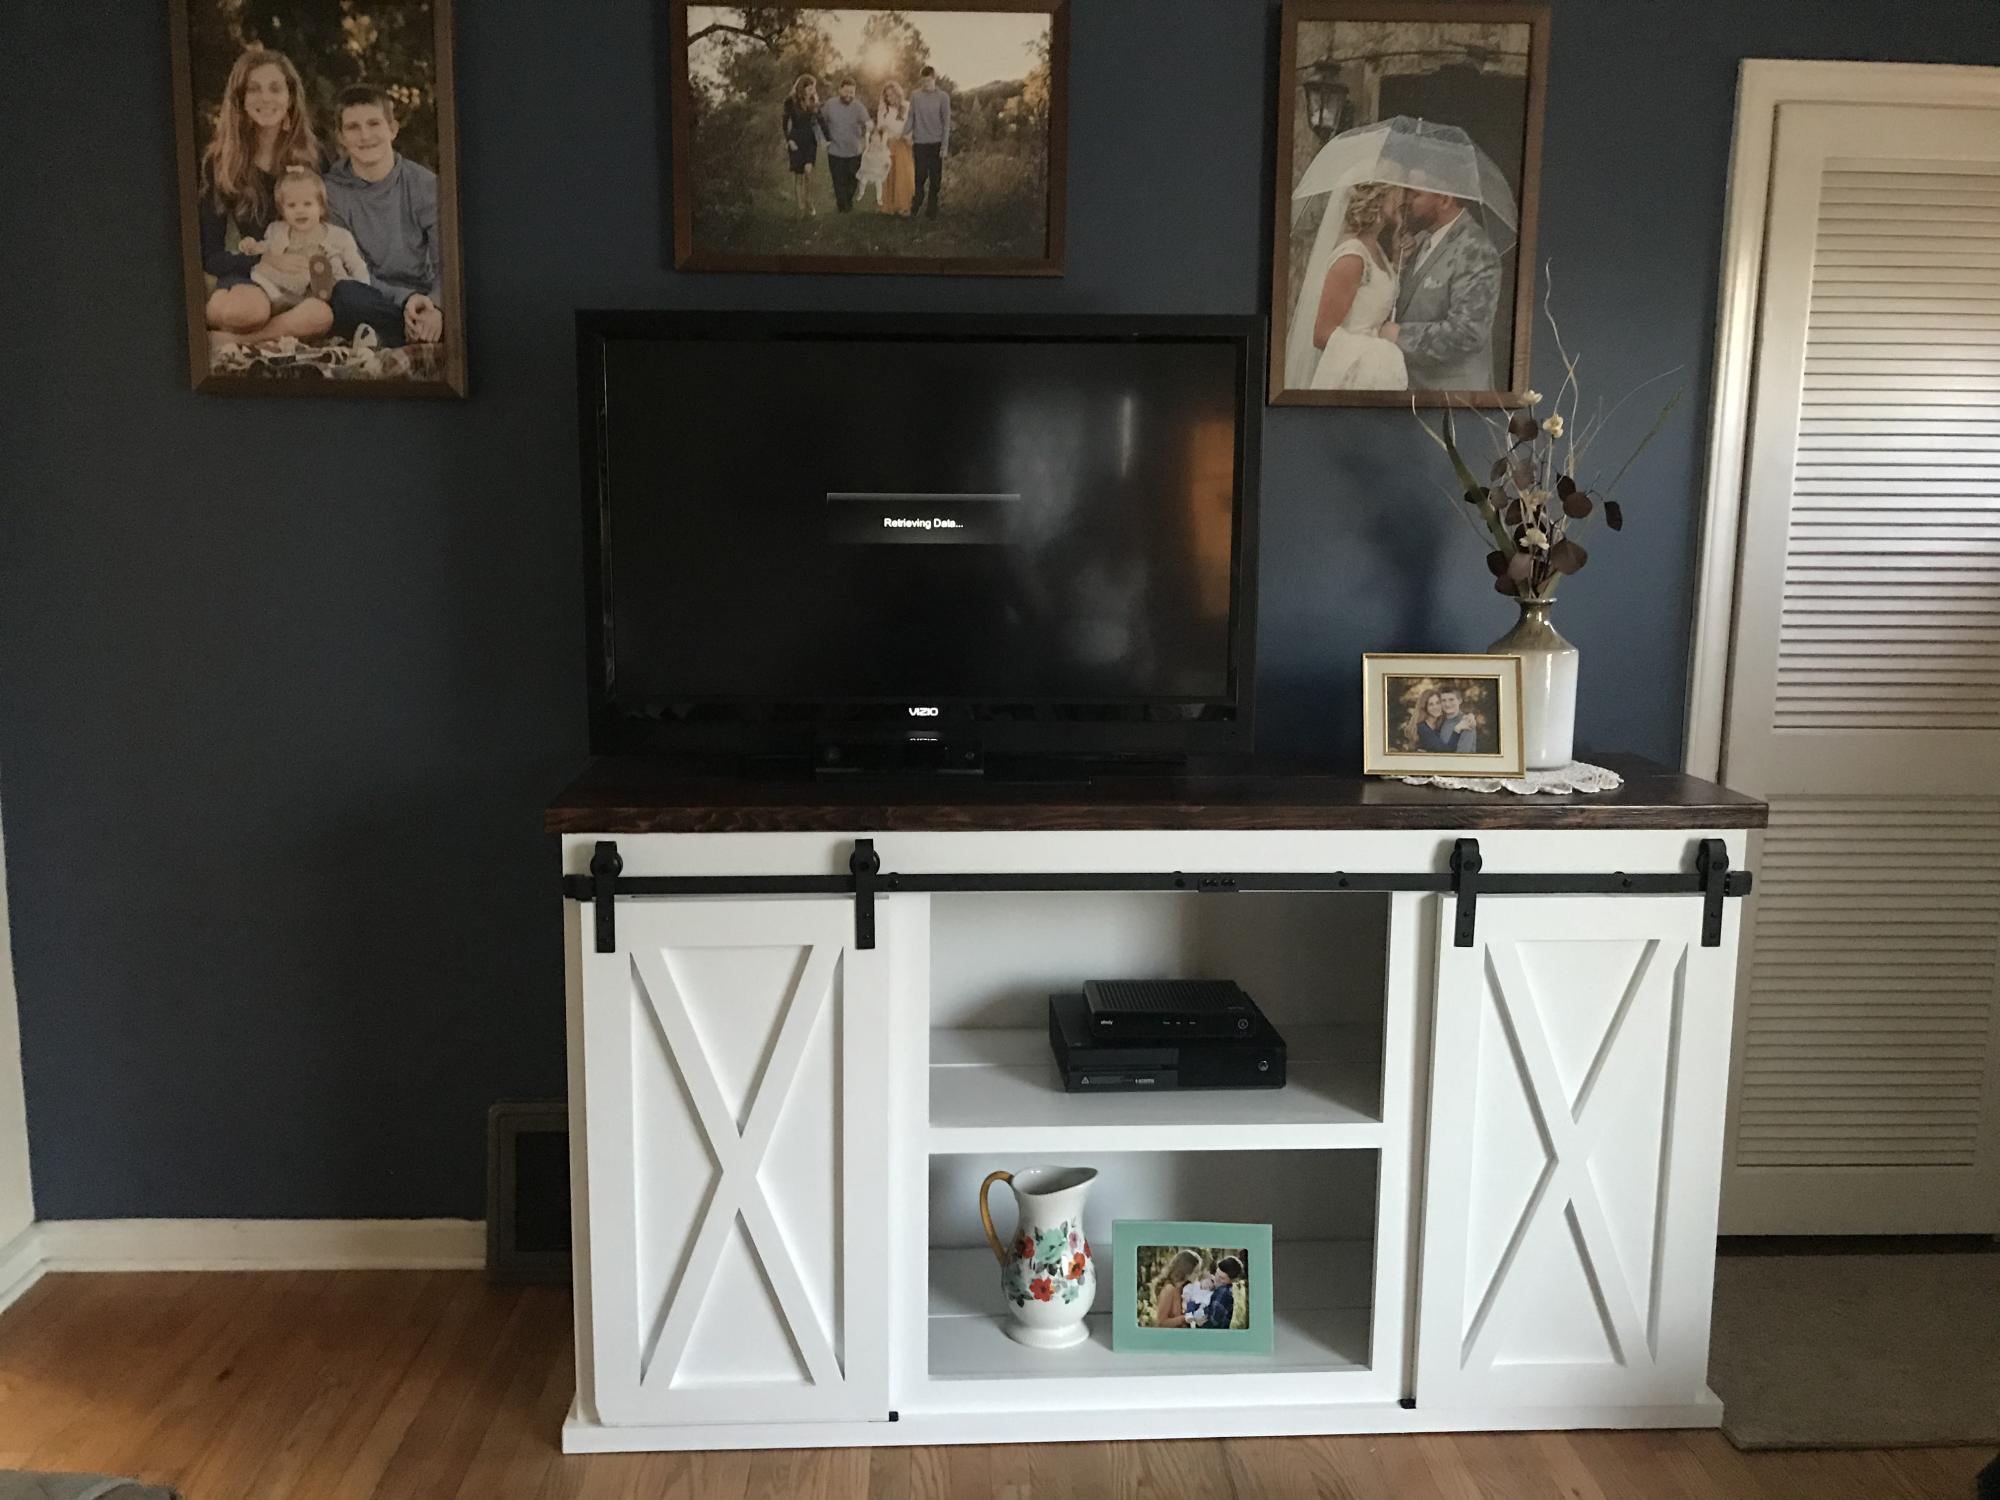
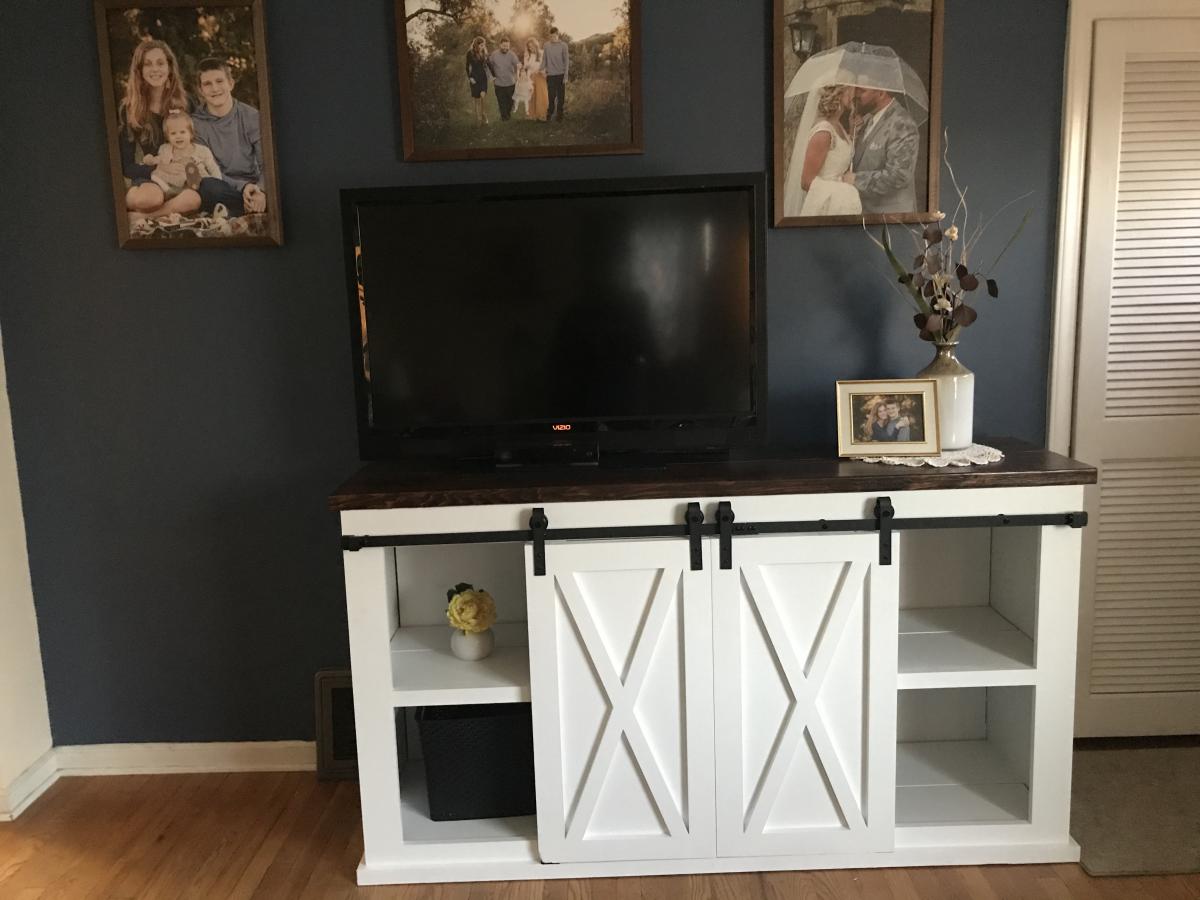
I built this during quarantine. Dark walnut on the top, and pure white paint ok the base and doors.
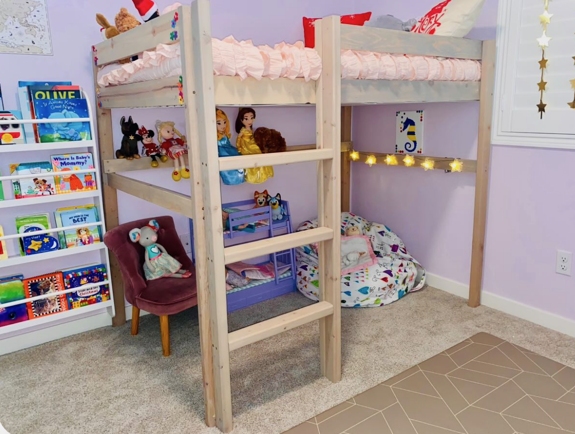
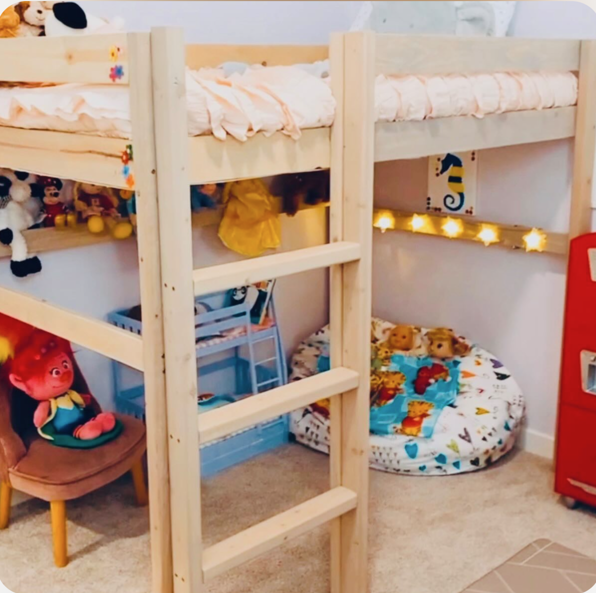
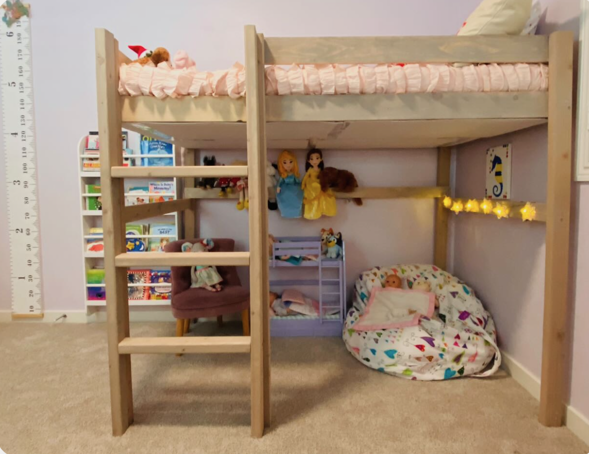
Built this loft bed for my girls playroom! They love it.
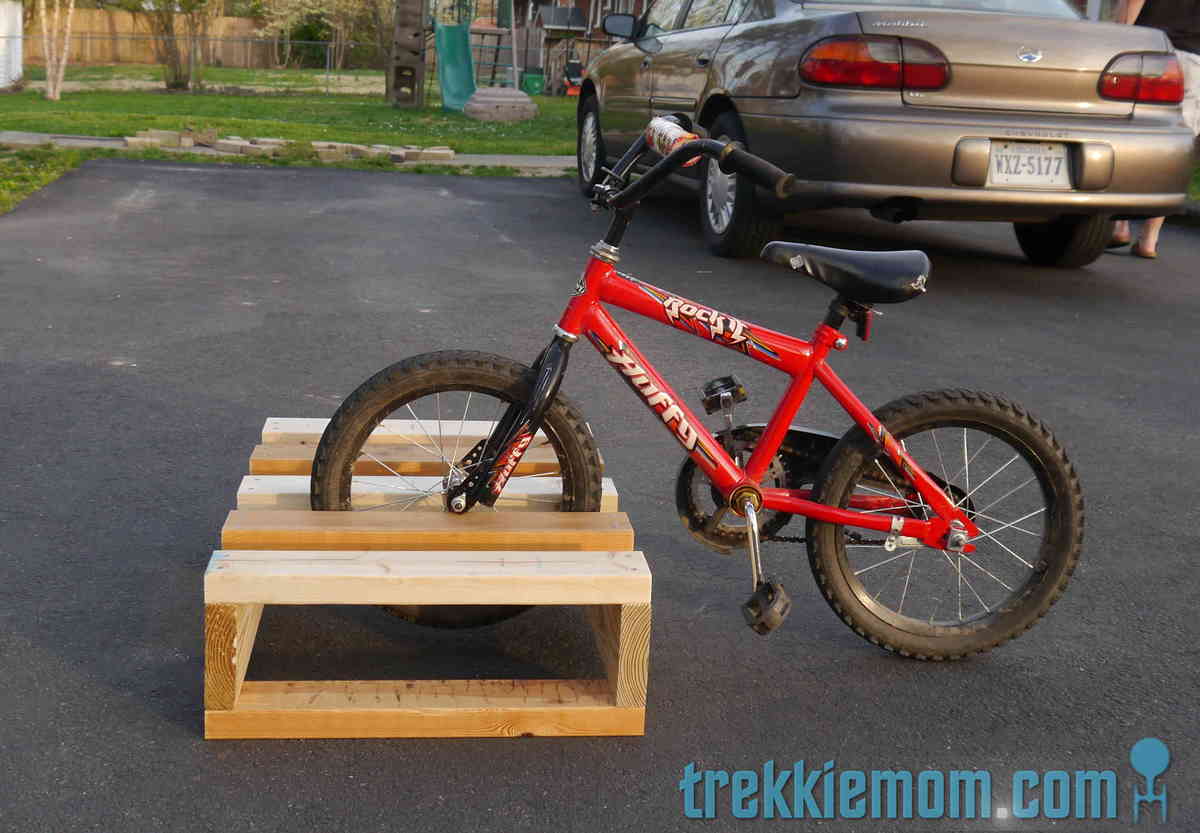
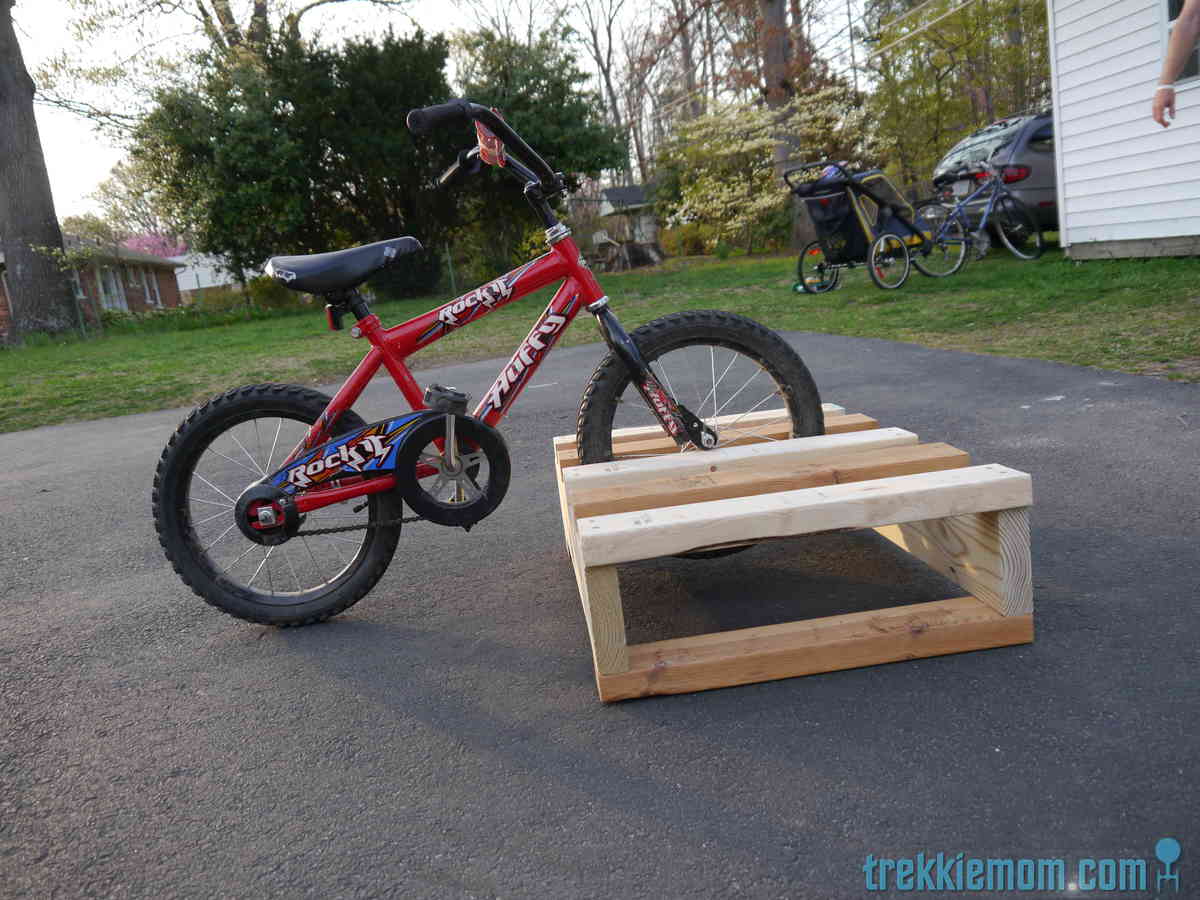
A few weekends ago, I went into our tool house to get my bike out so I could ride to work, and I had to remove so many obstacles, that I was too late to ride to work, and as a result, boiling mad. Several of the objects I had to move out of my way were my kids bikes that don't have kick stands, which my kids just haphazardly dump on their sides on the floor of the shed.
I had had the idea to build a bike rack out of spare 2x4s for the kids' bikes for a while, but this incident cemented my resolve to finish it quickly.
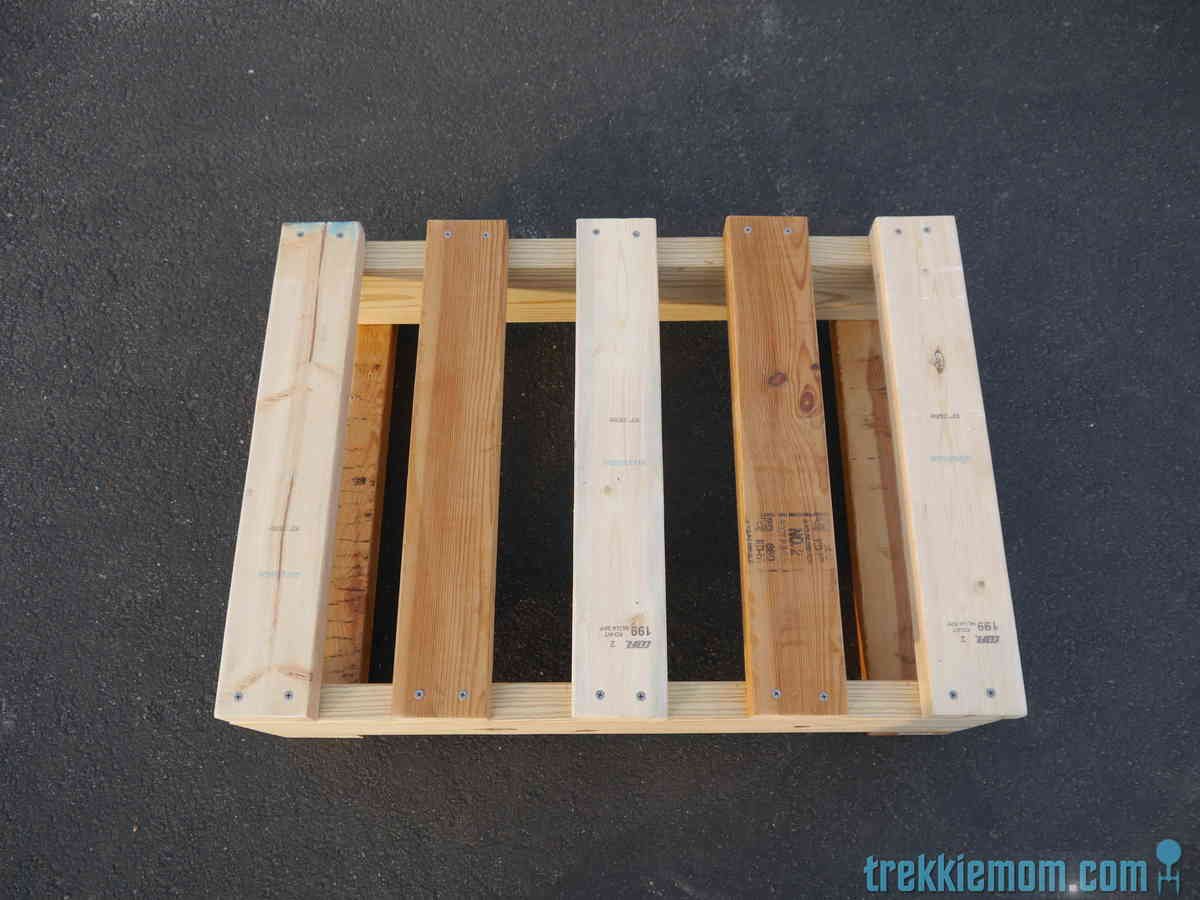
I had some scrap 2x4s and 2x6 wood left over from another project, which I used to compose my bike rack. It has 4 slots for 4 bikes.
I did some light sanding to prevent splinters, but I did not apply any finish because of the way it was going to be used and it would not be exposed to the elements.
It took very little time to put together. If I had more claps, I could have done it more quickly.
If you are interested in making something that looks just like mine, stop by my blog to get the details.
Modified plans for a king.
Made of pine and cedar.
Took about a week of evenings.
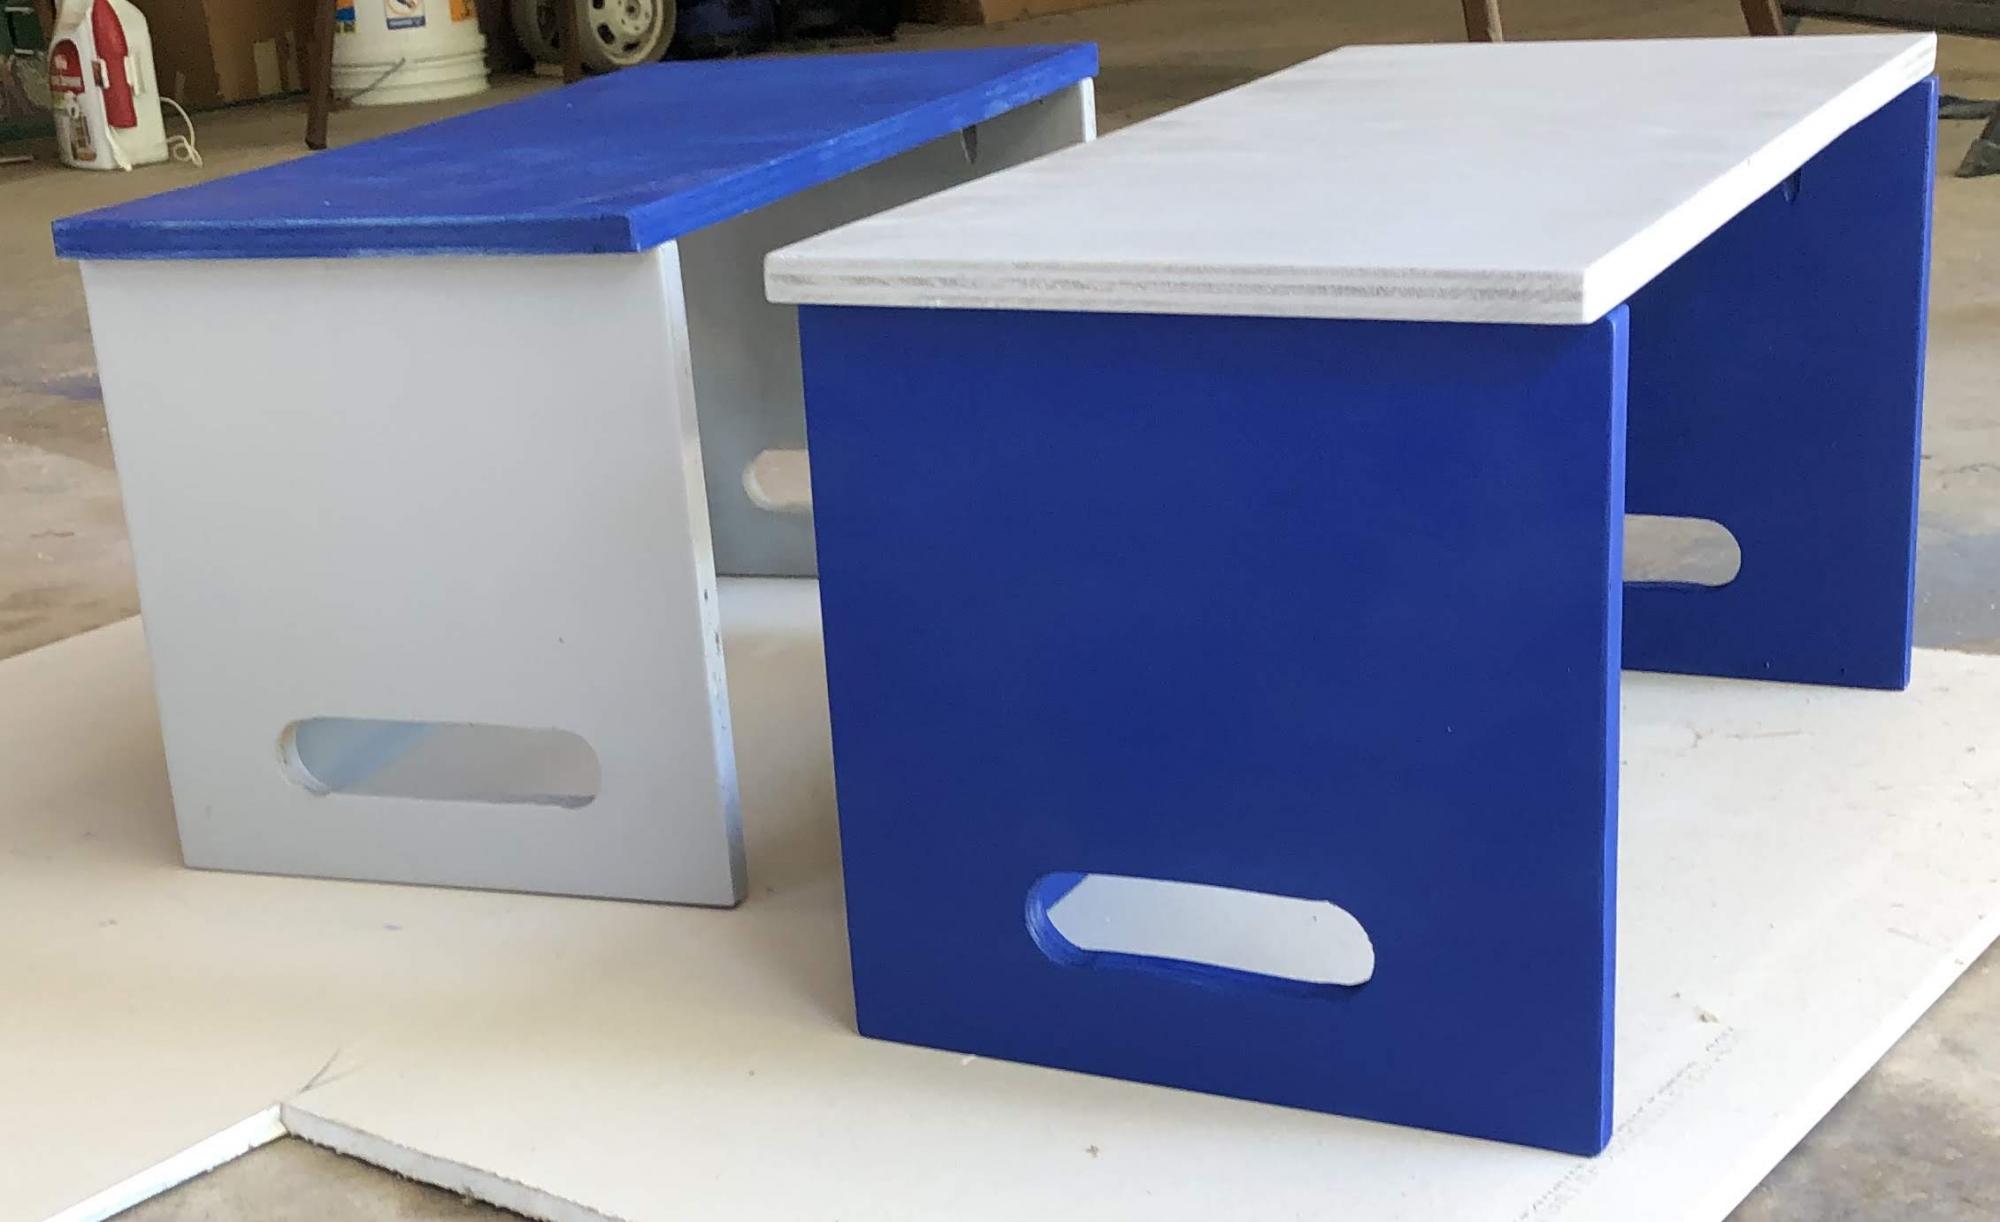
Built this using the Ana White plan. Construction was done in less than a day using leftover lumber from other repairs around the house. Painting and varnishing took multiple days for the paint and varnish to dry and cure though.
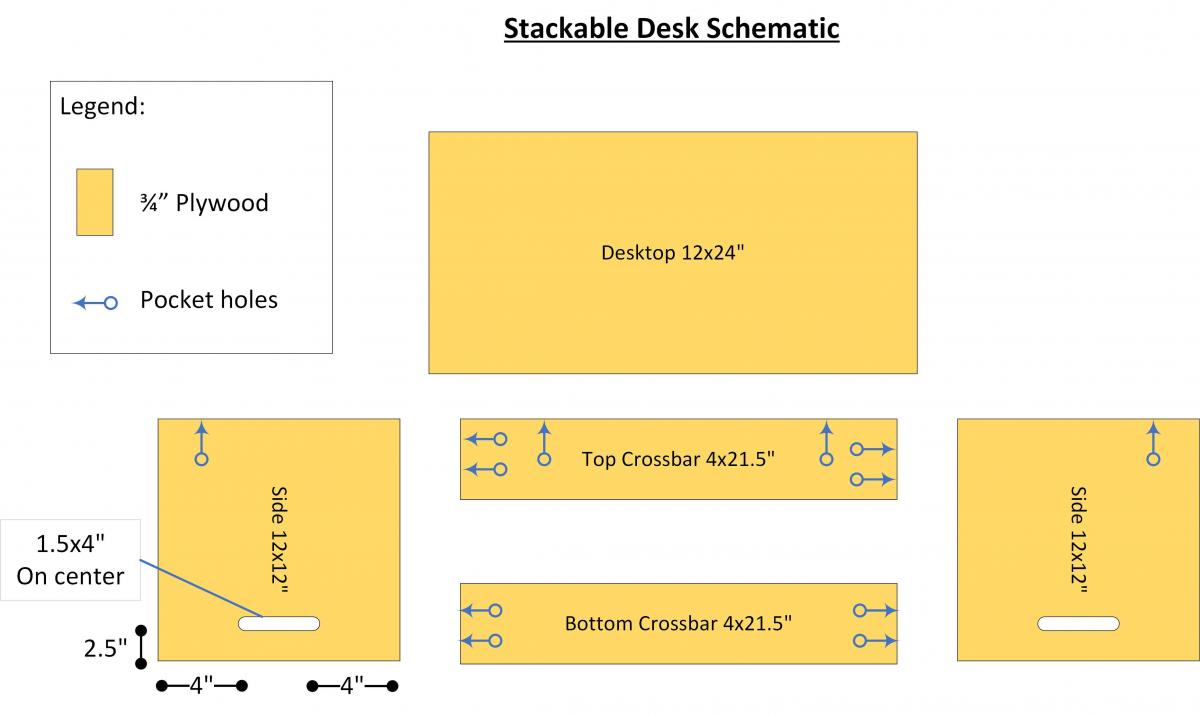
Used pocket screws - as shown in my diagram - to hold the pieces together.
The family has enjoyed using the desks and if you stack one on top of the other, the bottom one creates a shelf also. Will make a few more to share.
Thanks for sharing the plans.
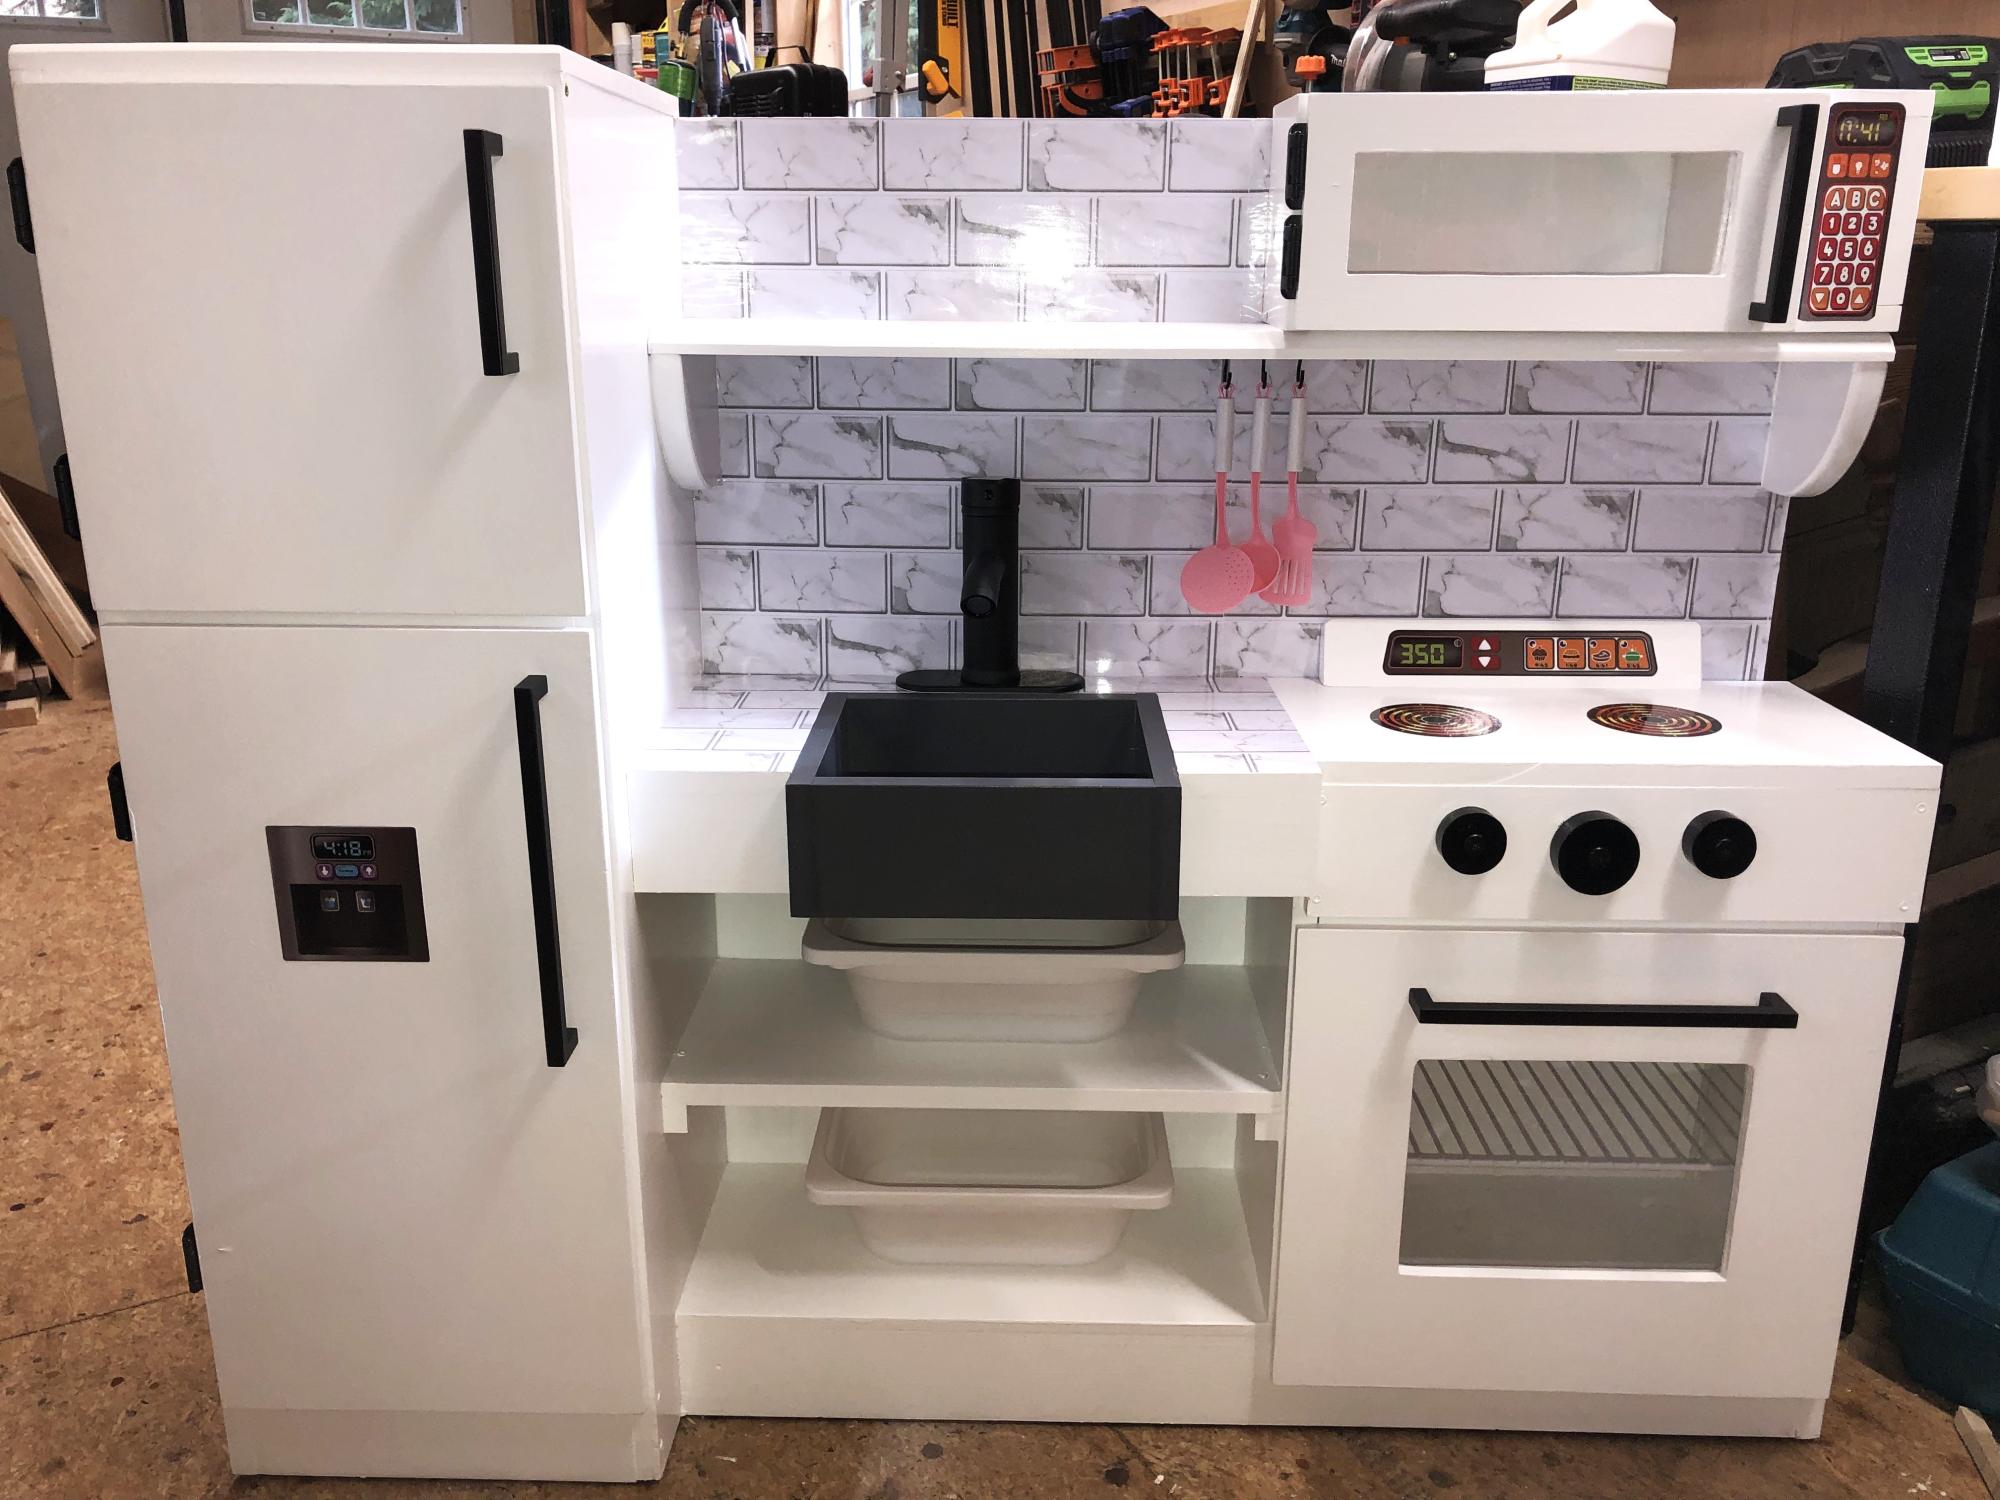
I made this for my two great granddaughters (6 and 2) I used the plan for One Piece Play Kitchen. I added some depth to the refrigerator. Made the Farmhouse sink from wood left over from a bed I took apart.
purchased from Amazon:
decals: $22
Peel and stick granite $8.50
Polycarbonate Clear plastic : $10
Cabinet Handles: $17
Facit: $19.99
8 hinges $13.50
Cabinet paint: $29
Wood materials were left over from previous projects. So total cost was less than $150
Pamela Grindstaff
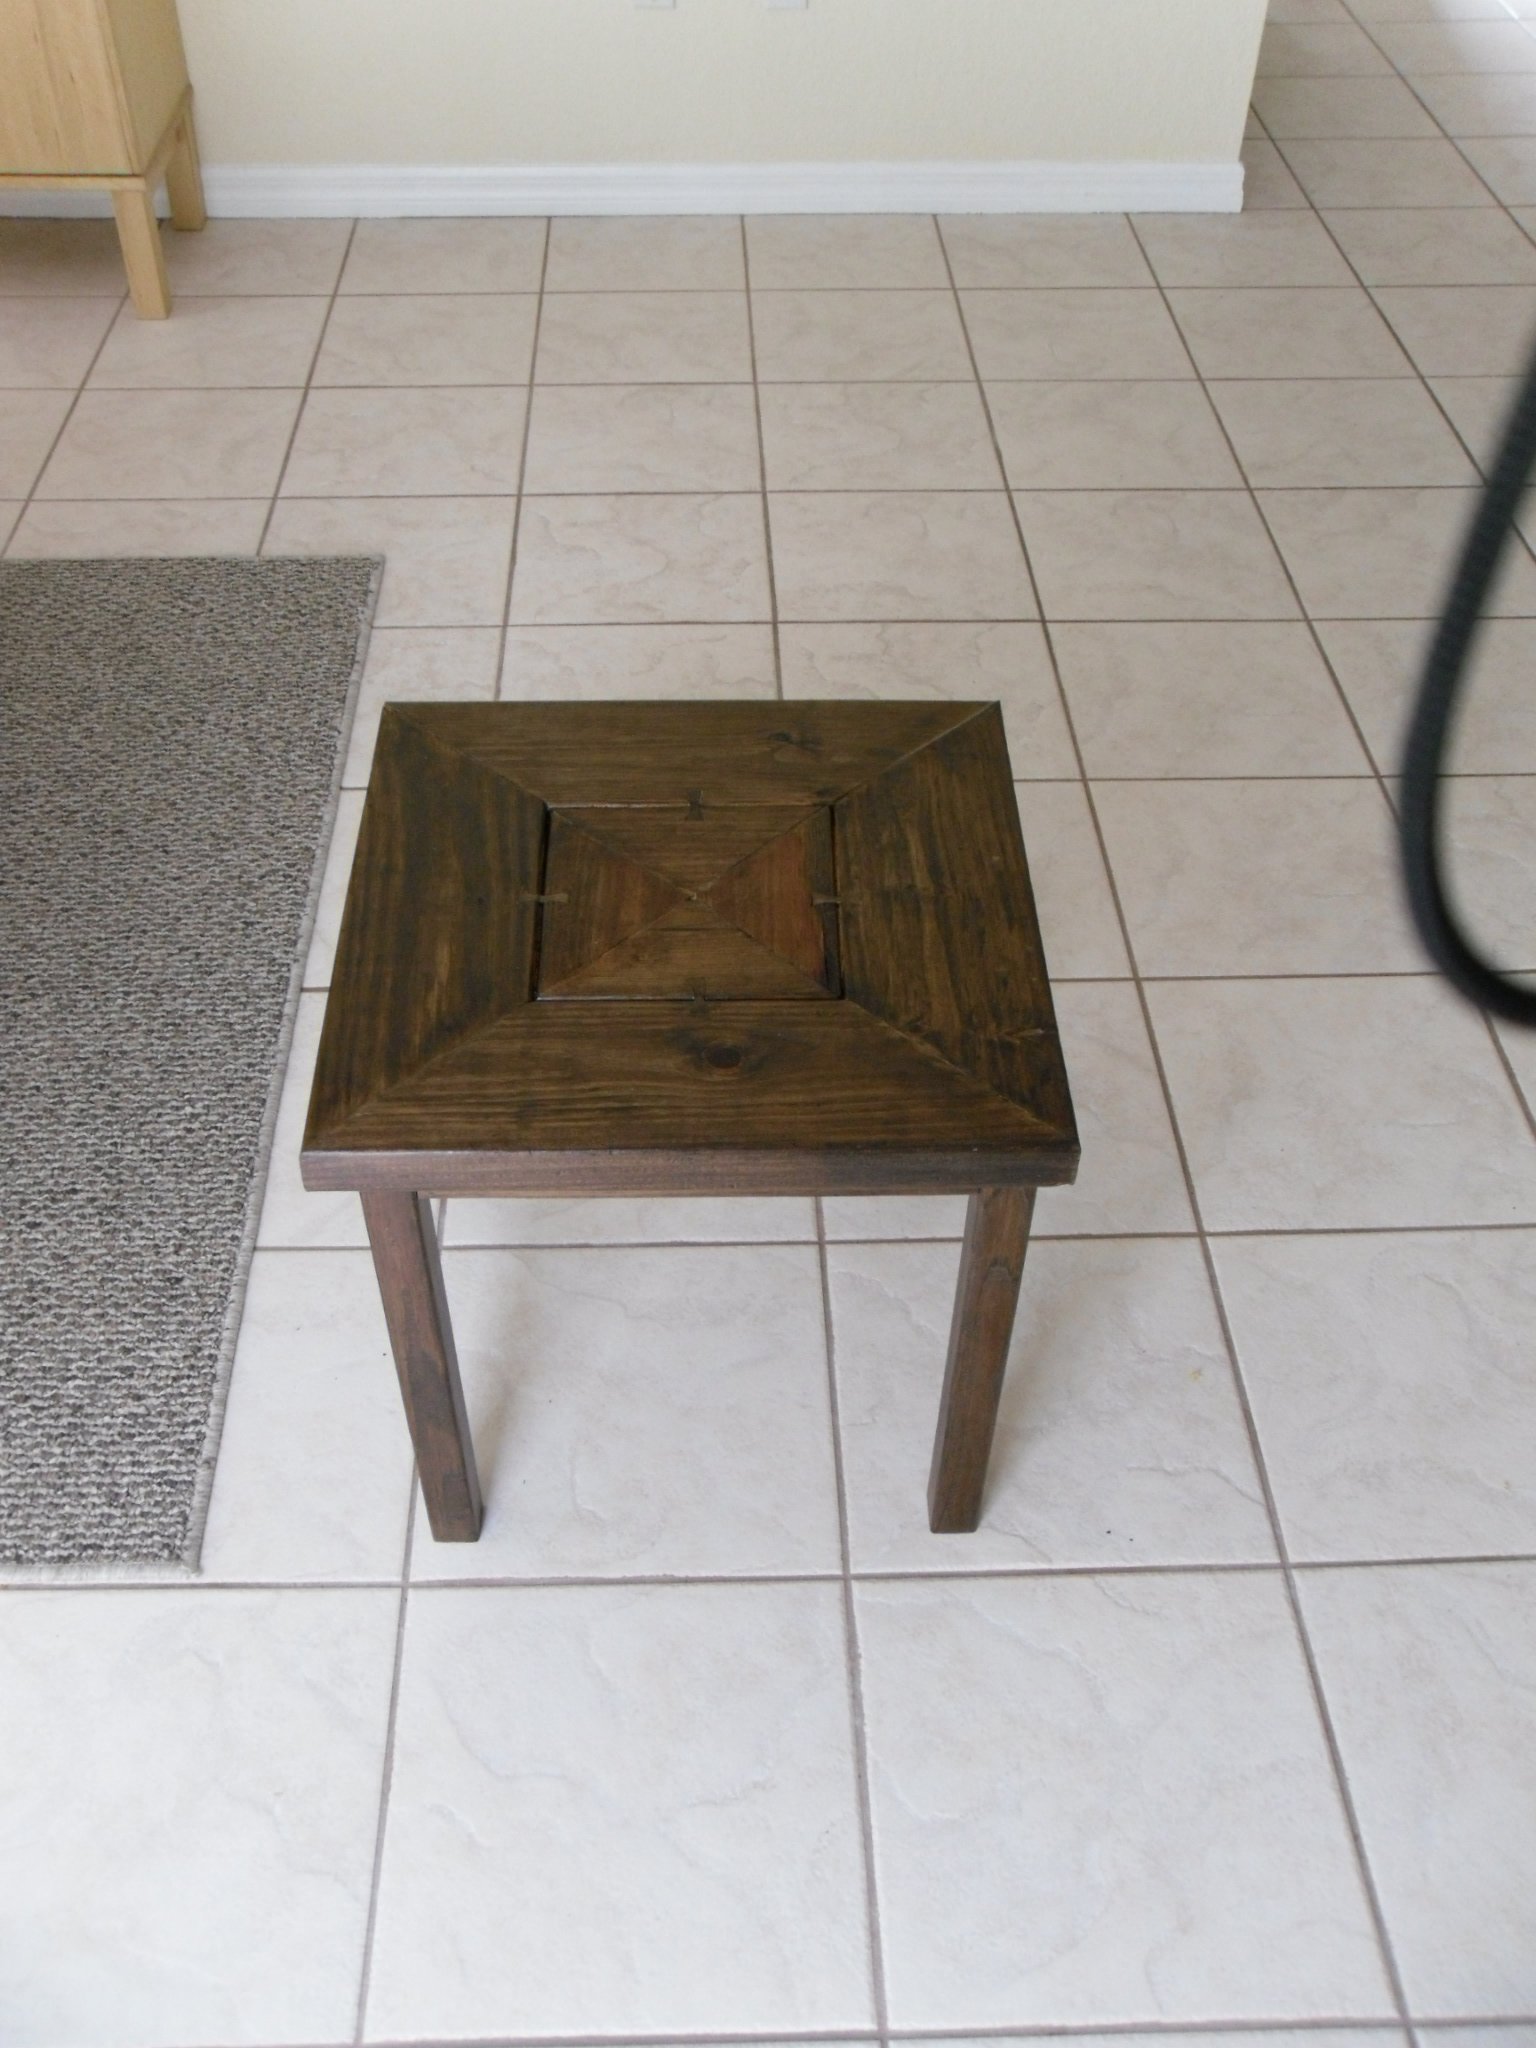
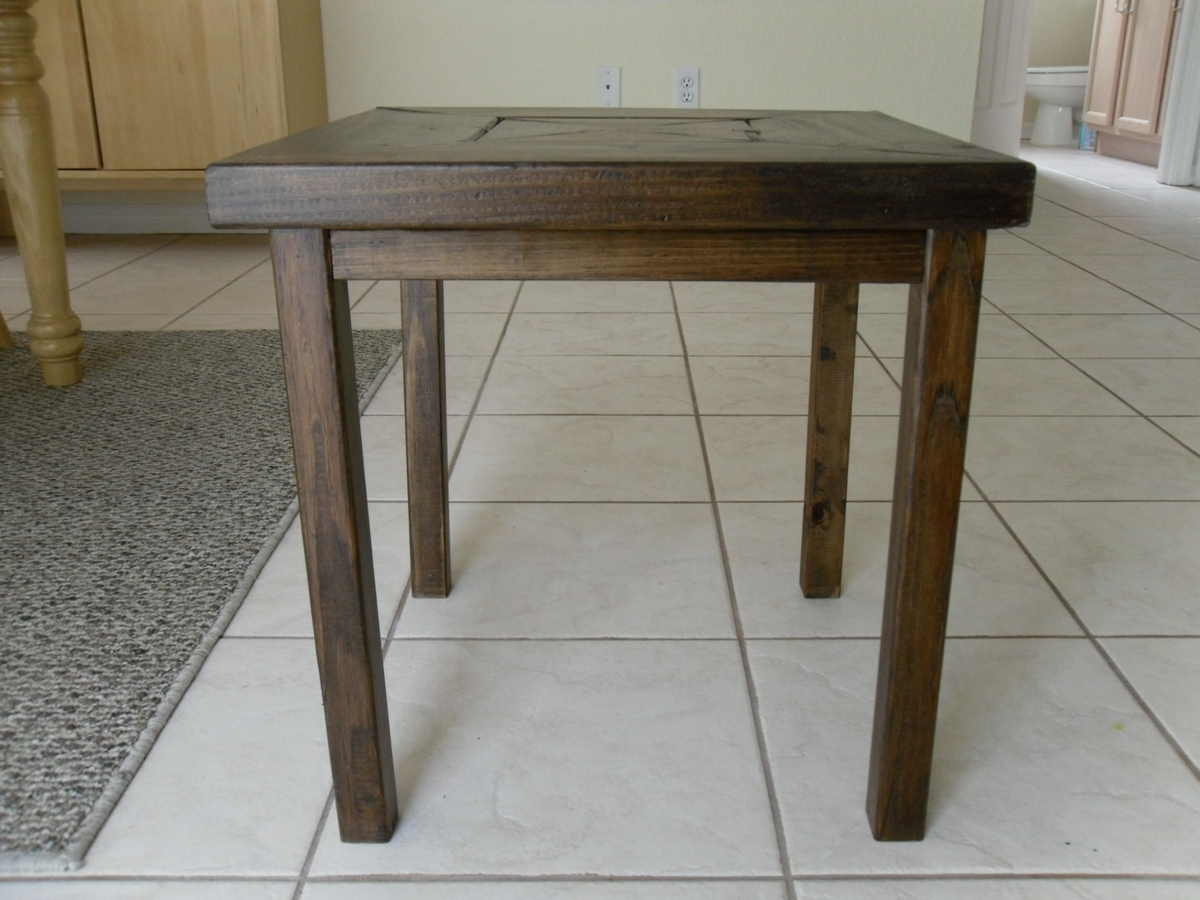
I'm just starting out. I built this from scrap wood I had laying around. I followed the plan except for the table top. Here I used a 2x6 that I cut on the miter saw, and used bowties to help give the middle more strength.
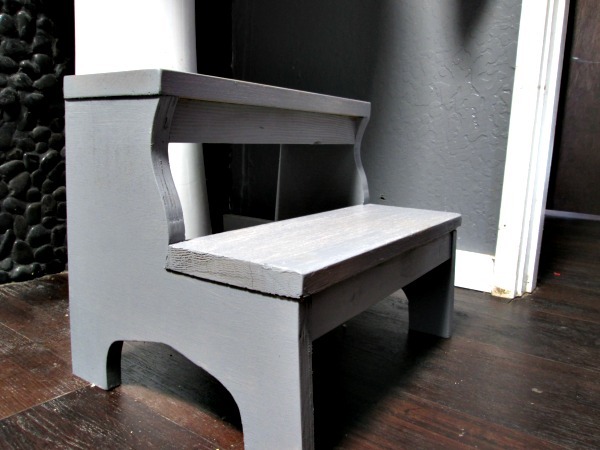
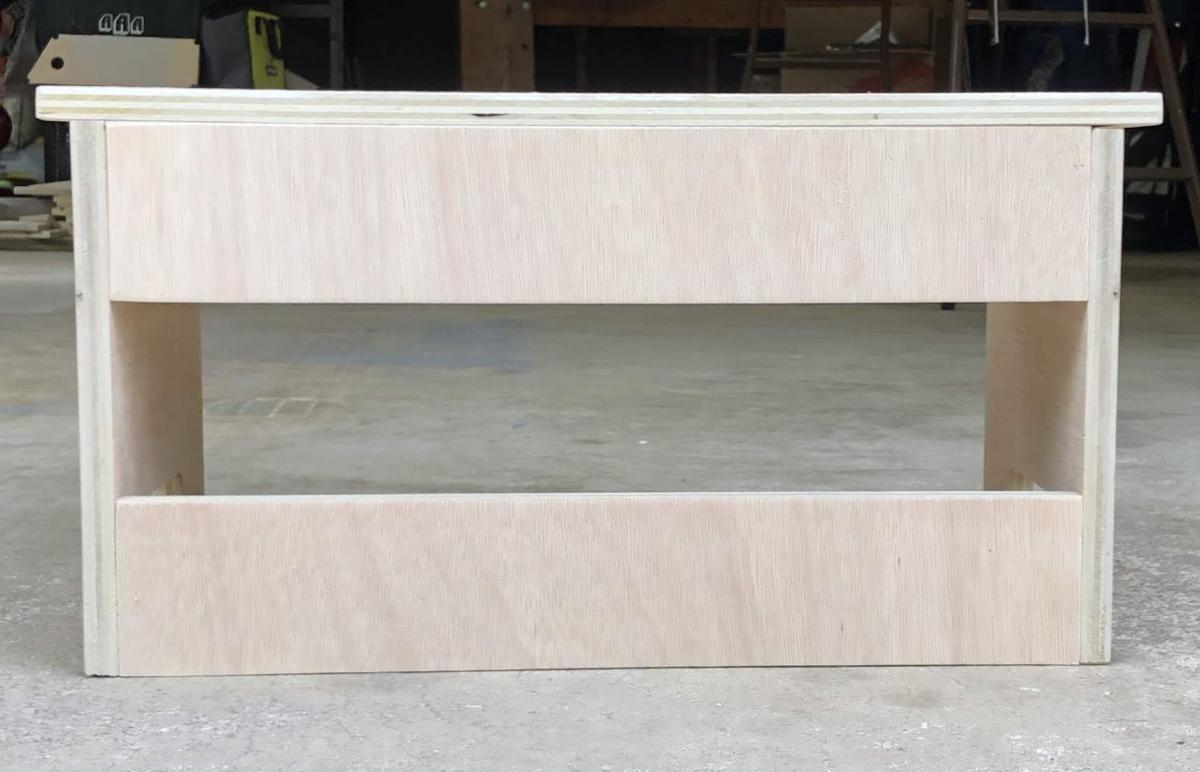
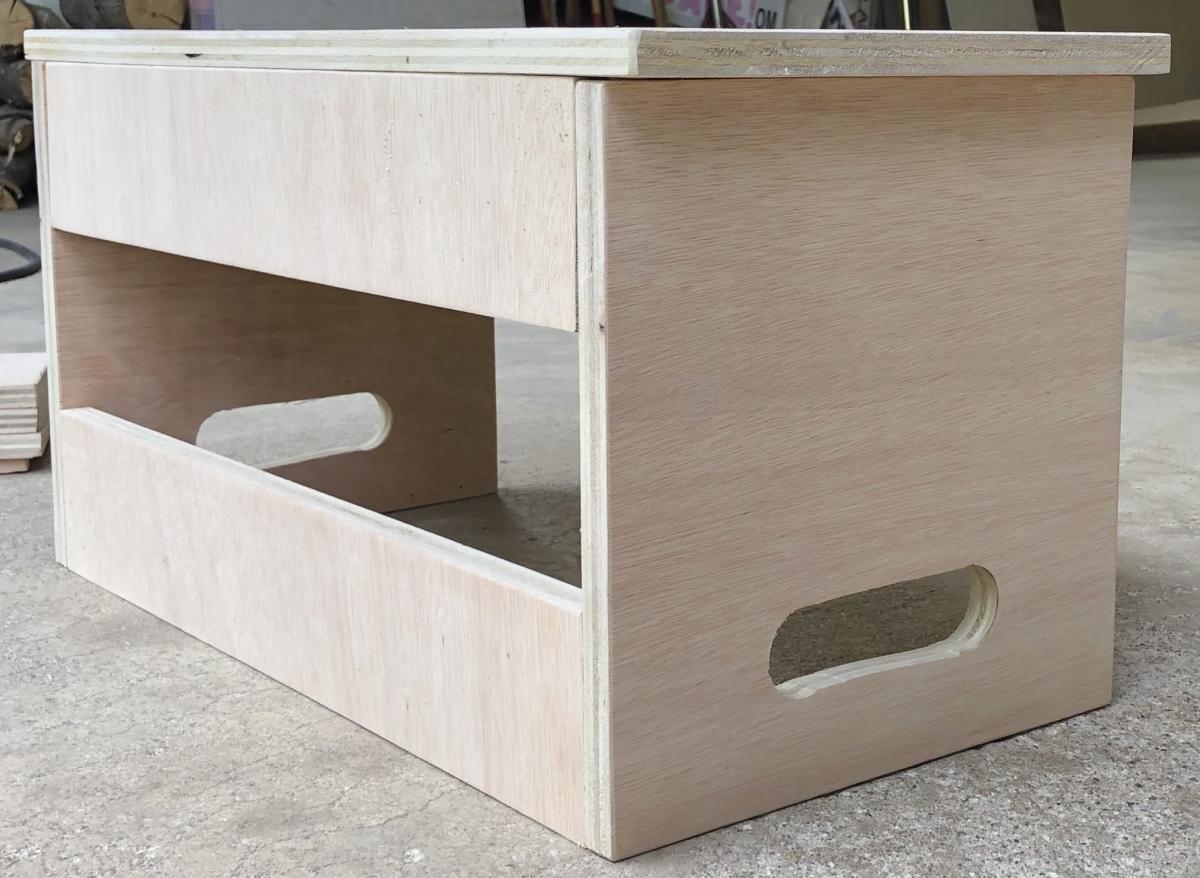
My daughter needed a step stool to reach the sink in our bathroom. I simplified the jigsaw cuts for this design to accommodate my learning curve. :) I used leftover plywood for the sides and 1x6s for both steps because it was what I had on hand in my garage. It was fun to make and is something we use every day!
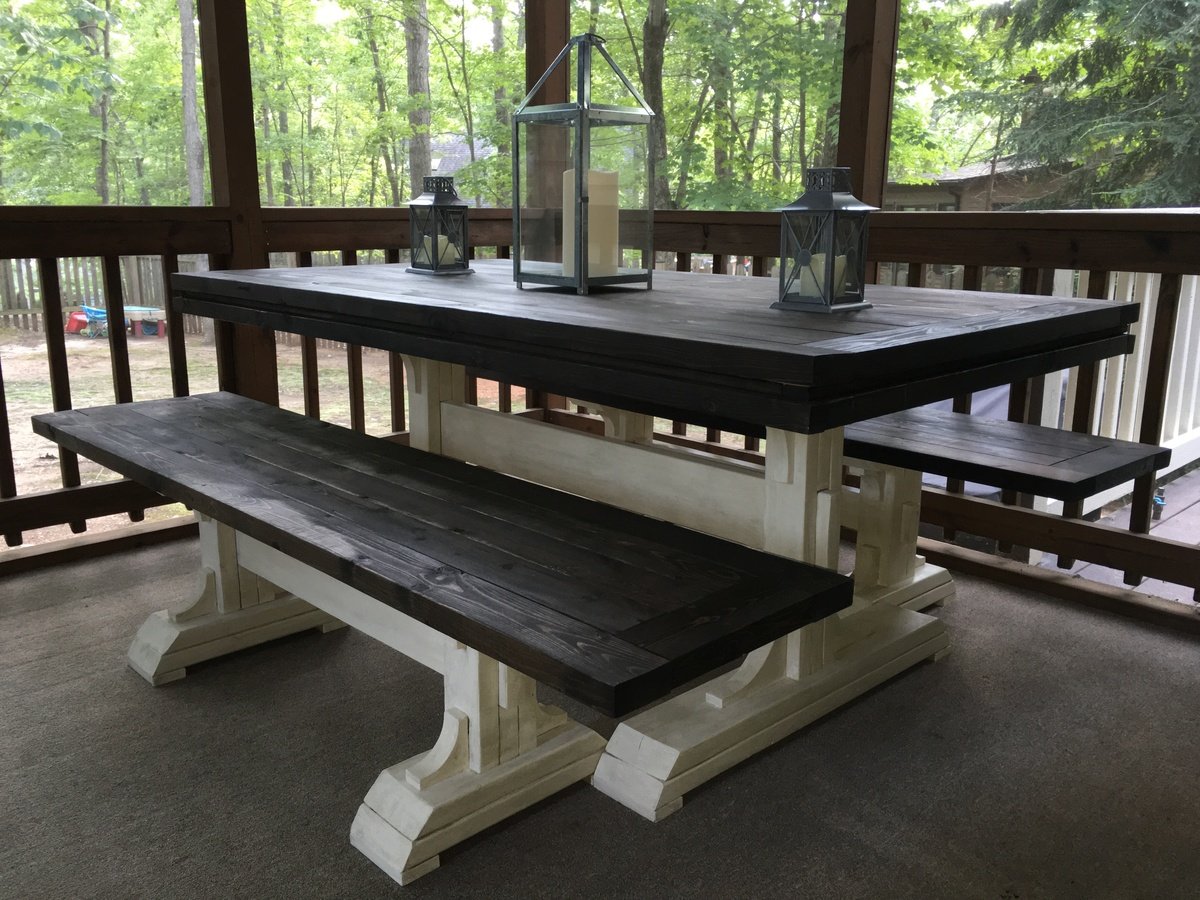
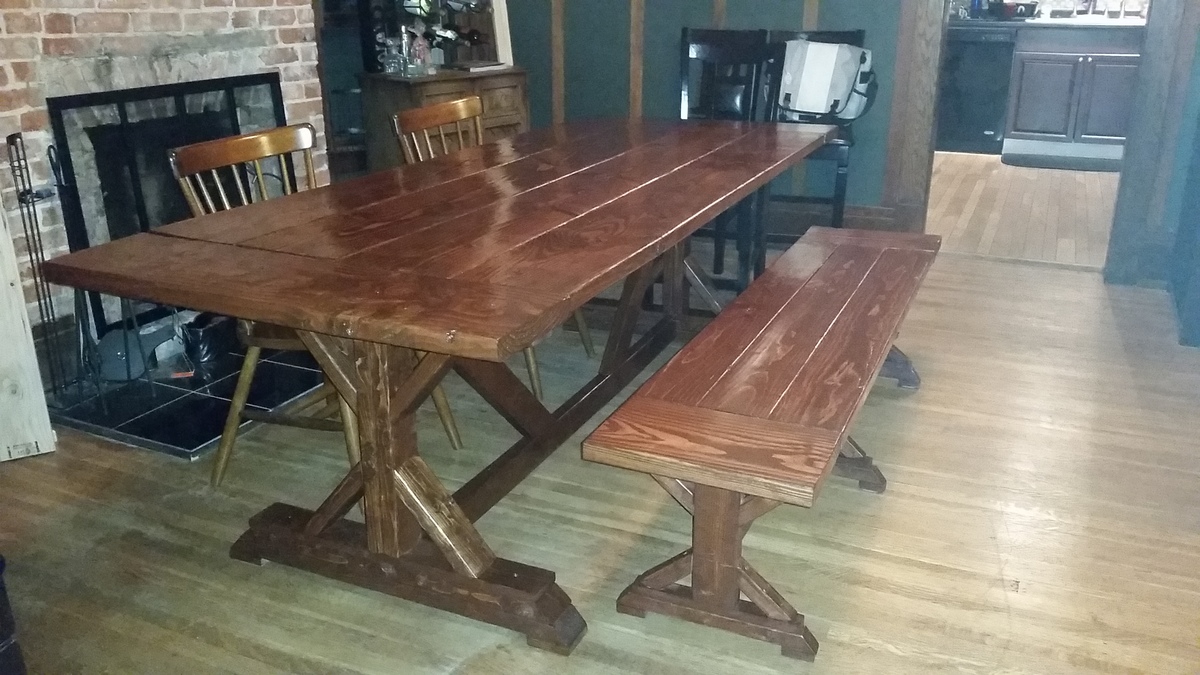
Built this 6ft 2 pedestal table. Moved the legs closer together on the benches so that they could slide under the table.
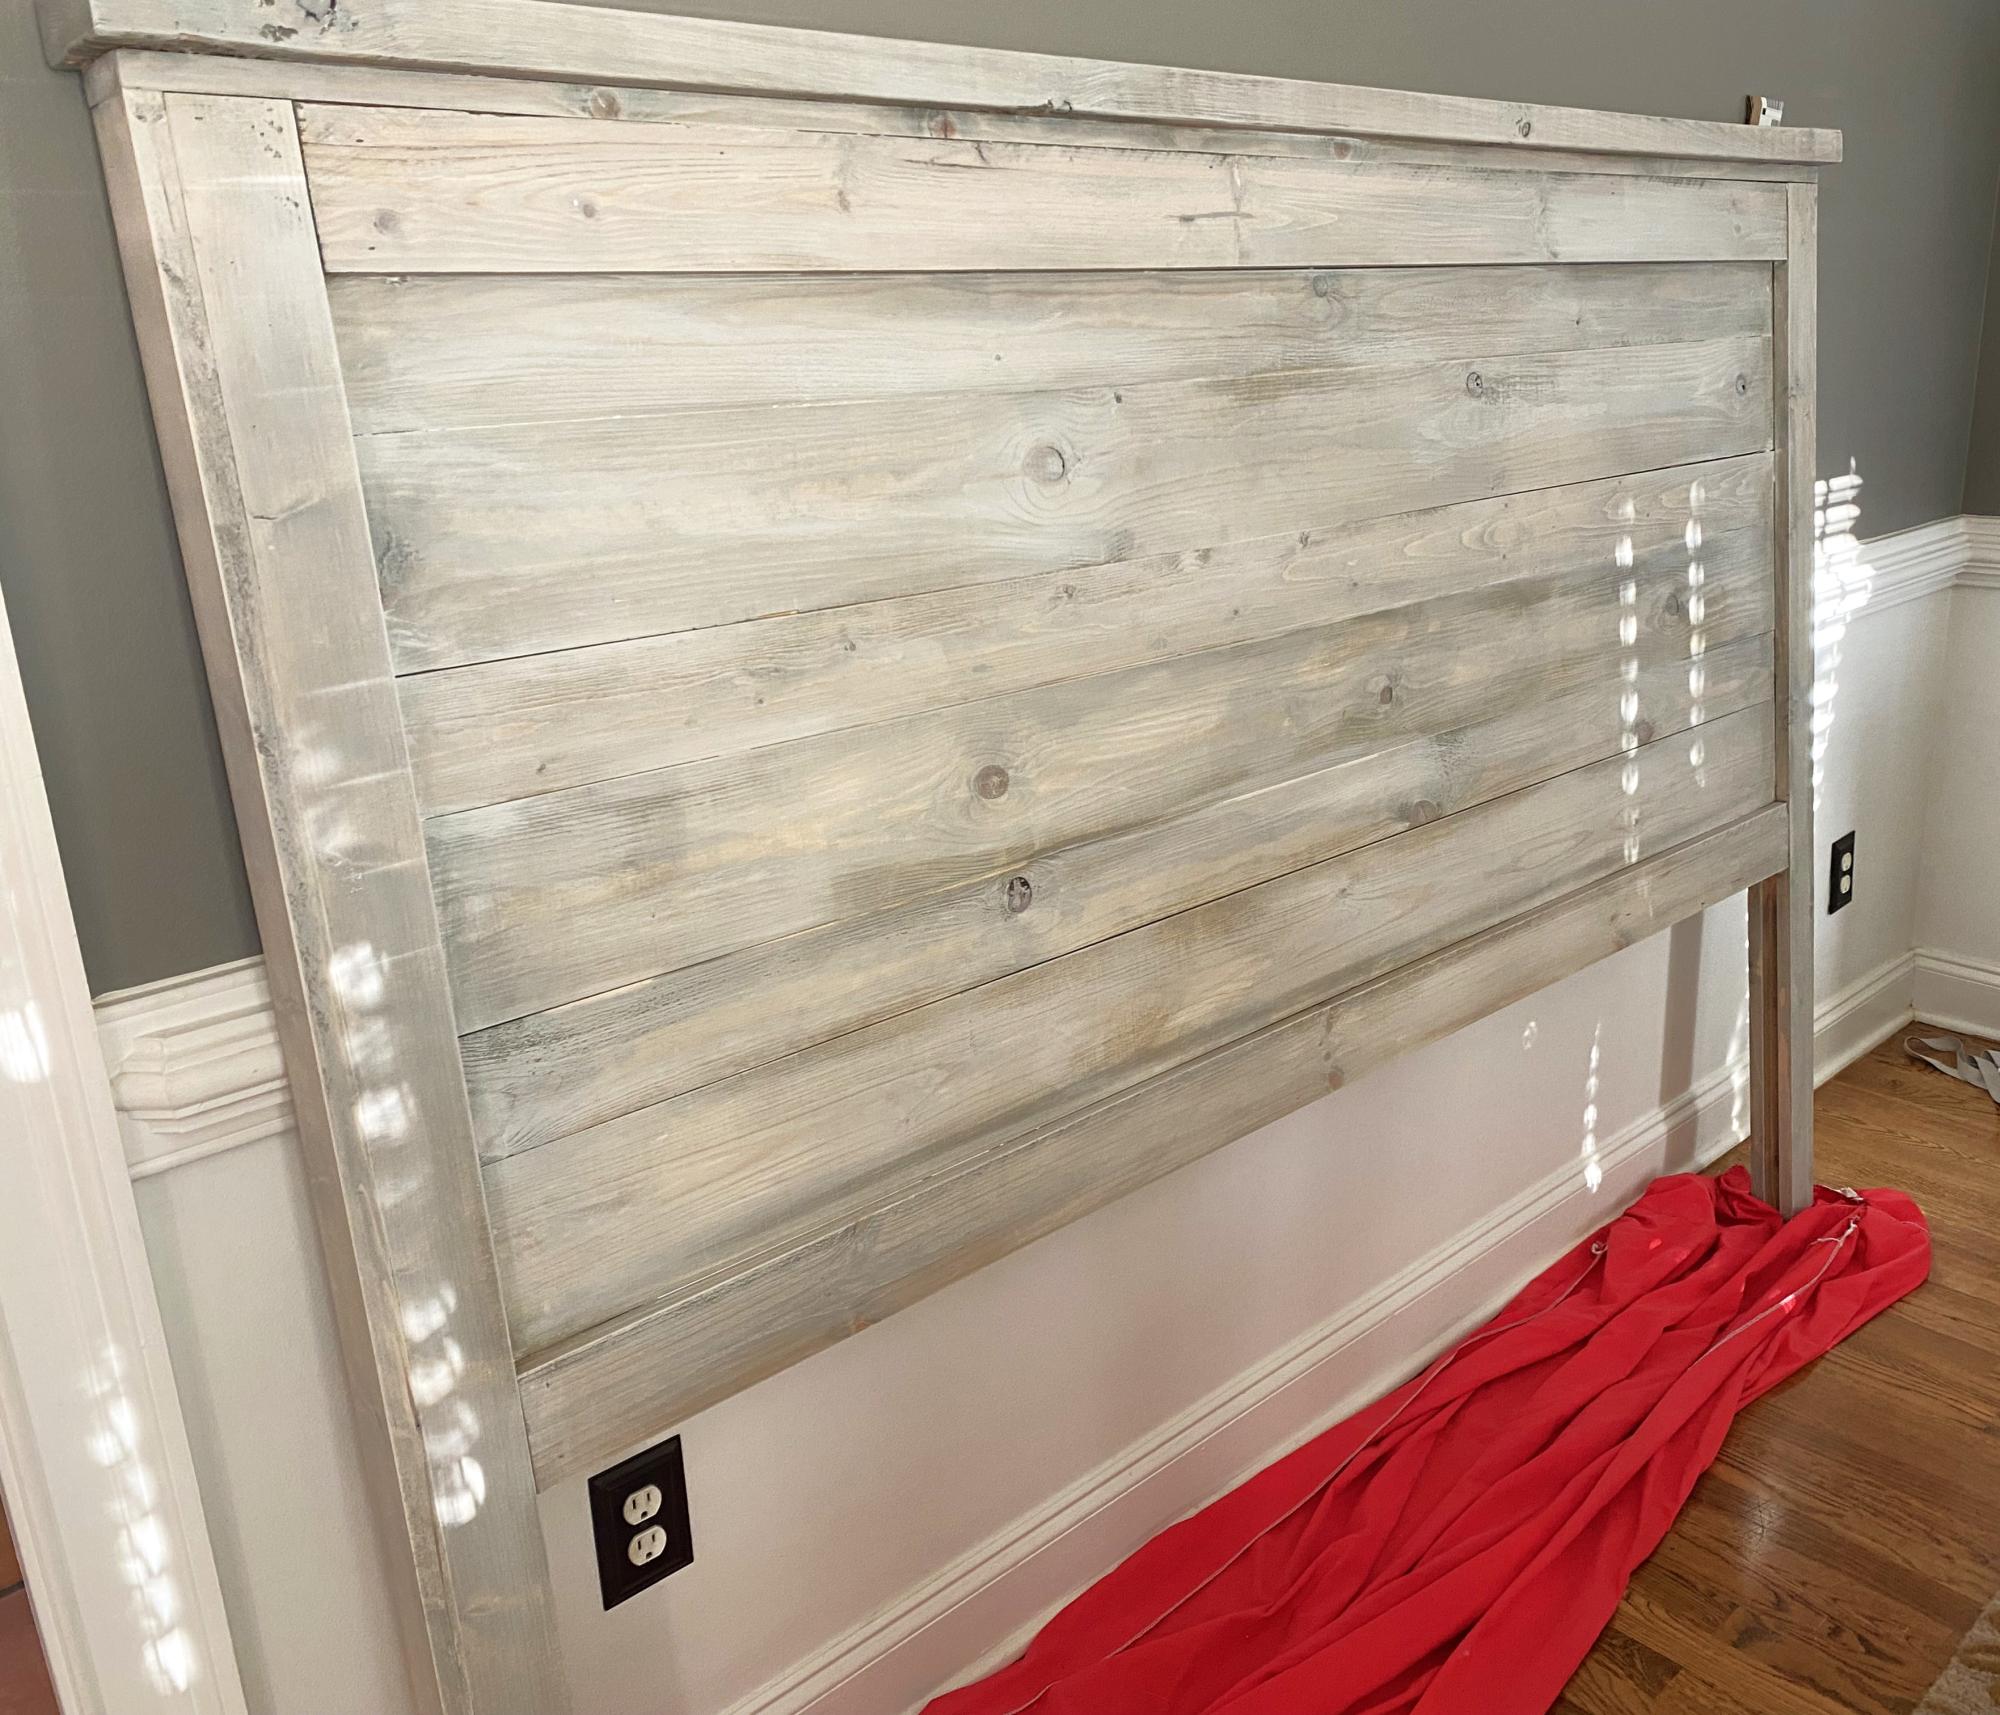
Cal king headboard
Christmas gift
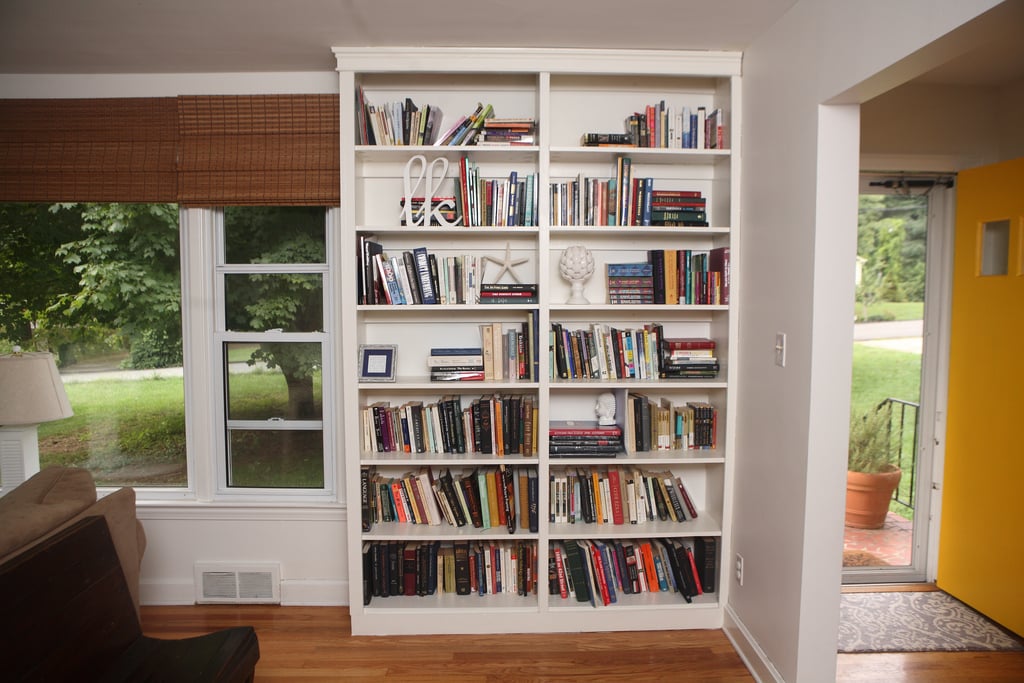
These built-in bookshelves were my first project, and were loosely based on the Willy bookshelf plans, although I changed the dimensions, set them on a 2x4 base, and added trim to the sides and molding on top.
Sat, 08/11/2012 - 05:58
hello,
Just wondering how the sides and middle part are built. They look like thicker than 1/2 in.Is it a trim or a 1x2? or did you use some 2x4 too?
I am looking at building a bookcase too but i wanted something more massive than 1/2 in. like yours.
Thanks
Great job!! looks awesome
Tue, 08/21/2012 - 05:31
I made the two bookshelves separately so I could move them in my house easier. Each has 1x12 sides (so 3/4" thick), and and that's 1x2 trim over the side and middle.
Thanks!
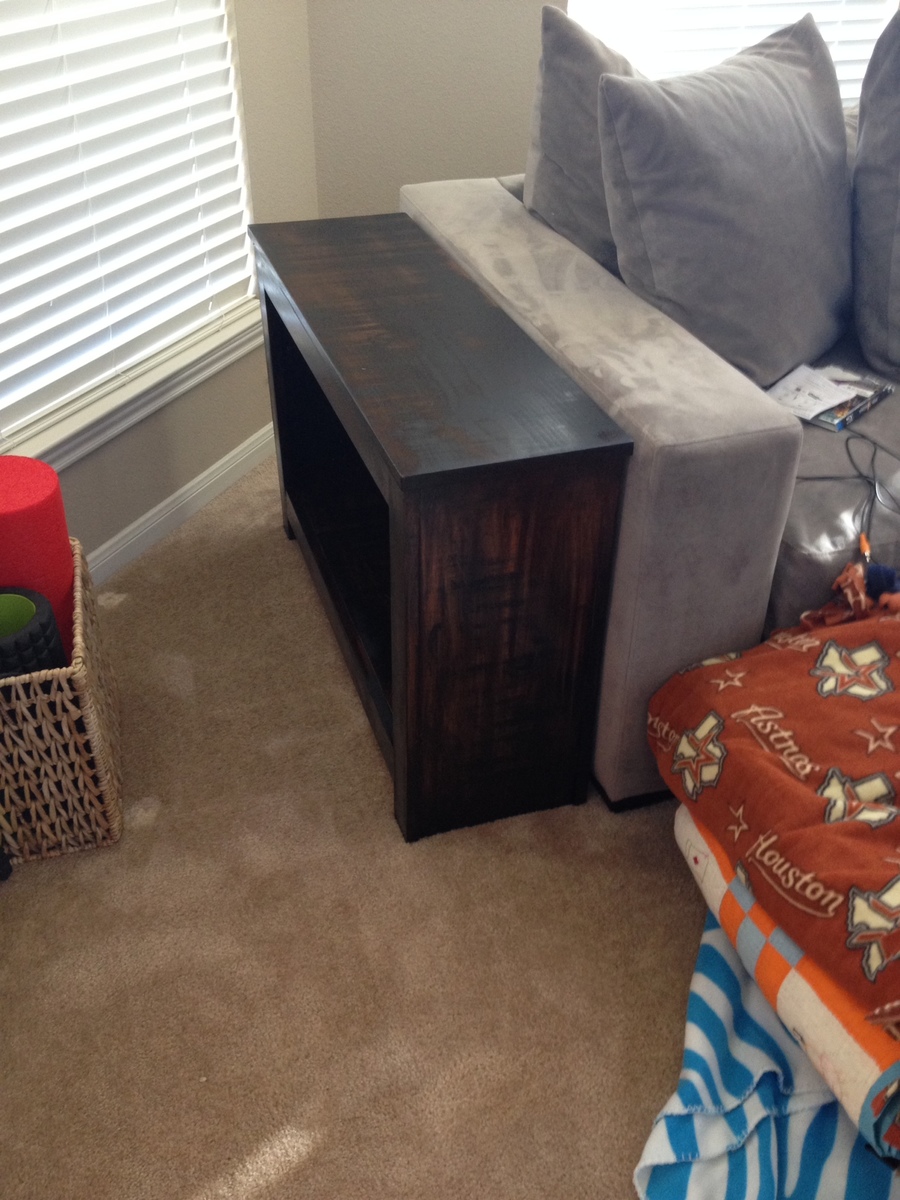
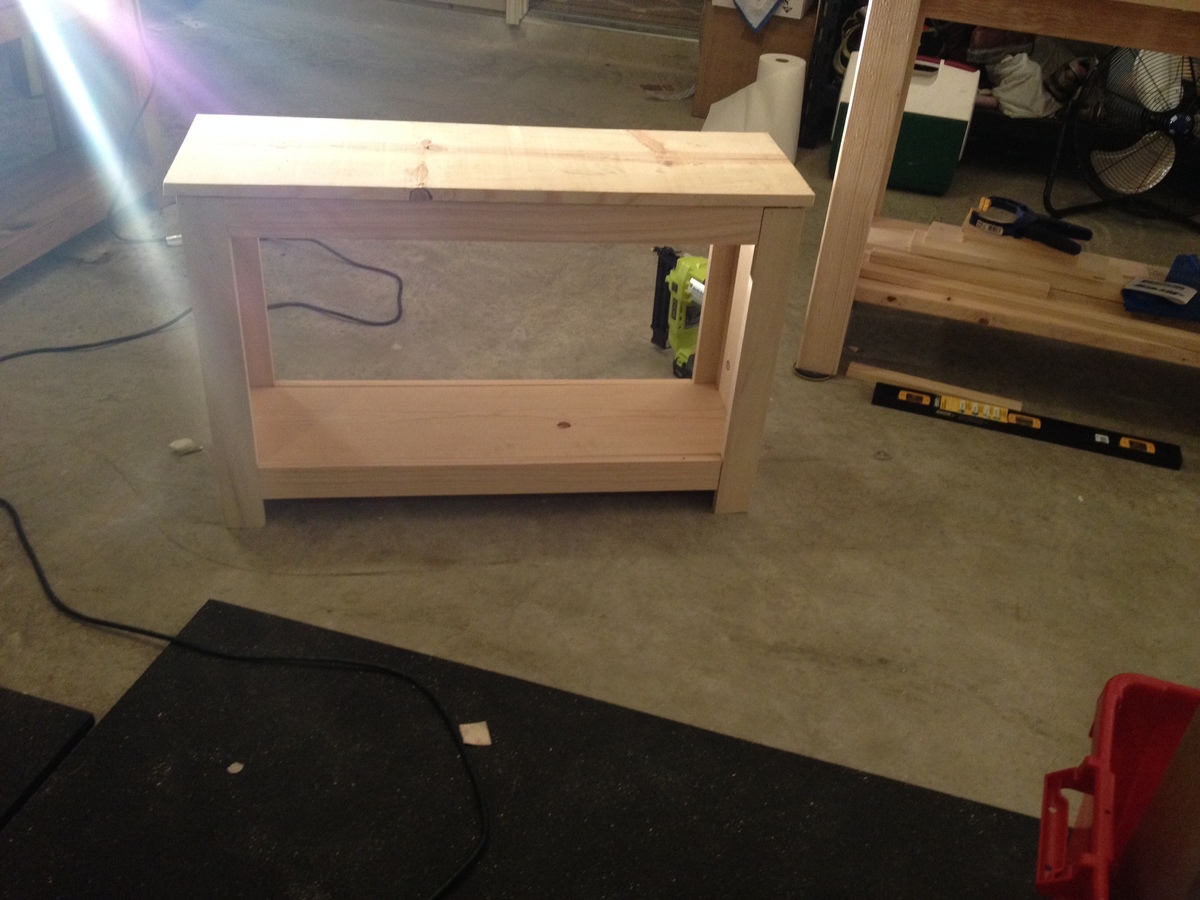
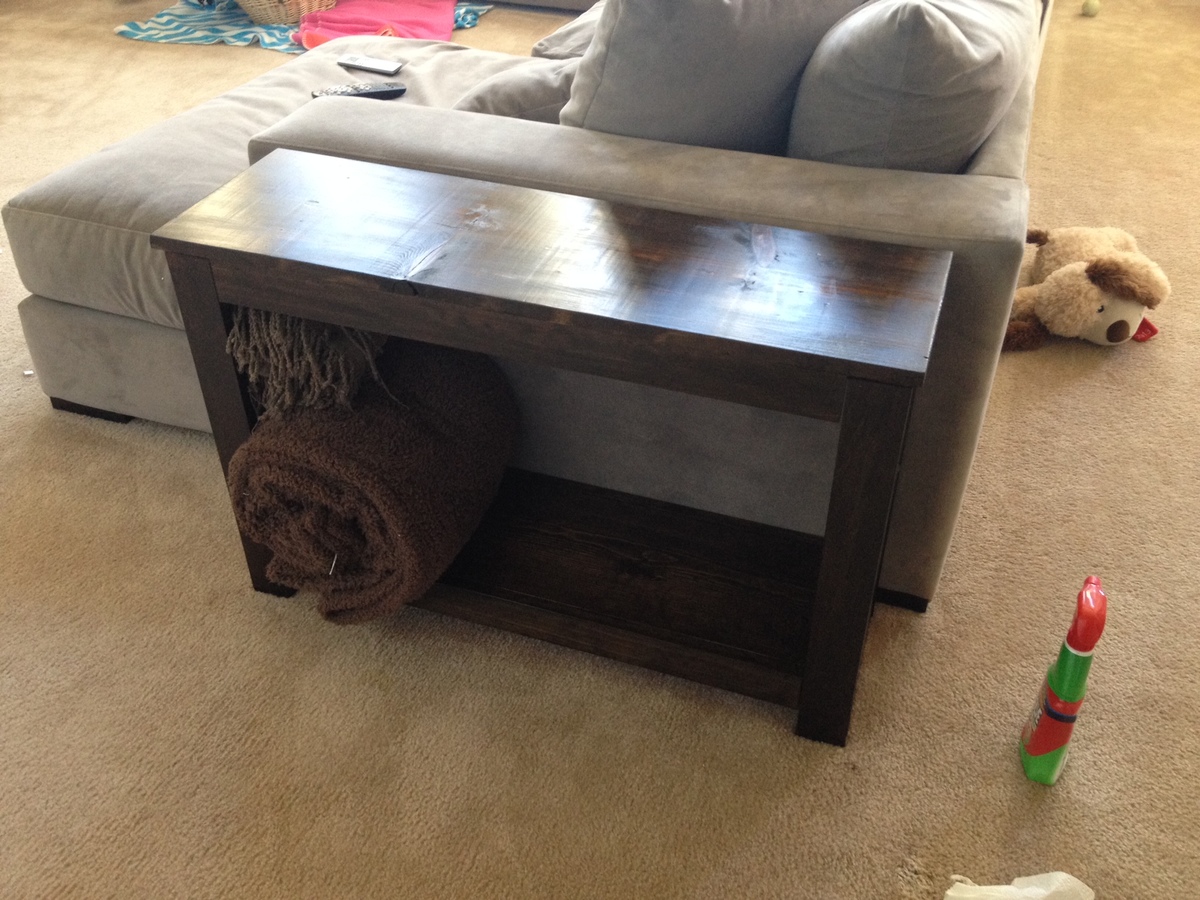
I was wanting long, skinny end tables for my couch and when I came upon the spa bench plan I knew it was perfect length and size for what I wanted. I only altered the plans by making it taller to fit my couch. This was my second build and I learned a lot through the process so these are not perfect but I love the imperfections. I also didn't like the first stain that I put on the tables and when I tried taking it off my sander made weird marks but it gave it a more rustic look which I ended up loving. (Which I could never recreate on purpose)


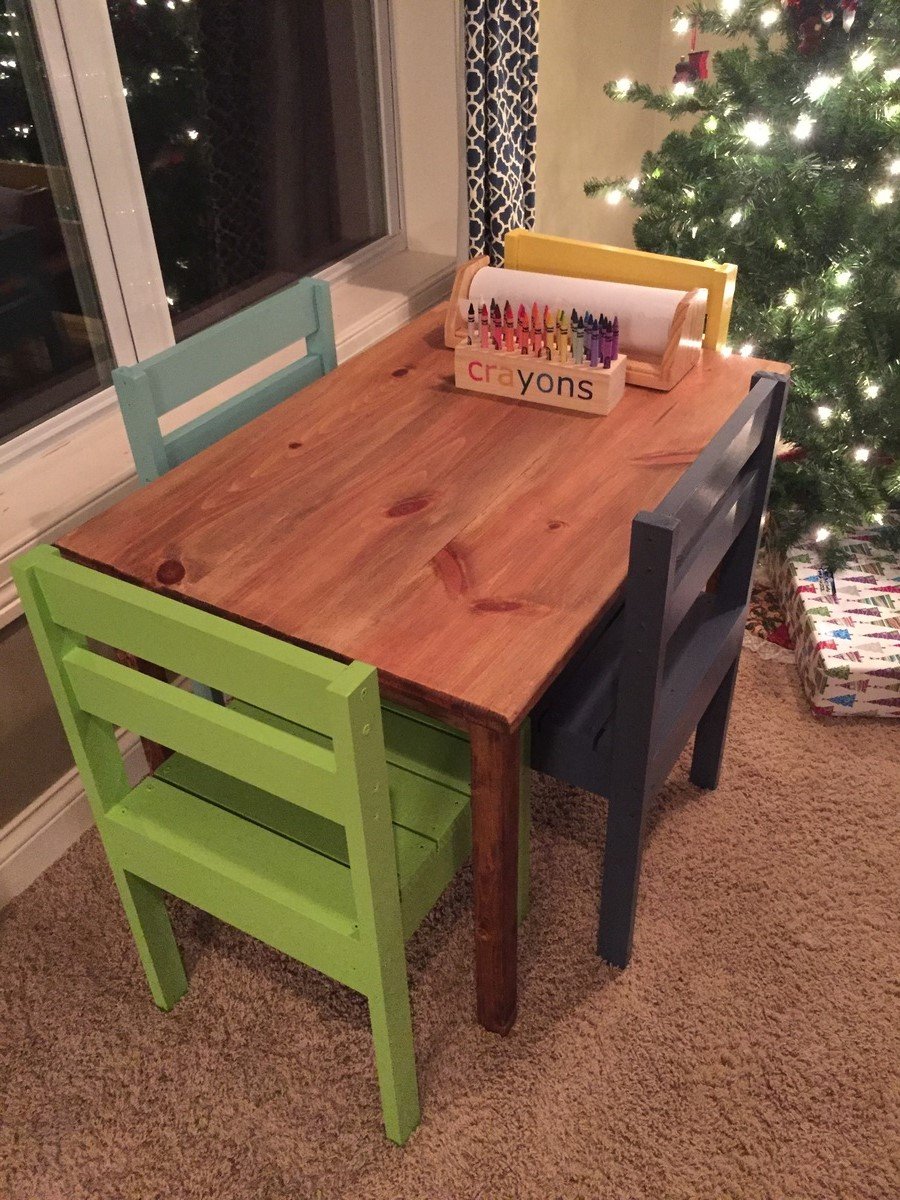
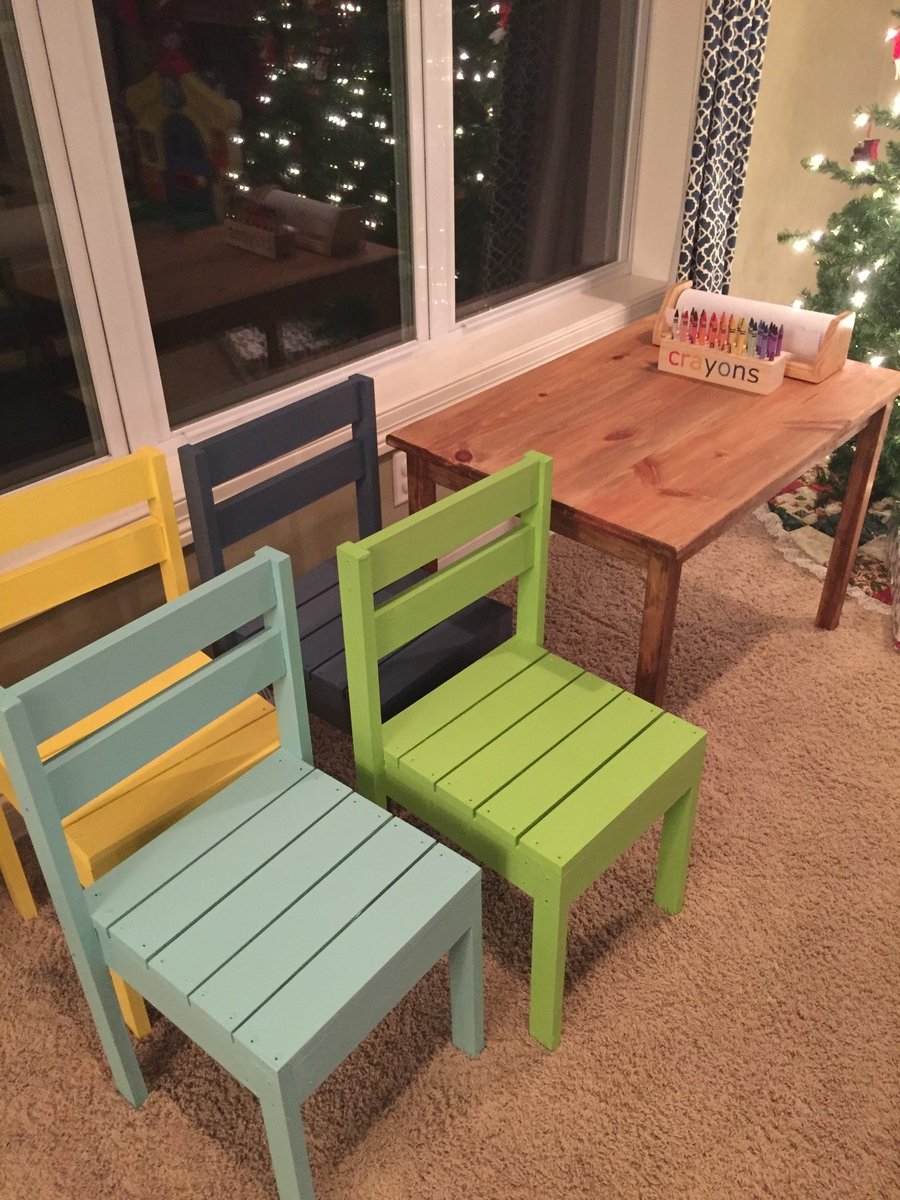
Clara table and 4 dollar stackable chairs. I used Minwax Early American on the table and a variety of paint colors on the chairs to keep it fun. I also used select pine on the chairs which increased the cost but cut down on sanding time. I also routered the top edge of the table to create a smoother edge.
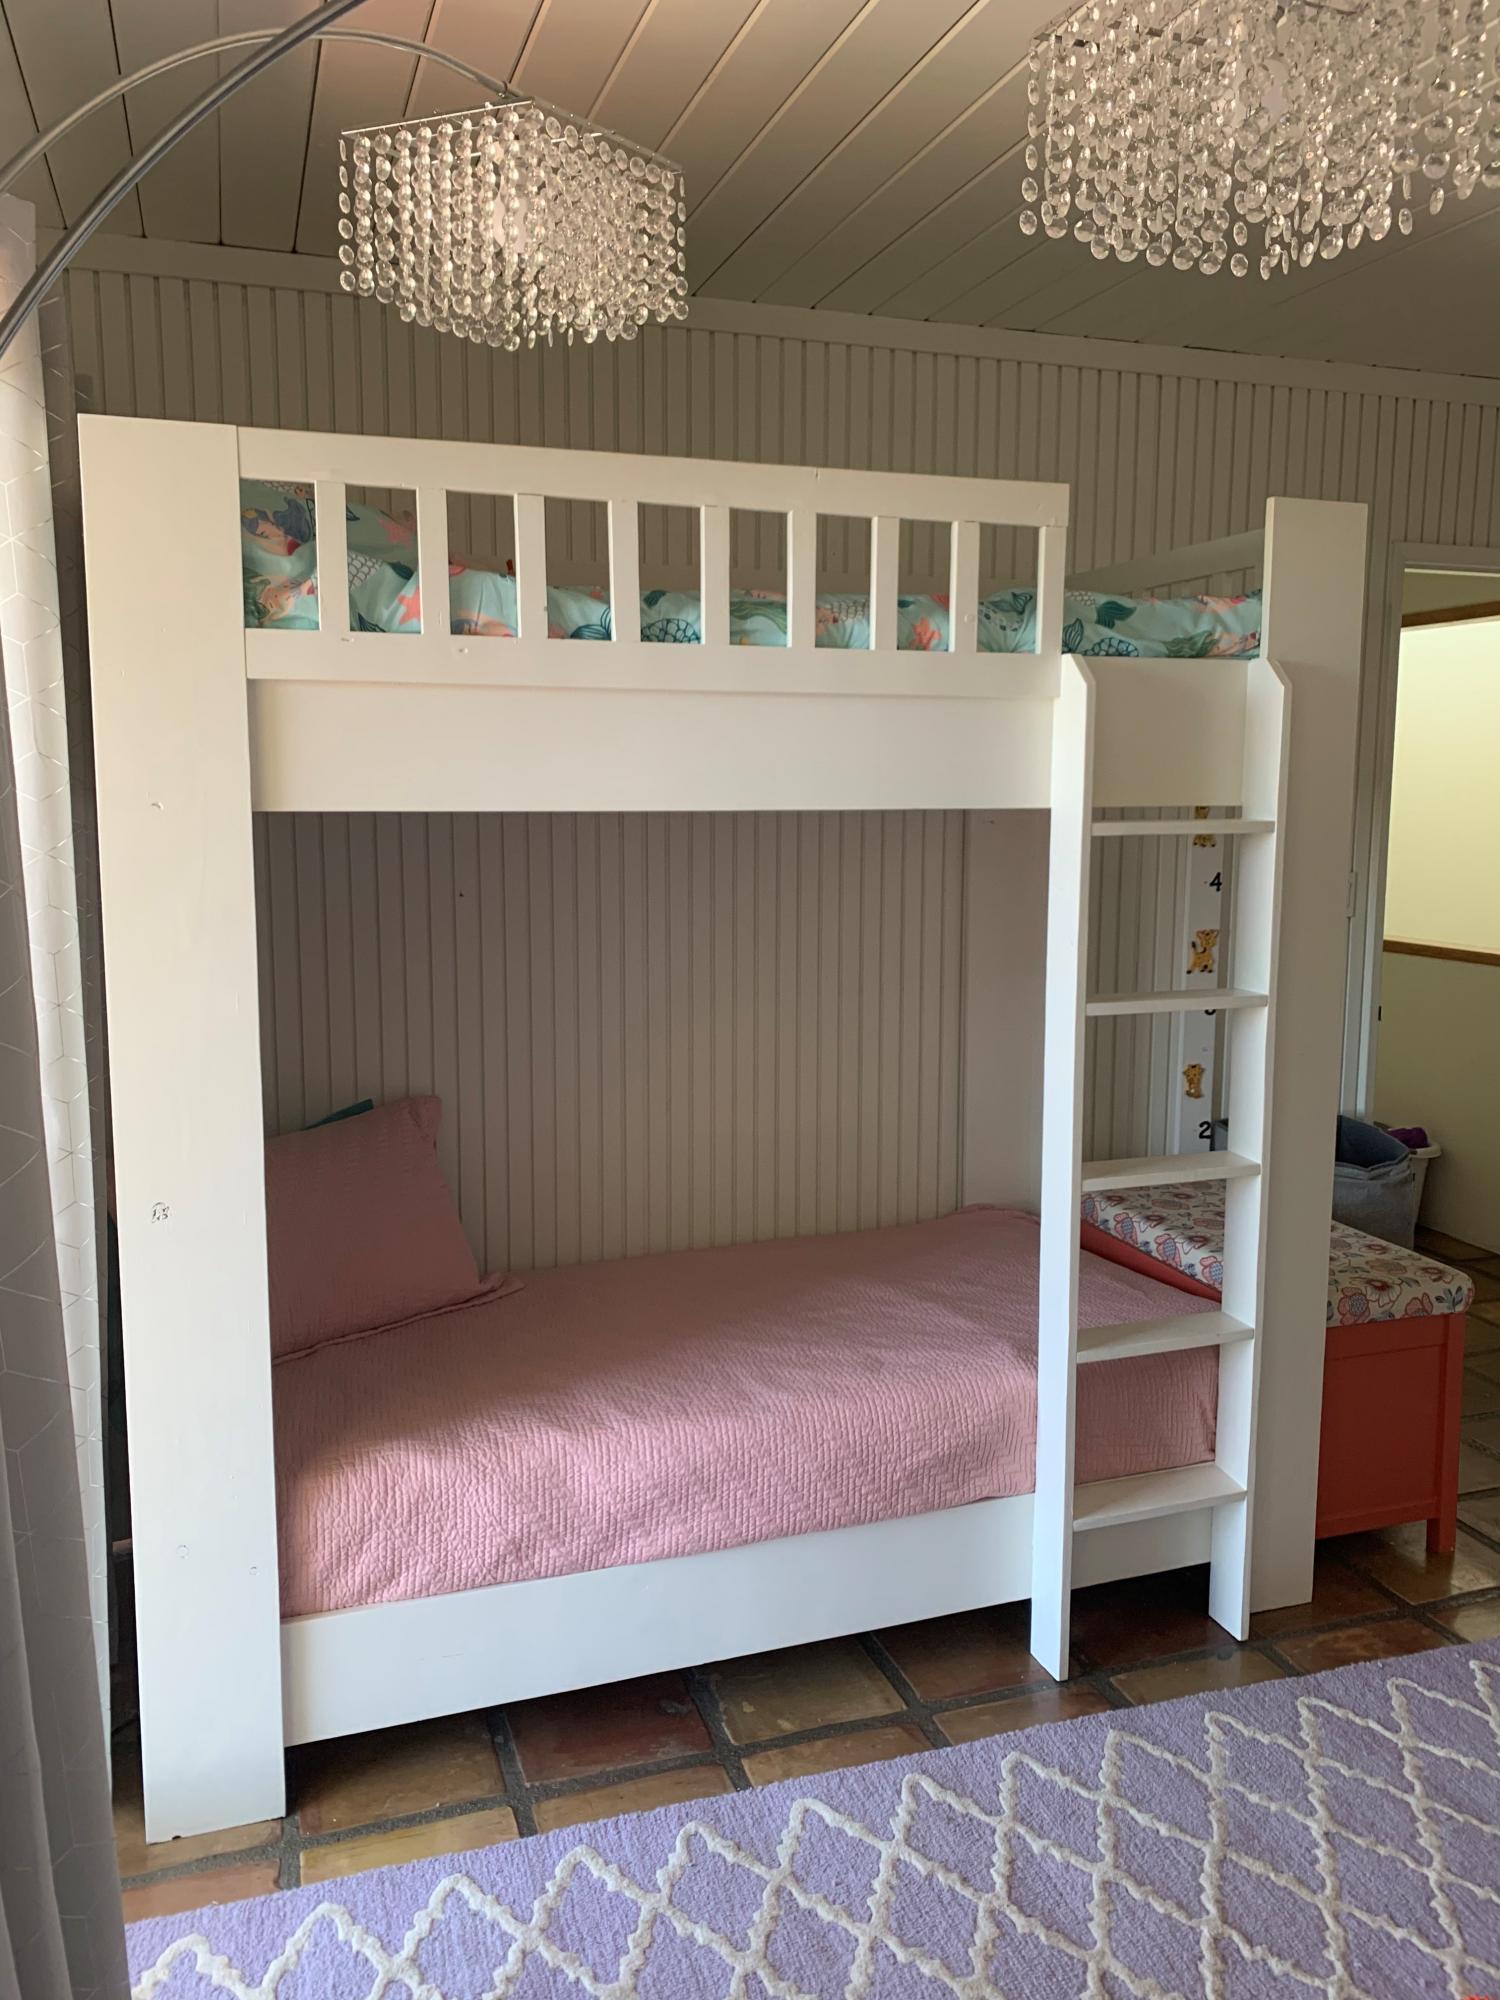
We build this bunk bed from the Rustic Modern Bunk Bed plans. We finished it with one coat of primer and one coat of Dunn Edwards Swiss Coffee. This project was made easier with a Dewalt 12'' sliding compound miter saw, Kreg K4, and a speed square for every aspect of the project.
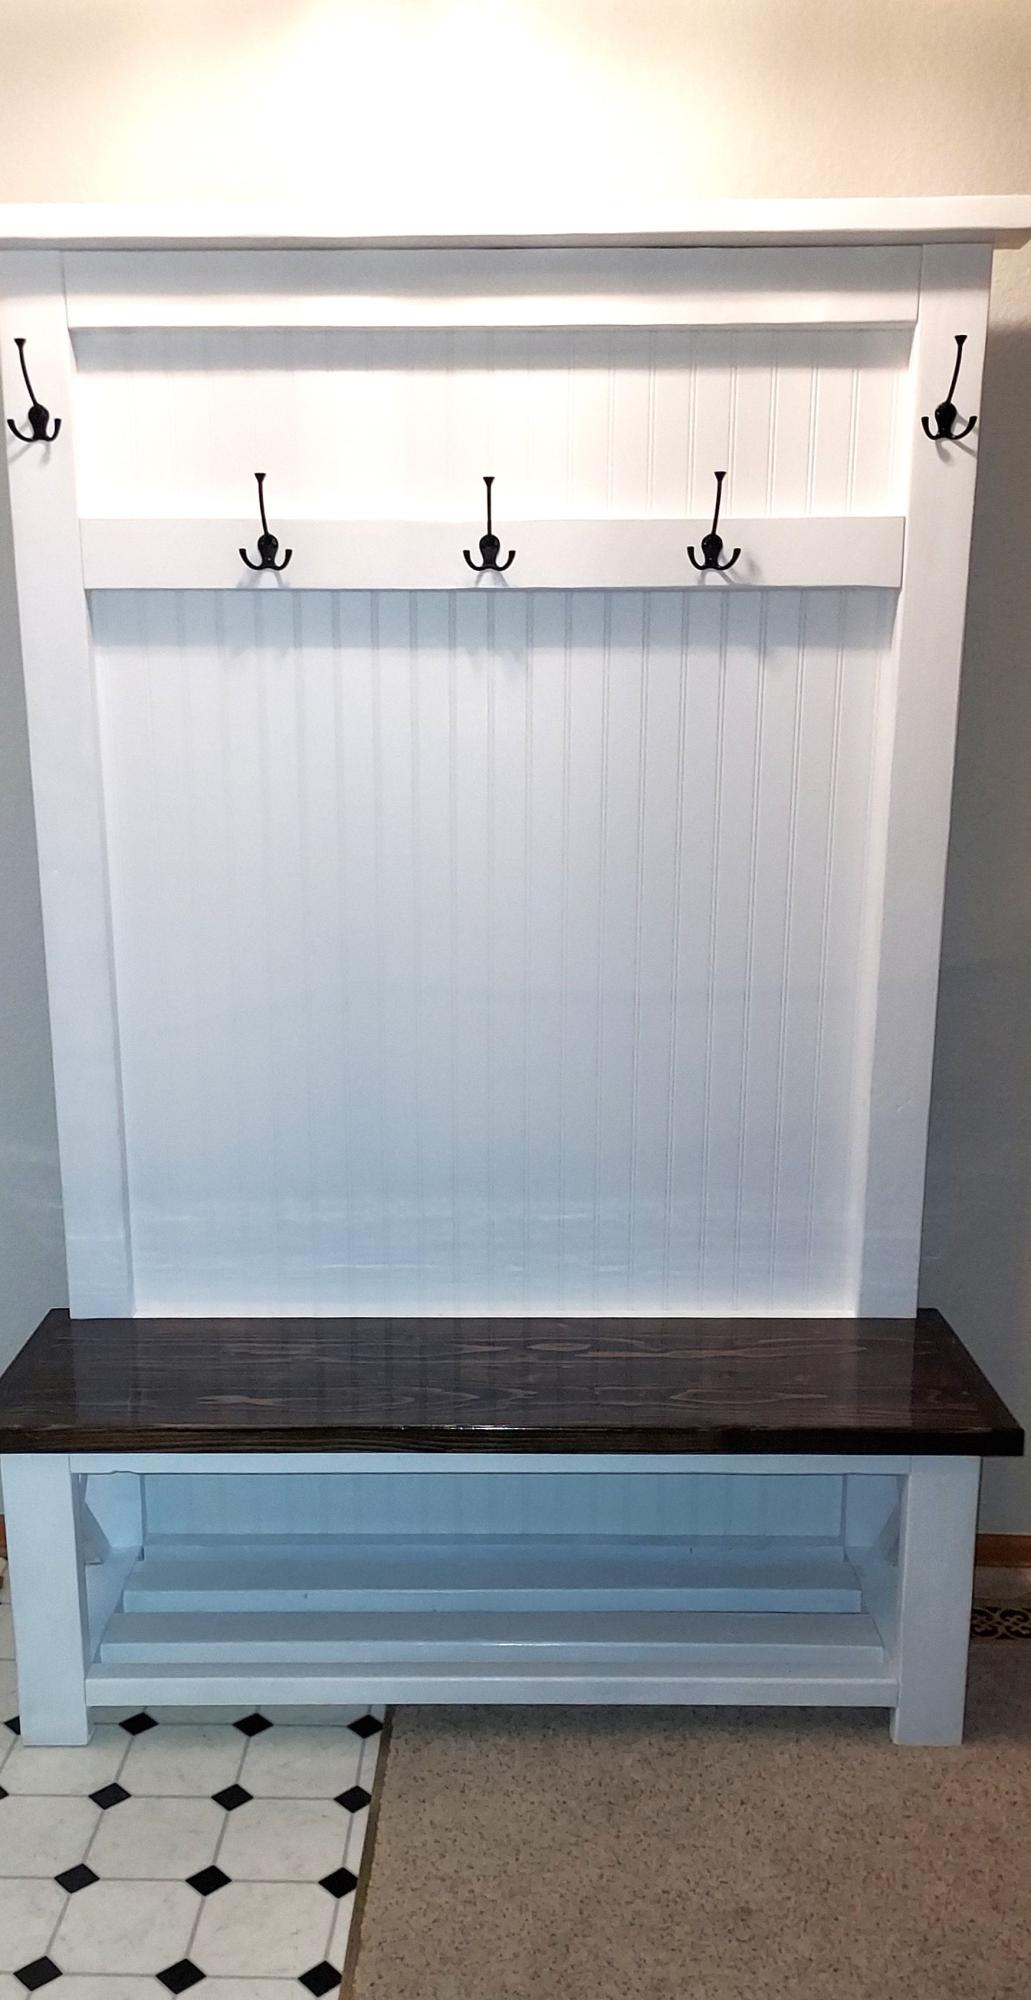
After too long fiddling around with other things, I finally finished the hall tree for my wife. Used a sheet of bead board for the backing and it didn't turn out too bad. Thank you for the plan and the inspiration Ana, very much appreciated!
Steve
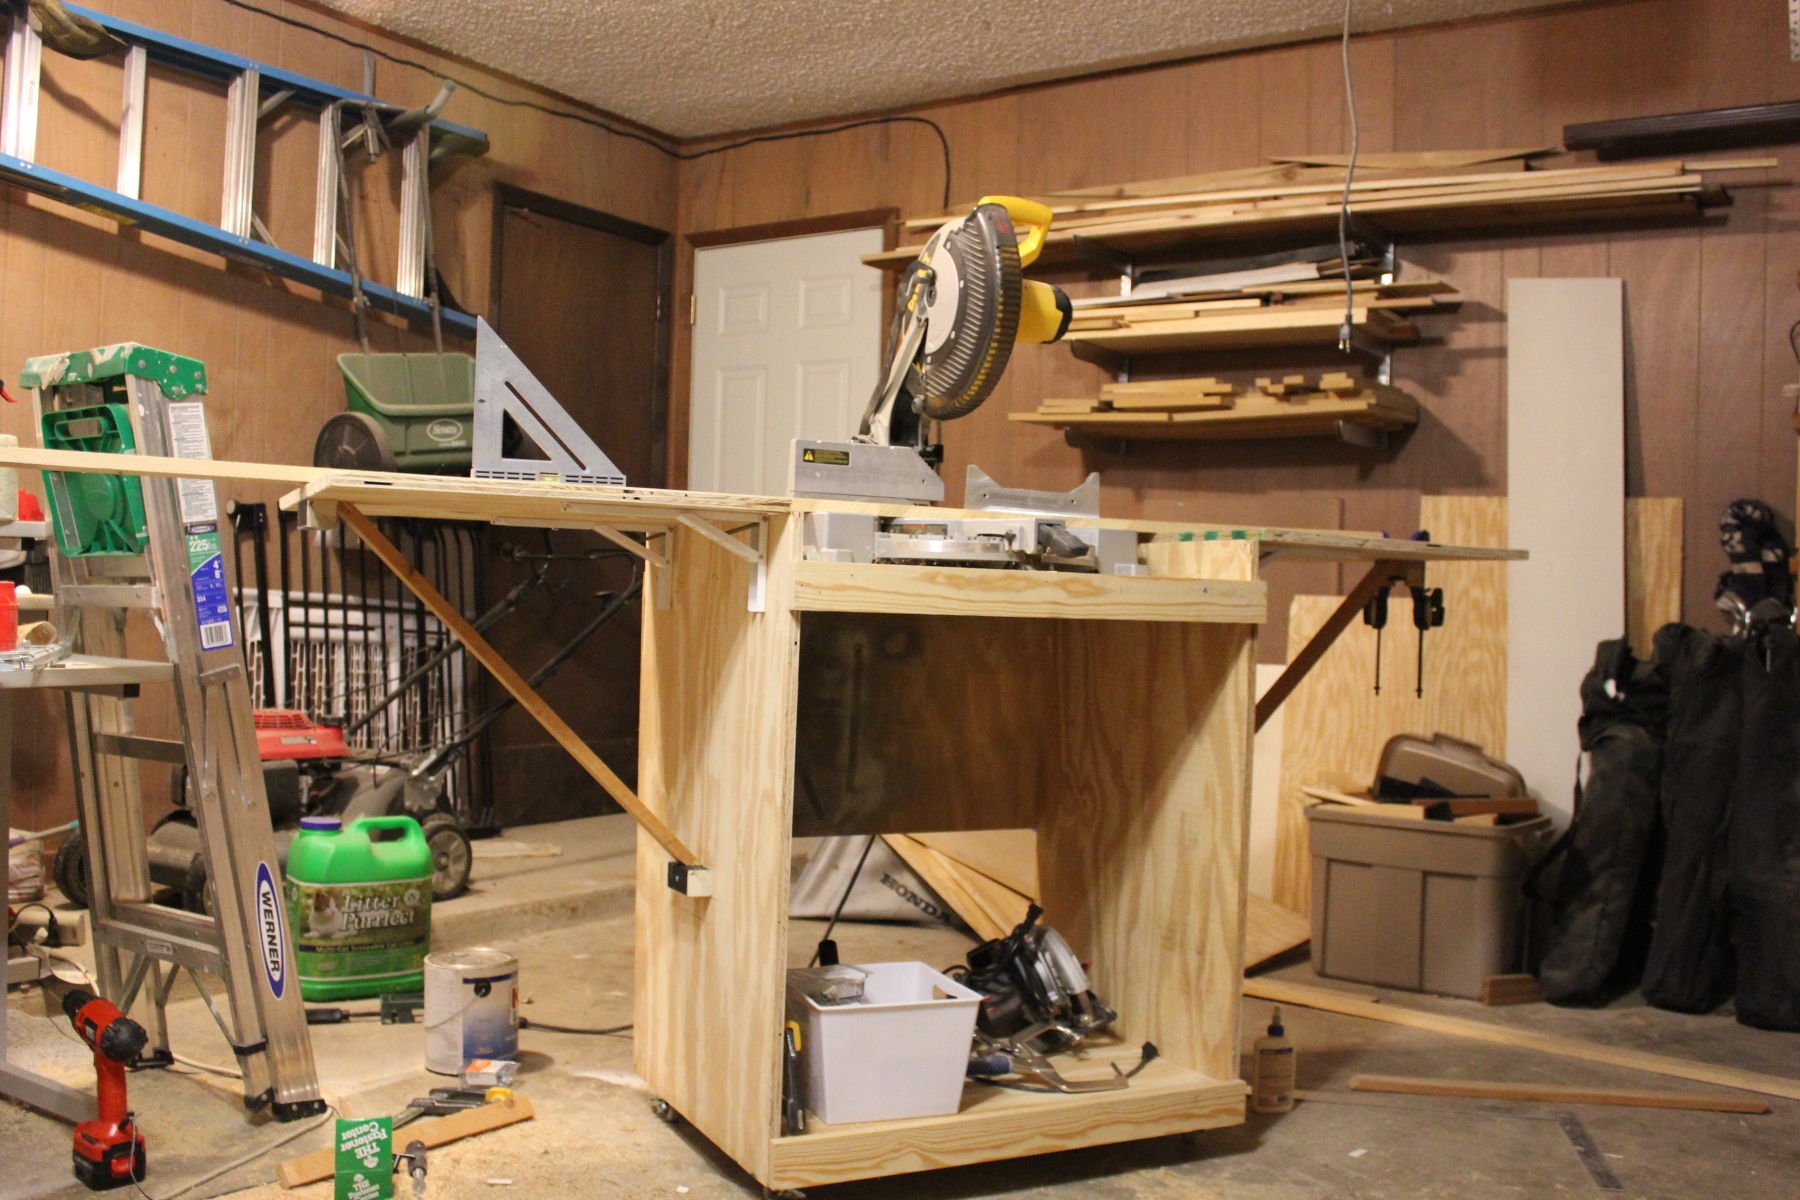
I saw Gina's post and this moved straight to the top of the to-build list. It's gotten my saw off the floor of my garage and provided a ton of storage for my other tools and bits. I also added another shelf after taking this picture. I modified this slightly: I made the wings 24" only, added a short back to provide more stability and reinforcement to the top shelf, added a diagonal support to the wings, and reinforced the top shelf from the sides with 3" dowels. I got my wood from a local lumberyard and the wheels from Blue.
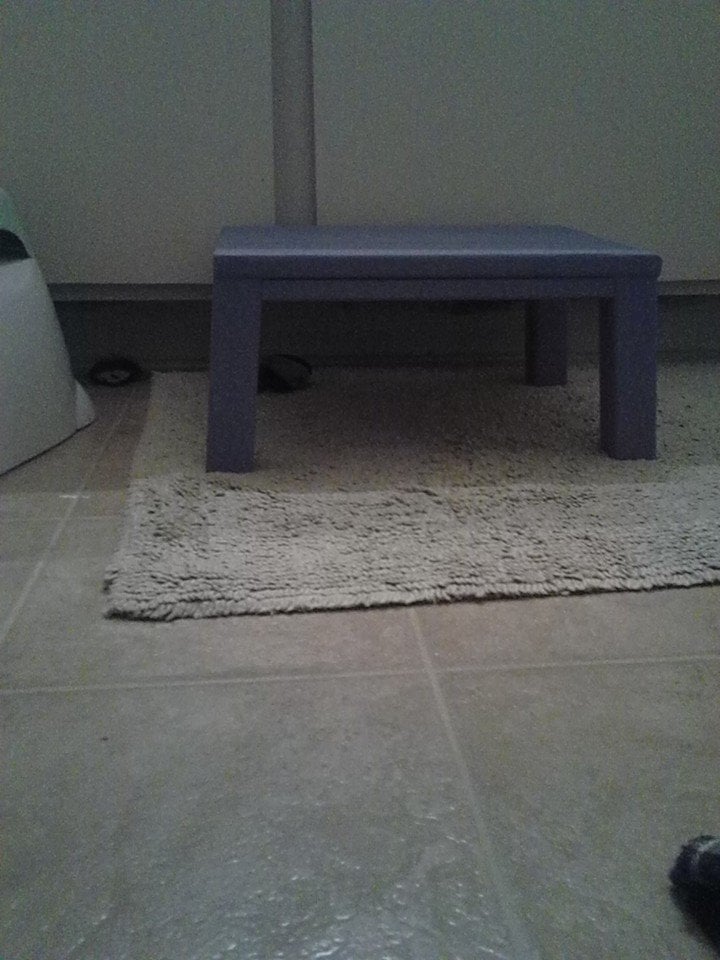
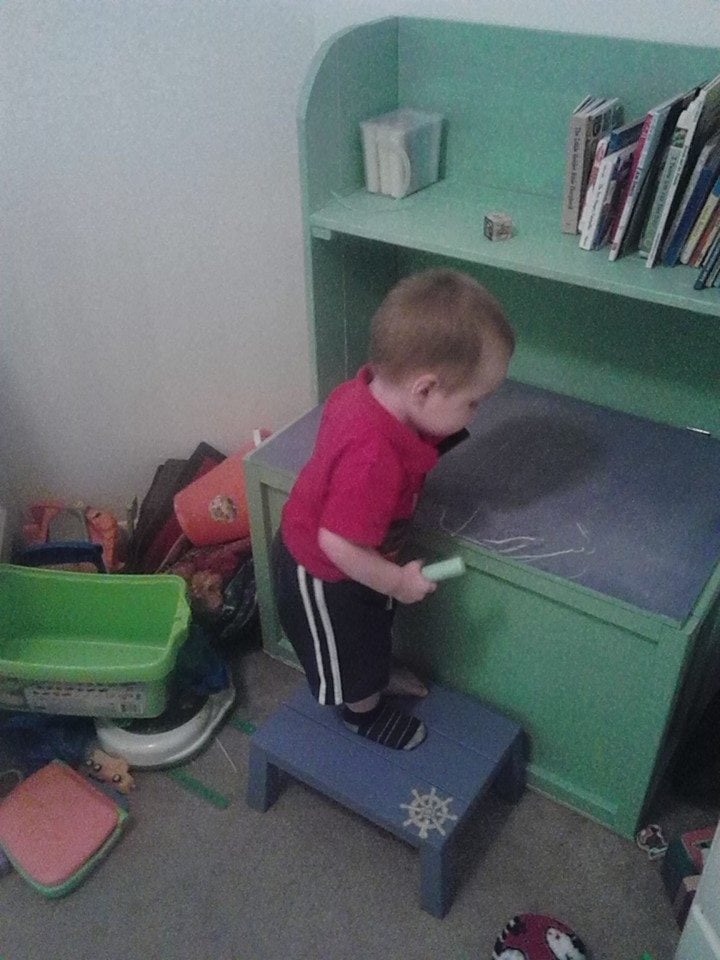
We built a toybox for our son and discovered that he isn't quite tall enough yet to really get into it. So, to remedy the problem I put together a stool for him. I modified the "simplest stool" plan to make it short and wide. Perfect as a little boost to get into the toybox. We also use it in the bathroom as a little step stool for the sink.
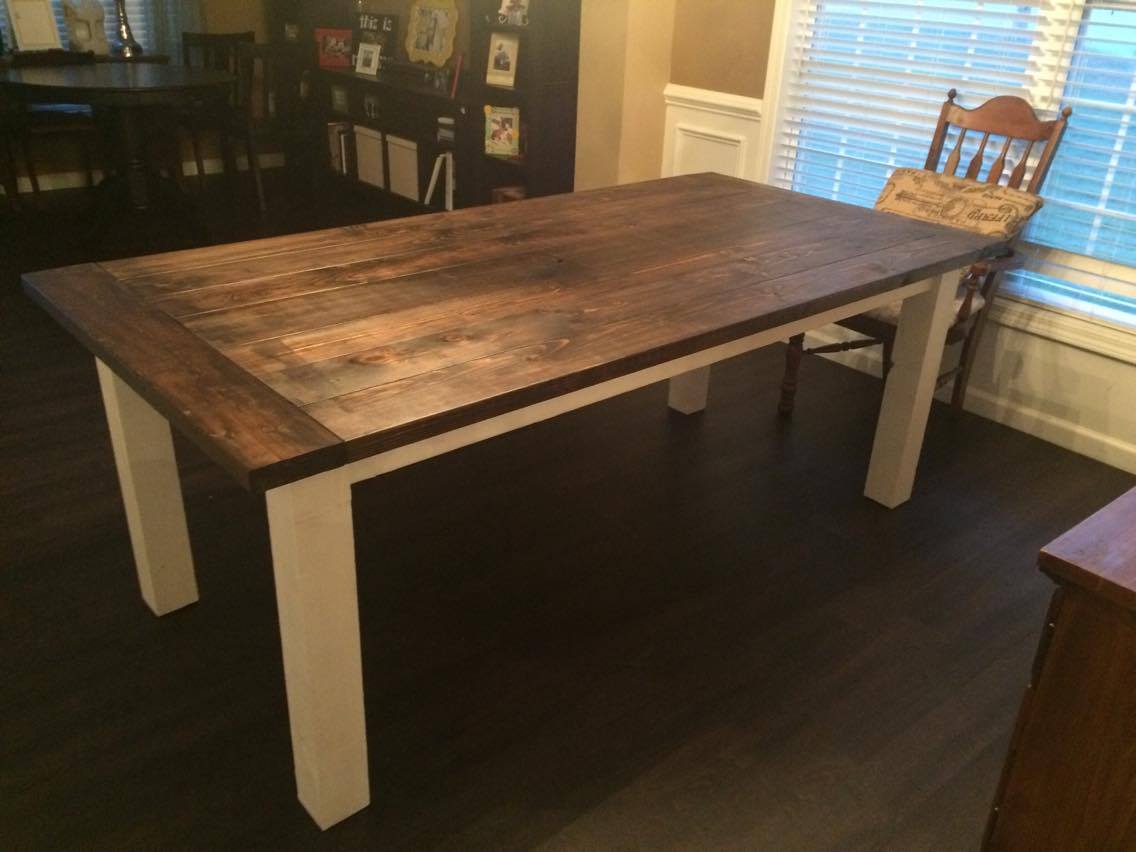
I made this Farmhouse X Table from Ana's plans with the adjustment of adding a breadboard to each end (a perpendicular piece of wood). This table was my first woodworking project ever! Now I am hooked ;) I have made a bench to match. Both are stained with minwax English Chestnut and finished with minwax fast-drying polyurethane, semi-gloss. Now I just have to figure out the rest of my chairs! Thanks Ana!