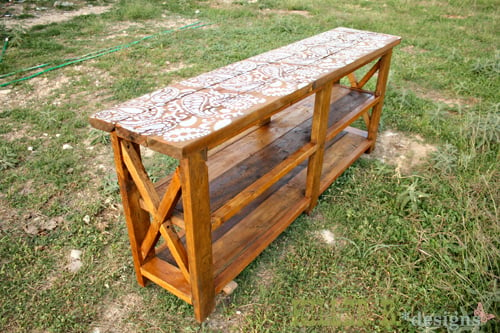
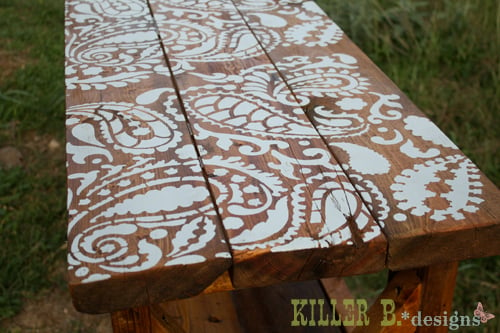
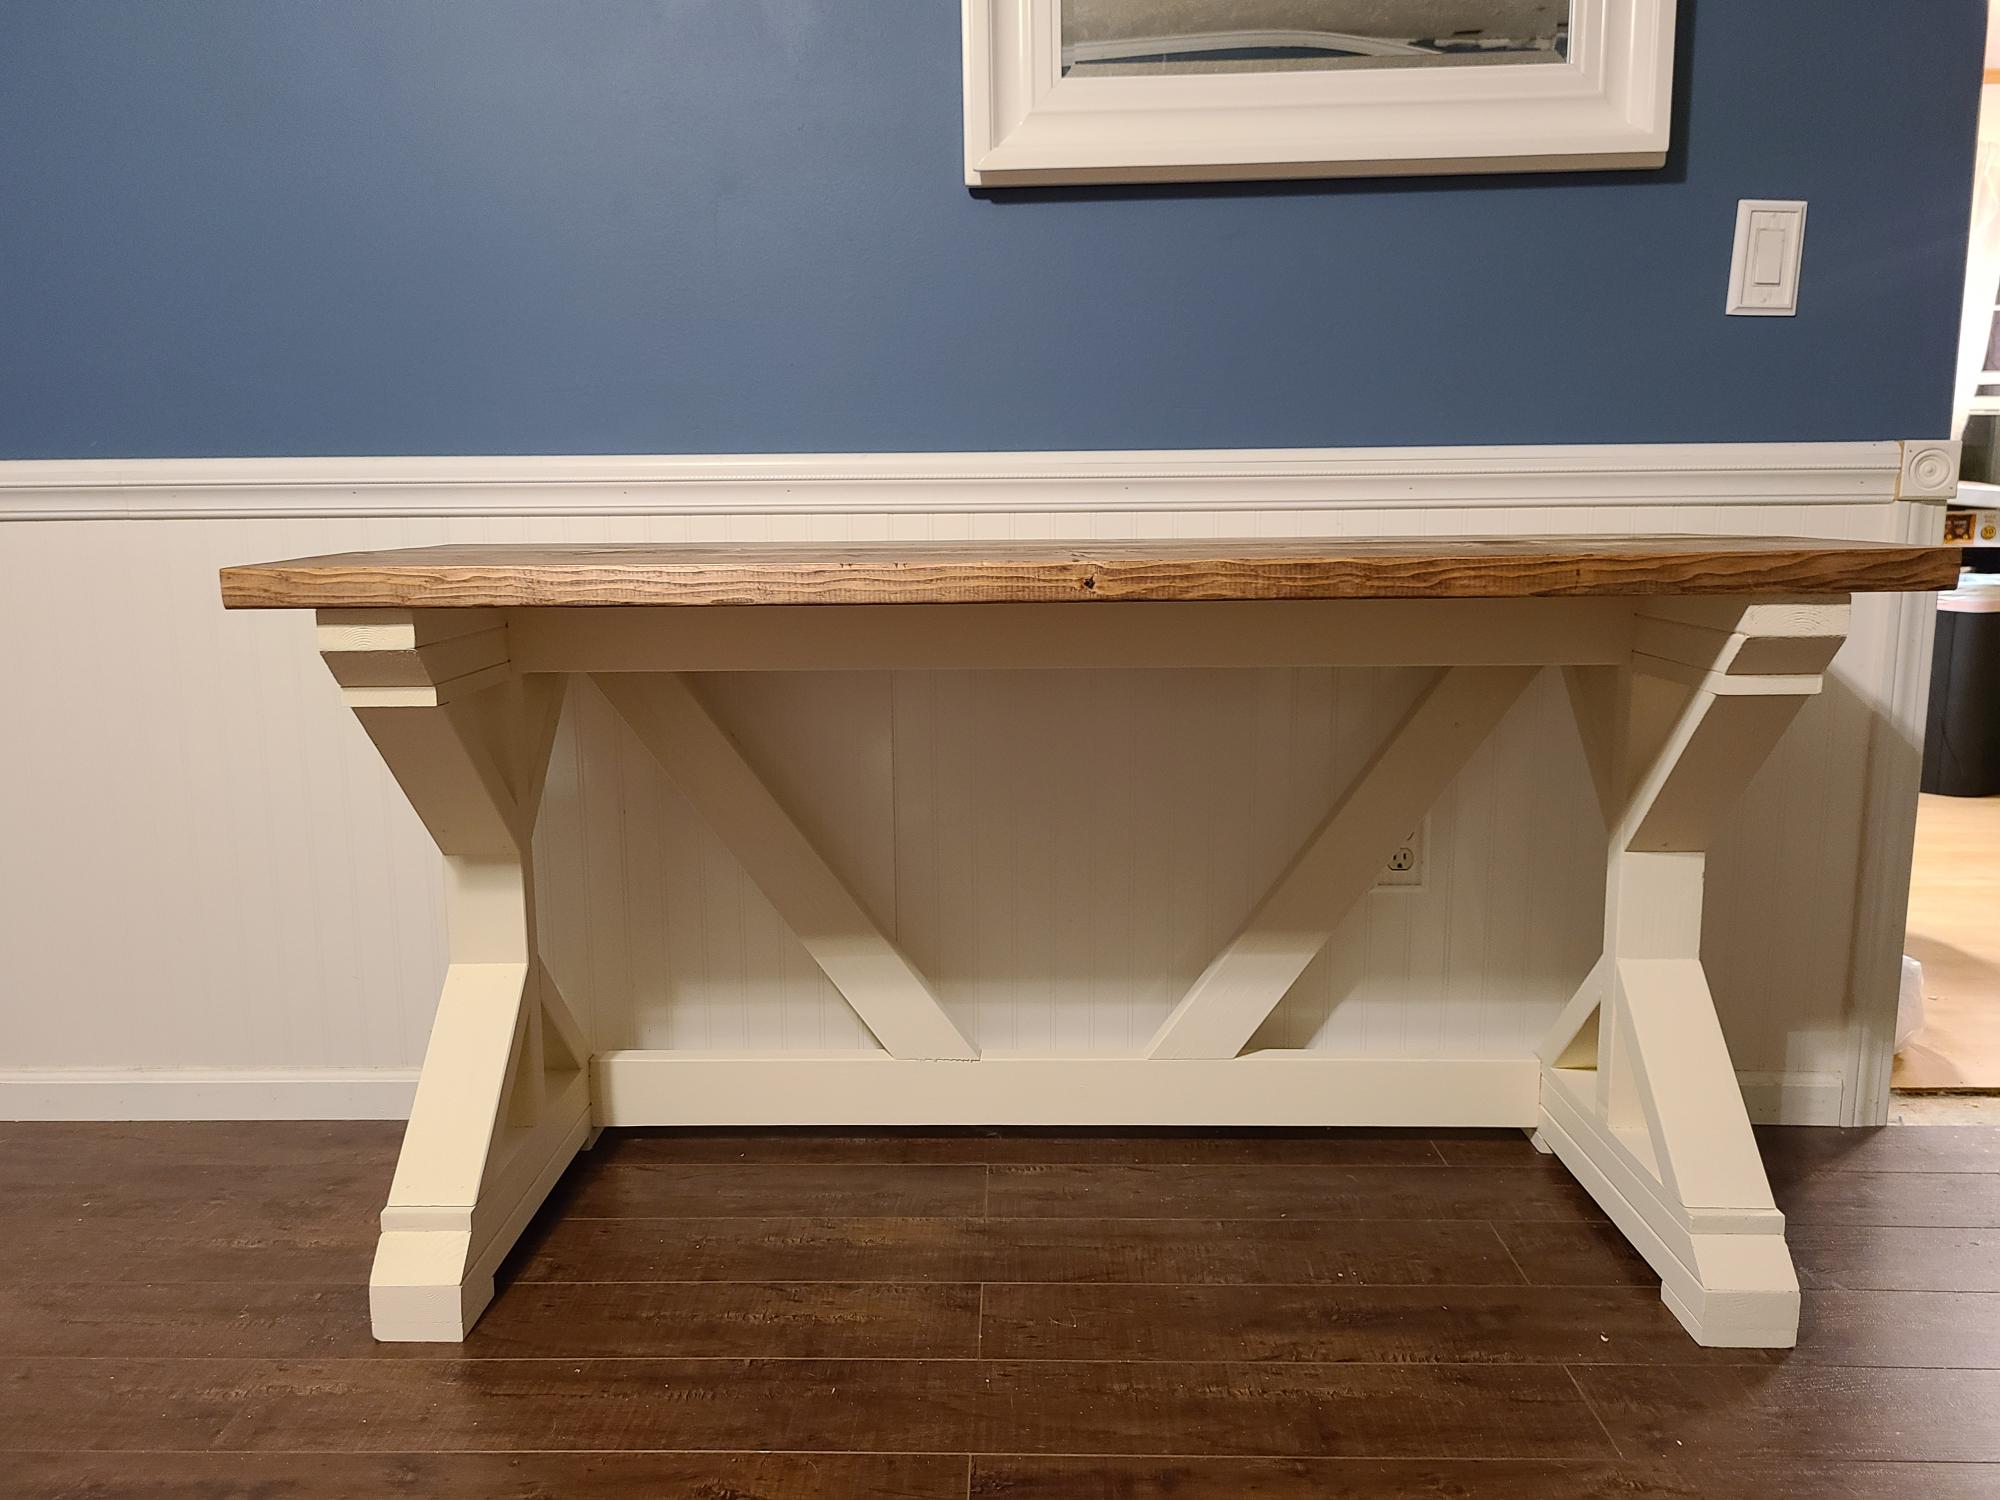
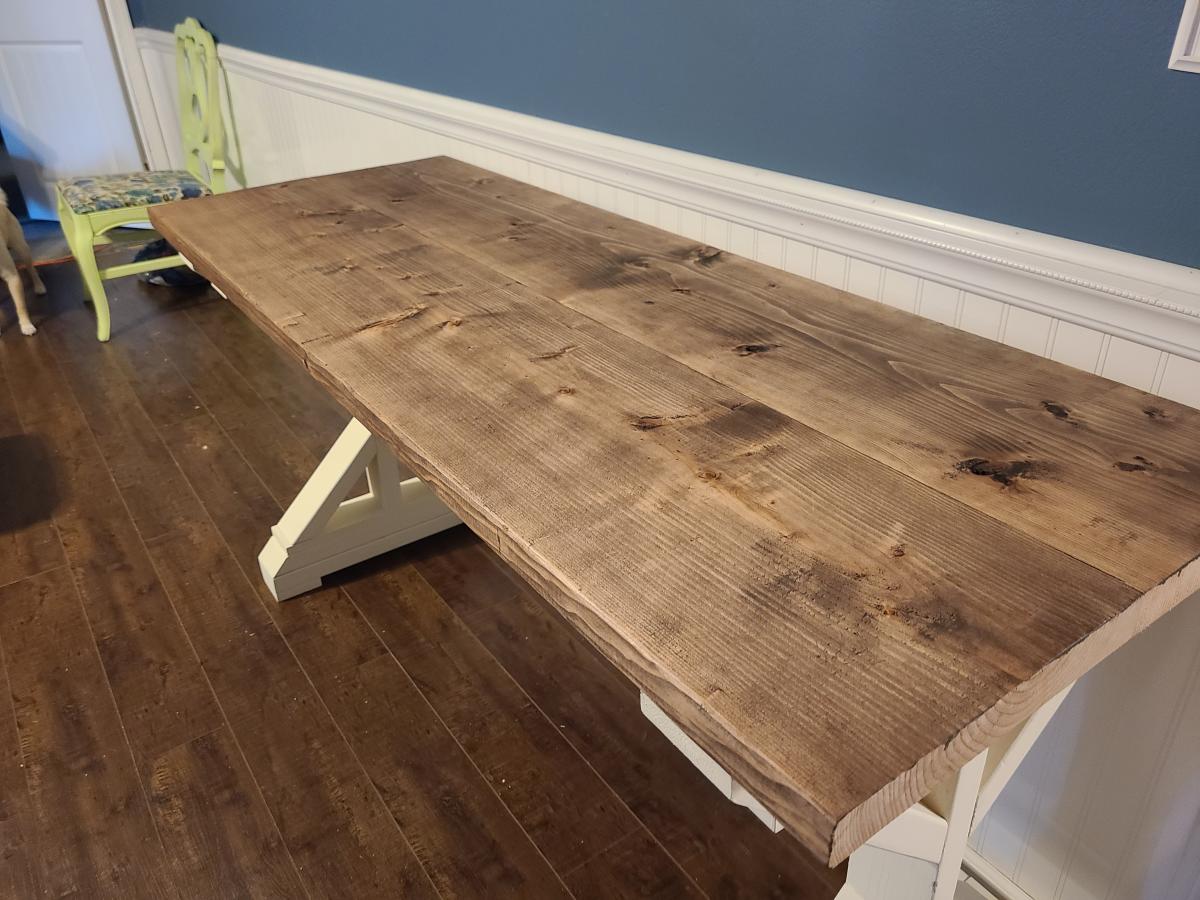
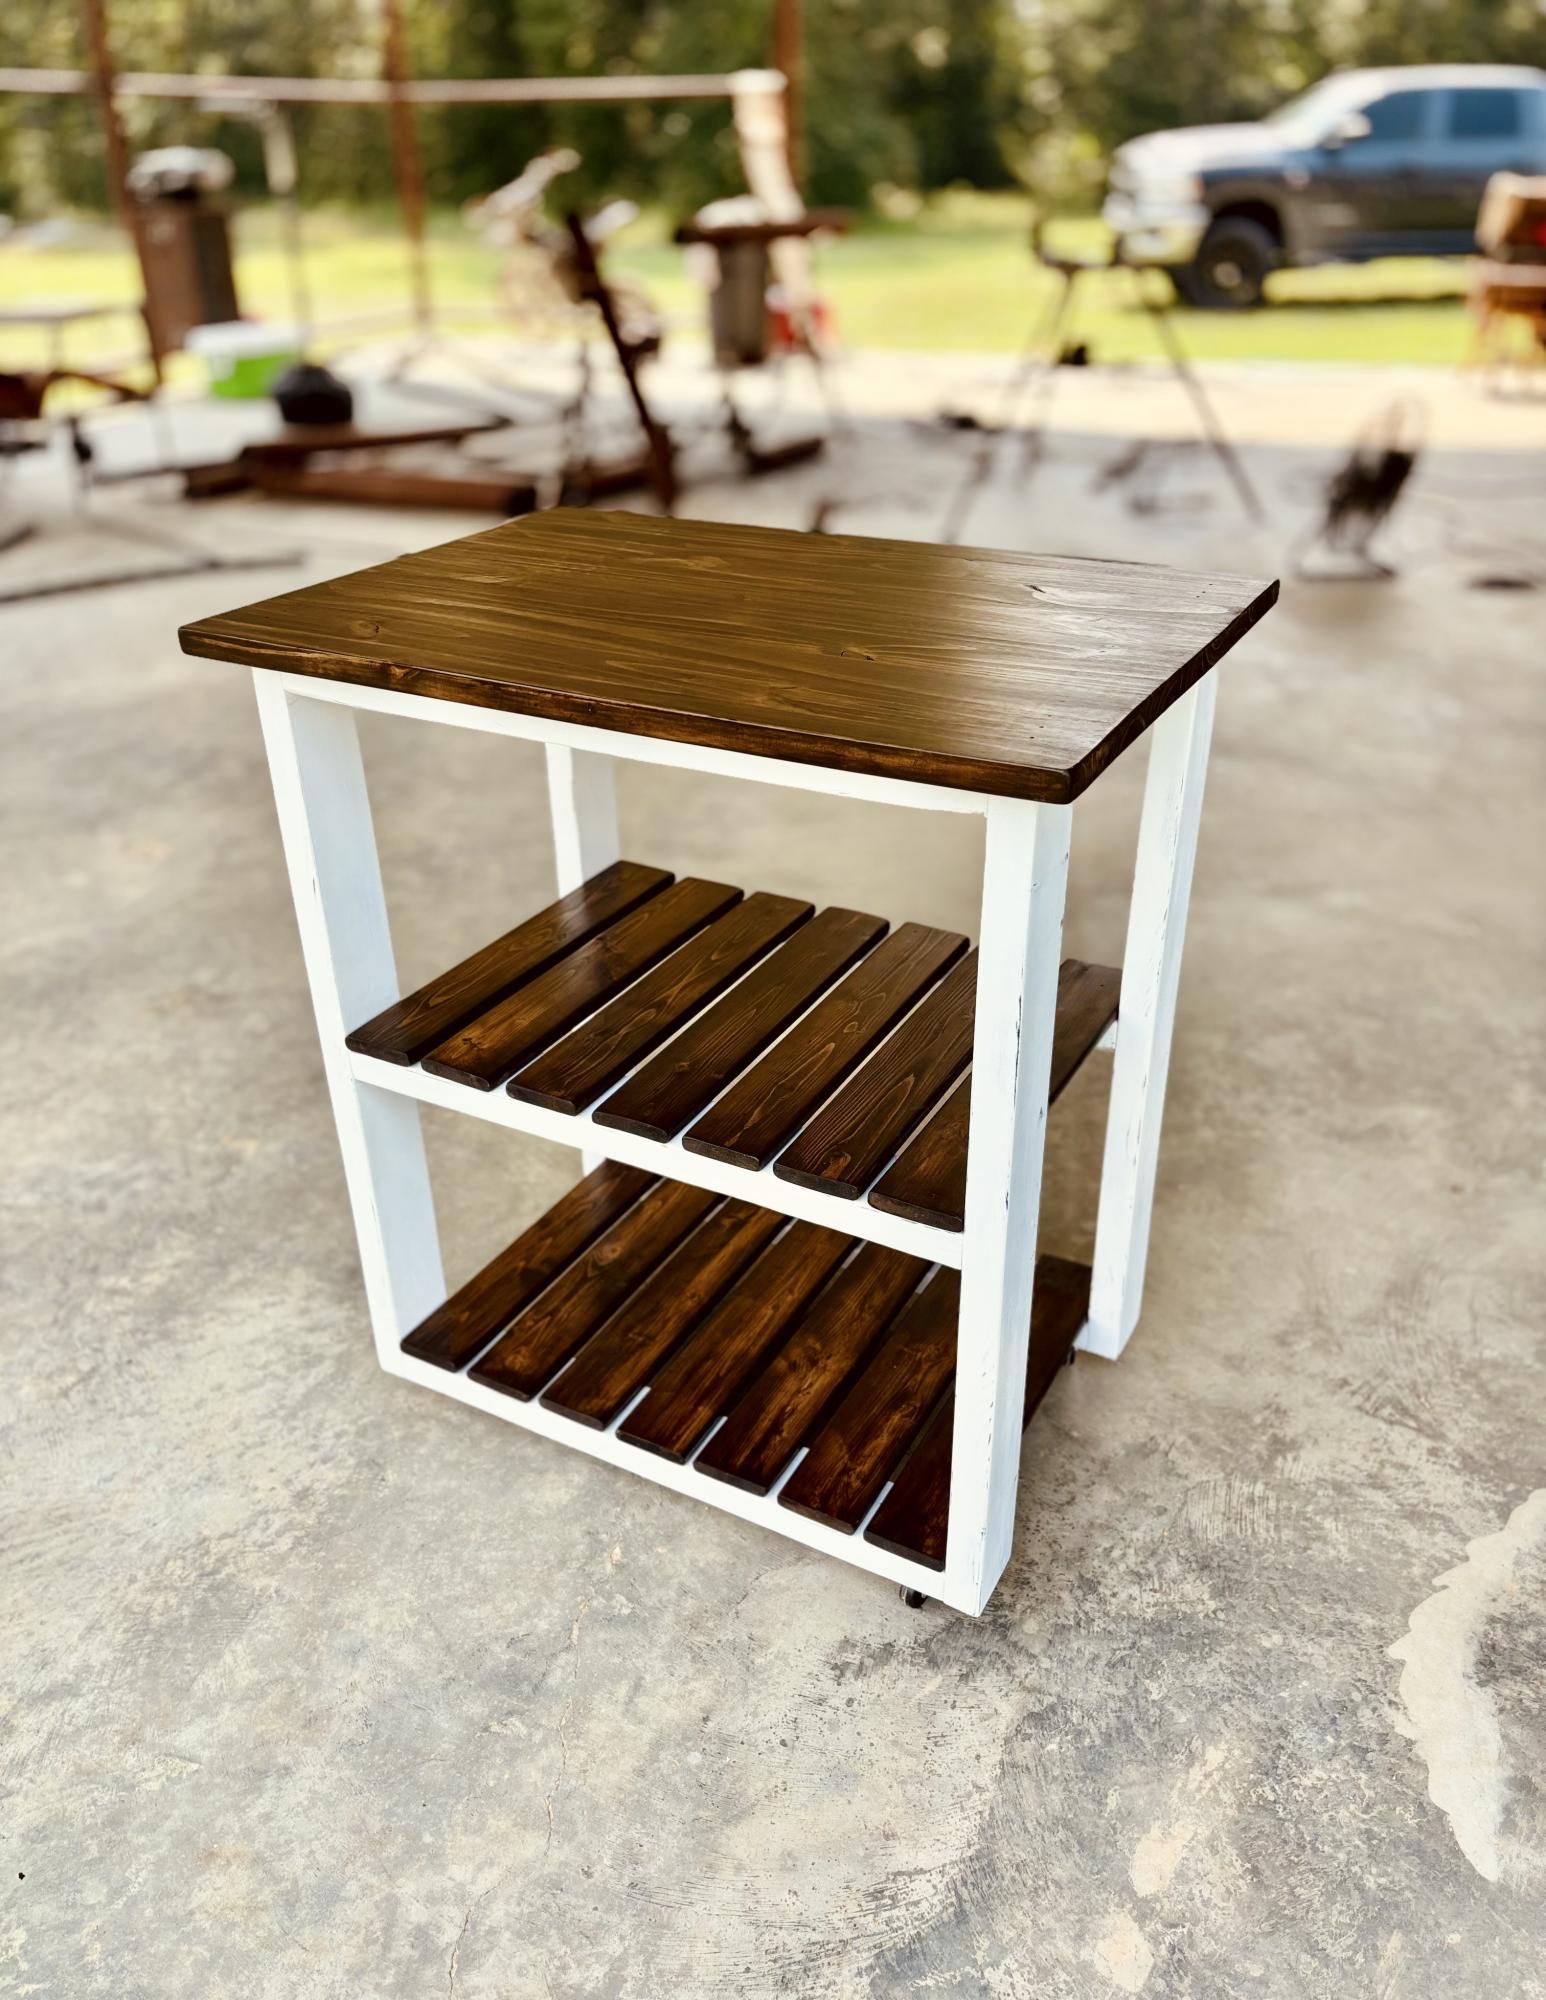
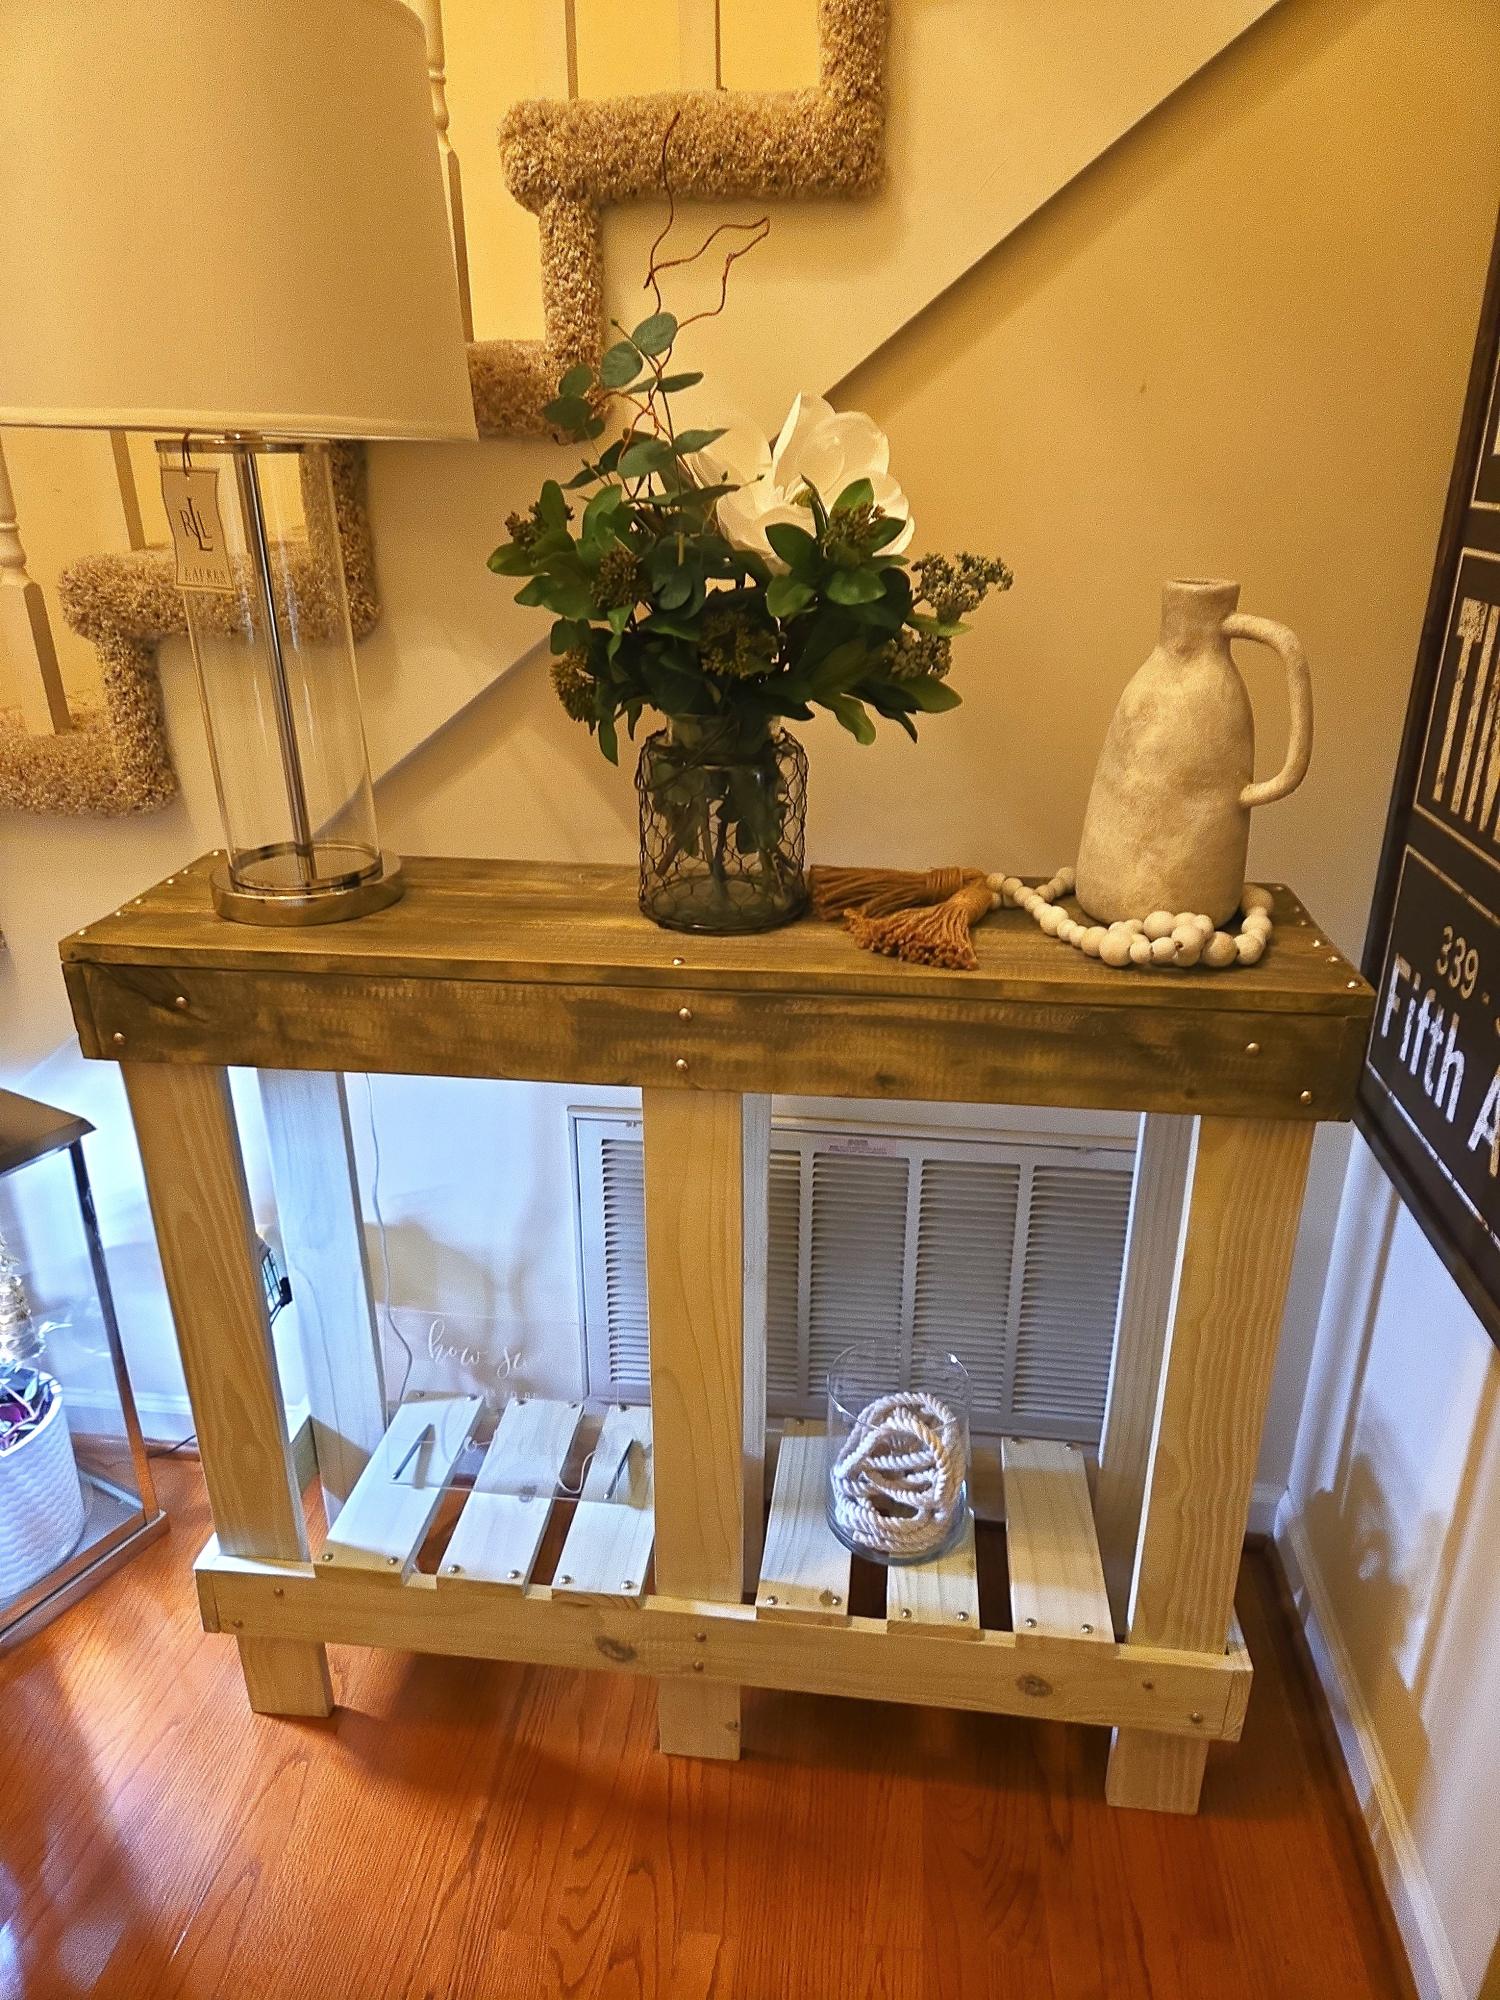
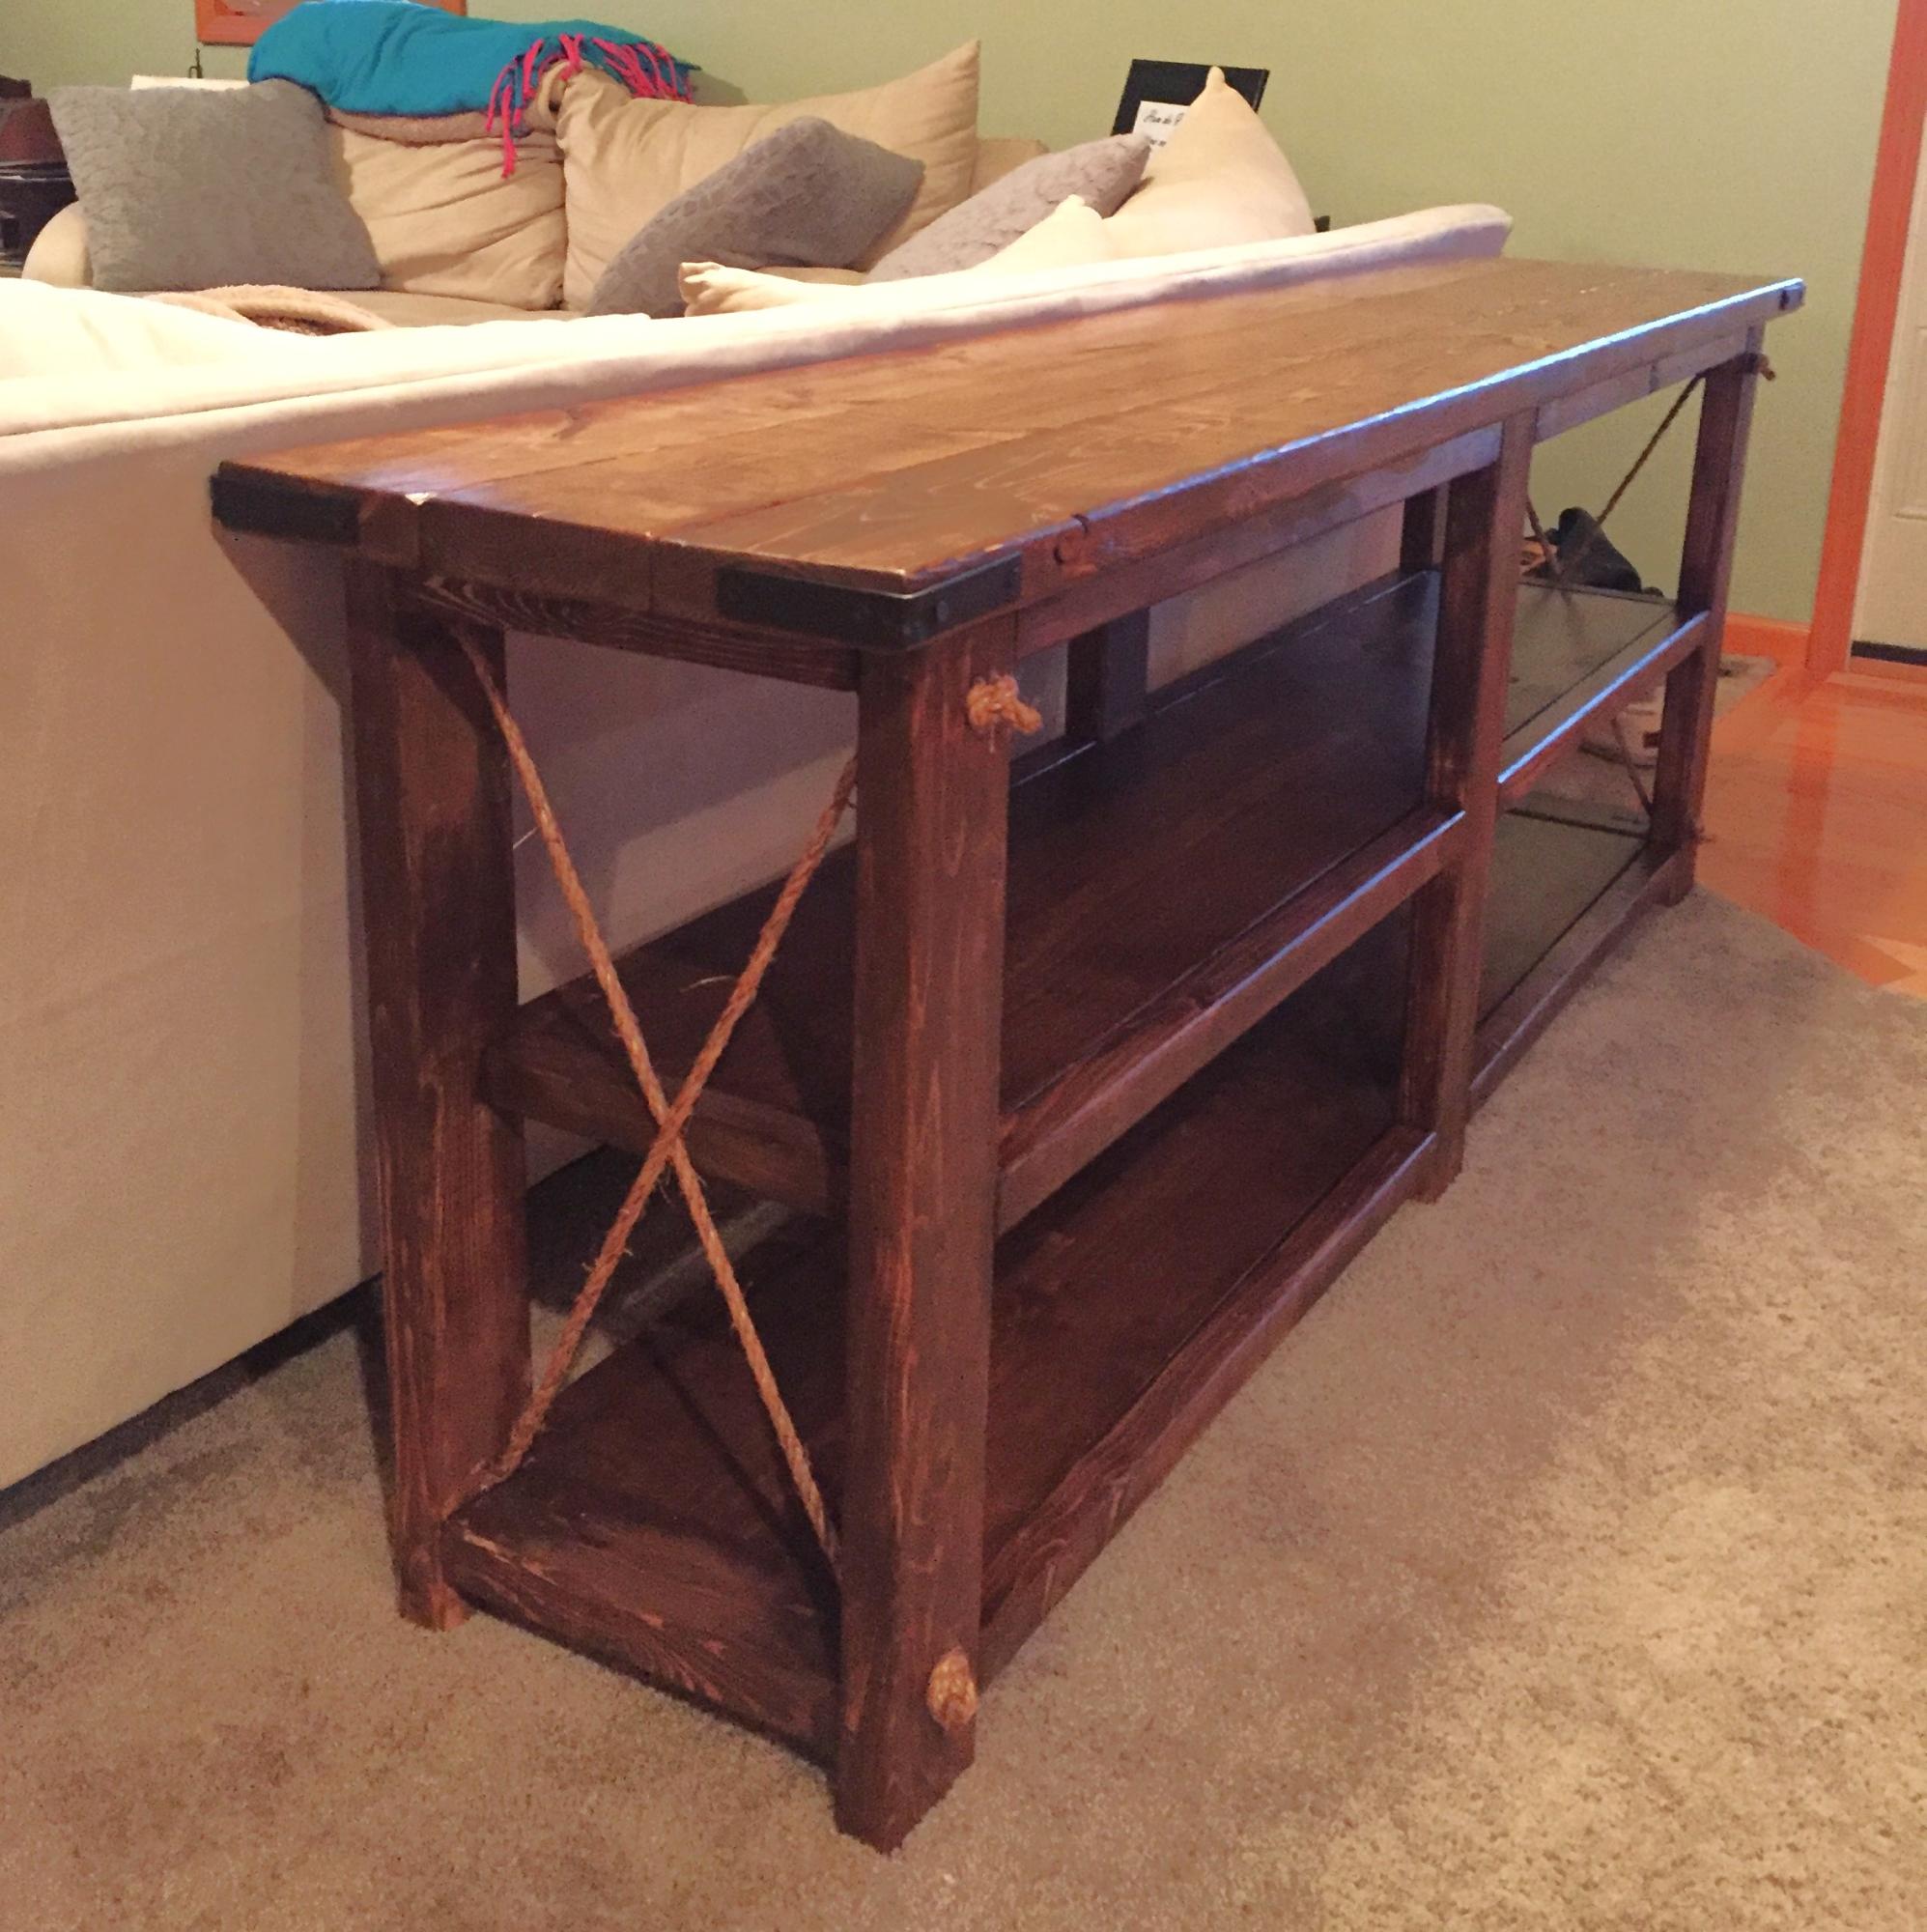
Reclaimed Stenciled Rustic X Console
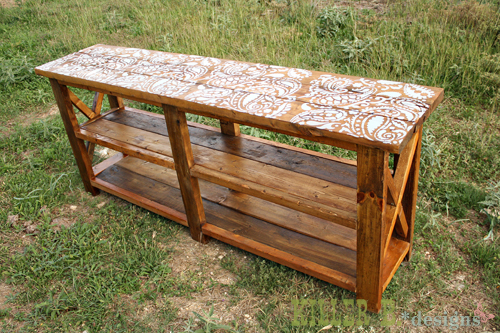
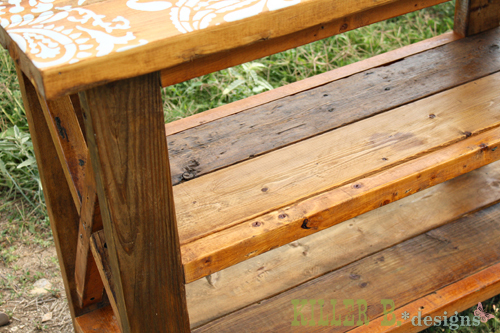
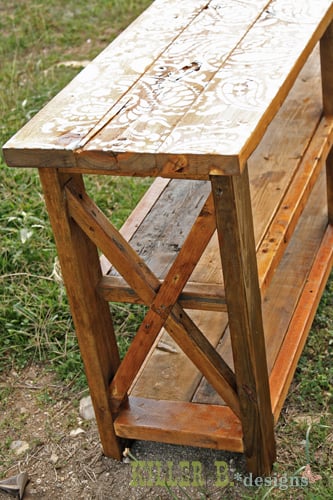
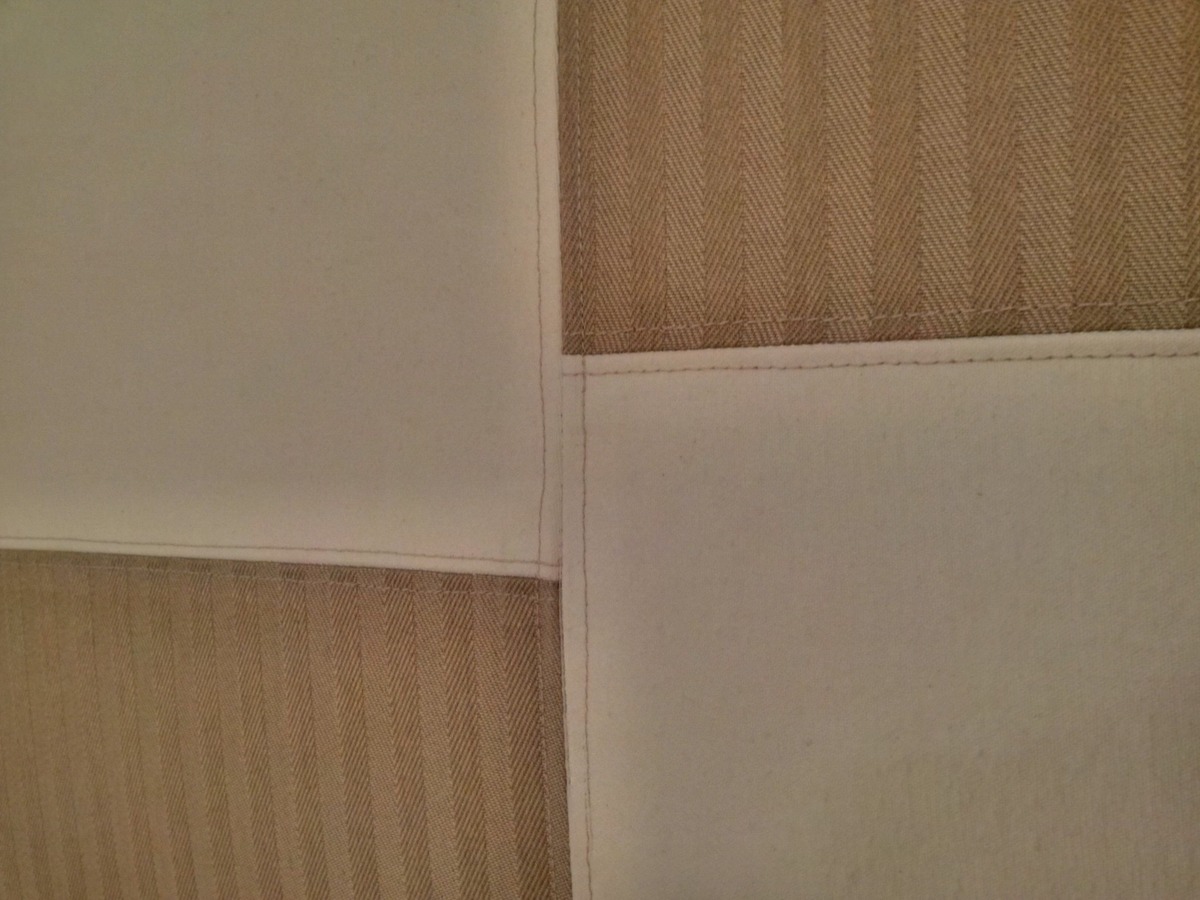
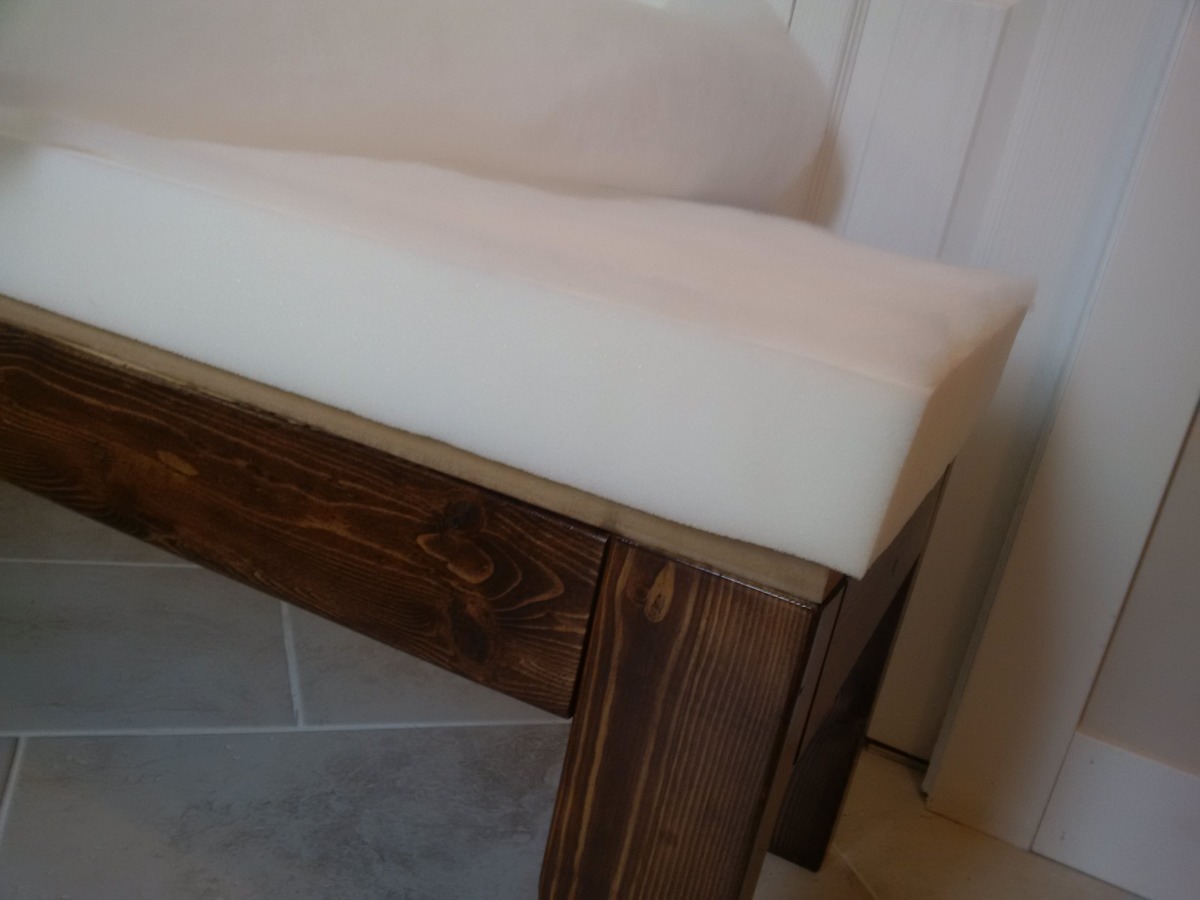
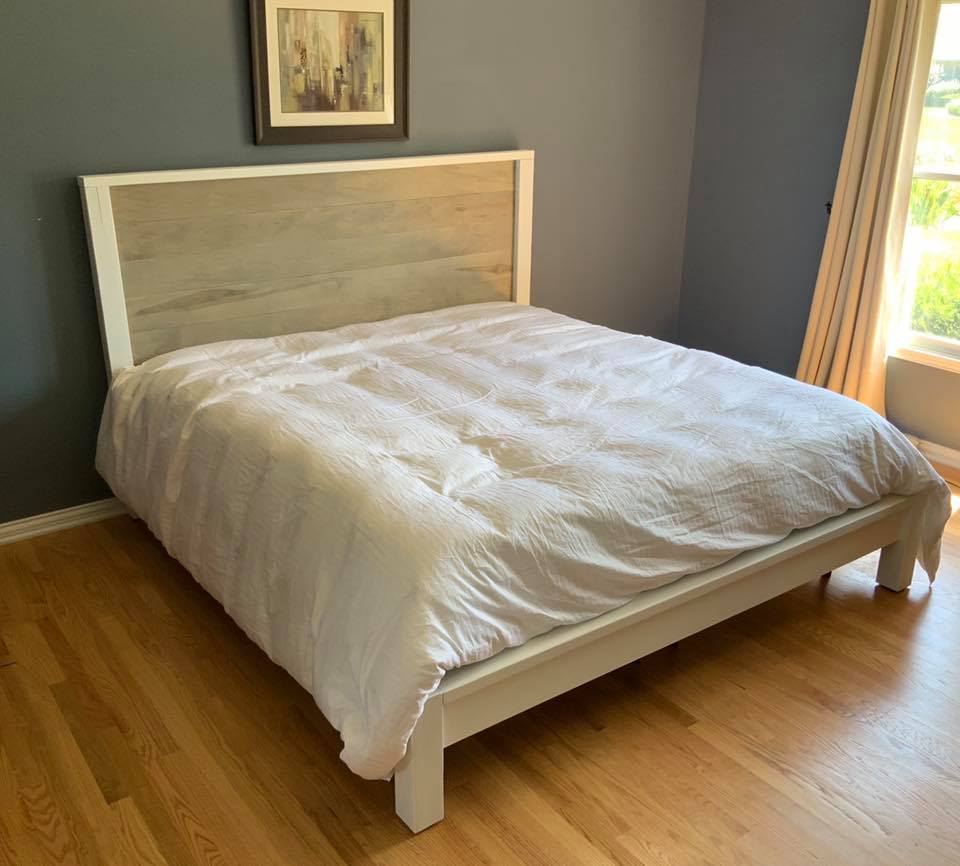
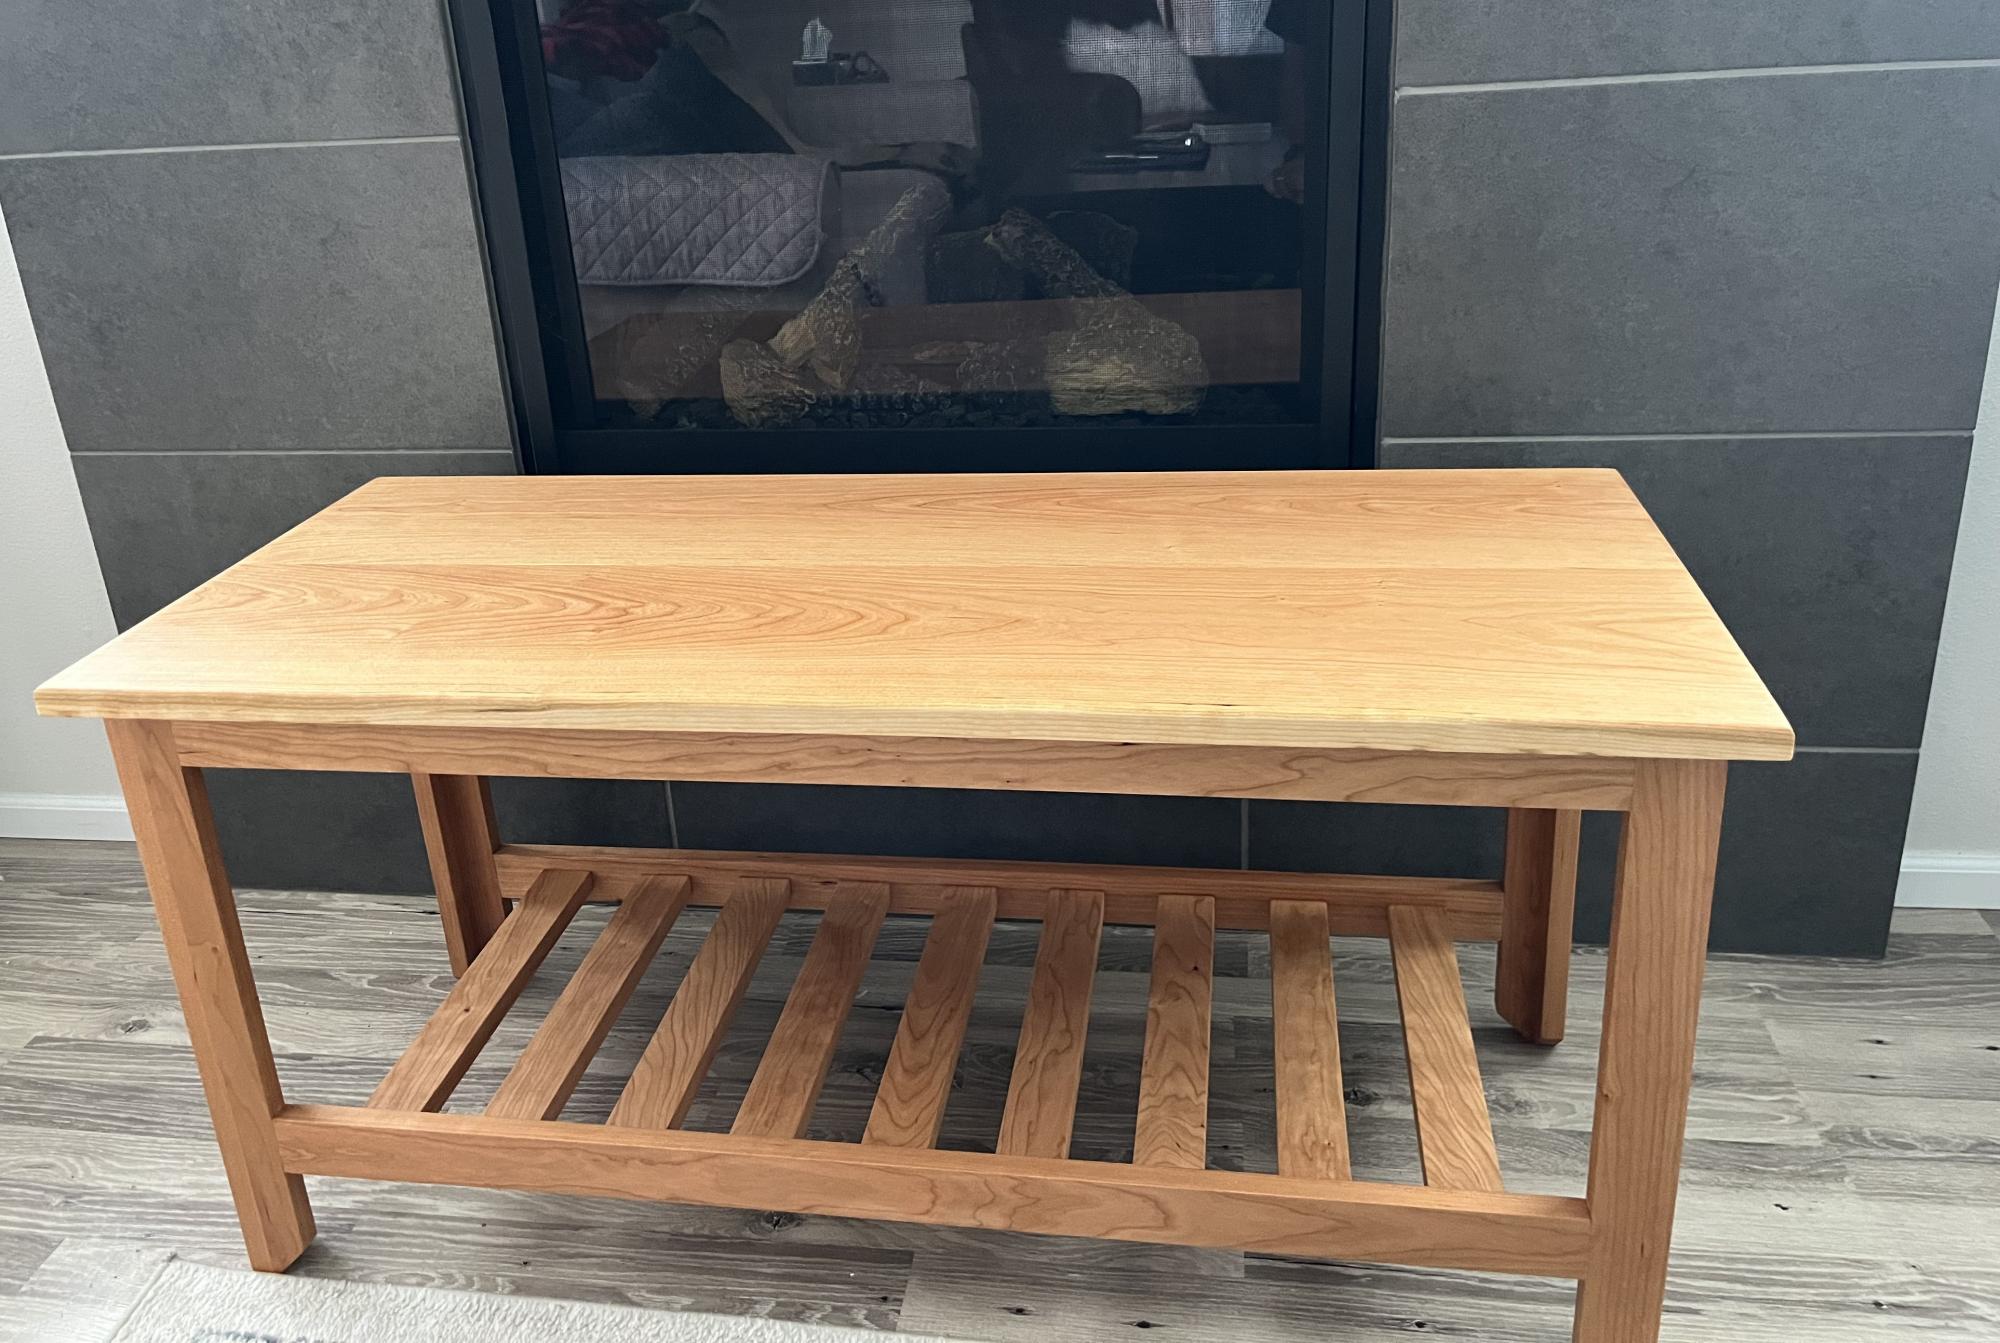
I've been dying to build this Rustic X Console since Ana posted the plans. I raided my dad's stash of lumber in his barn (does that make it "barn wood"?) and built it out of 2x4's and 2x6's. I subbed the 1x12 for two 2x6's and love the planked look on the shelves. I also ripped the 2x2's from 2x4's on my table saw. After sanding and staining, I decided it needed a little something extra. So I stenciled it! I used a grey sample Valspar from Lowes and used a small roller over the stencil. It was so easy! Afterwards I coated the piece in furniture wax, though I plan to coat the top with polyurethane. Latex paint over oil-based stain doesn't stick very well, so an oil topcoat will help seal it on. I love this table and can't wait to fill it up with goodies!


Comments
dananryan
Wed, 10/24/2012 - 18:52
Beautiful!
What a great idea! I would have never thought to stencil a rustic piece of furniture. I totally have to steal that idea if you don't mind...
In reply to Beautiful! by dananryan
brookifer86
Thu, 10/25/2012 - 19:07
Steal away!
That's why I post here, so someone else may be inspired! I can't wait to go and stencil more stuff now :)
dananryan
Wed, 10/24/2012 - 18:52
Beautiful!
What a great idea! I would have never thought to stencil a rustic piece of furniture. I totally have to steal that idea if you don't mind...