Garden Shed Douglas
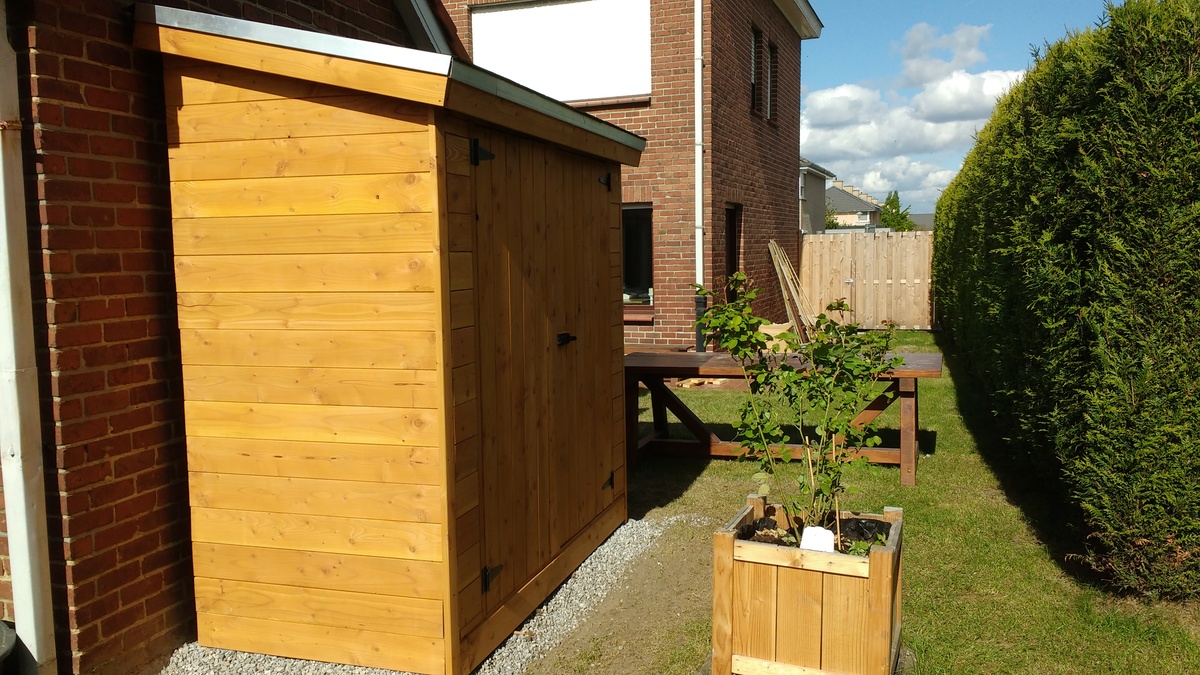
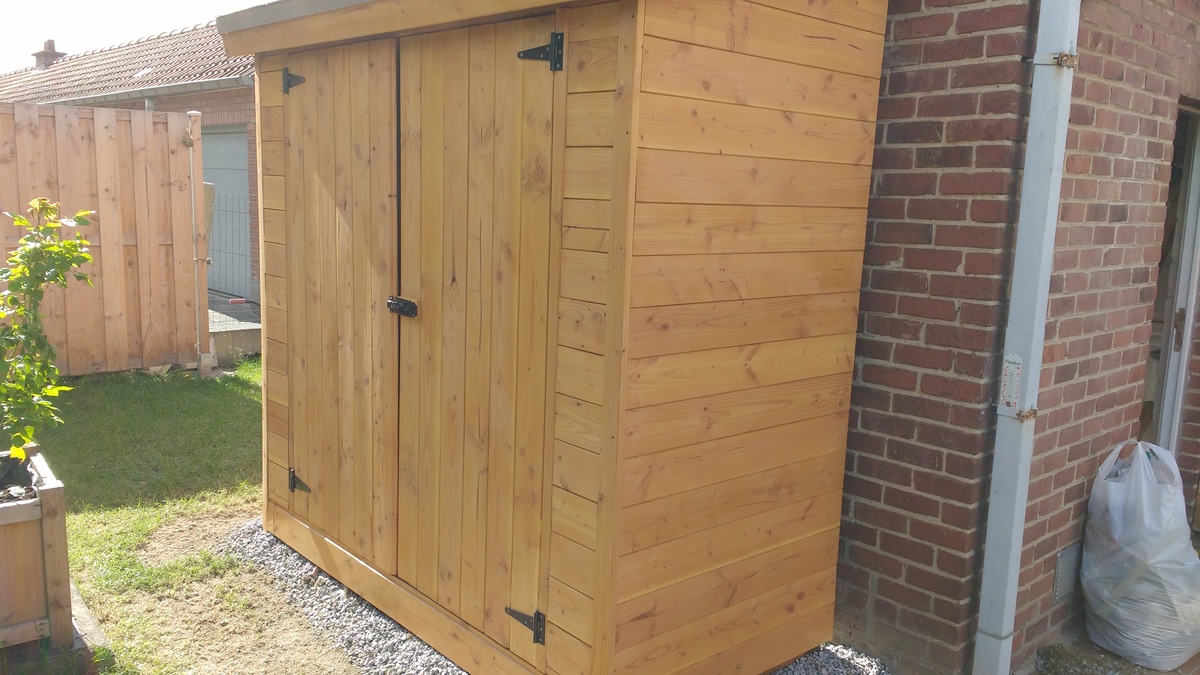
Garden Shed out of douglas wood
i added wooden floor .
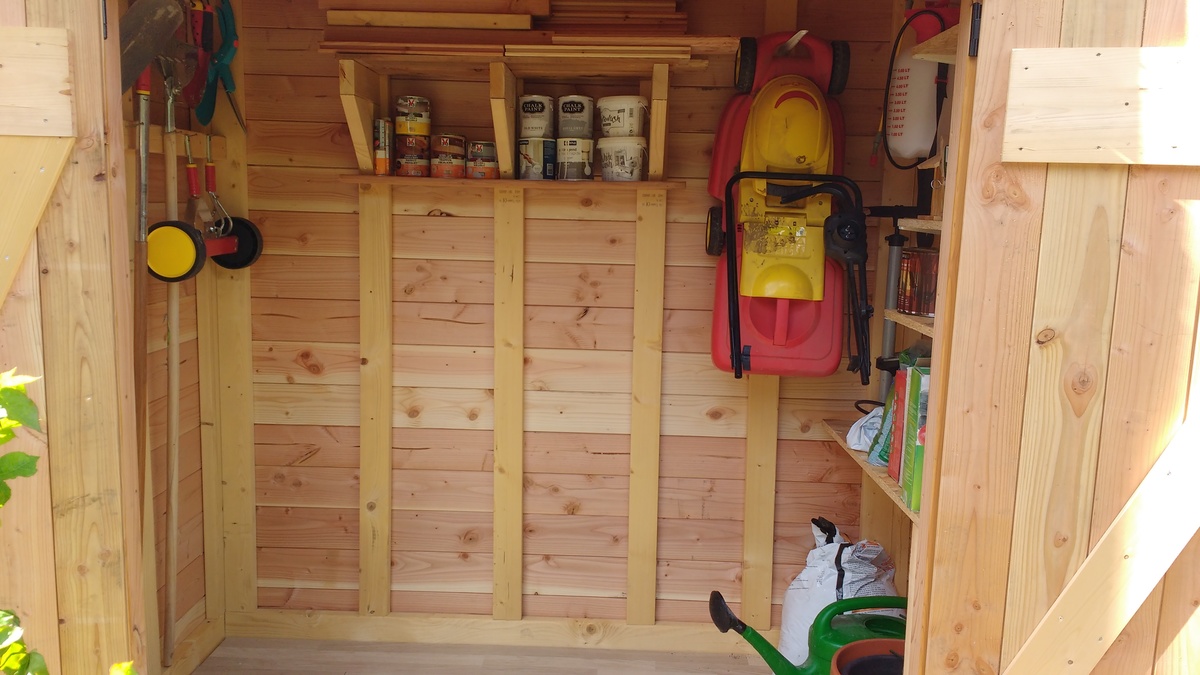
cedar would have made it very pricey

Garden Shed out of douglas wood
i added wooden floor .


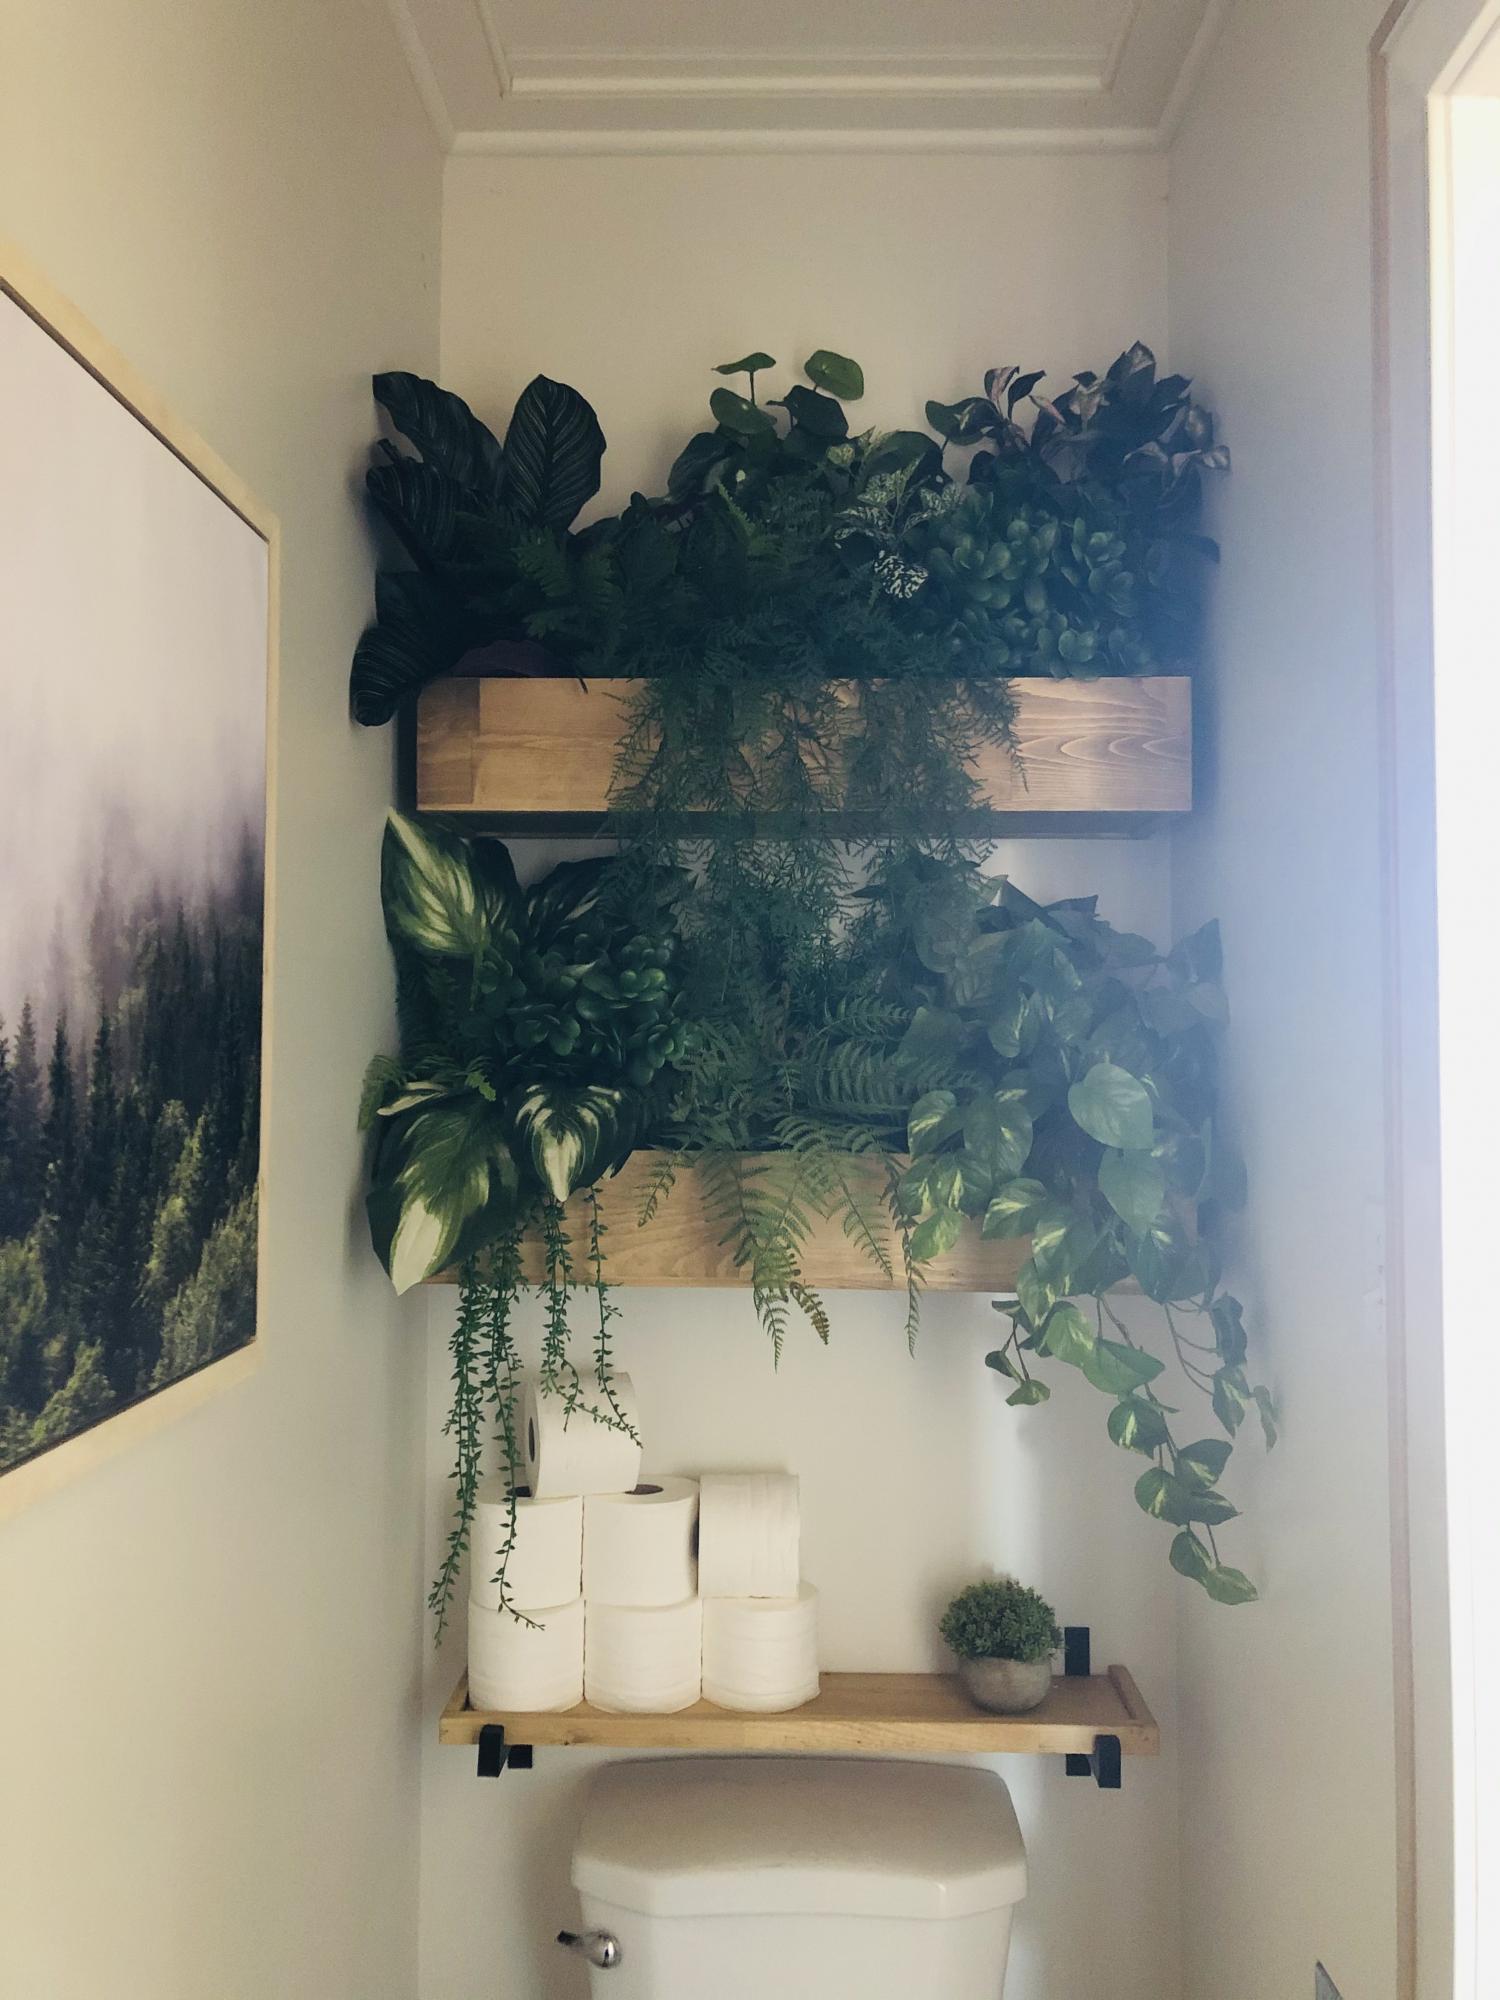
I wanted some greenery in this tiny bathroom. I followed the build plans for the floating shelves and simply didn’t add the tops so I could use as planter boxes!
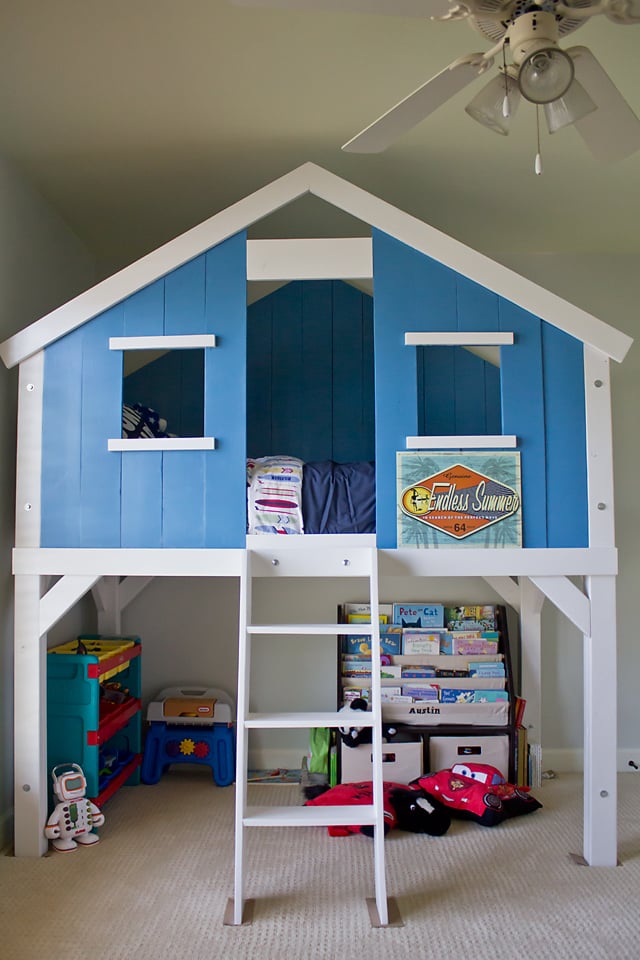
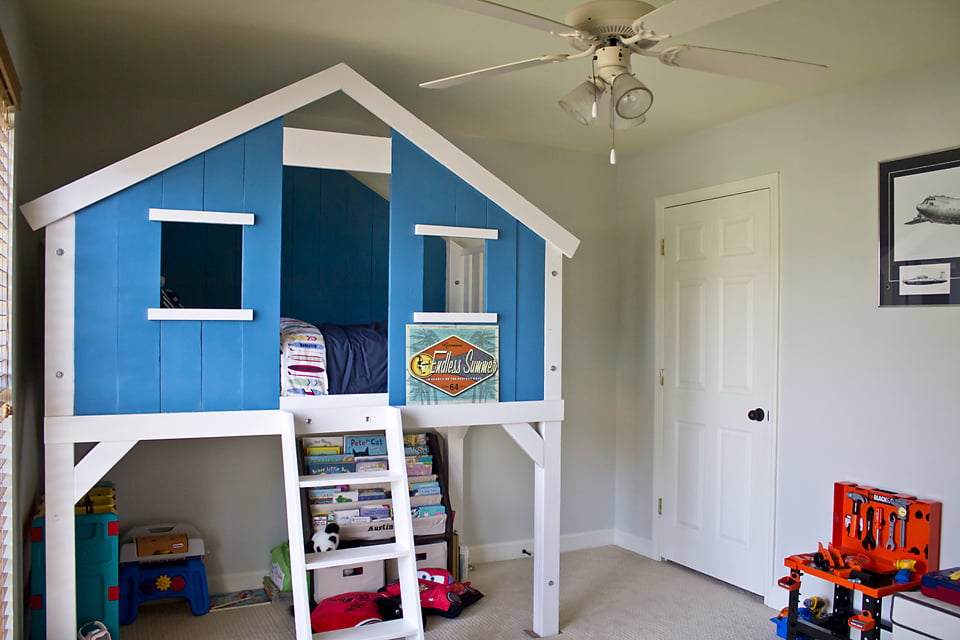
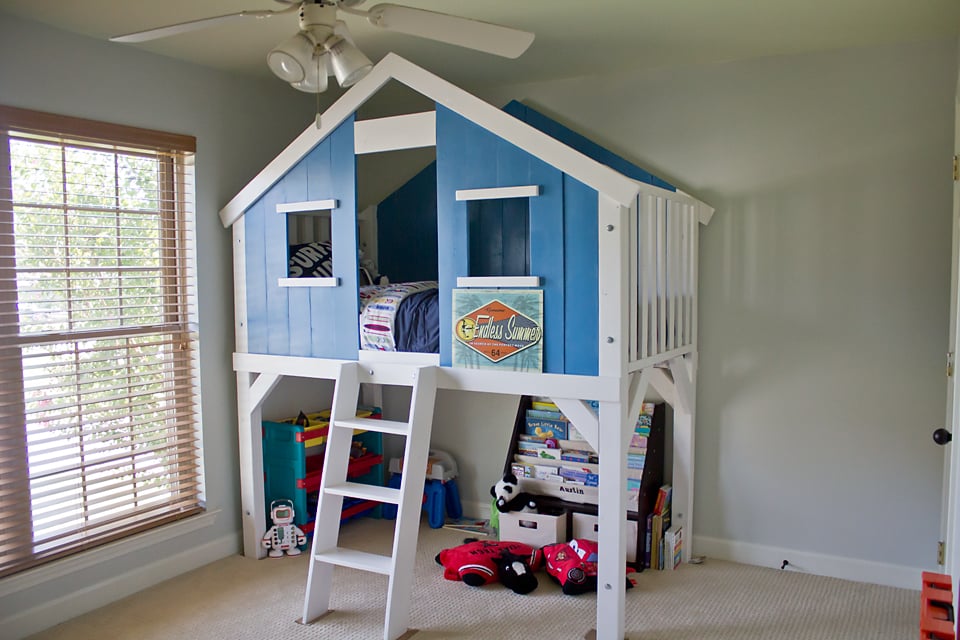
So in late December 2011, I asked my son if he was ready for his big boy bed. I had found a bed in a PBK catalogue that I loved. There was no way I could afford or justify the $1400 price tag plus tax and shipping so I had ventured onto ana-white.com and found a suitable option instead. His response to my question was, "No." Queue the Price Is Right losing sound. So, I waited.
Sure enough, six months later, he tells me. "Mommy, I want you to build me my big boy bed now." I lit up with excitement. So I logged onto this wonderful website and began to search through the loft beds for the original plan. When the list of loft beds popped up, my heart almost stopped. It was June 2012 and there IT was. Posted in May 2012, the PBK clubhouse bed of my dreams! I was beyond excited. I knew that Ana wouldn't let me down!
I printed out the list and told the hubby to get the truck we were headed to my favorite blue store. Now, I have never built ANYTHING in my life, but I had drooled over enough plans on this site to know that Ana wouldn't lead me astray. So, a few hundred dollars later in lumber, we pull into the drive way with all I needed to get started. My wonderful husband unloaded everything and began organizing the garage. When I saw he was done, I said, "Thanks babe, now can you watch A while I get started on all the cuts." I saw his heart break. He thought he would be making the bed. He had no idea, that my intentions were to do this on my own. (I have OCD and my husband does NOT and we have a crooked fence to prove it)
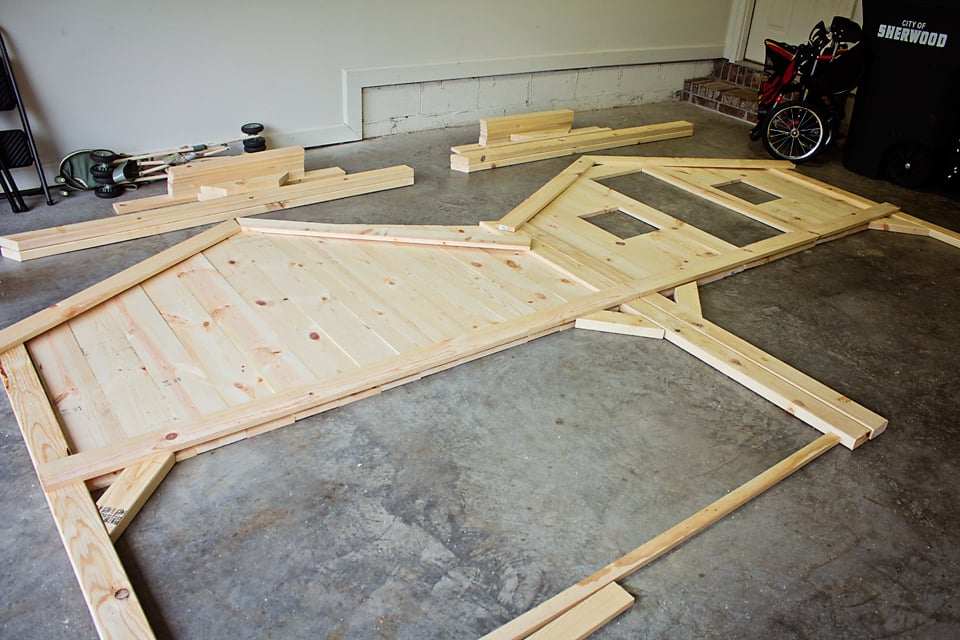
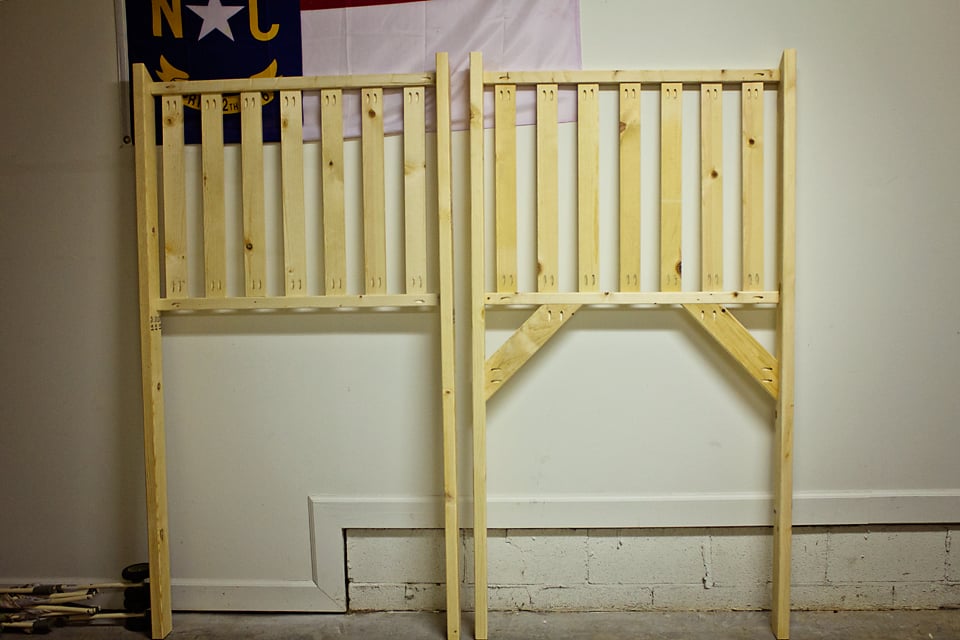
So in one night I made all the cuts and assembled the ends of the bed! Happy Dances!
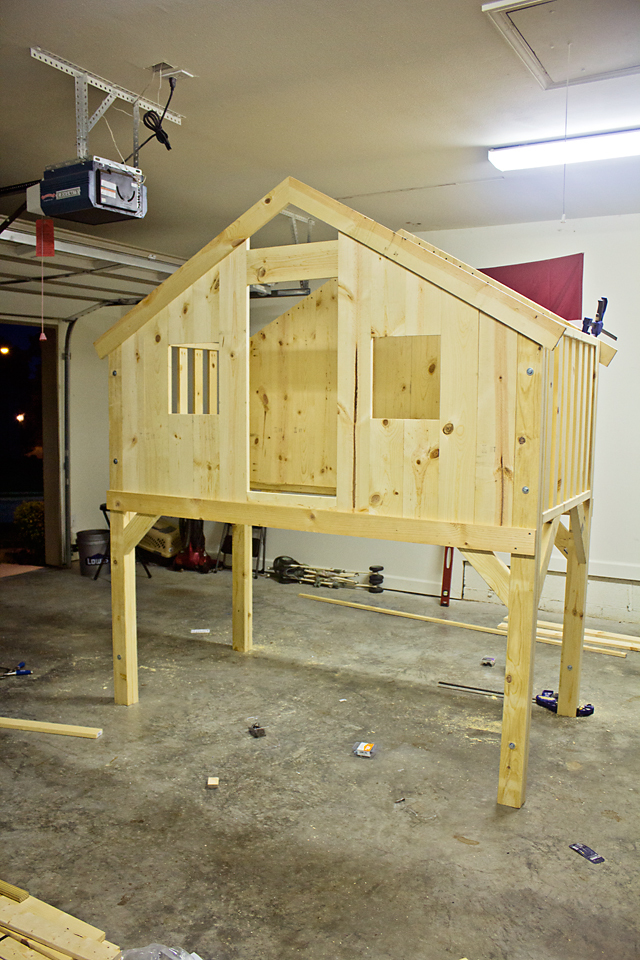
The next day, I assembled the front and back of the clubhouse and it was standing tall in my garage that night. I was fortunate to have a great baby sitter Saturday and Sunday.
While this project could have been finished in two to three weekends, I (well, my son) chose July for this build which is not so smart so the sanding and painting had to wait until the cooler evening and night hours. Eventually, I had to set it up in my living room to paint it (I spray painted the primer on outside and sanded that before bringing it in). Once I did that, two coats of blue and white, a two full coats of the finish and the bed was DONE!
My three year-old was so proud of his new digs and he told everyone he showed, "My mommy built that for me, all by herself!" Talk about one of the sweetest things I've ever heard, praise from a three year-old.
P.S. We removed the cardboard from under the feet after the curing period for the finish. It was dry, but to be safe (my OCD) I put the cardboard there for a week. I didn't want the feet to get stuck to the carpet under the weight of the bed.
Sat, 03/16/2013 - 17:14
What an awesome build! Better than PB bed! You did a fab job - Looks like it was built by a pro!
Mon, 06/10/2013 - 09:52
Just wanted to let you know that your post almost brought me to tears. I was so inspired that you took this on yourself, as your 1st build, that I think I'll do the same! My husband could build this in a day, because he's the most talented person I've ever met... but its important to me to teach our little girls that mommy's can build things, and fix things too. My motivation will be that moment when my 3 year old (because it might take me another 6 months to finish- hahaha) tells everyone that HER MOMMY built it for her all by herself.
You rock!
And I'm in love with this site- thanks Ana!!!
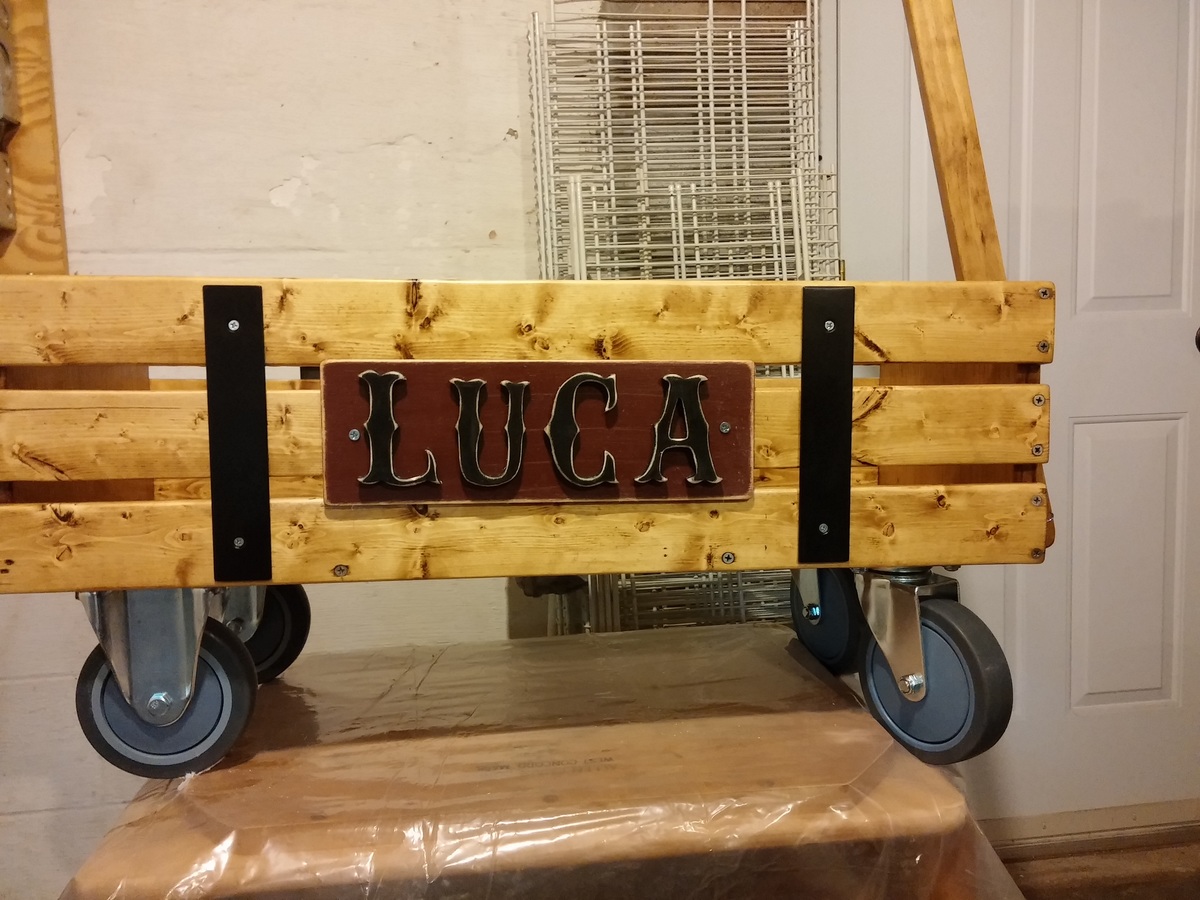
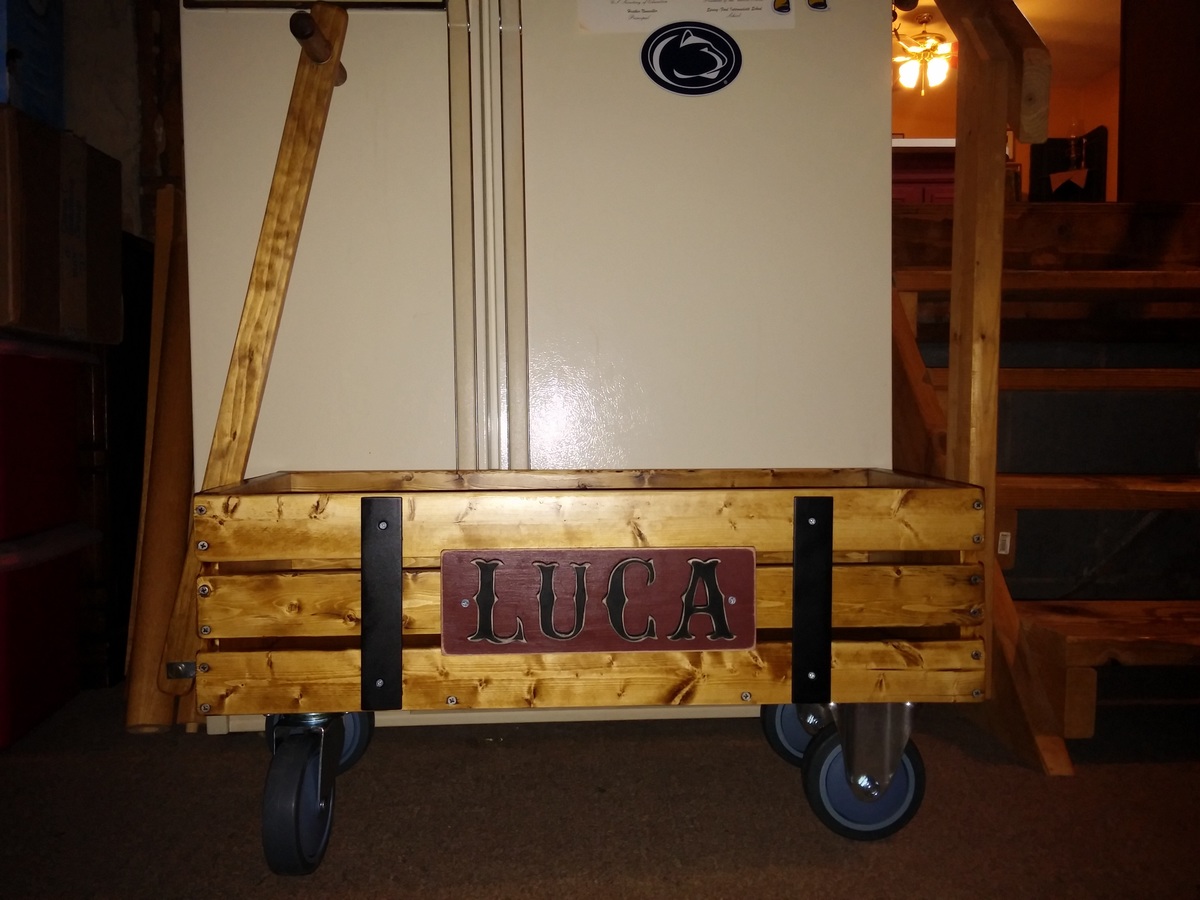
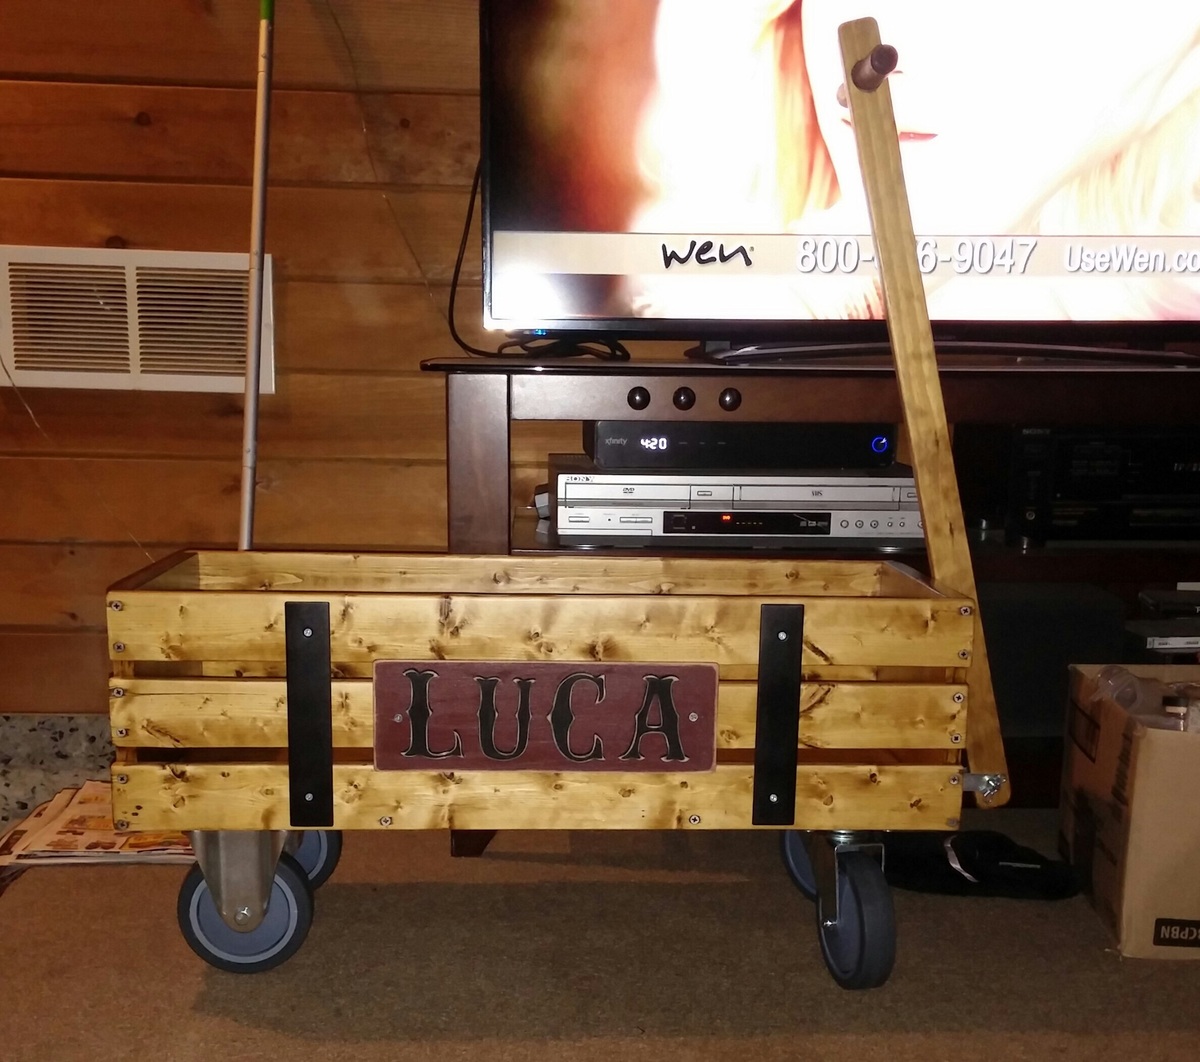
Totally enjoyed making this for my very first brand new step-grandson Luca. Learned a few new tricks along the way and had a blast!
Added a fourth seat to the sectional peice. This way it fills the space on my deck much better. Plans worked great. Both peices
completed in under 3 hours.
First piece of furniture built with my new kreg jig.
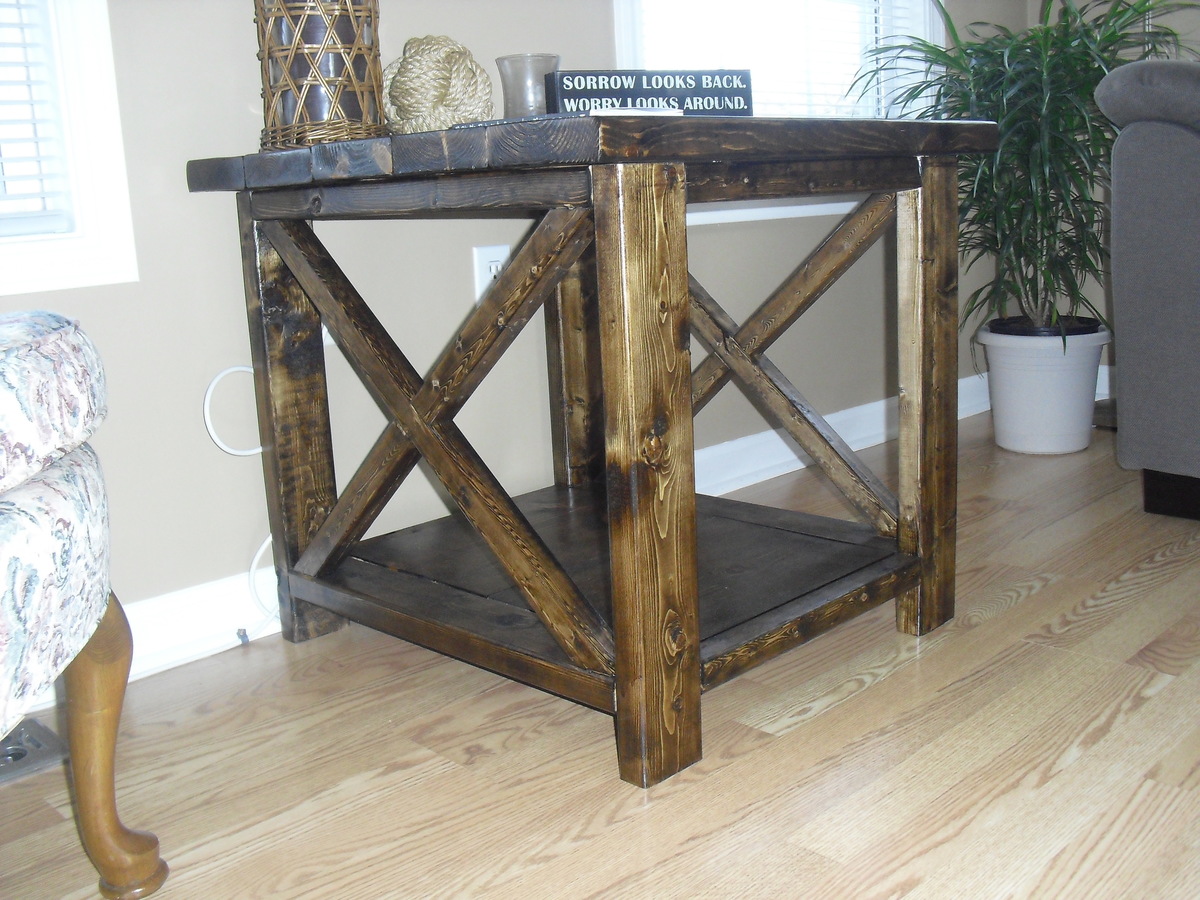
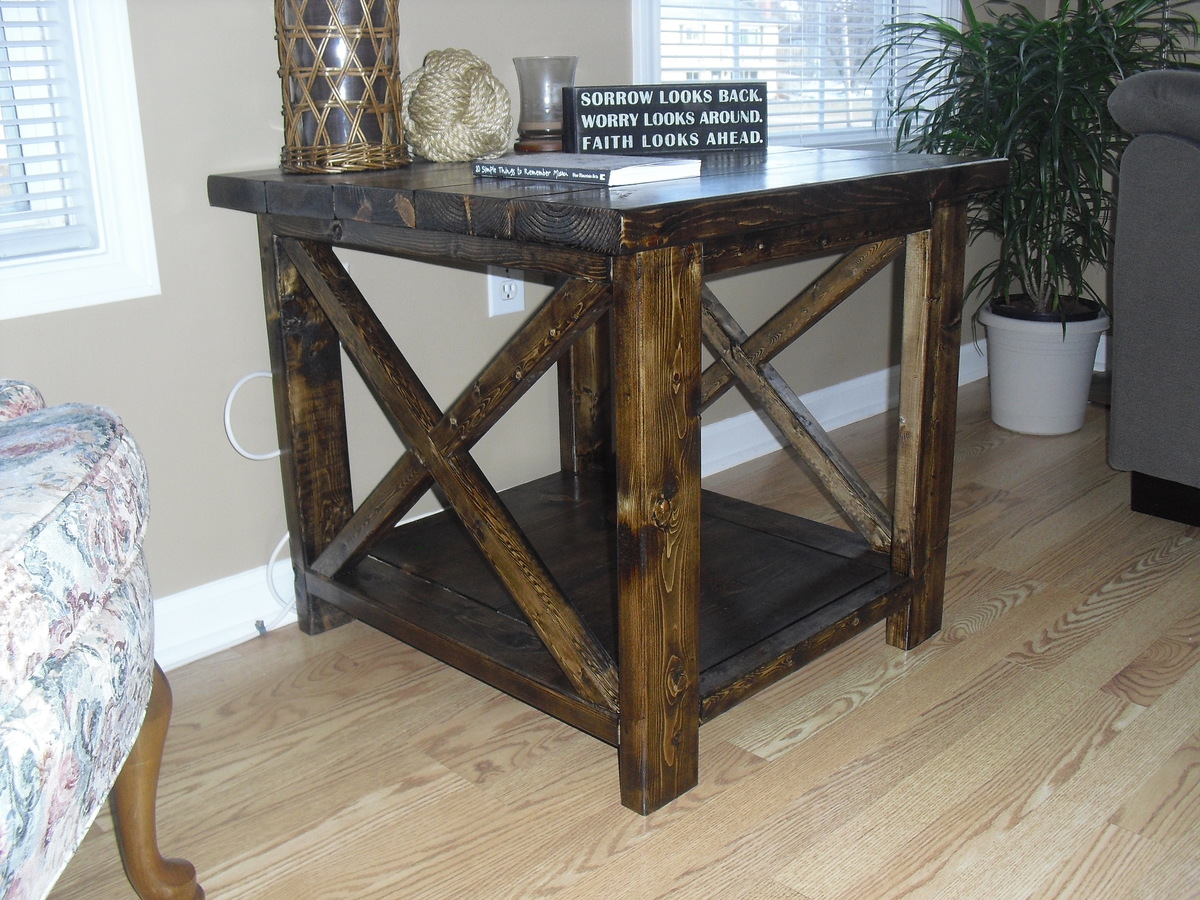
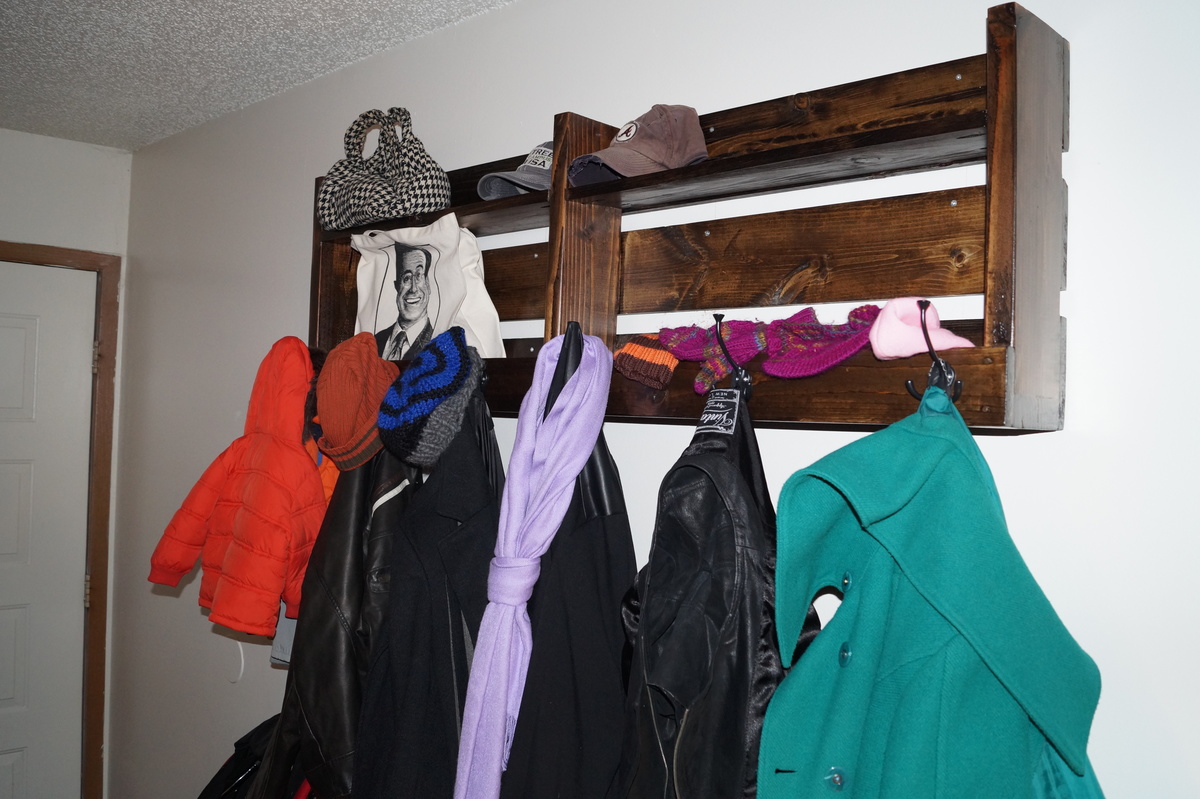
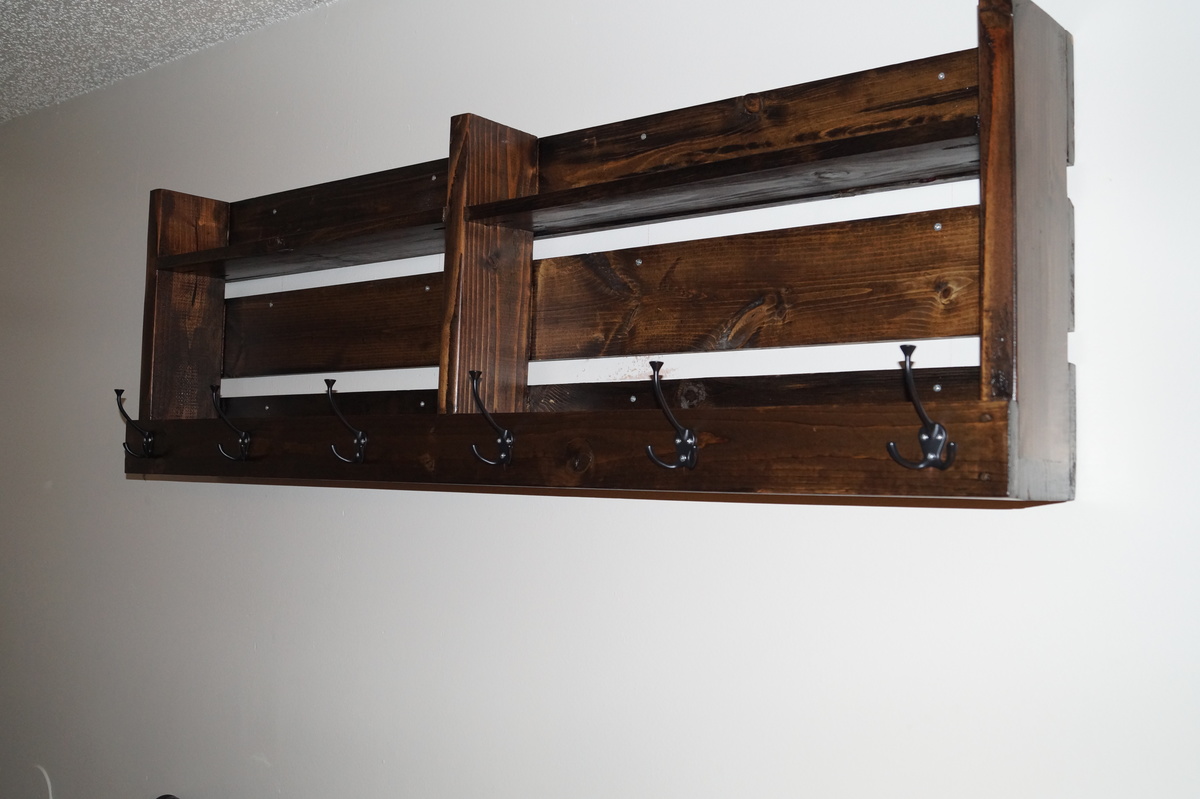
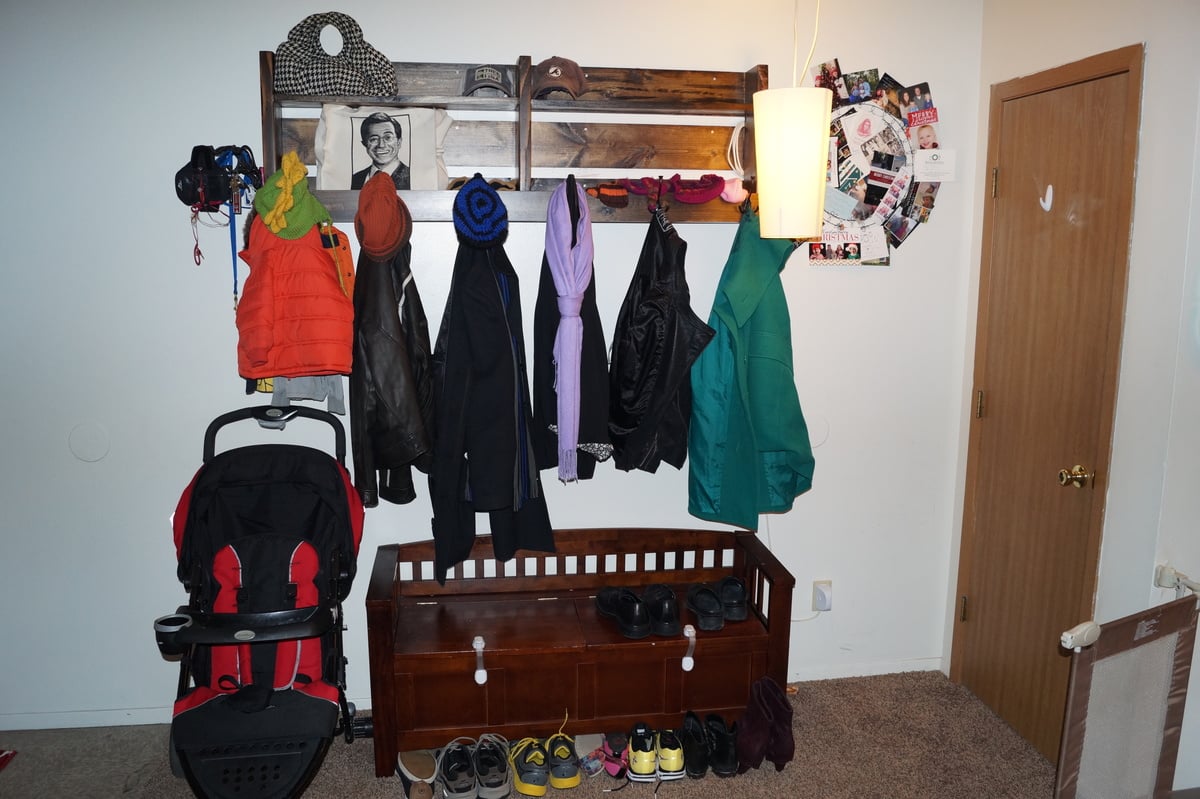
This is my version of the pallet inspired coat rack. I didn't have the room for the 8-foot version in the original plans so I cut it down to 5 feet. Otherwise it follows the plans as listed, just with shorter cuts.
Stain is dark walnut.
We have a very small laundry room that does triple duty as a dog kennel and mud room. This riser is a perfect storage solution! The fact that I can see directly to the back of the Washer, and transfer clothes without bending over, is an added bonus! The building plans are sturdy and easy to follow!
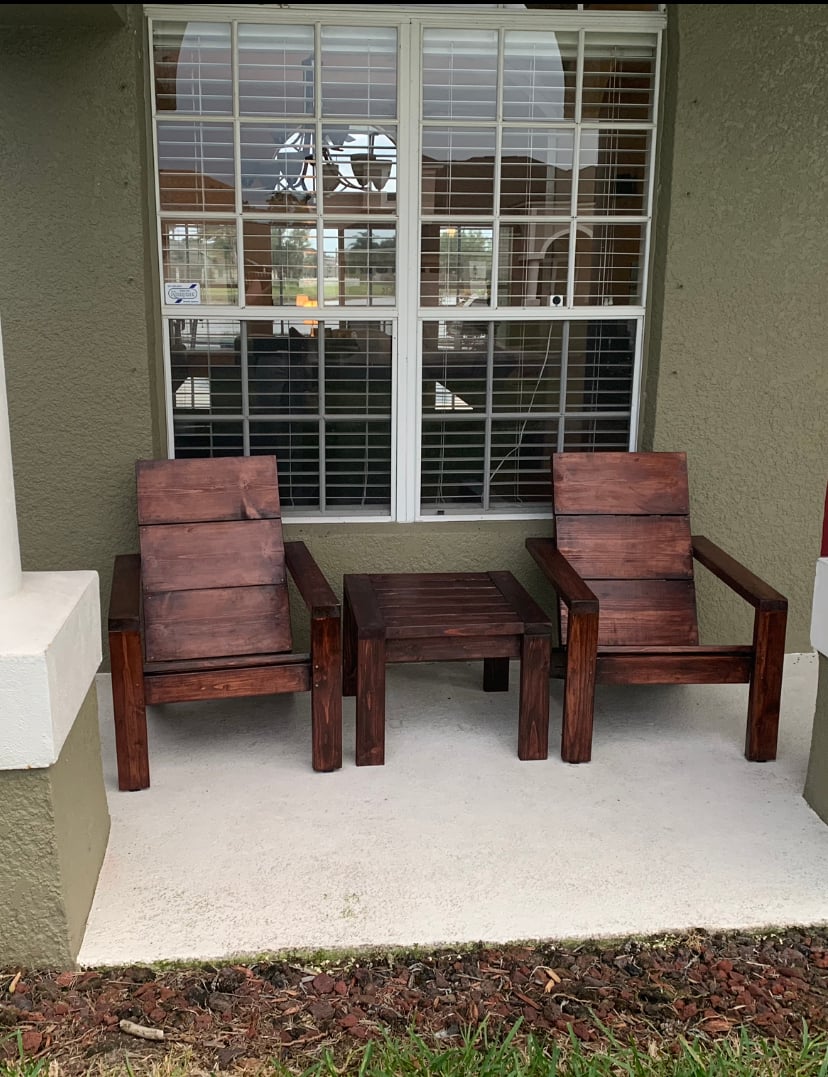
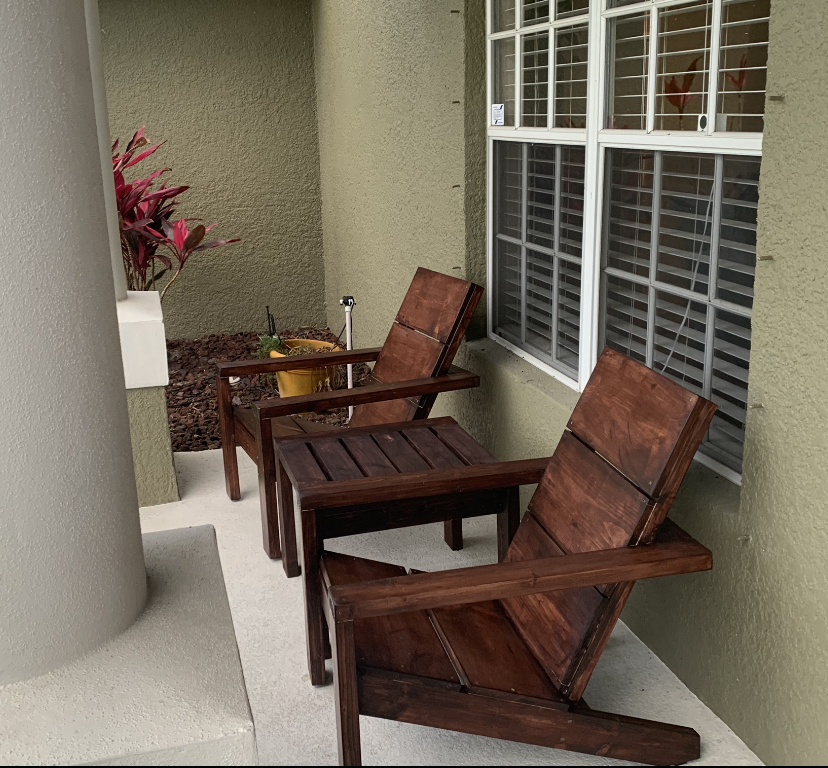
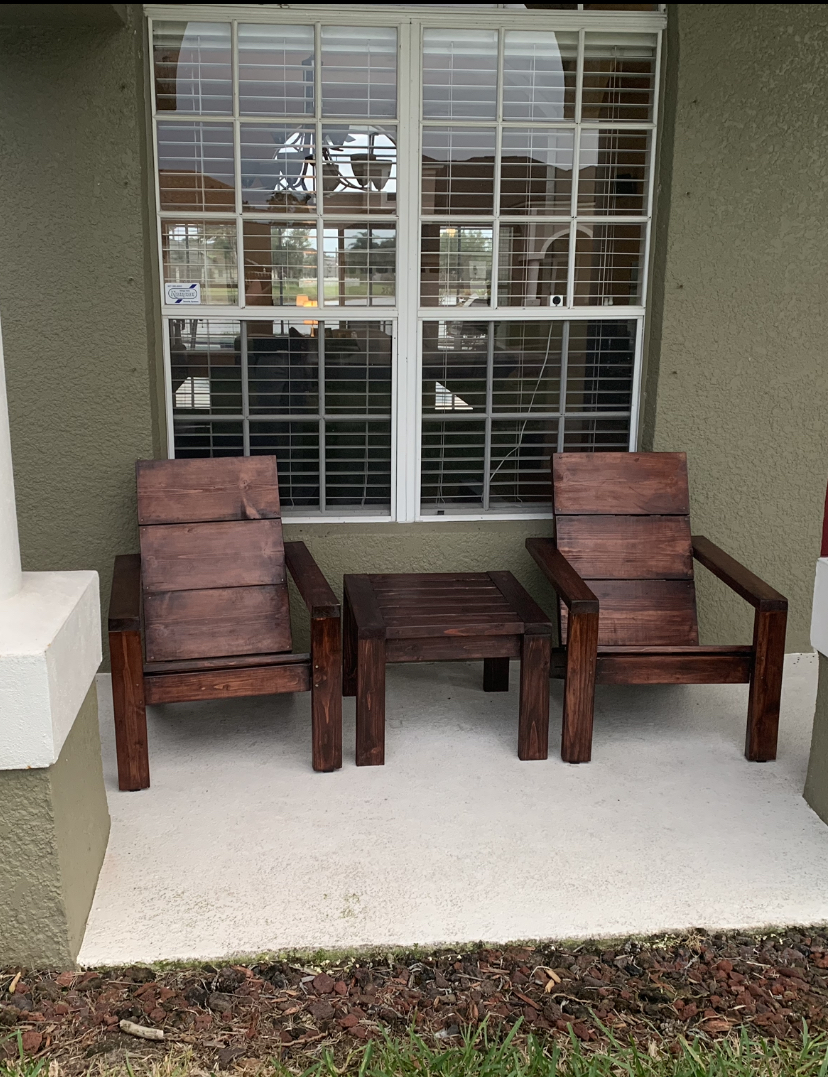
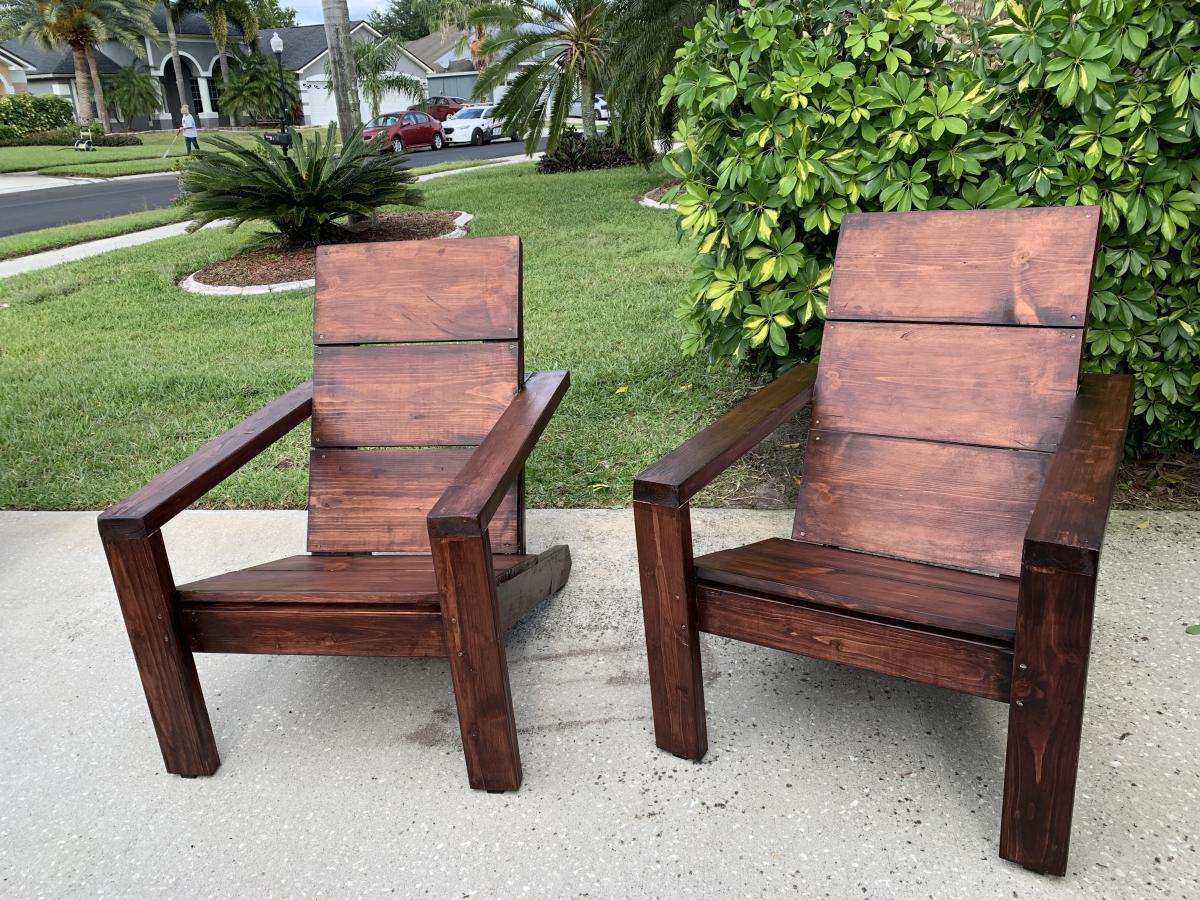
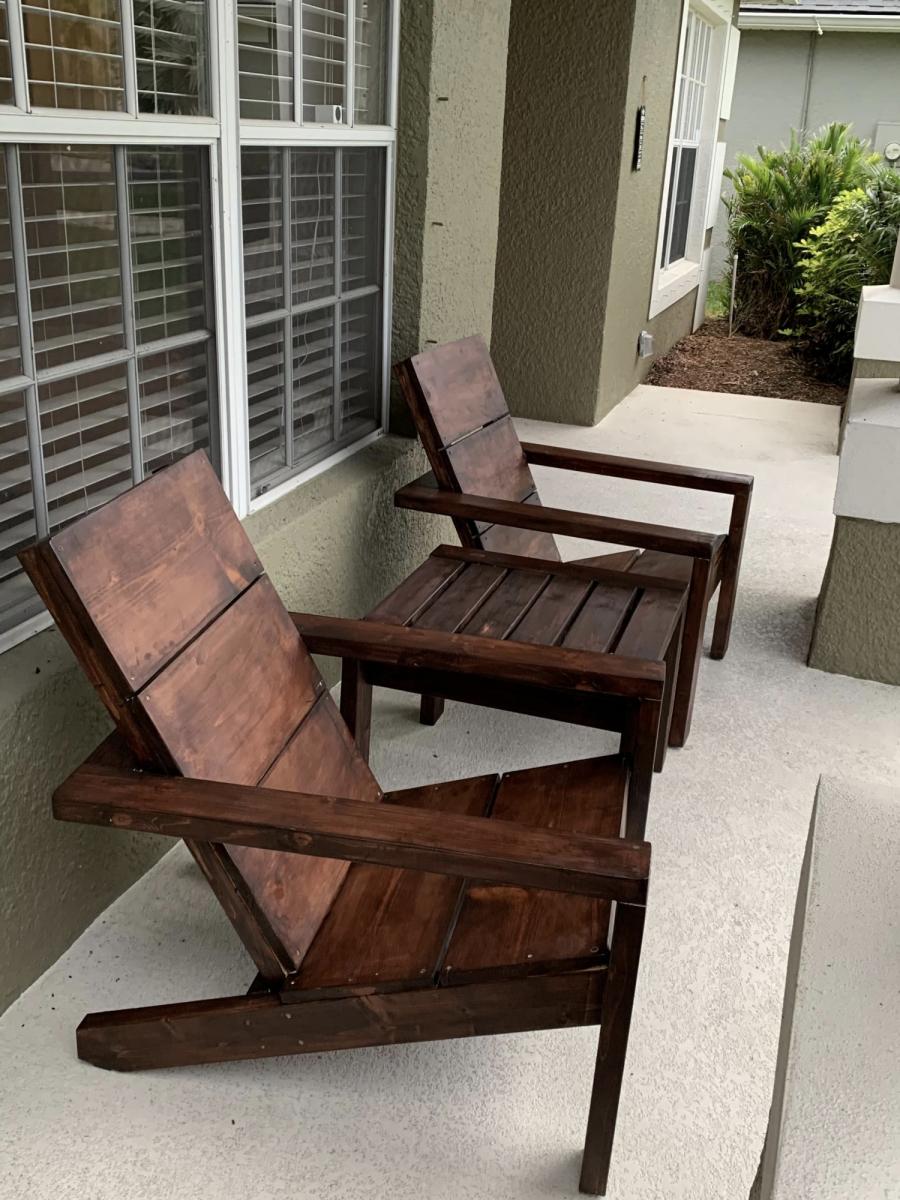
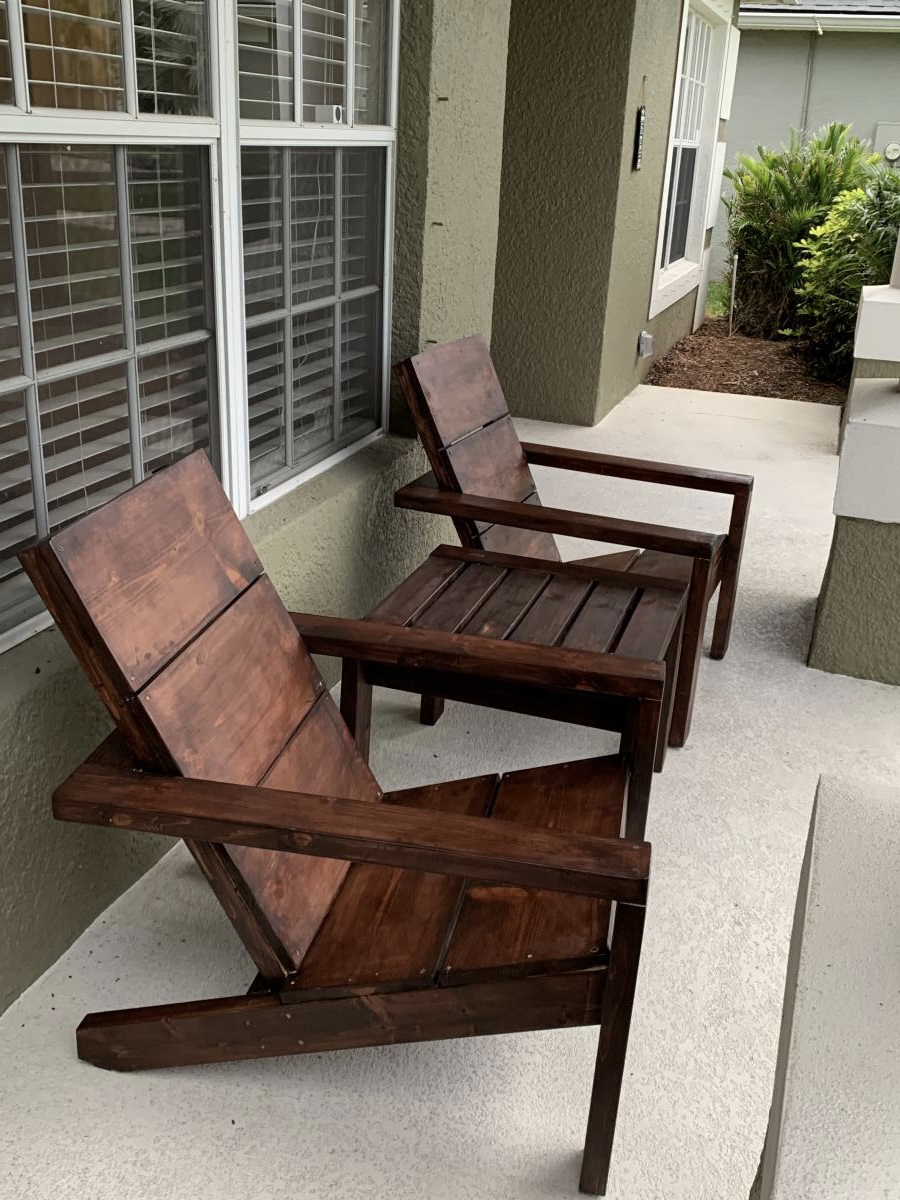
These modern Adirondack chairs were my first wood working project ever and they turned out awesome! I wanted to build a small table to complete the set and Ana’s new side table plans were exactly what I was looking for. I am truly amazed at how easy these projects were to make and how great they look on our front patio. Ana’s step-by-step plans make it so simple. My wife and I can’t wait to build some more of these projects for our backyard lanai and pool area.
Mon, 04/12/2021 - 10:21
Amazing job on your first build, I see more handmade pieces in your future!
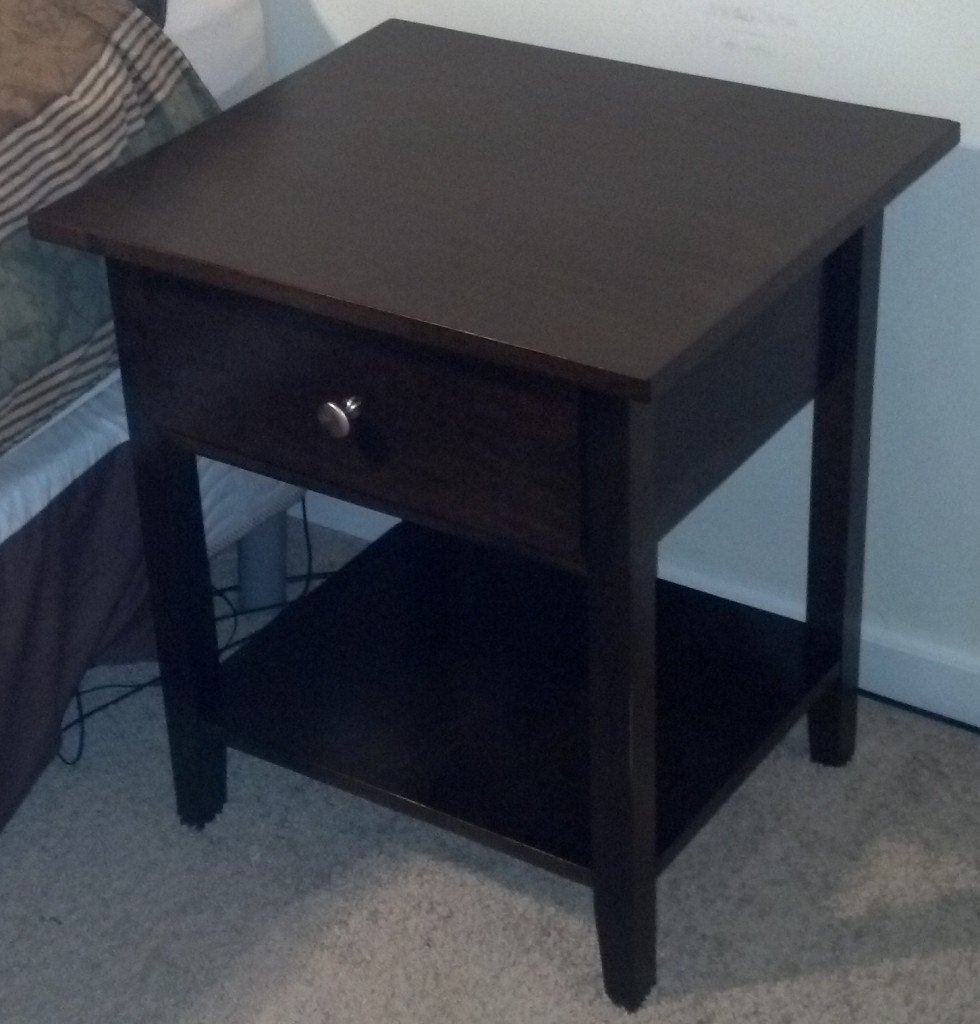
I needed a set of bedside tables and decided to build my own. Using a Pottery Barn Hudson table as the inspiration, I made these 2 tables. They are very similar to Ana's Farmhouse Bedside Tables. I have more details on how these were made from inexpensive plywood on my website. Enjoy!
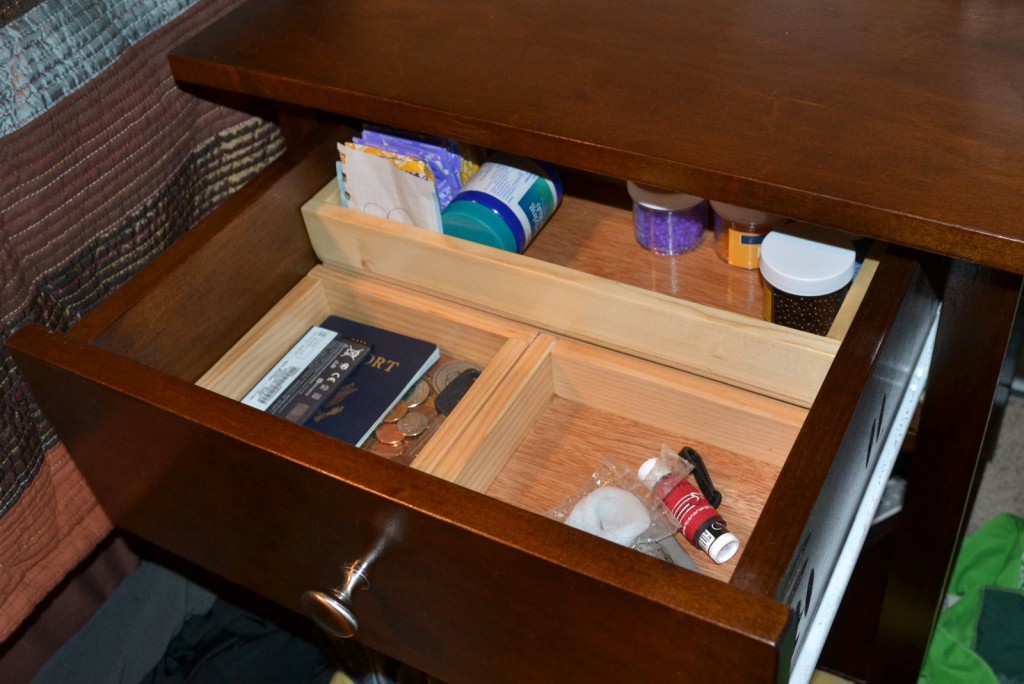
Thu, 03/21/2013 - 15:43
I want to build myself a couple bedside tables similar to this. Great work! :)
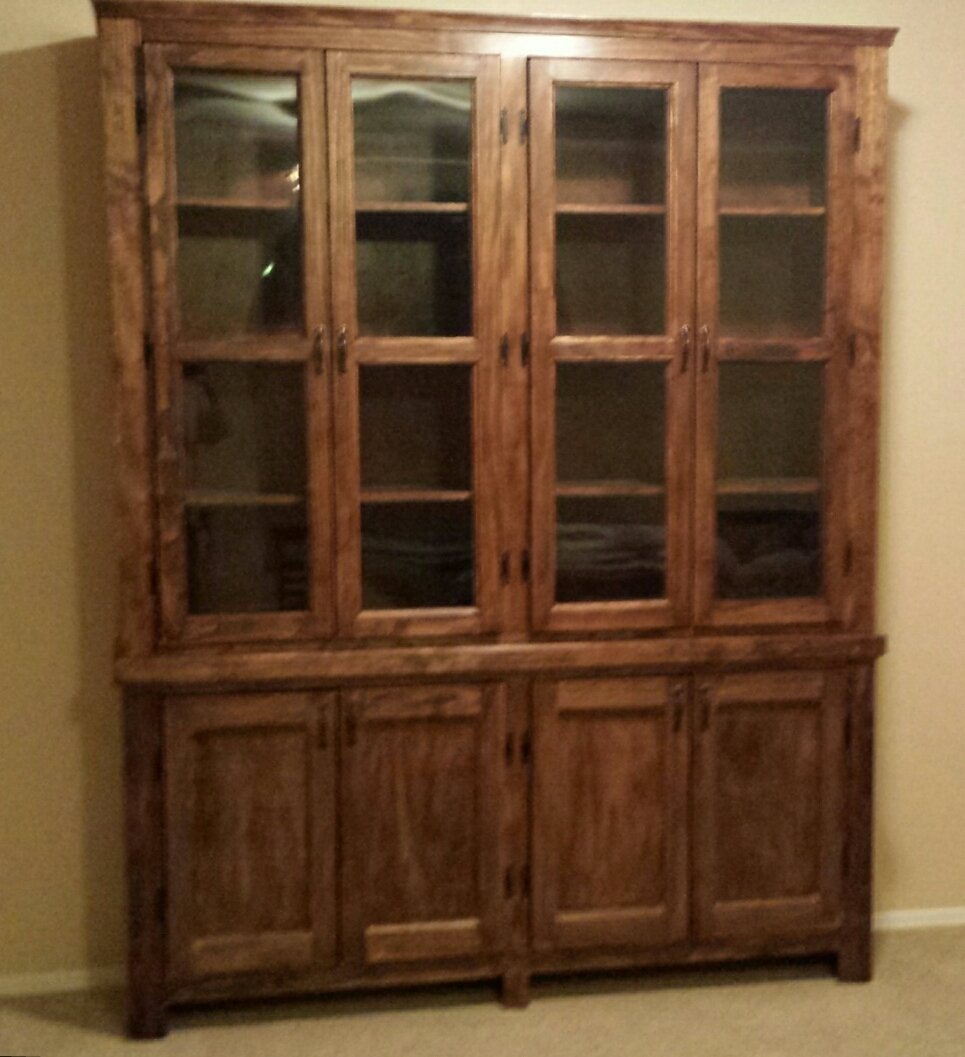
My Brother and I have always wanted to craft furniture and this piece was our first project. We took our time and really payed attention to details. We're pretty proud of how it turned out. It was a challenge but a whole lot of fun.
Mon, 02/02/2015 - 18:18
Congrats on an awesome first project! It's a very professional looking piece, you did a beautiful job. The stain colors you chose are beautiful!
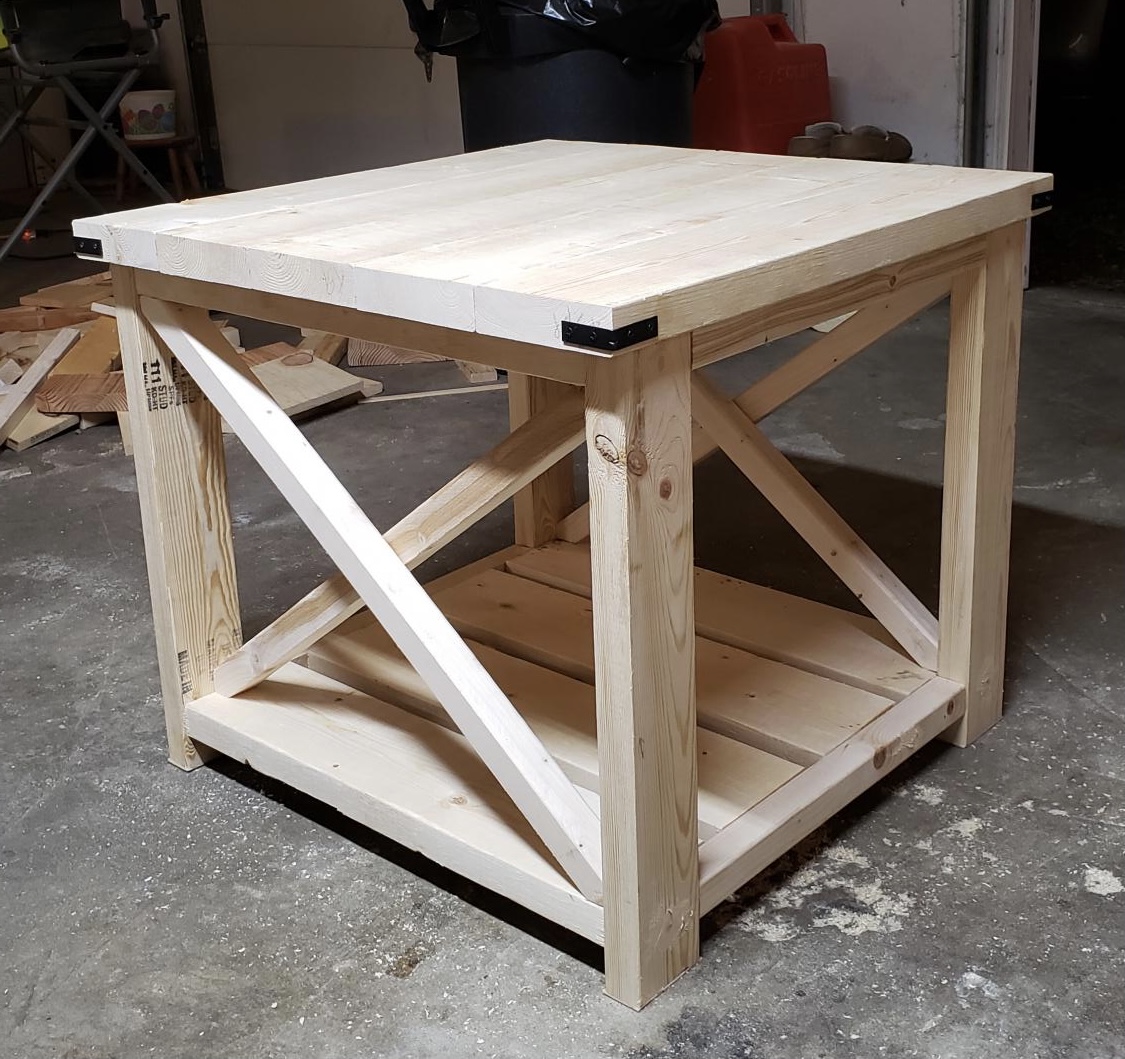
I had fun building this side table it took me one day to build it. I didn't sand it or stain that's how my daughter wanted it. I used pocket holes on the bottom shelves and the tabletop.
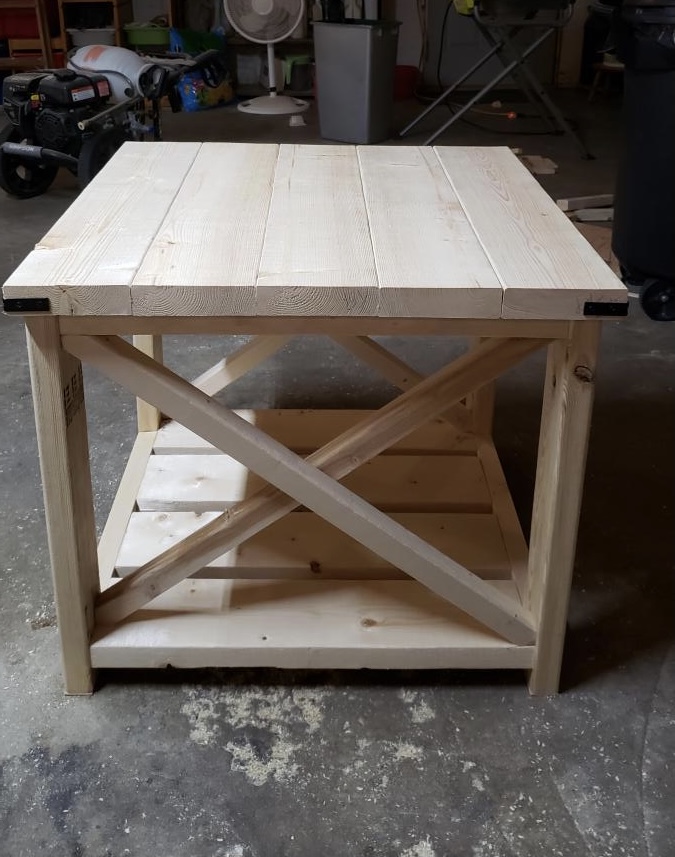
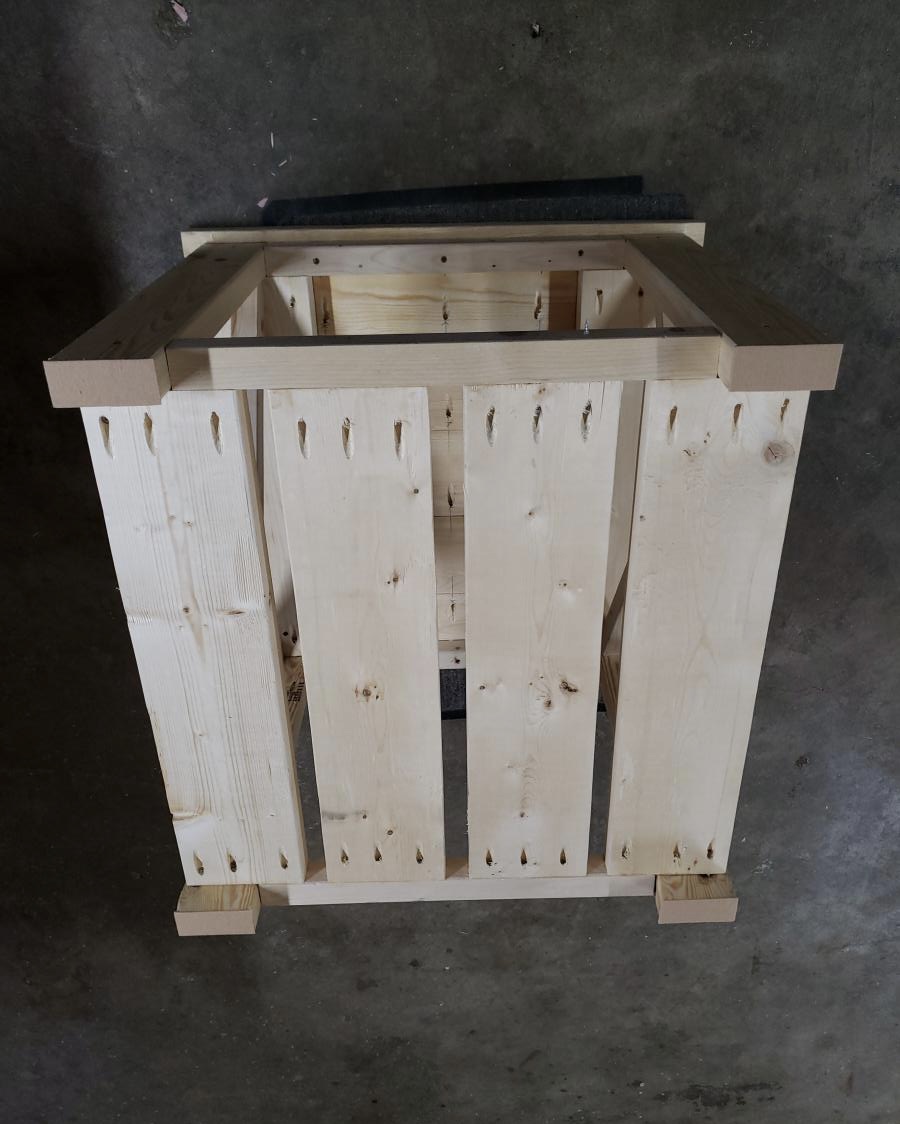
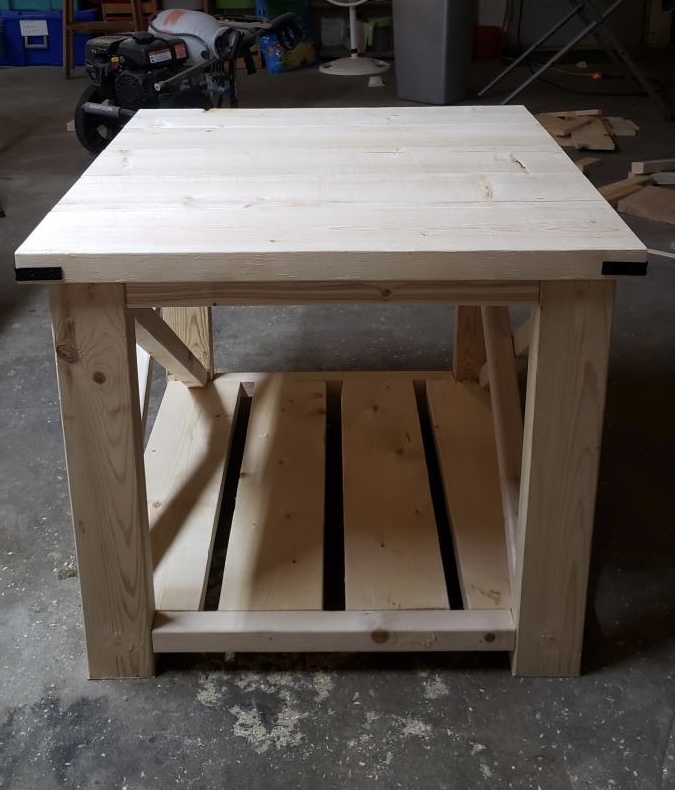
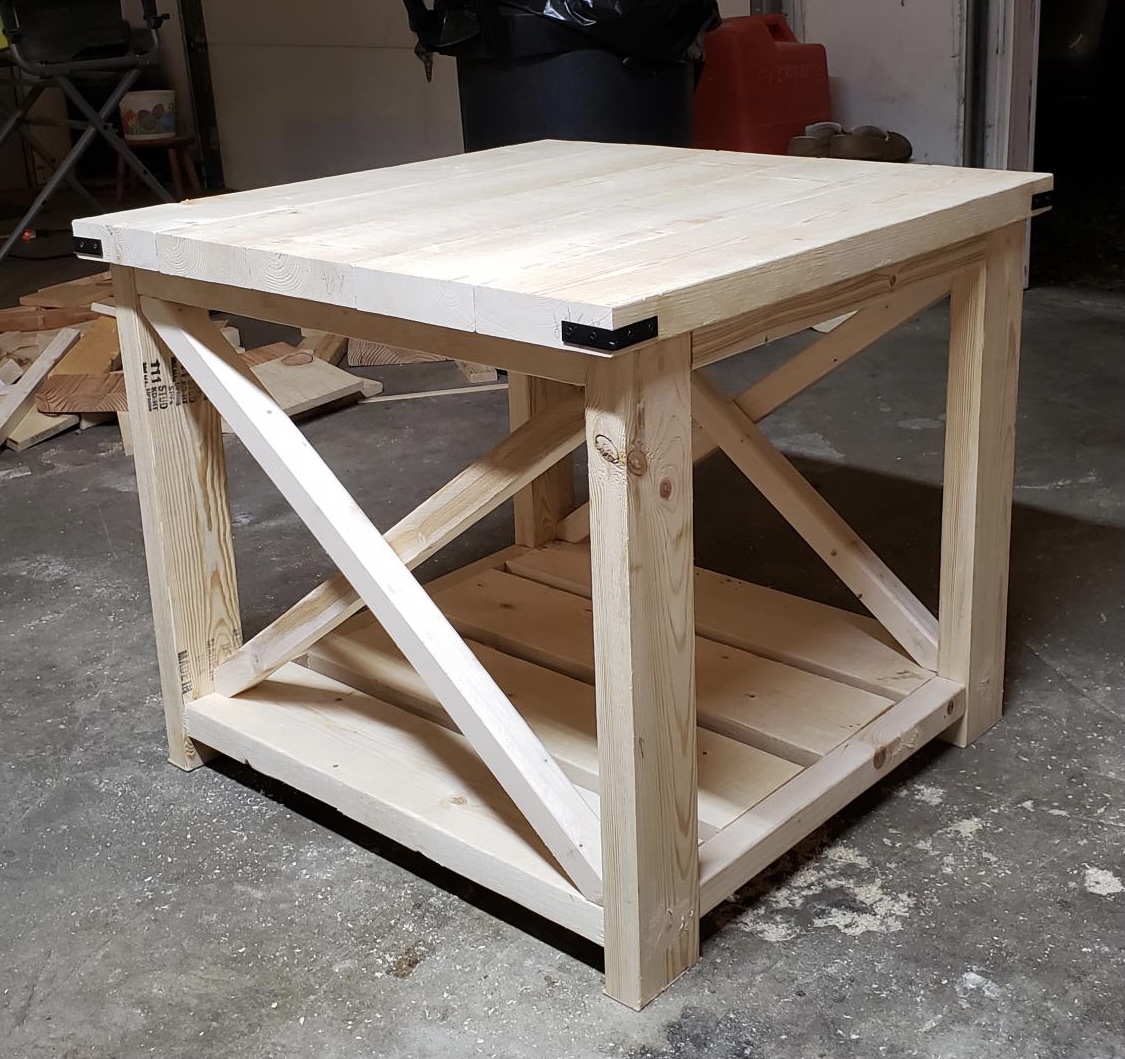
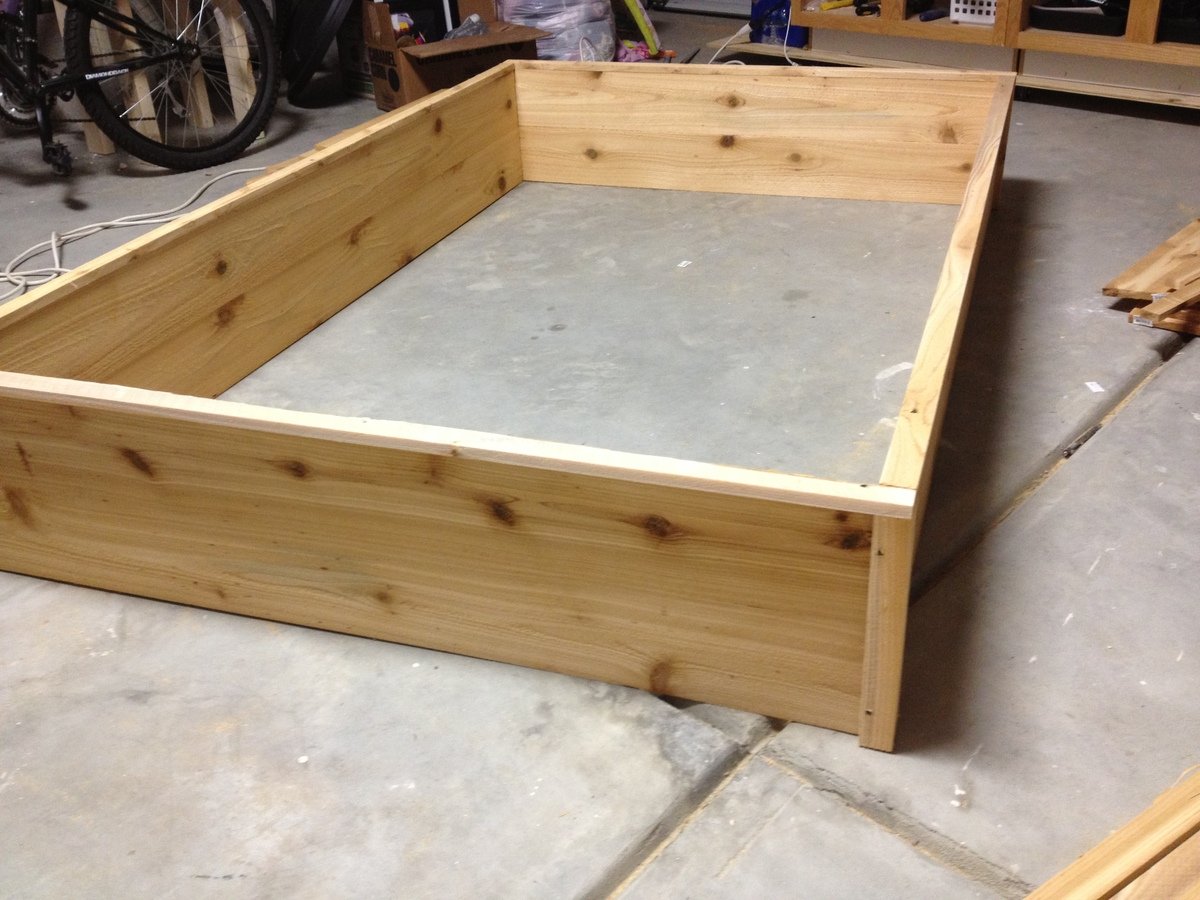
I used the plans for the $10 garden boxes, except I made my boxes 4' by 8'. It was very easy (only my third project) and came out perfectly!
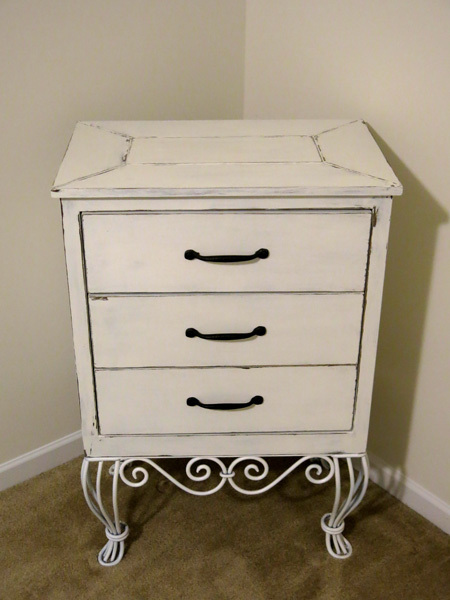
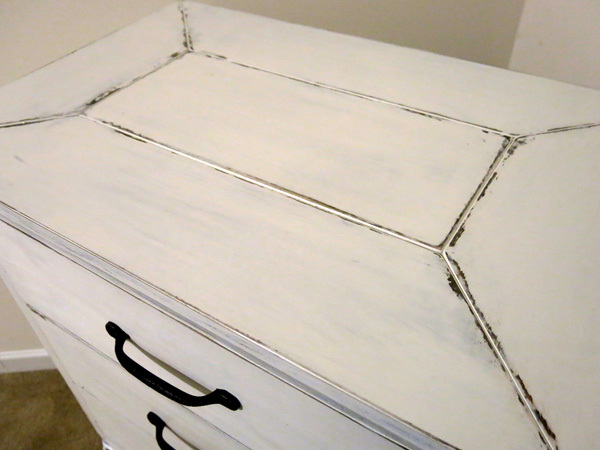
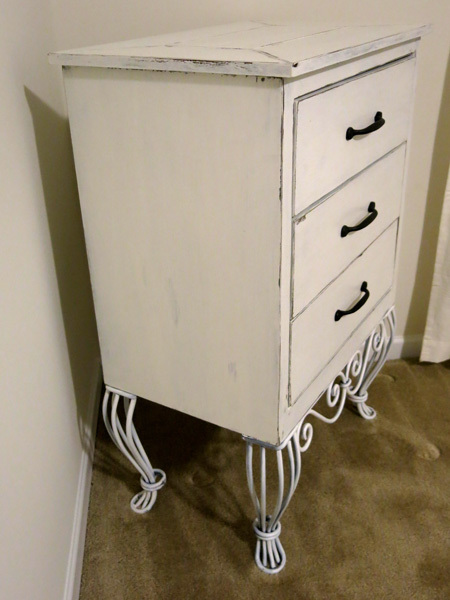
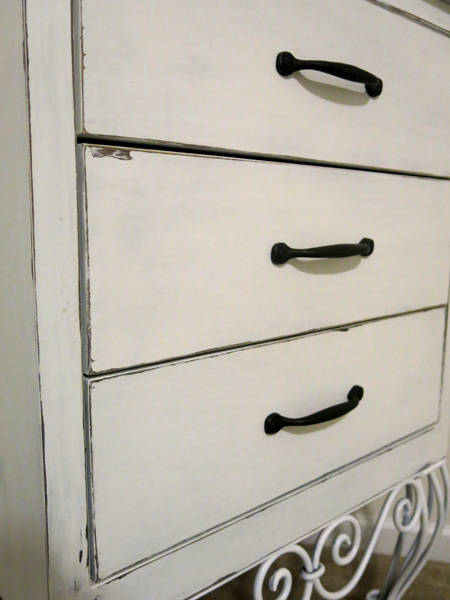
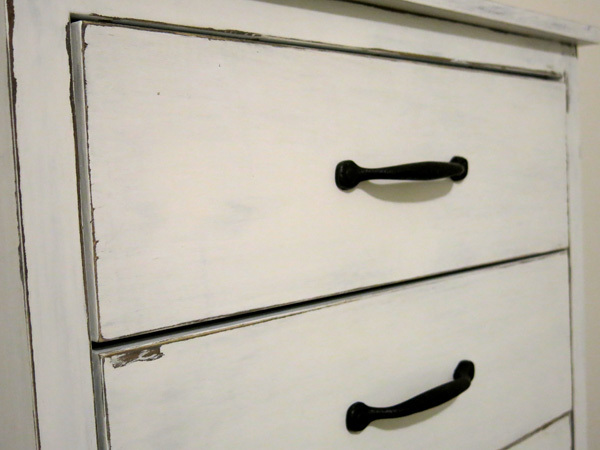
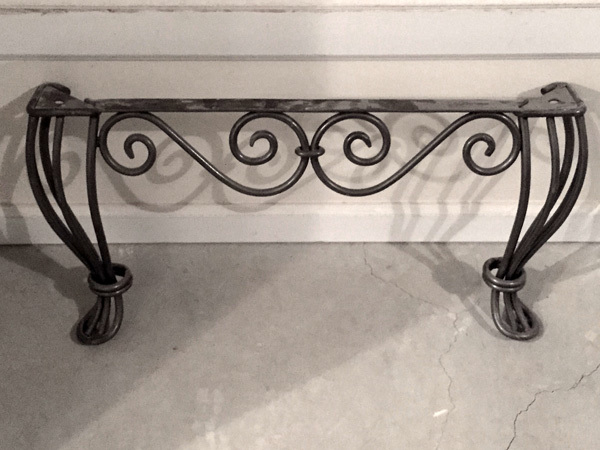
Had some bronze legs off an old coffee table. Used the two shorter end pieces to try to make an antique looking piece to go with a white metal framed bed in a guest room.
Stained and then painted and sanded back to give a weathered and antique look.
Have said a week long project just because of the time waiting between coats.
Farmhouse table bench
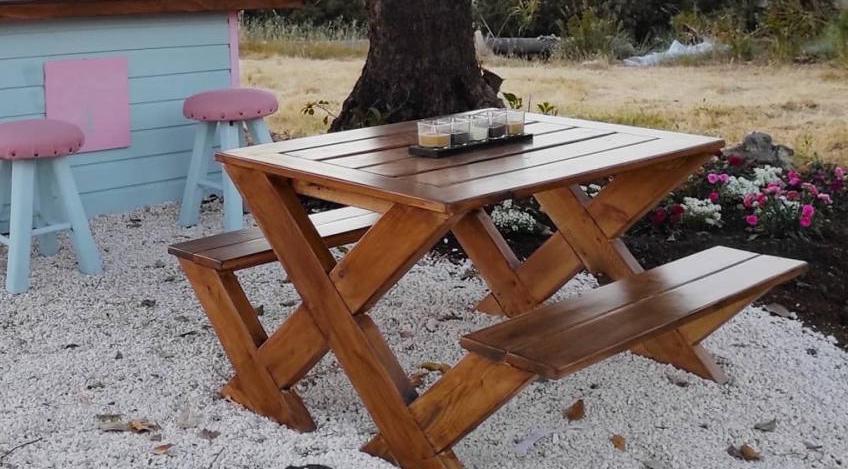
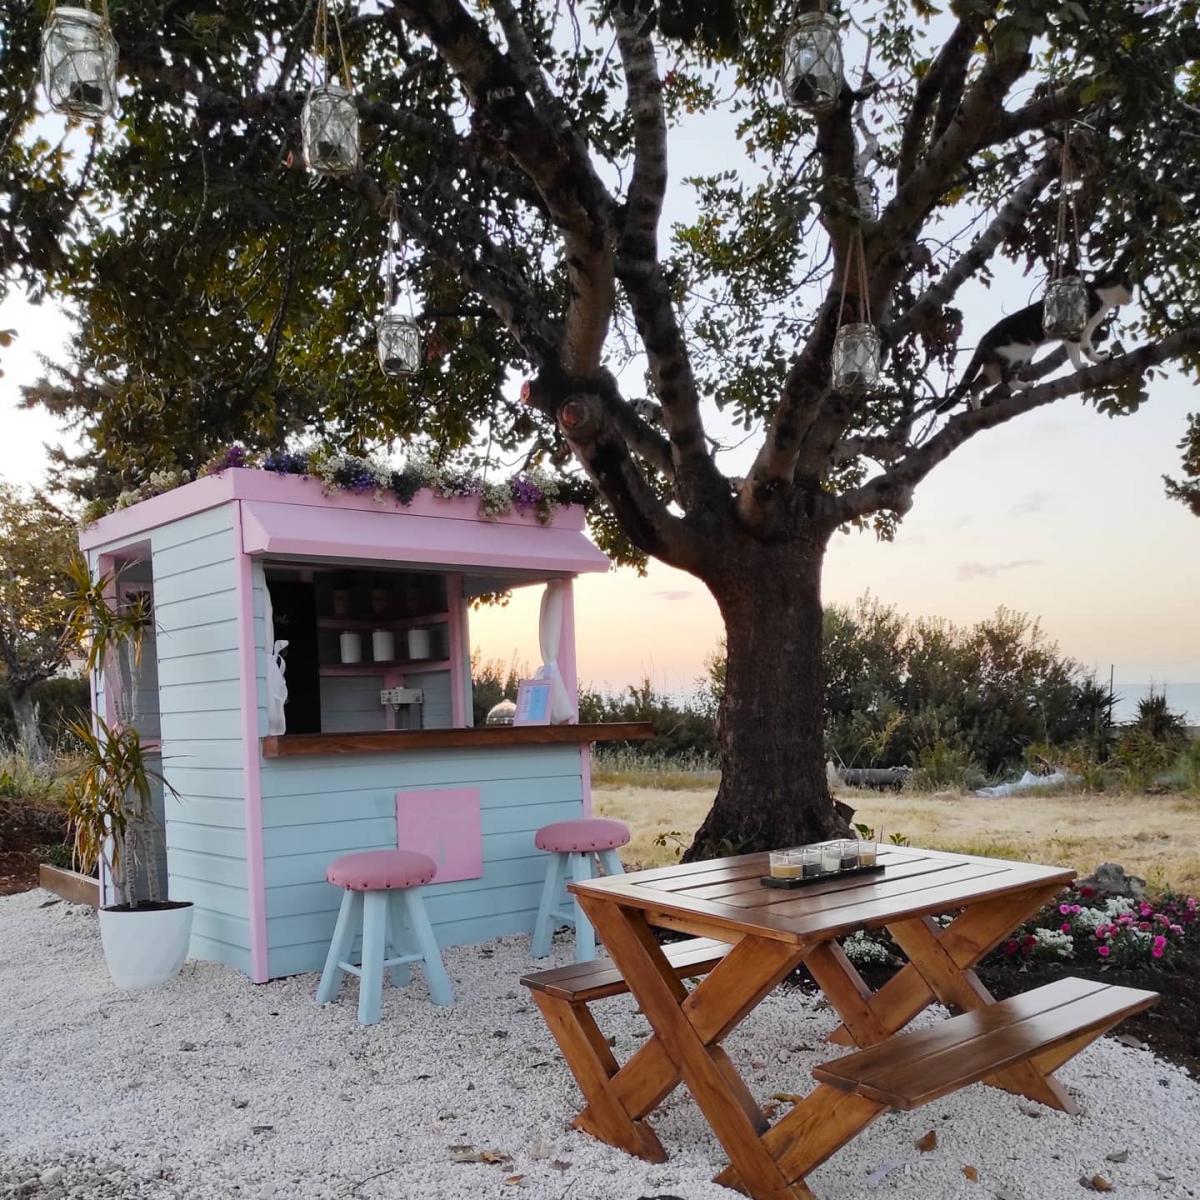
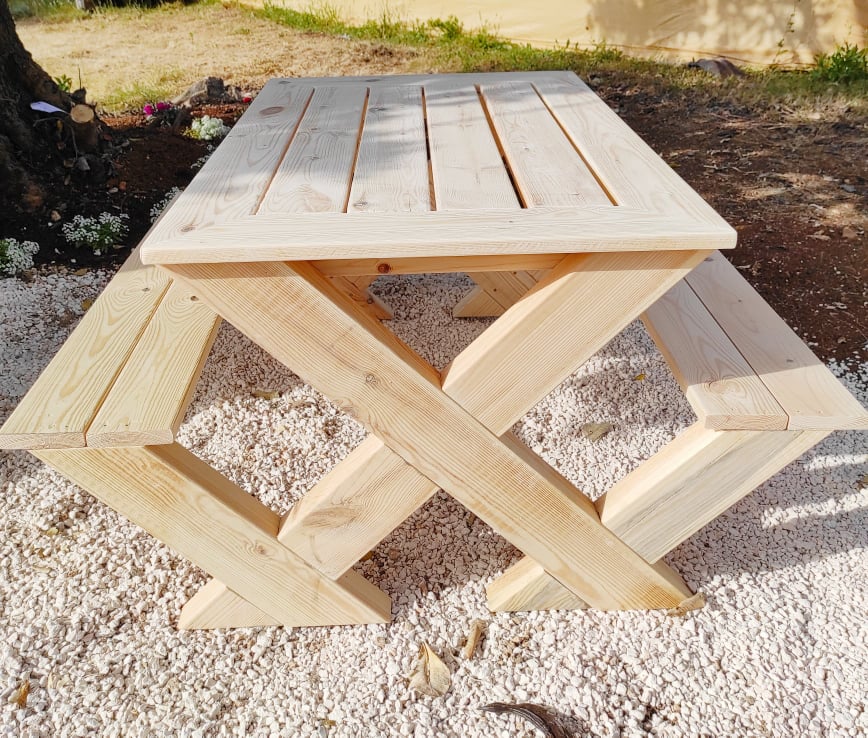
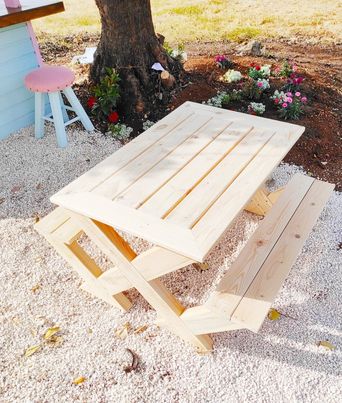
I needed a picnic table to go with a playhouse I built for my daughter, this one is a modification of one saw on here with a few amendments. the original plan has the top from 6x6 in a traditional looking row and the seats also from 6x6 however, finding a straight piece of 6x6 in Cyprus is like trying to find a unicorn so I opted to use 2x4, I also decided to change the look of the top give it a solid edge all around. We can't get Cedar etc over here so I've had to use Nordic fir treated with high protection wood stain by V33.
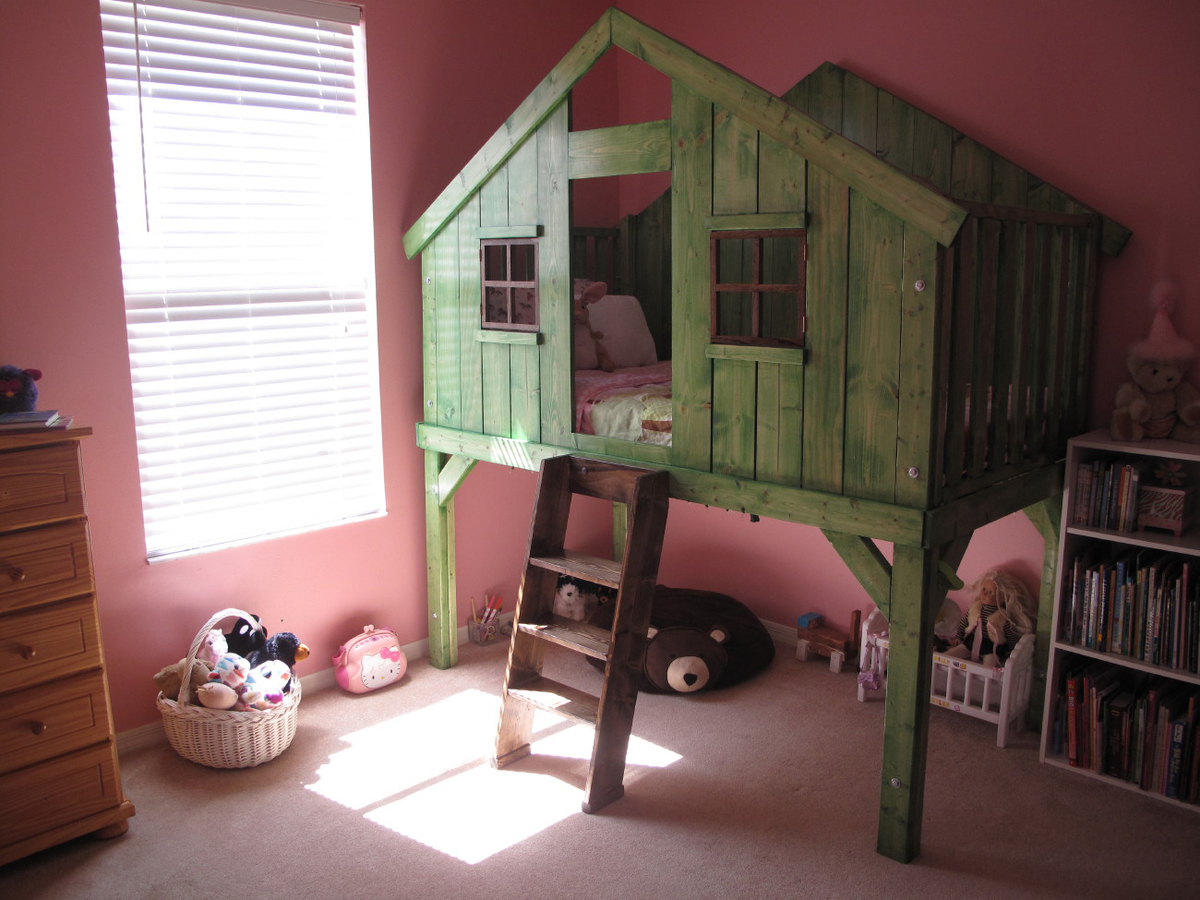
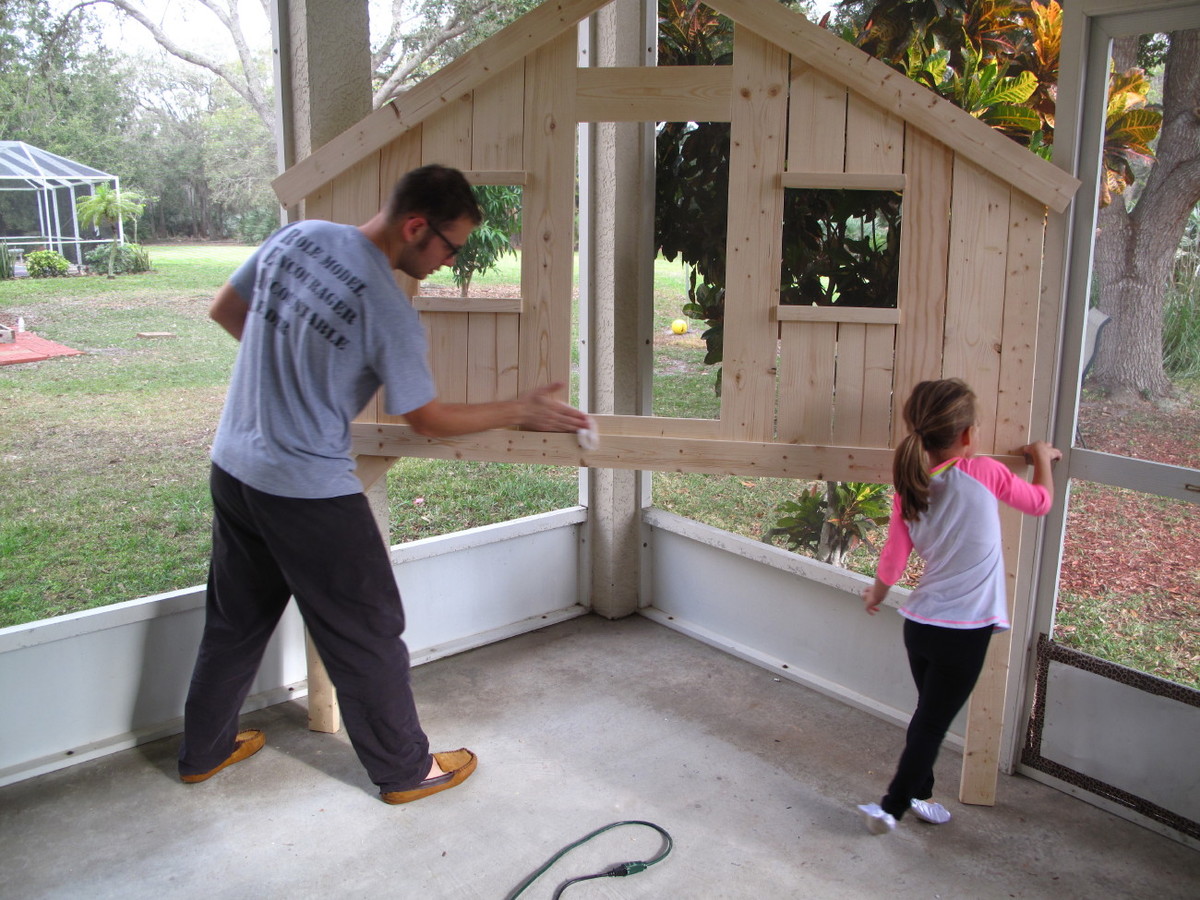
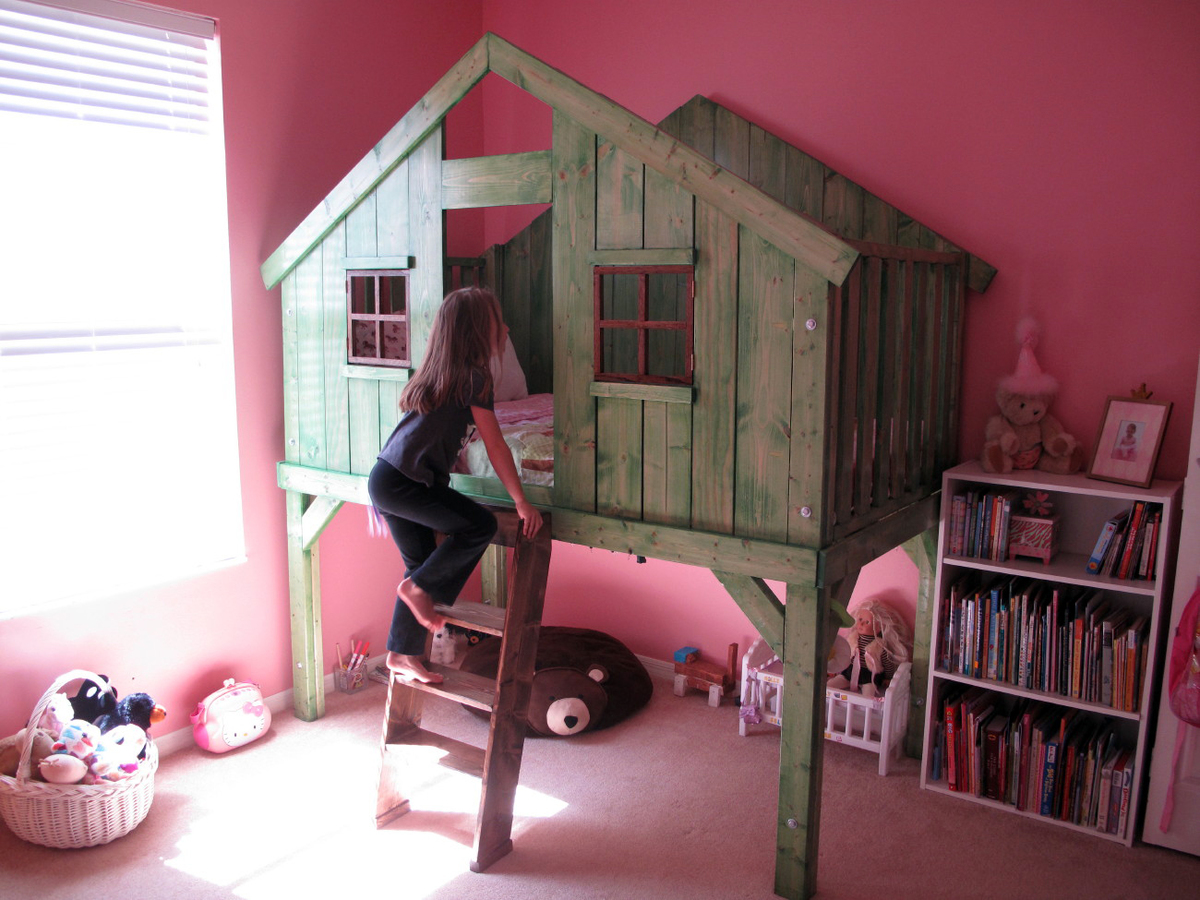
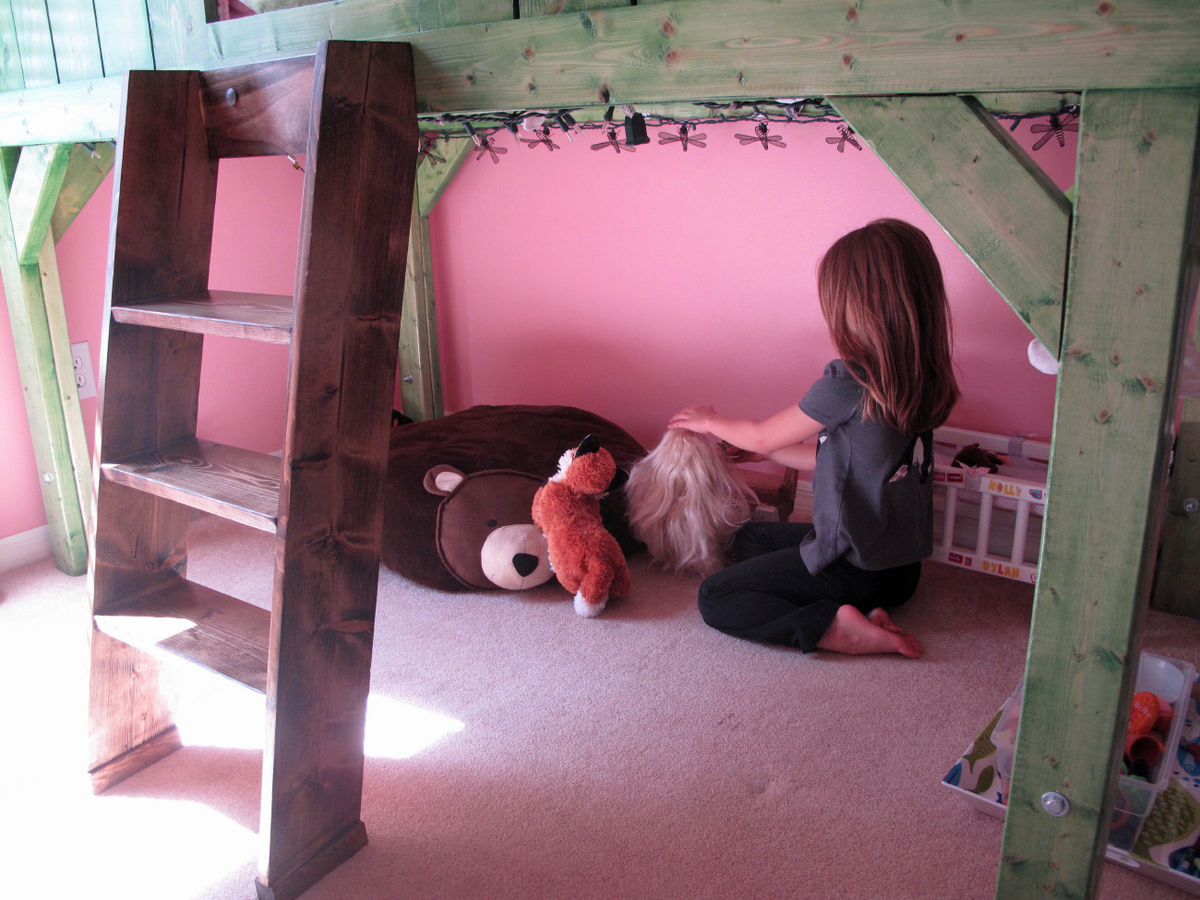
The moment I saw this plan I knew I had to build it for our adventurous, imaginative daughter, Selah. I committed to trying to finish it before her birthday (a month away at the time.) This was only my second build with wood, so I knew I would need a little time due to the learning curve. Ana's plans were great and easy to follow, and I held religiously to Jaime's blog for tips and tricks or when I was generally lost. ;) I must say, staining was a LOT more tedious and expensive than I expected. I also ignored the warnings that Minwax's water based stain was not great for large projects...my wife just couldn't get her eyes off the awesome color options. I worked it on and off little by little....and after MUCH time and an aching back we were totally STOKED with the results. The poly was just the right touch to finish it all off. Selah loves the bed and I must say all of the work was nothing compared to the hours of fun she has with this bed. Thanks Ana! Keep doing what you do....I never would have thought I could do something like this.
Thu, 05/09/2013 - 07:29
Hello, I love your version of this bed and was wondering what tools you needed and if you followed the original plans or the additional ones posted by Jaime (other then the windows)? I also noticed you did something different to the feet of the latter??
Sat, 07/13/2013 - 16:54
I used every inch of Ana's plans and Jamie's real world build. Smooth sailing for the most part. I used a sliding compound miter saw to do most of the build, as well as an electric random orbit sander. I followed all plans to a T. The ladder feet change was to fix a bad cut I made on the sides of the ladder. Too short! It was either improvise or run back to the store for more wood....haha.
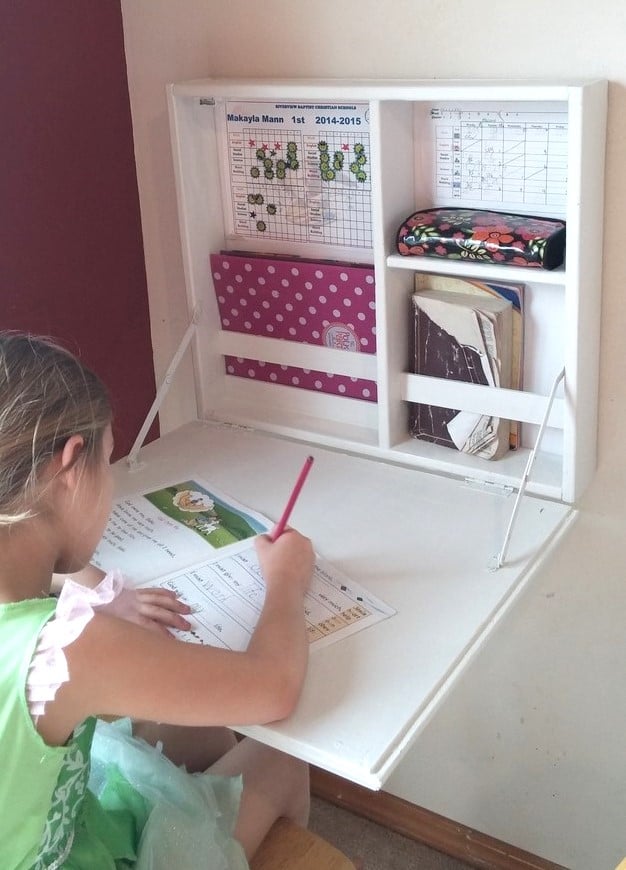
This was just what I needed! My daughter started homeschooling and we needed a place to neatlly contain her school stuff. I had her working at the kitchen table next to me, but it still felt like it lacked the school atomosphere. I removed the area for the paper holder and instead added a few support scraps to hold her folders and books upright.
It did take me awhile to get the support hinges placed correctly (I almost gave up and went with a rope or chain) but I finally got them placed correctly after placing a pencil mark on where they could lie correctly open and closed - seriously this took me awhile because just when I thought I had it, the brackets when closed would be to deep for the desk or when I placed it it correctly inside when open it wasn't 90 degrees.
The only thing I wish was that I had made it slightly shorter, because when it is open it is a little hard for her to reach the top shelf, but its not to bad and that is the height my scrap bead board was and I was to lazy to cut it =)
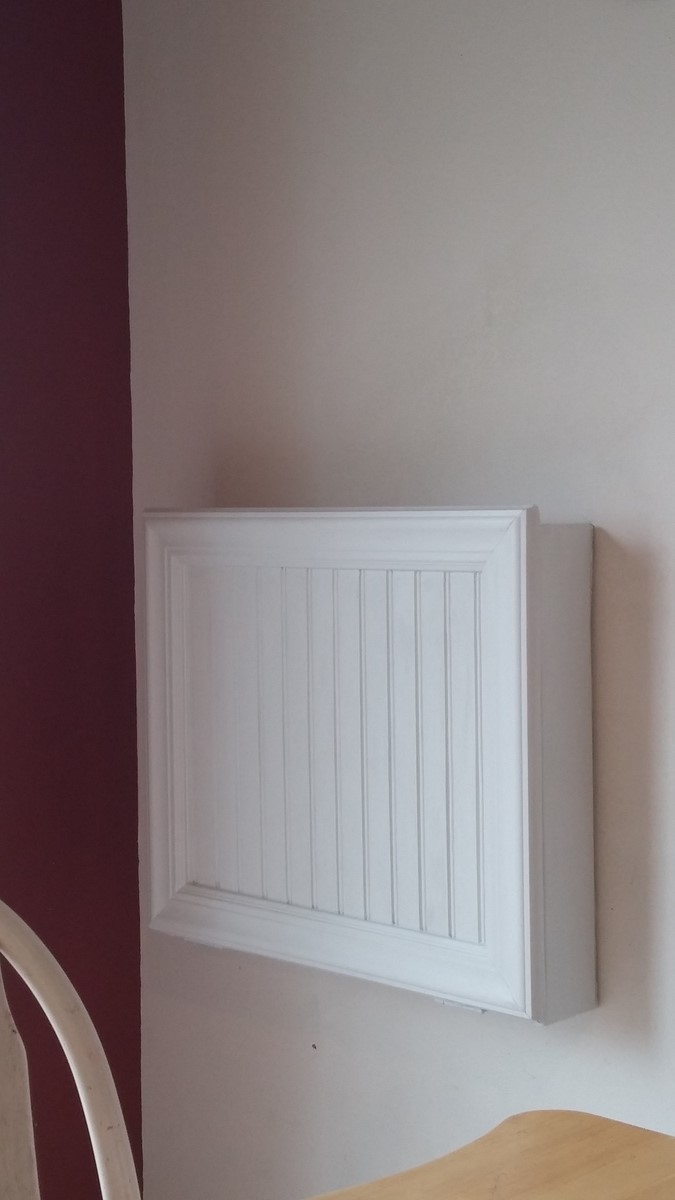
I had a magnetic clasp left over from another project and that has worked well to keep it closed nice and tight, I also used some foam board I had lying around for the back so that her things were not tapped/pinned on my wall. I choose the bead board on the front because A: it is what I had lying around and B: it is in my dining room so I wanted it looking a little nicer.
I had everything on hand excpet for the support brackets which cost me 2 something each at Lowes. YAY for projects under $10 bucks! Thank you so much Ana!
Thu, 08/15/2019 - 12:45
What a beautiful desk! I'm so glad you got the brackets to work, they look awesome!

Thanks for the inspiration. We raised it up a few inches and love it!
Comments
whitedog9
Thu, 06/15/2017 - 12:48
Construction method
Greetings, I like your workmanship - It looks great! I have a couple questions if you would be so kind as to answer them. I like how you turned the studs sideways. How did you attach the studs to the 2x4 plate that you have turned on its 1 1/2" edge both top and bottom. I am thinking of toenailing or driving 3 1/4" GRK screws through the 1 1/2" sides of the 2x4's and into the 1 1/2" edge of the top and bottom plate. I know that Kreg has a jig out that uses oversize screws-it is specifically designed for 1 1/2" and larger (up to 3 1/2").
How did you secure the bottom plate to the wooden floor. I am thinking that you may have used 1/4" or 5/16" lag bolts down through the 2x4 and on into the frame of your wooden floor.
Thanks for your reply,
Cliveous (Reggie) Ogg