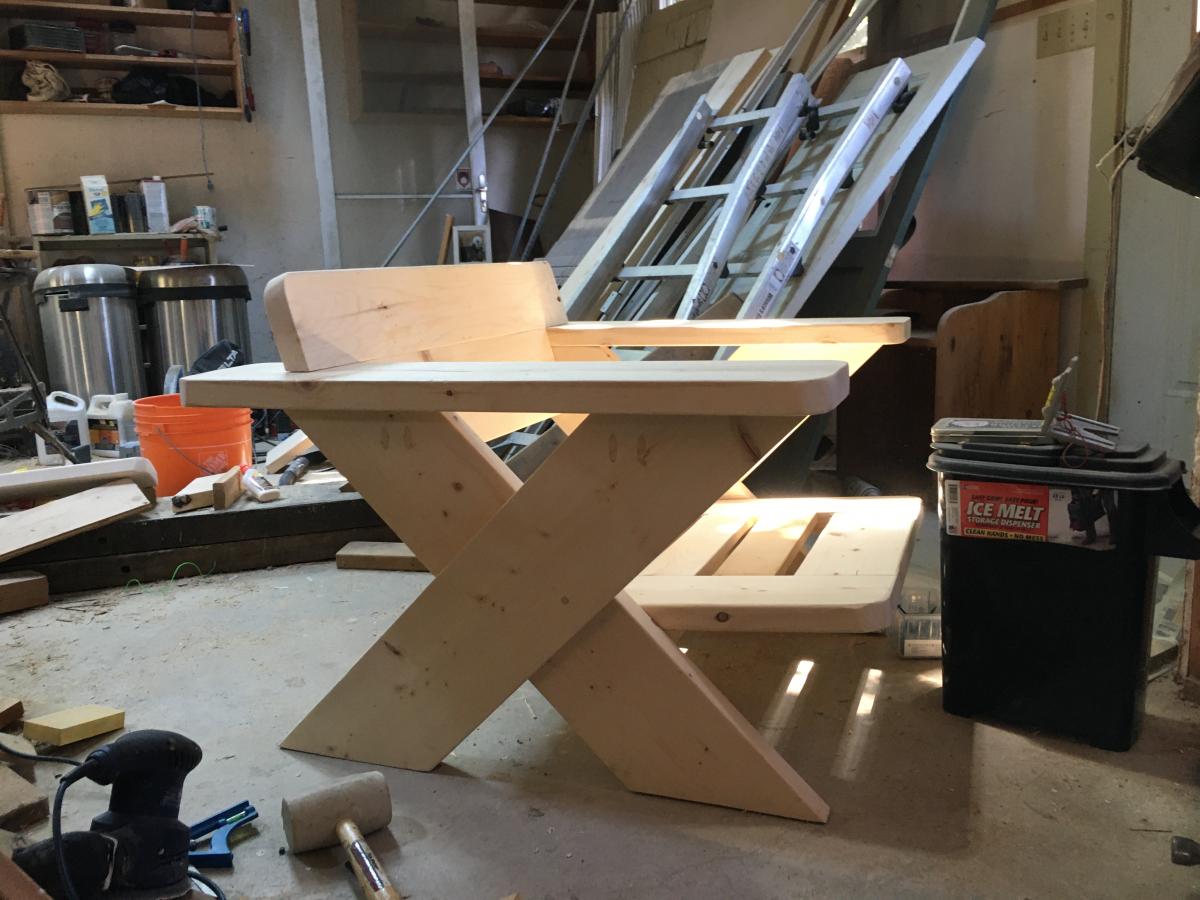
Double X Console
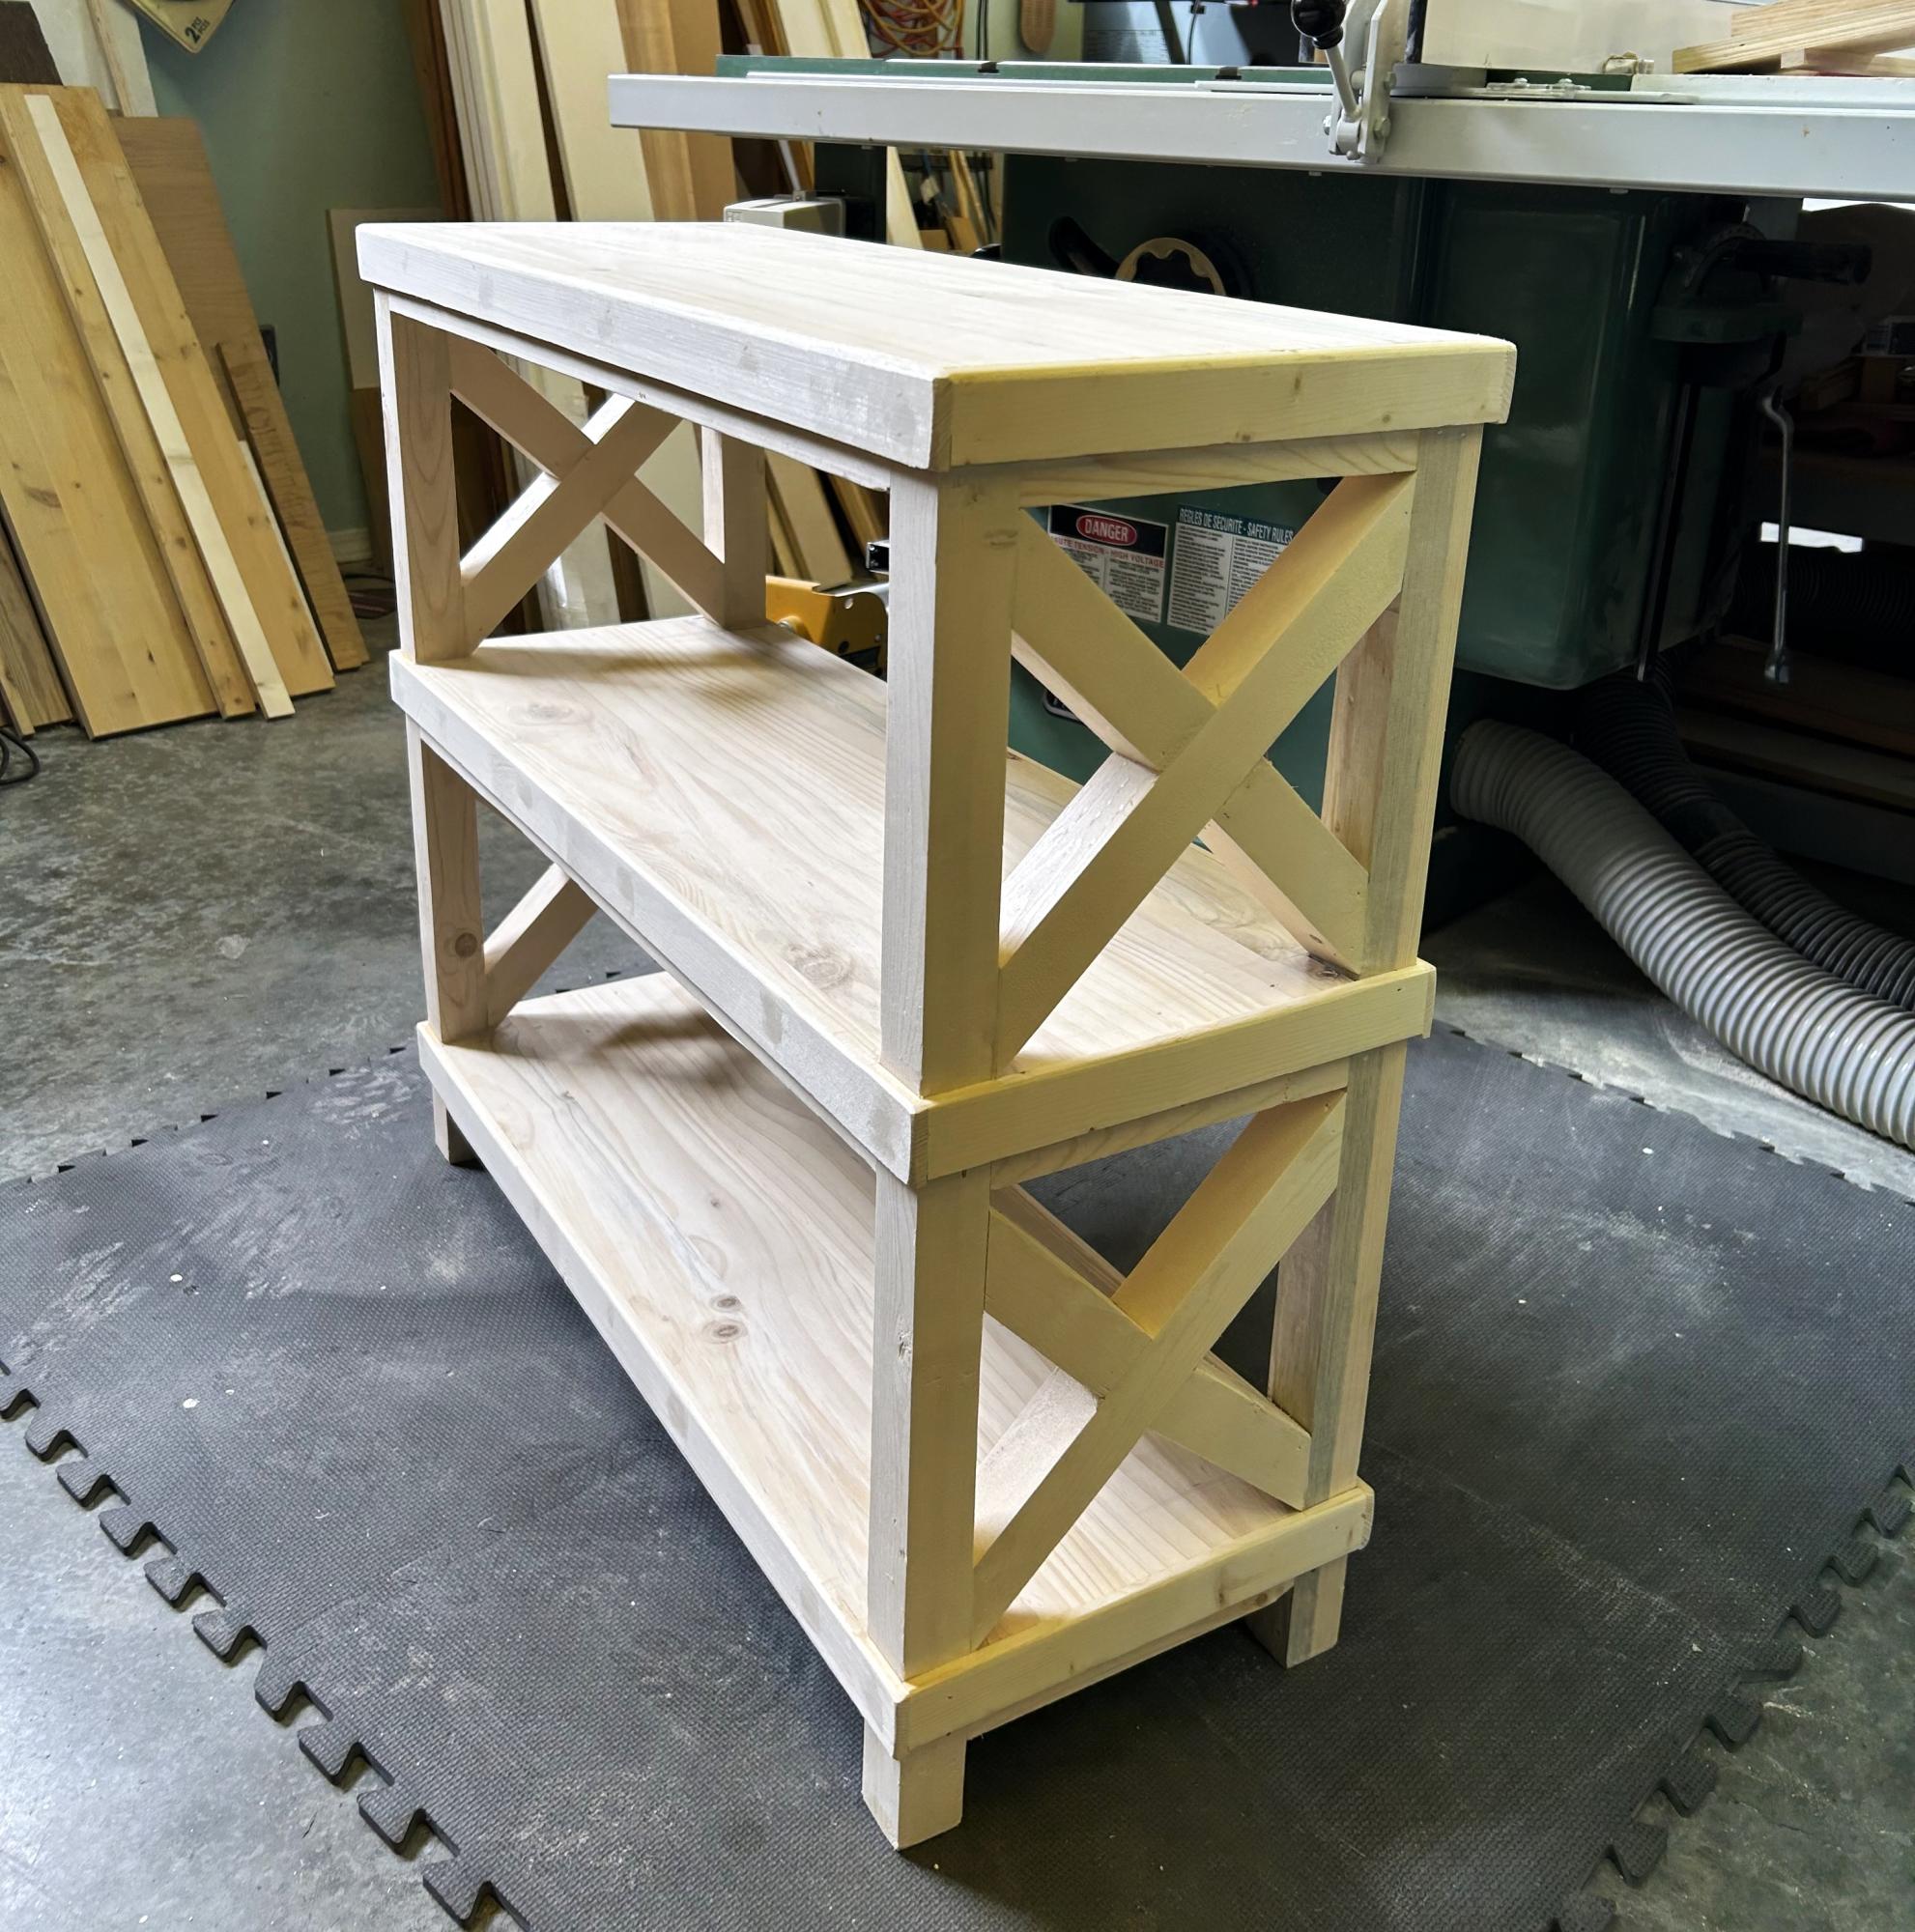
Just finished this console table for my granddaughter the angels on the cross piece were quite challenging.
Built from Plan(s)
Just finished this console table for my granddaughter the angels on the cross piece were quite challenging.
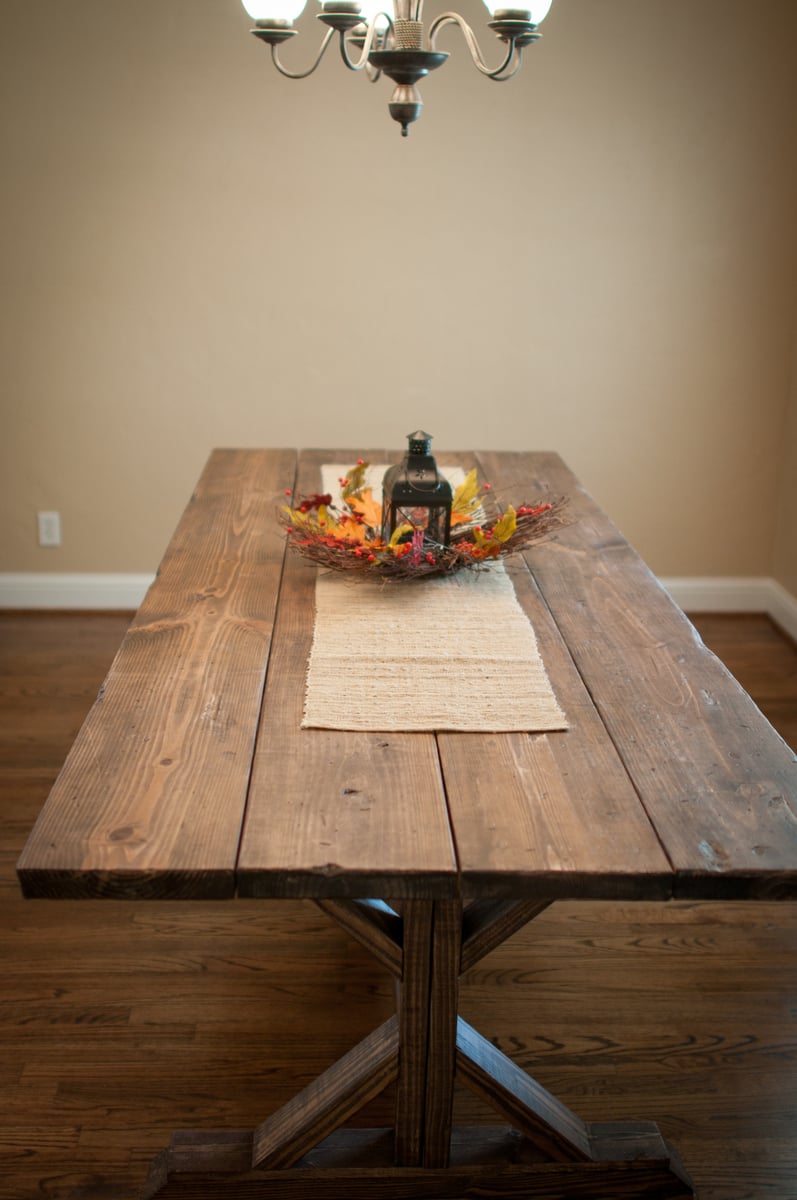
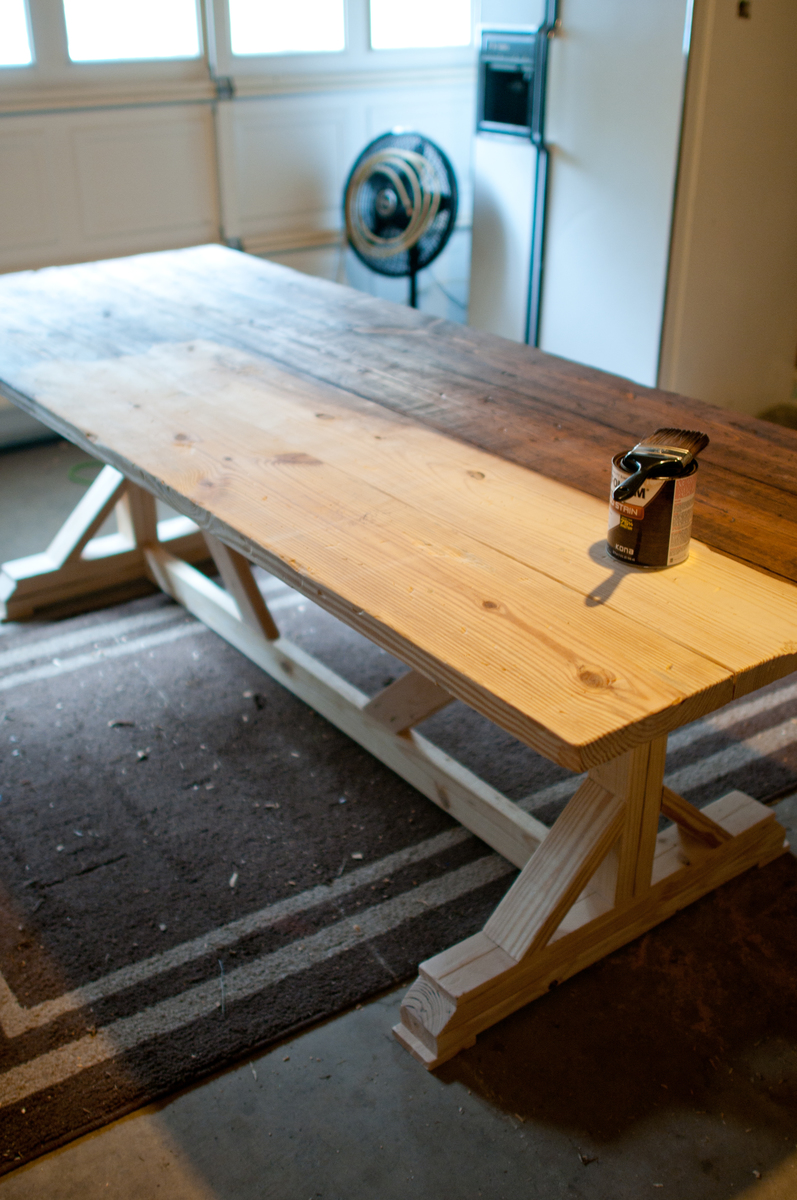
This project was pretty dang easy. My husband and I whipped this out one weekend and were pleasantly surprised with the outcome. It now sits in our dining room and we LOVE it!! We used Rust-o-leum's Kona stain and it could not have been more perfect of a color. We used a brush to apply in sections and wiped it off immediately. Before staining we beat it with chains, hammers, screws, etc. And we also scraped it up and gouged it out with screw drivers, crowbars, and any other items we could find. Be sure and sand it down really well. We finished it off with a matte finish polyurethane. Thanks for the designs! We are on to table number 2 now! Jordi

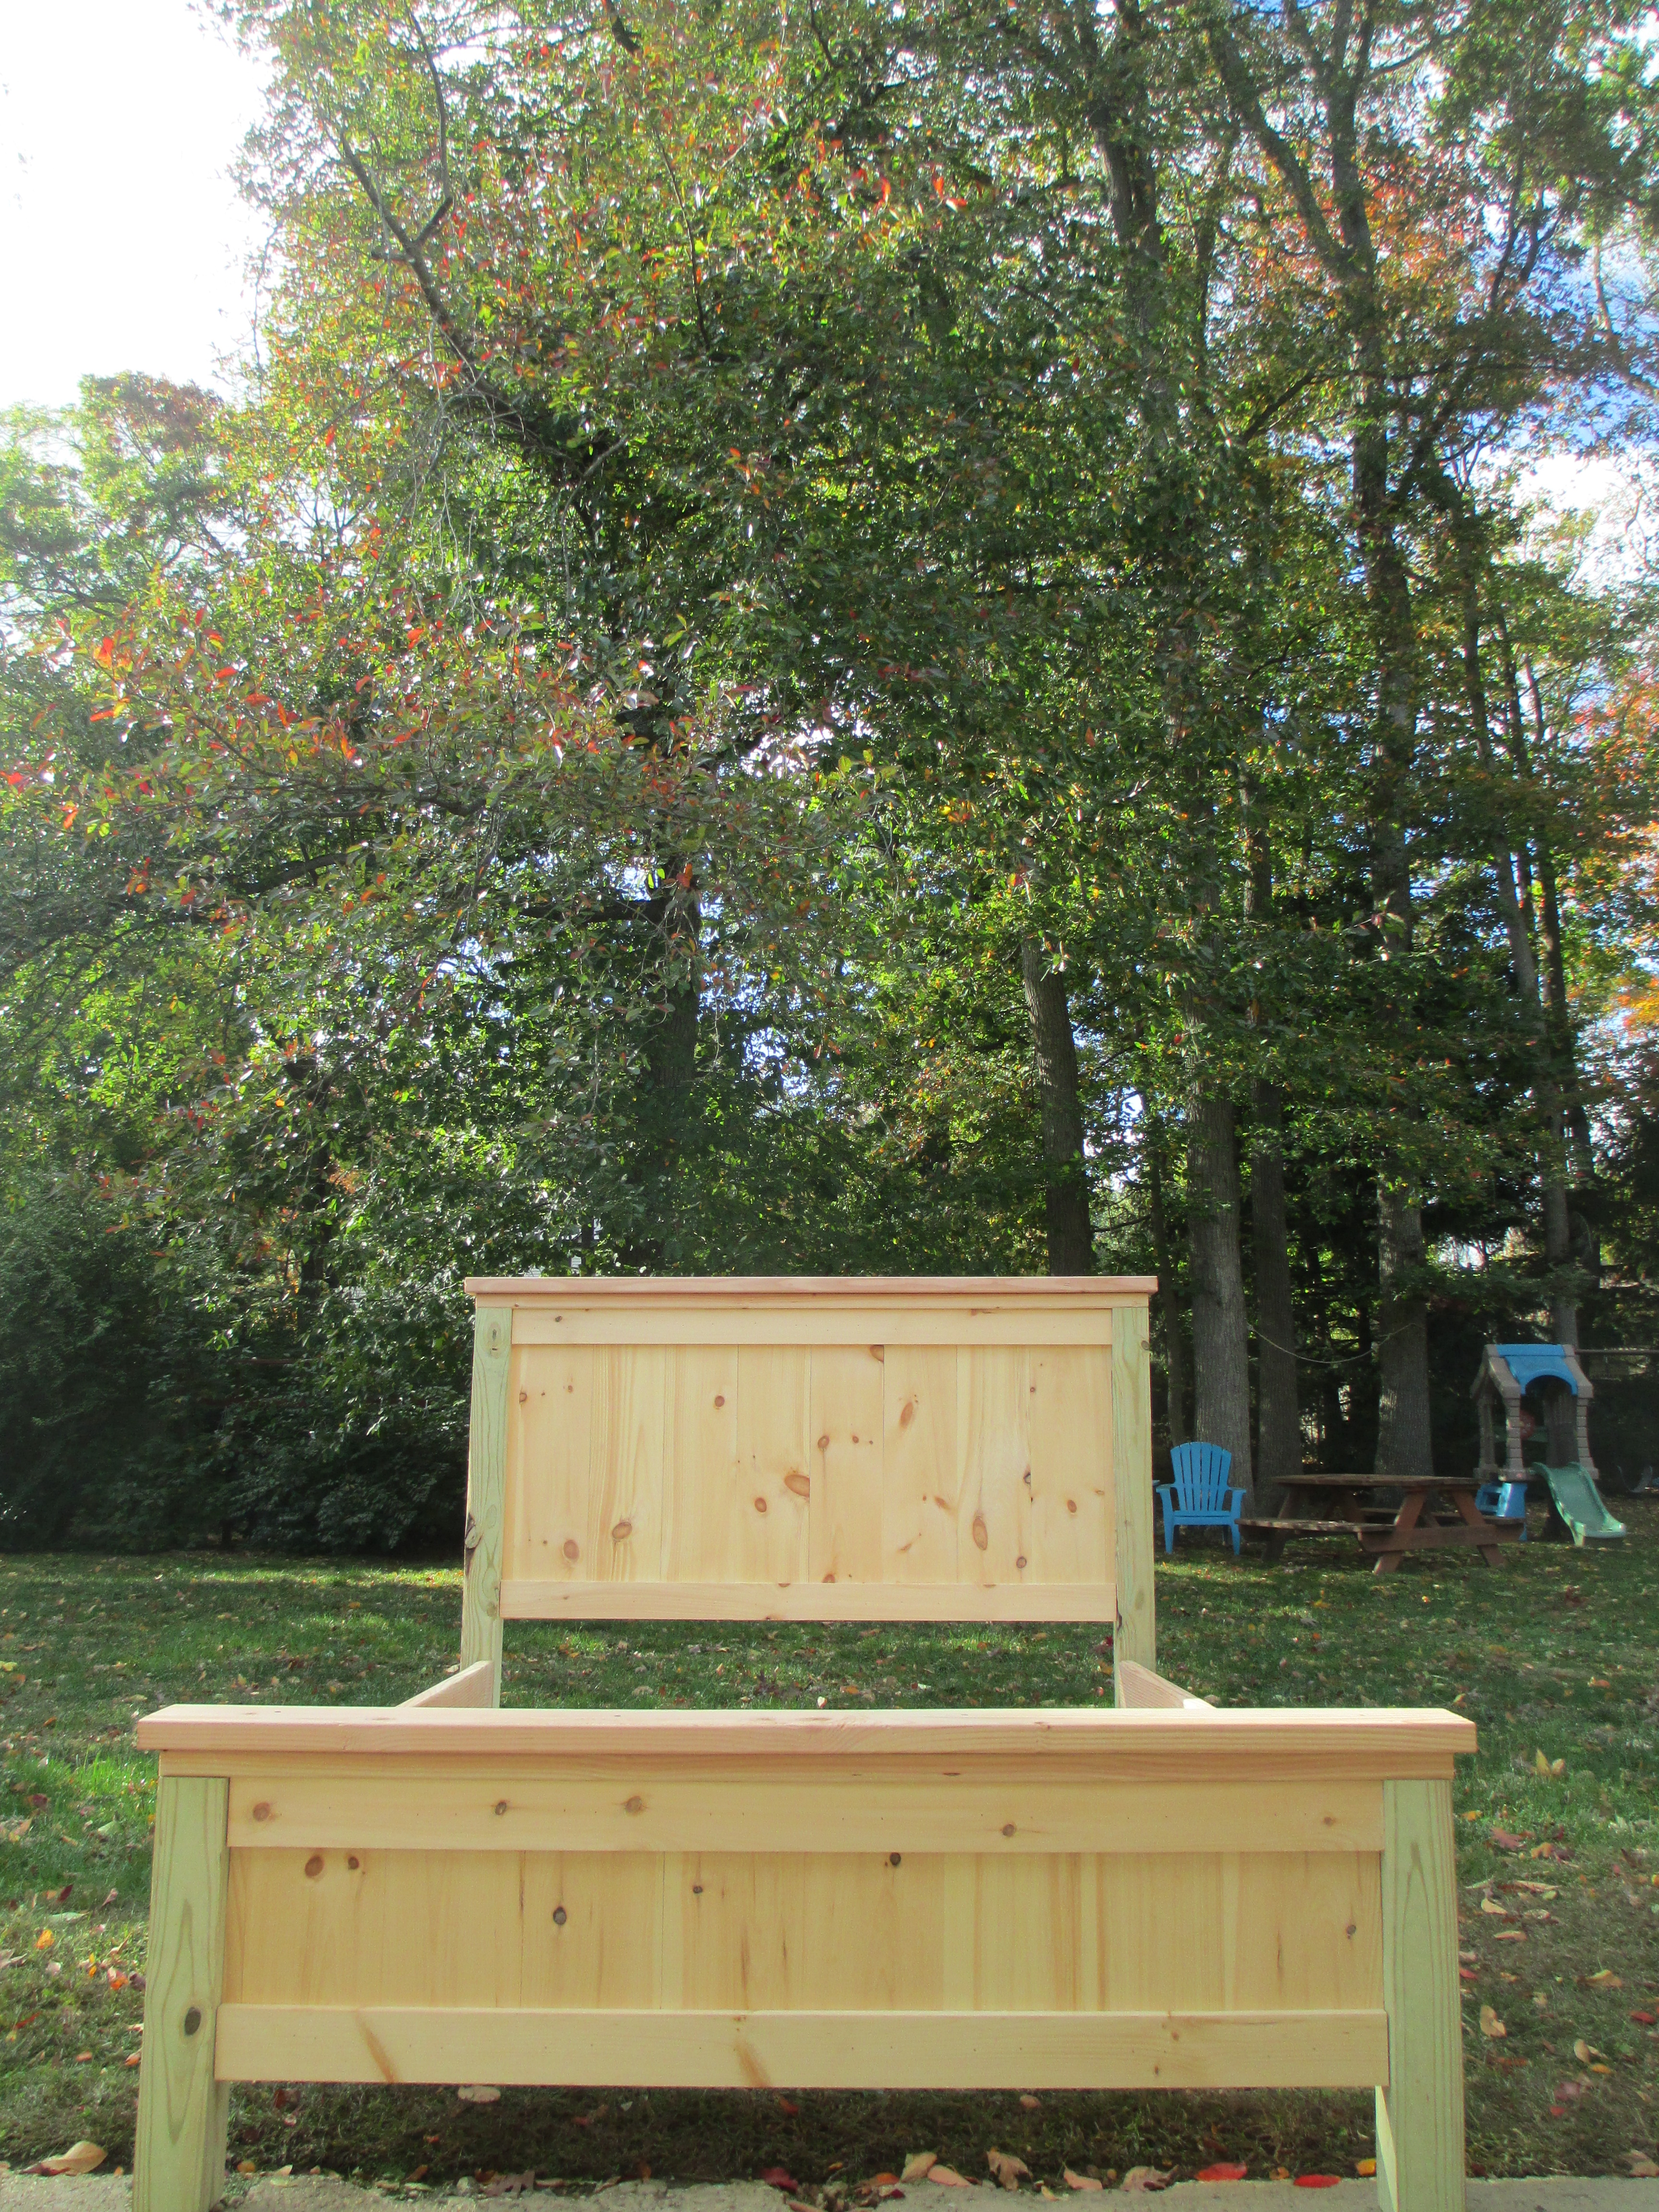
Queen- Hailey Platform Bed
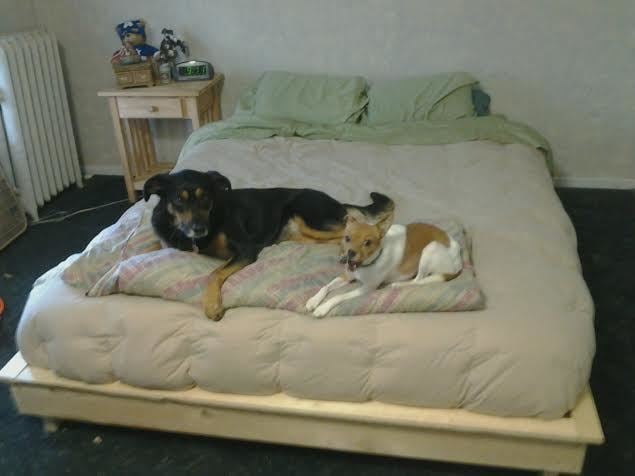
This is my first build. I have always had metal loft beds and it's so nice to have something lower and not so noisy. Had to alter for a Queen- no problem.
My dad helped me out and now I know how to work all the tools pretty well. We used a countersink for all the screws instead of a kreg jig.
All that is left is to stain and I have not decided if I want a headboard yet. Definitely the first of many projects!!!
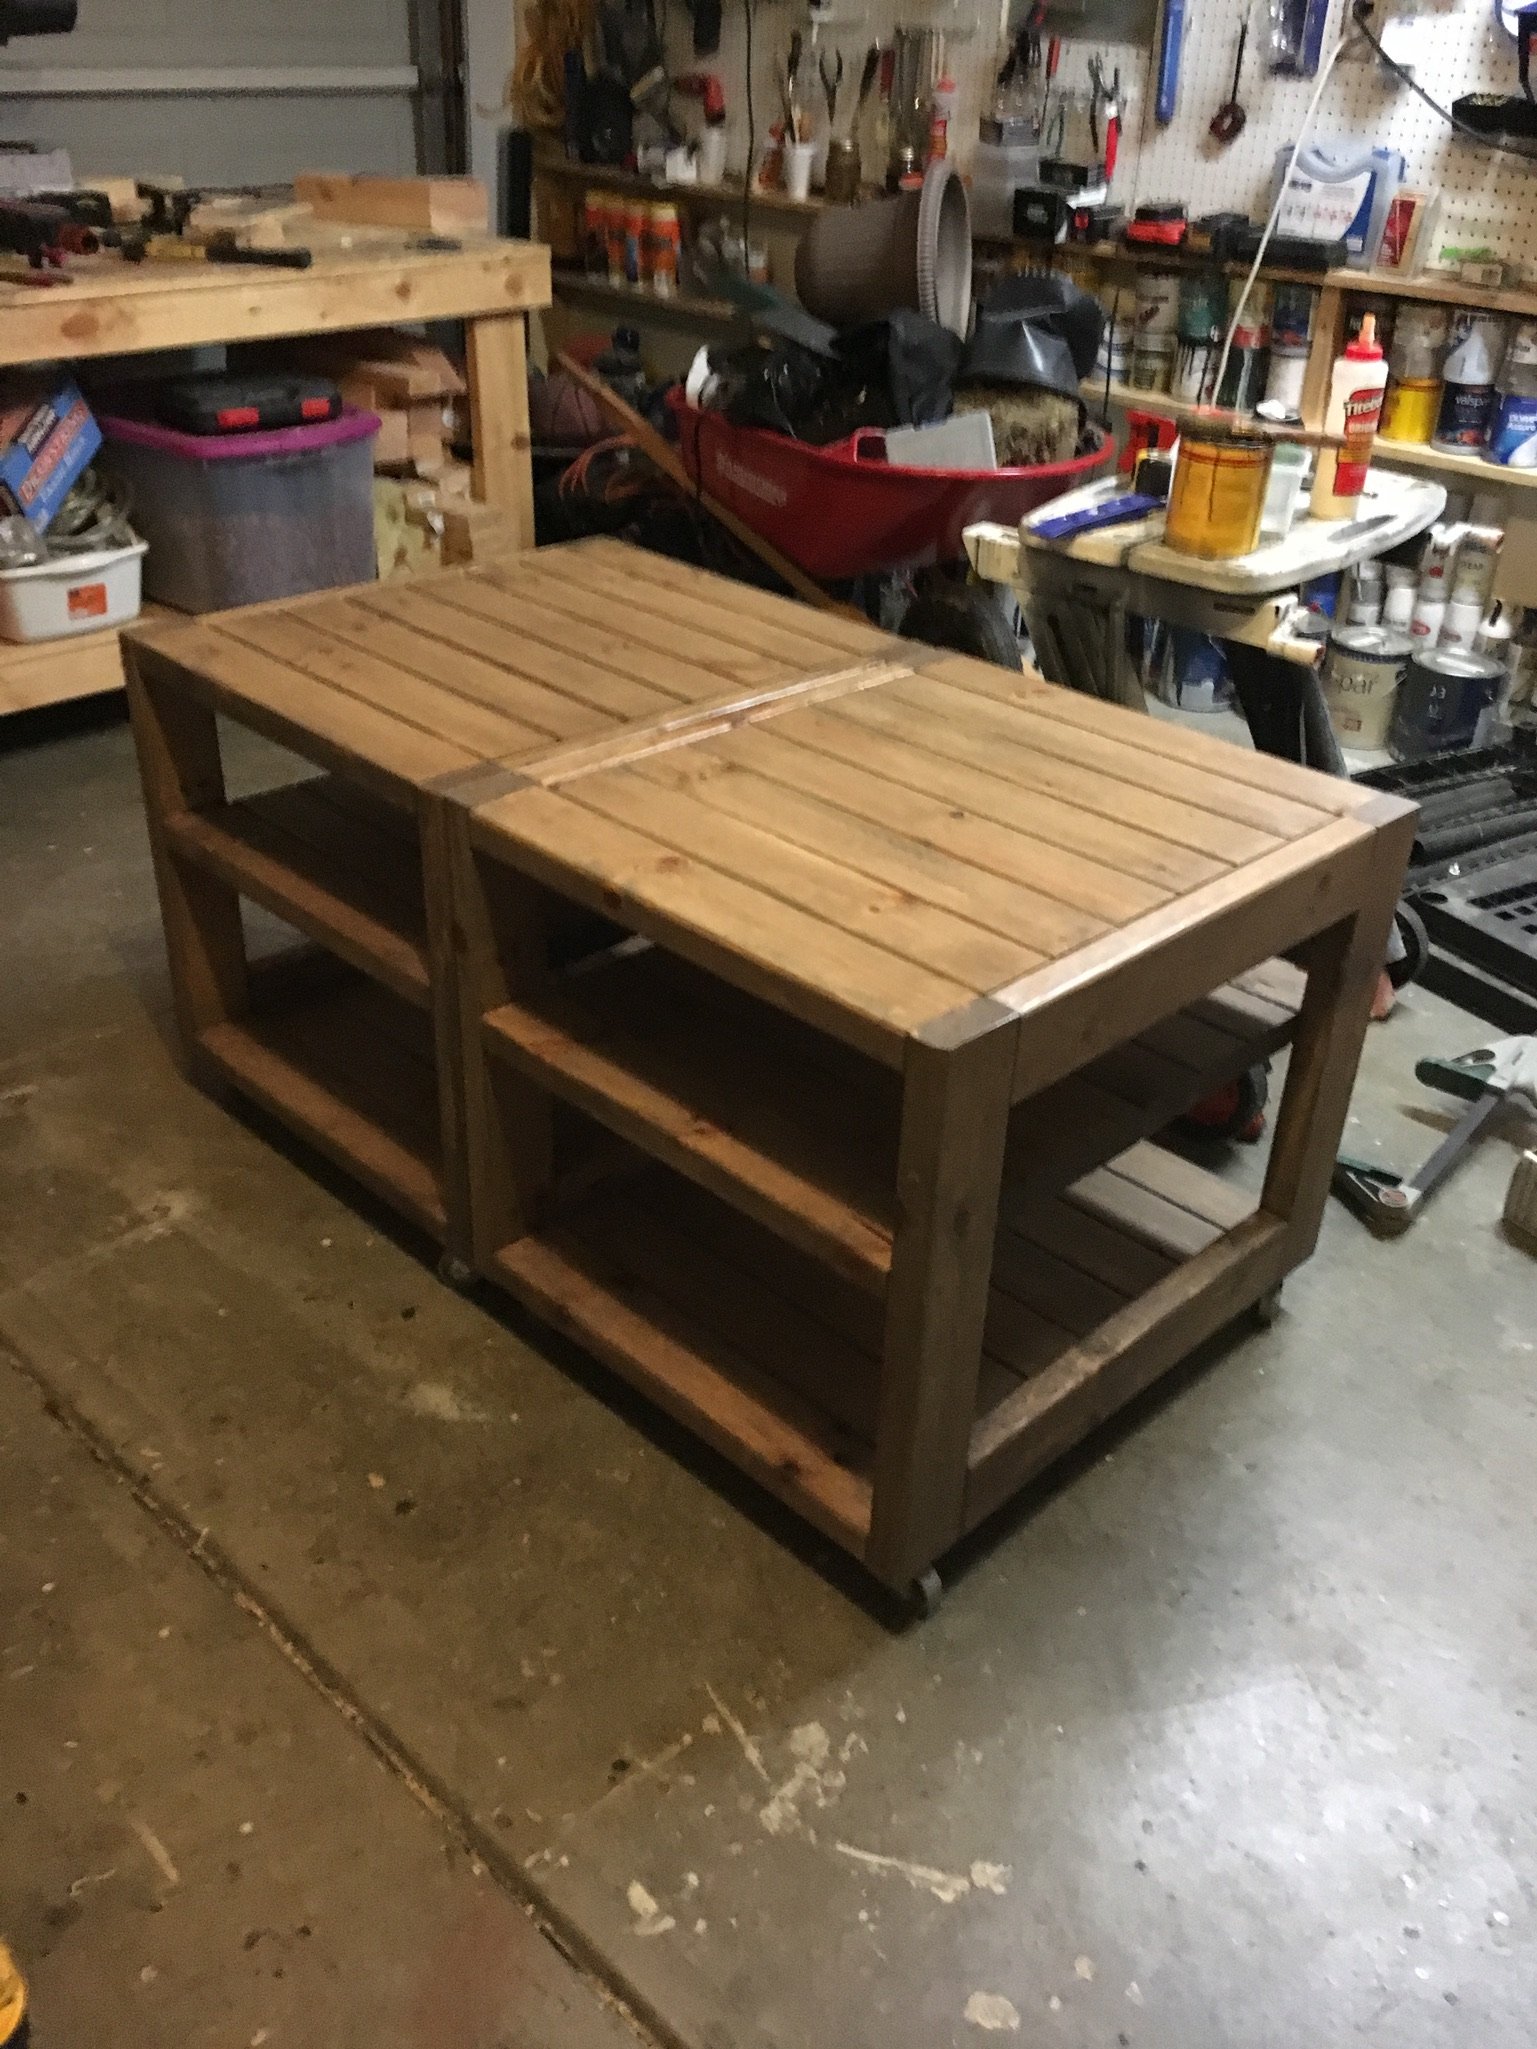
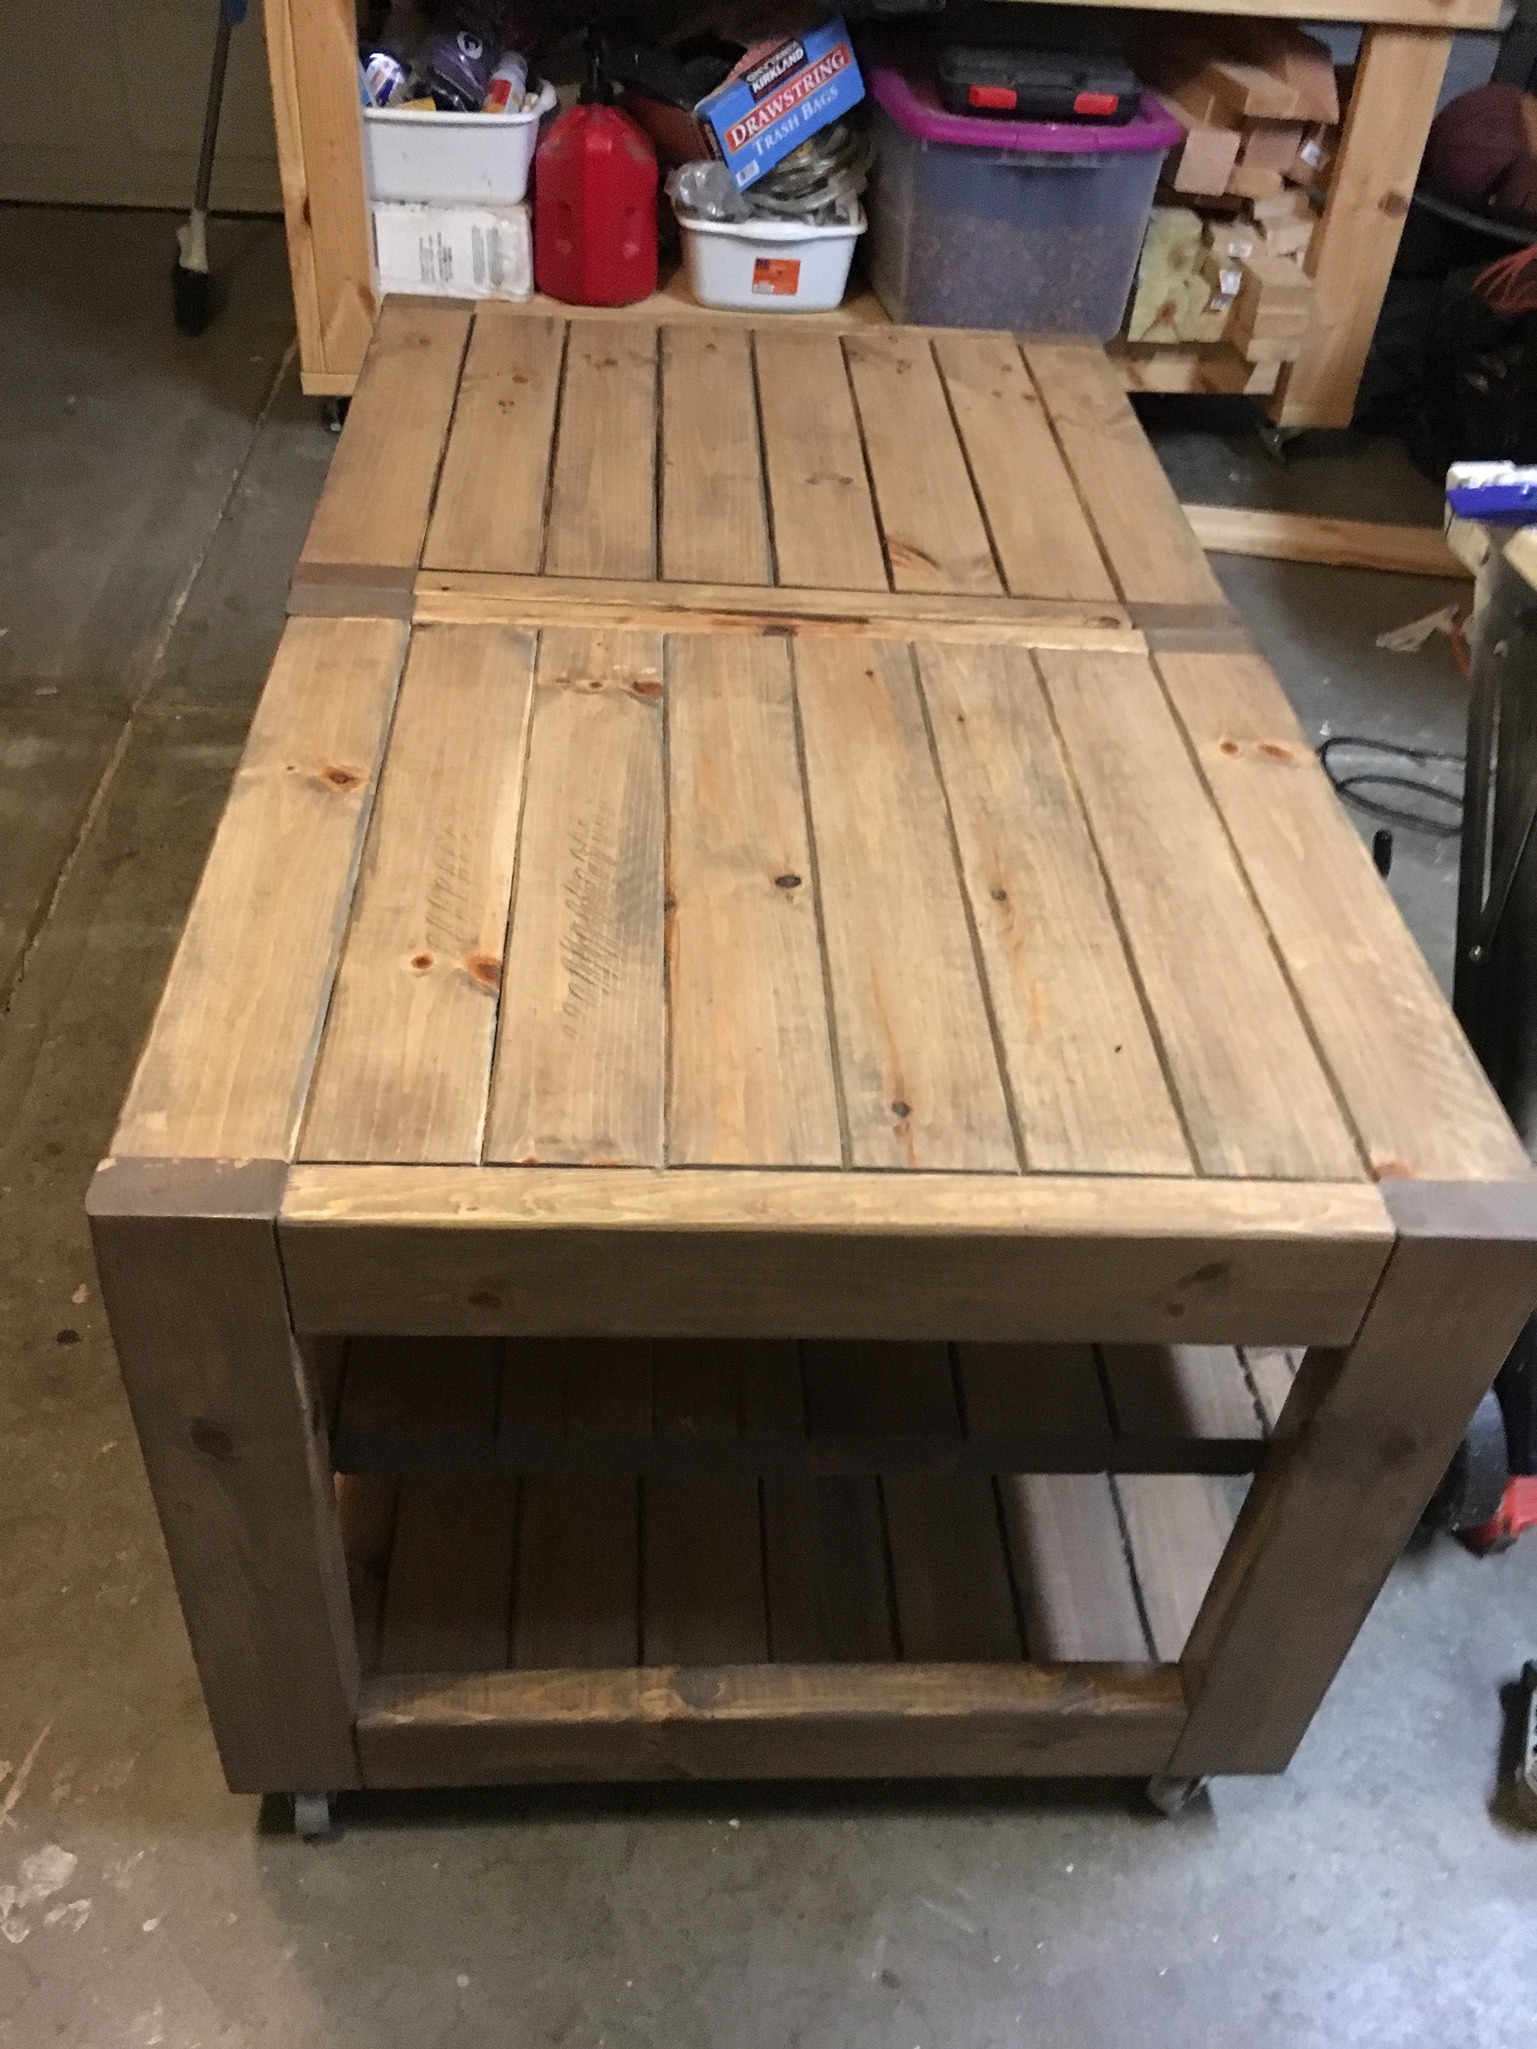
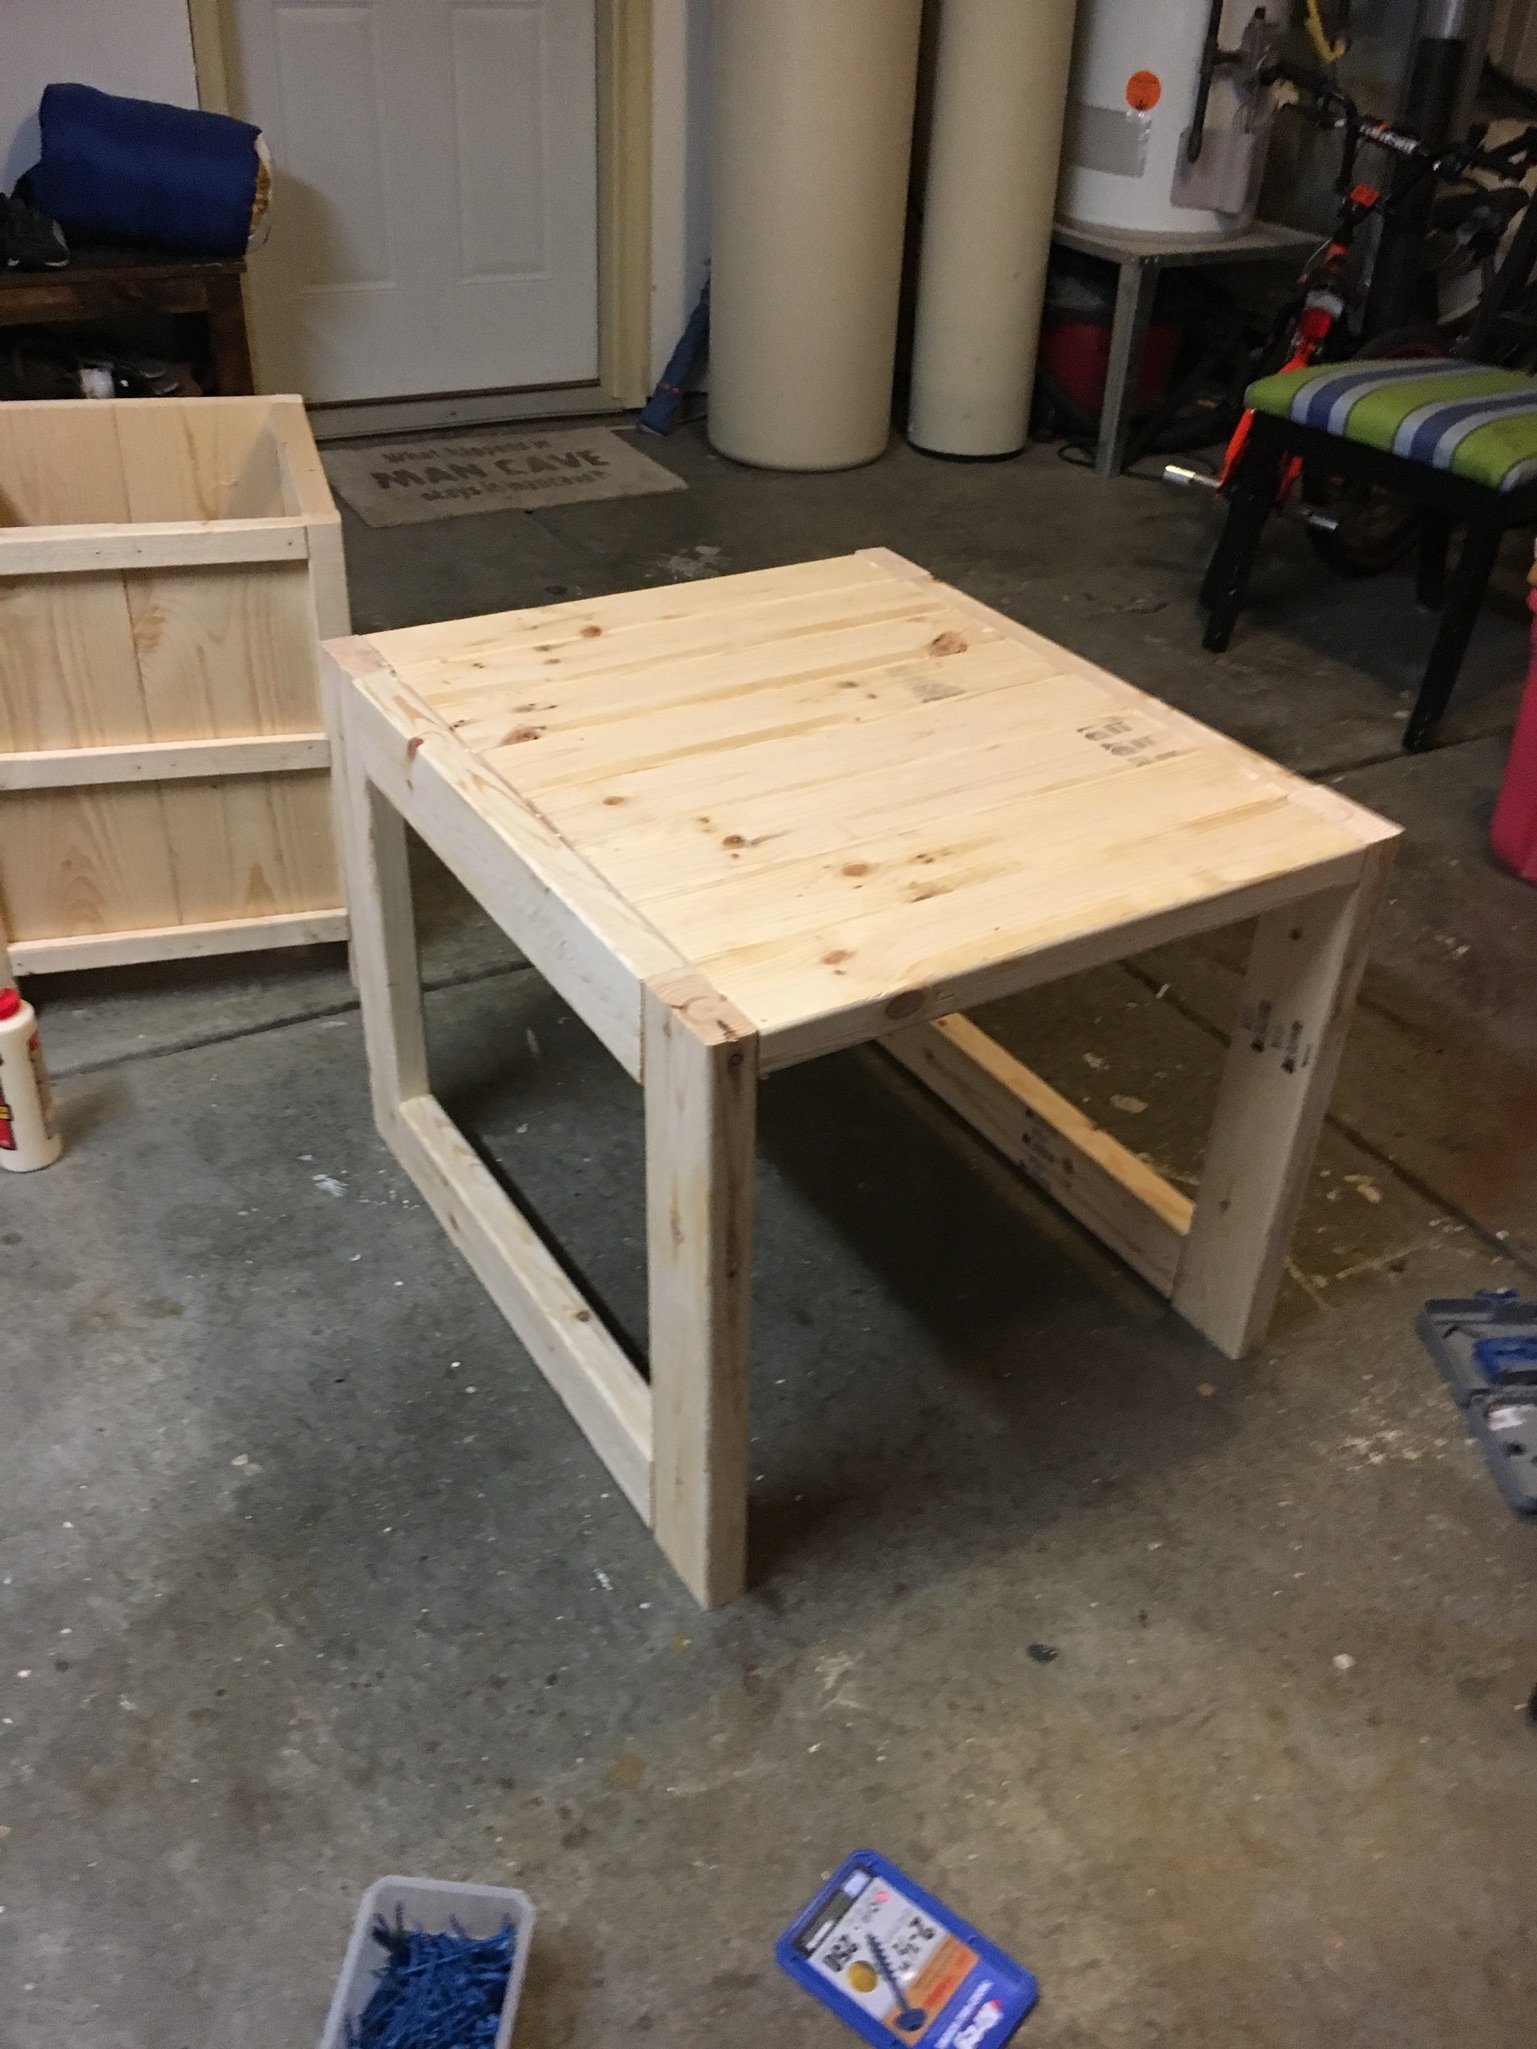
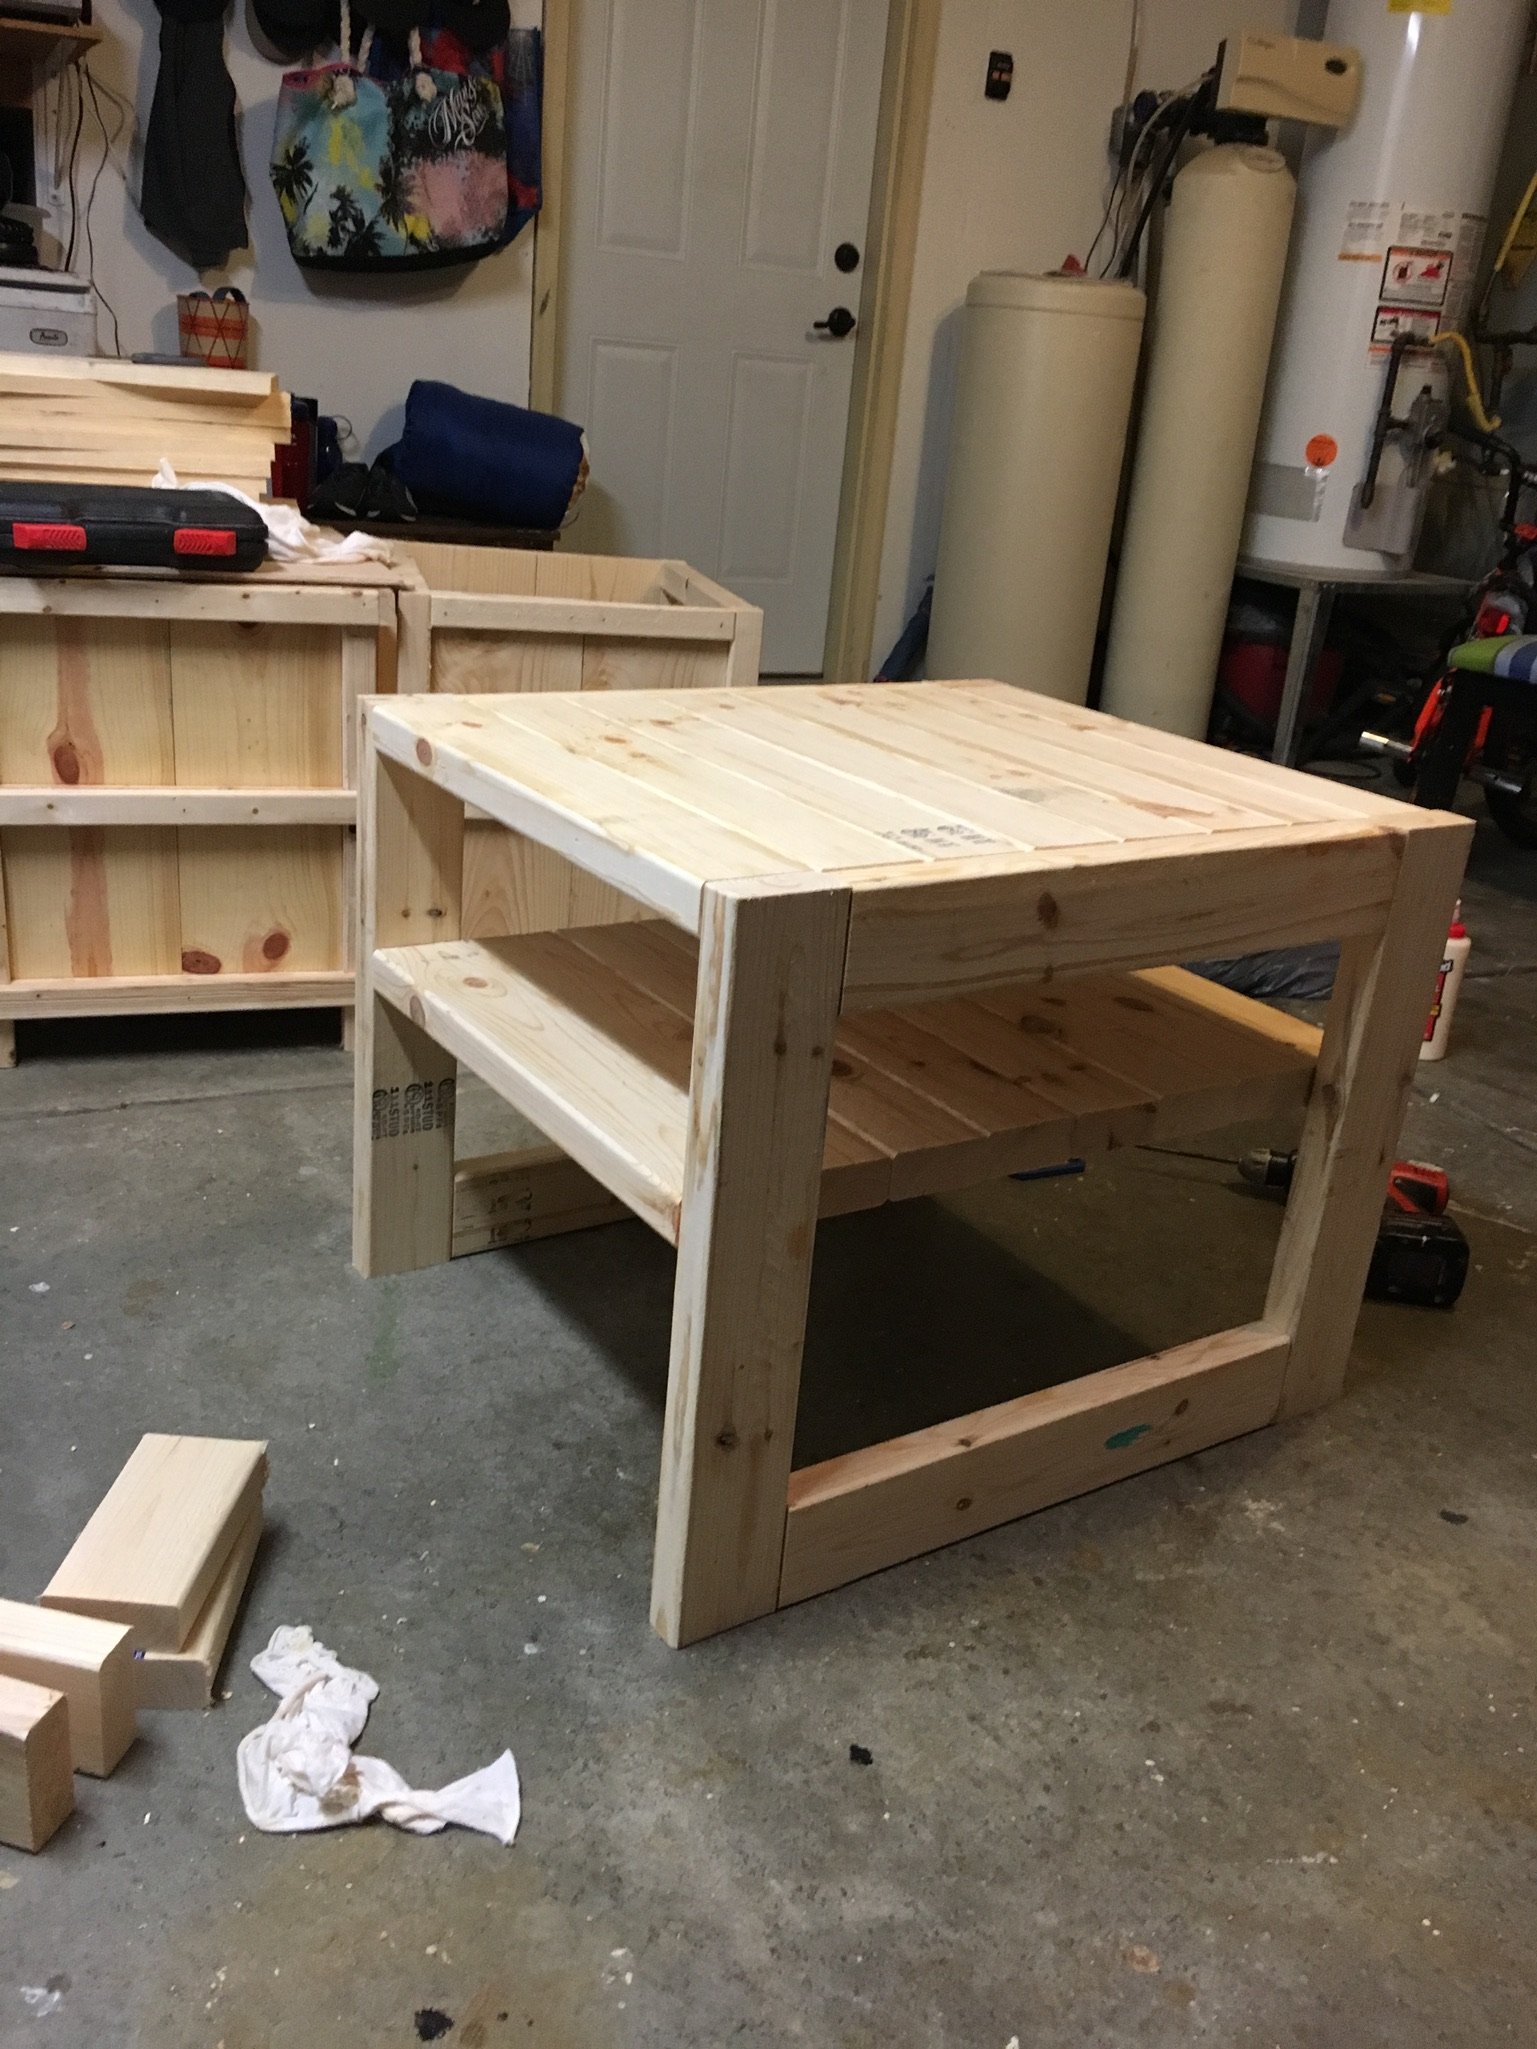
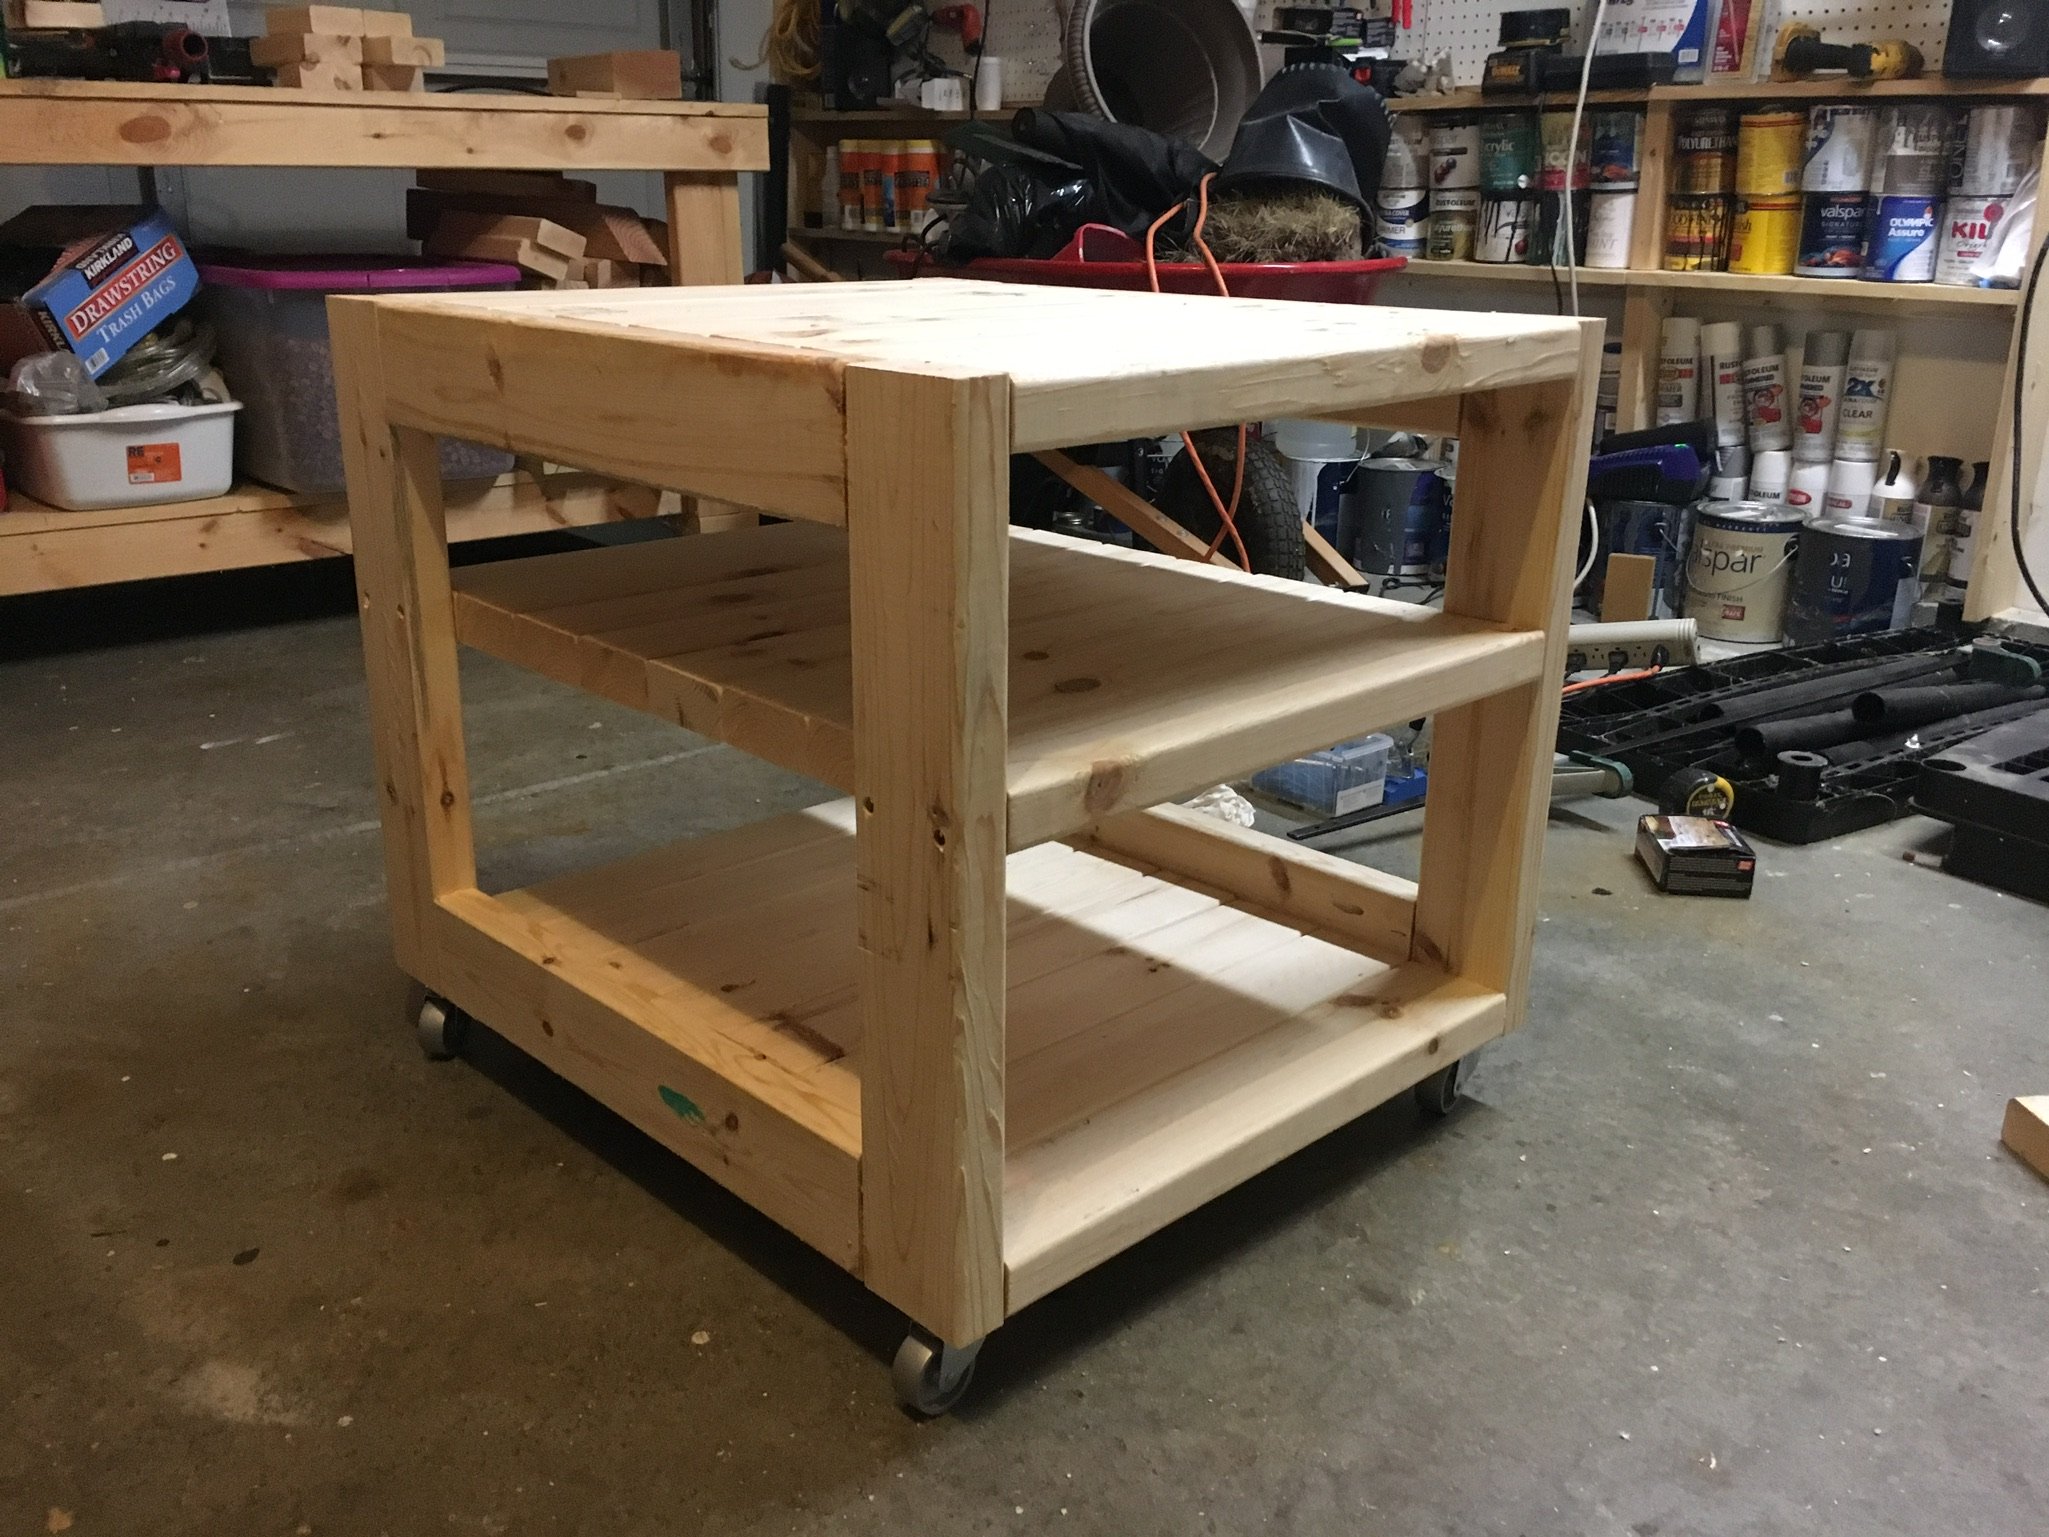
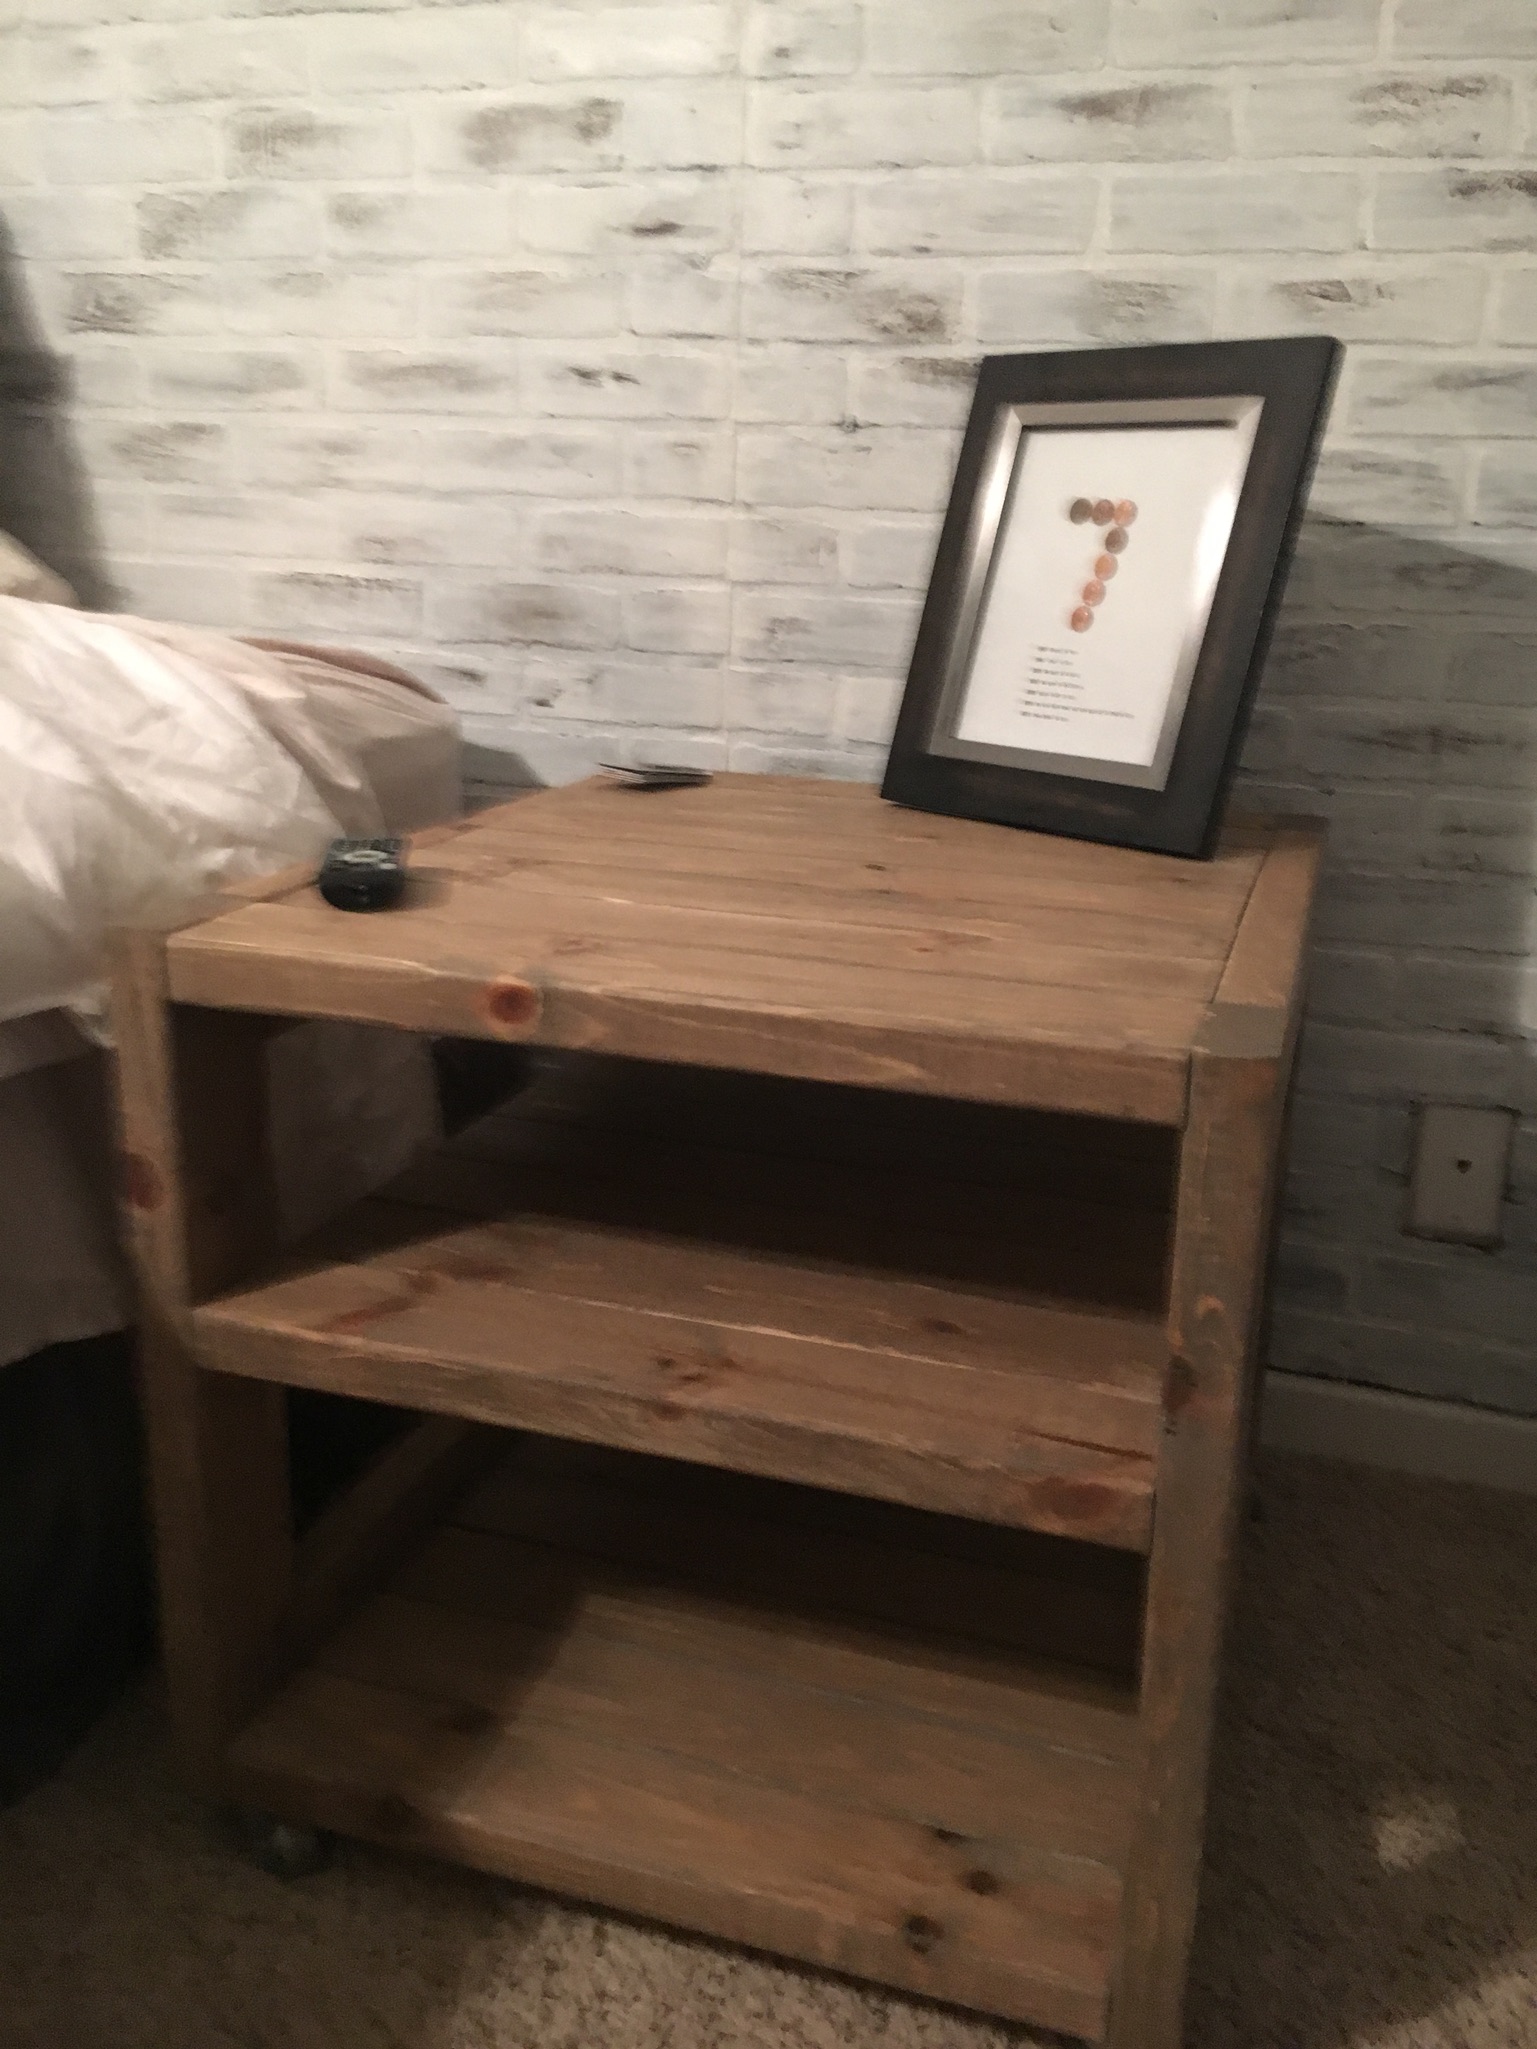
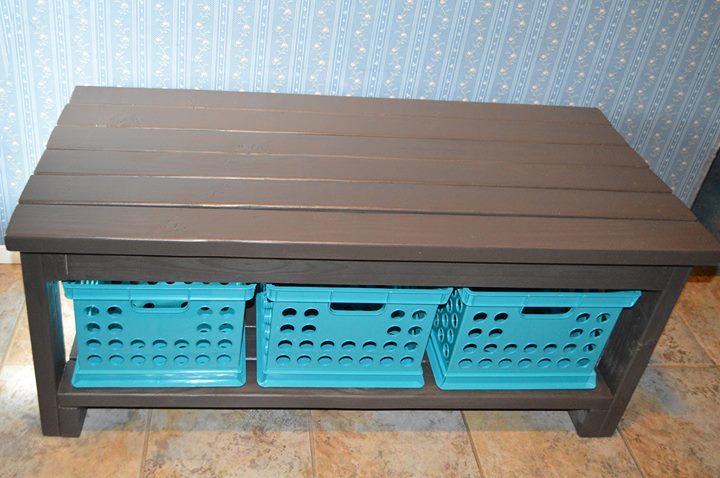
I made this project with all 2X4's and 2.5 in pocket holes. This took 8 2X4's. To add the industrial look, I added some metal casters on the bottom. I haven't finished it 100%, but will add some metal corner brackets on it as well. This project was super easy to make. Took me about 6 hours to cut and build (2 tables). And another 3-4 hours to sand, stain and finish.
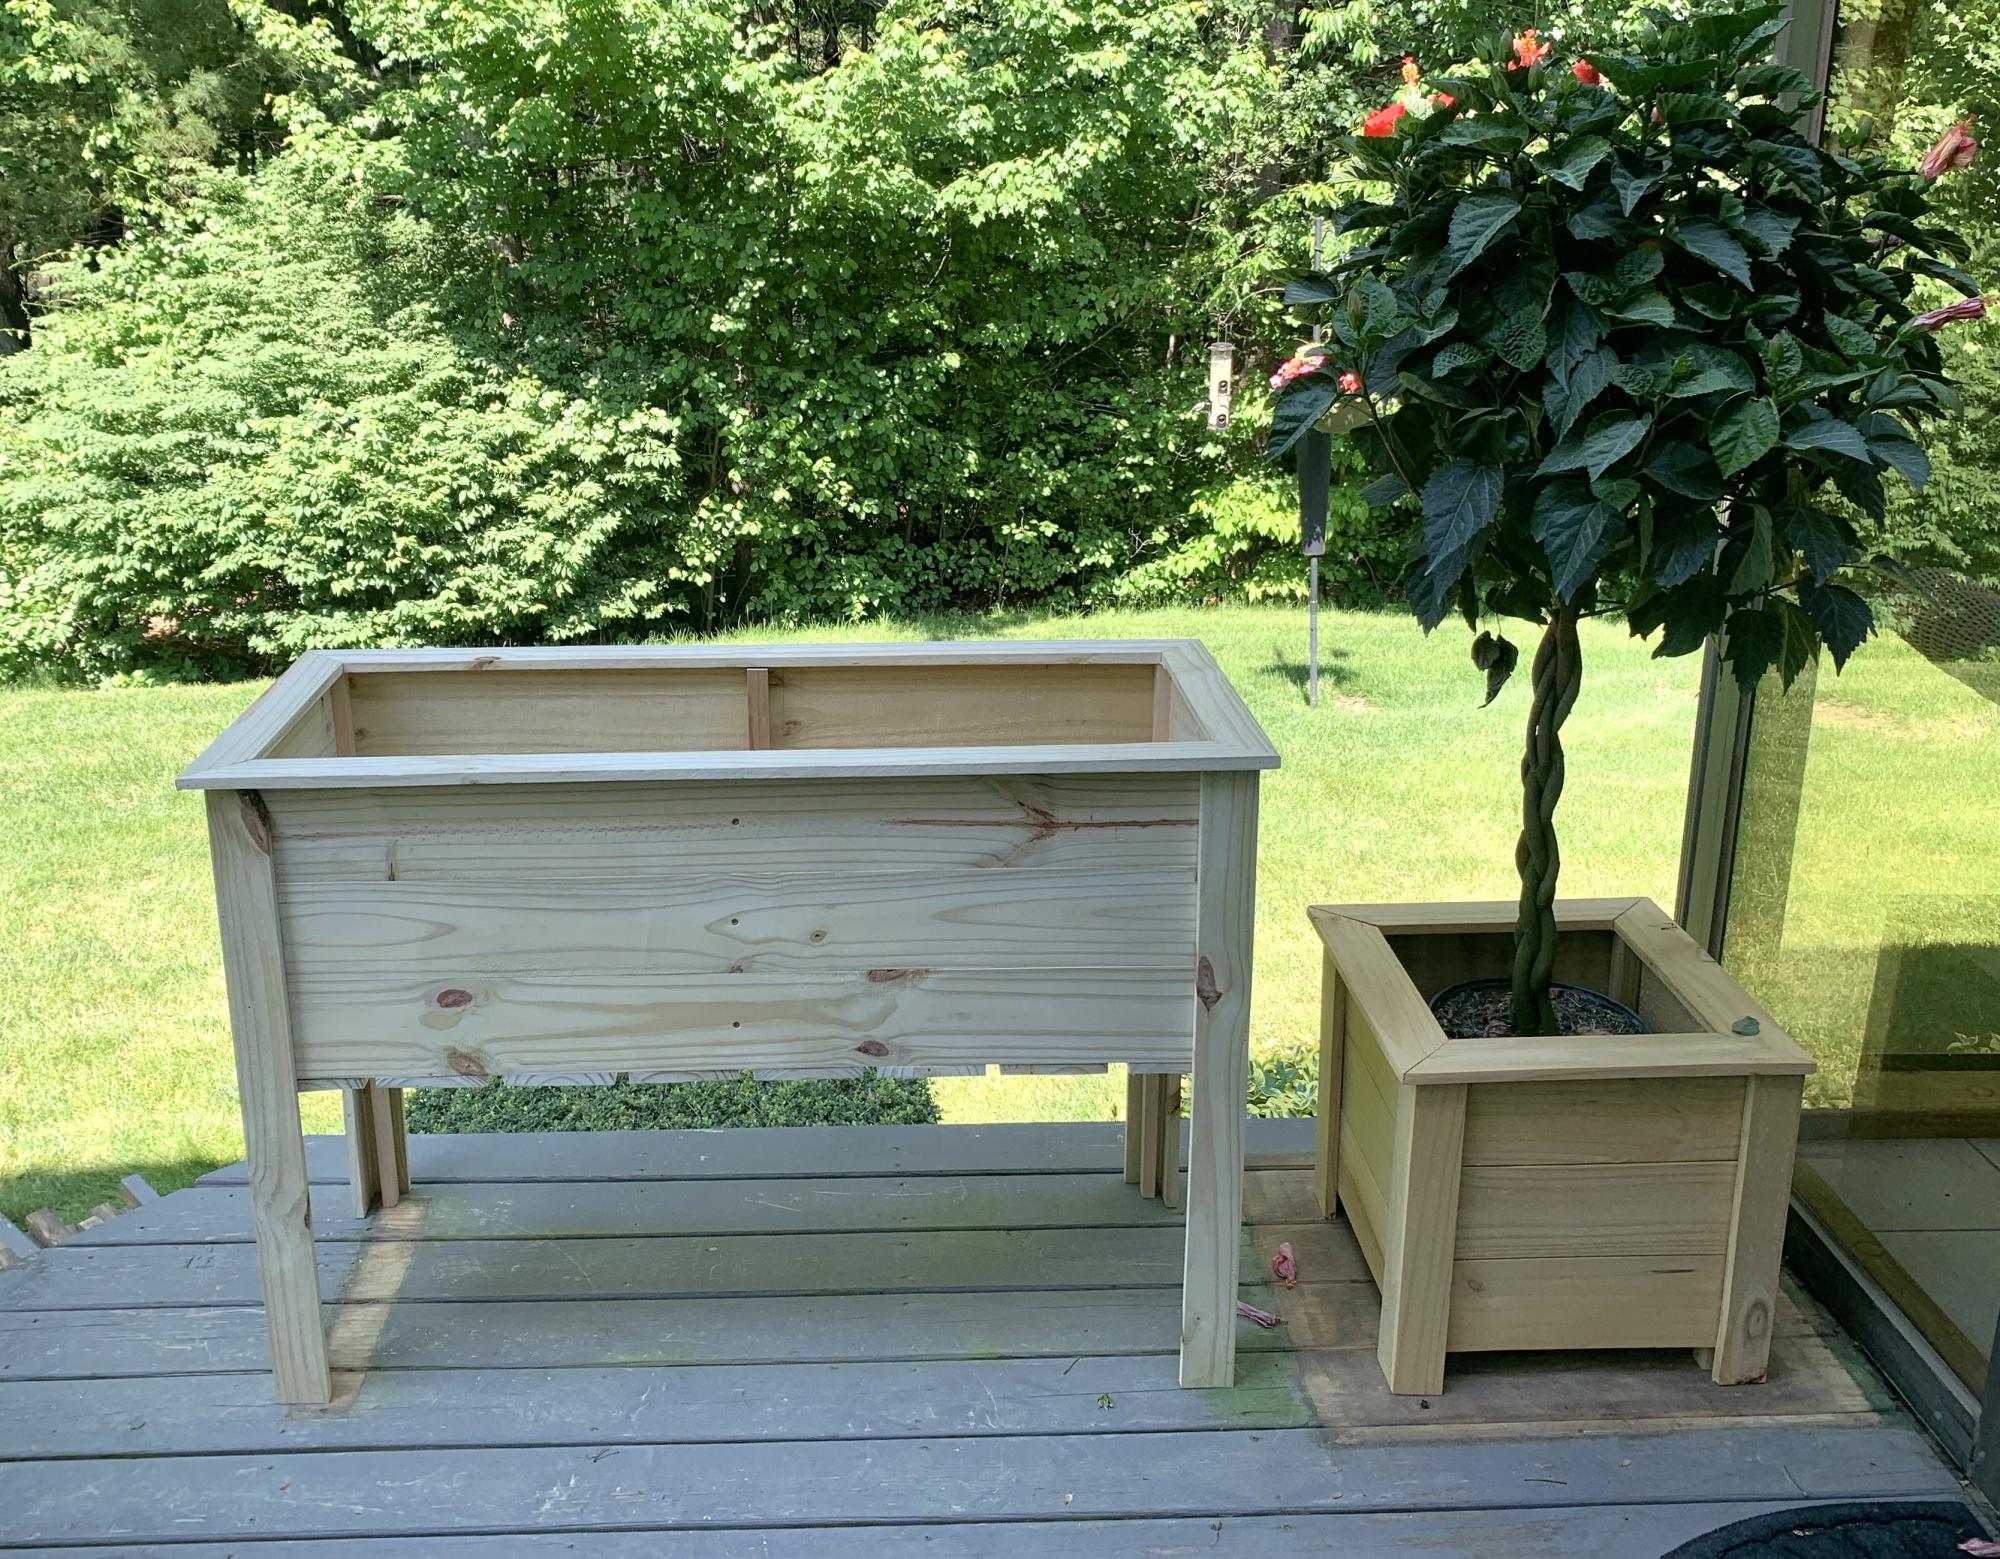
Just began to build items after creating a workshop in my basement. Started with small planters and just built the large stand up planter pictured here. Ready to plant the Tomatoes!
Jim
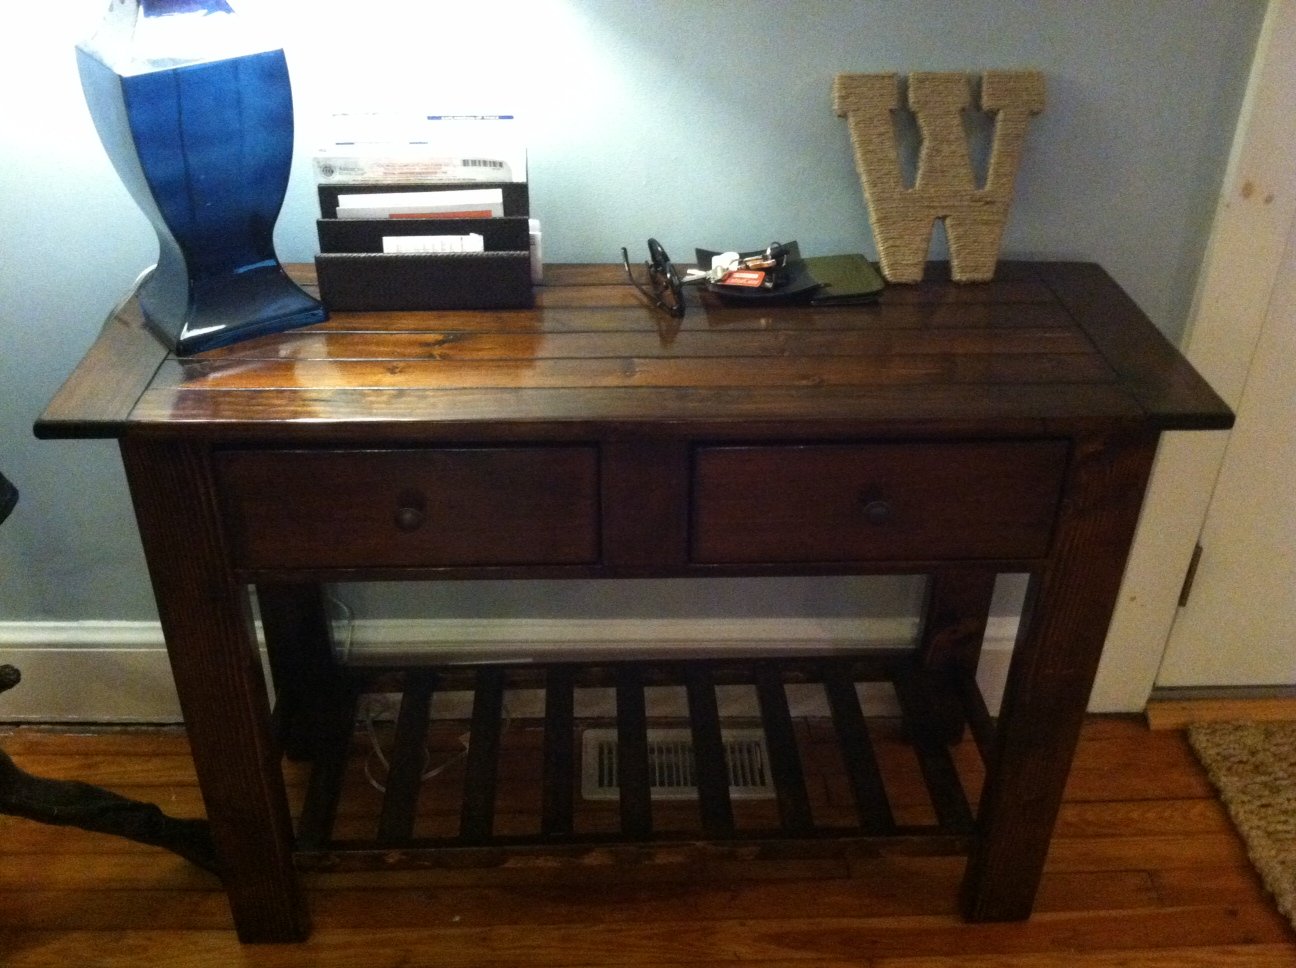
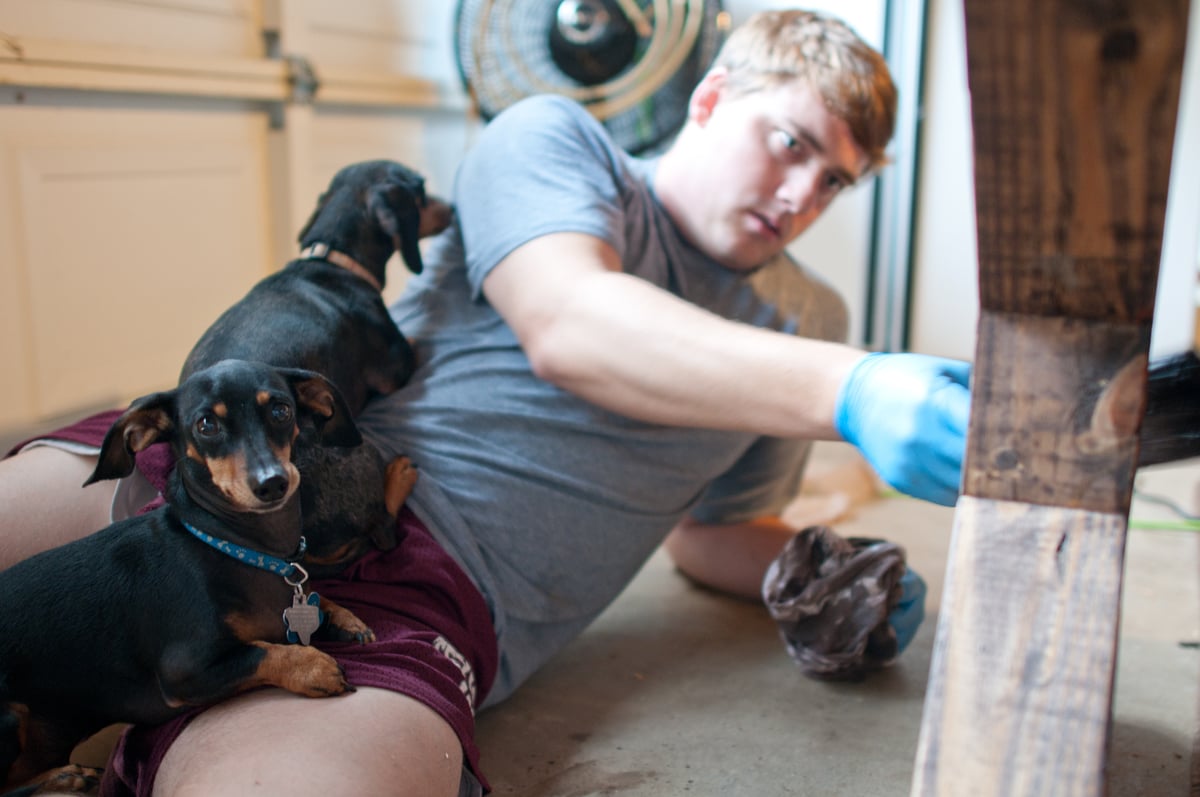
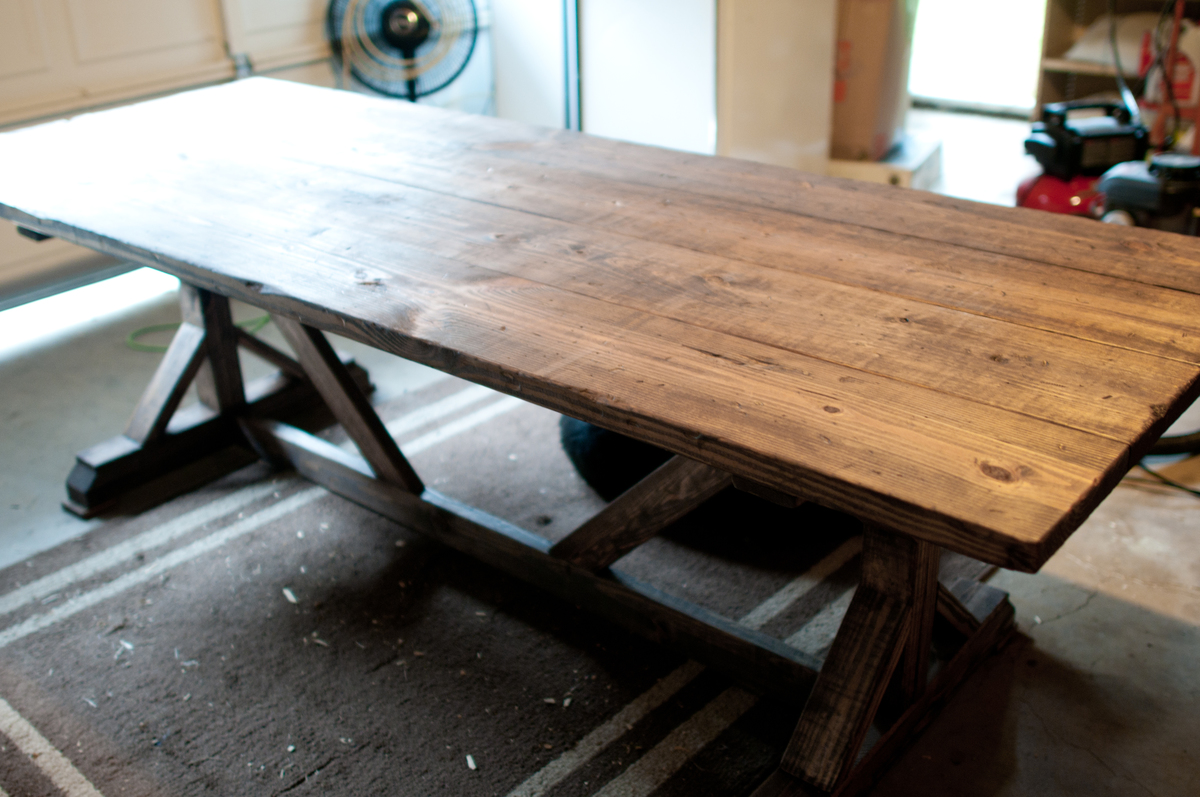
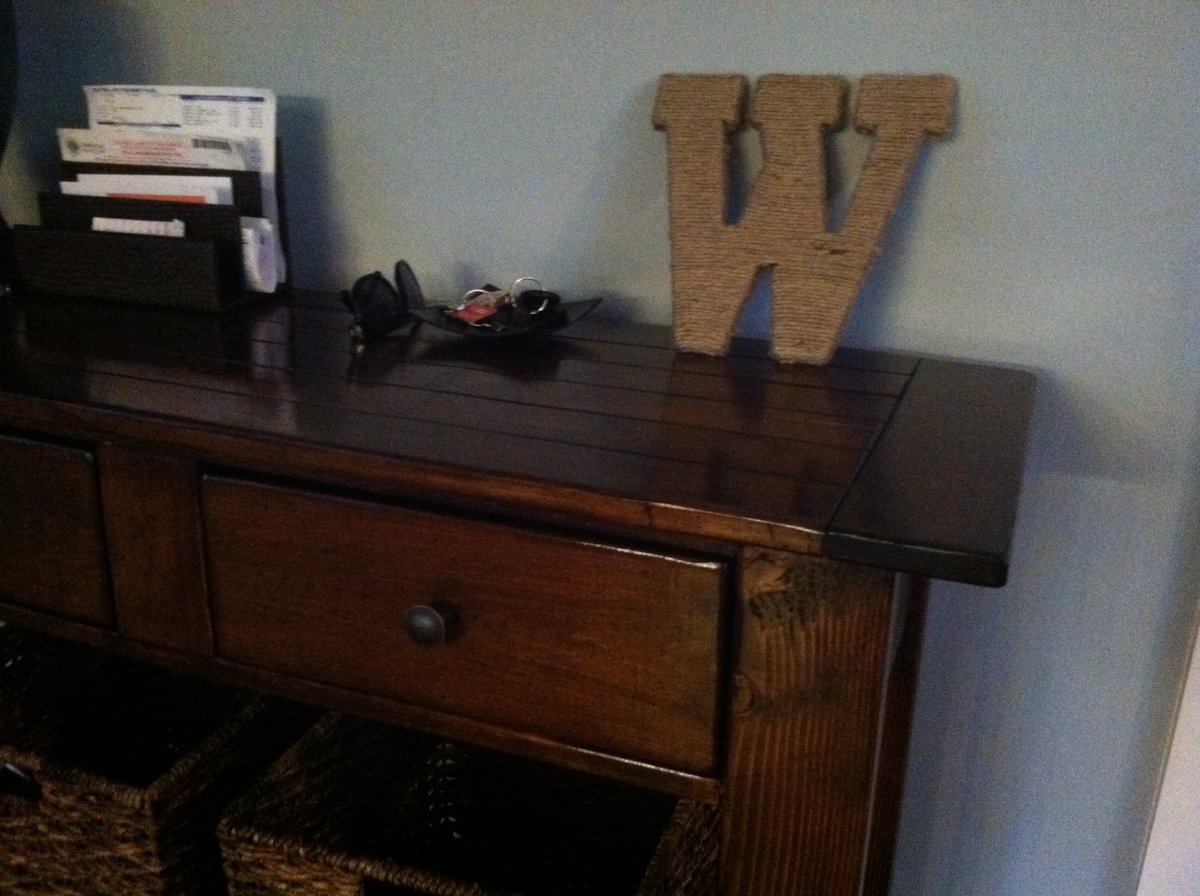
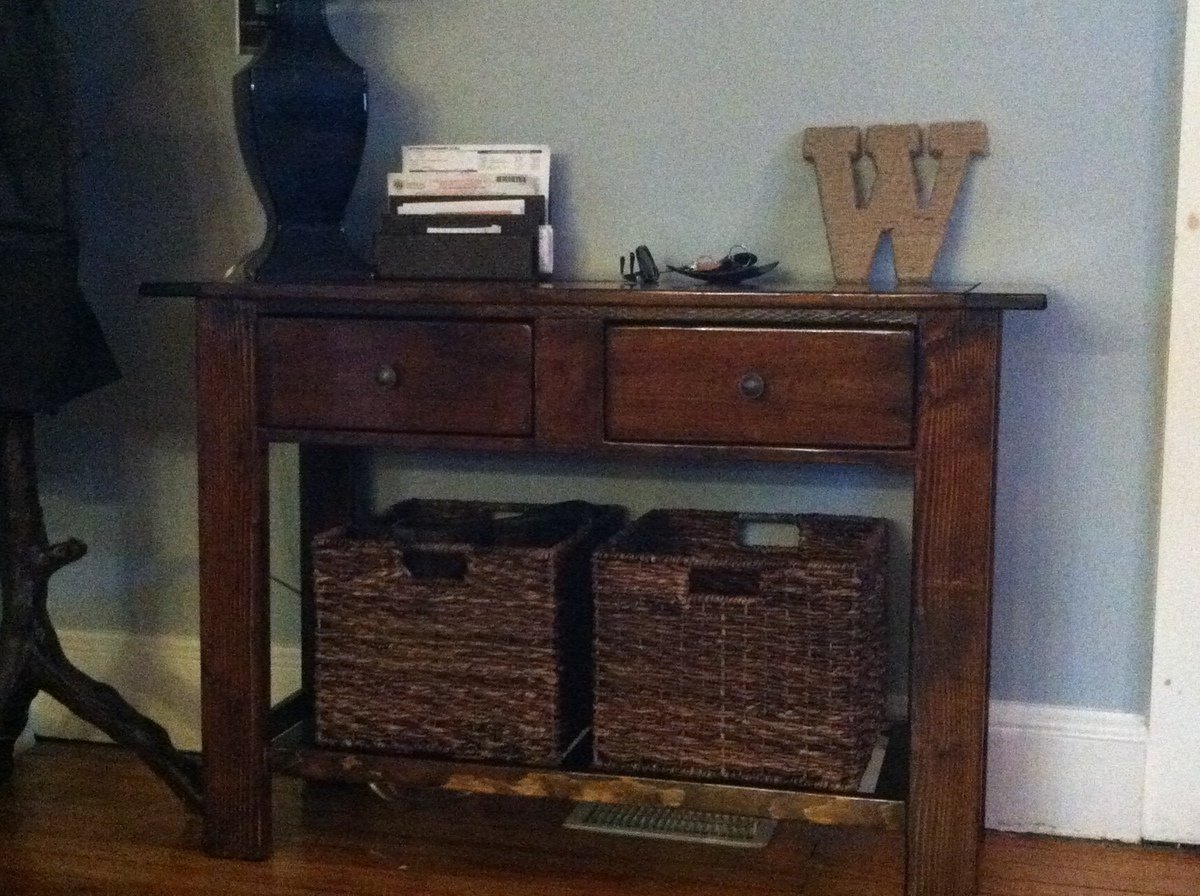
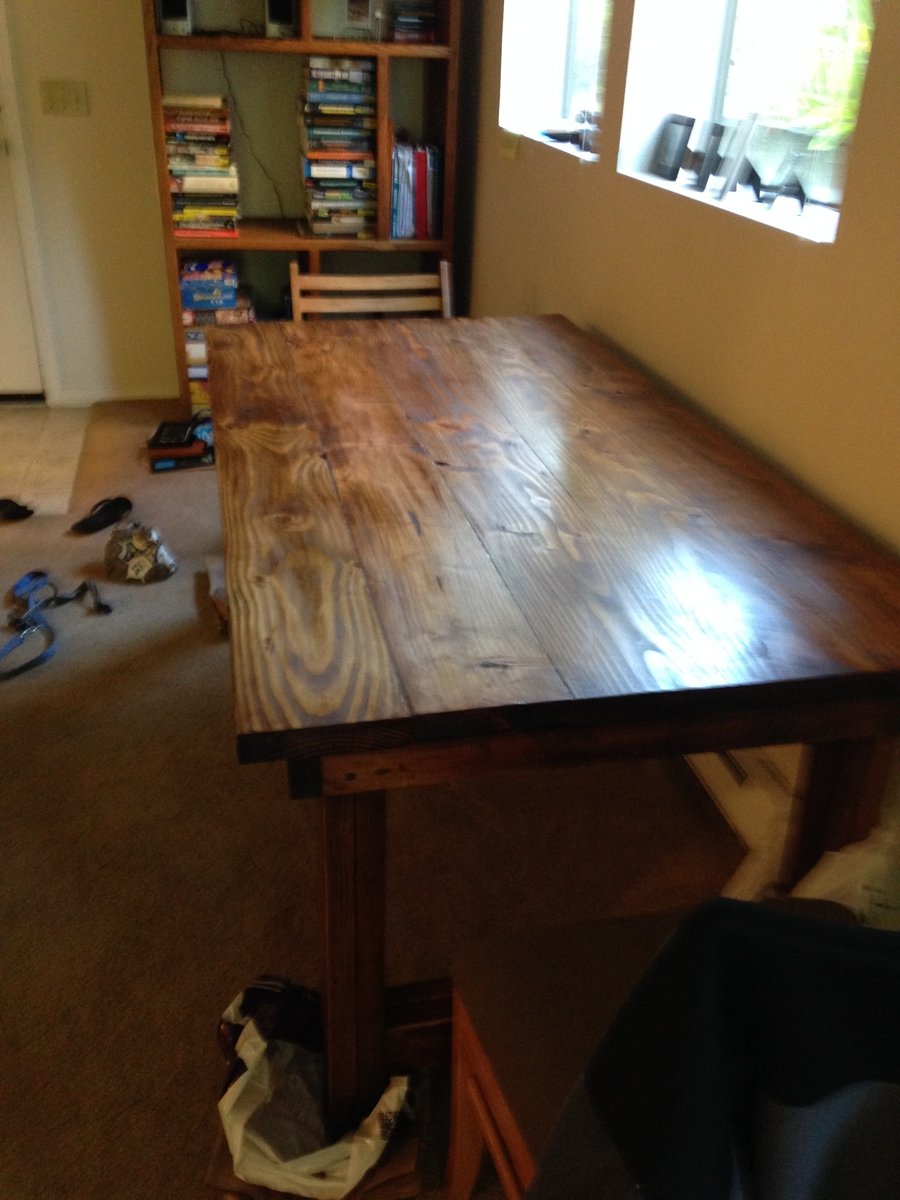
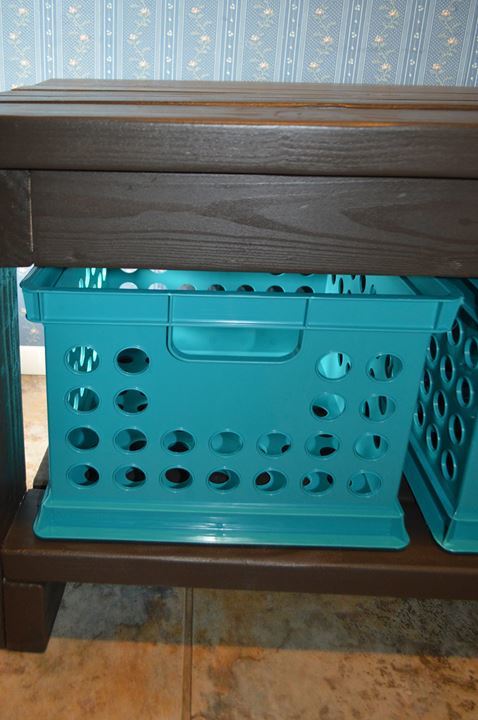
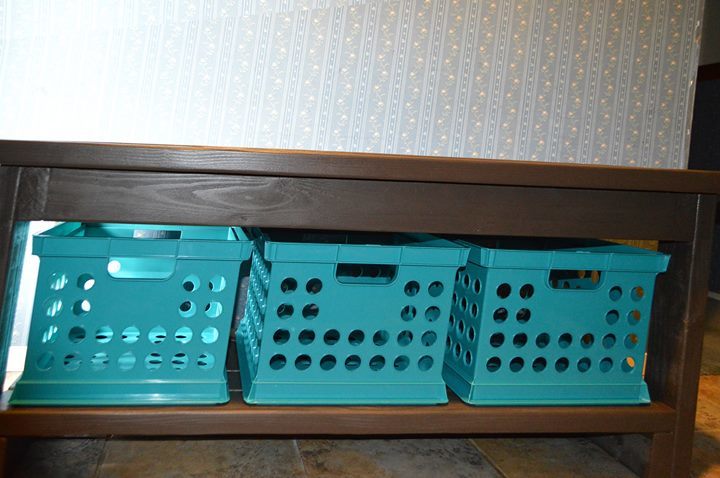
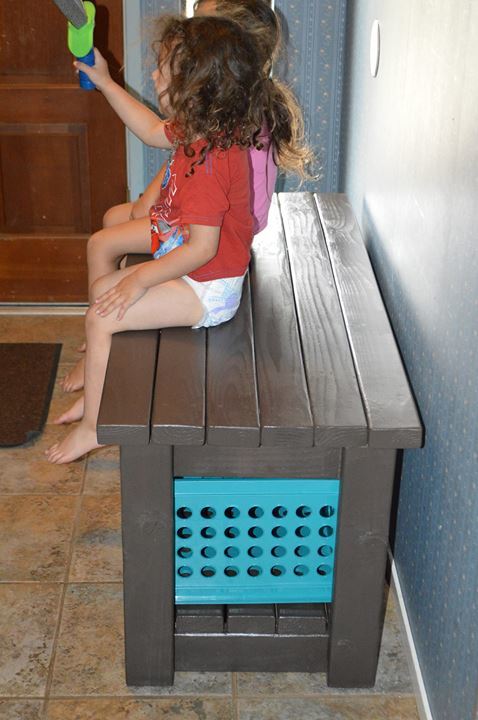
I ended up combining two of the different plans (Benchwright, Tryde) because I wanted something that matched my Hyde Pottery Barn coffee table but that had drawers. My console table only needed to be 44" wide, so I ended up removing the middle 2x4 that was part of the Benchwright plan. I also used 1x2s for the bottom shelf because it was over a vent, and I knew that I was going to be using baskets for storage down there. I also used actual drawer slides because I knew that my console table would be used pretty frequently. The hardest part of the whole table was installing the drawers and making sure they were sliding smoothly and that the front of the drawers were flush with the front of the console table. Favorite part of the entire plan was the planket top...I love how it turned out!

Thu, 02/23/2017 - 13:16
This is exactly what I have been looking for! Are the legs made out of 4 x 4's?
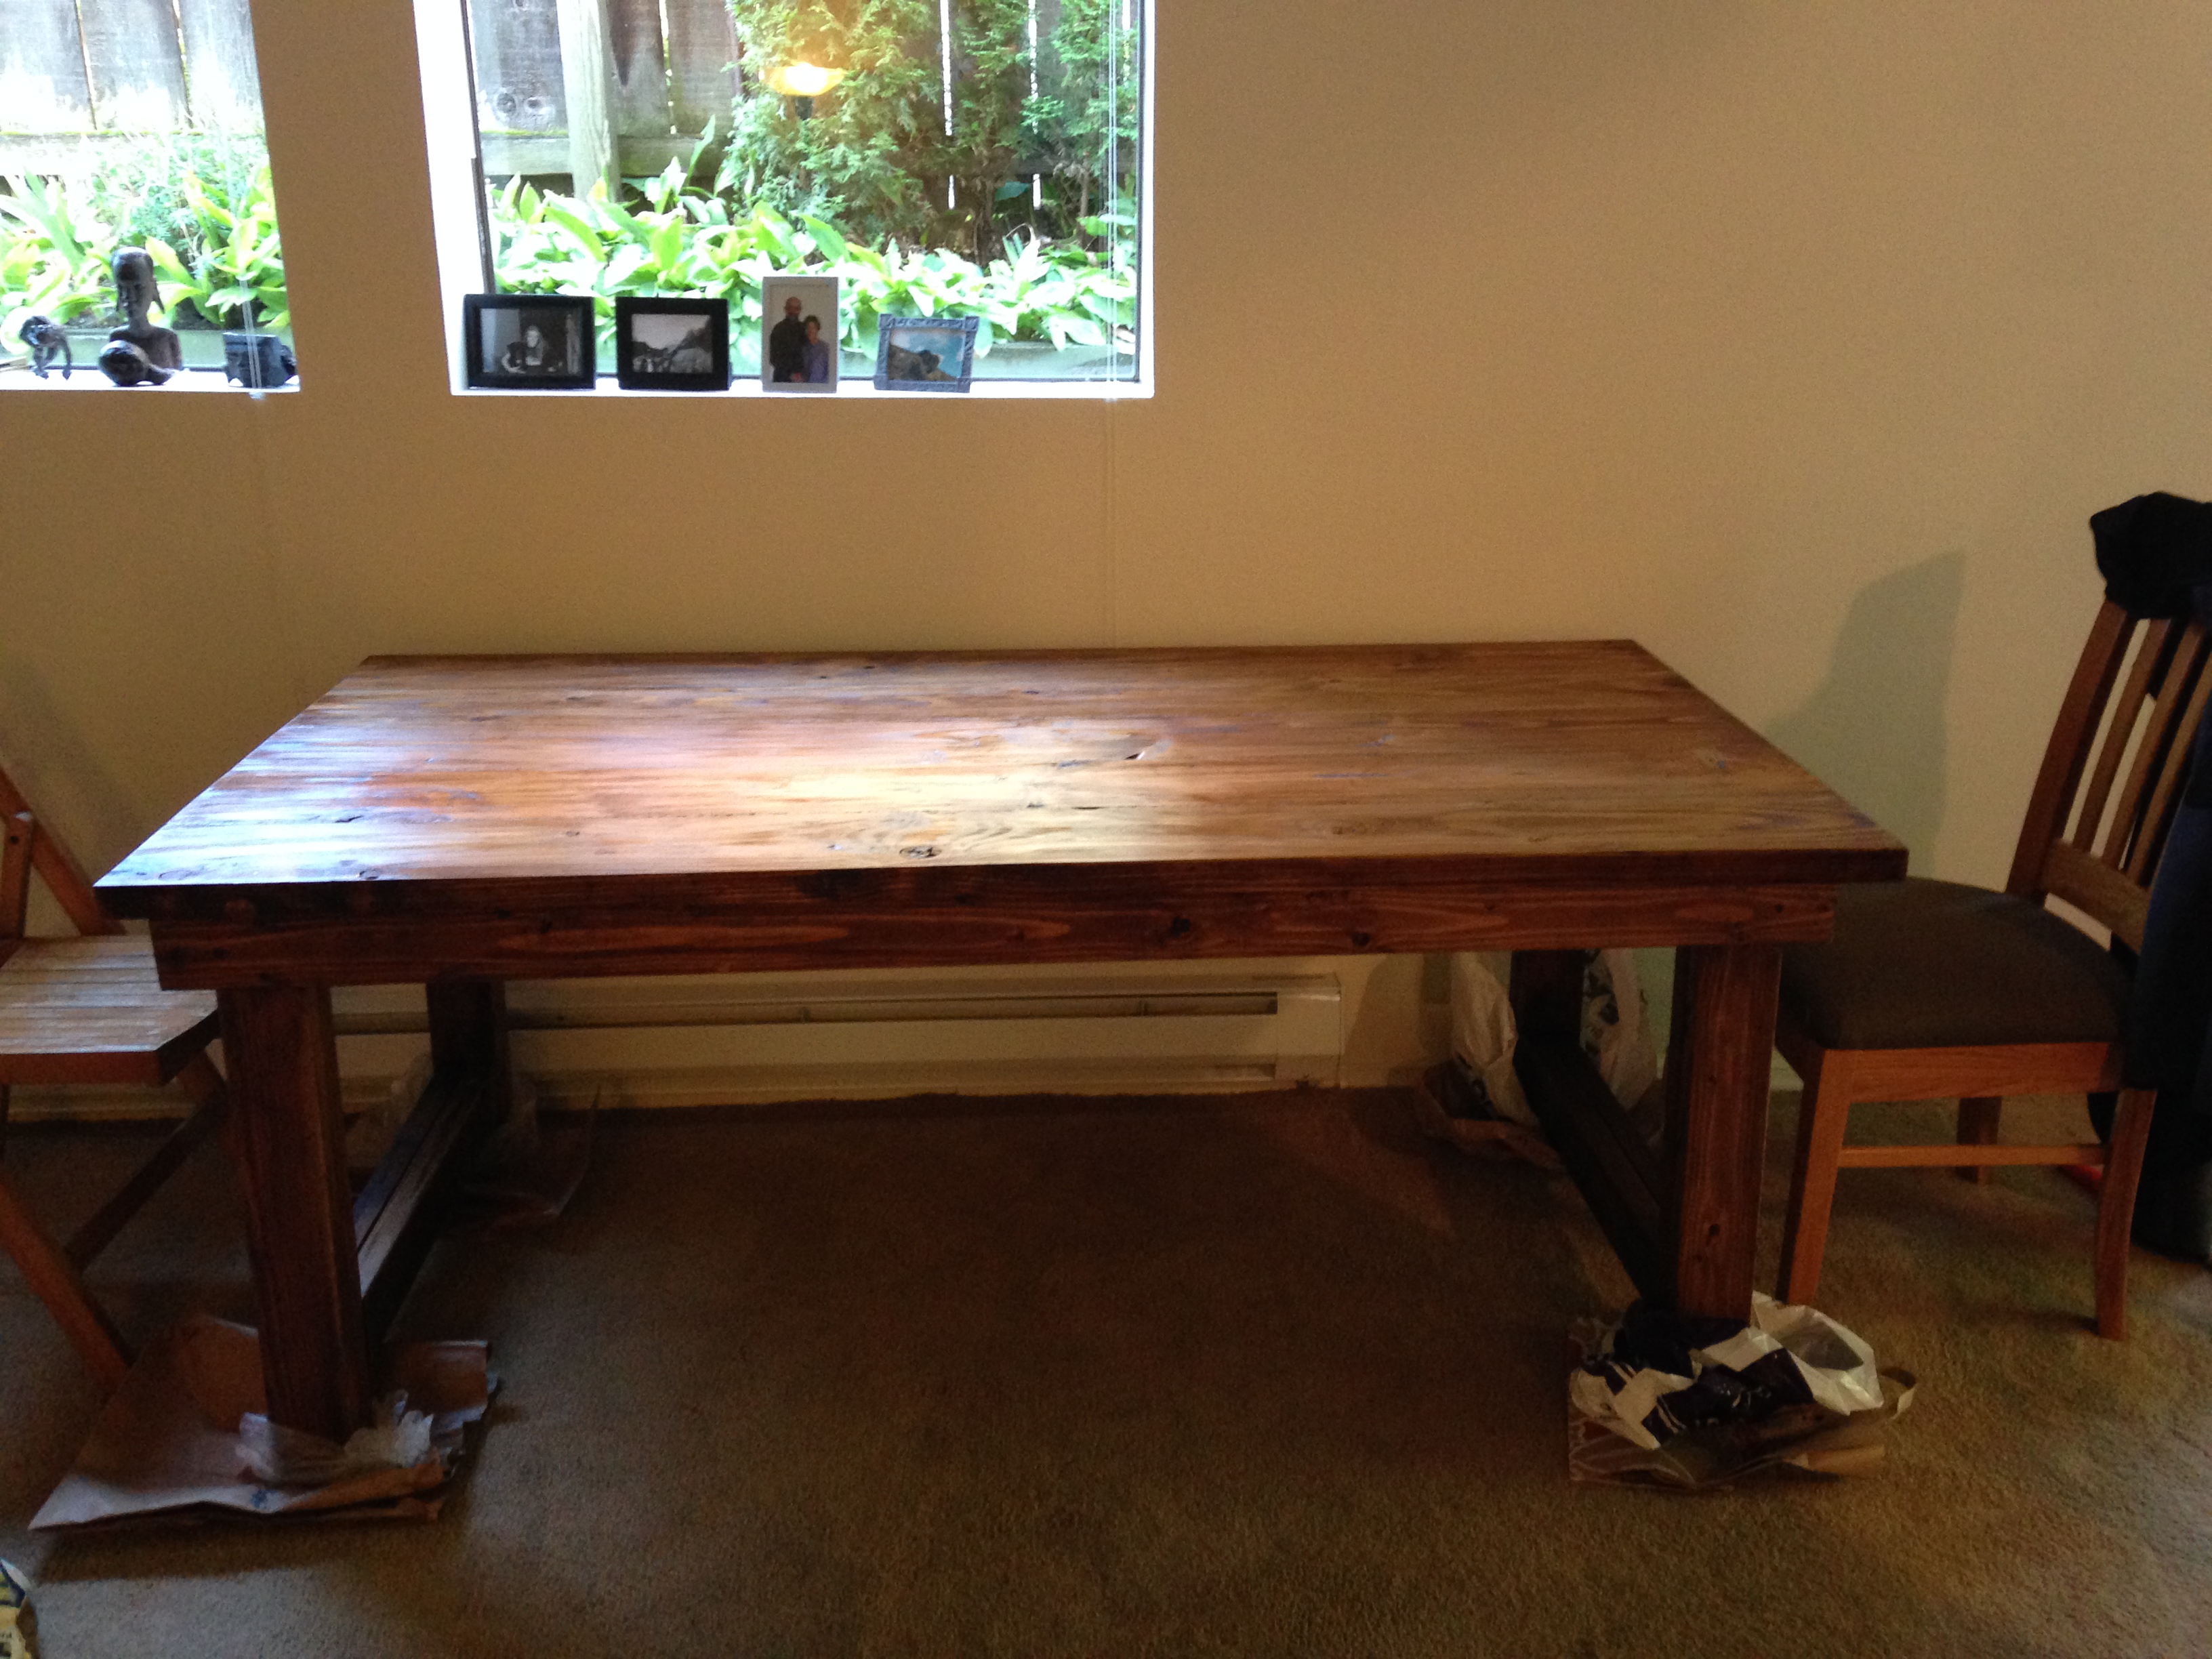
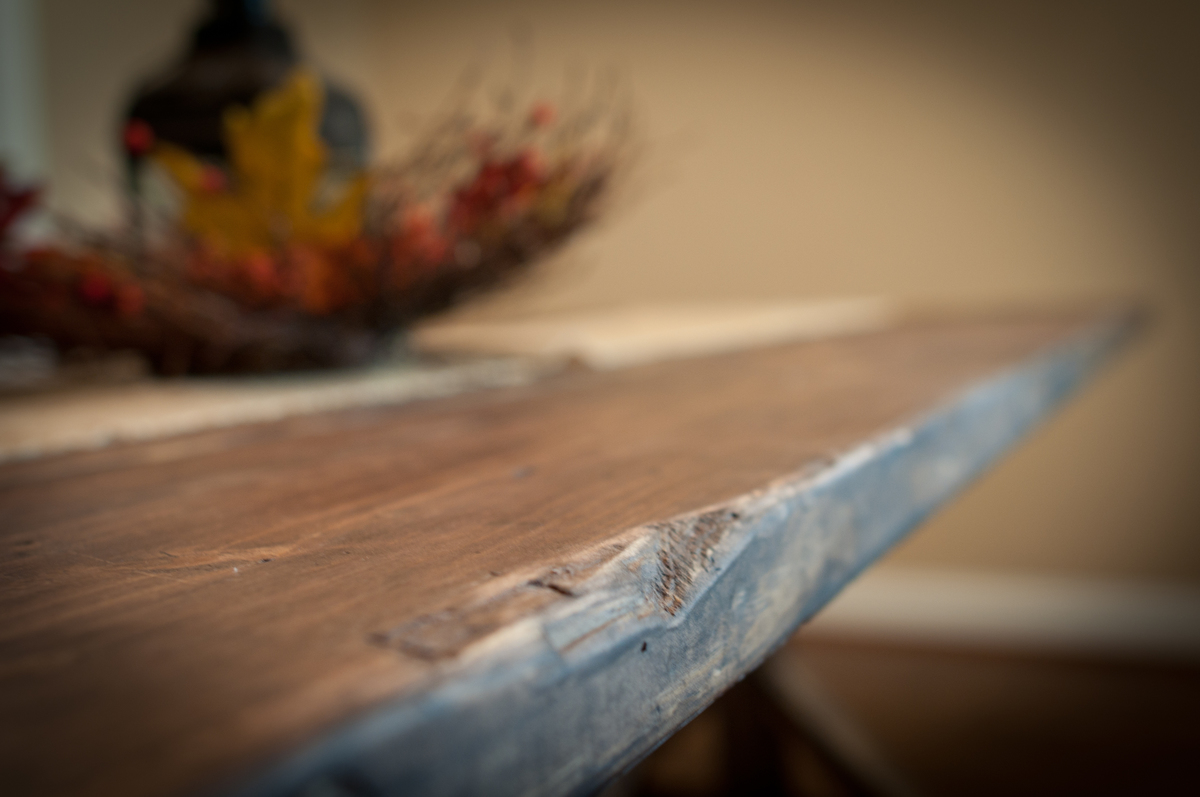
This was my first project and couldn't be more pleased. Took about 20 hrs, and $120 including new materials (brushes, etc.) with borrowed tools. I filled cracks on top of table with wood putty and stained with Mission Oak; looks great, but make sure to dry wood putty with heater or hair dryer to avoid cracks if you go this route. Thanks Ana for the plans!
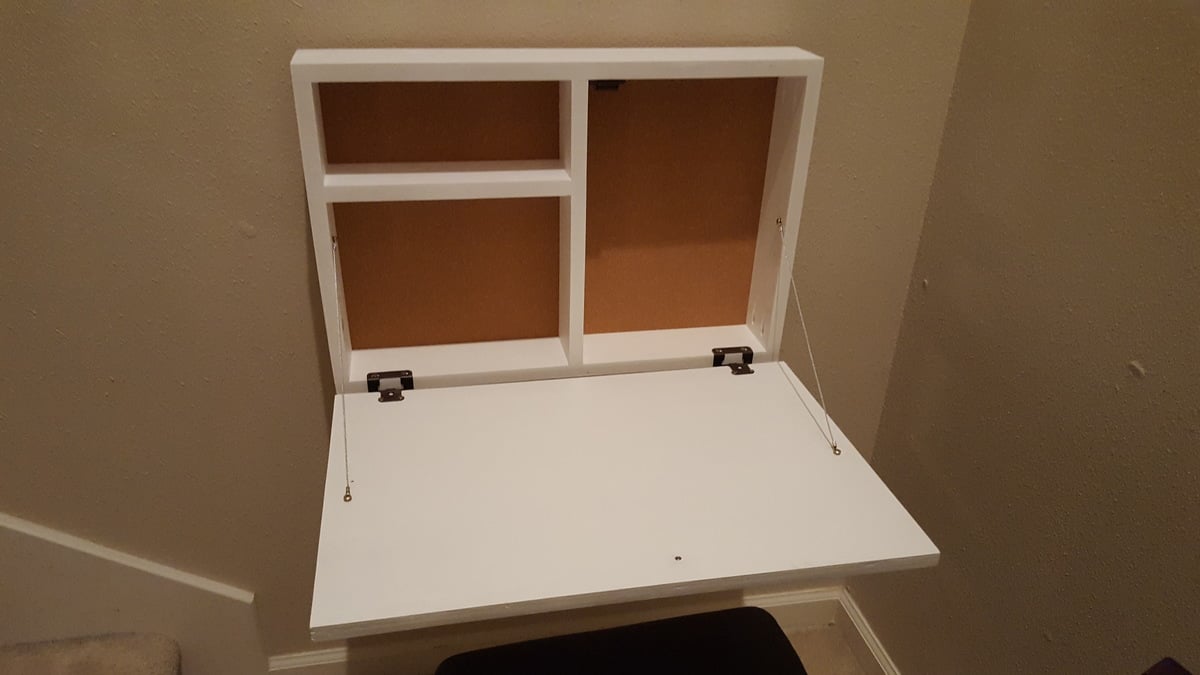
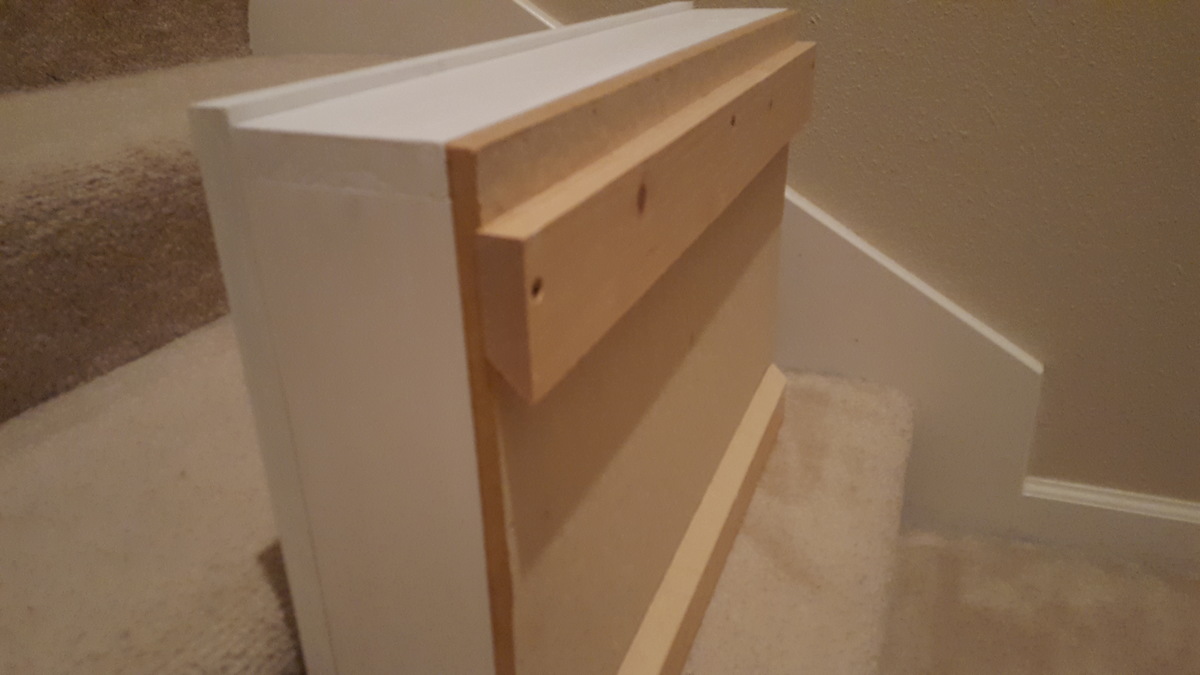
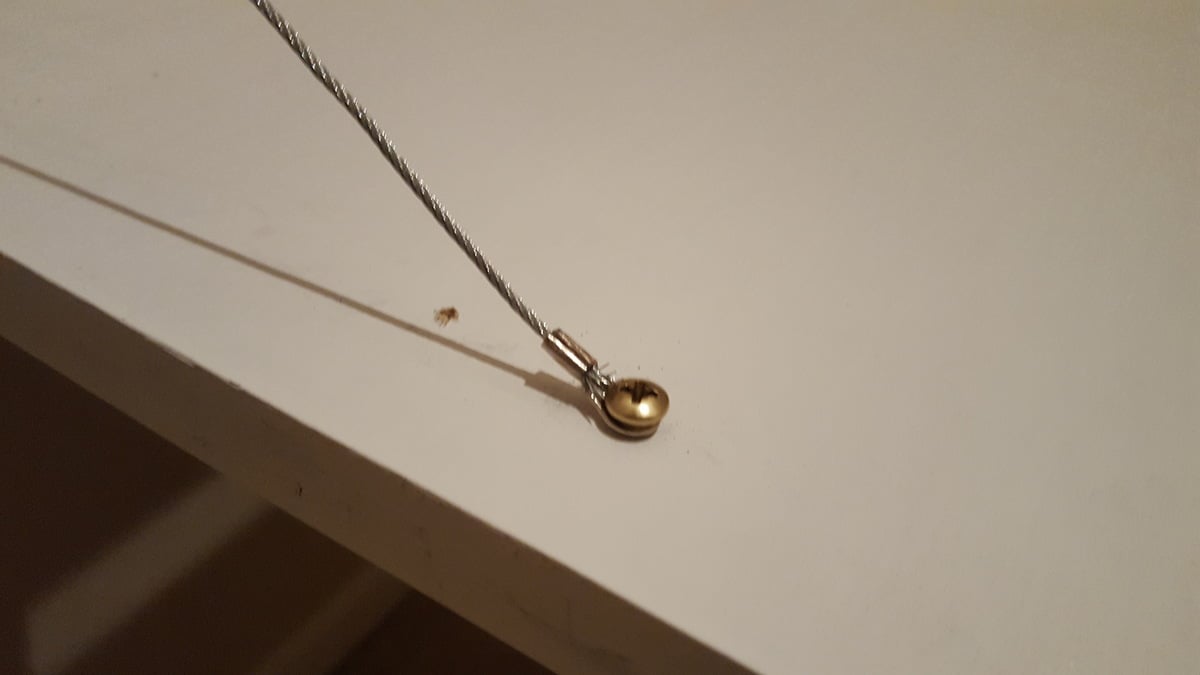
Had to make some modifications since I was using some old hinges. Use some 1/16" cable with an eye fitting on either end. Since my kids have a habbit of leaning, standing, jumping, and hanging on things I attached it to the wall using a french cleat system using a circular saw. Pretty easy to do and extremely stable. Last mod was the corkboard on the back for my wife to post homework and to-do lists.
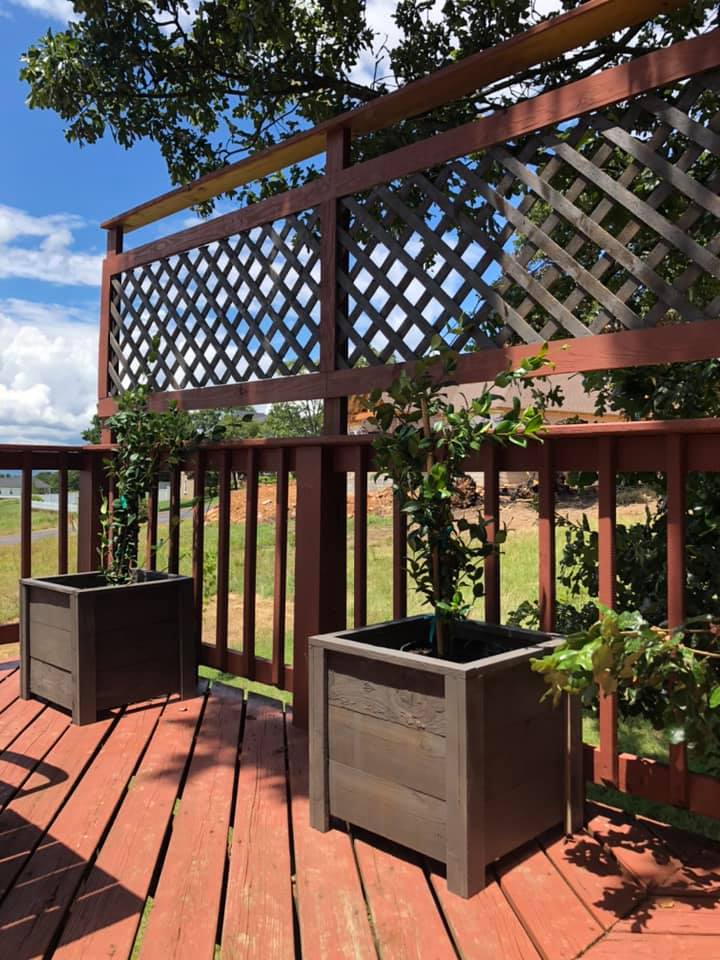
Love how these turned out! Knocked them out pretty quick too. Perfect for my jasmine that I'm training up my lattice.
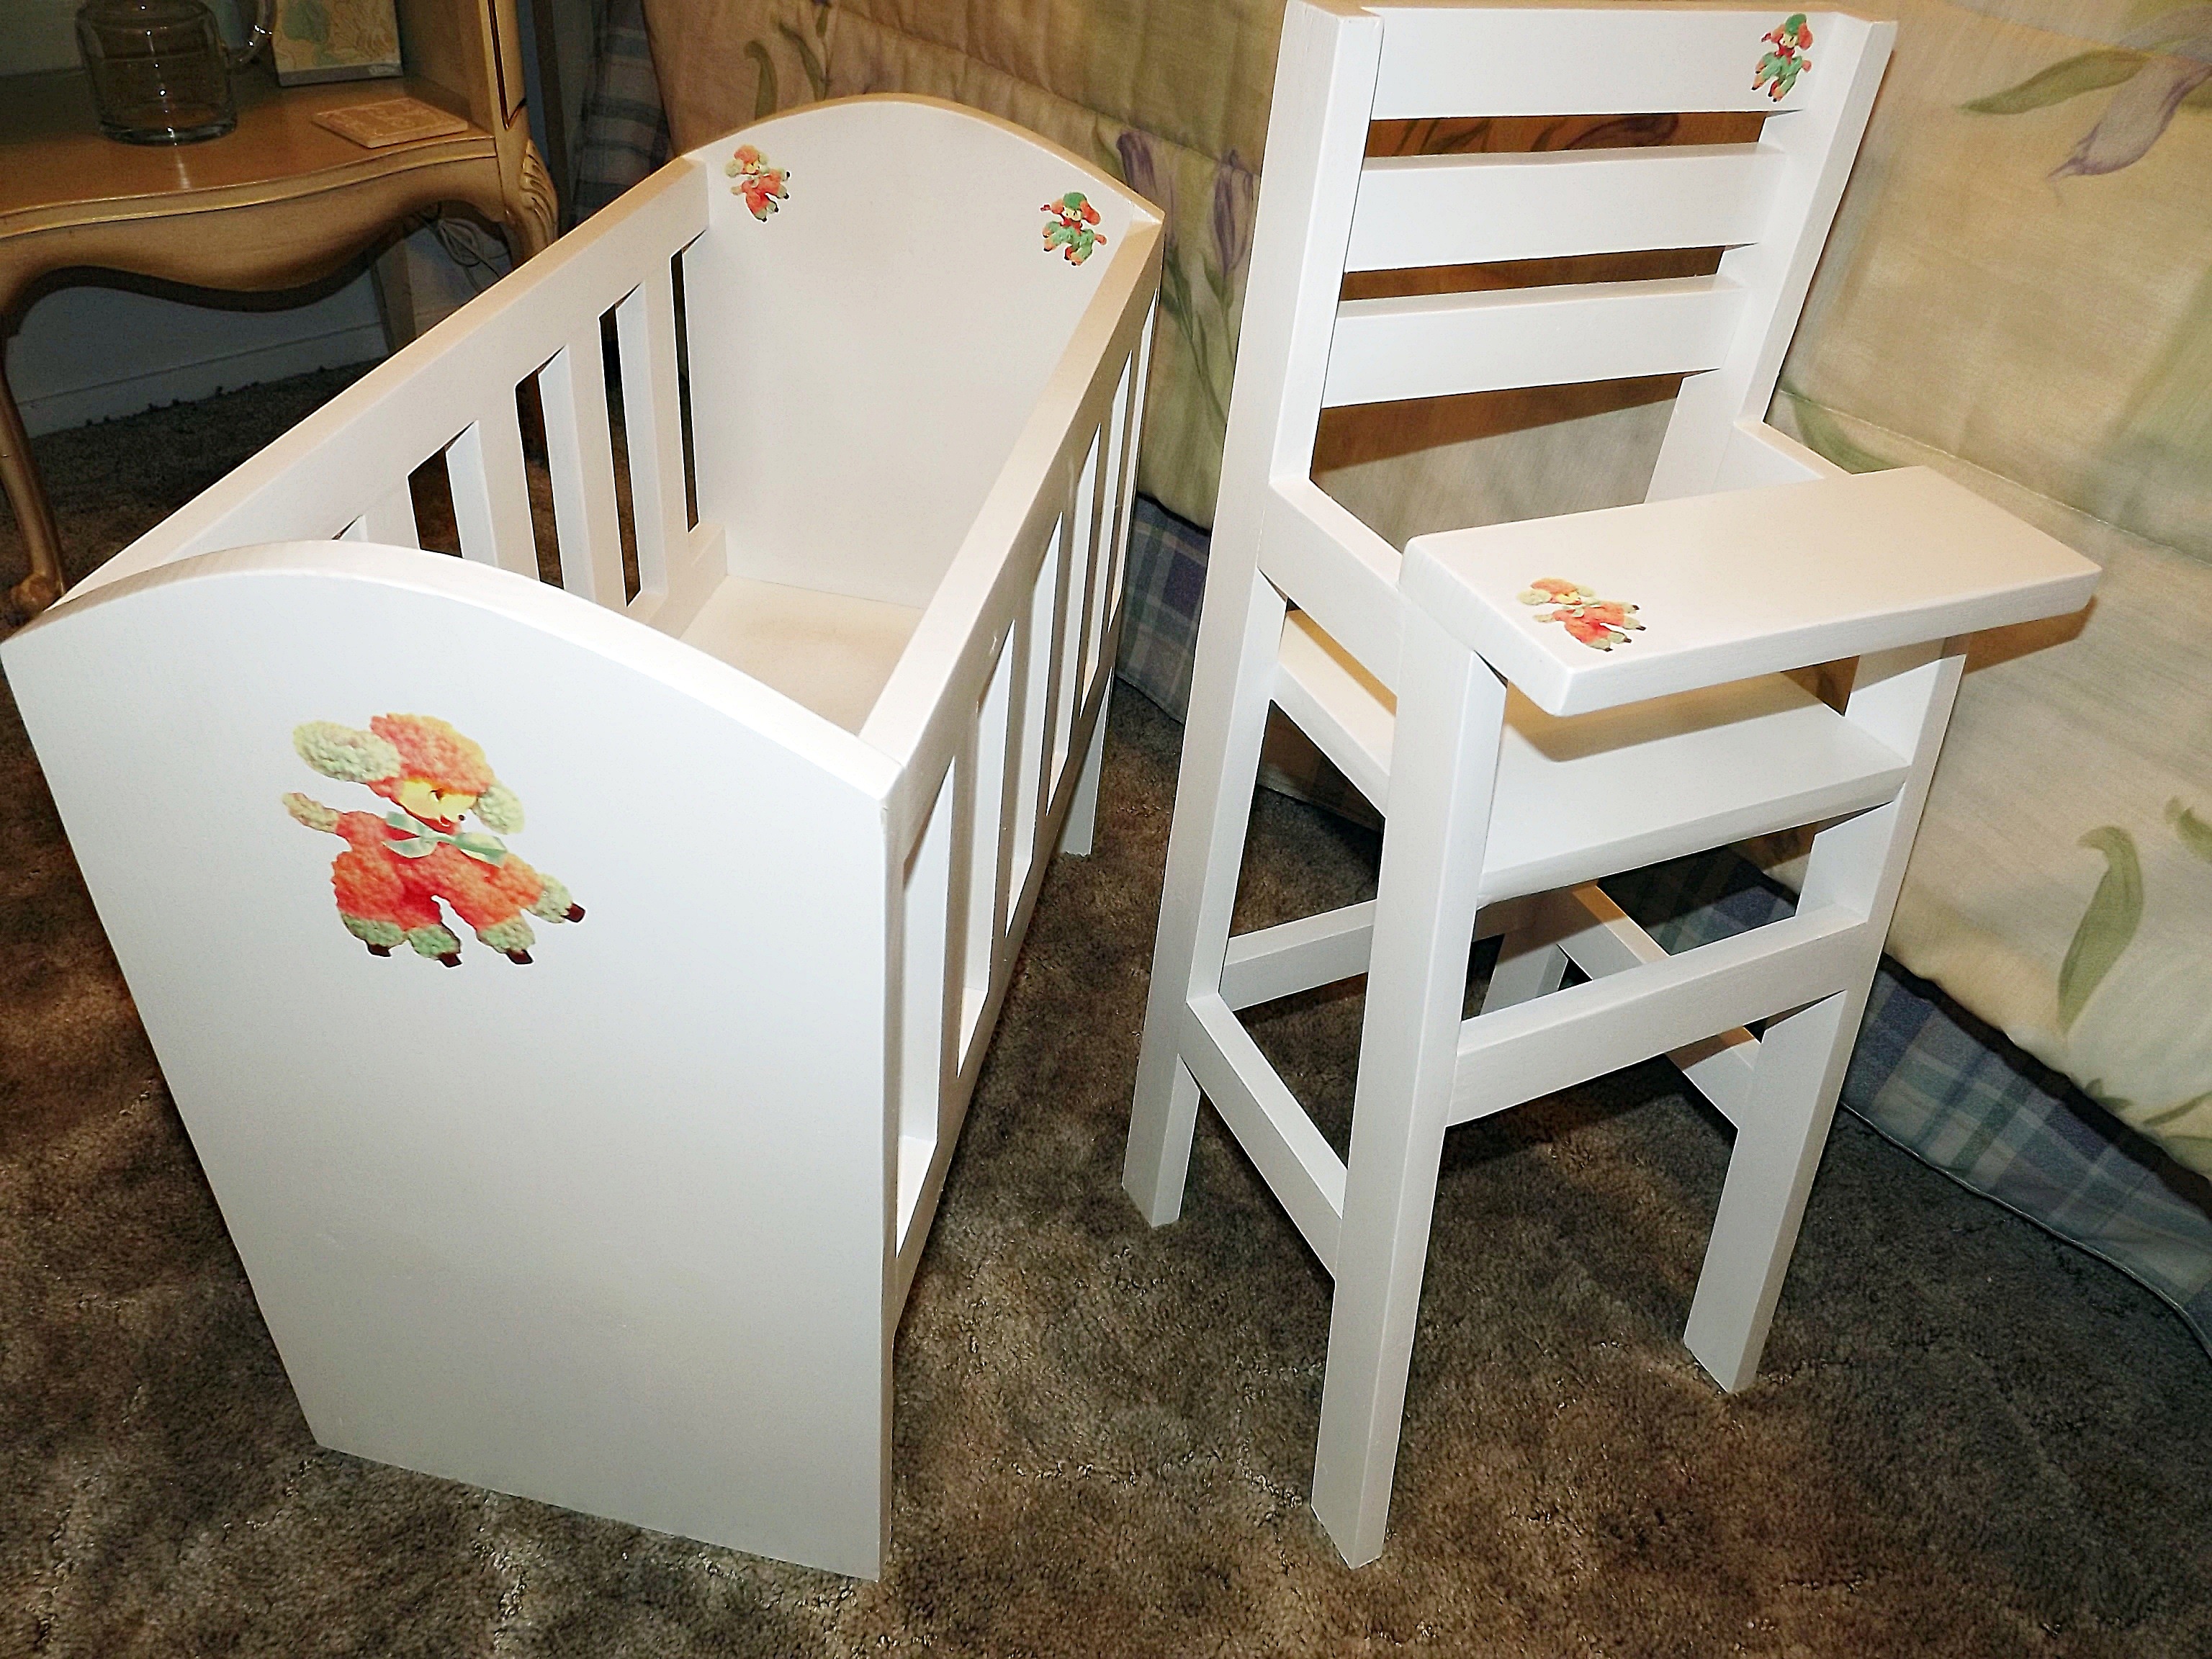
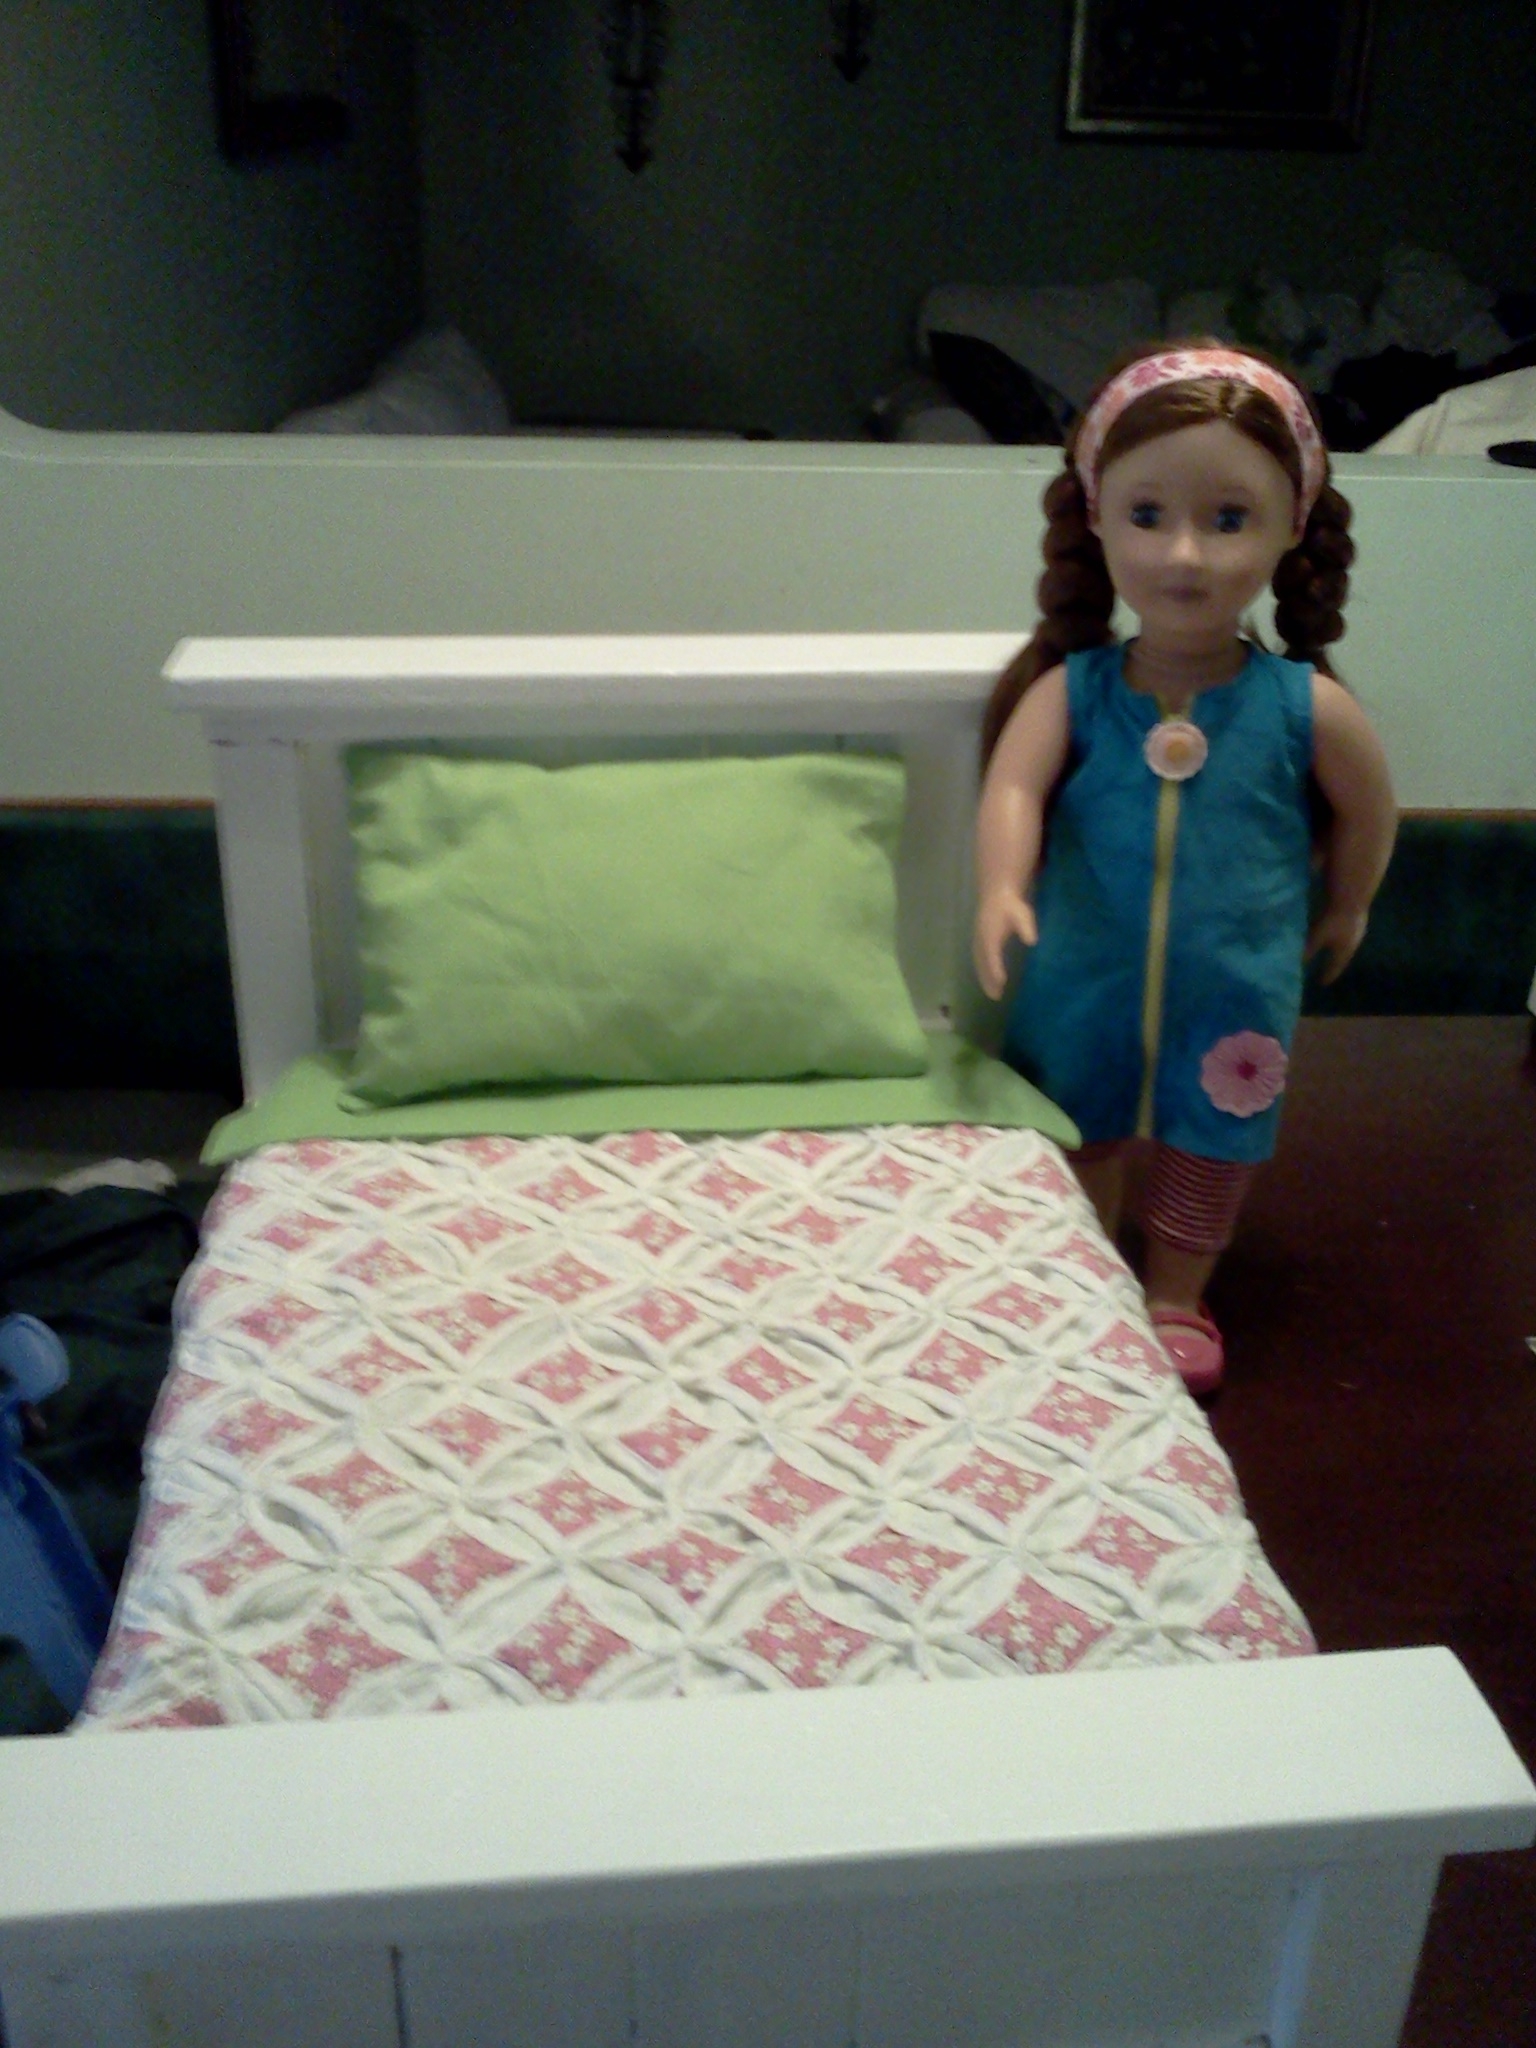
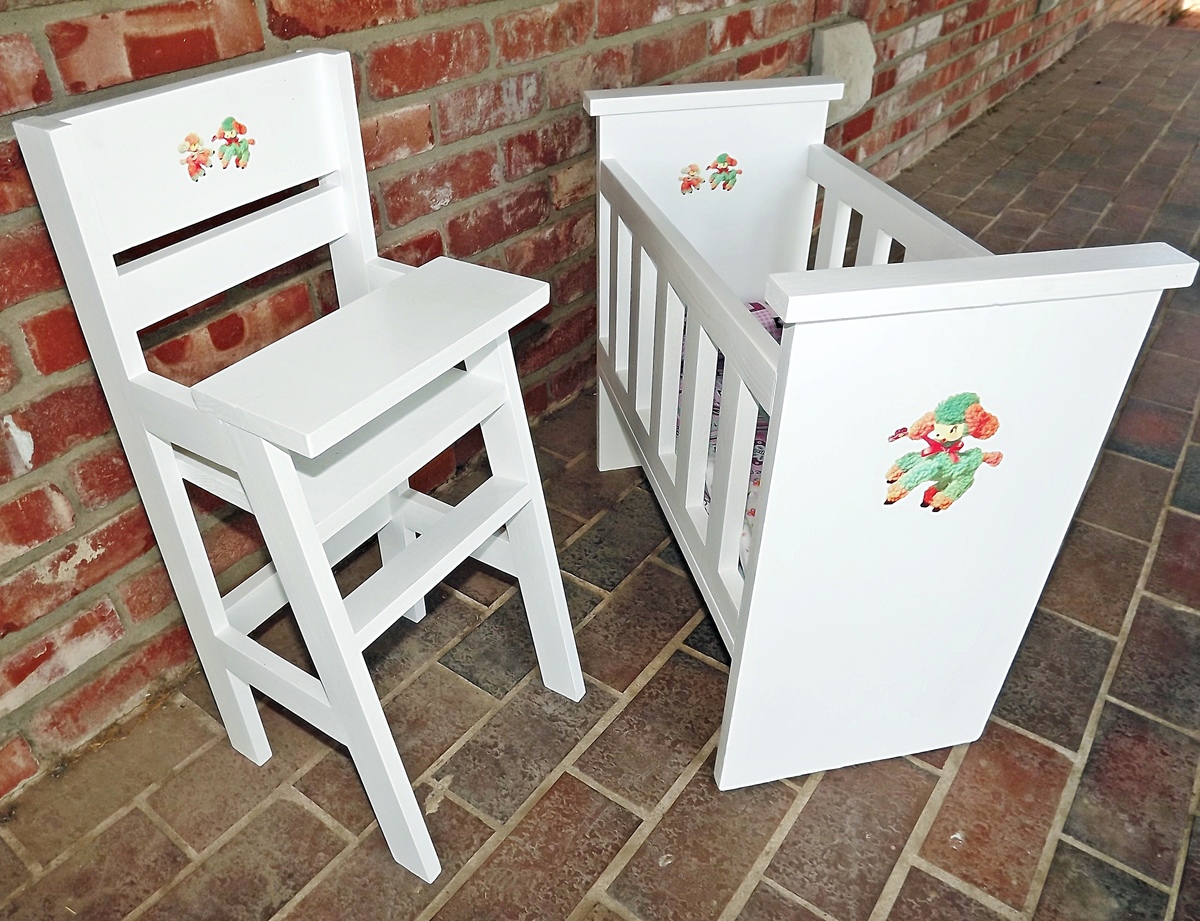
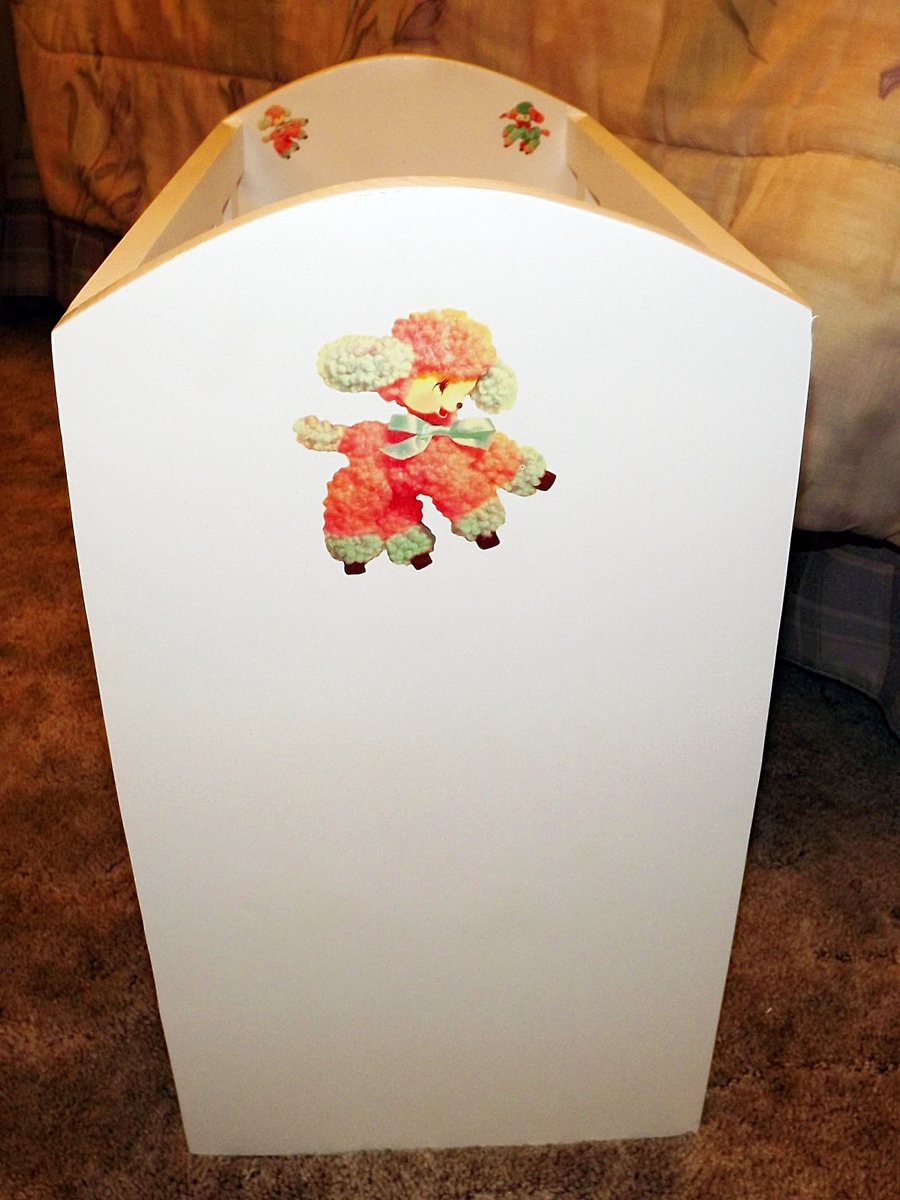
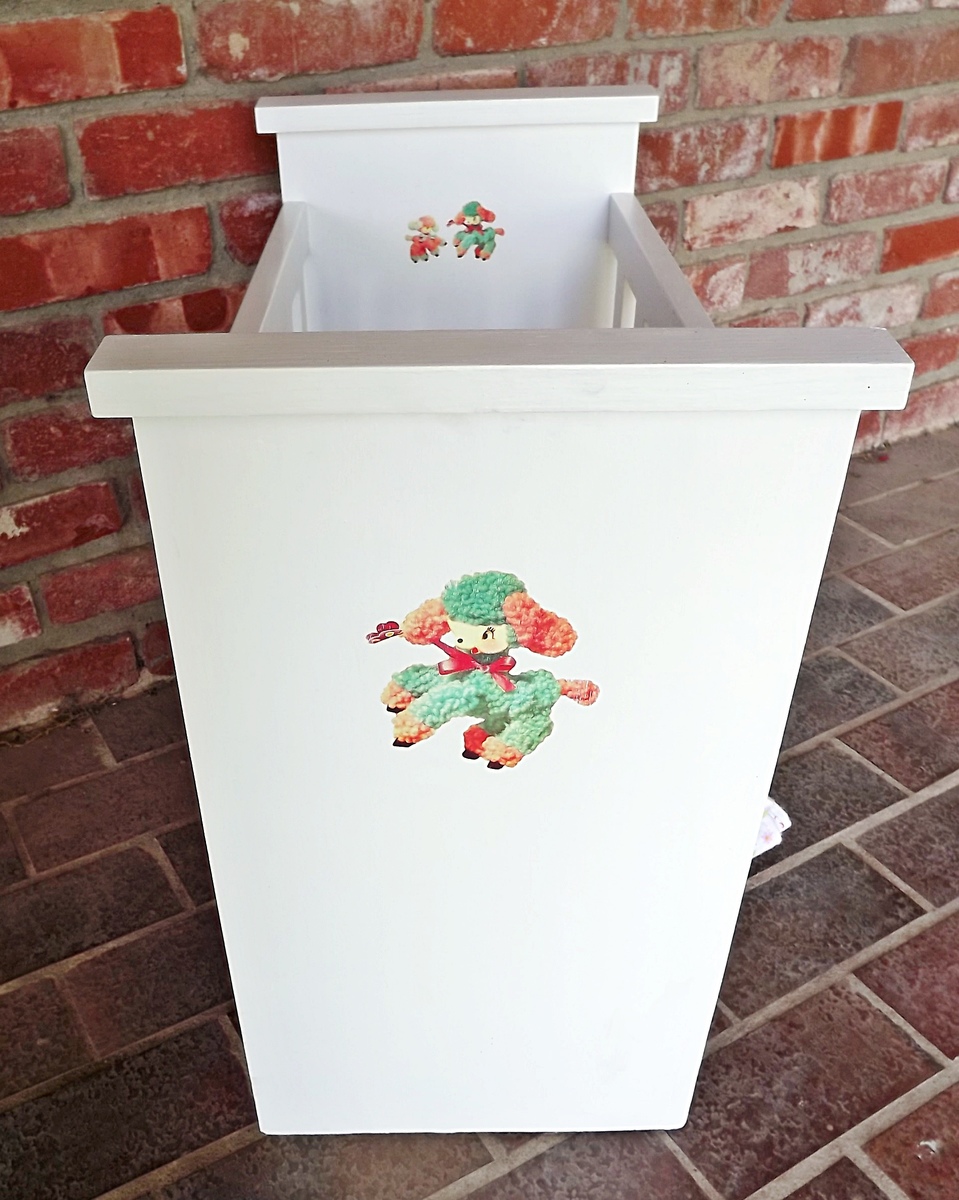
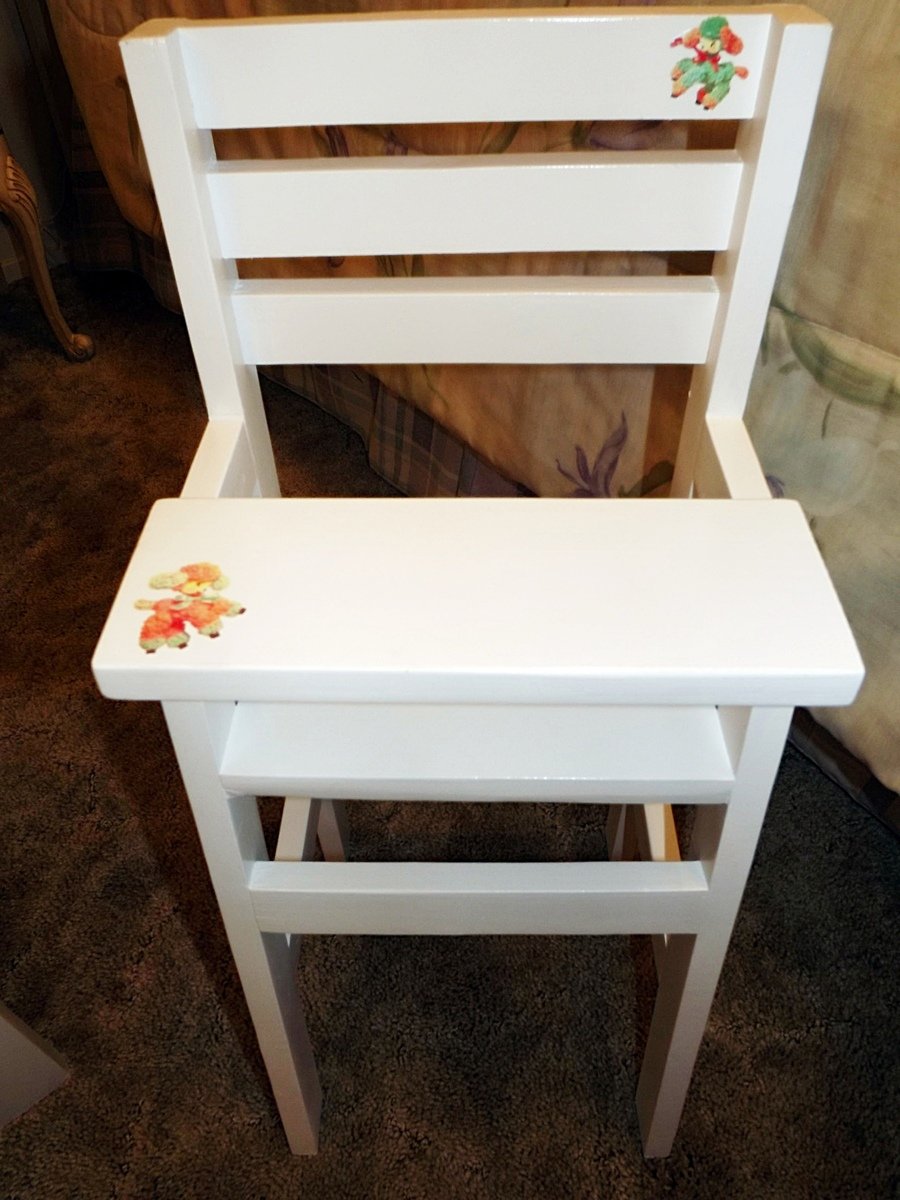
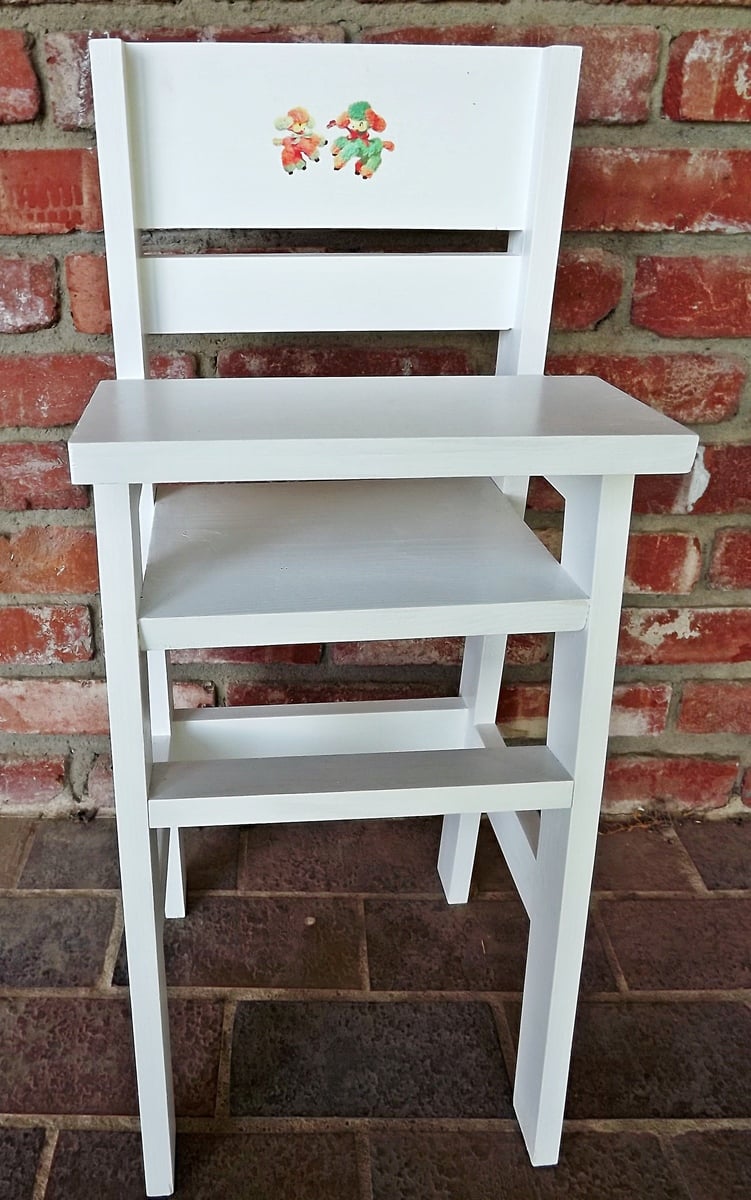
I have three granddaughters and four great-nieces. I was able to find vintage 50's baby doll cribs for the older two, but not for my youngest granddaughter. I was so excited when I found Ana's doll crib, realizing that I could make the beds and high chair sets for all of the girls. I wanted to use water-slip decals to make the beds look vintage like the older g'daughters', and I found this great website: www.decalcottage.com. I wanted each set to be slightly different, so for the first two sets for sisters, I followed Ana's plans exactly for one, and using the idea from another brag post, used just a rectangle for the ends.The high chair backs are also slightly different. I have since made two more sets which I'll post later, but they all have vintage lambs on the beds and high chairs. It has been so much fun!

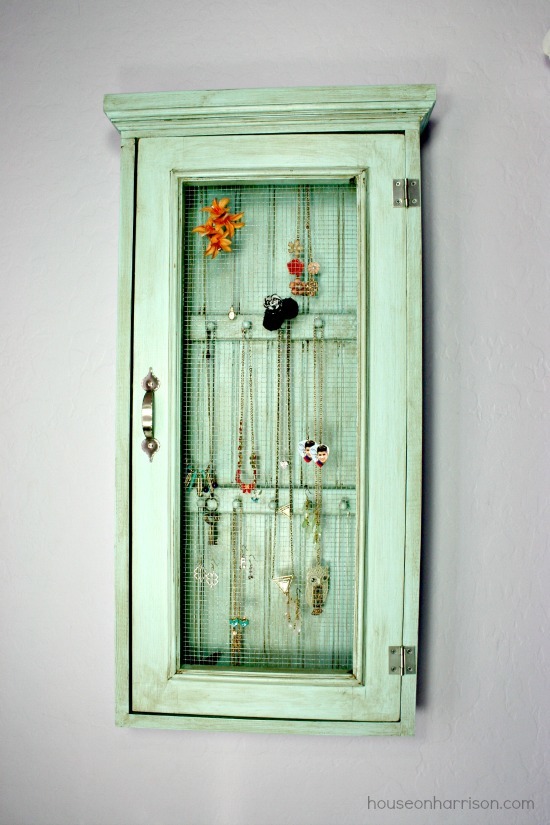
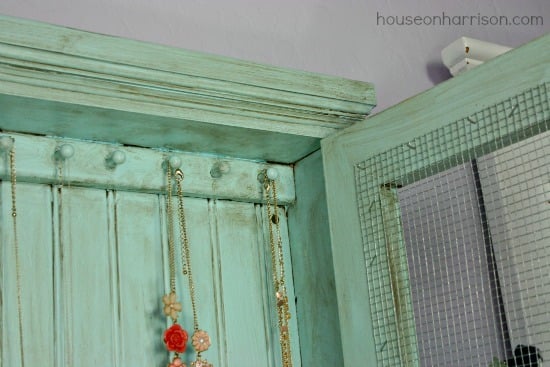
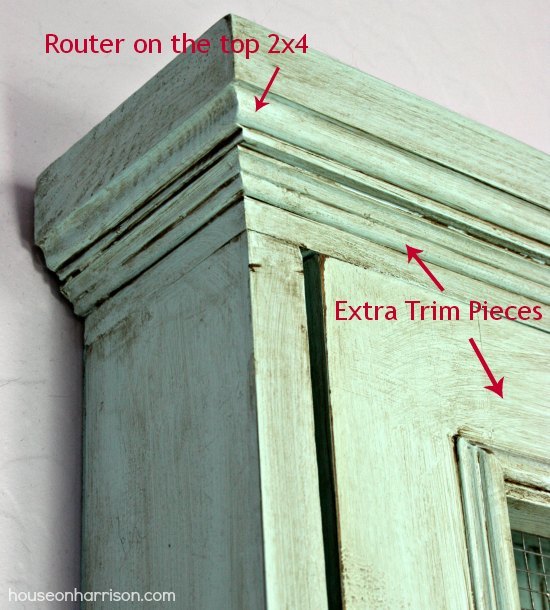
I made this awesome jewelry cabinet for my teenage daughter's room. It holds all her jewelry and then some, and it keeps it looking nice and organized. I followed the Wall Jewelry Cabinet plans, and made just a few minor modifications to better suit the style of my daughter's room. Plans were super easy to follow and this only took a few hours to build.
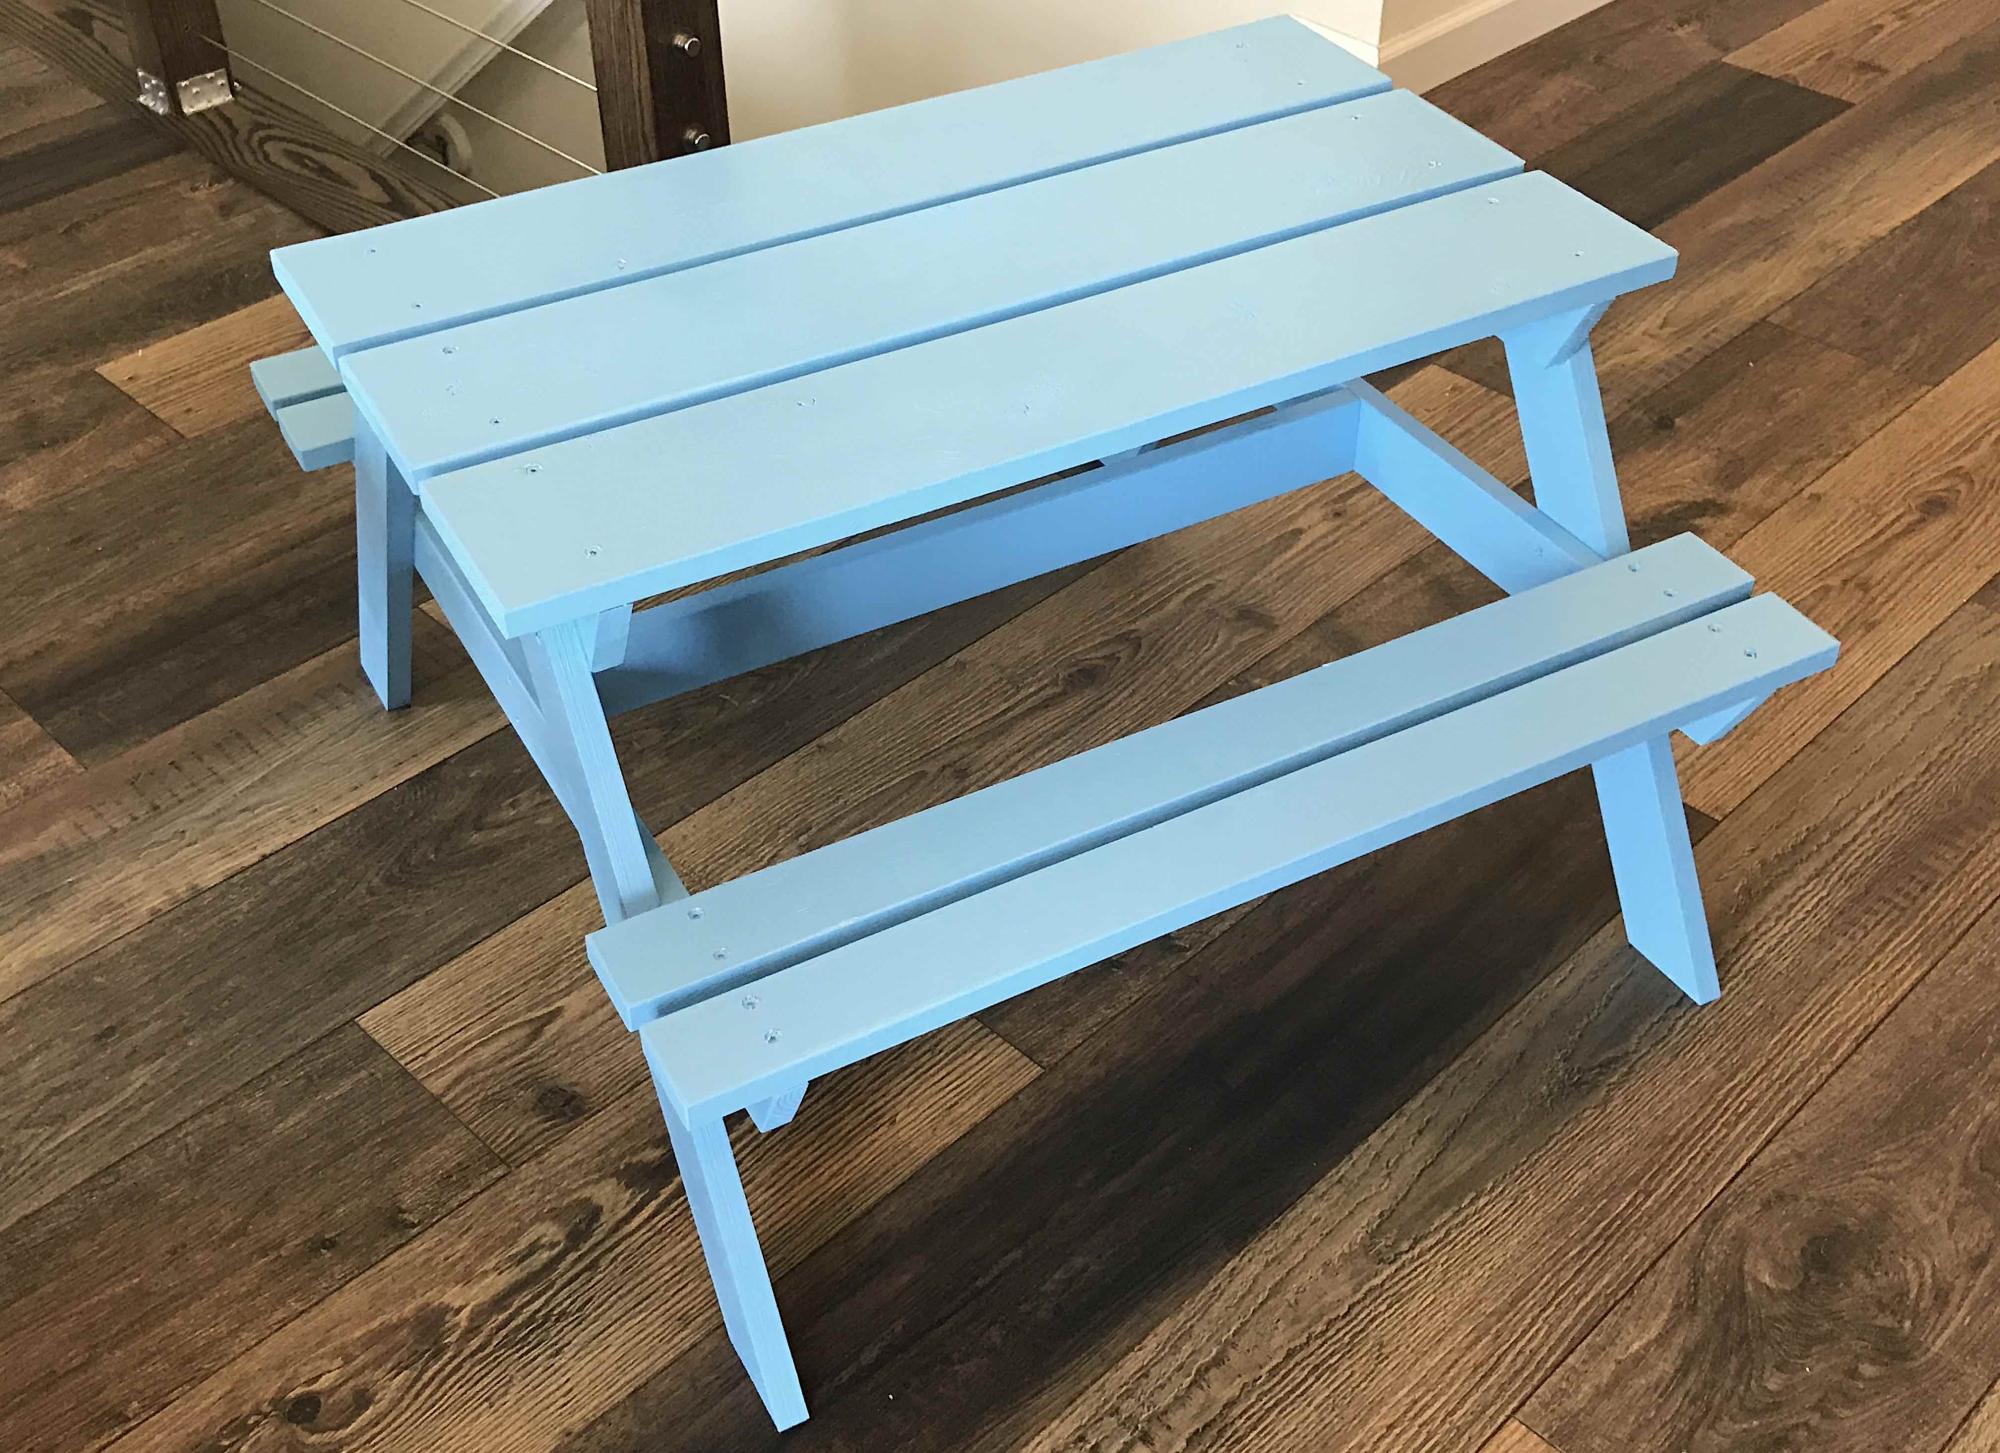
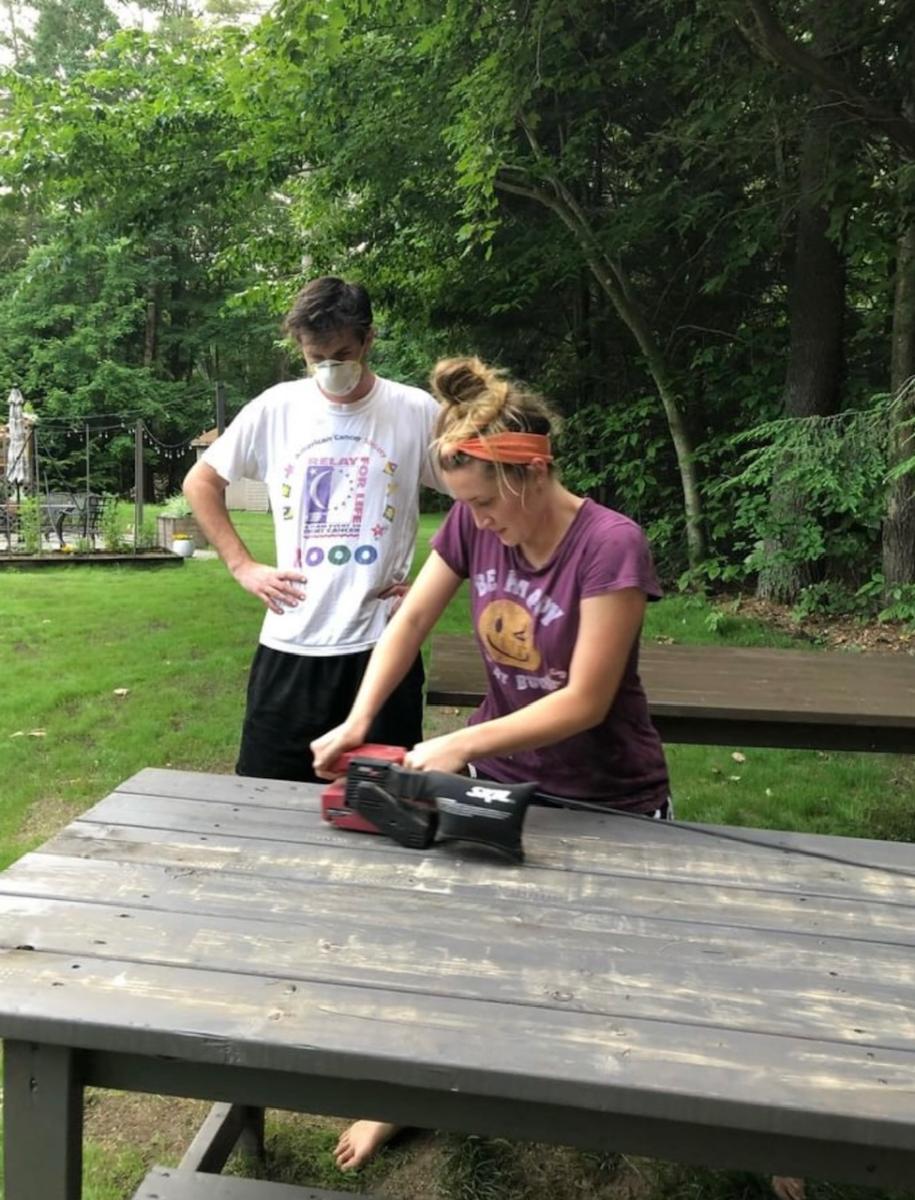
Built this picnic table for our twin foster nephews for their 2nd b-day. It was a hit!

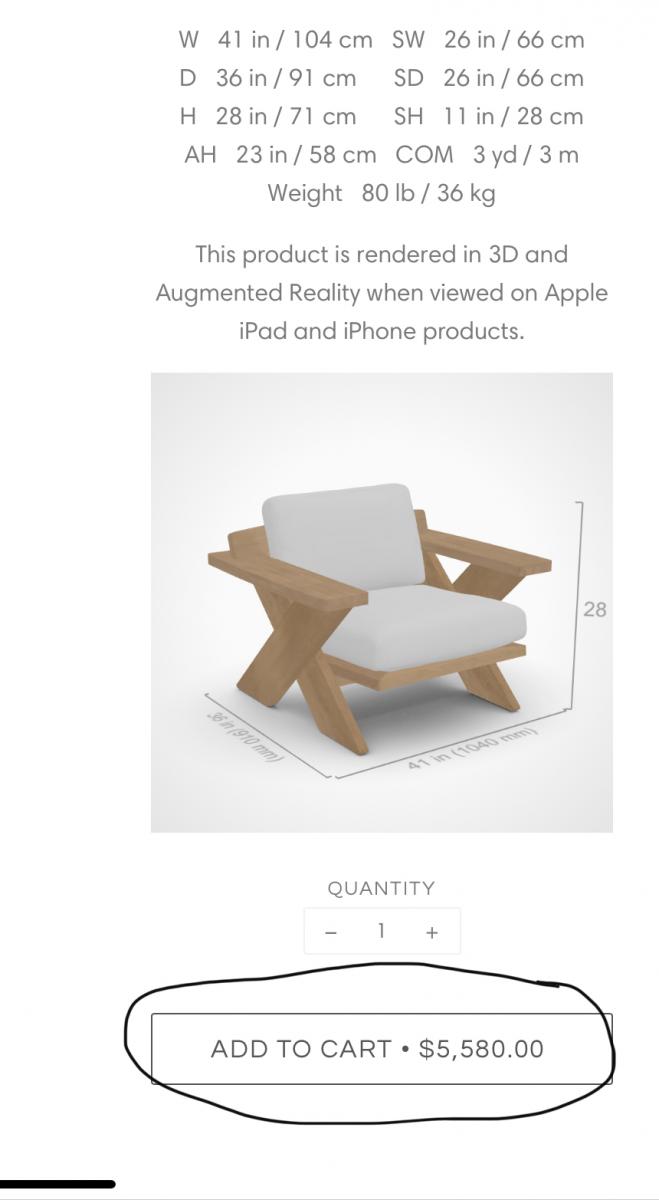
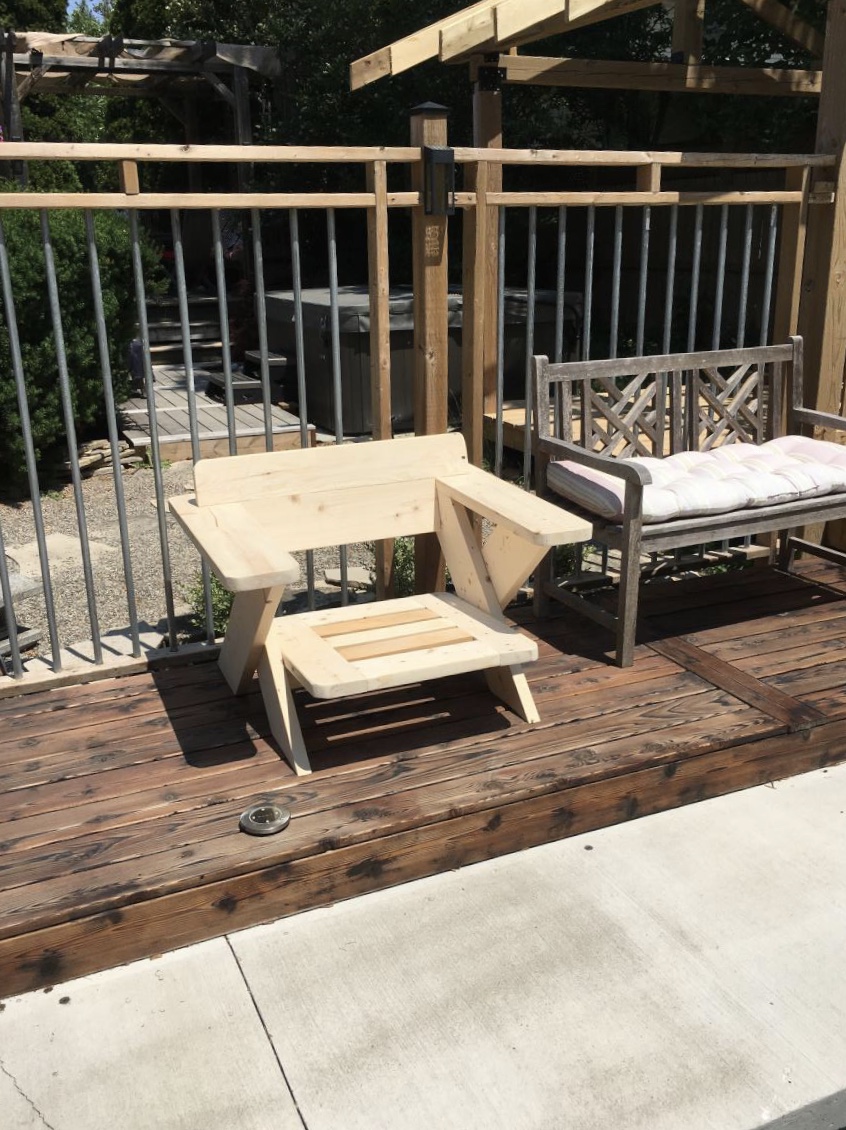
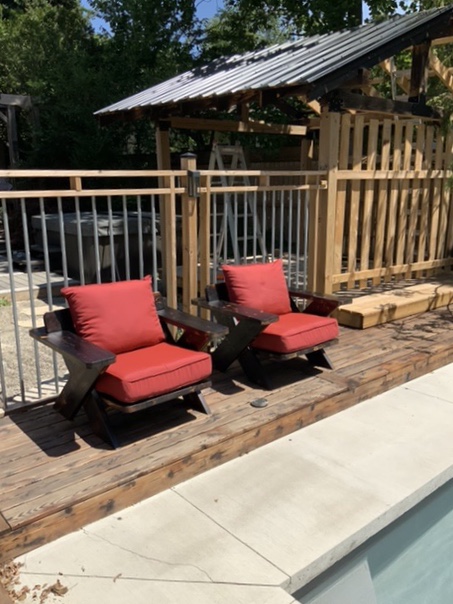
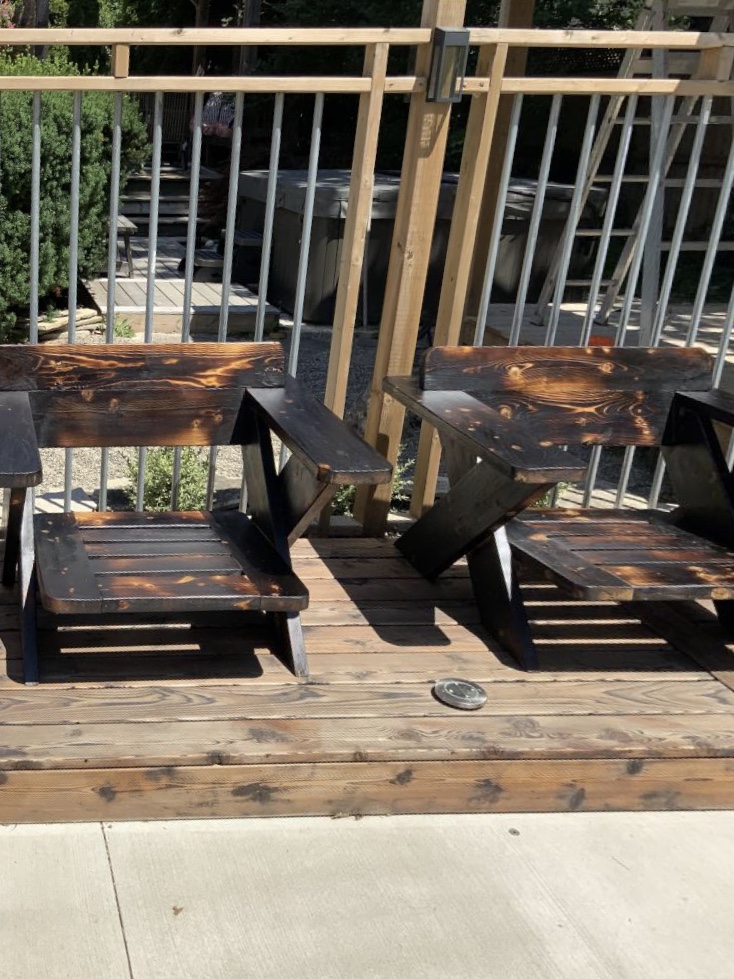
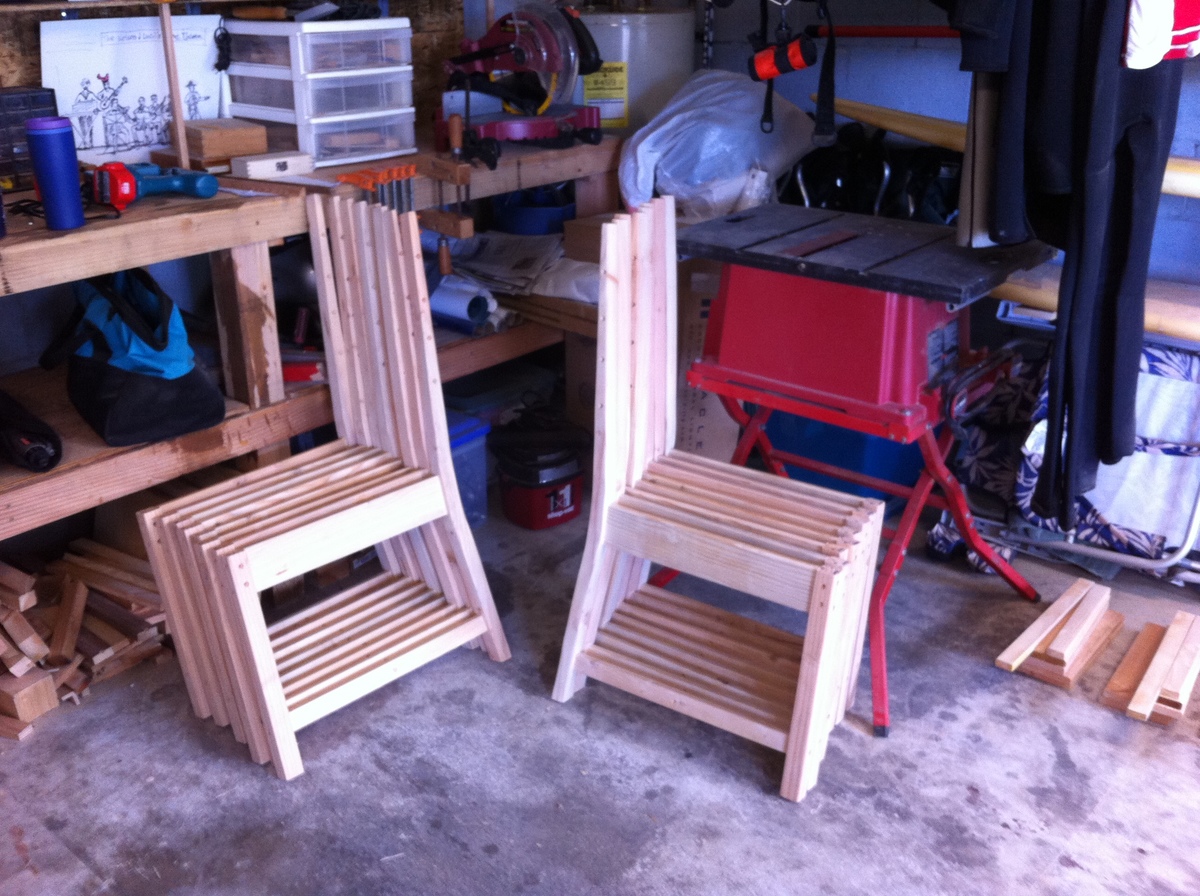
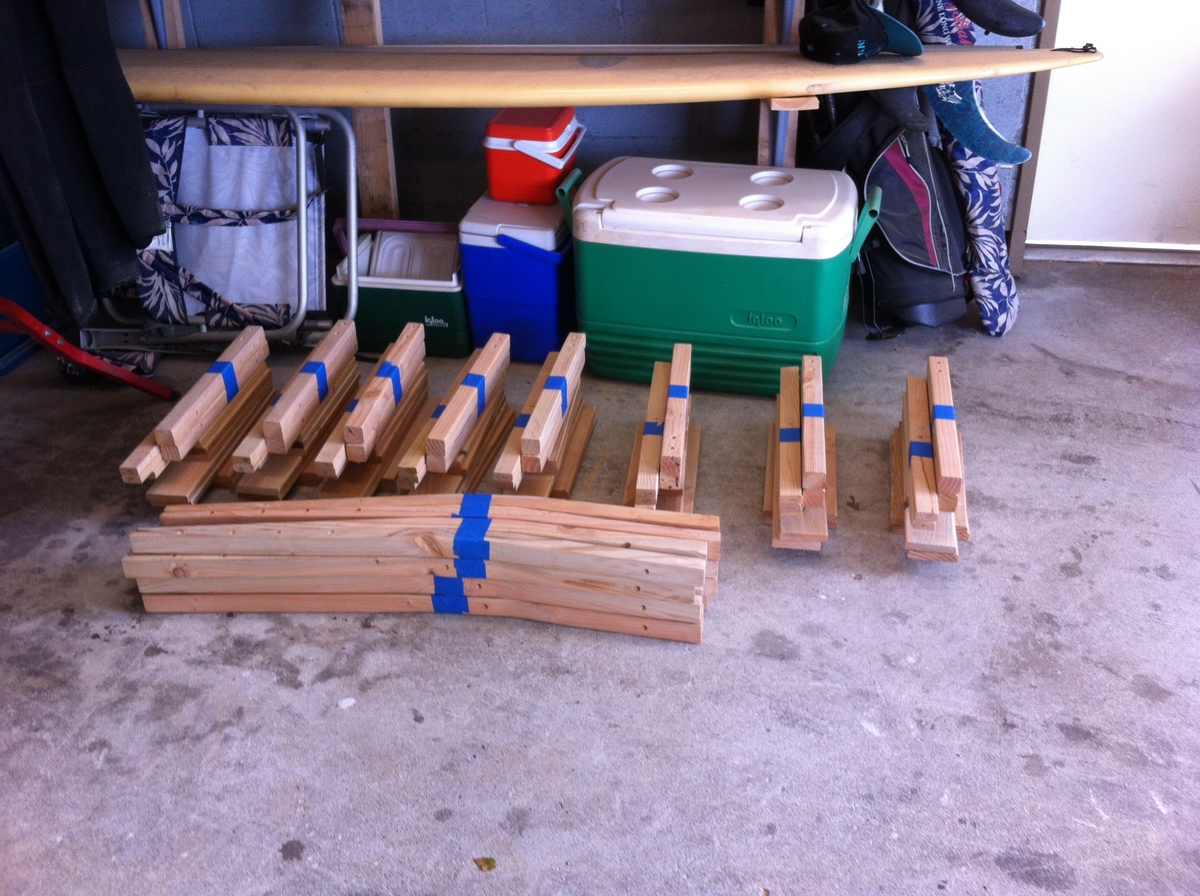
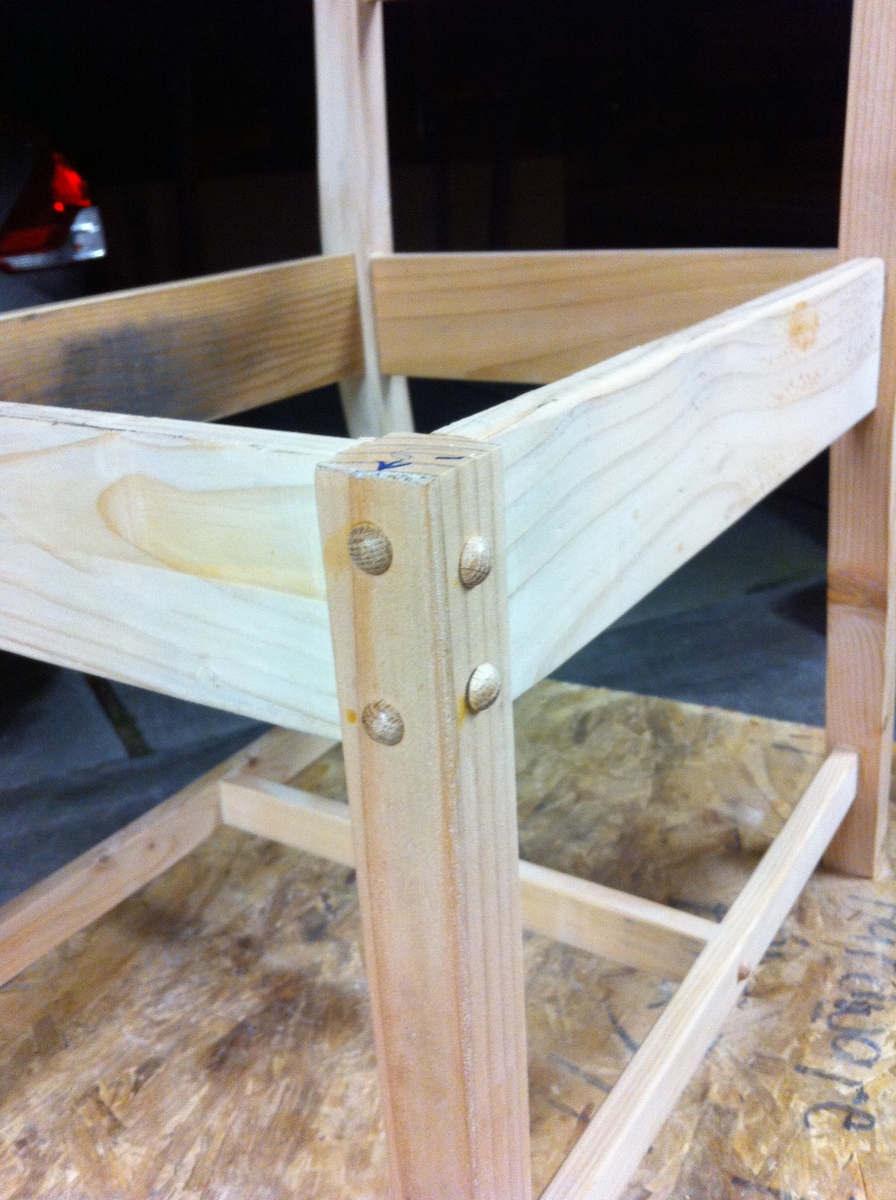
I saw these chairs online at a cost of $5,580 each . I thought they were very nice, but way too expensive. Using the online photo and dimensions I was able to more or less figure out the way it was made. The tool required are a mitre saw, table saw, kreg pocket hole jig, drill and palm sander. The chairs were then burned with a torch to waterproof them and bring up the grain in the wood. 3 coats of spar varnish cut with mineral spirits were applied to finish the project. The cost was about $130 Canadian each including the cushion, around 2% of the chair seen online.
I made nine of these for my daughter’s wedding and gave them to friends who helped afterwards! They all love them!
I found this plan on morelikehome.net and had to try it this was my first project in 20 years and I had so much fun building it. I am looking forward to building more in the future! Enjoy!
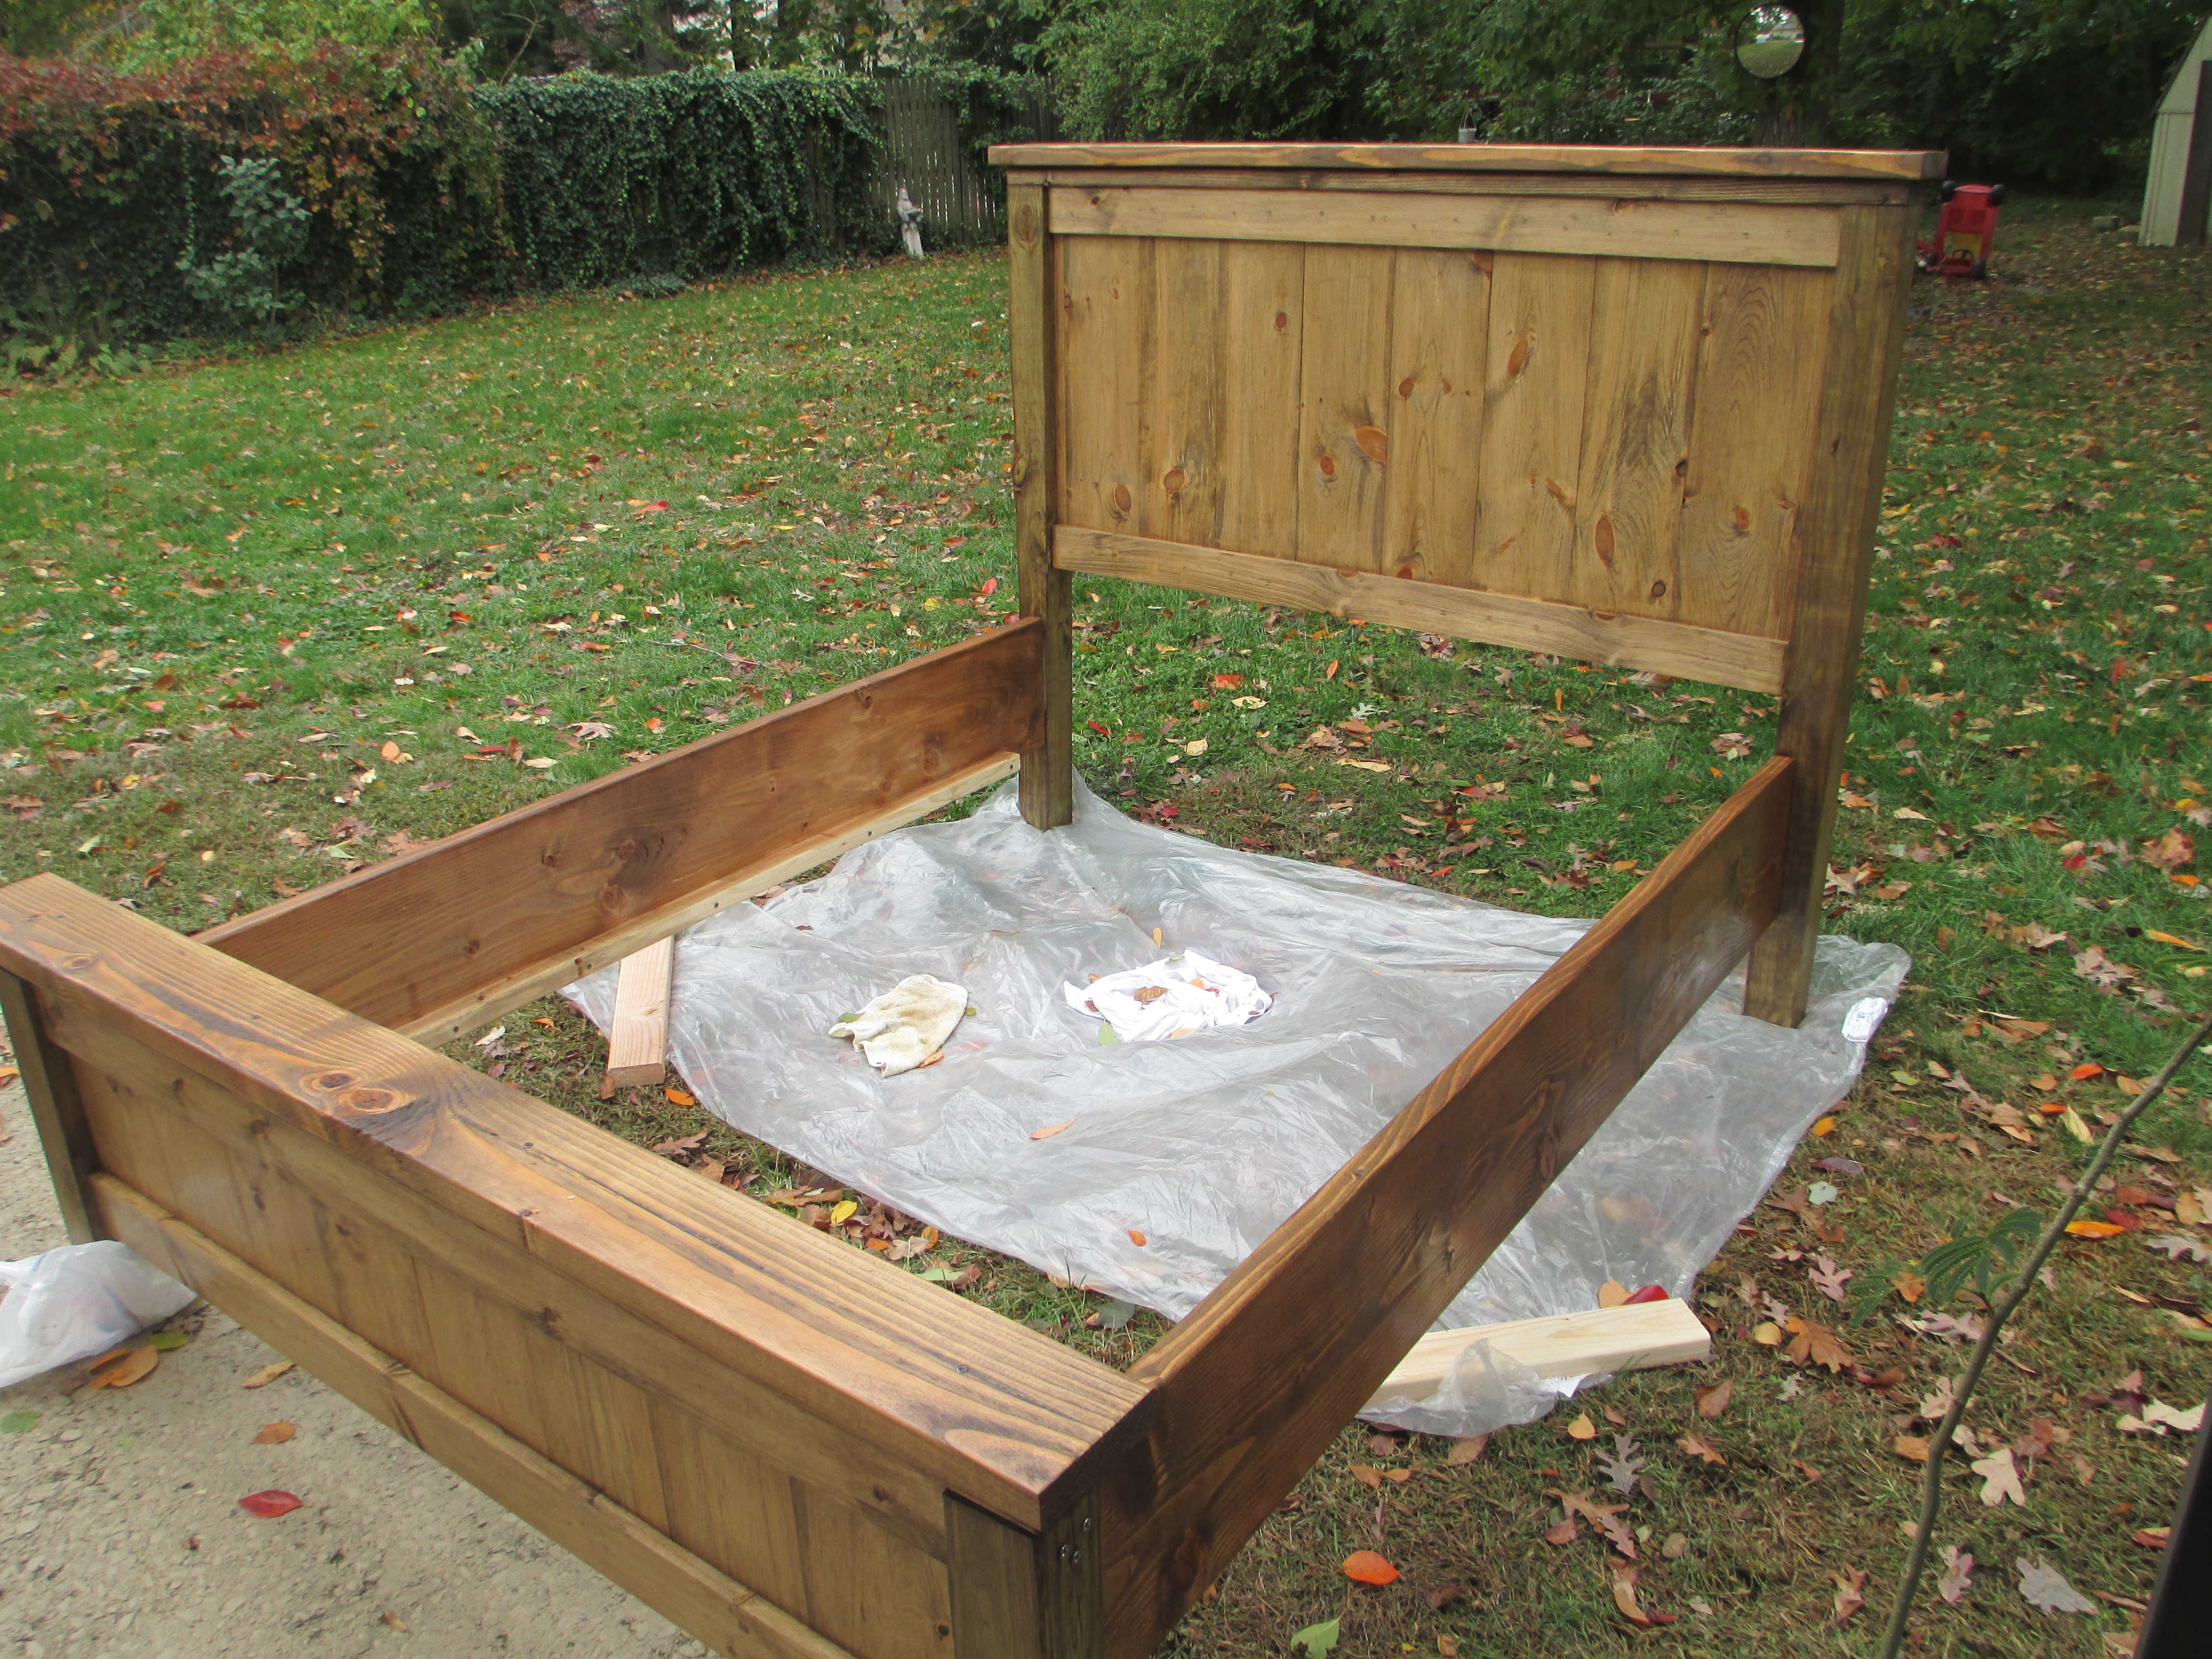
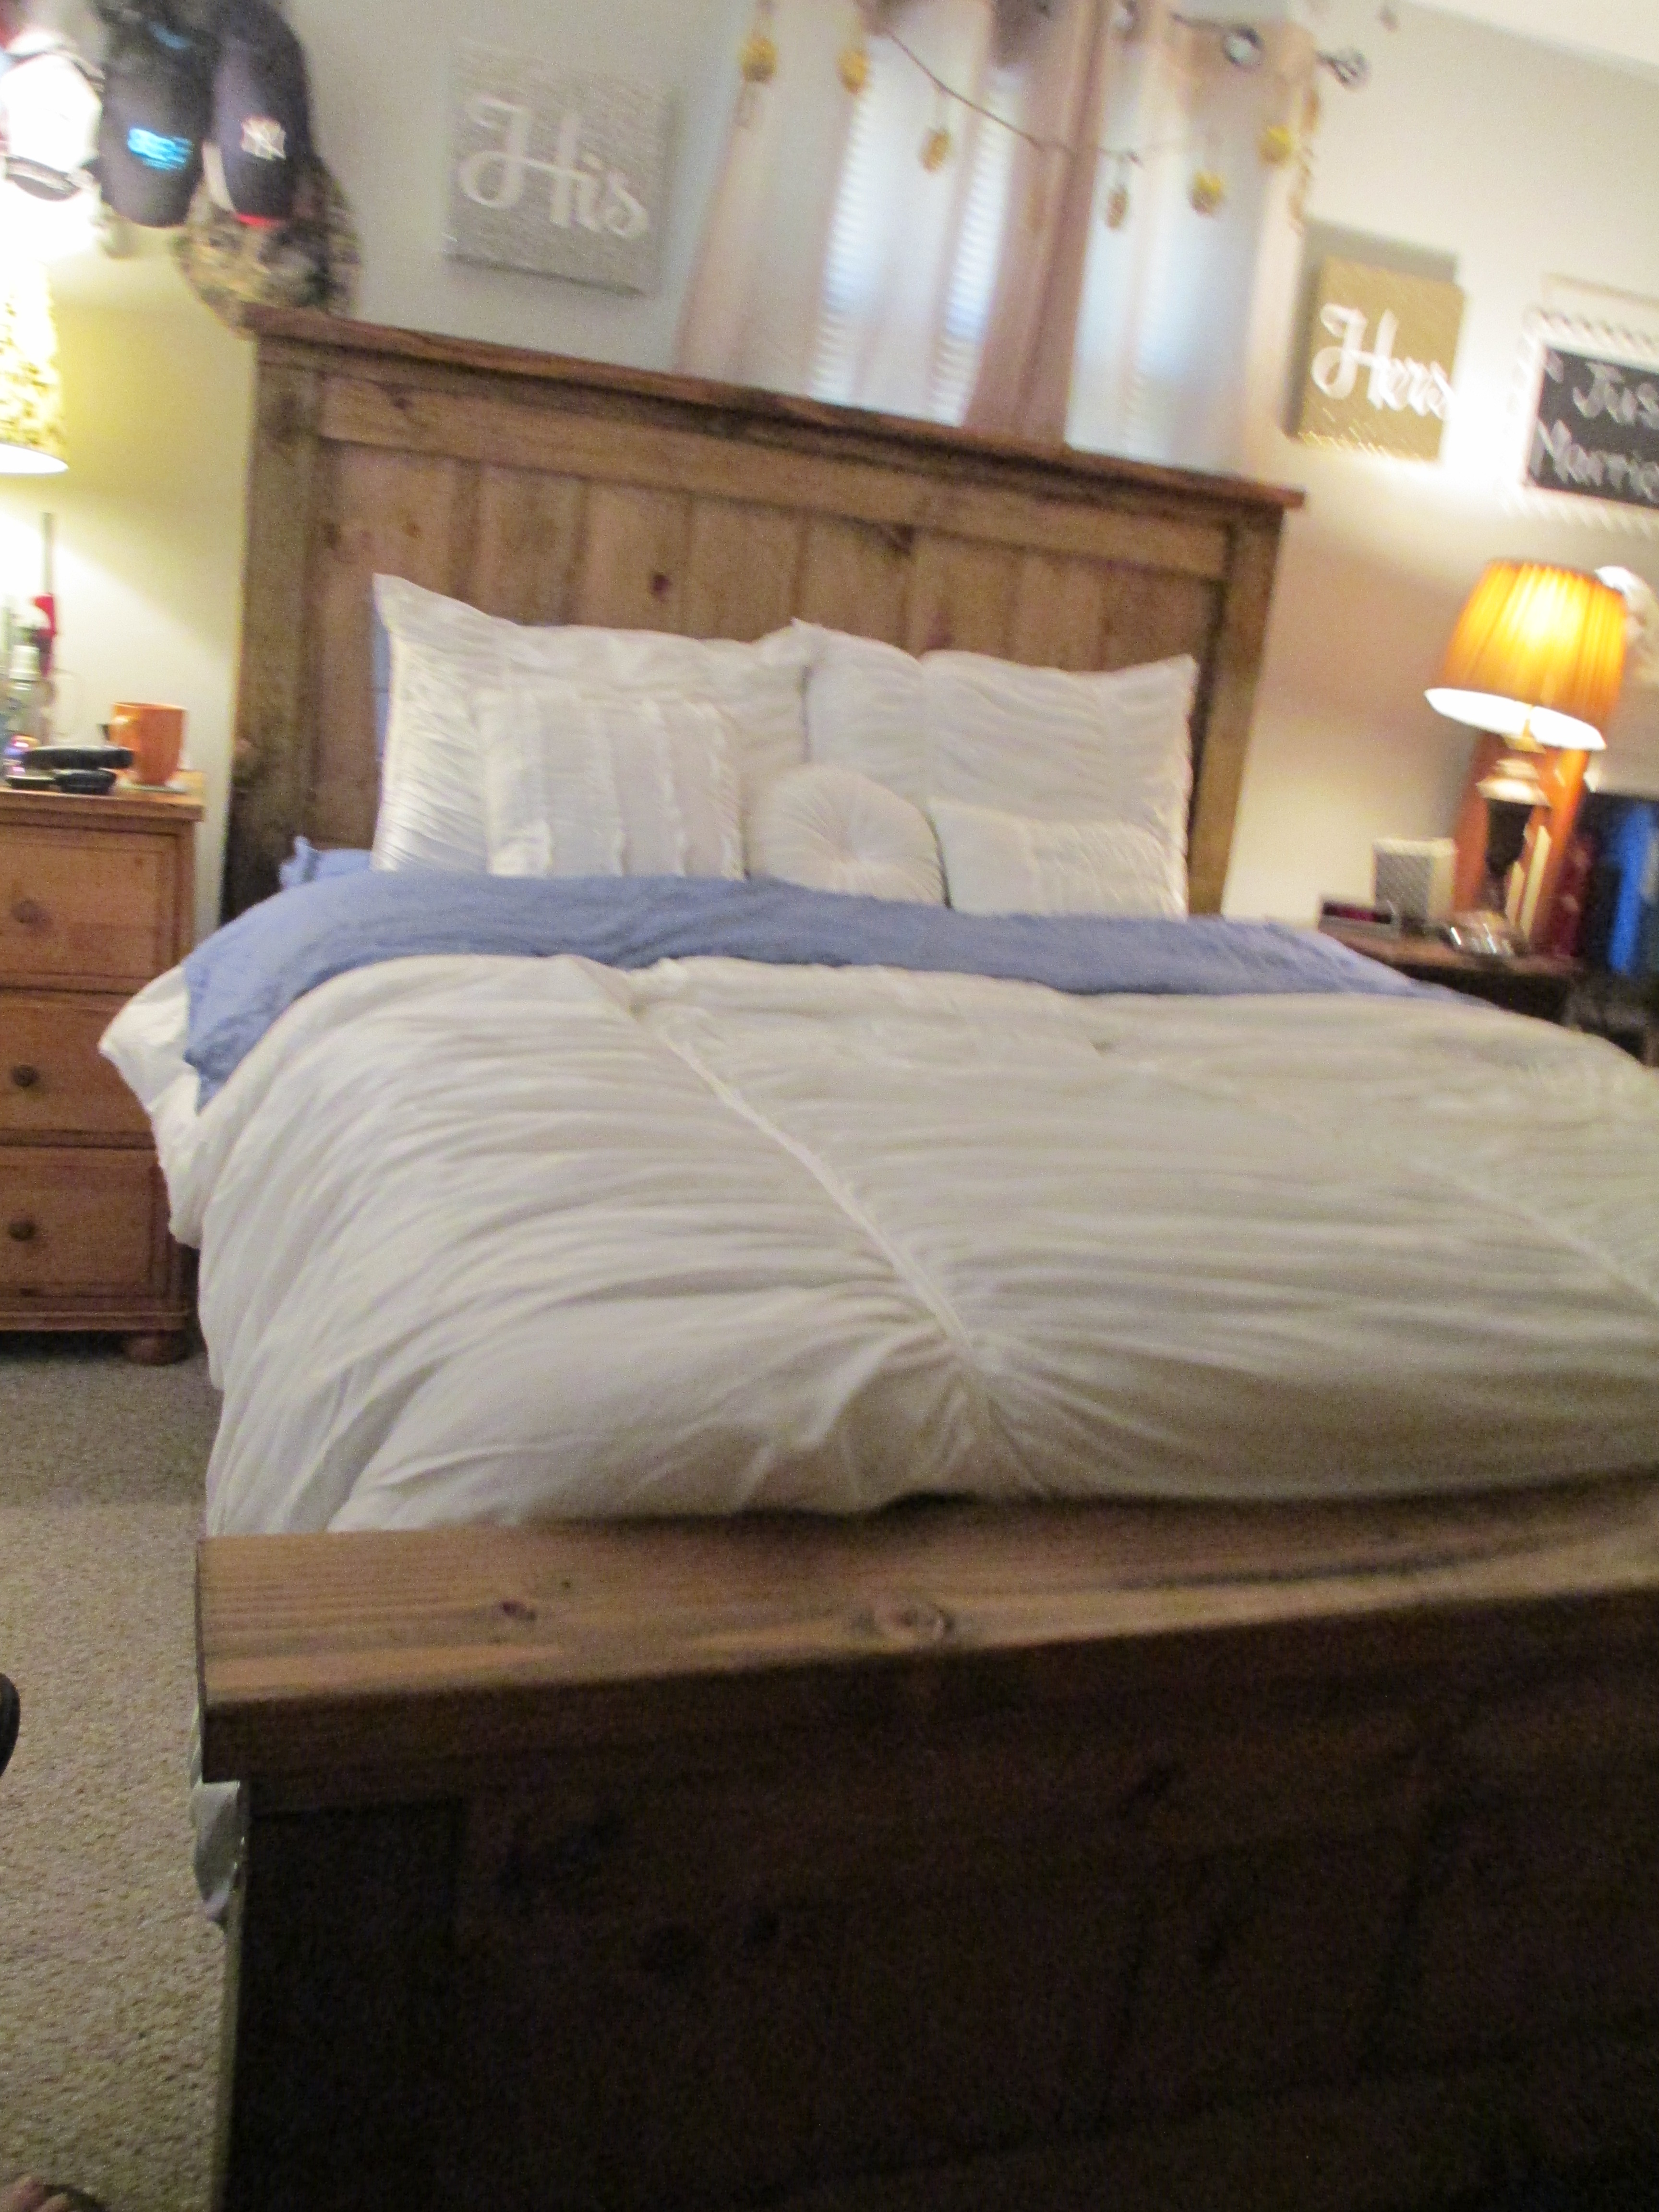
This was my second project. I built it with my hubs and we had a blast. We have a boxspring so we used 2x6s, but laid them flat. We also used 2x12s for the sides and instead of attatching the sides permanantly we used bed hooks that we ordered online to attatch the sides. 4x4s were impossible to find. We ended up buying treated ones and sanding them for ages.
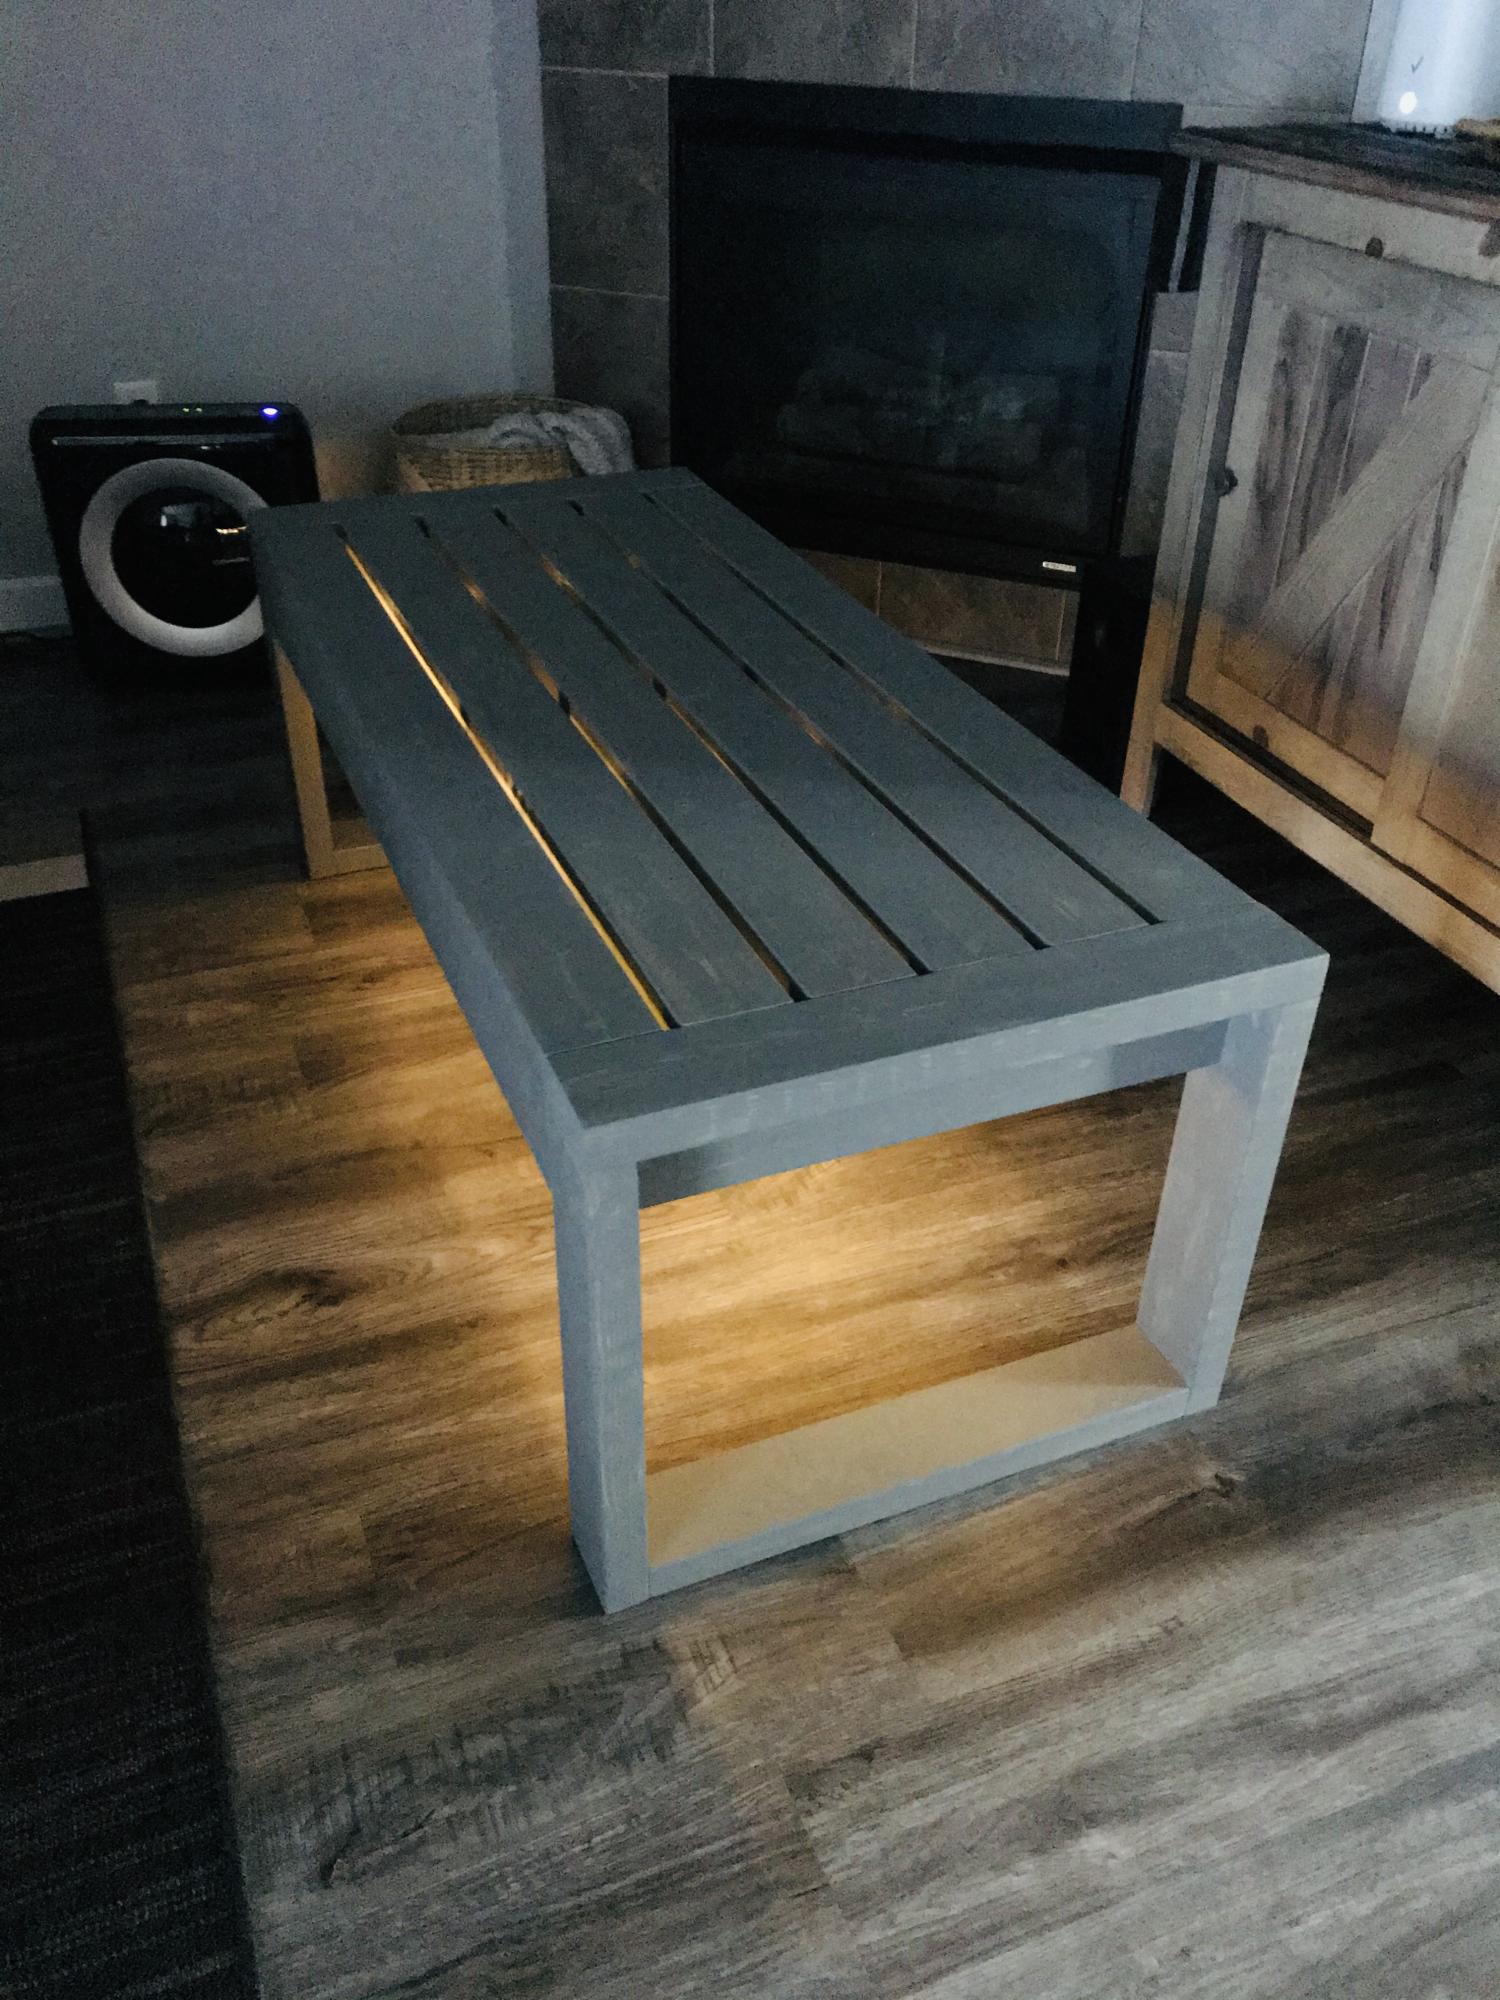
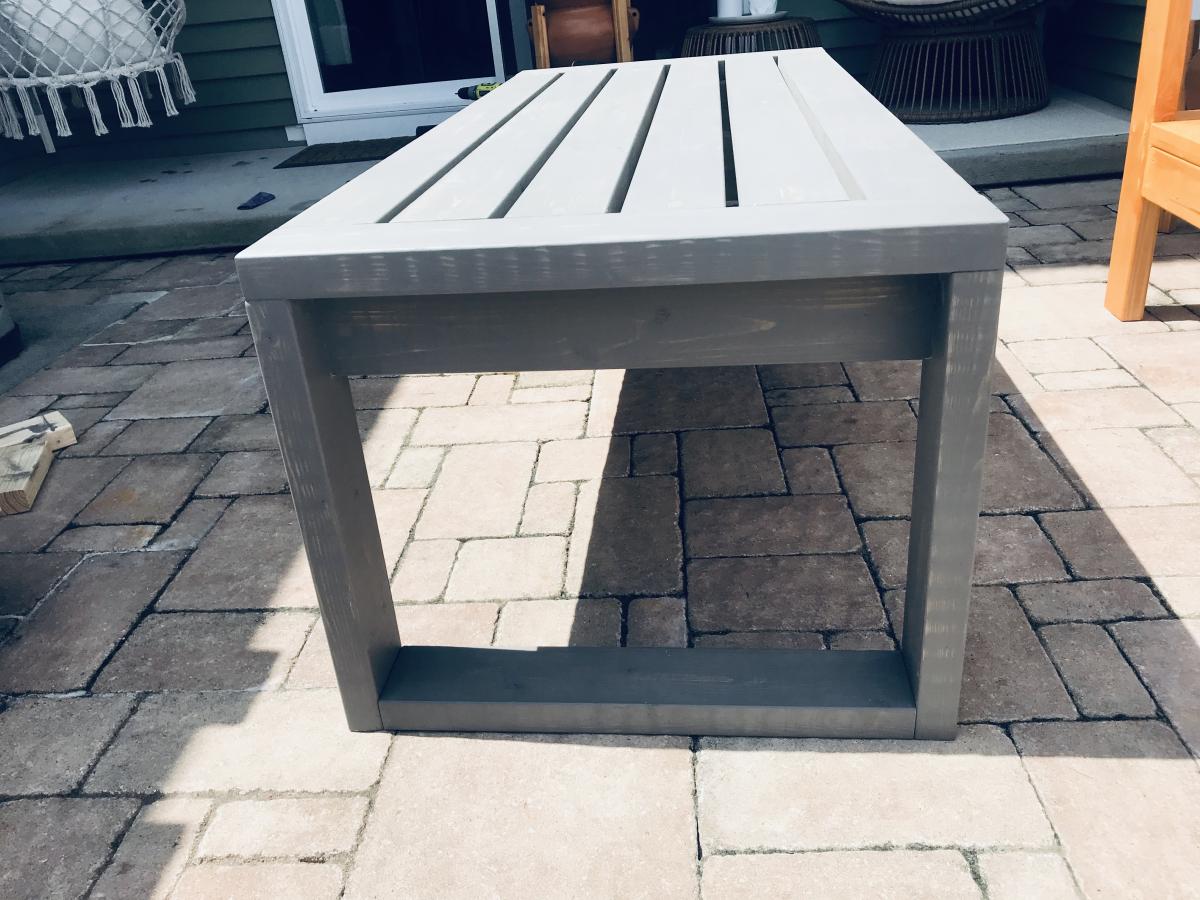
Modified some measurements and squared the legs. Also added LED lights under it for night mood setting.
My wife found these plans and asked me to build it for her. The finished project t is being very much used and enjoyed.
Jim Agigian
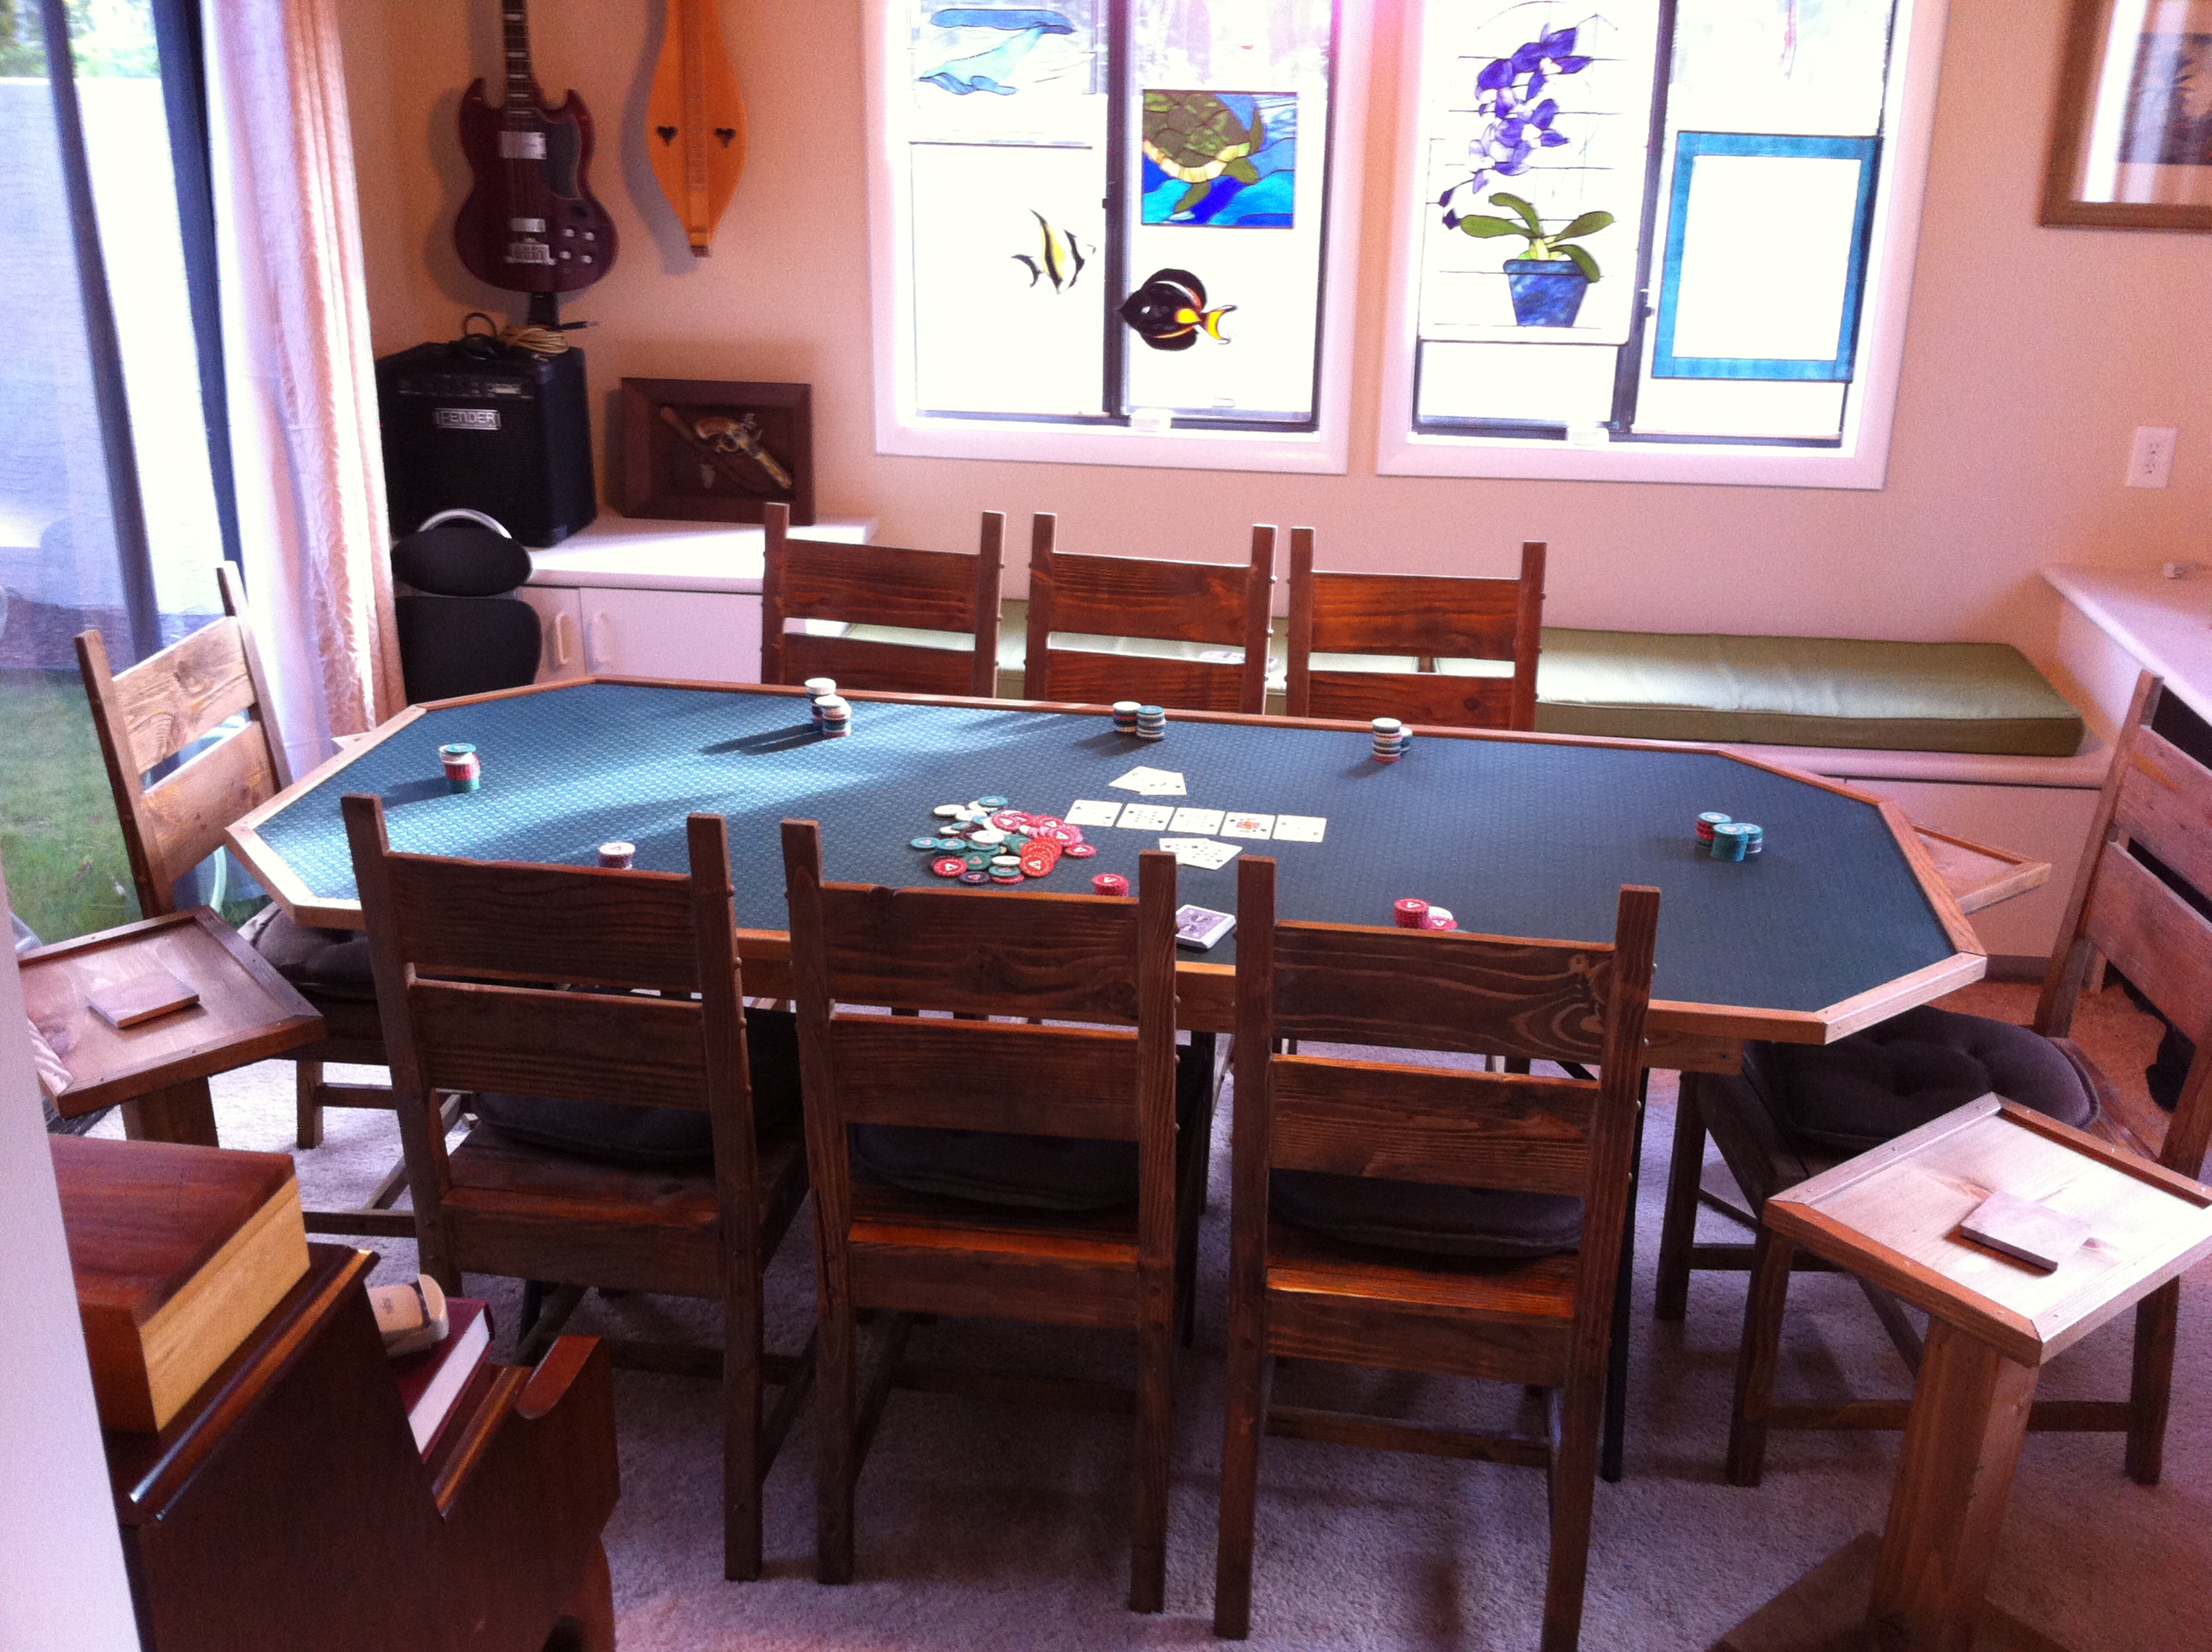
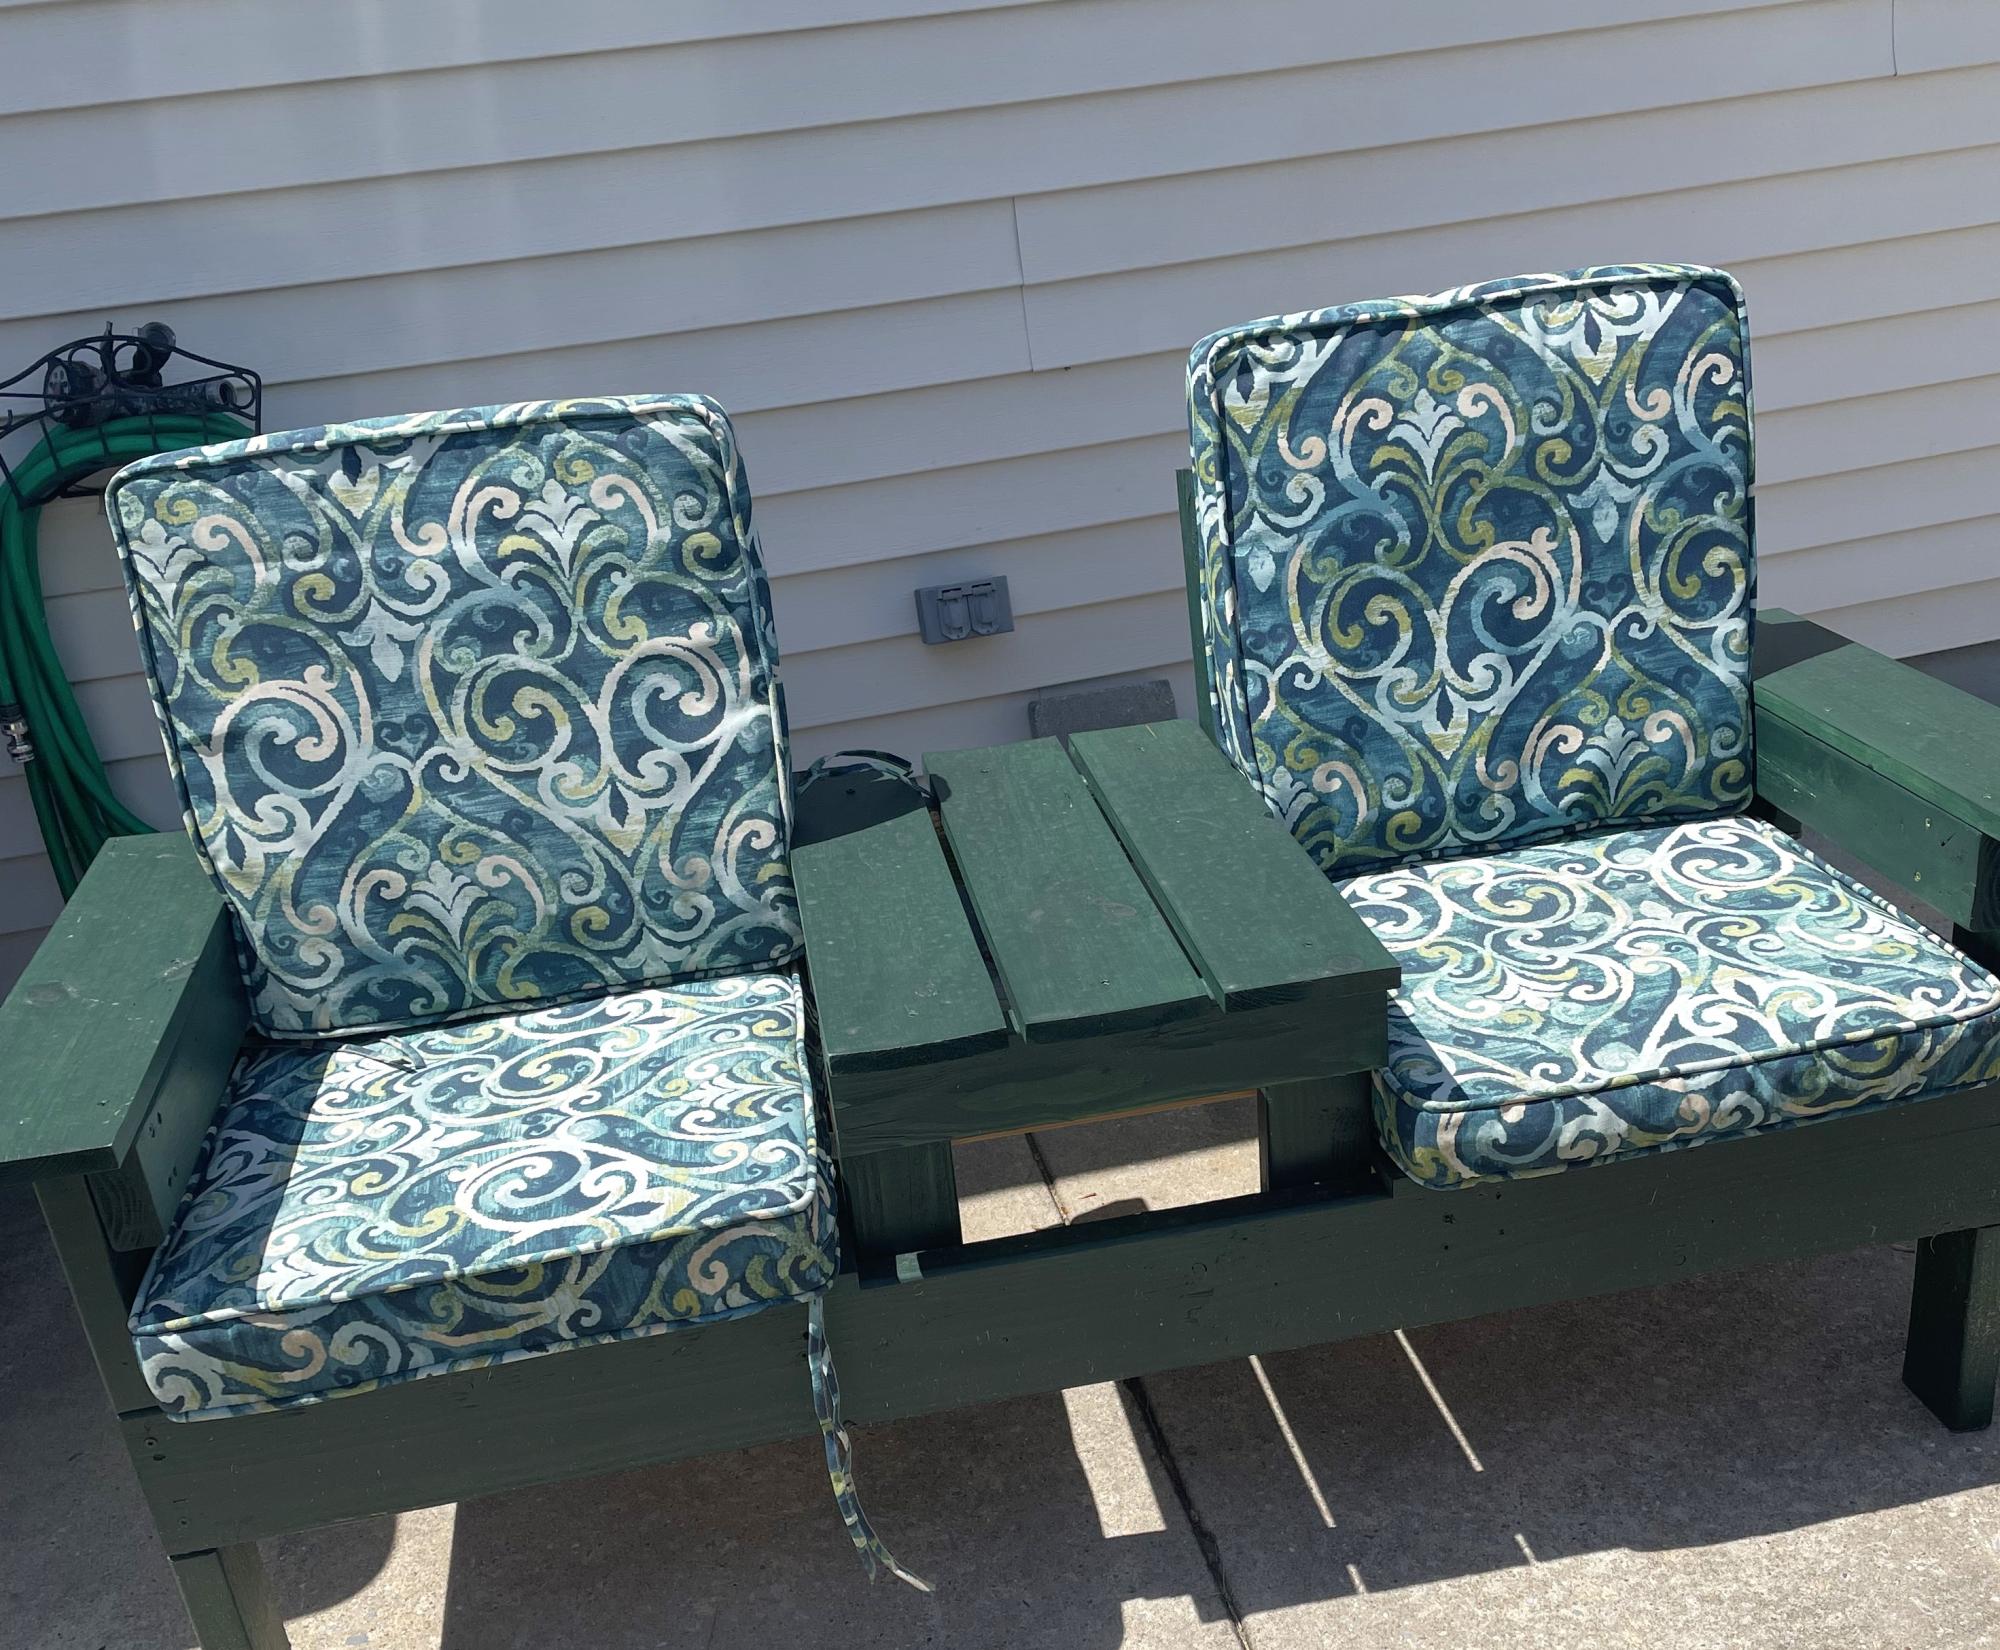
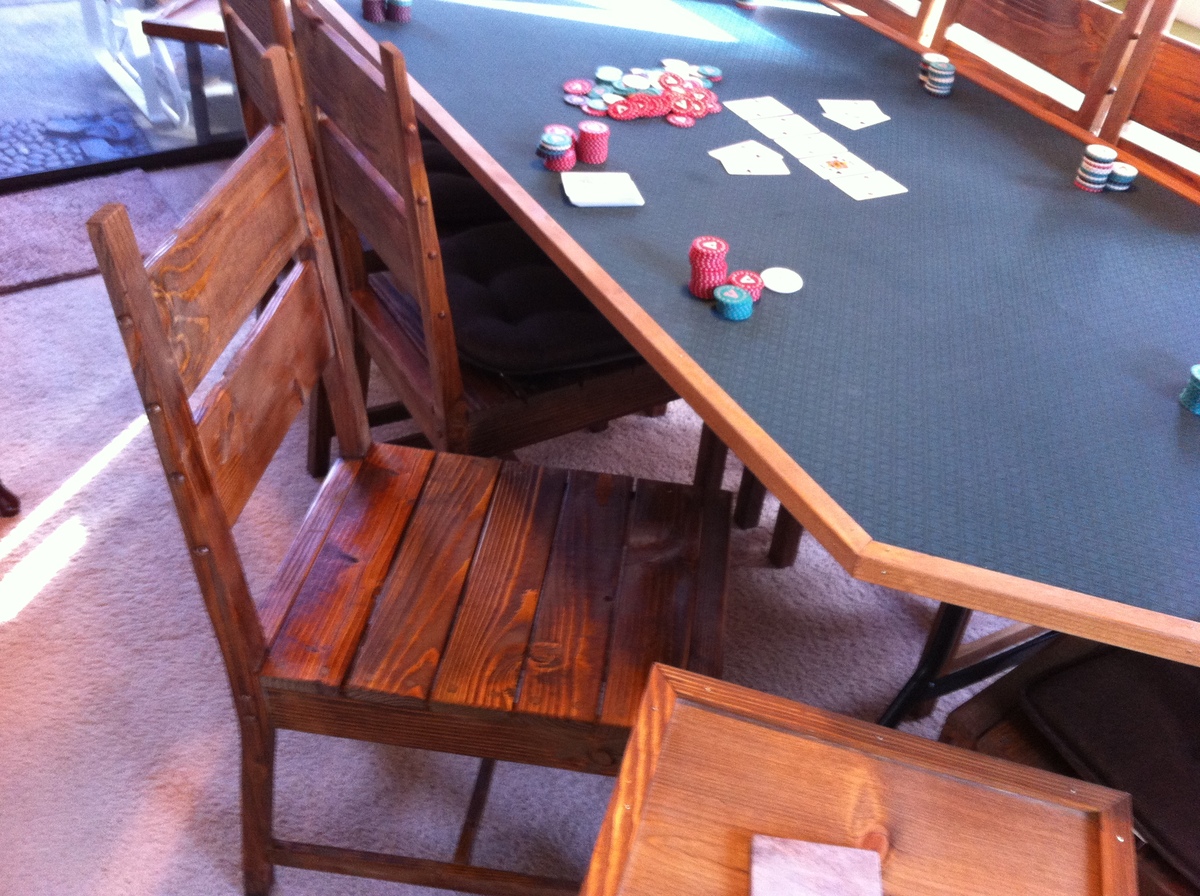
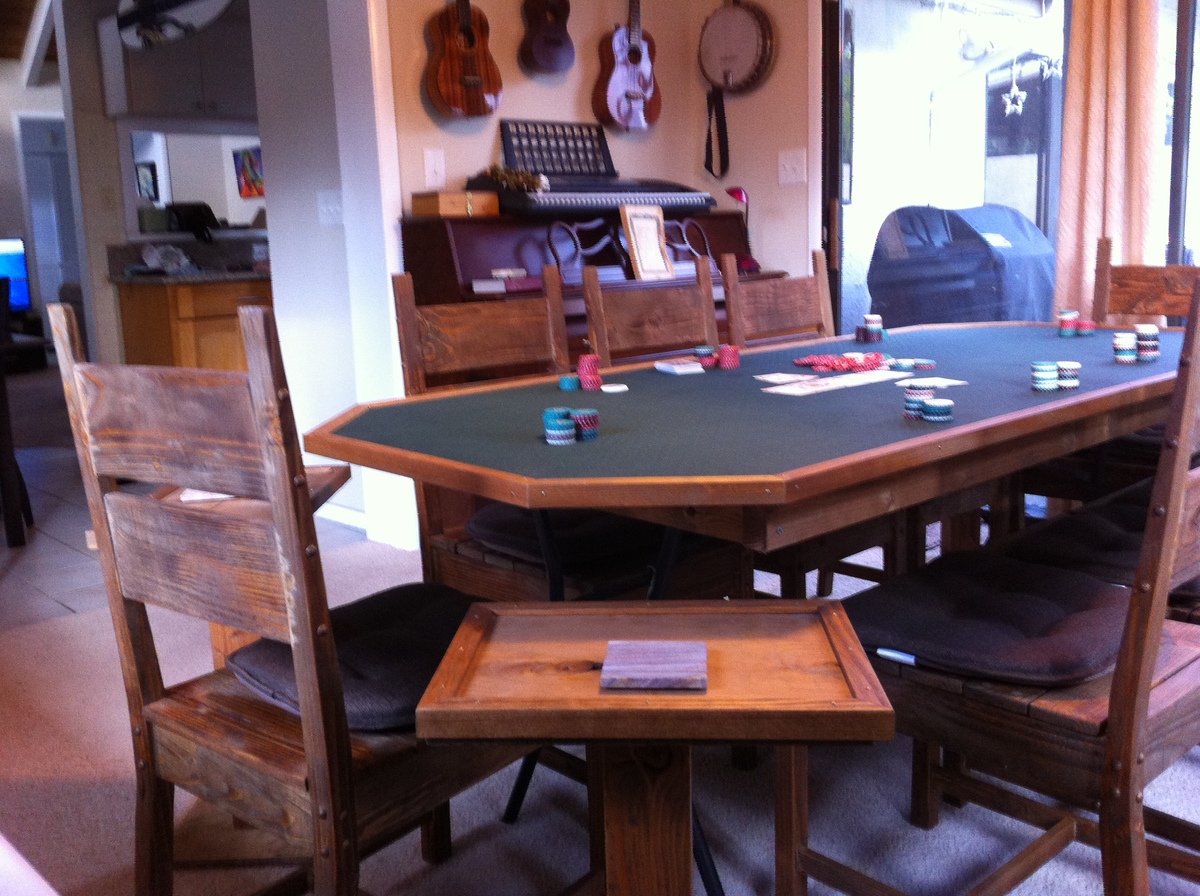
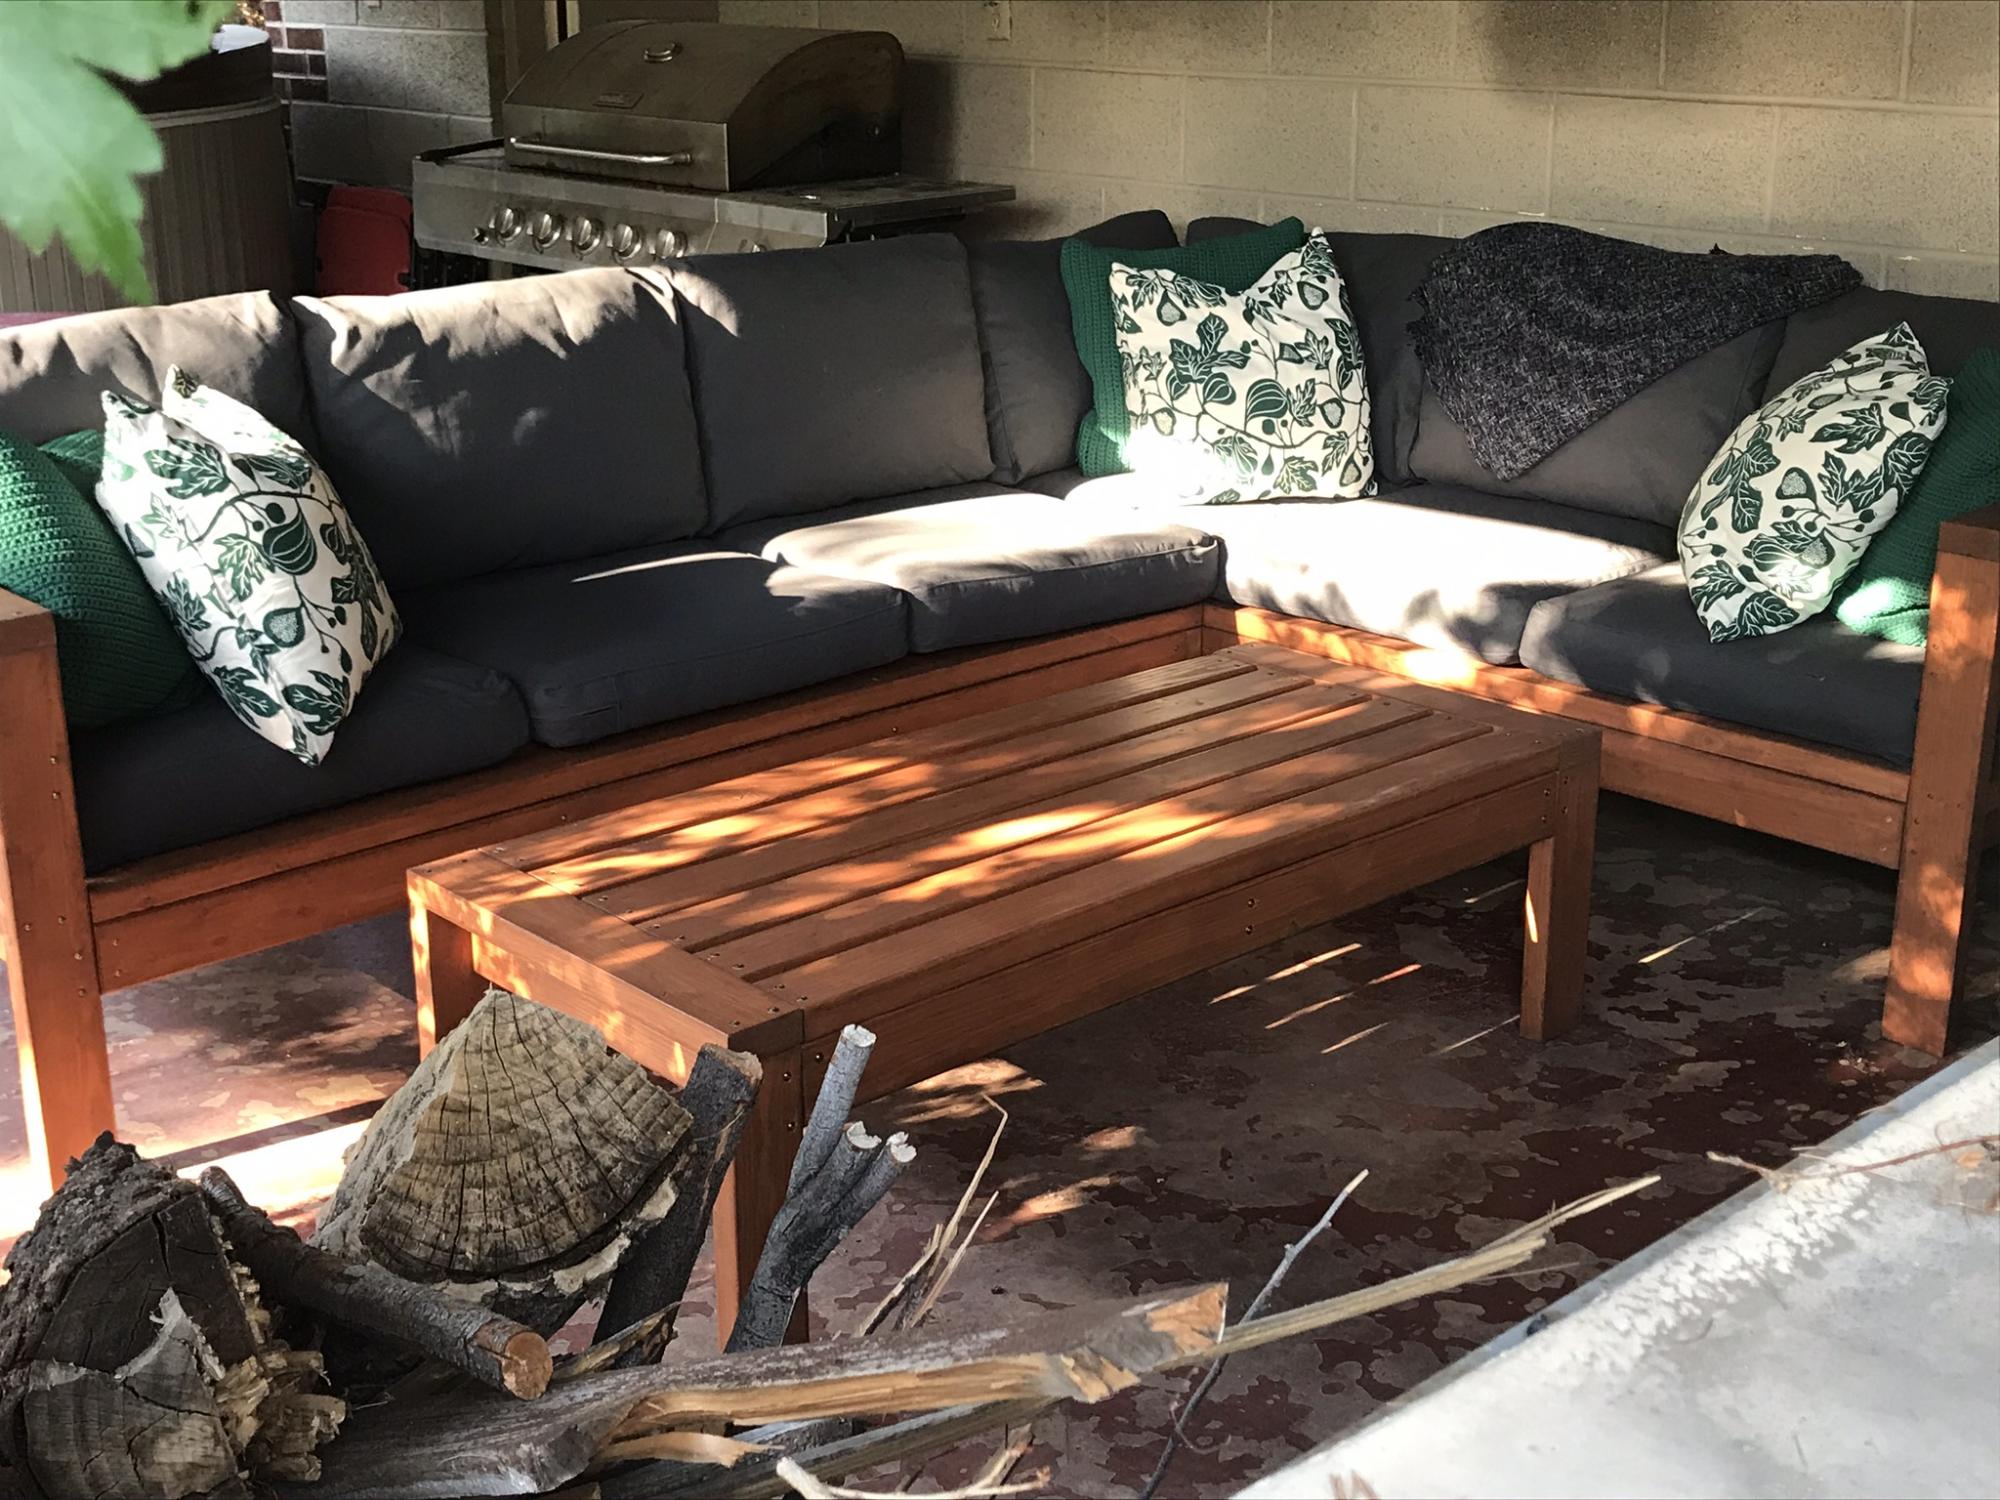
Great, beefy chair with a rustic look around the poker table with side tables (another project that took longer than anticipated); the plans were great and easy to follow. I made a few modifications:
- Reduced the width from 19" to 16" to fit around the table.
- Made the seat out of 1x4's horizontally mounted with an extra support underneath. It helps to keep the cushions from sliding and I liked the look.
- Rather than pocket holes I counter-sunk and used oak plugs.
I did the whole thing assembly-line style creating "kits" as I went along. That allowed me to make jigs for each cut so things were reasonable close from chair to chair. Also, I only made one attempt at the jigsaw cut for the rear angle...the jigsaw got very upset. For the rest, I used the chop saw to make little slices and then chiseled and sanded.
Two coats of Danish Oil on everything gave me the look I was trying for, kind of the back-room-in-an-old-John-Wayne-cowboy-movie vibe. Leave your pistols at the bar.
The times and costs are per chair, the whole thing took a whole lot longer!
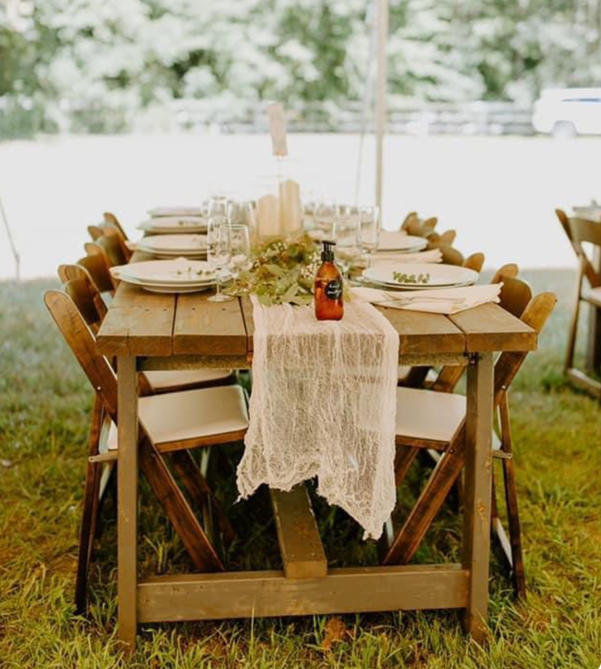
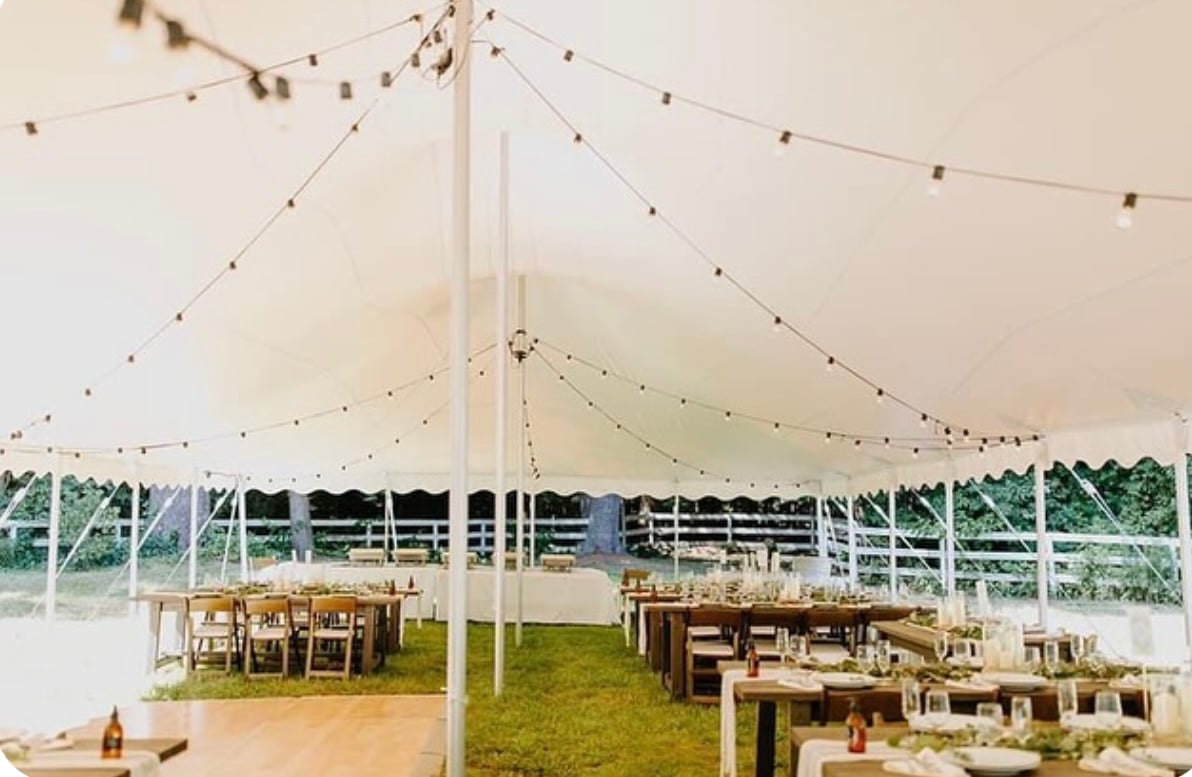
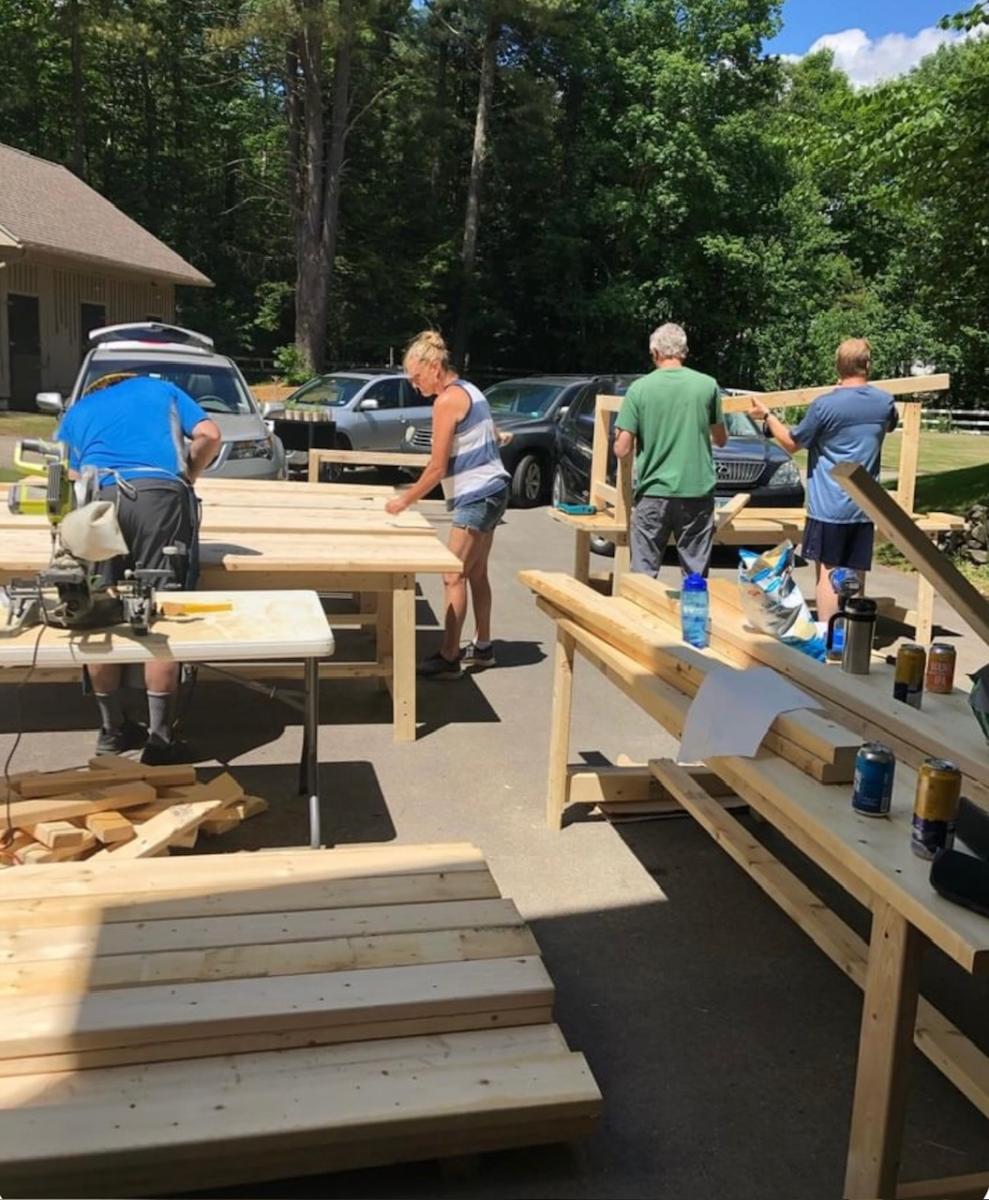
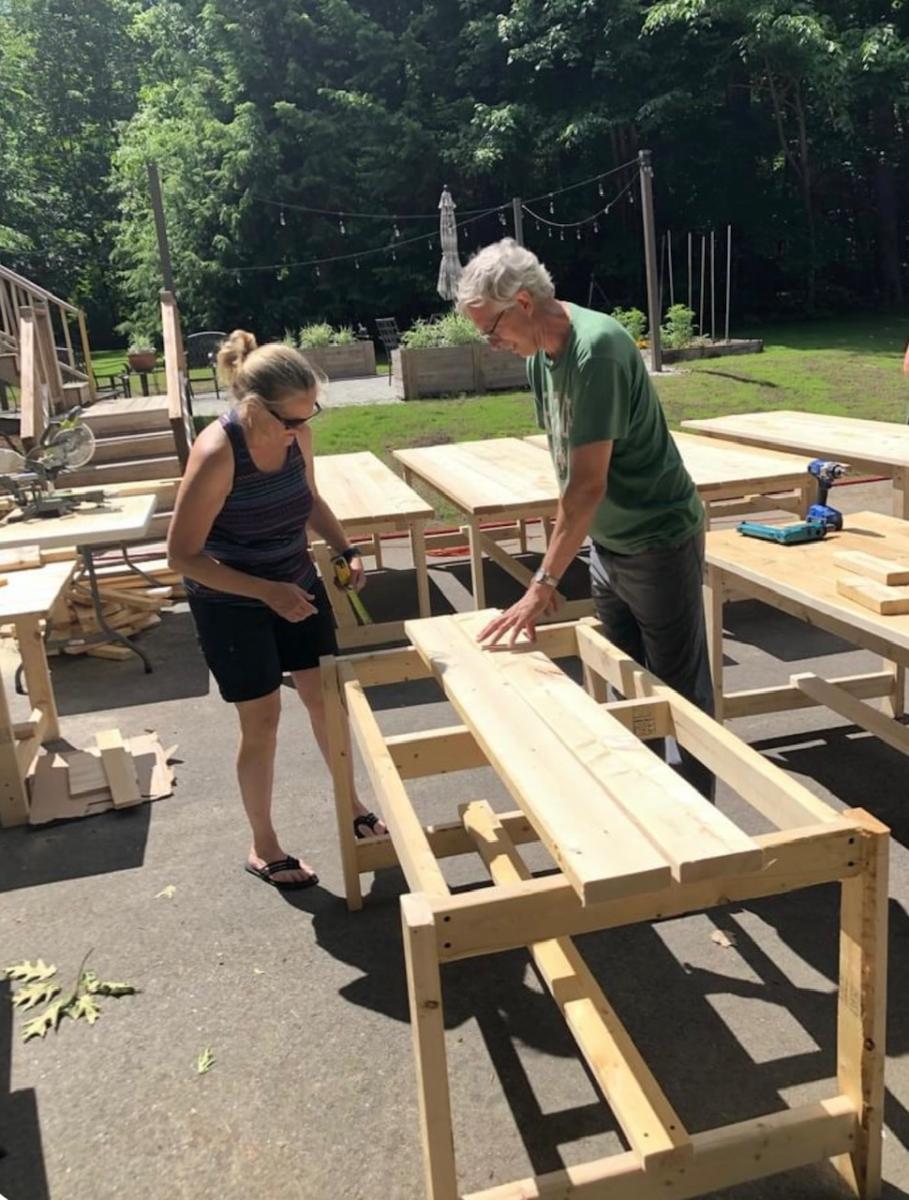
This project took a while. Stained everything before assembly which made it easier. Plans are easy to follow. Thank you for making them available. Our property is starting to look a lot like your website.
Mon, 08/02/2021 - 08:35
Looks amazing! What method did you use (pocket holes, dowels, deck screws, etc) to join the visible portions like the arms?