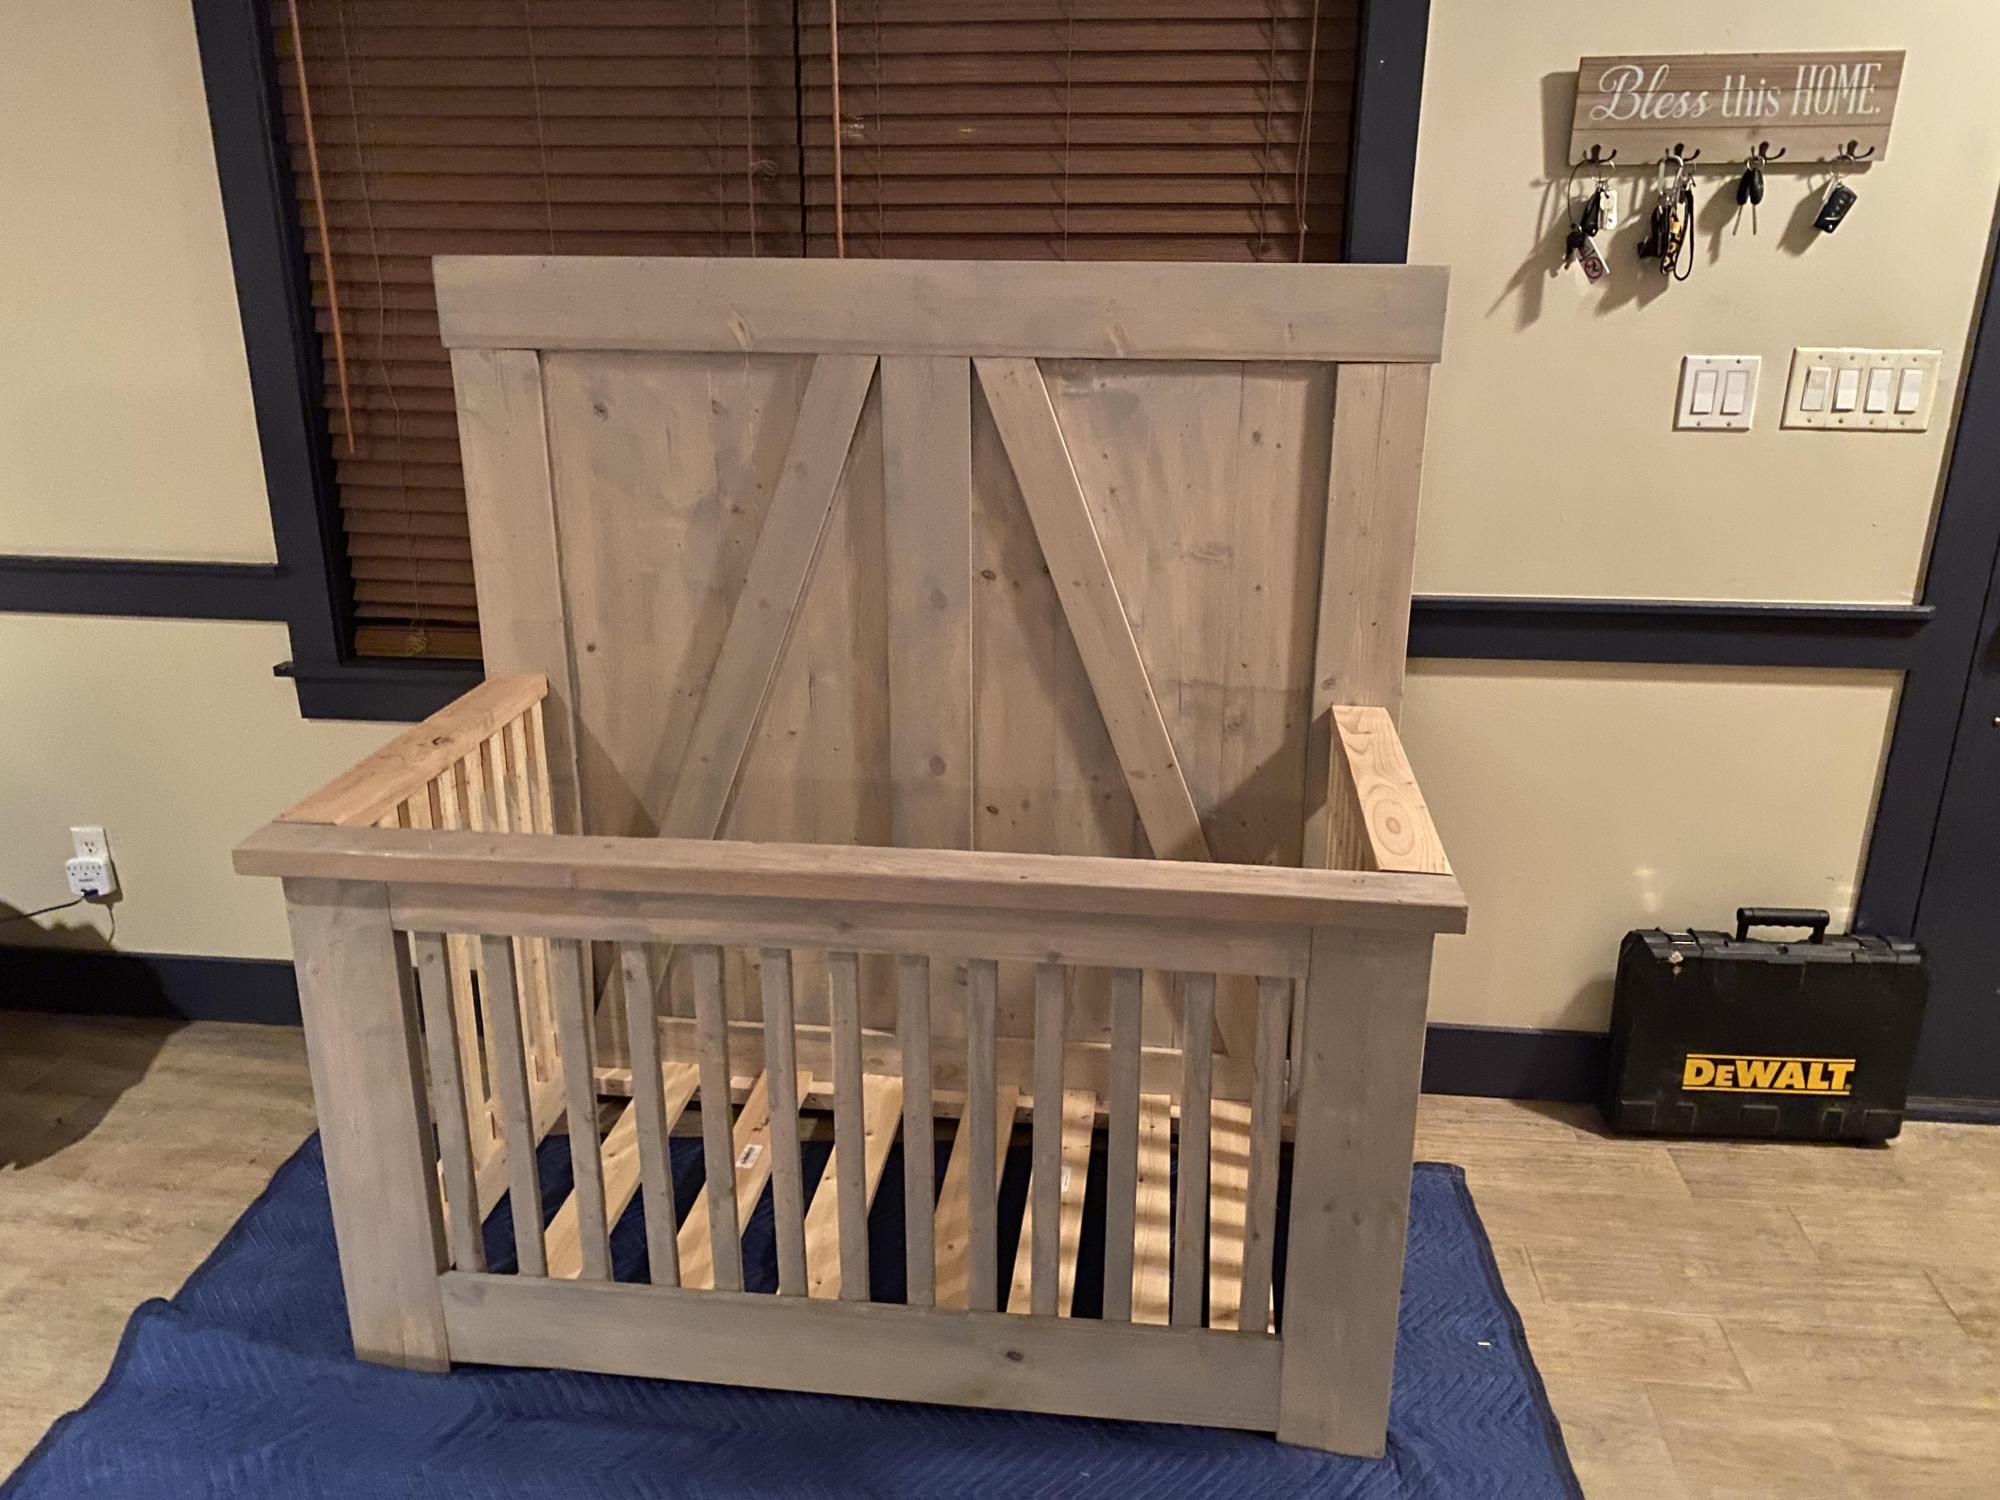
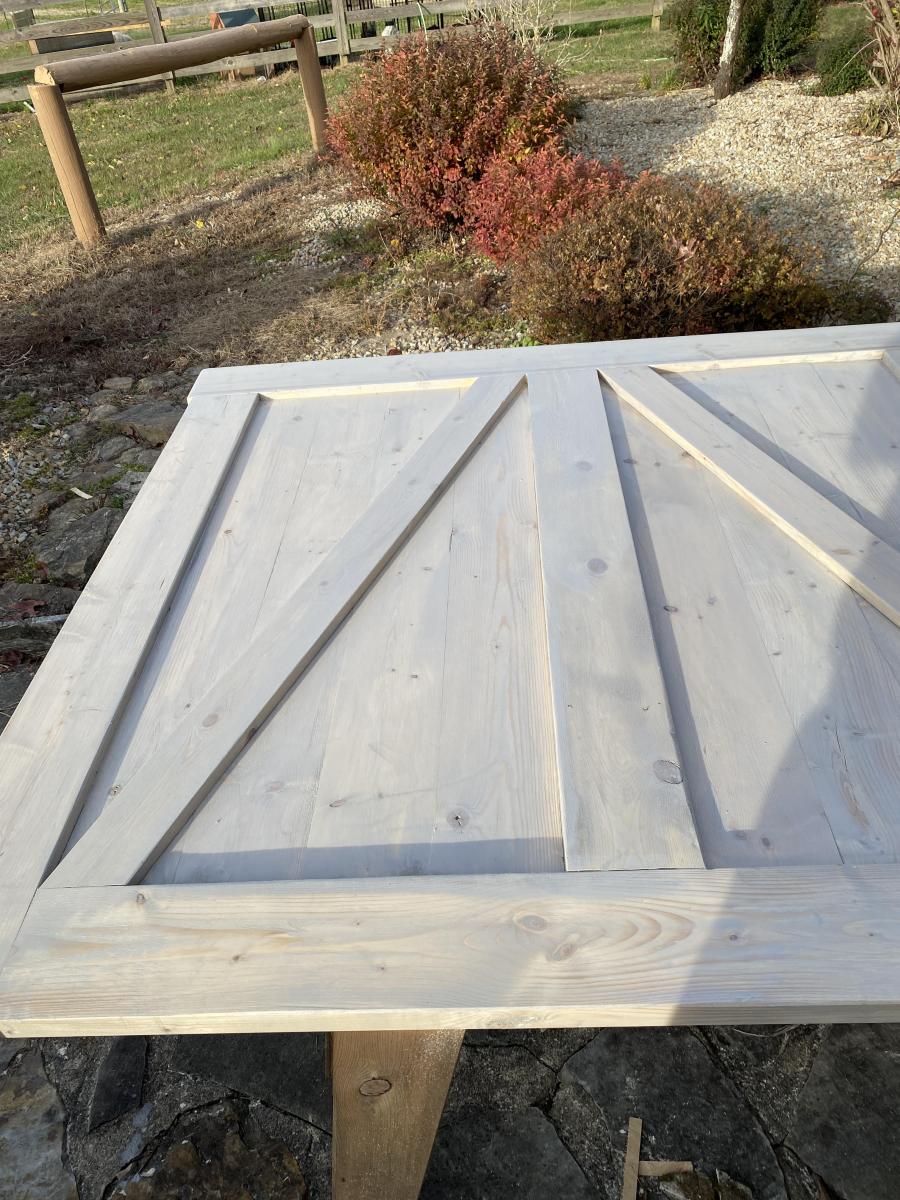
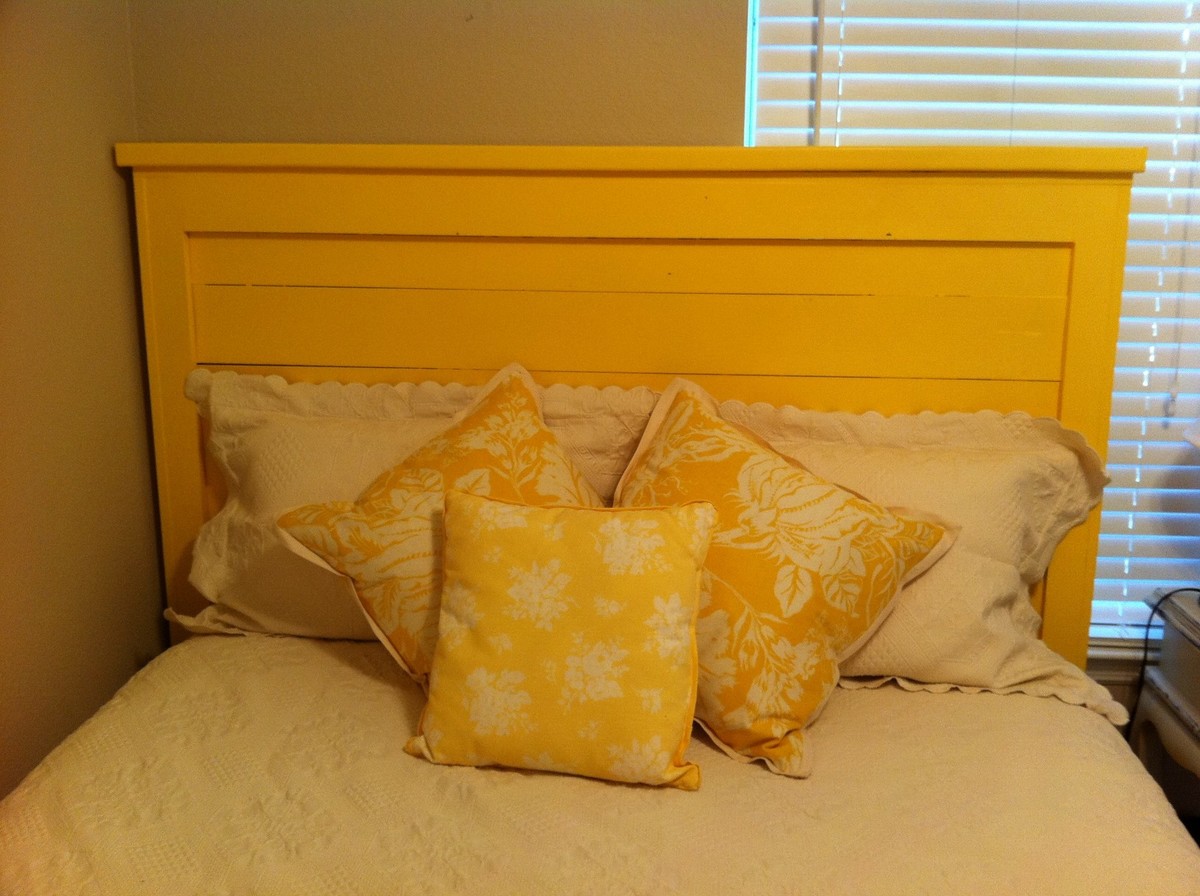
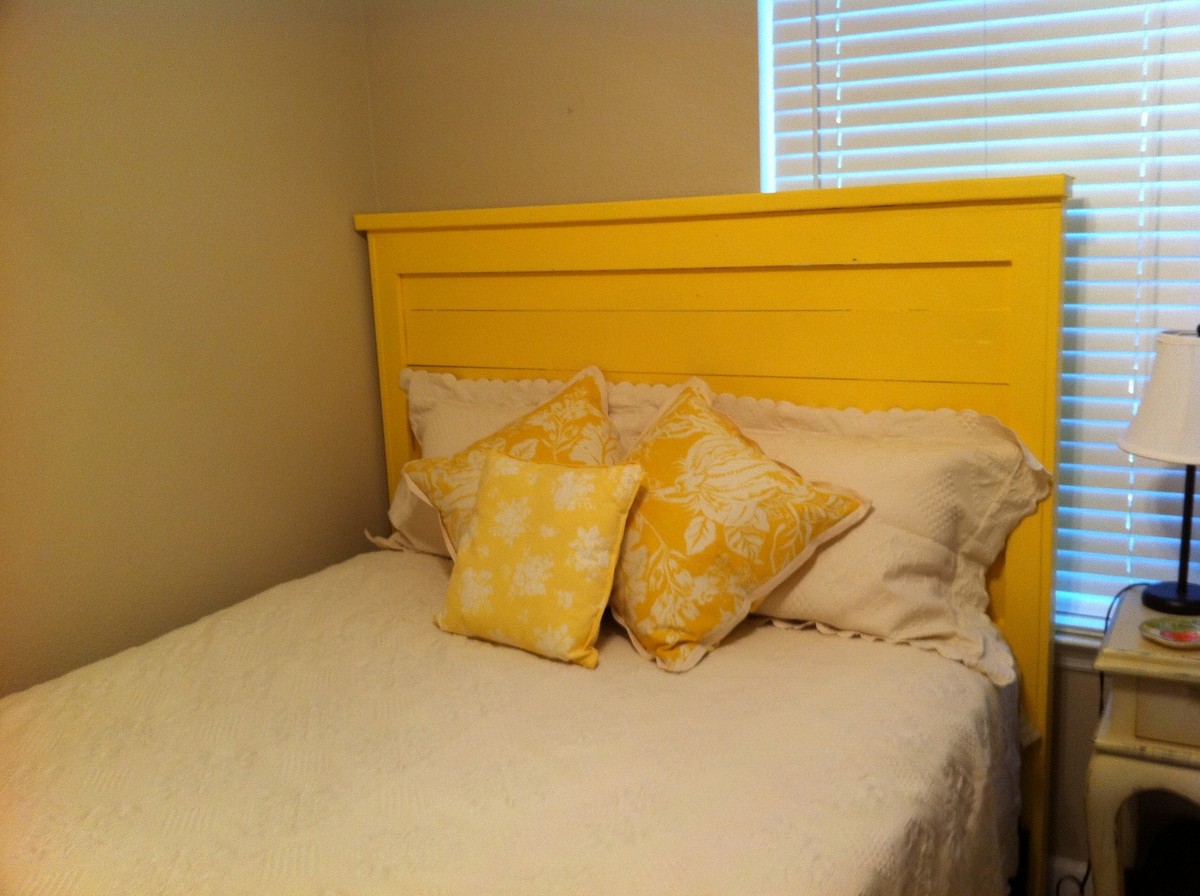
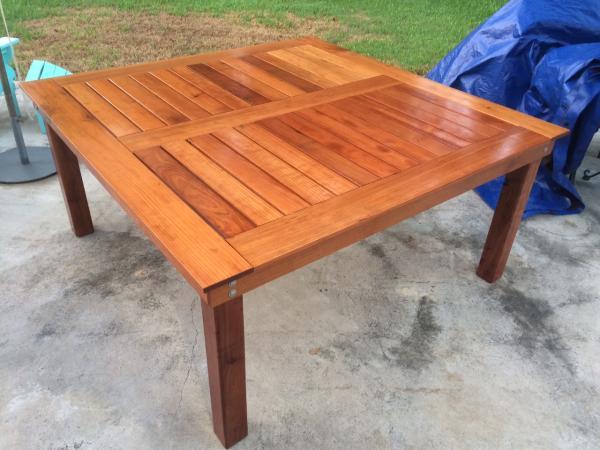
Reclaimed Red Oak Side Table
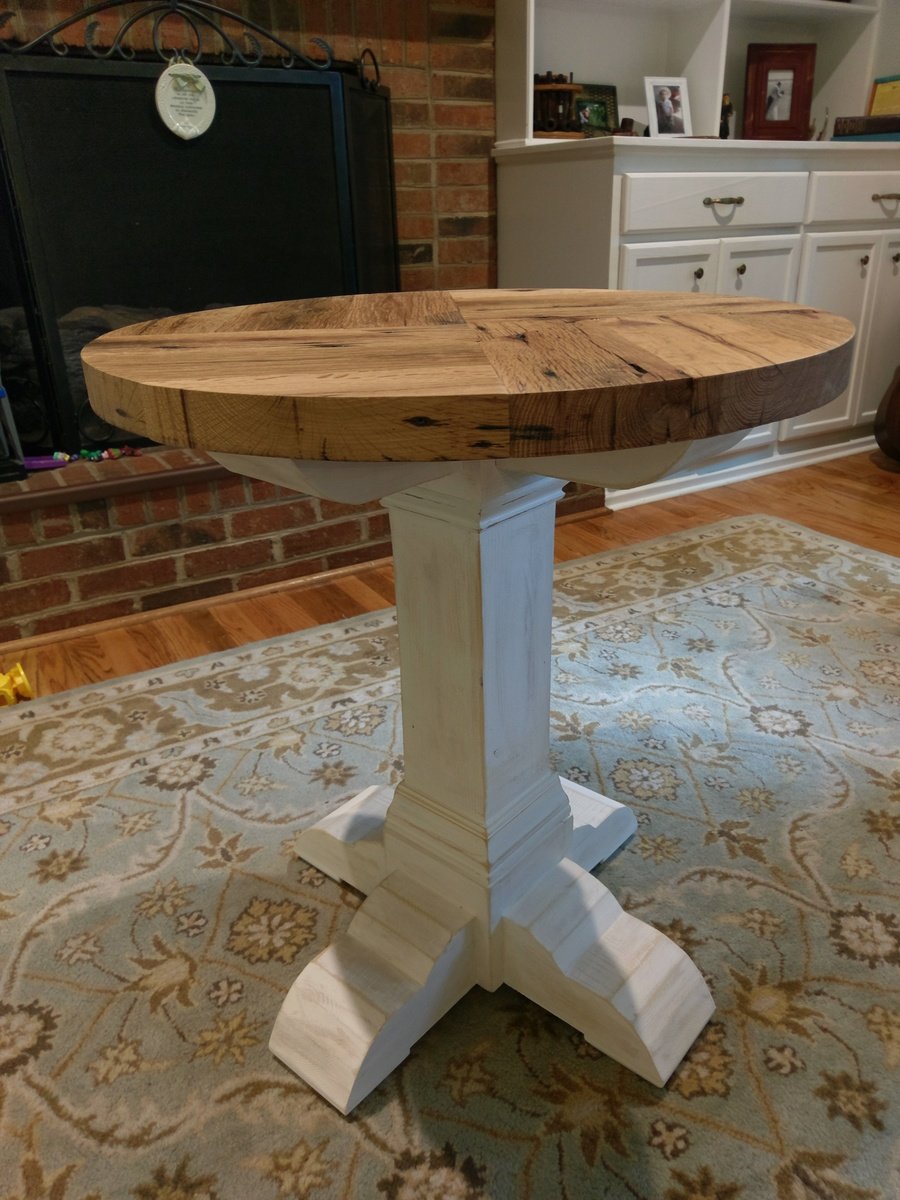
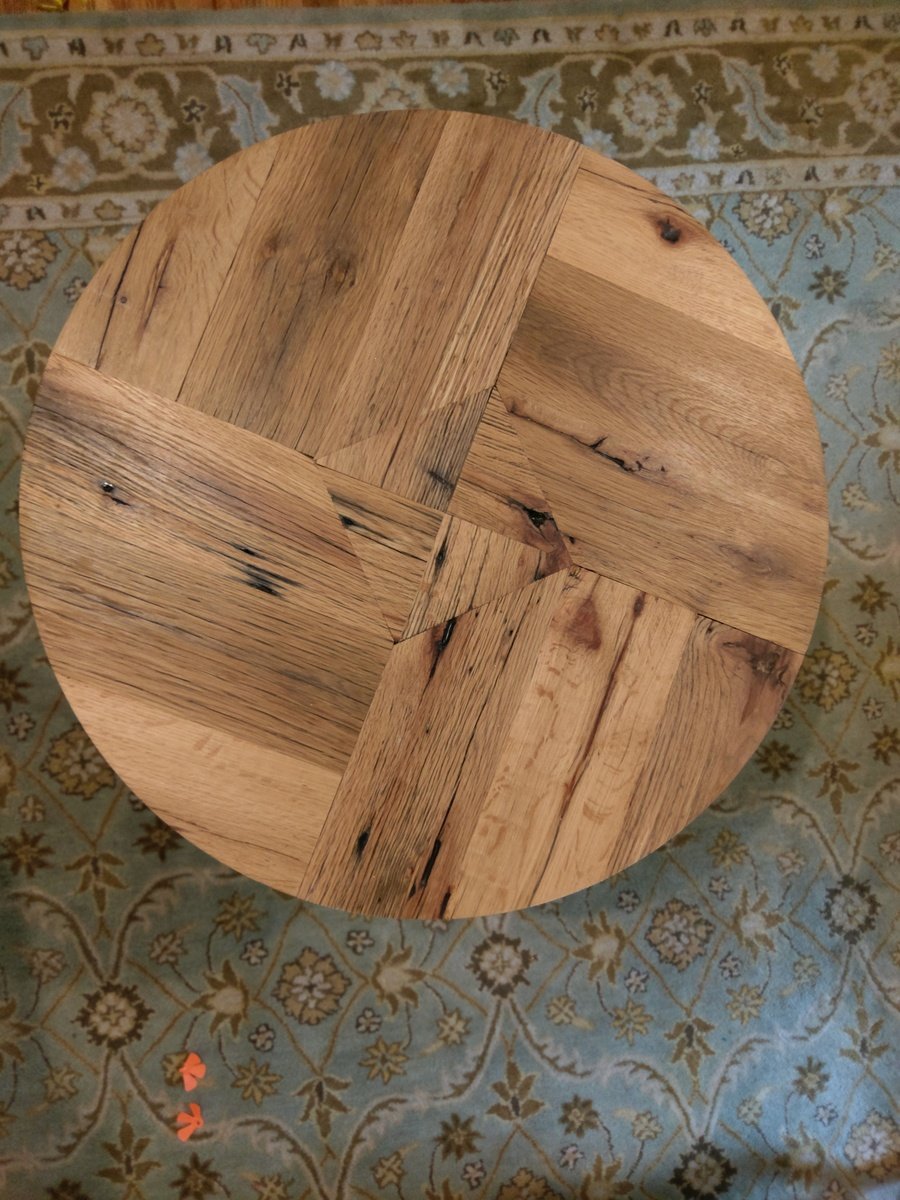
Here's a round top side table I built. The top is made from reclaimed red oak barn wood, sourced from a barn right here in Charlotte, NC. The base is made from standard 2x6s and trim.
More pictures and information is available on my site at http://famousartisan.com/reclaimed-red-oak-barn-wood-side-table/
Estimated Cost
$100
Estimated Time Investment
Weekend Project (10-20 Hours)
Finish Used
Chalk pain and wax
Recommended Skill Level
Intermediate