My First Bunkbeds
This was the first piece of furniture that I ever built! Plans were very helpful and easy to follow. If I had it to do overagain, I would have painted instead of staining (less sanding required).
This was the first piece of furniture that I ever built! Plans were very helpful and easy to follow. If I had it to do overagain, I would have painted instead of staining (less sanding required).
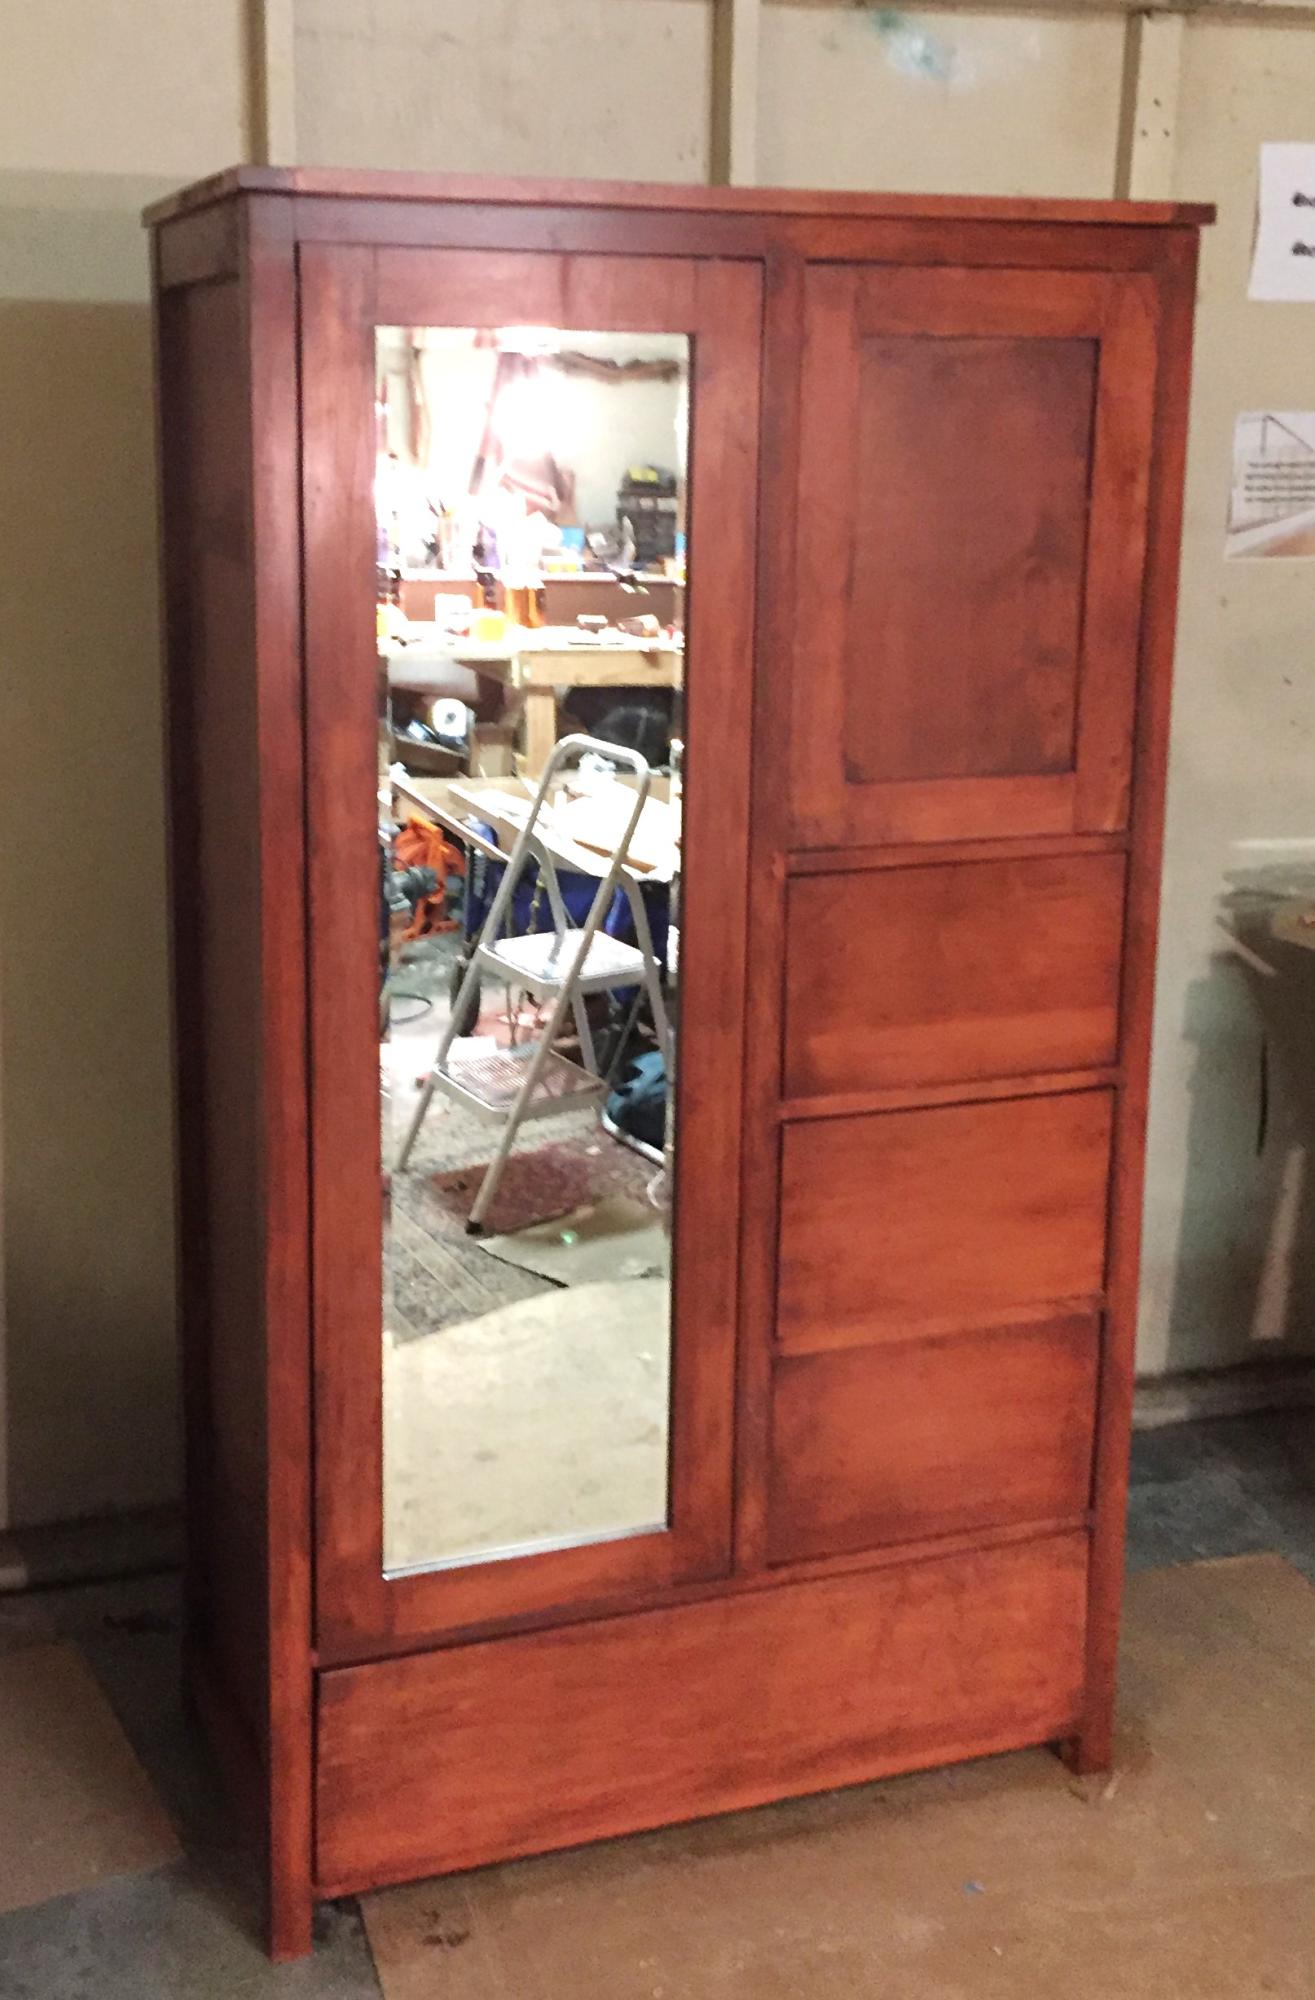
Use white maple and maple ply with cedar for the sides and back of the drawers.
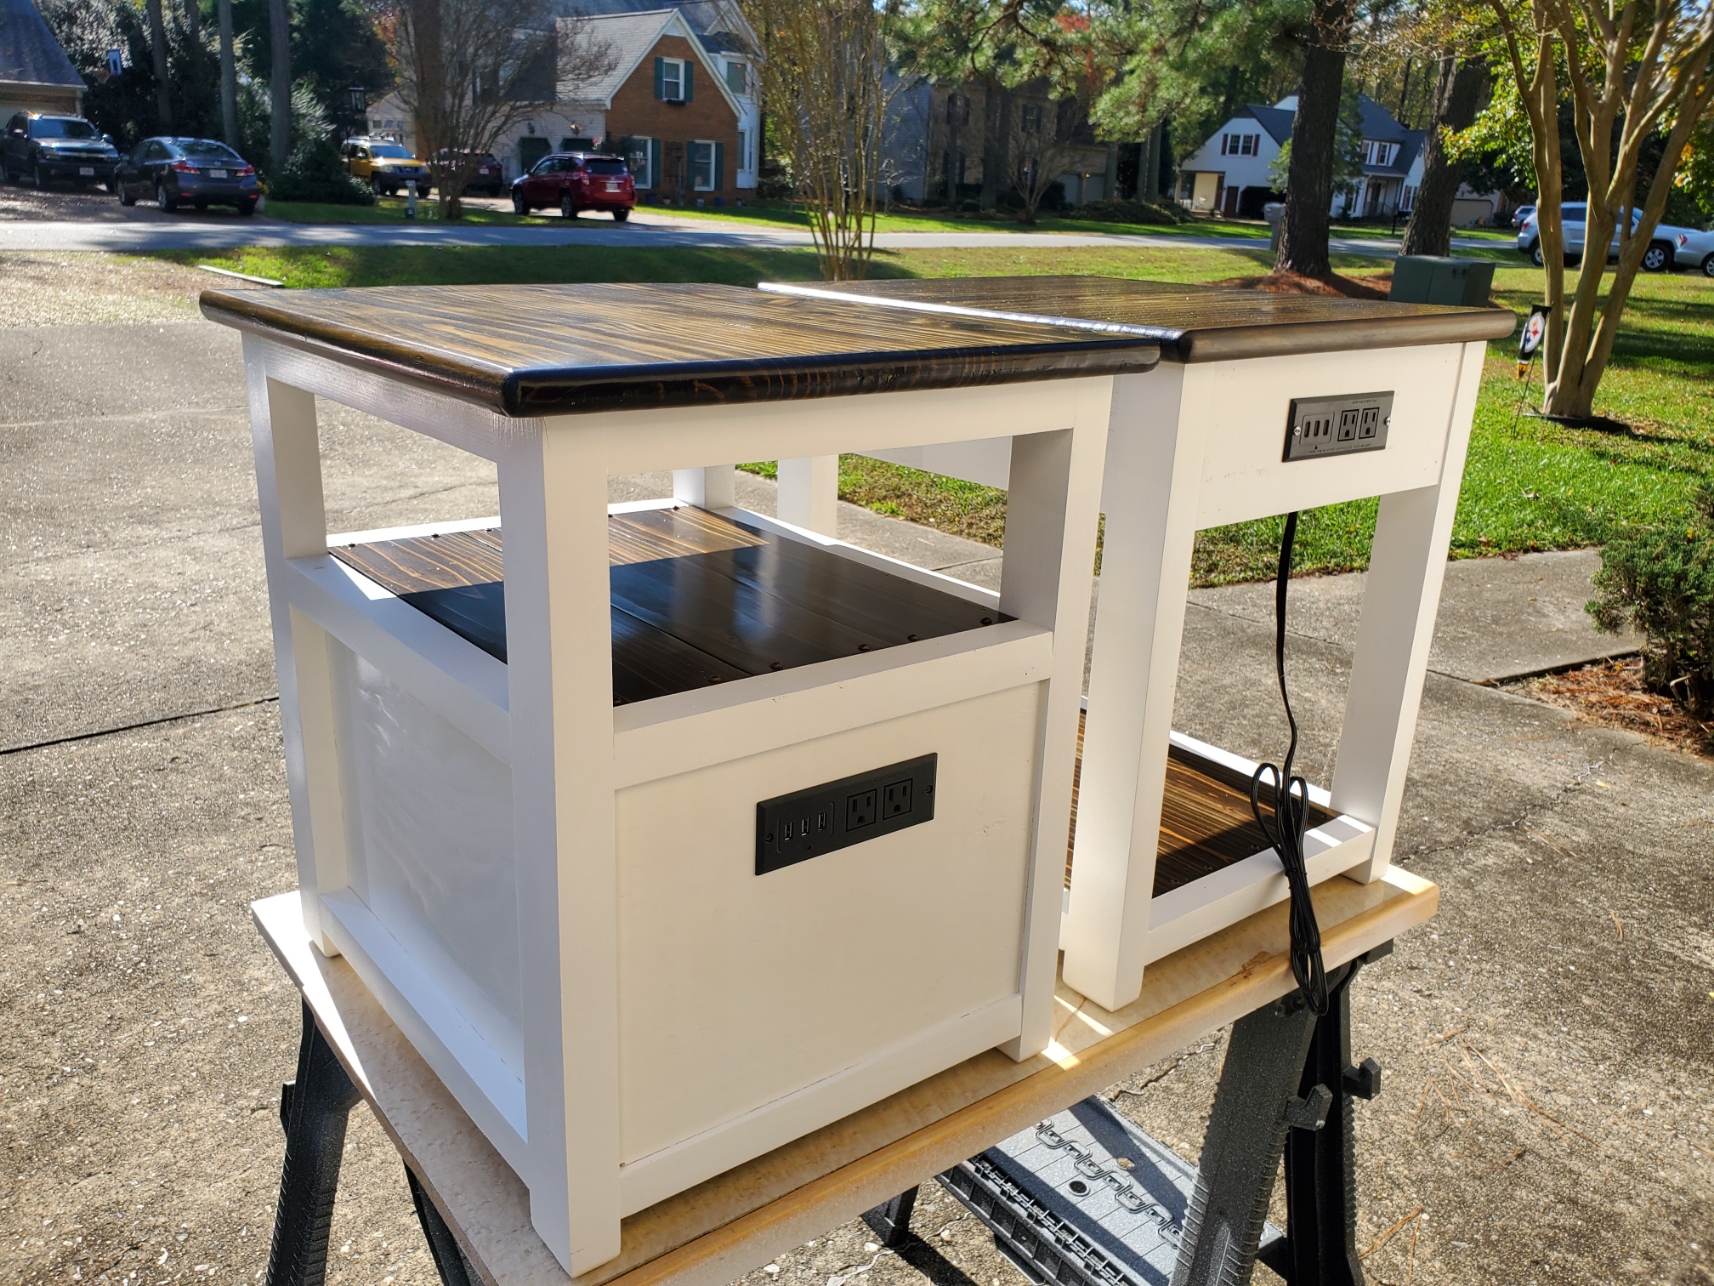
Built these two end tables from Ana's nightstand plans. Modified to add a shelf and drawers. I used stair treads to make the tops which give a nice thickness and strength. The shelves are cedar fence pickets. Shelf and tops are stained Jacobean with a semi gloss poly finish. Had to watch Ana's videos several times to get the build right, but spent much more time on the finish than the build. Added electric extension/usb outlet. Really happy with the project. THANKS Ana!

Sun, 11/15/2020 - 16:28
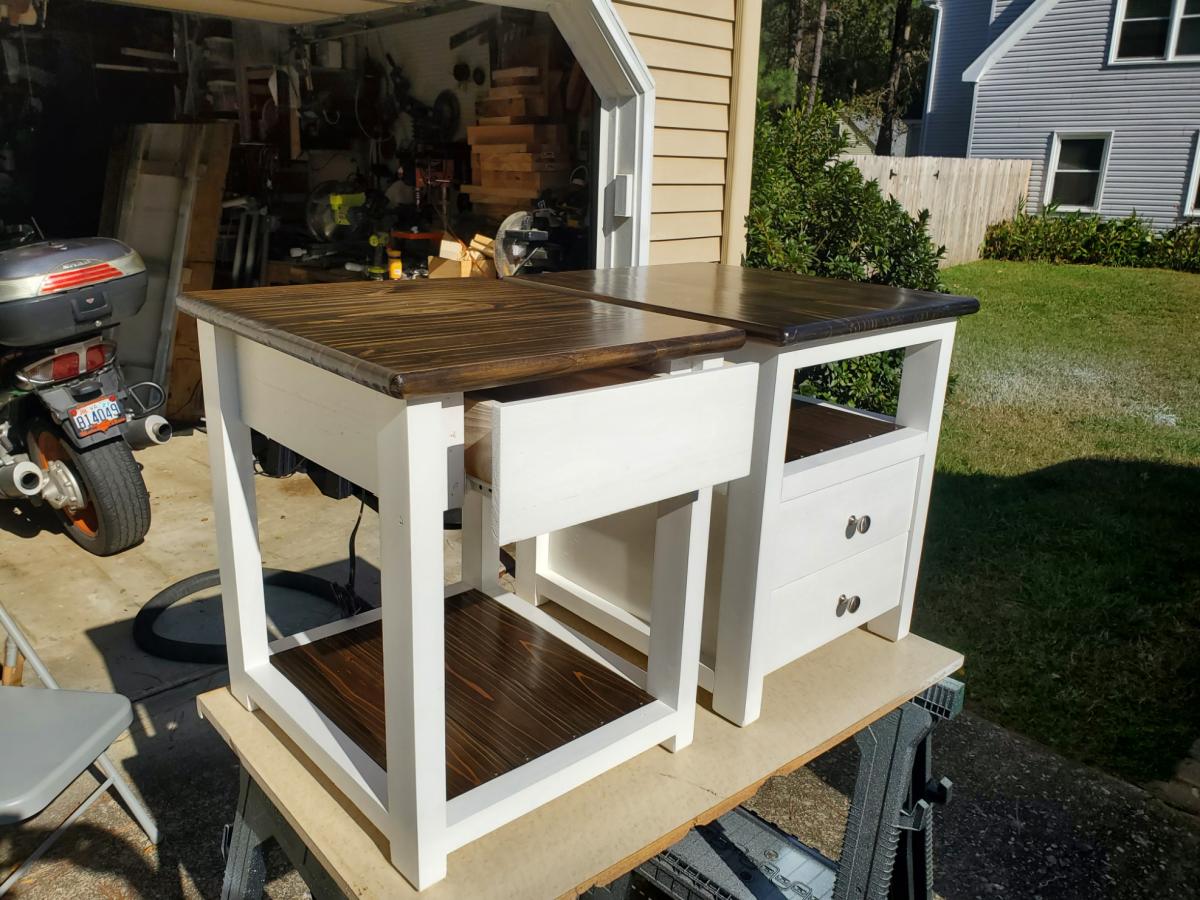
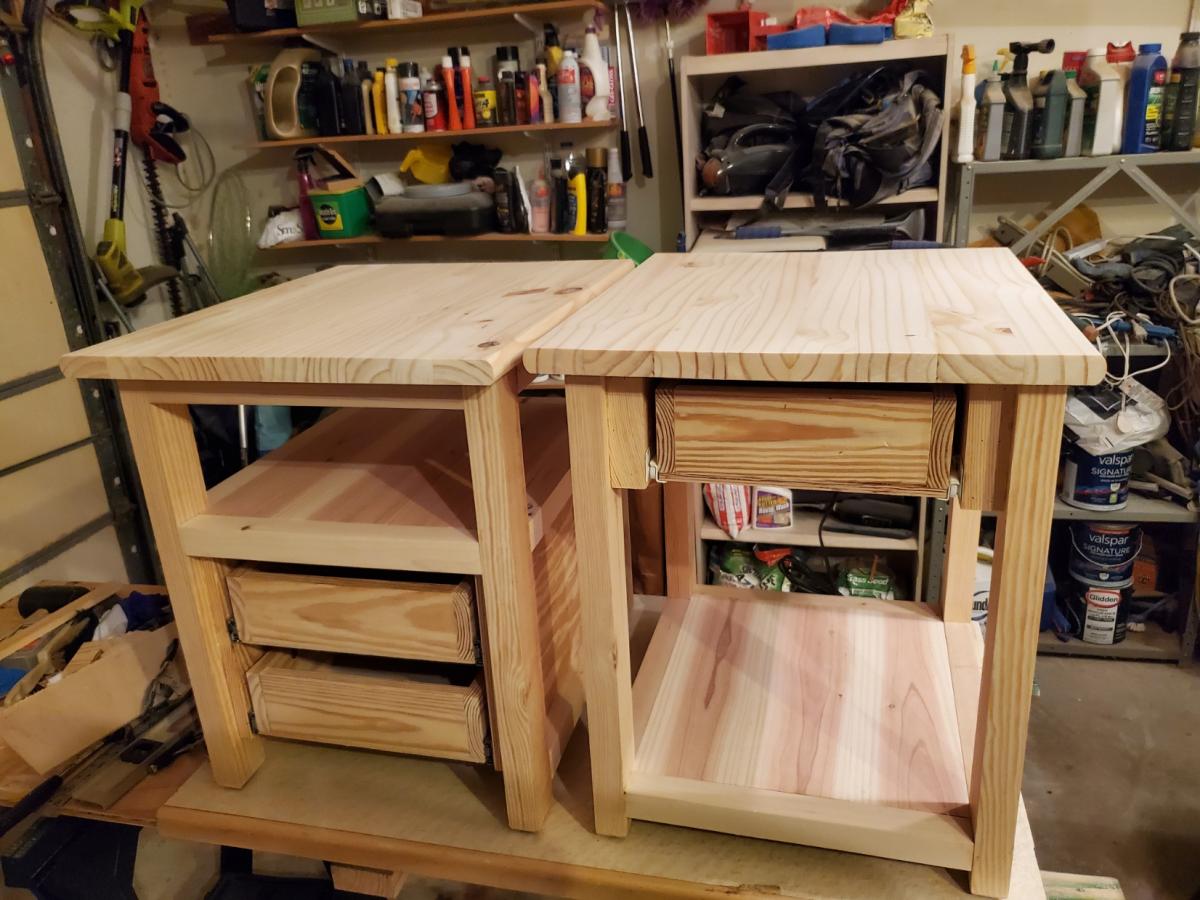
Project for my son. End tables with one and 2 drawers. Shelf and tops stained with poly, frames and drawer primed and painted. Tops made from Stair treads. they are 12" edge glued so just had to trim down and glue together. comes with one bullnose, rounded off the other sides with a 1/2inch roundover router bit.
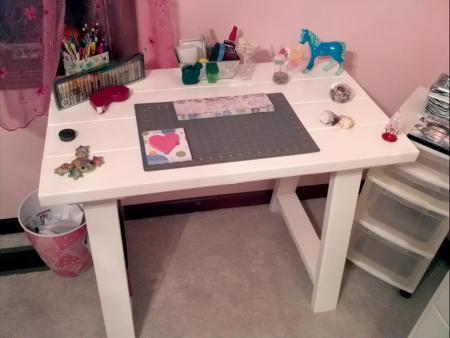
First project using a kreg jig. It went well. Sanding was the worse part. If you are going to brace the legs you will need more wood than listed in the plans.
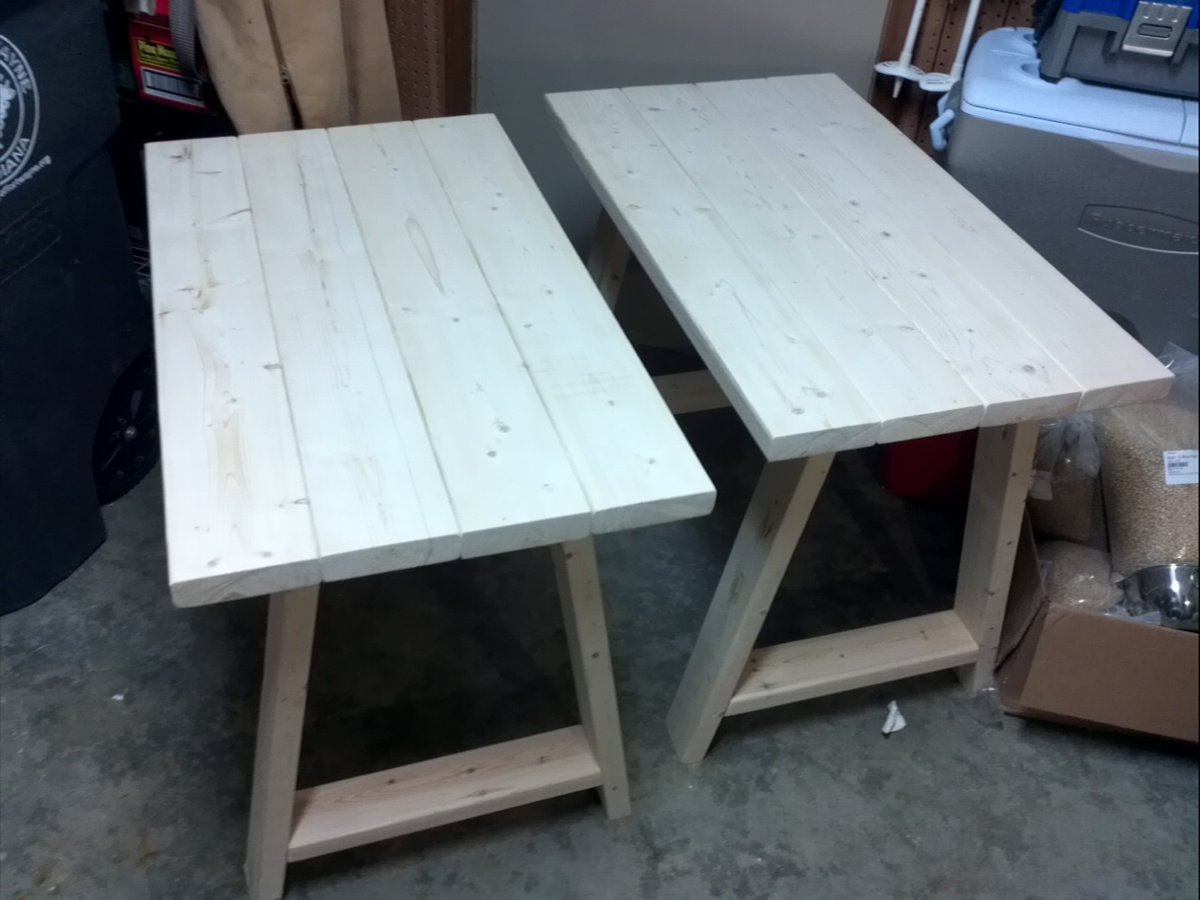
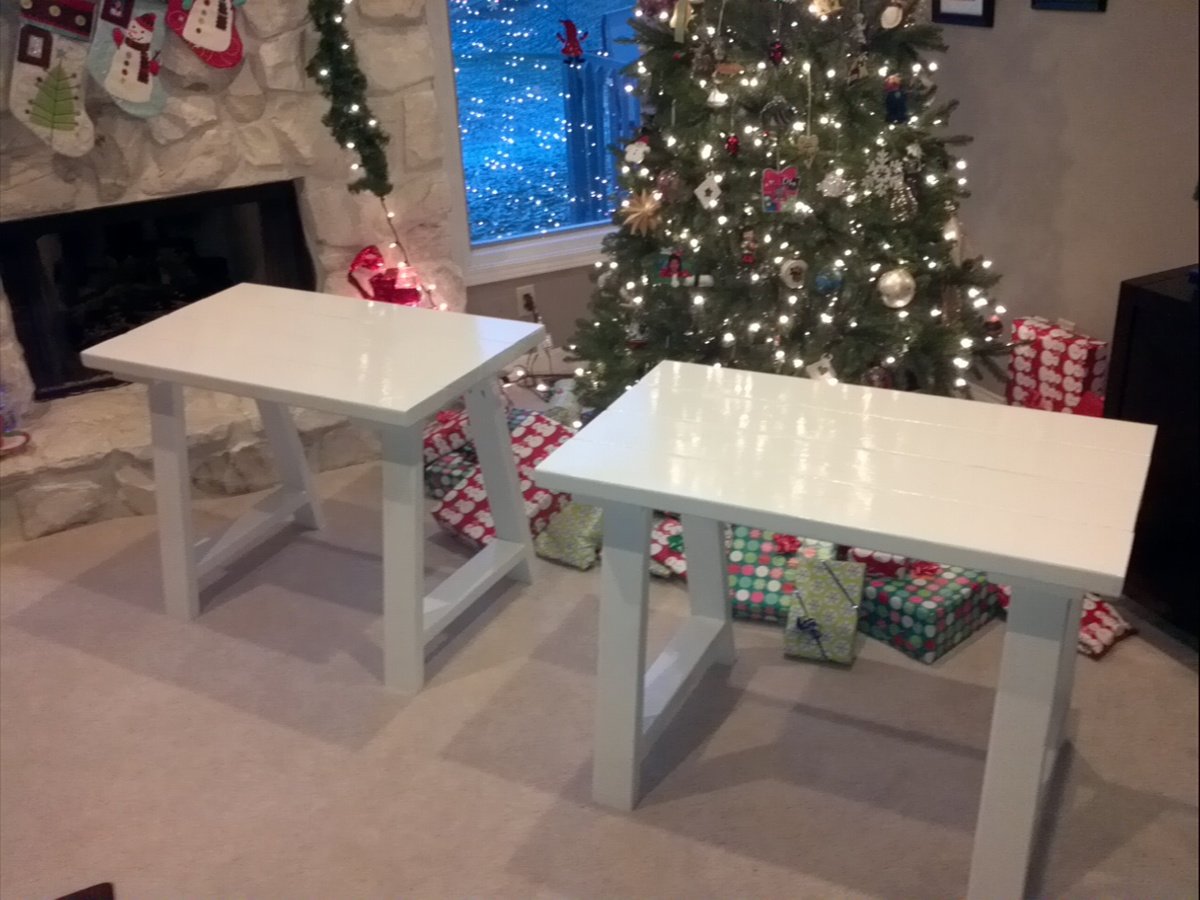
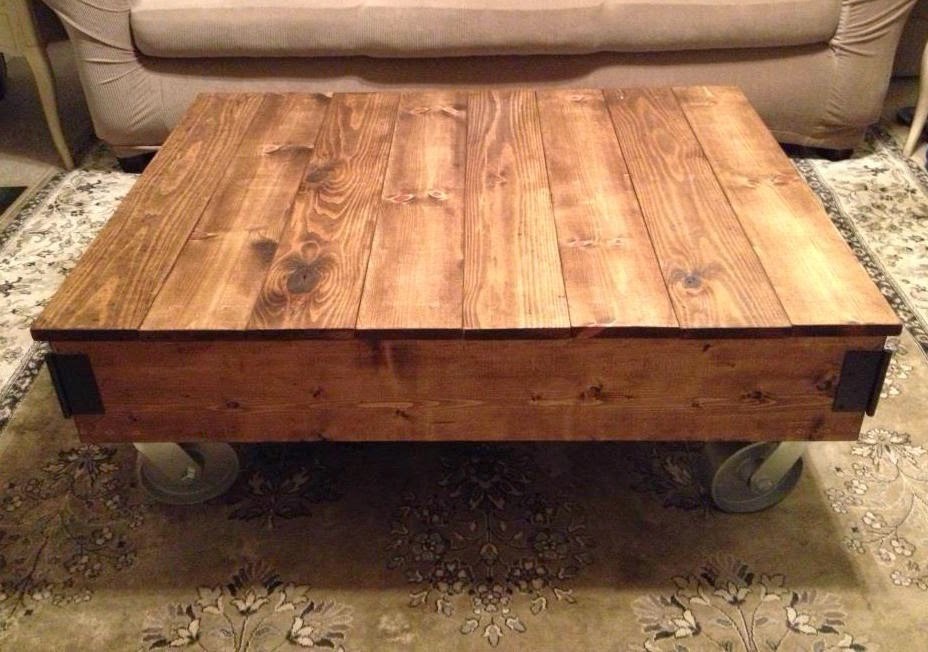
This was my first project from this site...and it will not be my last. thank you so much for all the hard work you put into these great plans.
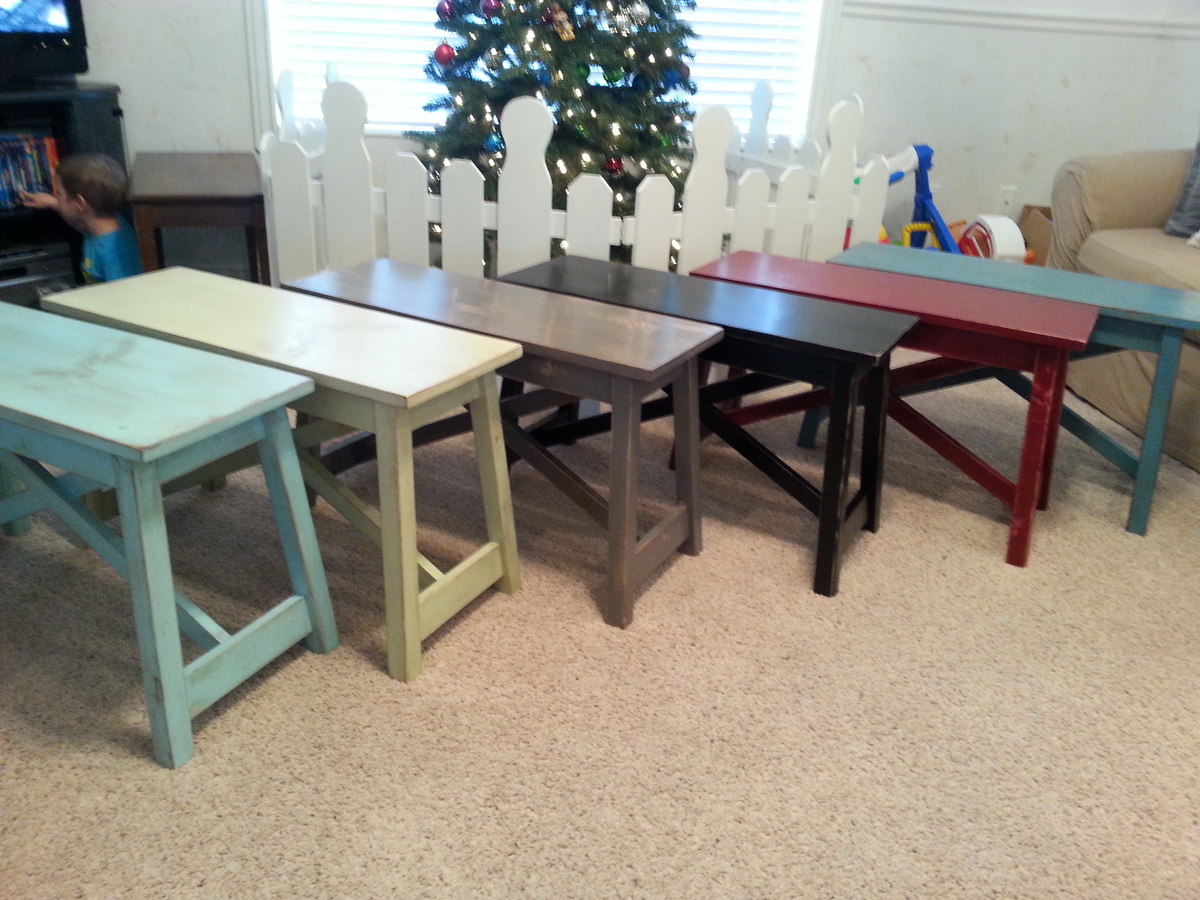
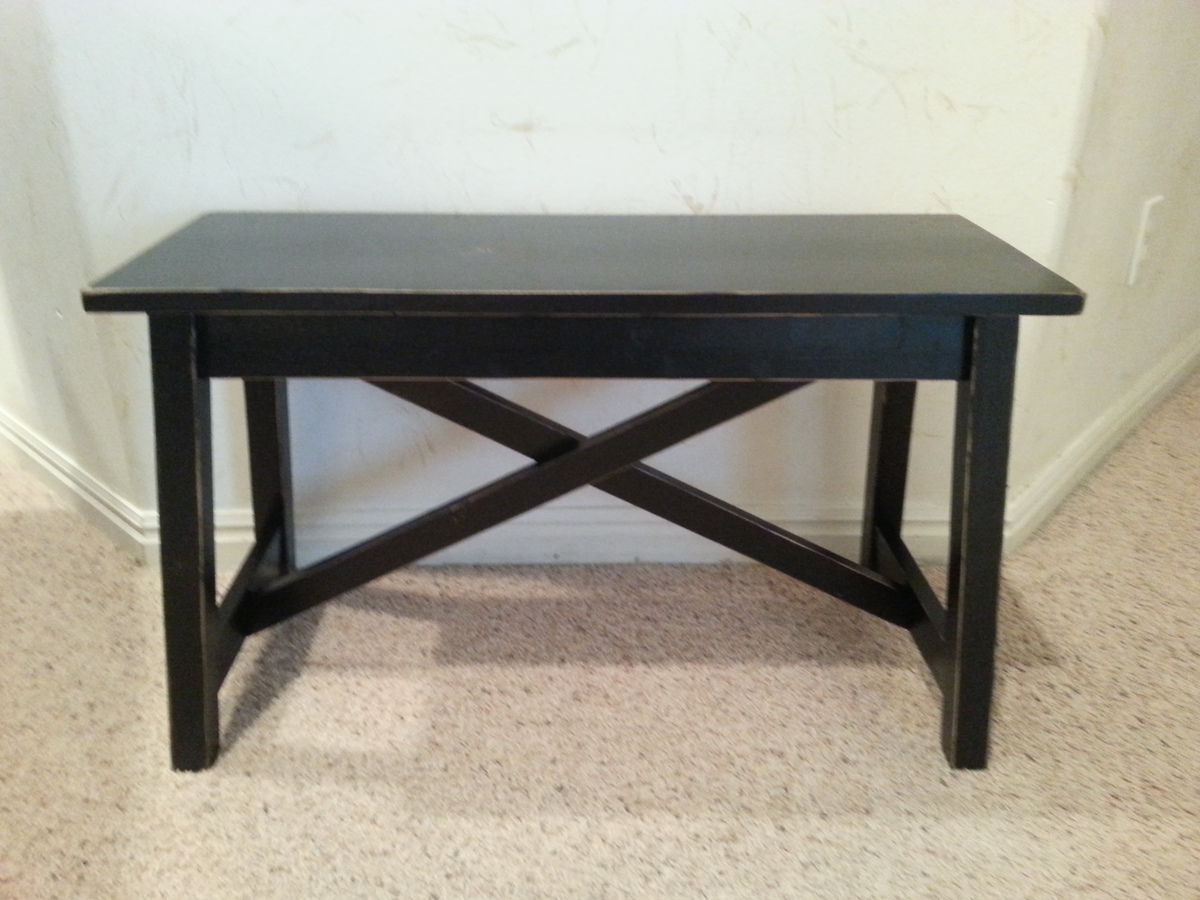
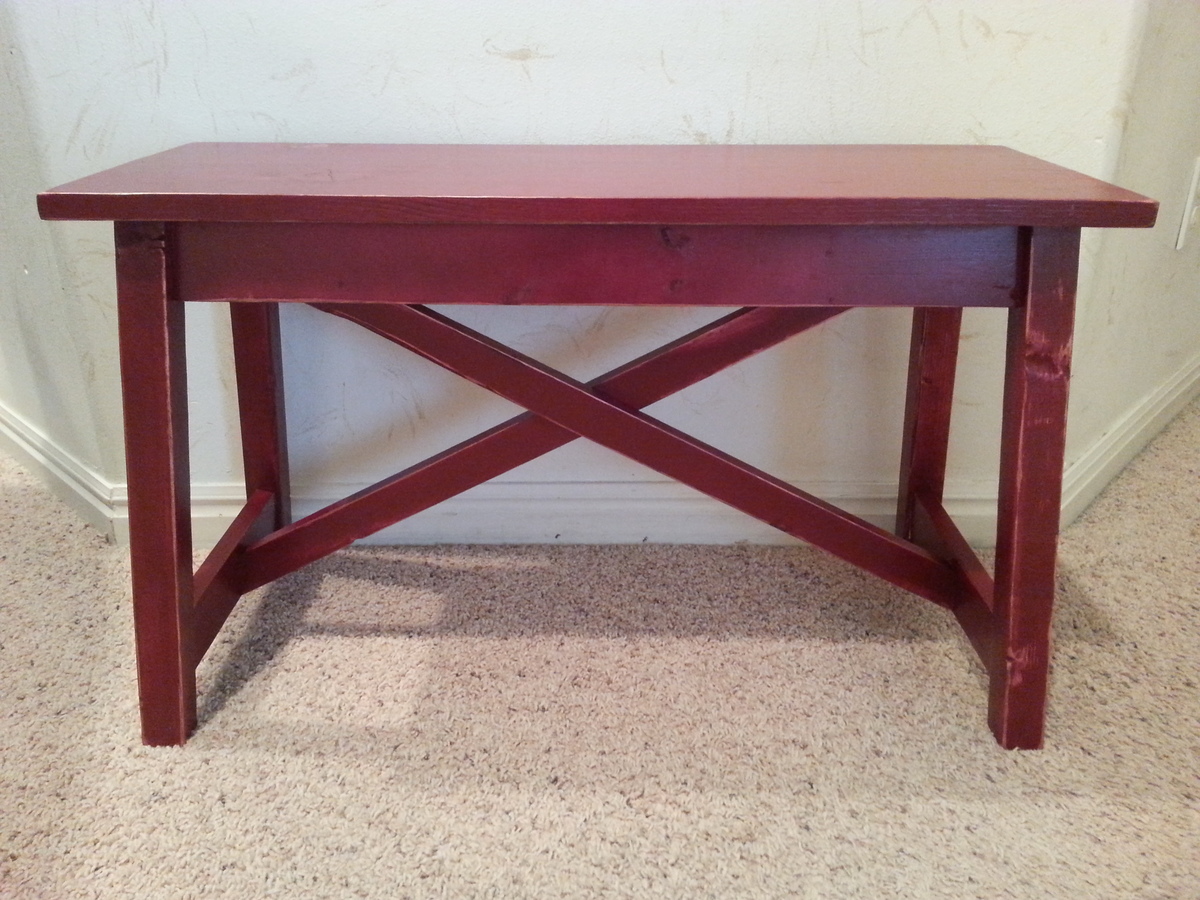
Built a bunch of benches for Christmas/wedding gifts. It was fun to have them all finished in different colors and line them up for pictures.
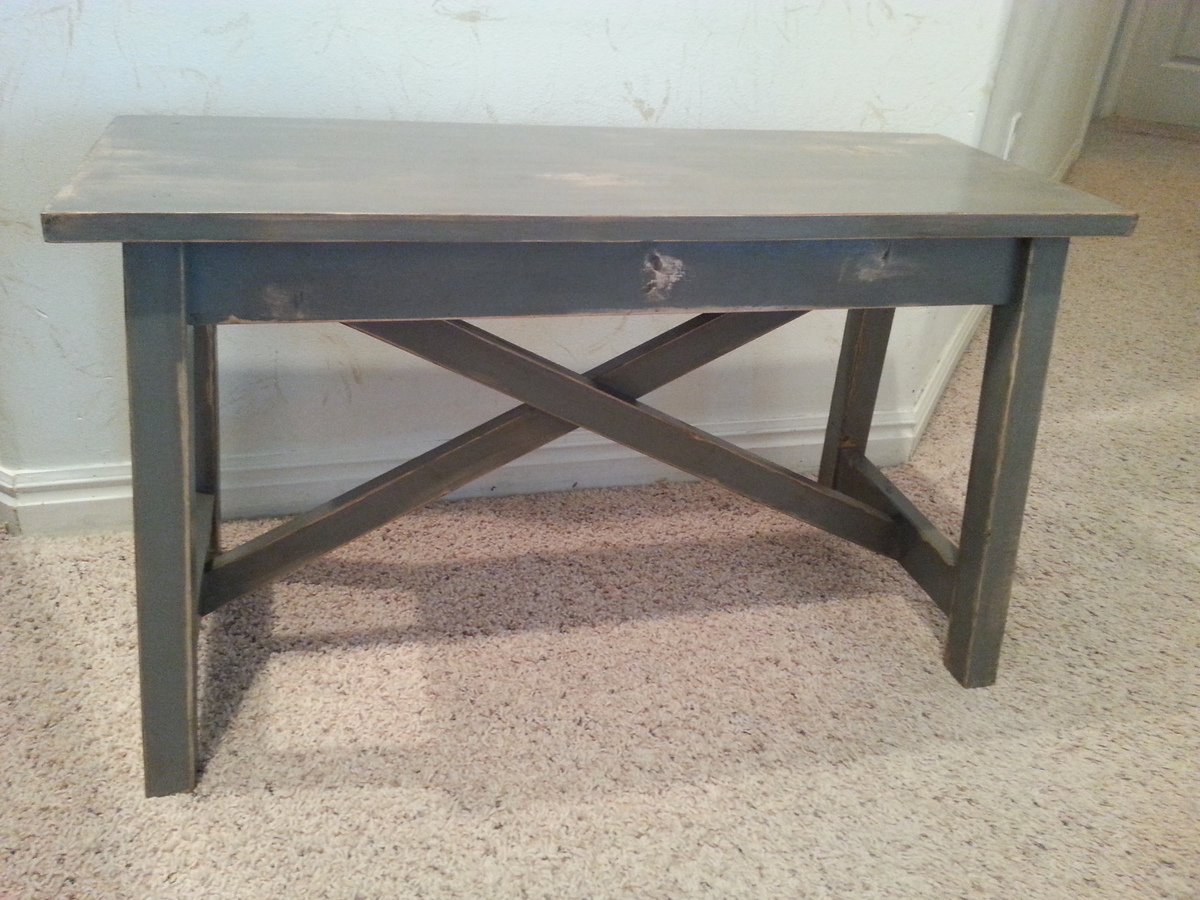

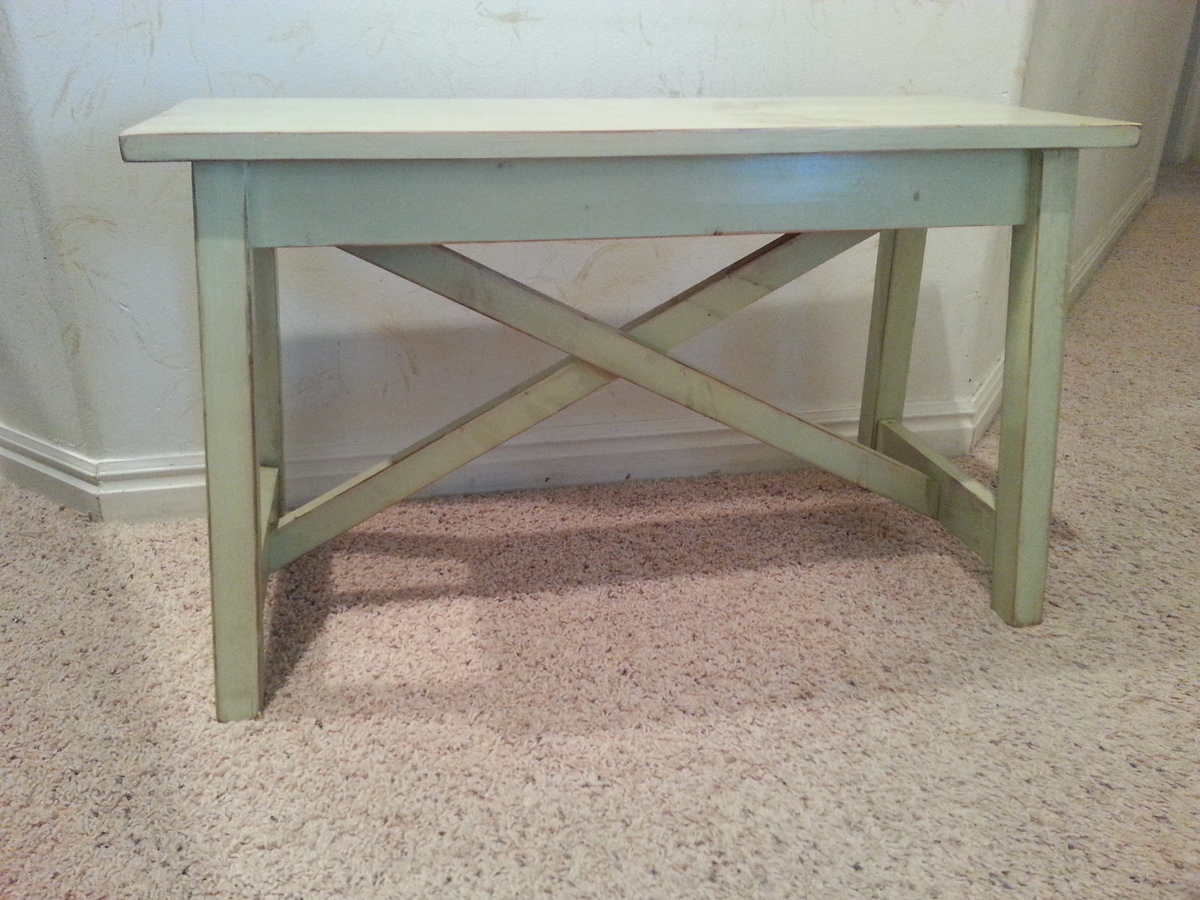
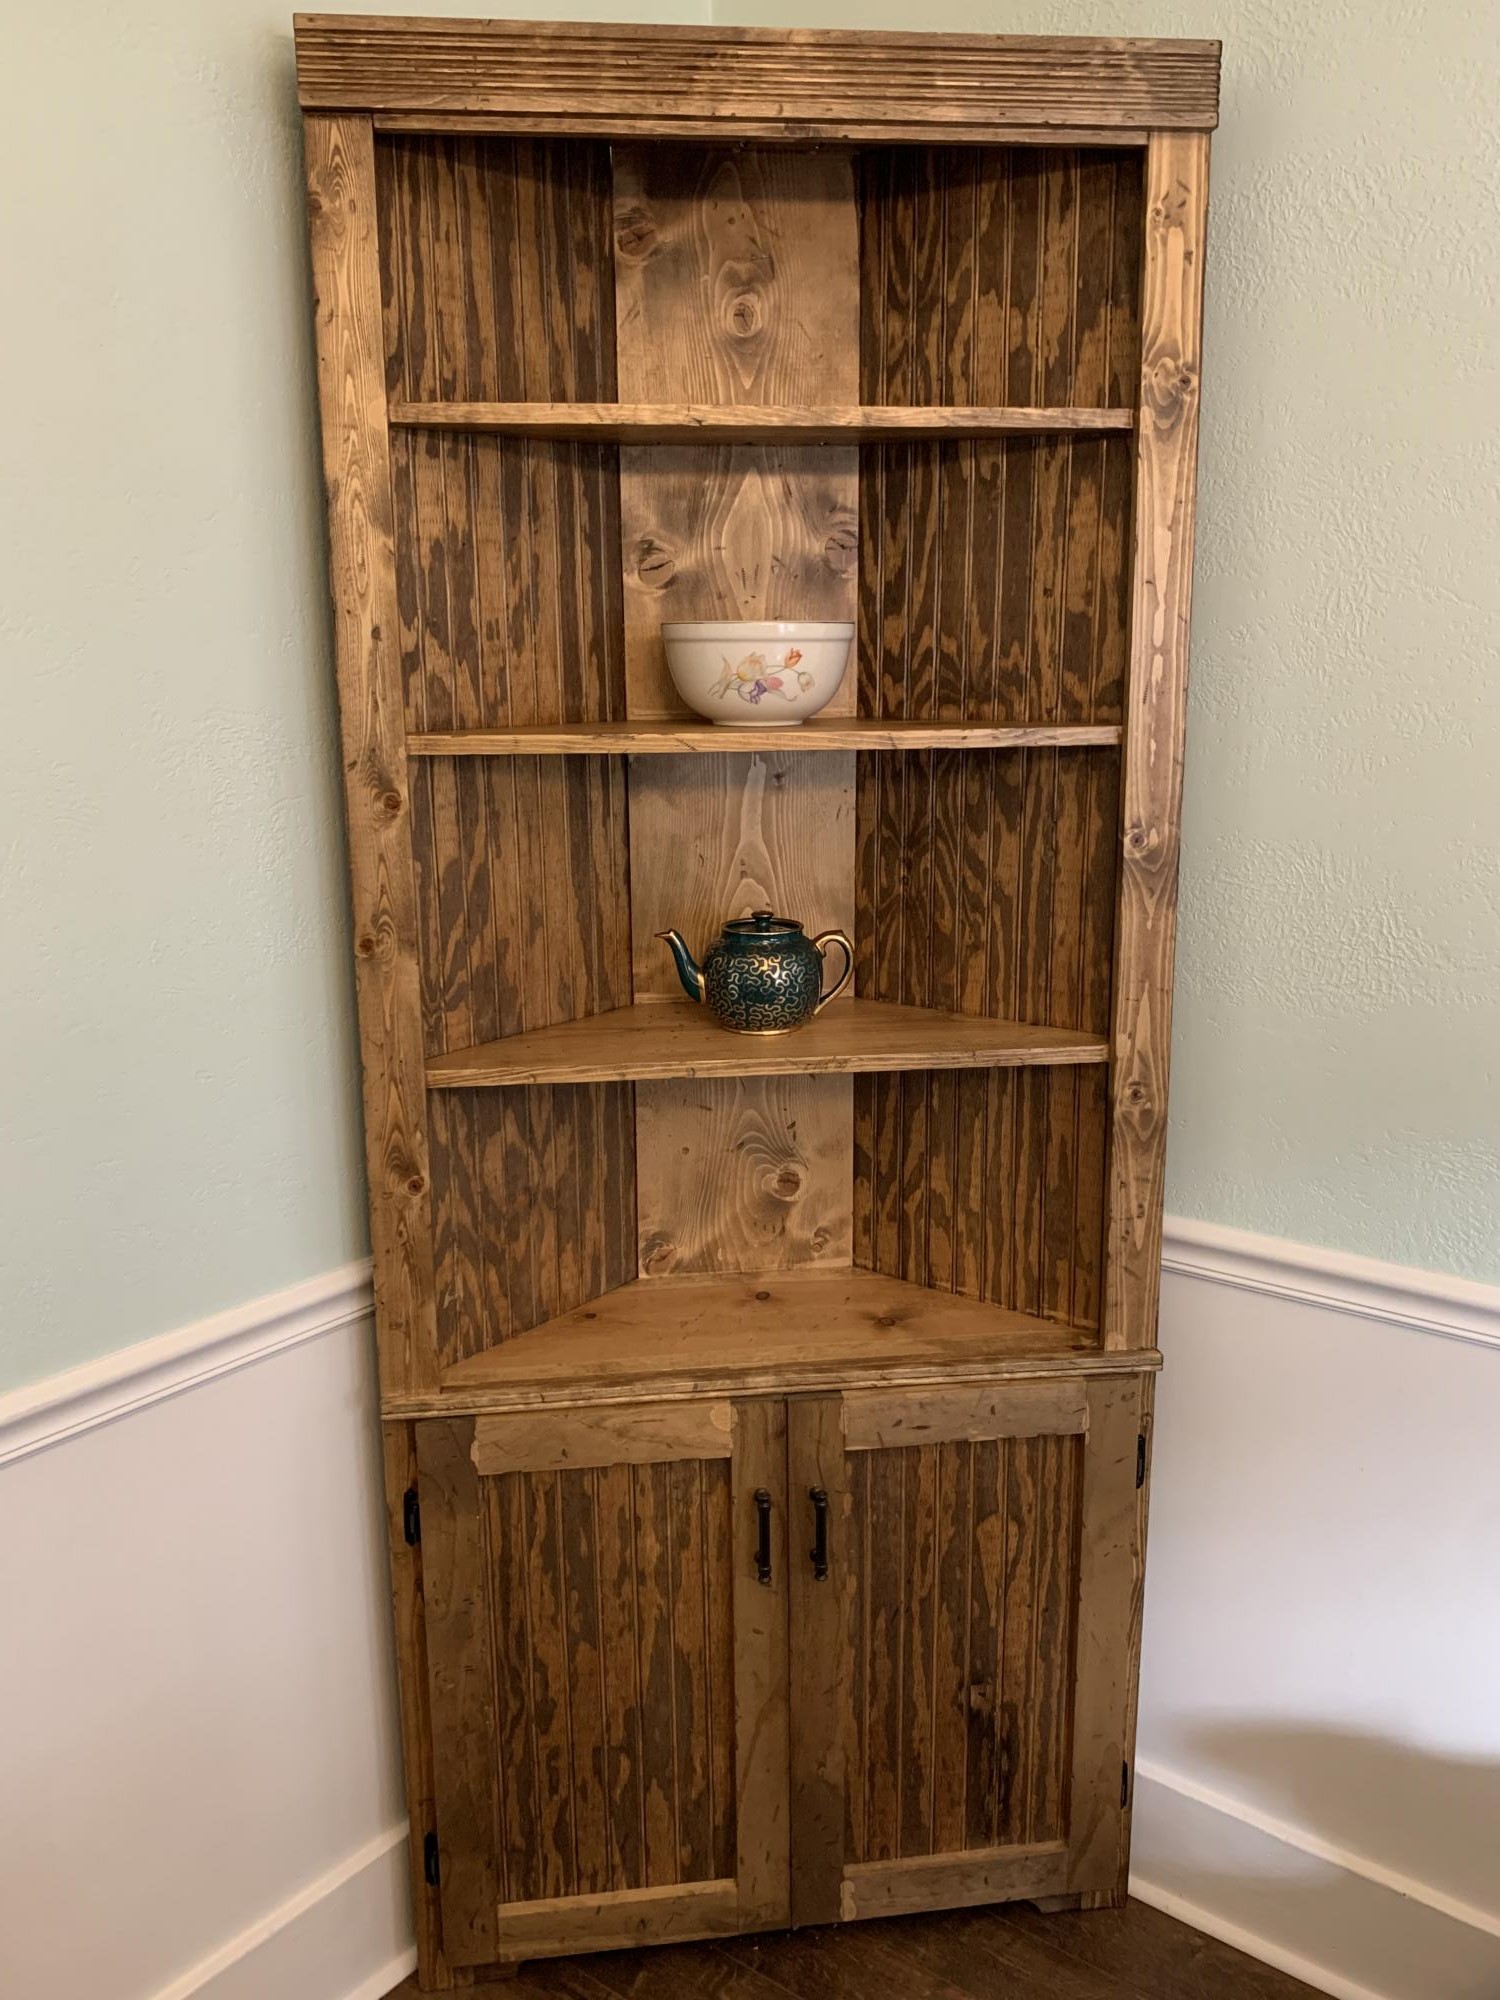
Thanks for the plans. had fun building this. I made it a little higher and added an additional shelf. I wanted it to be rustic, so I beat it with a chain, hammer, and some screws. Used Early American stain. Used Rustoleum Triple Thick Poly satin finish. Not all straight and perfect, but it works. It matches the farmhouse table I built last year.
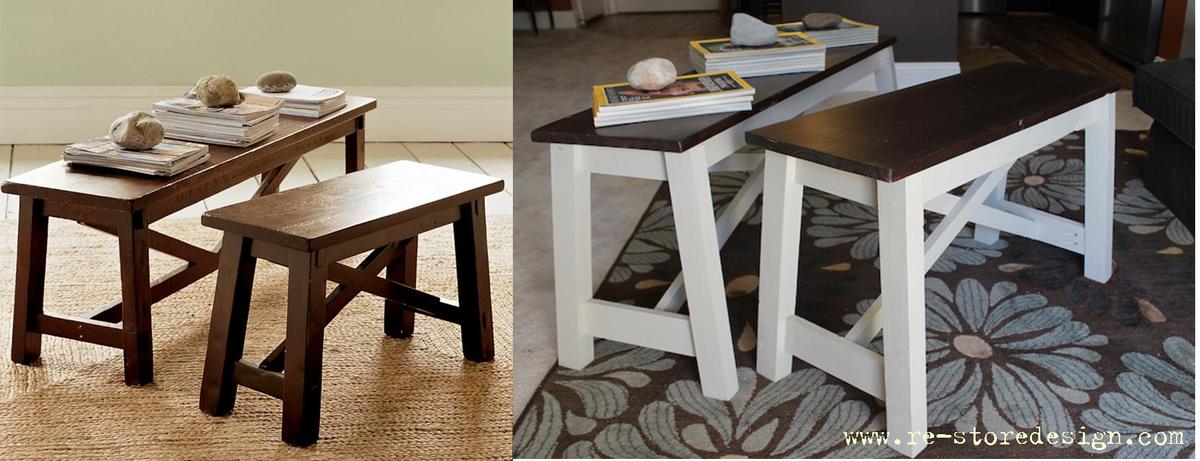
I have always been a fan of the Pottery Barn Rustic Bench. I have not always been a fan of the price tag. $149 for the small bench and $249 for the large bench was a bit more than I was comfortable spending on a piece of accent furniture. Luckily, Ana had building plans for the Pottery Barn bench. I built all three benches for around $60! You cannot beat that!
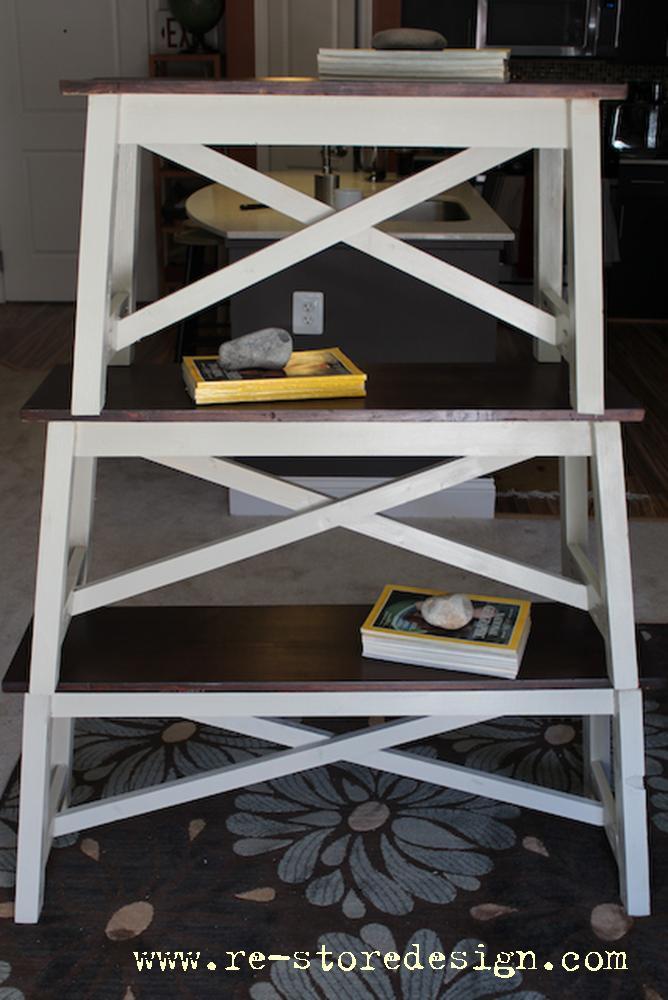
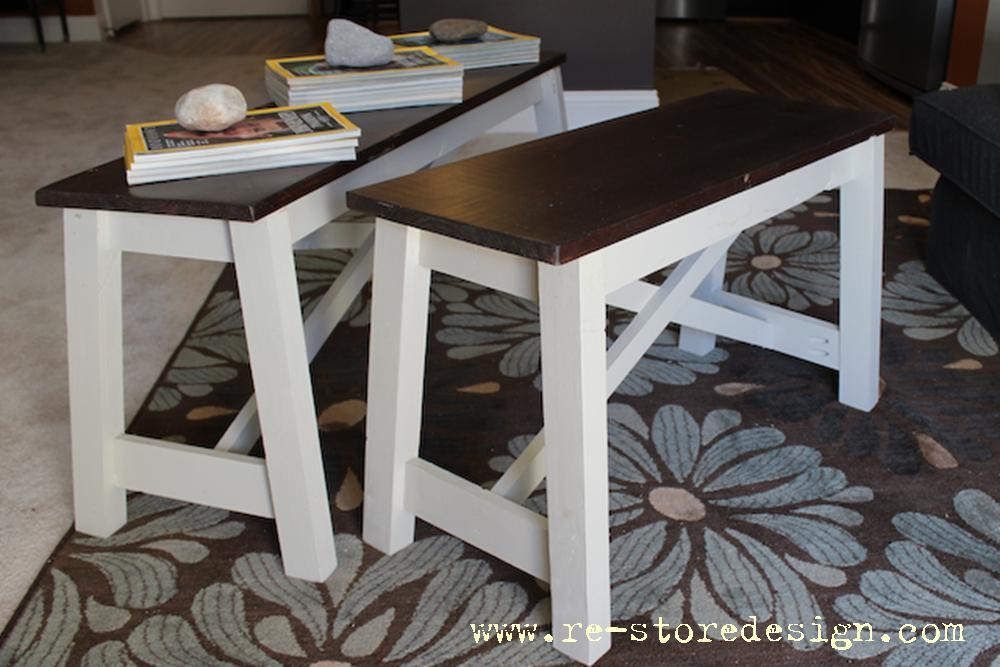
Our kids love this table. Everyone had to put their handprints on it!
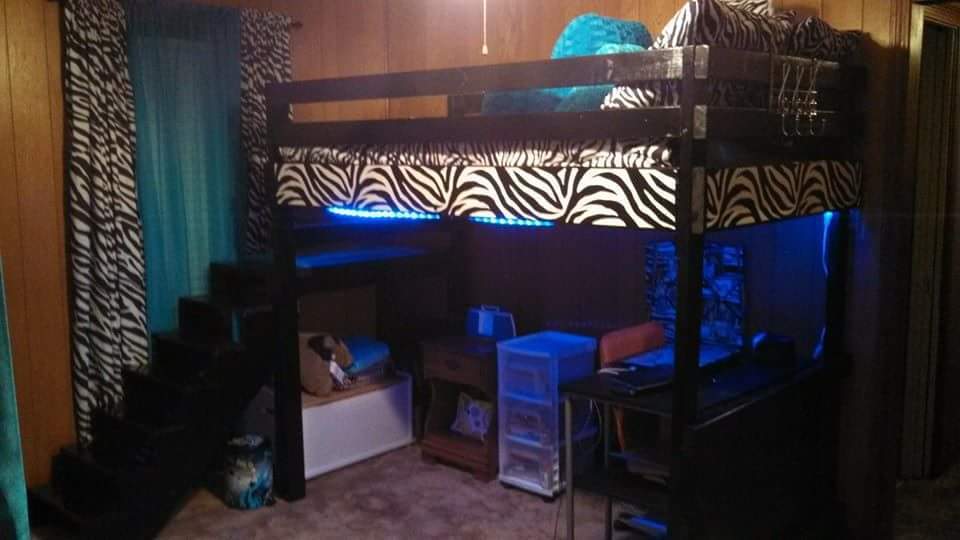
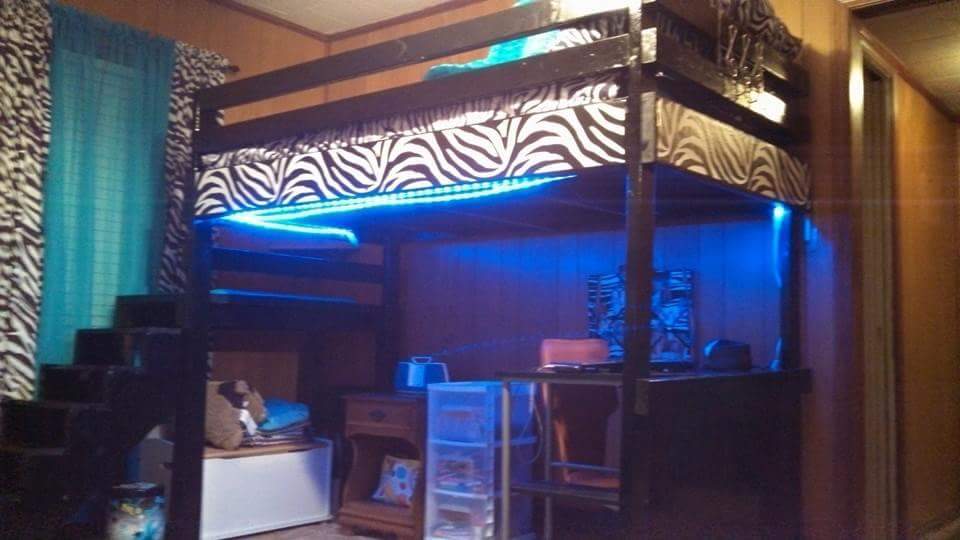
I built this bed for my 12 year old daughter. We moved to a smaller house & we needed a way to maximize the use of space in her room. She's also visually impaired, which made the ladder option more dangerous. She could get up a ladder fine, but coming down was an issue. I was thrilled to find a plan with stairs, and I added a handrail for her to help guide her down the stairs. I also put a peel & stick zebra print border around it to tie it in with her bedding & curtains. The rope lights underneath added a cool touch & helped make that dark area more functional.
I love your designs and could spend hours browsing here! But that doesn't get things built! ;)
I used your general plan to build this cute bench as my first project for my new Handywoman Business
I was easily able to adjust and customize it to my customers specifications and it is very sturdy. Also my first adventure in pocket holes and I am in love!
Loved the farmhouse table plan, but didn't love the stretcher and stretcher supports. If you remove those, you have to find other ways to provide support, which I did by way of a stronger apron and the use of pockethole screws.
Also, I shortened the table. It's about 69 inches long, plenty of room for 6 people, and just right for our apartment dining room!
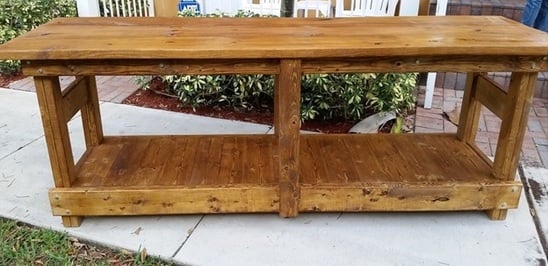
Someone had asked me to build them a tv stand and this is what I did. Thank you for making the plans so clear.
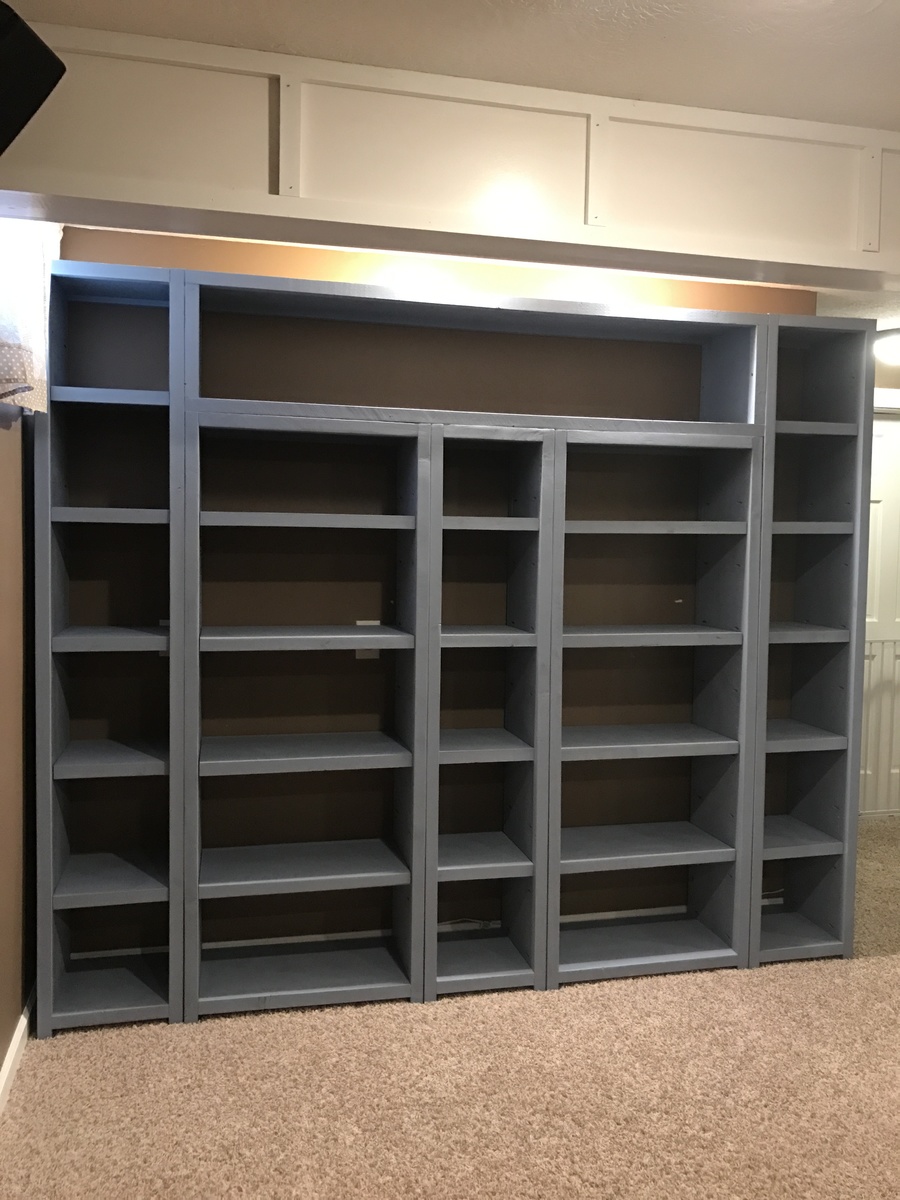
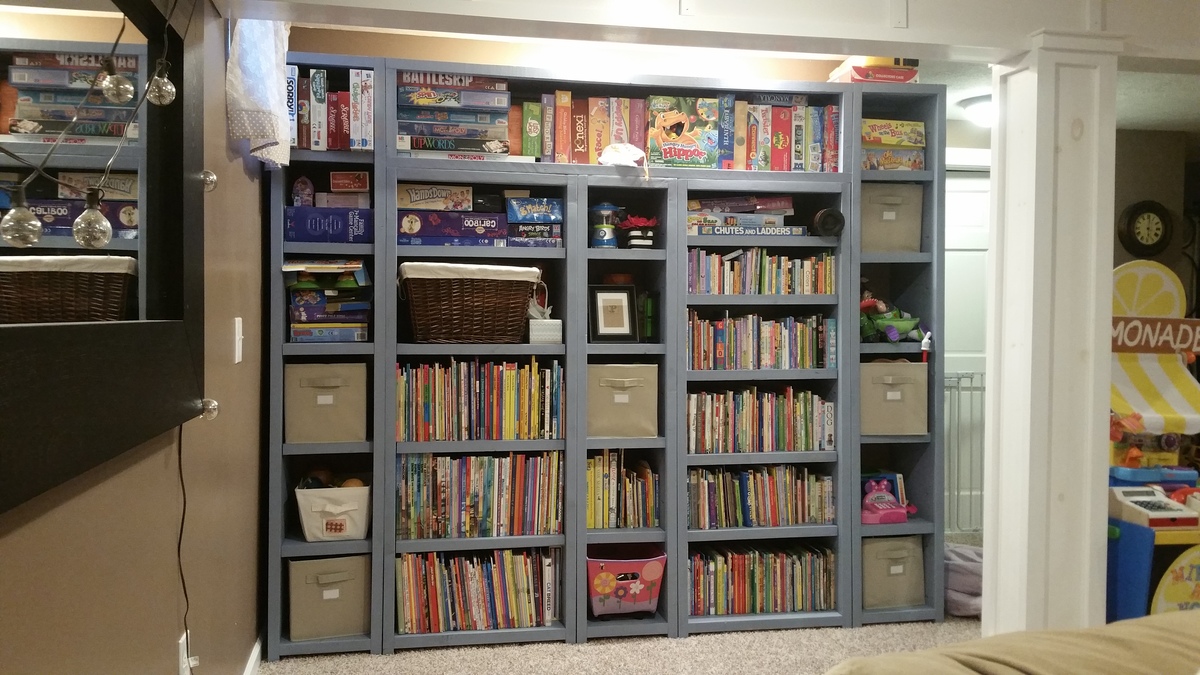
Made this unit in 6 sections
(2) End Units = 15" x 14.25" x 83"
(2) Middle Units = 27" x 14.25" x 68"
(1) Middle Unit = 15" x 14.25" x 68
(1) Top Unit = 69" x 14.25" x 15"
Total for the whole unit = 99" x 14.25" x 83"
I used my Kreg jig (K4) for pretty much the whole project. Made all the shelves adjustable also using the Kreg Shelf Pin Jig. Glad I purchased the pin jig because it made the whole project go easier.
What I did different be from the plans shown:
1. The shelves: I used the 1x12 and did add the 1x2 but just made the front go down instead of out to give it a bulkier look.
2. The top: I basically mirrored the bottom shelf that way it would be a flush look.
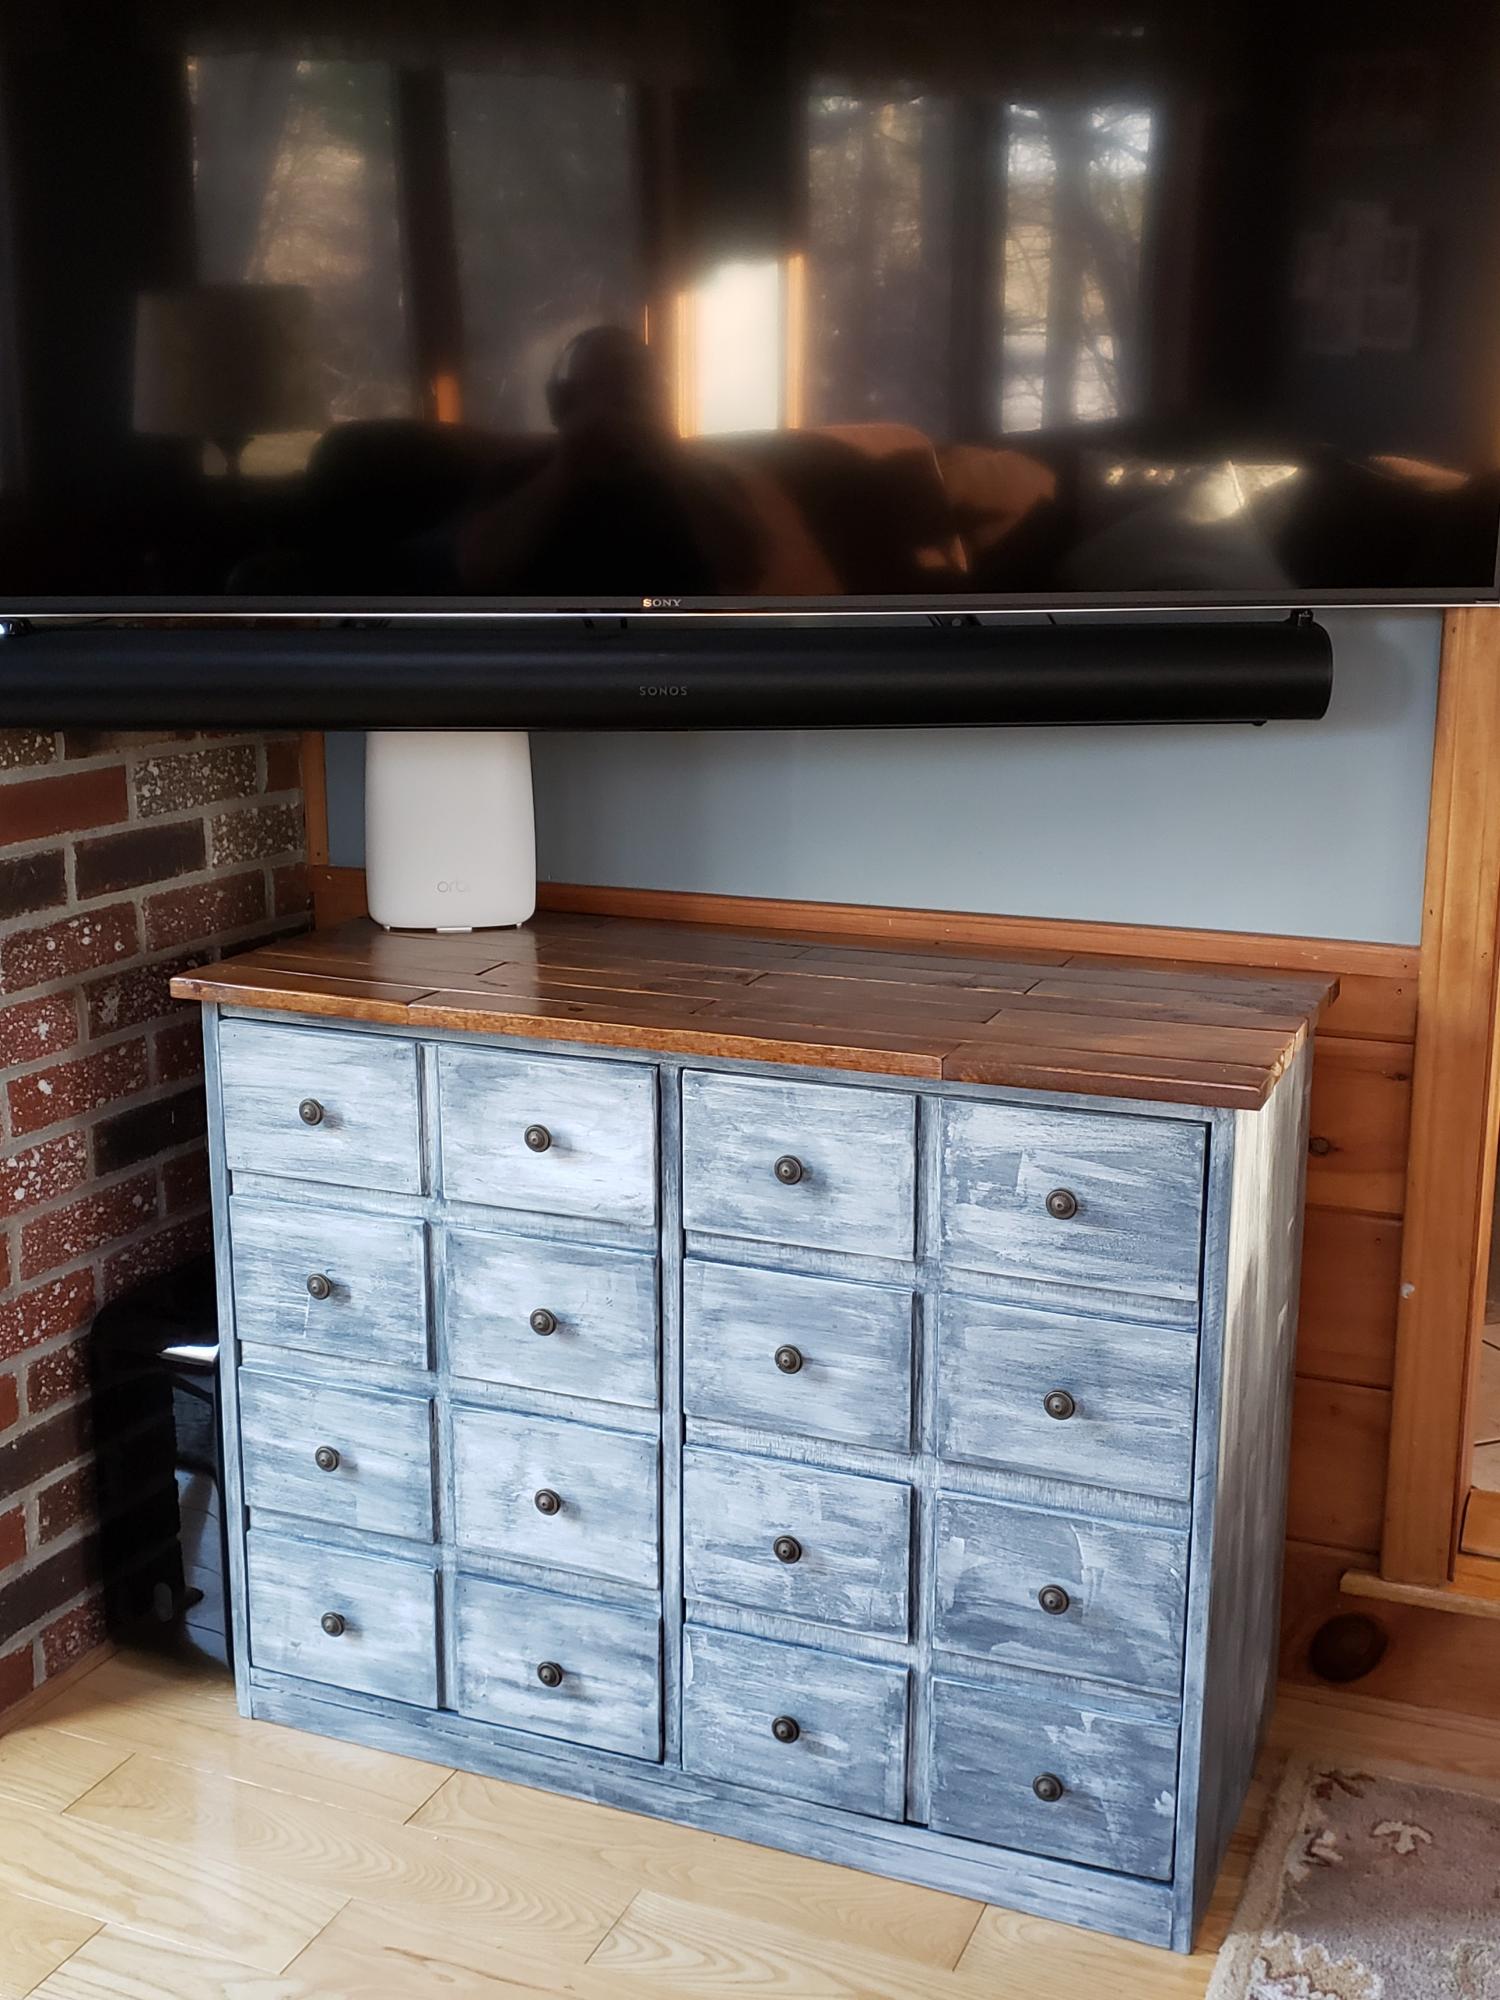
Thanks for the plans! Modified the scale to make it shorter and deeper. Really happy with the results!
The scale changes tested my math skills :)
It took some creative Googling to find the hardware you used. A link would be awesome. I actually did a Google image search of your hardware image to locate it.
Tue, 12/01/2020 - 11:27
YES! Mods can be challenging:) It appears you rose hugely to the occasion, I will try and do better at linking hardware!
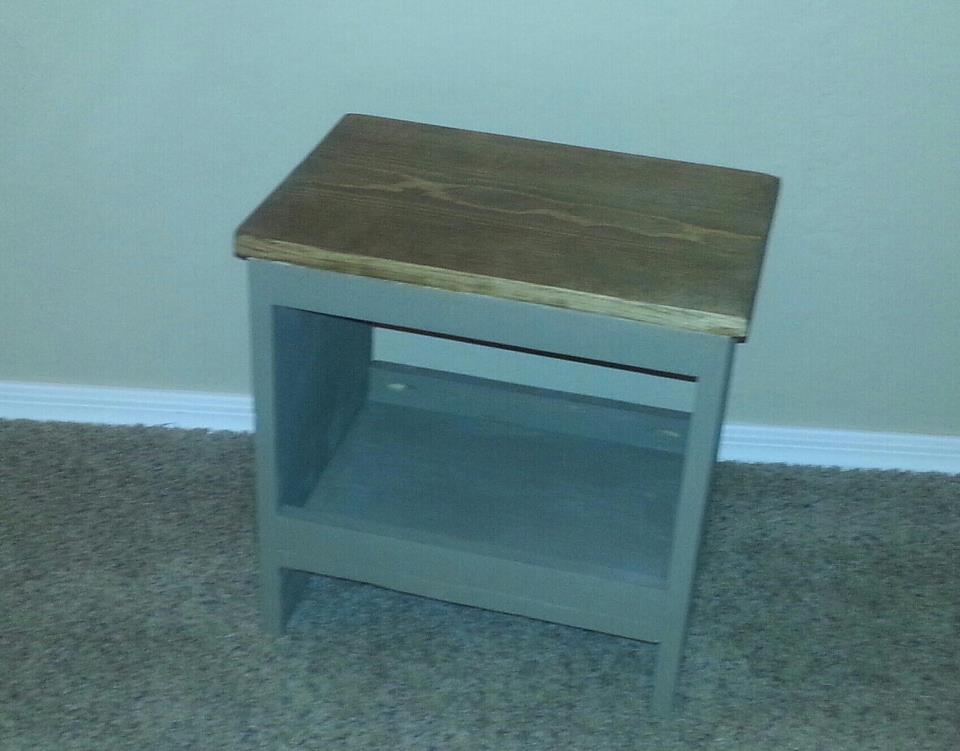
I mixed the plans for the kids bench and small work bench from The Family Handyman to make a little work bench/step stool.
http://www.familyhandyman.com/DIY-Projects/Woodworking/Woodworking-Proj…
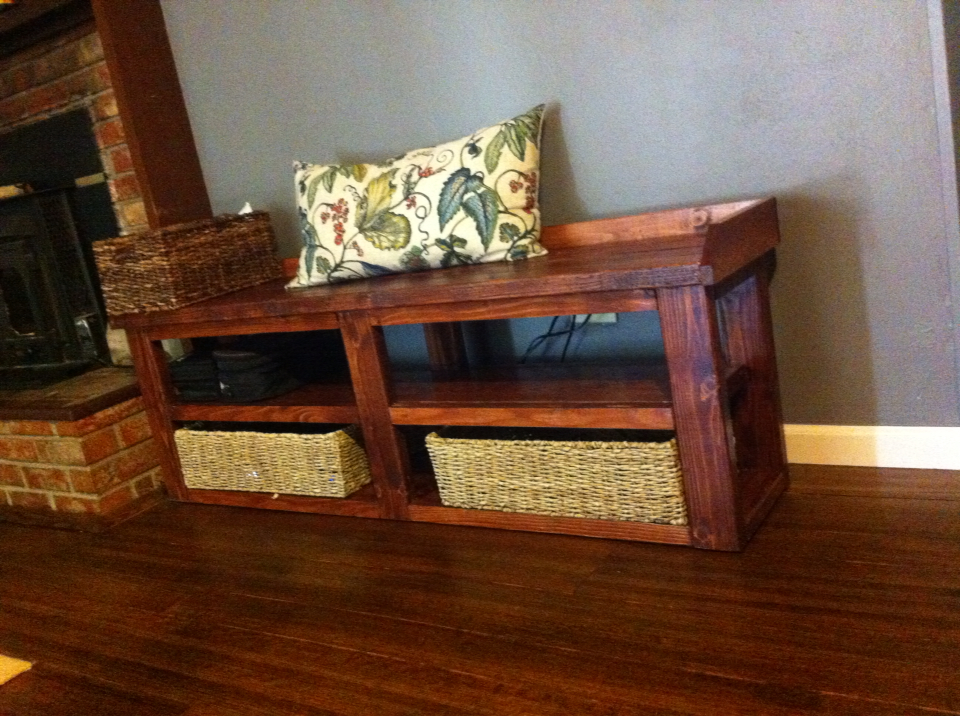
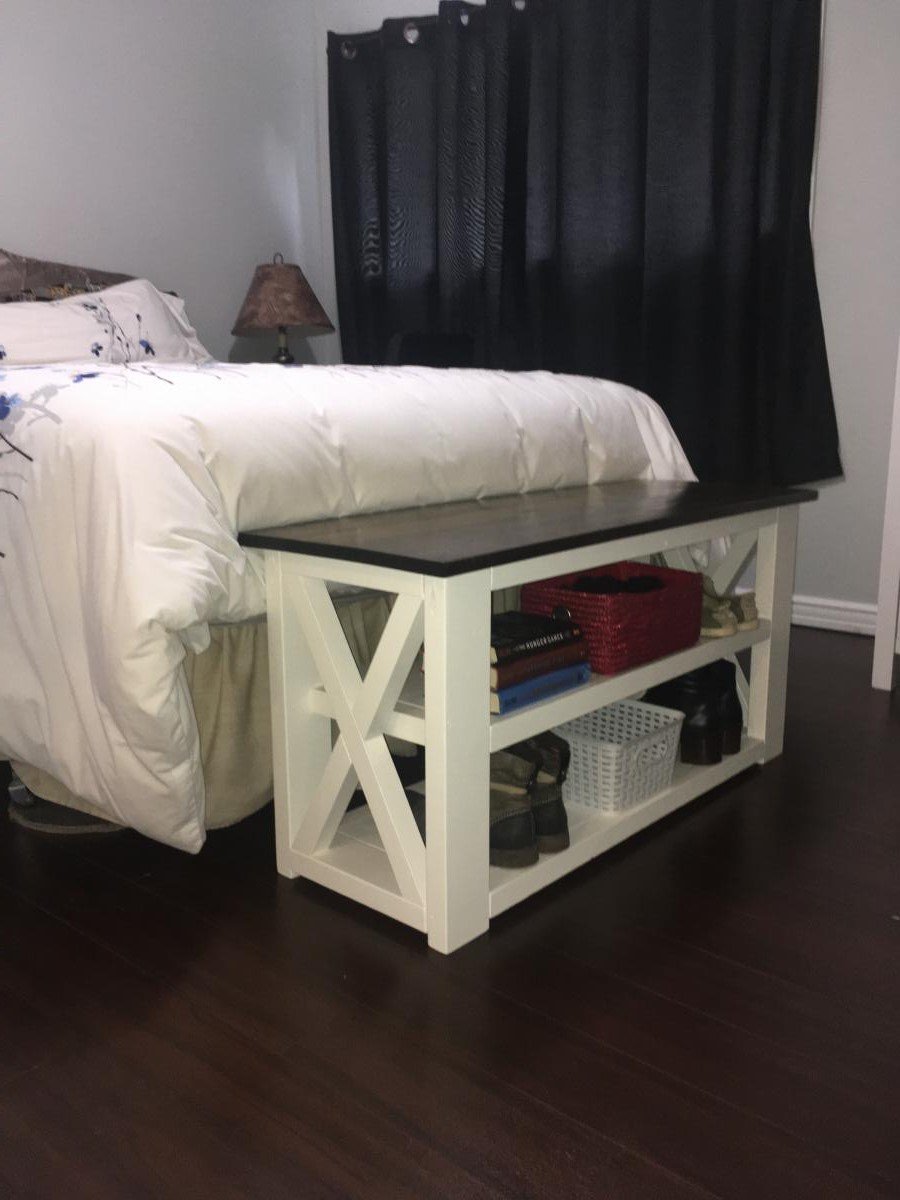
I needed a nice way to hide our TV electronics and at the same time serve as a bench for seating. I could not find plans for ANYTHING like this anywhere! I decided to take the Rustic X Console table plans and change the dimmensions around and it worked fantastic. I can now hide everything I need to in the baskets with the wiring exiting through the basket handholes and at the same time I do not have a useless media cabinet taking up space, but instead have additional seating in our living room for 3 more people!
This was my first furniture project, and I modified these plans slightly to get 2 drawers, as well as a smaller depth of the desk. I took this photo before I added drawer pulls, but I love how it turned out!
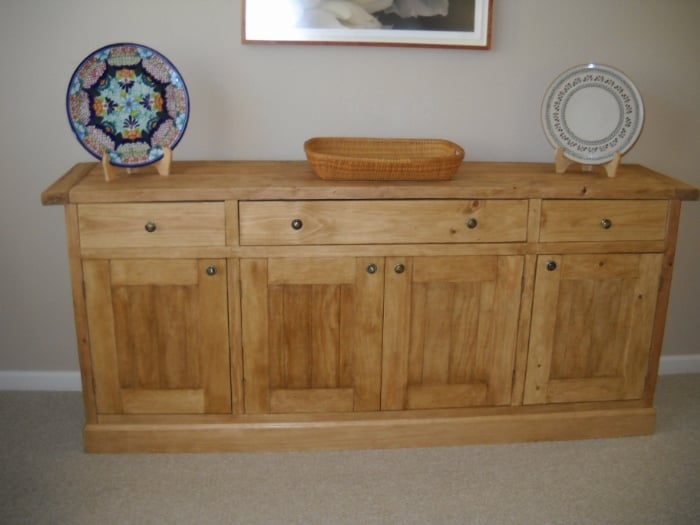
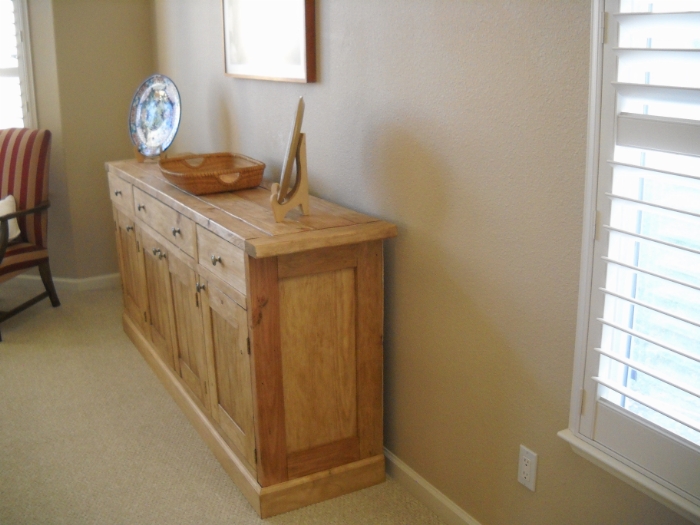
Sideboard/Buffet
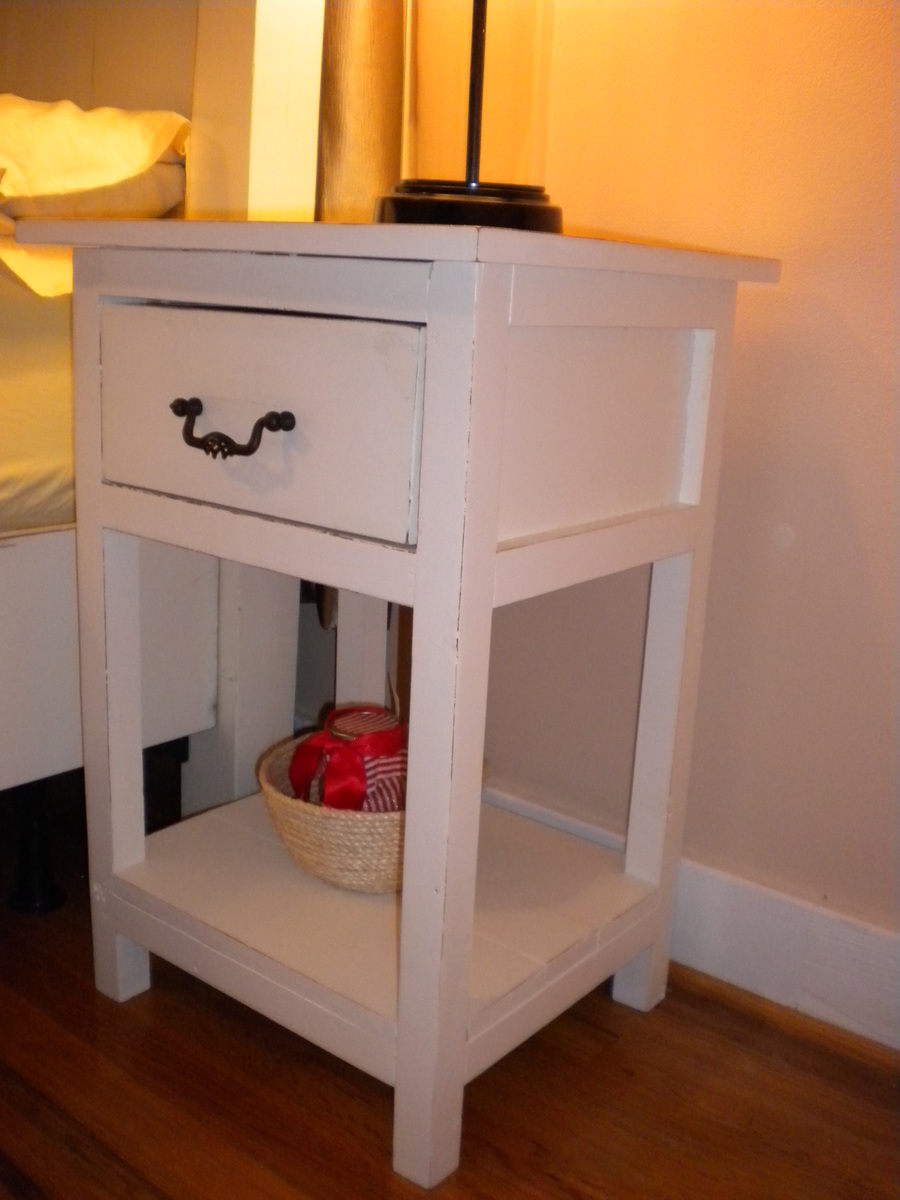
I was in desperate need of nightstands that would match my AMAZING farmhouse bed and shoe dresser and I found these! I had to make a few modidications to fit the space on our walls. I also put a few braces inside so the drawer wouldn't tip out when it opened. Overall they turned out pretty awesome if I do say so myself...
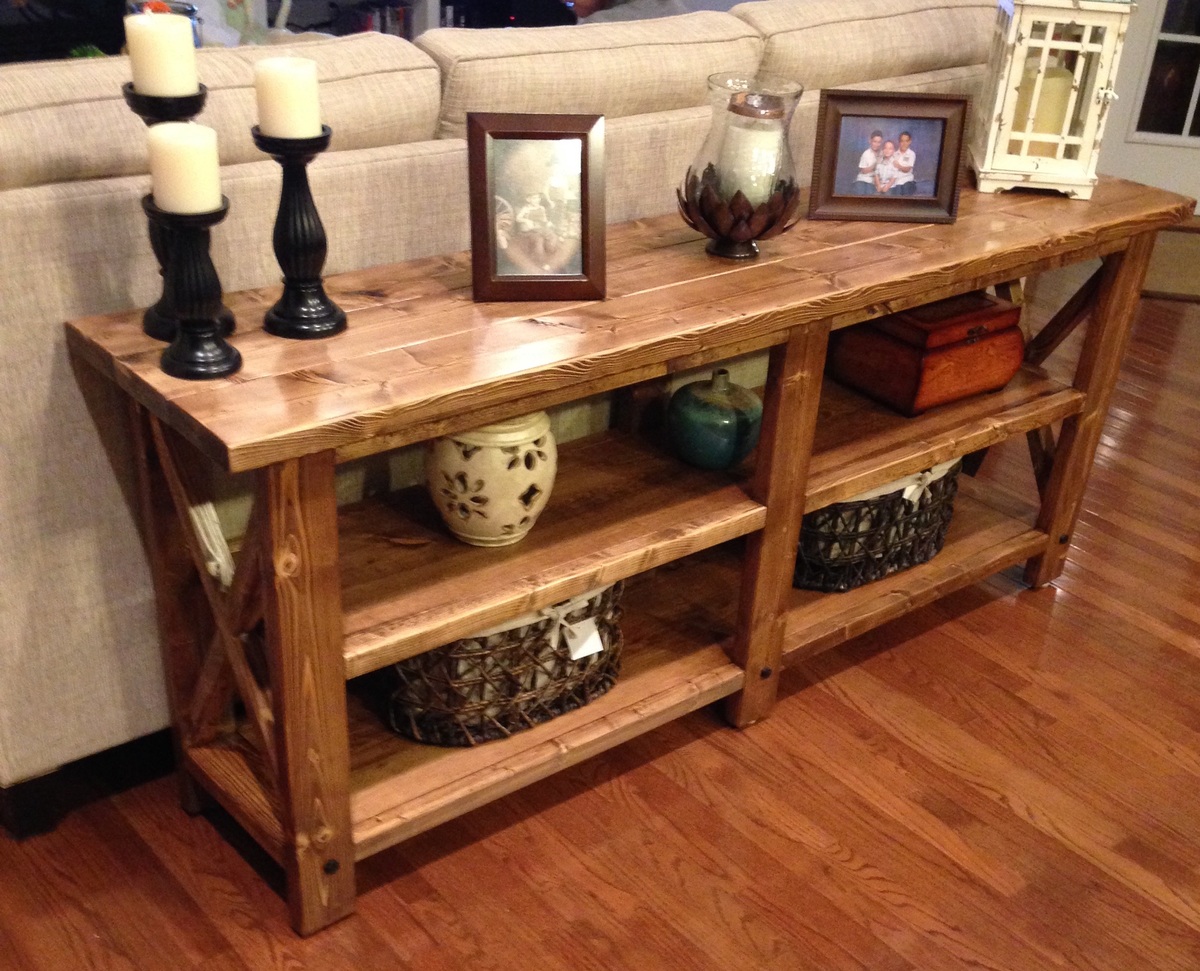
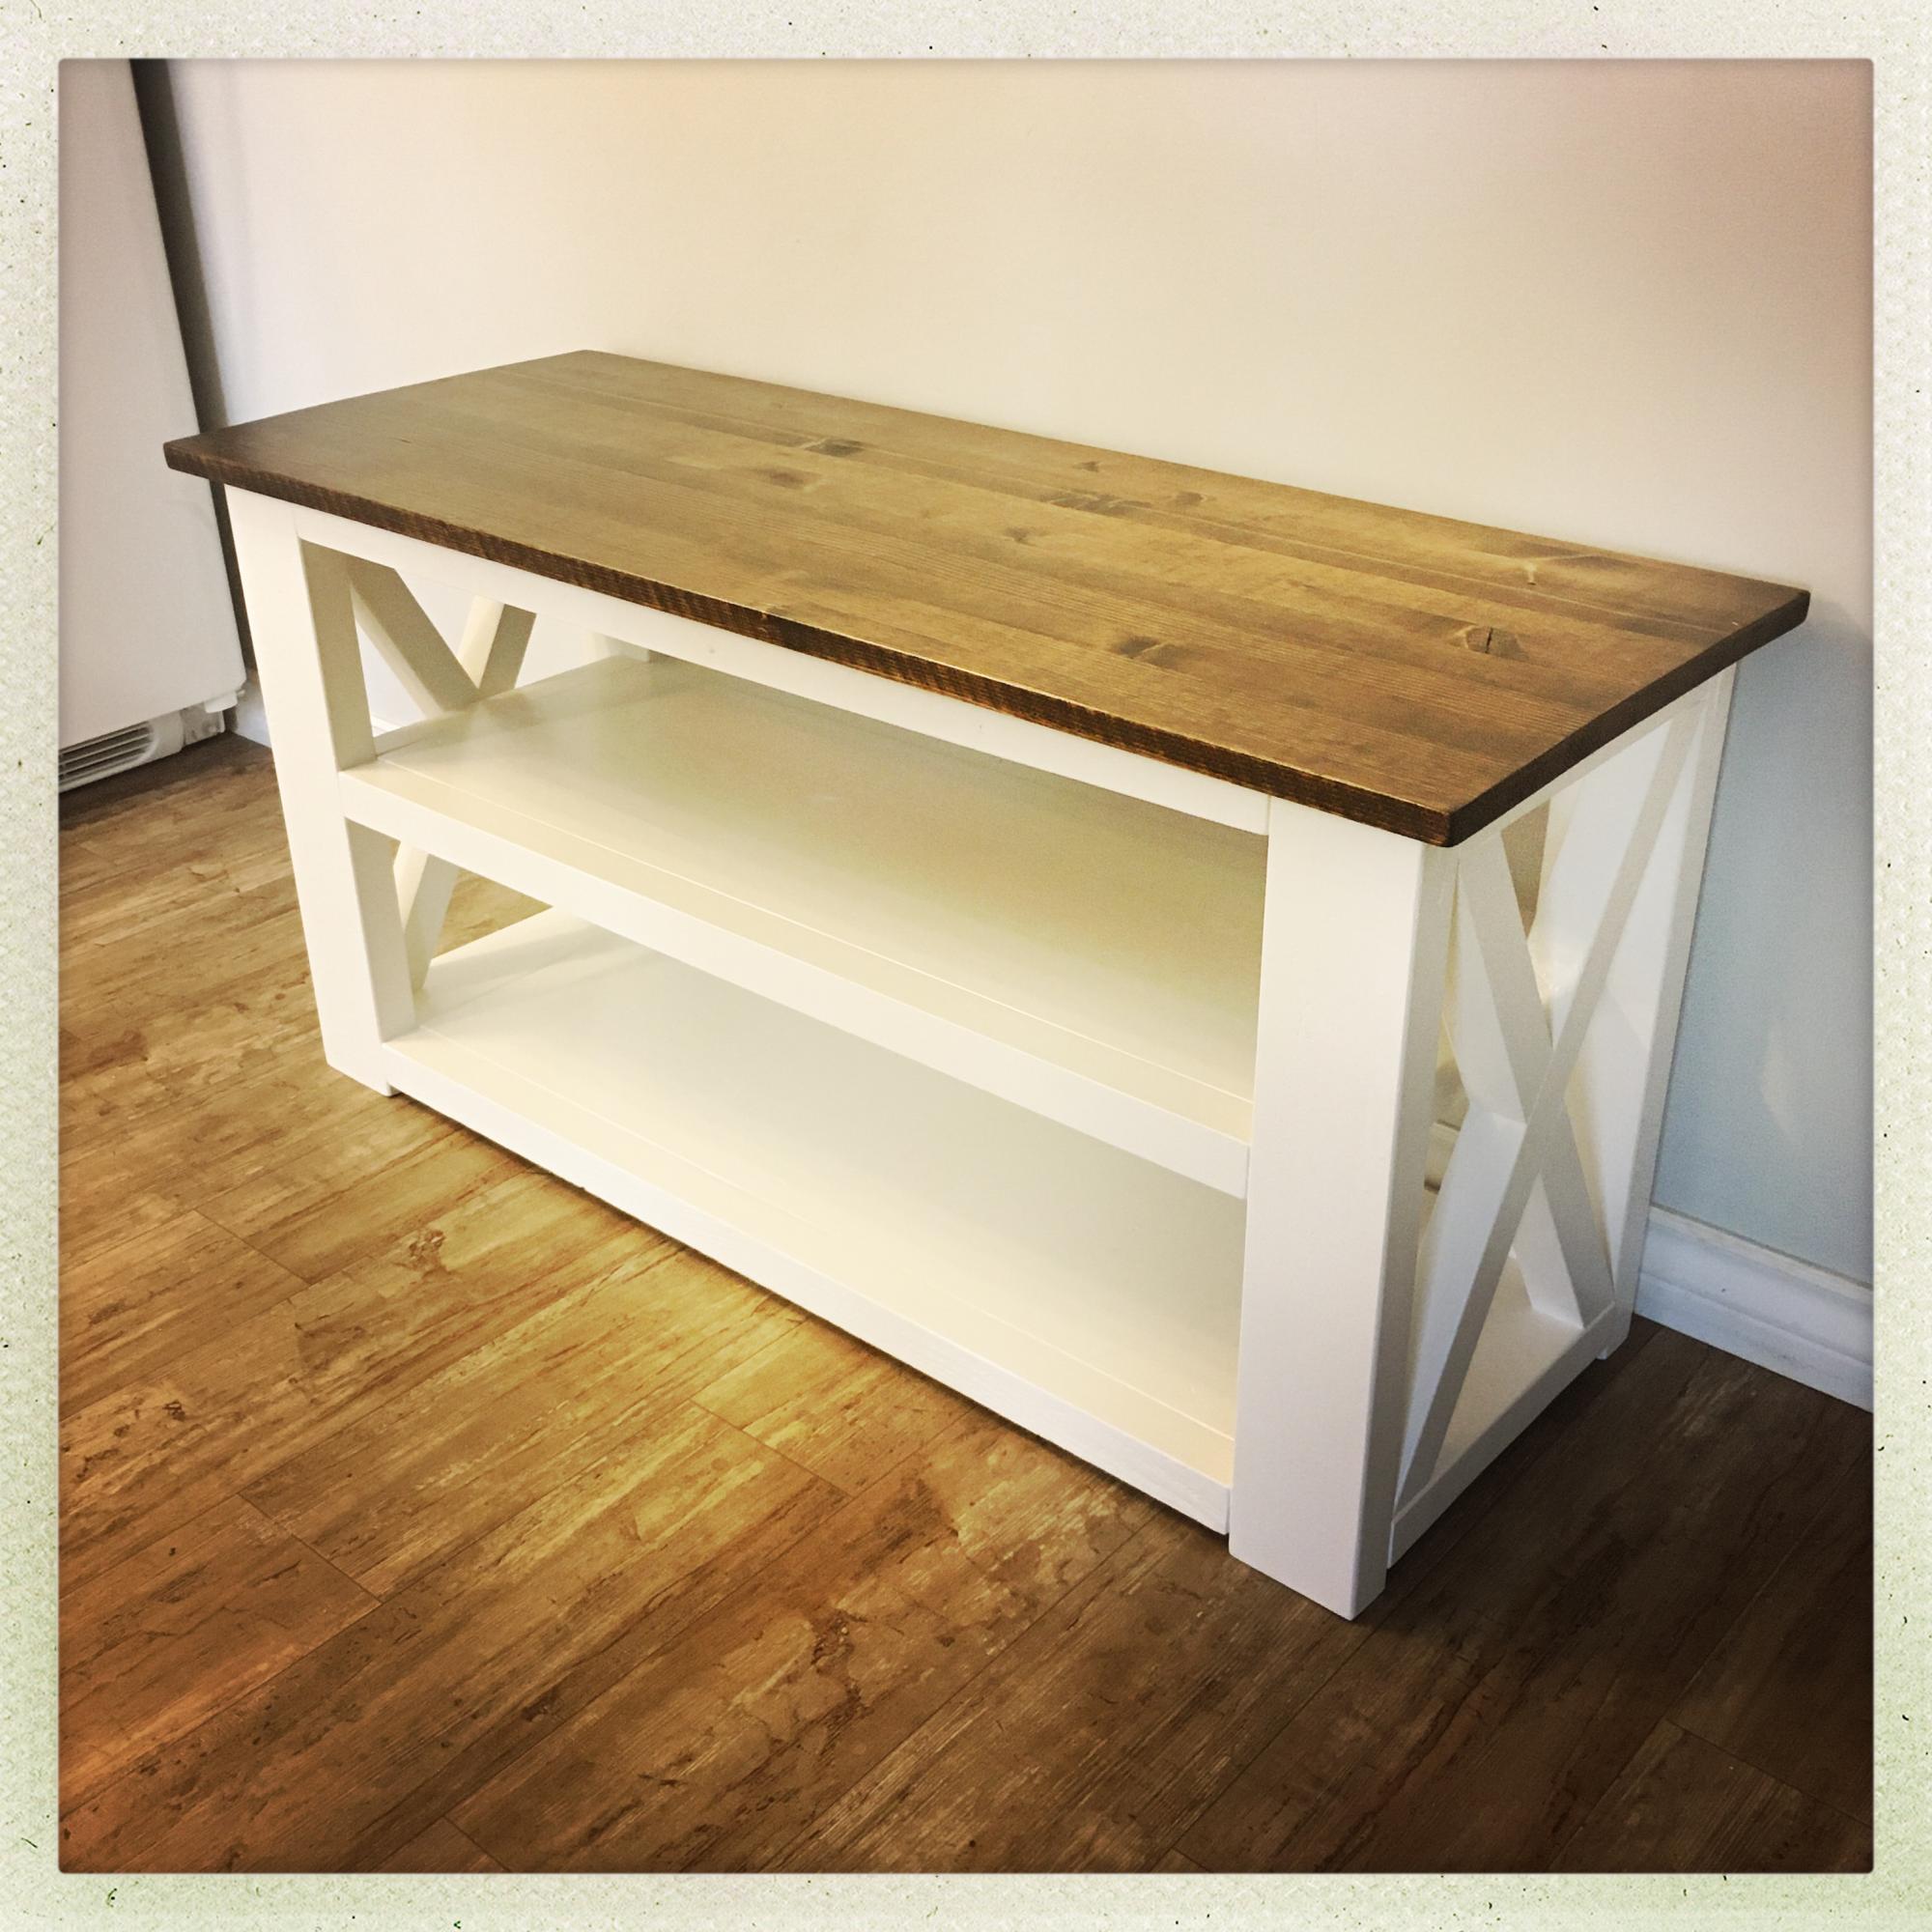
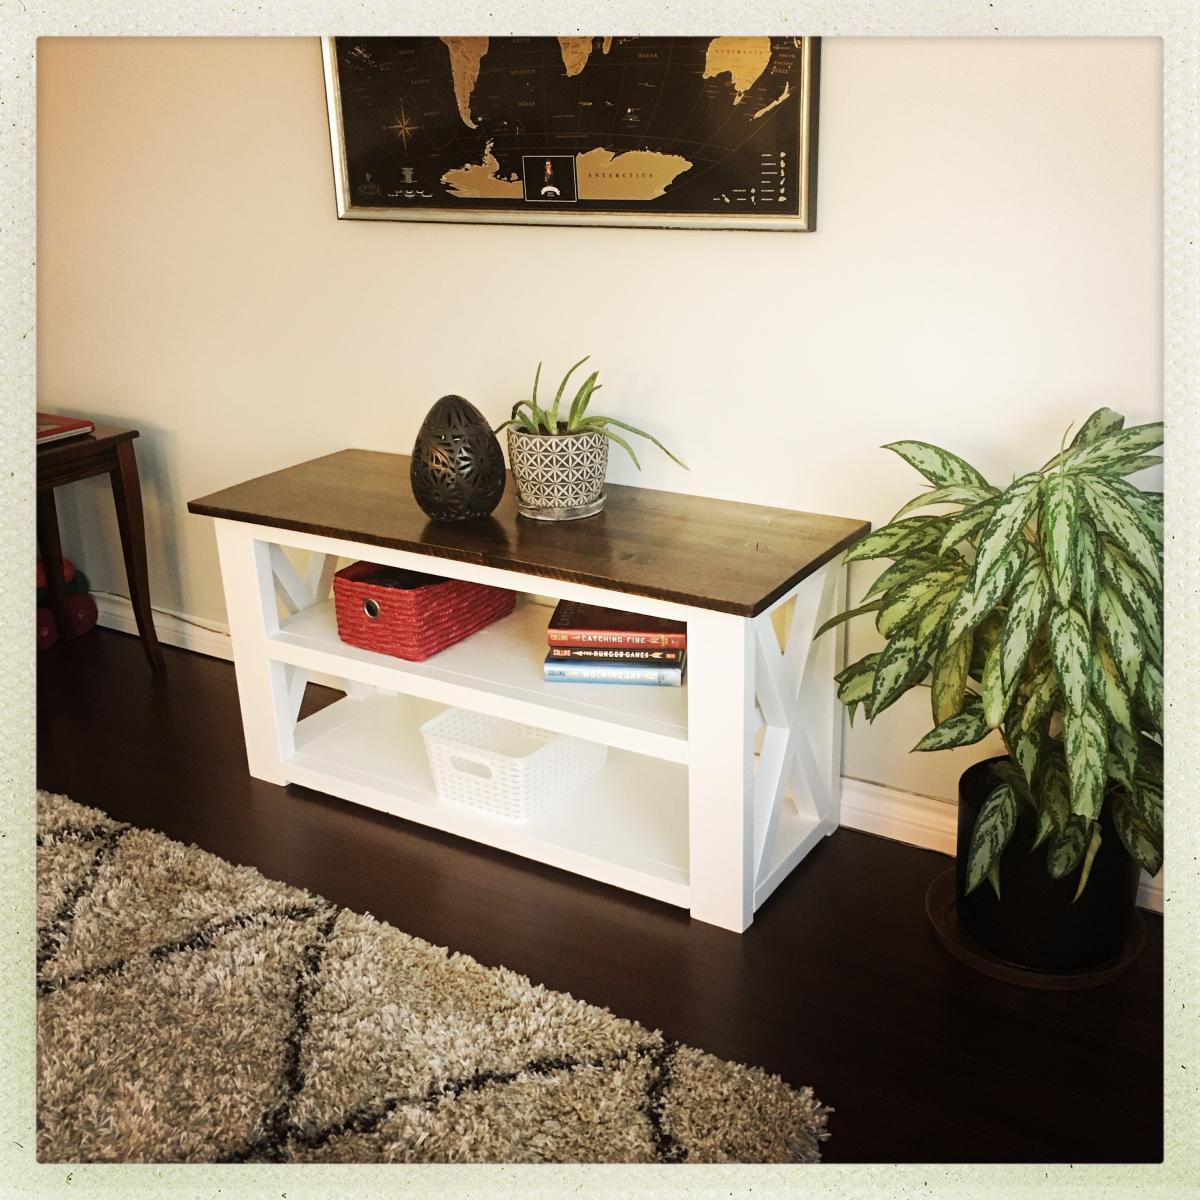
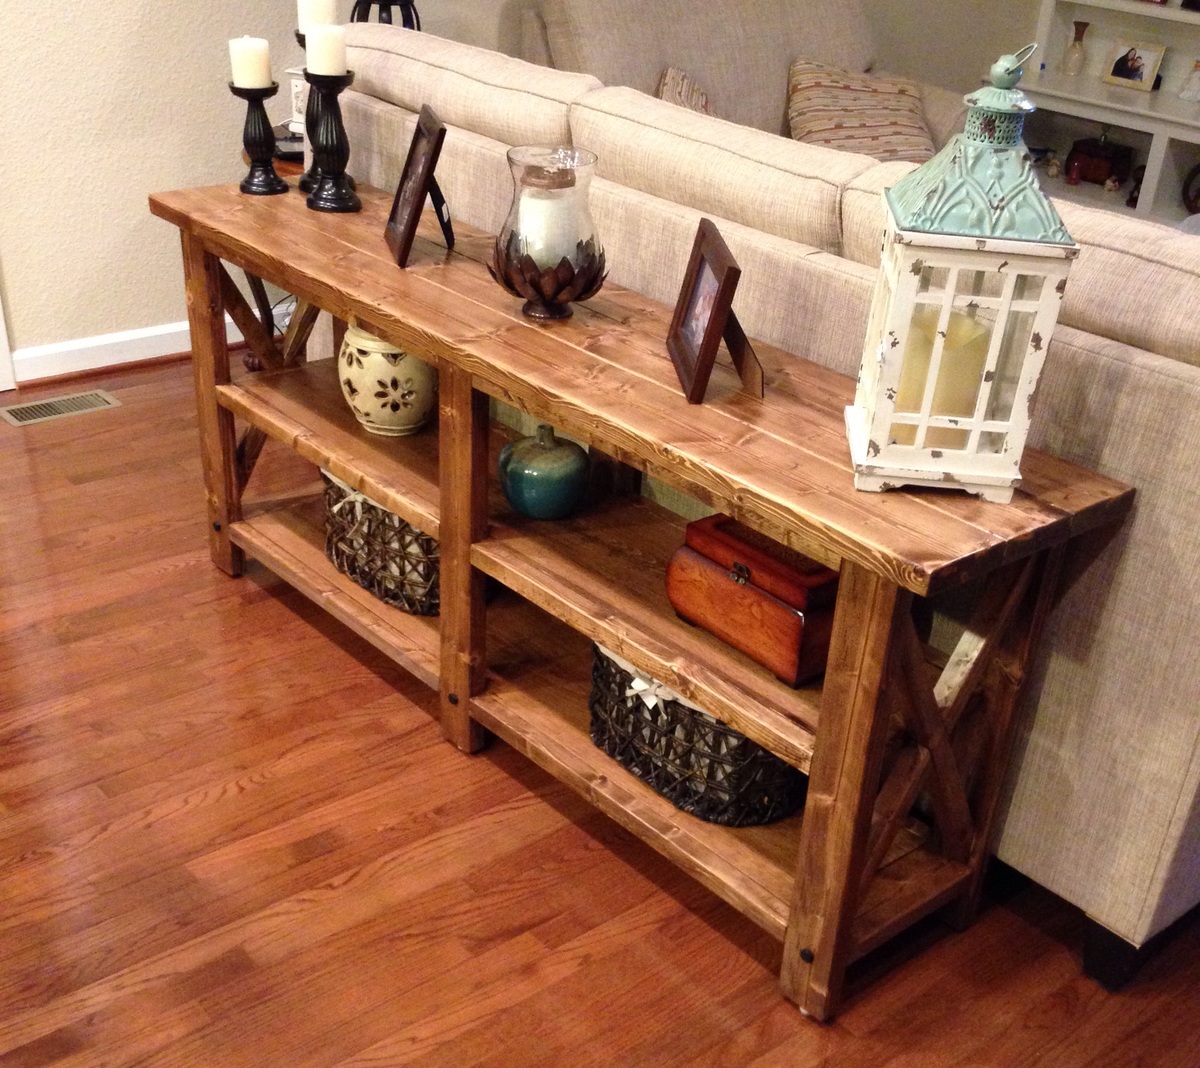
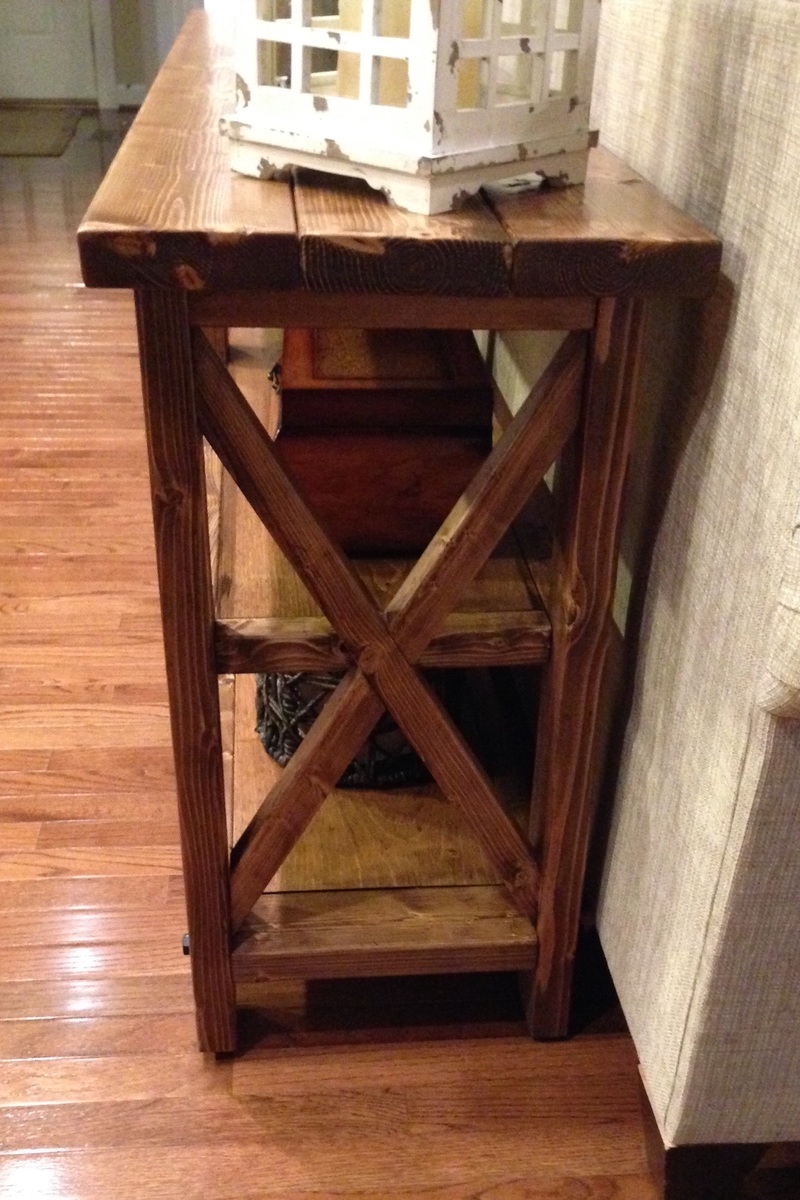
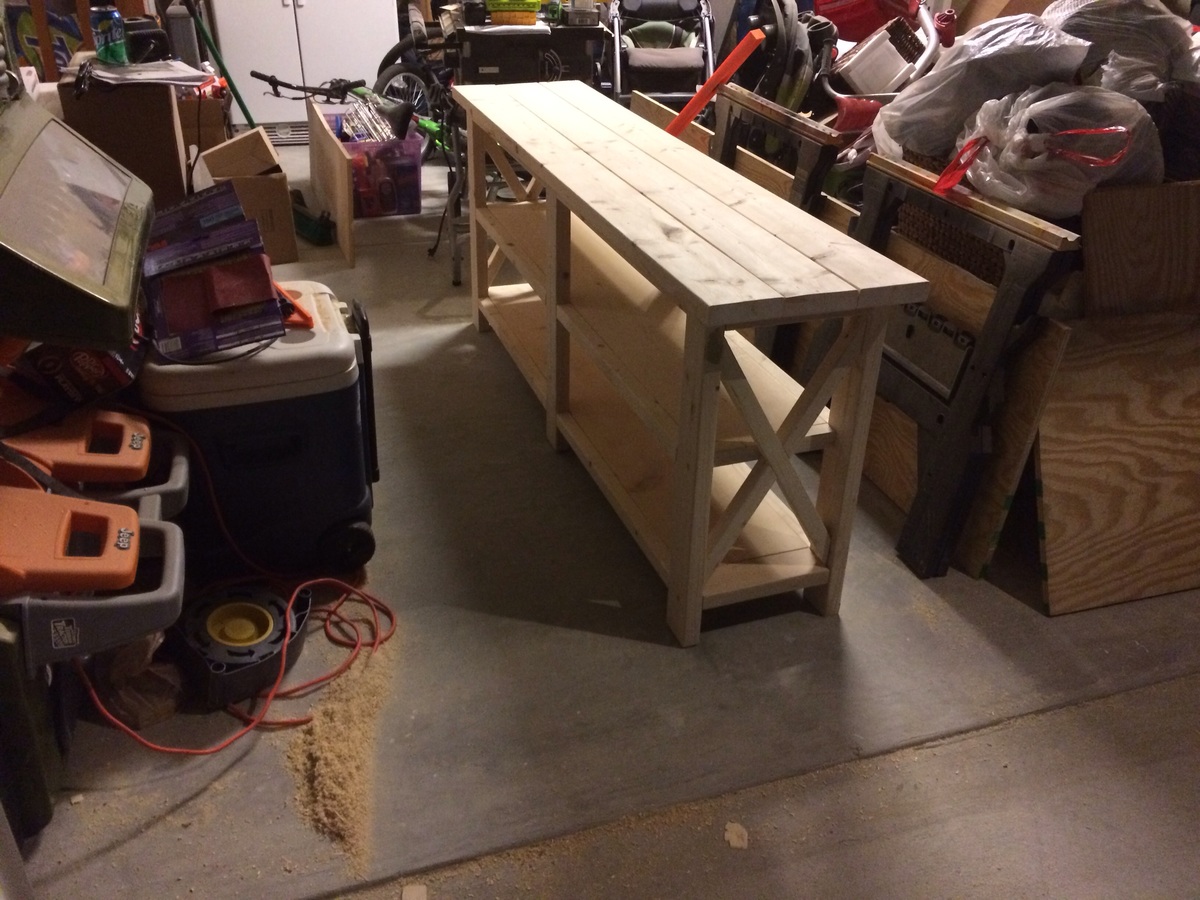
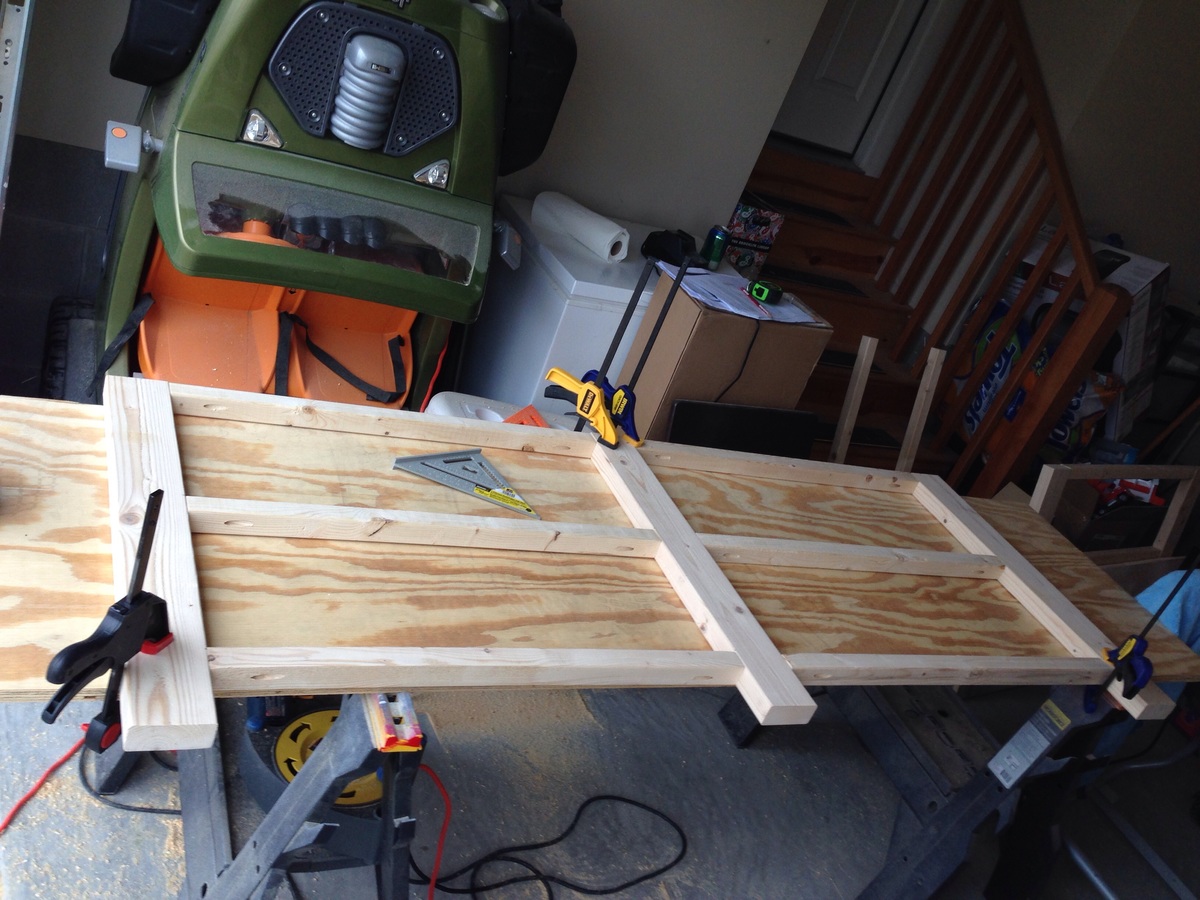
Pretty easy project. Check for square often. It will pay off when putting the shelves in. The "x" on the sides was the trickiest. Cost was approximately $100.
Mon, 11/24/2014 - 10:39
I plan on building this console table for my Daughter in the next week or so. Love Ana & her website, she has me hooked on building things with wood.