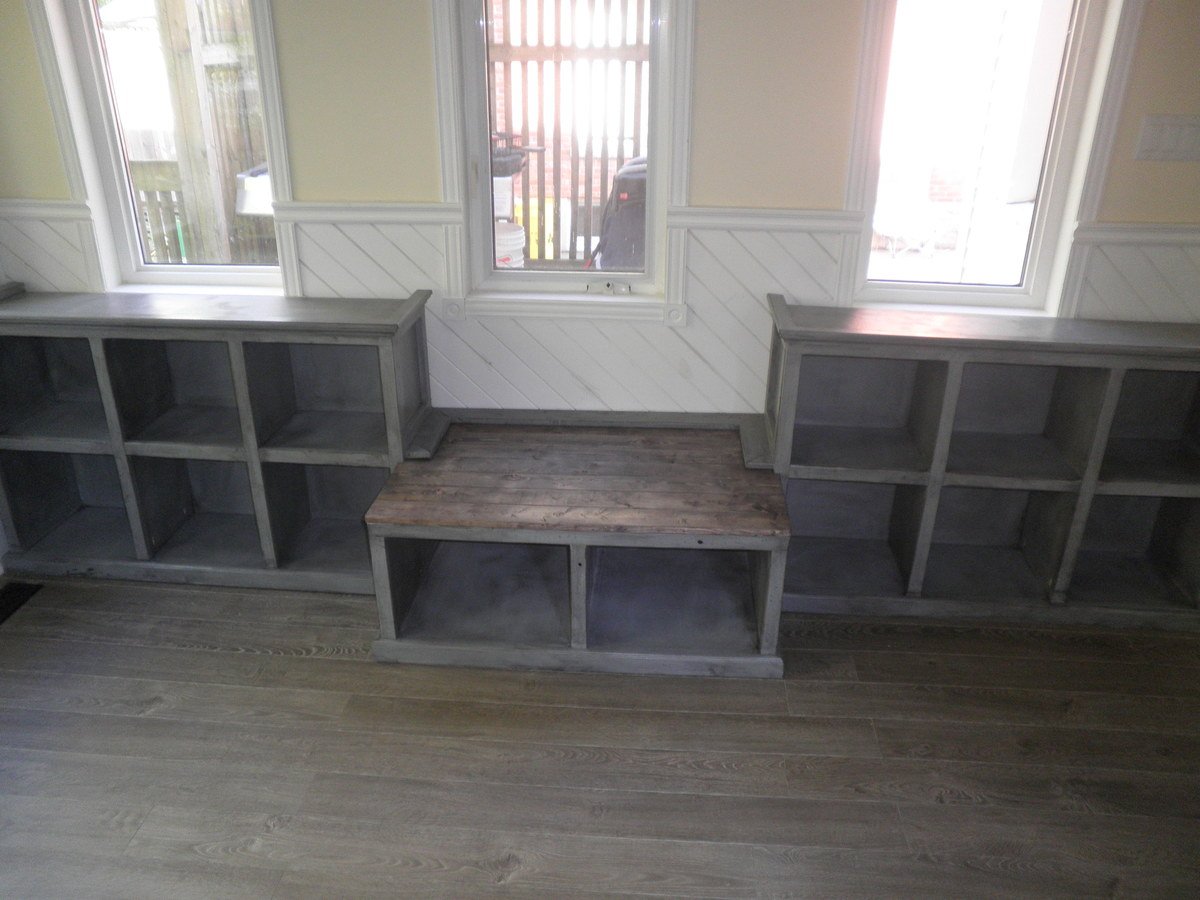
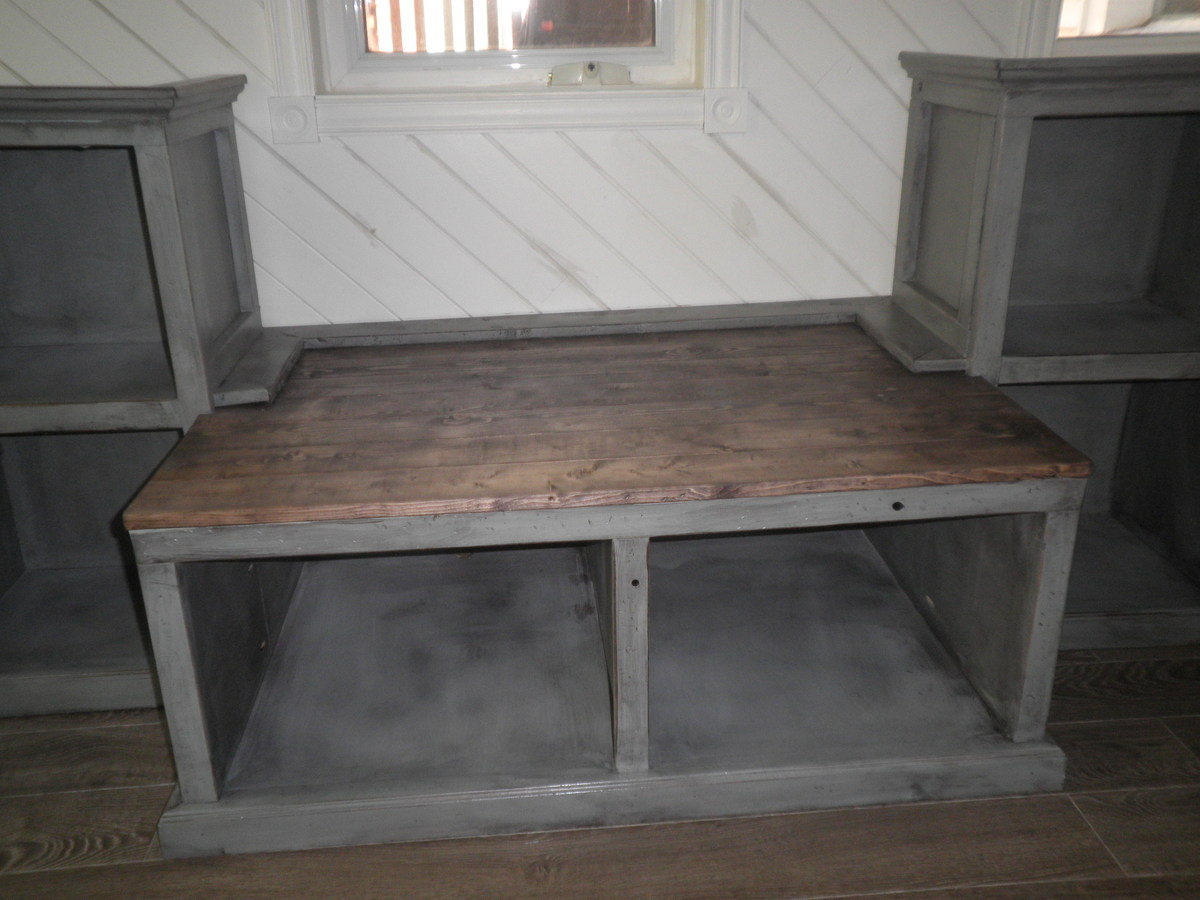
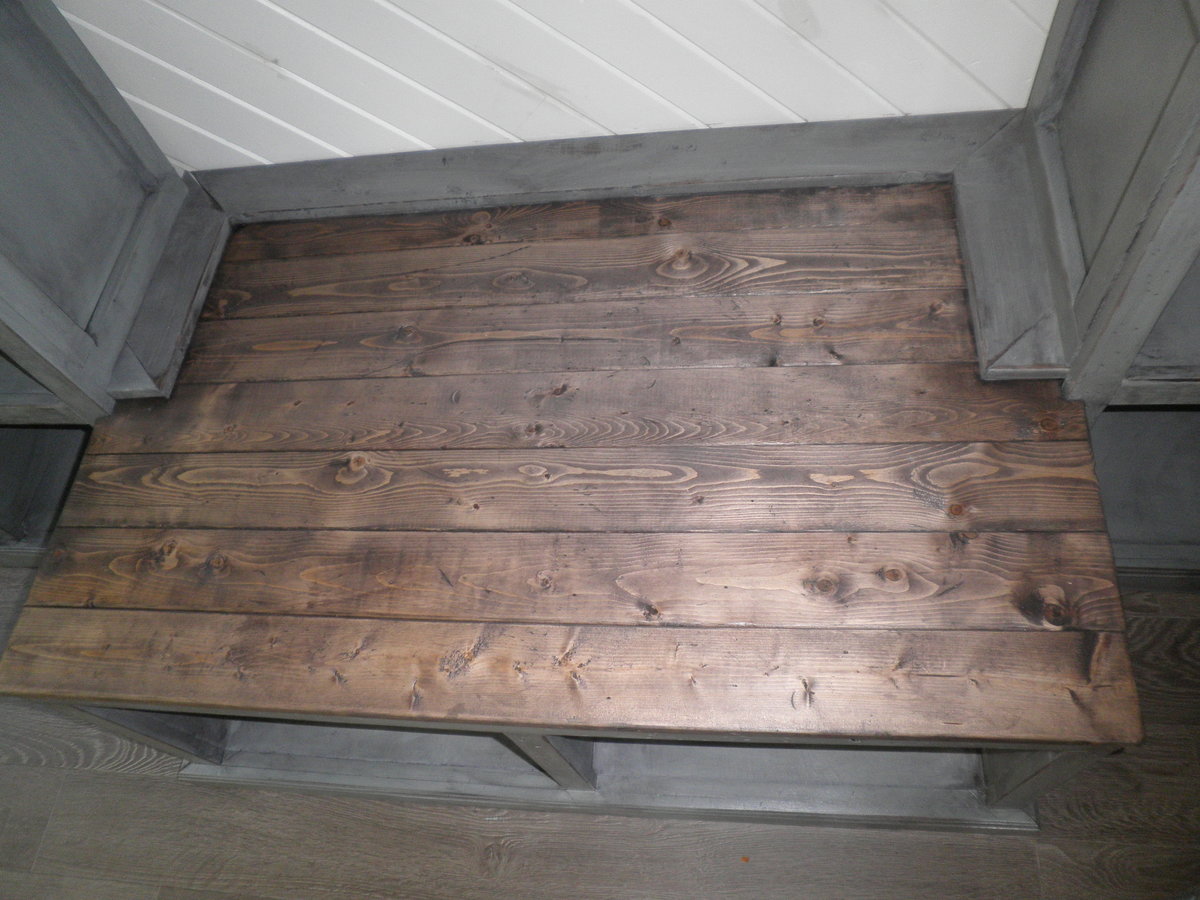
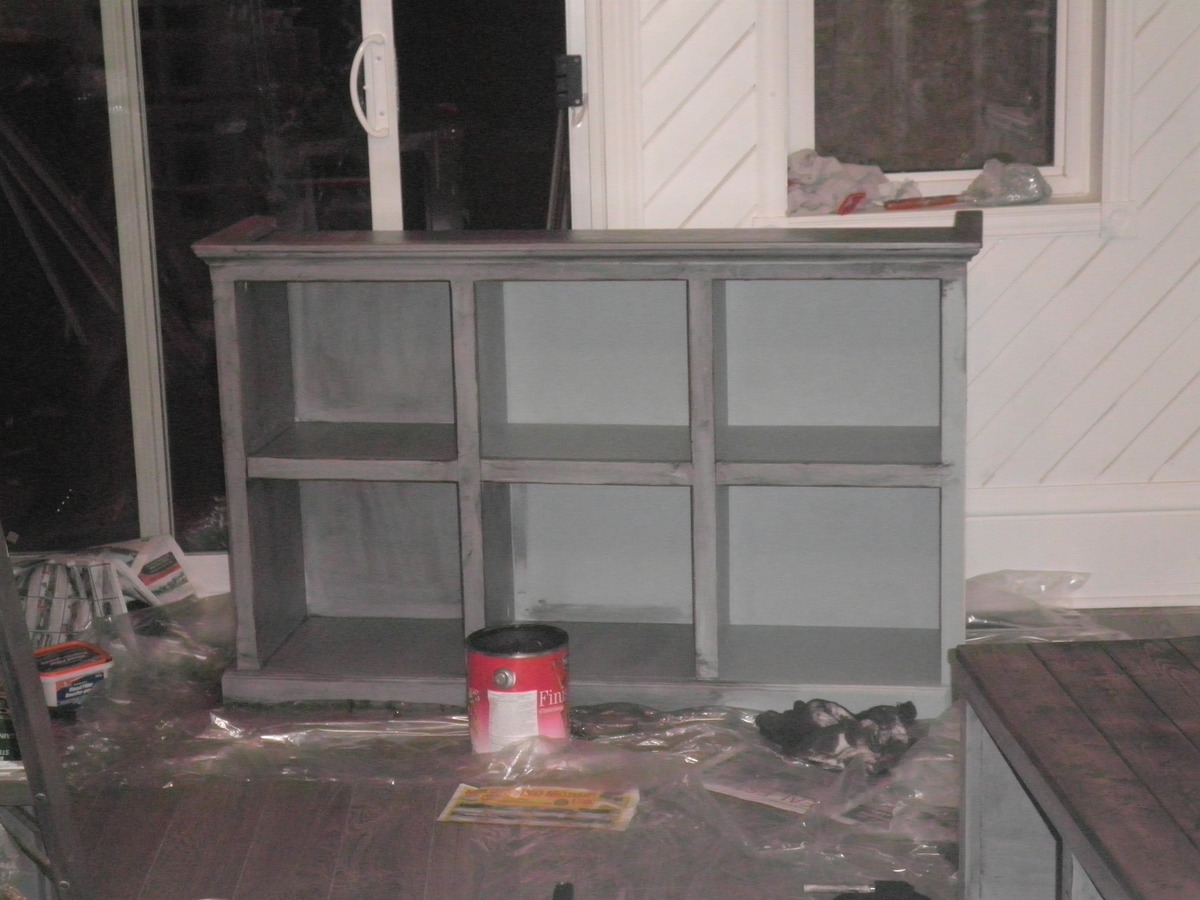
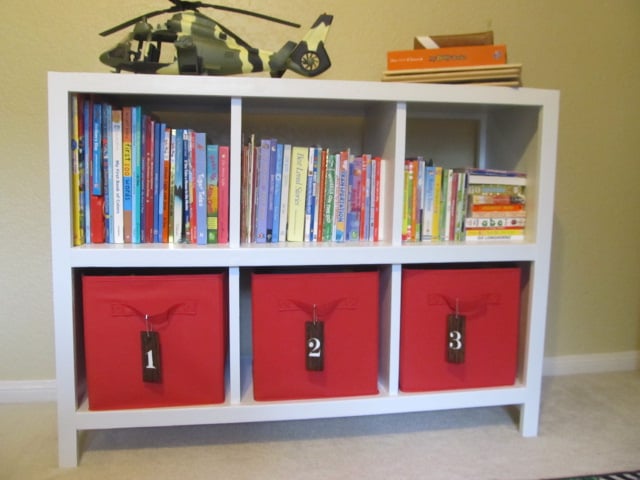
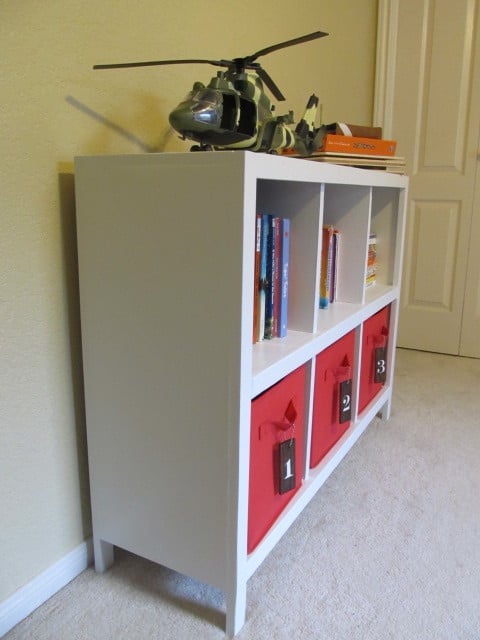
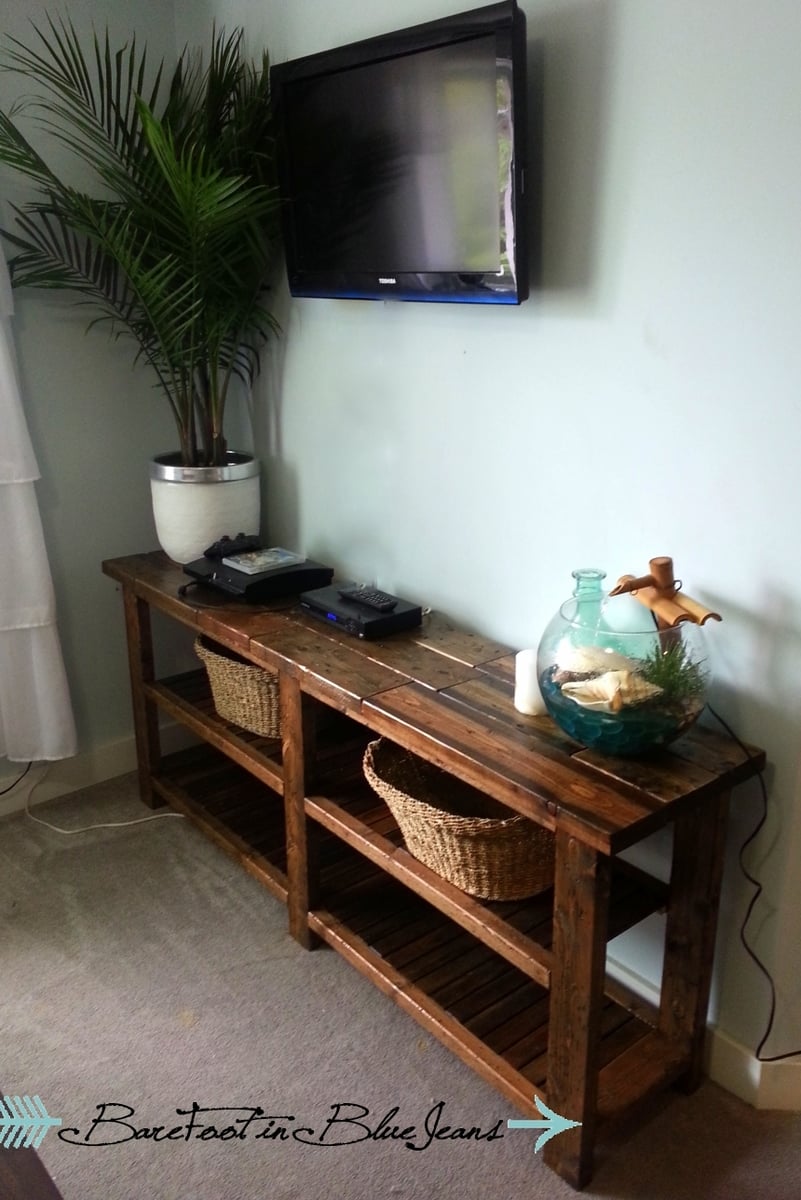
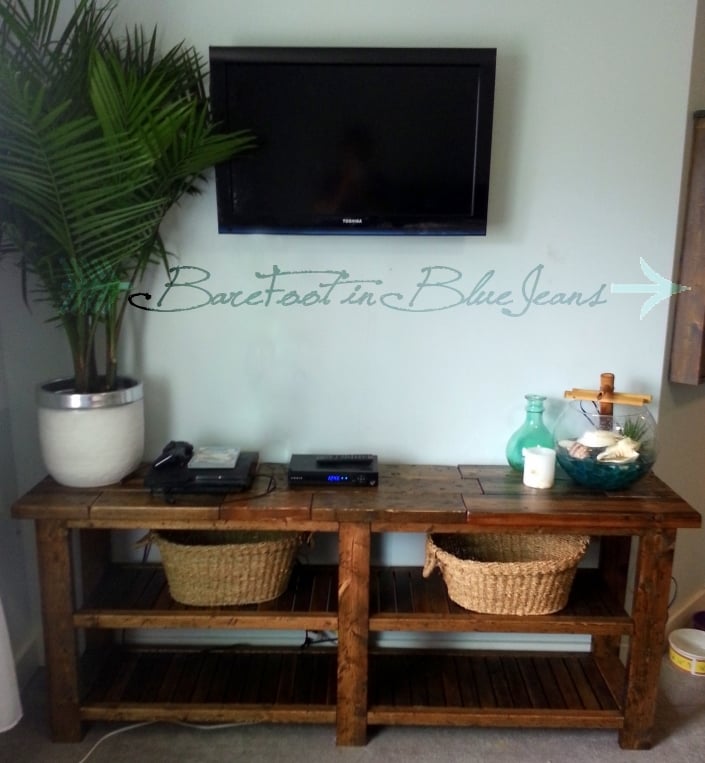
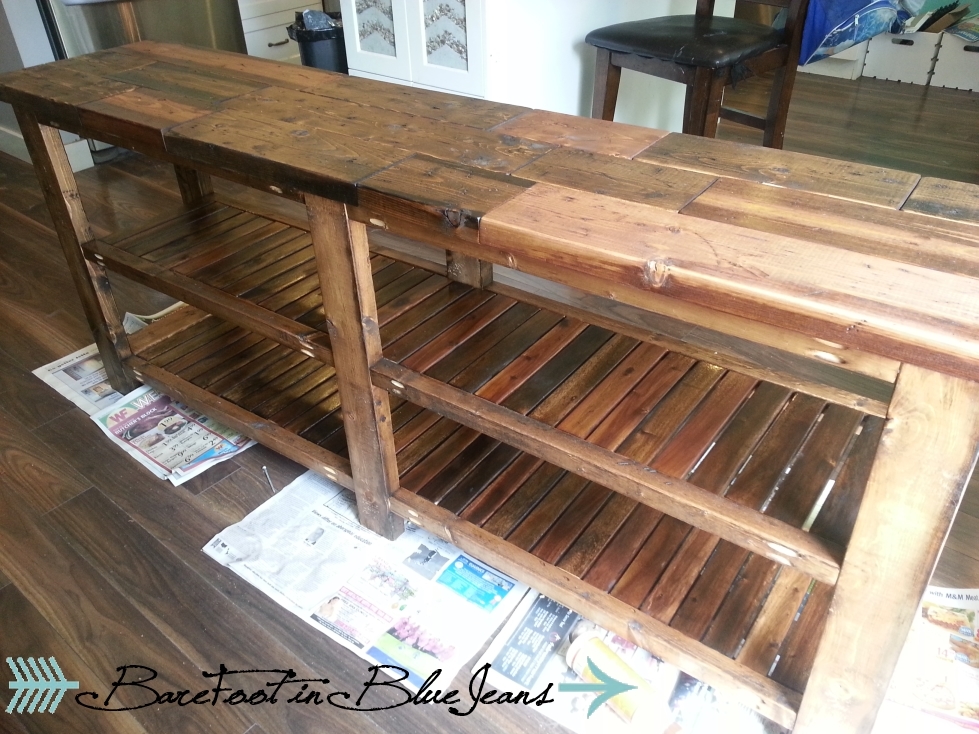
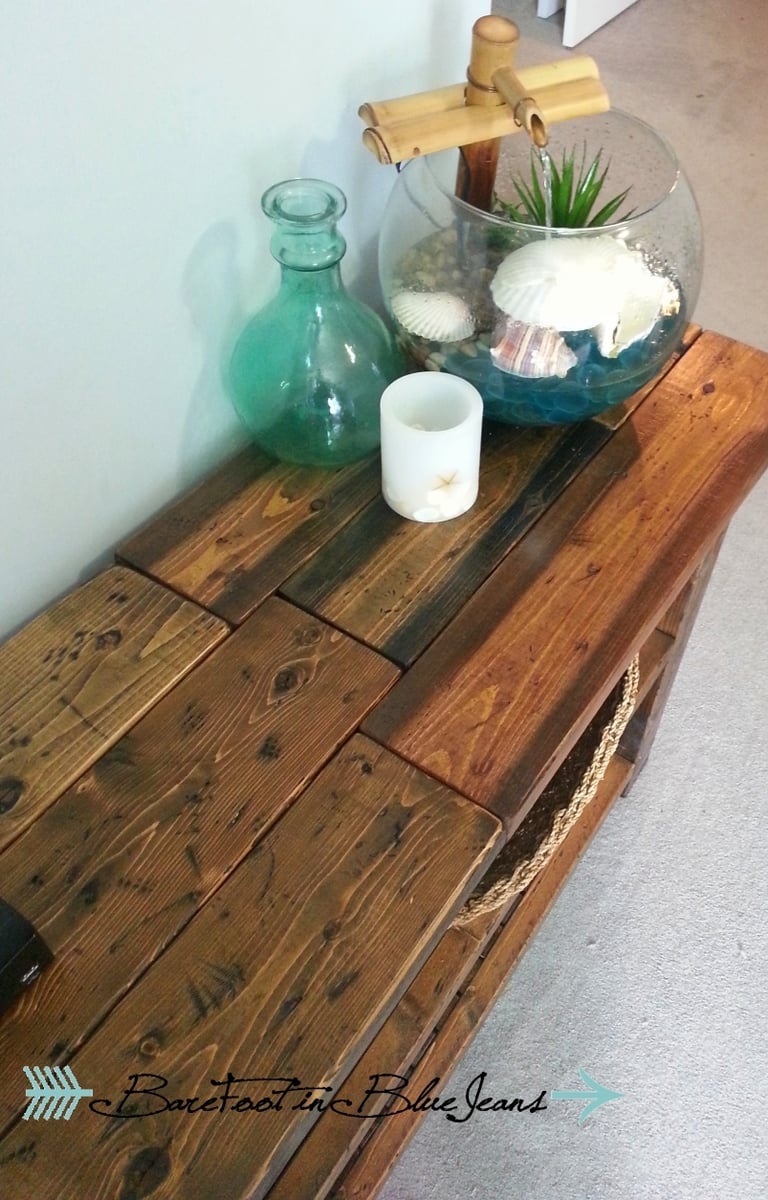
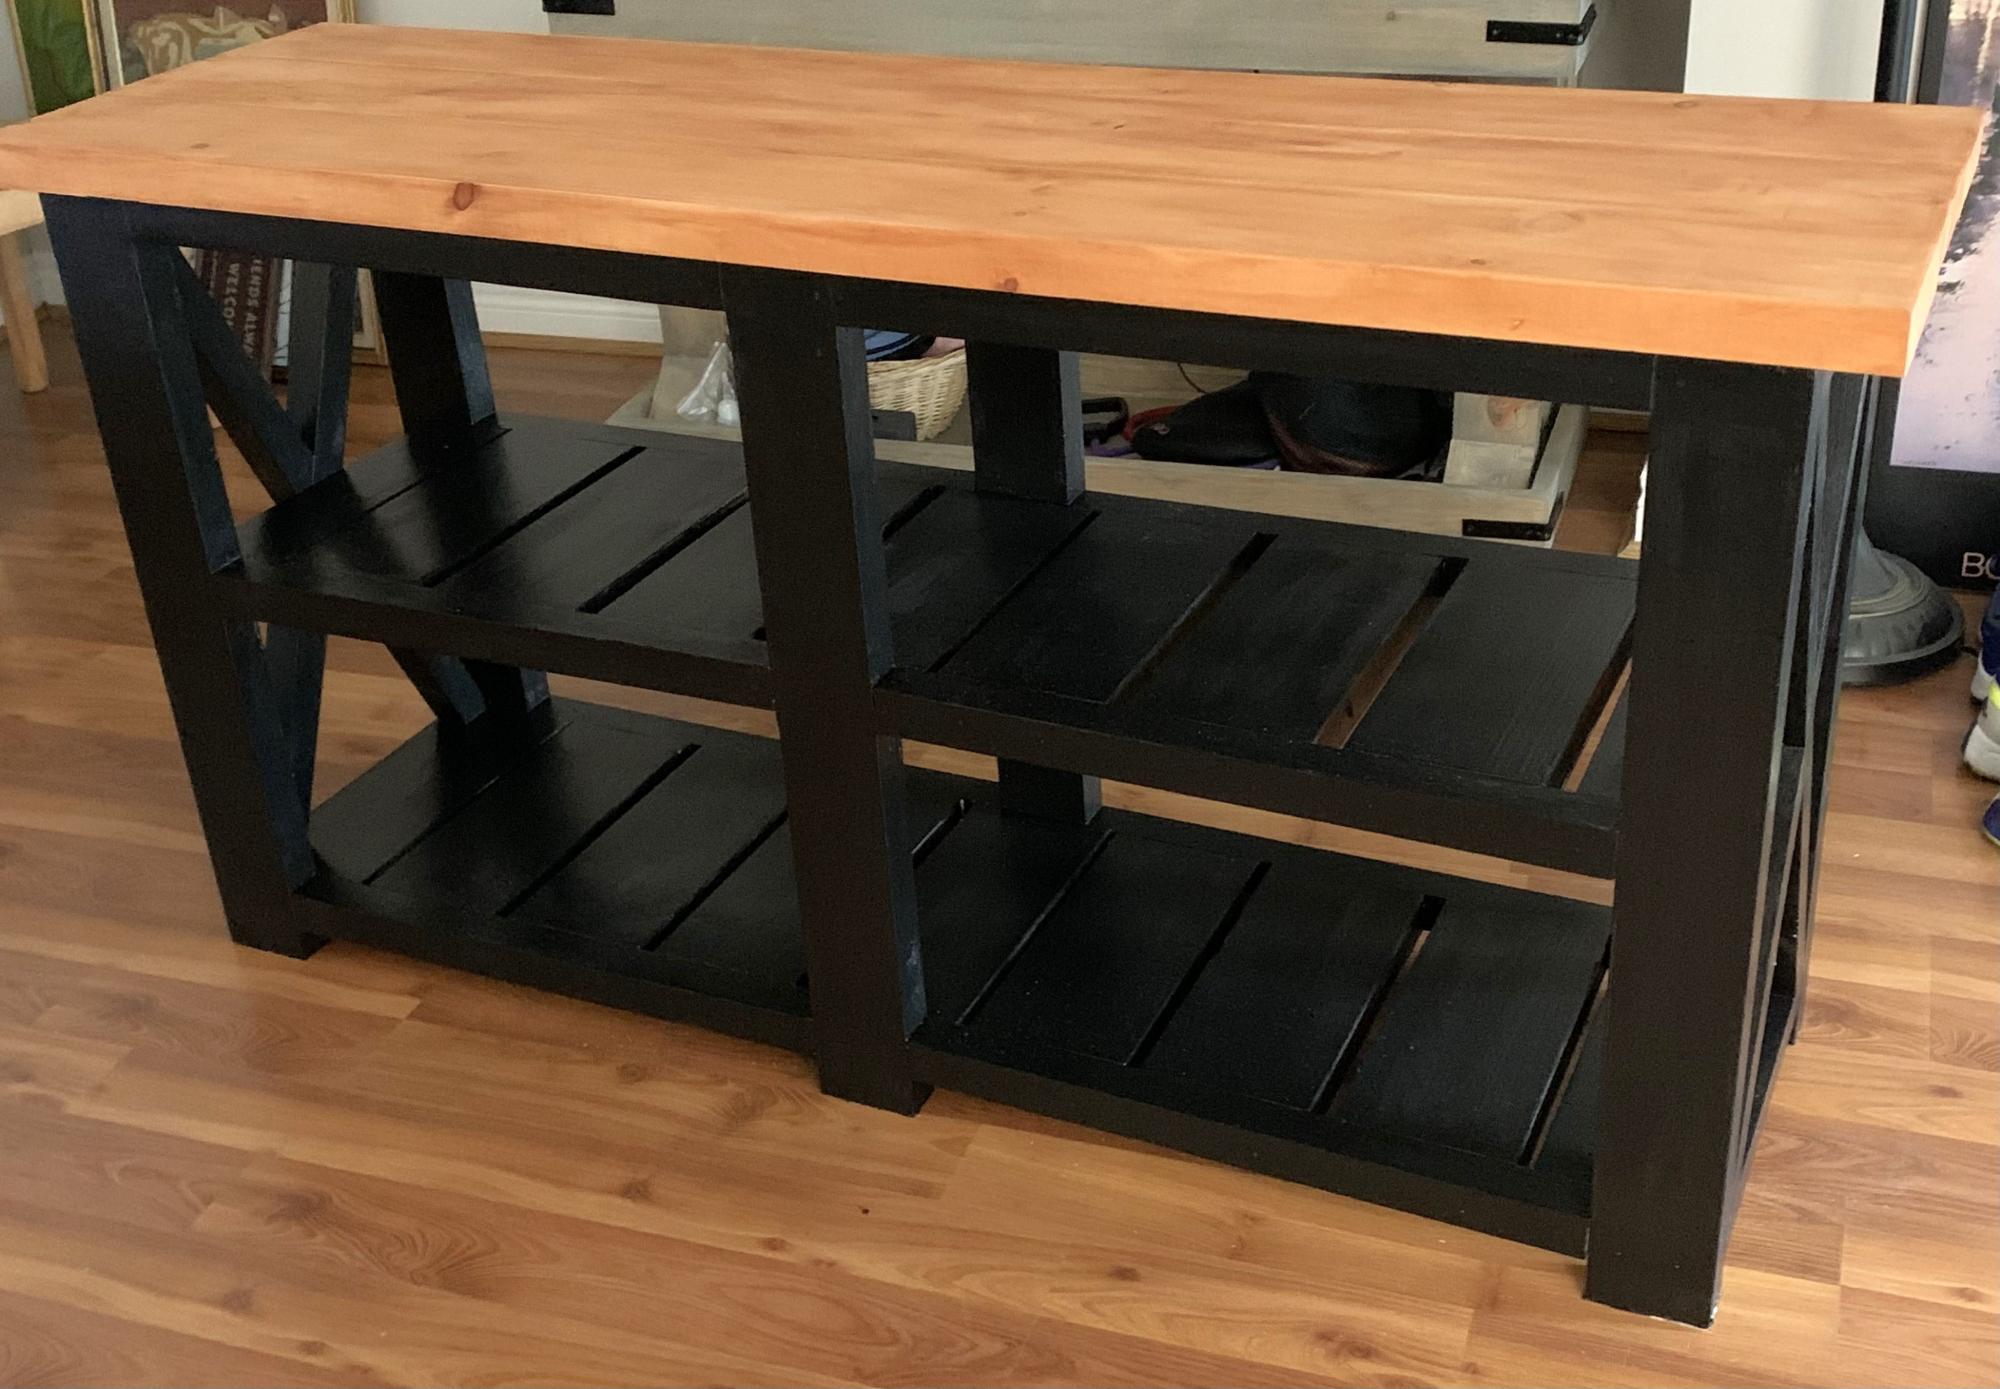
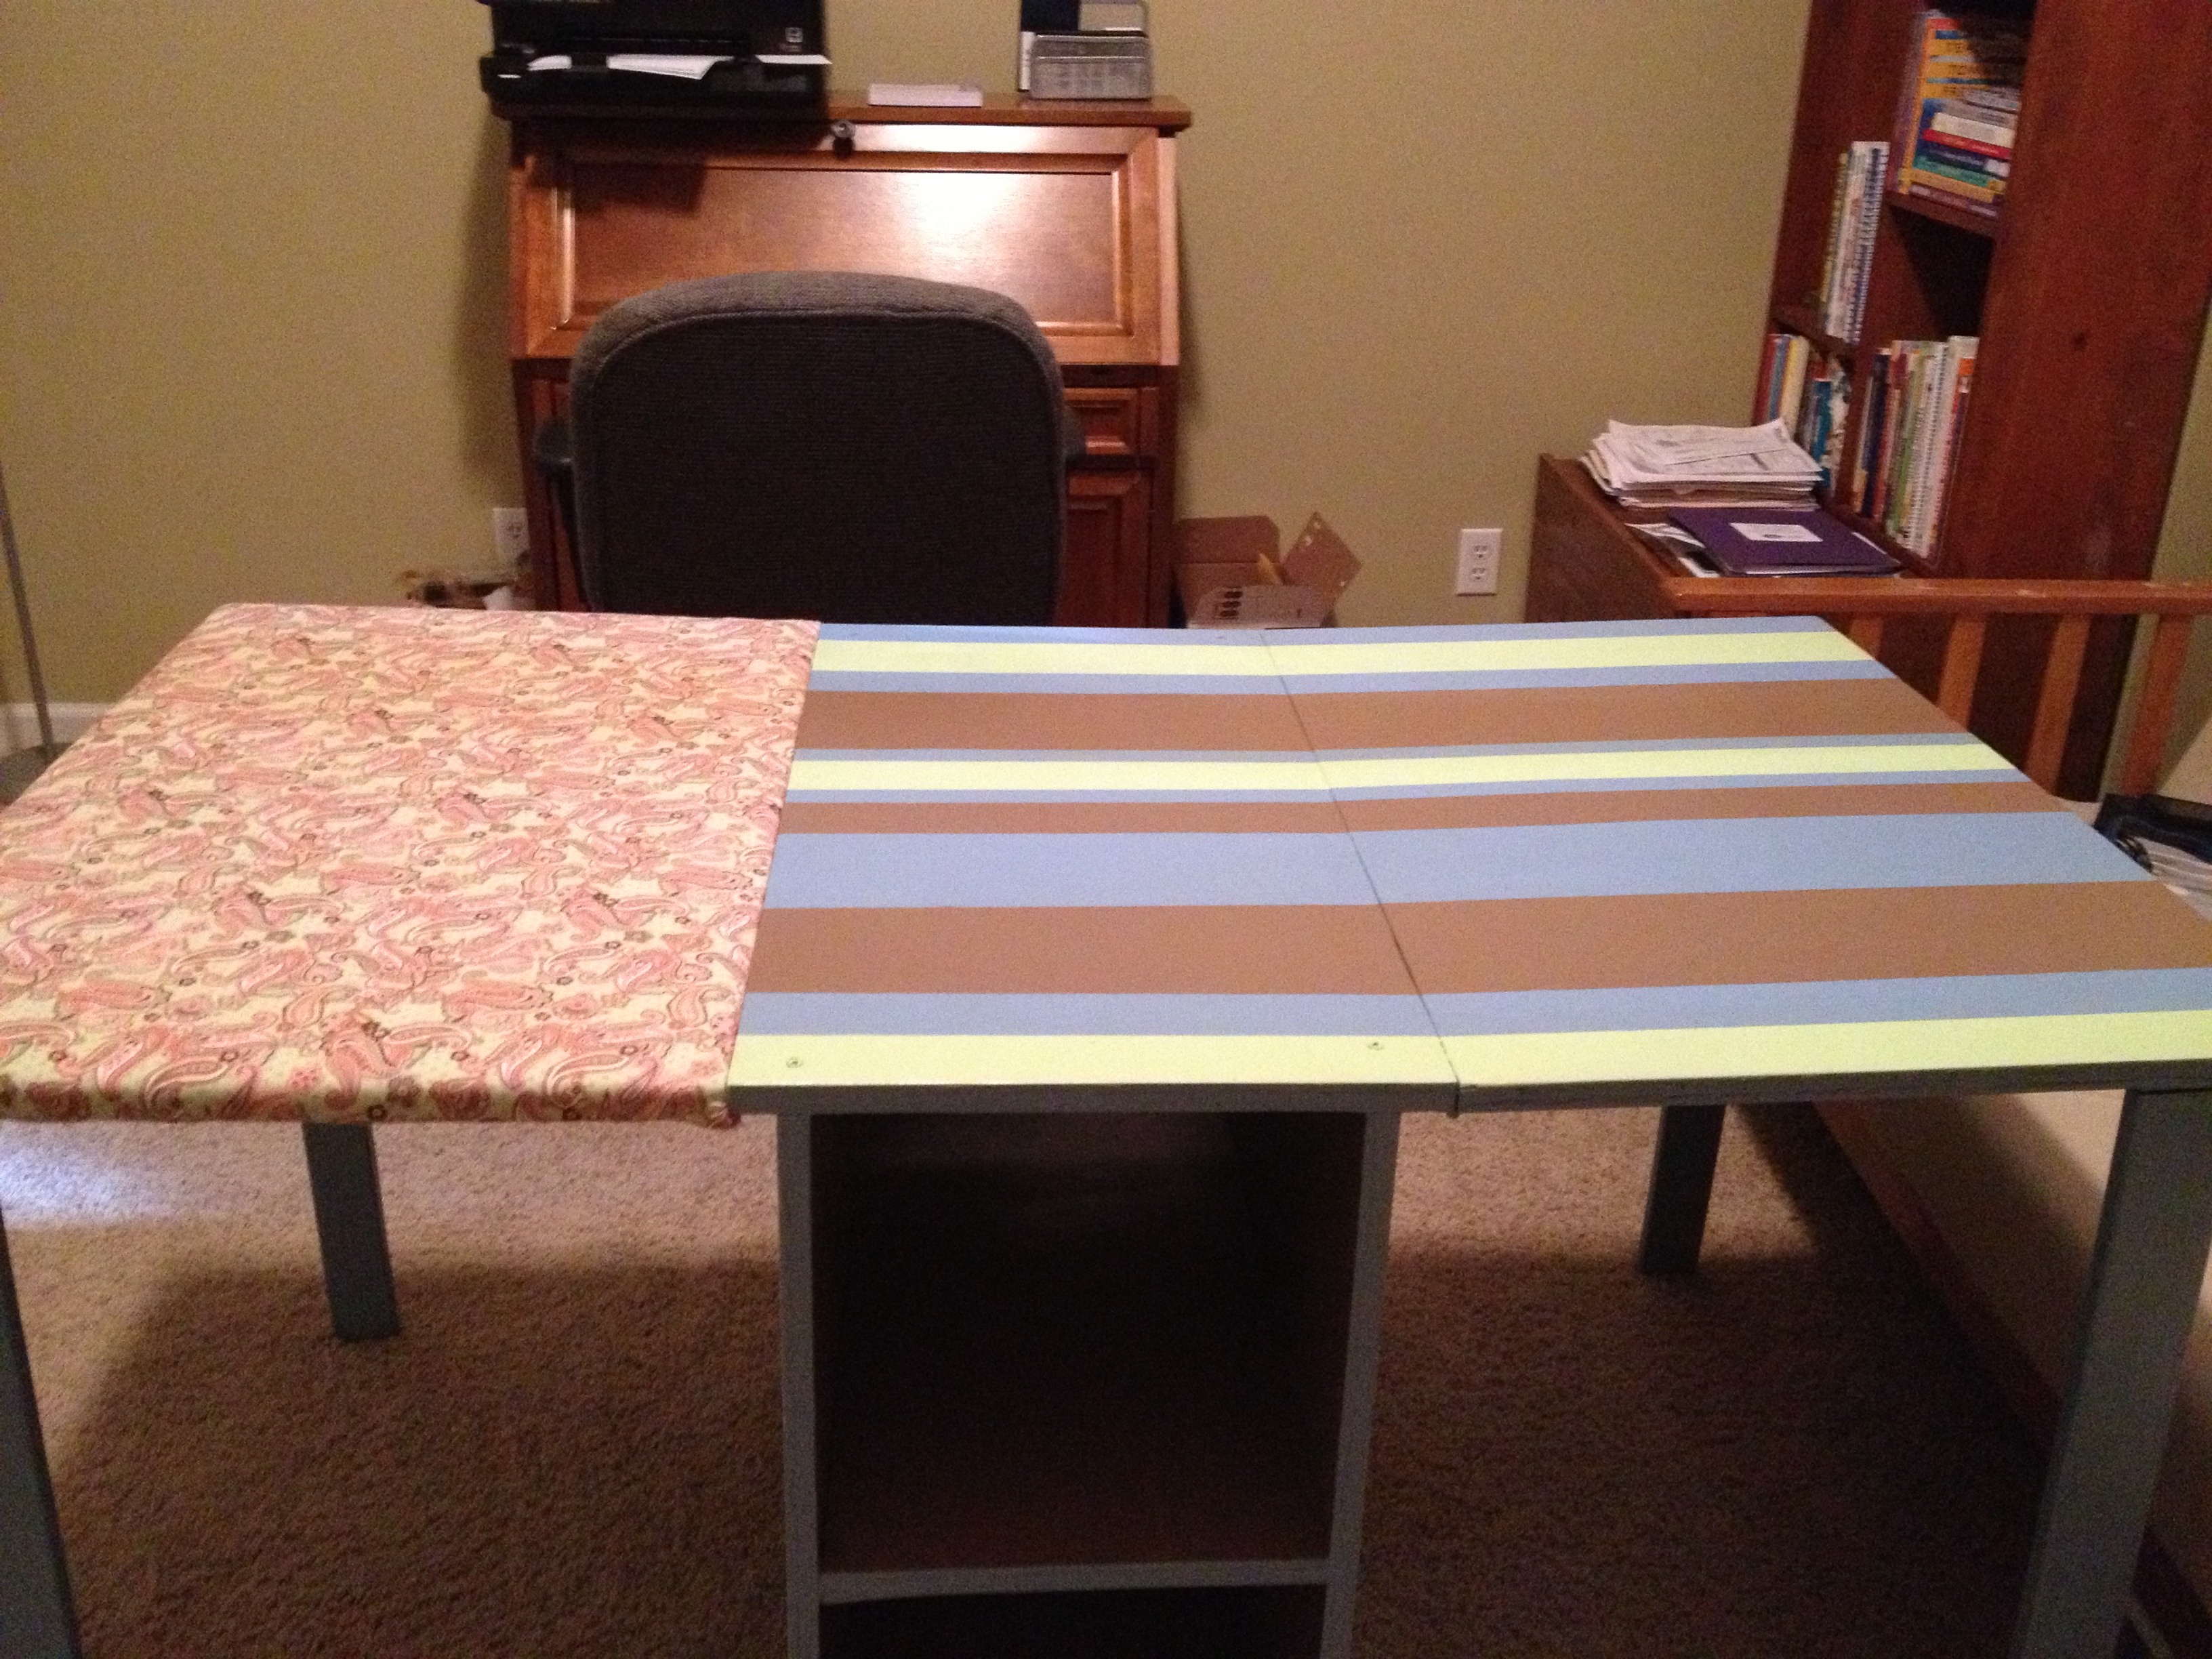
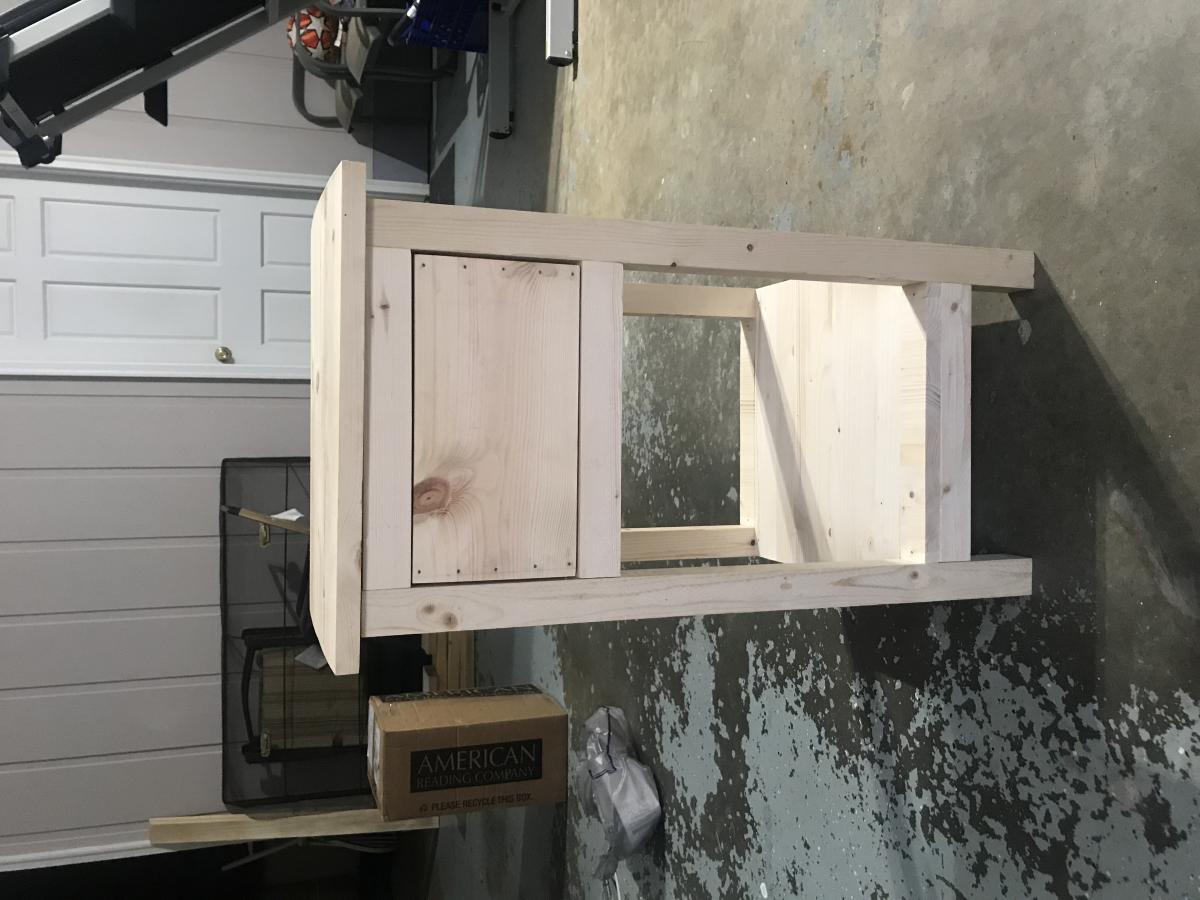
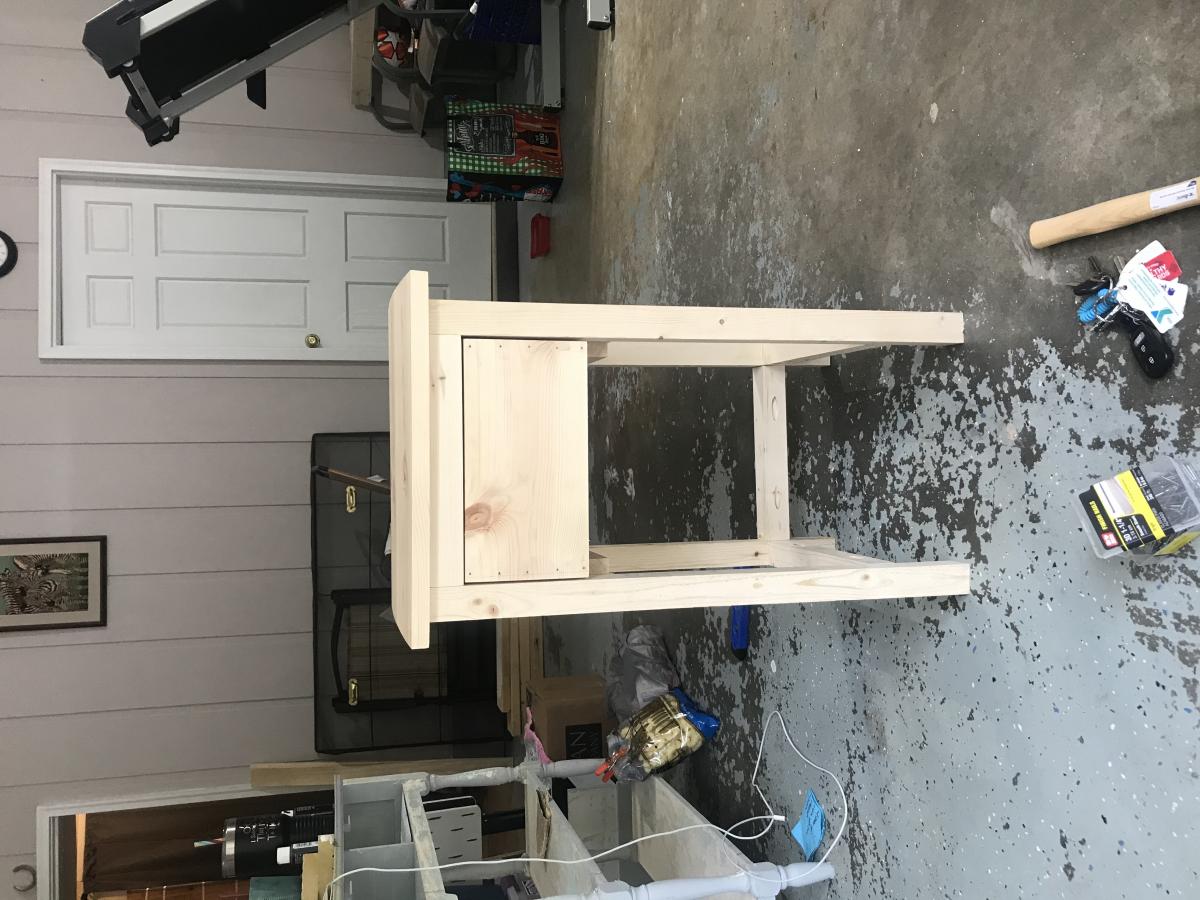
Horizontal 6 hole cubby
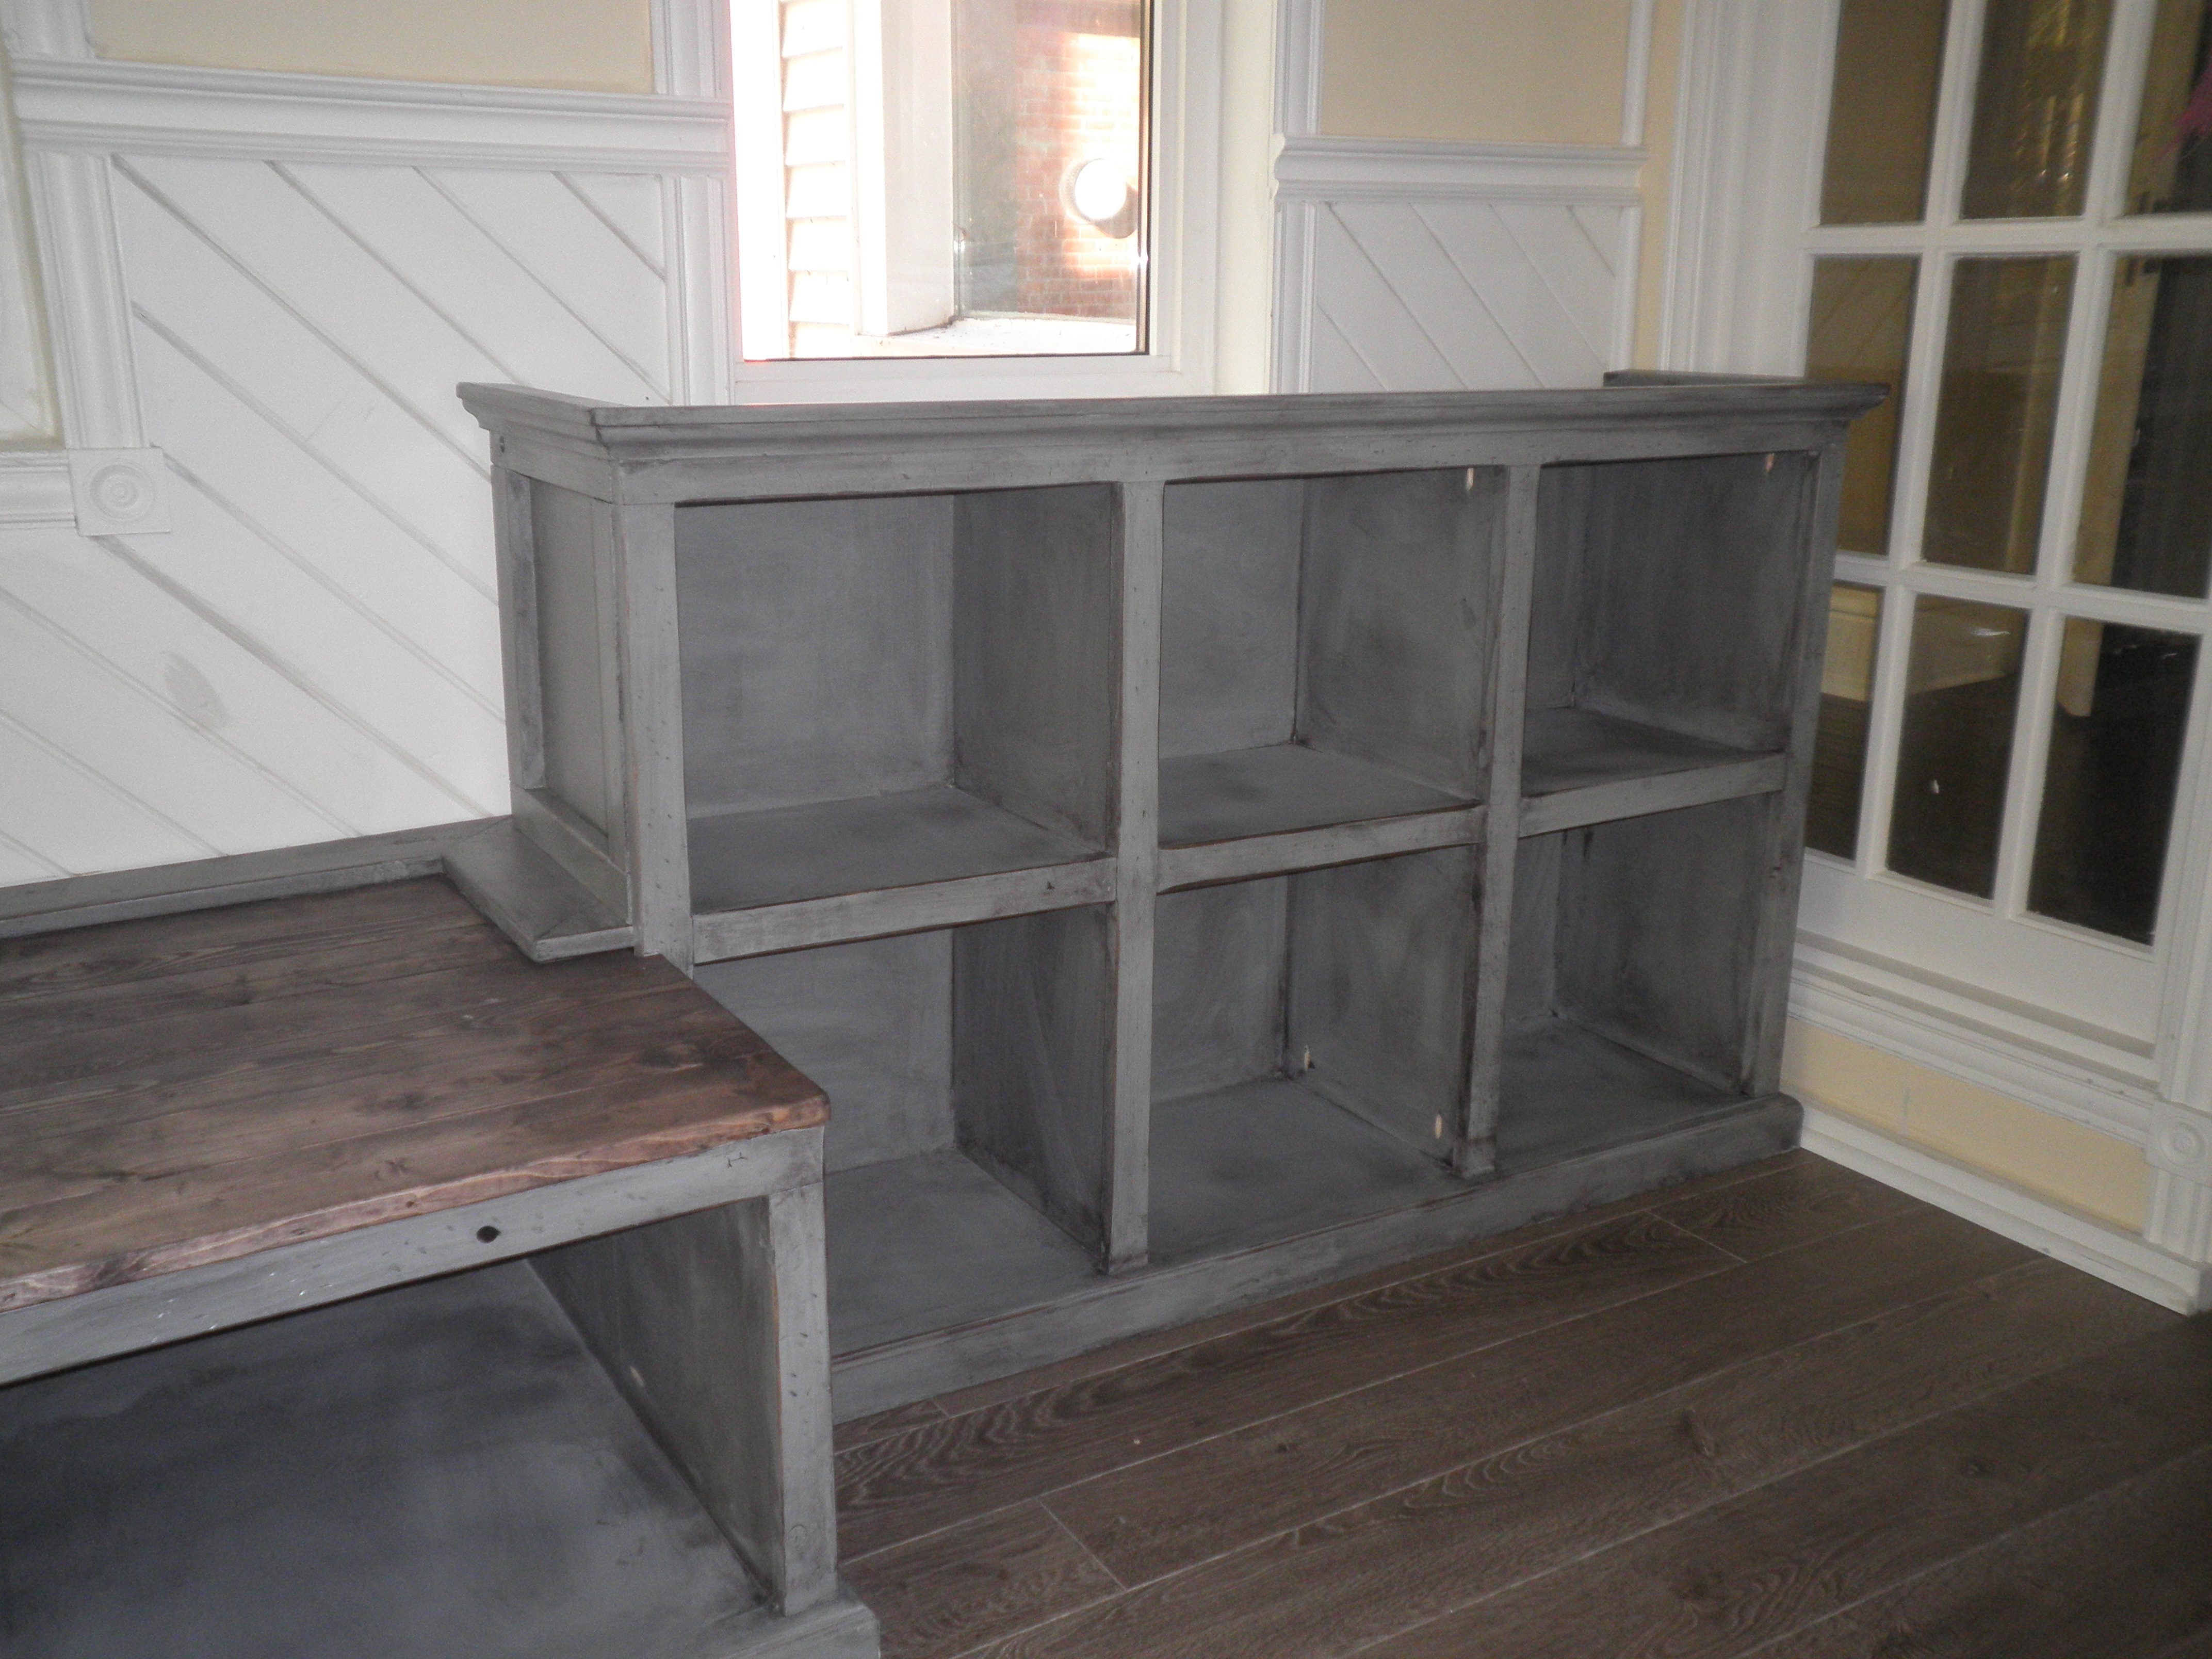
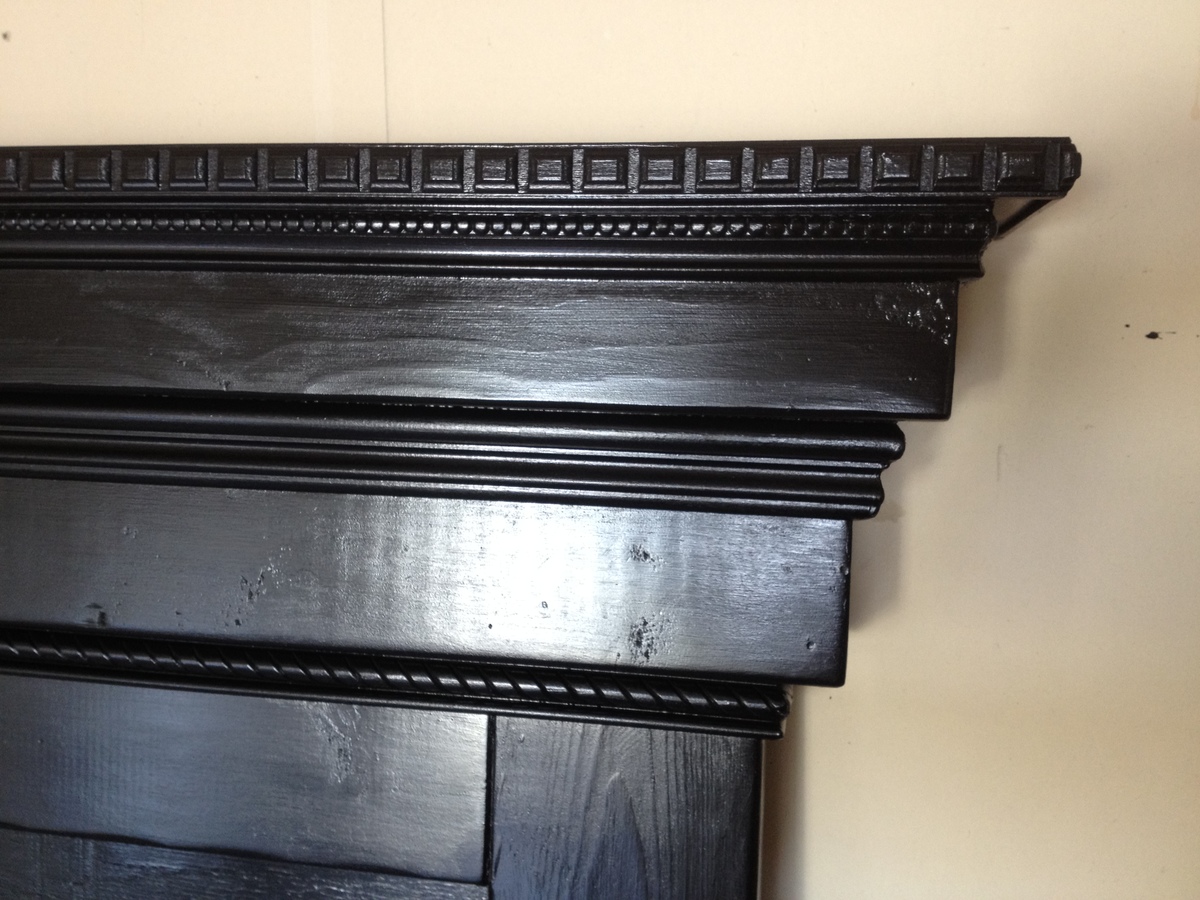
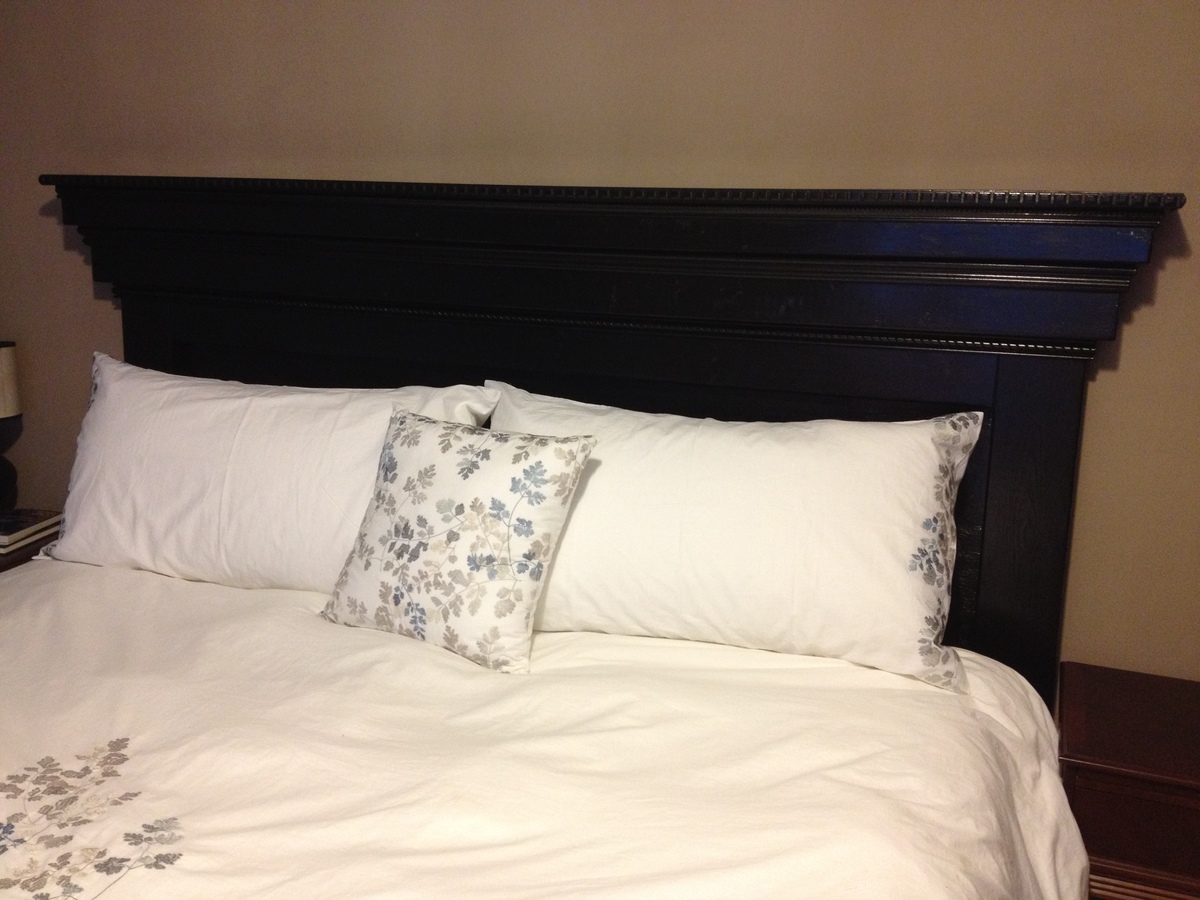
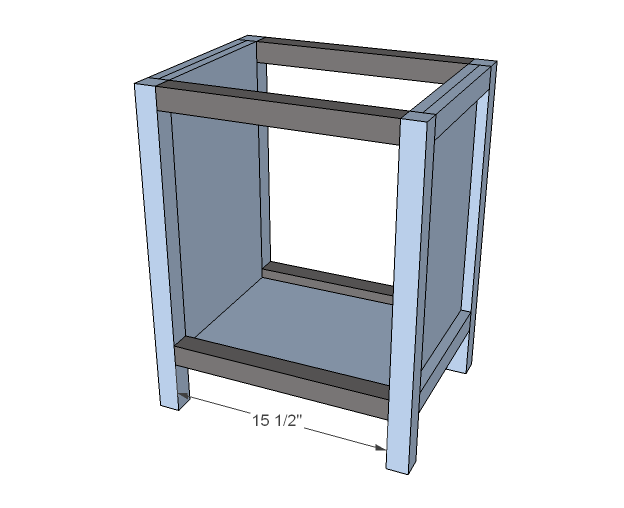
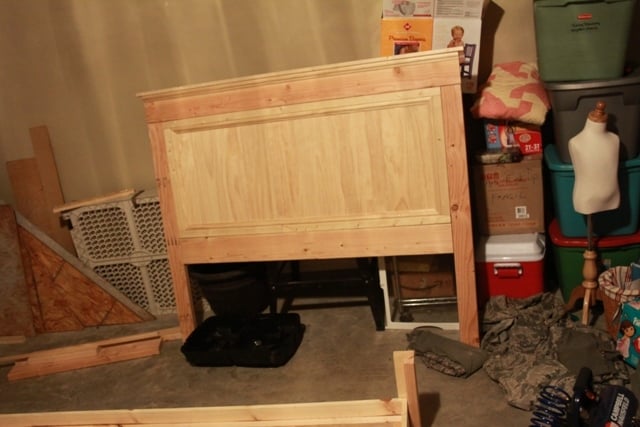
I really wanted a built in unit for toy storage for our kids toy room but truth be told couldn't afford what I wanted ie pretty and solid. So while searching on refinishing furniture I came across this site. Thanks a bunch Ana. You've inspired me to create things I didn't think possible, all on a modest budget - diy. This was my first woodworking project. It was actually easy to me because it follows the same principles as sewing in which the depth of the wood is like the seam allowance. I really liked the 6 cubby plan but wanted it horizontal. I had to replan this piece as the plan dimensions changed when I changed the orientation of it. I also added crown moulding (but this was kind of a ledger style that rested ontop of the 1x2 - they use it as a door headers). I initially intended to paint this white but decided that it would have got lost in the white wood panelling. (DH even commented that i was taking way to long on this project but after seeing the finished results said it looked amazing.) So I painted it a grey blue, distressed the edges and then used a stain that I bought from benjamin moore's mis-tint section for $5.00 which says it's a danish walnut based but seems to have a slight purple huge to it. thanks again Ana, its because of you I don't have to stare at a messy toyroom any longer!


Comments
vicb (not verified)
Wed, 10/10/2012 - 13:17
very cool.
very cool.