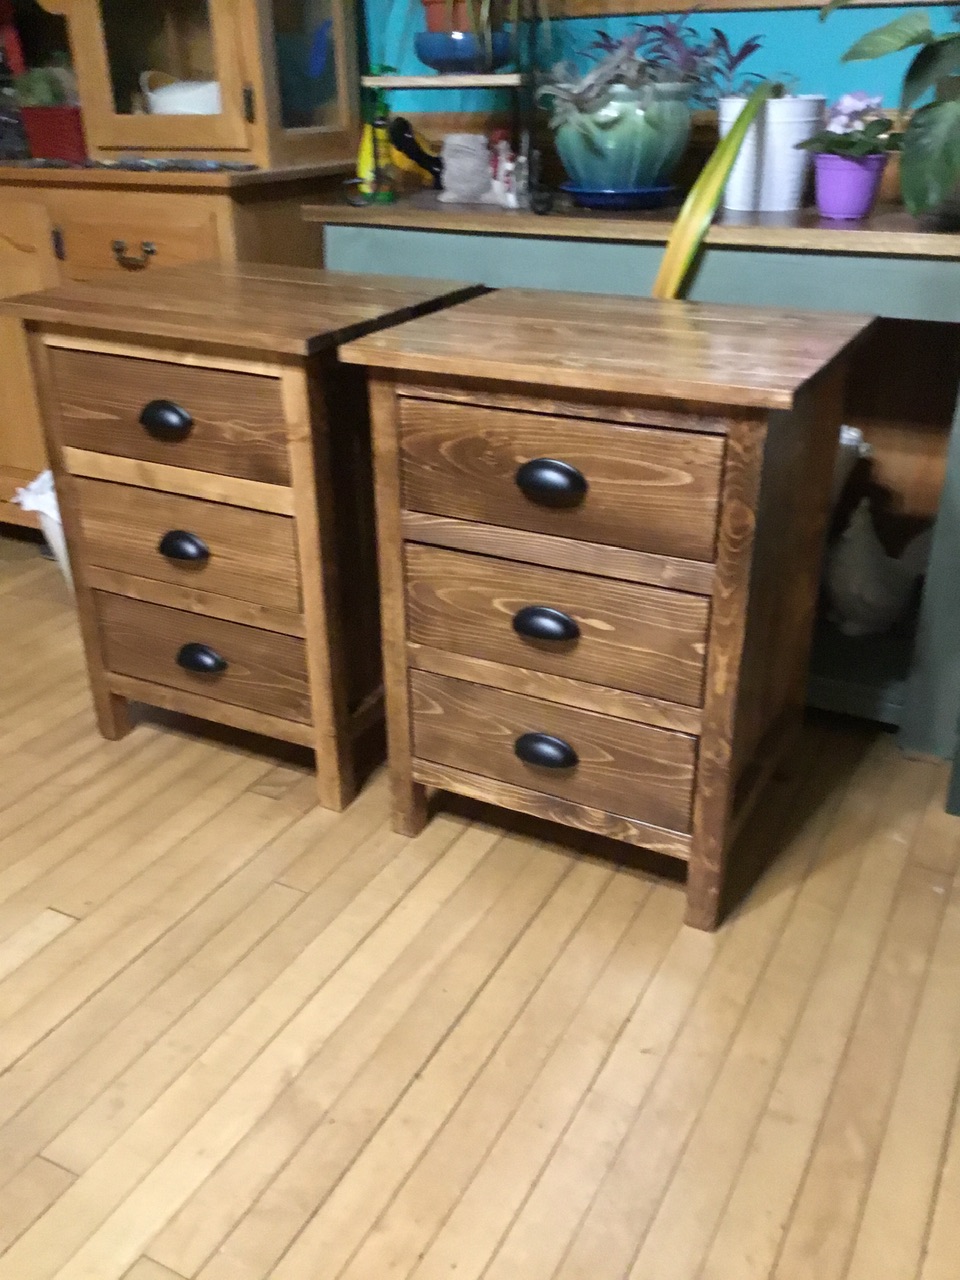
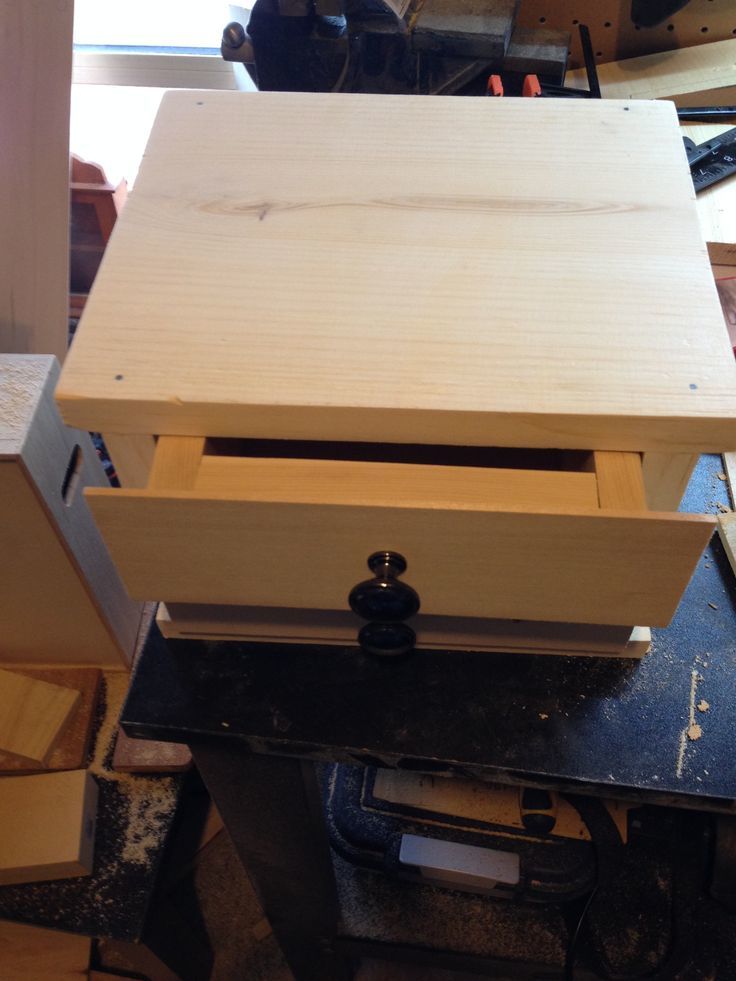
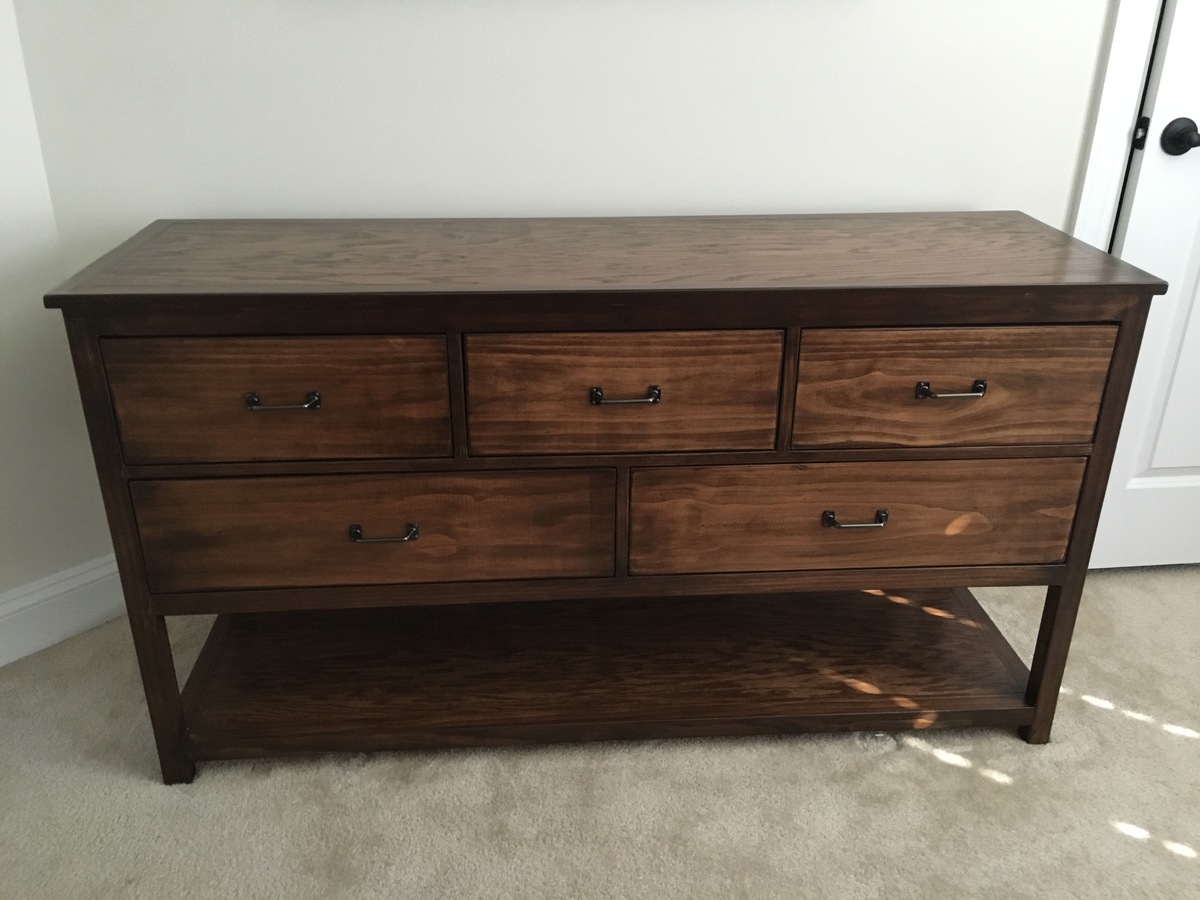
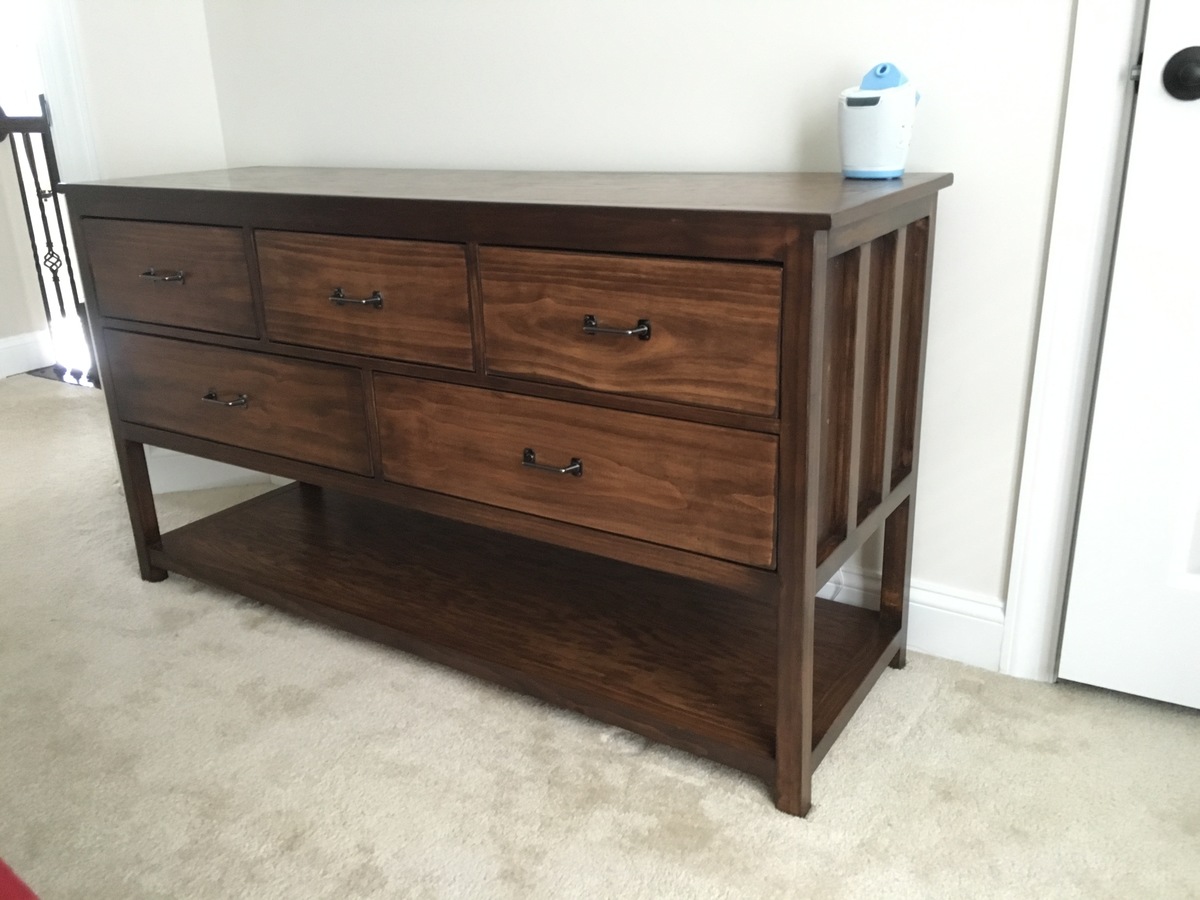
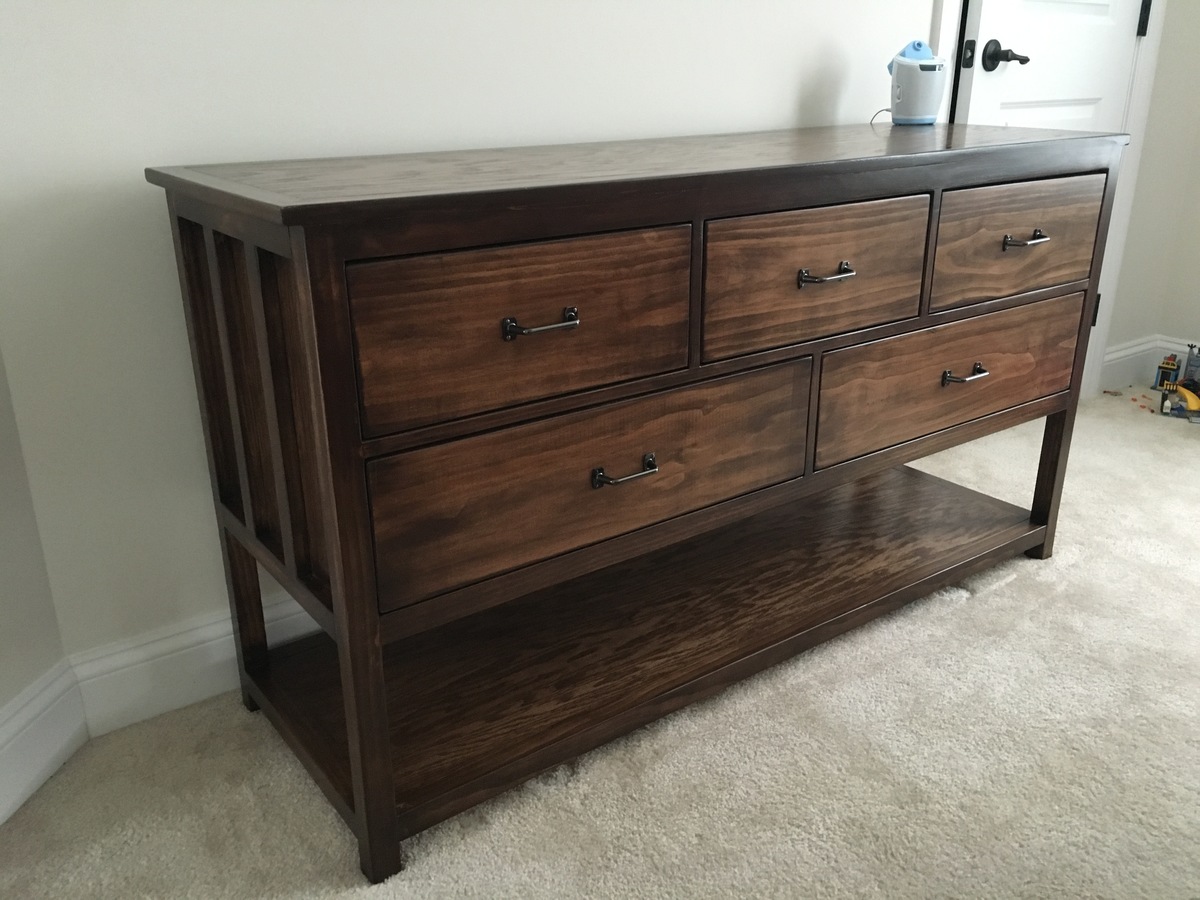
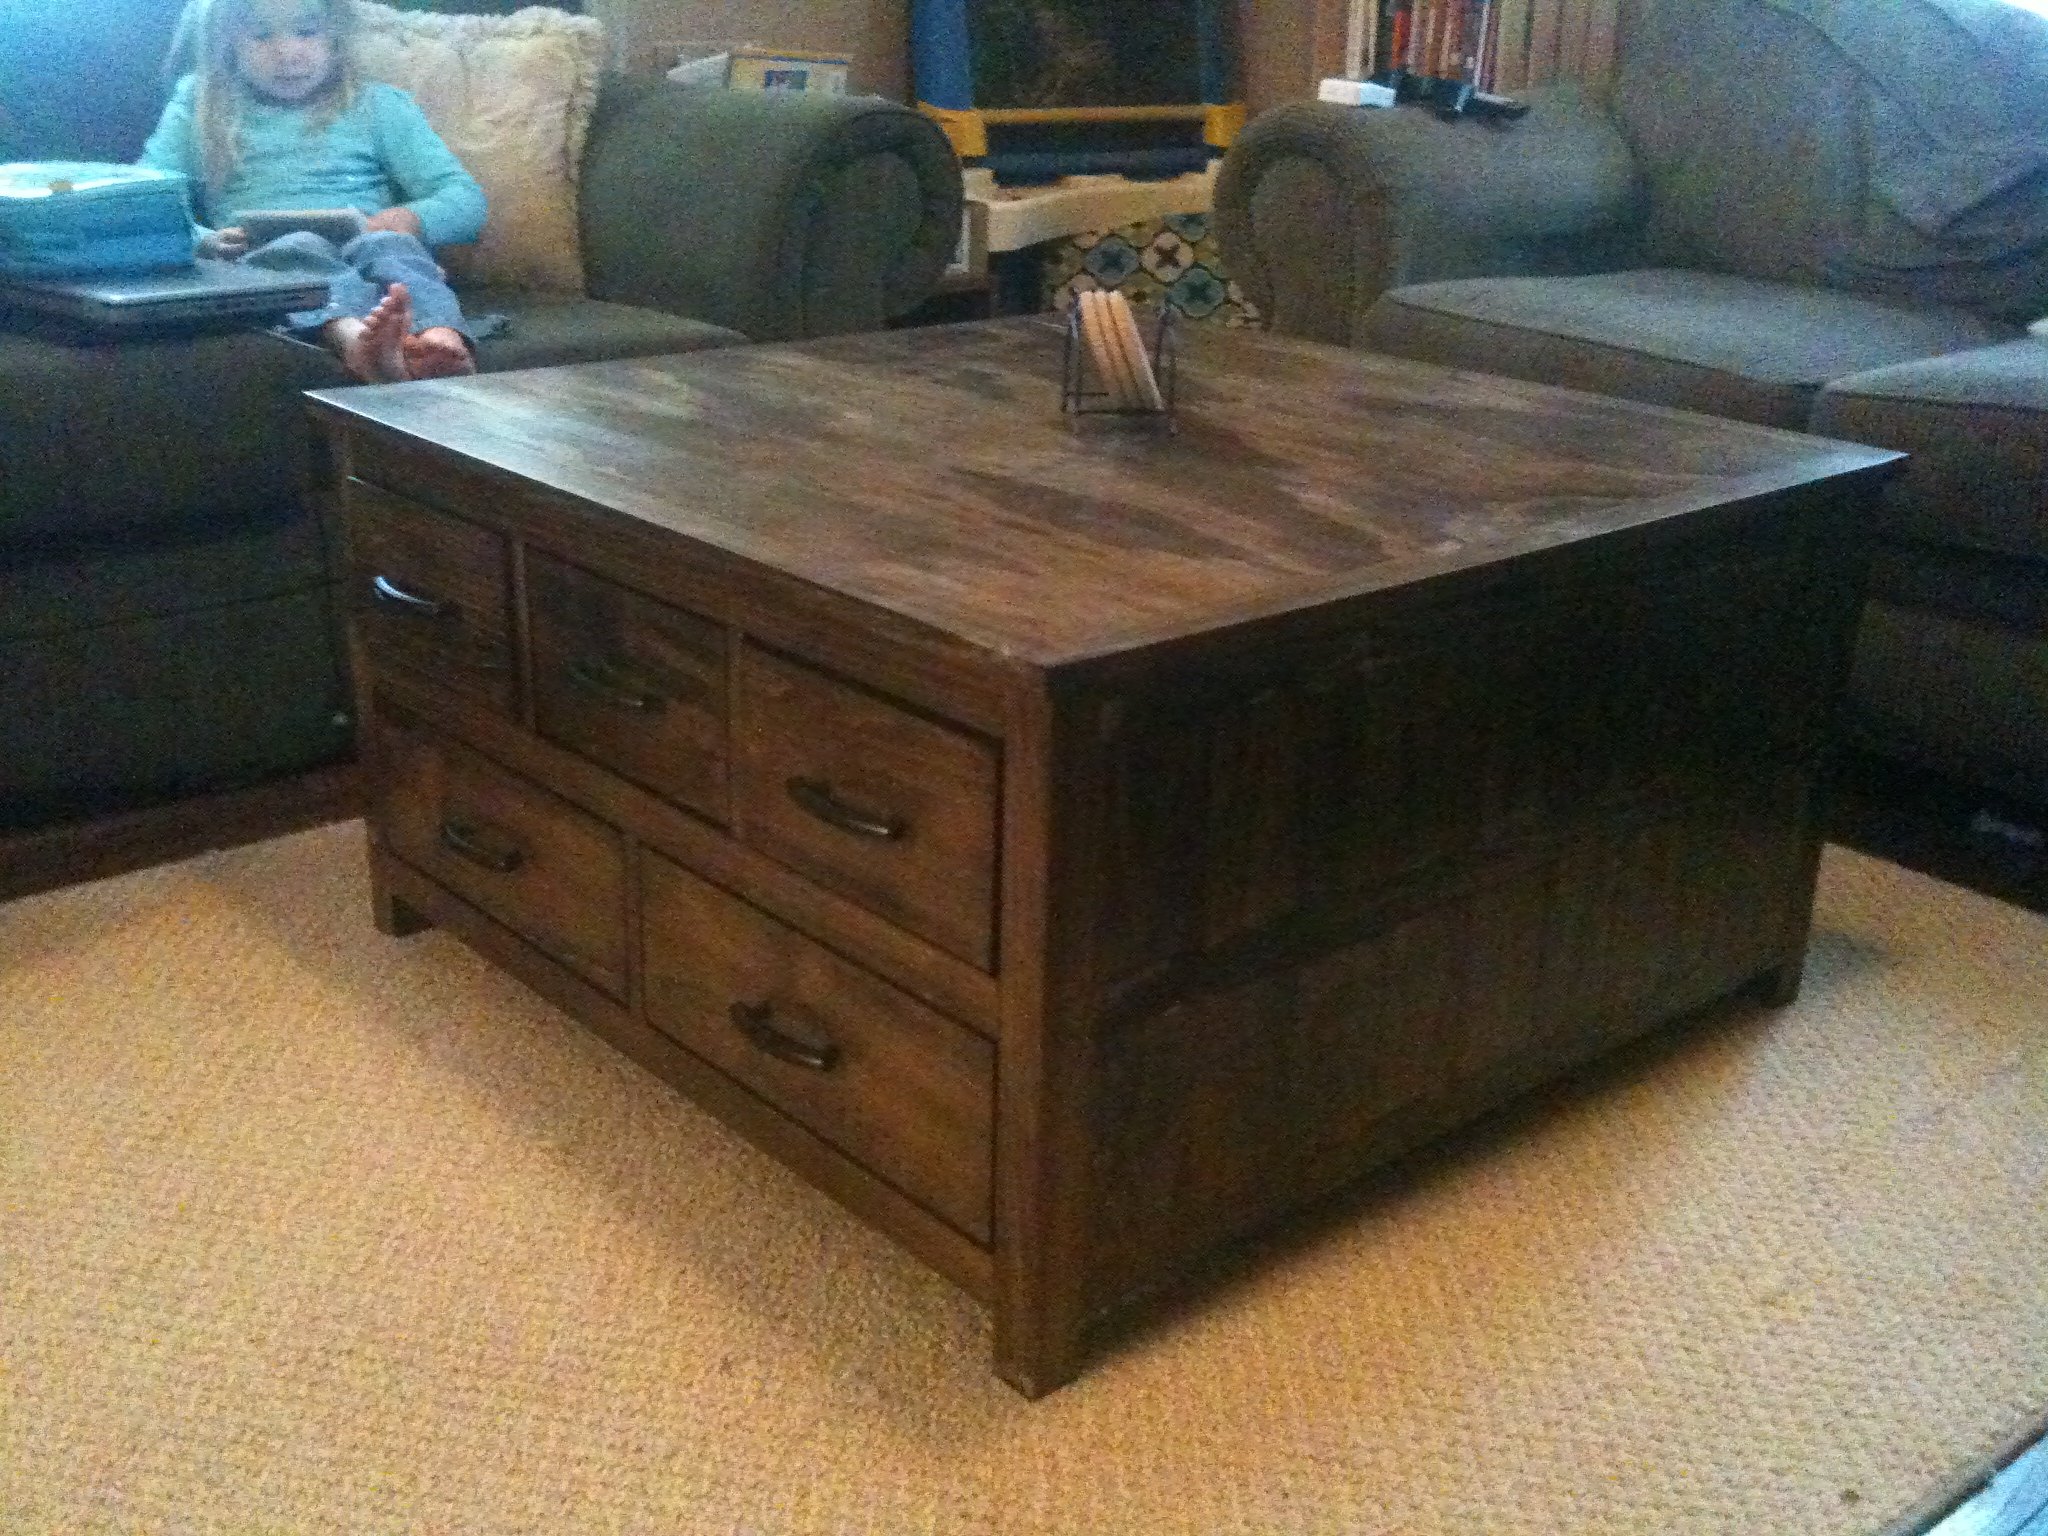
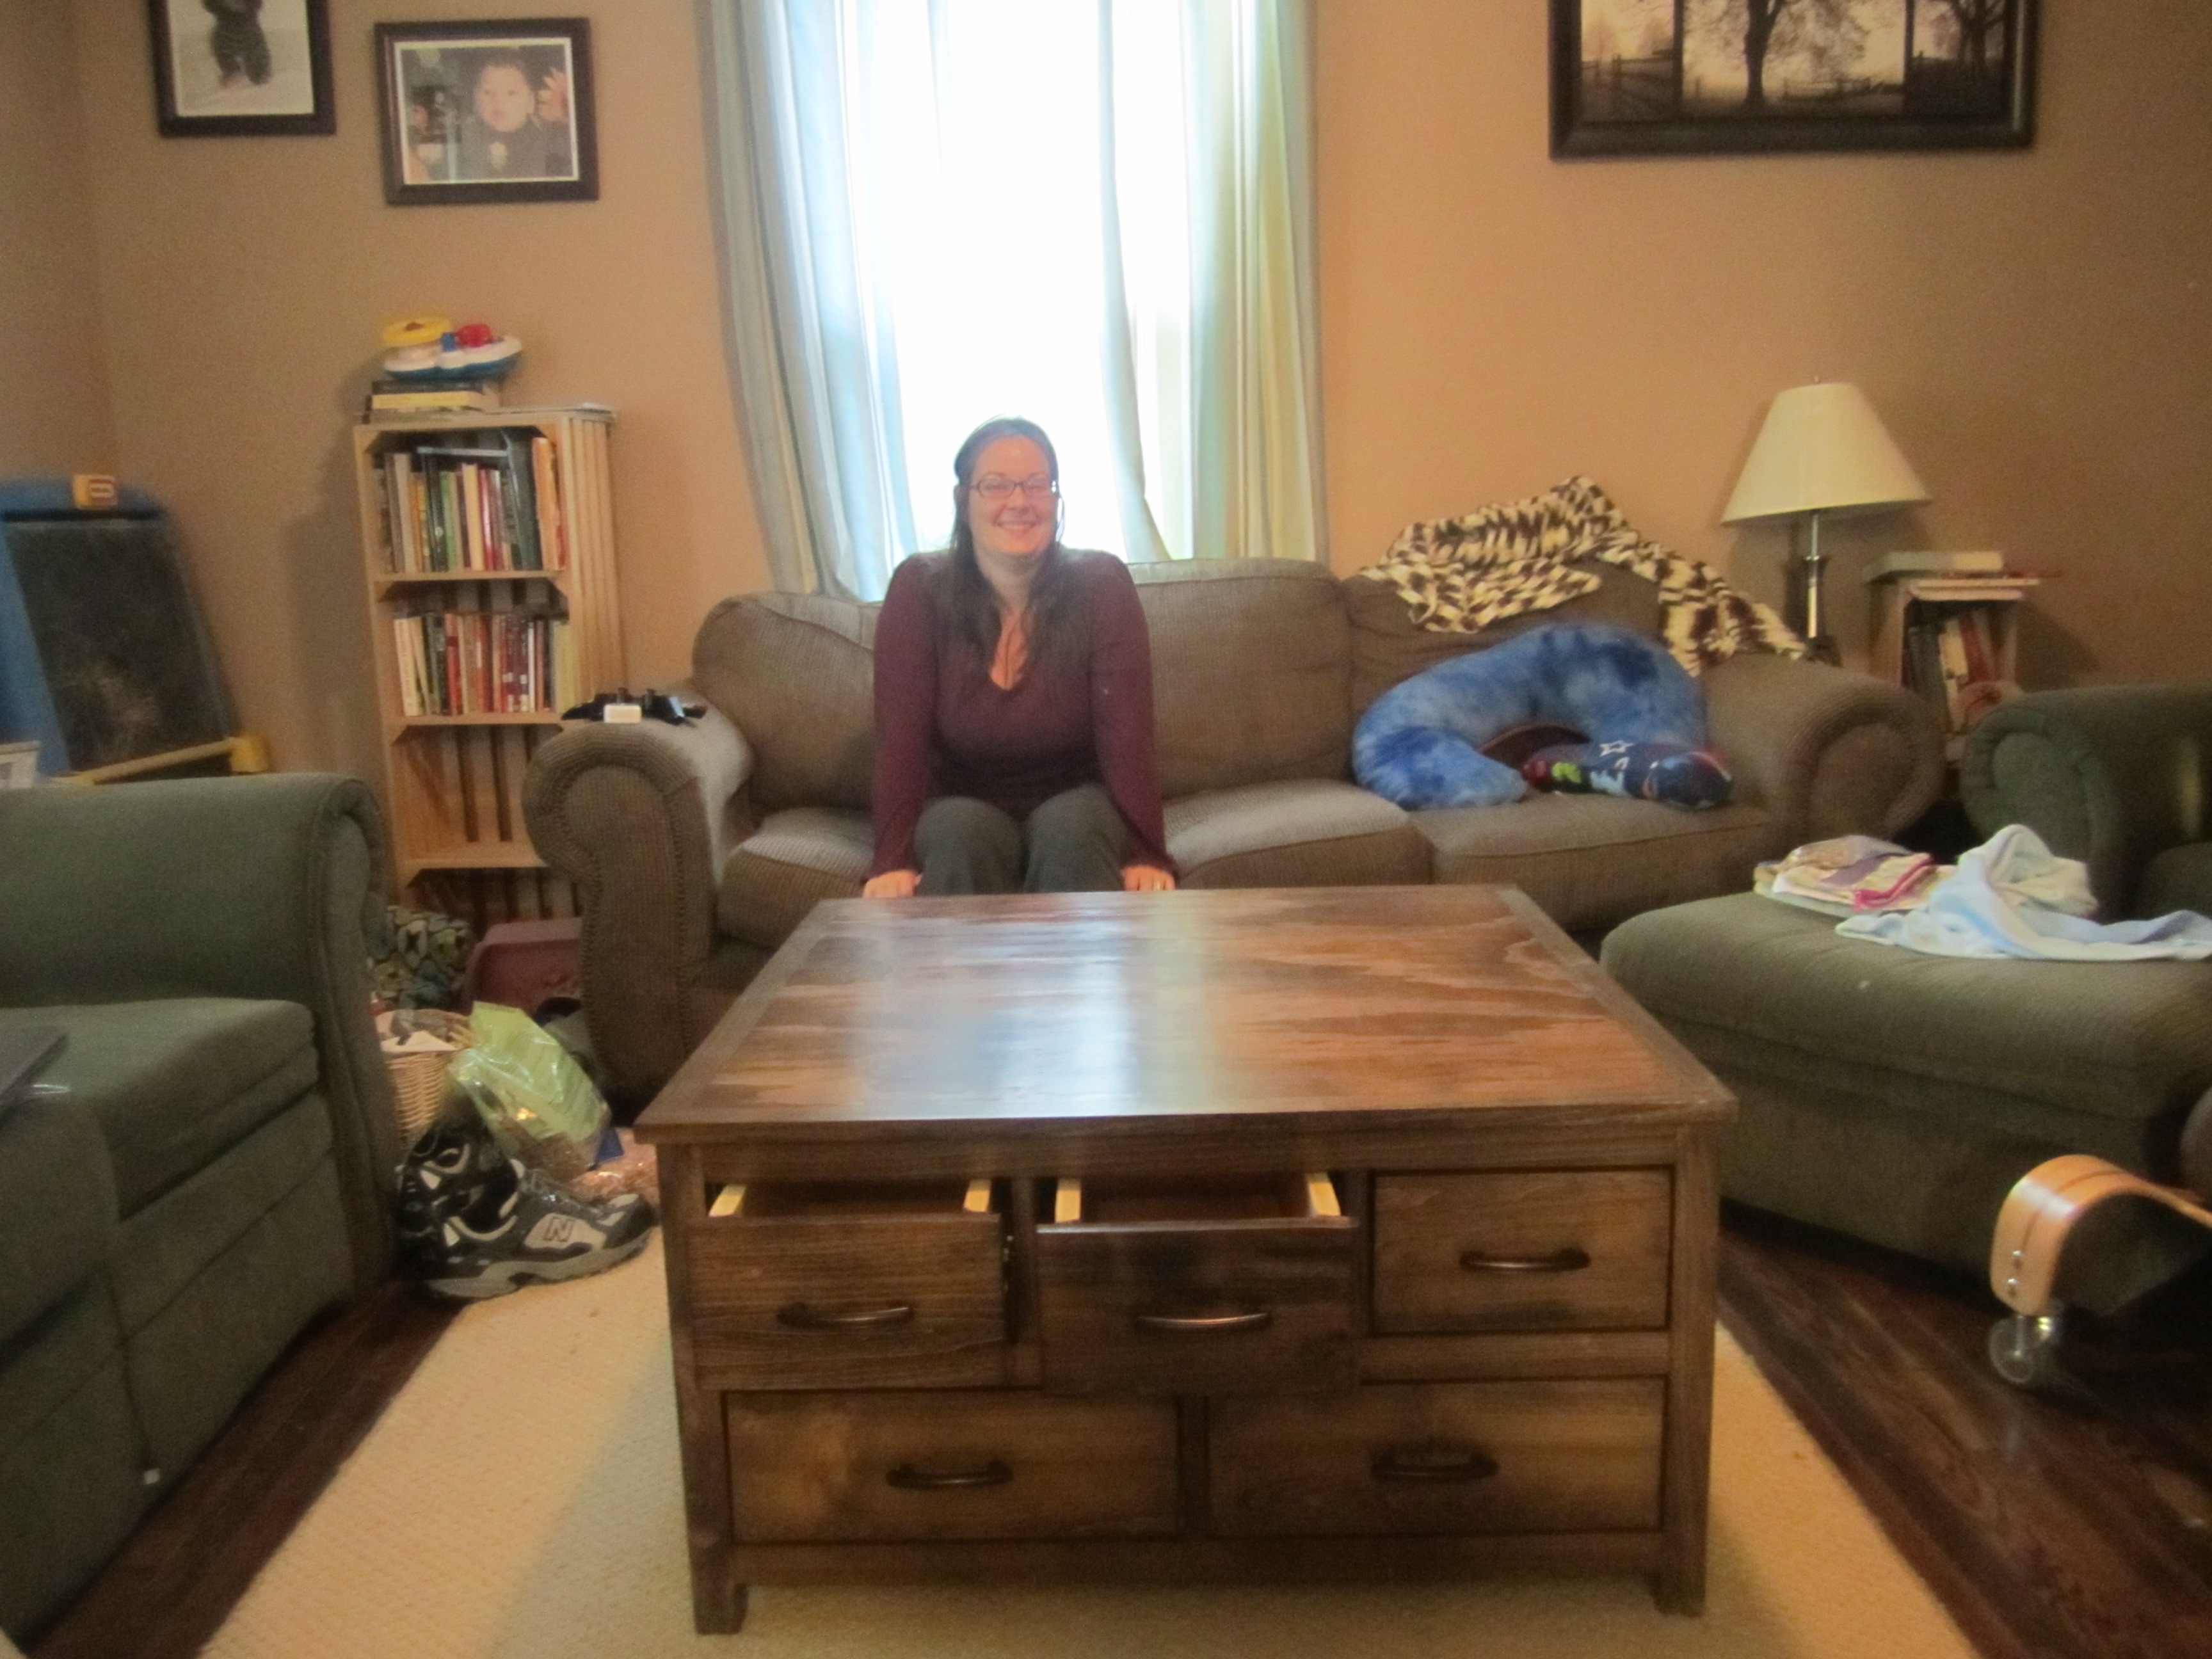
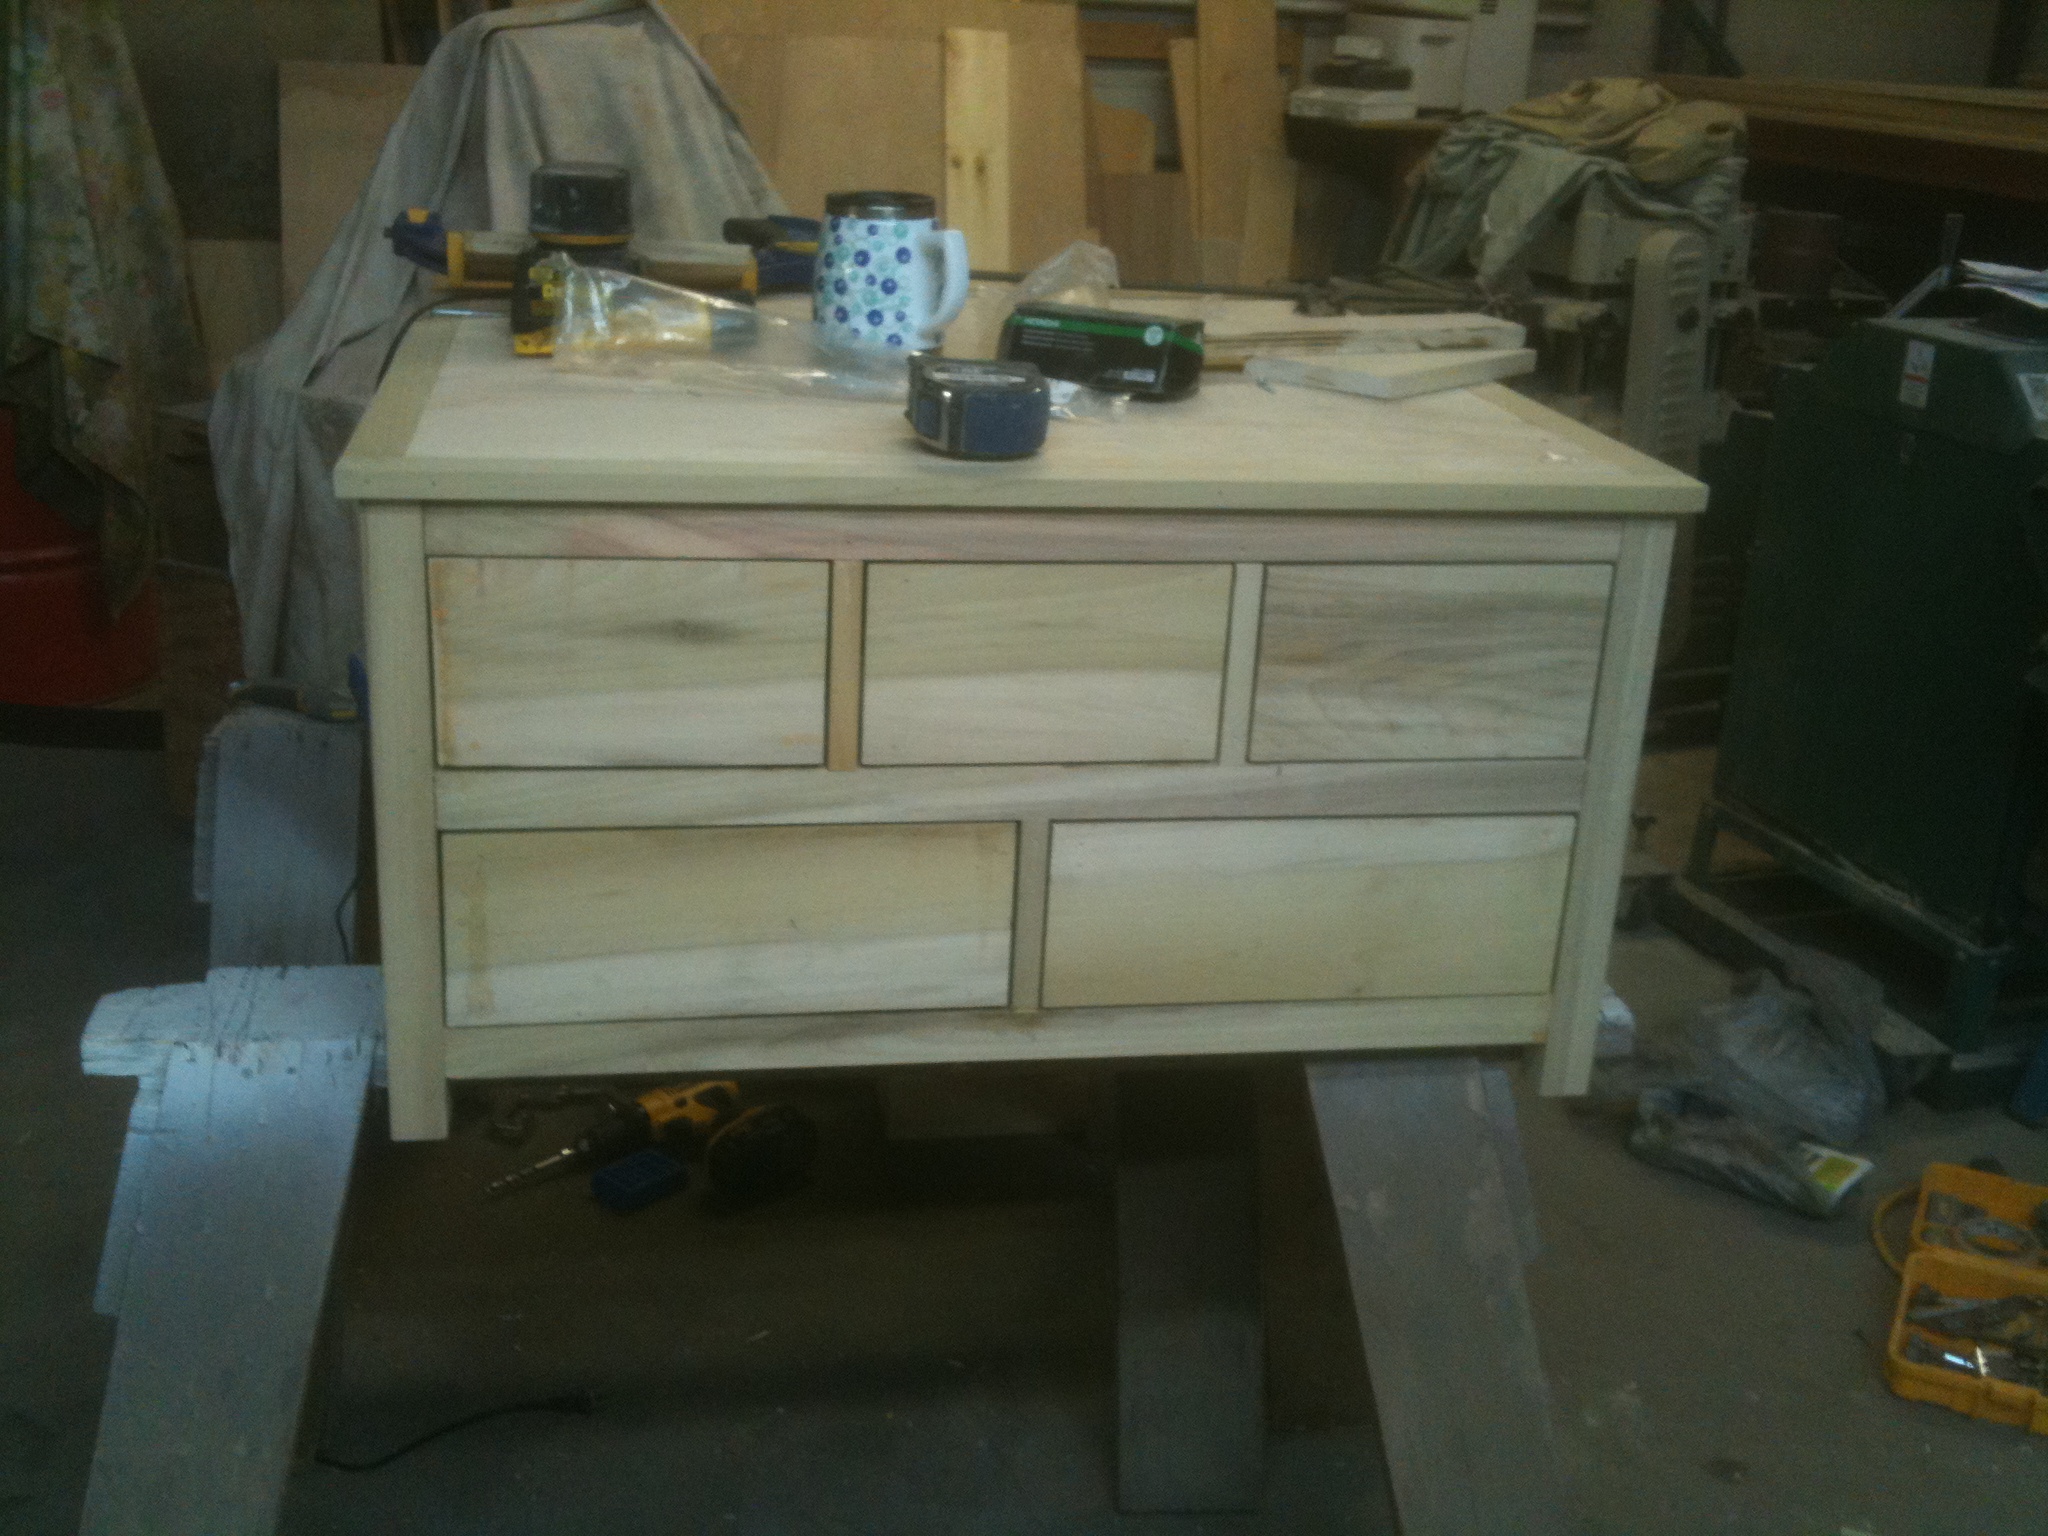
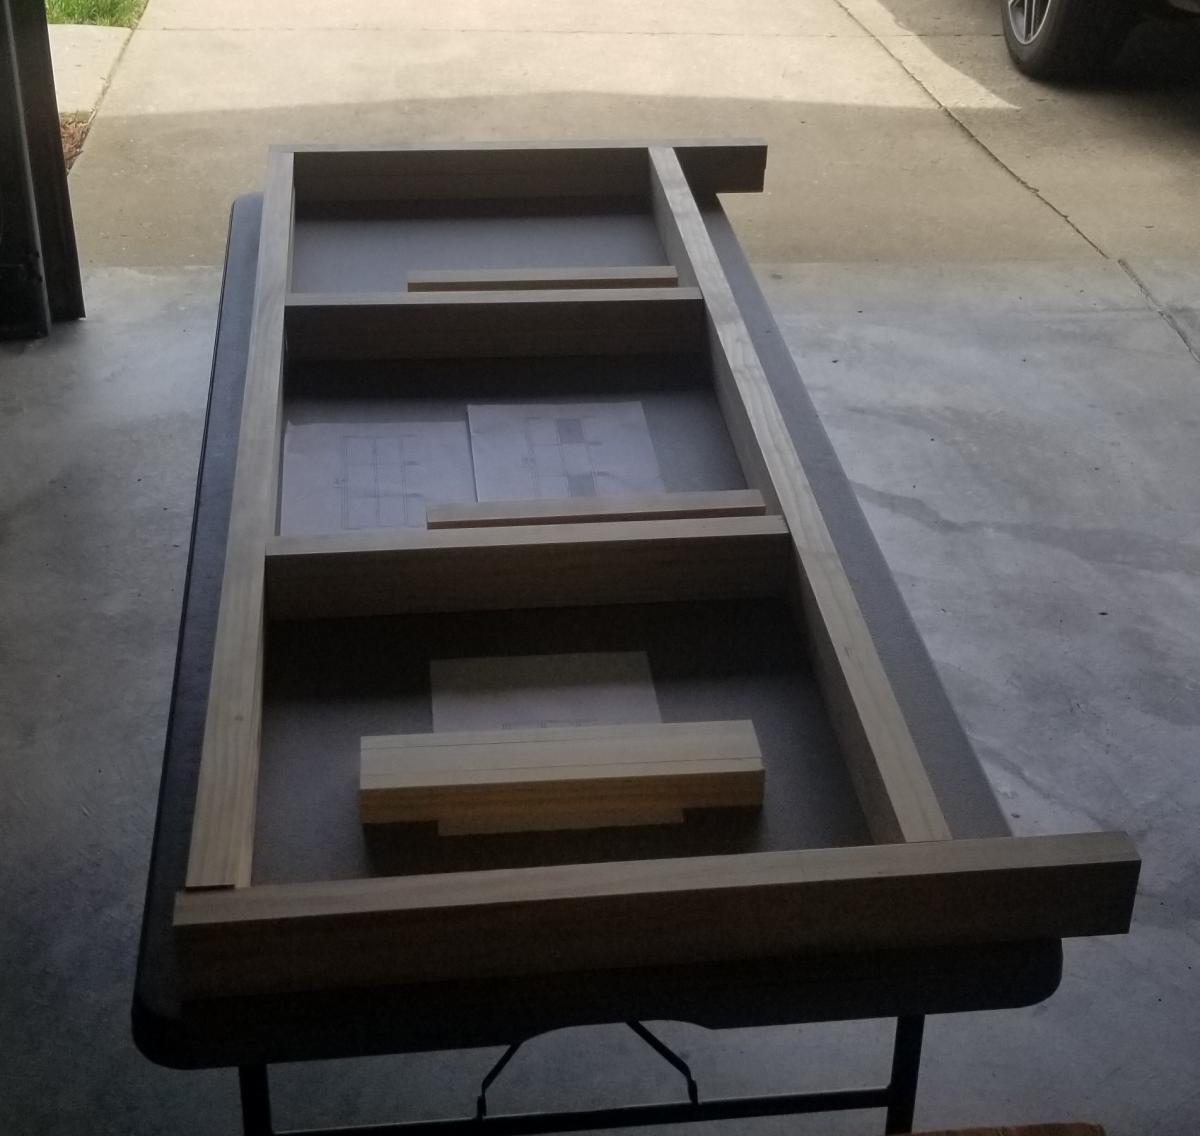
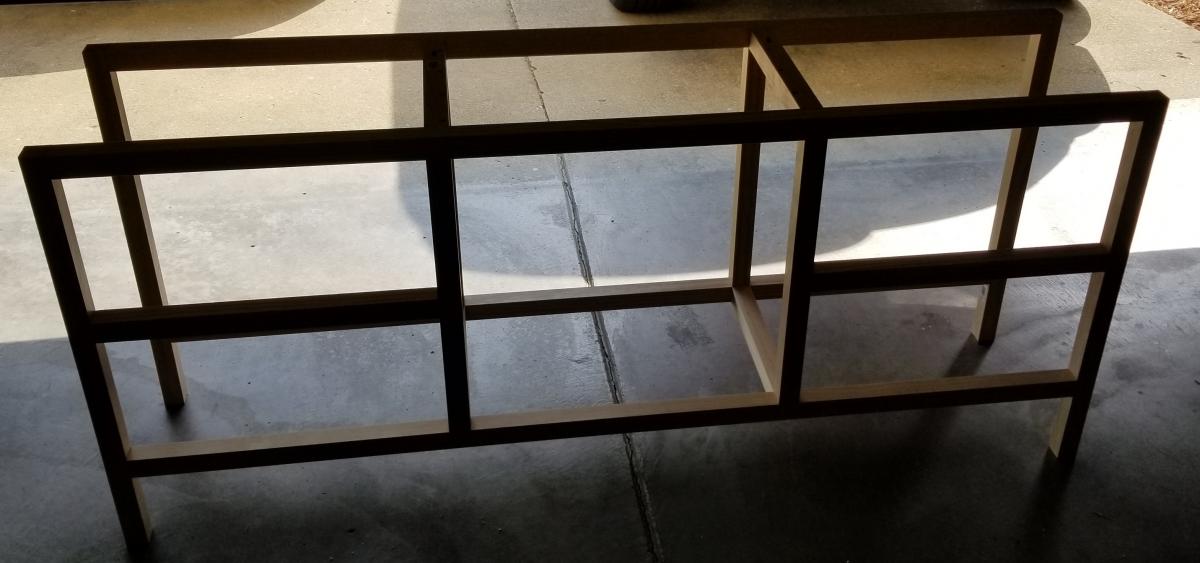
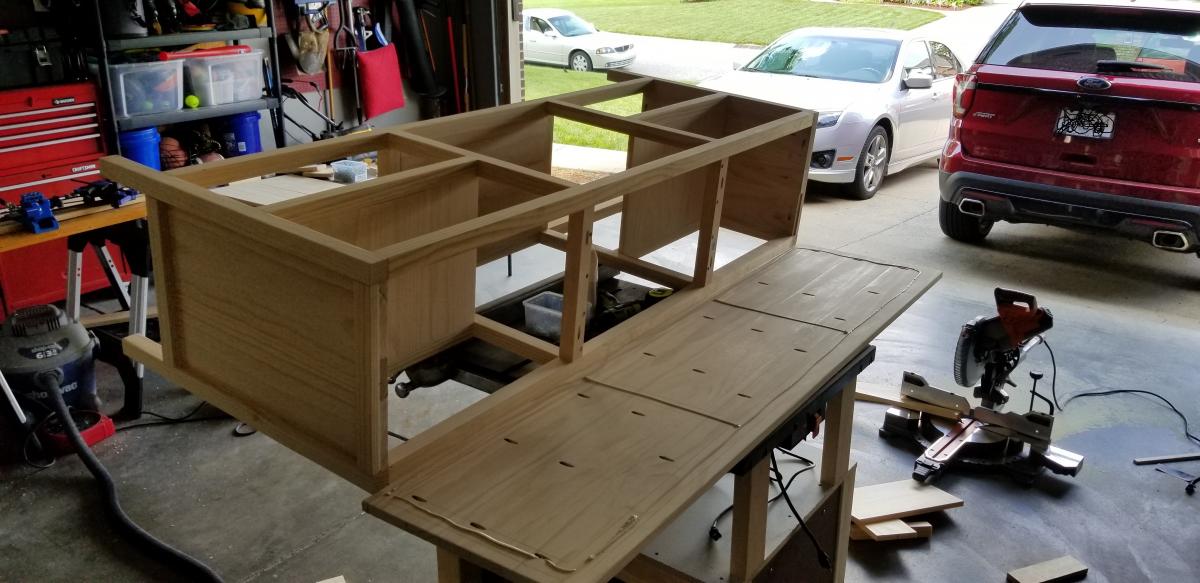
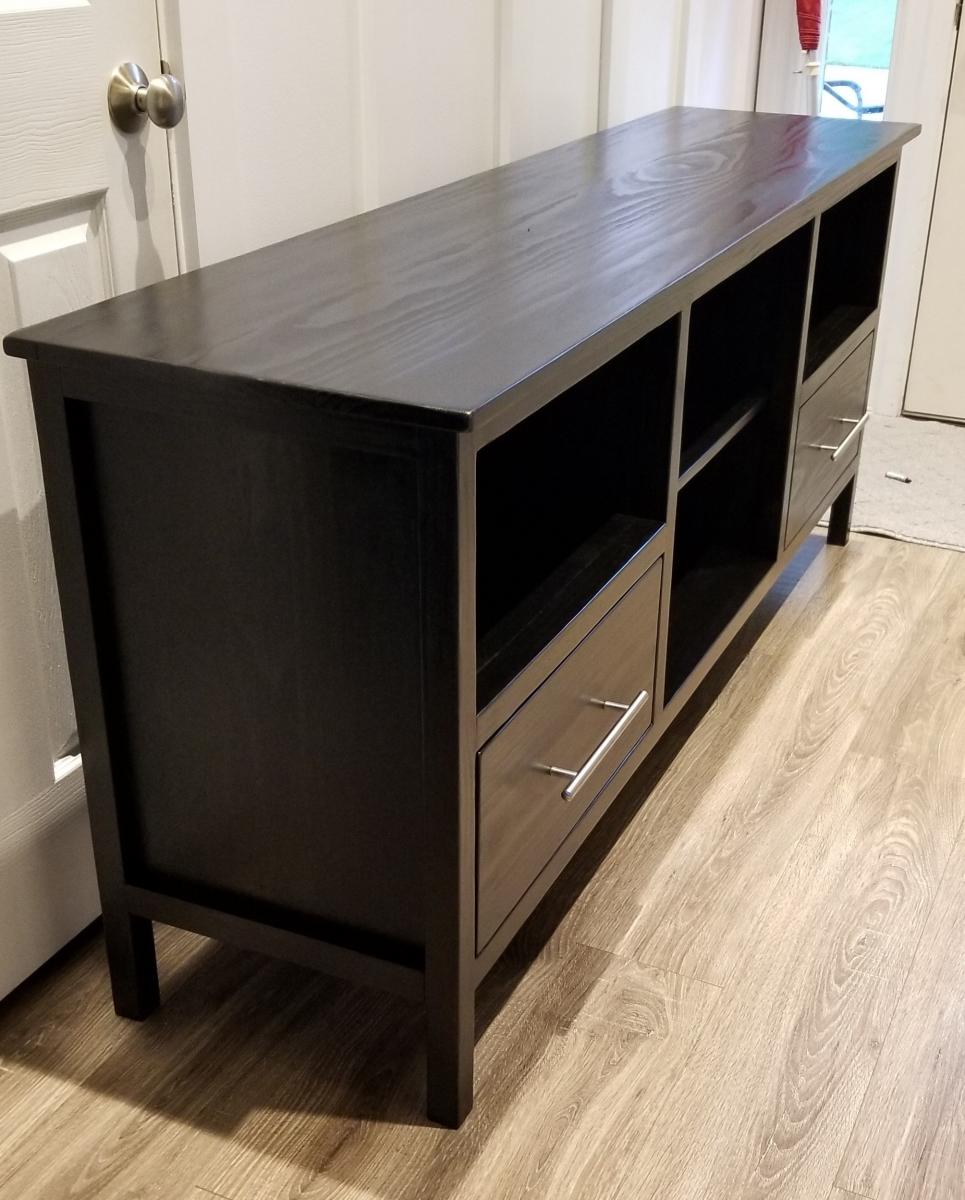
Modern Console Table
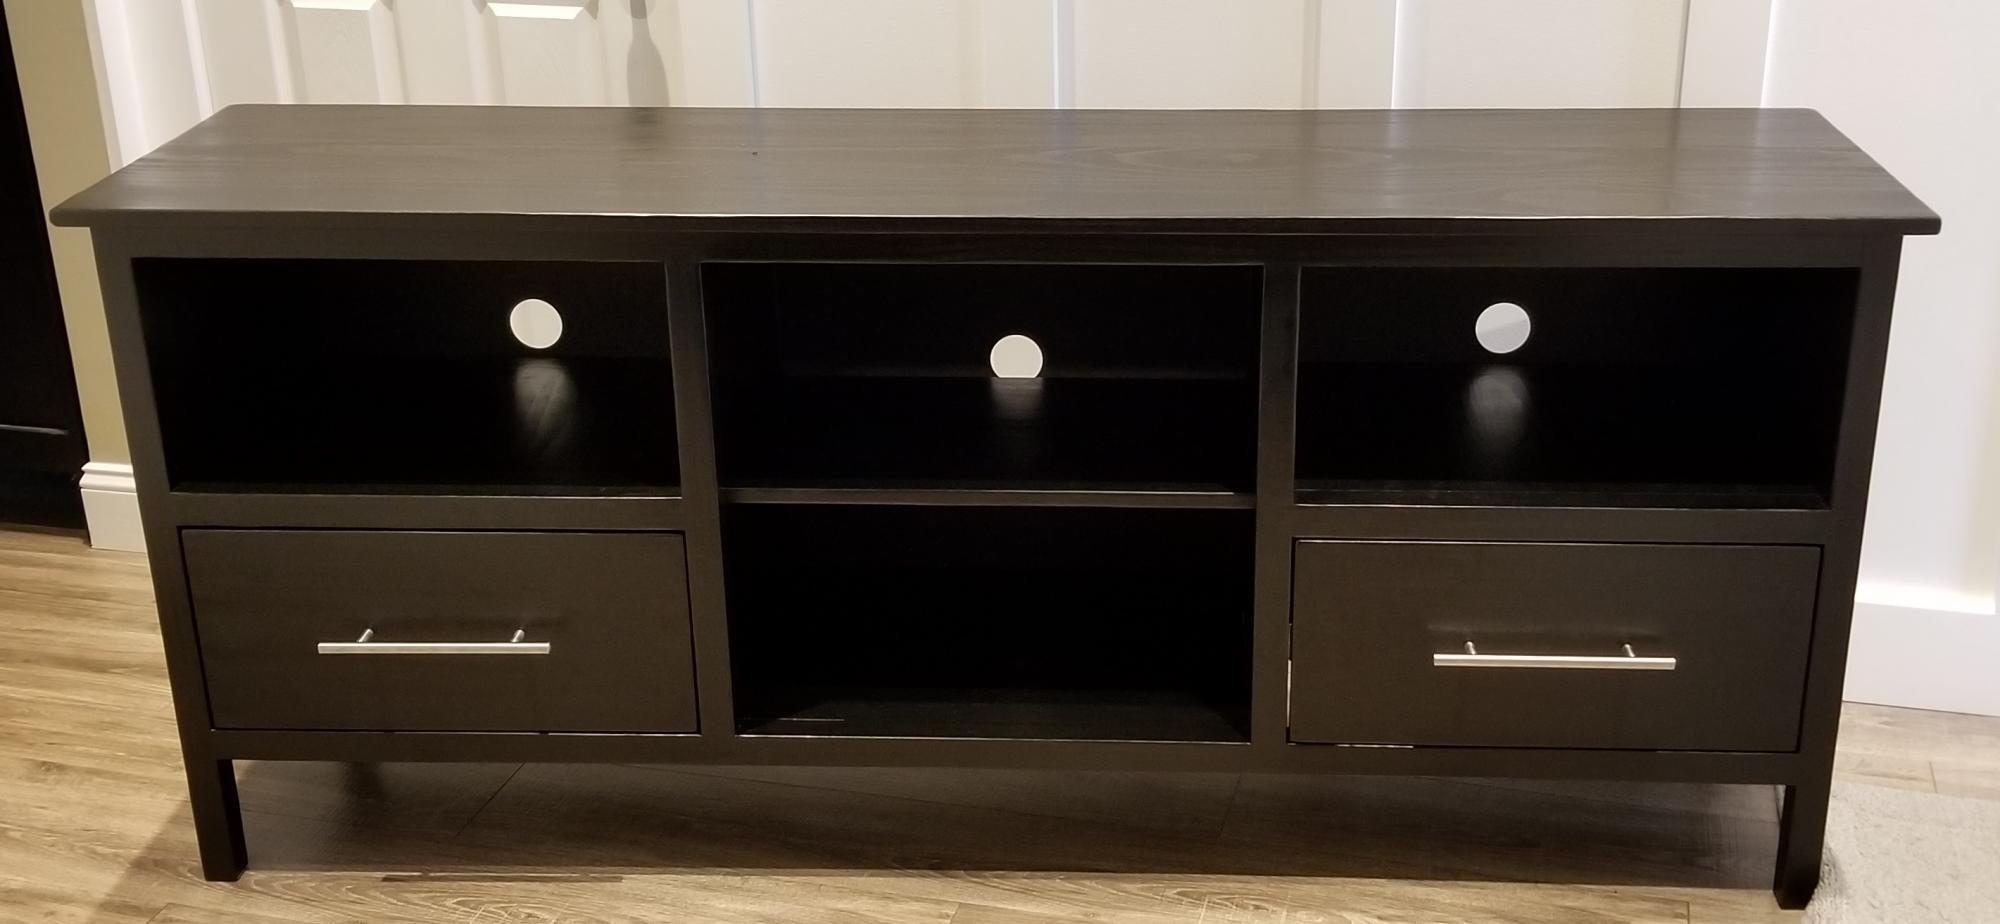
I built this for one of my friends that gave me the dimensions he needed. He gave me complete control with the only caviat of needing 2 drawers. I used Premium Pine from Menards, Minwax True Black stain and Minwax Satin Polyurethane. This one came out better than I expected!

Estimated Cost
$225
Estimated Time Investment
Weekend Project (10-20 Hours)
Finish Used
Minwax True Black Stain and Minwax Satin Polyurethane
Recommended Skill Level
Intermediate