Community Brag Posts

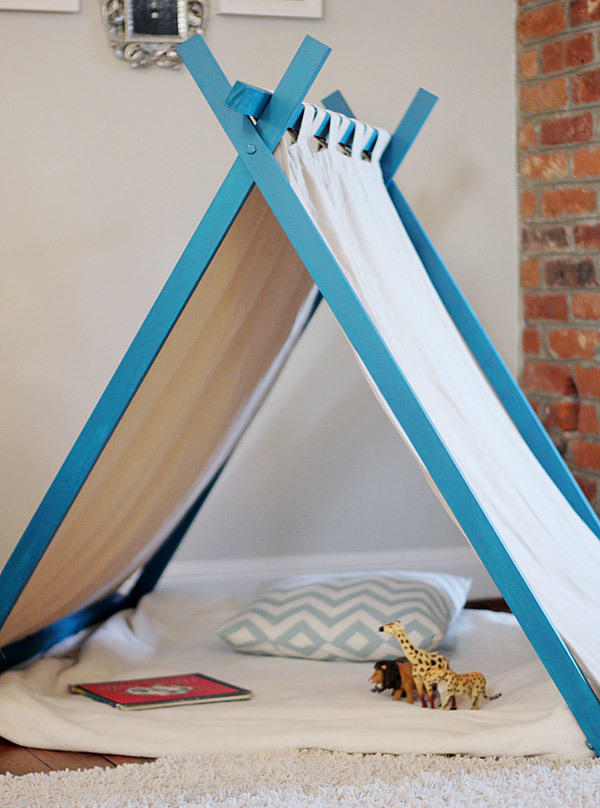
Foolproof Fort

Ethan and I did a little project last week.

It’s been windy and cold outside and we’ve been running out of indoor activities. We made Valentine decor, heart-shaped food, colored, met friends at museums and toddler-rock’n-roll-playing coffee joints, played trains and kitchen and dinosaurs, read a hundred books.

One super fun source of indoor entertainment we’ve never successfully completed is building a fort.

When I was young, I was the fort-making queen. My parents had this incredible 80′s-style glass-and-metal table with huge leather and wood chairs (it was insane), each piece weighing what seemed like a million pounds—PERFECT fort building materials. Blankets, pillows, books, and toys made a wonderland of imagination for me and my friends. I remember supporting corners of blankets with this heavy old clay jug and other skull-crushing items that could have crashed down at any wrong movement. How we make it through childhood is beyond me.

I guess our furniture selection is just not fort-worthy. At least, not in the sense that doesn’t pose the risk of a chair toppling on him, undoubtedly leading to suffocation and/or a concussion.

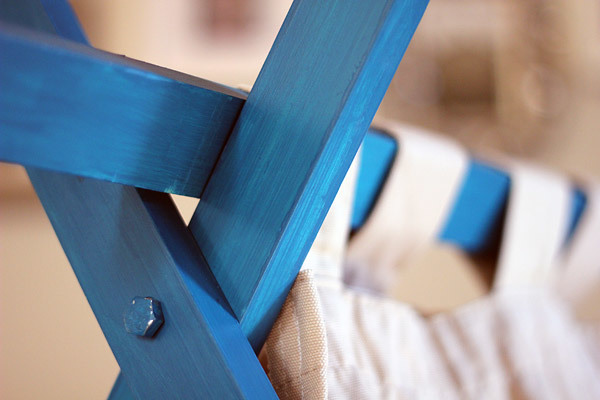
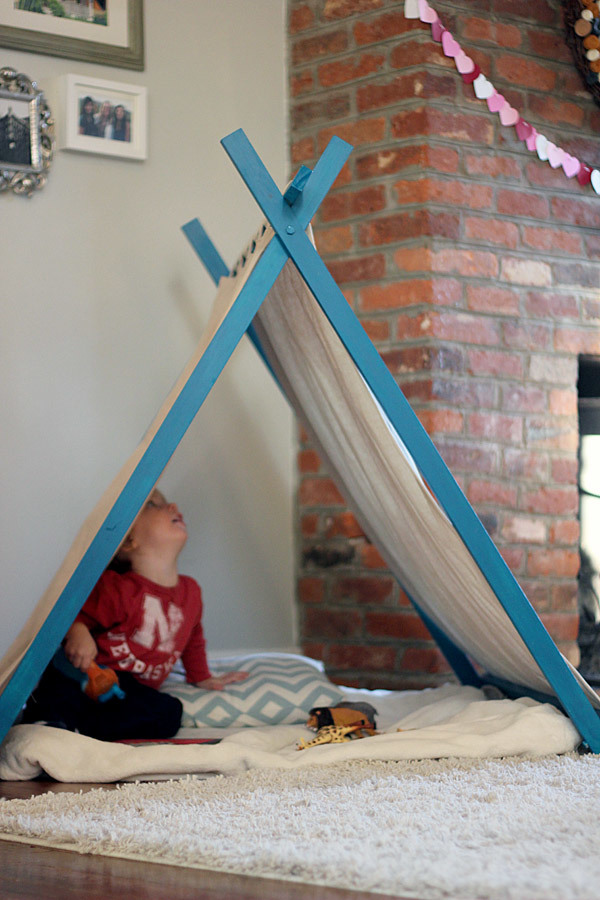
So a few minutes spent reading Ana White’s website, a little trip to the hardware store (where a visit to the “big saw” was requested only to end in wimpers of “no saw, I’m scared!”), about $25, and a little sweat later, we had a perfect little “fort” with no chance of injury, one that doesn’t need to be disassembled…ever.

We had everything cut down at the hardware store. Paint was leftover from Ethan’s train board, side panels made from Target tab-top curtains I’ve had since college. Really.

It was Ethan’s first construction project so I started him off right—with sanding.

When everything was nice and smooth, we had lunch and the Peanut hit the hay while I took out the “big mama bit collection” and started drilling. As usual, Ana’s plans were very well illustrated and straightforward…we used her oven door plan for Ethan’s kitchen and it worked perfectly.

By the time Little Man woke, we were ready for paint. I wondered if painting with a toddler was the smartest idea…but we just went for it.

He did GREAT. Thank you Ikea for the $2 smock.

As I’d feared, the (almost) finished product was about four feet too tall. It was massive in our living room!

So a few days later the Hubs helped me cut it down with our chop saw. So much for making things easy by having all the wood pre-cut. I guess Ana’s house is much bigger than ours.

My next task was hemming, narrowing, and velcro-izing the panels. With a much shorter tent, my trusty old curtains were way too long. Plus, I wasn’t so sure about Ana’s suggestion to staple curtain to tent…it seemed much too permanent What if we want to add a stamped pattern? Or a window? Or change up the fabric? Velcro seemed safer.

Sure, it’s not the fastest way, but I think it was worth the time. And my $20 craigslist sewing machine handled it like a champ.

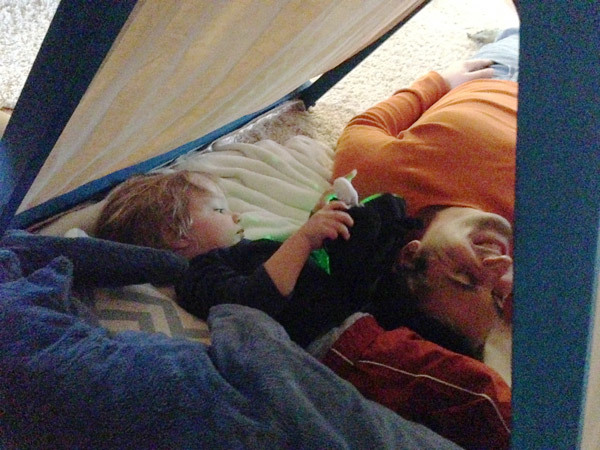
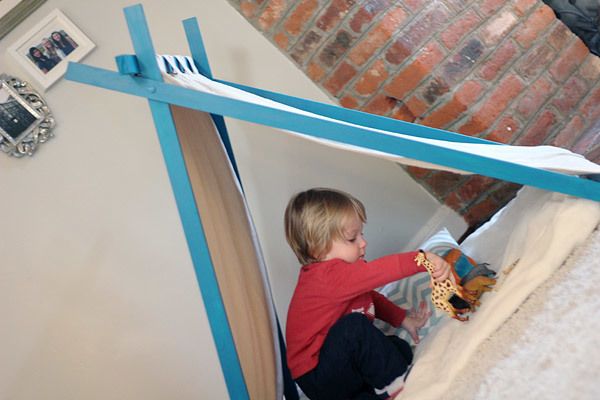
We’ve already done some good lazin’ around in the new fort. Or nook. Or tent. Whatever, Ethan seems to think it is pretty cool.

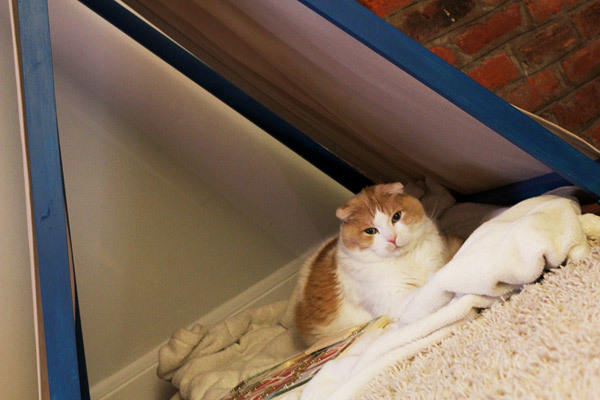
It’s also pretty popular with our furry friends.
Built from Plan(s)
Estimated Cost
$25
Estimated Time Investment
Afternoon Project (3-6 Hours)
Finish Used
Valspar sample paint
Recommended Skill Level
Beginner

Comments

andria698

Mon, 06/10/2013 - 12:19

So, I'm curious how long and tall everything ended up. I'm thinking I need a smaller version of the original also, and yours looks just perfect. How long are the boards now? And how tall is it?

Rekourt Dining Table in Distressed Dark Walnut

Hey all my DIY friends!


This is my first build of the Rekourt Dining Table.  Big thanks goes out to Ana and Jen for providing these awesome plans.


I think I achieved this table quite well, except for a minor detail where I forgot to sand two pot holes.  It actually created a very rustik look to this table.  I decided to try the steel wool and vinegar solution combined with the black tea for the finish of this table.  I realized it adds so much richness to the wood, it's incredible.  The stain is Minwax's Dark Walnut and I topped it off with a Satin Oil-based Polyurethane.  The top and legs were also physically distressed using a variety of tools I found in my tool chest. Those included screw drivers, lag bolts, worm hole puch I created out of a leftover 2x4, chains, sanding disc, knife, hammer and much more!  That part, although tedious, was fun as it gave me the permission to bang stuff up intentionally :)


For the finish, I first started off by sanding very well, talking hours for the entire table. I then went out and distressed the tops in a very random fashion, trying to not repeat any patterns.  As I was doing this, I was waiting for my black tea to seep and be ready for application.  I poured boiling water in a large Mason jar and added 4-5 bags of black orange pekoe tea bags.  I waited about 2 hours before applying it with a foam brush, very liberally.  I allowed the tea to dry overnight and the following day, I applied the steel wool and white vinegar solution. My solution had been sitting for about 5 days, enough to start seeing a bit of rust in the Mason jar. The rusty solution ended up giving the wood an orangy/redish tone, which when seen under the dark walnut, added lots of depth and richness to the color.  Once dry and the wood had turned greyish/orangy/redish, I stained it using Minwax's Dark Walnut stain.  I did section by section, leaving the stain no more than 3 minutes before wiping dry.  I followed this (once the stain was dry) with two coats of oil-based polyurethane in satin (Varathane (Canada's version of the Rust-Oleum poly). I sanded the poly in between coats with 220-grit sandpaper using my orbital sander.


Since then, I have gone out to build about five of these, all in different lengths and sizes, including some with removable bases. The angles in the X's are a little tricky when you don't have plans for a specific size, but I have noted these down based on spacing between legs.  If any of you need andgles for specific table lengths, let me know and I may be able to help :)


Let me know what you think and happy building!

Estimated Cost
Table ($100) and bench ($30) in lumber.
Estimated Time Investment
Weekend Project (10-20 Hours)
Finish Used
Orange Pekoe Tea
Steel Wool (#0000) and White Vinegar
Minwax Dark Walnut Oil-based Stain
Varathane Pro Satin Oil-Based Polyurethane
Recommended Skill Level
Intermediate

Comments

Ana White Admin

Tue, 12/16/2014 - 12:22

I just clicked on your other images, boy would we love to see the turquoise island and that amazing rolling console up close:)!!!!

Dresser with Removable Changing Station Topper

Submitted by BKiel29 on Sat, 03/18/2017 - 07:35

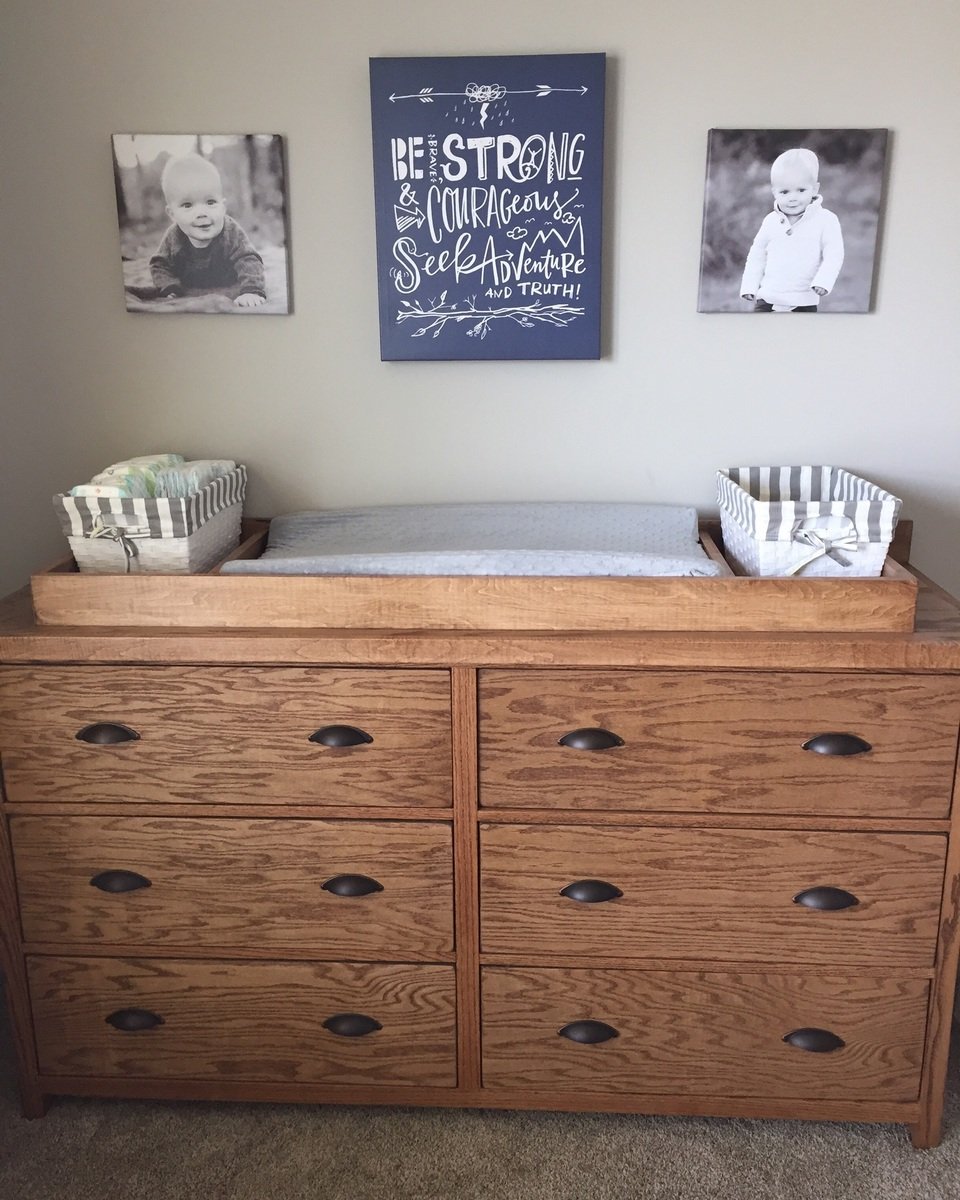
My wife and I loved the look of the Rolling rustic wood dresser.  We didn't care for the wheels so instead I opted for legs, 2.5" long.  I simply made a couple of tweaks to the frames (the bottom 2x2 was shortened to 59.5" and the side 2x2's were extended to 34").  I then built a really simple topper that fits a changing pad and a couple of baskets my wife bought for miscellaneous supplies. The topper is removable so when my son is no longer in diapers, we can simply take the topper off and he can have a flat surface on top of his dresser.  All-in-all, we are all really happy with the end product! 

Built from Plan(s)
Estimated Cost
We used Oak plywood and boards so about $200
Estimated Time Investment
Weekend Project (10-20 Hours)
Finish Used
Minwax Early American Stain
Recommended Skill Level
Intermediate

Comments

Adirondack chairs

Submitted by Anonymous (not verified) on Sun, 01/17/2021 - 18:39

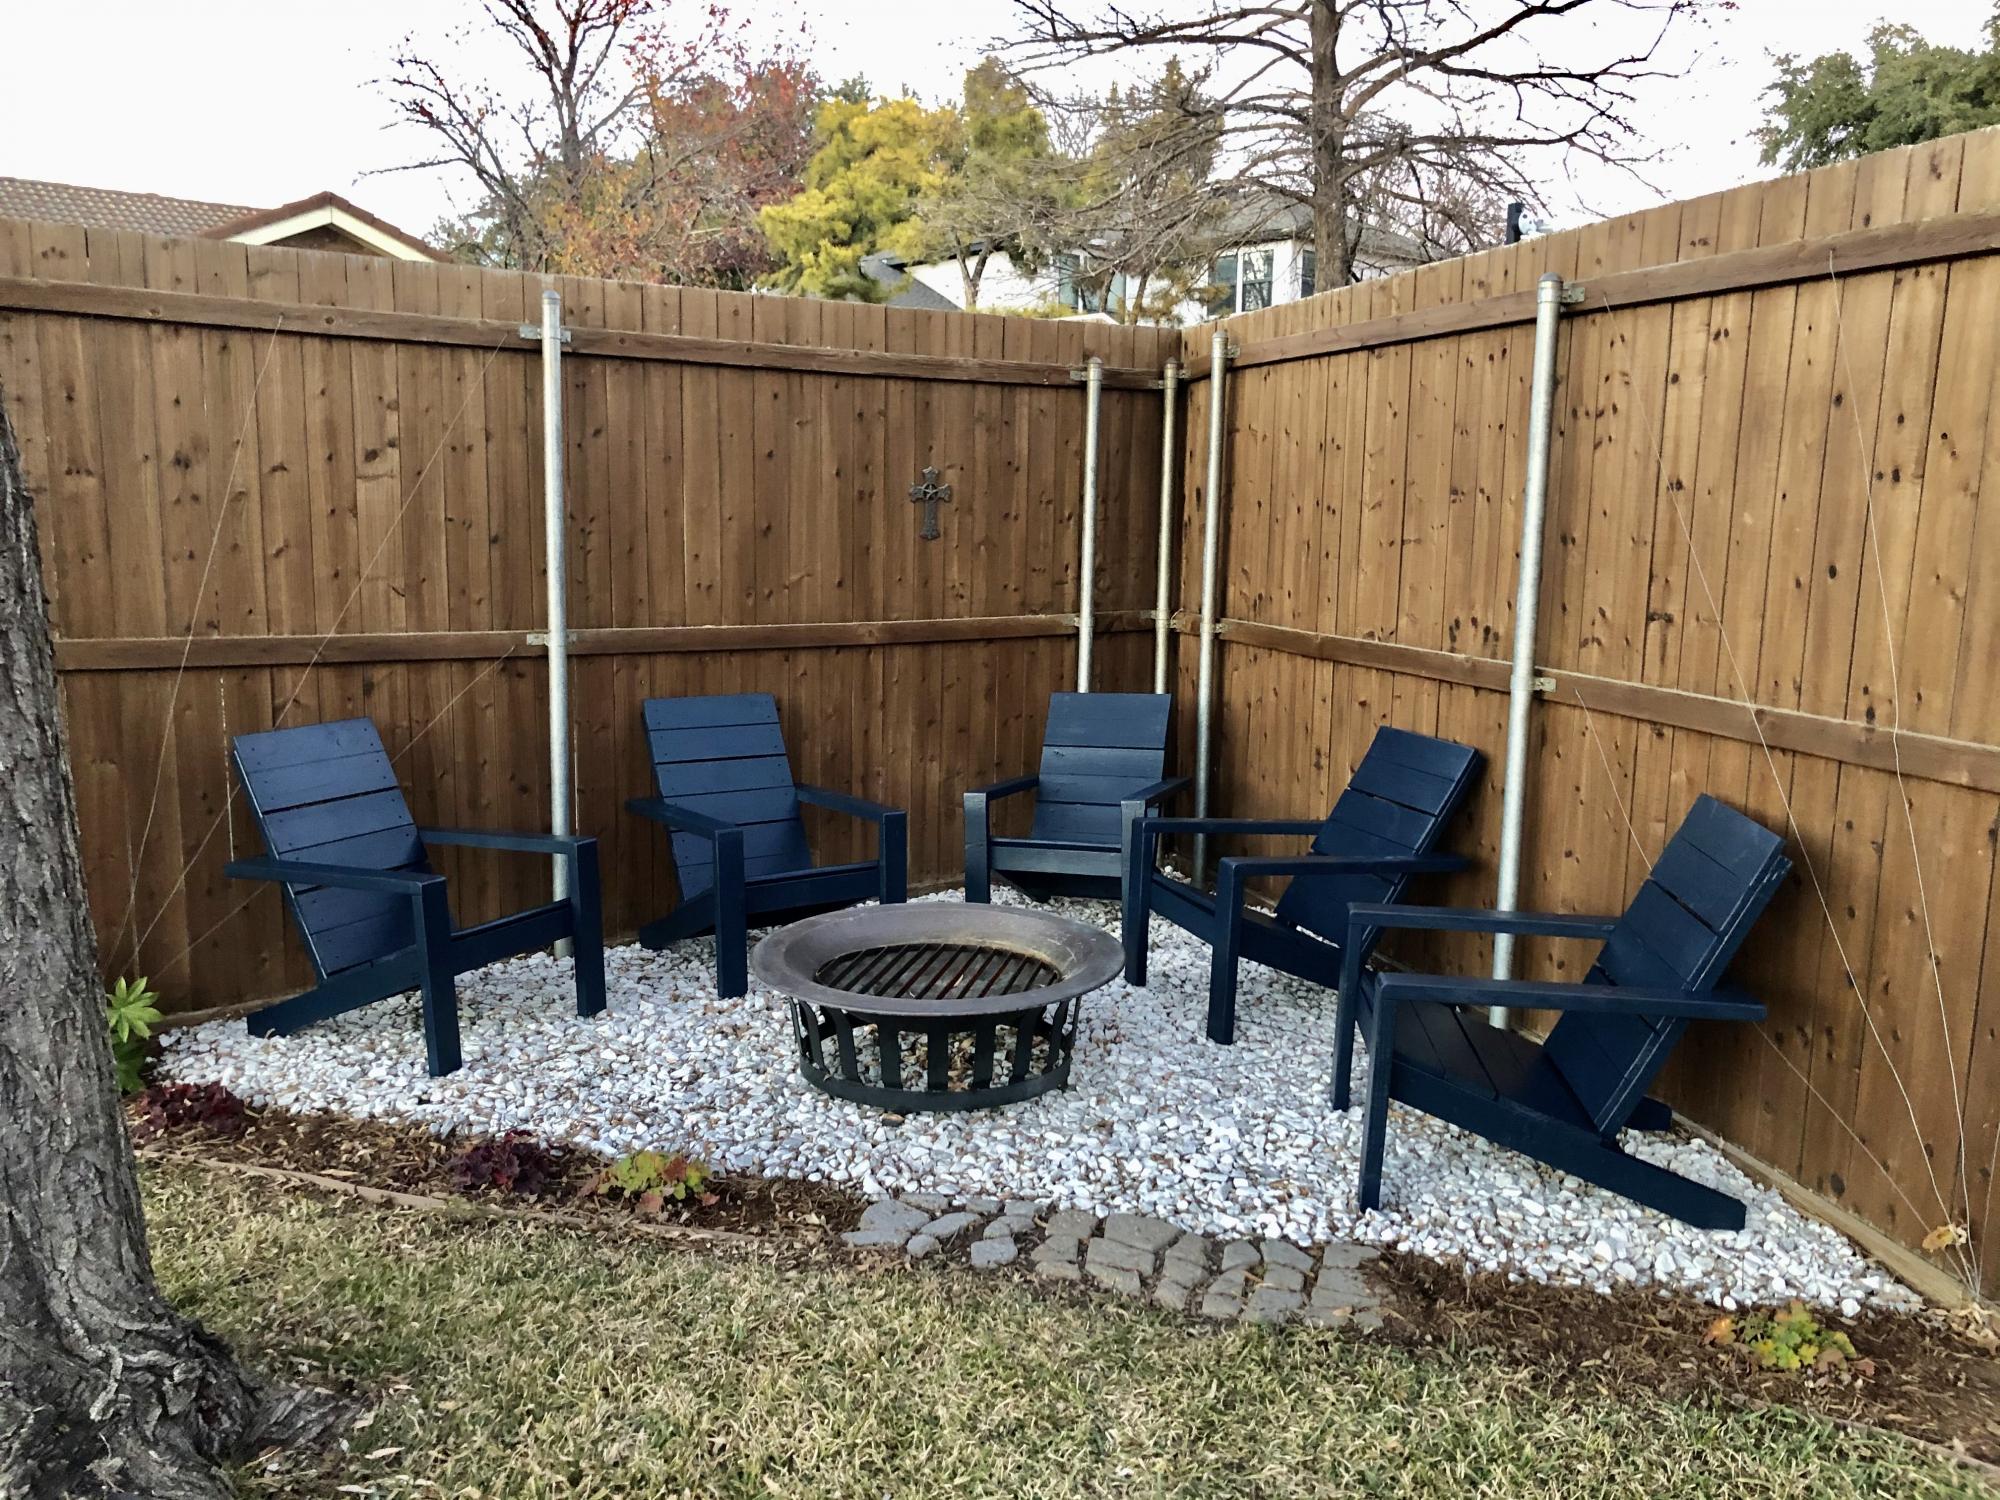
Thanks for the awesome plans Anna! God bless.

Eddie Jimenez

Comments

Seasonal And Holiday

Rustic X Square Oversized Coffee Table

Submitted by Lotus1 on Fri, 12/19/2014 - 18:56

We could not find a large enough coffee table that we wanted so we decided to make our own.  We loved the Rustic X plan and thought if we put two tables toghether we could get the pefect table size for our living room.  Project cost us around $120 and it took us a week to complete, but we are happy with the results.  The color is a dark expresso.

Built from Plan(s)
Estimated Cost
$120
Estimated Time Investment
Week Long Project (20 Hours or More)
Finish Used
The stain is called Kona
Recommended Skill Level
Intermediate

Comments

Farmhouse Table

Submitted by Anonymous (not verified) on Mon, 03/20/2017 - 19:32

I love this farmhouse style. It's 7'x3' and 30" high. I got the plans from Ana white. I just made a few changes. 

Estimated Cost
$85
Estimated Time Investment
Weekend Project (10-20 Hours)
Finish Used
Minwax dark walnut/ minwax polyurethane
Recommended Skill Level
Intermediate

My First Bed

Submitted by toolman81 on Wed, 01/20/2021 - 12:10

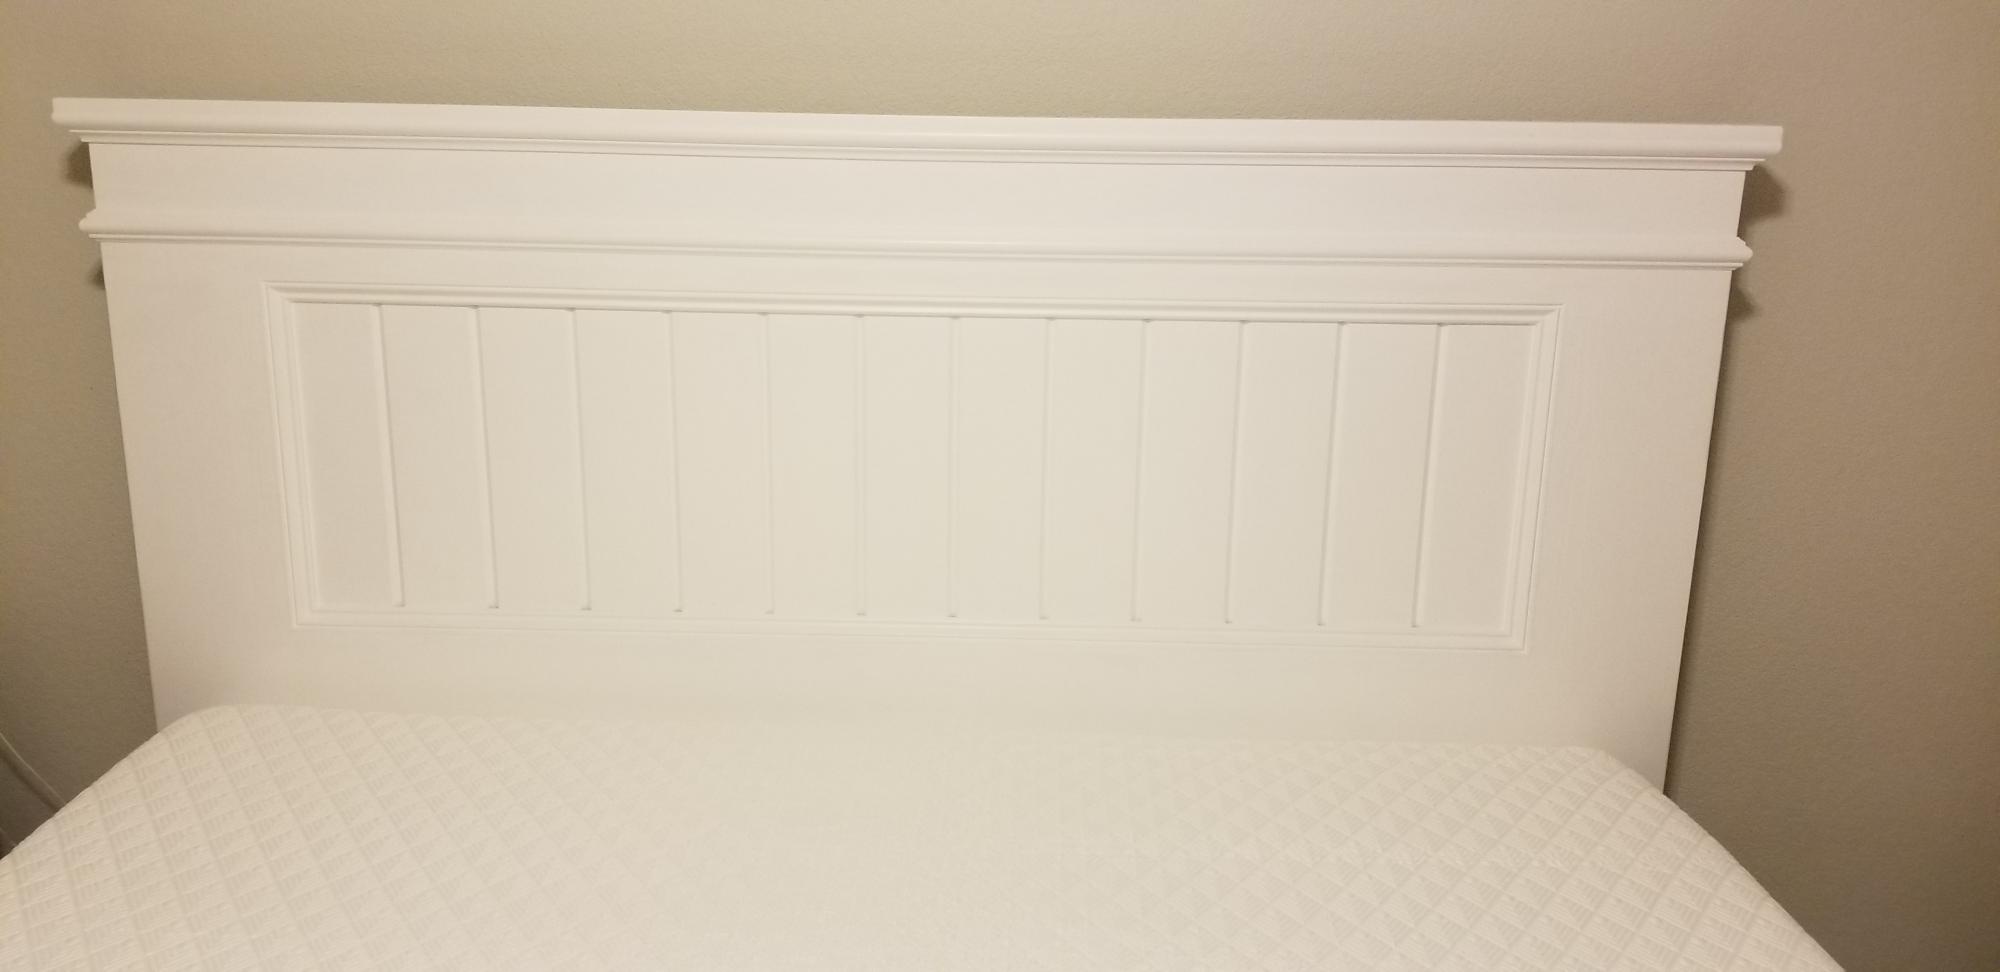
This was my first bed since we can not find any in stock due to the pandemic. I switched up the headboard legs to 2x6s for a slightly wider base. This helped with the mattress in a box we ordered. I built a simple frame using 2x8s, all basic lumber from the big box store, and used 2x6s for the footboard legs. I built the bed frame just about two inches shorter in width to give it some variation in sight lines. I finished it with basic white enamel paint and put 1x4 slats under the mattress. My wife loved it and it turned out well.

Built from Plan(s)
Estimated Cost
$380
Estimated Time Investment
Weekend Project (10-20 Hours)
Finish Used
White Paint
Recommended Skill Level
Intermediate

Twin Headboard (2) from Farmhouse Plans

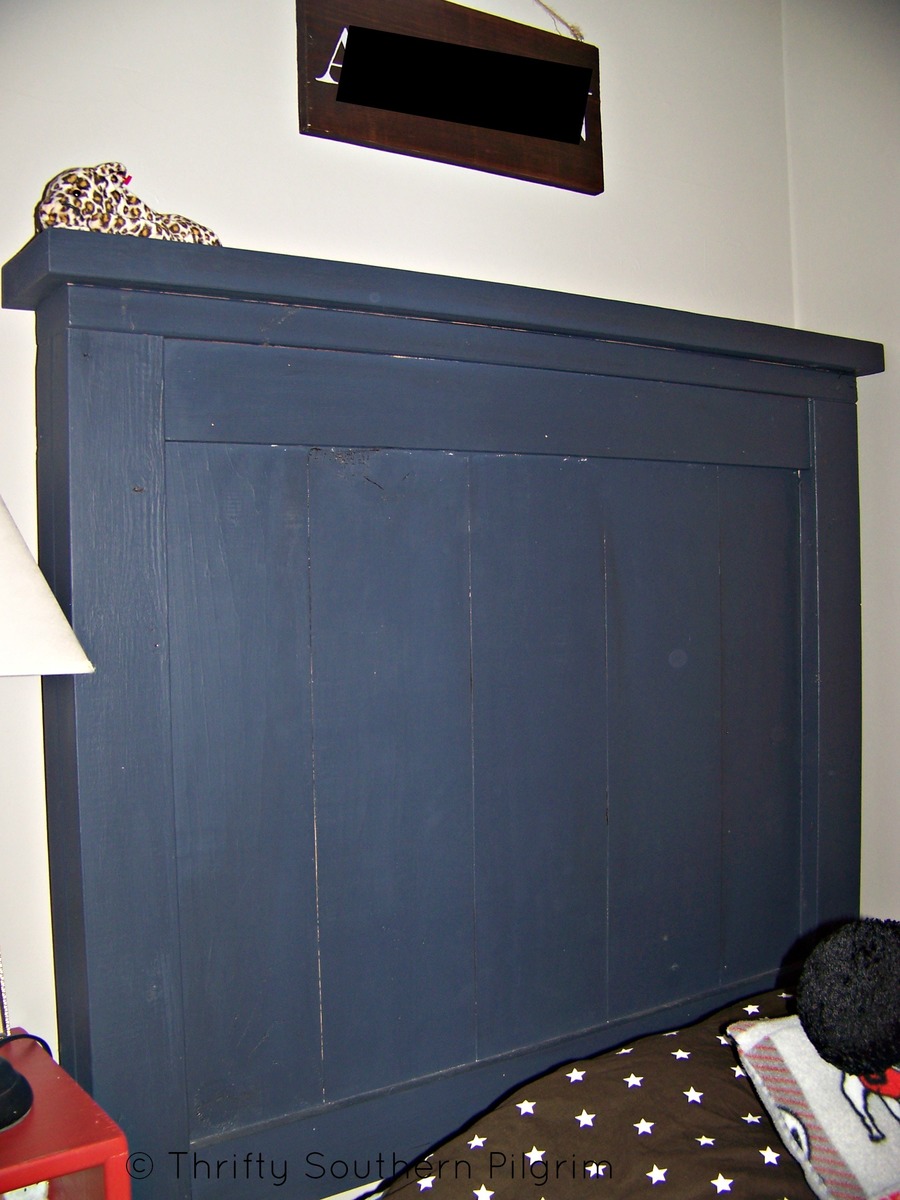
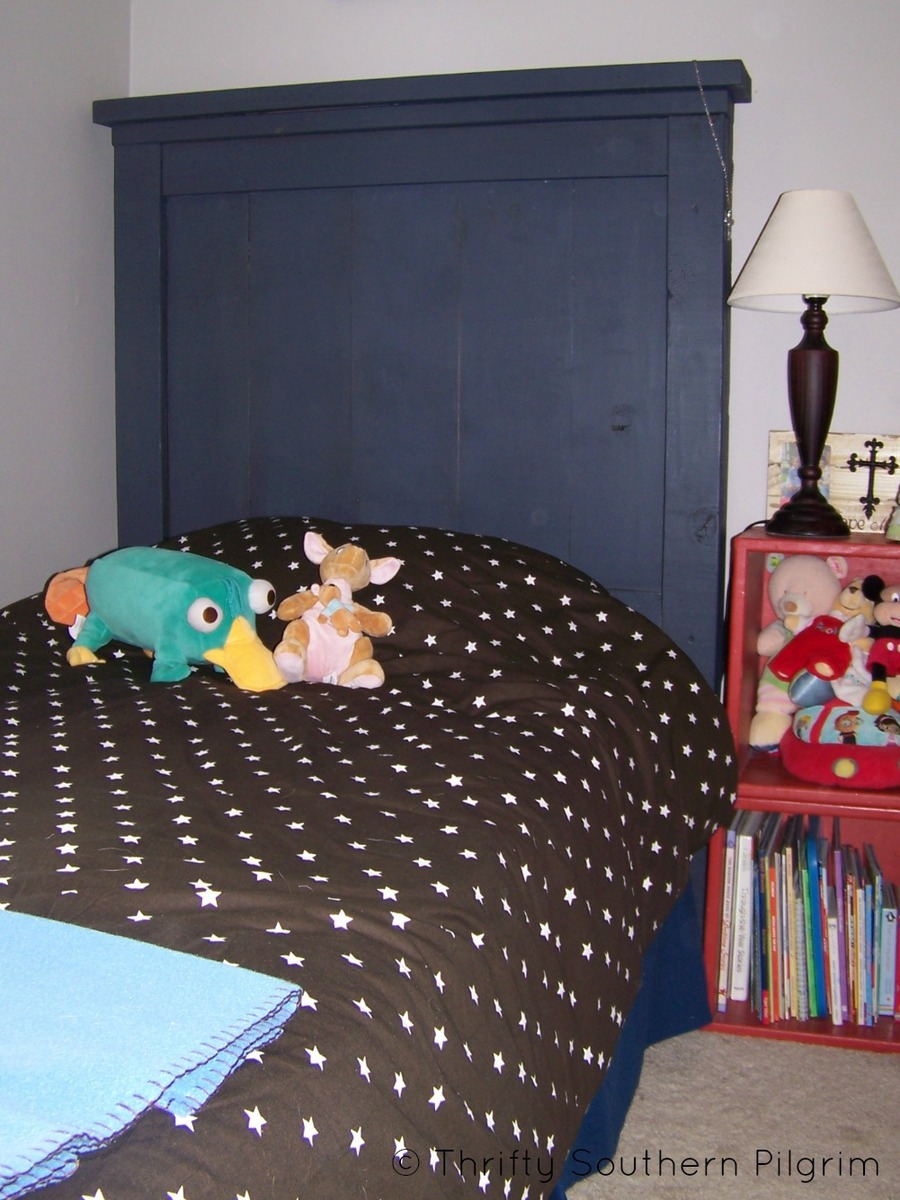
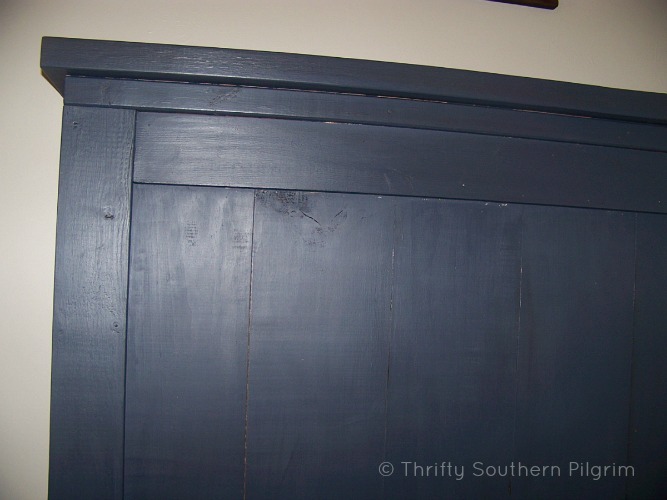
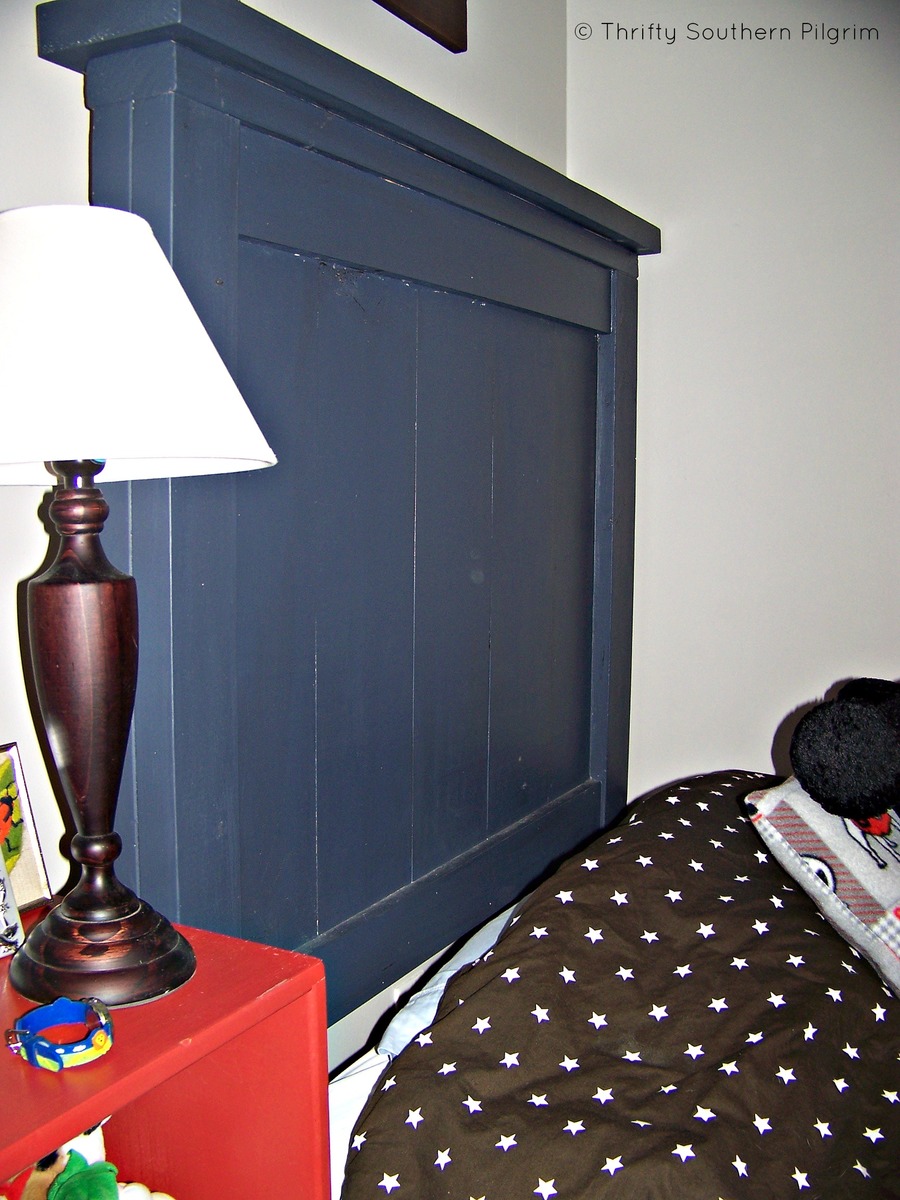
I used a combination of Ana White's book, The Handbuilt Home, and her website plans to build TWO twin sized headboards. I did not build the rails and/or footboard, because the room is too small. I simply attached the metal bed frame to the posts of the headboard. My boys love their new beds!
Estimated Cost
$100 (for both)
Estimated Time Investment
Day Project (6-9 Hours)
Finish Used
Paint
Recommended Skill Level
Intermediate

Folding Lap Desk Christmas Presents

Submitted by beeski44 on Mon, 12/22/2014 - 13:47

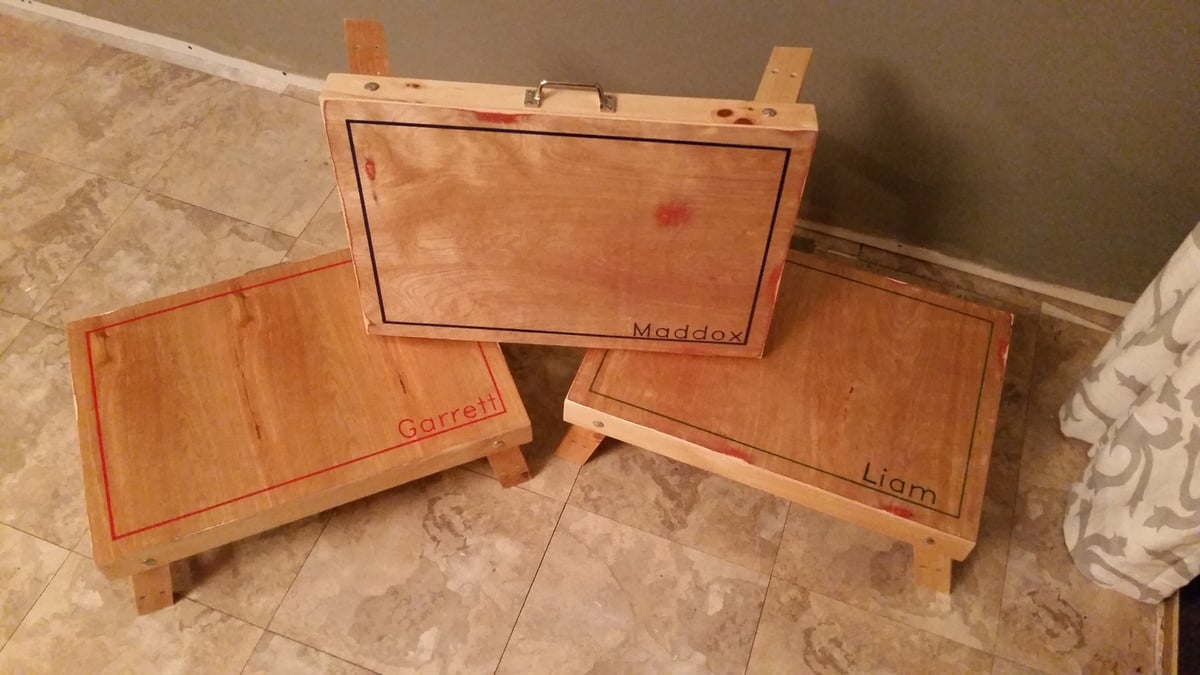
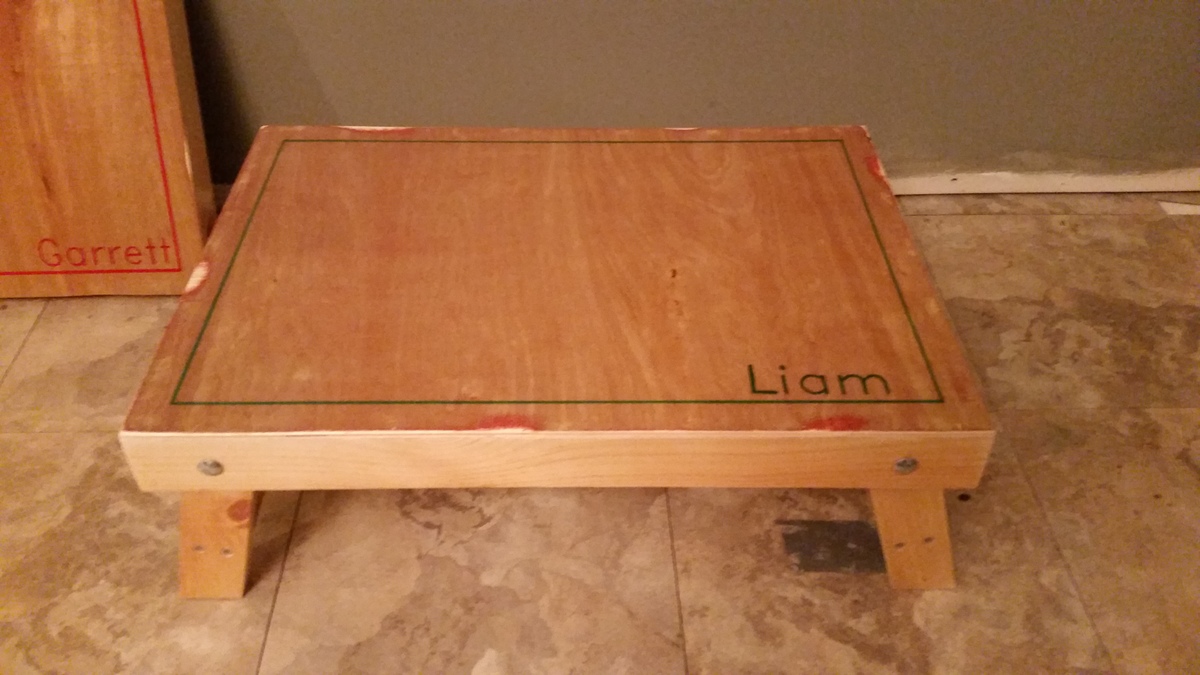
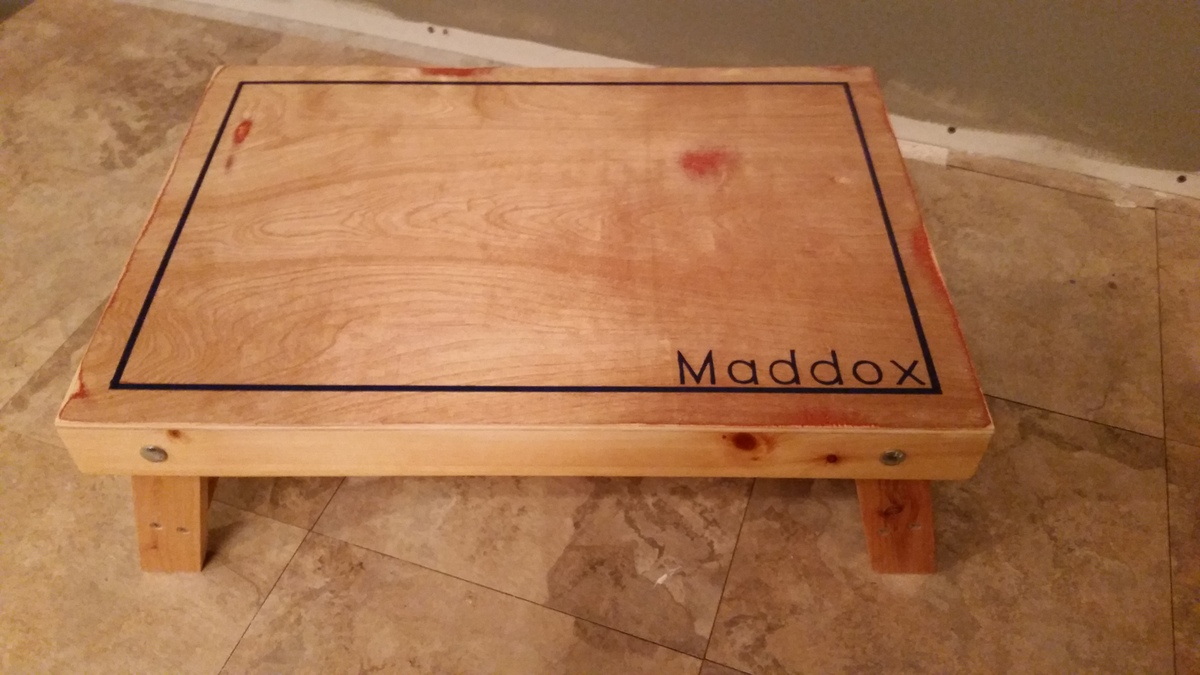
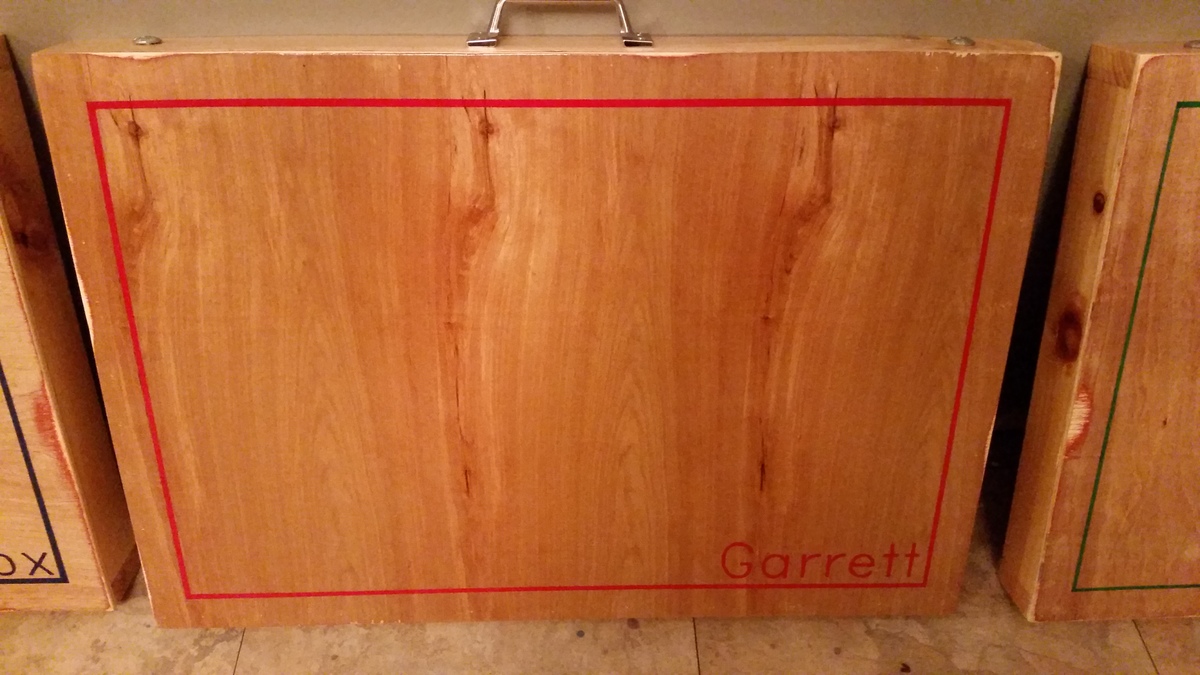
This was a fun project for my three nephews for Christmas (ages 3, 2 and 2). I thought they'd each like their own little personalized desk for coloring, blocks, snacks, etc.

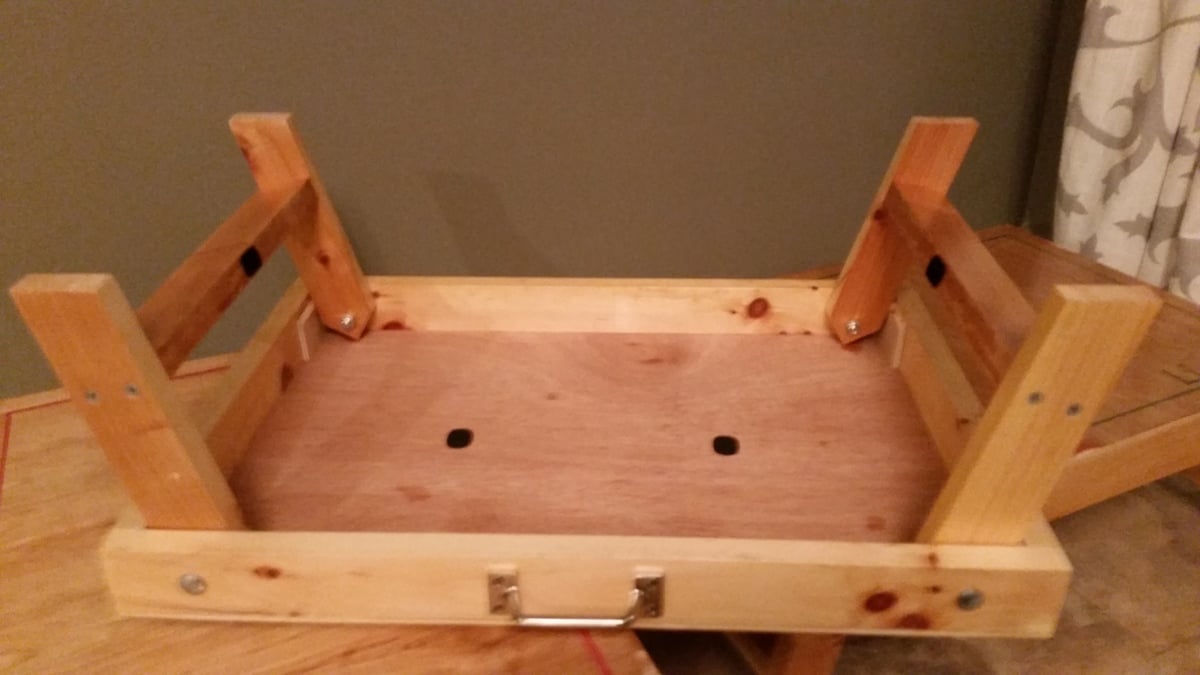
This was a relatively simple build with the only tricky part being the leg holes (and getting the legs to open at the exact angle I wanted). I had to fudge a couple of them with some patches that you can see in one of the photos.
I would suggest using lock nuts on the bolts. The original nuts I used were turning as the legs opened and closed. I thought that eventually the nuts might work themselves off the bolt.
The frame was built completely out of 1x6 scrap wood I had lying around my garage that had been used for shelves. I cut the 1x6s down to 1x2 and 1x3 with my table saw. I did buy a small sheet of plywood underlayment for the top.

Built from Plan(s)
Estimated Cost
Aprox $10/ea for my three. If you buy all the wood, it would probably be closer to $15-20/ea.
Estimated Time Investment
Afternoon Project (3-6 Hours)
Finish Used
Acrylic paint for the names and border. Poly clear coat all over.
Recommended Skill Level
Beginner

Comments

Beautiful Modern Farmhouse Table

Submitted by Anonymous (not verified) on Fri, 03/24/2017 - 10:56

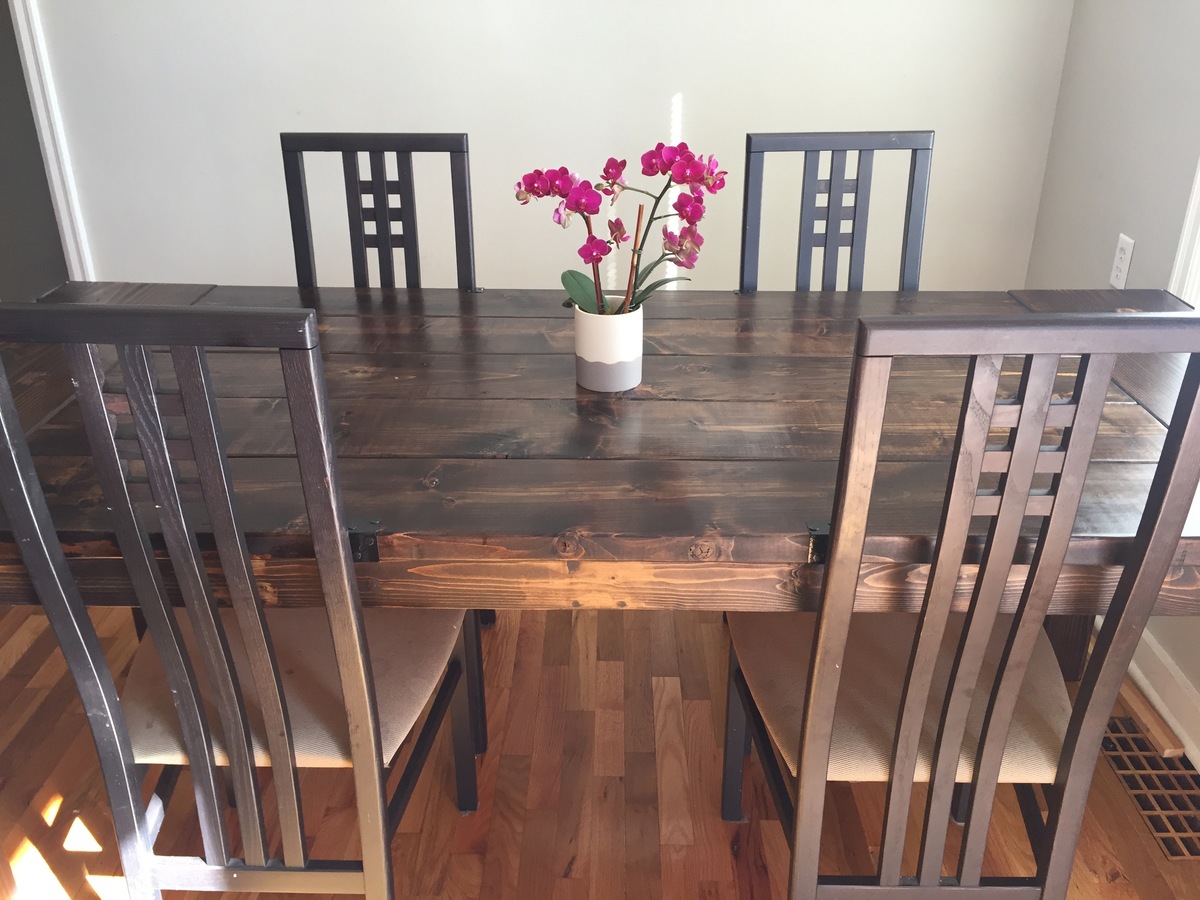
I added black accent brackets to this project to give it a more unique feel. Love it!

Estimated Cost
$175
Estimated Time Investment
Weekend Project (10-20 Hours)
Finish Used
Dark Walnut
Recommended Skill Level
Intermediate

Modular Bookcase turned Game Console table

Submitted by Anonymous (not verified) on Sat, 01/23/2021 - 08:24

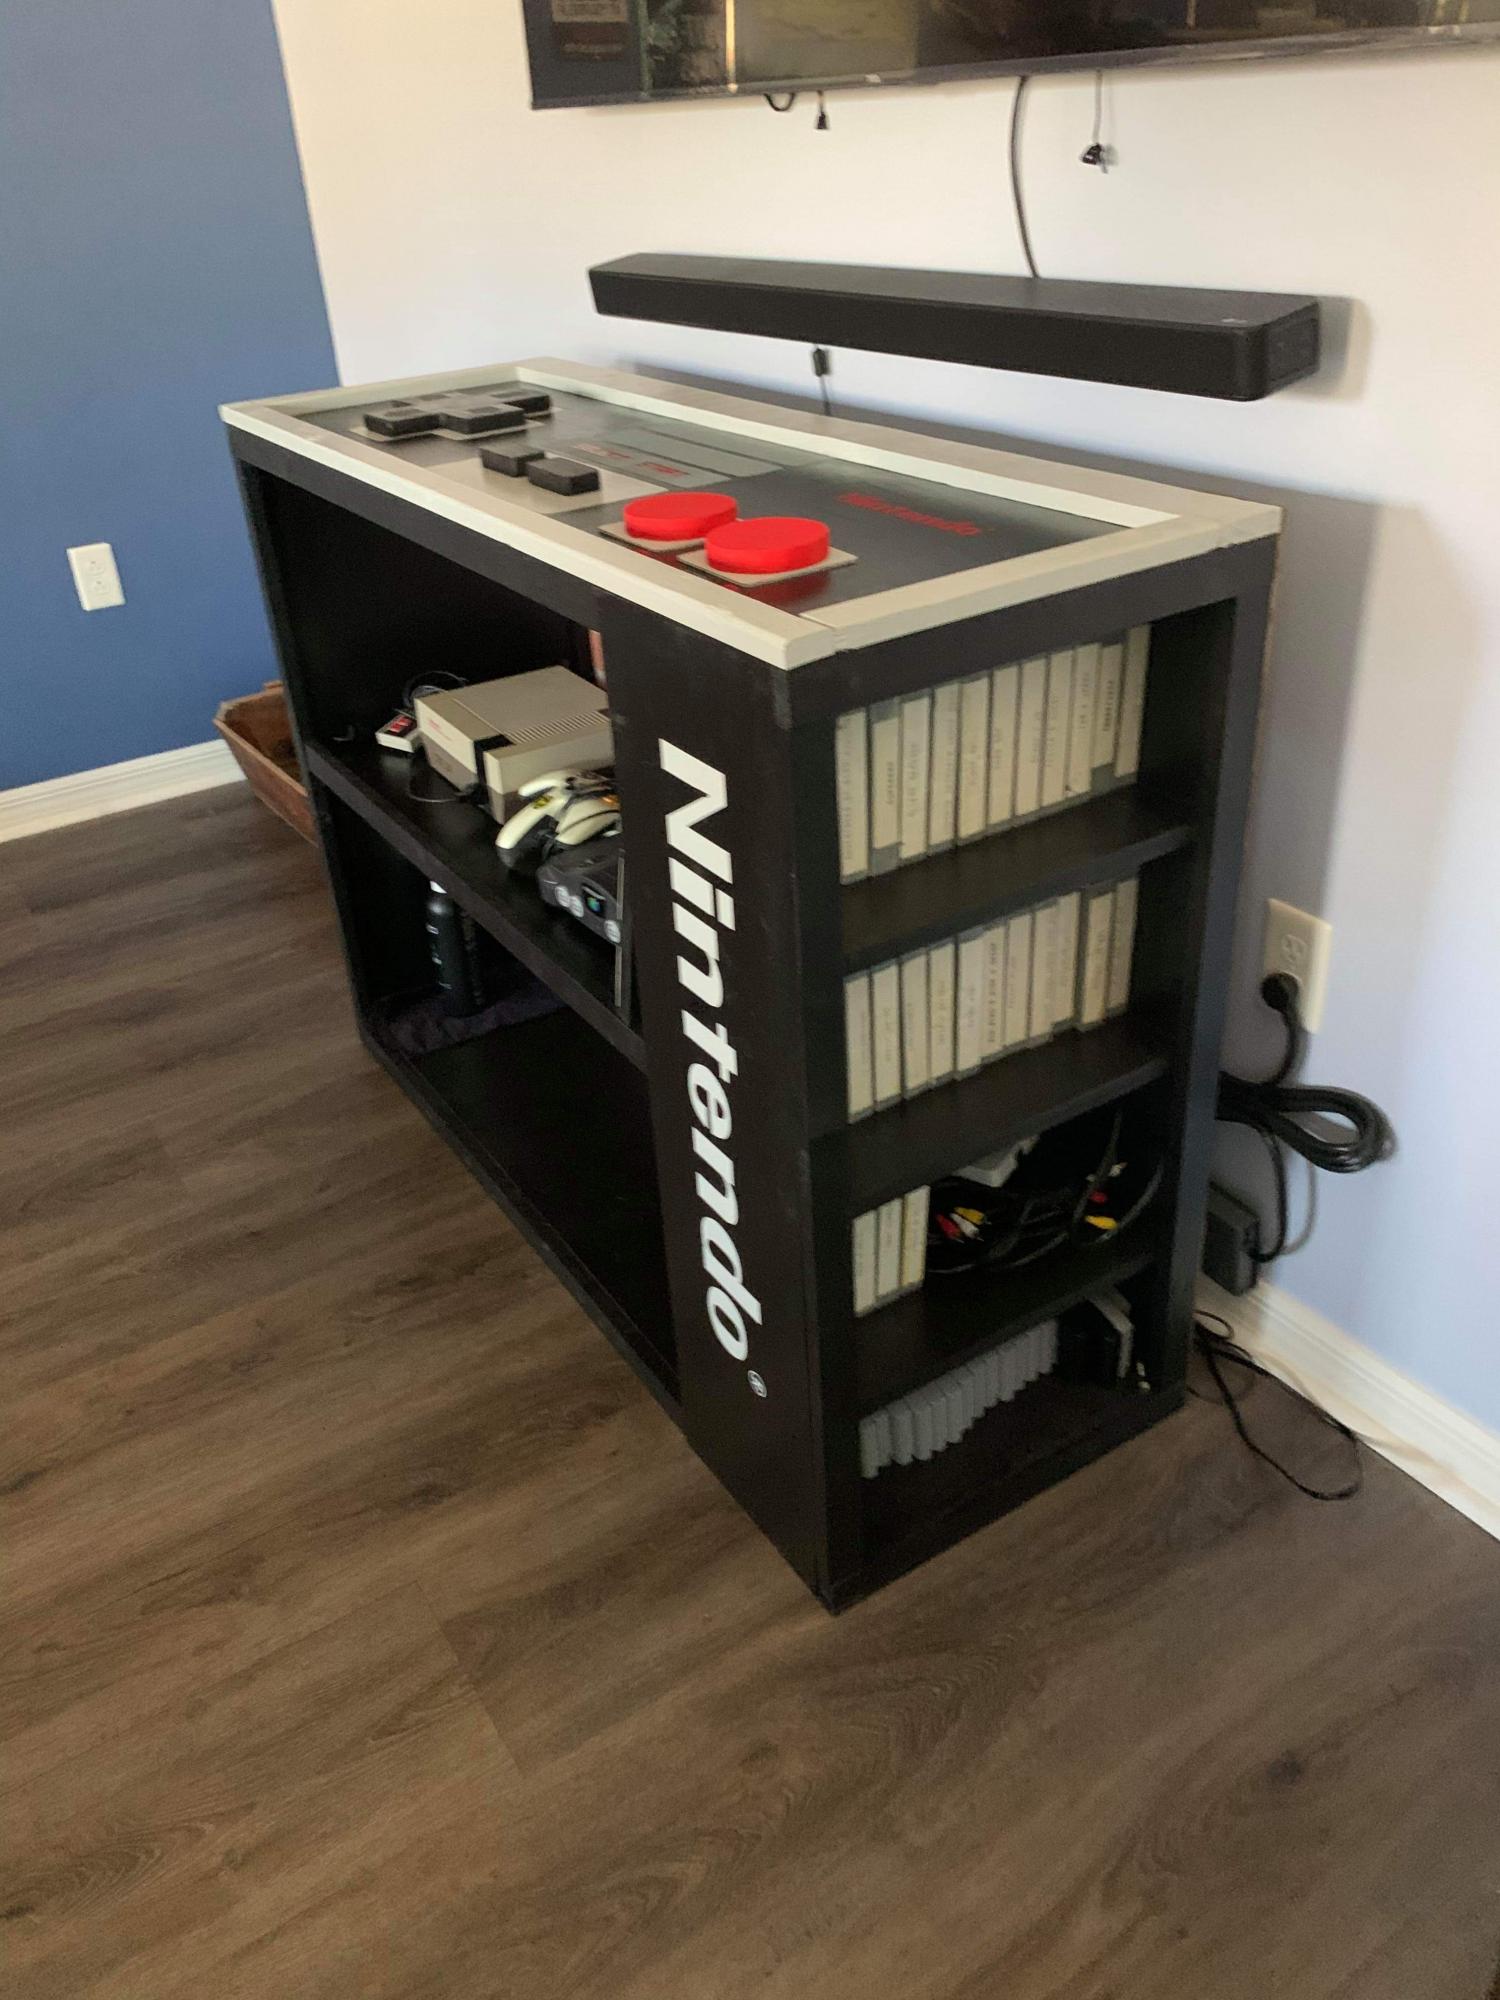
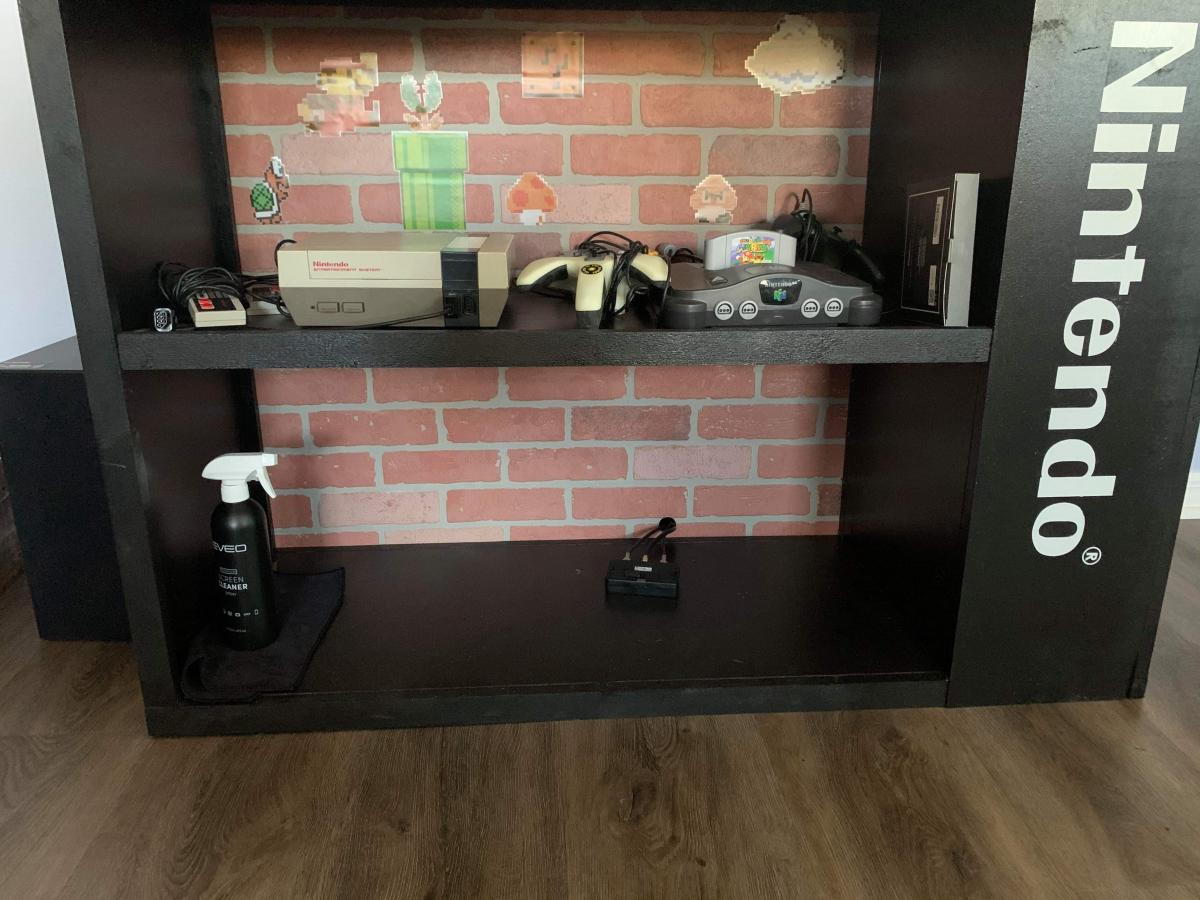
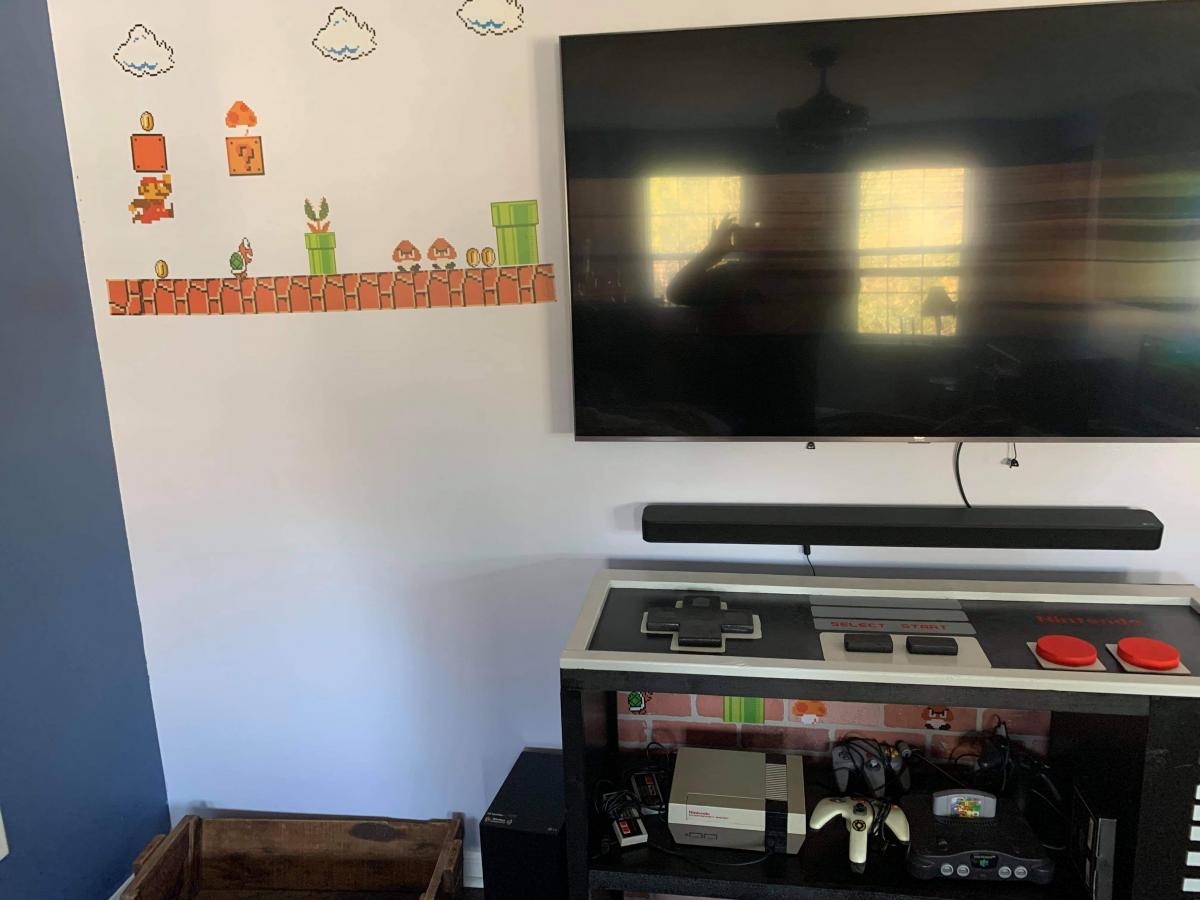
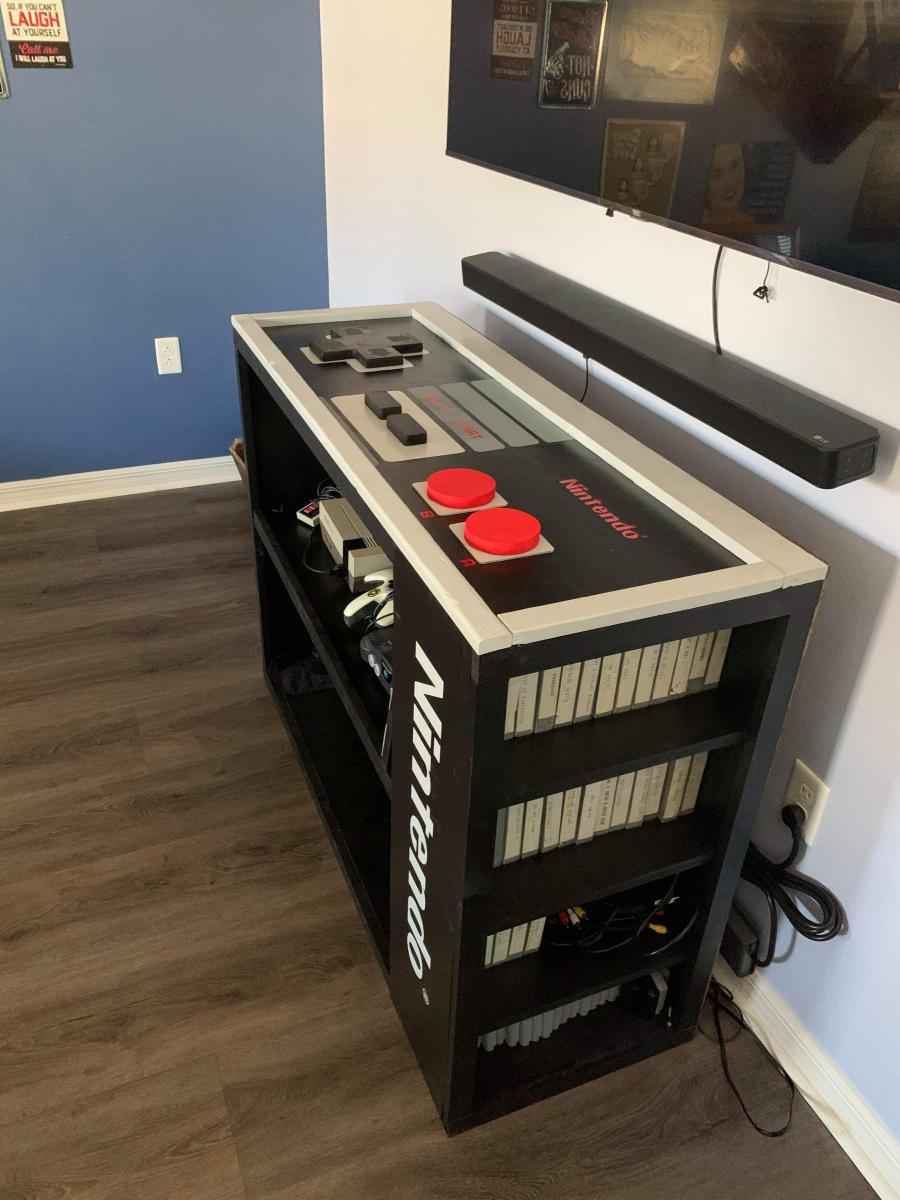
I'm married to a manchild lol and he wanted a custom Nintendo console like one he saw online. I made this a little taller and added more shelves to store the games. He also decided he wanted a back and I happened to have some extra faux brick paneling. This was when he got super excited to add stickers to it and complete the wall too. It fits everything he needed and it actually turned out pretty incredible. He wanted the controller to be 3D even though I'm itching to try out epoxy. But maybe on a later project :)
The plans are so easy to follow and this being my 6th project from AnaWhite I'm really learning alot!
I can't thank you enough for what you do!!!

Built from Plan(s)
Estimated Cost
$80
Estimated Time Investment
Weekend Project (10-20 Hours)
Finish Used
I actually used some black semi gloss outdoor paint to avoid another trip to the store, and I wouldnt recommend it. The layer paints didnt stick and the finish was less than desirable. Lesson learned lol. I also used acrylic on the details
Recommended Skill Level
Intermediate

Comments

Farm house media cabinet

Submitted by troy h on Sun, 02/17/2013 - 18:59

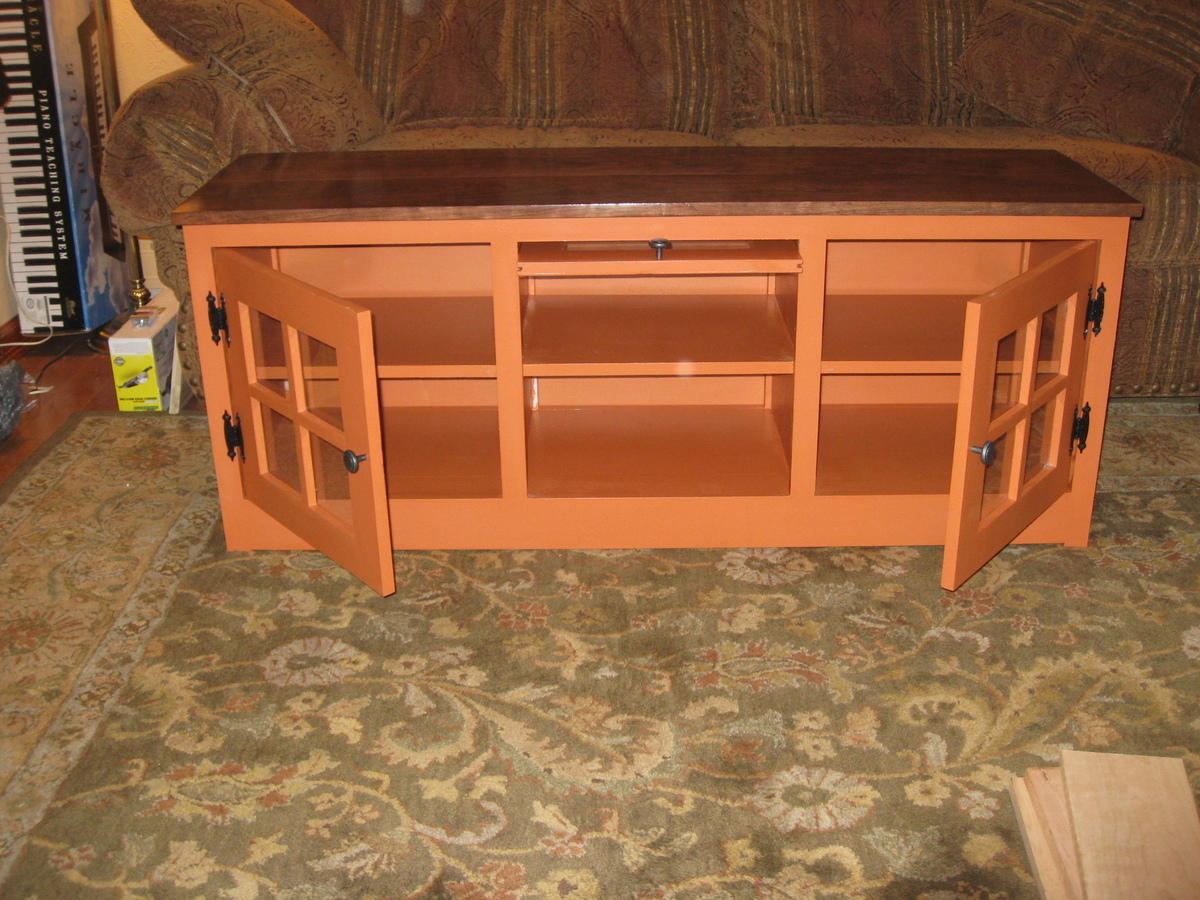
Followed the plans on the site but made it 3" wider to better fit our electronics.

Estimated Time Investment
Weekend Project (10-20 Hours)
Finish Used
Hirshfield paint for base, red mahogany stain for top.
Recommended Skill Level
Intermediate

Comments

Grandy console

Submitted by Anonymous (not verified) on Sun, 03/26/2017 - 16:07

Made a couple of mods because I didn't want shelves on the two ends and changed to "z" doors. I had a welder make the hardware. 

Built from Plan(s)
Estimated Cost
$400 ($200 for custom hardware from welder)
Estimated Time Investment
Weekend Project (10-20 Hours)
Finish Used
Grey Tabby paint by Glidden and Special Walnut stain by Minwax
Recommended Skill Level
Intermediate

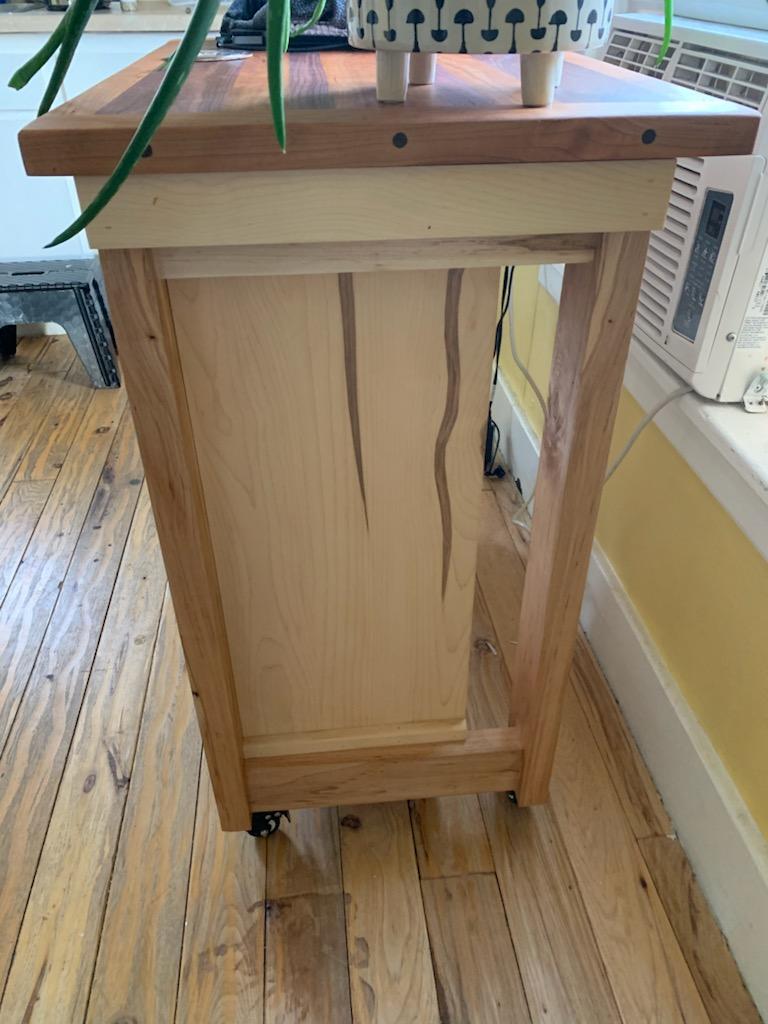
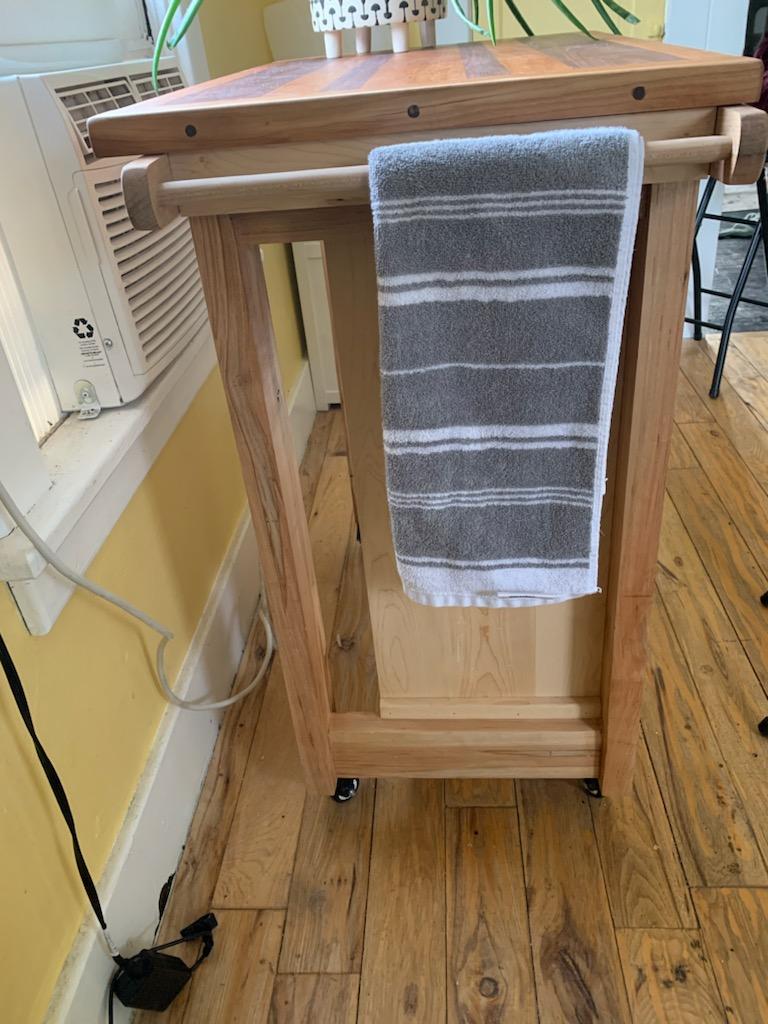
Modern take on the Rustic X Small Rolling Kitchen Island

Submitted by bsstrong on Wed, 01/27/2021 - 11:13

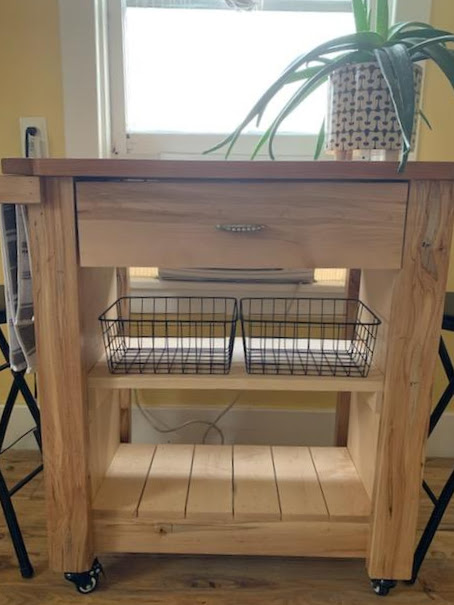
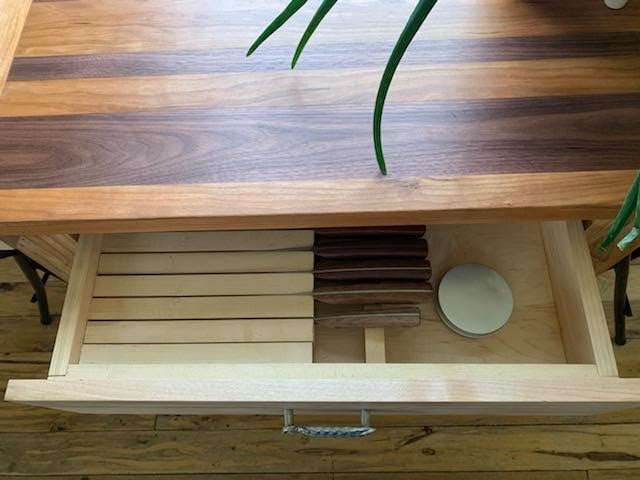
Used your plan as a base to make this kitchen island for my daughter. It is made from ambrosia maple and soft maple, has an integrated knife block in the drawer (also from one of your plans), and has a cutting board top made out of cherry and black walnut.

Comments

Ana inspired playroom

Submitted by cannelle9 on Tue, 02/19/2013 - 19:12

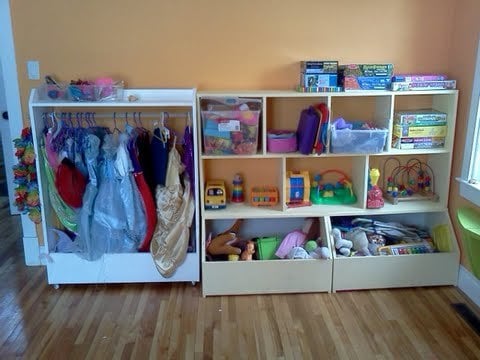
There are three plans combined here in this picture. All three completed in the past year. The toy boxes are from the one plan, the cubby shelves from another and finally the dress up stand is the third. It is never this tidy in our playroom! Ah ah, what you cannot see is the other half :D But the girls do enjoy it quite a bit and it does keep most toys off the floor and easily accessible. Thanks Ana for a great variety of plans!

Estimated Cost
150$ plus scraps
Estimated Time Investment
Weekend Project (10-20 Hours)
Finish Used
plain old wall paint leftover from renovating the house!
Recommended Skill Level
Beginner

Boy Scout Project

Submitted by Anonymous (not verified) on Mon, 03/27/2017 - 14:04

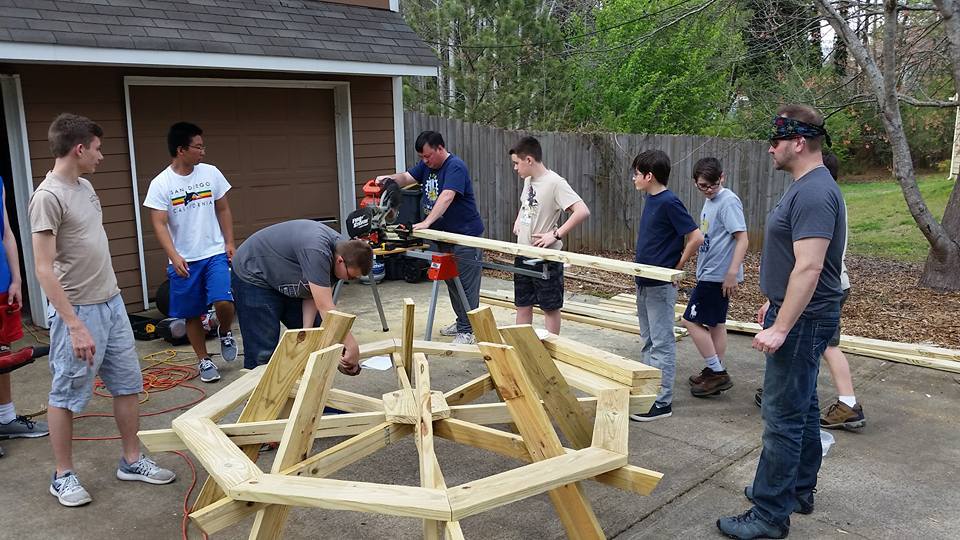
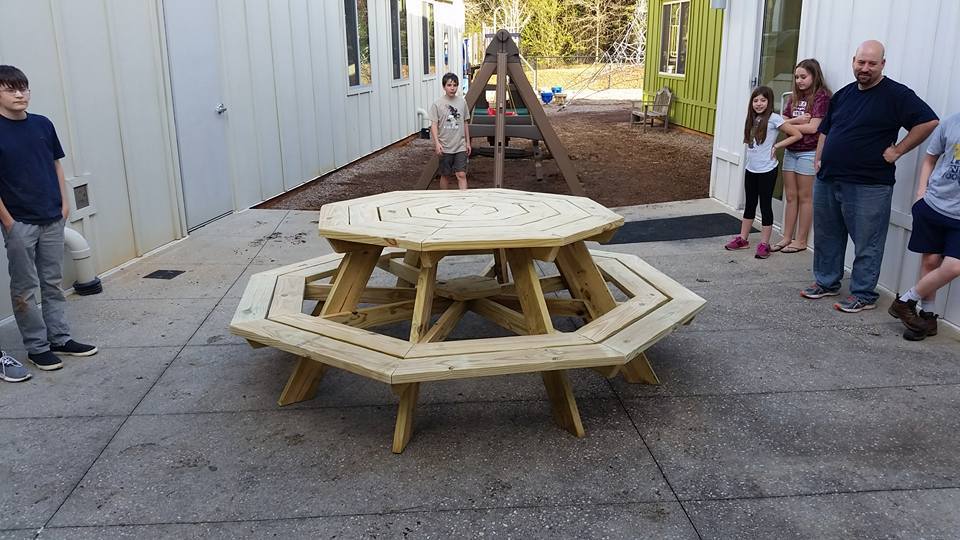
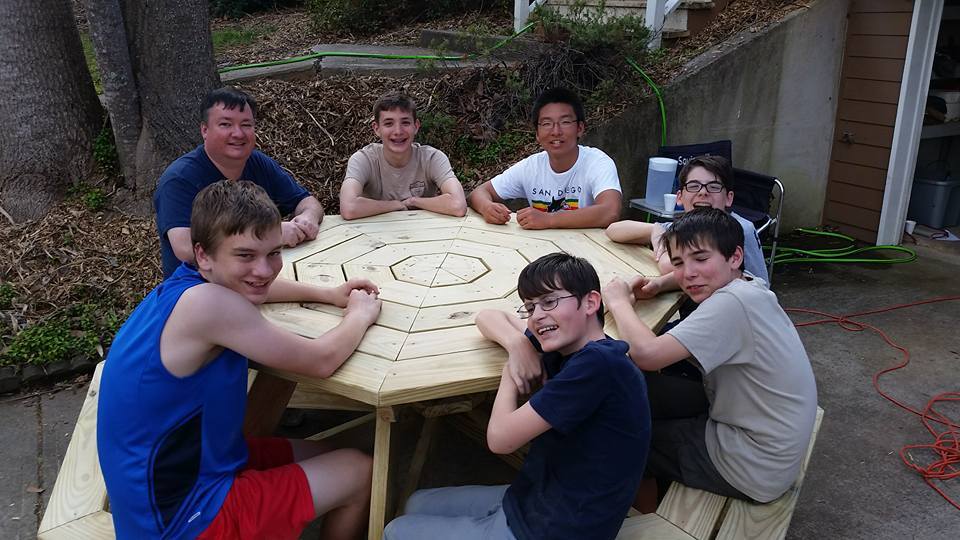
Table created for the chartering organization for Troop 4900 in Woodstock, GA (Woodstock Community Church).

Some deviations from the plans...we notched two of the cross member that support the seats and glued/screwed them together for greater strength in the center. That left 4 supports to be installed with pocket screws (weak). We added two small 2x6 supports where all these members join in the center and screwed the supports to the cross members, reinforcing the center and taking load off the pocket screws (see photo). Also, as you can see, we built the framing for the seats and table top, then added legs and placed the table top last to assure a level table top.

Finally, a recommendation - use 1x6 boards for the table top and seating areas for a lighter and more manageable table.

Built from Plan(s)
Estimated Time Investment
Weekend Project (10-20 Hours)
Finish Used
Picnic table and parent table (by the playground) for a church.
Recommended Skill Level
Intermediate

Truss Beam Dining Room Table

Submitted by td_tx on Wed, 02/03/2021 - 08:57

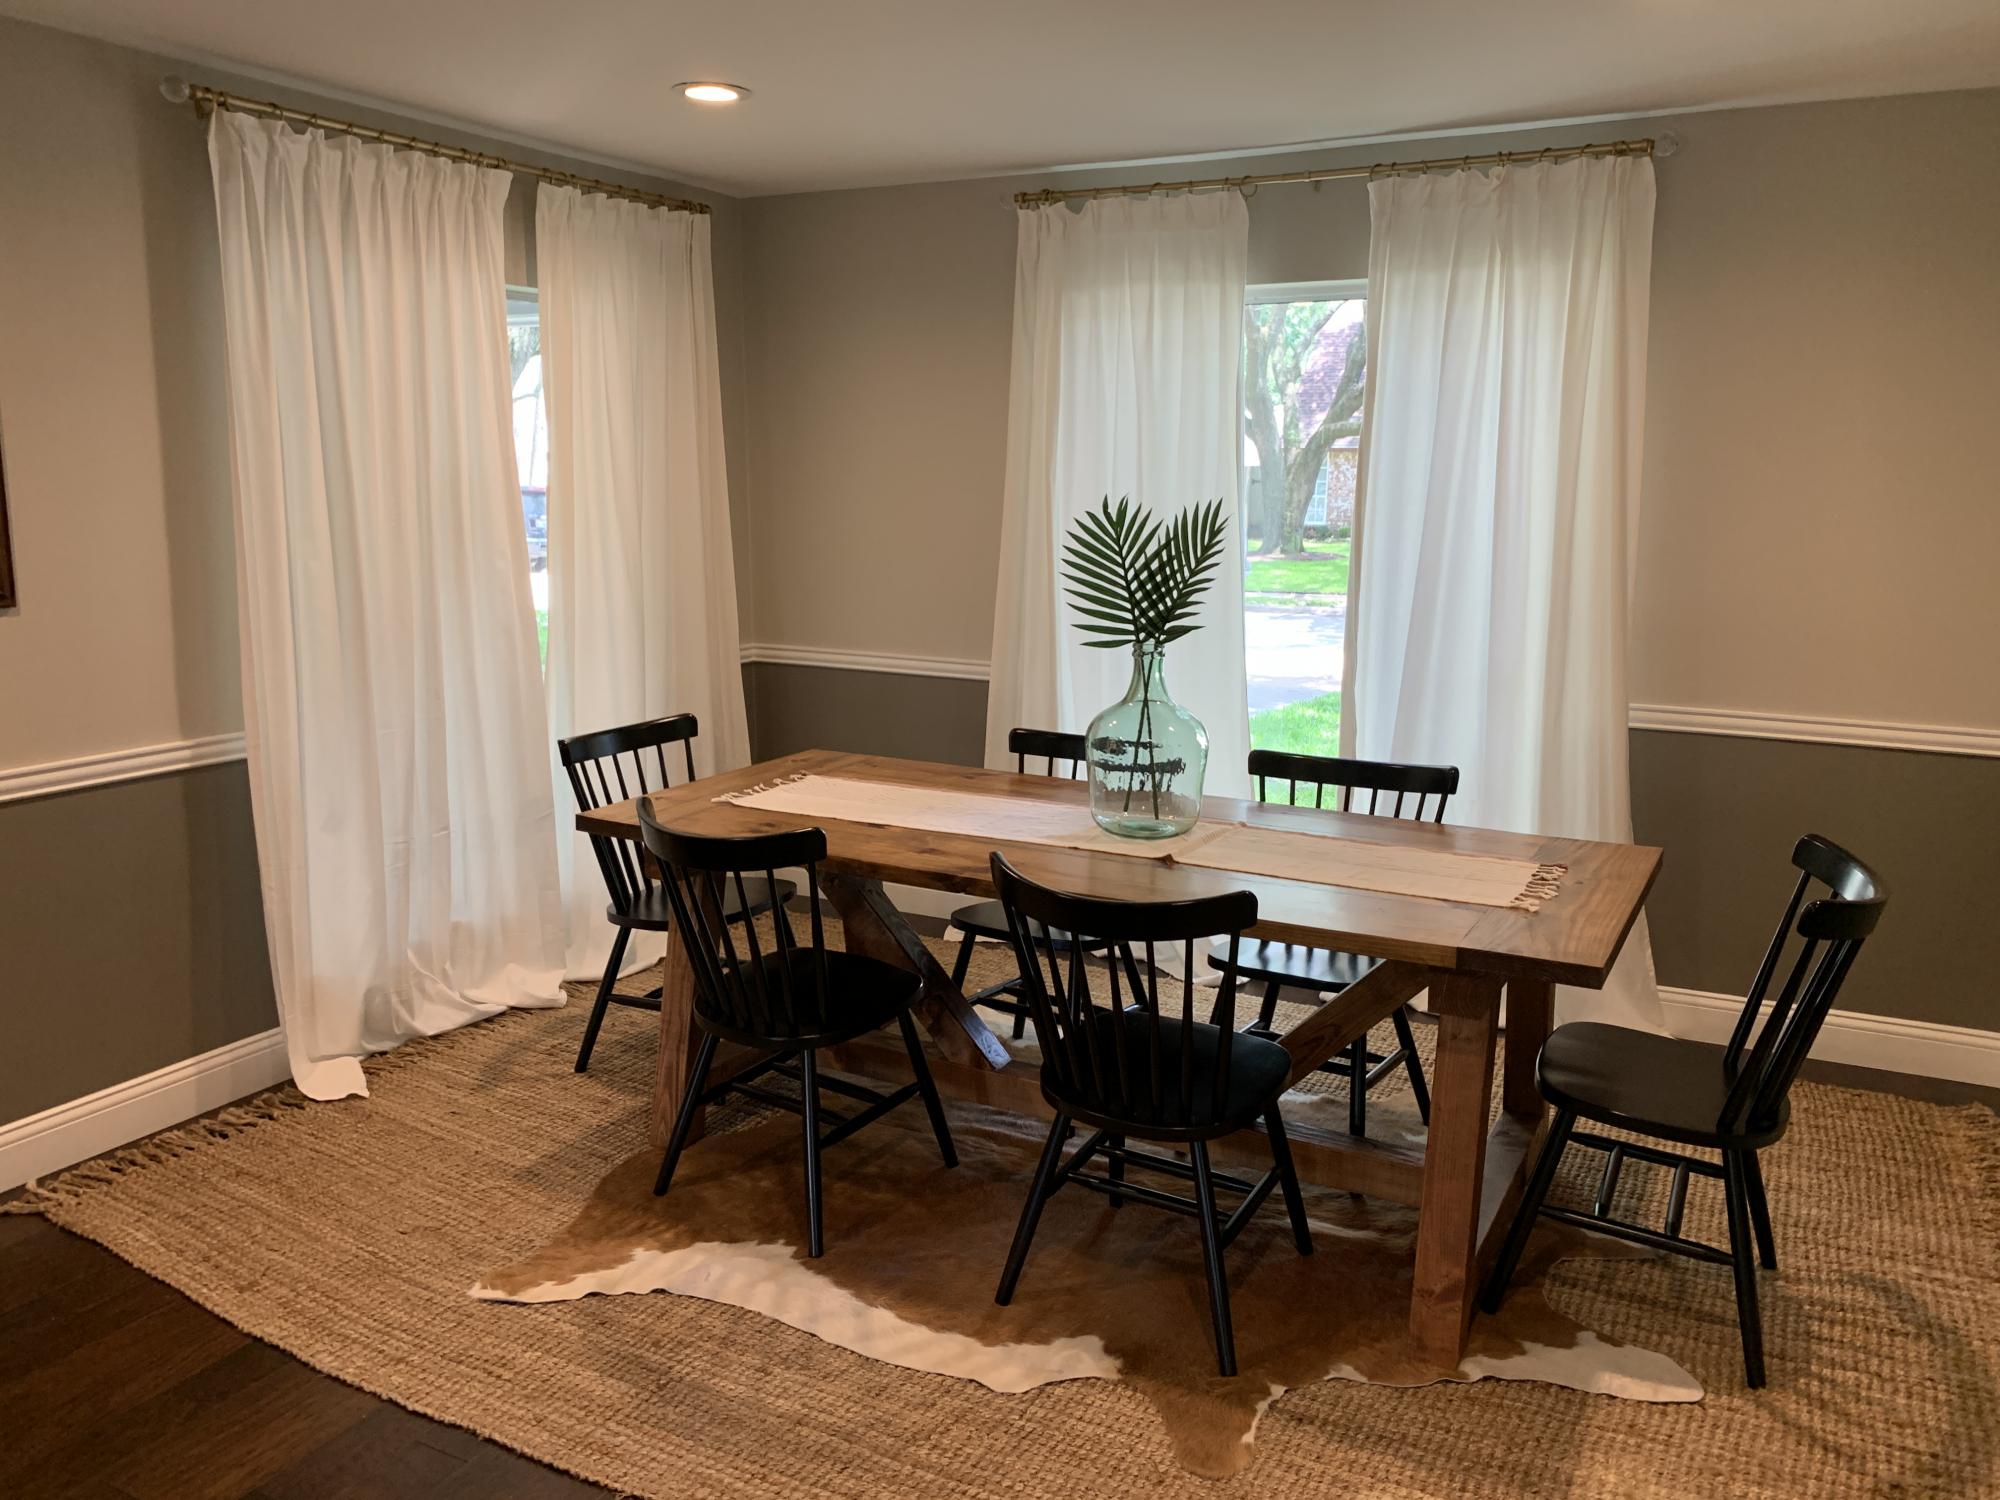
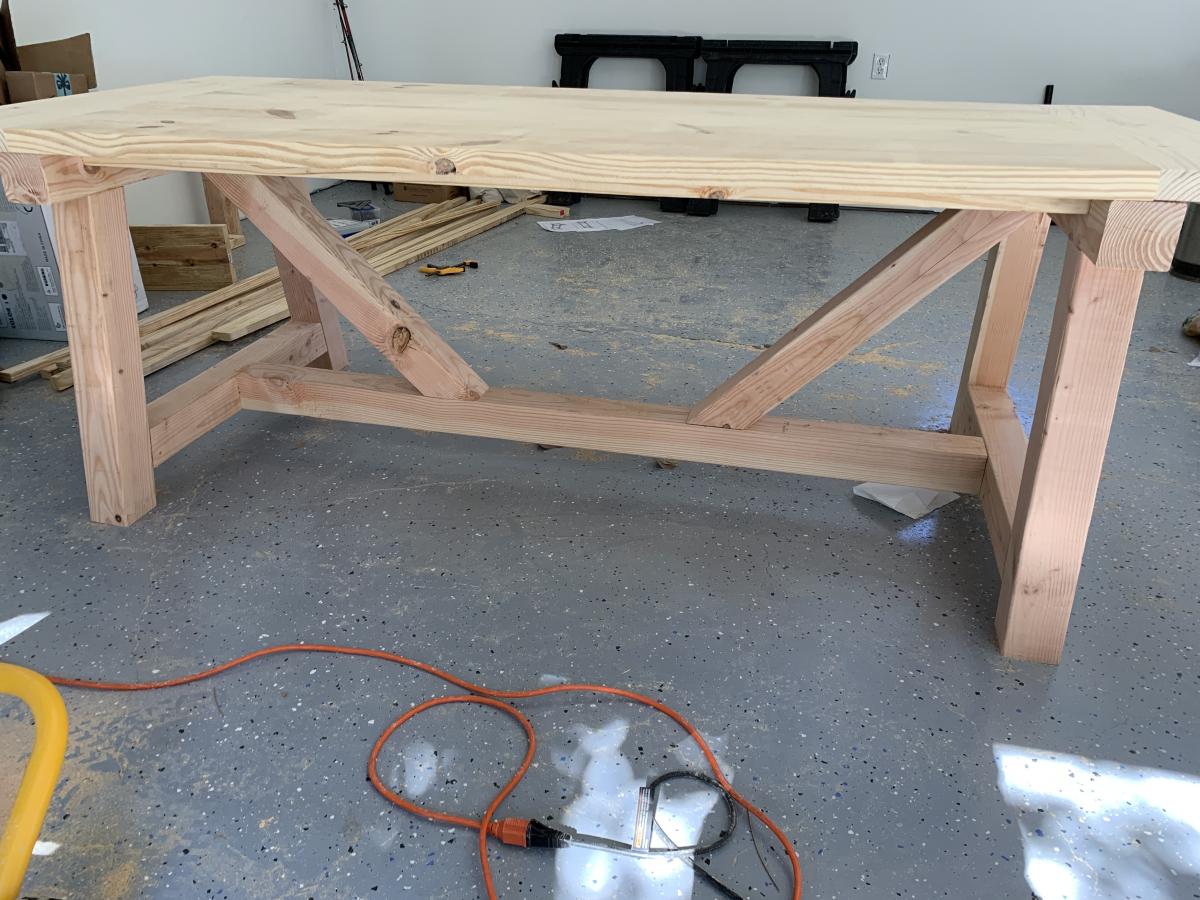
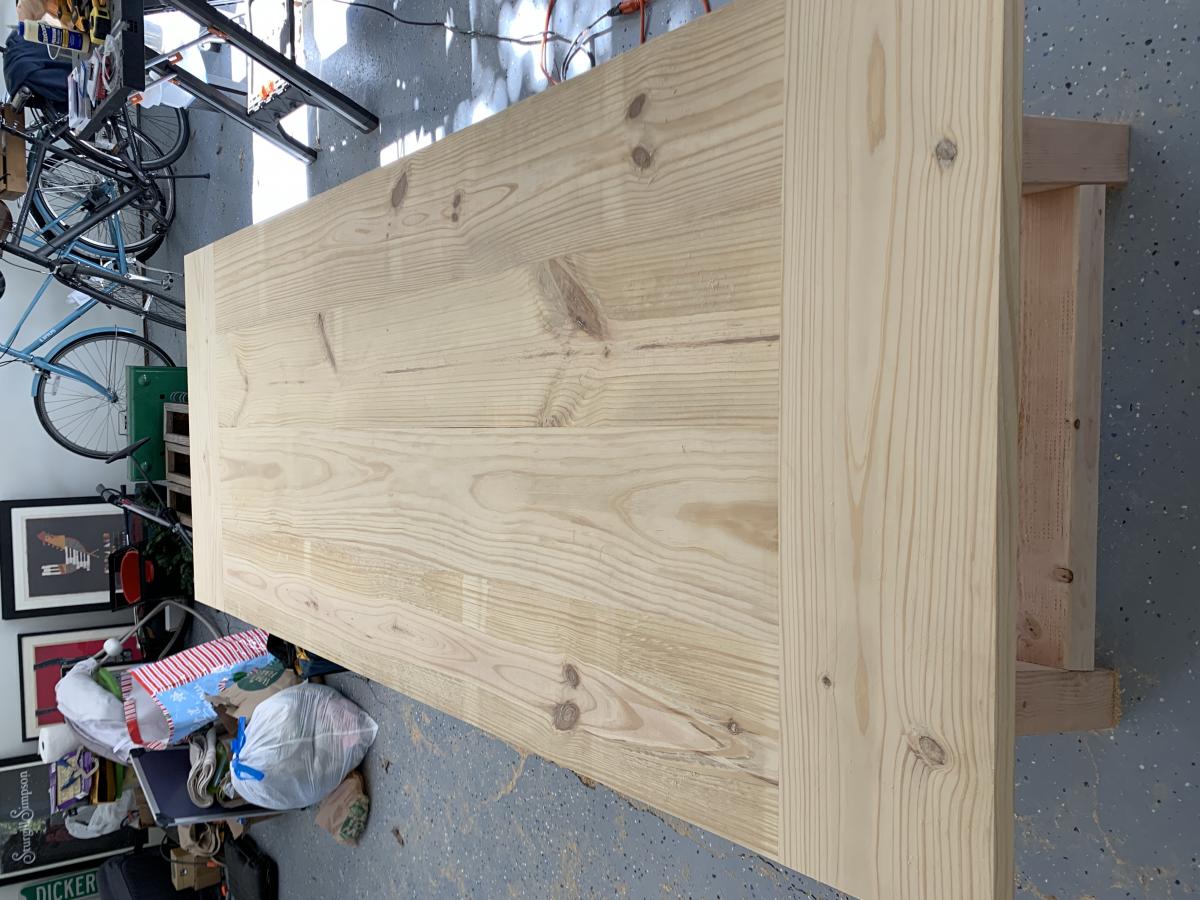
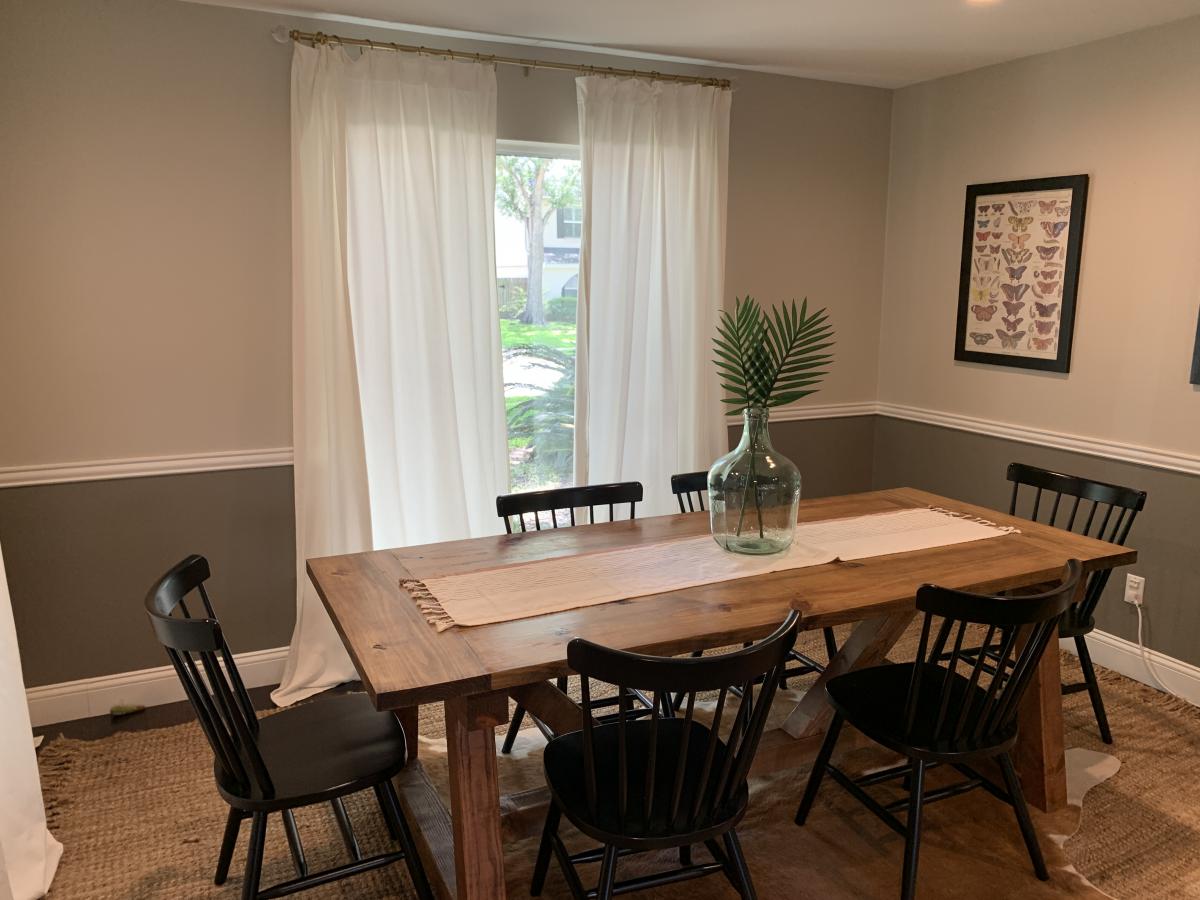
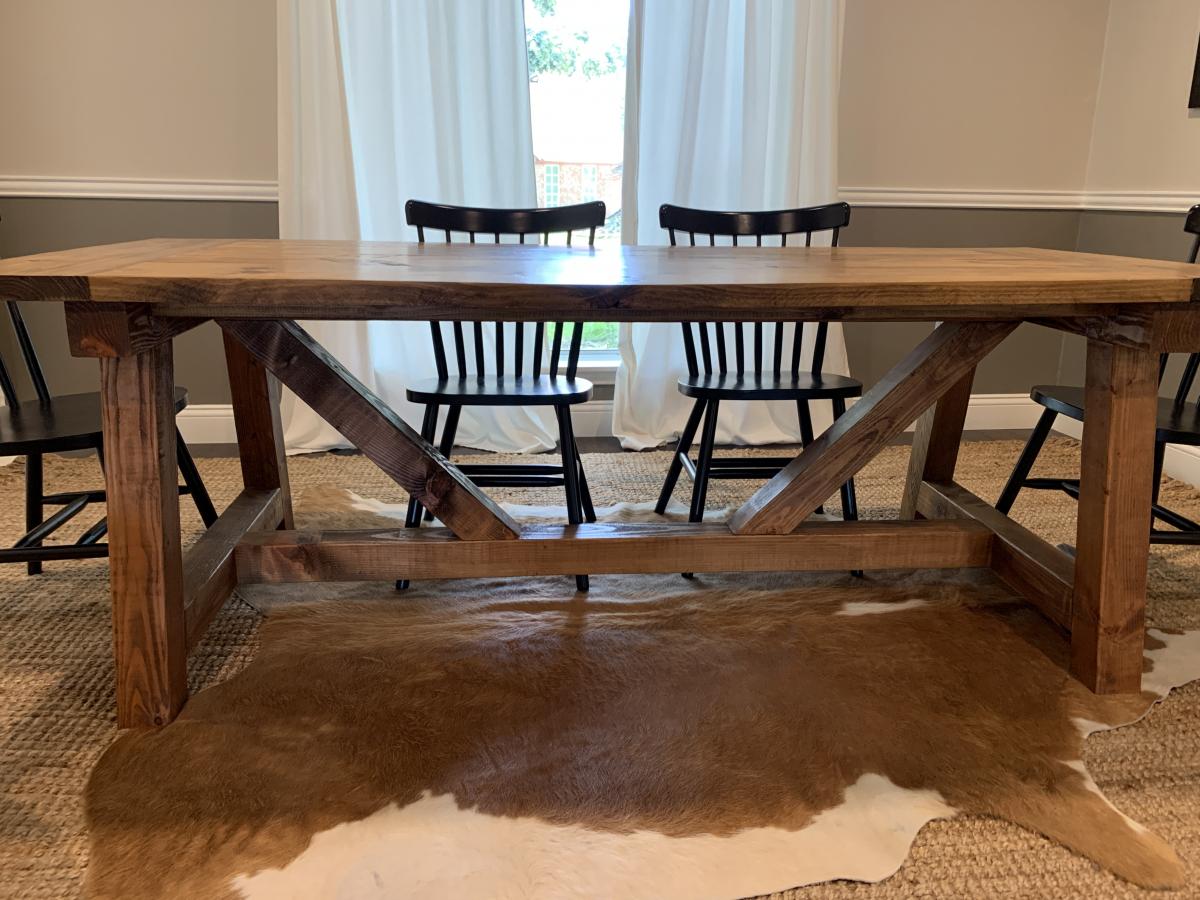
We built this table for our dining room. The project followed the plans for cuts and dimensions except for the top. Instead of using 2x10, we used 2x12 and ripped an inch off each side to have flatter top with out needing to plane.

We used pine for the top and douglas fir for the 4x4 base. Before staining we used a pre-stain conditioner. The table was stained using Minwax Early American and then finished with a clear satin polyurethane.

Built from Plan(s)
Estimated Cost
200
Estimated Time Investment
Weekend Project (10-20 Hours)
Finish Used
Minwax Early America and clear satin polyurethane
Recommended Skill Level
Beginner

Comments

Customized console

Submitted by JimmyE3 on Sat, 02/23/2013 - 09:04

Modifed the Rustic X console to fit the width of den area's windows. Wife wanted storage, I needed a project.

Estimated Cost
$55
Estimated Time Investment
Day Project (6-9 Hours)
Finish Used
Minwax Early American 230 stain. Just brush on, wipe off after 15 minutes, and let dry.
Recommended Skill Level
Beginner

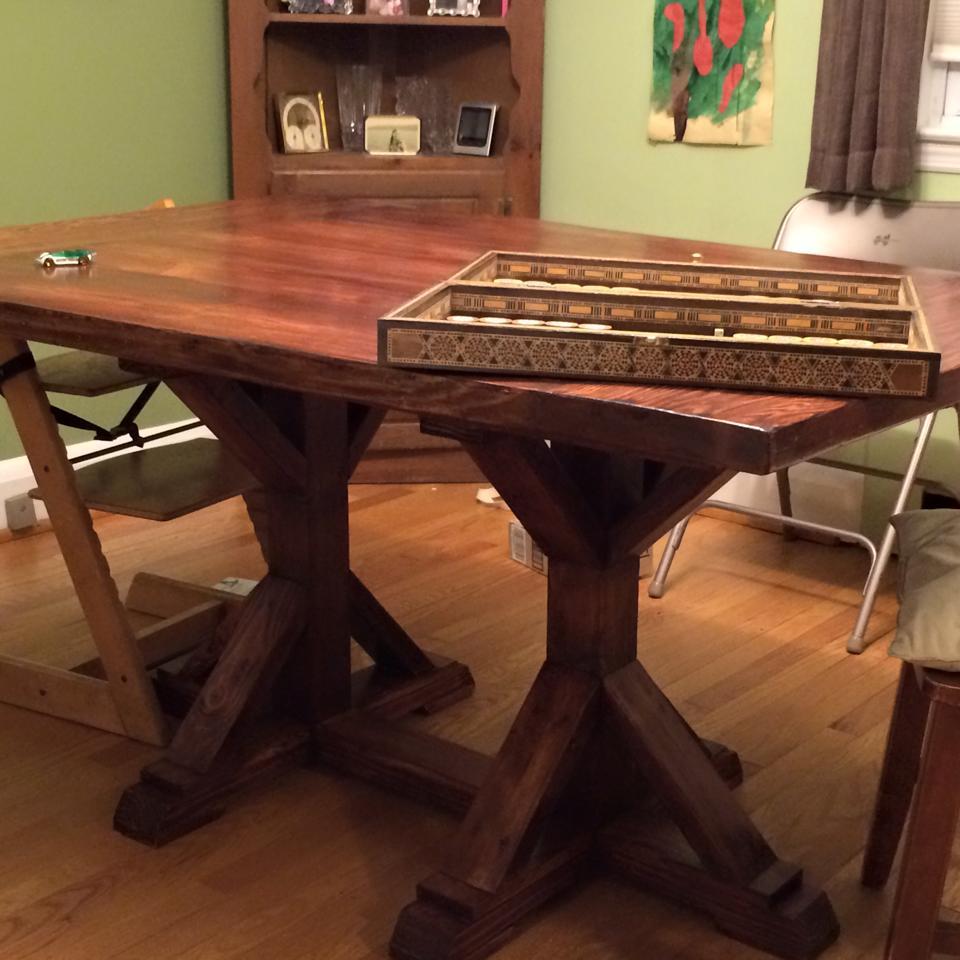
Double square X pedestal dining table

Submitted by eklein21 on Wed, 12/31/2014 - 11:44

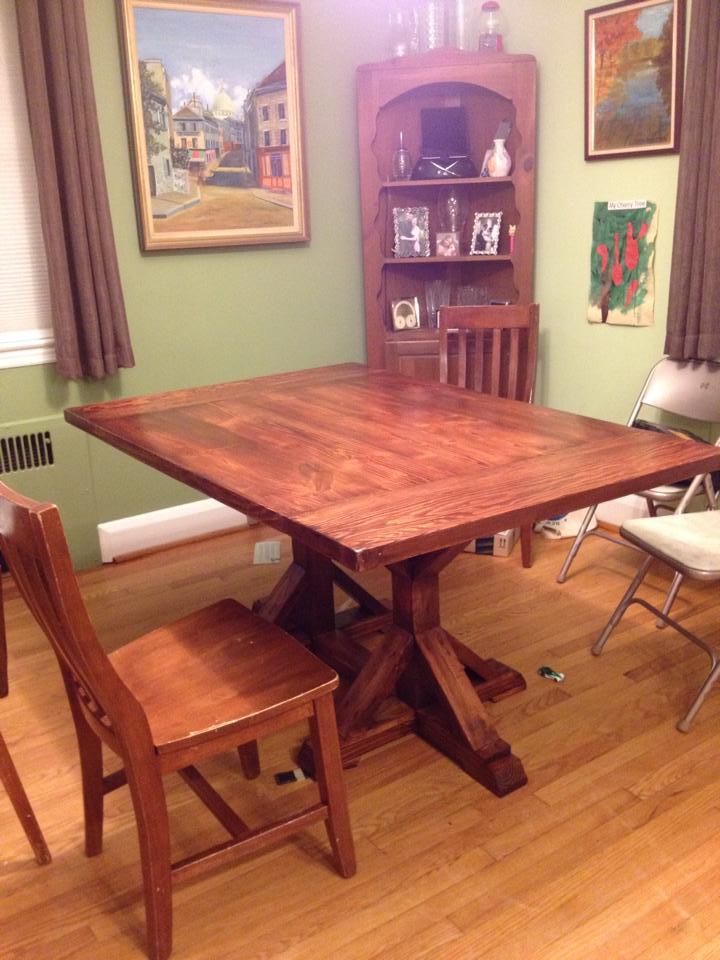
Thanks for the great plans. I modified them slightly by building a 60x40 farmhouse style top and a double pedastel. The other change is that I made the side 4x4s into 2x4s. 

Estimated Cost
~$200
Estimated Time Investment
Week Long Project (20 Hours or More)
Finish Used
General finishes gel stain in brown mahogony (https://generalfinishes.com/retail-products/oil-base-wood-stains-sealers/oilbase-gel-stains#.VKRQ2ivF9UM) and finished using general finishes arm-r-seal in satin (https://generalfinishes.com/retail-products/oil-base-top-coats/arm-r-seal-urethane-topcoat#.VKRRDyvF9UM) ... sealer is so strong it was harder to drill through then the wood when attaching the top to the bootom. Started with the pre-stain conditioner as well (https://generalfinishes.com/retail-products/oil-base-top-coats/pre-stain-wood-conditioner#.VKRRmyvF9UM)
Recommended Skill Level
Intermediate

Comments

traciw25

Fri, 08/12/2016 - 12:58

Your table looks great!  Love the farmhouse top and your revisions.


Would you mind sharing what dimensions you went for the table top and what width you went on the doubt pedestal length?


THanks so much!!! I hope I get to have one like yours someday soon :)