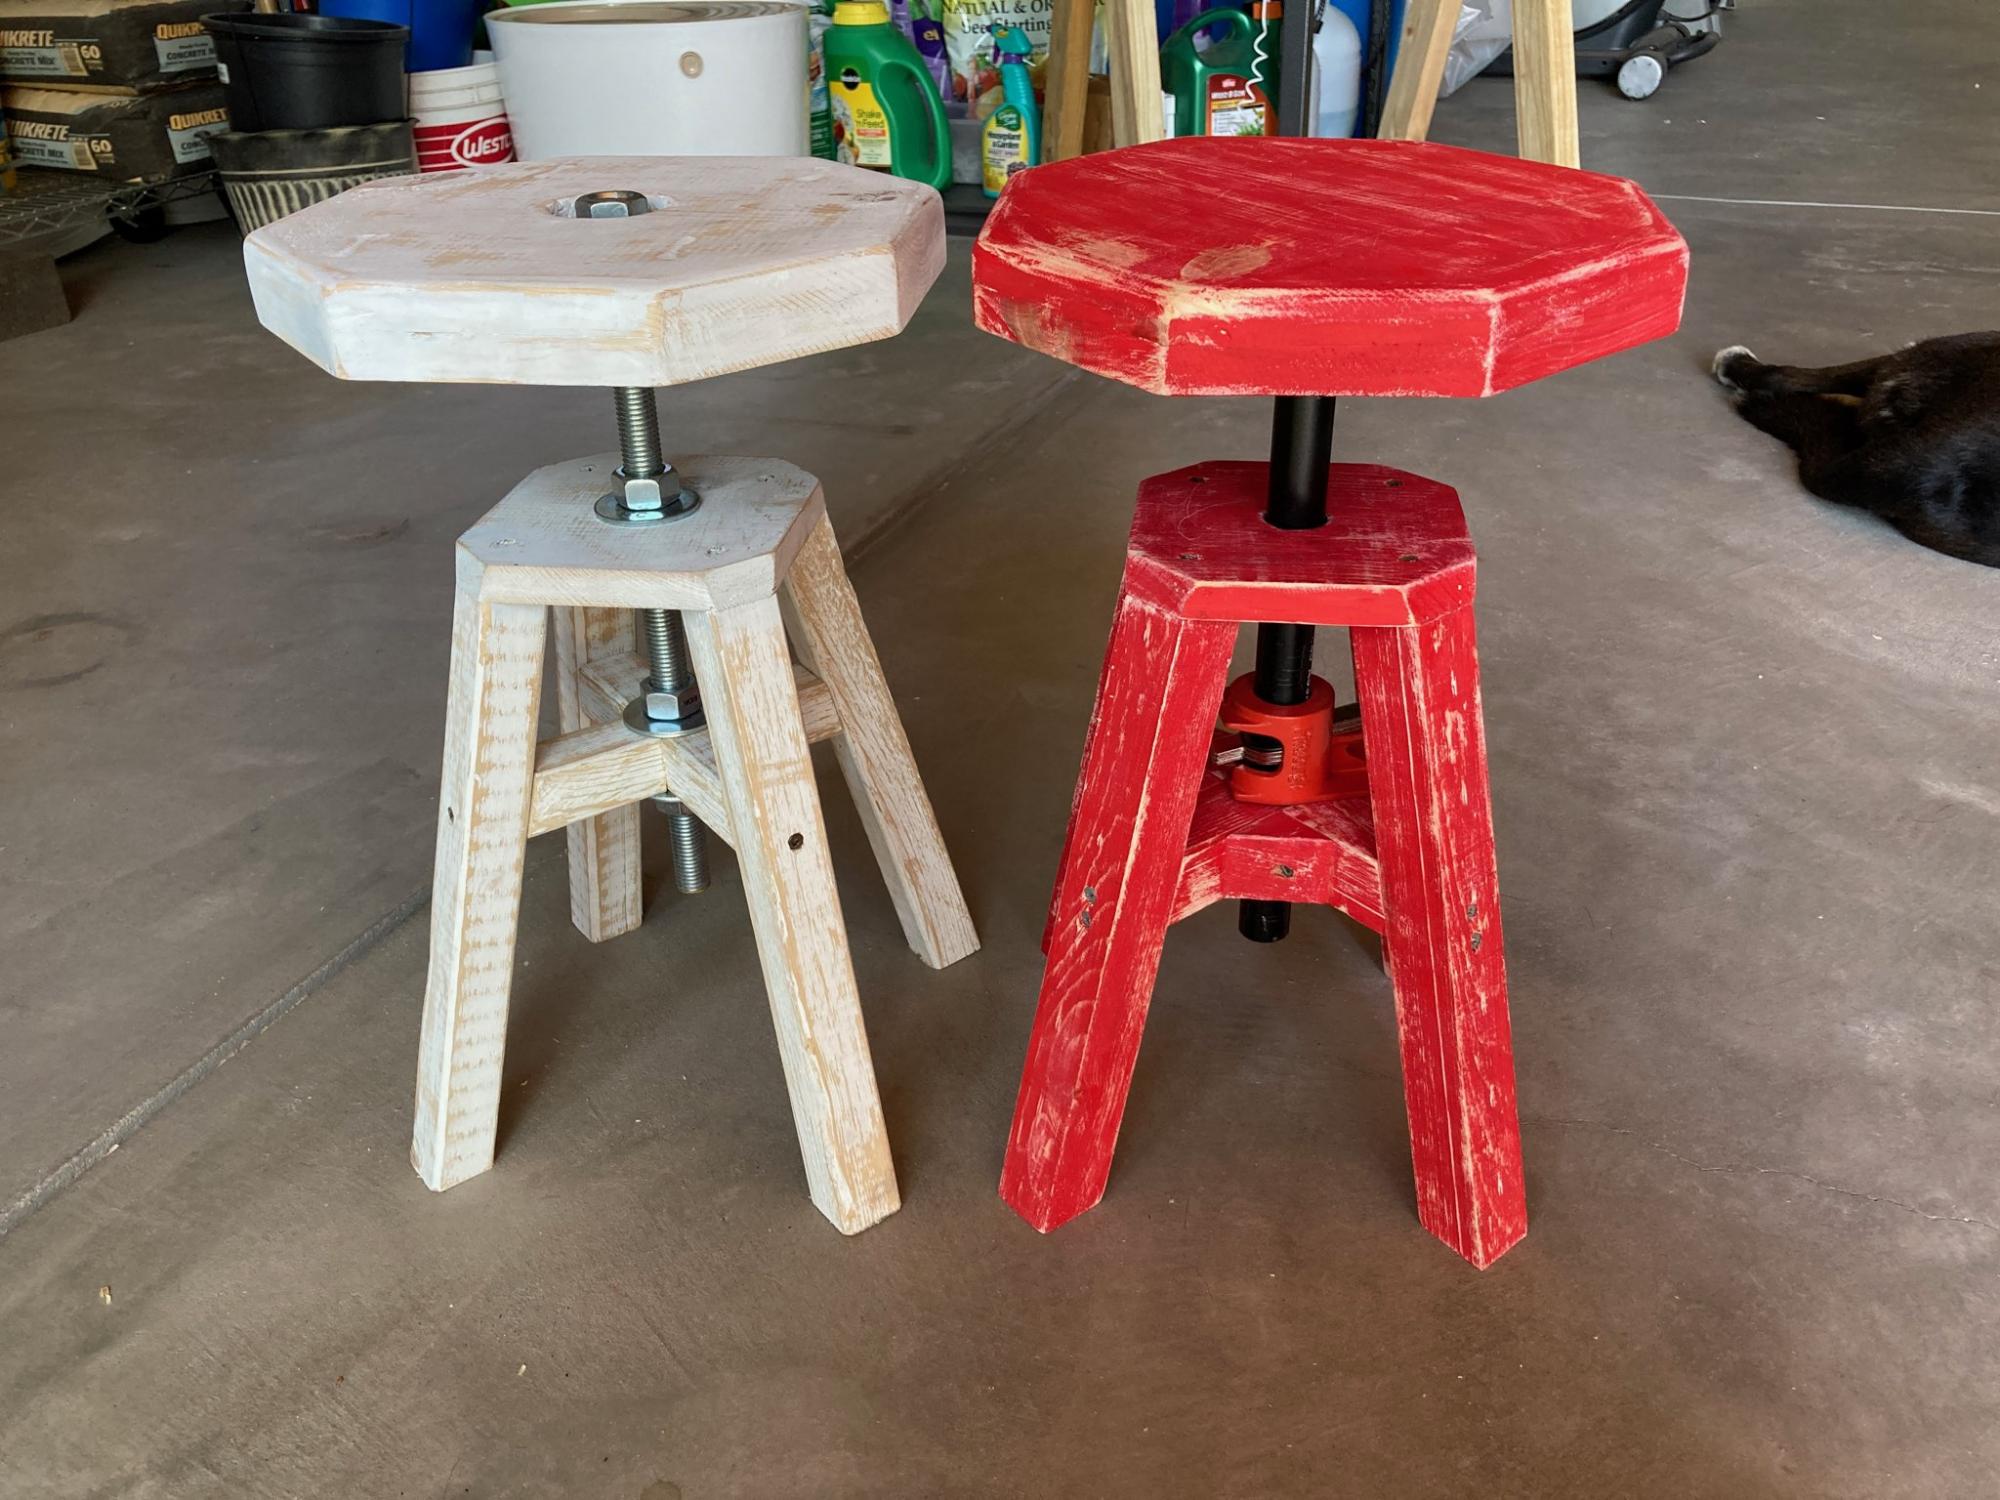
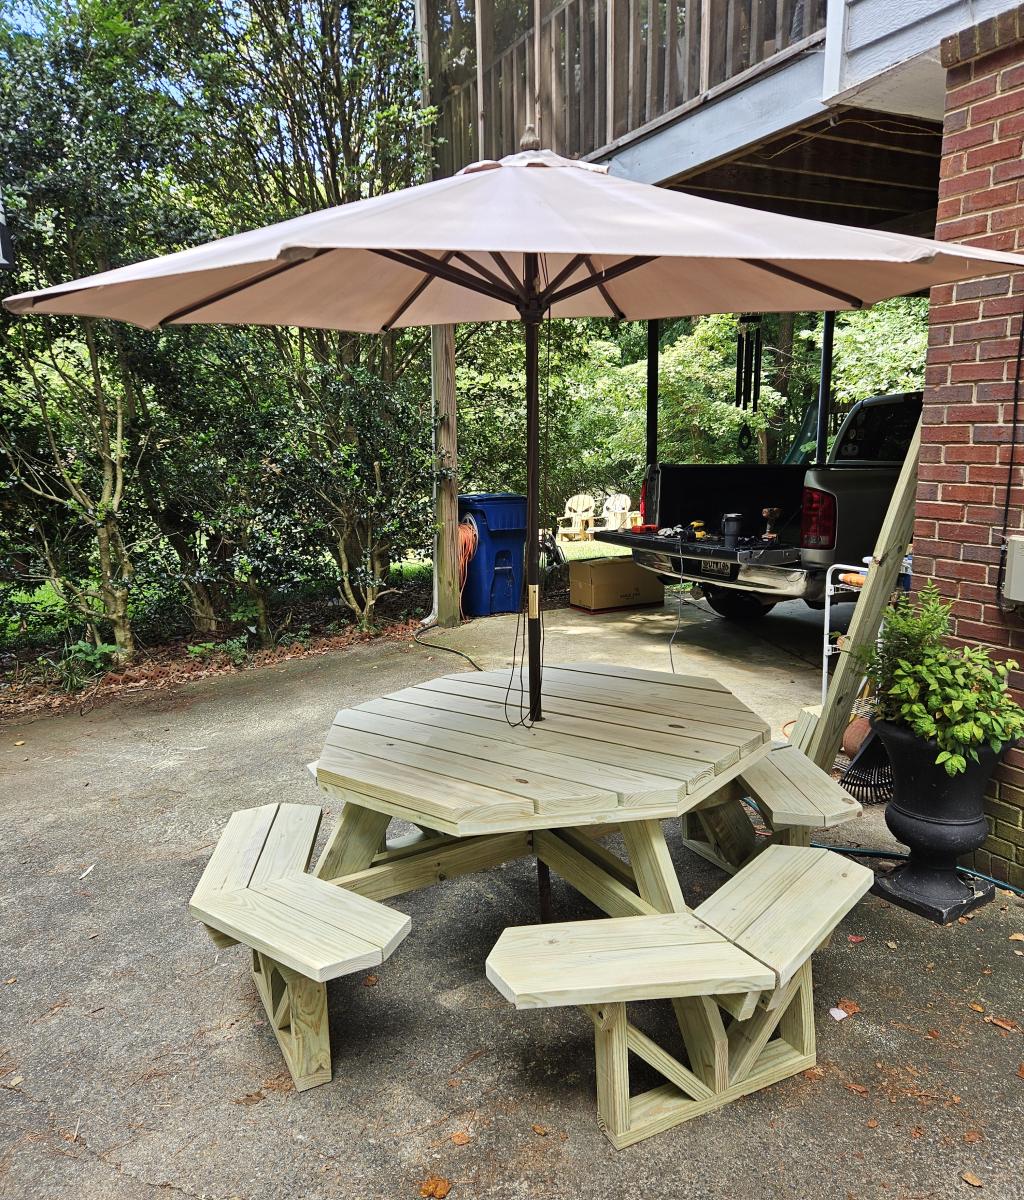
White chair was made first mostly based on the original plans, but my pipe flange broke immediately. So I just bolted the top on and then made red chair with a pipe and harbor freight pipe clamp instead of all-thread and nuts. It allows easy instant adjustment and a better fit with the pipe flange.
The reason I made the change is that pipe threading has a tapered angle, so when used with all-thread which is a strait cylinder, it doesn't make proper thread contact. On top of that, the only all thread I could find had a different threads per in (10 vs 14) than standard pipe and cross threaded my flange, causing it to break on the first use.
I used 3/4ths pipe because I was trying to avoid all possible problems from the first try (which used a 1/2 in pipe flange) and this took too much material out of my cross supports for my comfort. So I added 45 deg right triangle scrap to the corners to beef it up. Probs would be much cheaper and still work fine with 1/2 in pipe.
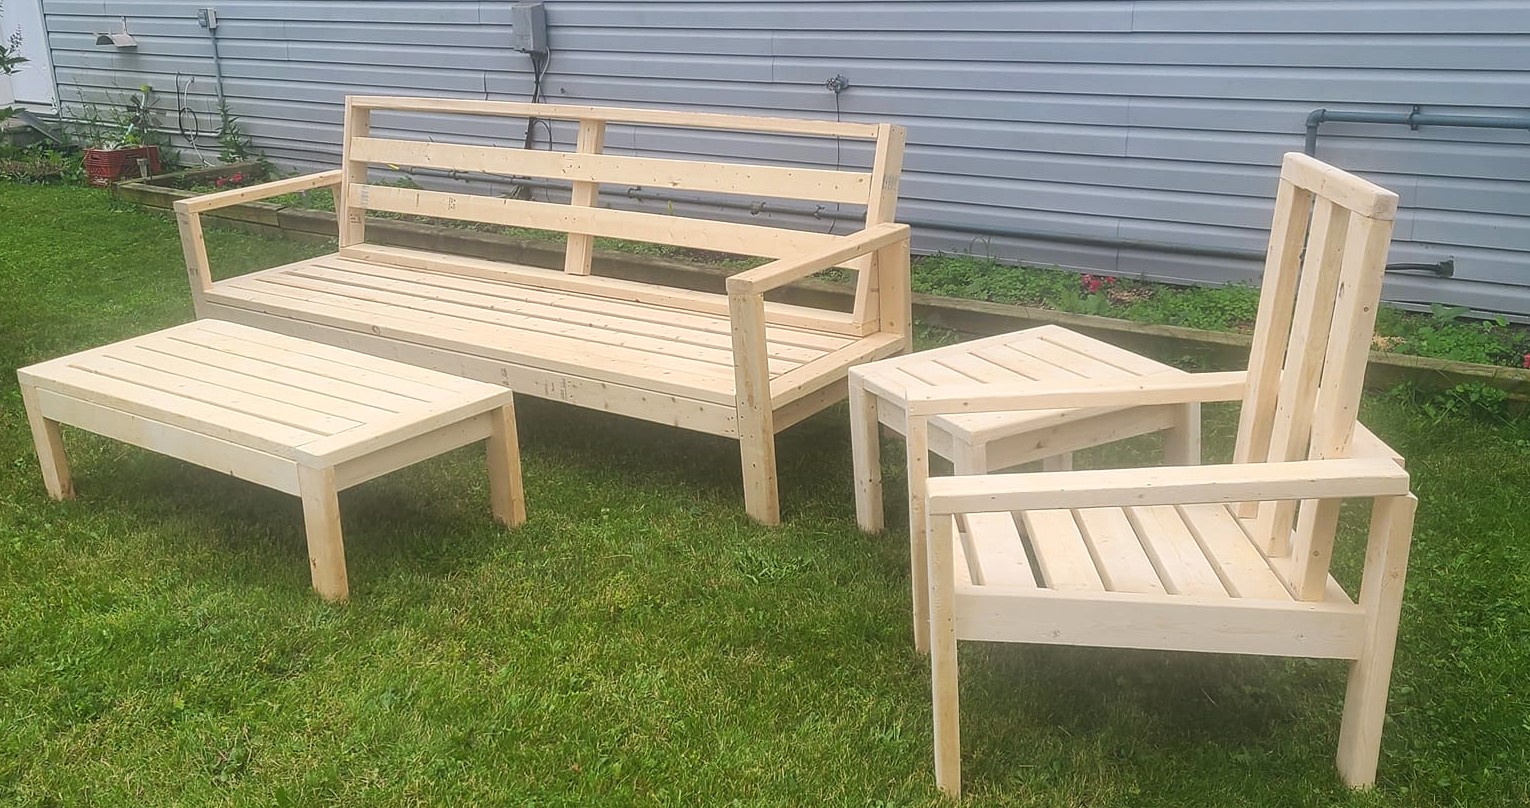
Finally both chairs have much shorter legs than suggested in the plans because I needed regular chair height stools, not bar stools. And they still get high enough to be usable at counter height (but not ideal).