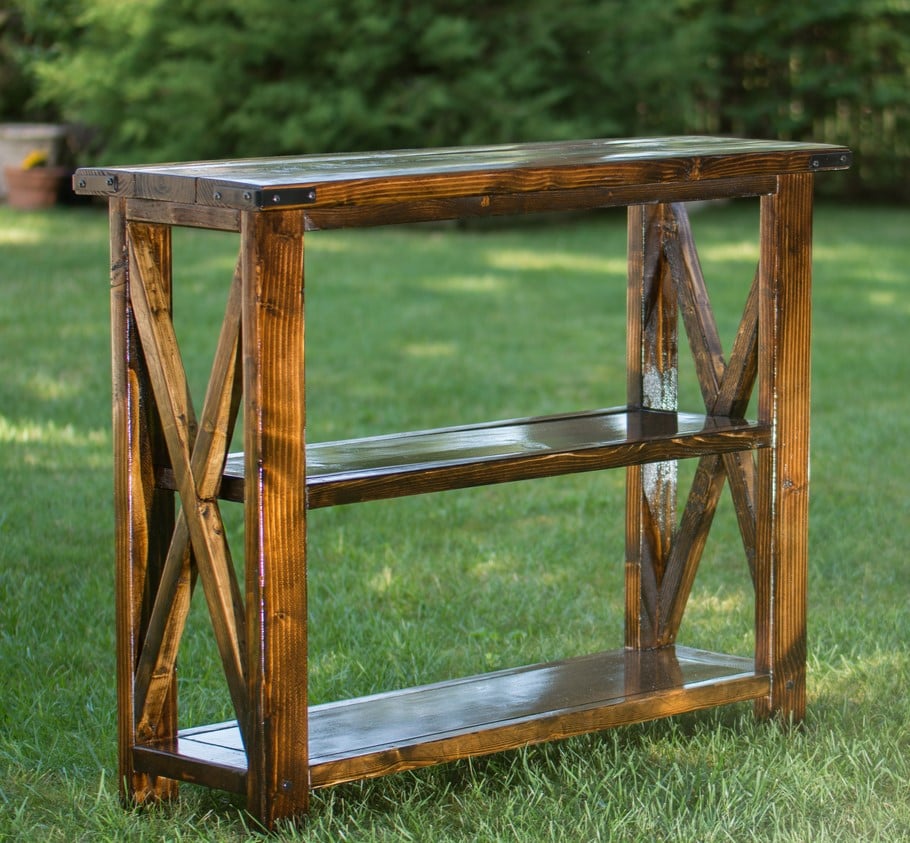
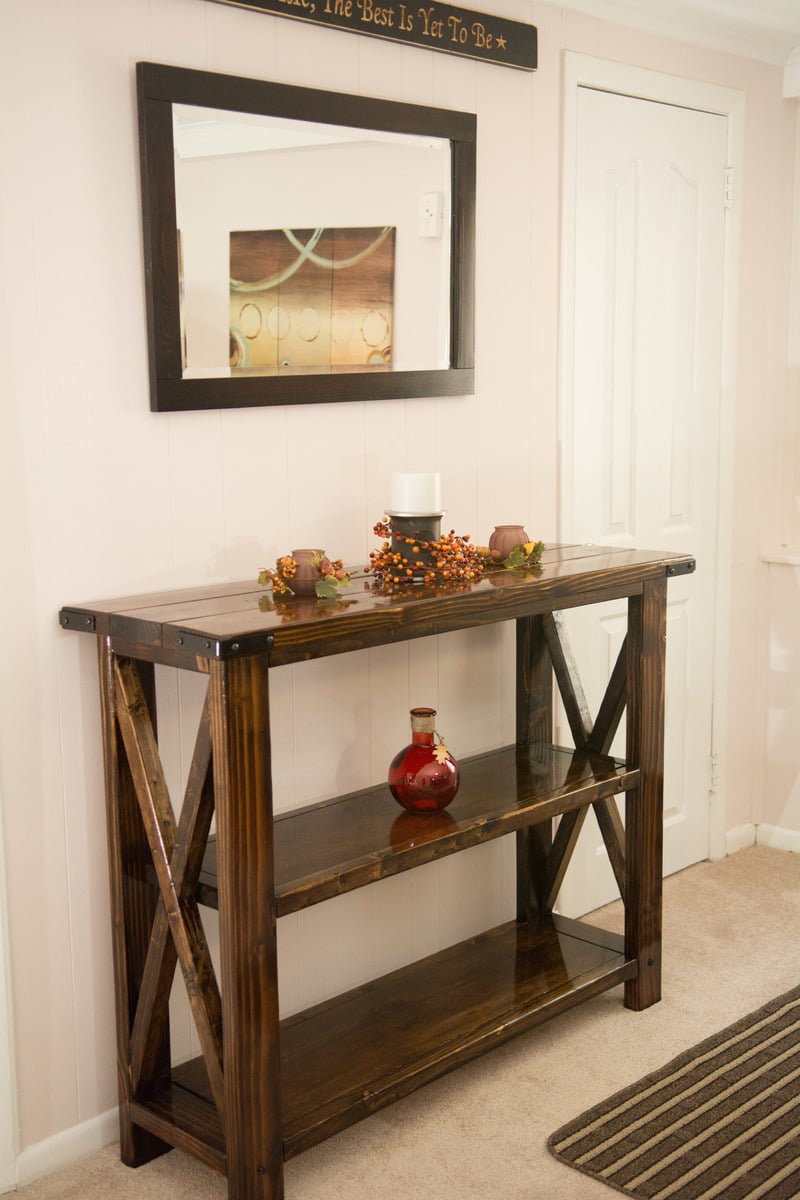
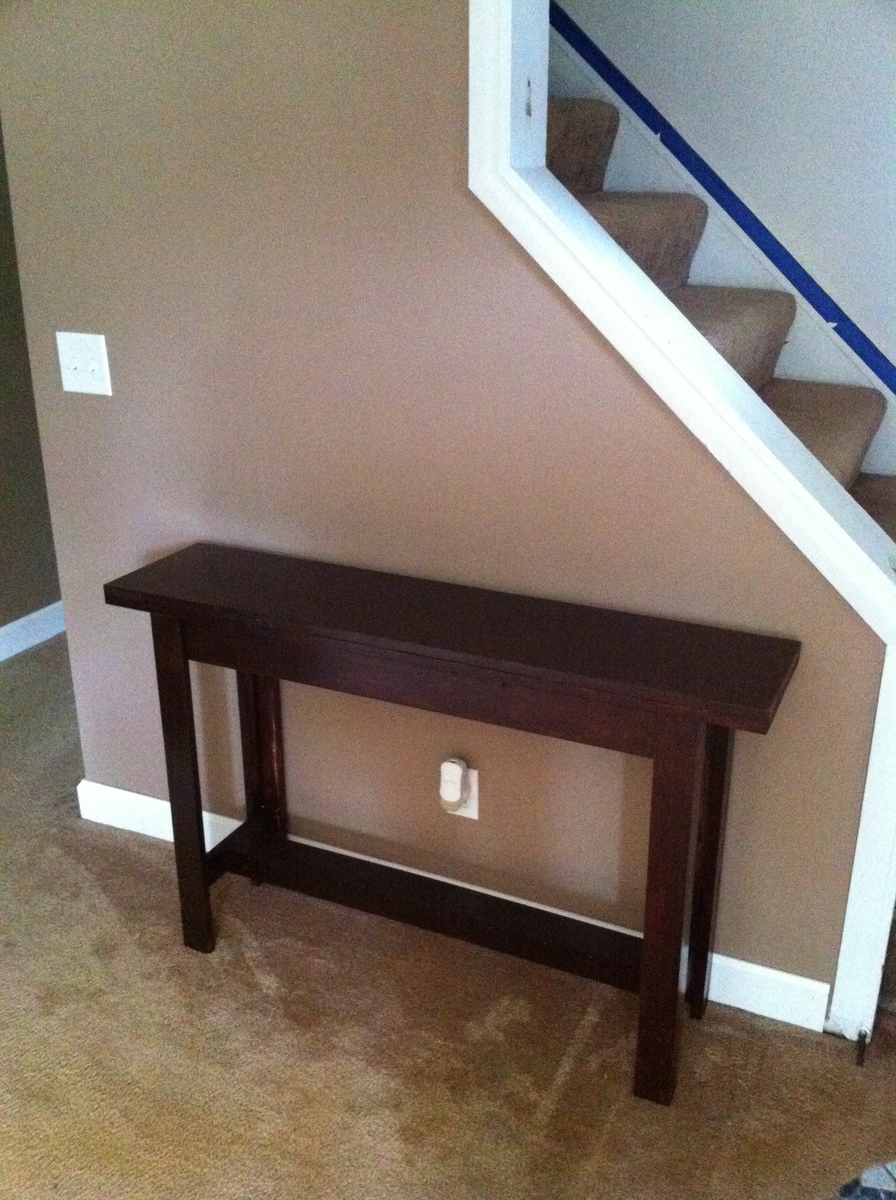
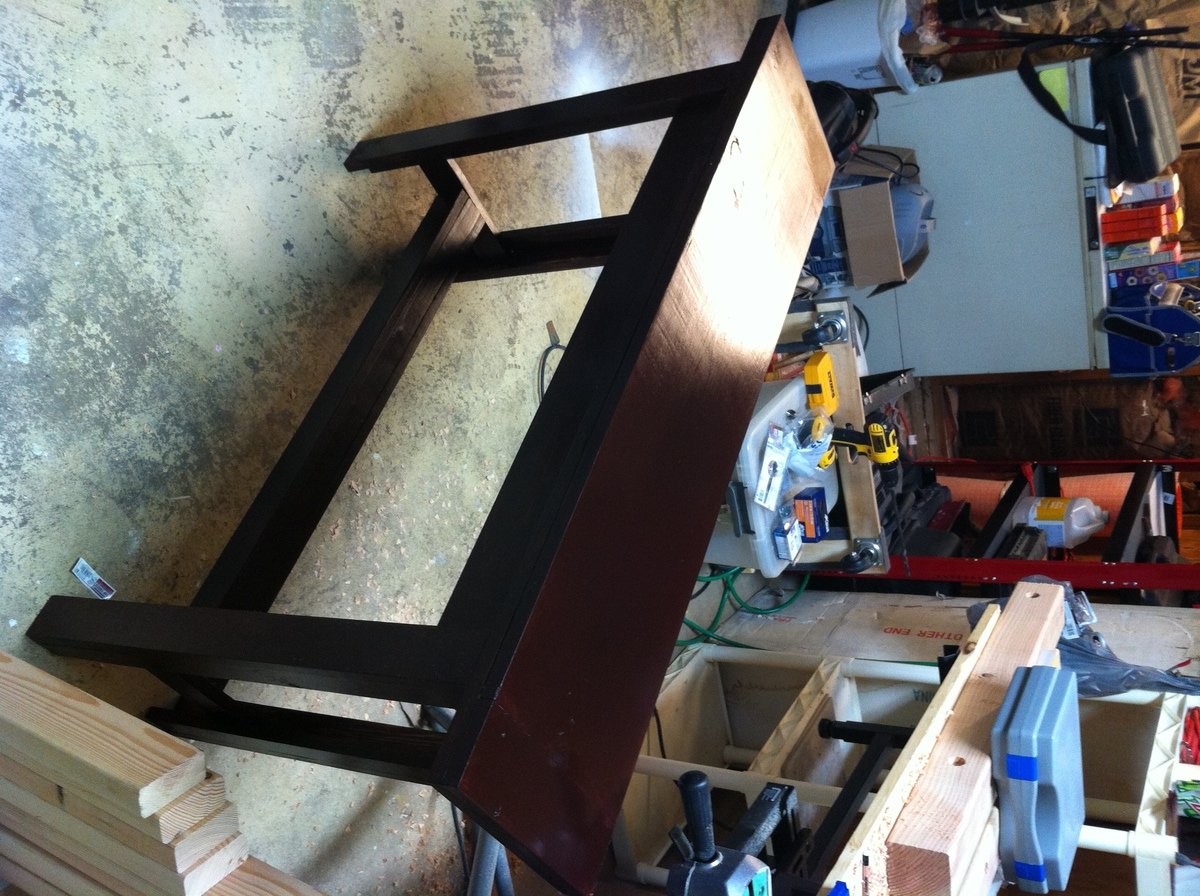
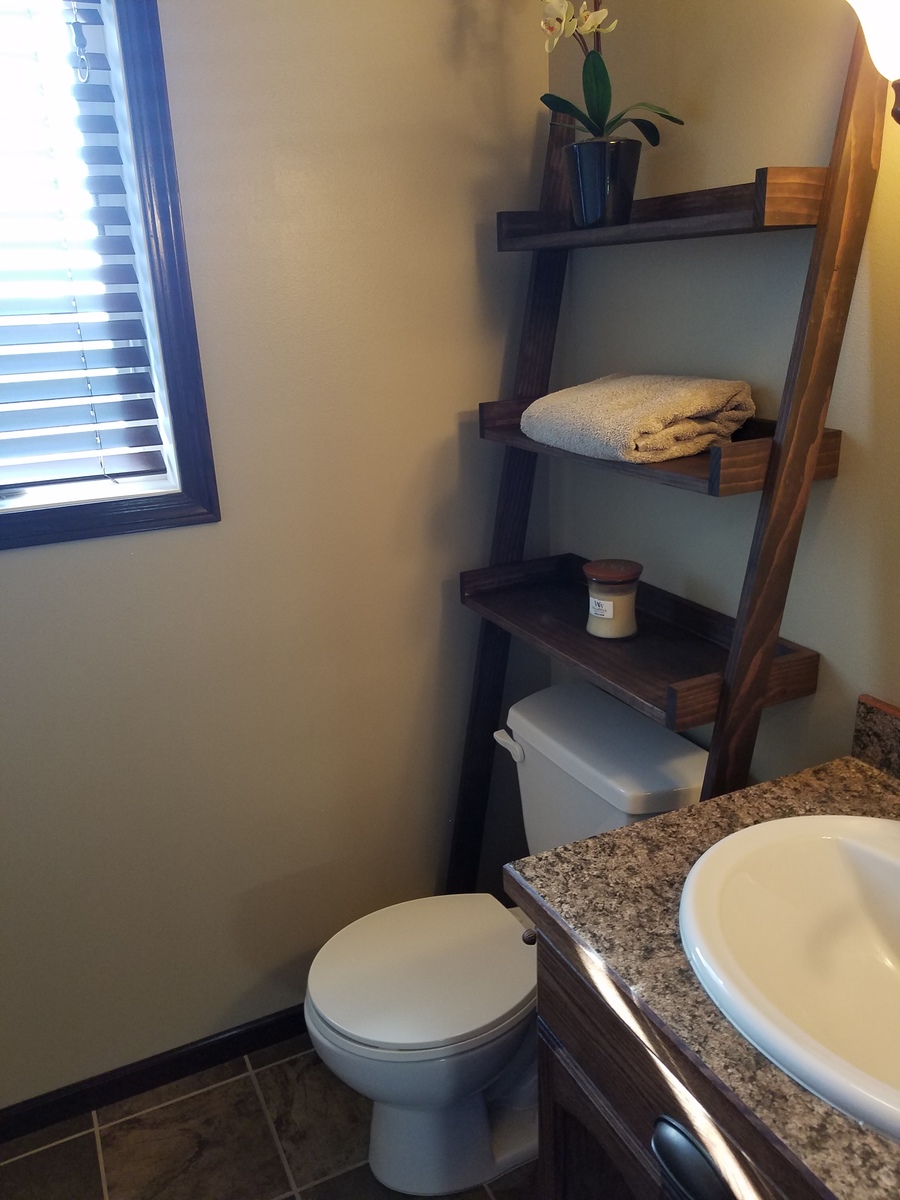
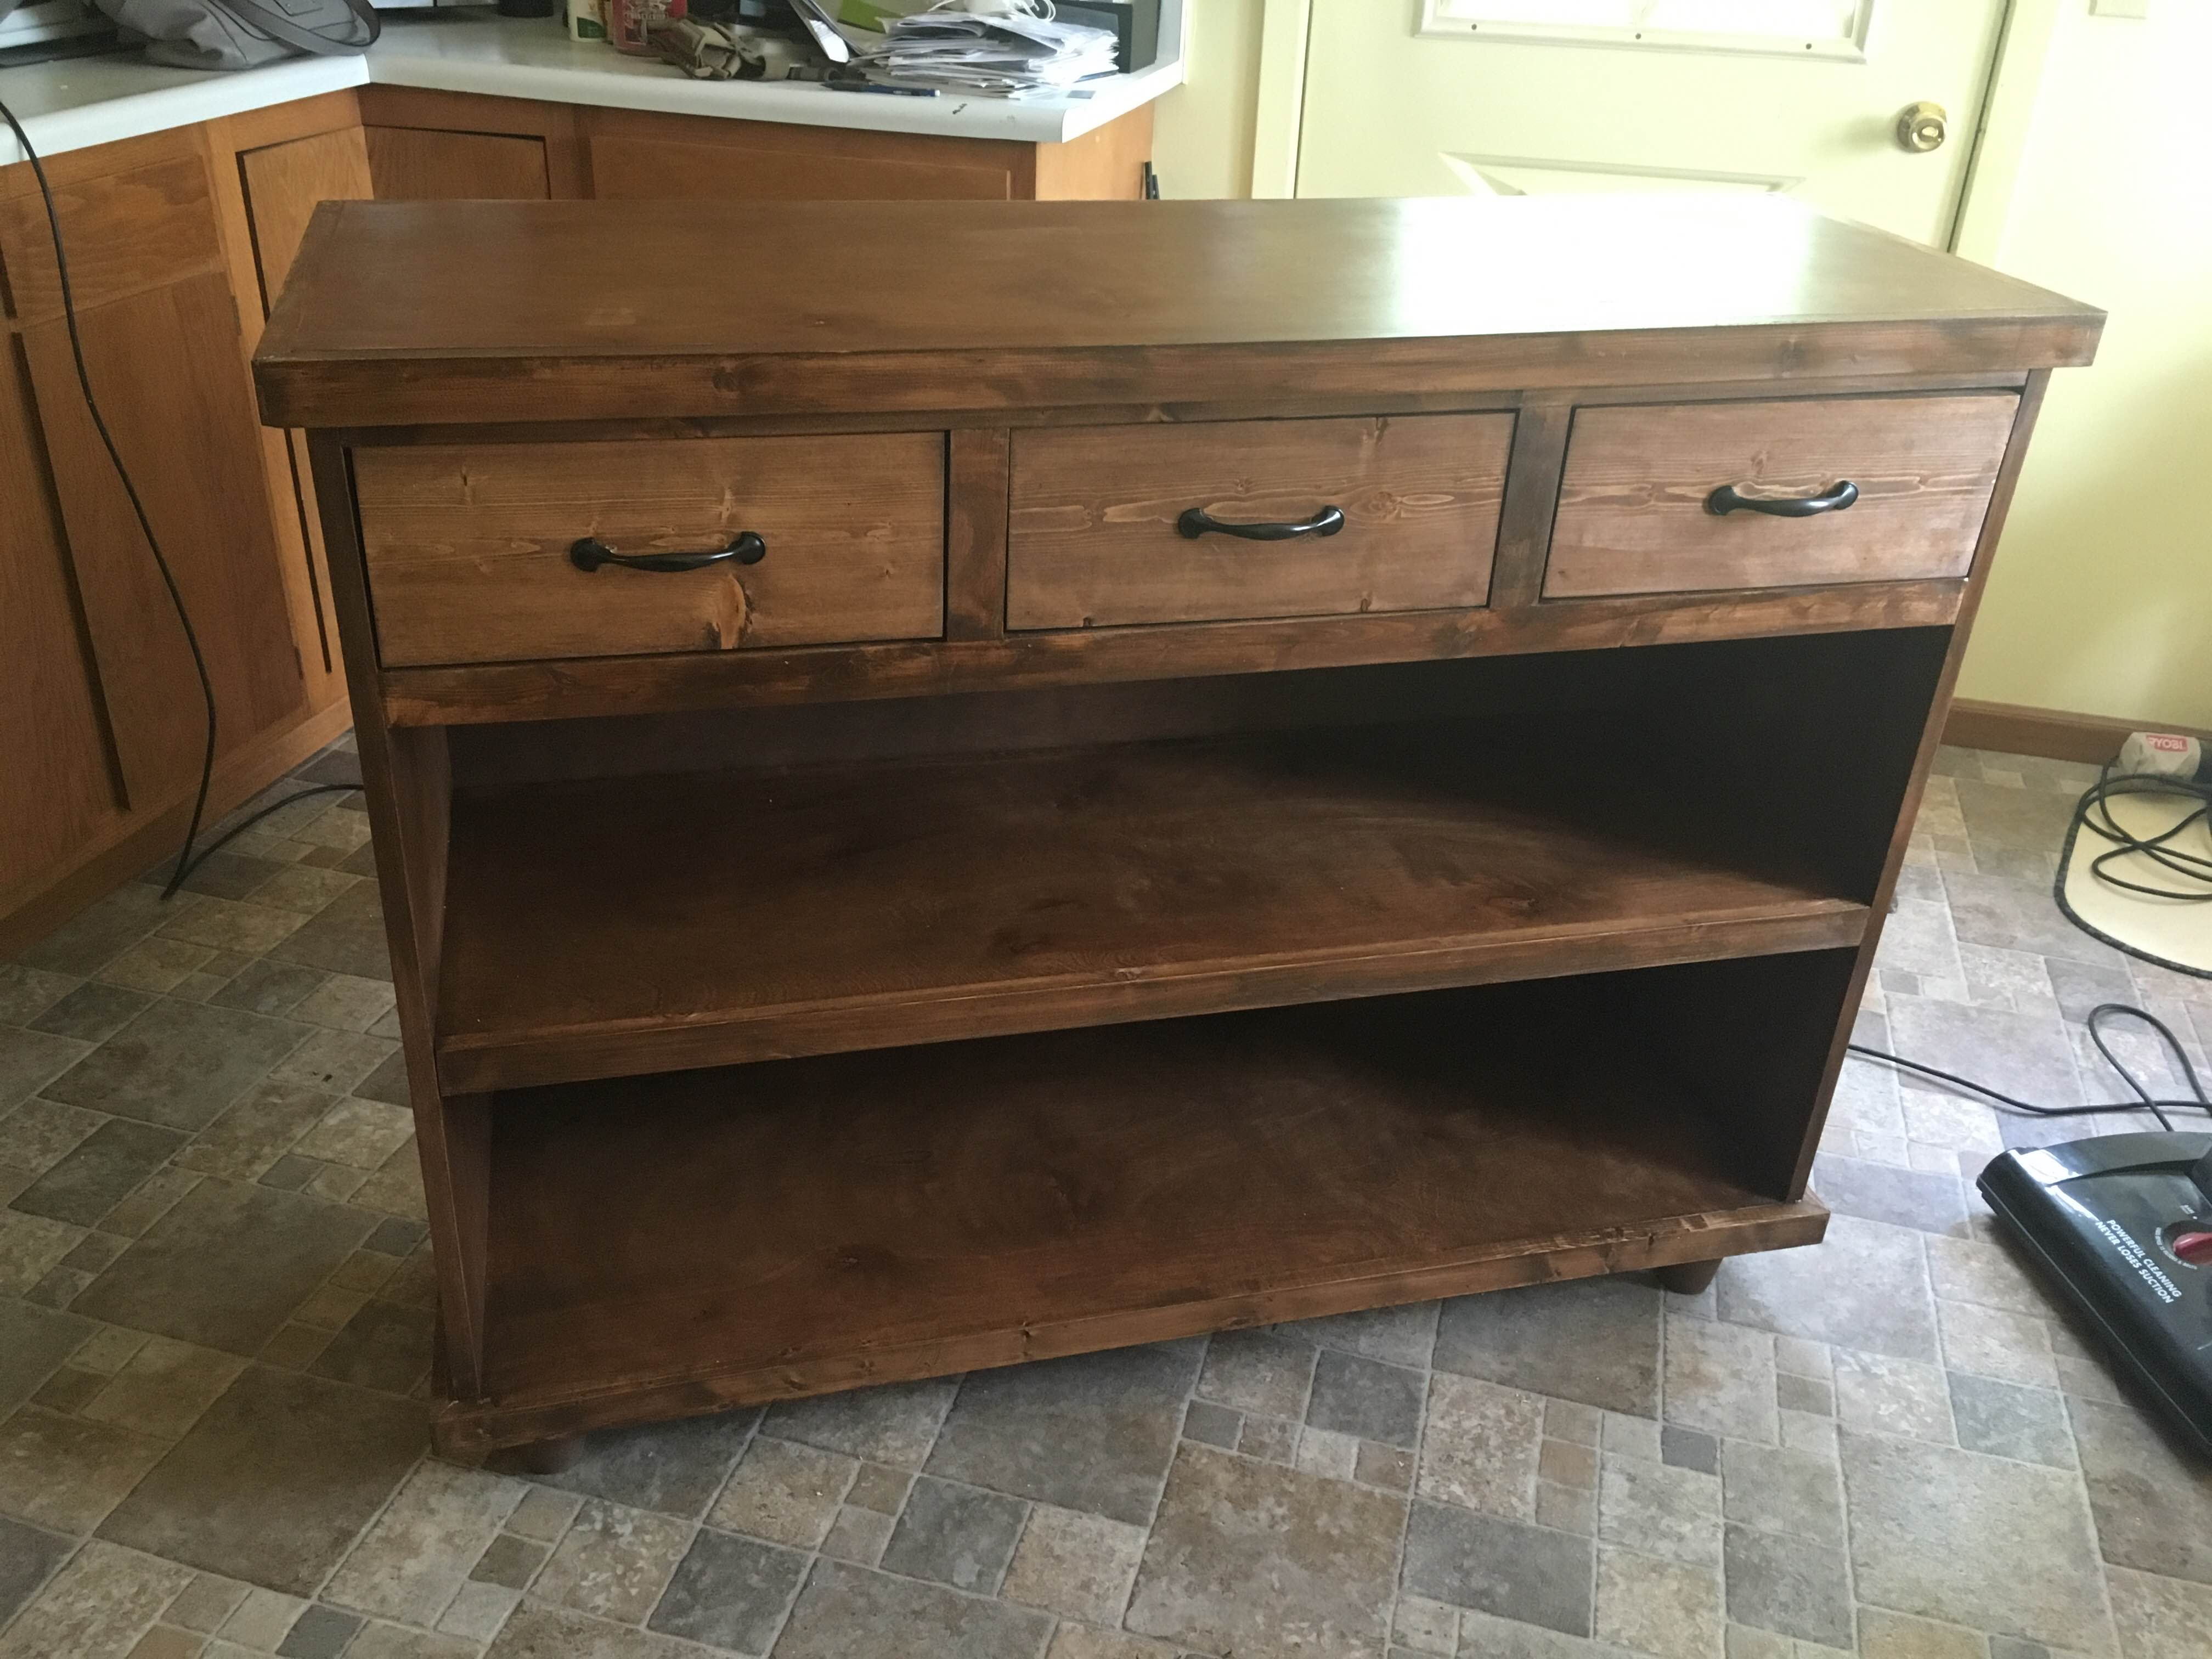
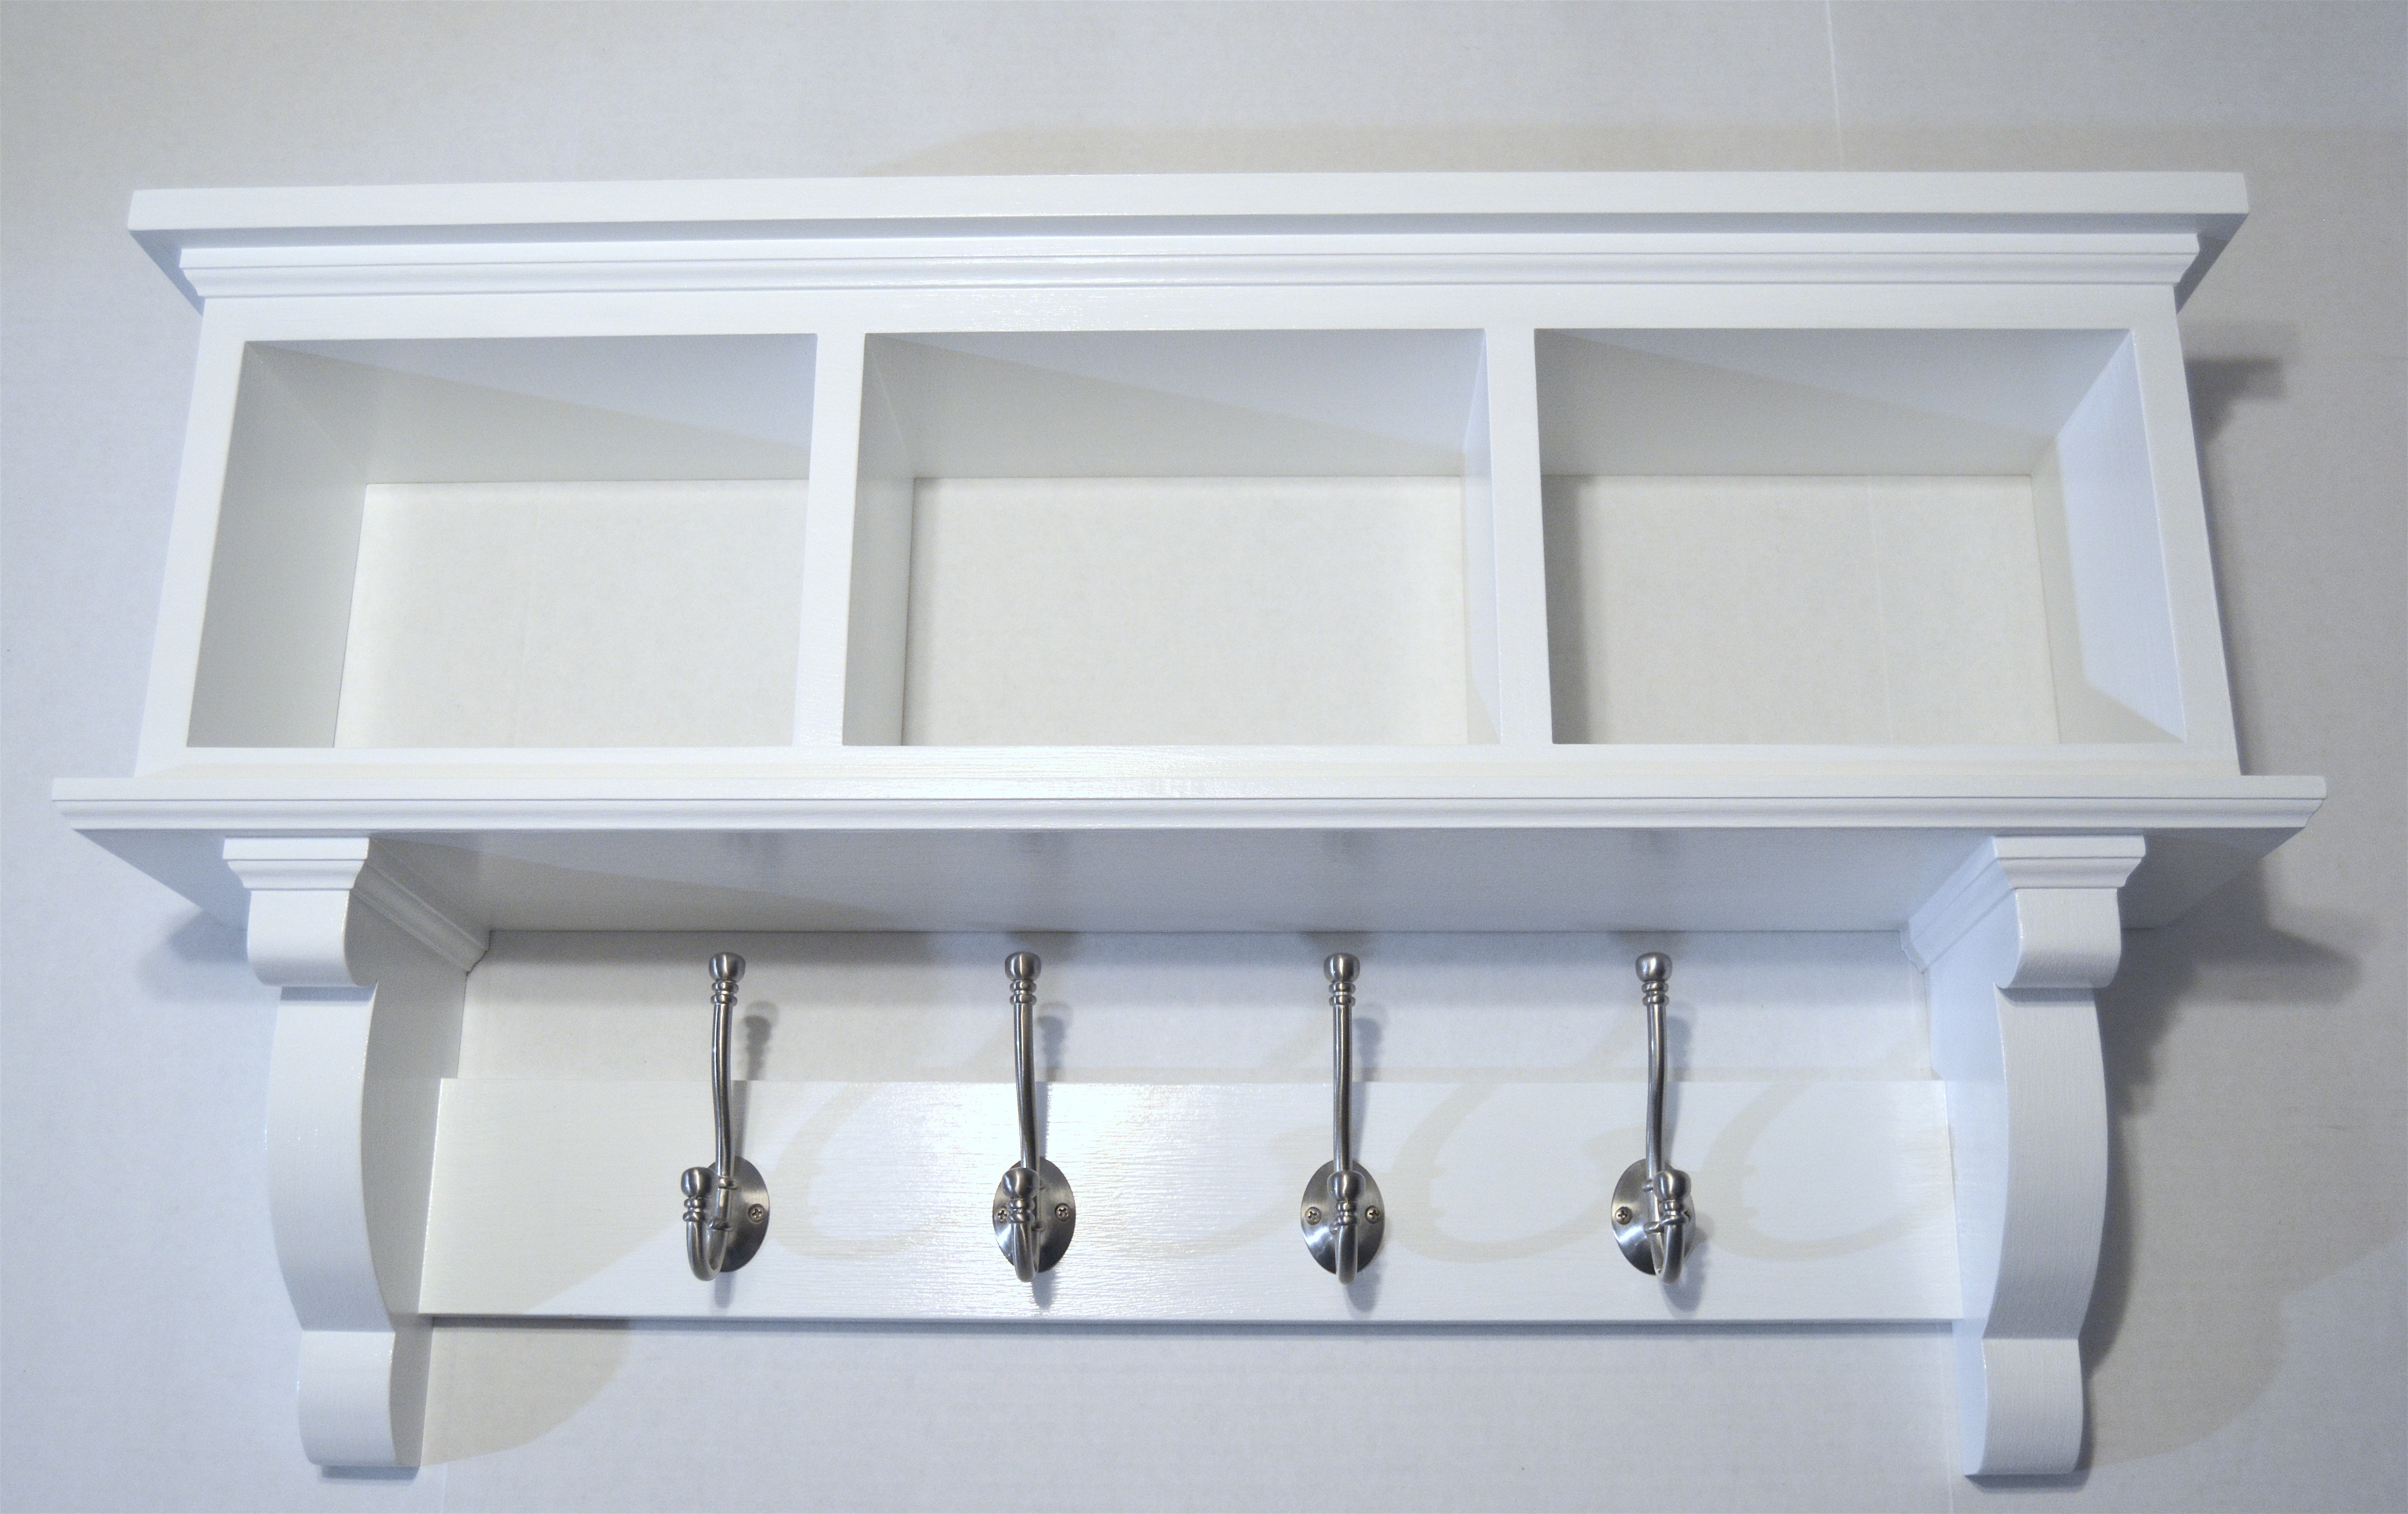
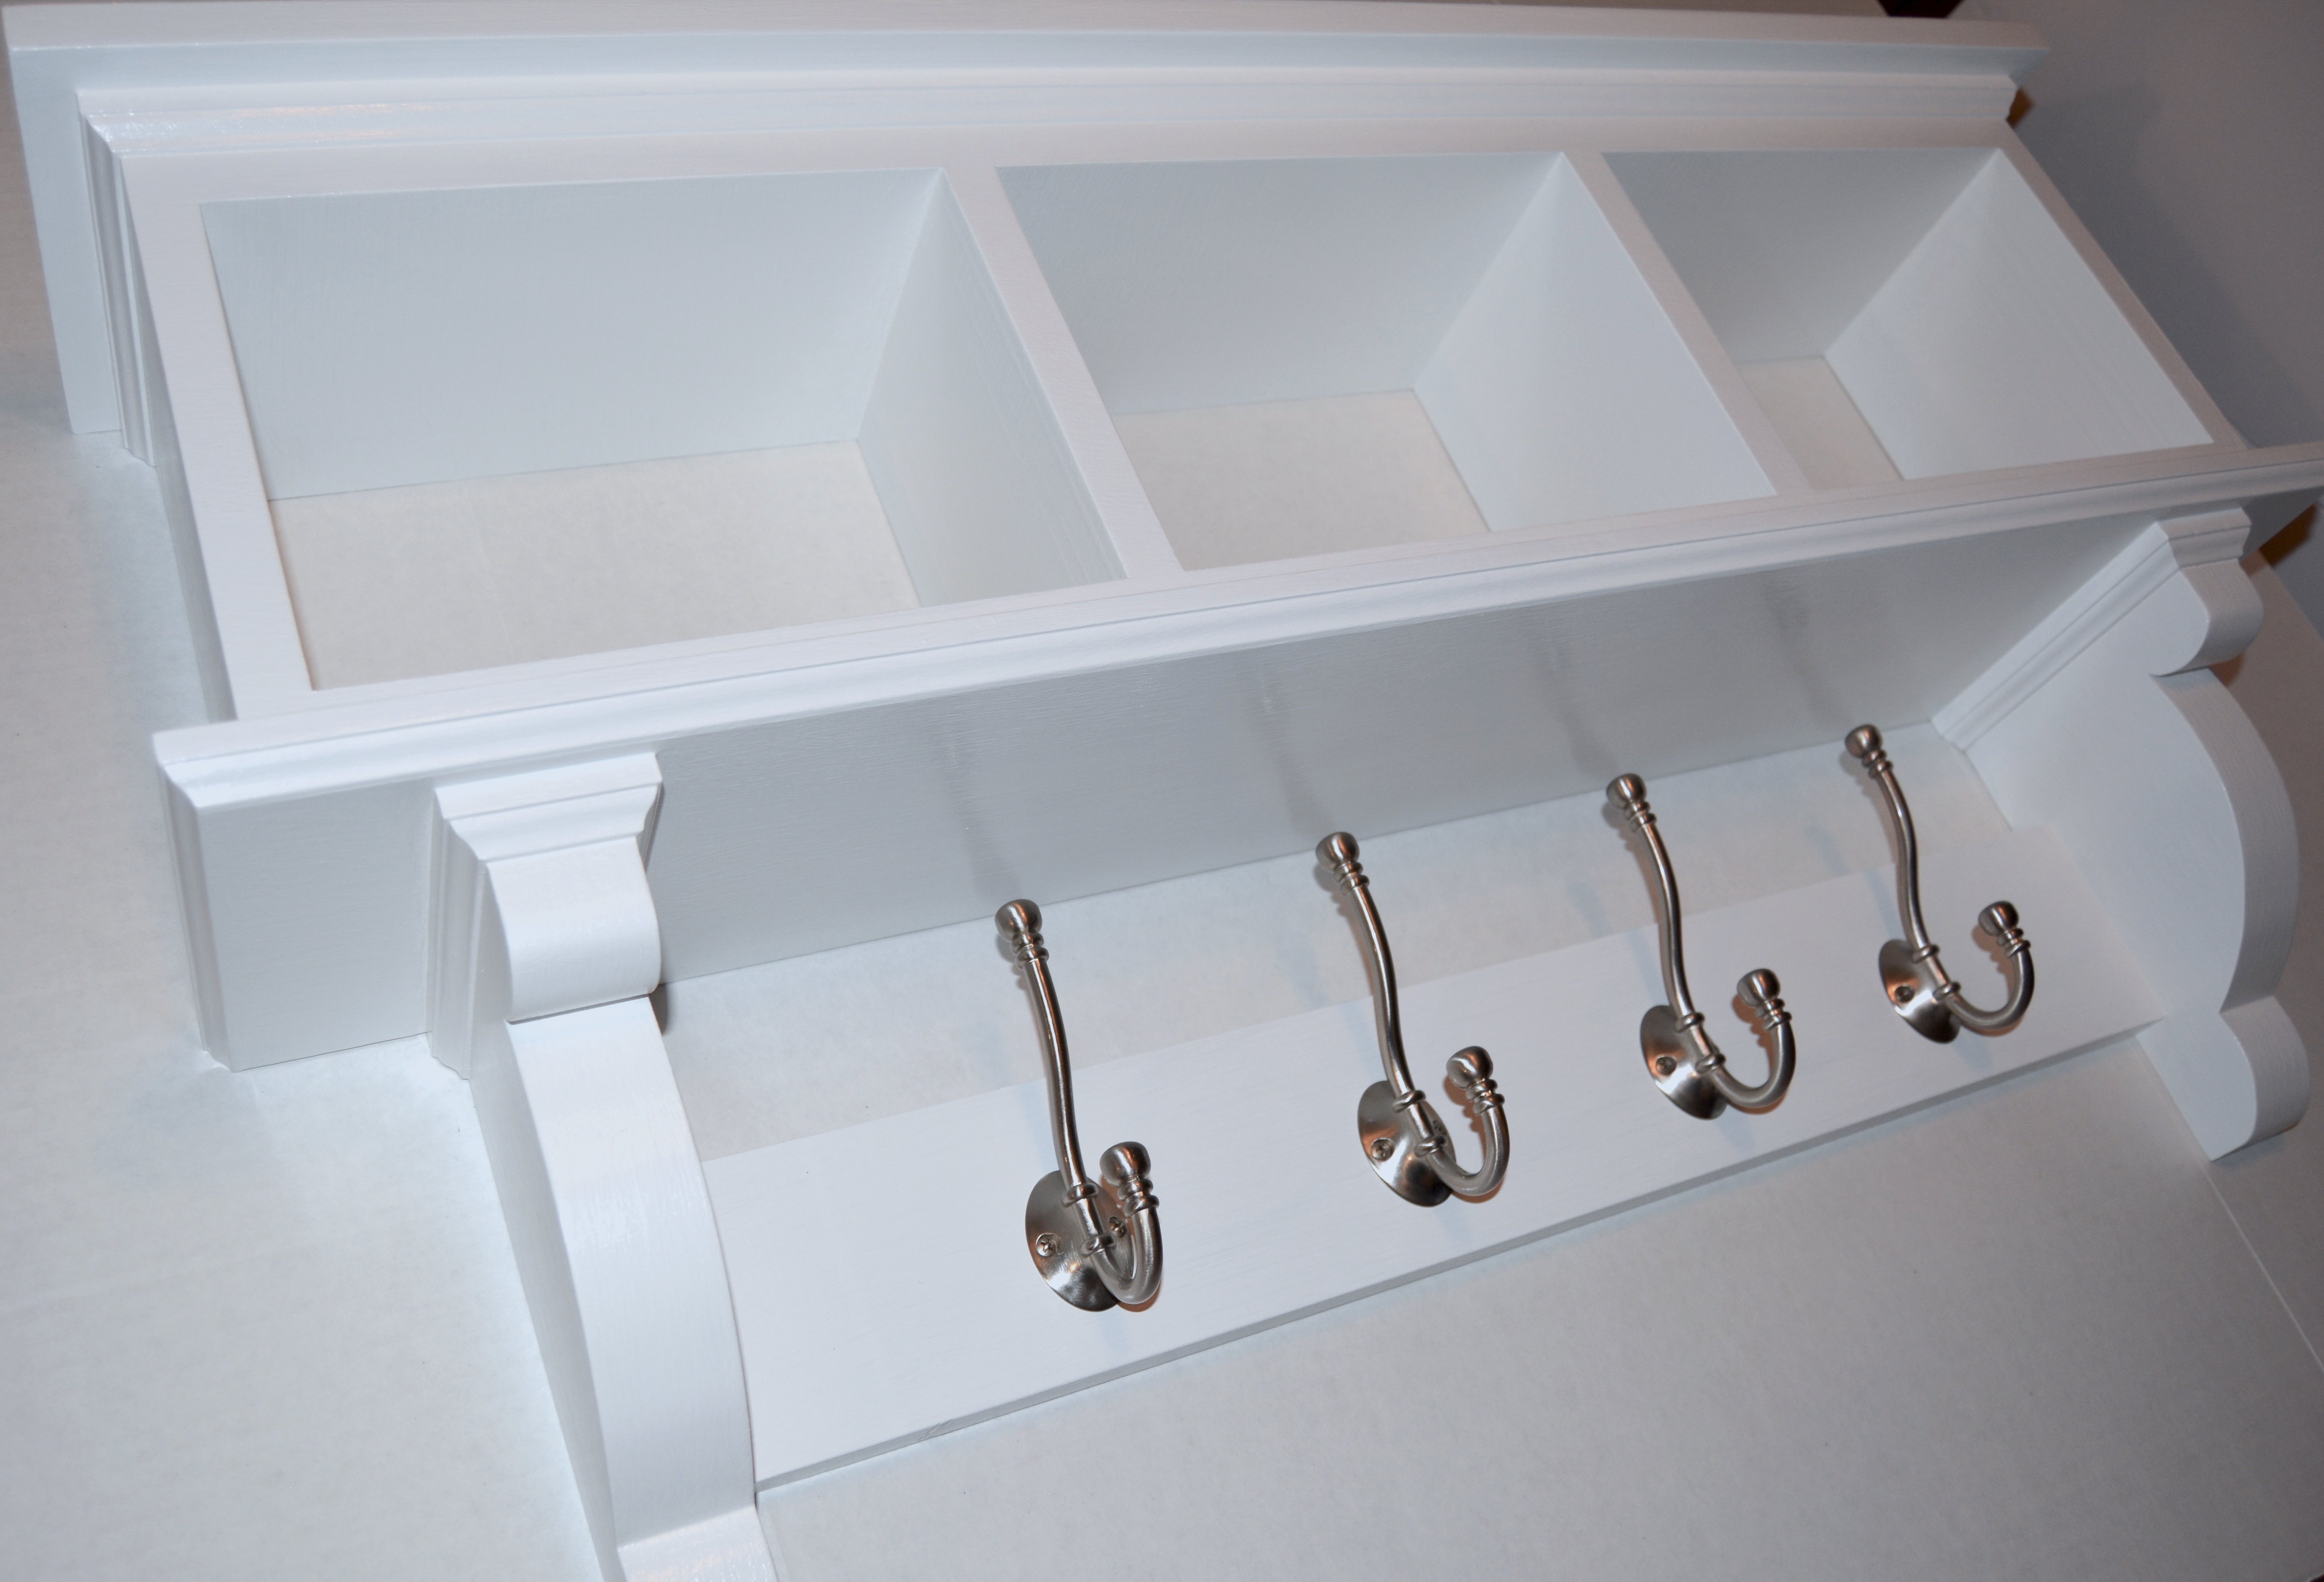
Much needed for our bathroom!
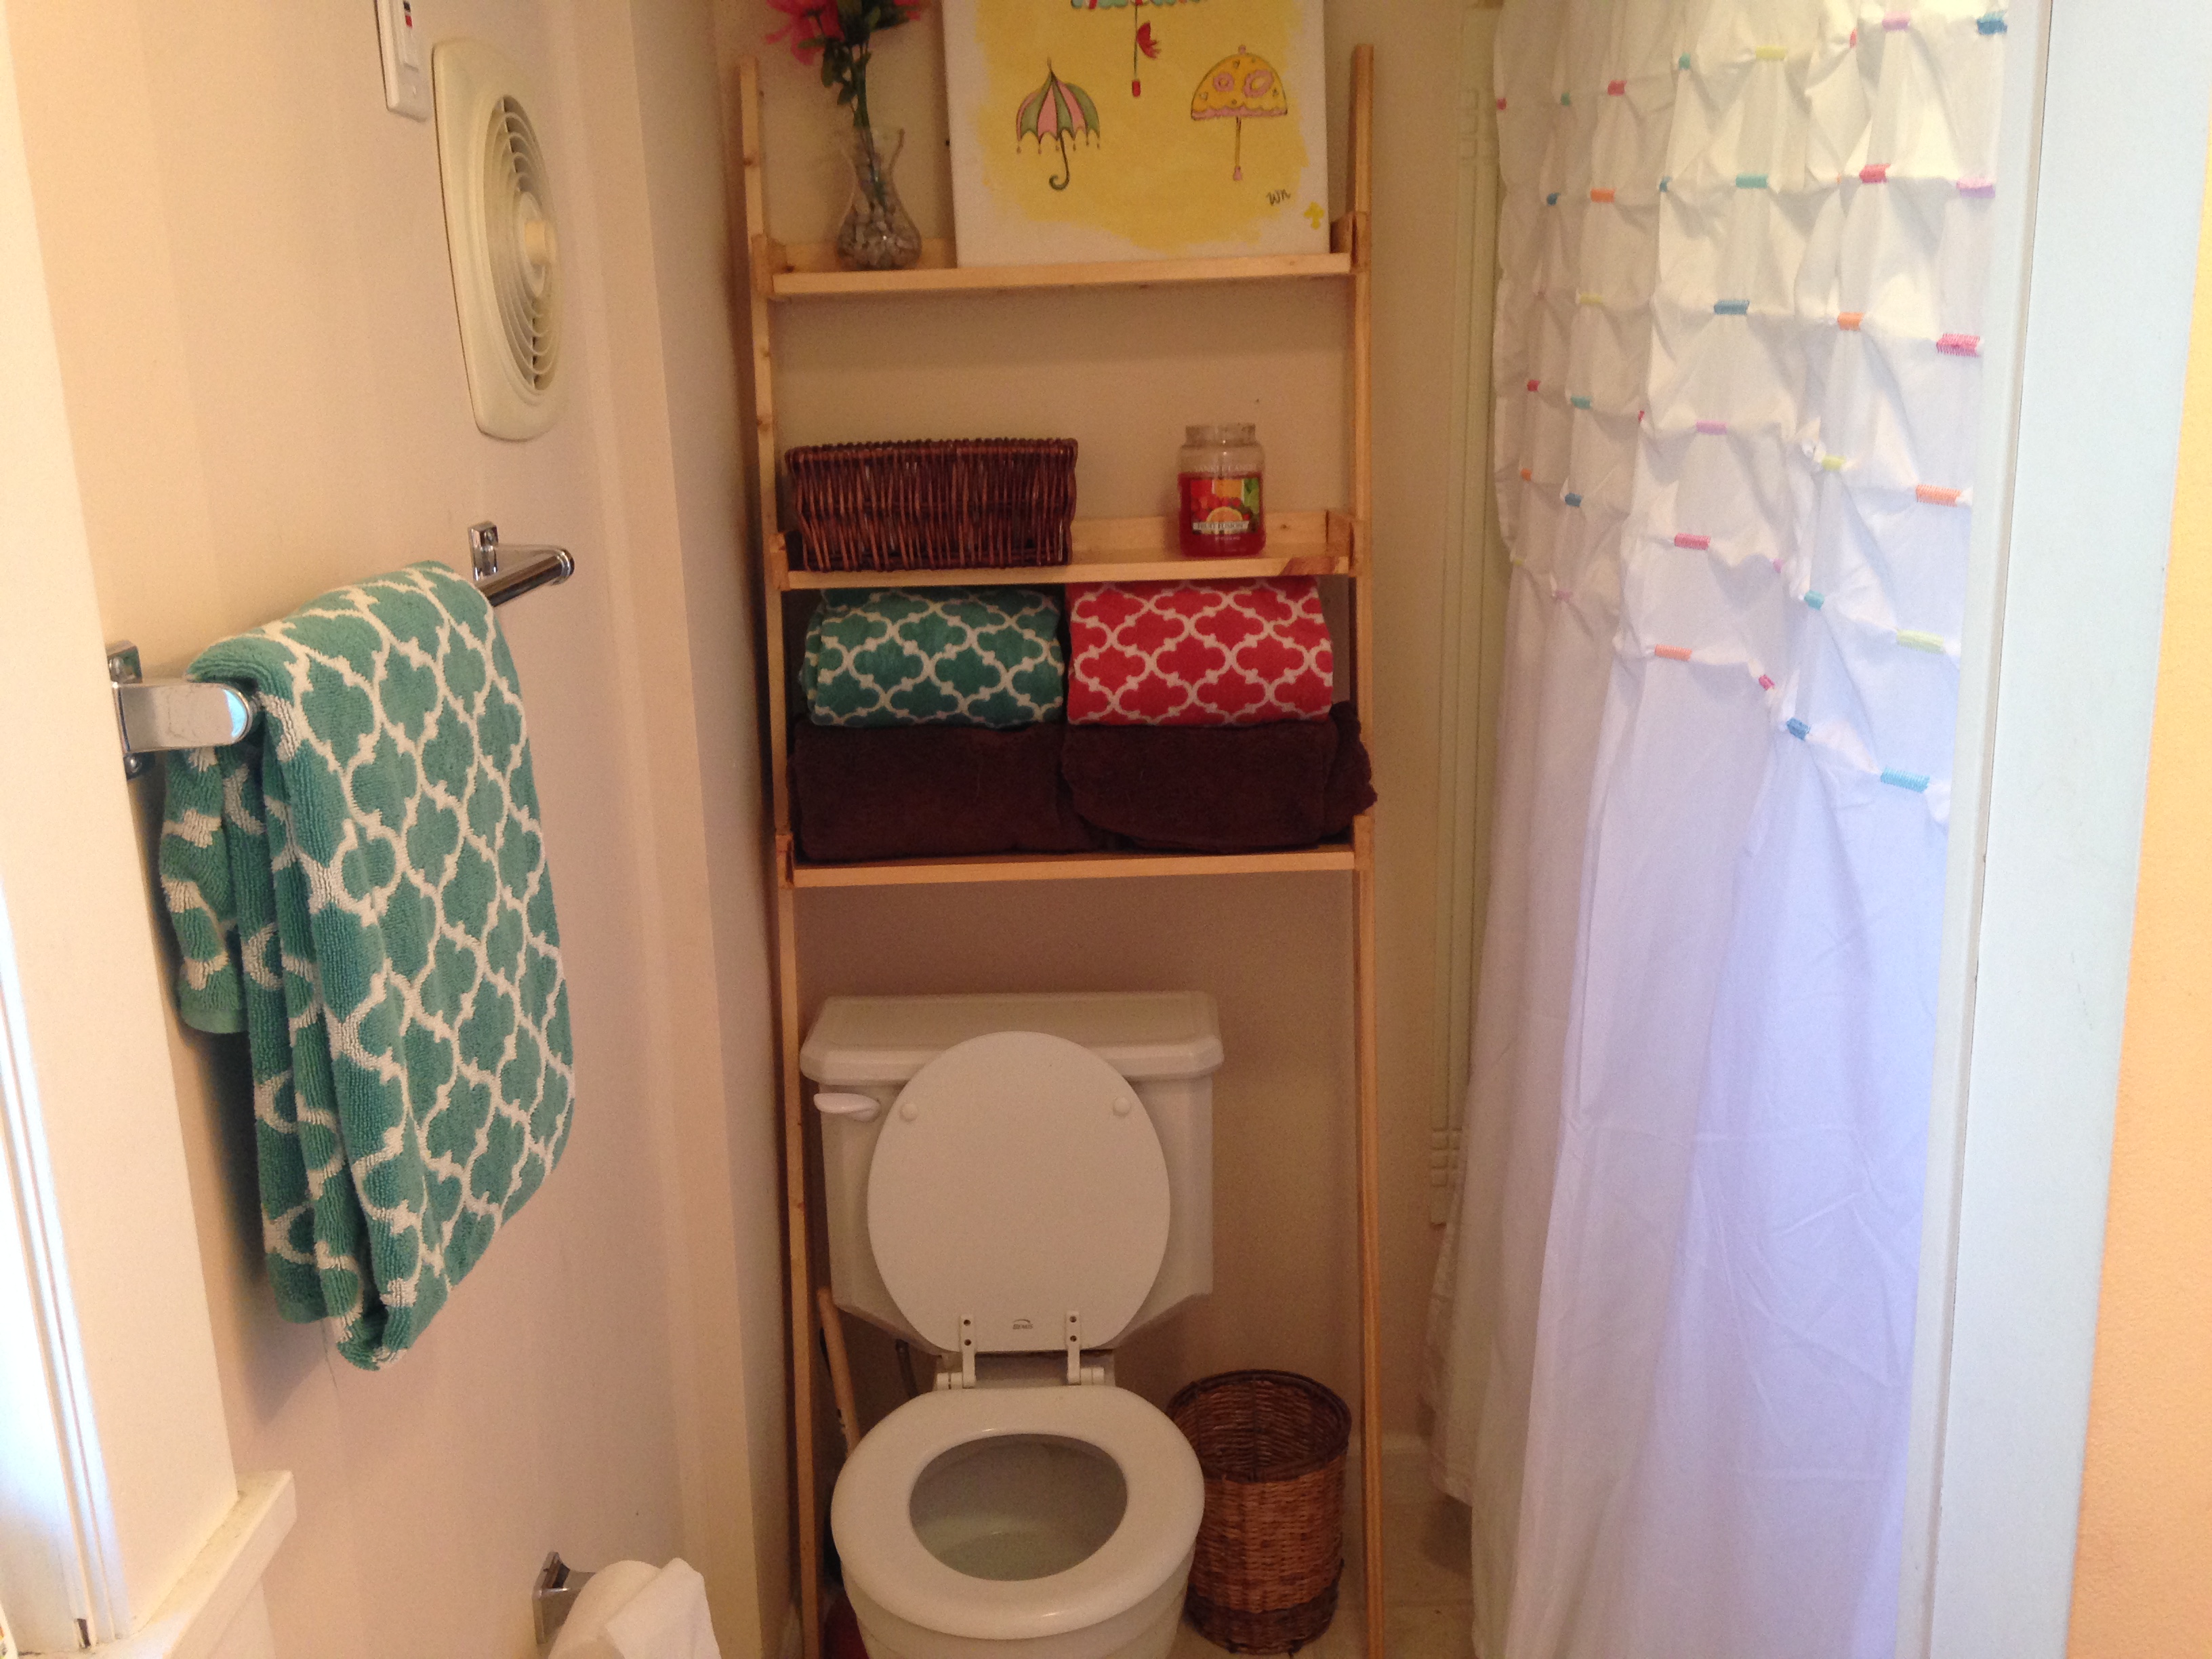
I am a really beginning builder (read: this is about my fifth project ever), but it is perfect for our tiny, narrow bathroom. I finished it with Golden Oak stain I already had on hand, and I enjoyed the process. Thanks so much for sharing the plans!
Built from Plan(s)
Estimated Cost
$30
Estimated Time Investment
Day Project (6-9 Hours)
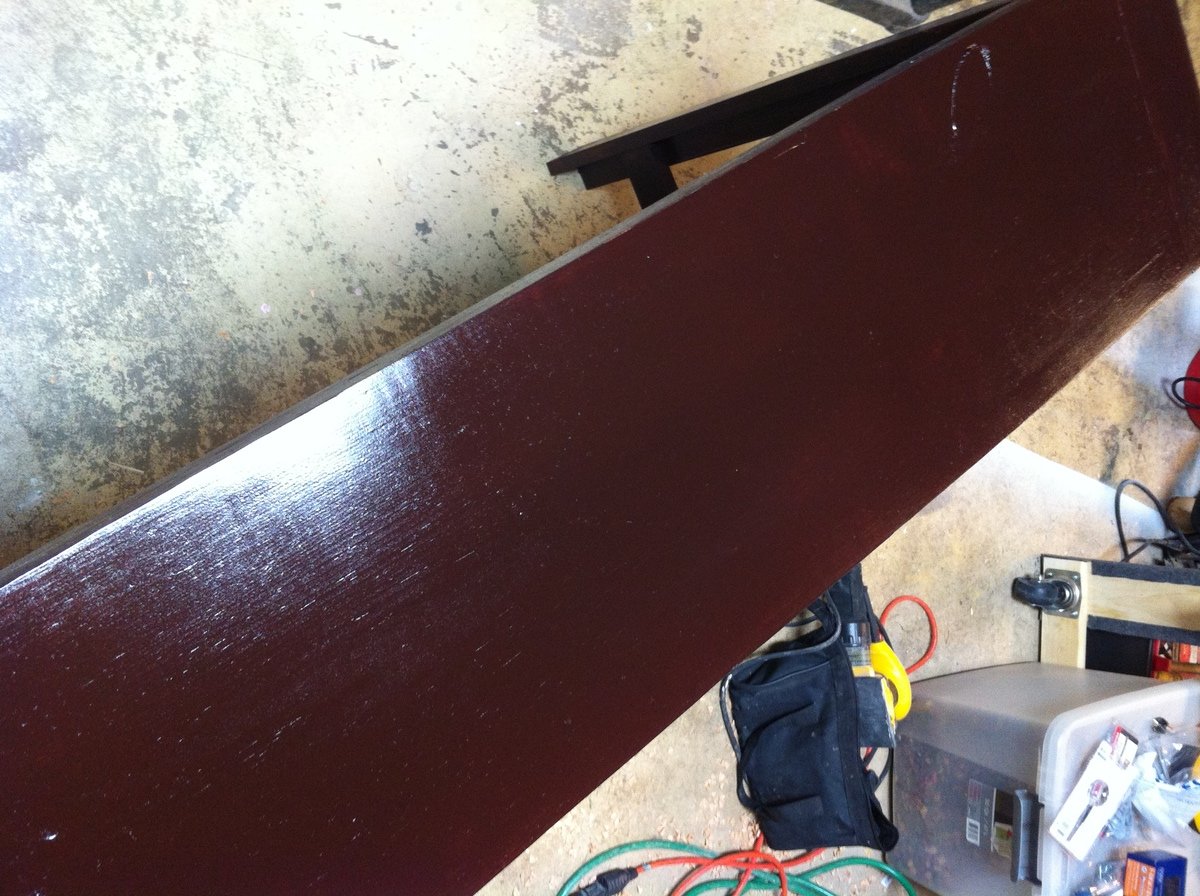
Finish Used
Golden Oak Stain and Poly
Recommended Skill Level
Beginner