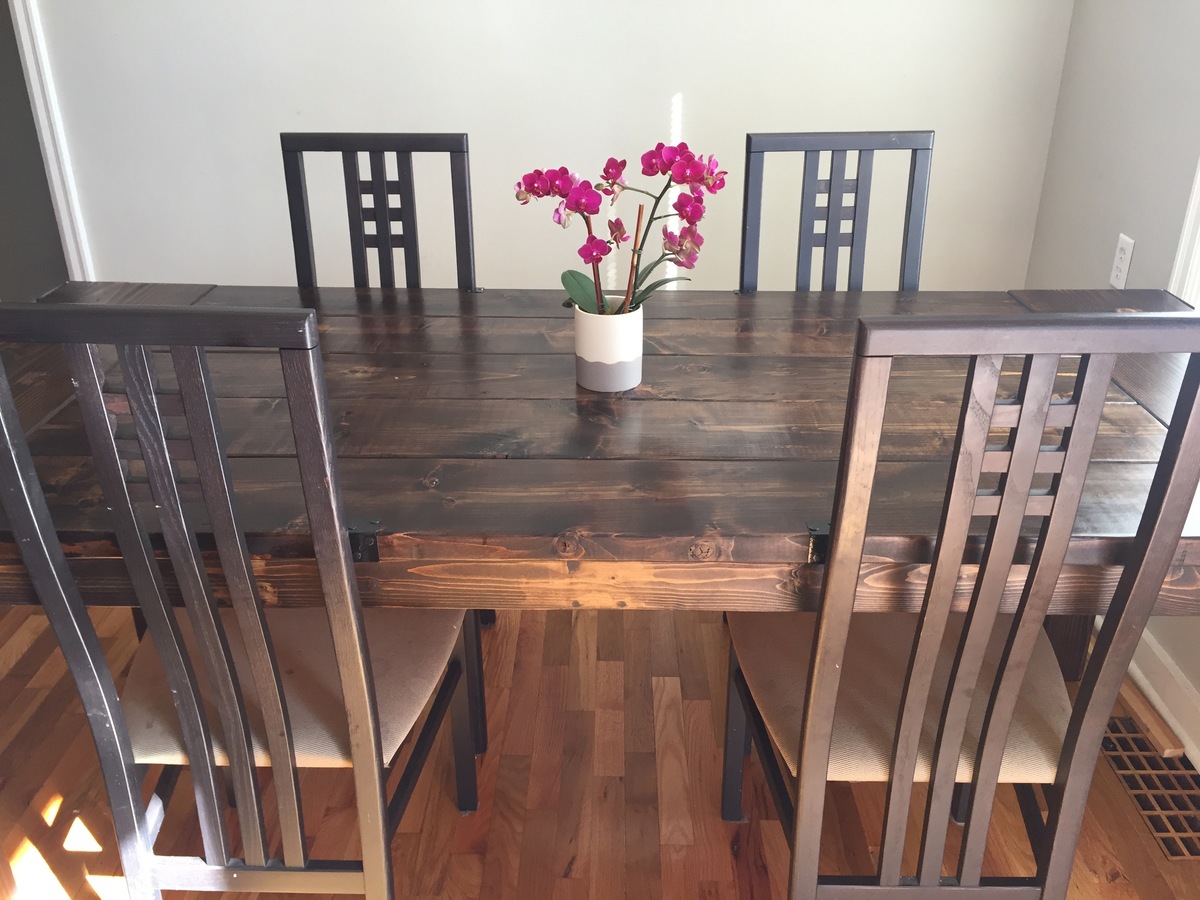
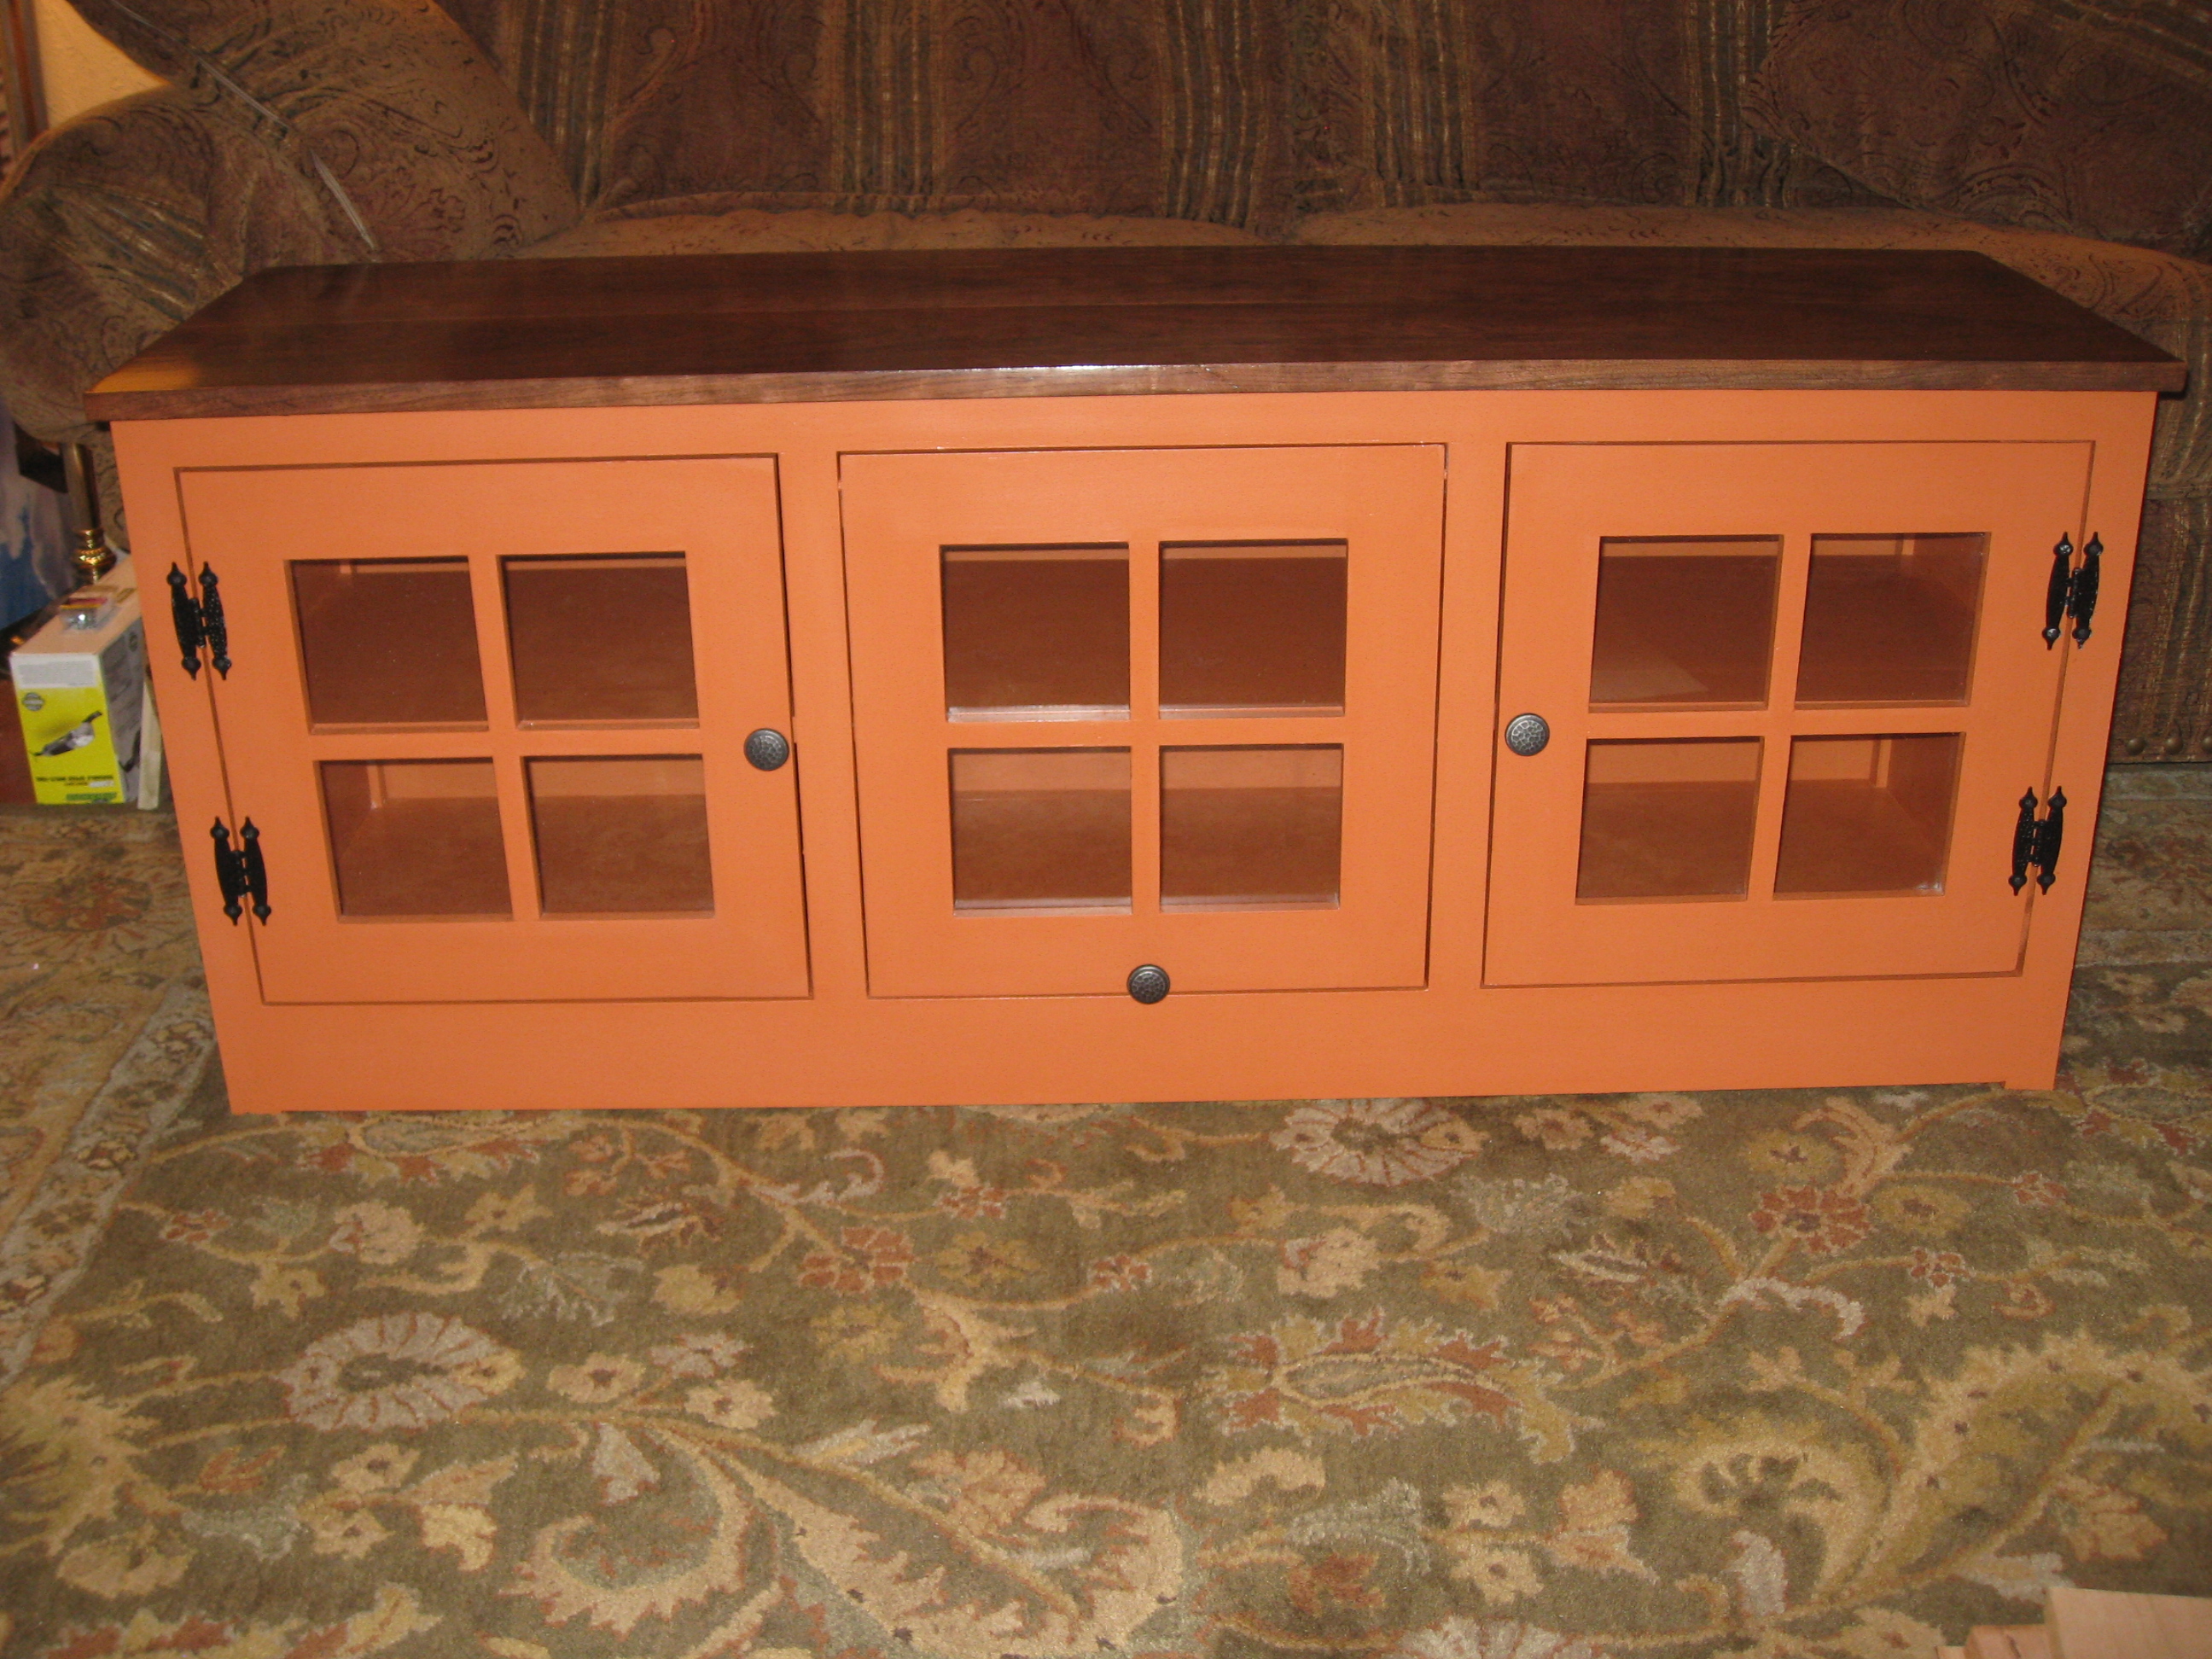
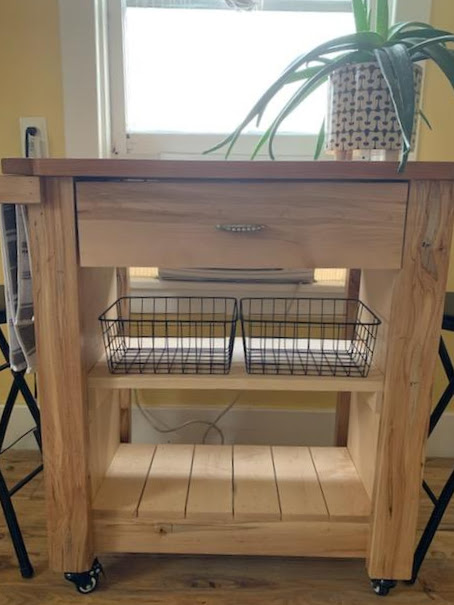
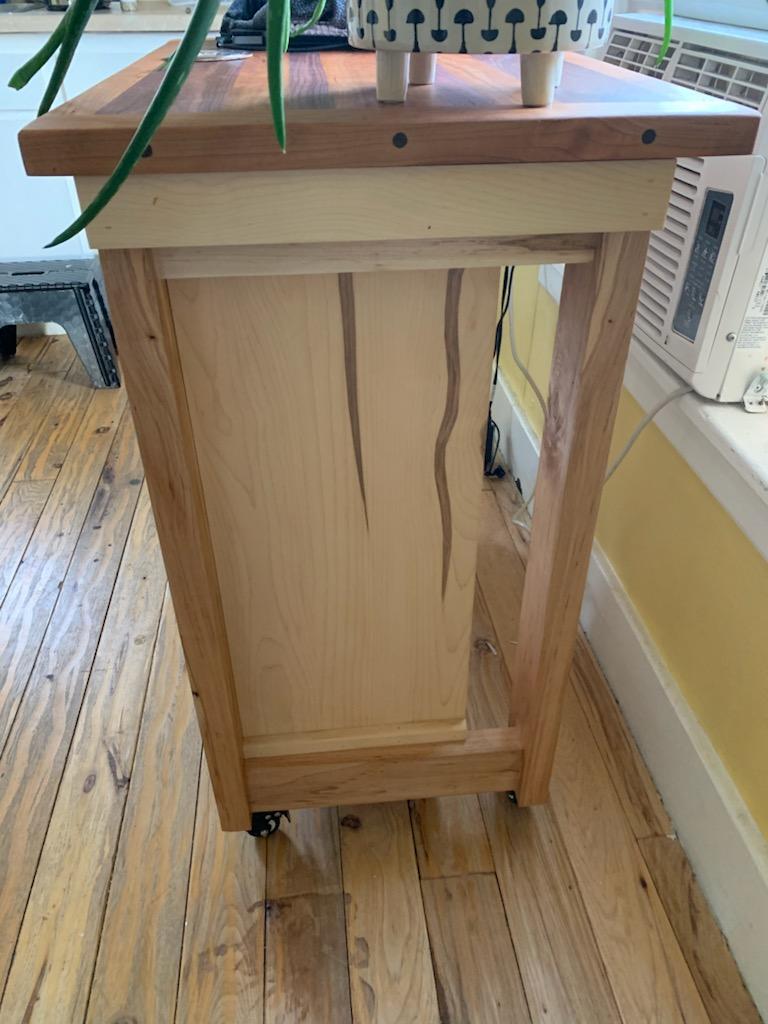
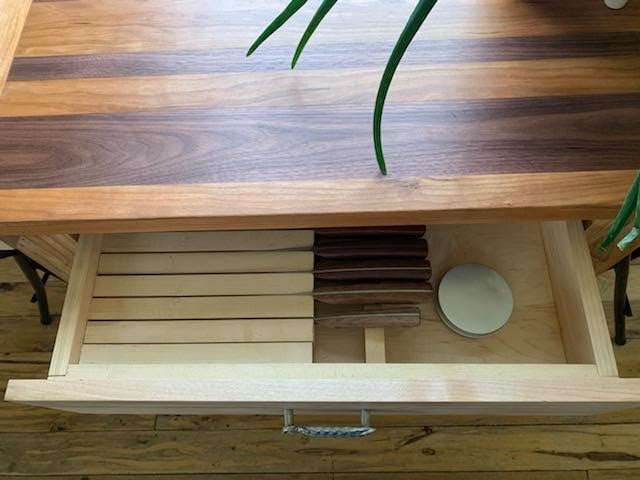
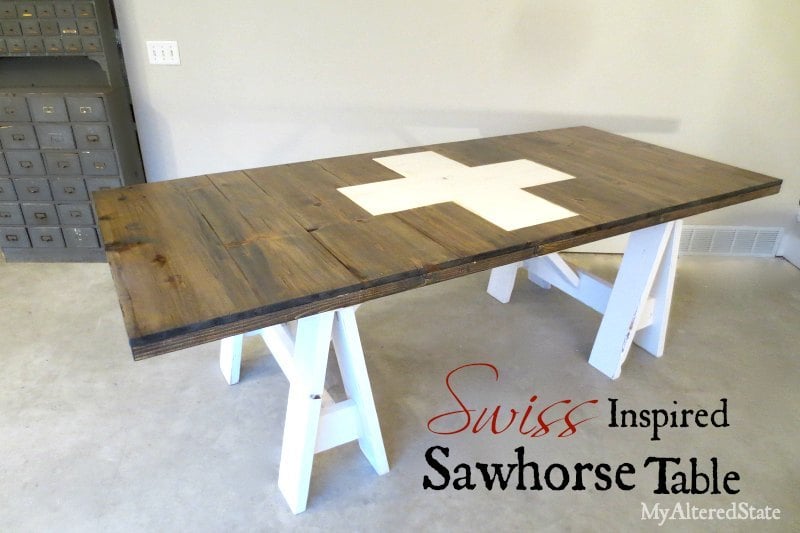
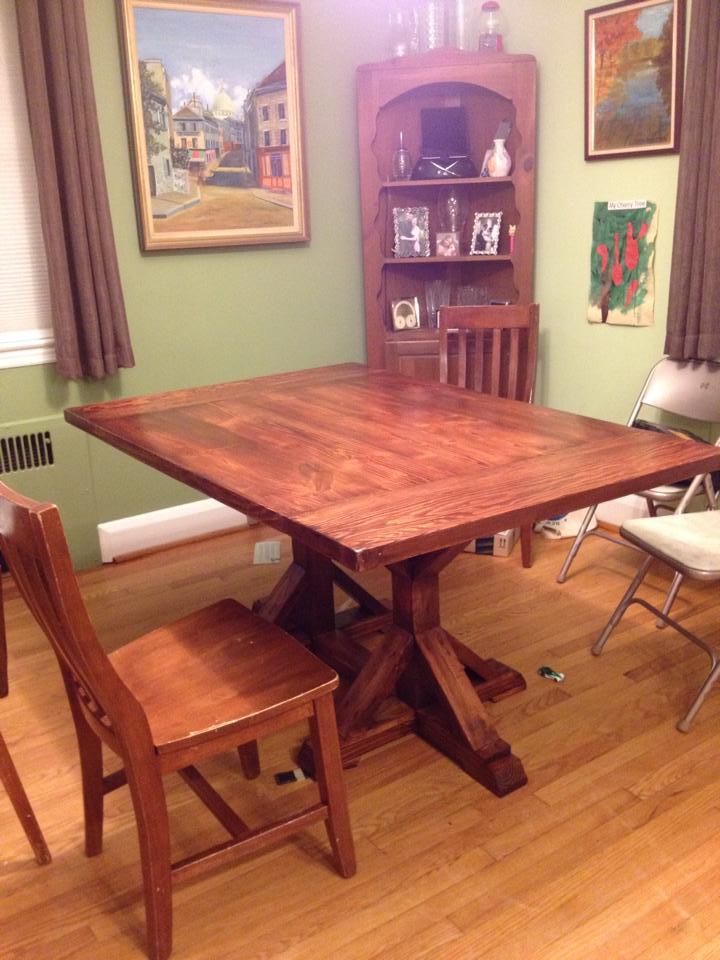
Dresser with Removable Changing Station Topper
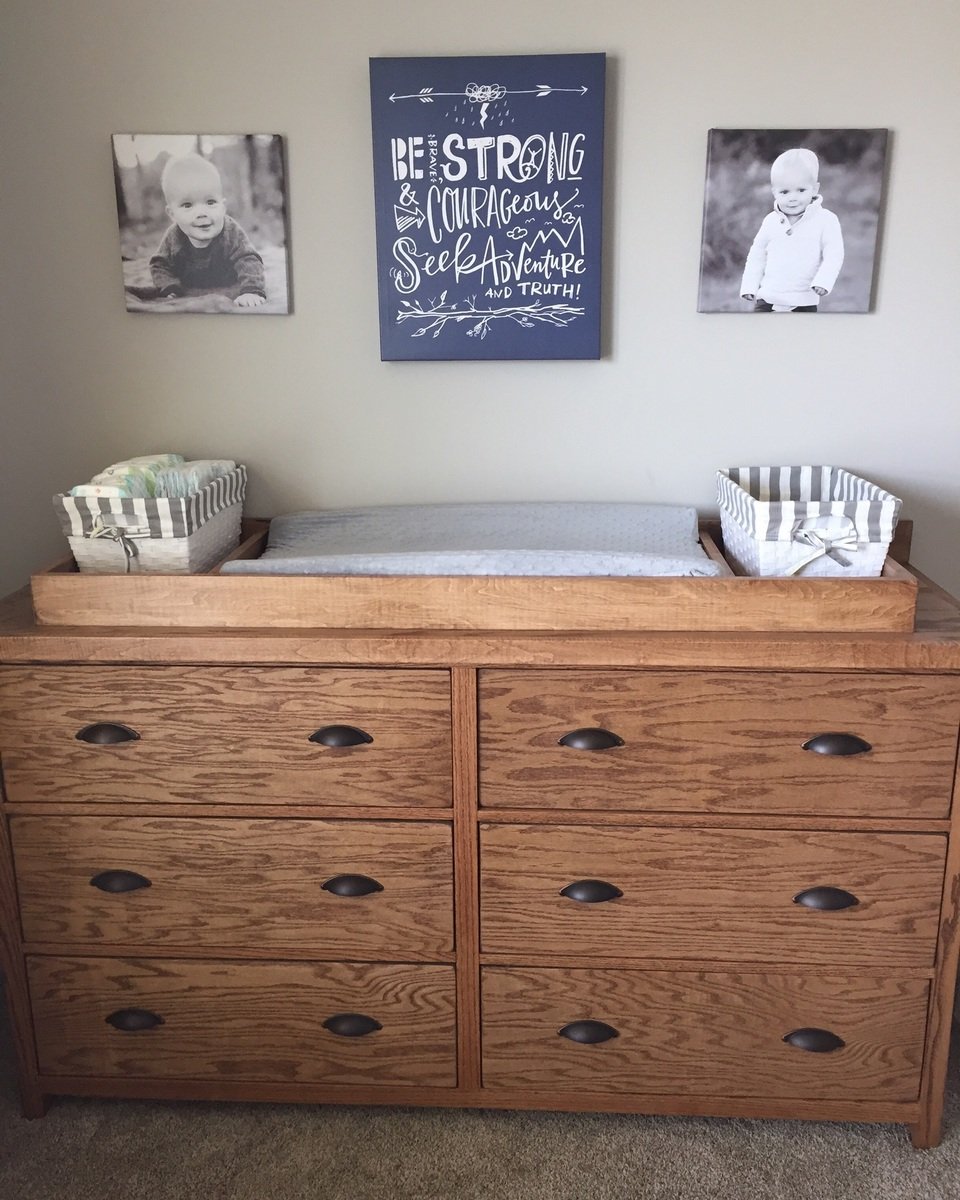
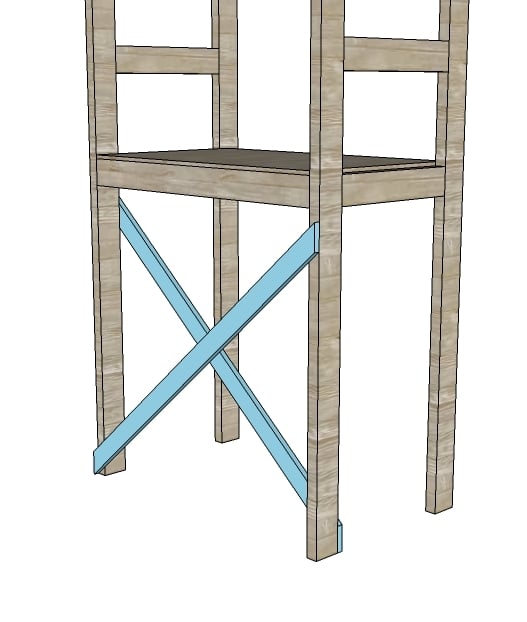
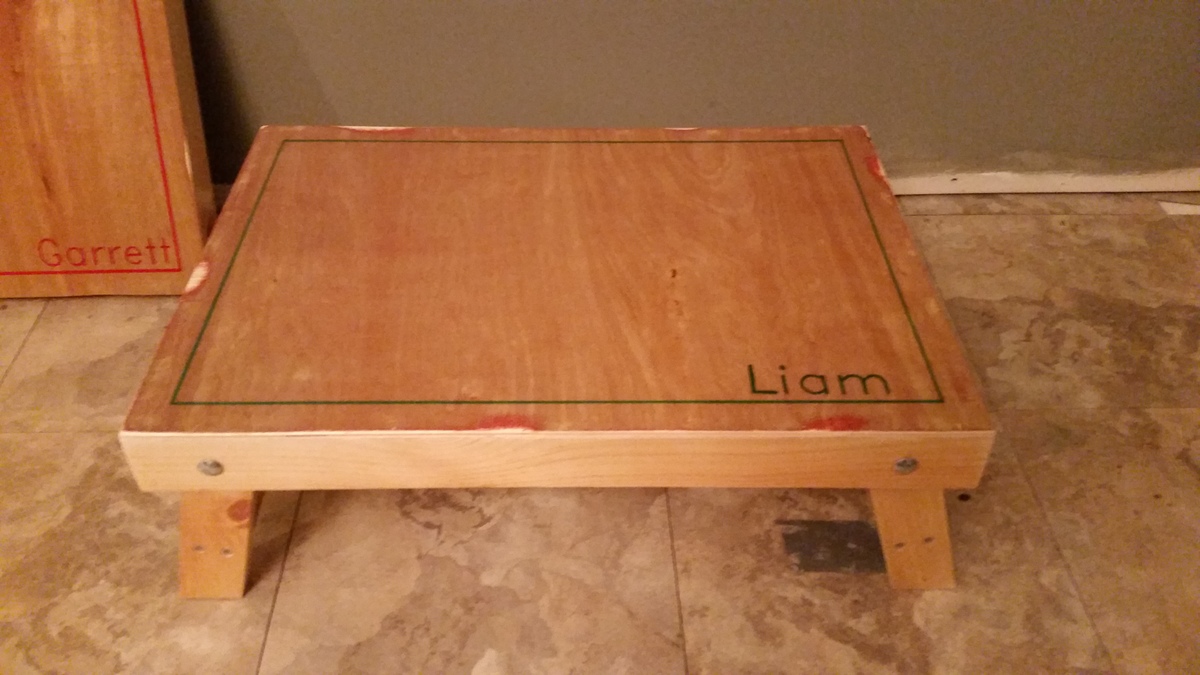
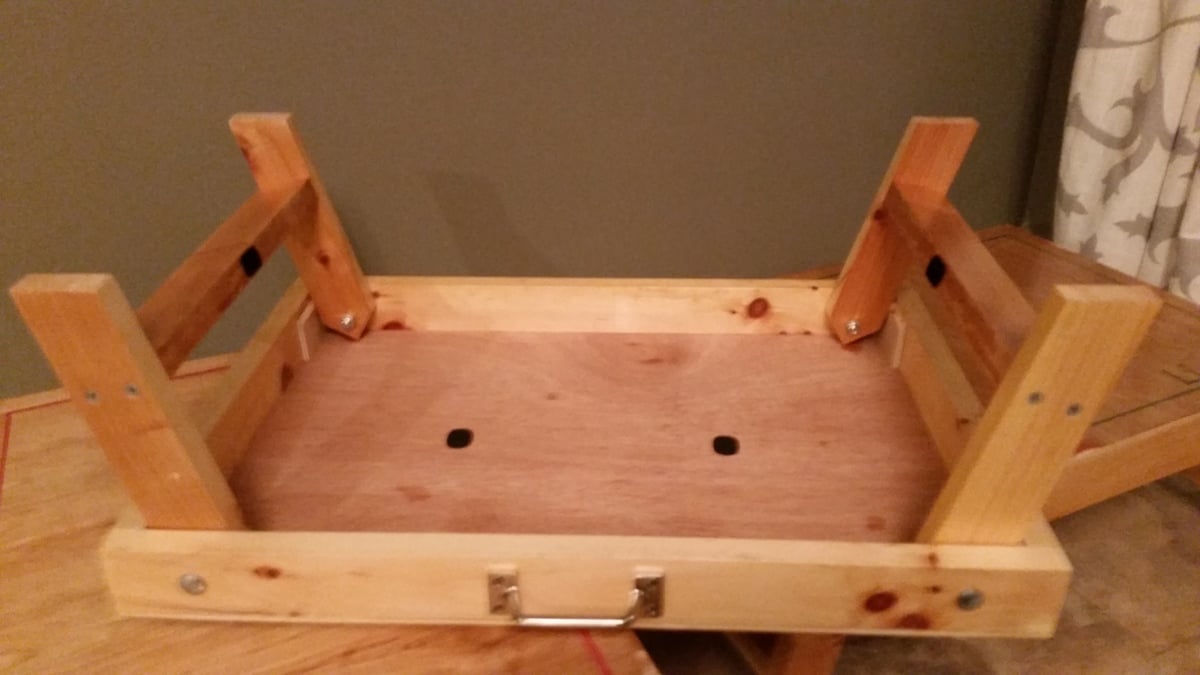
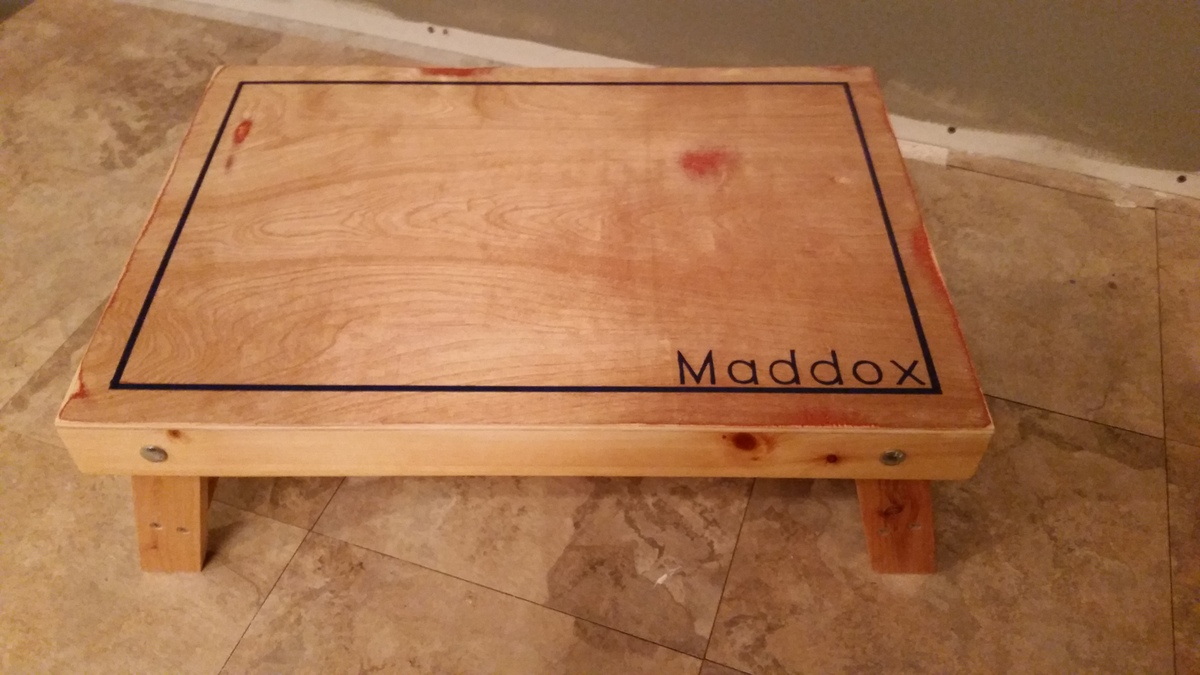
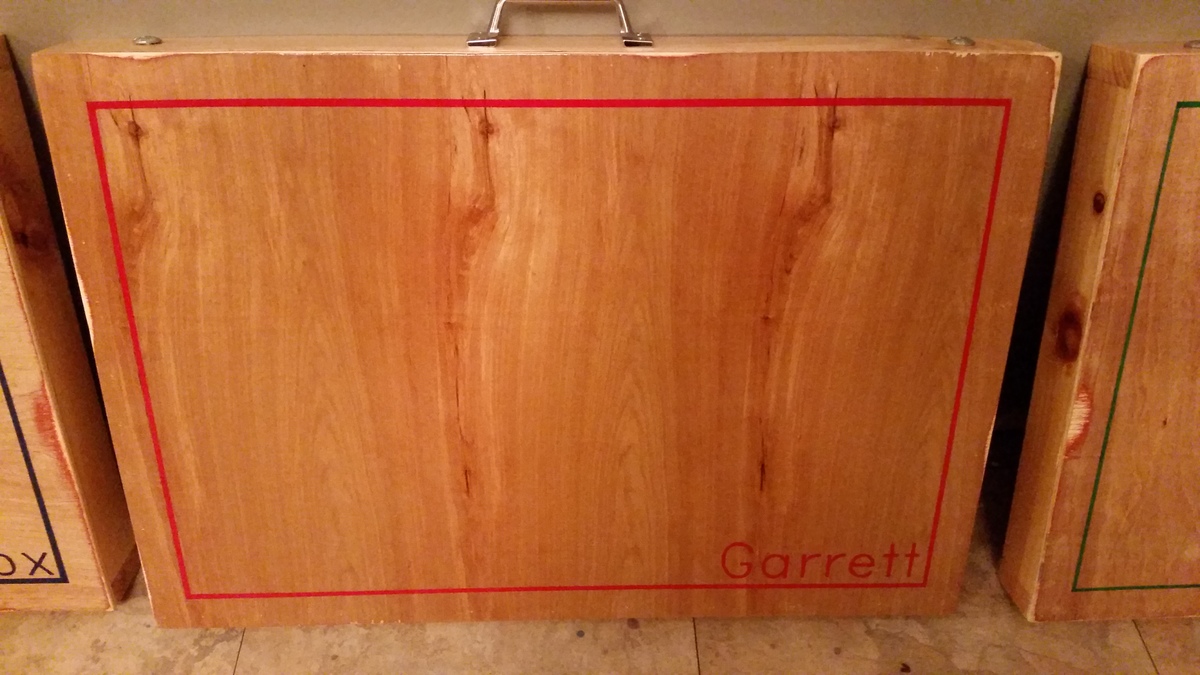
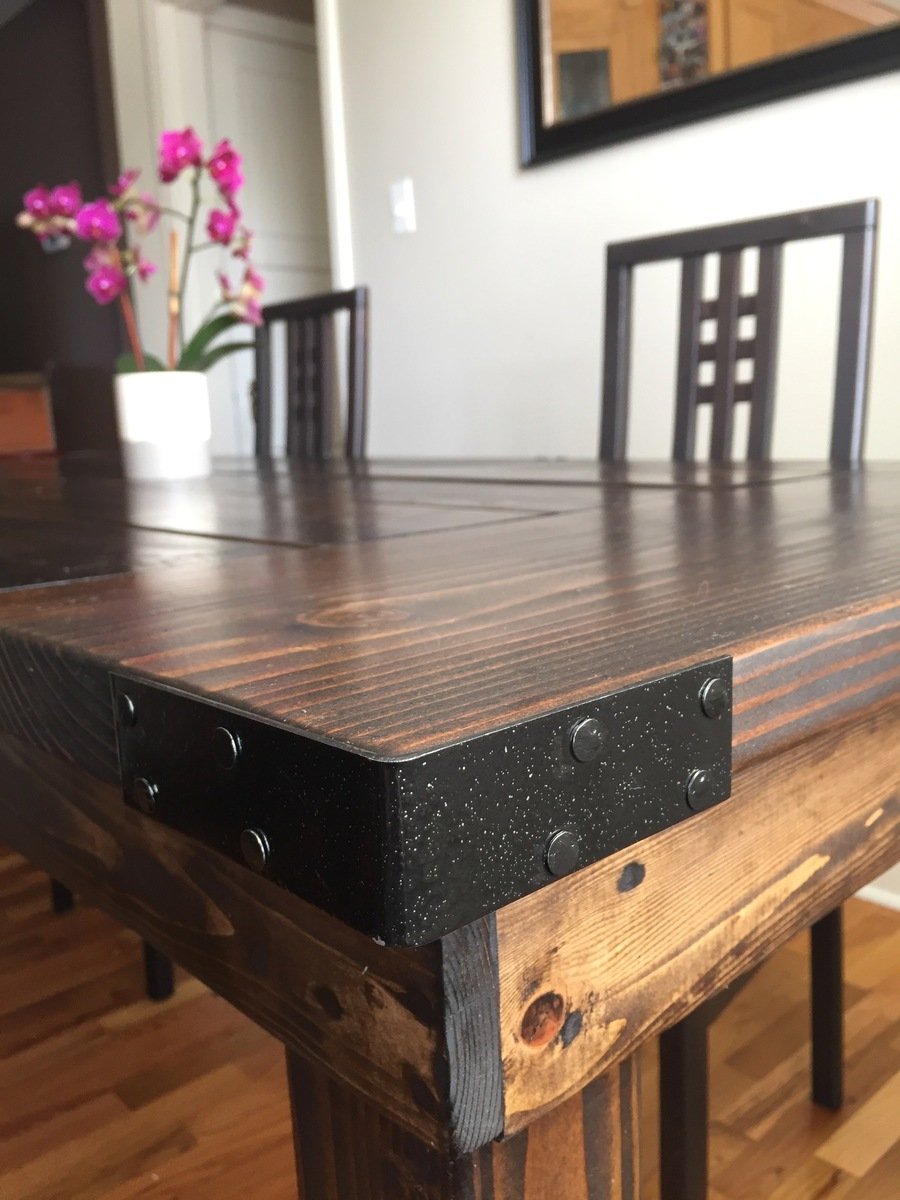
My wife and I loved the look of the Rolling rustic wood dresser. We didn't care for the wheels so instead I opted for legs, 2.5" long. I simply made a couple of tweaks to the frames (the bottom 2x2 was shortened to 59.5" and the side 2x2's were extended to 34"). I then built a really simple topper that fits a changing pad and a couple of baskets my wife bought for miscellaneous supplies. The topper is removable so when my son is no longer in diapers, we can simply take the topper off and he can have a flat surface on top of his dresser. All-in-all, we are all really happy with the end product!
Built from Plan(s)
Estimated Cost
We used Oak plywood and boards so about $200
Estimated Time Investment
Weekend Project (10-20 Hours)
Finish Used
Minwax Early American Stain
Recommended Skill Level
Intermediate


Comments
Ana White Admin
Sun, 03/19/2017 - 11:54
Wonderfully Made!
Excellent idea! This will last for years to come, thanks for sharing!