Community Brag Posts
My dogs new home!
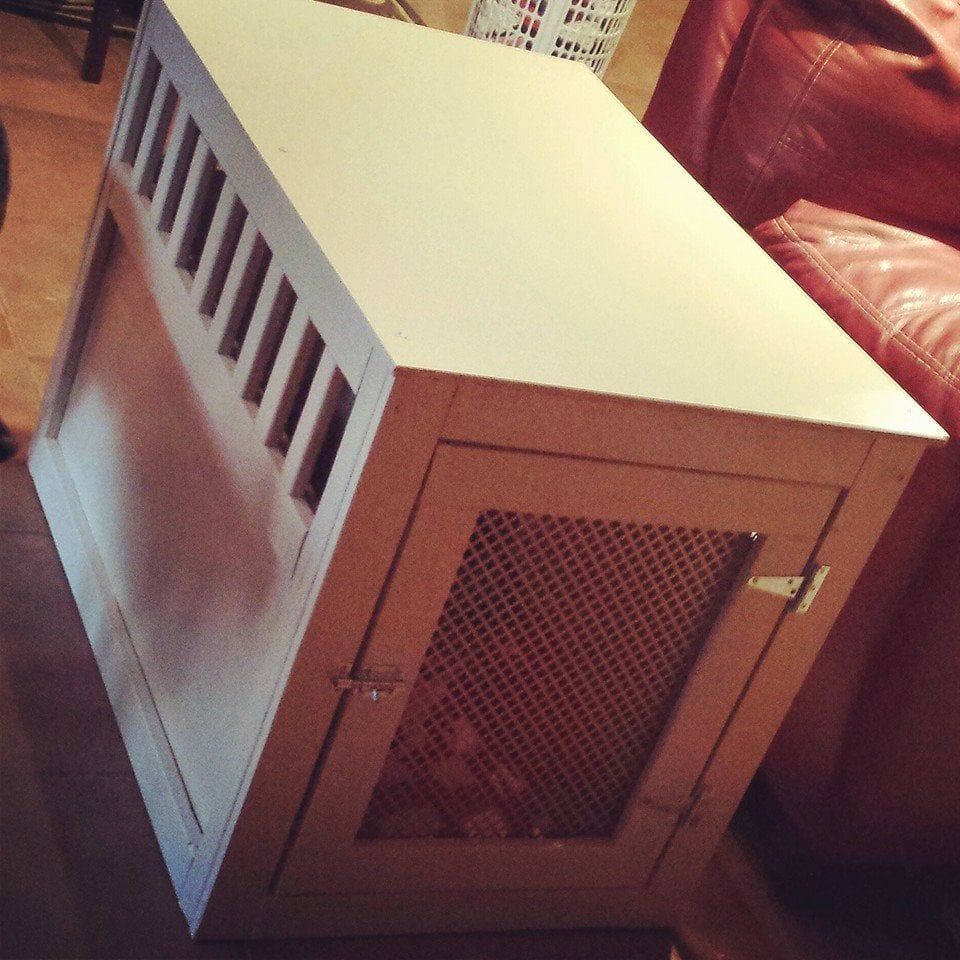
Built this project for Mindy, our dog who needed a new crate. We used metal screen for the front door, and probably would use it fo the sides too for the future. Lessoned learned, be more accurate in cutting pieces! I also didnt find the door plans! So i had to wing it!
Barn Project
Hi Ana & Hubby
Completed the shelving unit this past summer in my Barn, great plan and really easy to put together,
Thank's for the plan and step by step instructions, Going to build another unit in the barn come spring time here in Upstate New York. I made mine only eight feet wide by eight feet high givin the space I had
it's eight feet between 4x4 upright polls. I went with a center 2x4 for added strength to avoid possible sagging from heavy weighted items I will be storing. I left room inderneath as you can see, I store my saw horses and my push mower under it well.
Warmest Regards
Steve
Comments
Tue, 11/08/2016 - 16:23
Hi Steve! Thank you for
Hi Steve! Thank you for posting, your shelving looks awesome!! I like the lawn mower storage underneath. Nice! Ana
Live-Edge Cedar Chair
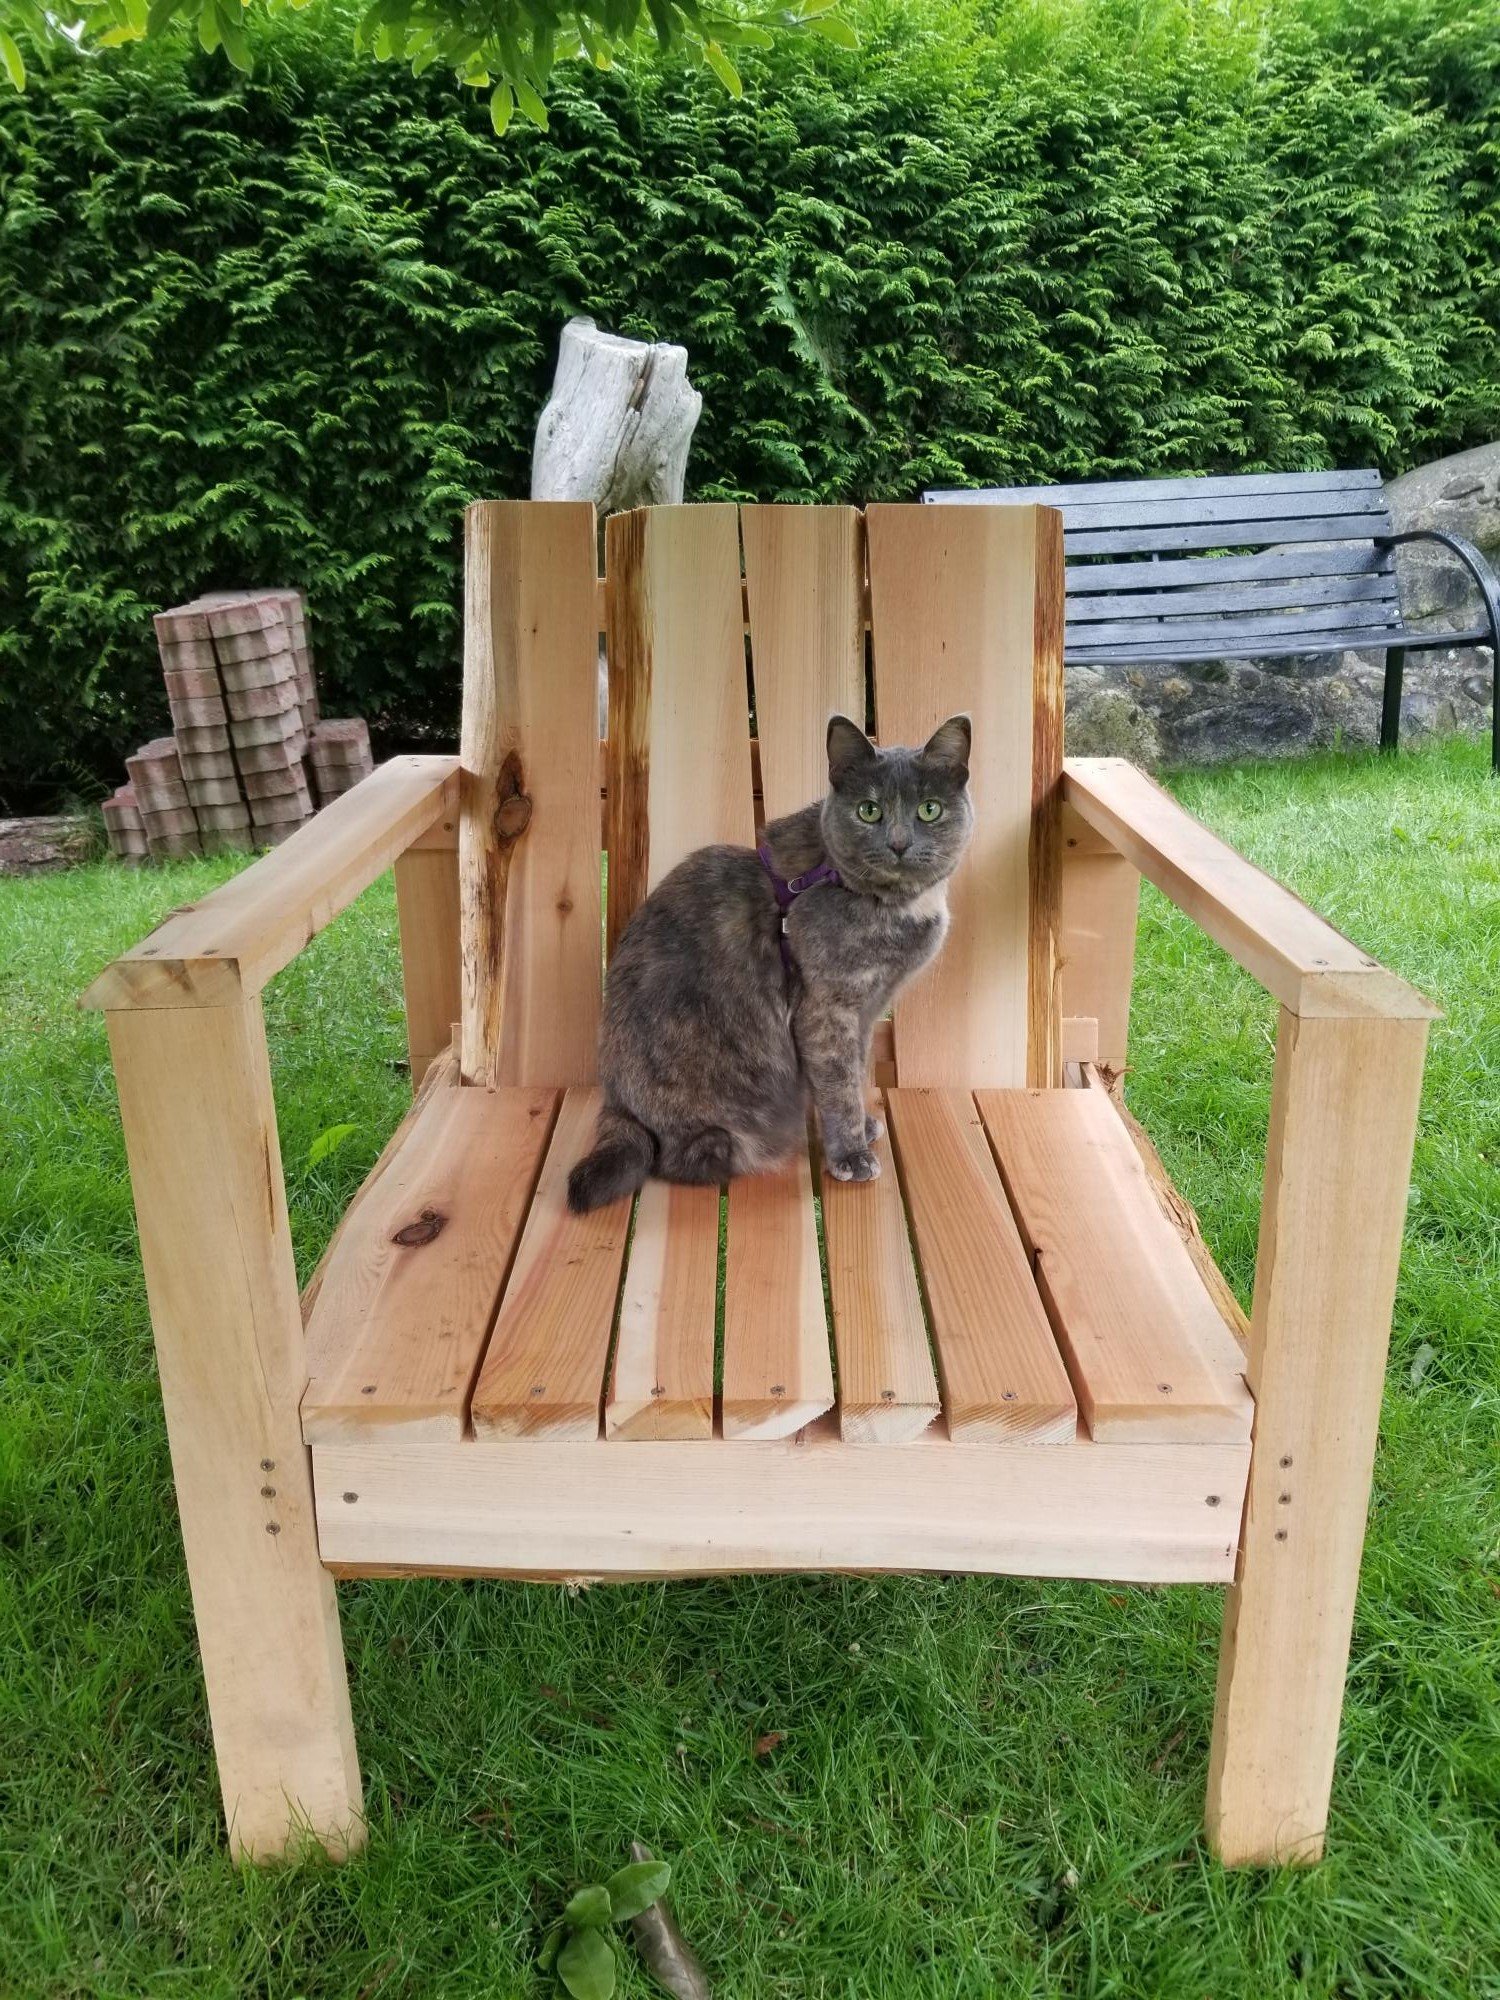
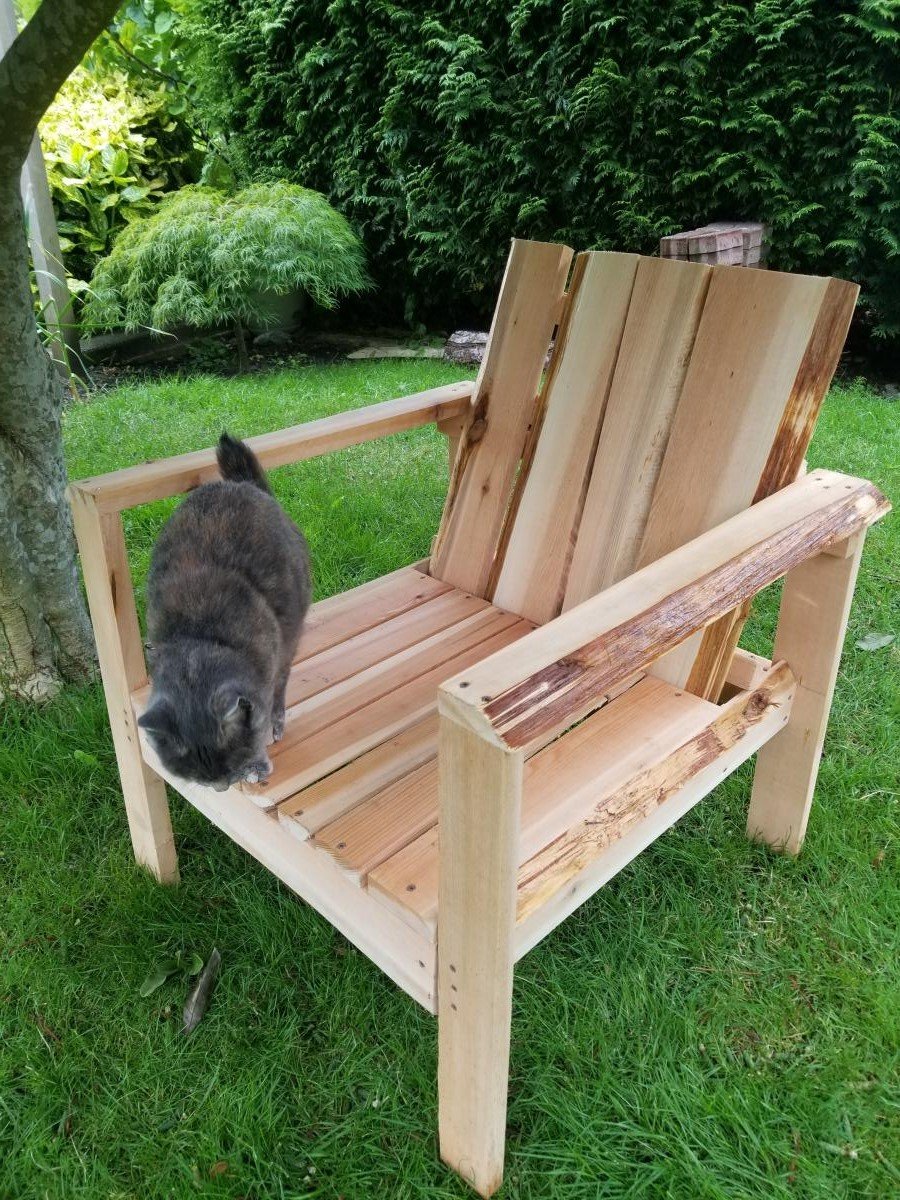
This chair came together beautifully and is really an impressive piece. I managed to finish it in about 8 hours start to finish. I used the "original plans" that are linked in the description in order to avoid pocket holes (which are out of my skill range for now). In step 2, there is an option to place the back support on the inside of the legs instead of the outside for lesser of an incline. I followed this and would strongly recommend it. The chair is sturdy, wide, and comfortable even without a cushion. Thank you for the detailed plans!
Outdoor DIY Wood Furniture
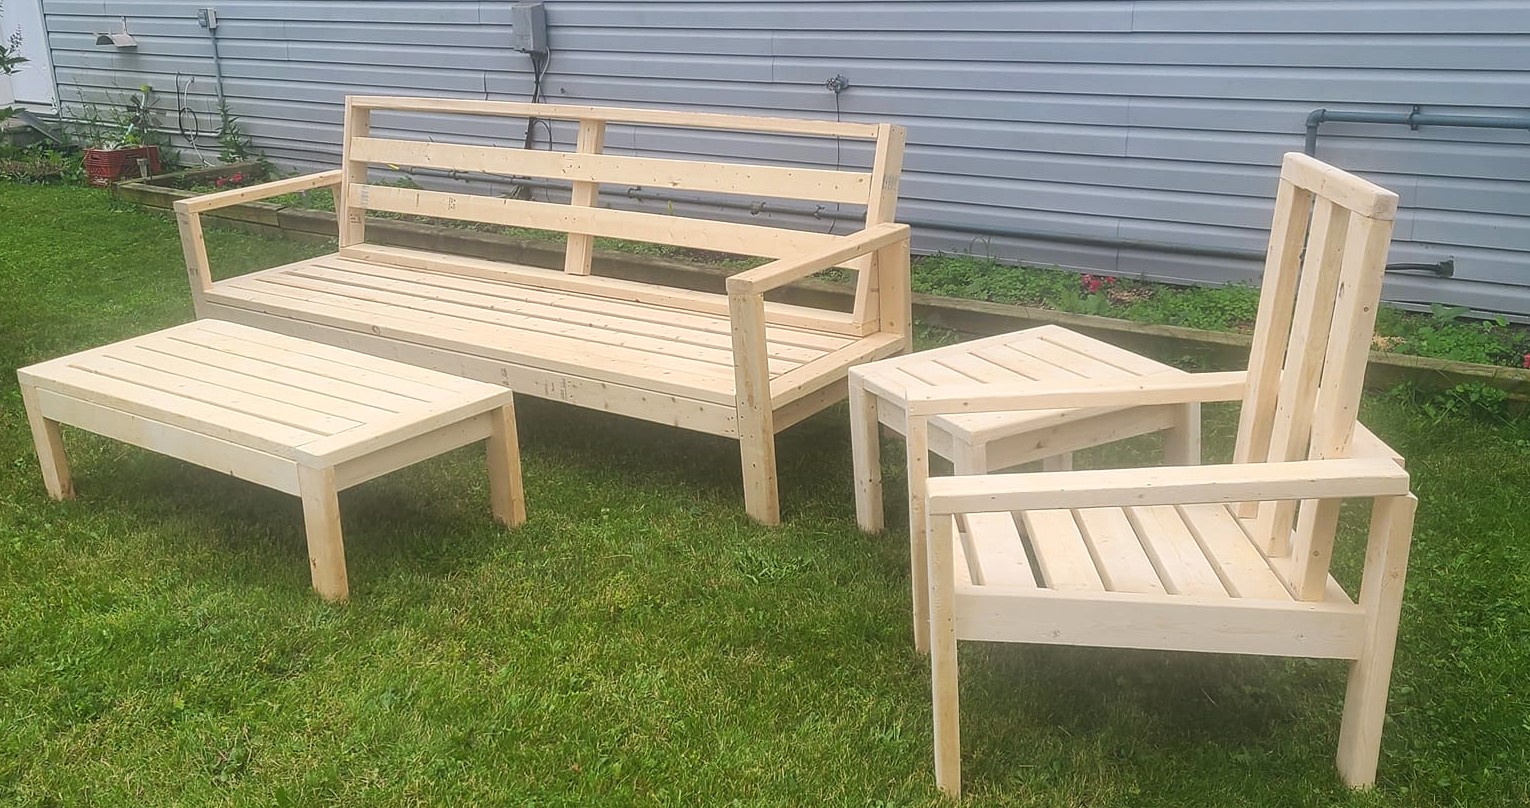
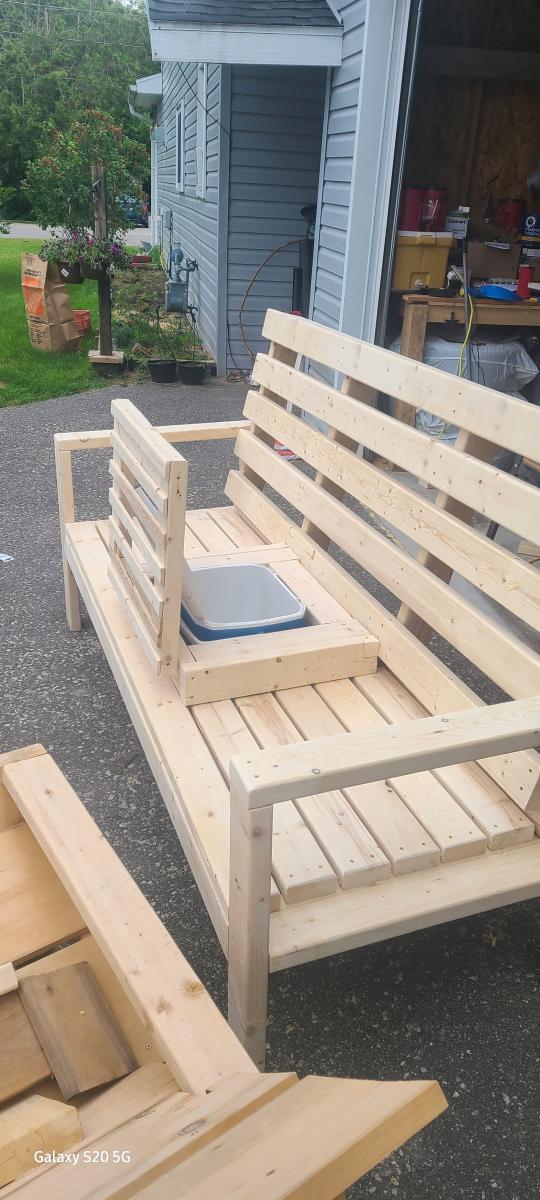
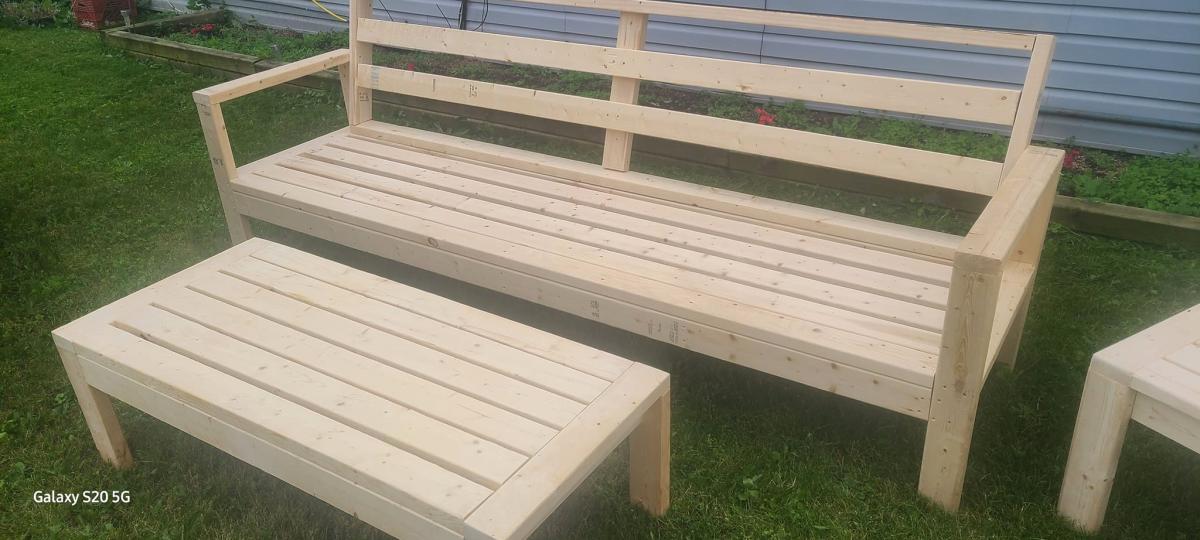
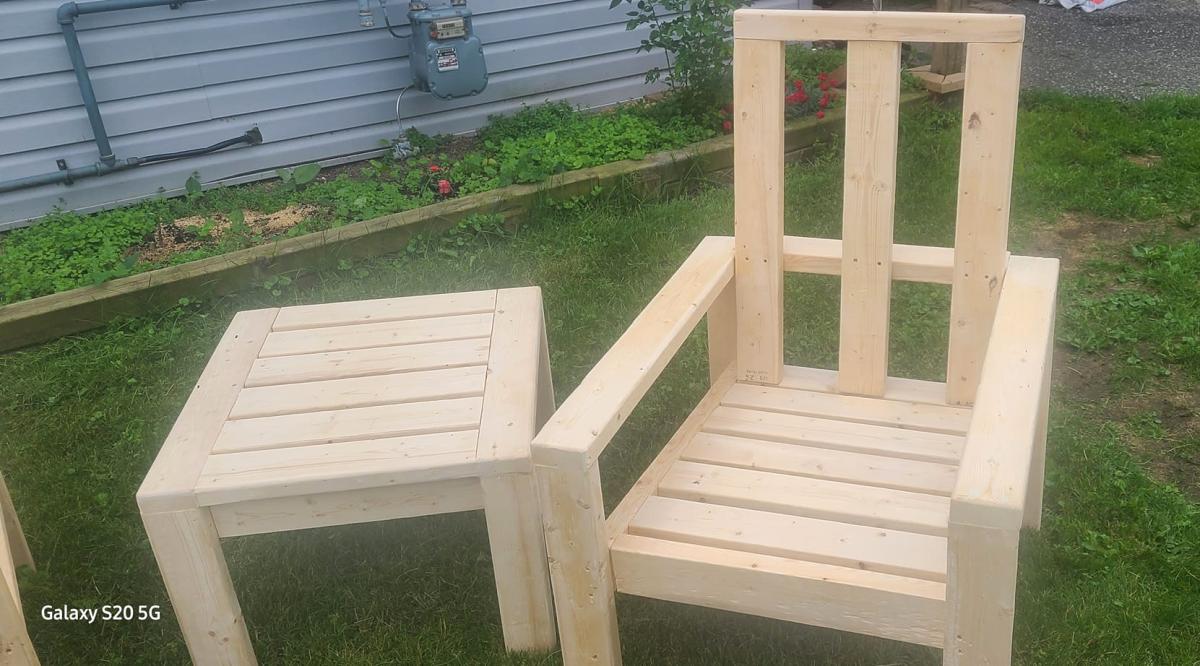
Second pic is a 6ft variation of your bench with a cooler installed in center. The other 3 pics are also from your plans, this is an 8ft bench with coffee table, end table and chair. not sure where I went wrong on the angle for chair but the length was correct however as you can see the back of the arm came up 1" short.
John Dunn
Corner Shelf
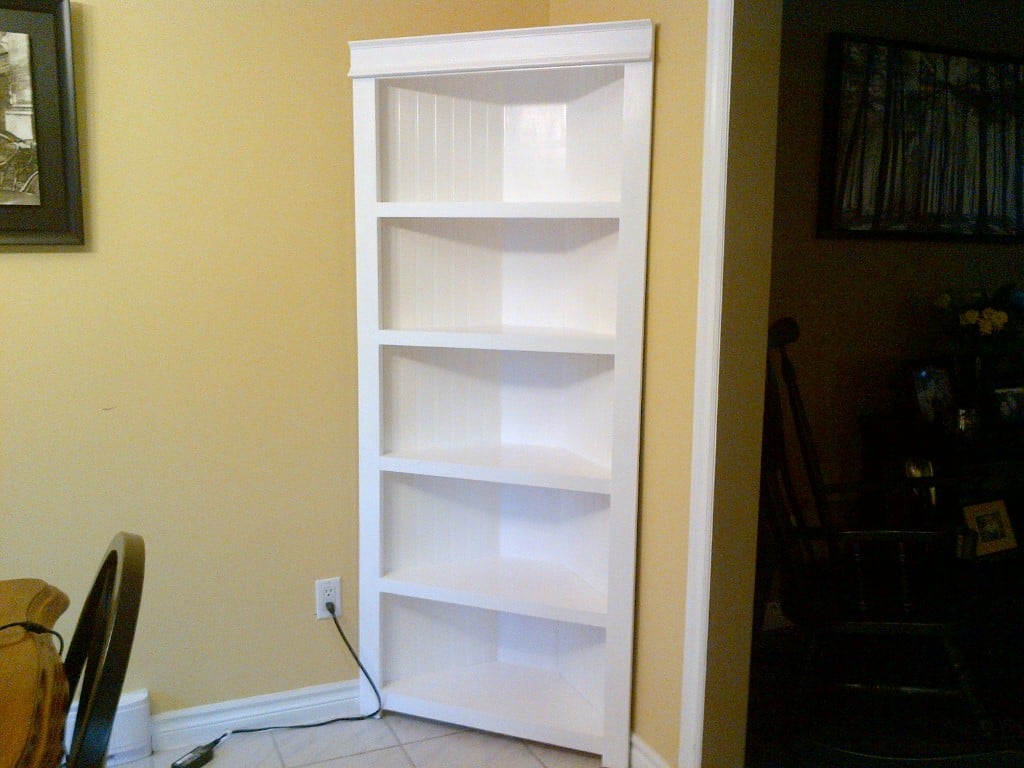
Fun to build
Outdoor Bar
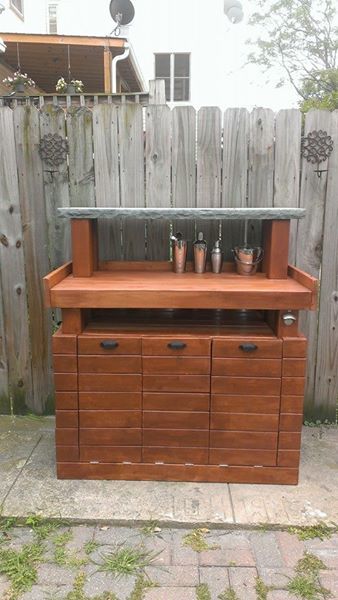
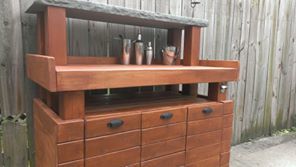
I used two of Ana's designs (the Potter's Bench and the Recycle/Garbage tilt out design) to make this outdoor bar. The containers can hold the beverage of your choice (I found metal ones and used ice to keep things cold). It was a big hit at the party and makes serving much easier. Thanks Ana! Keep up the good work.
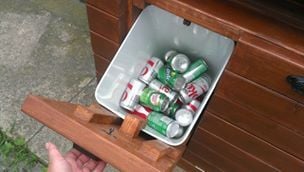
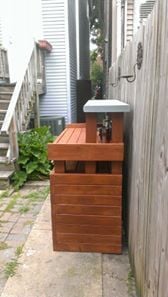
Comments
Wed, 12/03/2014 - 13:24
Thanks it was a Bluestone
Thanks it was a Bluestone slab from a local gardening/landscaping store in Chicago.
DIY Indoor Playground
I built this project by myself. My husband helped move the large pieces when I connected them, so one person really can tackle this project! I had a combination of scrap wood from new home construction on hand and store bought lumber. Most of my time was spent sanding, sanding, and more sanding, especially with the construciton grade lumber. Yes, it was worth it! I used tongue and groove wood for upper level flooring and bridge. It really made it easier to put the floors together. I connected all the tongue and groove pieces with a snug fit and used my brad nailer to secure it down on the perimeter of the floor. Therefore, not every peice had to be screwed down.


Comments
Adjustable pipe stools
White chair was made first mostly based on the original plans, but my pipe flange broke immediately. So I just bolted the top on and then made red chair with a pipe and harbor freight pipe clamp instead of all-thread and nuts. It allows easy instant adjustment and a better fit with the pipe flange.
The reason I made the change is that pipe threading has a tapered angle, so when used with all-thread which is a strait cylinder, it doesn't make proper thread contact. On top of that, the only all thread I could find had a different threads per in (10 vs 14) than standard pipe and cross threaded my flange, causing it to break on the first use.
I used 3/4ths pipe because I was trying to avoid all possible problems from the first try (which used a 1/2 in pipe flange) and this took too much material out of my cross supports for my comfort. So I added 45 deg right triangle scrap to the corners to beef it up. Probs would be much cheaper and still work fine with 1/2 in pipe.
Finally both chairs have much shorter legs than suggested in the plans because I needed regular chair height stools, not bar stools. And they still get high enough to be usable at counter height (but not ideal).
American Girl Doll Bunk Bed
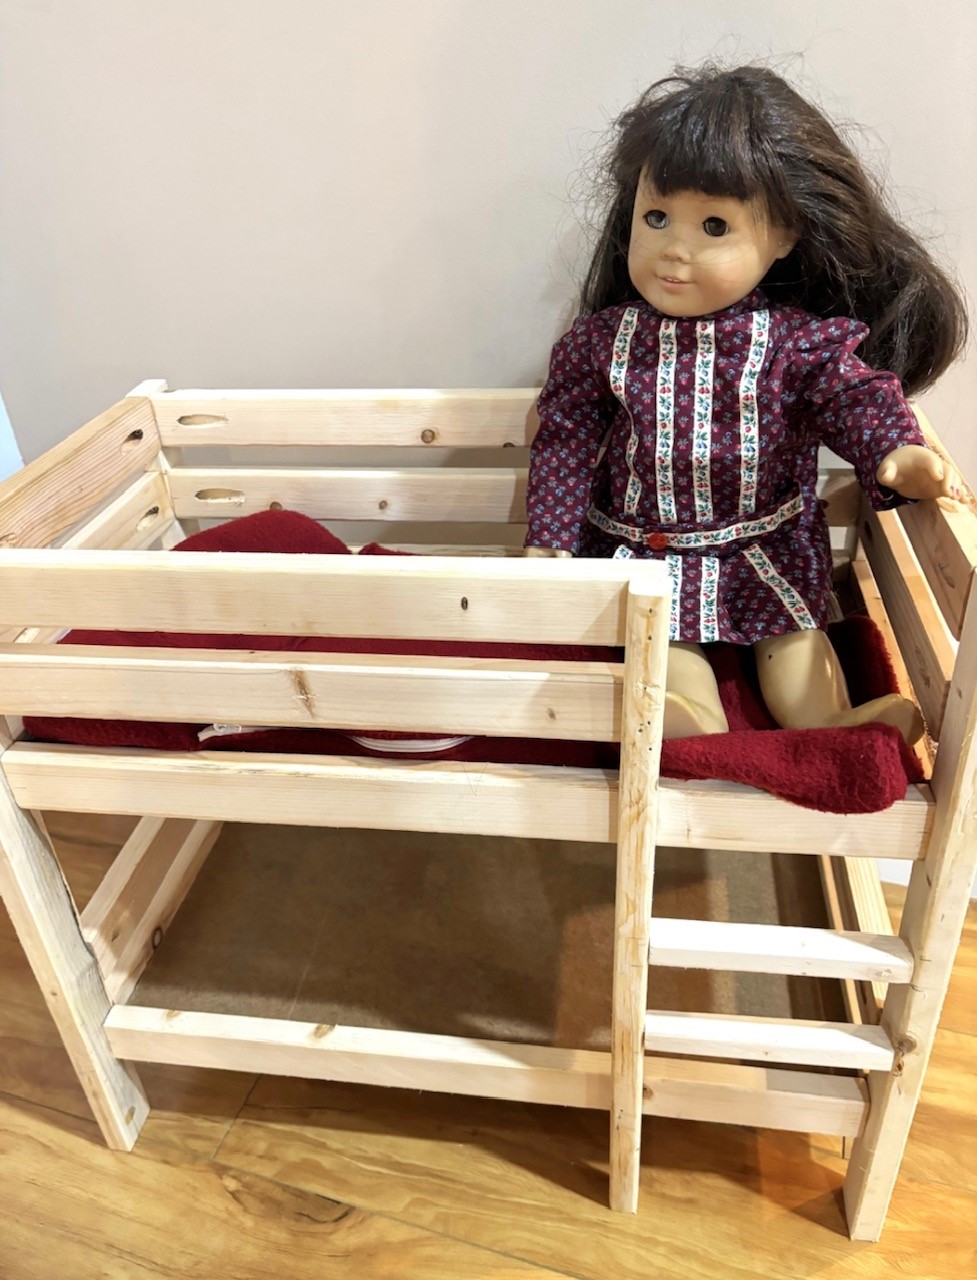
Made this for my granddaughters! They love it!
E Sewitch
Horizontal 6 hole cubby
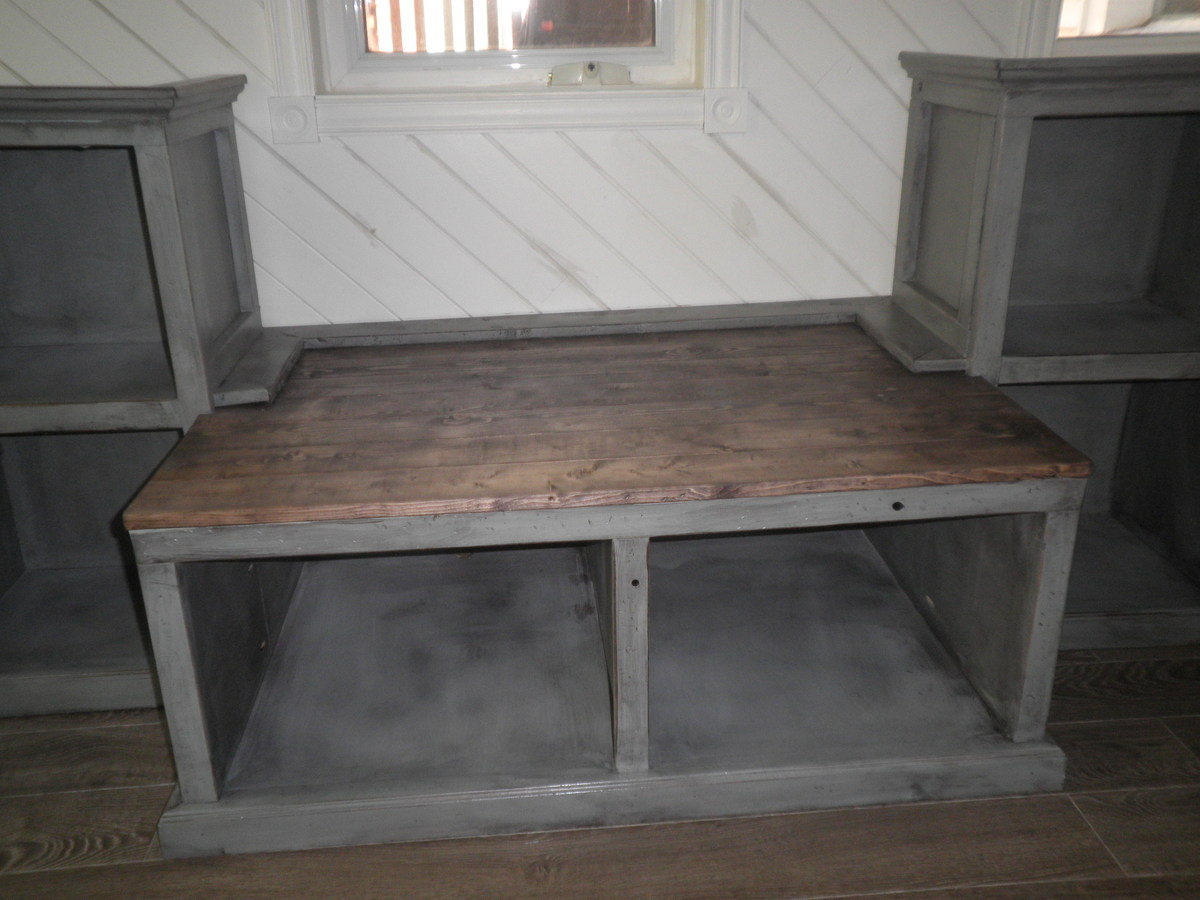
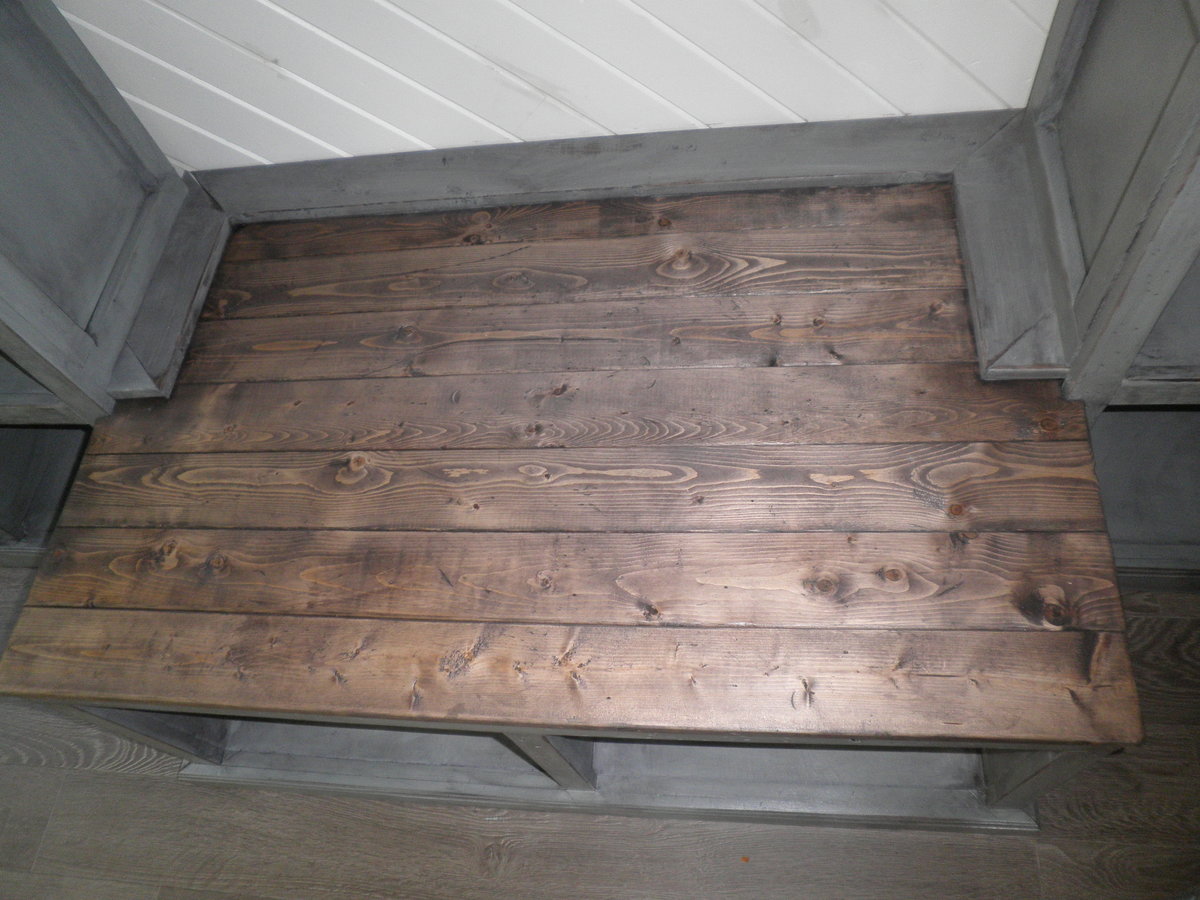
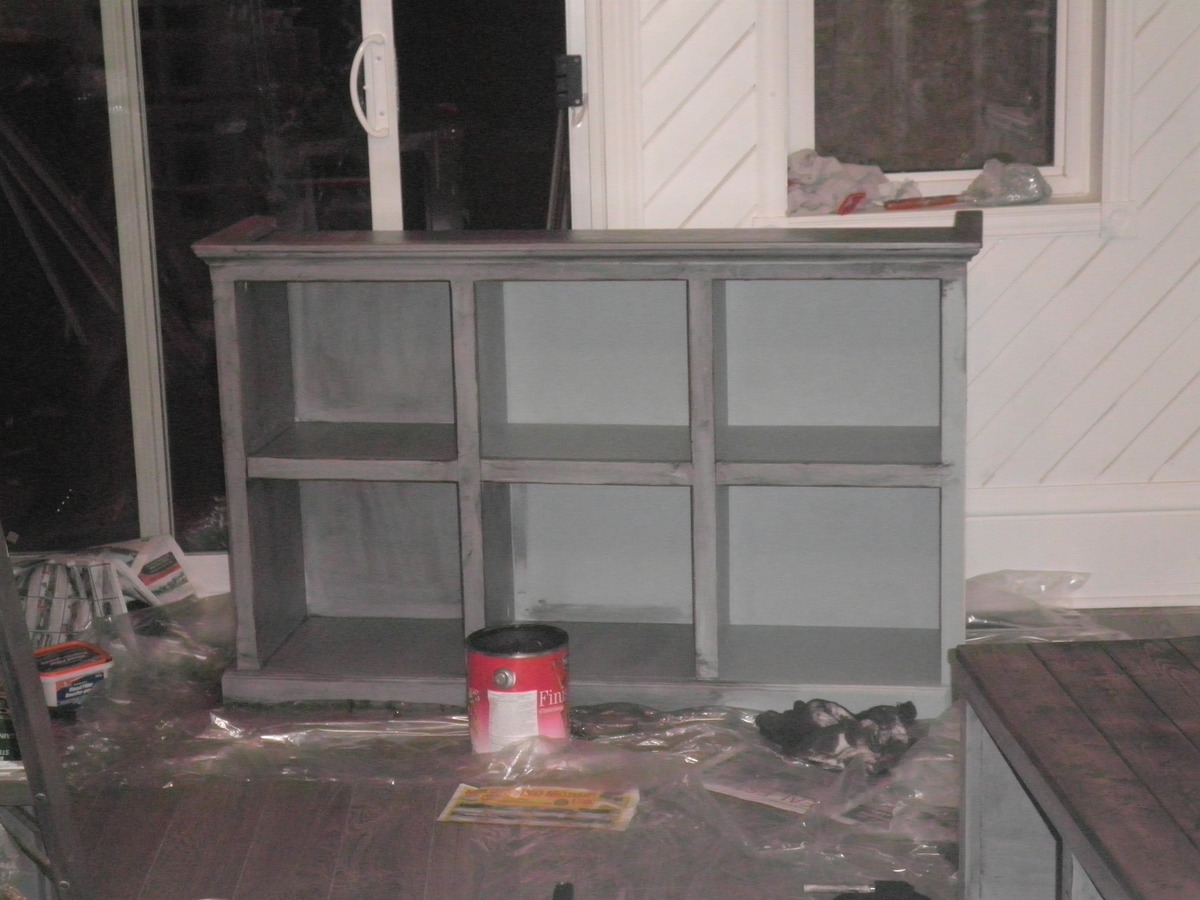
I really wanted a built in unit for toy storage for our kids toy room but truth be told couldn't afford what I wanted ie pretty and solid. So while searching on refinishing furniture I came across this site. Thanks a bunch Ana. You've inspired me to create things I didn't think possible, all on a modest budget - diy. This was my first woodworking project. It was actually easy to me because it follows the same principles as sewing in which the depth of the wood is like the seam allowance. I really liked the 6 cubby plan but wanted it horizontal. I had to replan this piece as the plan dimensions changed when I changed the orientation of it. I also added crown moulding (but this was kind of a ledger style that rested ontop of the 1x2 - they use it as a door headers). I initially intended to paint this white but decided that it would have got lost in the white wood panelling. (DH even commented that i was taking way to long on this project but after seeing the finished results said it looked amazing.) So I painted it a grey blue, distressed the edges and then used a stain that I bought from benjamin moore's mis-tint section for $5.00 which says it's a danish walnut based but seems to have a slight purple huge to it. thanks again Ana, its because of you I don't have to stare at a messy toyroom any longer!
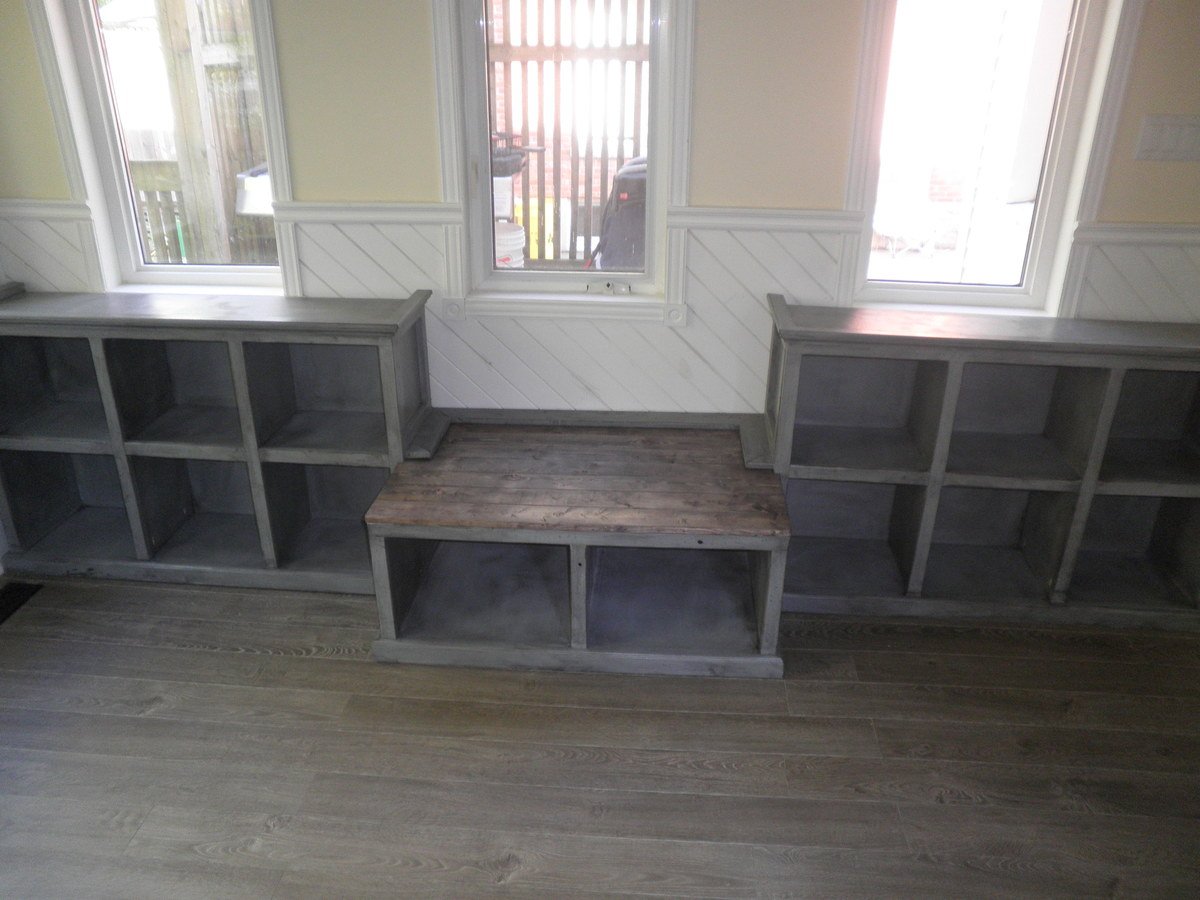
Comments
Simple Round Table
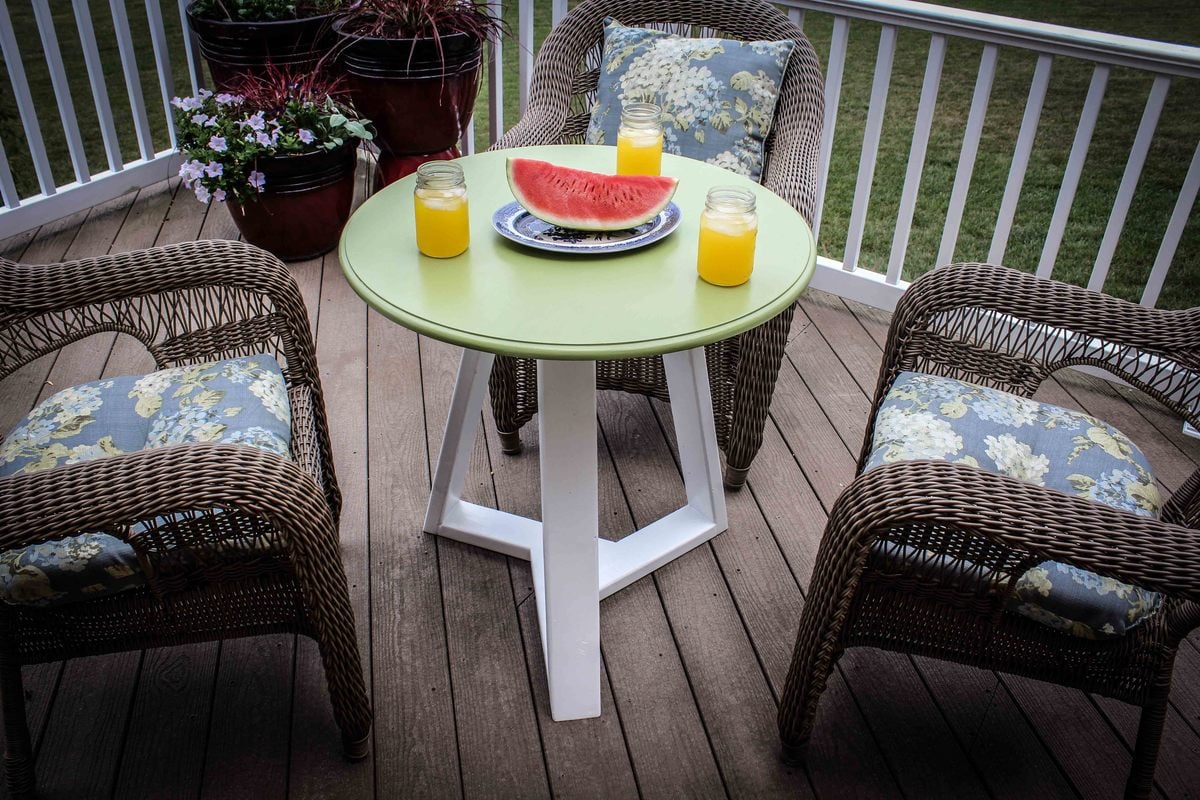
This project was built with a round top from a broken table and two 2x4’s. The top in this project is 30 inches in diameter. However, the designed can be scaled up or down based on your top diameter and/or desired table height. See drawing and video for build instructions.
Build Instructions:
http://www.instructables.com/id/Simple-Round-Table/
Video:
https://www.youtube.com/watch?v=CZGR2giAIv8
Drawing:
https://drive.google.com/file/d/0B21TbB8gGNQbeG96QVdsNGNKZHc/edit?usp=s…
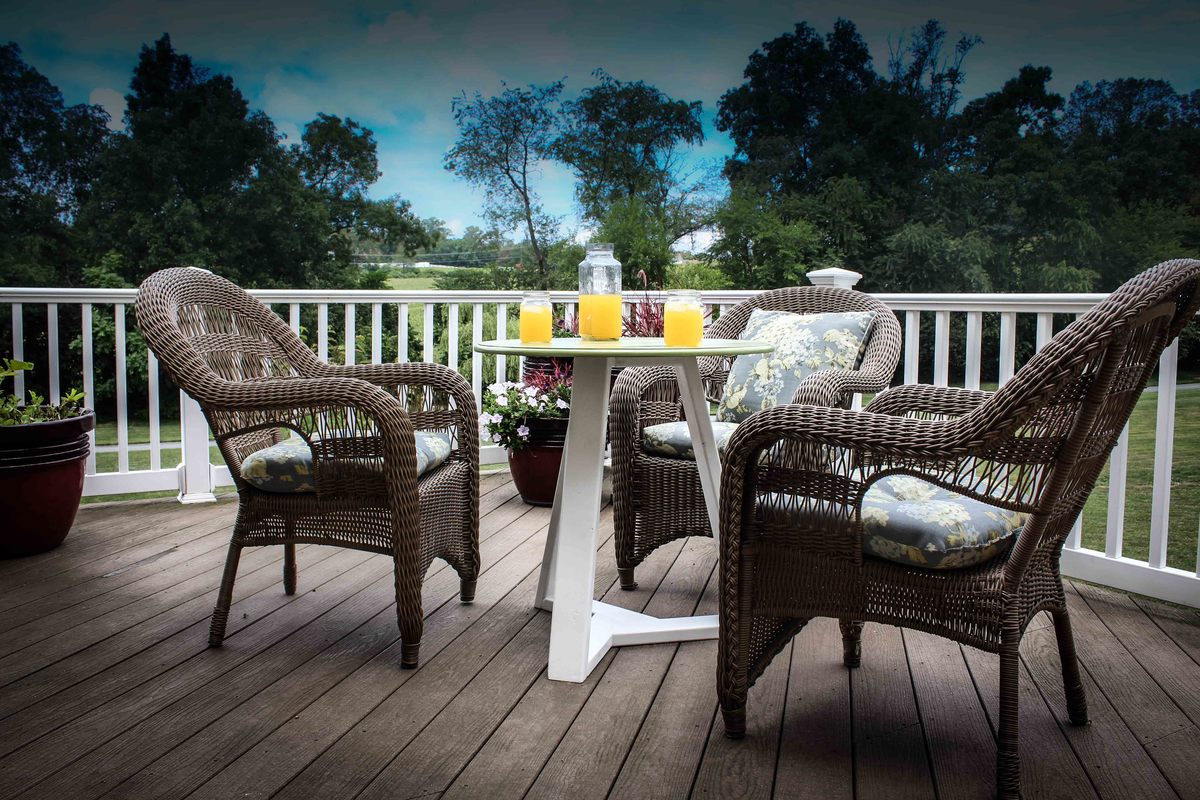
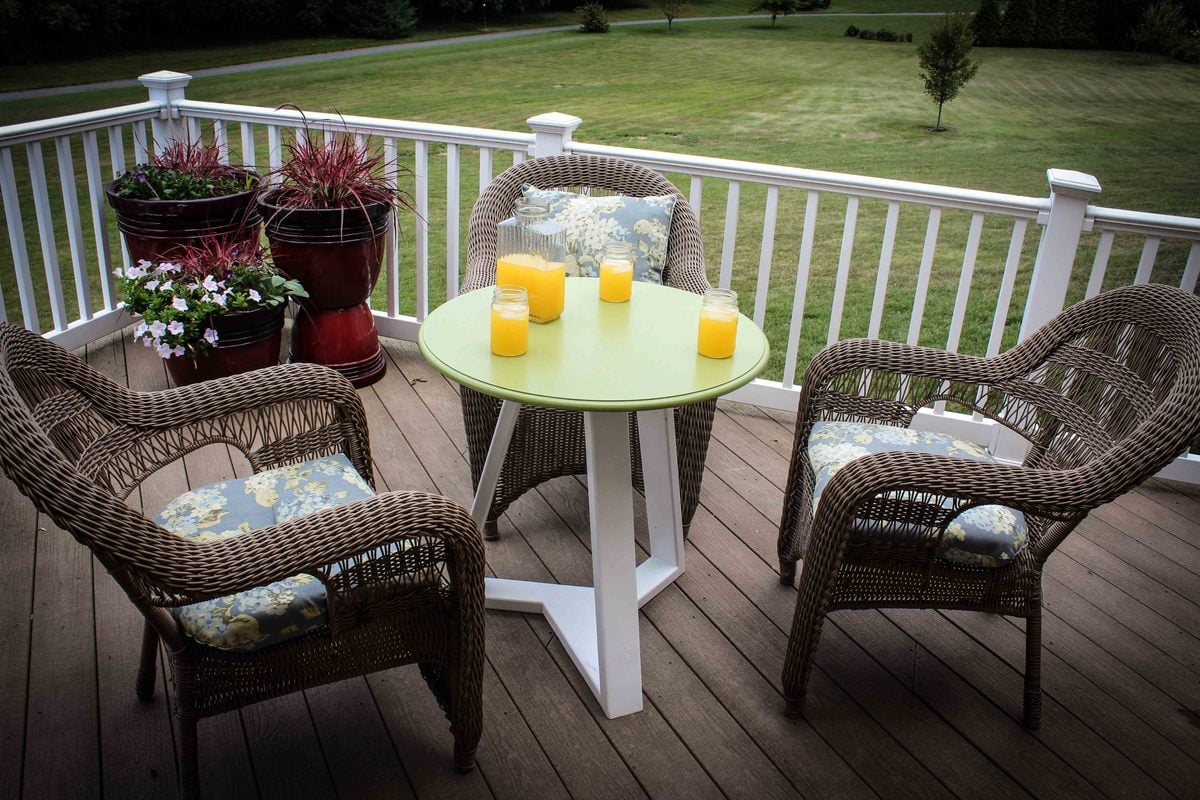
First furniture attempt
Additional inspiration from here http://www.mylove2create.com/2015/07/farmhouse-storage-bed.html?m=1
Access to storage area under mattress via sliding doors at foot. Soft-close slides on all drawers and storage access. Modified plans for king mattress. Head and foot board attached using bolts and threaded inserts for easy disassembly.
Loft Bed

Built my first loft bed using these plans! The plans are comprehensive and easy to follow. Excuse the mess under the bed, but that is why we needed the extra space :-)
We also need to touch-up the paint a bit.
Family Picnic Table
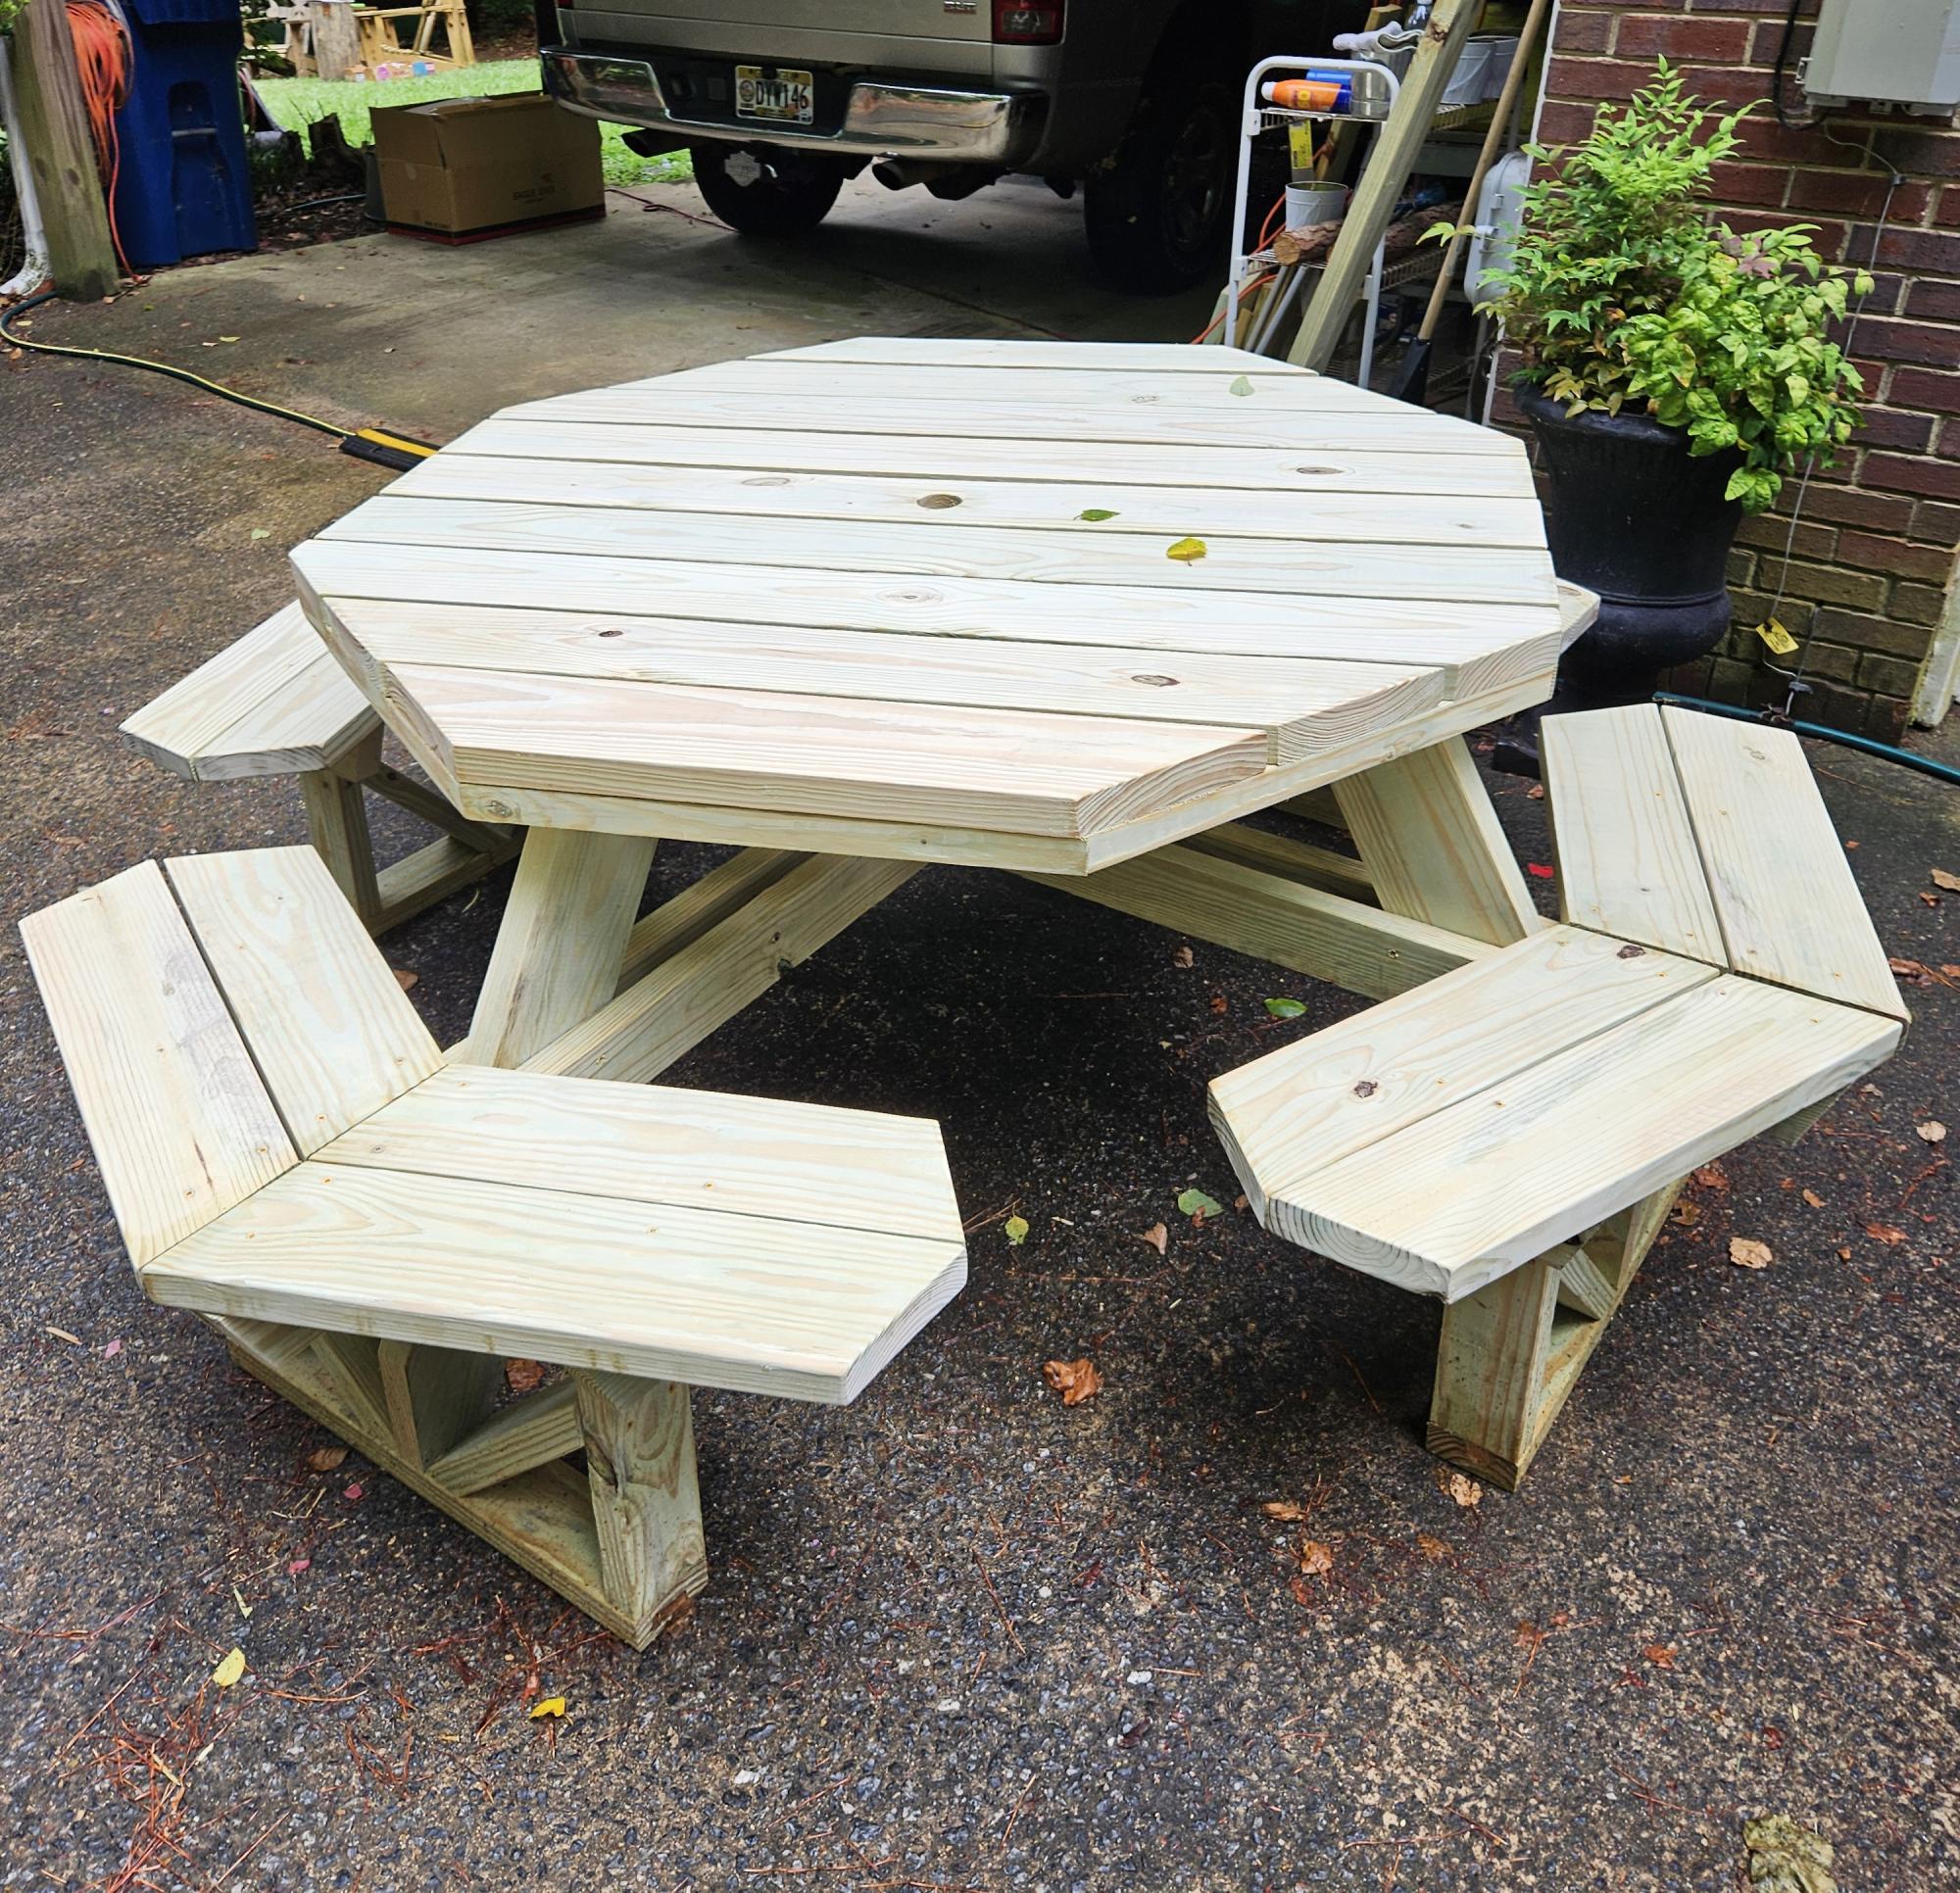
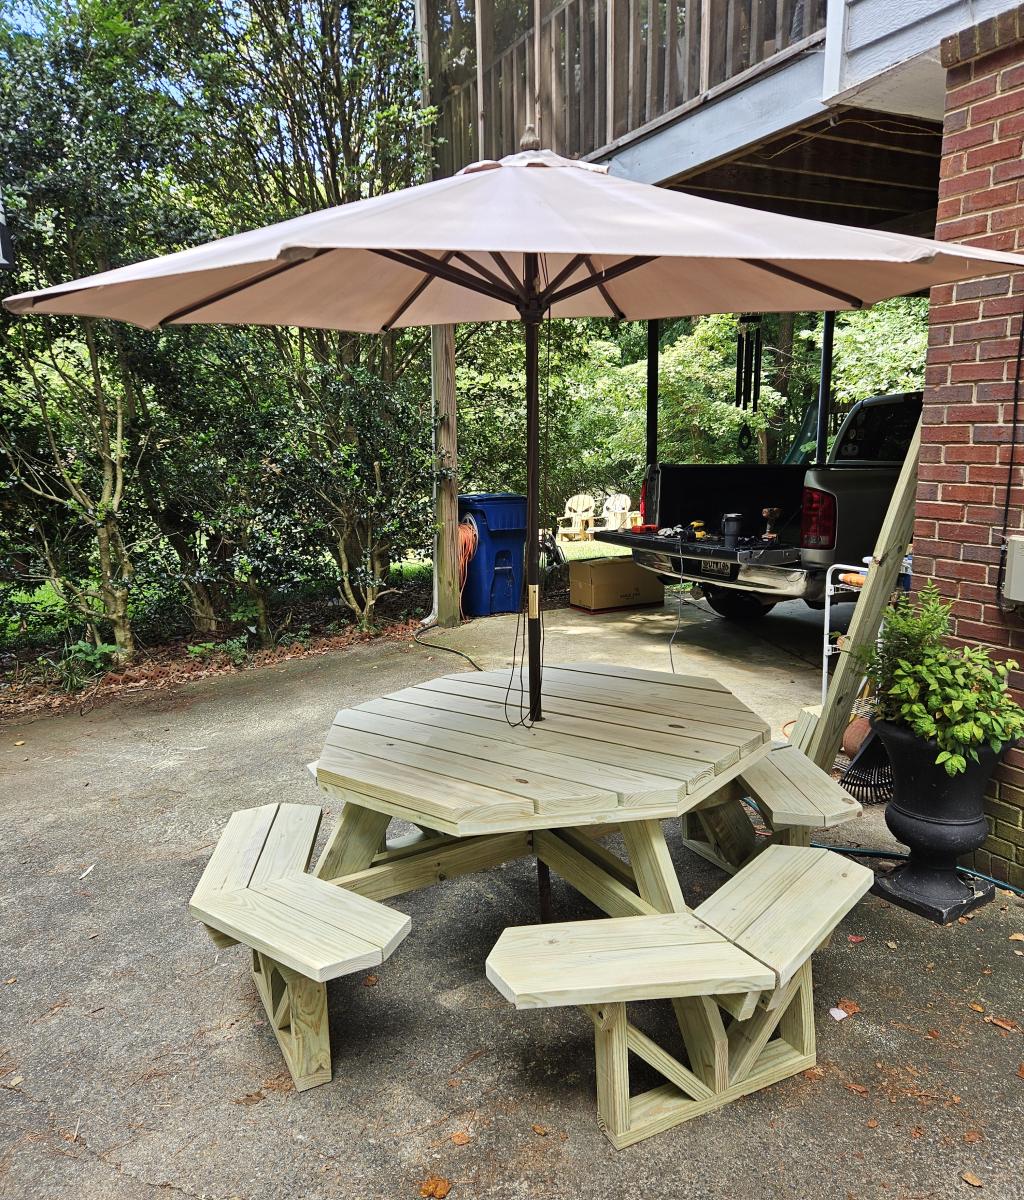
This is my favorite picnic table design. It seats 8 comfortably and everyone is sitting and facing each other for meals, drinks, and conversation. Also no one has to step over a seat to sit down so it works well for older family members.
Tom Farrell
Six Cube Bookshelf
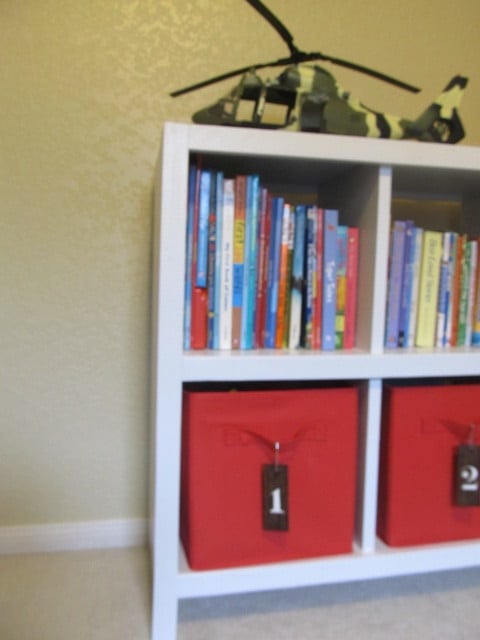
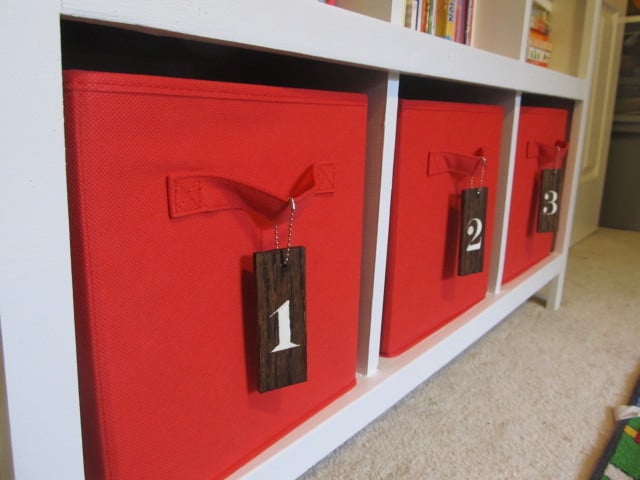
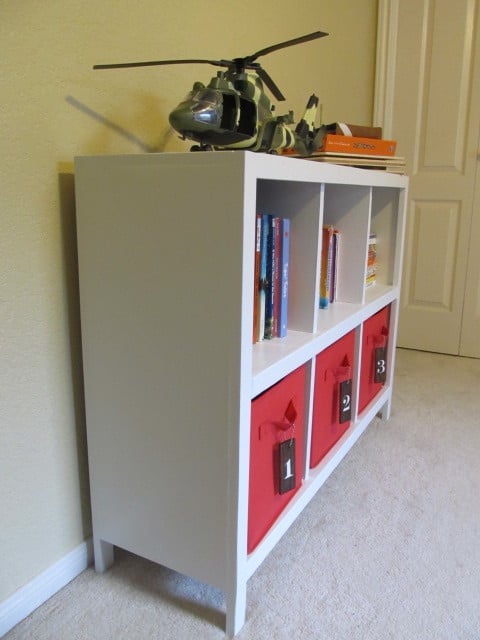
I have been searching for something to replace my son's plastic Fisher Price bookshelf/toy box for some time now. He had so many books on the shelf it was sagging. I came across this plan and thought it was perfect. I love that the shelves are tall enough for his bigger books to stand up. I picked up three red totes at Target to hold his smaller toys on the bottom. This plan was easy to follow and I had no problem when putting together the frame of the bookshelf. I did however have some problems when it came time to put in the dividers for the shelves. They are not evenly spaced, but I don't think you can even tell. The best part is my son loves it and that is the most important. It is easy for him to go over and pick out a book whenever he wants.
DIY Rustic Console Table
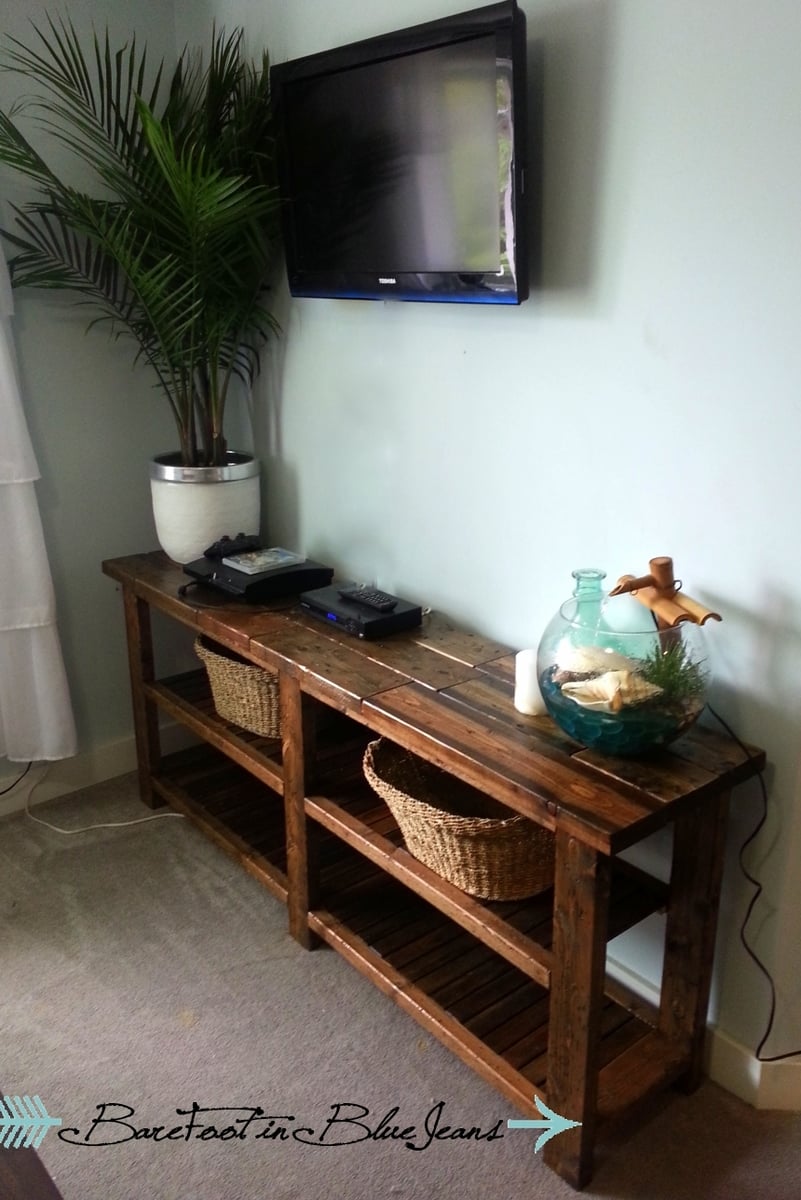
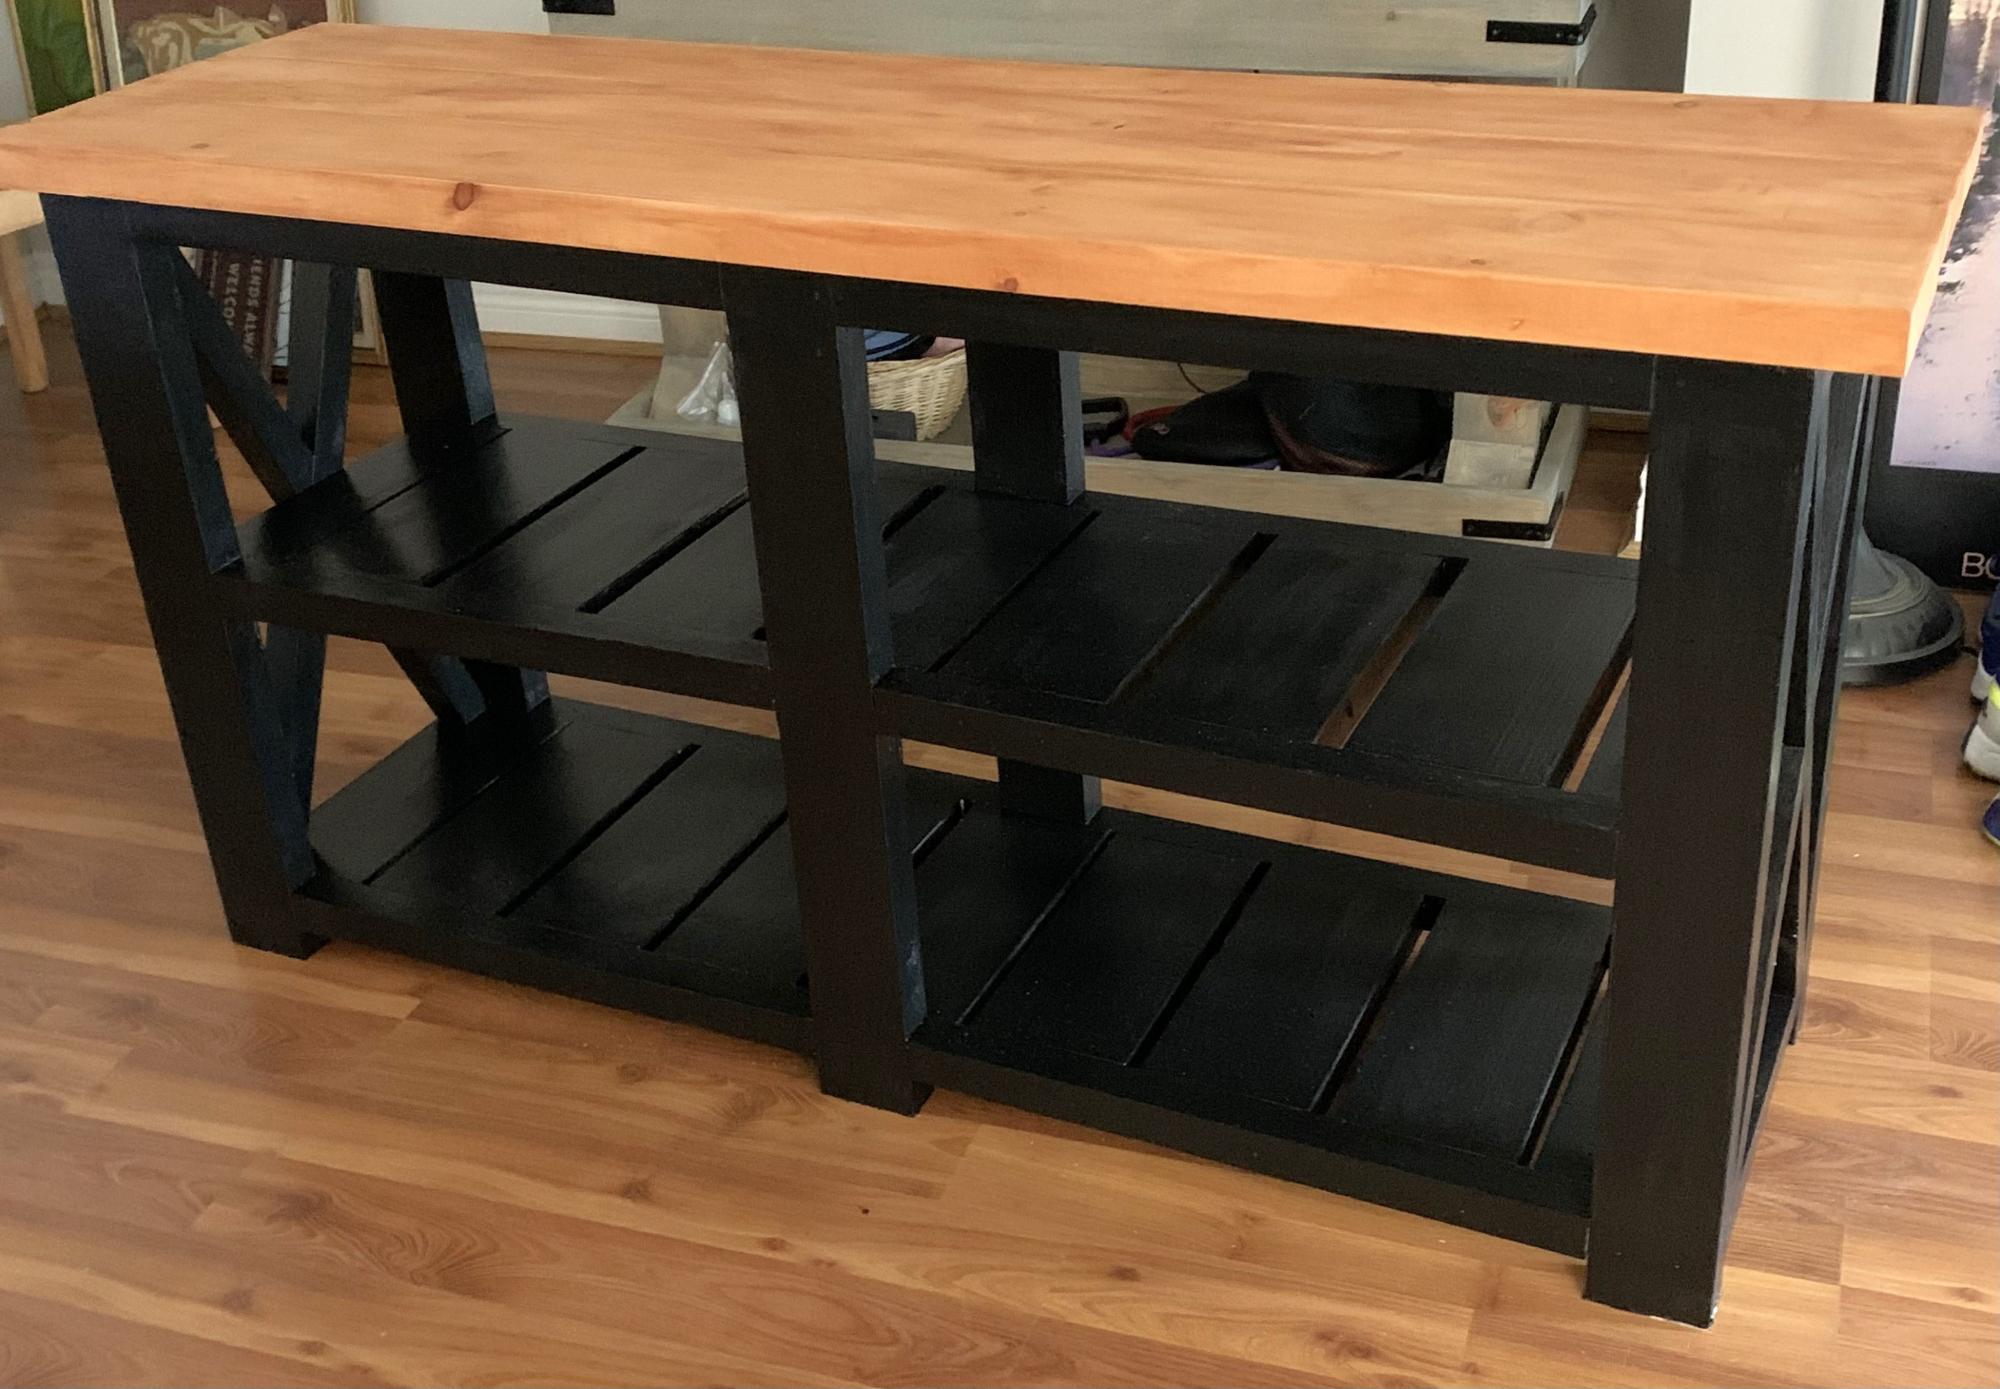
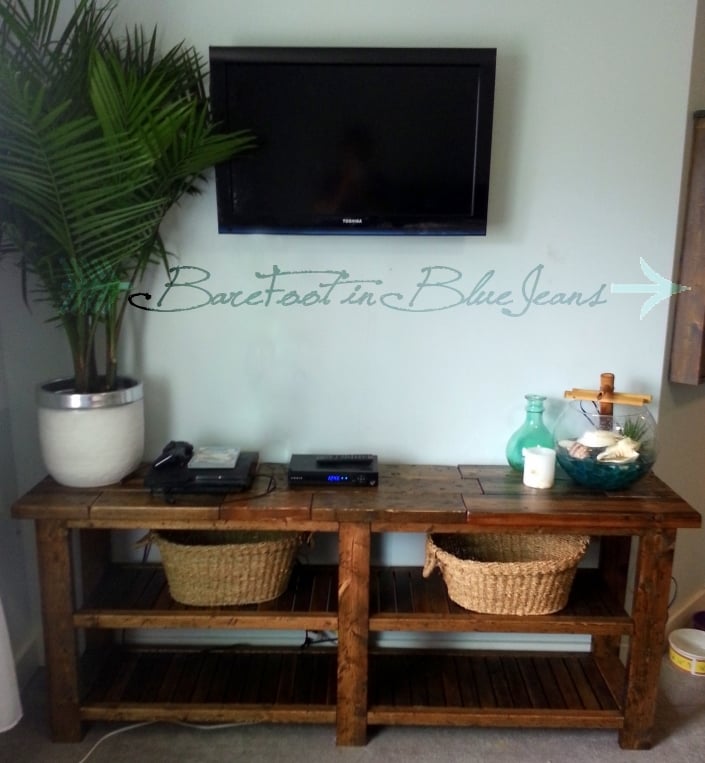
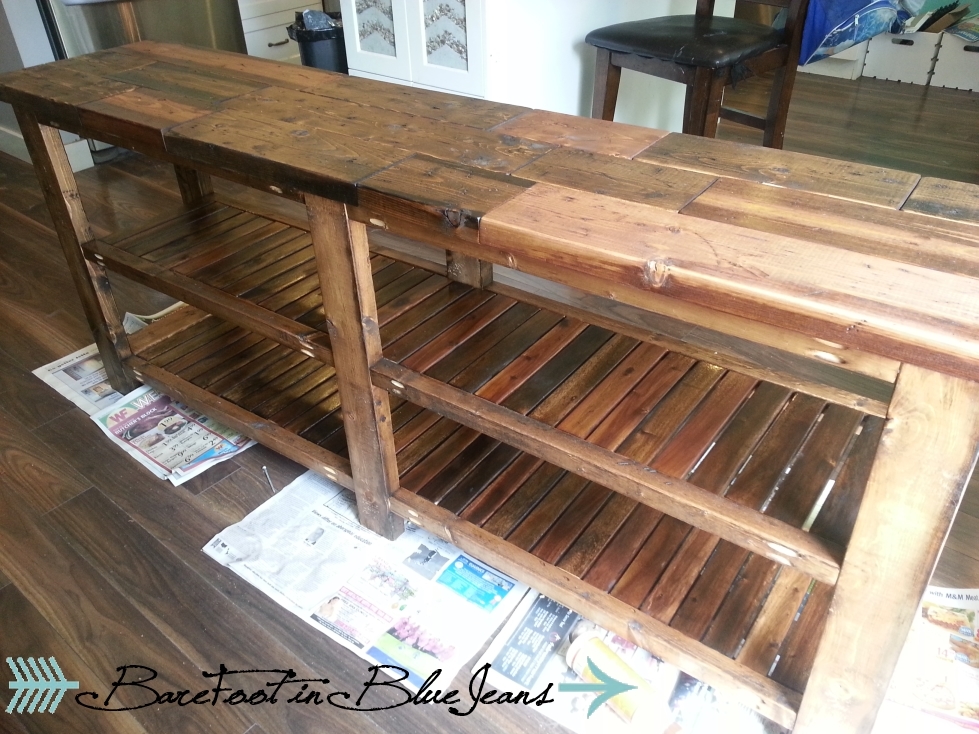
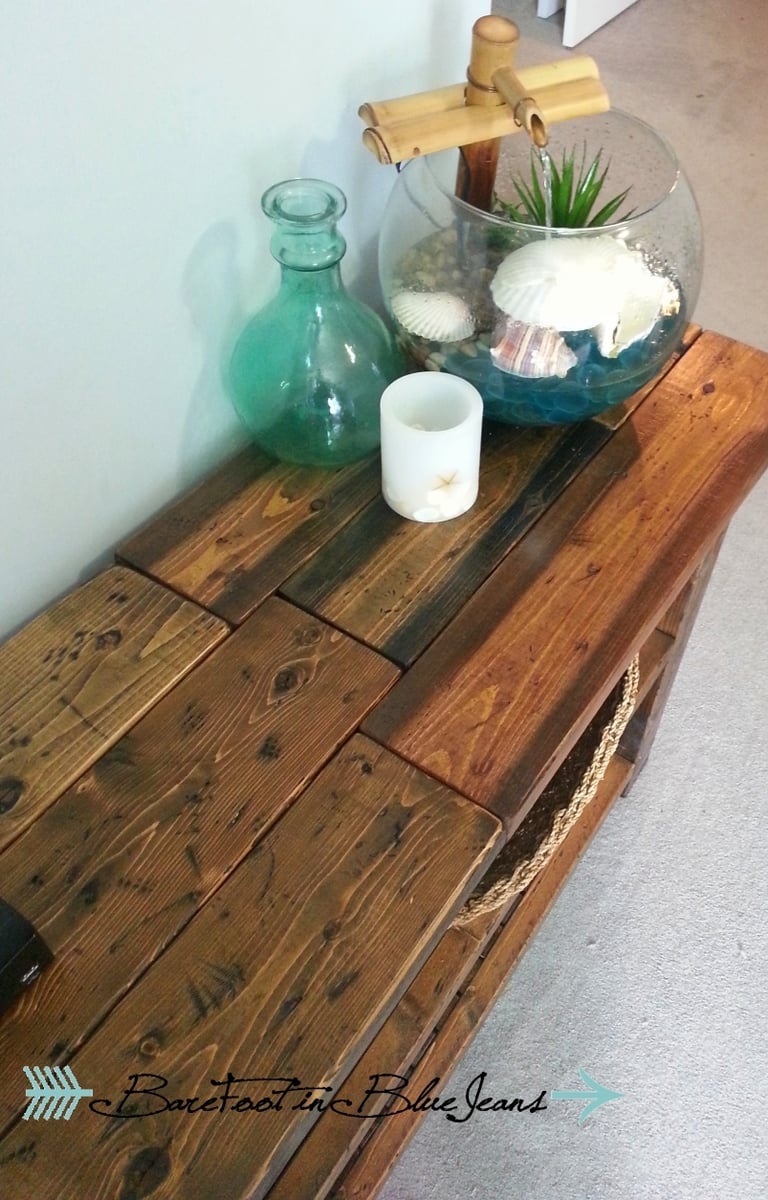
I made this shelf quite some time ago. I changed quite a few aspects of it as I went a long and I am quite happy with the finished product. Thanks again to Ana for the rockin plans.
Fancy X Farmhouse Table
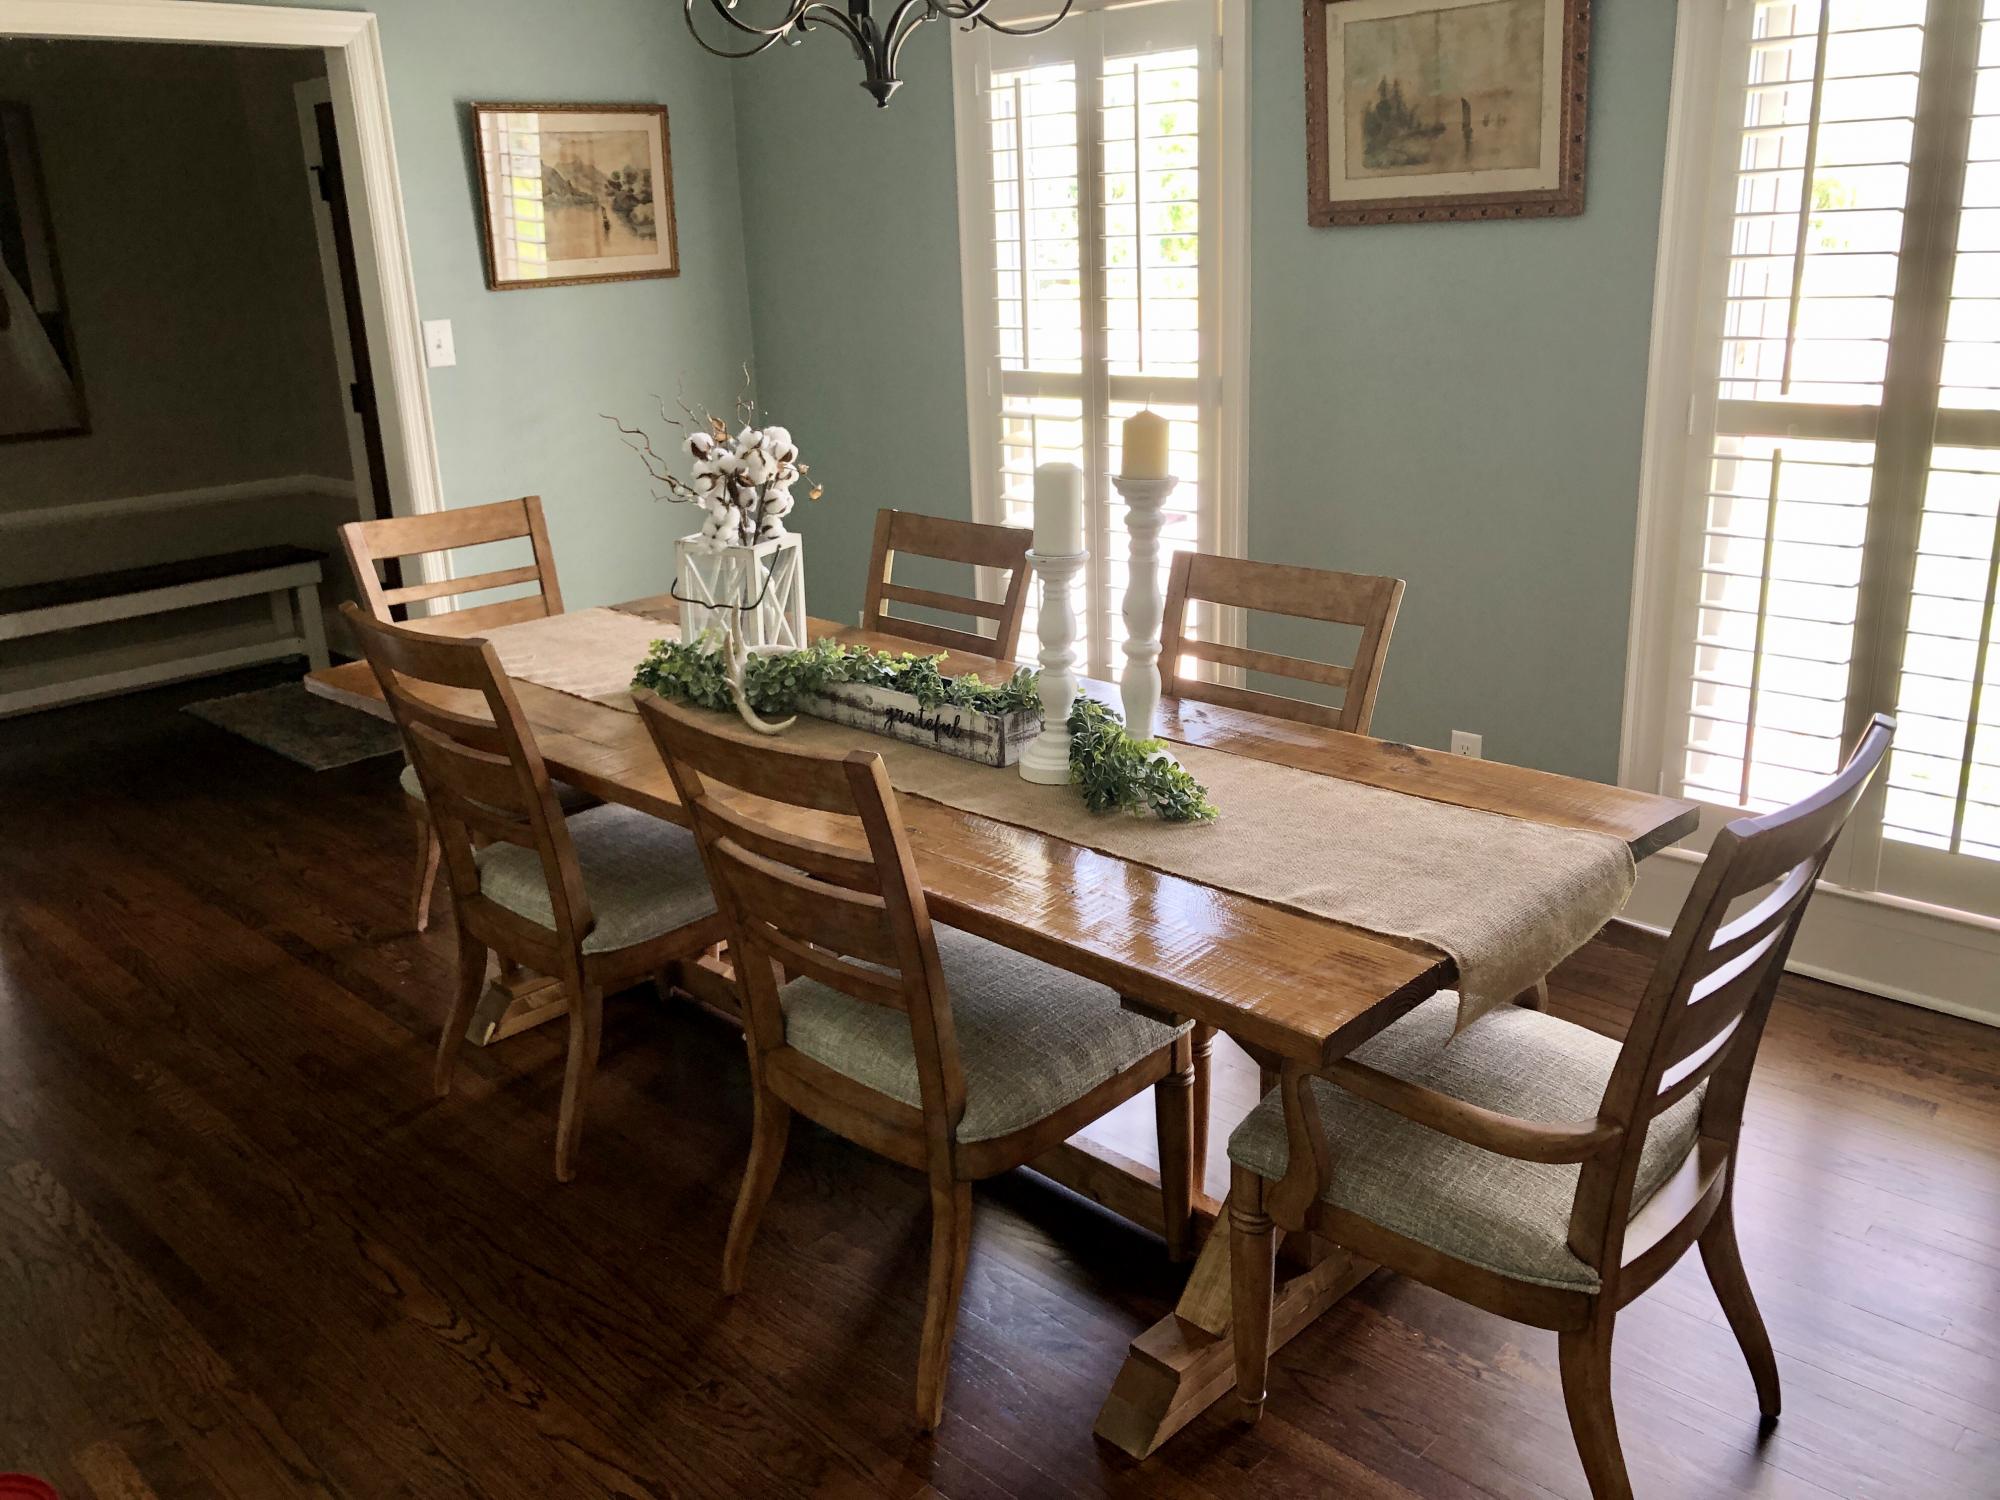
Finished this project about a week ago. Super easy directions and such a great look for our dining room!
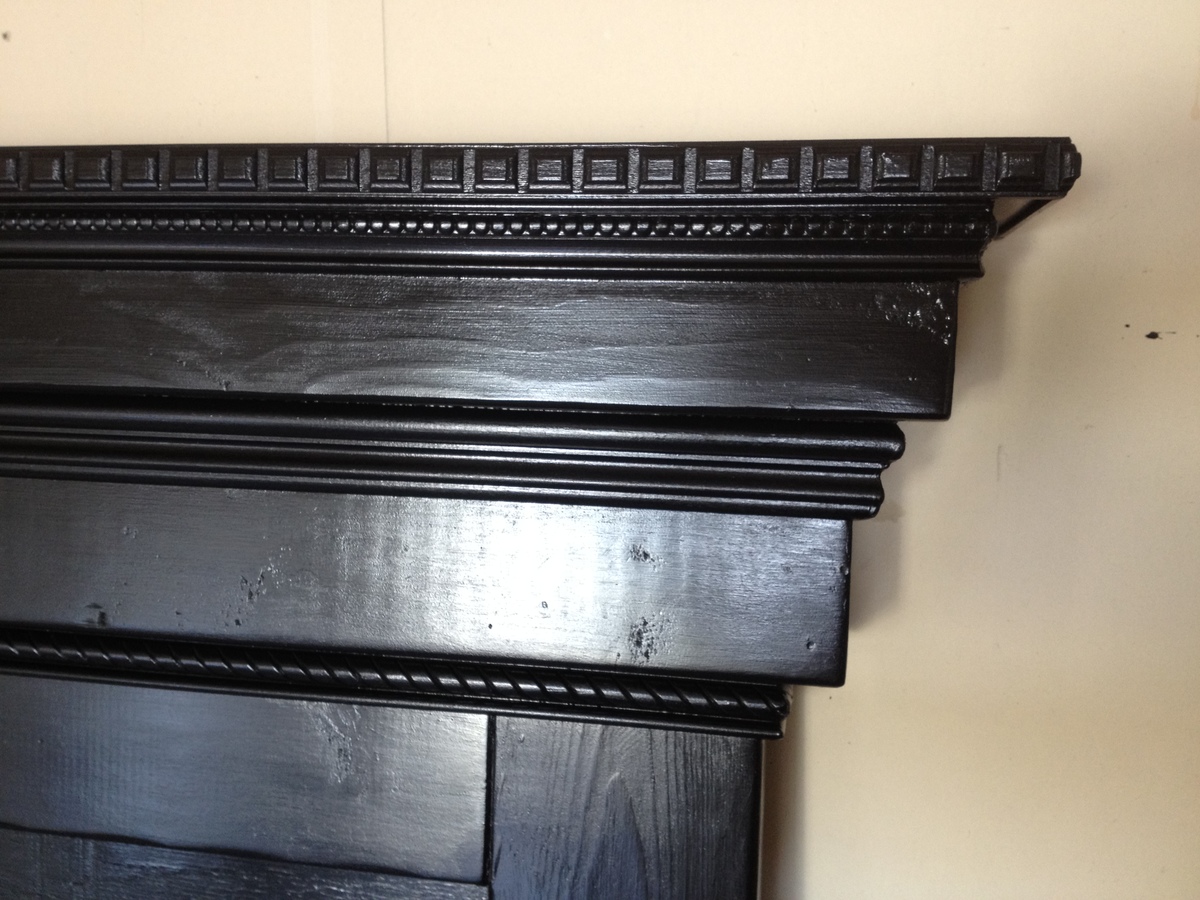
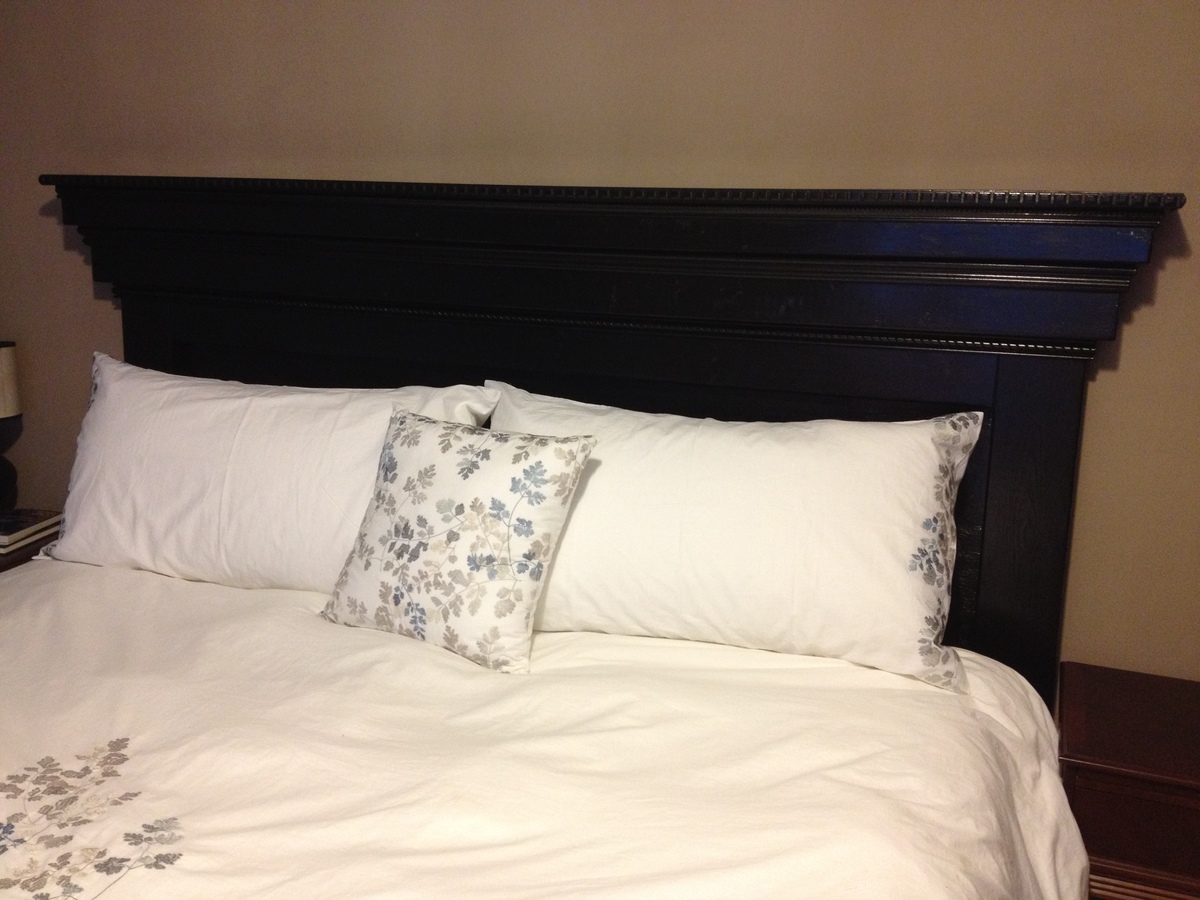
Moulding Mantel headboard variation
This was my very first building project and I'm officially addicted! I made the headboard as a surprise for my husband while he was in Africa. I used a variation of moulding and am tickled by the outcome! I adjusted the plans to fit a king-sized bed.
Comments
Sat, 10/20/2012 - 13:13
Spectacular!
Wow, this is so beautiful! You did an absolutely amazing job on this! Congratulations on a fab first project, it is prettier than any headboard I've seen in a store. :)
Joanne
In reply to Spectacular! by JoanneS
Fri, 10/26/2012 - 20:02
thanks Joanne! I'm so happy
thanks Joanne! I'm so happy with it and can't wait to start my next project!
In reply to Finish by 5 tator tots (not verified)
Fri, 10/26/2012 - 20:01
re: finish
Thanks for the compliment. I did a light sand between coats and then finished with a very light coat of polyurethane. I hope that helps a bit!
Wed, 02/26/2014 - 17:32
King size measurements
Looks Awesome!! Can I get the measurements and cut list or the king size please!
Wed, 02/26/2014 - 19:07
King size dimensions
I'm sorry I didn't keep the dimensions on the cut list. Basically you just need to add 16" to every piece that will run the length of your headboard. A standard queen bed is 60" wide whereas a standard king is 76". Hope this helps!
Thu, 02/27/2014 - 13:45
King Dimensions Cut List
2 – 2x6 @ 59 ¼”
2 – 2x6 @ 70"
2 – 2x2 @ 8 ½”
1 – 2x2 @ 84"
1 – 2x6 @ 84"
2 – 2x4 @ 3”
1 – 2x4 @ 87"
1 – 1x6 @ 89"
1 – ¼” plywood @ 72" x 22 ¾”
Sun, 10/05/2014 - 18:30
oh my gosh...this is so
oh my gosh...this is so beautiful! I want one just like it! I just might attempt it after I make my faux fireplace mantel :D
GREAT JOB!!!
Mini Farmhouse Bedside Table
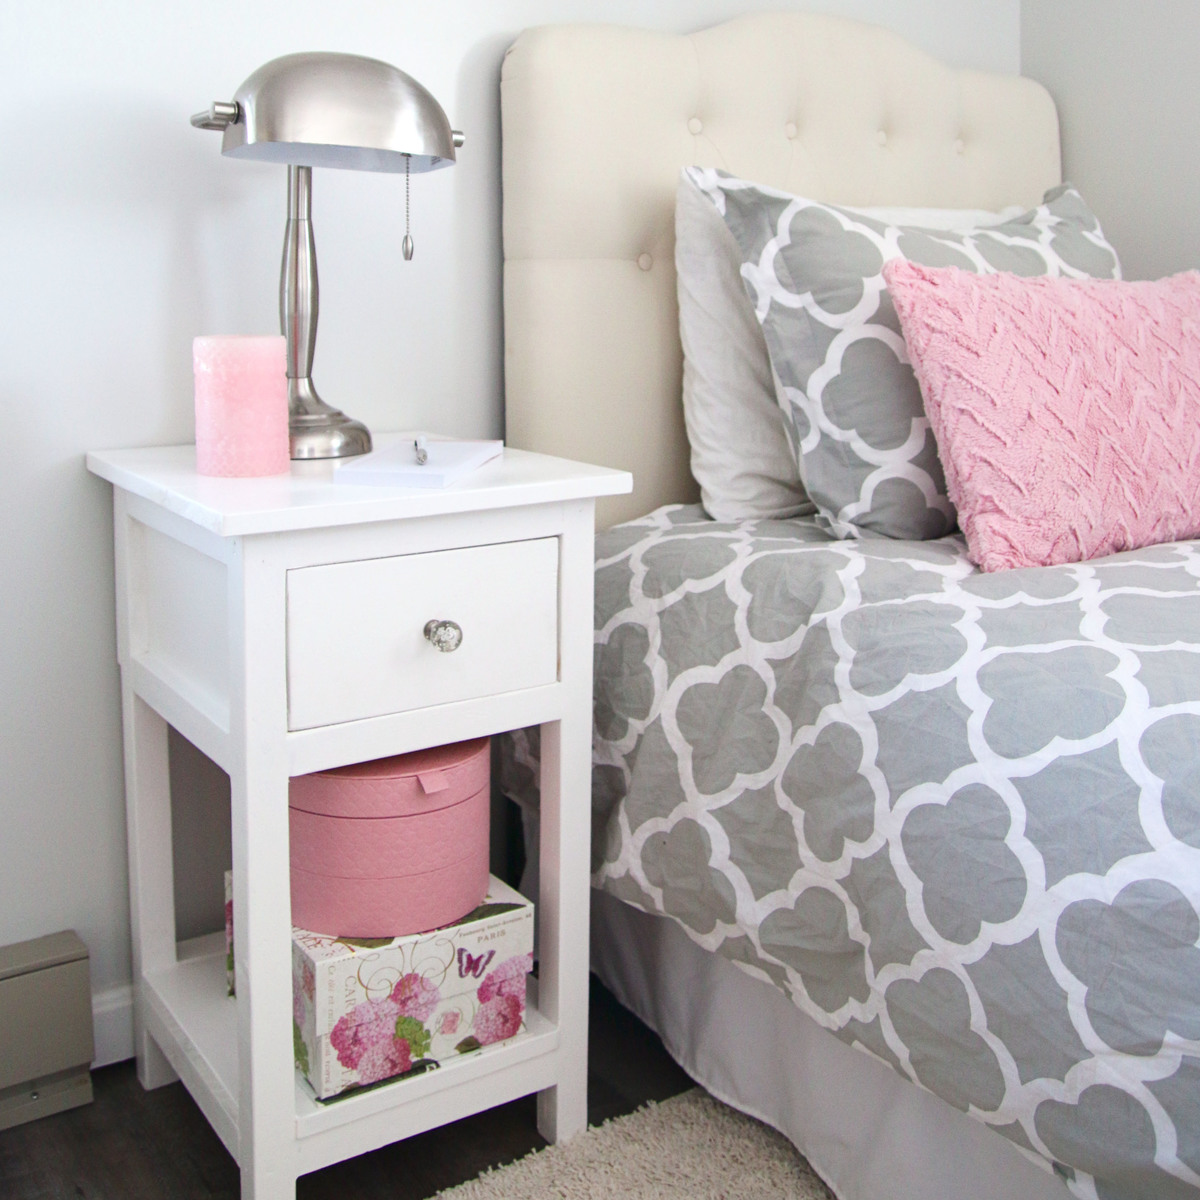
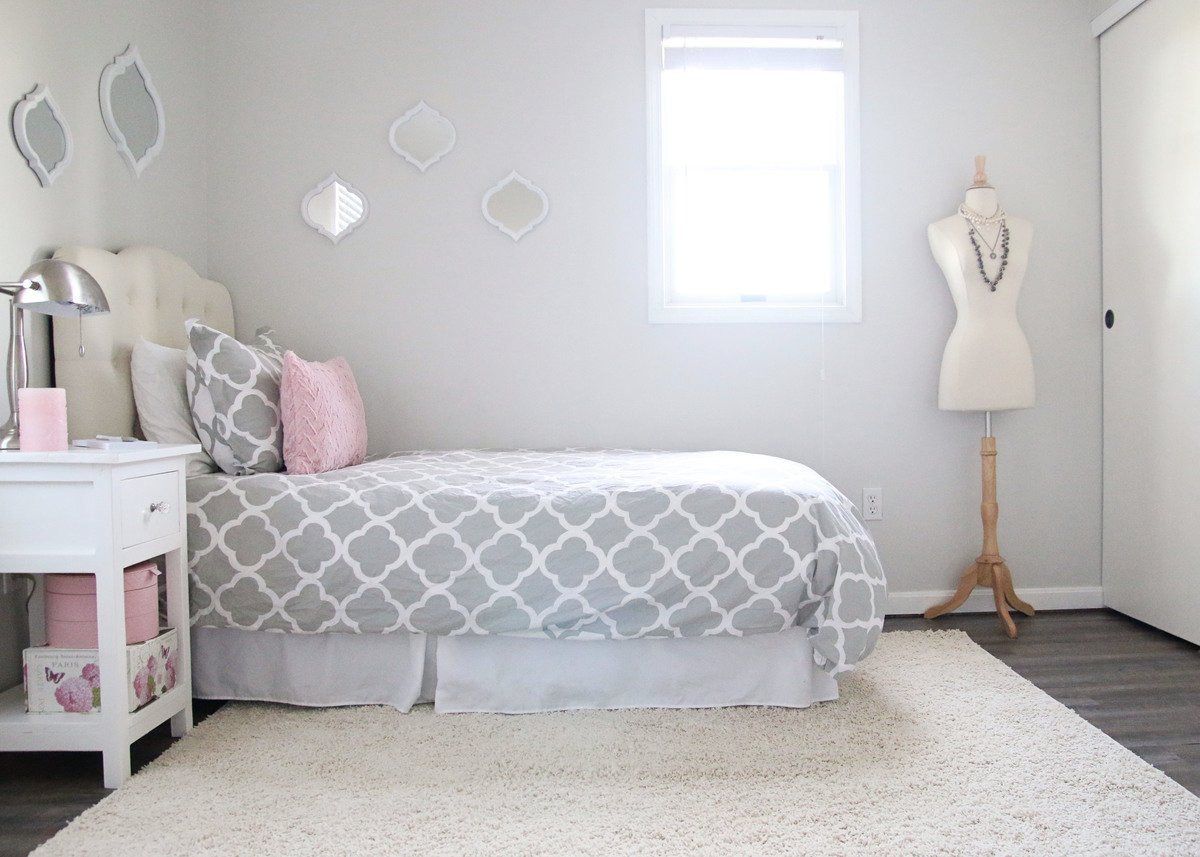
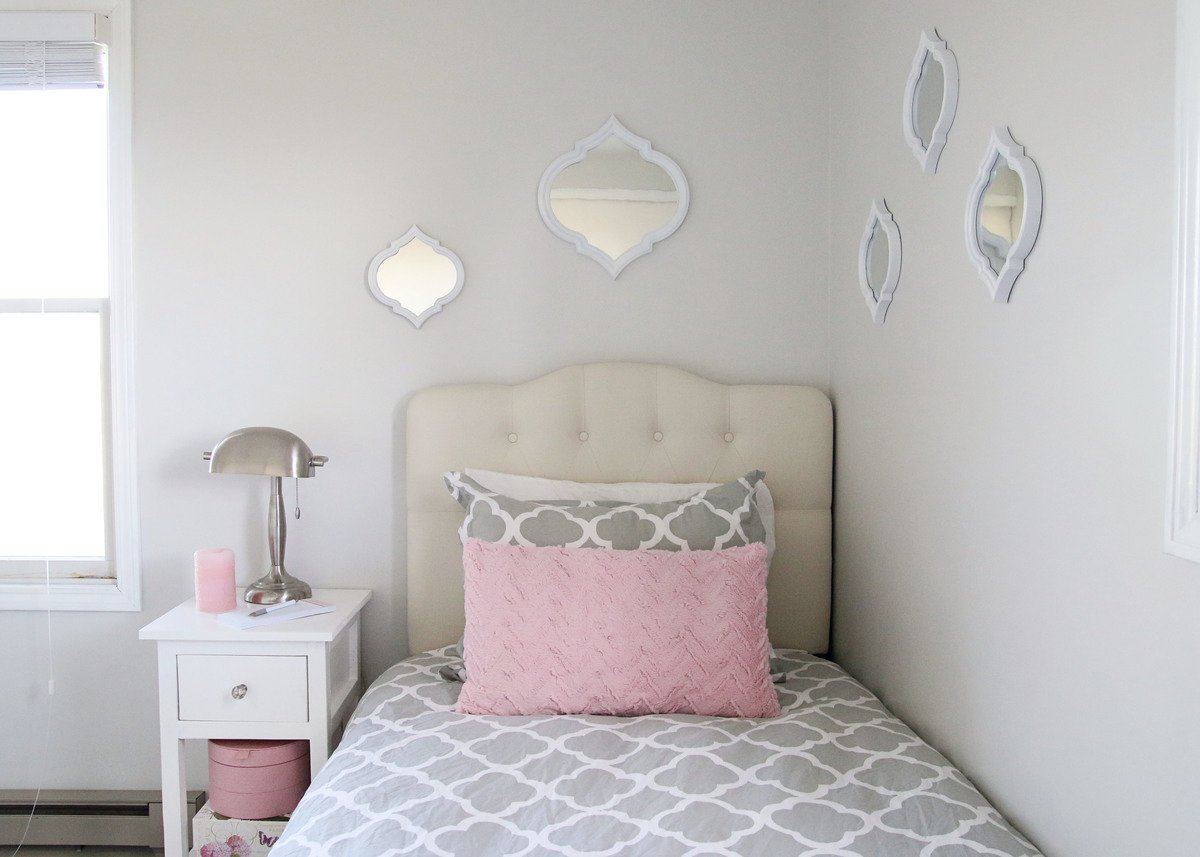
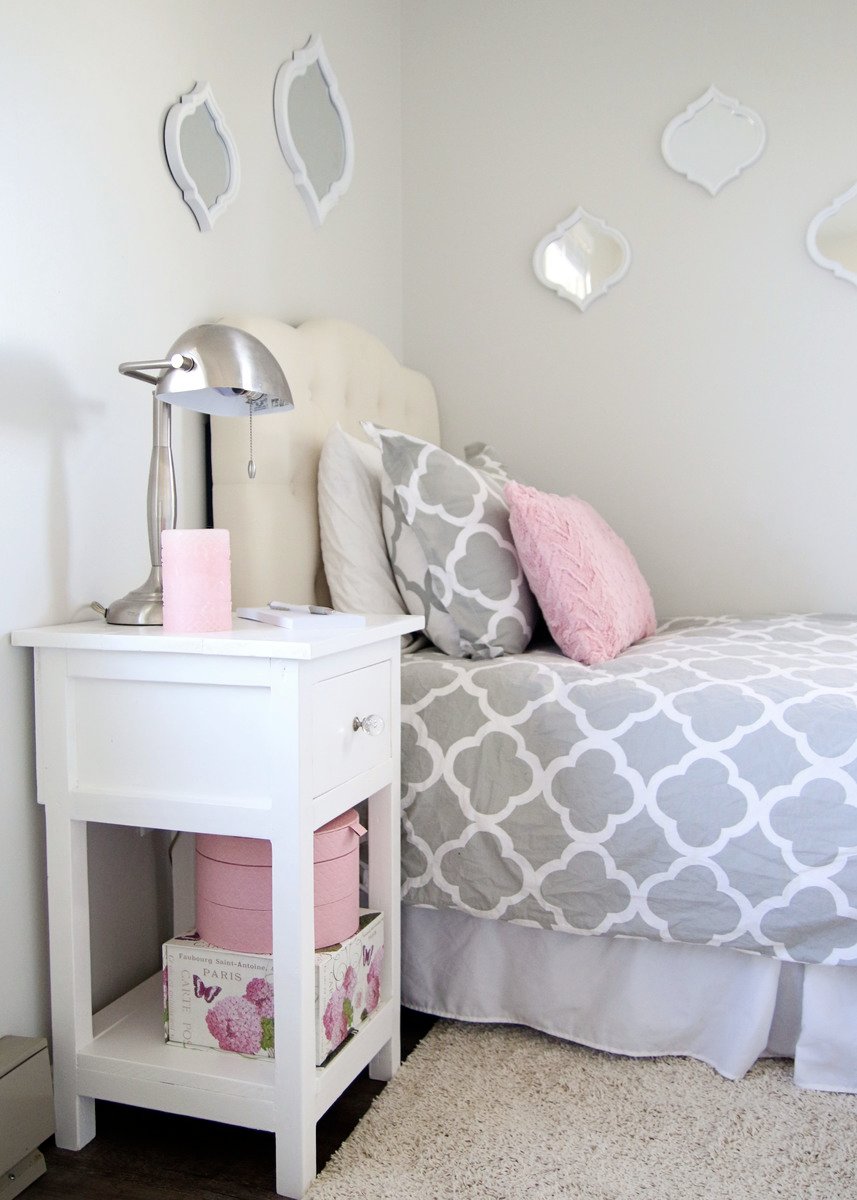
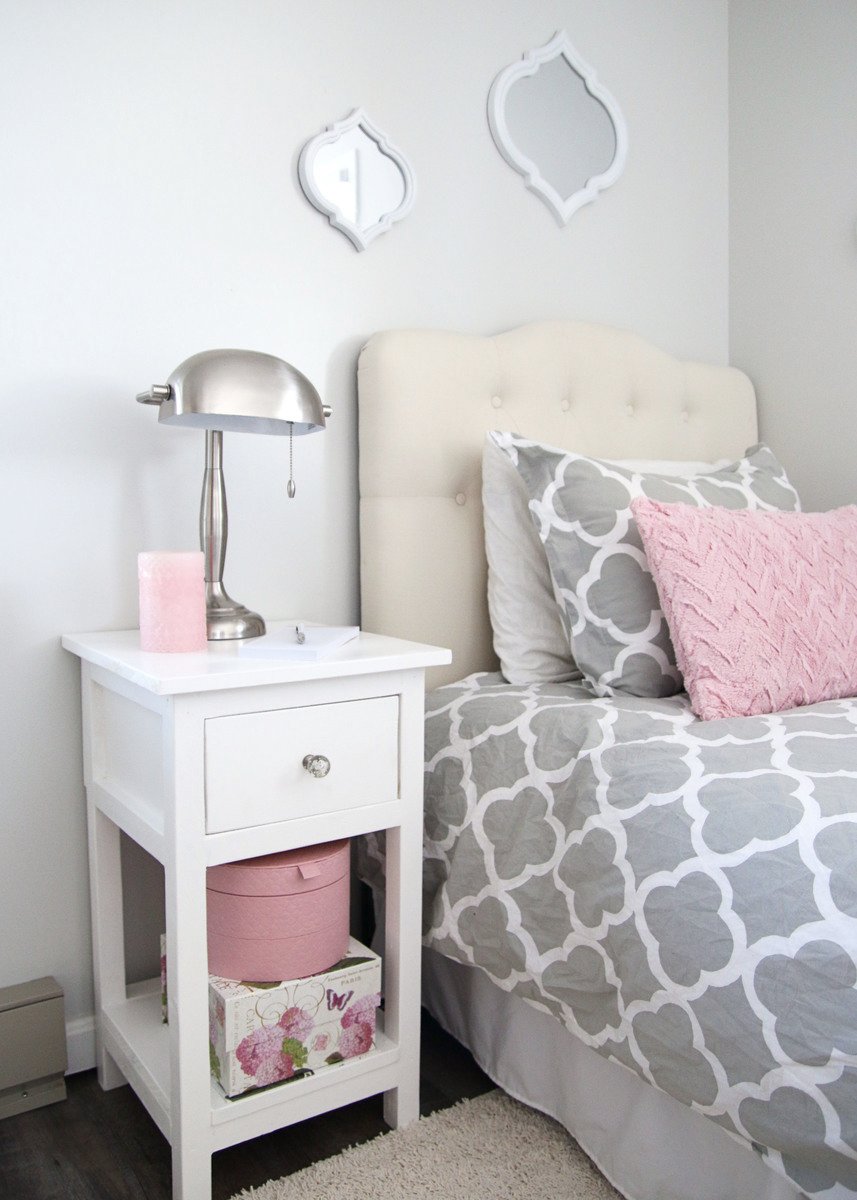
We (my husband and I) recently gave our tween daughter's bedroom a complete overhaul and needed an affordable and pretty nightstand for the room. After searching online and in stores, we could not find one that we liked for a price we wanted to pay, so we opted to build. These plans were very easy to follow and allowed us to create a functional bedside table that was just right for the space.
