School papers organized
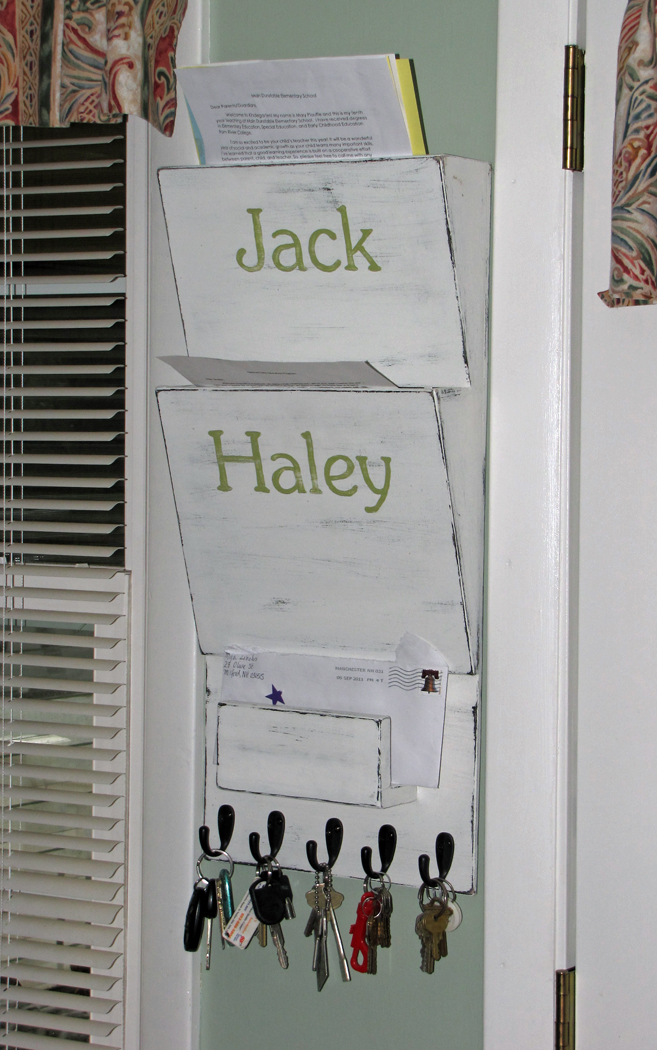
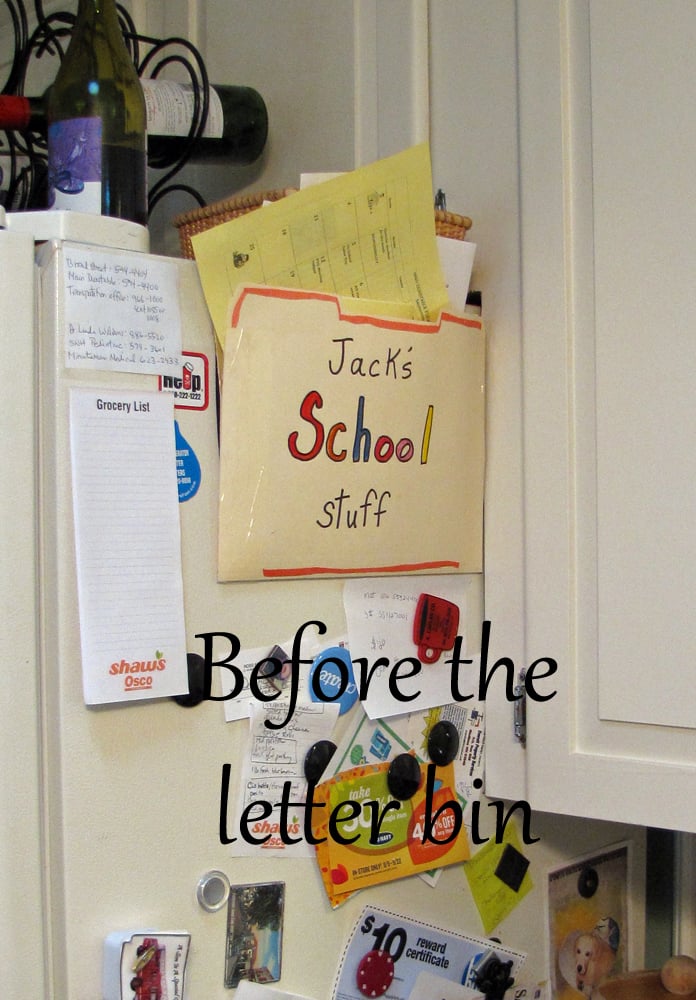
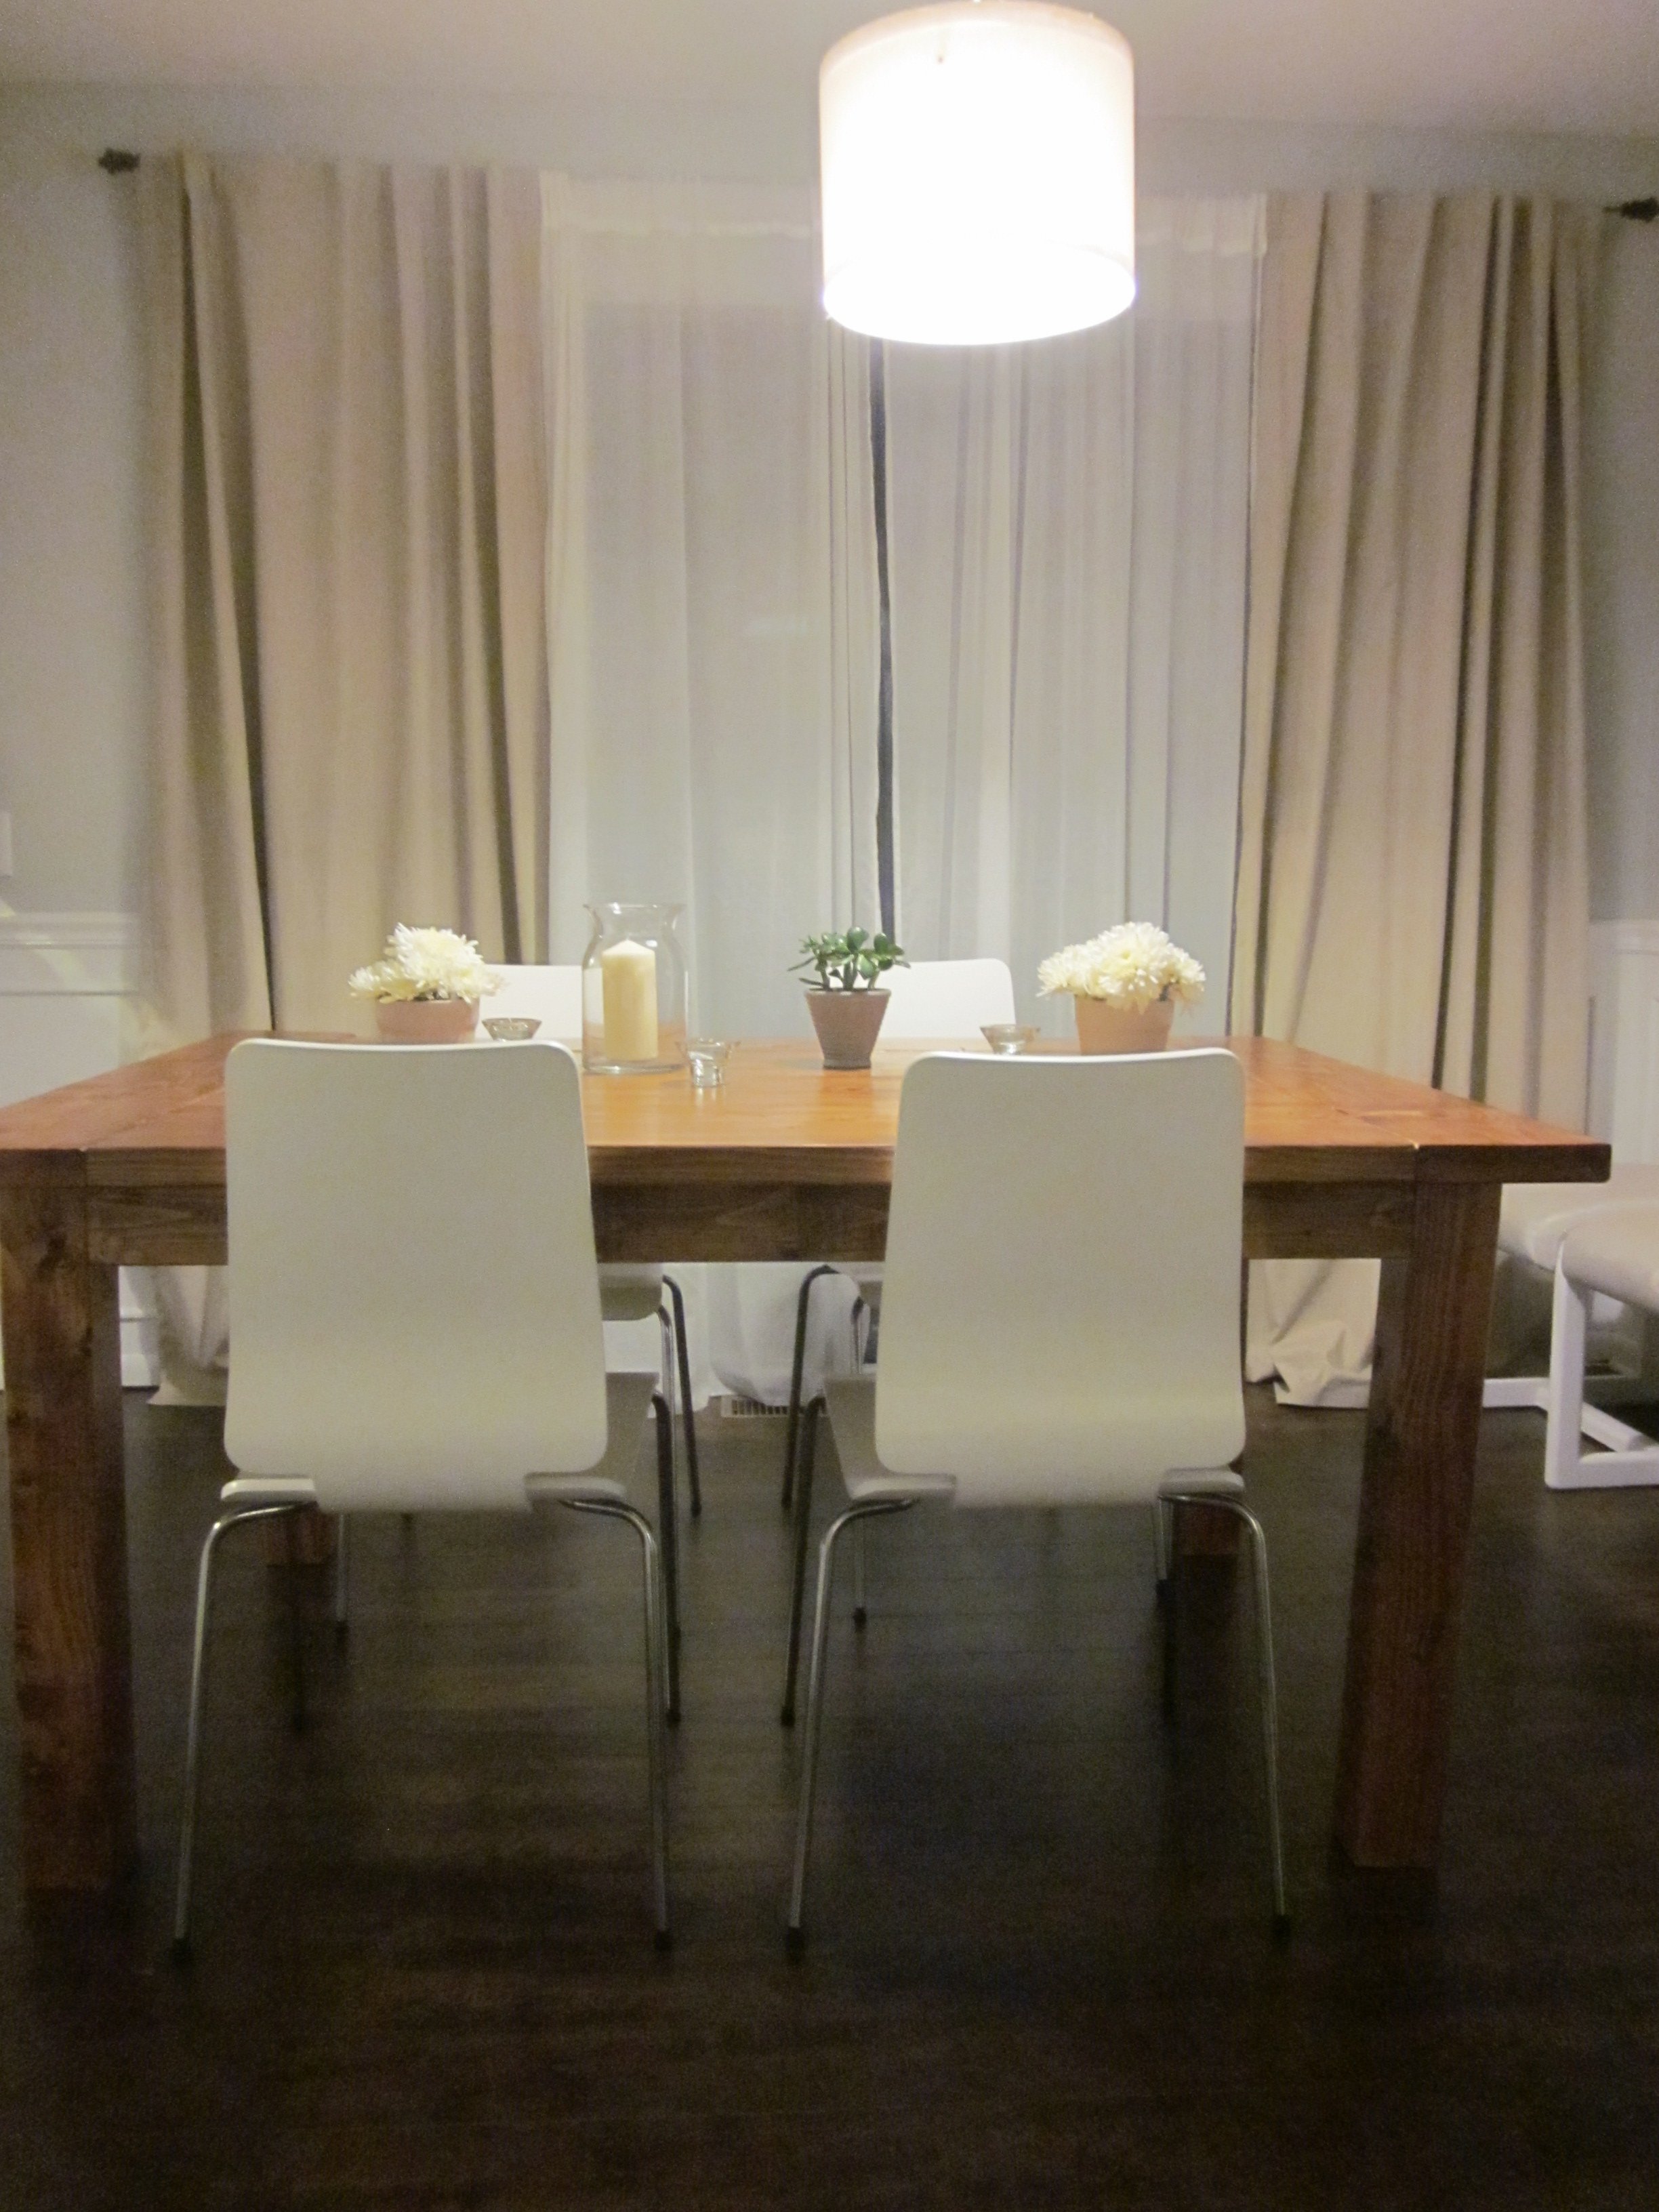
Now that we've got two kids in school, the previous system of storing school papers just wasn't going to work (see pic below). I used the plans on Ana's site as a guideline and made the letter bin to fit my space. I decided to also make it a holder for the mail and all our keys.
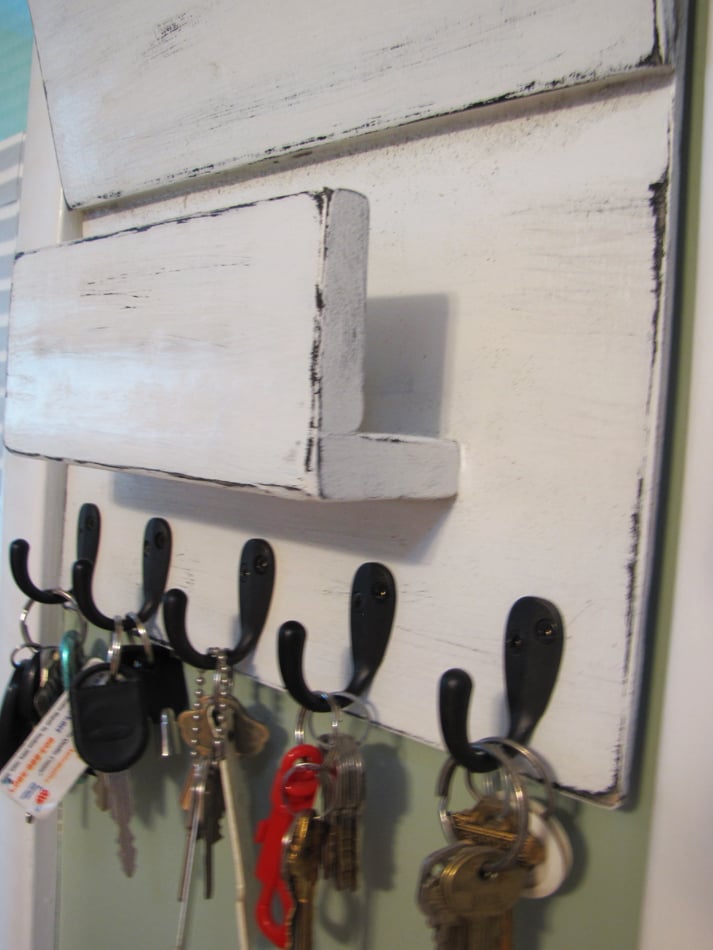
This was made used all leftover wood hanging out in the garage. Luan was used for the letter bin, and strapping (1/2" pine) was used for the mail holder. I spray painted black and then painted it a creamy white, the color of our house trim. I distressed a little bit and then added the hooks. I hope it can stand the test of time.

Built from Plan(s)
Estimated Cost
$16 (mainly in the hooks)
Estimated Time Investment
Afternoon Project (3-6 Hours)
Finish Used
Chose not to prime; black spray paint; creamy white; distress
Recommended Skill Level
Intermediate


Comments
The Quaint Cottage
Fri, 09/09/2011 - 10:17
Looks Great!
I'm actually getting ready to make something like this. I love what you did to yours. Great work!!!
StacieM
Fri, 09/09/2011 - 16:42
Awesome
I just made the PB letter bin and now I wish I would have added the key hanger to the bottom since with 6 cars, we have tons of keys all over the place. Maybe I will make a separate one..
This looks awesome and I live the distressed finish.