Modern Farmhouse Tables
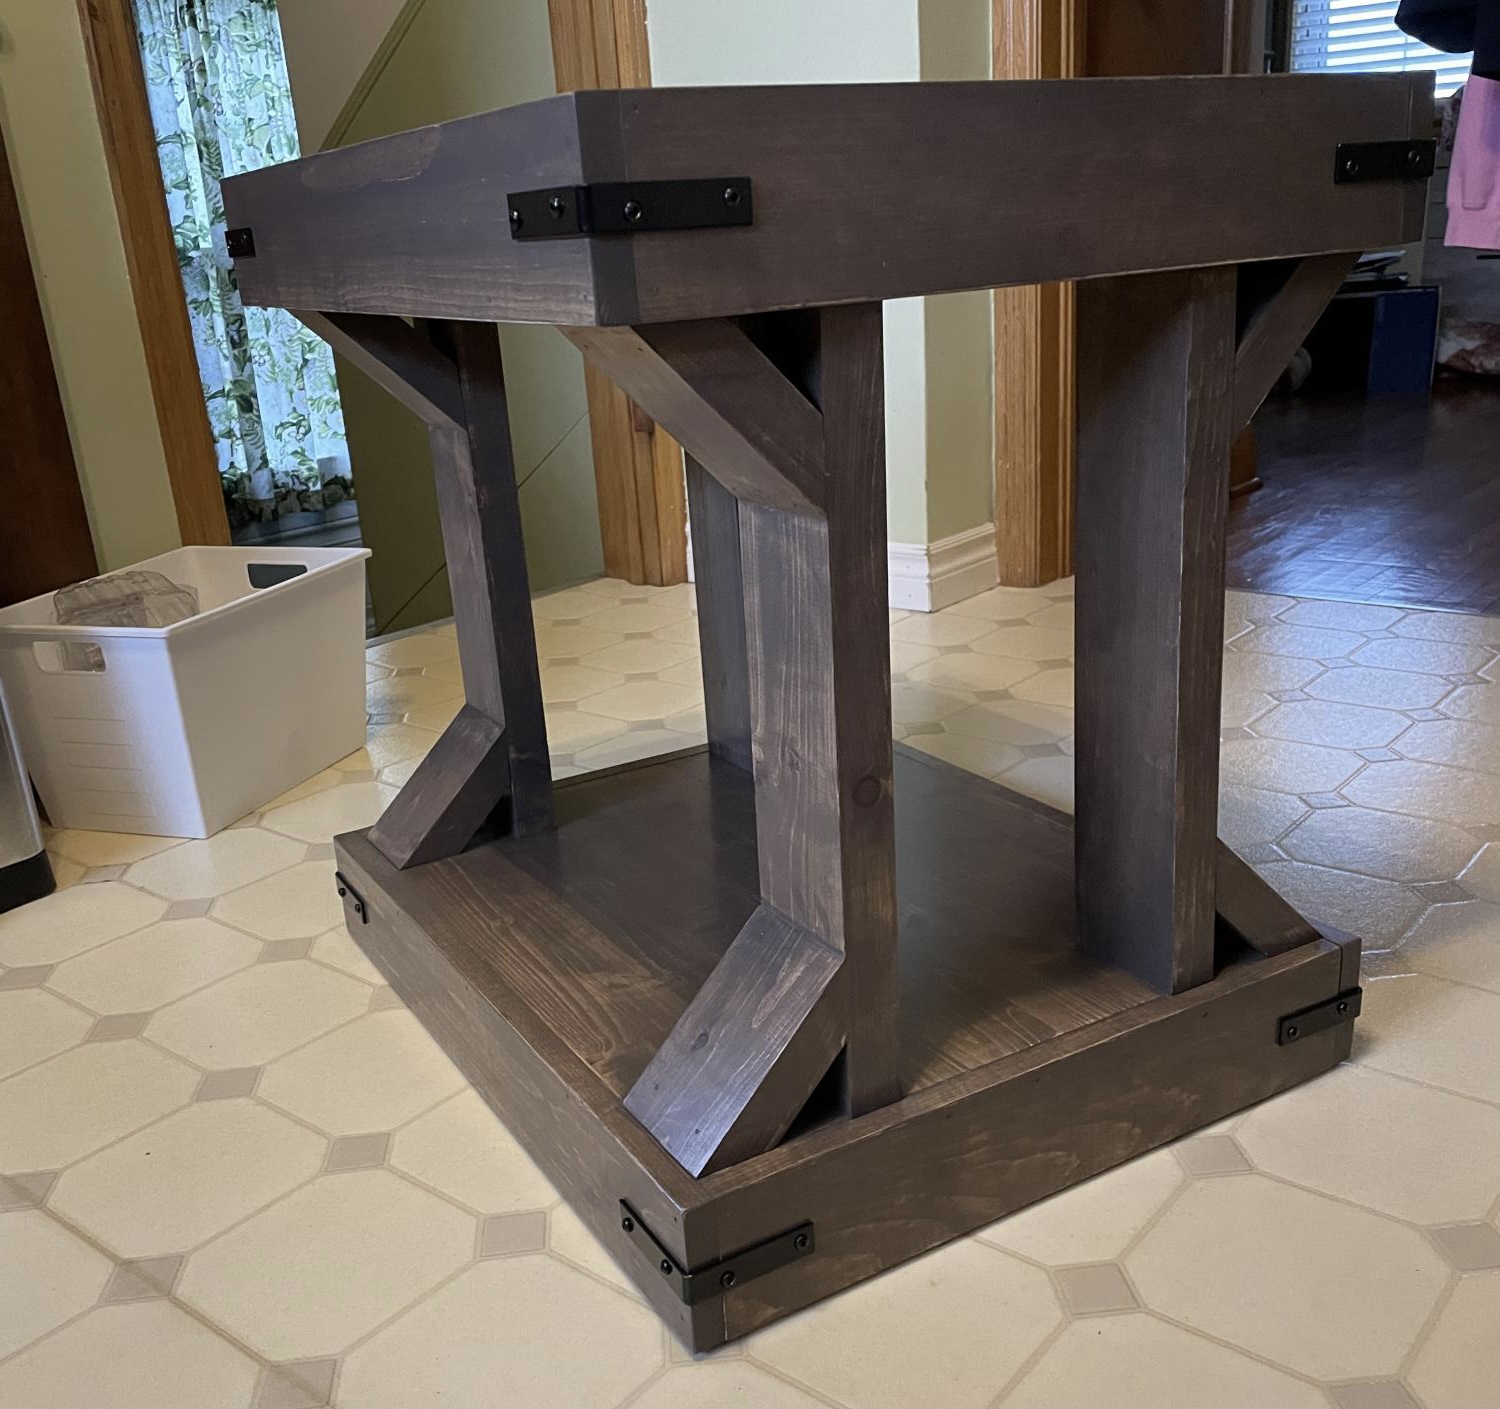
I made the coffee table, an end table and I modified the console table to add another shelf because I have too much stuff lol! These are my first wood projects and I am happy how they turned out 🥰
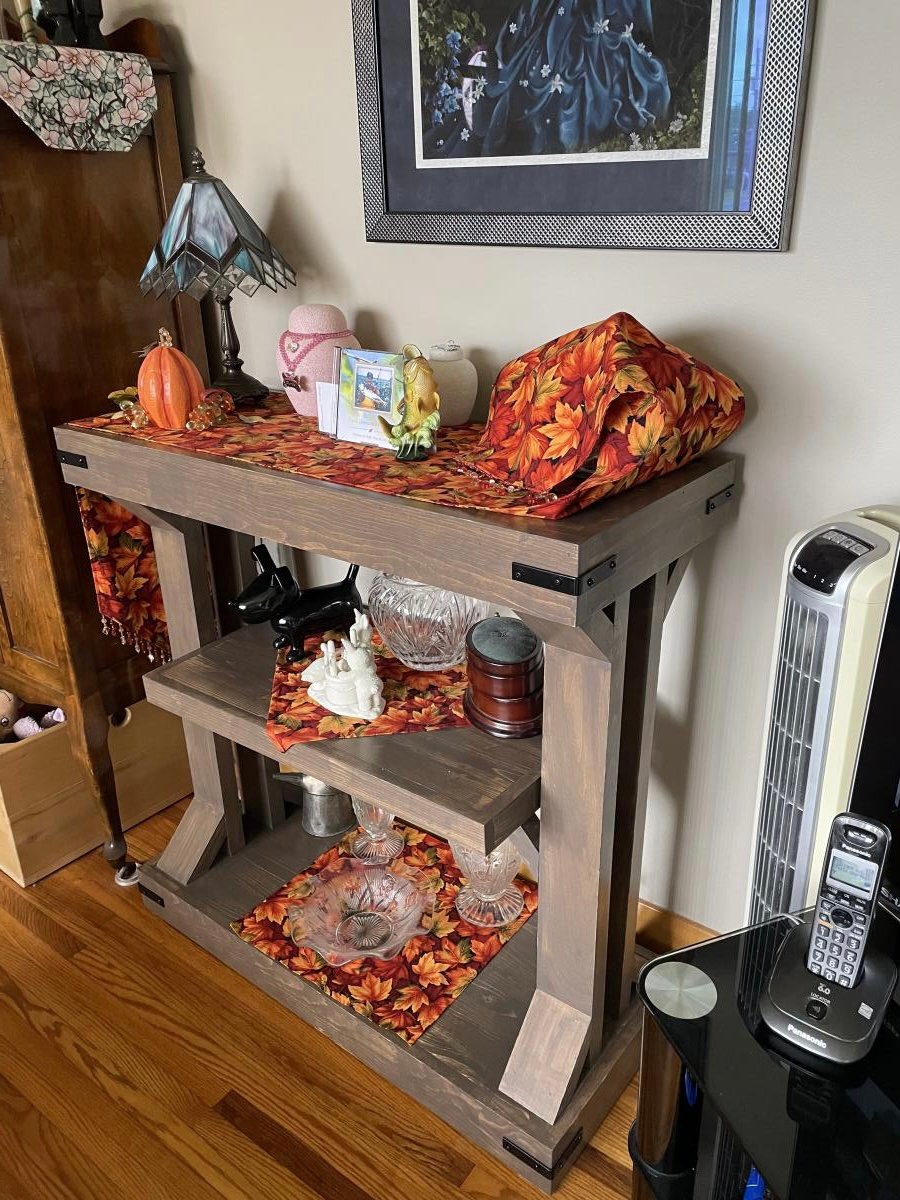

I made the coffee table, an end table and I modified the console table to add another shelf because I have too much stuff lol! These are my first wood projects and I am happy how they turned out 🥰

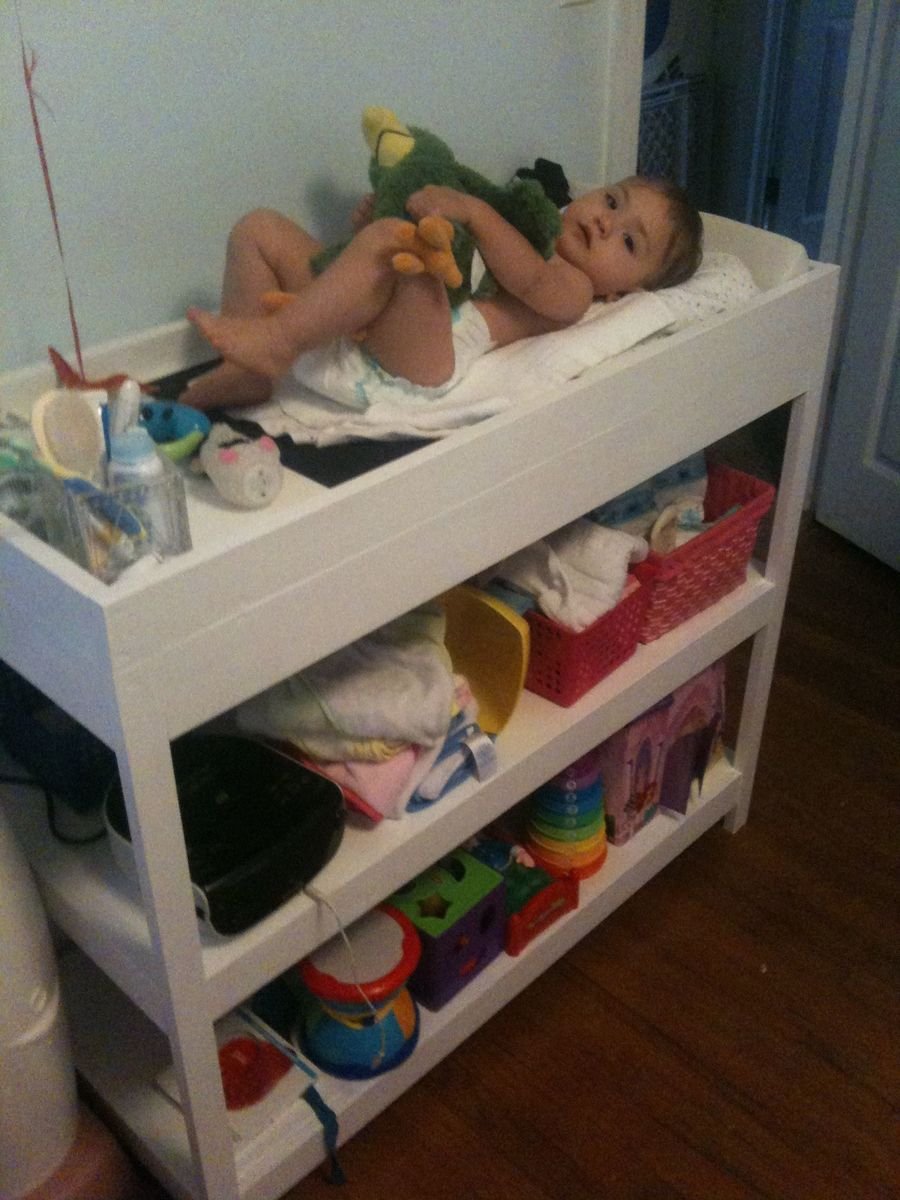
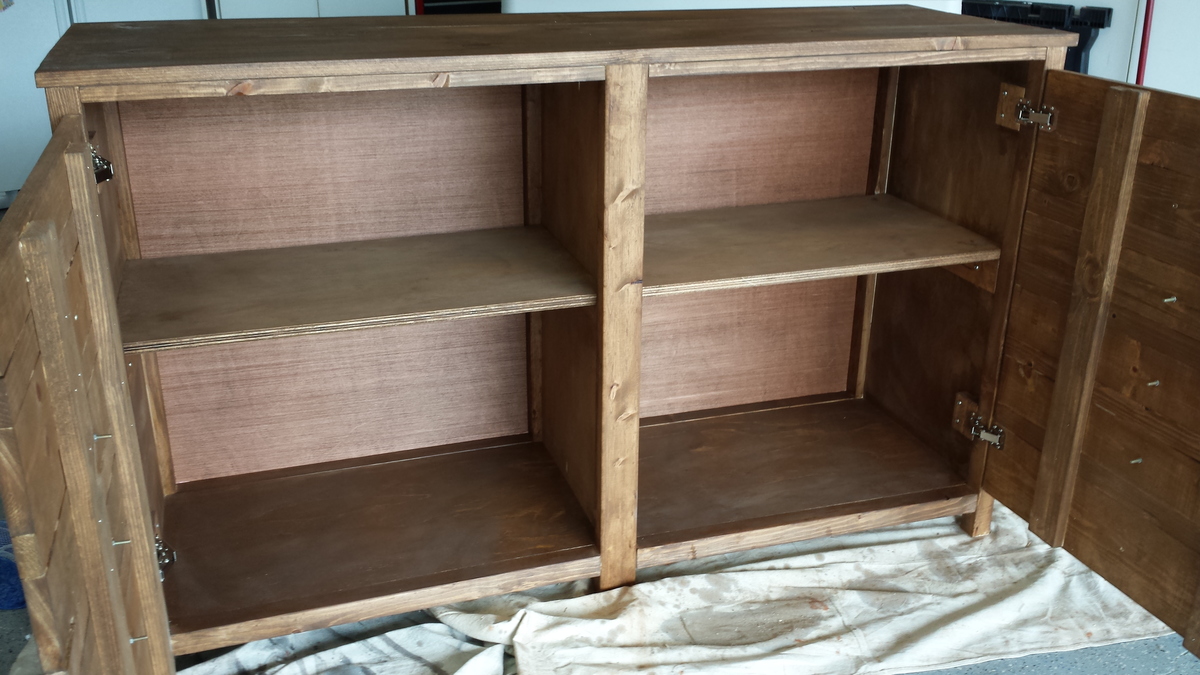
This was my first wood working project ever. I followed Ana's plan exactly except for the trim and partitions. I learned a lot from this project such as the correct pre-drilling hole size and the need for countersinks (I had quite a few split boards). I used Pine for the boards and MDF for the shelves but if I had to do it again I think I would go for plywood. All in all it was a rewarding project. The hardest part was the wood putty.
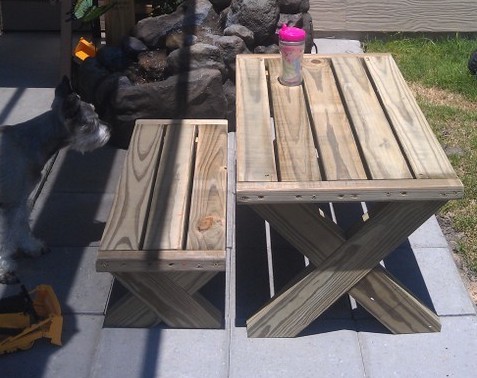
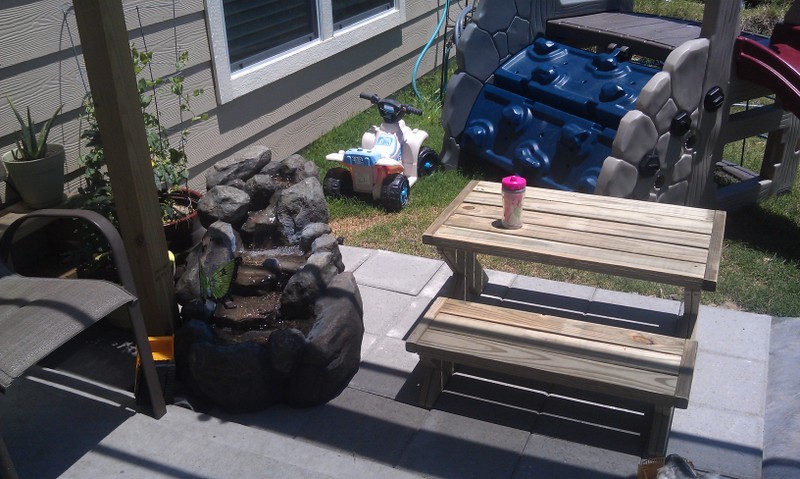
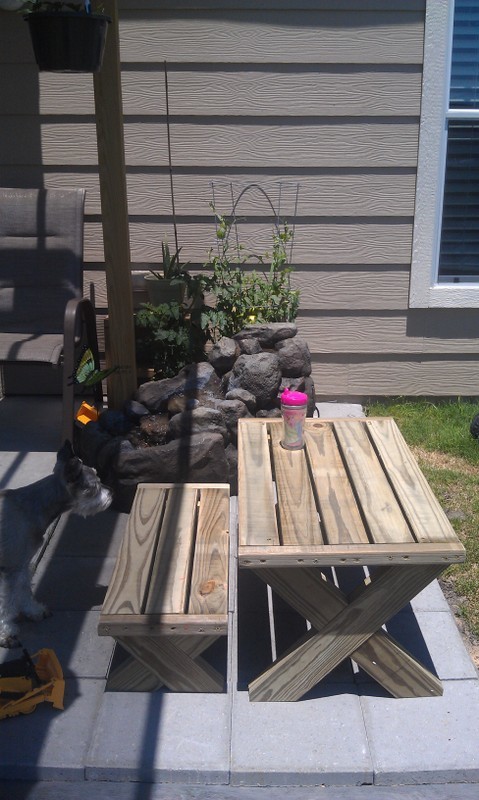
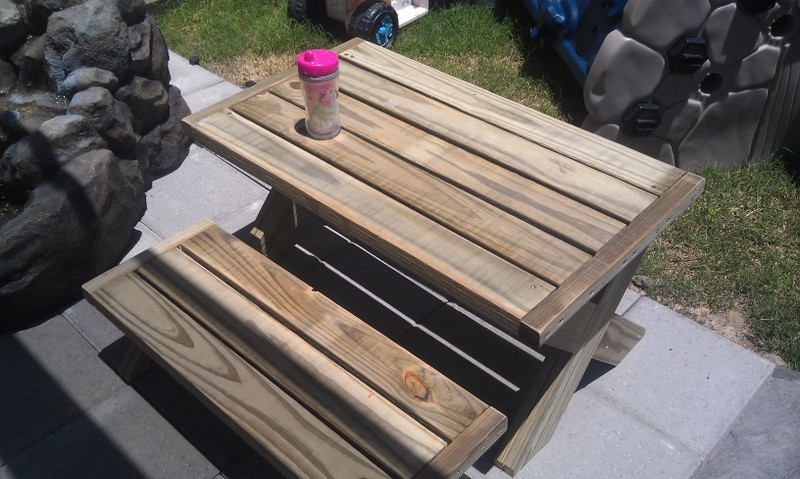
This was one of my first projects. I had some challenges with the cuts... I rushed through (since I had my 1 & 3 year old assisting) and didn't make exact cuts... as a result, there was a lot of trimming to do on the legs. Also, the pressure treated wood that we purchased was very weak and even with drilling pilot holes, I experienced quite a few splits when putting together the legs of the benches. (This is why I only have one bench, actually... I still need to buy more wood...) Otherwise, I love the table!!! I think I attached the legs of the table differently than instructed, though I can't recall what I did.. and we ended up cutting a 2x2 to tie in the legs (from mid-X to mid-X) for extra support. (My 3 year old son was leaping from the table and we wanted to make sure it could meet his demands.) We LOVE it overall!
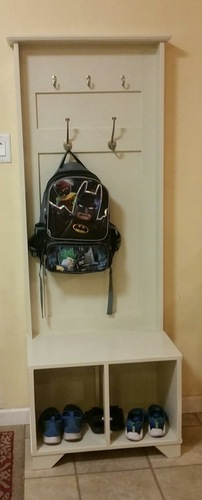
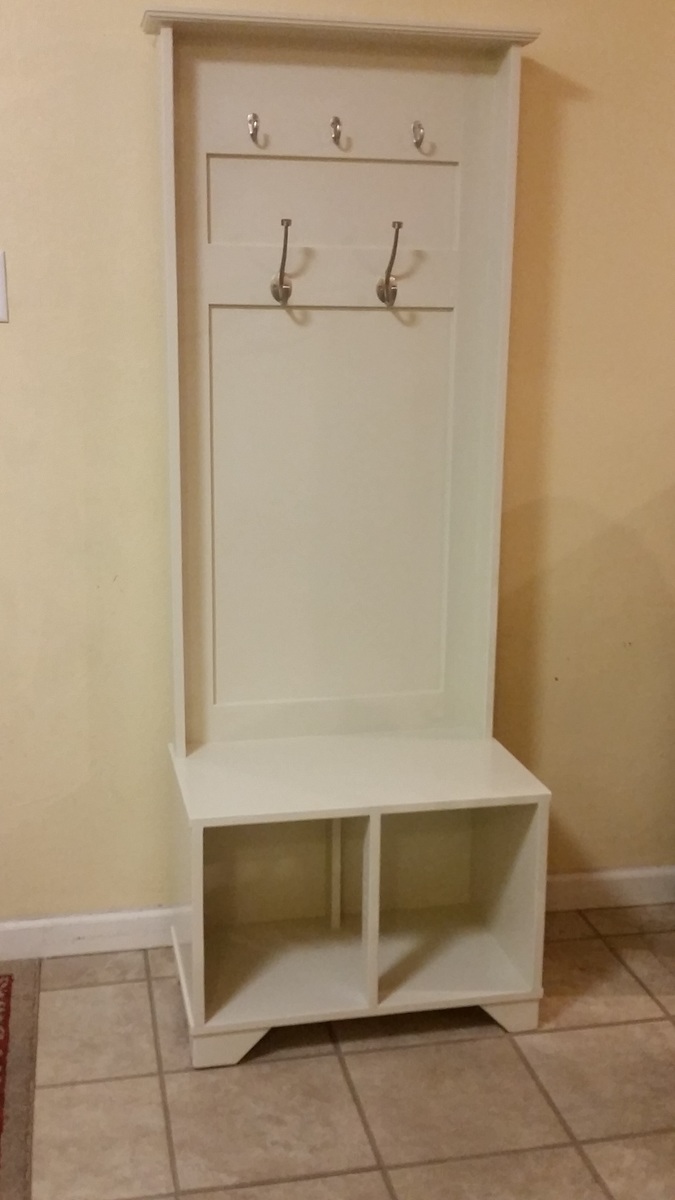
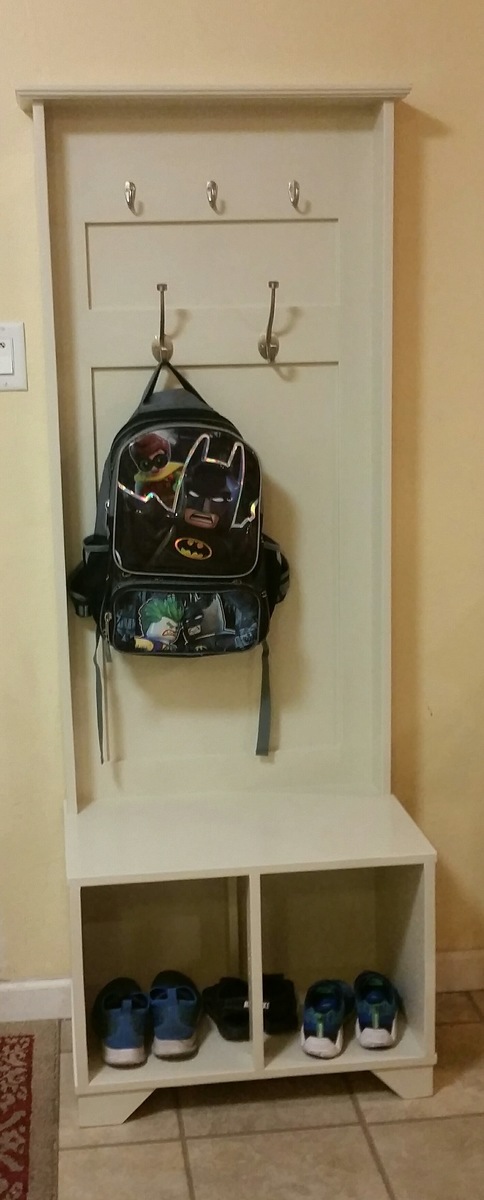
Modified From Ana's Fancy-hall-tree bench plan.
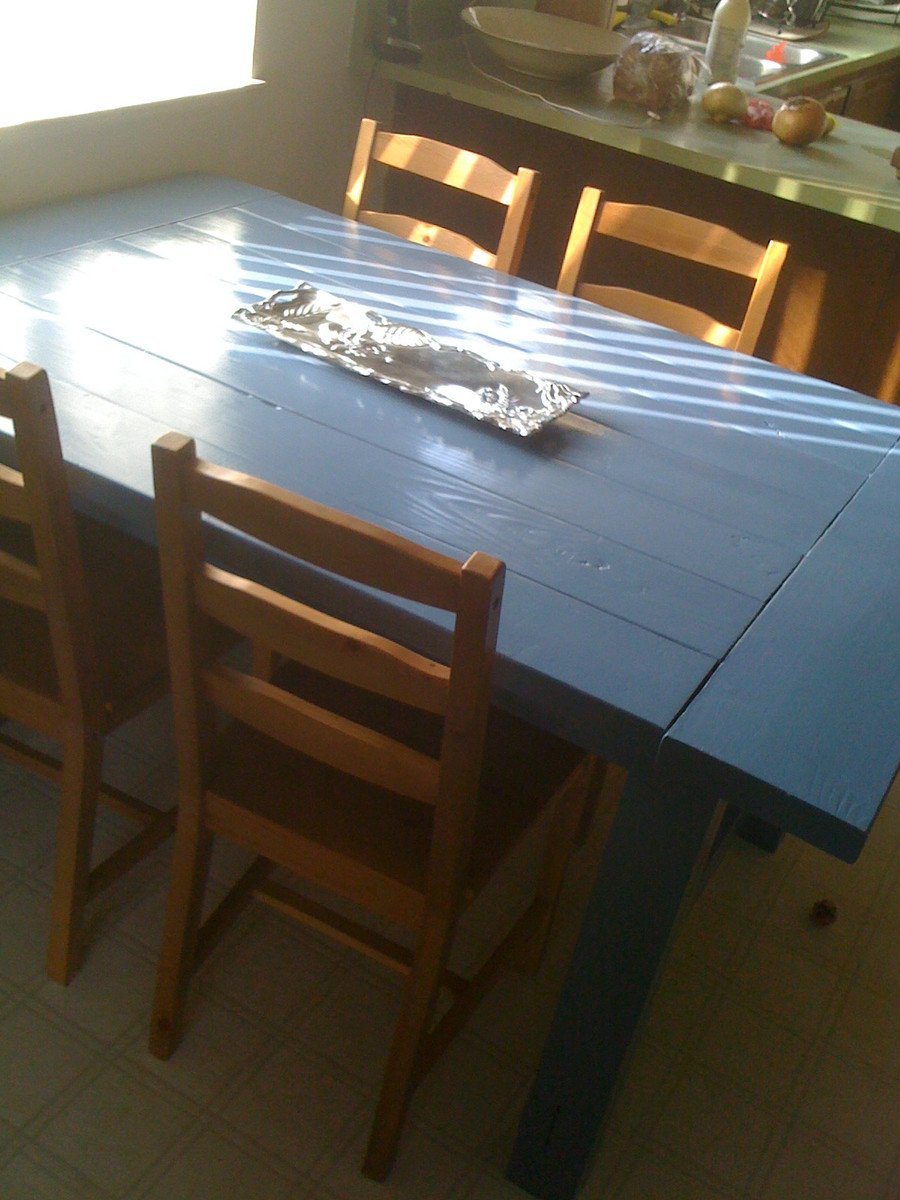
I wanted a kitchen table that was bigger than the one we had from Ikea, but the Farmhouse Table was too long. So we modified the length, left off the stretcher, and painted it a bright blue! The major lesson learned in this project was to be sure to store boards carefully. We bought the lumber, cut the boards, and then didn't work on the project for a couple of months. Even though the wood was in our garage, some of the boards warped a bit, leaving us with bends and curves to deal with once we started to build. Luckily, things came together, but there are many more imperfections in this table than would have been there if we'd built it sooner. But we still love it!
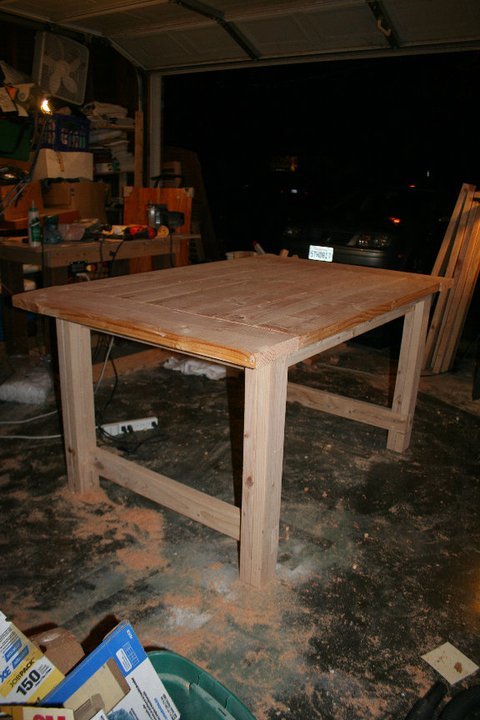
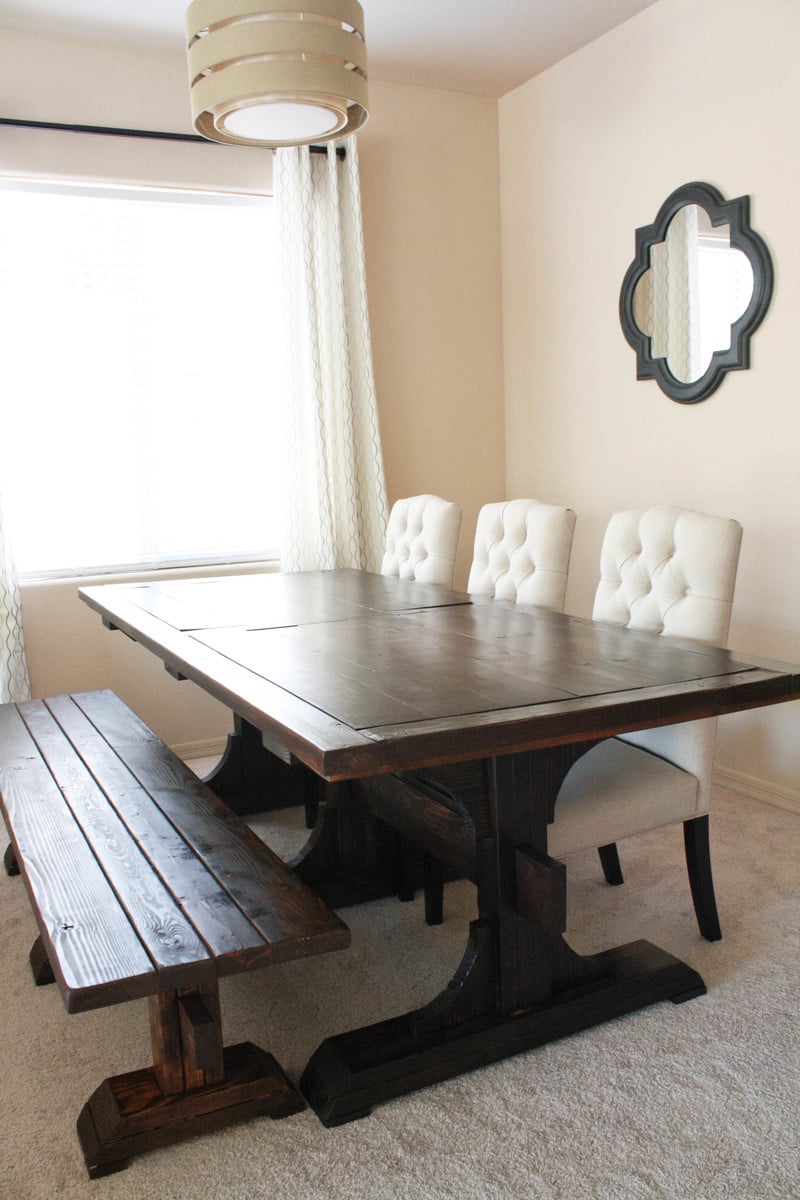
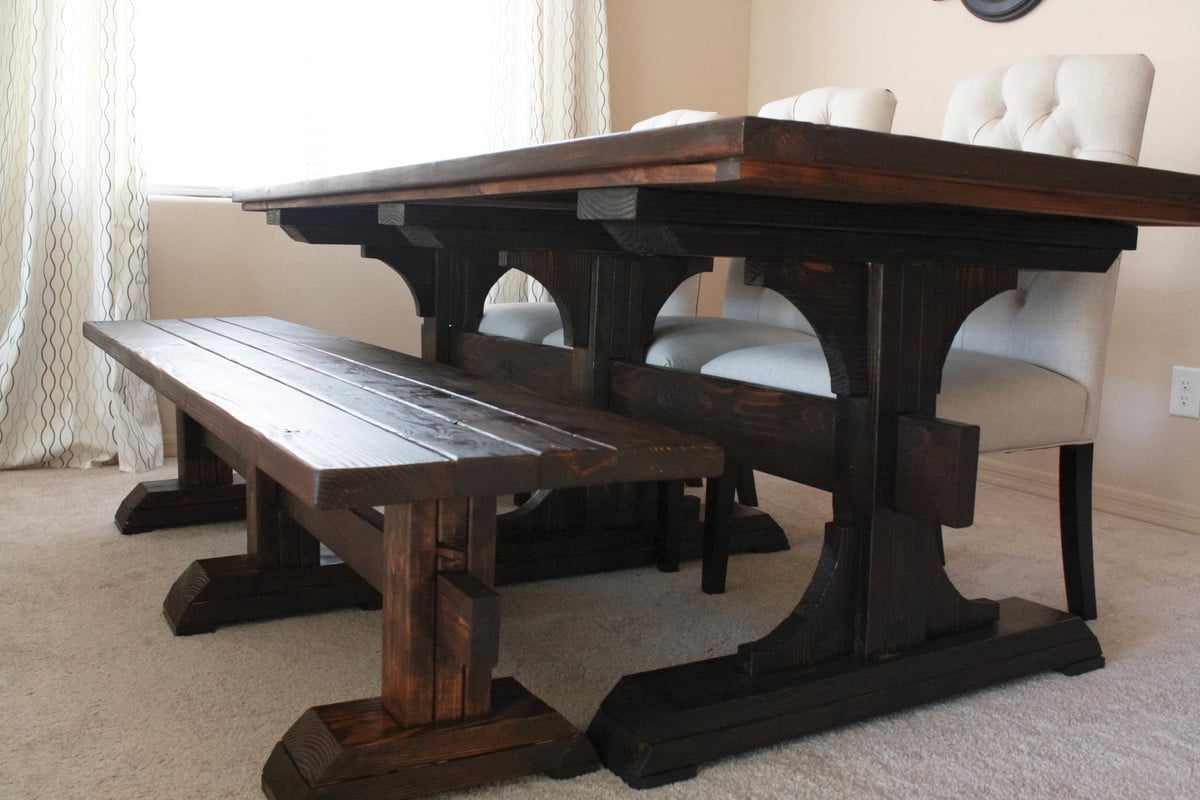
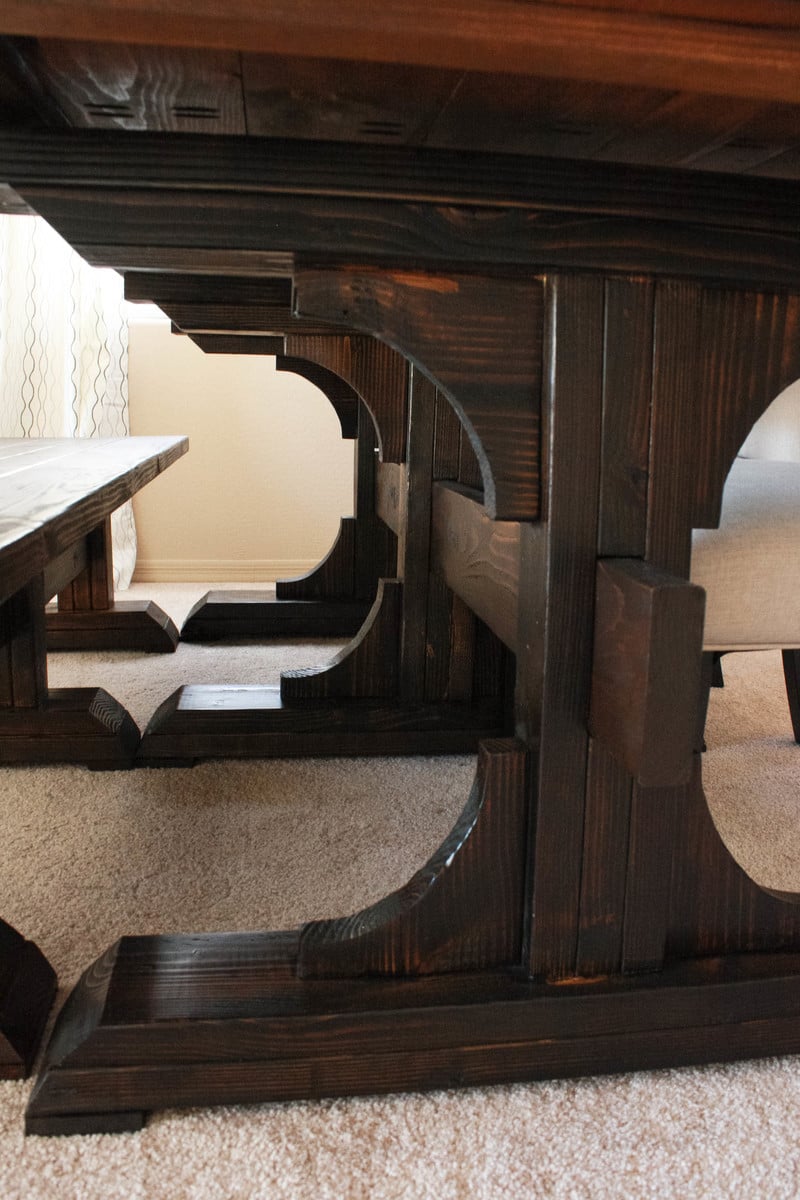
This table was actually our very first project! It took us longer because of that, but really, this table isn't very complicated at all! Cutting the arches were probably the most difficult part of the whole thing (hence why we left them off of the matching bench).
We modified this table down to 7.5 feet, but still kept the three arches because we loved the look of it. This table can still easily seat 8 people.
We modified the bench by not framing the top and leaving the arches off, but kept the same look of the legs so it would still match and keep the time/difficulty low.
I came up with a simple design to build a nightstand for my daughter's room to go with the platform bed that I had just built. The only problem was that my daughter is 3 and she isn't very tall. So I figured a 2ft tall nightstand will do!
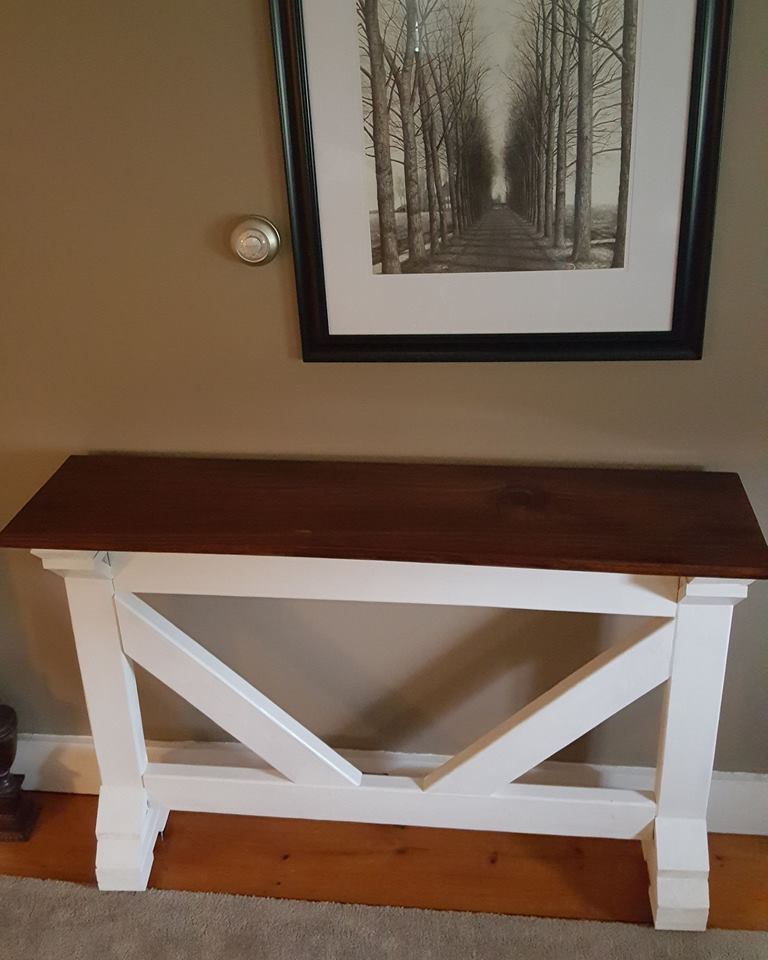
Built by Wndy D Keever-Keefe
"This was my very first build ever. Totally inspired by Ana White, I happened upon her site one day about 4 years ago and have since built lots of her plans."
Dear Ana White.,
First, I am a fan of your woodworkingand I follow you on YT. I like your approach to projects, making it simple and easy but still making very fine pieces that both are nice looking at and good for use.
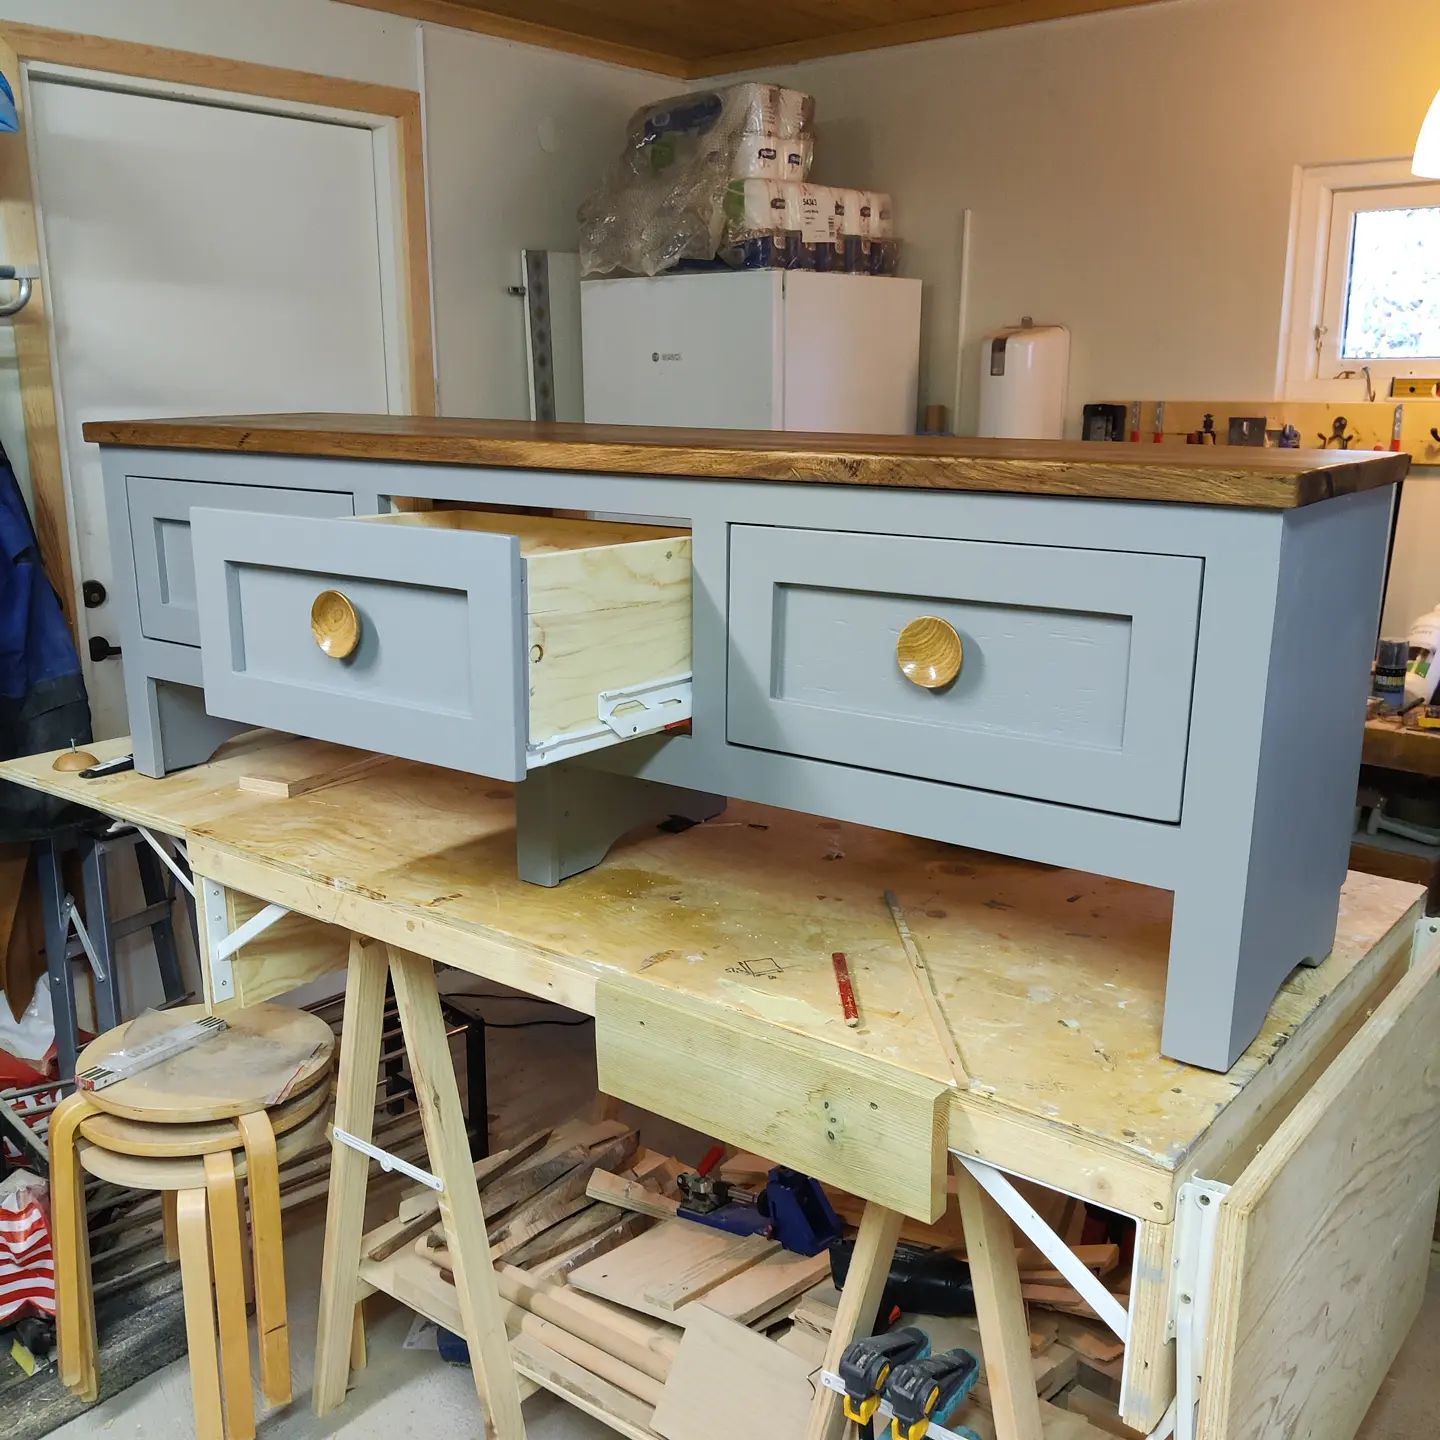
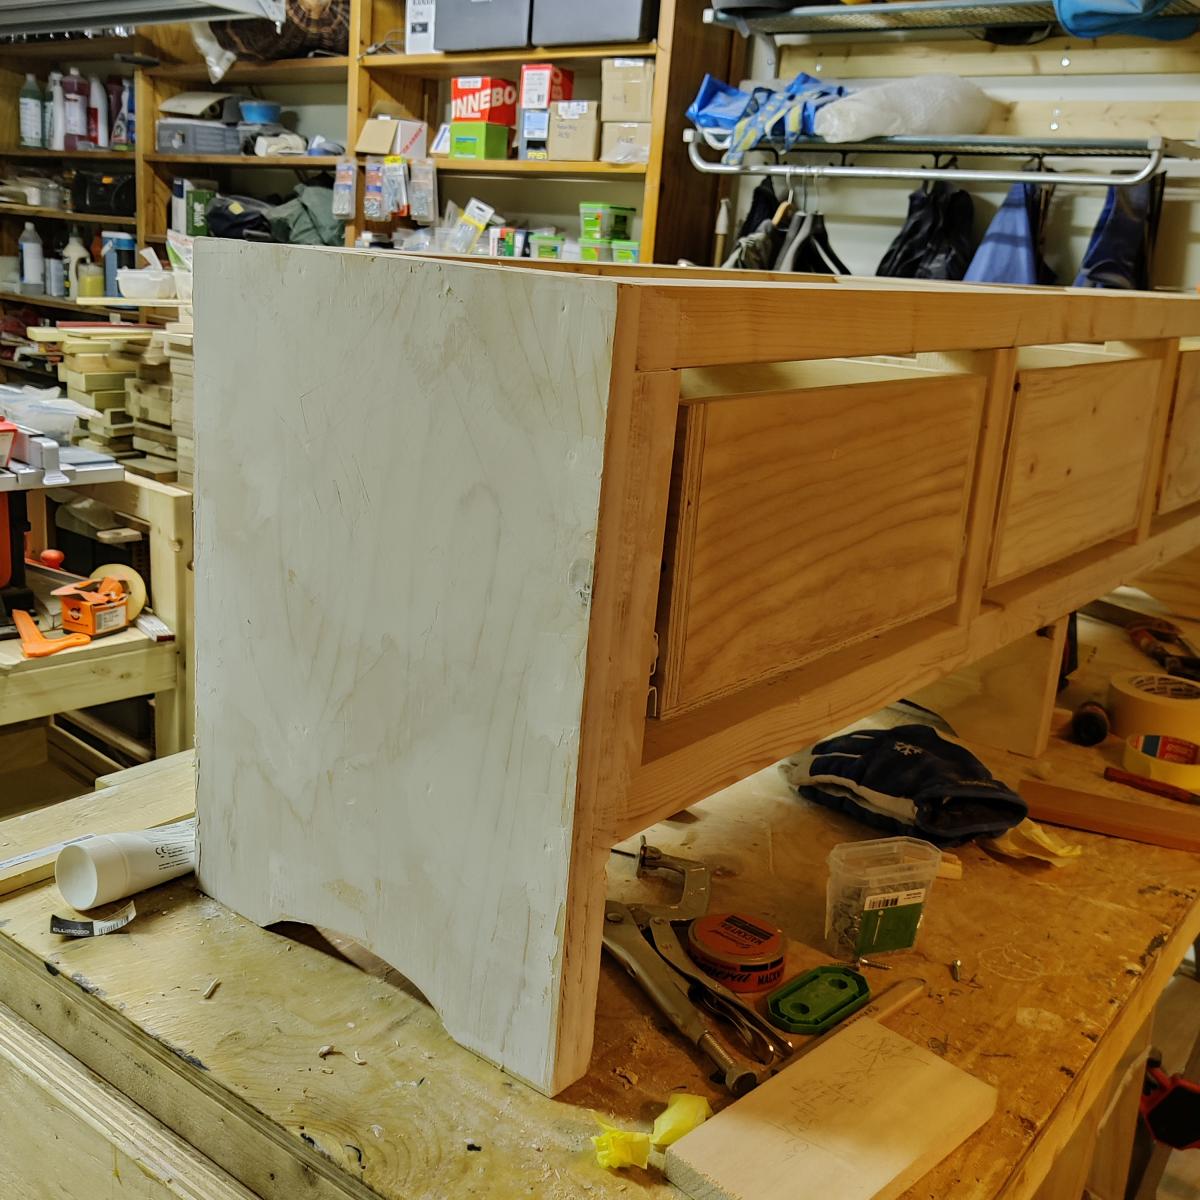
My former neighbor needed a bench in the hallway of her new apartment; with the desired measures (roughly) 5’x19-20”x18” (150x50x45 cm). And then I saw your mudroom bench on YouTube which inspired me building my own bench according to the general ideas from yours’. So, I made like a frame with 2x3”, then I let the plywood sides proceed down to the floor, leaving a space between the carcass and the floor of 15 cm (6”), for shoes. Three drawers and using a scrap bit as space block for the drawer slides it was not that hard to get them in place. The top sheet is a slab of massive oak that are sold as “shelf material” at our local store (Bauhaus, possibly the Swedish equivalent for home Depot?).
I think it turned out pretty well, and I am grateful for your work, inspiring me and making my own woodworking easier.
Best//Göran Redmo Tyresö, Stockholm Sweden
Fri, 11/05/2021 - 11:36
This is a timeless beauty, I love the mods you made, thank you for sharing!
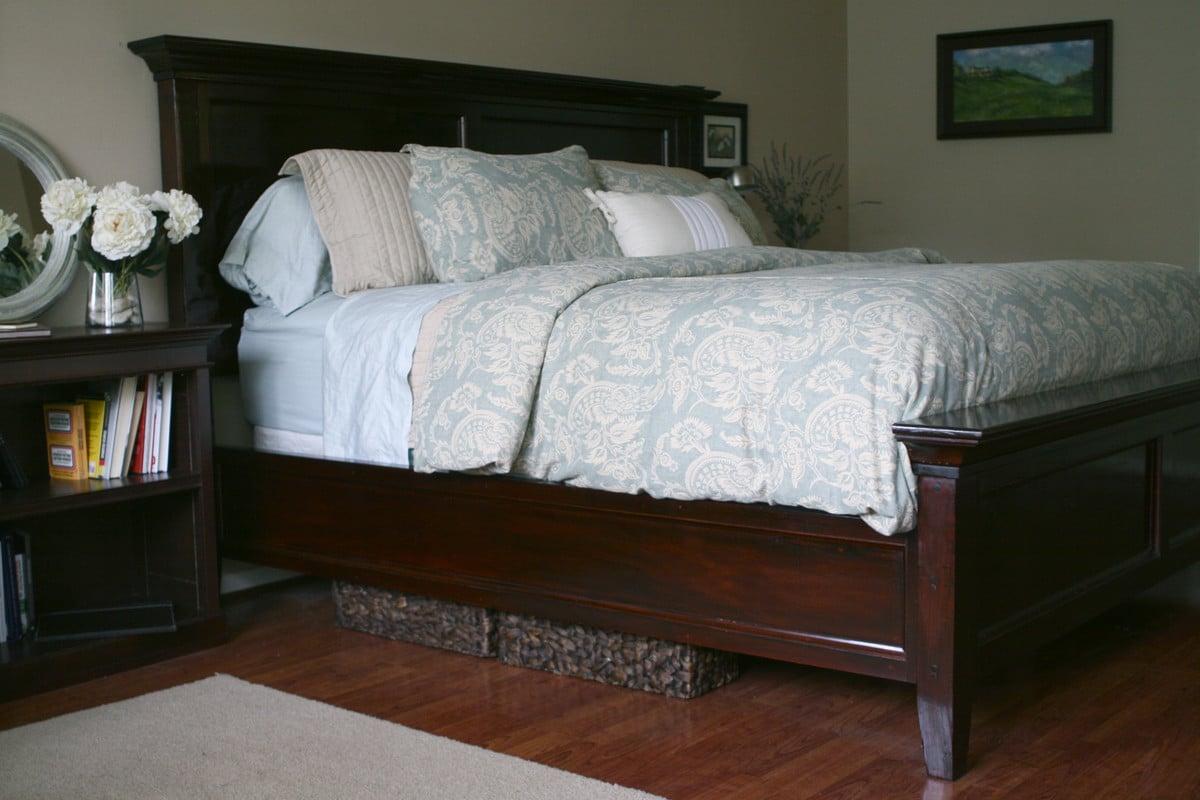
This was our first project. My husband and I took the Farmhouse bed plans and modified them to look more like the Hudson Bed from Pottery Barn. This is a King size bed with removable side rails and under bed supports so that it can easily be collapsed for moving.
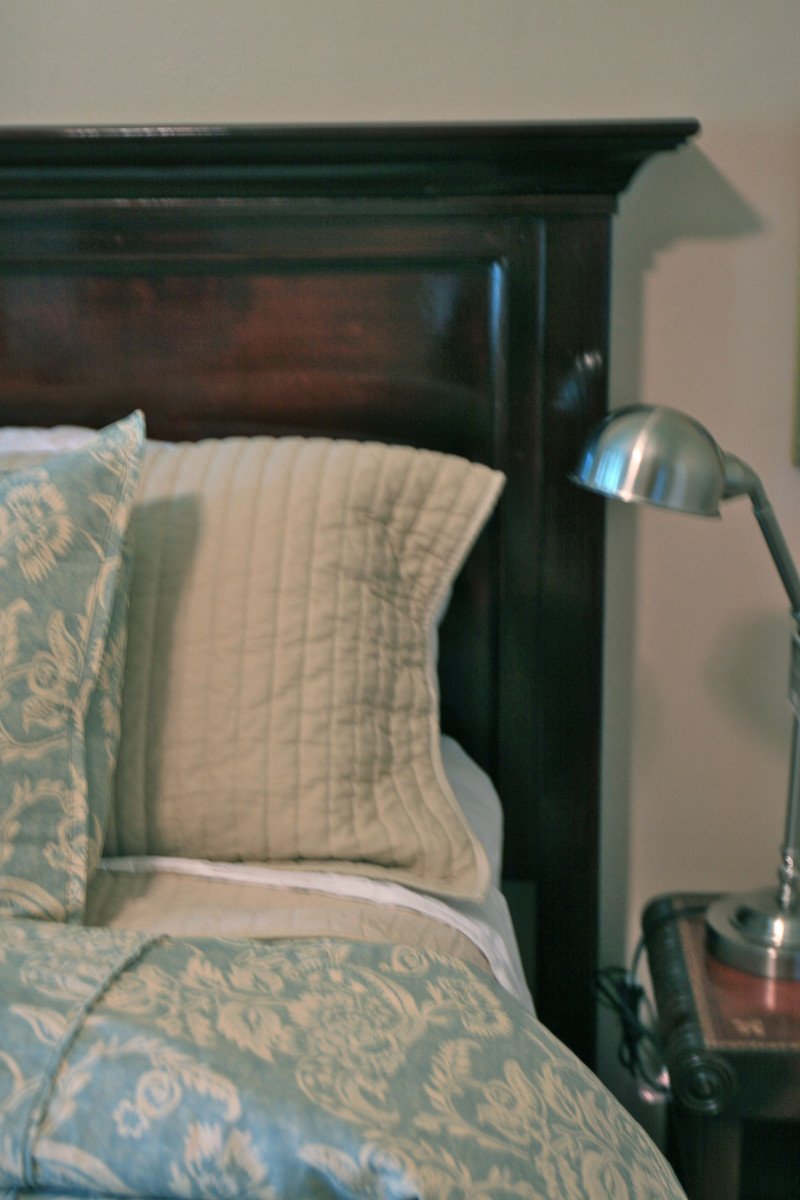
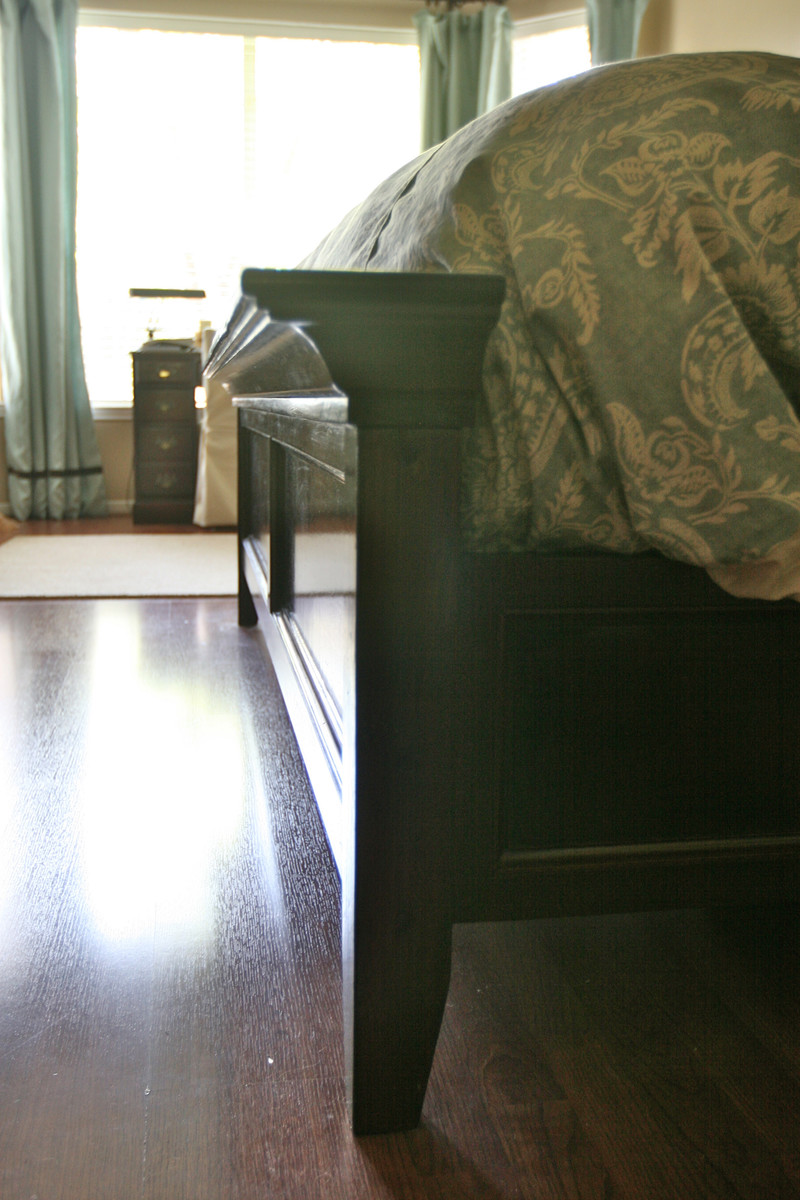
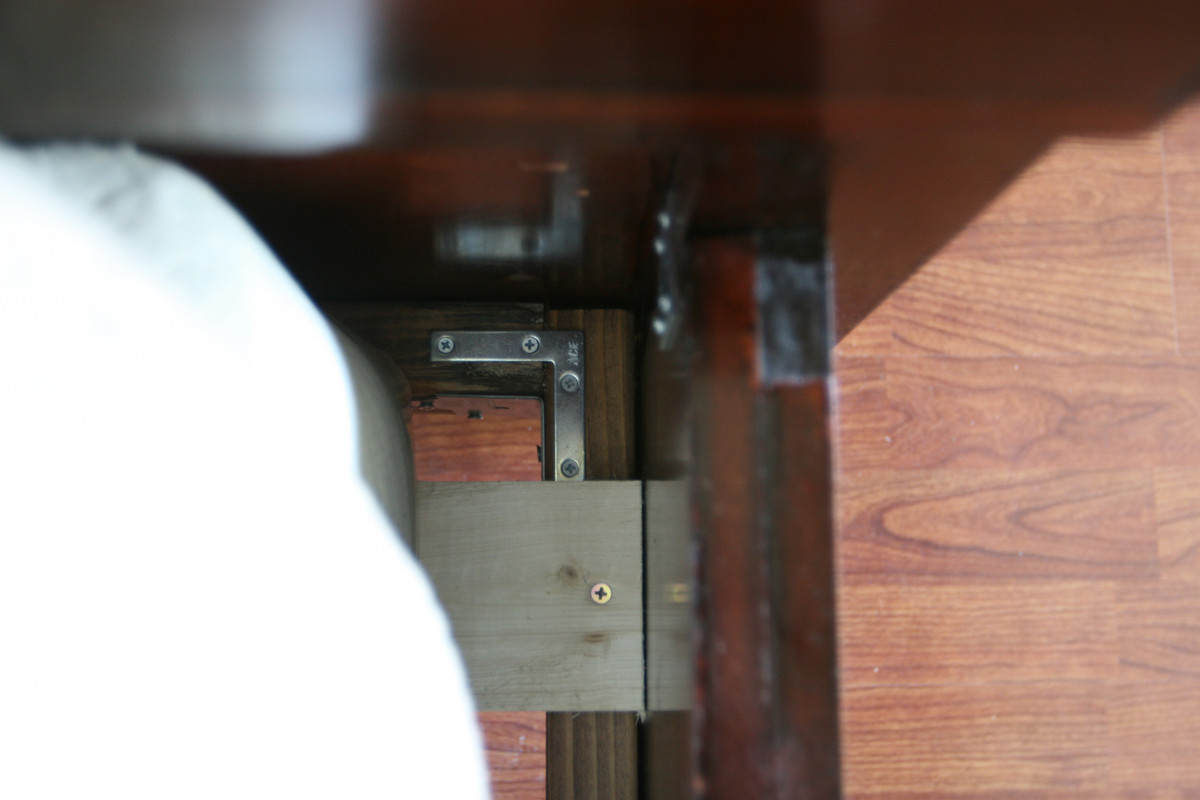
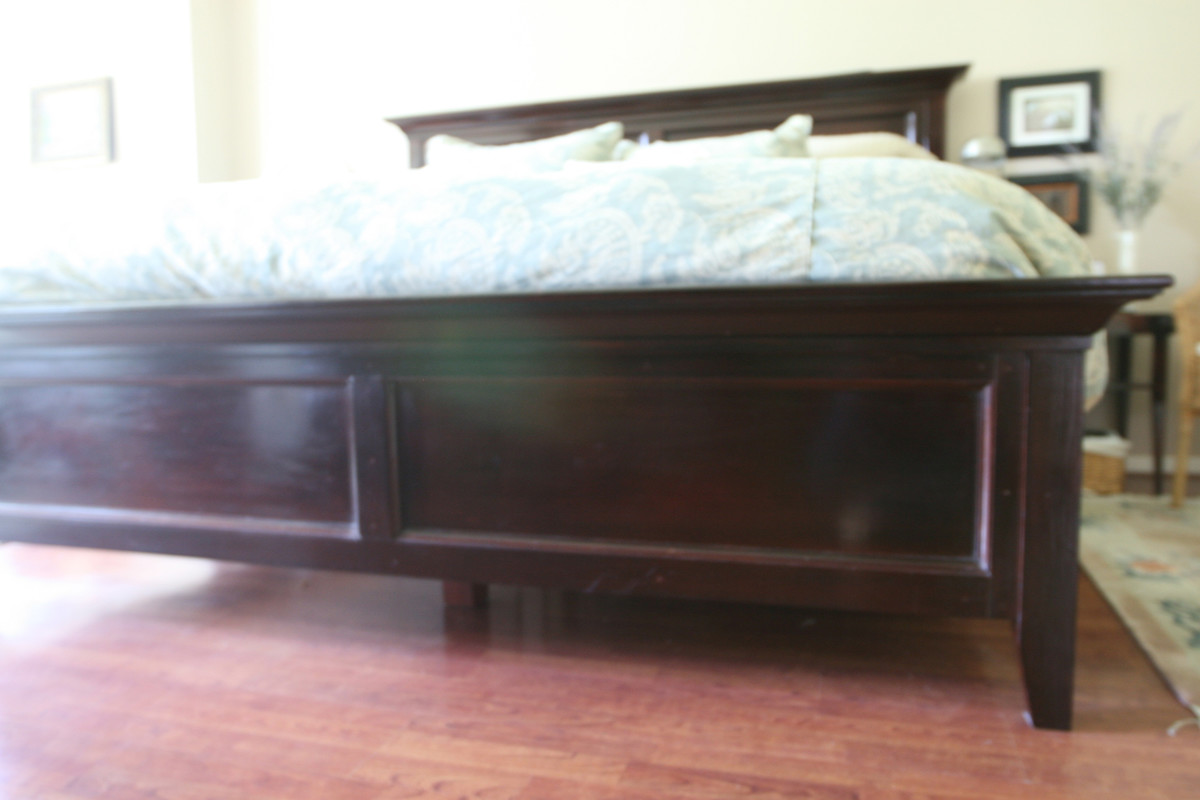
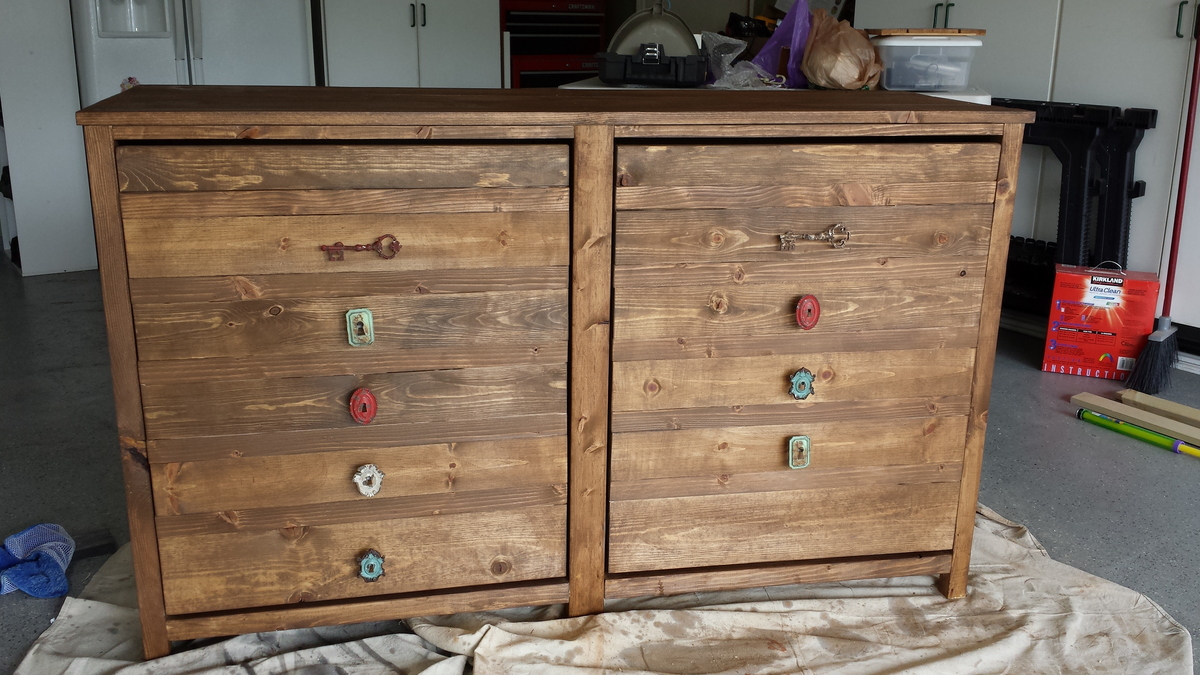
There were a few misprints in the supply/cut list but if you read through the comments section it helps. I ended up making a list of the supplies and adding a column next to it with the cuts, that helped. Oh, and the store I bought the knobs from didn't have enough but the last one is coming! Pretty happy with the end result. Thanks Ana!
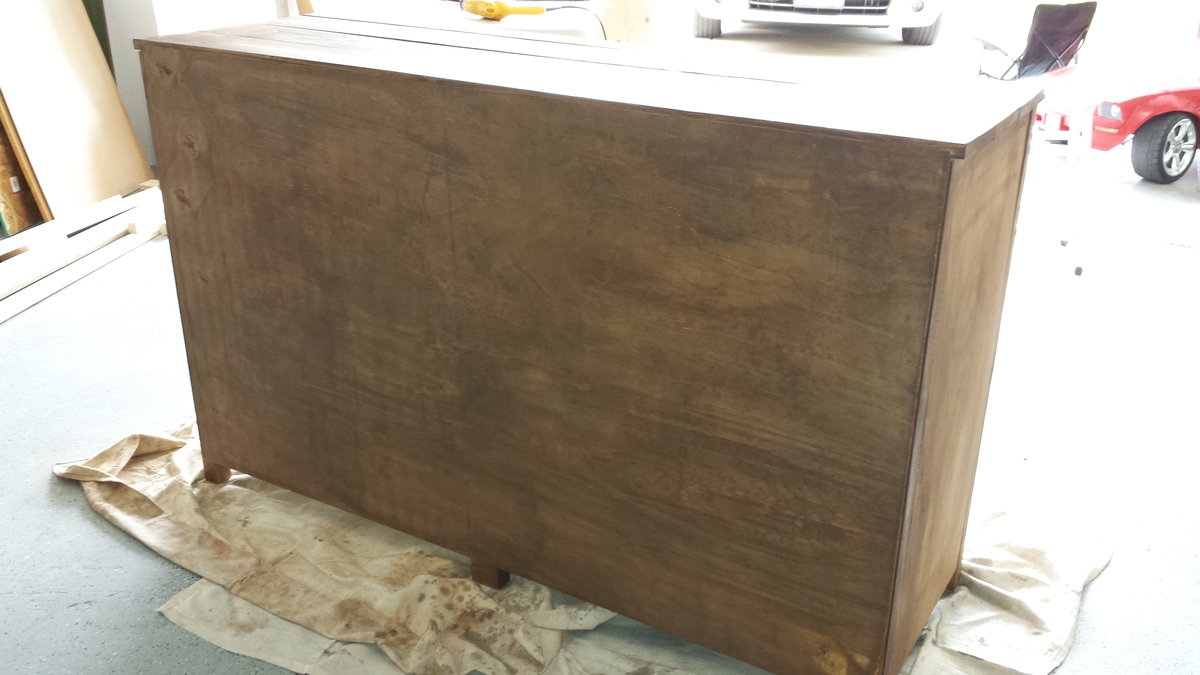
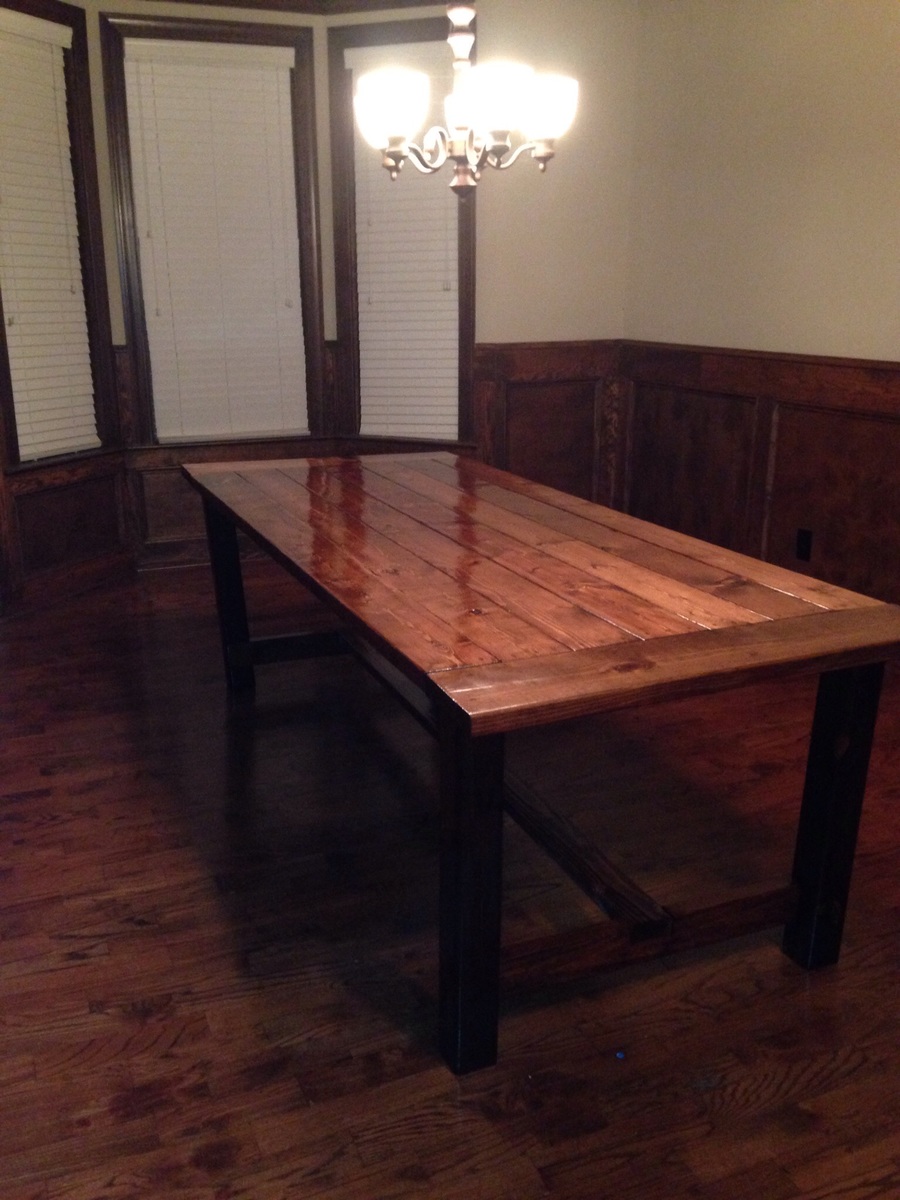
My first project built on the garage floor. Before I had work benches :)
I used a borrowed mitre saw, borrowed jig saw and a $20 drill.
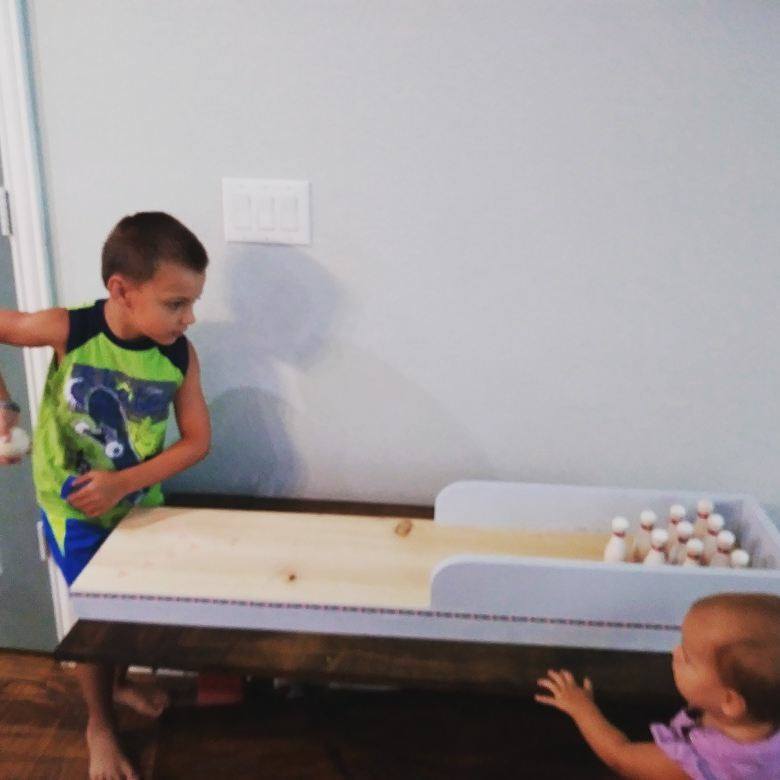
very easy. I ordered my pins and ball off amazon
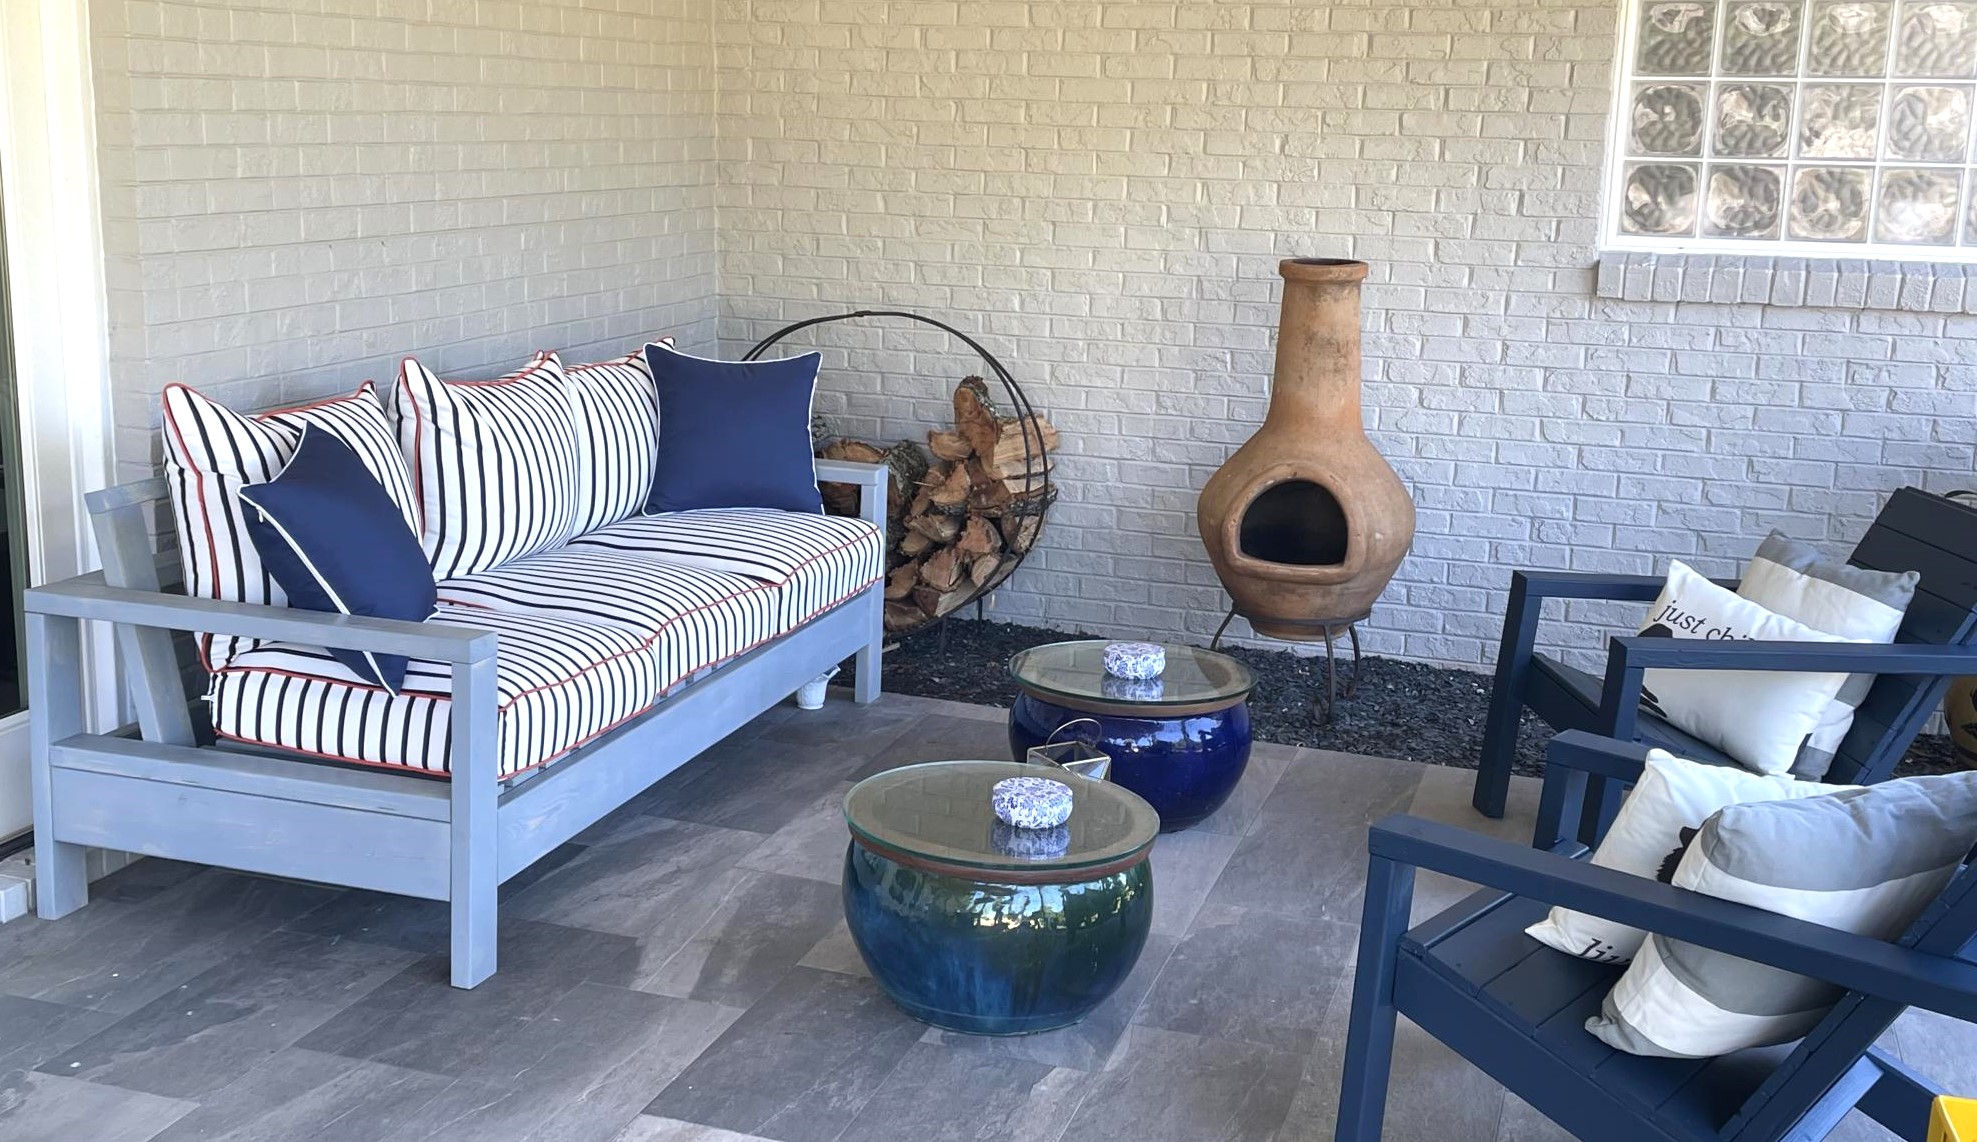
What a great project! Simple and relatively easy. Very stylish chair!
I built the Full Storage Bed using Ana's plans! It was very easy and I love the storage space! You can see it and my modifications at our blog http://www.shanty-2-chic.com/2011/03/crates-for-storage-bed.html
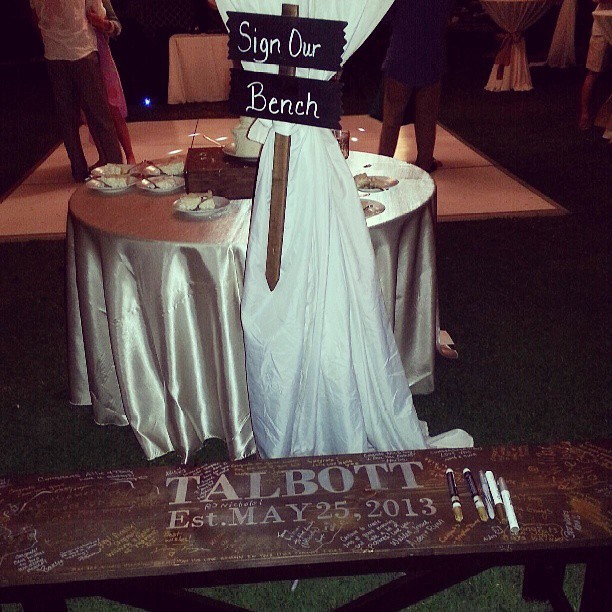
I stole this idea from another brag and had to have it at my wedding. The Bench was fairly cheap to make and took about 4 hours total. I hand made the stencils using cardstock, shipping tape, Xacto knife, and alot of tedious cutout work! I used a sharpie silver paint marker to fill in the stencil. Turned out great and now its at the foot of our bed and we get to look at all of our guest comments everyday!

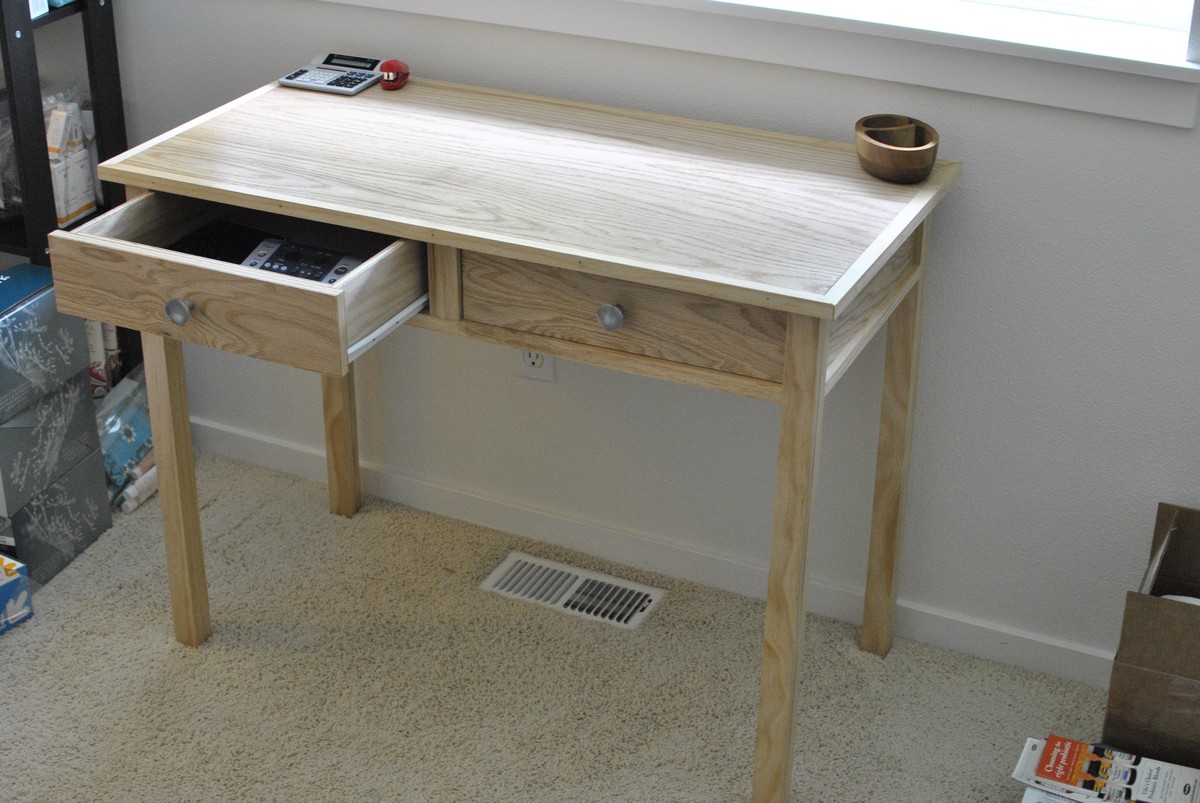
My wife needed a writing desk. I had previously built a coffee table with cheap lumber and wanted to see if I could build something with nicer wood. My concern was that all I had was a small portable table saw. This is the result. Oak plywood for the top and side panels, pine for the frame and edges. No stain; I really wanted to let the difference in colors from the two different woods to speak for itself. Just a good sanding and 5 layers of water based polyurethane.


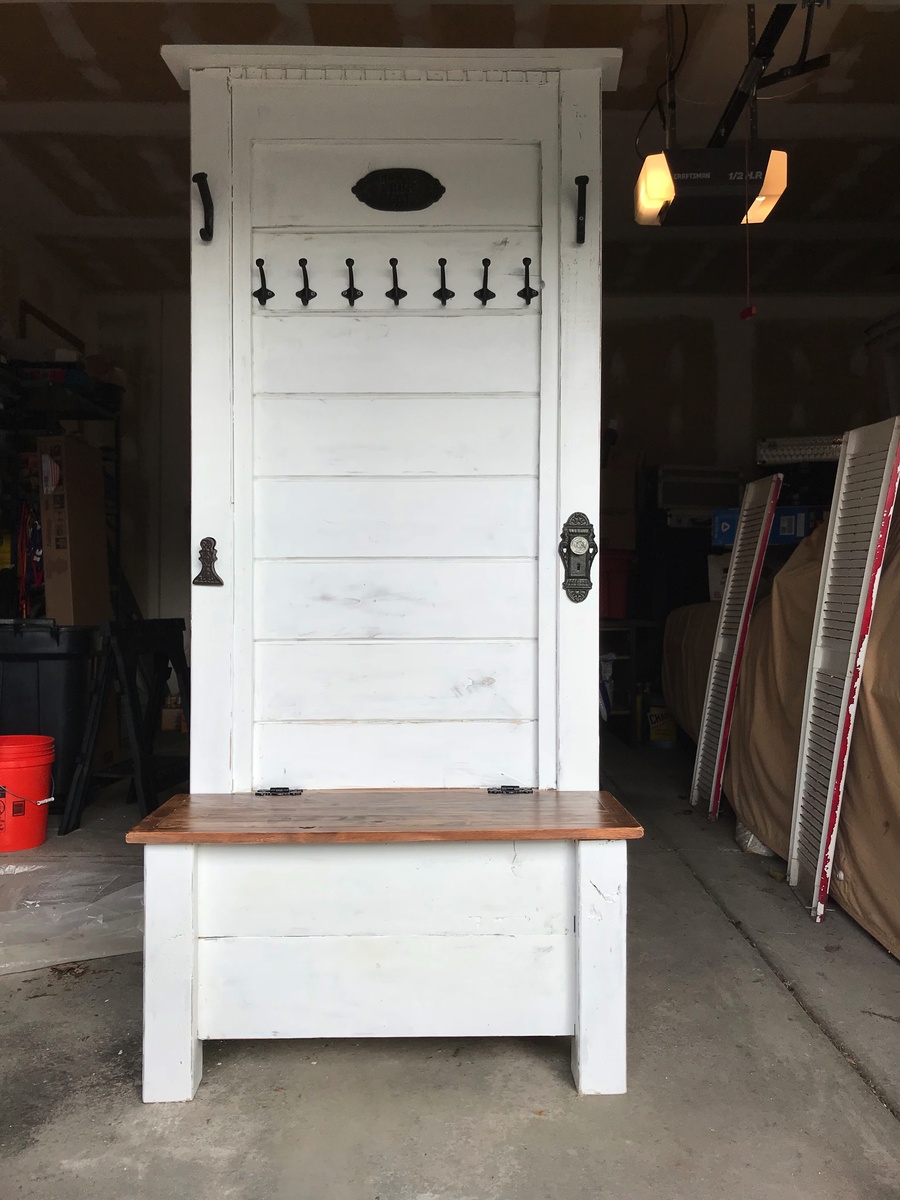
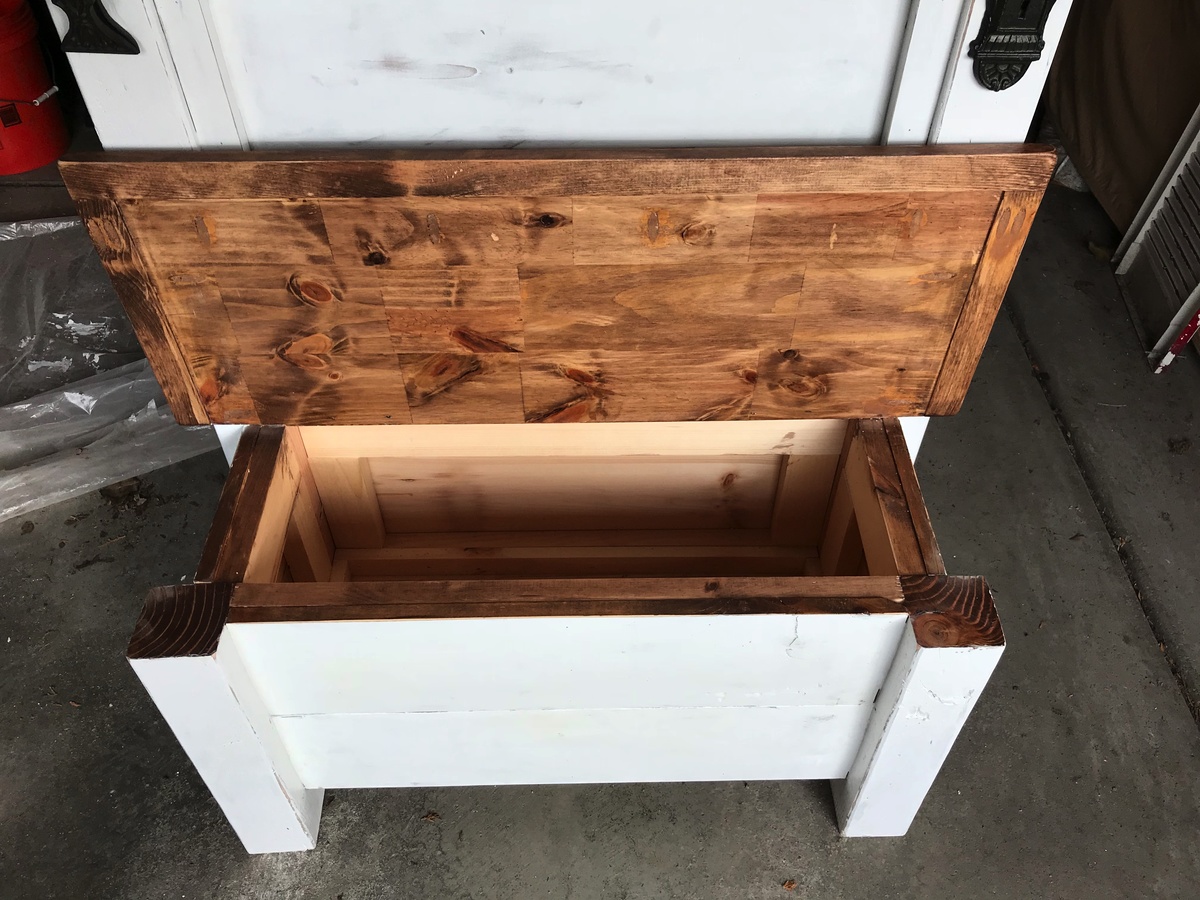
Hi Ana! This project was pretty much inspired by ALL the great things you build on this site, as well as from watching a 'Fixer Upper' marathon (hence, the white color and shiplap). Last Christmas, I promised my sister that I'd build her a hall tree since she's now up to 10 grandkids and needed more hooks for all those coats and hats. Unfortunately, I also came down with a WICKED case of vertigo, so no power tools for yours truly. : (
Well... The vertigo finally cleared up, so it was time to get out my trusty ol' Kreg Jig and fire up the tools.
This project started with 2 4x4s. I cut 17 1/2" off each, then used the long pieces as the back and the sort pieces as the front legs. Then I built a rectangle (shored up by some cross supports) out of 2x3s and used those to attach the back legs together with pocket holes. I did the same thing with the 2 front legs, then attached the 2 sets of legs together with shorter pieces of 2x3s that framed up the side.
Next, I added a front to back support to the underside, and then attached the bottom of the seat on top of that. I built the front, back, and side pieces of the bench section by cutting a couple of 8' x 8" x .5" planks to size, and attached 2 pieces to each side by gluing and nailing them to the frame. Then, I rans some shiplap up the back (glued and nailed to the back frame) and topped it all off with a mantle.
For the seat, I used a 12" project board ($11 at Lowes for a 6 foot section) because I love all the knotty details and nail marks. I framed it out with 1x1 and attached with pocket screws on the underside. I finished that piece by staining it in Rustoleum Dark Walnut.
As for the rest, I just framed the shiplap section with leftover 1x1s, then sanded and stained the whole piece with the same Dark Walnut stain (so that something would show through after distressing). Finally, I applied 2 coats of Rustoleum Linen White Chalk Paint (LOVE that stuff!), distressed it, and topped with one coat of Minwax 1 Coat Poly (ALSO love that stuff), and added some hardware and country do dads from Hobby Lobby (Rustic Hooks, 'Bless This Home' Sign, Decorative Doorknob, and "Mitten Clip" for wet mittens and gloves coming off little hands) . What do you think? ヅ
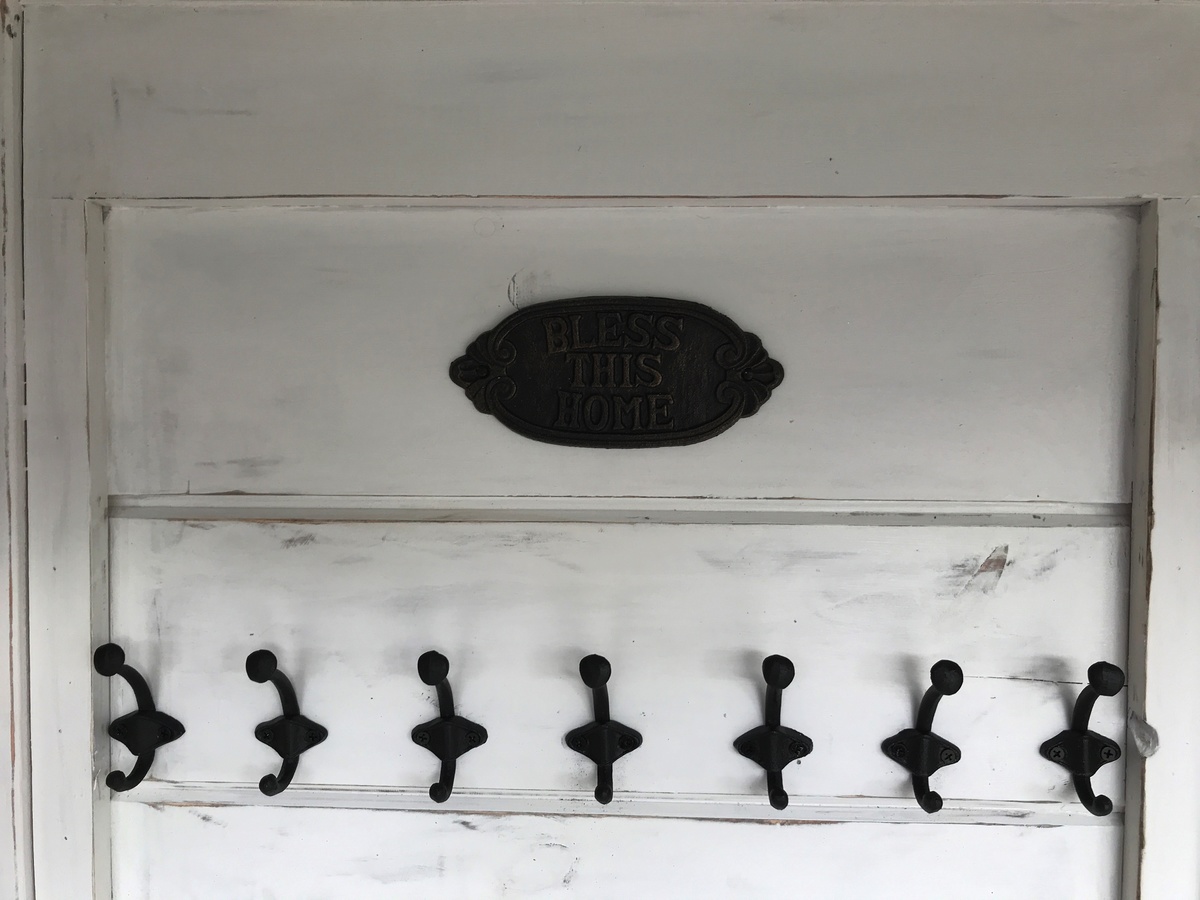
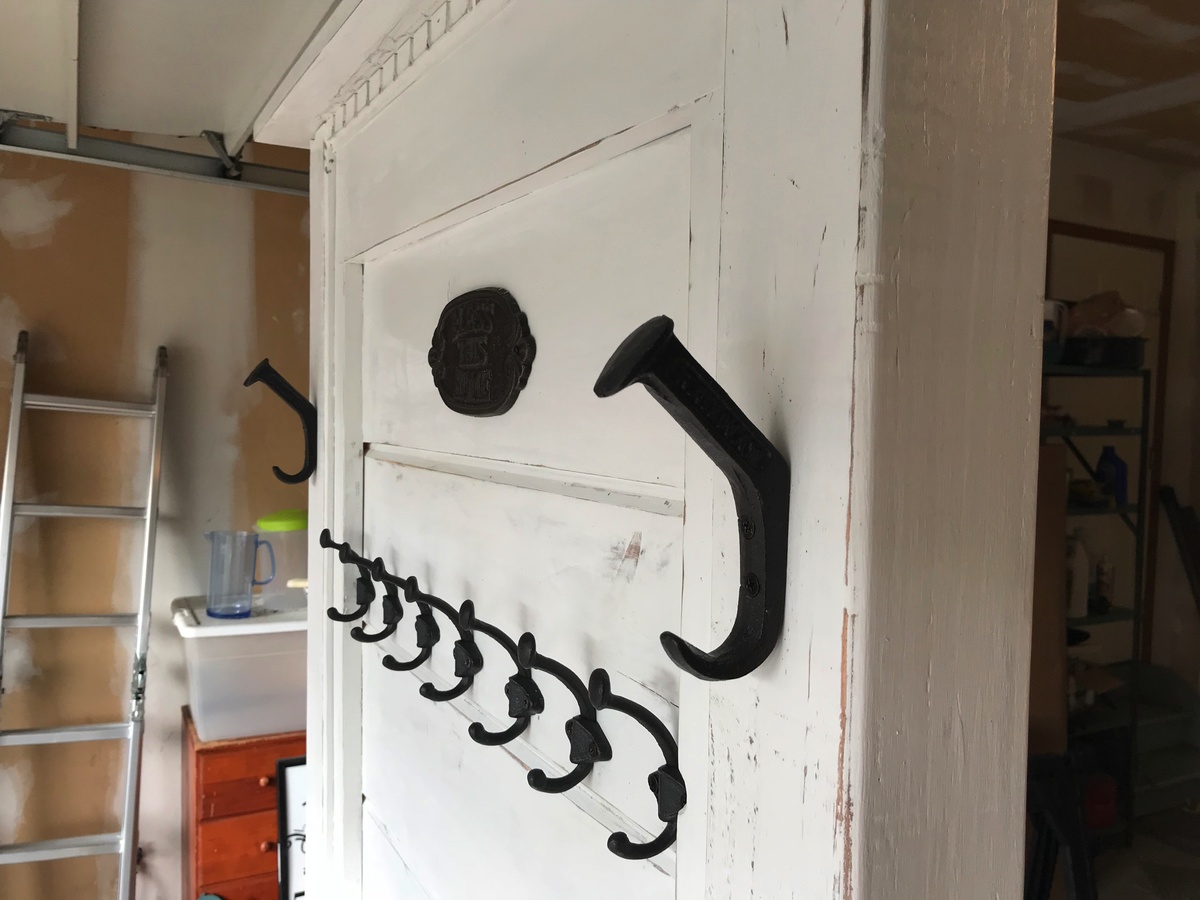
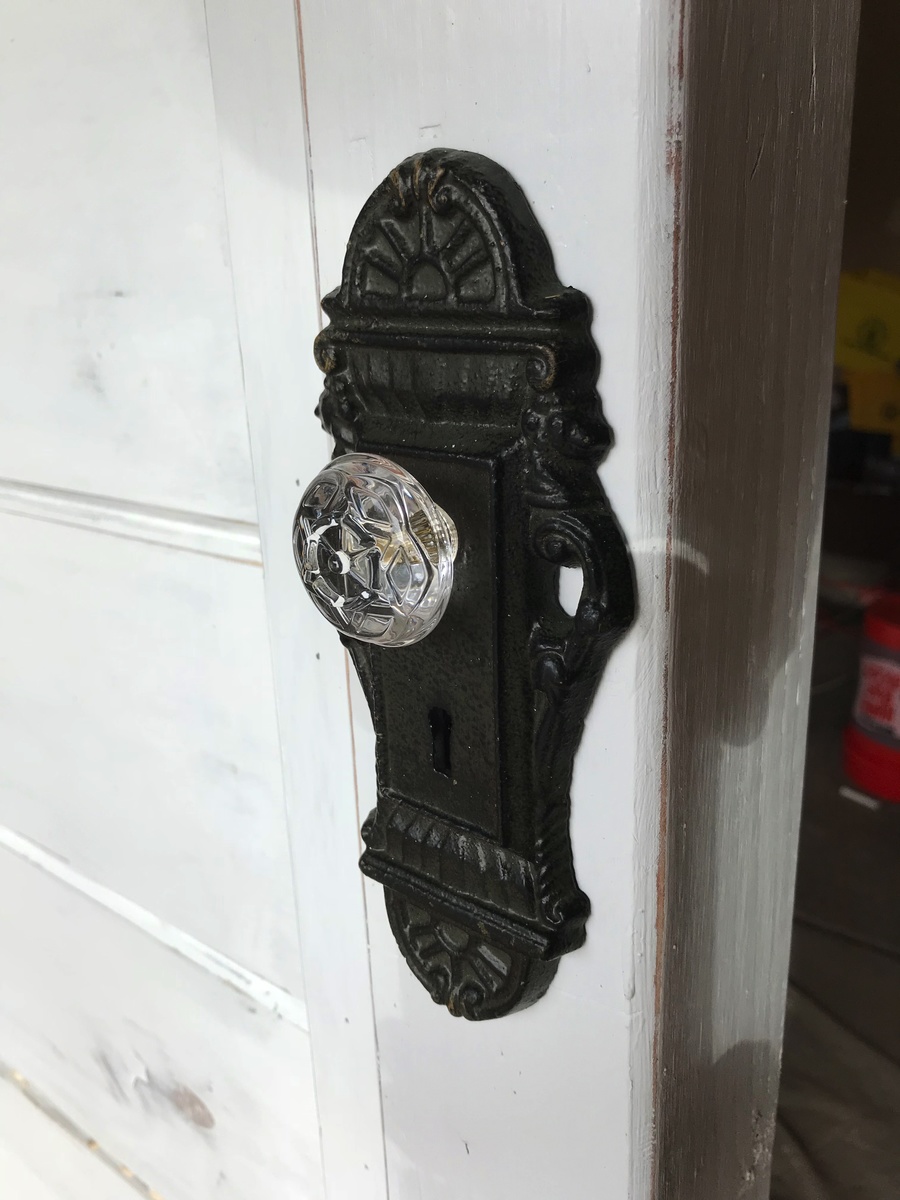
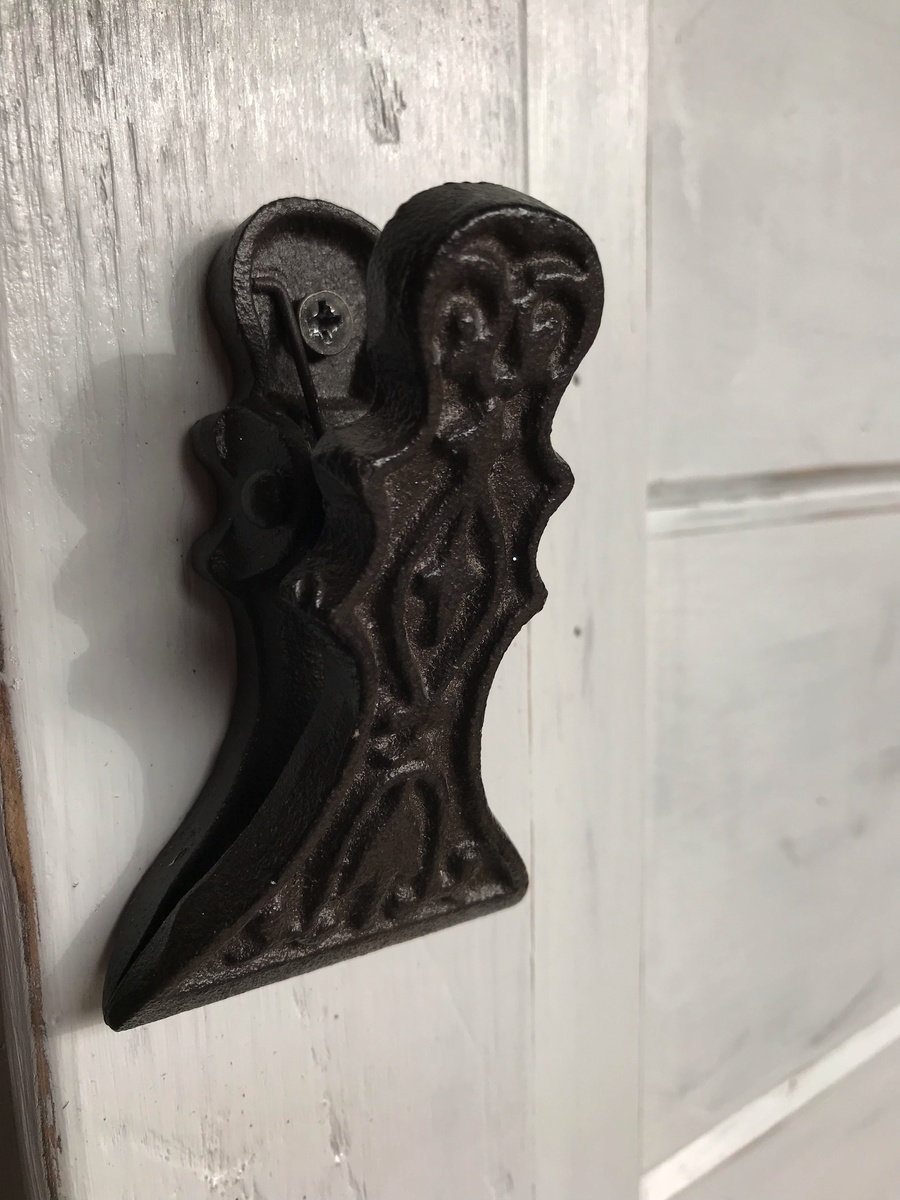

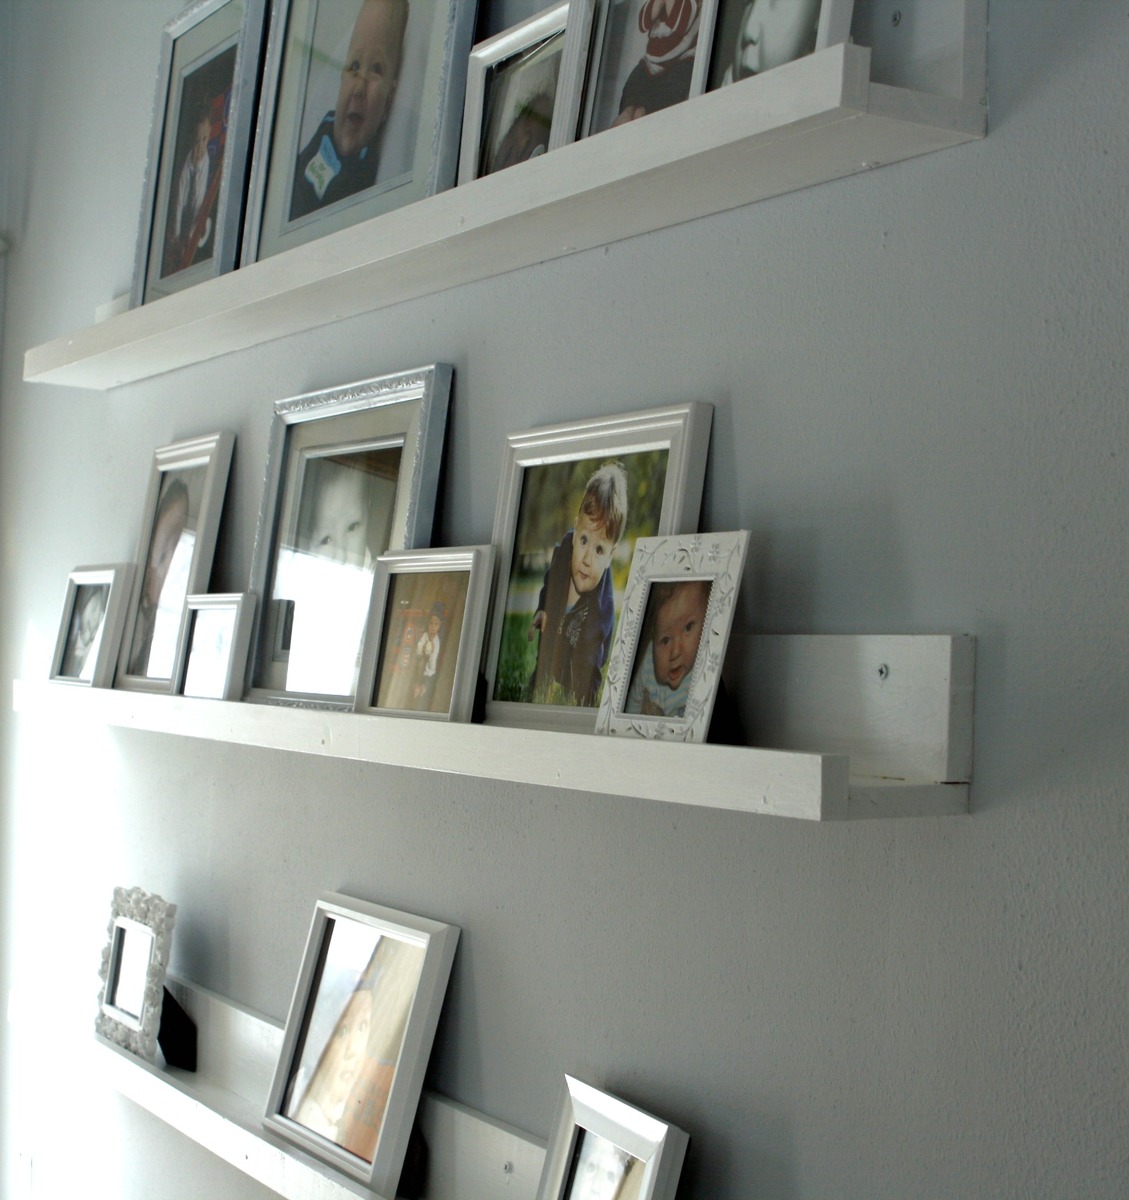
These cost about 10 bucks a piece as she said. This was my first project. Not too bad.... obviously not perfect. But I learned a lot while doing this...
These took me a weekend to do... probably 6-8 hours.
When I took this I was still working on filling the ledges with photos... dont mind the craziness! :)

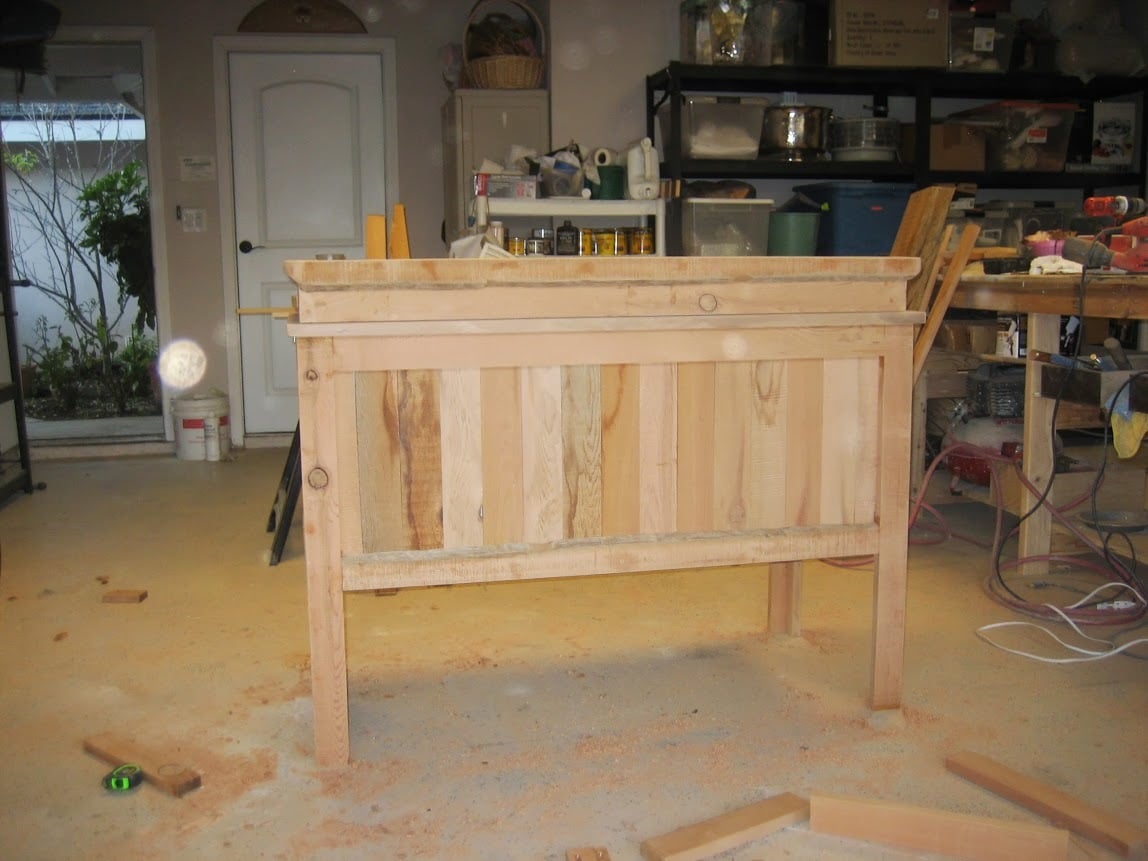
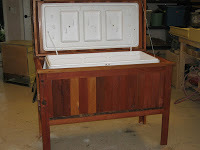
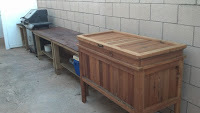
I do a lot of family gatherings and my daughter gave me a huge white cooler to accommodate all our different beverages. It's great to have, but its basic appearance didn't add much to the "party" atmosphere!
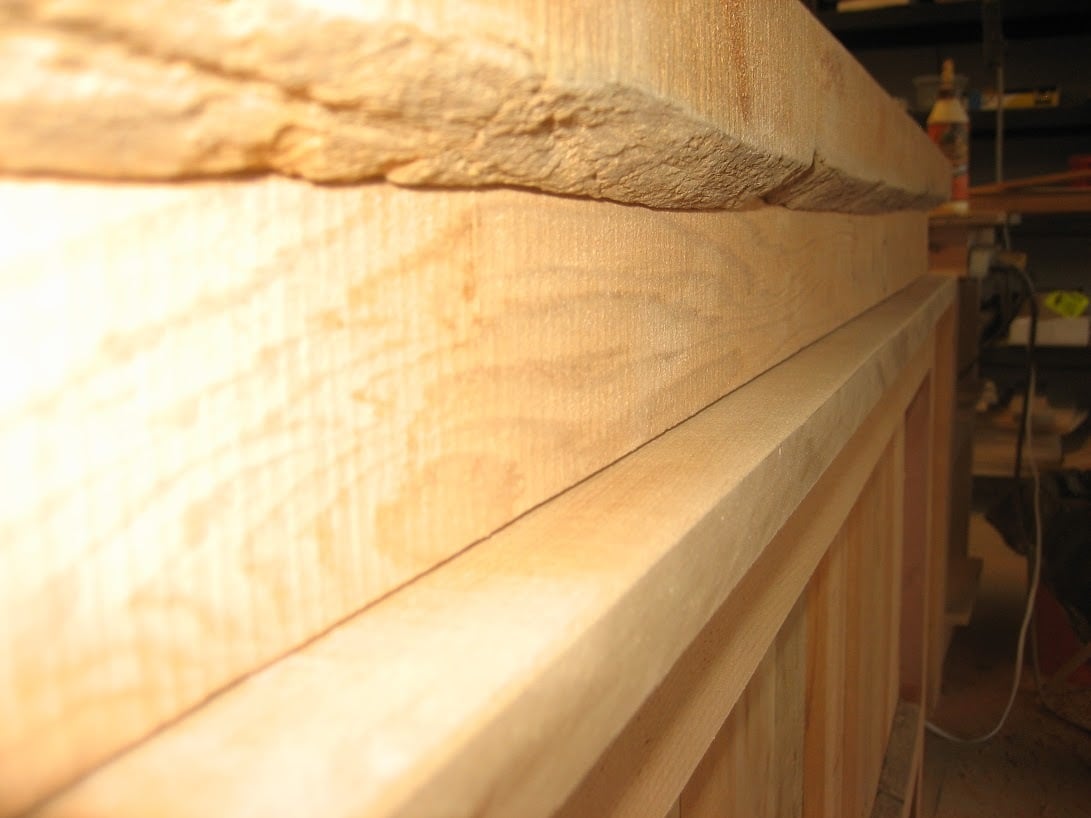
My son-in-law has a small mill and after a recent visit he had sent me home with a trunk load of beautiful cedar. At that time I had no idea what I'd do with it. But, after seeing so many rustic coolers I decided that would be a perfect project to build with my cedar.
I built this before the cute blue ice chest was posted by Birds and Soap, but that would be a great plan to follow!
My cooler had handles that were molded into the body of the chest, so the shape was a bit awkward to work with-especially considering that I'm really short on math skills! But, with a bit of trial and lots of error I made it work. I worked on it over several days, but if I'd buckled down and worked continuously I might have finished it in one day.
I love how it turned out, and after the 1st family gathering I had orders for 4 more (smaller) cooler chests!

We built this set as a variation of the Platform Outdoor Sectional plan. I read that several individuals had a hard time finding the right size cushions, or inexpensive cushions, so I found some on clearance and built the seating customized to their size. The built-in cooler was a neat little addition we had an easy time with, and we used mainly scrap wood for the coffee table and corner piece. We decided to stain it a translucent grey, as I really loved the natural wood look, but needed to match the cushions a bit more. Still adding a few finishing touches, but already enjoying relaxing on it. It was a fun project, and I love how it came out. Bring on the sun!!
Thu, 01/28/2016 - 08:20
I would love to know how to build the coffee table with built in cooler. I would like to build this asap :)
Comments
Ana White Admin
Sun, 10/17/2021 - 10:02
Very Cool!
Great mods, thank you for sharing!