Pine Loveseat, Chair, and table.
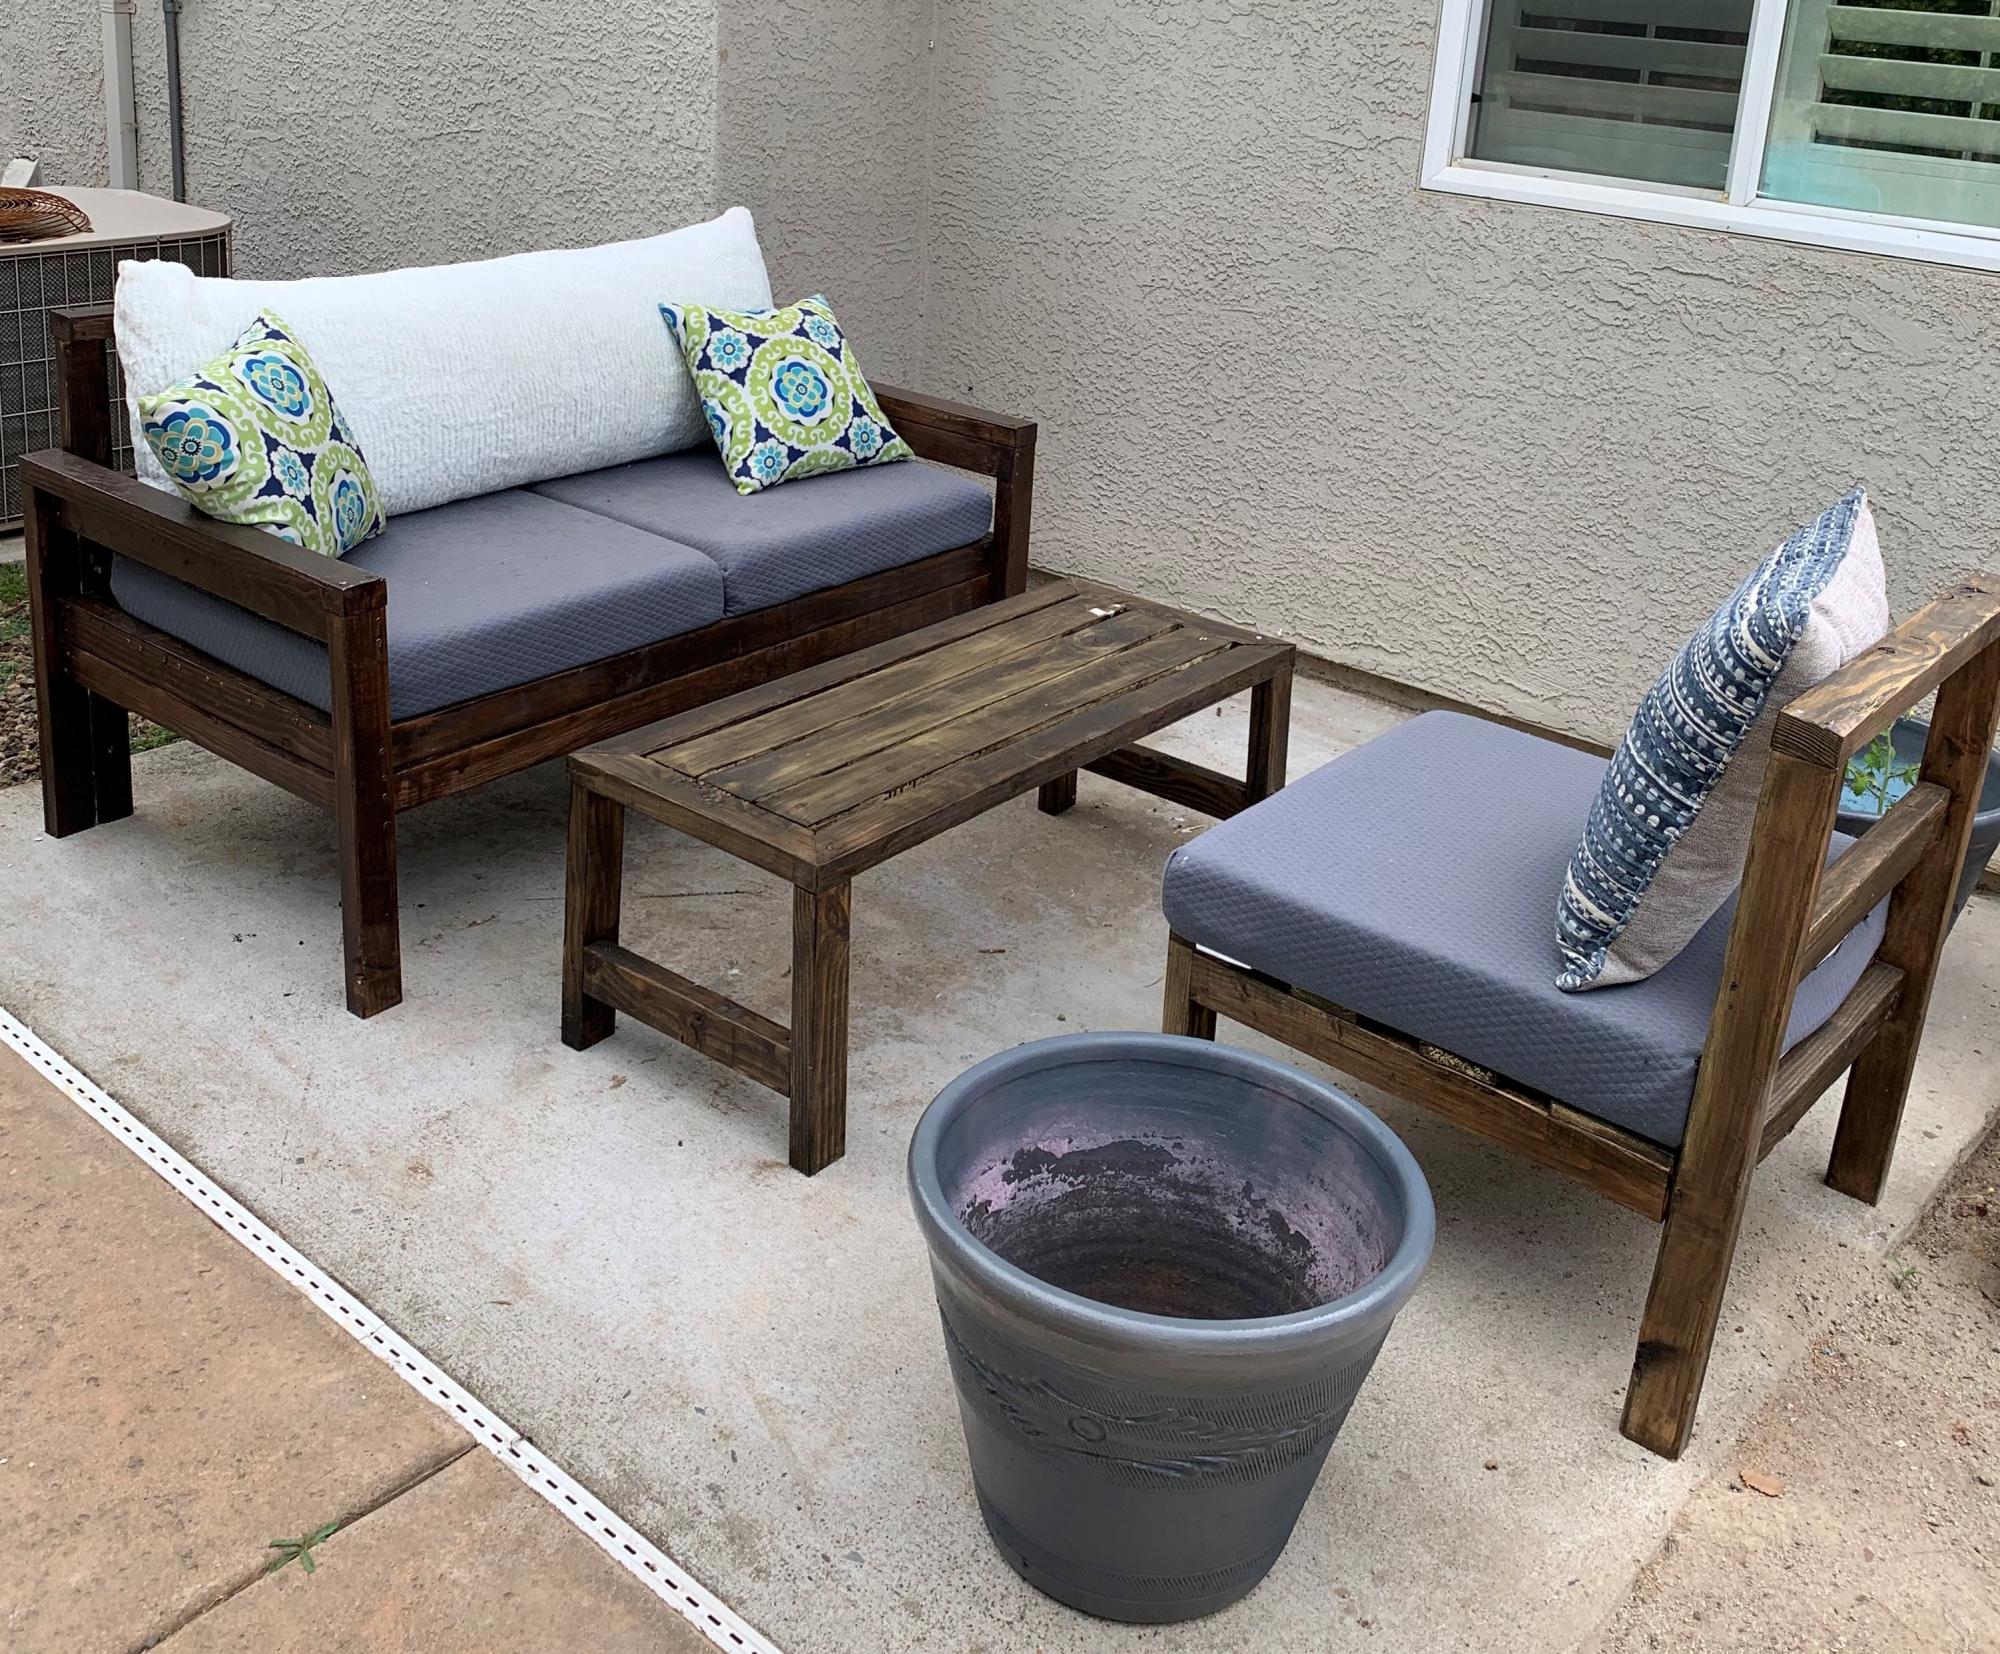
Easy great design... Fit our space where old spa used to be.

Easy great design... Fit our space where old spa used to be.
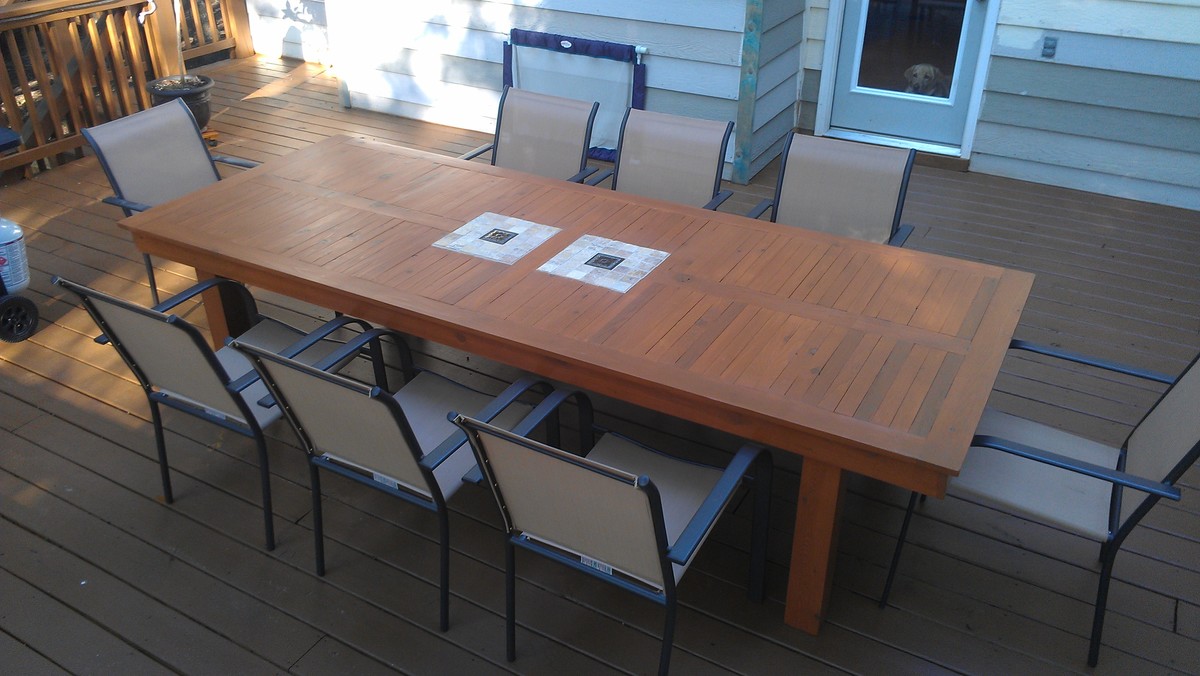
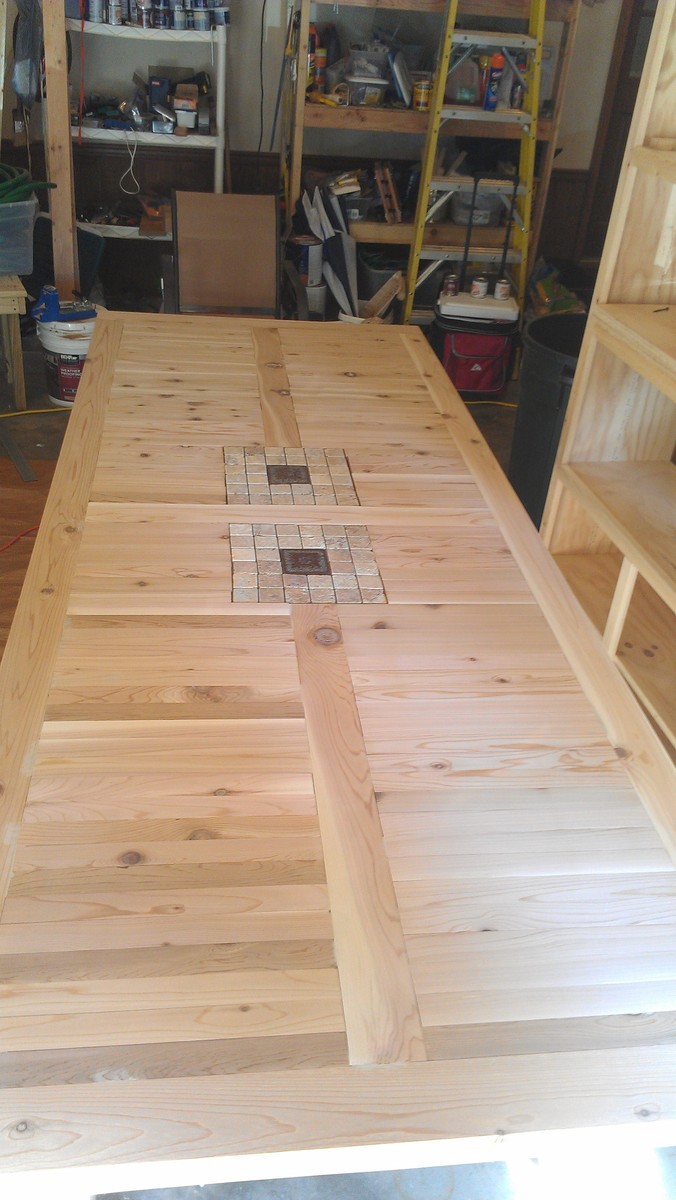
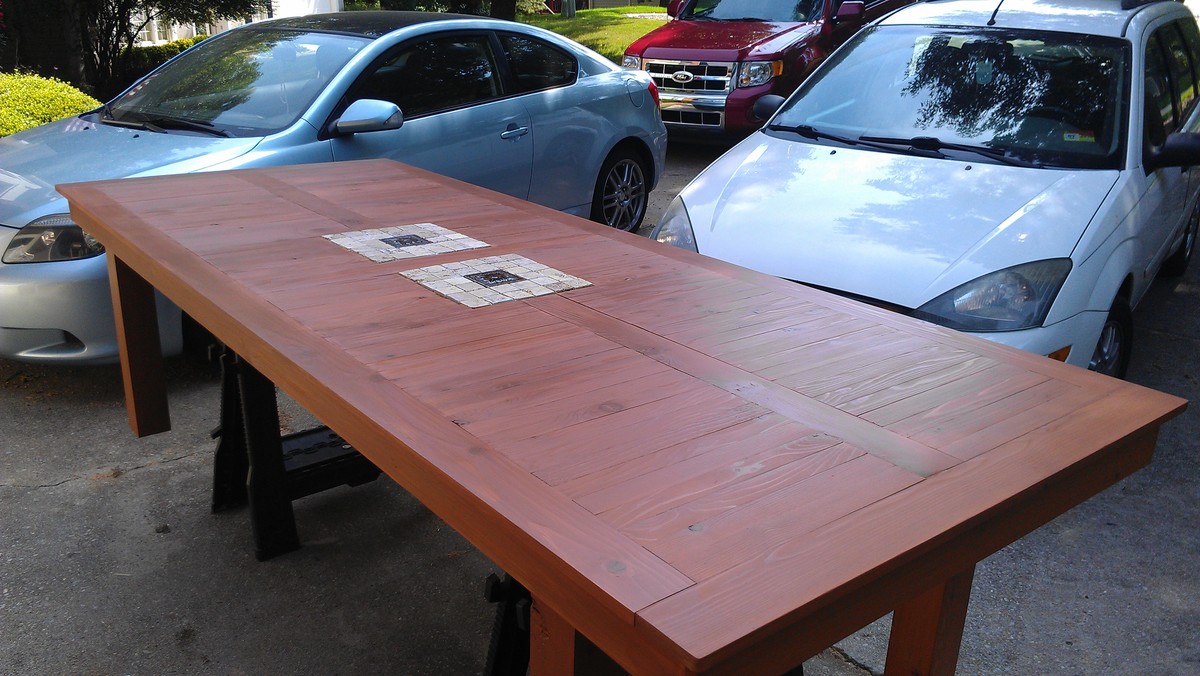
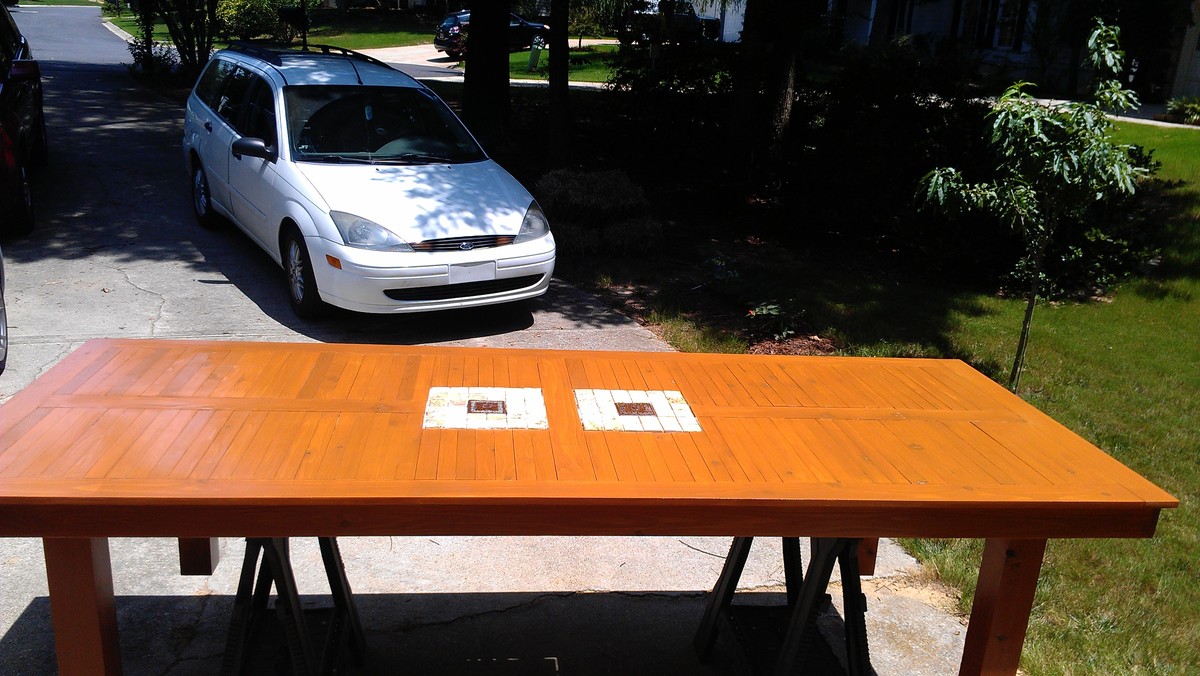
We finished the deck this summer and wanted a large table to put on it. I saw the different versions of the outdoor Ana built. This one seats eight and has a tile inlay. For now...chairs from Walmart provide seating.
Simple project to do with the kids.
Video:
https://www.youtube.com/watch?v=S4EDpDPf6DI
Instructions:
http://www.instructables.com/id/Pallet-Wood-Painting/
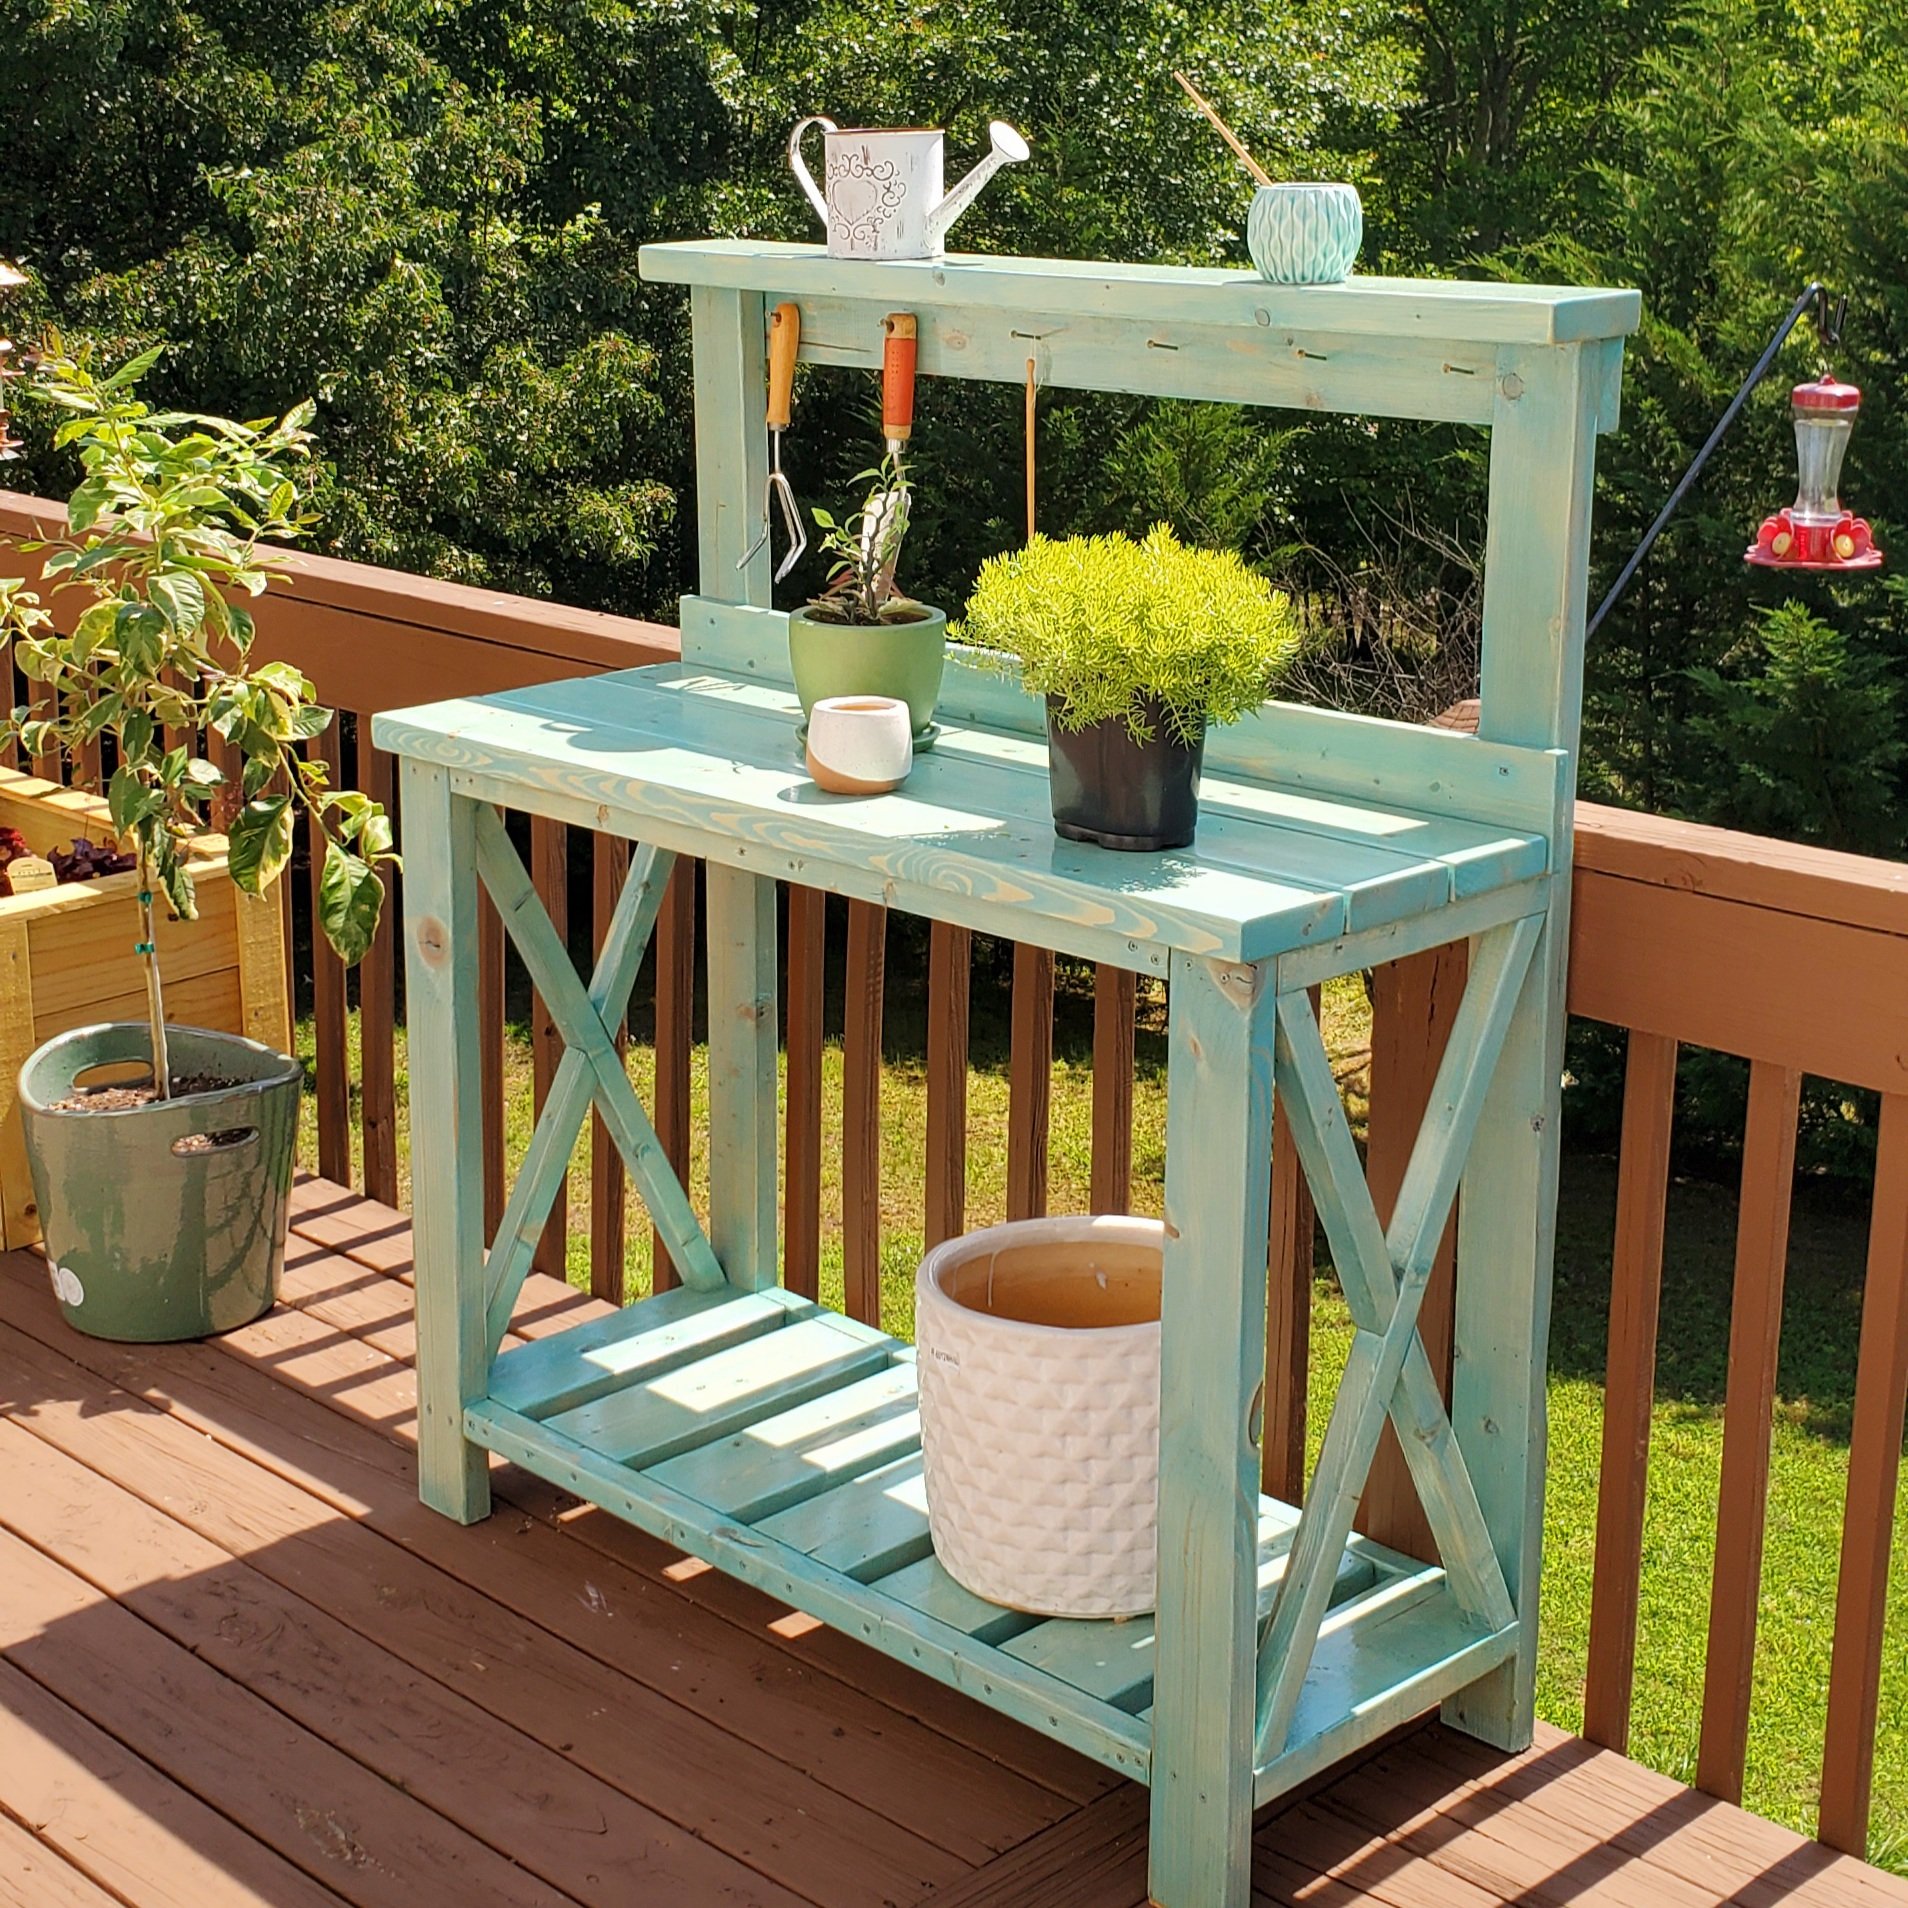
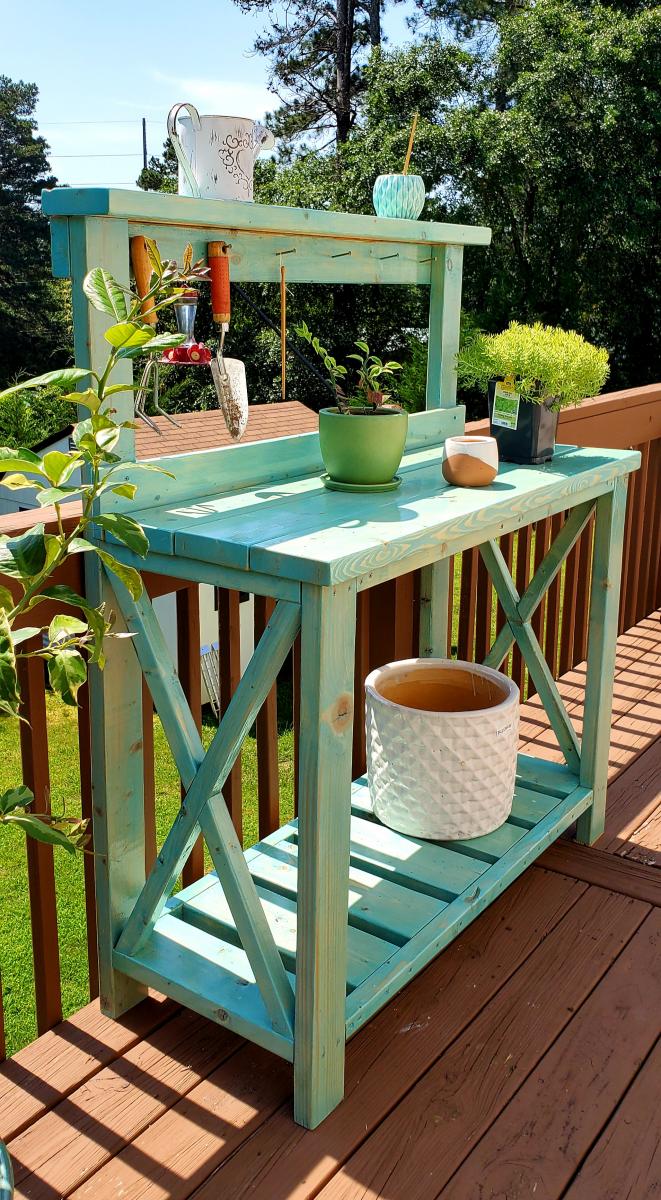
Built this for my girlfriend's birthday present. Added a 1x4 backsplash and a 2x6 for the top shelf to give a little more shelf room instead of the 2x4 called for in the plan. Stained with Varathane "Vintage Aqua" color and then 3 coats of Helmsman Spar Urethane for outdoor durability. Set the whole thing on caster wheels (not pictured) so she can move around the deck as needed.
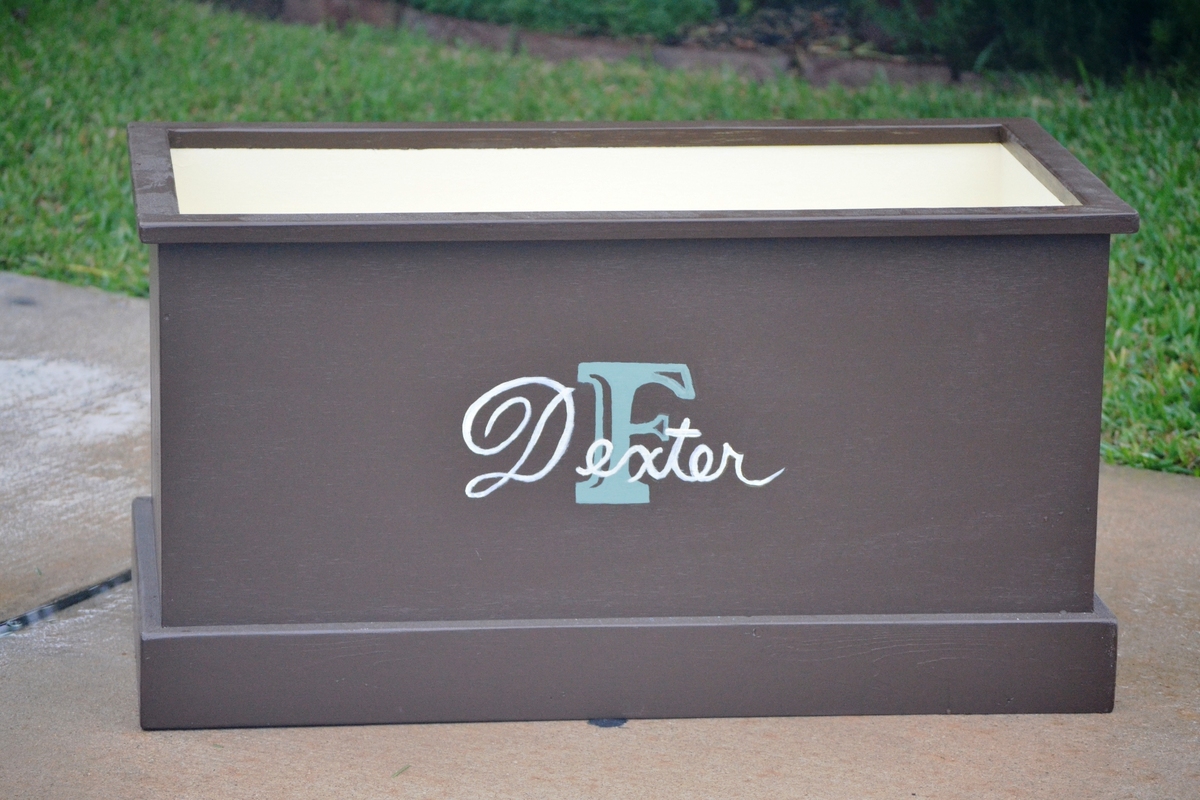
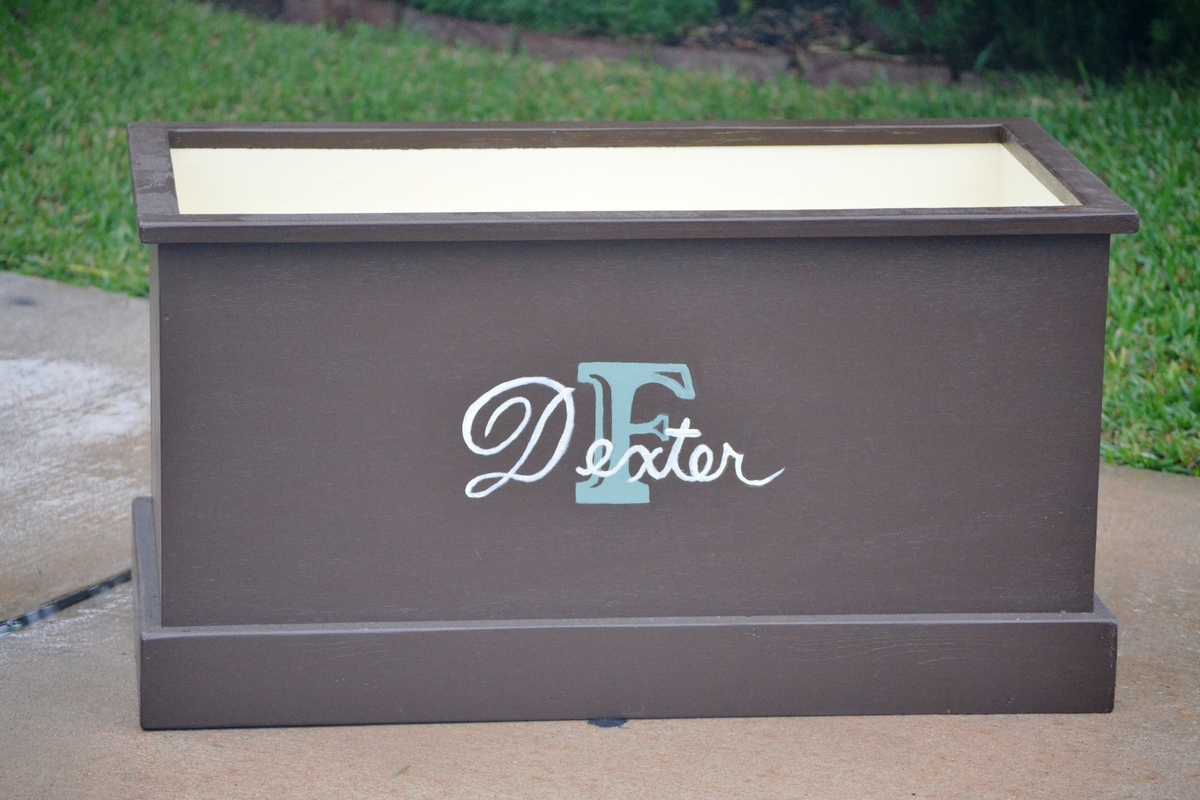
I am in process of making these for my new twin nephews. By reducing the width of the toy box by 1/2", I was able to fit two of the open top toy boxes on one sheet of cabinet grade plywood ($30).
For Two Toy Boxes cut plywood to the following dimensions (see photo for layout):
2 - 32 x 15 1/2 pieces (bottoms)
4 - 33 1/2 x 15 1/2 (front and back)
4 - 15 1/2 x 15 1/2 (sides)
My local Home Depot does not charge for cutting the plywood and the person that was assisting me made absolutely perfect cuts and helped direct me to the cabinet grade plywood (which was located away from the plywood aisle), thus saving me an extra $15.
Boxes took approximately 2-3 hours each to build, another hour to sand and fill screw holes, and several hours to paint.
Photo is of Dexter's toy box. Dante's looks very similar. My 2 year old niece enjoyed taking a nap inside of the boxes as well.
Make sure to purchase non-toxic paint.... I believe one of my nephews may be part beaver!

I've made several of Ana's pieces, but this is my first brag post.
I actually made this for one of my husband's co-workers, but now I want to make one for myself.
I don't know the actual amount of hours it took, but like any project, the sanding was the most tedious part!
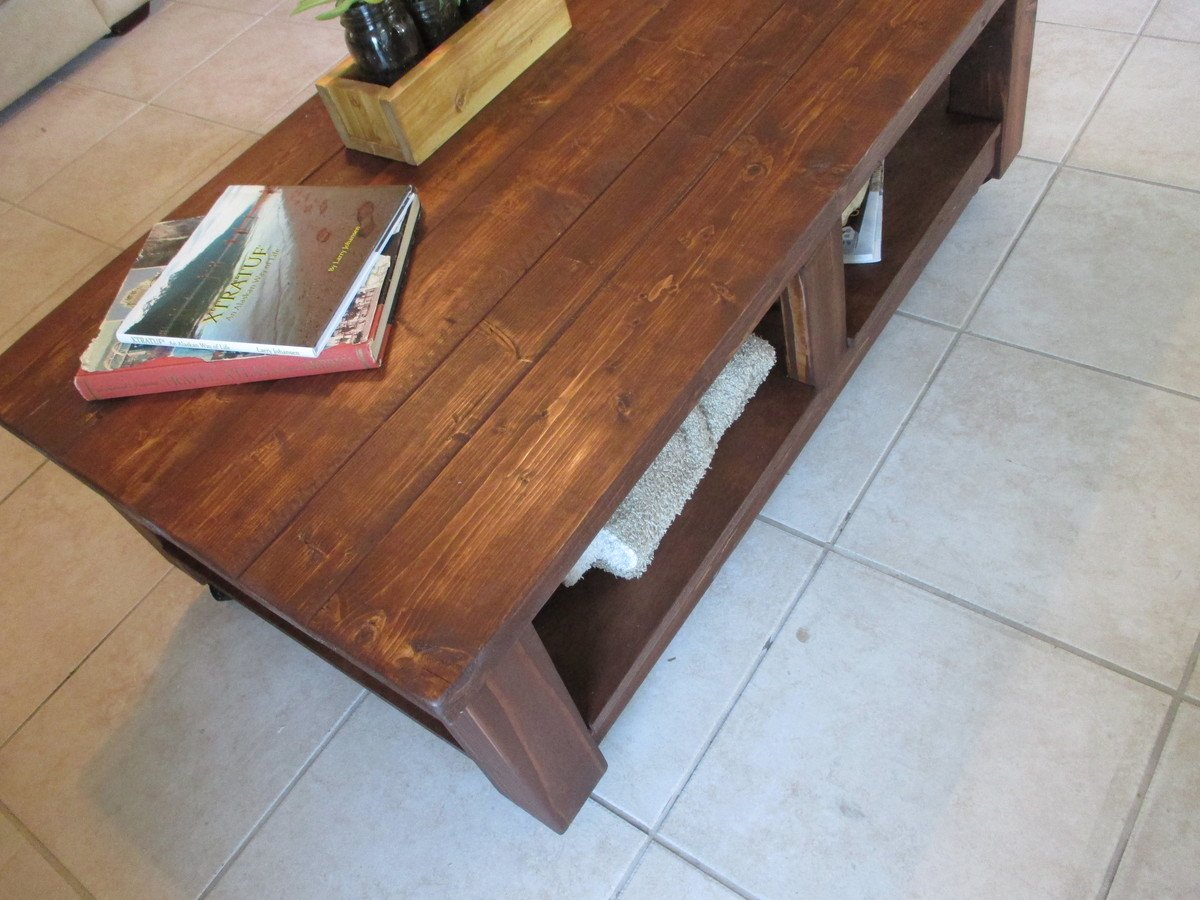
This one was built with 4 2x6, and 2 2x4 boards on top, as the friend wanted it a little wider than the original plan. I modified the other dimensions accordingly.
The wheels used in the Shanty2Chic build post were too large for my 4x4 posts. The wheel plates were too wide. They measured about 3.75" and my 4x4's were only 3.5". Also, speaking of the 4x4's, I used untreated Douglas Fir, purchased from my local Lowes. I typically shop at Home Depot, but they did not carry any untreated 4x4's.
The wheels I used were the same style by Everbilt, but the next size down, the 2" wheels. However, their overall height was 3", and so the height of the table ended up being perfect anyhow!
I finished the table in Minwax English Chestnut and used the Minwax rub on satin polyurethane.
I put the time as a week long, primarily because of sanding and finishing. But, I think that if you devoted your time to it, you could do it in a weekend.
OH! Also, Ana doesn't mention it in the plans, but the Shanty Chics do... put the plywood shelf in BEFORE adding the second side. I had to remove pieces which were already glued, and it made that step a bit annoying!
Otherwise, all was well. Enjoy!

I was contacted a few months back by a friend of mine to build a custom cabinet for his aquarium. I was given free reign with the design and I decided to go with a modern look to the cabinet.
I decided to go a little unconventional with the finish on this cabinet and use something I am very familiar with, an automotive finish. I chose to got this route because I knew that I wanted an ultra smooth finish. I knew that because he was using it for a large aquarium it was going to have to be built sturdily. But you can use whatever type of materials and finish to suit your project.

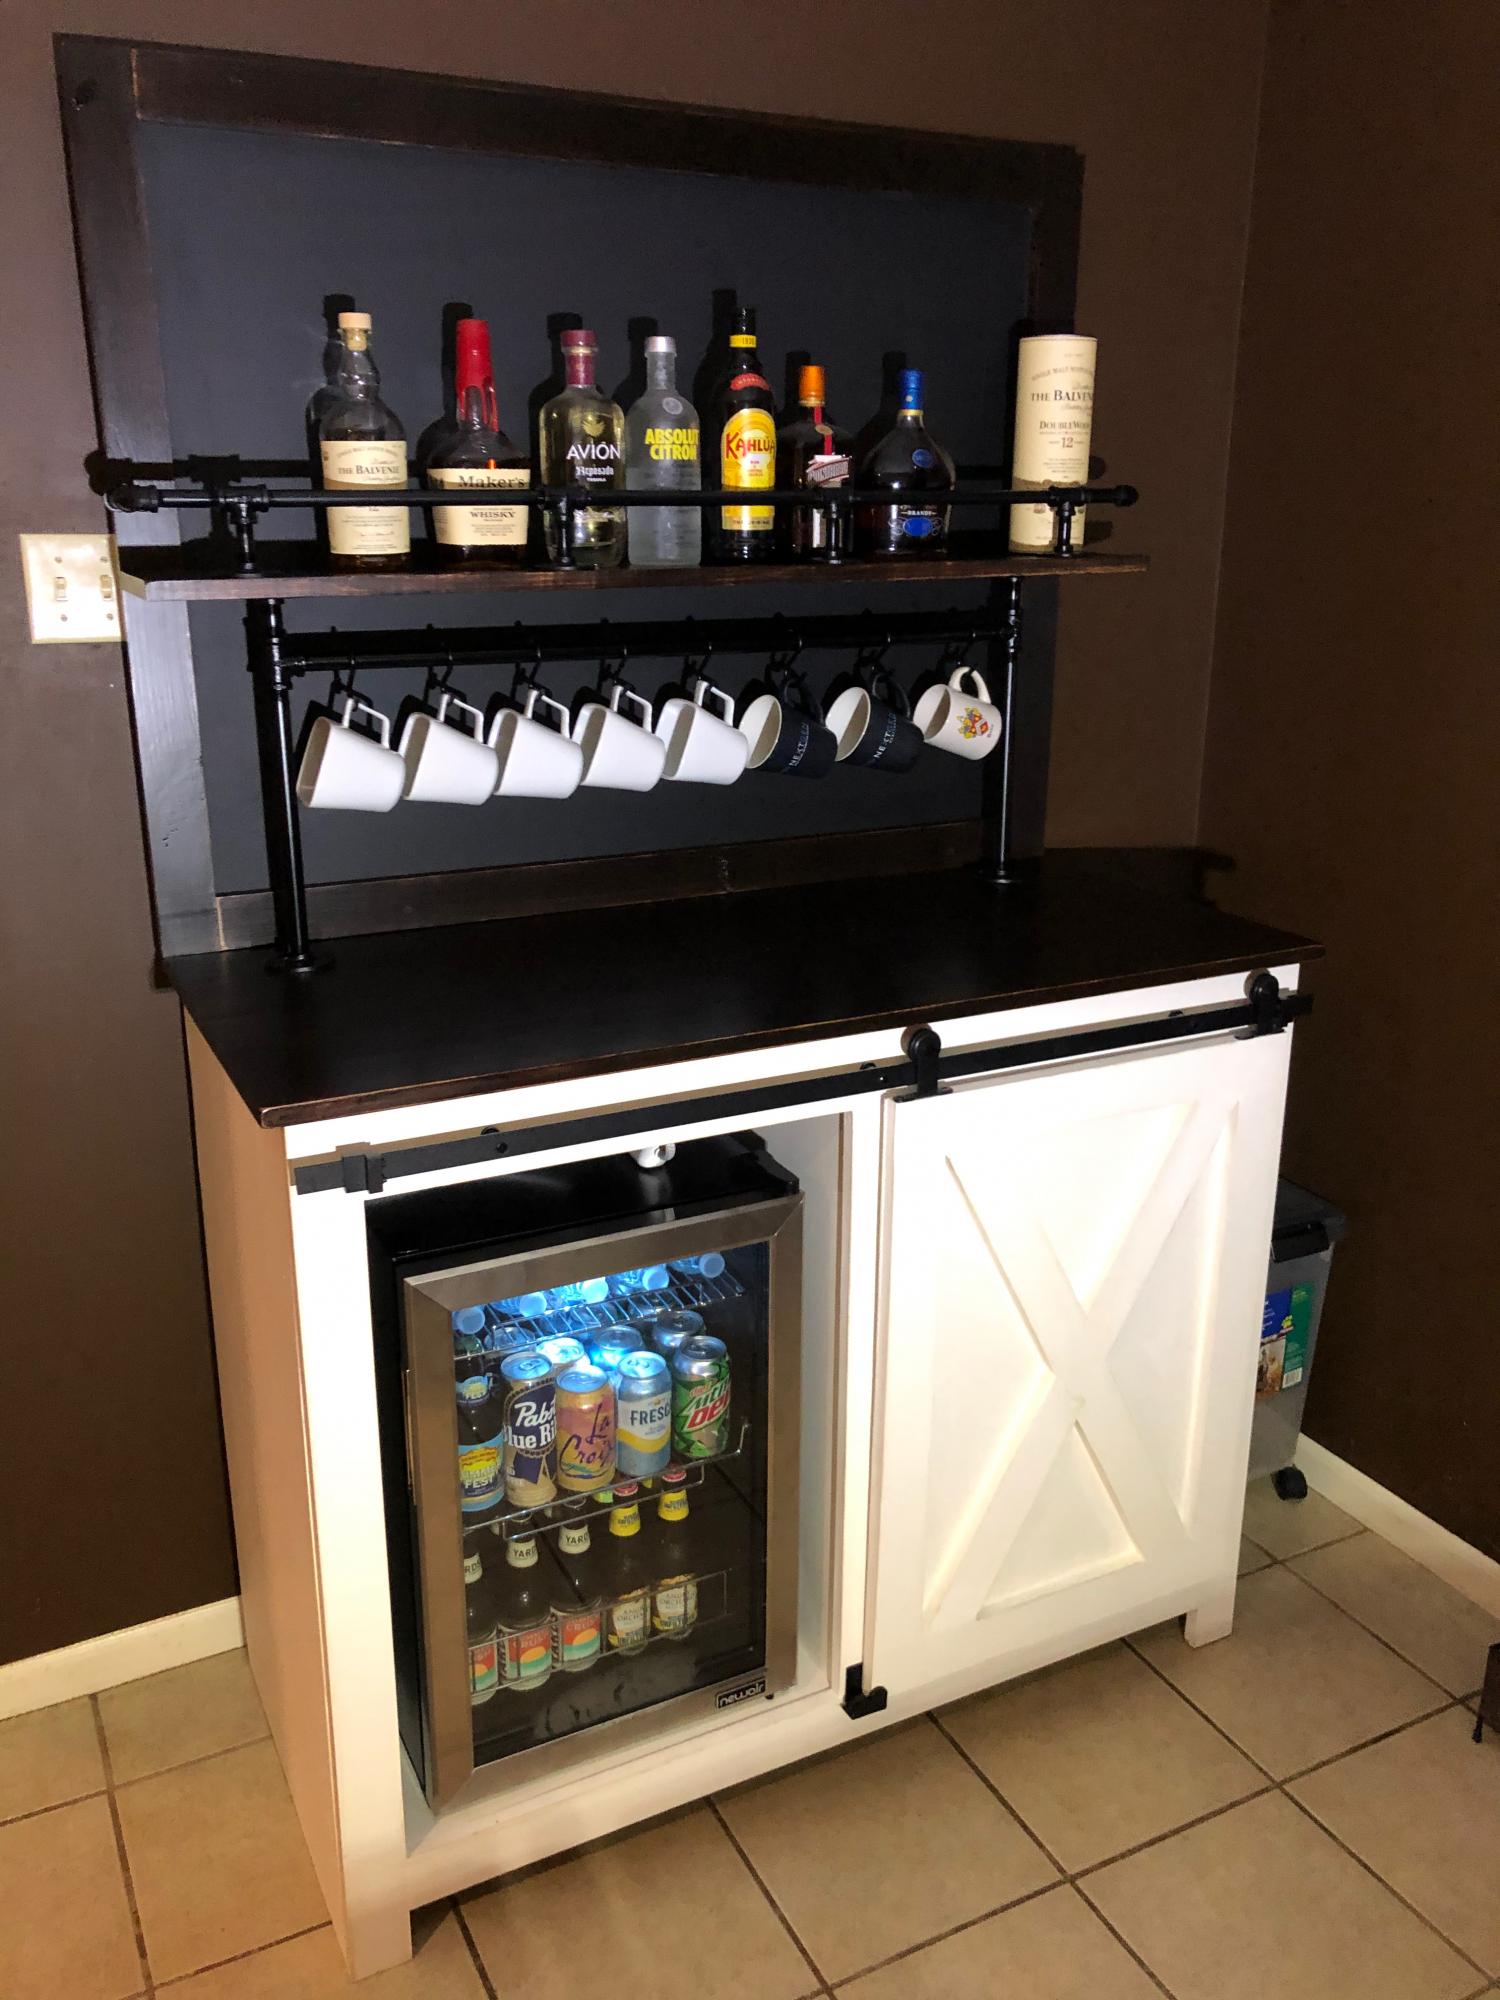
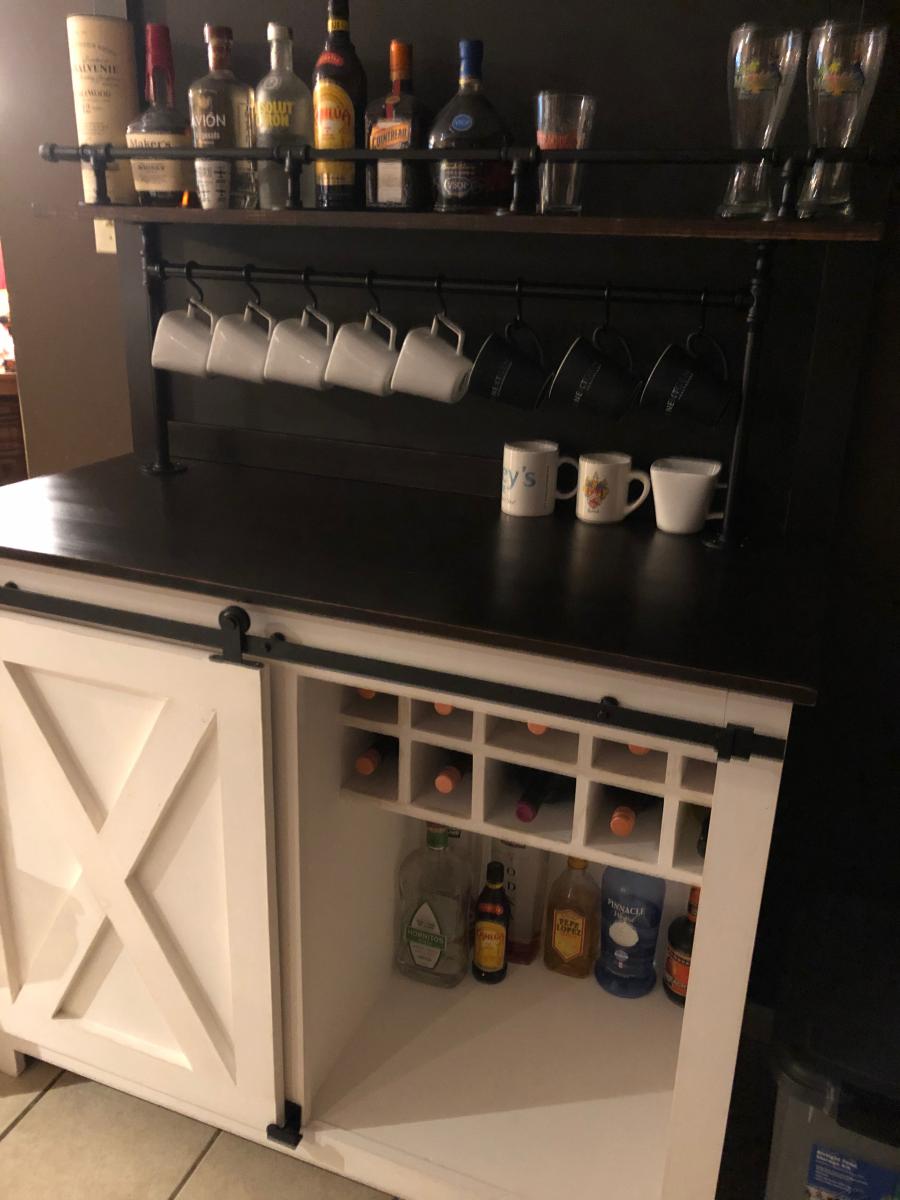
After seeing this same cabinet on Etsy for $2000+ I decided to try building my own. This was built using Ana's plans for the Barn Door Cabinet with Mini Fridge and Microwave. On top of the cabinet is a custom chalkboard which I anchored to the back of the cabinet. Attached to the chalkboard is a shelf for liquor. The rail is made from 3/8" black iron pipe from Home Depot & Amazon. Unfortunately, my Home Depot did not have nipples larger than 6 inches so we had to source 12" from Amazon. The fittings and shorter nipples came from Home Depot. The supports for the shelf and coffee mug rack are made using 1/2" black iron pipe and fittings which were 100% sourced from Home Depot. The finish for the borders of the chalkboard and cabinet top were stained using Varathane Stain + Poly. The color is called "Mission Oak" and it is a satin finish. The hardware for the barn door was purchased from Amazon.
NOTE: If you decide to build a similar version of this I'd consider leaving at least 33.5" on the inside where the refrigerator sits so you can fit a 120-can refrigerator instead. Most are 33.5" tall. I prefer to drink beer from a bottle and the space in a 2.2 cu. ft goes quick when bottles are placed inside.
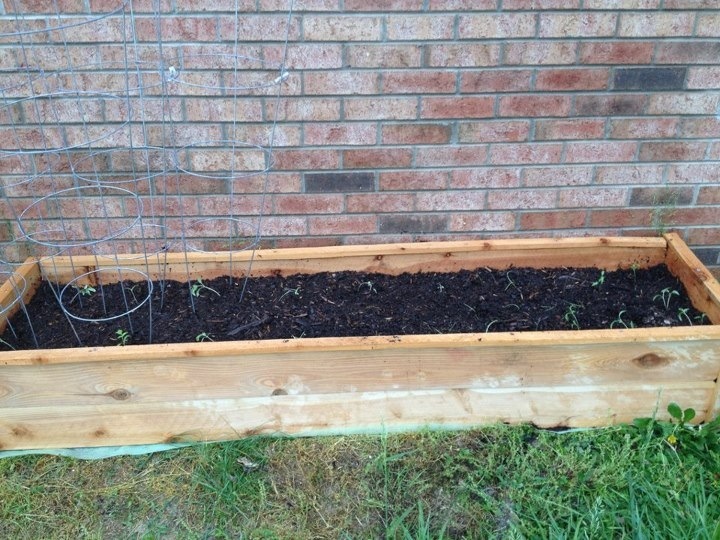
I built this a couple months ago and I'm finally getting around to posting a brag post. This is the second woodworking project I've ever done and my first year gardening! I almost spent over a hundred dollars on one of these raised garden beds and then I saw Ana White's plans and I am so grateful! Hopefully my tomatoes will be ripe soon, but one thing is for sure... this raised garden bed paid for itself with the amount of veggies I'm getting from it! I have big gardening plans for next year! Sorry my second pic is sideways... can't figure it out!

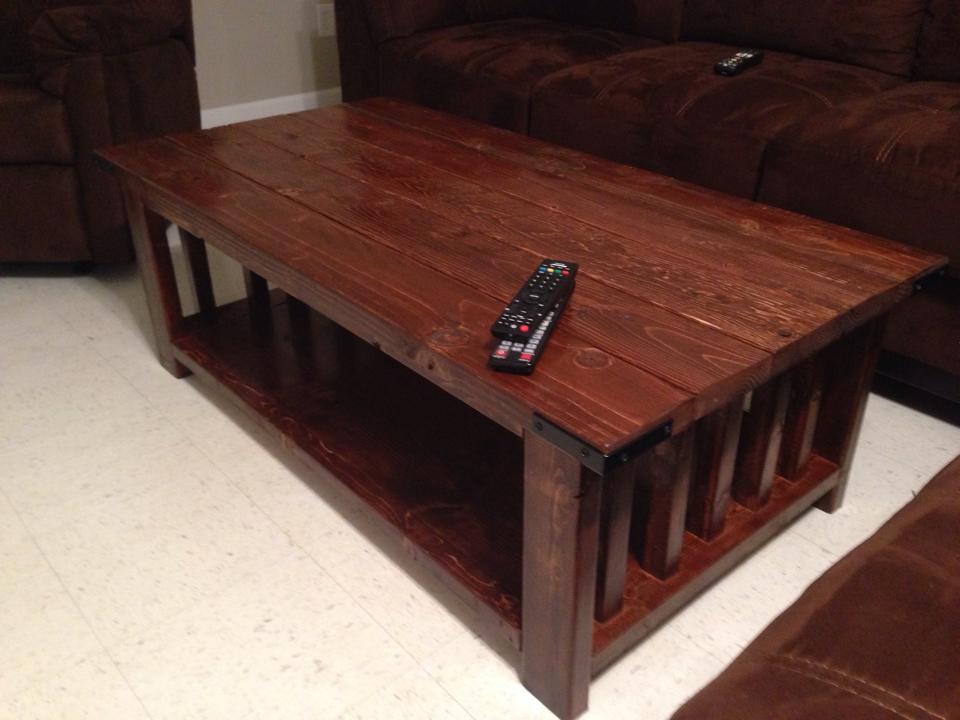
This is the 2nd Rustic X Coffee table I built. This I built as a wedding gift for my Brother and His wife. Instead of the X posts on the ends I opted for a column design on the end. It was actually a little more time consuming but I think it looks great.
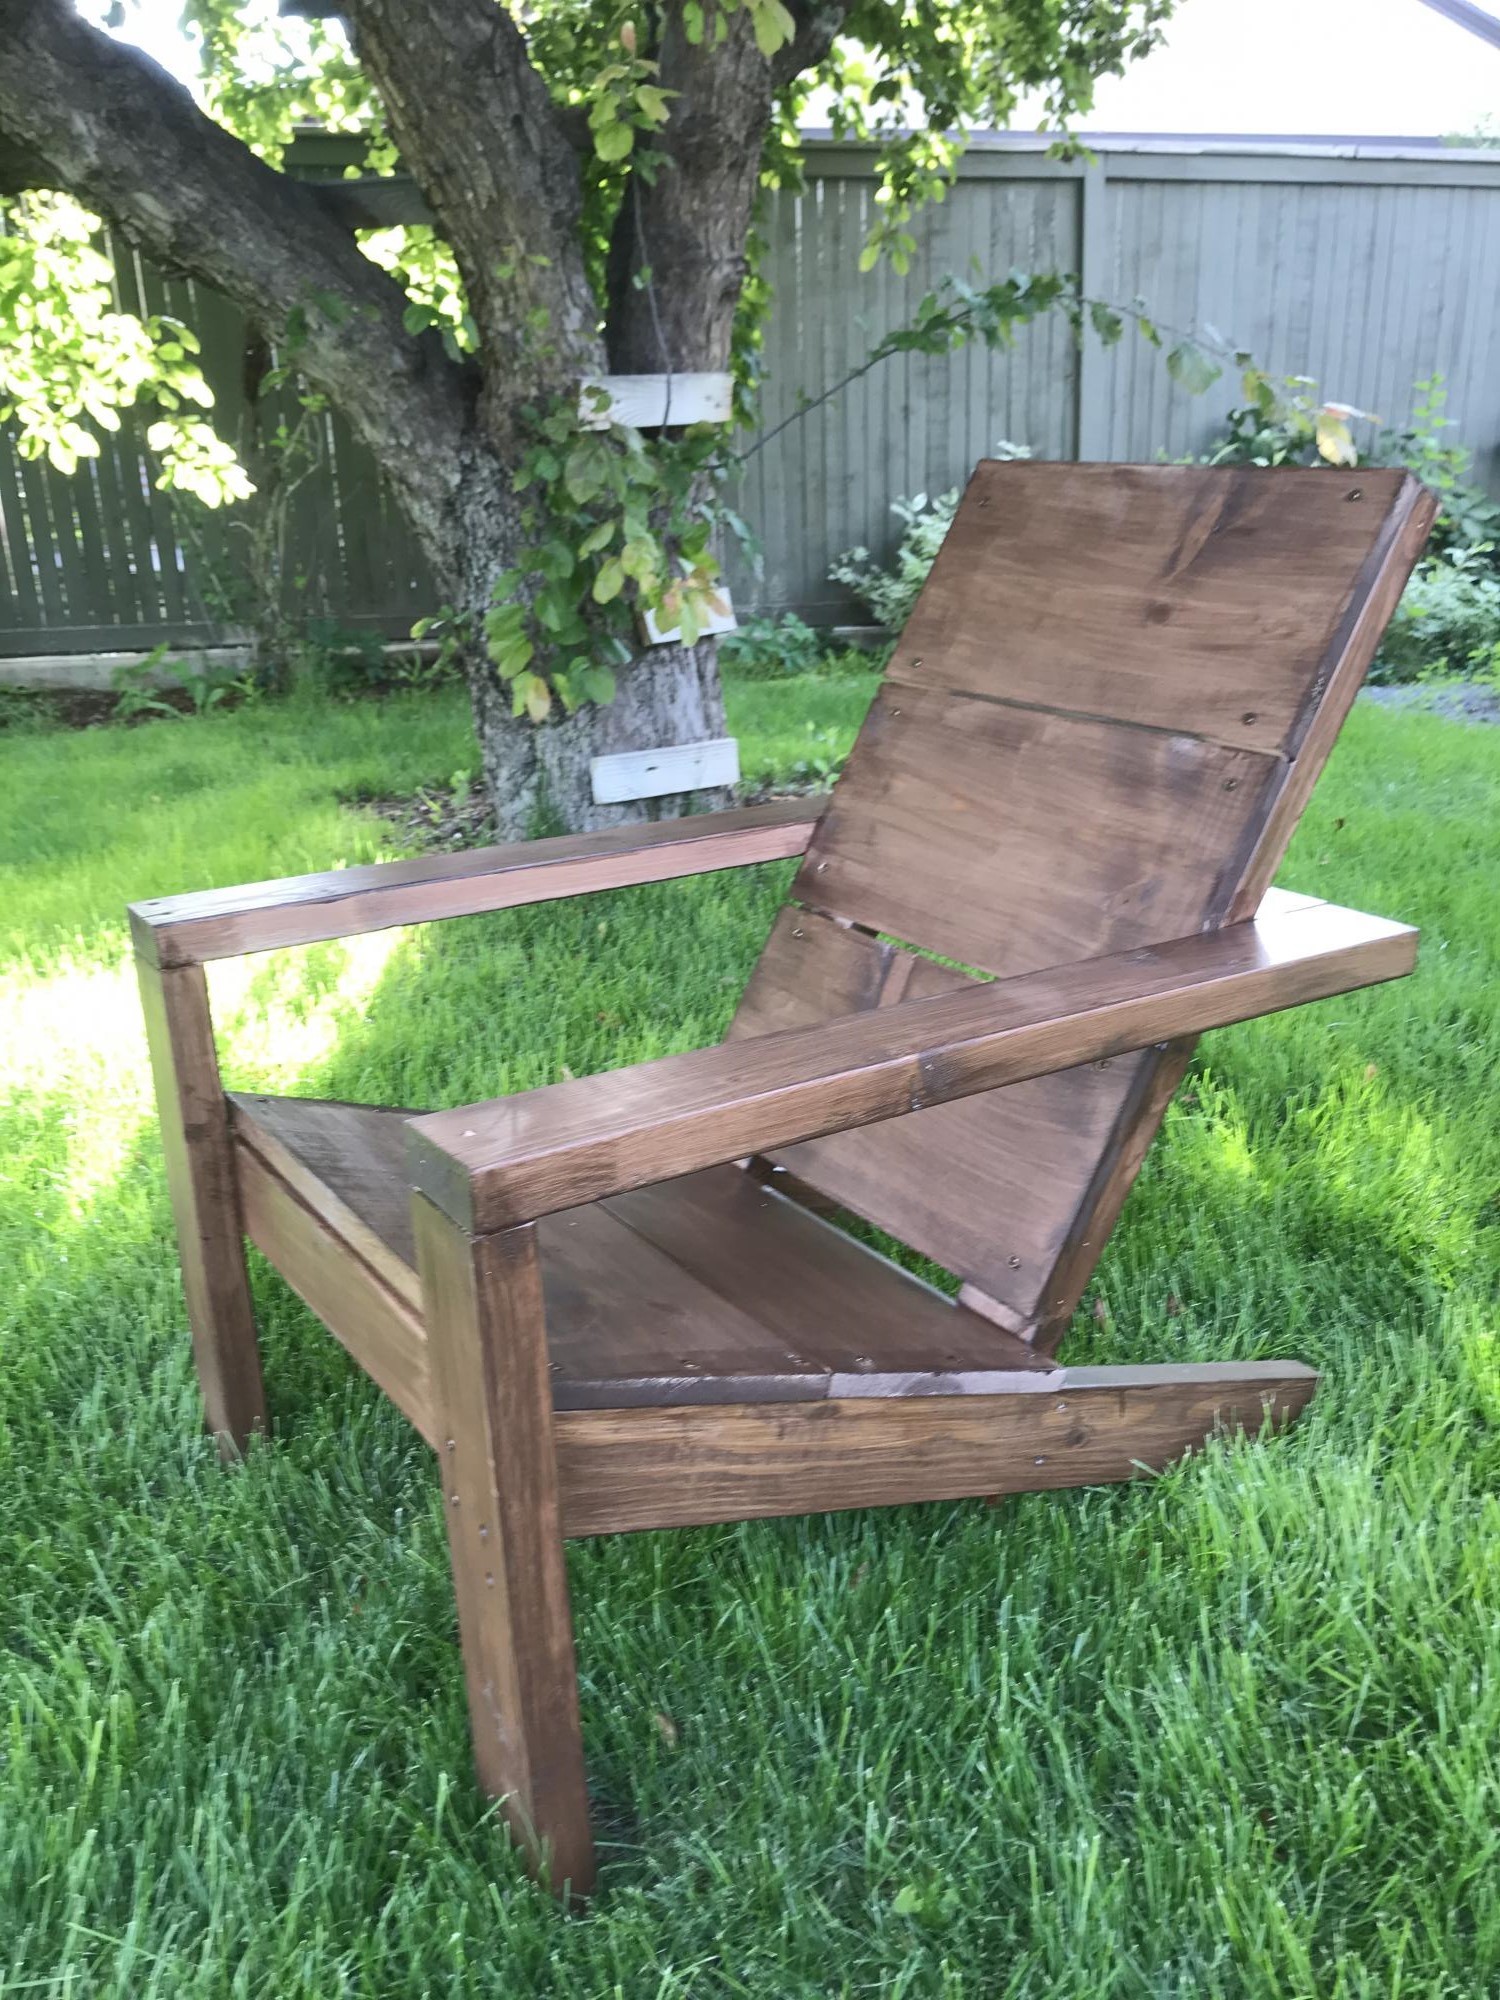
Followed Ana’s plans and turned out great. Stained it after it was assembled but would recommend doing that before assembly. Very comfy.
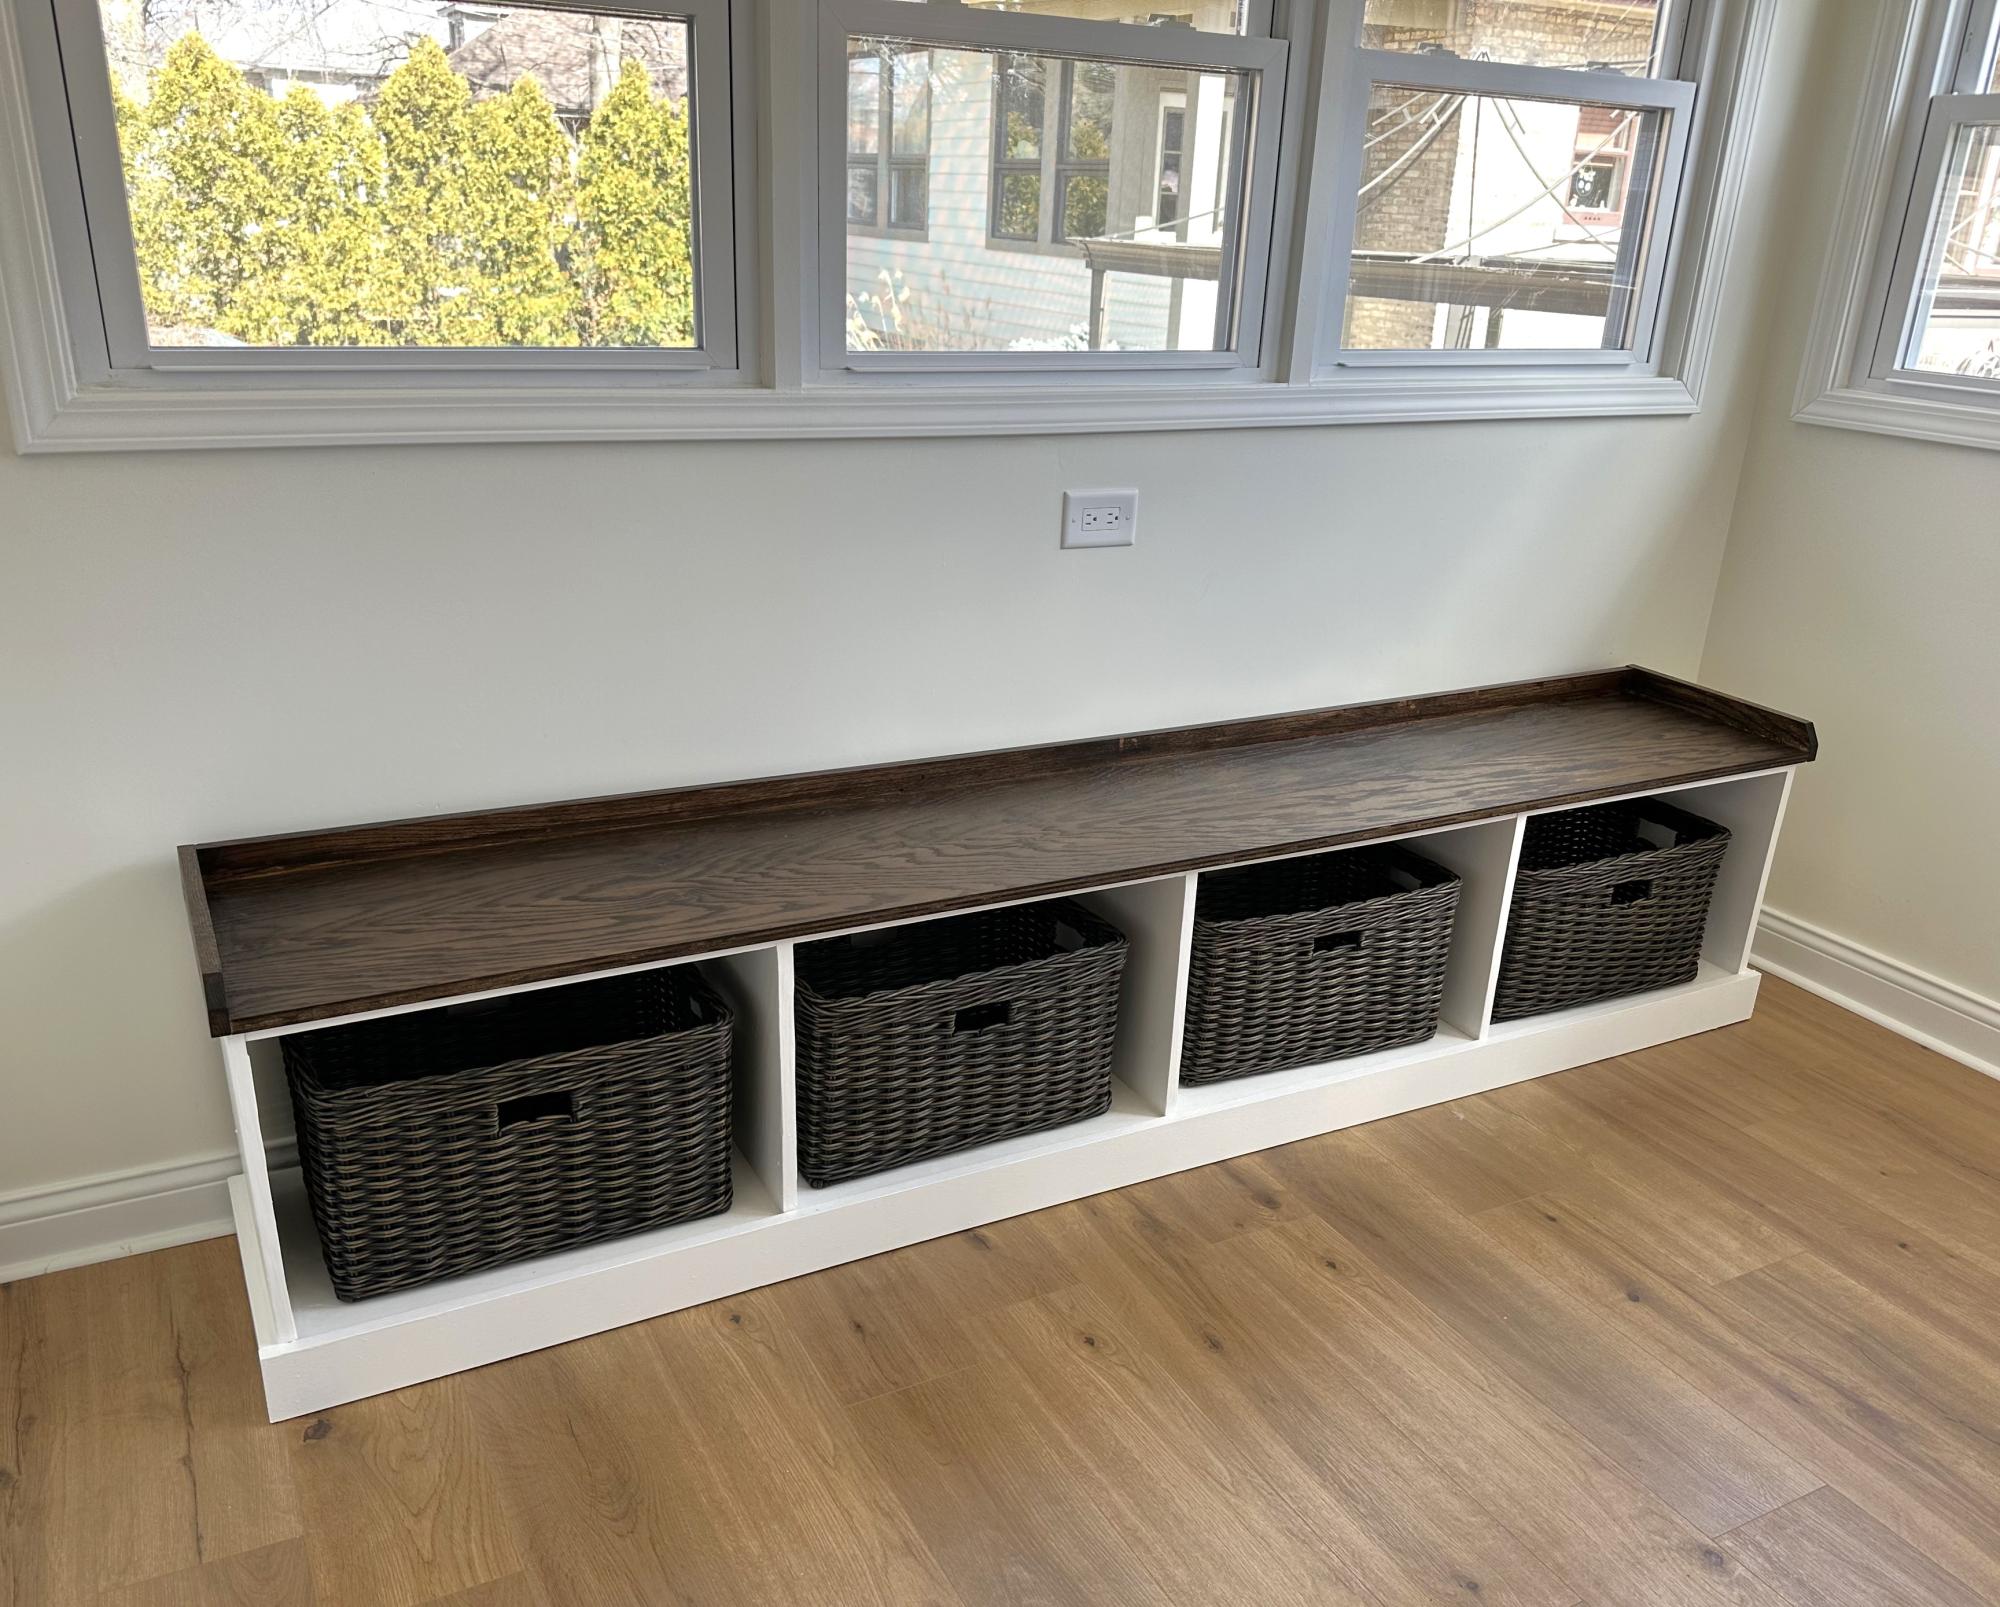
This bench turned out fantastic. This was our first try with Ana’s plans, but the video reassured us that we could do it. So happy with the results.

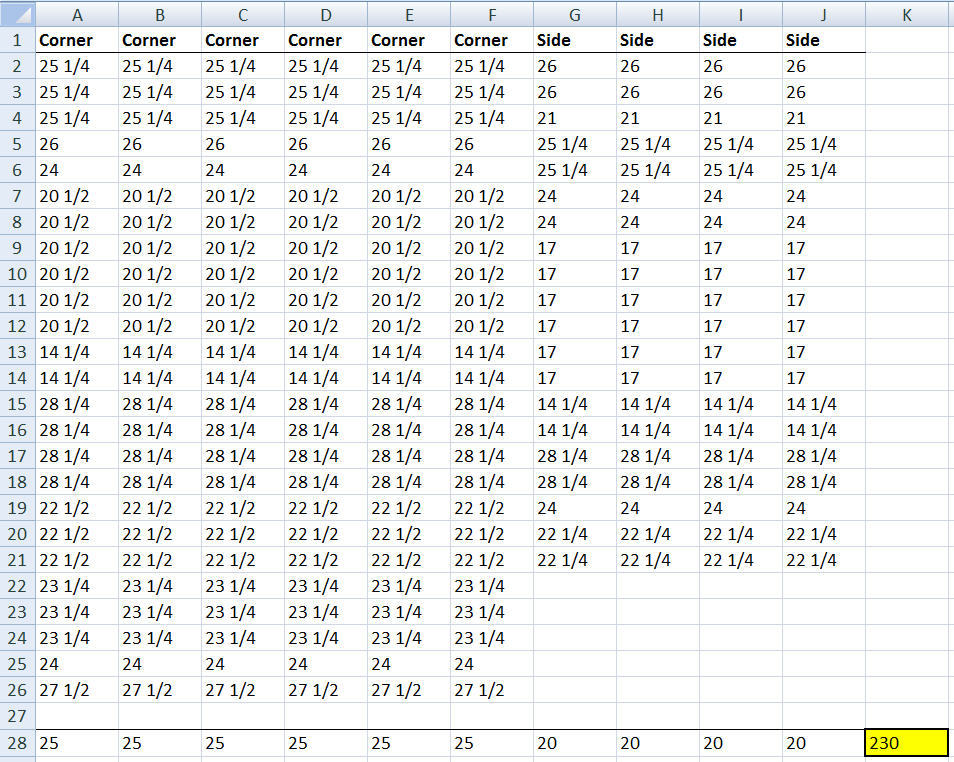
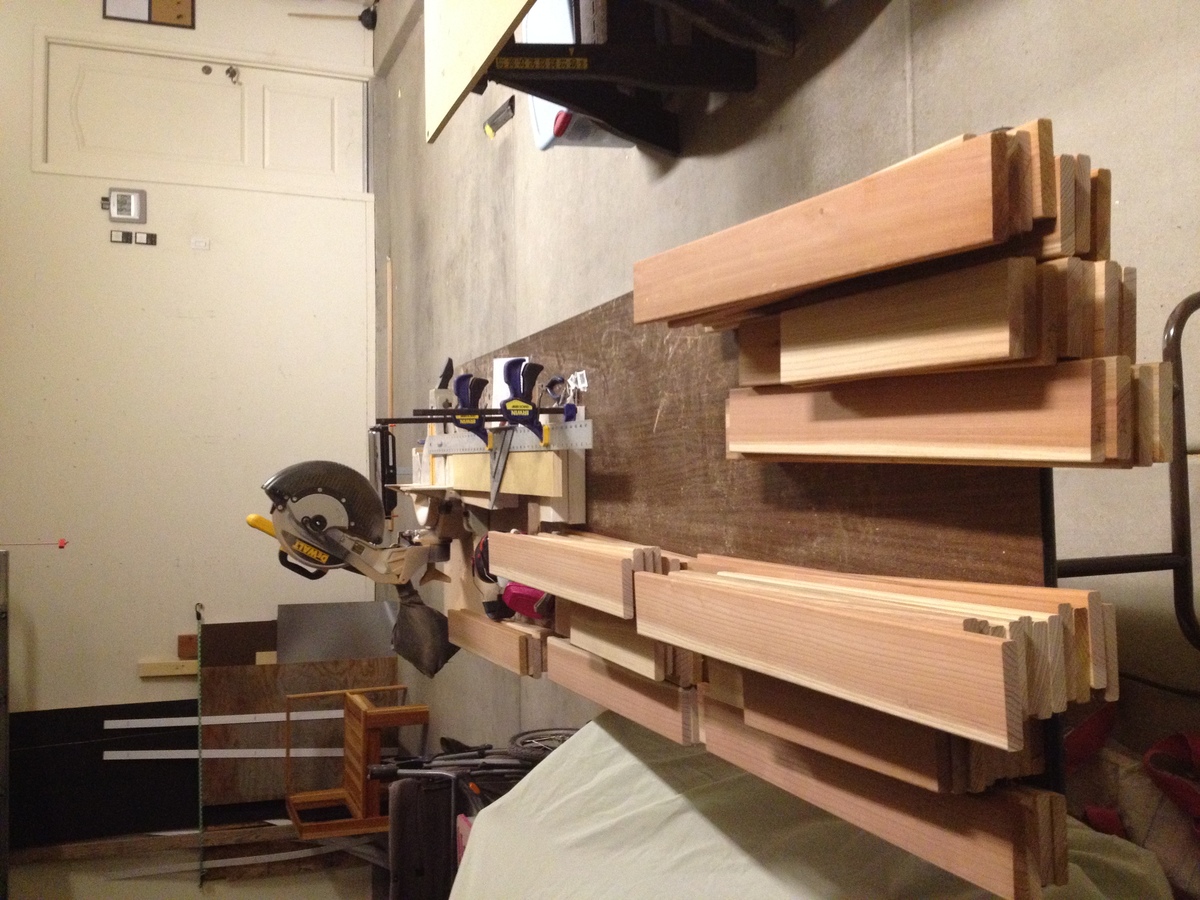
Pocket Screws are my new favorite things! Total of 10 chairs made, 6 corners and 4 sides. Over 230 cuts, and 1000 pocket screws. It took me a while to finish, but I am very pleased with the result. I would not attempt this project without the Kregg Jig or similar product however. It saved me a bunch of time. The plans were detailed and easy to follow. I added a back brace to the design, and decided to make three separate units instead of a u-shaped sofa. This adds more armrests to the unit. I intend to add end tables in the corners and a table in the middle still. Instead of screwing the chairs together I used One-Wrap Velcro so the units can be reconfigured. I purchased the cushions instead of making them. Lowes had some on sale for $50. It added about $500 to the total cost, but it was worth not having to sew.
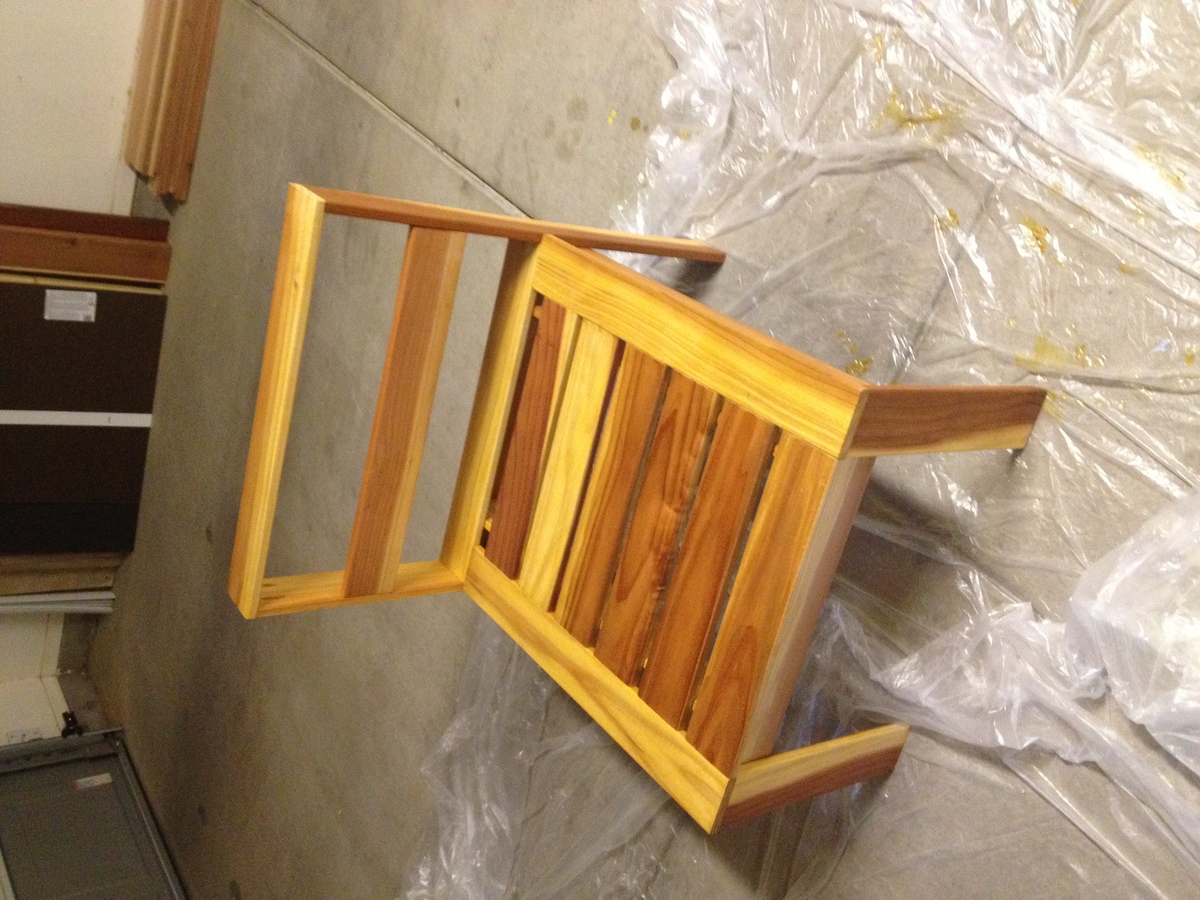
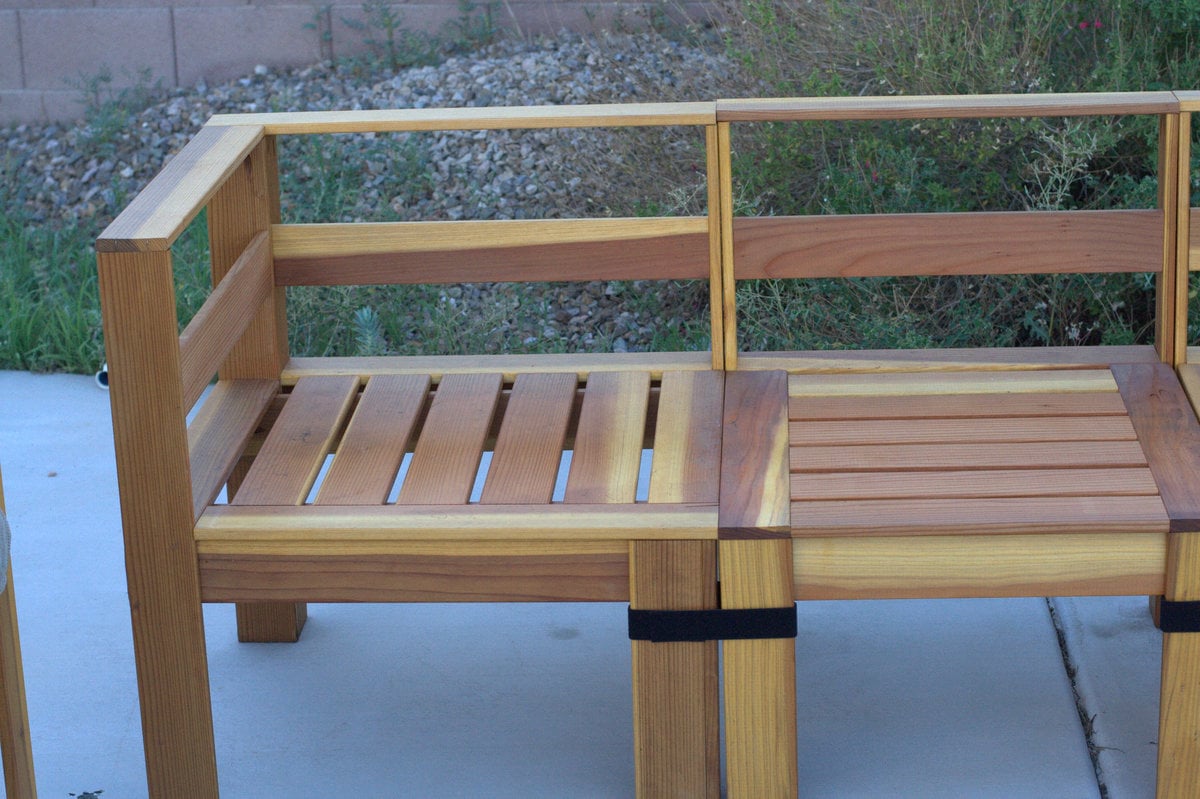
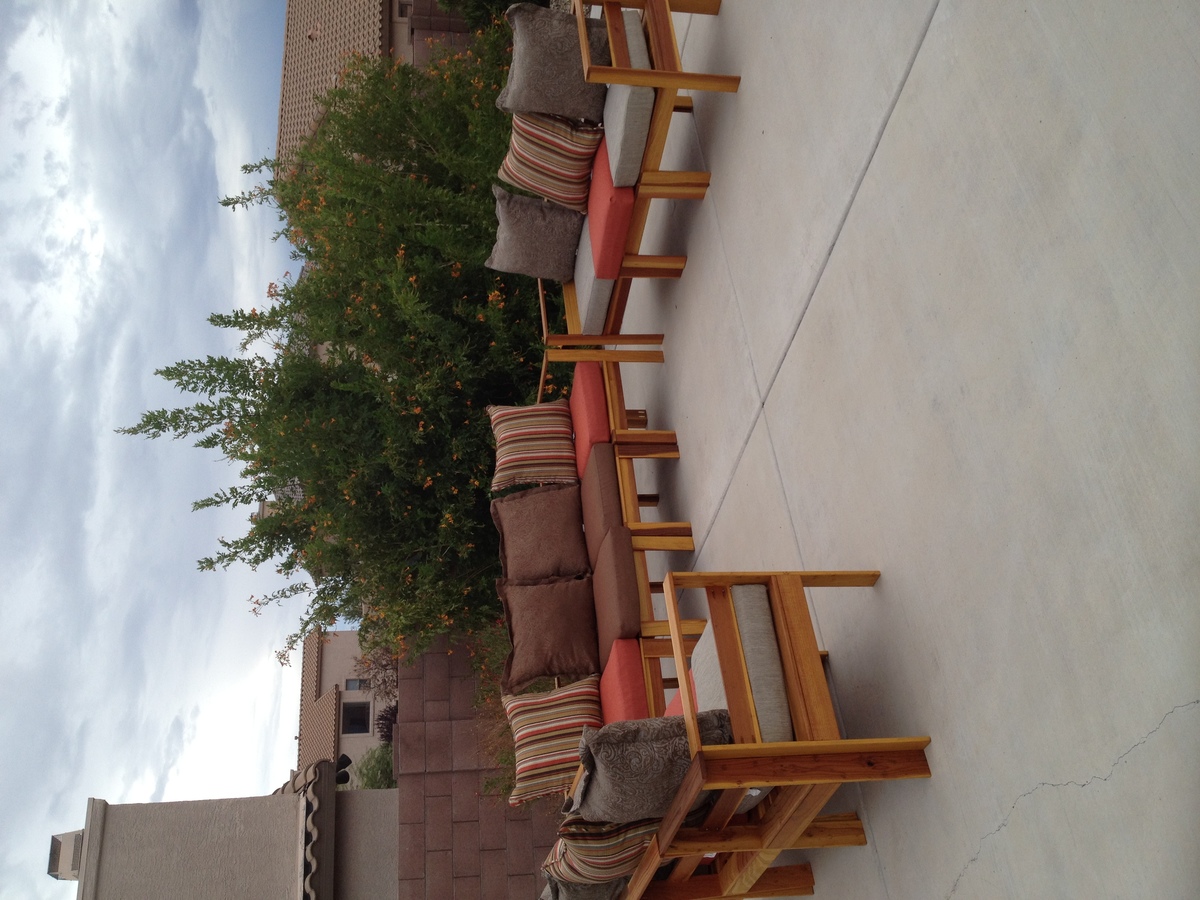
Sun, 08/19/2012 - 09:03
Just got inspired (Thanks to Ana) and built a deck this summer.
Wanted to do something in the Simple Modern Collection...
Been trying to figure out what chairs and loveseats to put out there. You've given me the inspiration to do it this way!
I think I'll just start it easy -- one sectional at a time.... easier on the budget, too. And I sew, so the cushions will be done at home during the winter -- mix 'n' match.
Am raising the seat height a little (bad knees) and would love to know if there is any way to slant the back? I'm sure I'll figure something out.
Can't wait to show this to my family!!!
Beautiful.... just beautiful...
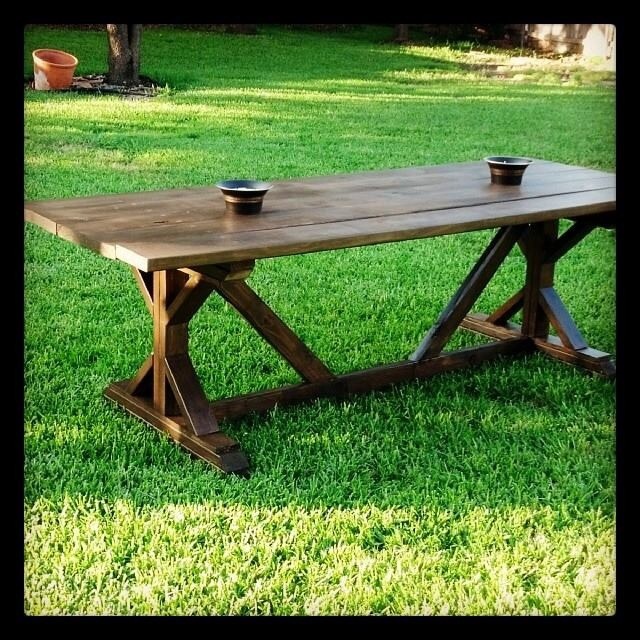
Needed a patio table for this space and decided on this plan. After the build portion, the stain finish really made it complete. Now time for some summer get togethers.
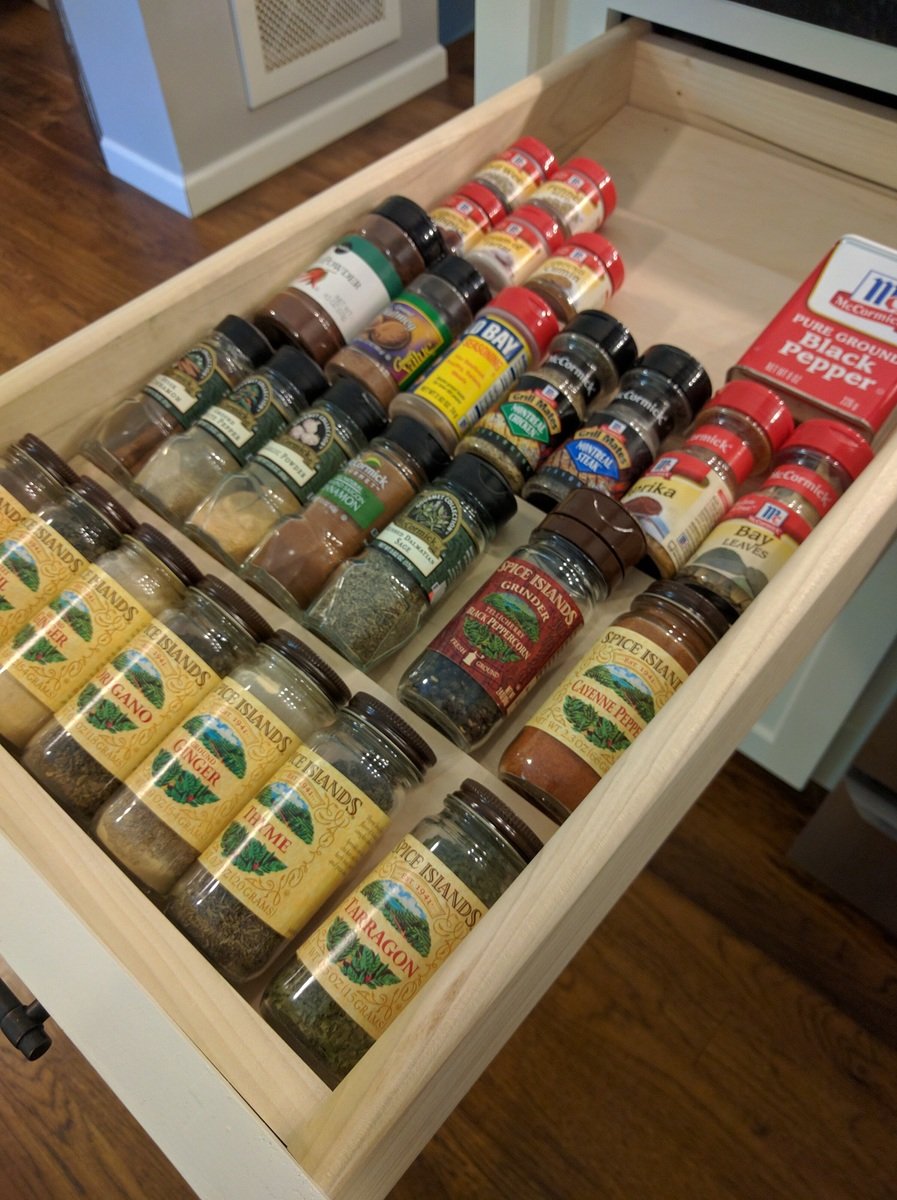
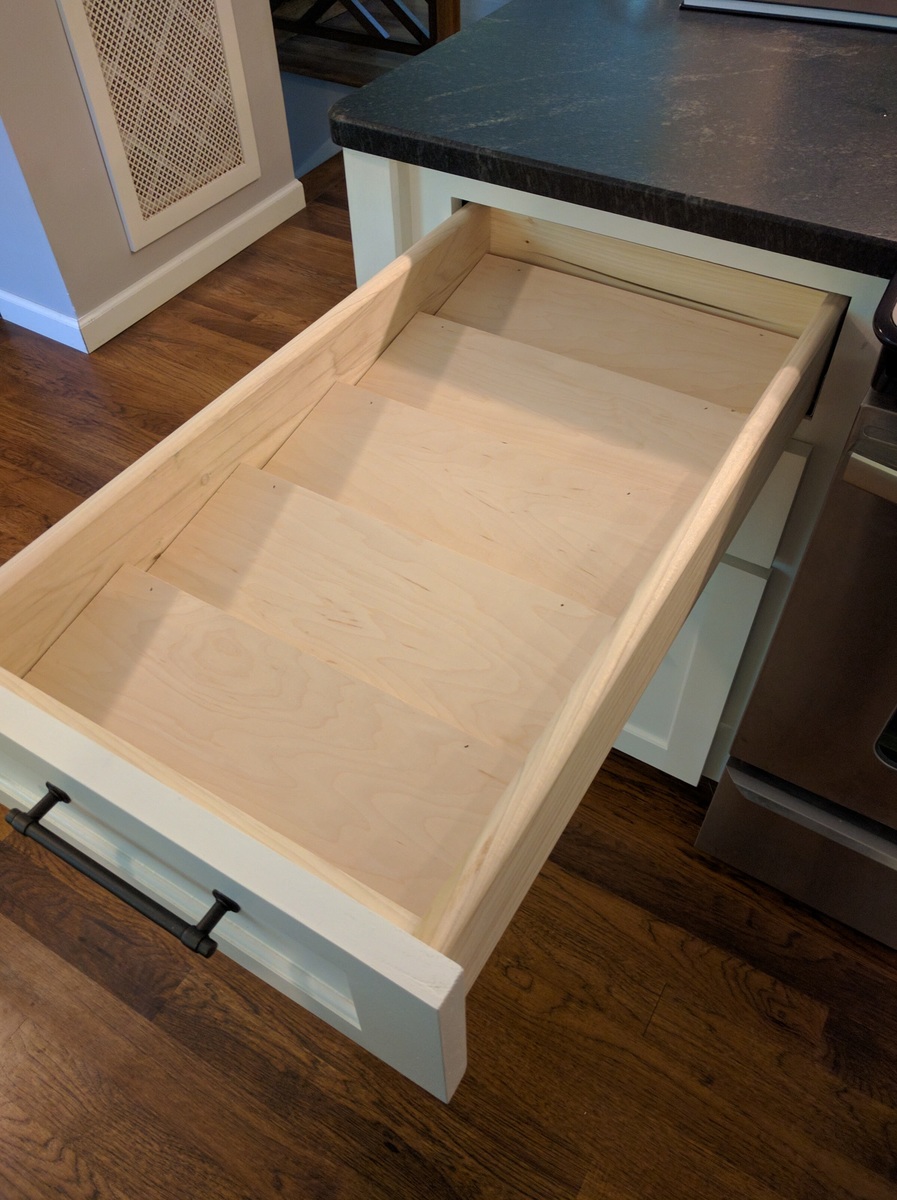
This project took 45 minutes, from measuring to filling up the drawer :)
I ripped some existing 1/4" plywood scrap down to 5" (that's how deep each divider is)
My bases are quite small: they were made from a 3/4" tall by 5/8" deep scrap piece. This made each shelf fairly shallow, but the incline is plenty so that the spices don't slide up and down.
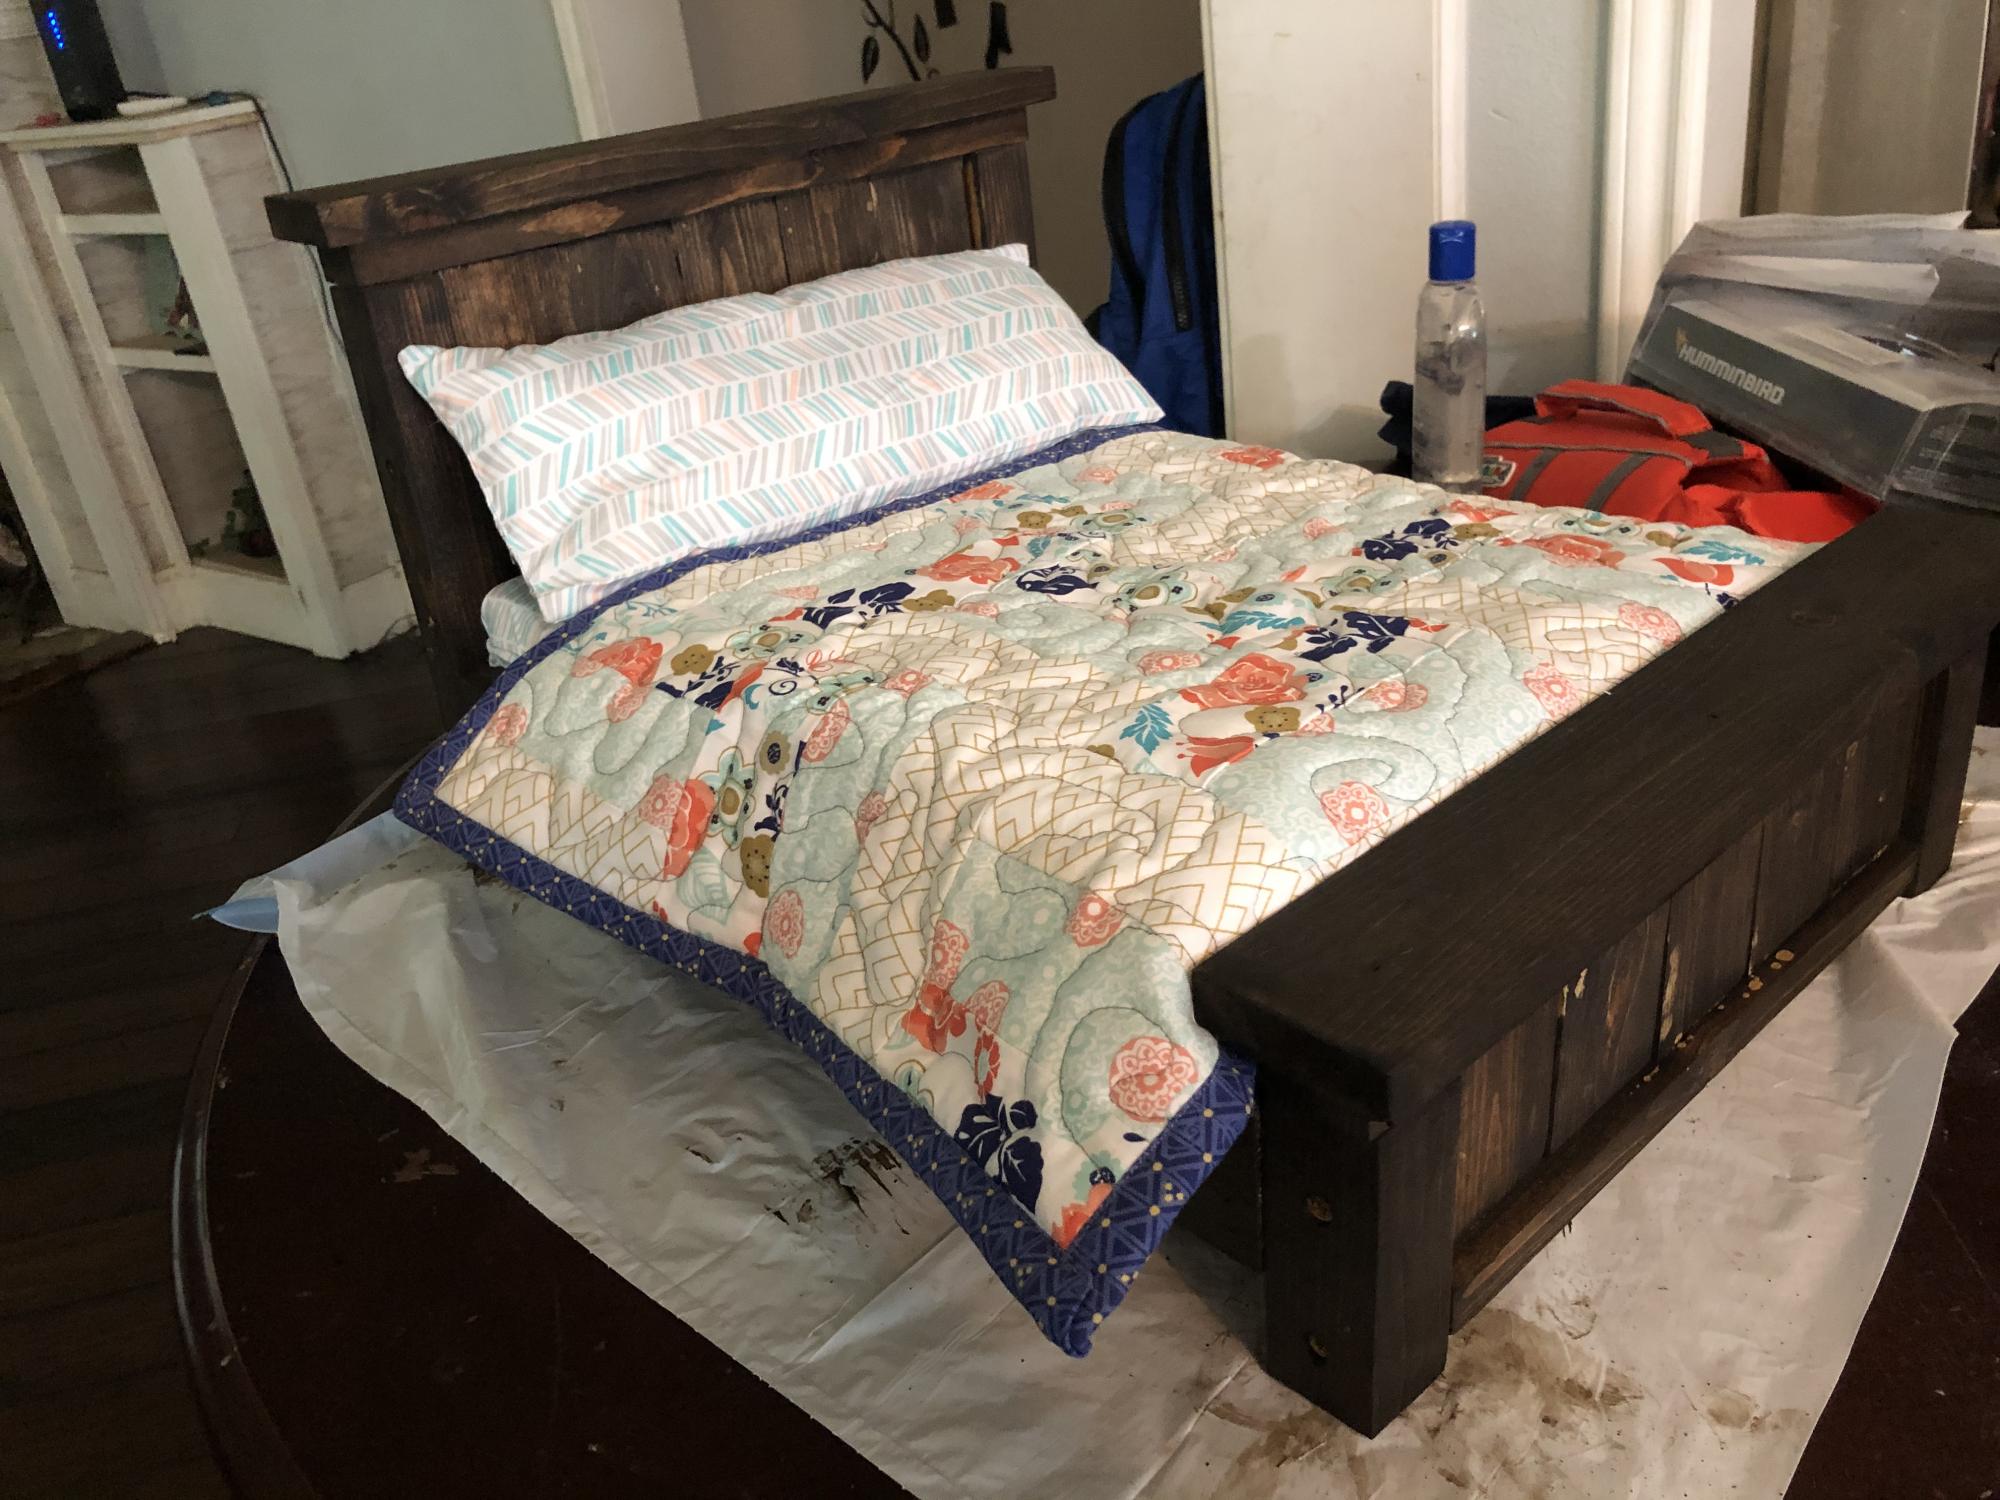
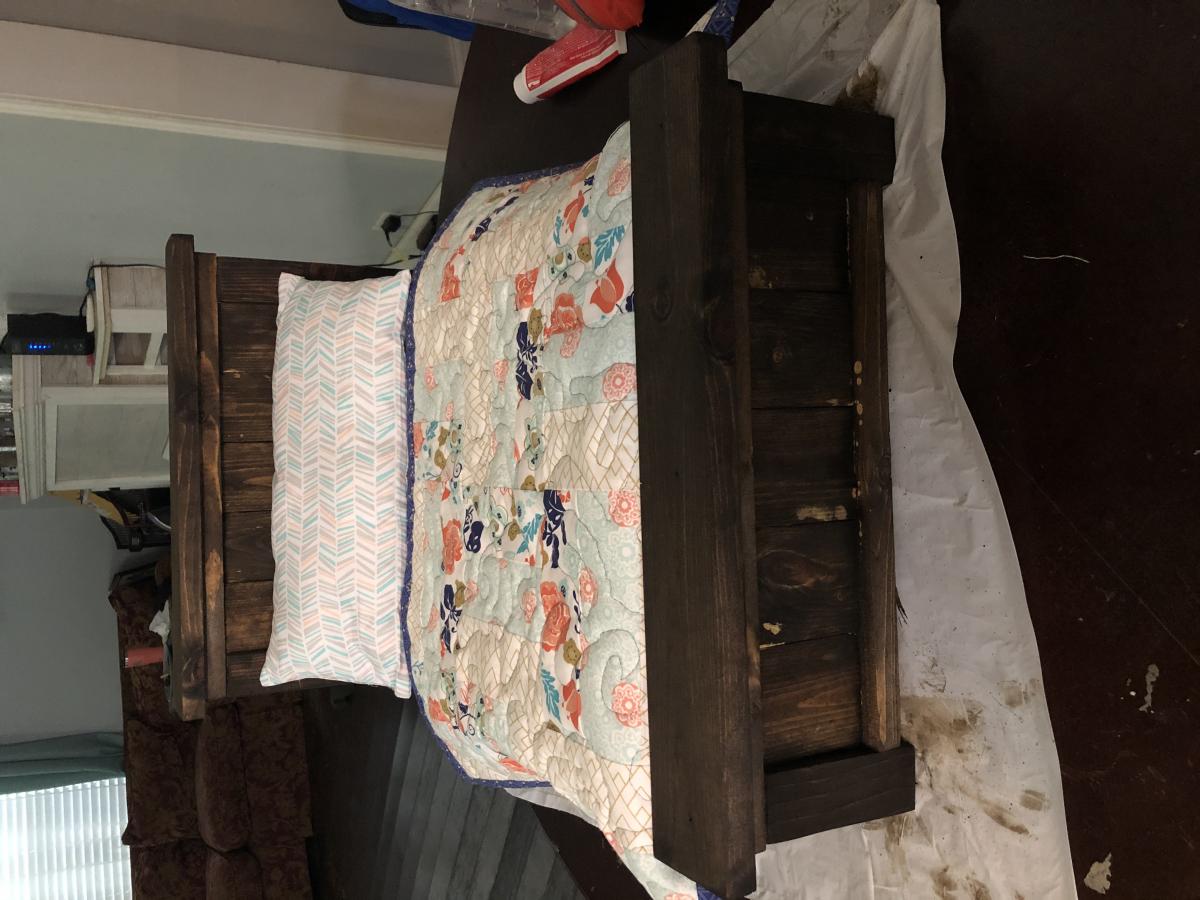
Followed the Farmhouse Doll Bed build! It worked out great! It’s the perfect size for my tiny pup. Cost and time to finish includes everything you see here. The bed frame, the sheets, pillow, and mini quilt all made by hand.
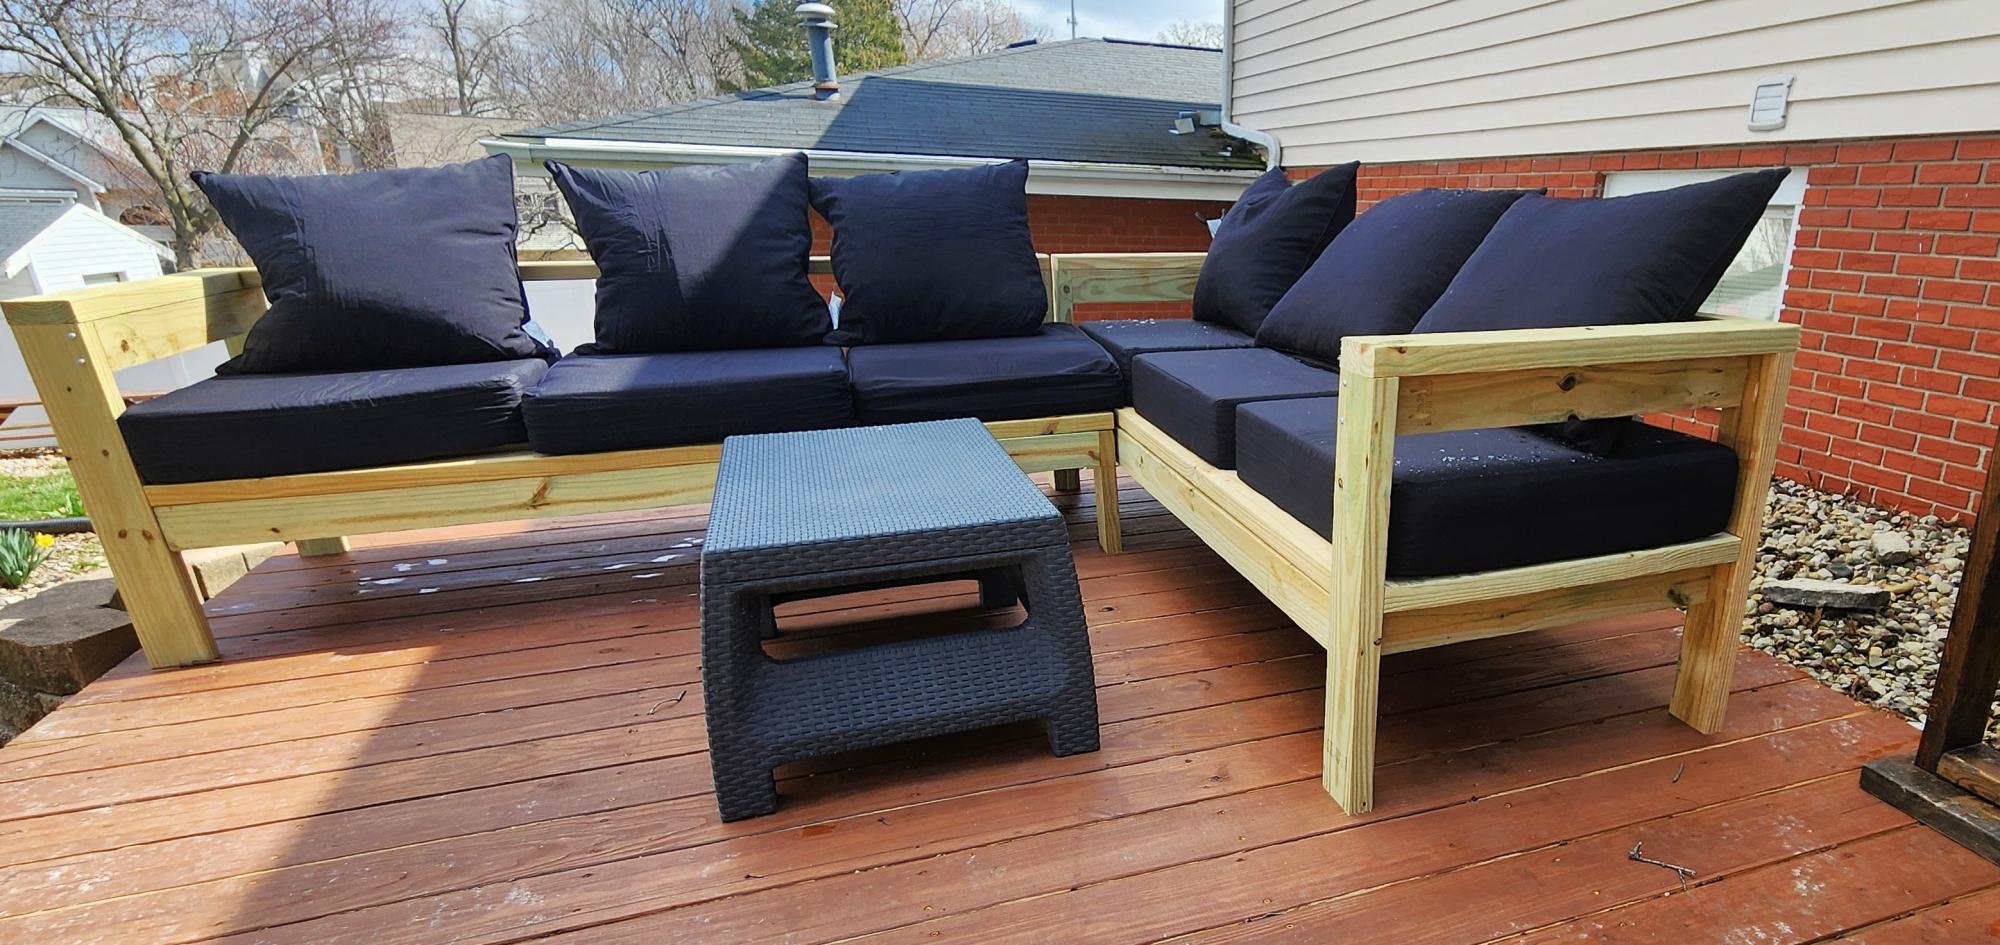
Thanks for the inspired design! Went together simple and quick. Your site rocks.
Garycates
My husband used the plans from this website to make a single Murphy bed. He didn't make any changes, save for building the frame out of solid poplar and using birch plywood for the flat surface the mattress sits on when it's unfolded. We trimmed it to mimic the the lines of a built-in in the same room, and stained it Jacobean to make it look dark. It's a solid piece of furniture and is saving us tons of space.