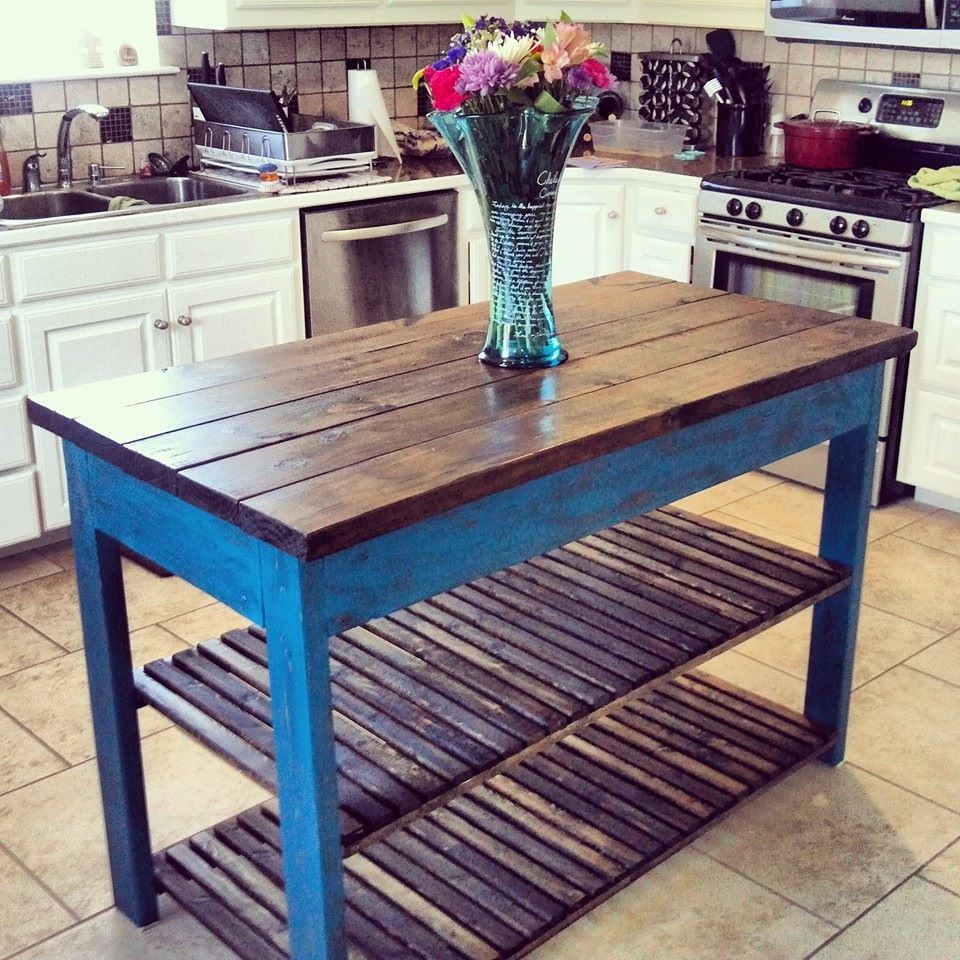
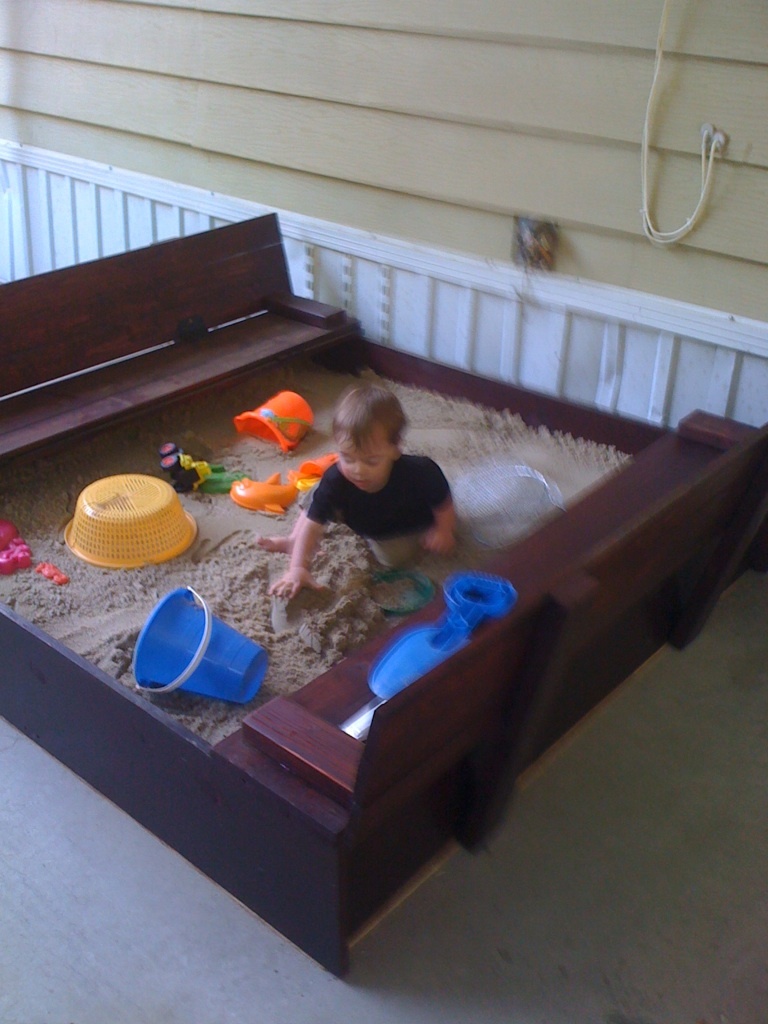
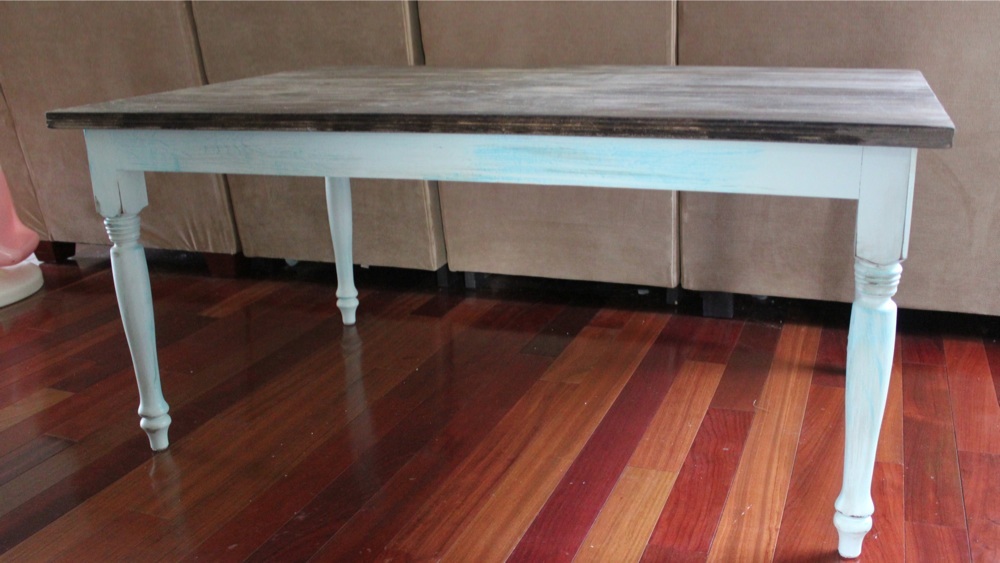
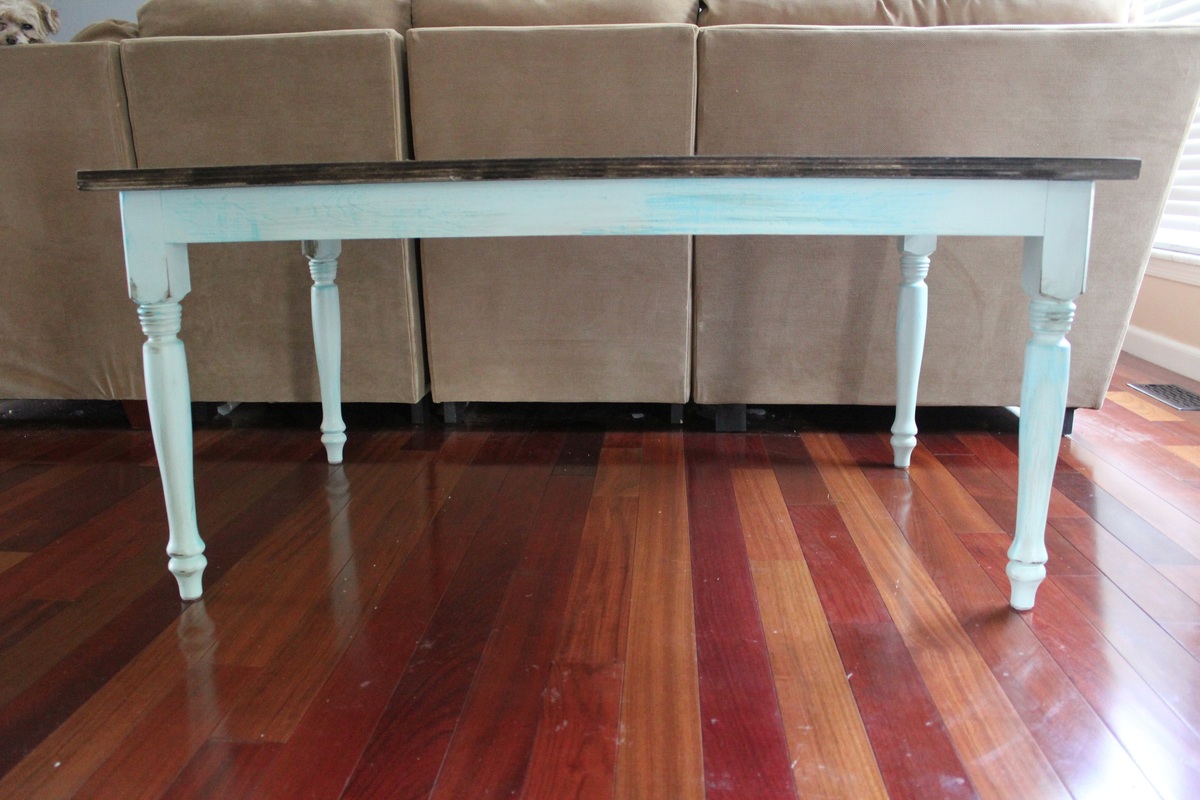
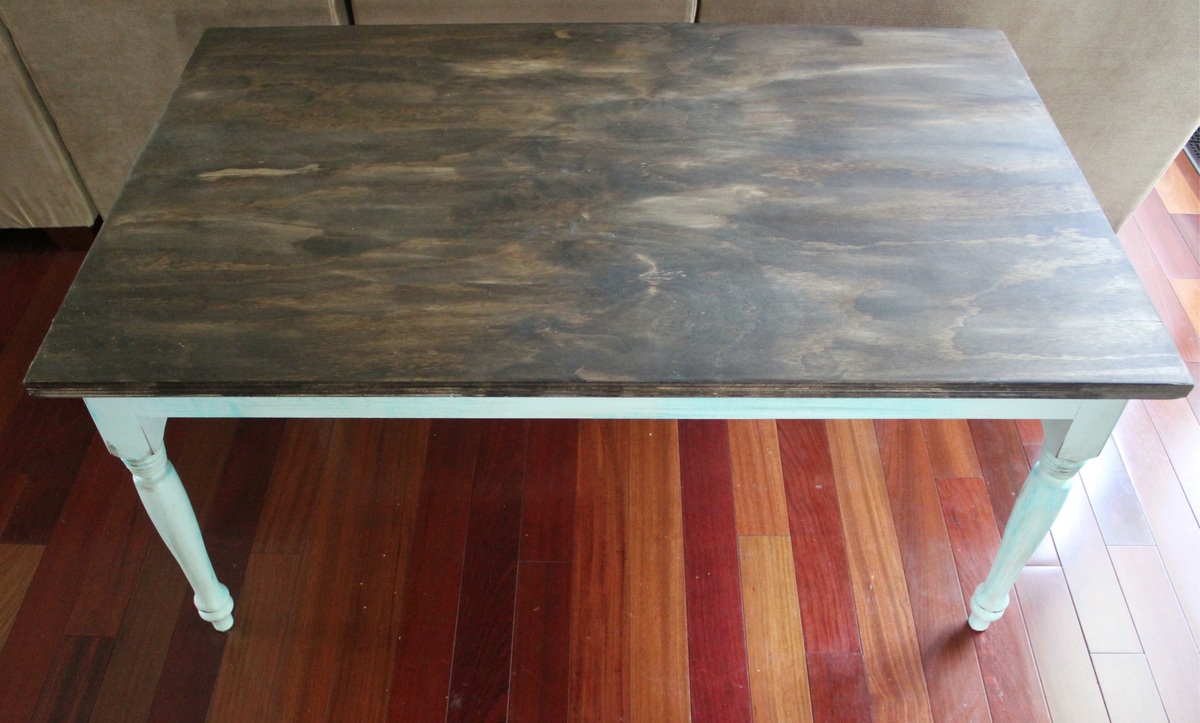
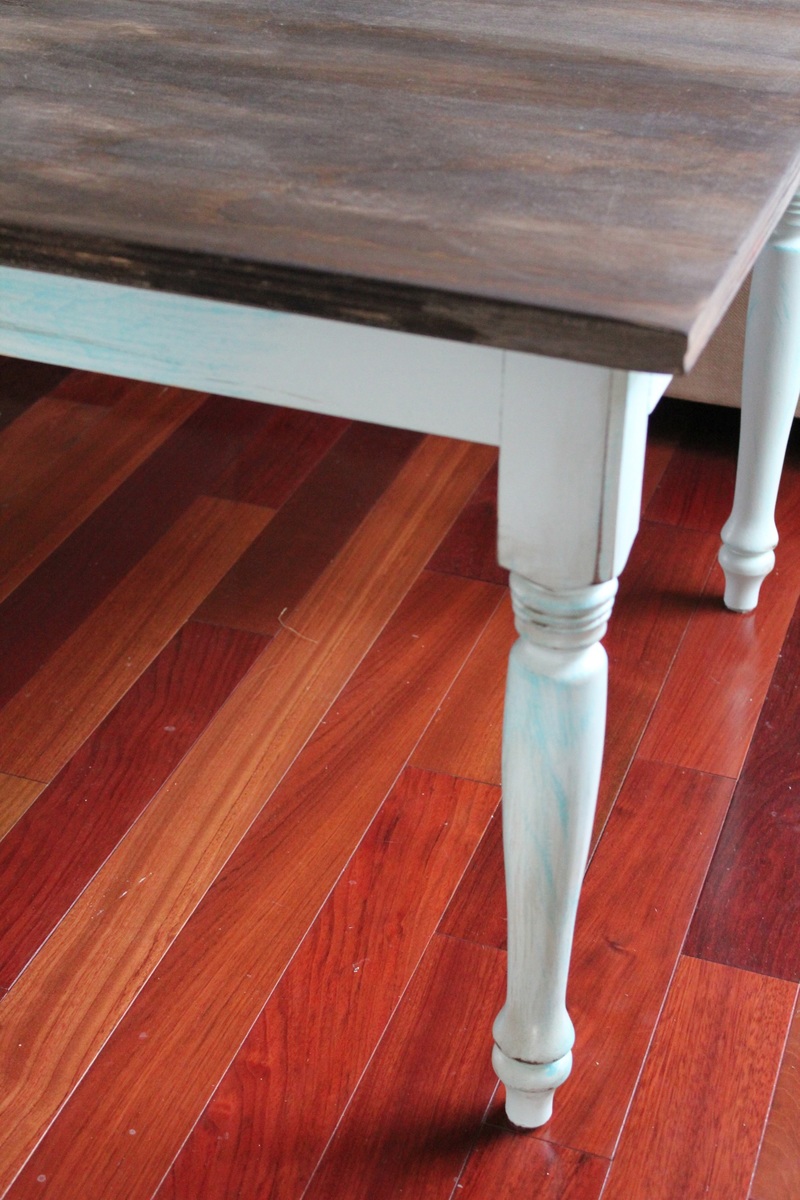
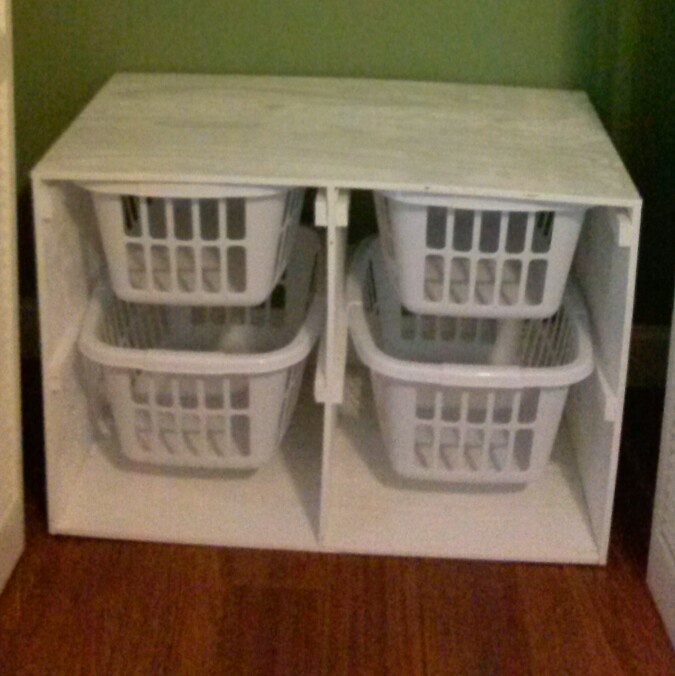
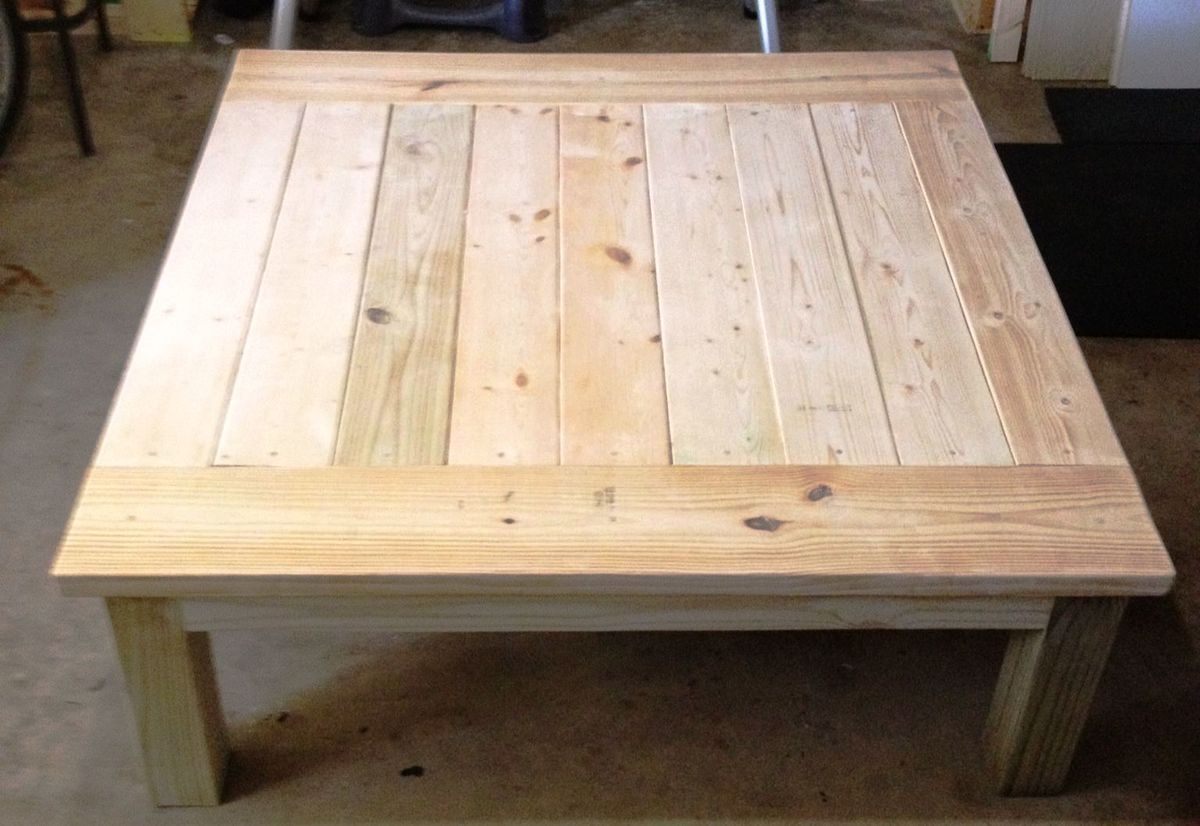
dining table
We got idea from here, but we had to make our own plan for table to make it fit in to our home.. and we just love it :)
more in my blog http://kellarinkatkoissa.blogspot.se/2013/10/tee-se-itse.html
We got idea from here, but we had to make our own plan for table to make it fit in to our home.. and we just love it :)
more in my blog http://kellarinkatkoissa.blogspot.se/2013/10/tee-se-itse.html
I needed more storage in my small kitchen so I modified this cart to 42 x 20 x 96. One shelf has a sliding drawer. I am very new to all of this so I mistakenly overlooked accounting for the side ends of the shelves in my calculations. I left them off, but may go back and insert 1 x 2 to complete them. Not sure yet.
I made these tables from the Ana White plans but for the side table I made it a bit larger to fit the space it was going to be going in. Stained the top varathane Dark Walnut and the bottom I painted white.
I've wanted to build a toybox for our daughter as soon as she was born, and Ana's plan was my favorite. It took a couple of years to finally get the supplies and start building it, and I was able to build it last year. I used recycled wood (I believe it's pine) I had and used a couple of nice pieces of oak for the top. I ran into a few snags with the box itself, with the wood splitting easily in some spots (used a lot of wood filler!), but was able to get it looking the way I wanted keeping a distressed look . I rounded out the corners of the top by hand with a rasp plane and sandpaper. The box was lightly painted with Annie Sloan Chalk Pain (Antoinette/Pink) and finished with Annie Sloan Clear Wax. The top was finished with three coats of linseed oil (24 hours between coats). The slow closing hinge was found on Amazon after a long time spent searching; I ended up using just one which works great. I'm very happy with the end product and my 3-year old daughter loves it! I was very pleased with how simple the plan was to follow, thank you Ana!
Fri, 03/10/2023 - 12:08
This looks amazing, I am so happy you were able to build it for your daughter! Thank you for sharing.
We are going for a rustic look in our teen sons bedroom. He has some large books that will not fit onto his bookshelf so a pallet wall shelf seemed like a perfect solution.
This project literally took five minutes. If you don't have a sawsall it would probably take around 30 but still pretty quick.
I love this site. We needed new furniture in are house and didn't want to spend a bunch of money. Finding the Rustic x plans was a life saver.
I am very excited to post this project .
I used the Schoolhouse Chair with Writing Pad Desk Plan exactly and did not stain the wood. Just gave it a coat of PU and there it is .
Its not a perfect project (since I used a Jigsaw ... Yes I did as no other tools were available :() but carefully cut them straight using guide.
As a first-timer I am happy with the result... sort of... But Thanks for inspiring Ana & Jaime !!!
I found these on a Pinterest post. I made them for my girls and they absolutely love them! A place to sleep and play. All the kids that come over ask their parents for one.
A little bedroom oasis for my little ladies. ☺️
I built this as a place where my husband can store his keys and wallet. This table has nice, clean lines. The simple angles fit with the many pieces of Asian décor that we have.
I am built two of these cupboards for my dining room. I am calling them pie safes though. Making two added twice the work but I only had to think through the steps once.
I changed the size and style of the Pottery Barn plan to fit our space and match the Fancy Hall Tree that we recently completed. We think it came out great so wanted to share.
I work at a lumber yard, and this was built with "garbage" door jambs.
My first Ana project- took the spa bench and added doors. Thanks for the easy-to-use plans, Ana. Still learning, though- I ended up buying three sets of hinges before I was happy!
I've made three of these loft beds. The plans are very easy to follow, and once assembled, they form extremely solid structures. Thank you very much Ana, what you are doing us very much appreciated.
Mon, 11/04/2013 - 11:42
I made a gate style door to close off the space under the stairs, a nice little tidy up.
Thu, 09/11/2014 - 17:24
How can i get the list of materials needed for this and also the plans for it please. my email is [email protected].
I built this modern cubby storage shelf by making a few modifications to the Rolling Cubby Bench plan. It's a quick project with extra bright paint to add a bit of fun. Check out all of my tips for building this fun storage bench at https://mamaneedsaproject.com/modern-toy-storage-project/ .
Fun weekend project! Thank you for the great plans.
We've recently moved into a new house and I've wanted a bench for the mudroom entrance from the garage. This bench is perfect.
I have been longing to make a factory cart coffee table for years after seeing one in a local antique store in Jacksonville Florida. I started by following the dimensions from Ana Whites table and then decided to make the table top with the ability to open up into storage. I followed the plans and updated with hardware that I (painstakingly) pieced together from various sites online. I love the industrial feel the cast iron hardware brings to this adaptation and cannot wait to start building matching end tables. Thank you Ana for the inspiration!
Wed, 11/06/2013 - 17:11
Could you share any details about how you finished the wheels? I have a cart I am trying to refinish but stalling out on the cast iron parts. I really don't want to paint them, and I don't want them to rust.
Just noticed the Kupo Nut reference! I love it!
In reply to awesome! by jahnkekong
Wed, 11/06/2013 - 19:16
Thank you so much for catching the Kupo nut reference! Haha I only felt it was fitting to add a little nerd flair :) rust oleum has a hammered black paint that also doubles as a rust inhibitor so it worked perfectly to touch up the cast iron parts and keep that rustic feel to the hardware. I finished with a clear top coat as I'm sure that I will end up constantly kicking the wheels by accident haha.
Wed, 11/06/2013 - 19:51
Thanks so much, Kupo! ;0) This is motivating me to FINALLY finish my project. Maybe I'll have my own brag post soon!
In reply to Hardware by Cyber Sapp
Wed, 12/04/2013 - 19:18
Hi cyber sapp! I was able to piece them together from eBay and etsy items. I searched for key words: "antique cast iron caster" or "factory/industrial cart wheel" and you should be able to find ones that work. I held out for the best deals I could. Be prepared to search quite a lot if you want to find the best deal.
As far as the decal is concerned, I created the template on illustrator and used it as a template to paint the decal on. I checked online and saw a few examples of transferring images on to wood that will probably be easier than hand painting. Hope this helps!!
Wed, 12/04/2013 - 22:25
Thanks for the update. I made one similar to your modifications. I'm using storage too, I will share once I get the soft close installed. I'm looking for something that want slam fingers when it is closed. I also used Walnut to build it. It is solid like a tank with the hardwood, but came out pretty good. I made a few minor mistakes and now want to make one closer to yours.
In reply to Thanks for the quick response by Cyber Sapp
Tue, 12/17/2013 - 21:19
Oh wow I bet the walnut looks amazing!!! That's a serious upgrade! Can't wait to see it!
Mon, 12/16/2013 - 23:30
What an amazing job you did, I'm still holding out for my end wheels too and you are so right about search search search. It doesn't help being in Canada with shipping costing so much for these too.
Love love love, well done
In reply to What an amazing job you did, by Mandymoochops
Tue, 12/17/2013 - 21:23
Thank you very much!! I do not envy you right now as the search took me forever to find the right wheel that matched one I already had. I have had good luck in the past asking eBay sellers about changing to flat rate shipping options. Not sure if they have that option for shipping internationally but it never hurts to try! Keep up the good fight as the wheels REALLY pay off in the end.
Thu, 03/26/2020 - 04:52
Very nice.....building one if my own with modifications,!
Mom wanted an island for her new large kitchen but something that could be moved out of the way. With all her cabinets and drawers, we omitted the shelves and drawer from the original plan. We also wanted it full across the inside, not just half way. This allows her to put her stool on the shelf out of the way if needed. However, after getting all her furniture into her new home, she decided that she had enough in her new kitchen so she scoots it under the breakfast bar for now.
This was made on a tight budget. We only had to purchase the 2x4s and casters.
We also used tongue and grove blue pine left over from our house for the bottom shelf and staggered scrap pine 1x4 & 1x6 boards for the top and then routered it to give it smooth rounded edges on top.
My wife had been wanting a buy a coffee bar for our dining room so we could declutter the kitchen. I came across the plans for this on Ana’s site and made some slight modifications to fit our space and fridge. It turned out incredible! Friends and family say it’s the best piece I’ve made. Thank you Ana for the plans!
Fri, 04/07/2023 - 14:16
It fits your space perfectly and looks super functional at the same time! Thank you for sharing:)
Comments
Tigerlily0480
Sat, 06/20/2015 - 11:18
about how long did you make
about how long did you make your table so that you could fit 3 chairs on each side?
you table is stunning