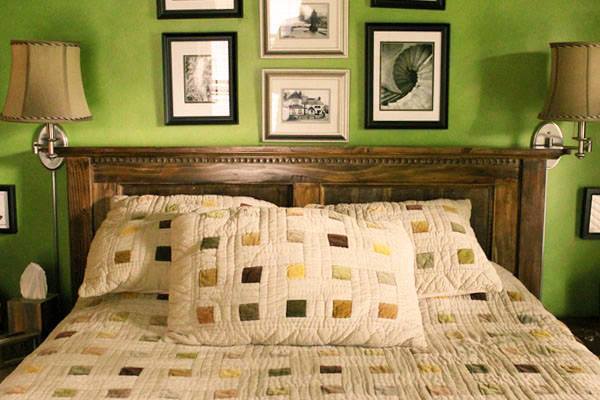
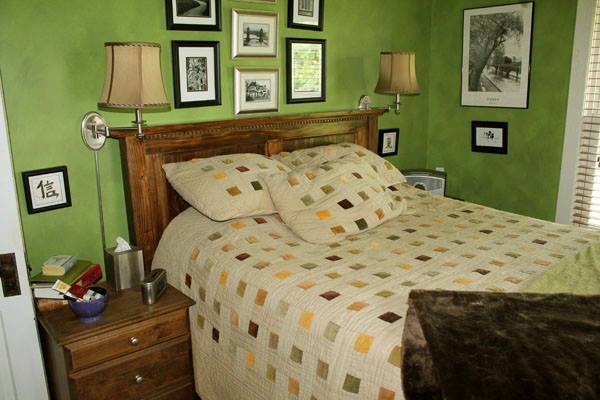
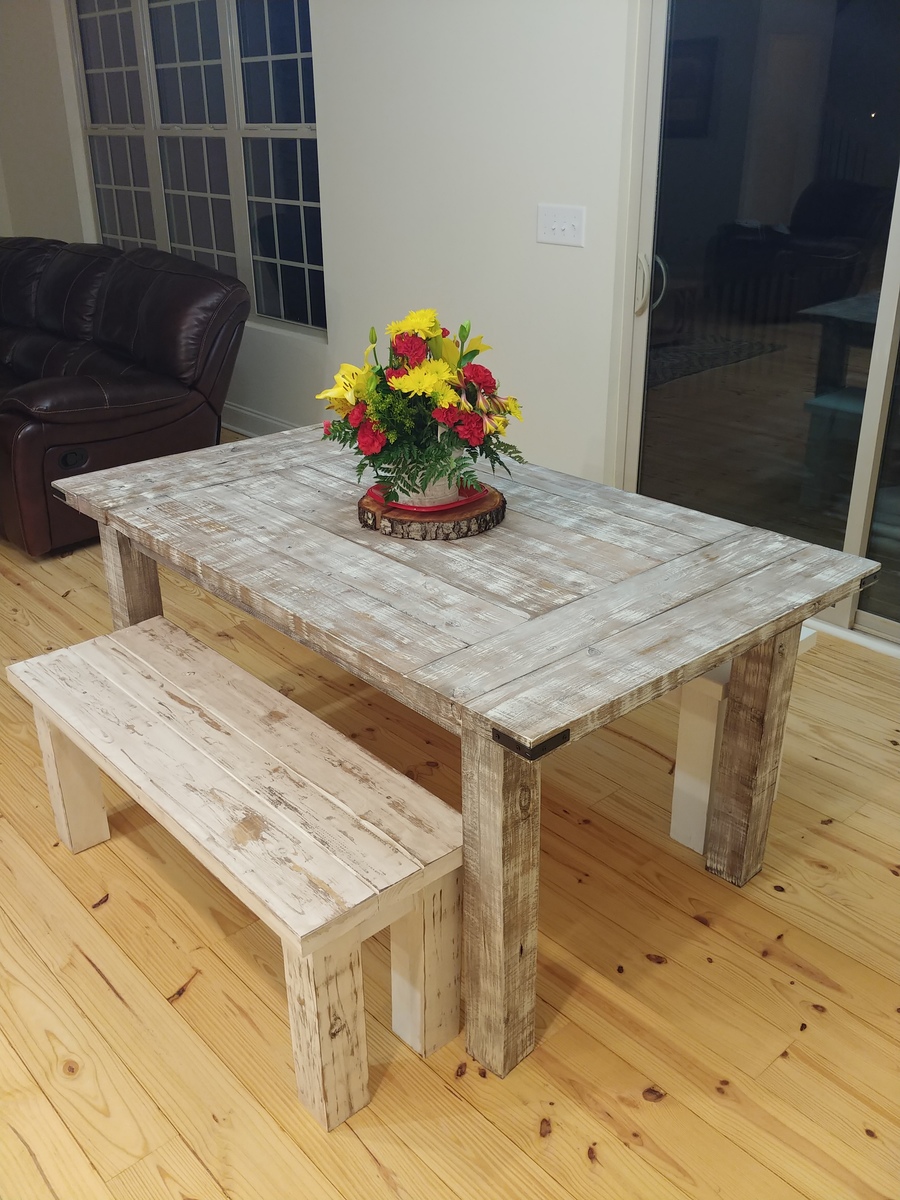
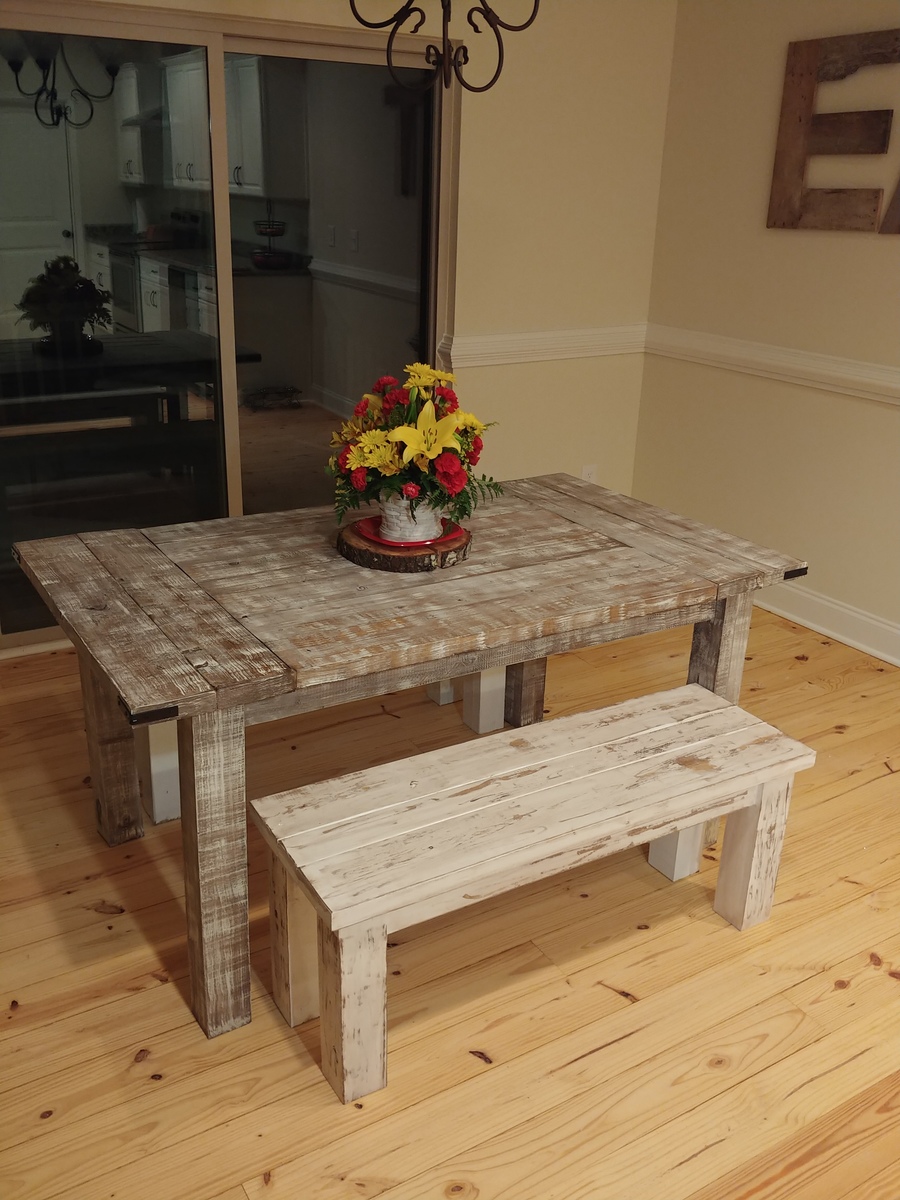
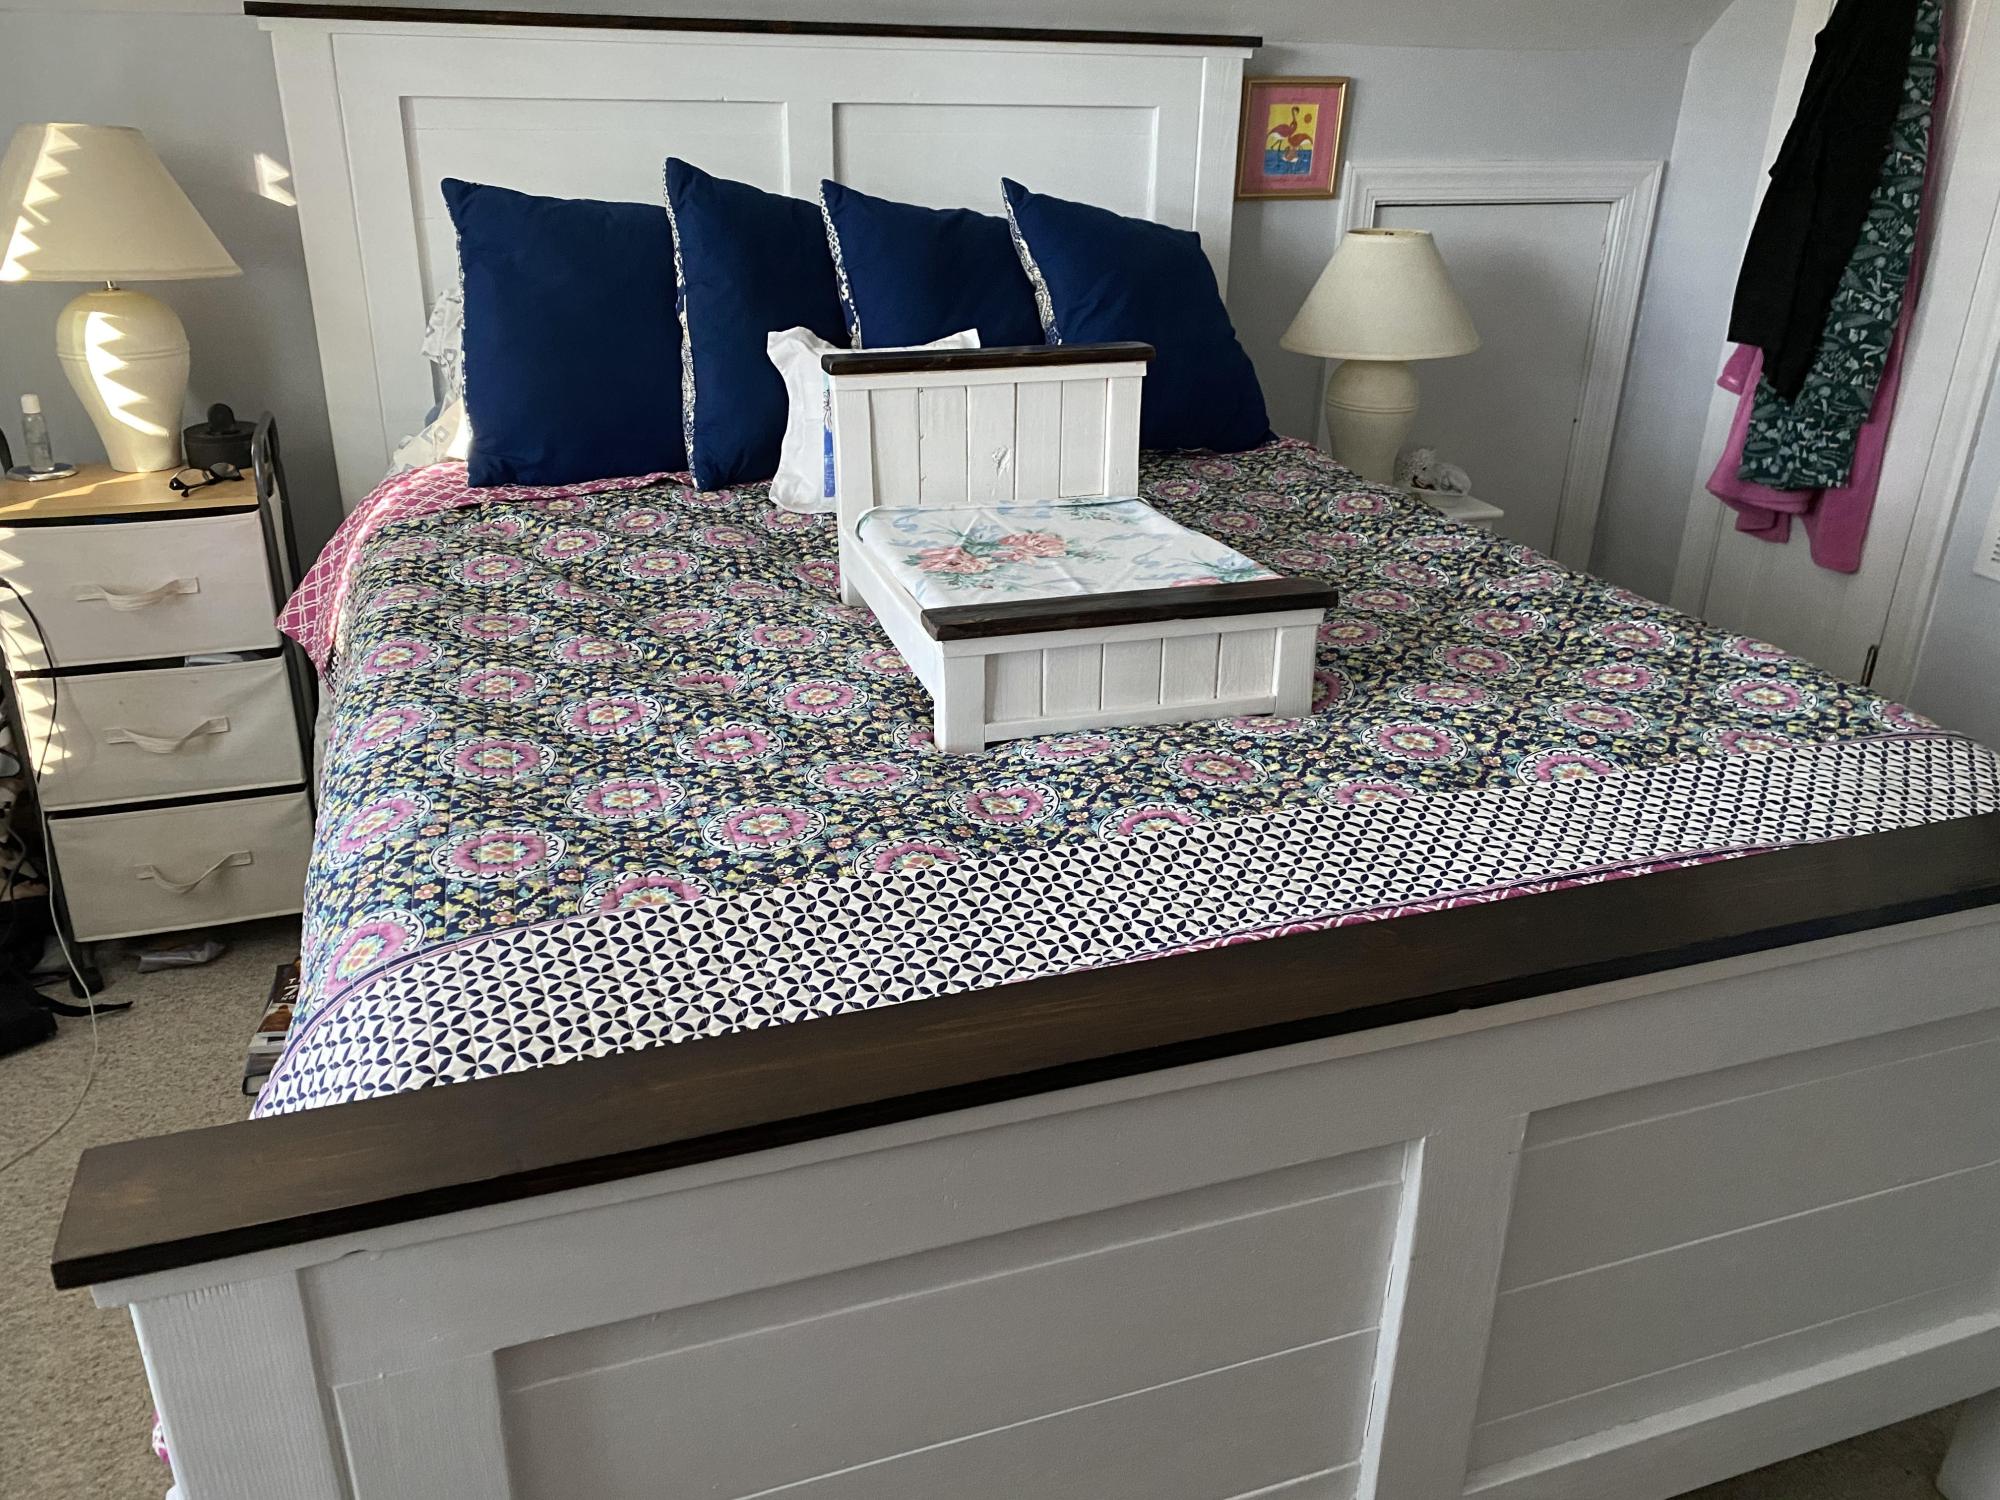
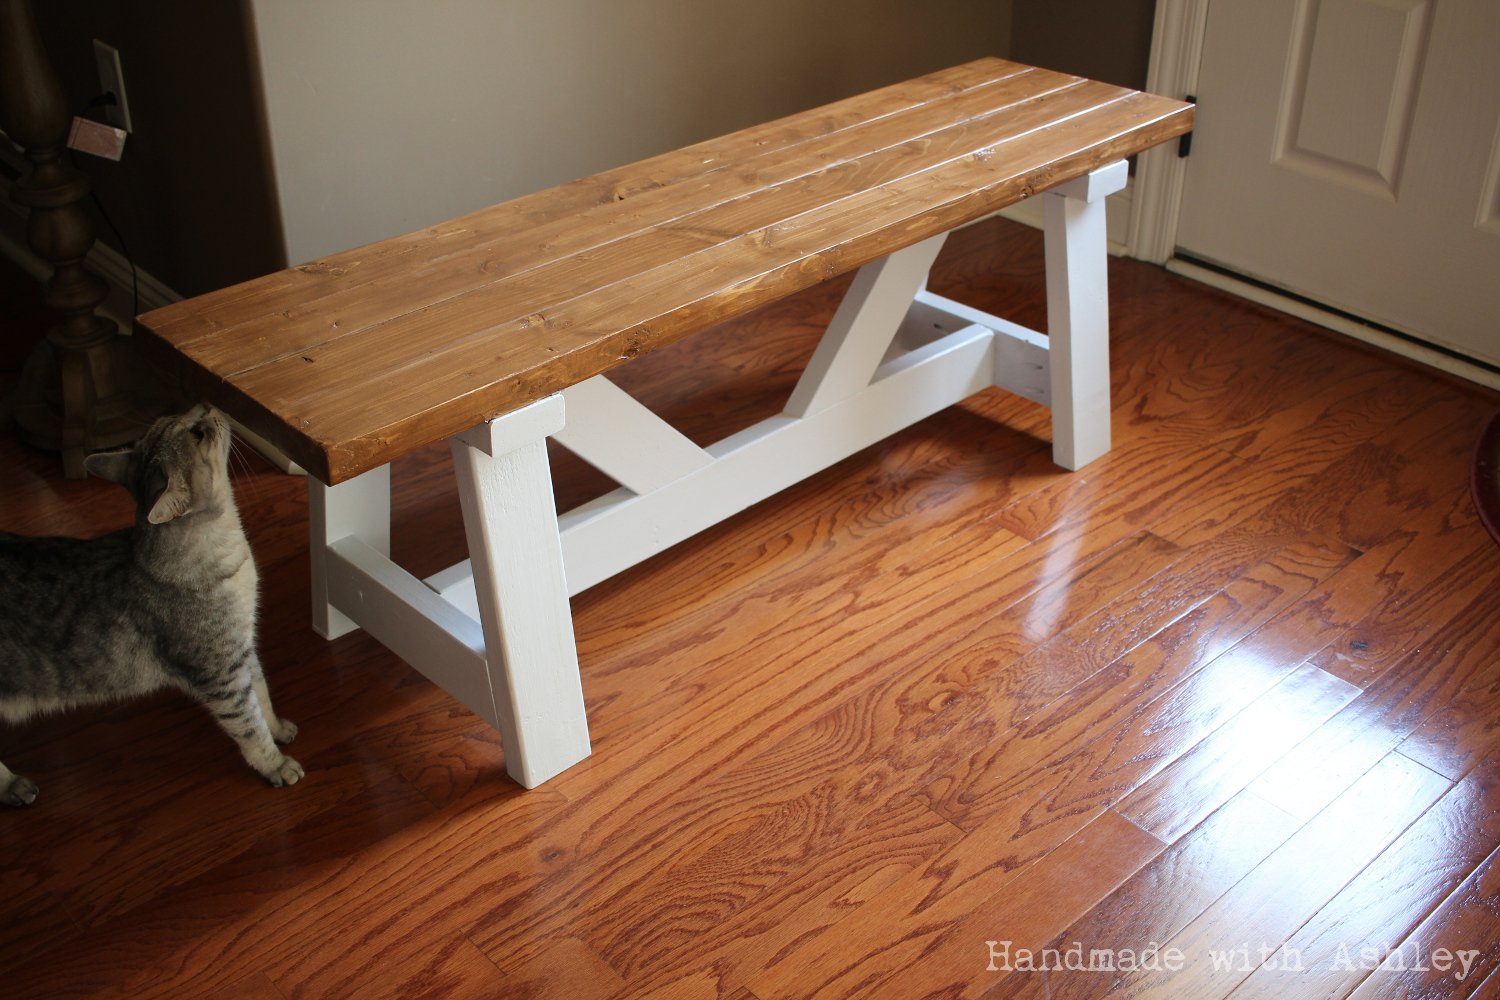
King Size Farmhouse Bed
What do you do when you want to upgrade to a king size bed but cant find one you like at any store? You build one yourself.
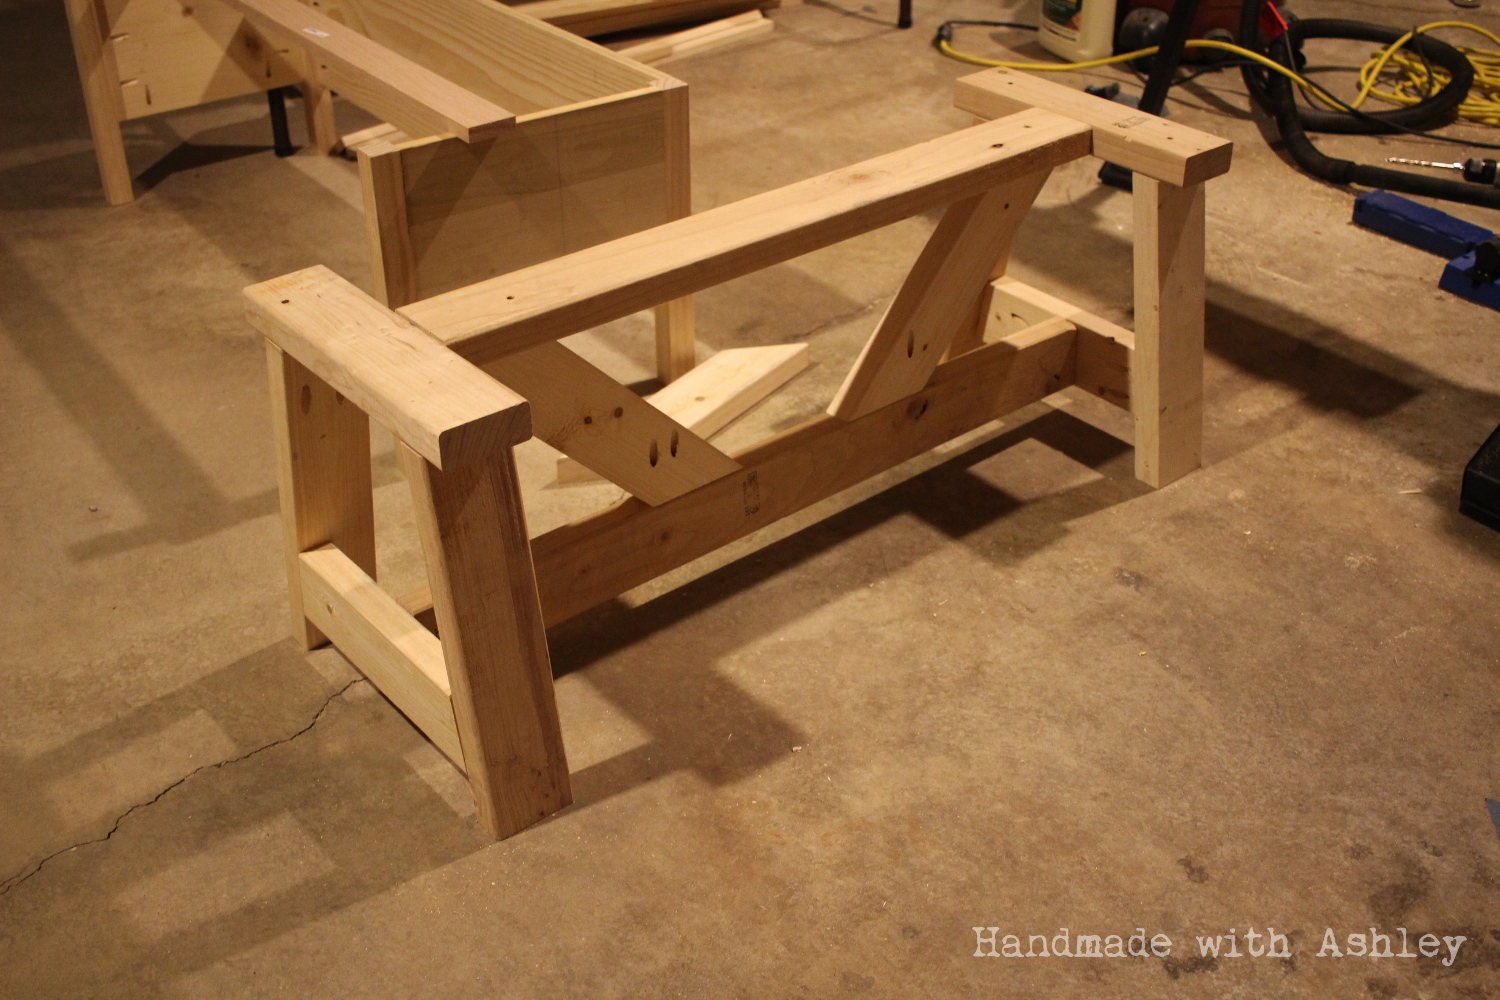
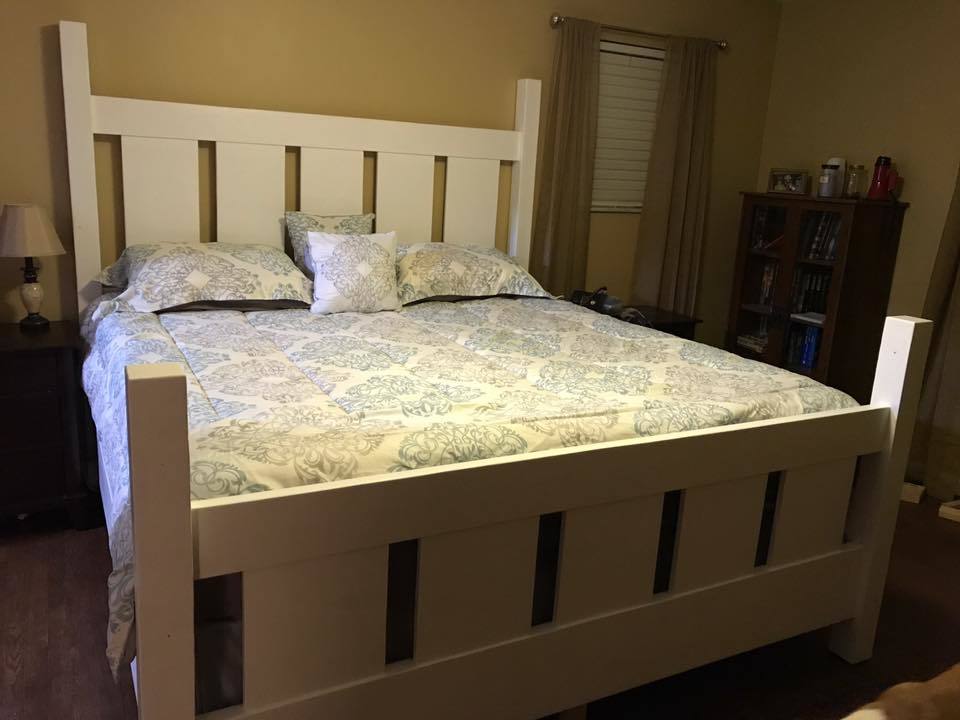
I actually built this before the king size plans were available by using the queen size plans and bumping up the measurements accordingly. We both loved the farmhouse bed so we only made a couple little changes. One obvious change is to the posts at teh footboard...i cut those to about 48" high so I would still have a place to hang my PJ's. I also took the router to the tops of the posts to round off the edges just a bit.
It came out great and my wife and I love it. She likes to show off pictures every chance she gets.
Built from Plan(s)
Estimated Cost
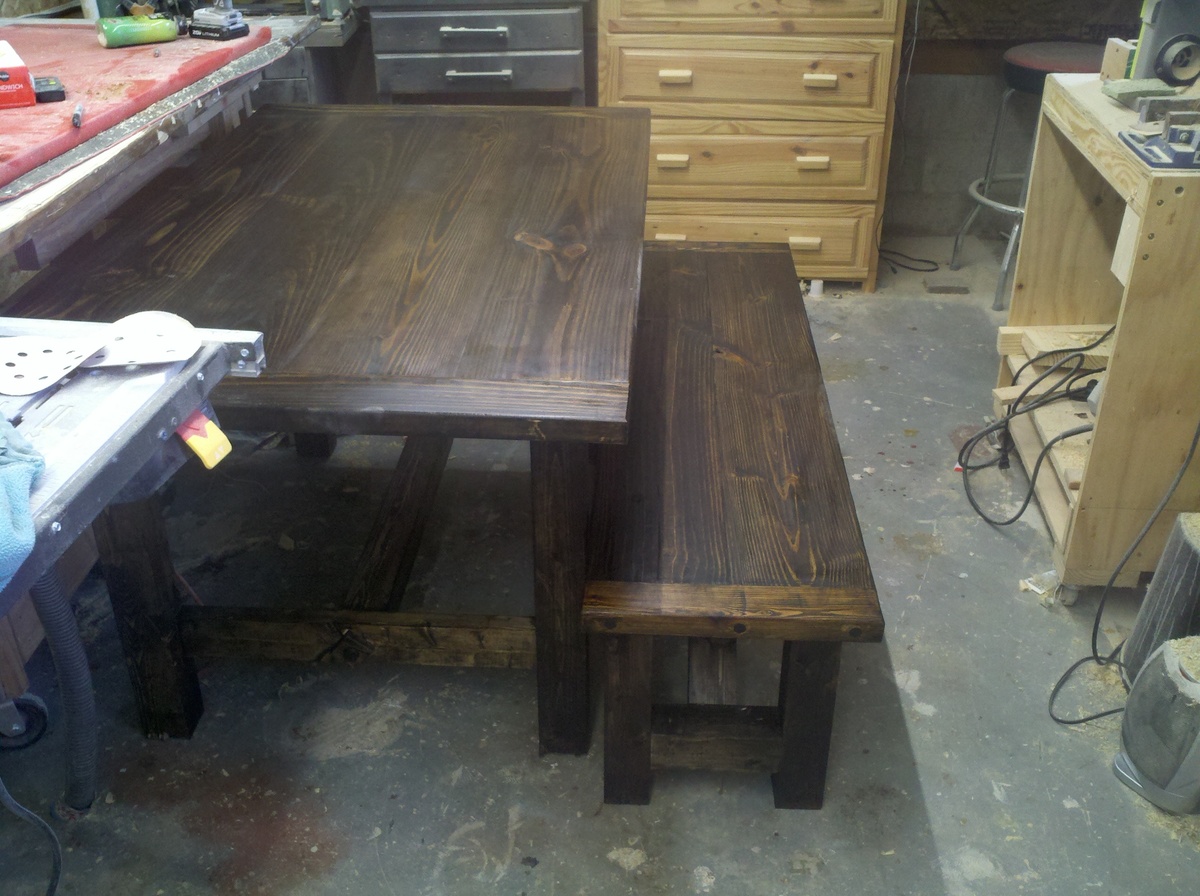
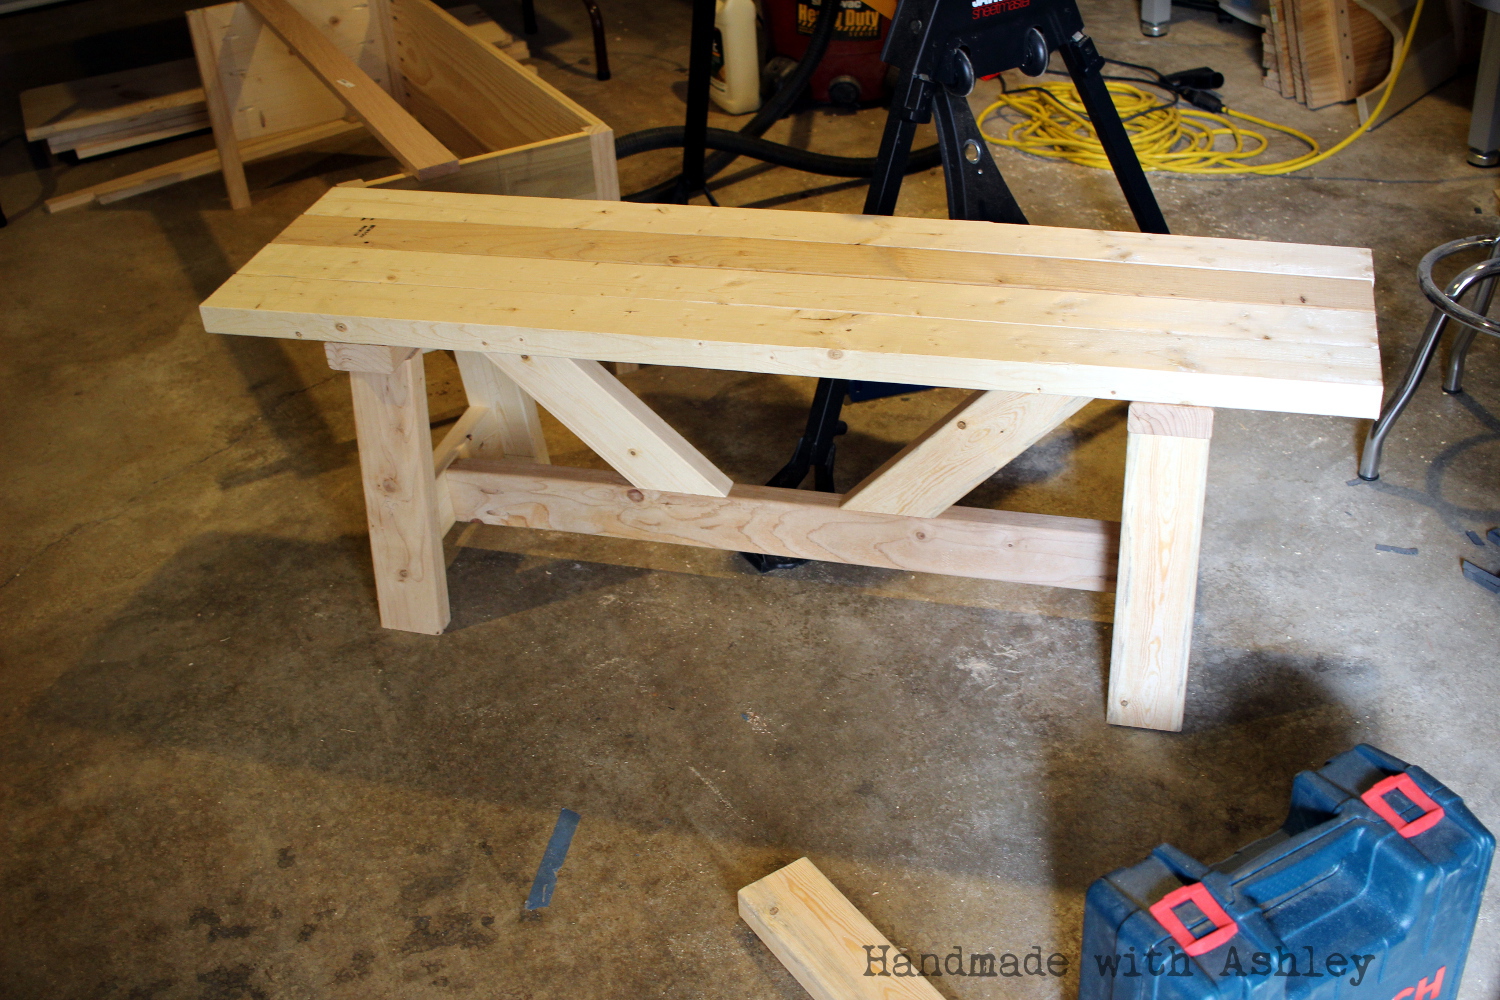
Probably $150 in materials. The most significant costs were the purchase of a Rigid table saw and a Kreg jig which were both invaluable and will be used on future projects.
Estimated Time Investment
Weekend Project (10-20 Hours)
Finish Used
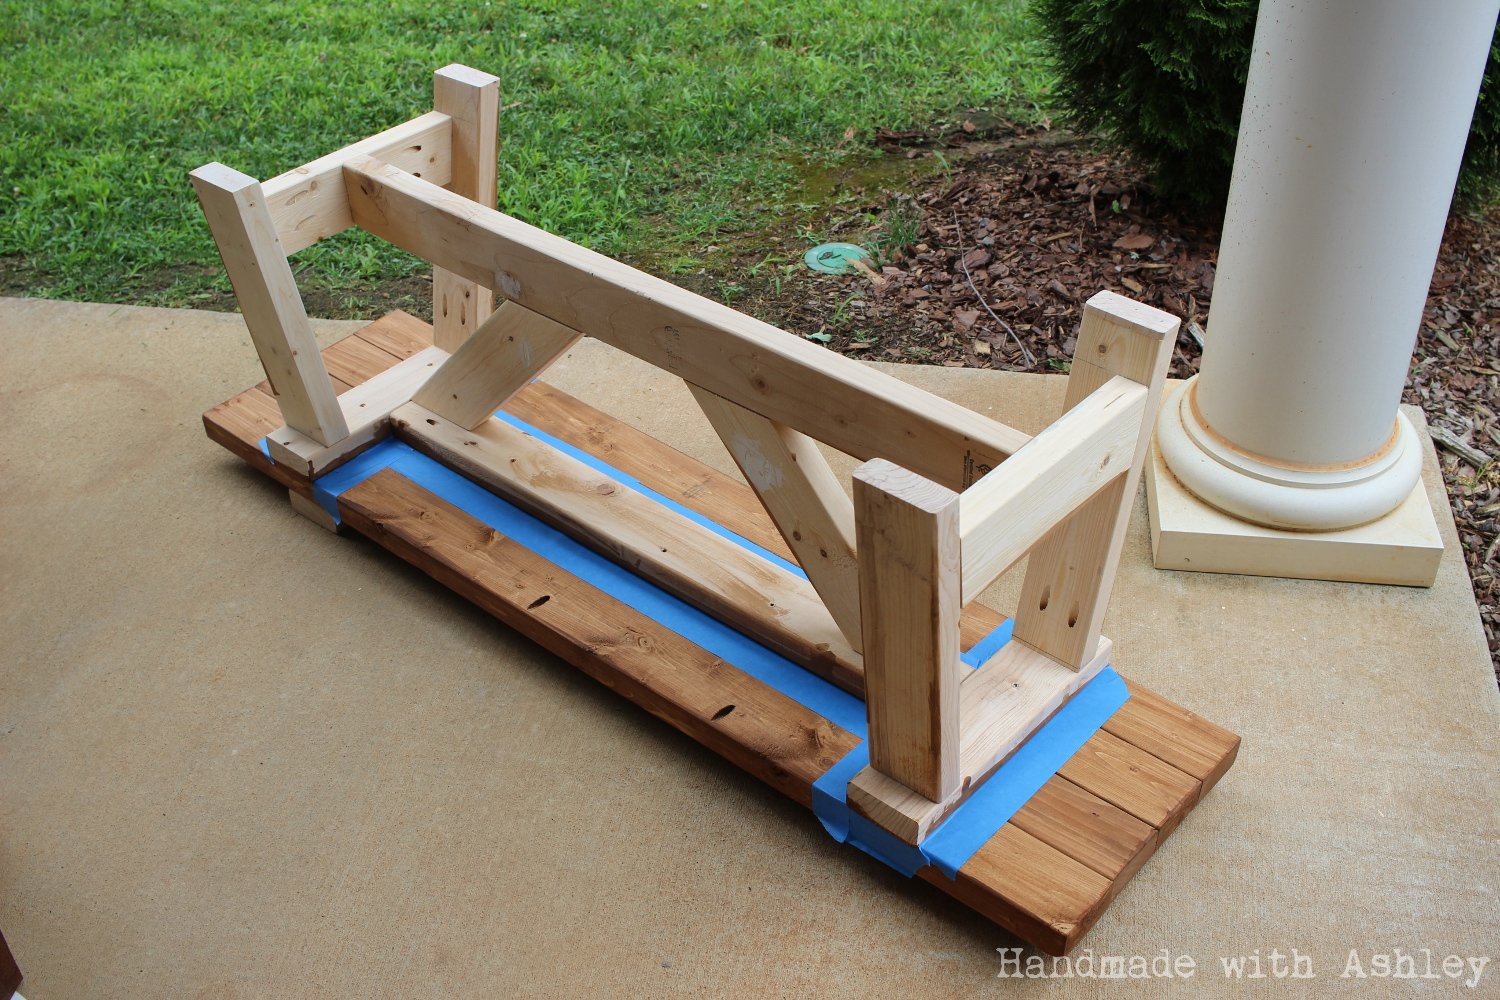
We had wanted to do a white wash but unfortunately the only 4x4's they had at the local big box were the pressure treated variety so it would work. We ended up painting it white which we ended up really liking.
Recommended Skill Level
Beginner