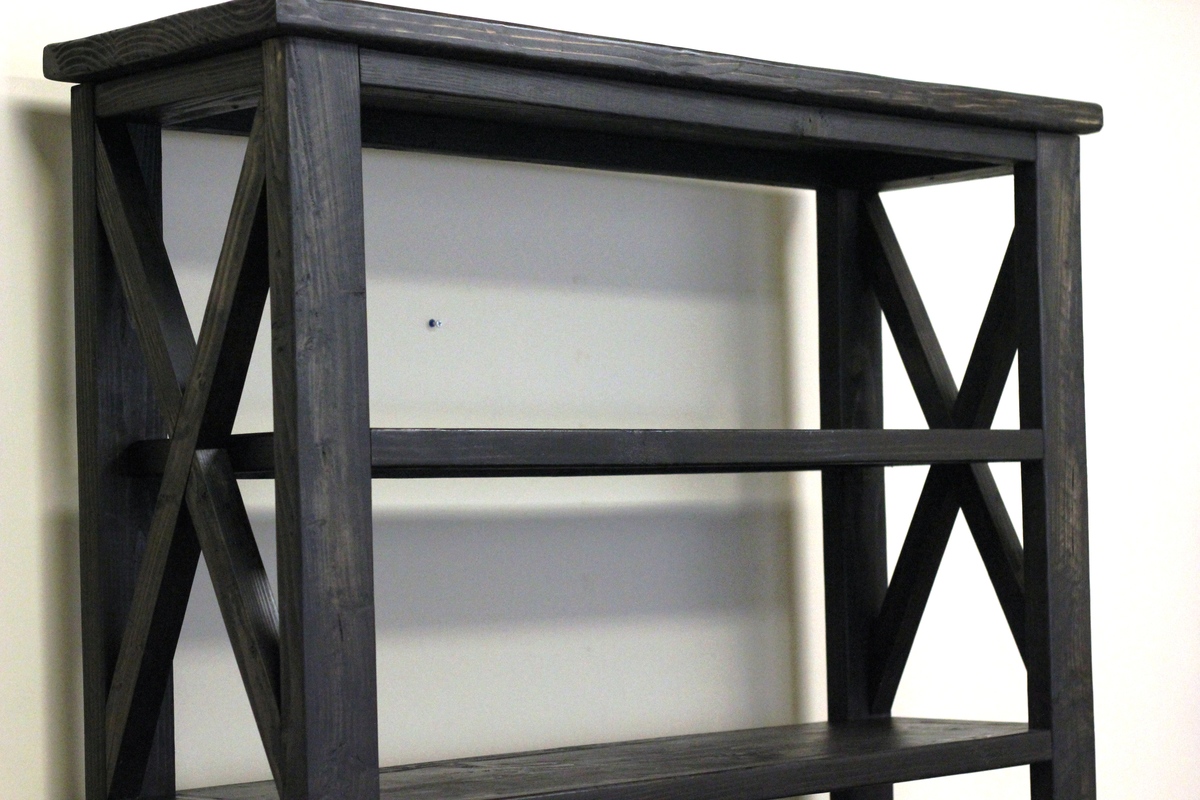
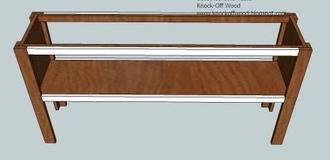
Rustic X Book Case
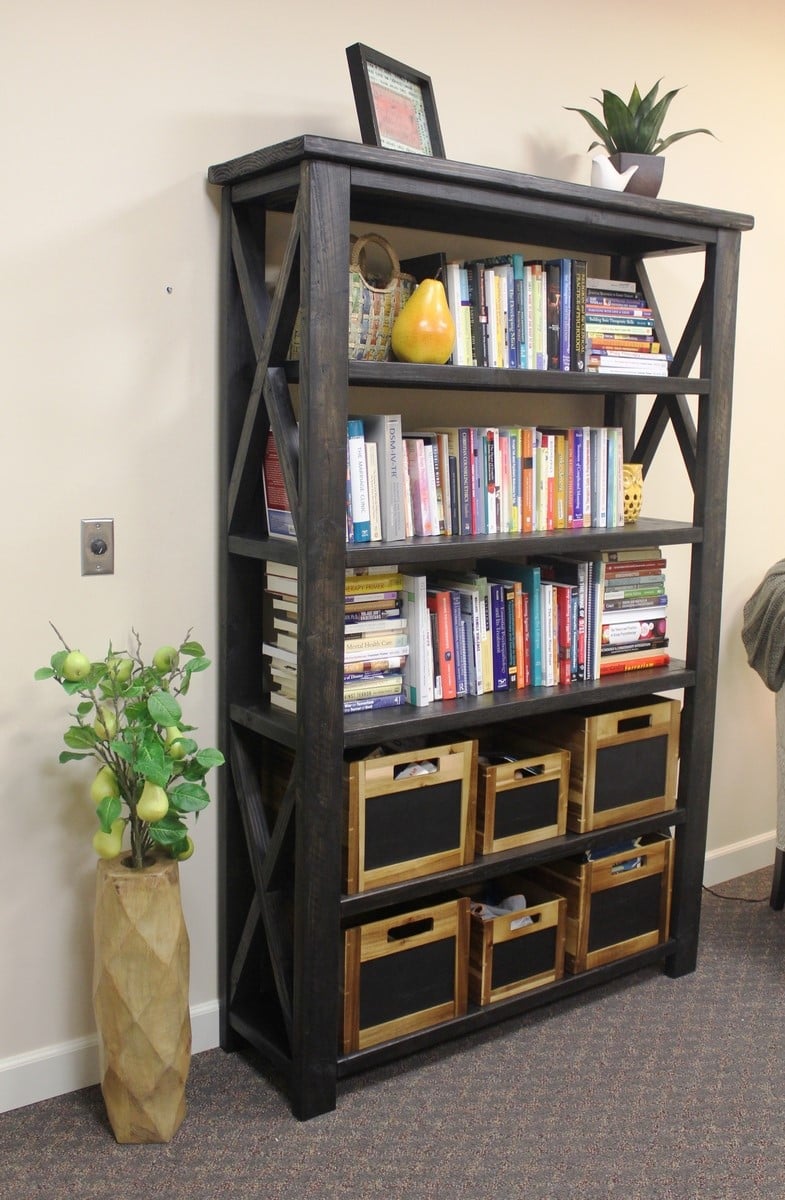
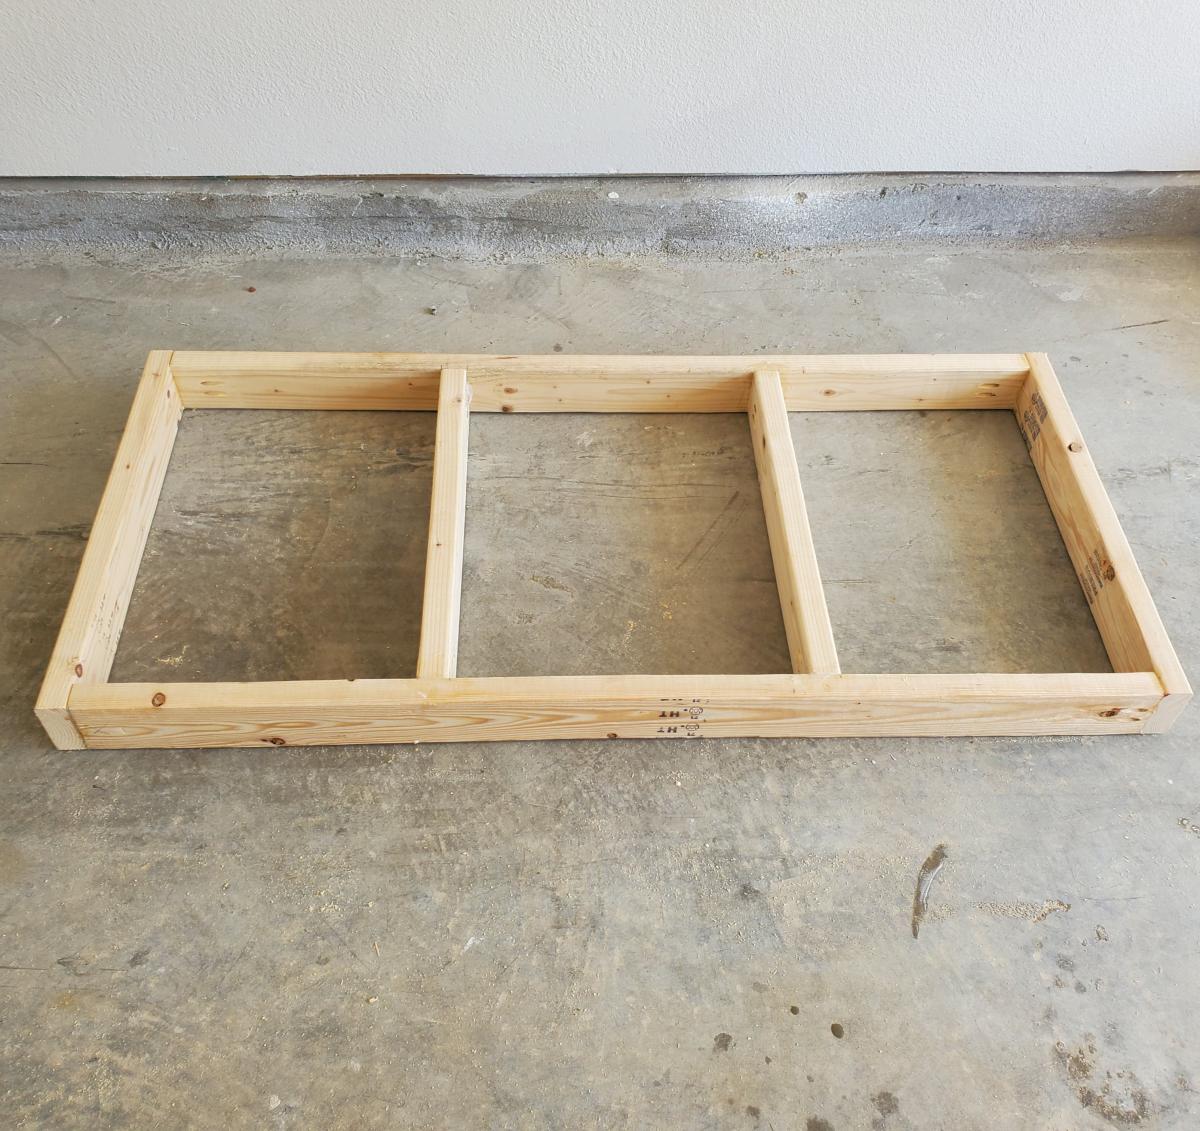
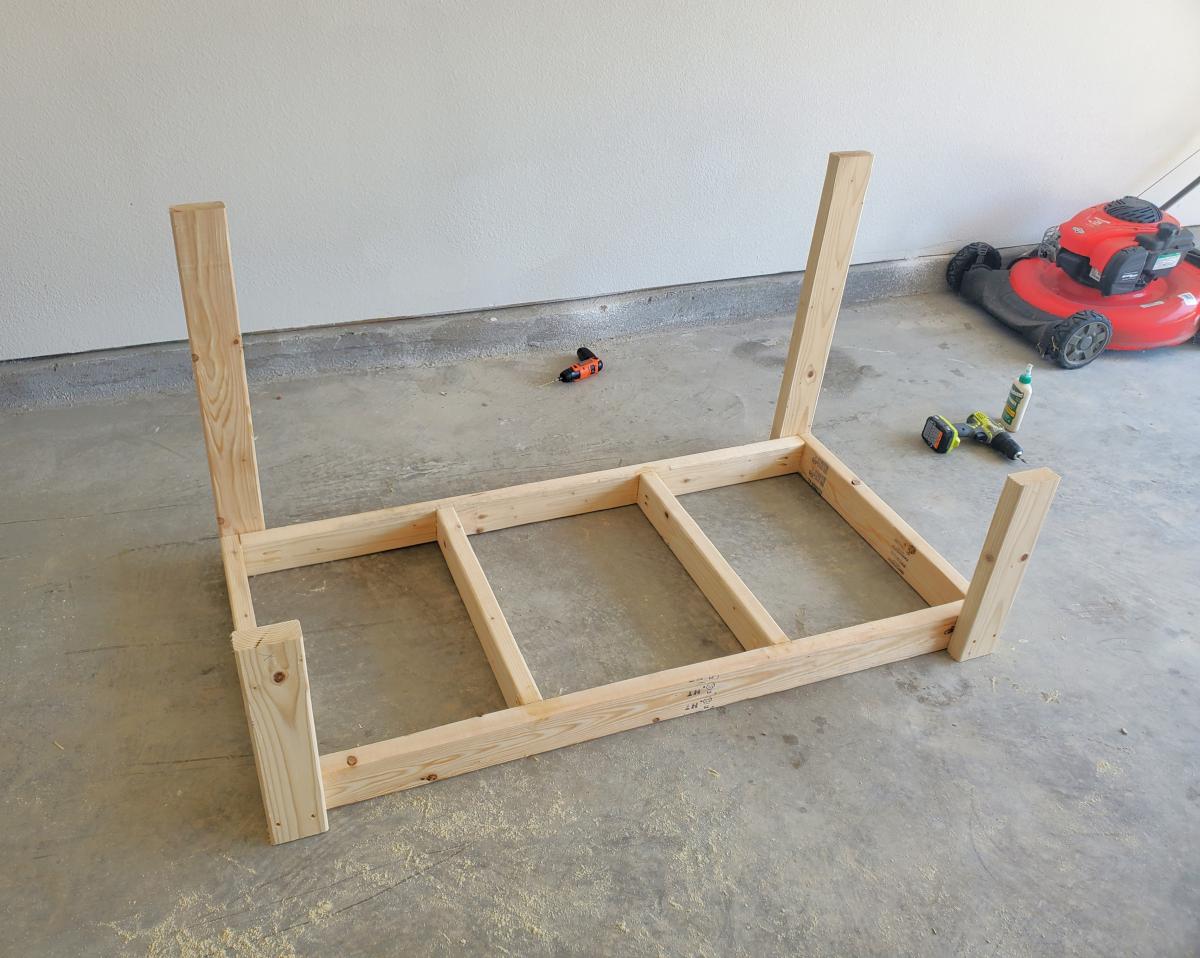
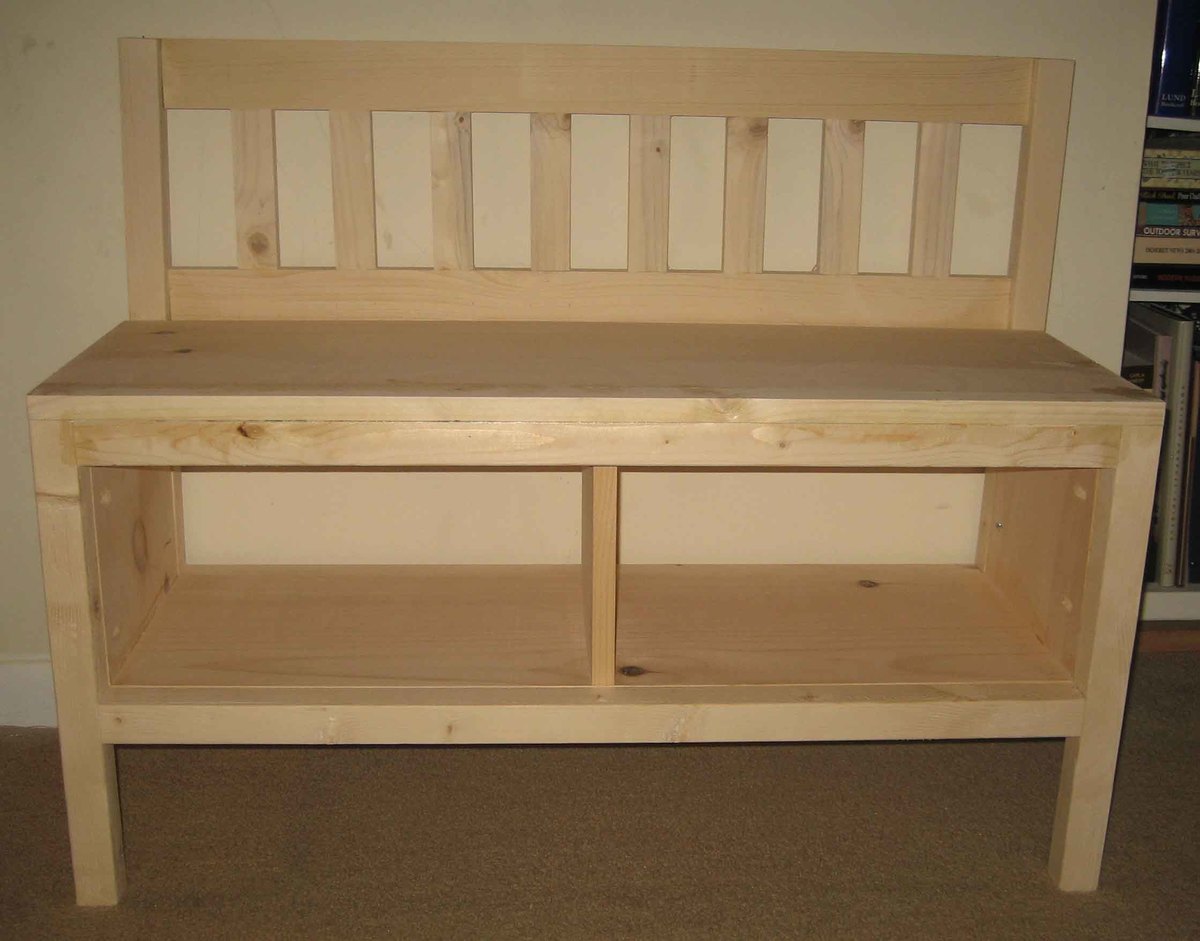
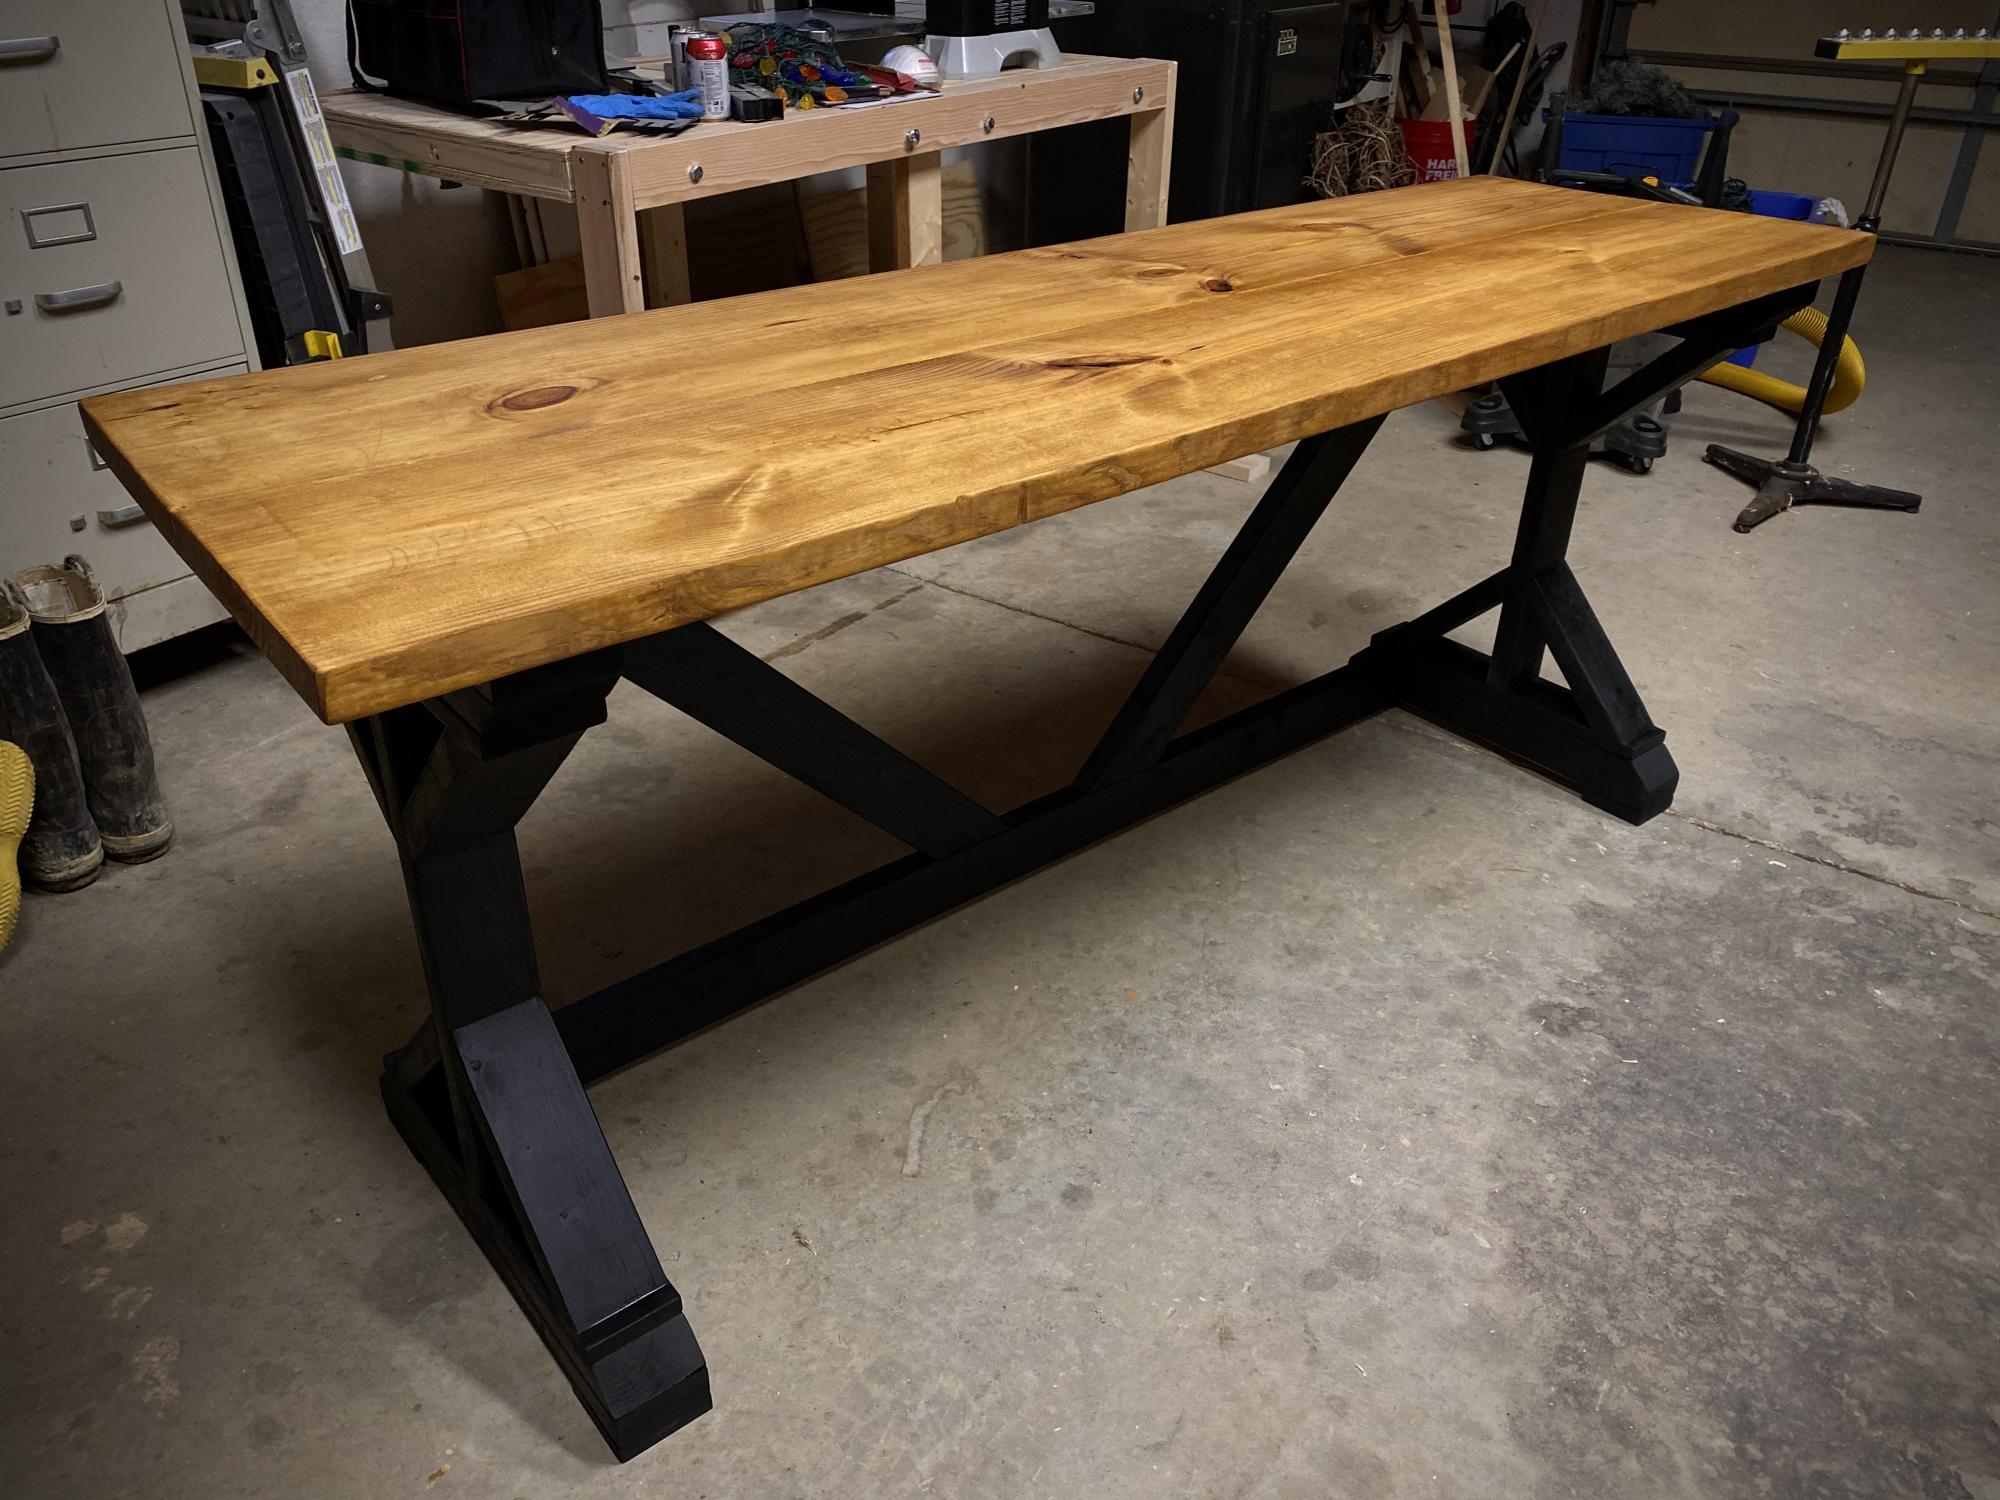
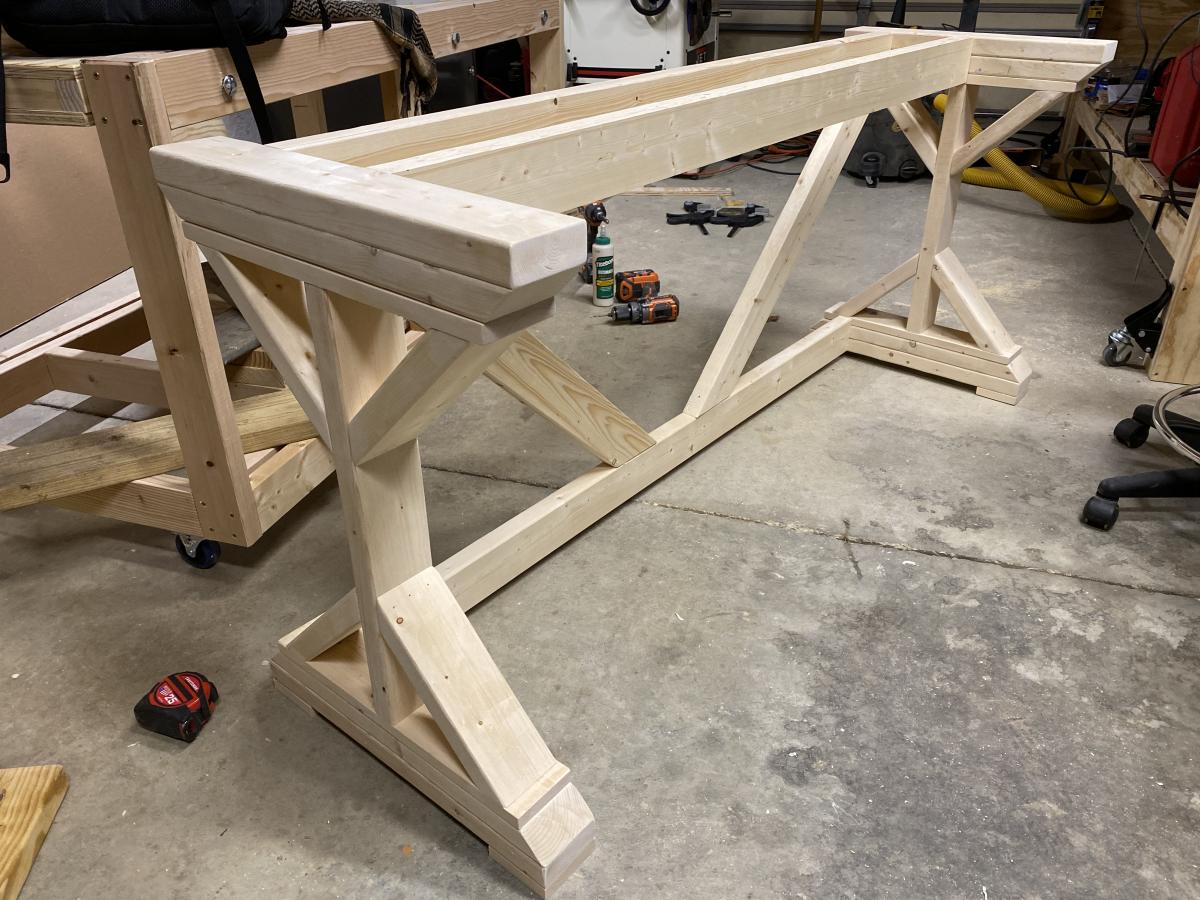
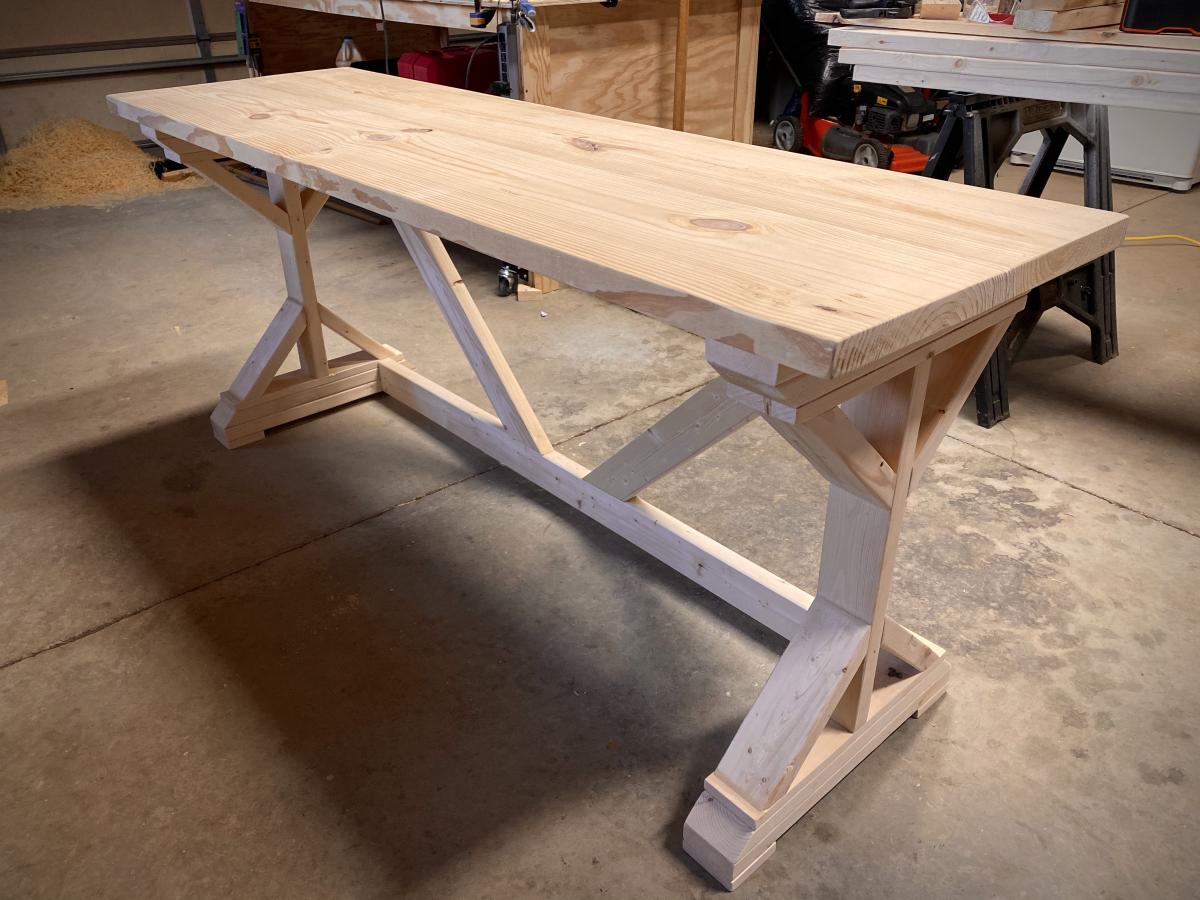
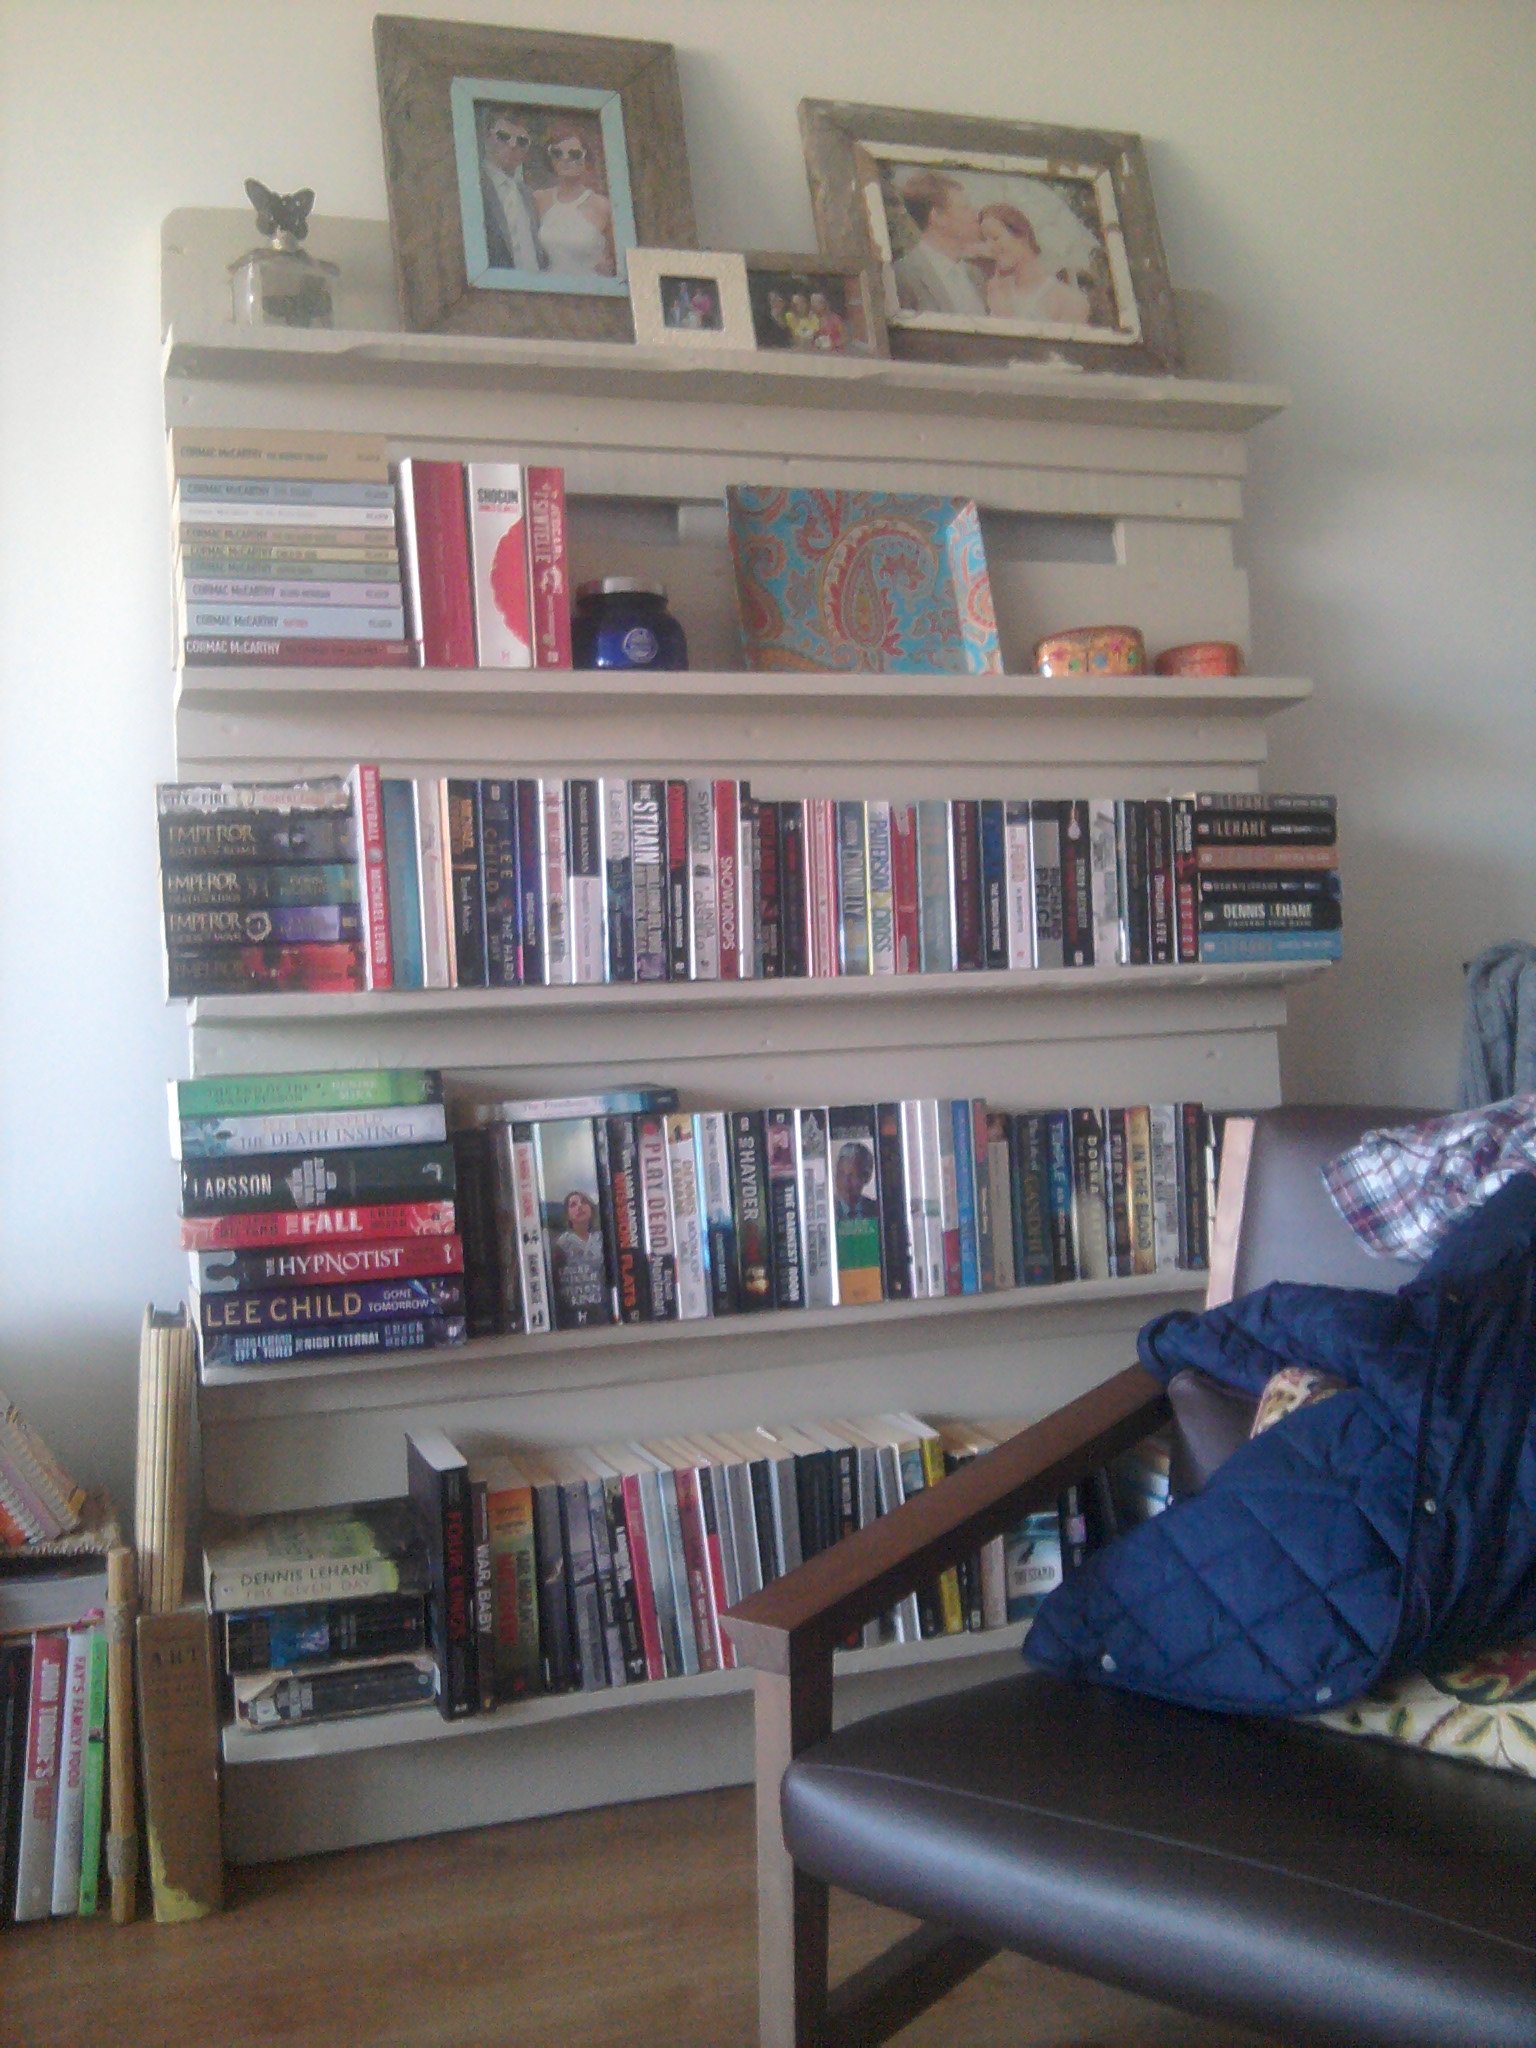
I wanted to build something a little bigger than the Rustic X Console table. So my wife and I came up with the plans for this 5 shelf "Rustic X" Book Case. Took me about 20 hours to build over a three day weekend.
Estimated Cost
$120
Estimated Time Investment
Weekend Project (10-20 Hours)
Finish Used
Rust-Oleum Stain Onix
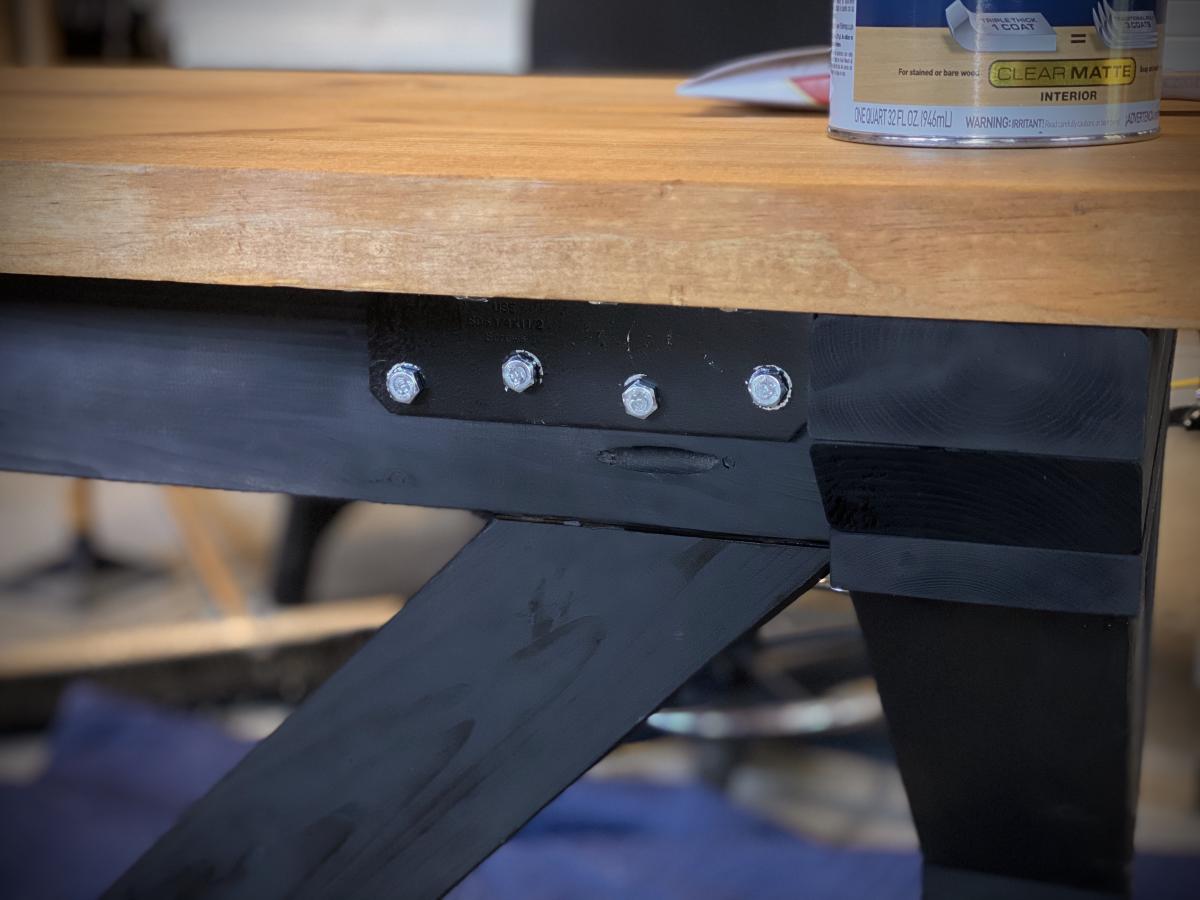
Minwax Helmsman Spar Urethane
Minwax Helmsman Spar Urethane
Recommended Skill Level
Intermediate


Comments
bhoppy
Tue, 03/04/2014 - 10:23
I love the finish!
I like how your bookcase is wider but more narrow. Did you see these plans? http://ana-white.com/2013/08/plans/rustic-x-tall-bookshelf
HuskyBlue
Wed, 04/16/2014 - 08:18
Awesome modification!
What dimensions did you end up using?- the proportions look great! Even the shorter legs look great! And did you just use 2x6's for your trip on the top? We would love to follow your design to a t!
HuskyBlue
Wed, 04/16/2014 - 08:37
Modification
We were thinking of increasing the overall height to 84" and the width to 48" (keeping the depth) but weren't sure if that would mess up the ratio.
Bown
Tue, 08/27/2019 - 17:53
Finally, a Rustic X Bookshelf that looks complete!
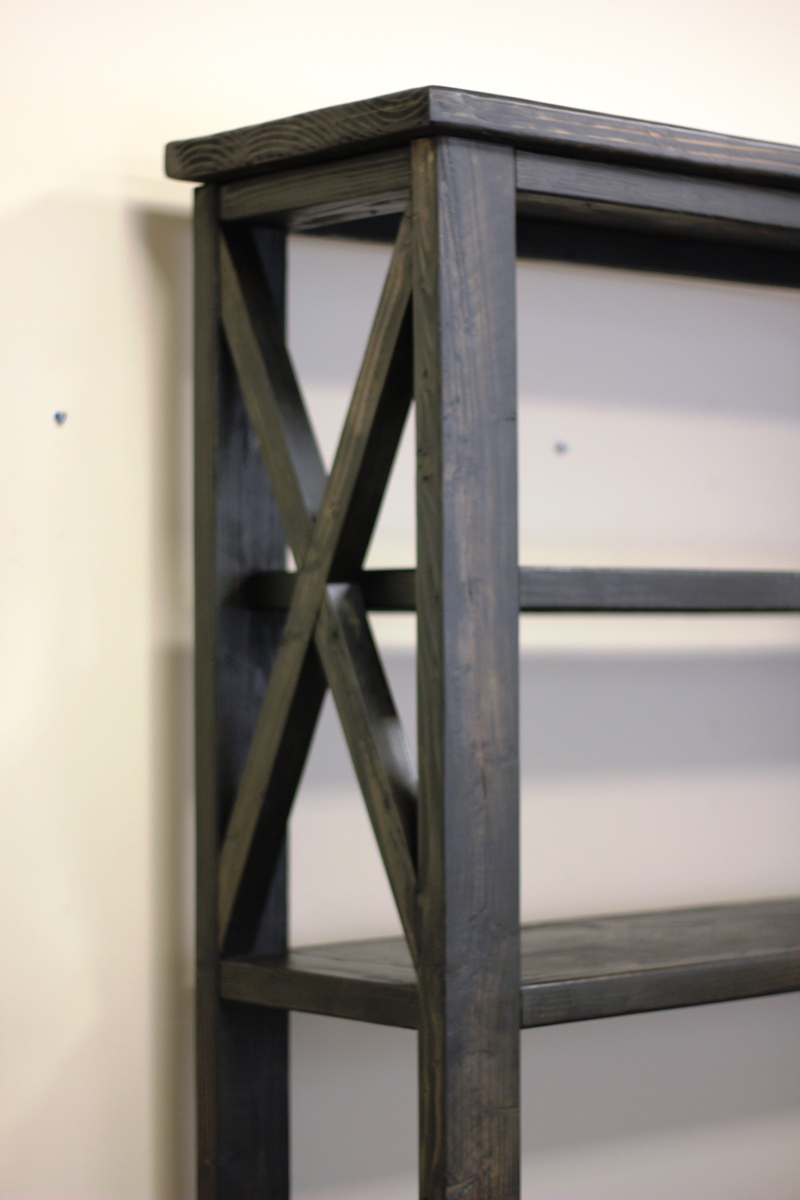
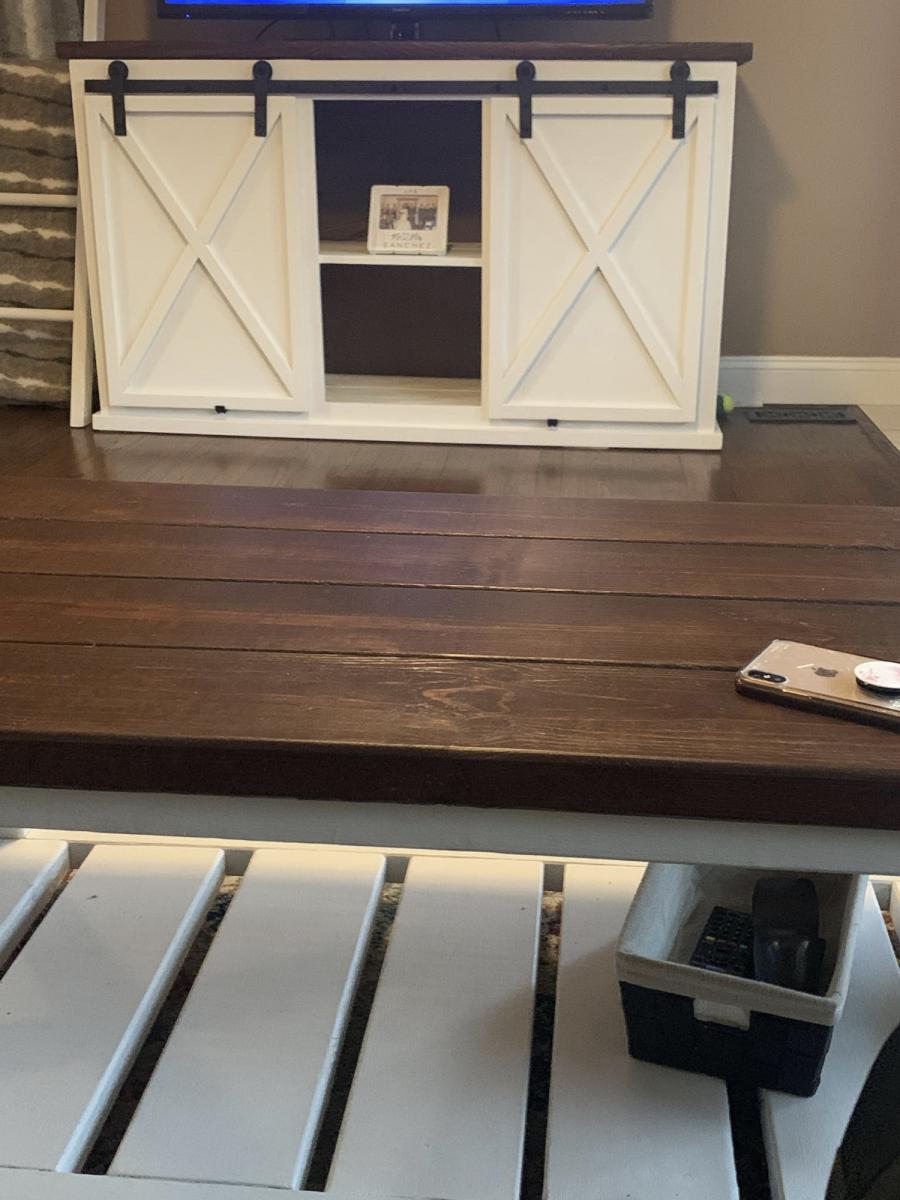
I think your looks much nicer than the original due to the finished top. It looks complete with the way you've made the overhang. How much of a overhang is it?
I love the rustic x console and coffee table but hated the bookshelf due to the odd looking top, thank you for your inspiration!