Community Brag Posts

Kitchen helper

Submitted by itzdonna on Sat, 10/13/2018 - 09:36

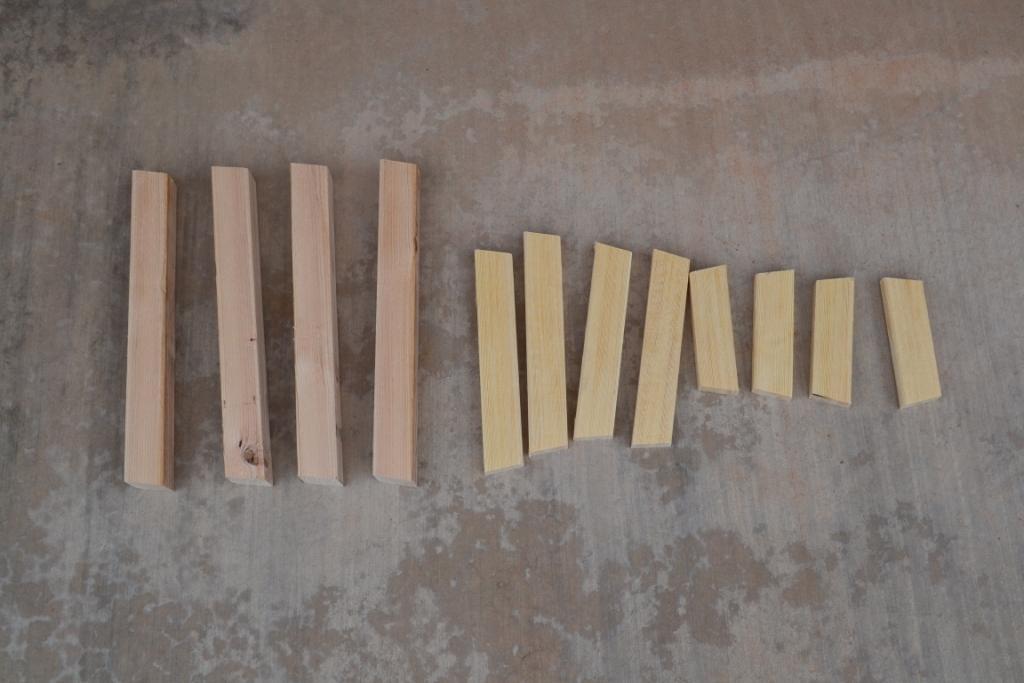
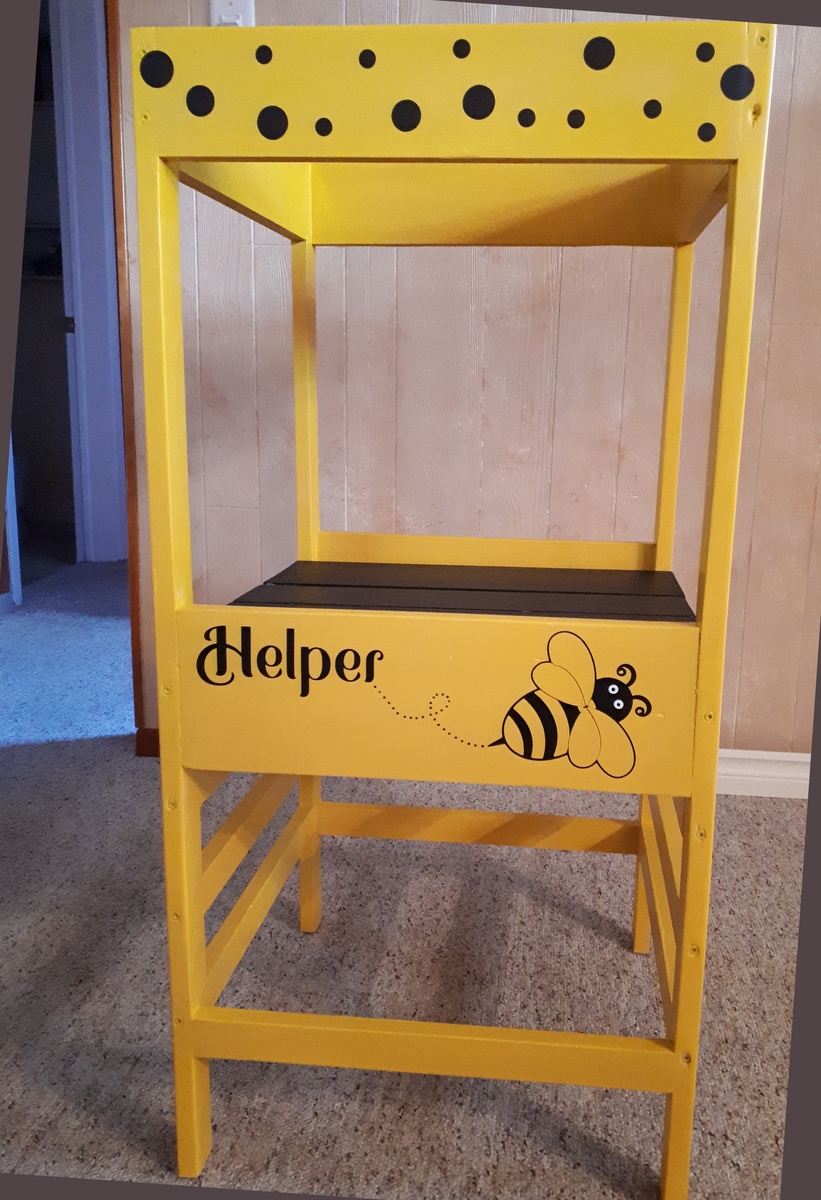
Thanks so much for the plans Ana.  Made this for our grandaughter.  Right now all colors are yellow and all bugs are bees so I decorated it as such.  Chose  not to use pocket screws as I figured if you had issues with the wood splitting I wasn't going to push my luck.  Plans were very easy to follow and took us about 4 hours in total.  Can't wait for her to start using it.  

Built from Plan(s)
Estimated Cost
$25
Estimated Time Investment
Afternoon Project (3-6 Hours)
Finish Used
Semi gloss paint
Recommended Skill Level
Beginner

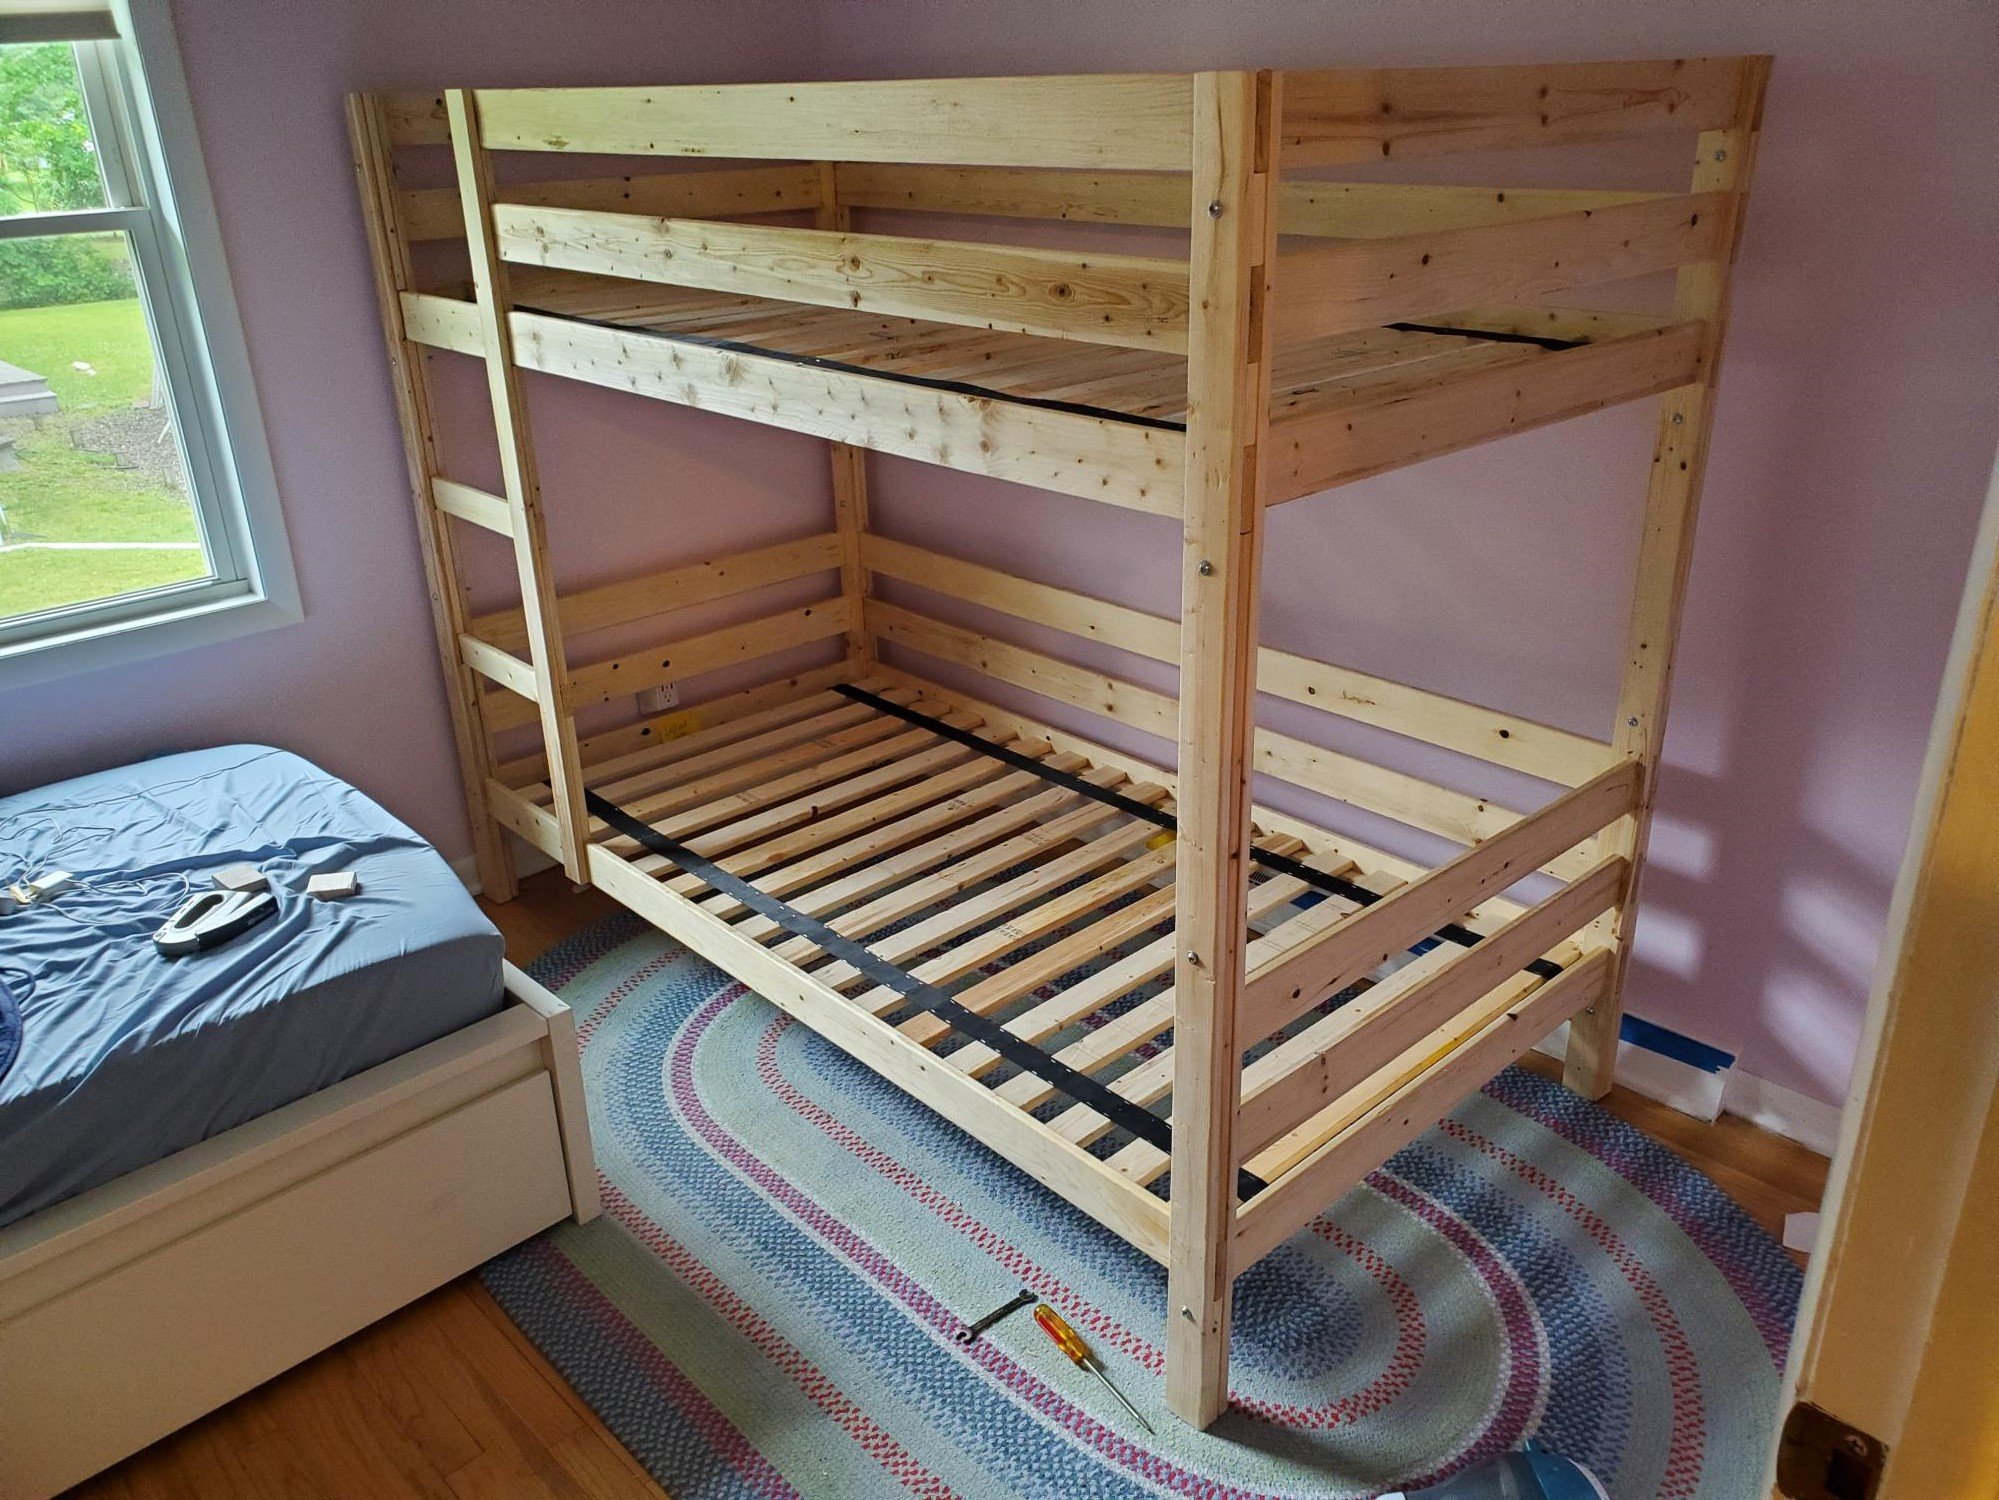
Another successful Classic Bunk beds build

Submitted by Anonymous (not verified) on Thu, 06/23/2022 - 10:06

I followed Classic Bunk Beds instructions with the ladder to the left end instead of the right. I think this by accident though it works out fine in the room either way. It's finished with Danish Oil rubbed on.

Comments

Whoop! I did it!!!!!!!

Submitted by amanda4024 on Sun, 07/24/2011 - 11:10

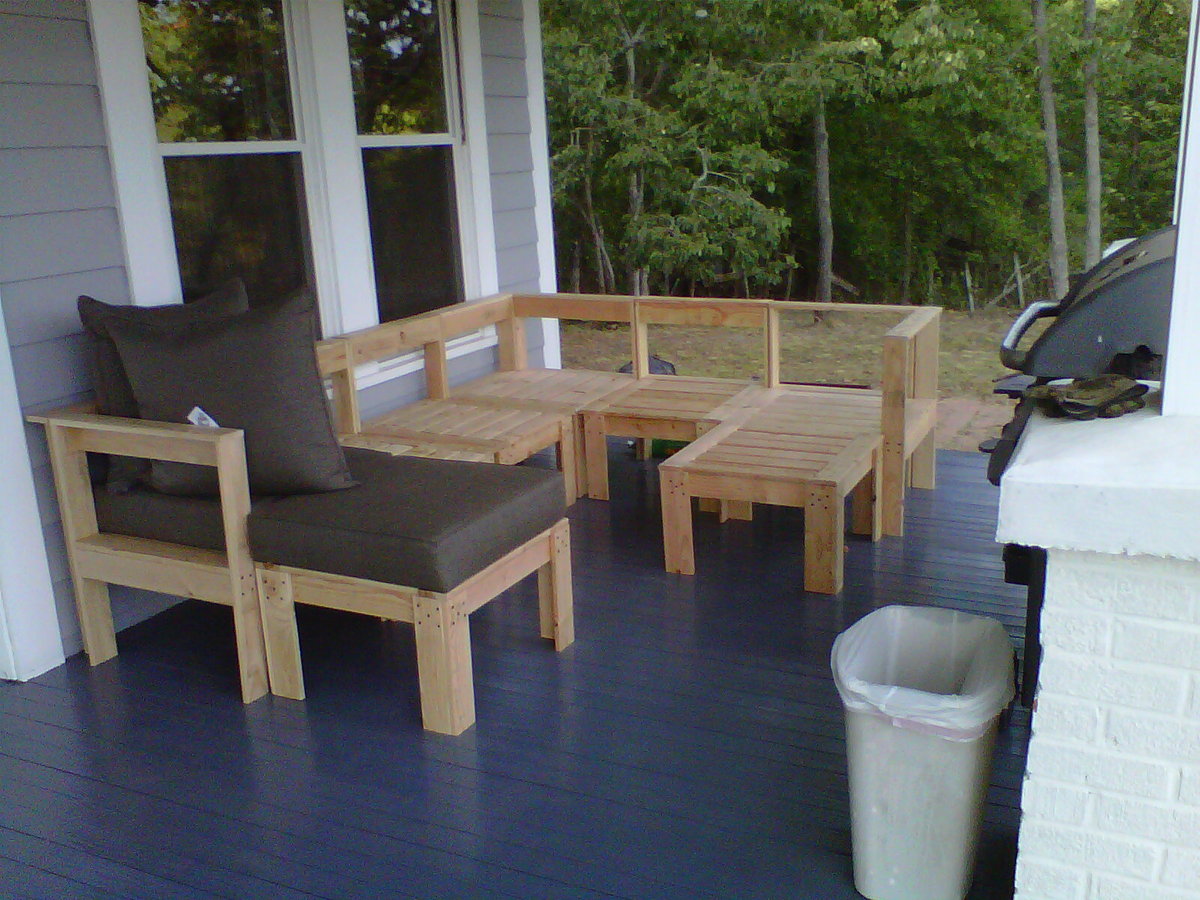
I am very suprised, but I made my very first ANYTHING with the help of this website and my very dear step-dad! We used two plans from this website and did some modifications by adding some back supports at the tops. We also made two foot stools to act as chaises on the two ends. I thought that I would go ahead and post the results now before I painted the sectional so more of the detail. What cost so much was the cushions. The cushions were from Target and they were $650.00. I was concerned that when people sat on the sectional they would be able to feel the wood underneath, so I purchased the 5" deep seat cushions and over sized pillows, which I am soooo glad that I did, it makes this sectional look so much more professional looking and gives it even more of a crisp look! I also didn't skimp on the paint which was $65.00 on the paint! The rest was wood, materials and tools that were needed. But if you priced purchasing something like this from PB or WestElm, it would easily be 3-4K at the least! Unto the next project!!!

Estimated Cost
$1000.00
Estimated Time Investment
Week Long Project (20 Hours or More)
Finish Used
My plan is to use wood filler where needed, sand 120 grit, prime and apply an outdoor black satin finish.
Recommended Skill Level
Beginner

Tree House Stool

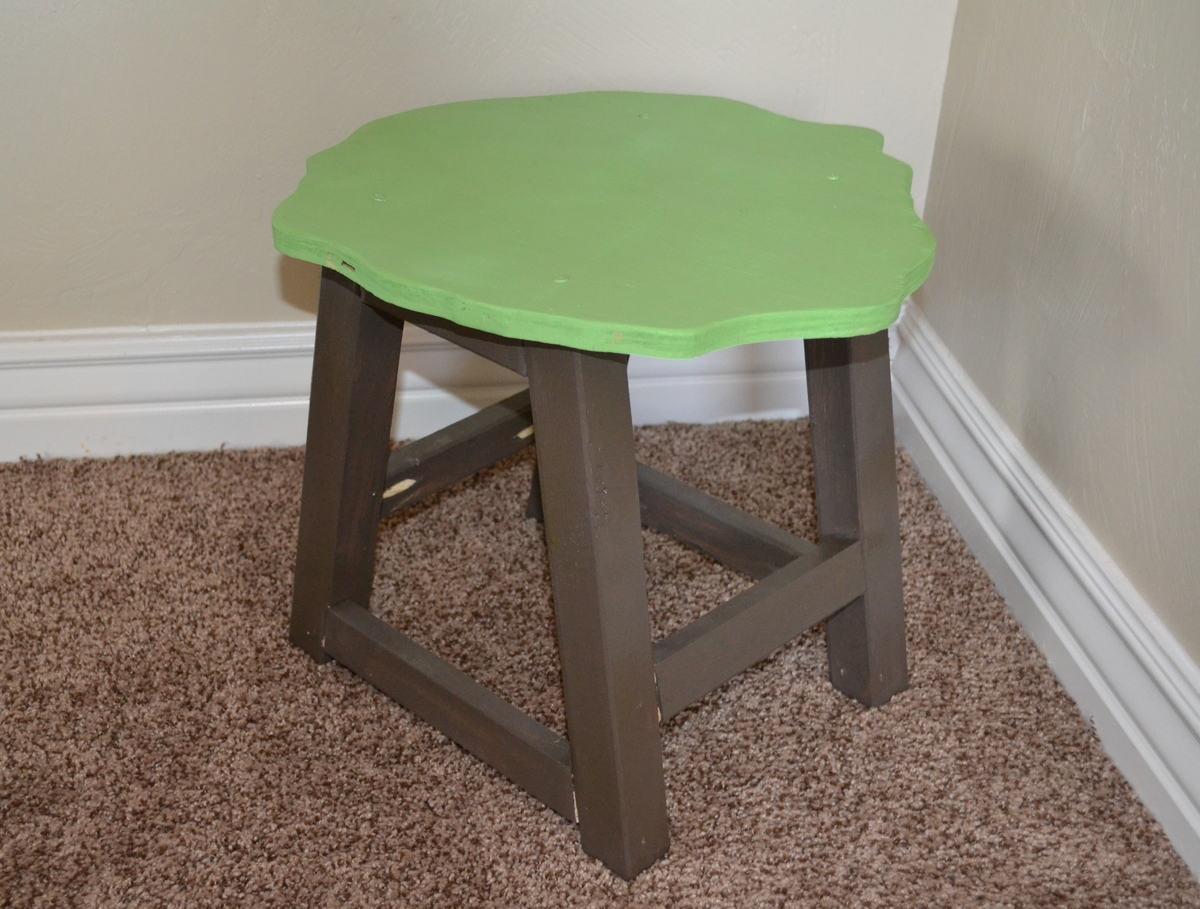
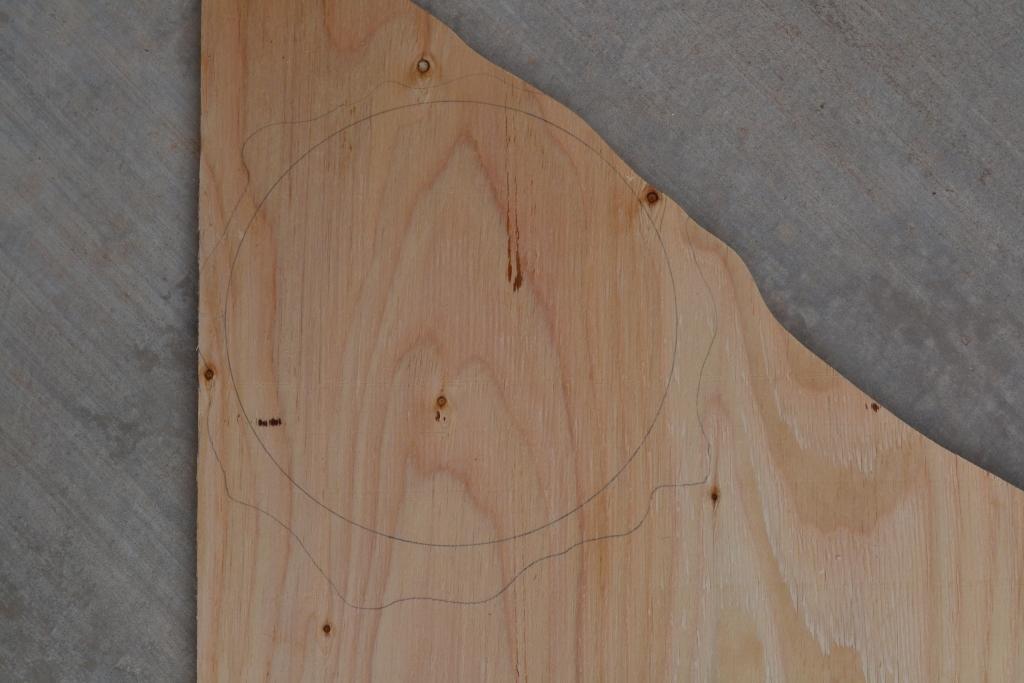
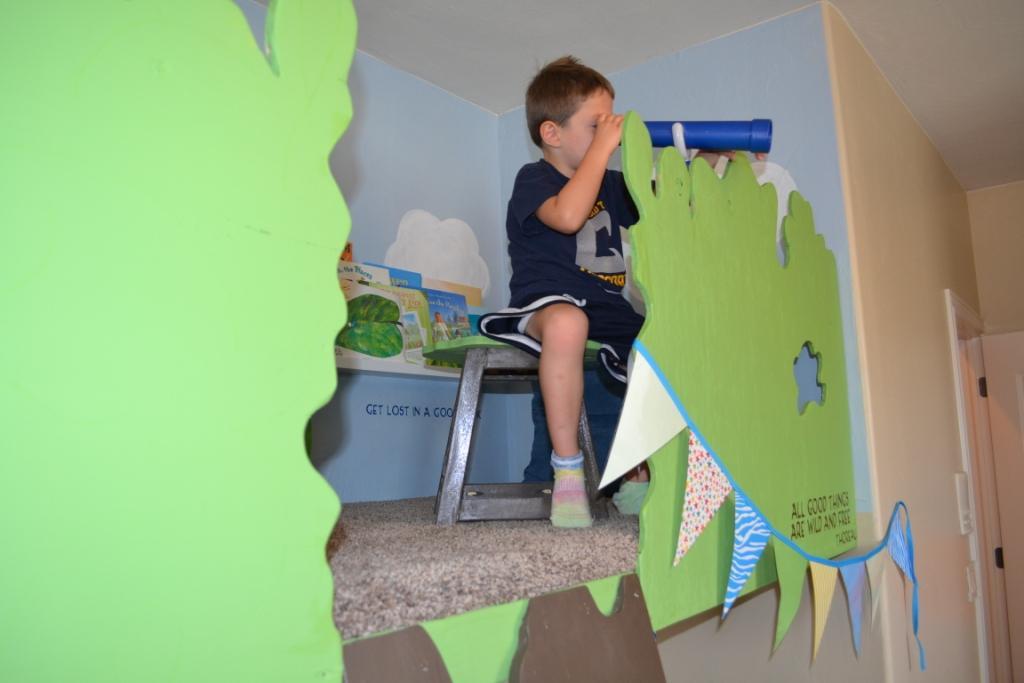
This project was so fun! I made it to blend in with a tree house I built (adapted from Ana White plans). The top of the stool was the best part. Full details on my blog.

Built from Plan(s)
Estimated Cost
$3
Estimated Time Investment
Afternoon Project (3-6 Hours)
Finish Used
"dried leaves" Clark & Kensington paint
Recommended Skill Level
Beginner

Comments

JoanneS

Thu, 08/22/2013 - 13:34

This is super cute and so creative! I looked at the tree house on your blog, just made me say Wow!!!!

stuffed animal problem

Submitted by bhoppy on Sat, 10/03/2015 - 14:36

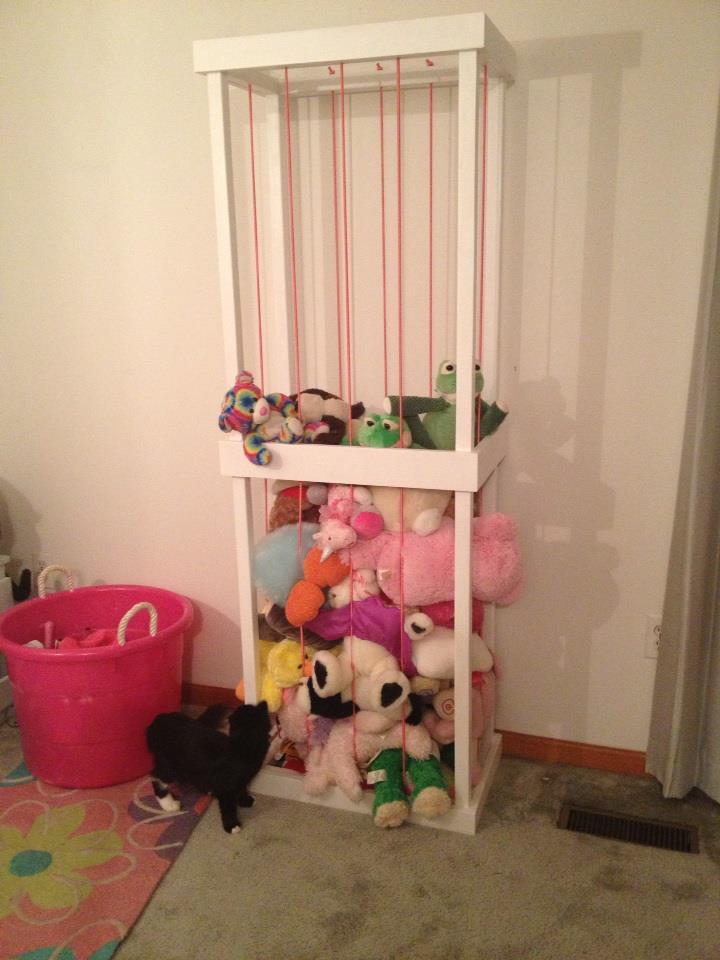
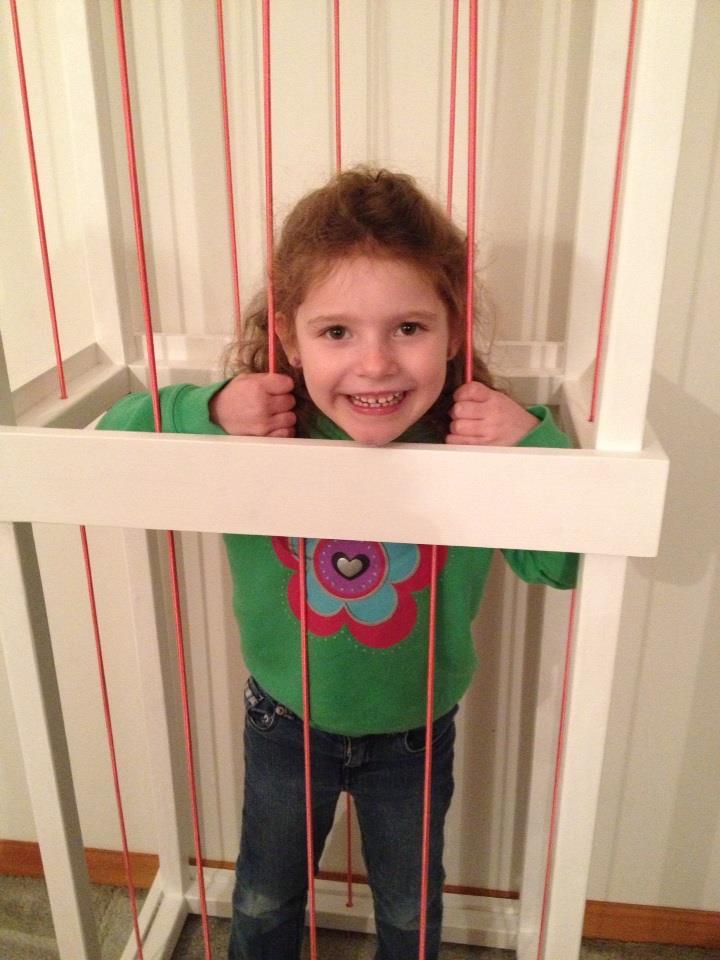
There were a few of these floating around pinterest so I just looked at a few pictures and kinda winged it.  It is made almost just like Jamie’s except I used additional 2x2’s as you can see in the pics… I needed something to thread the bungee cords through.  I tied them off on the top and bottom.  I ordered a roll of pink bungee cord off of amazon.  This is actually two years old as you can see from how much it has filled up.  I also went back and added additional rows of bungee cord between all the others as stuffed animals were falling out.  Again, I winged it.  Having plans will make this build much easier!!

Built from Plan(s)
Estimated Cost
$50
Estimated Time Investment
Weekend Project (10-20 Hours)
Finish Used
primed with kilz and satin white paint I already had
Recommended Skill Level
Starter Project

Comments

mrsloveless

Mon, 01/18/2016 - 13:19

Where did you purchase the 2x2's and 1x3's? Are they furring strips or pressure treated lumber? Thanks!

Ladder shelf

Submitted by mltdblack on Tue, 10/16/2018 - 19:58

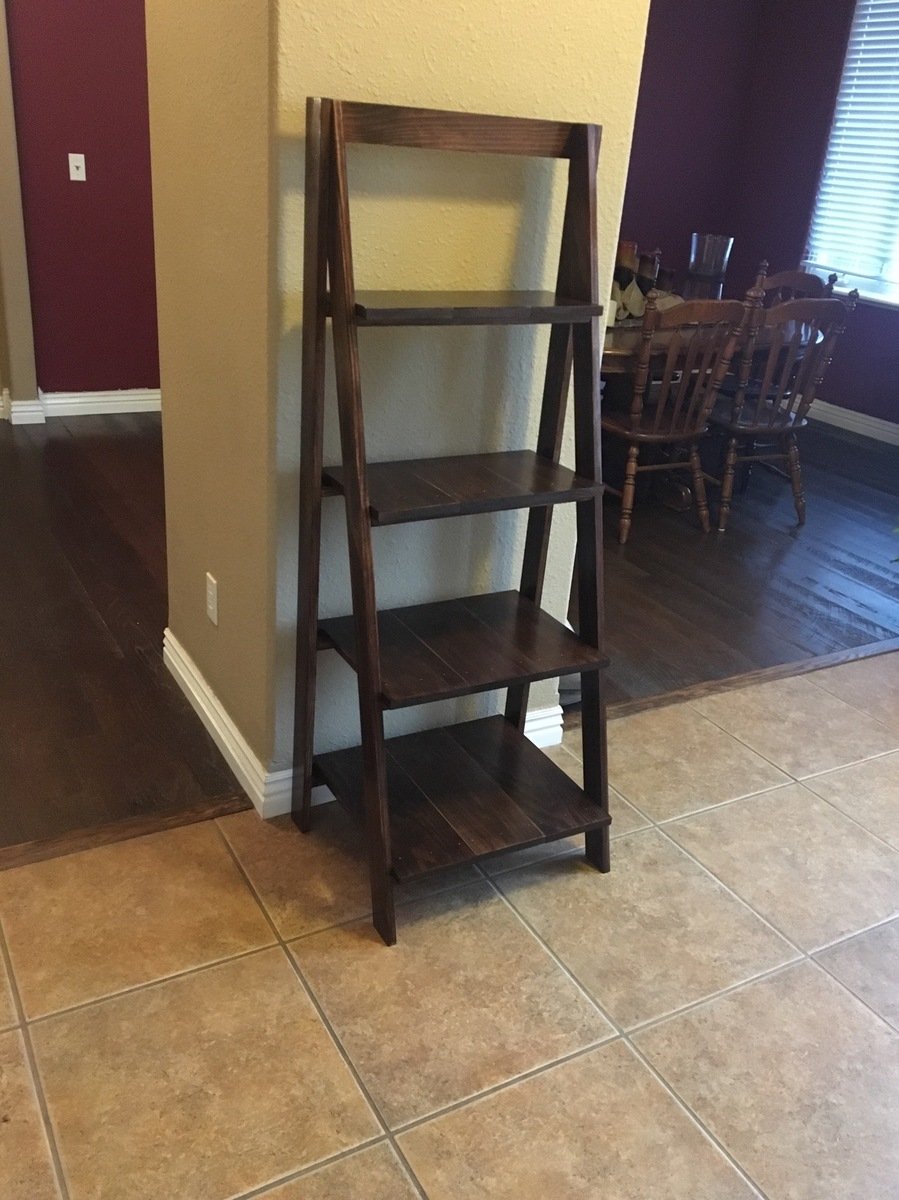
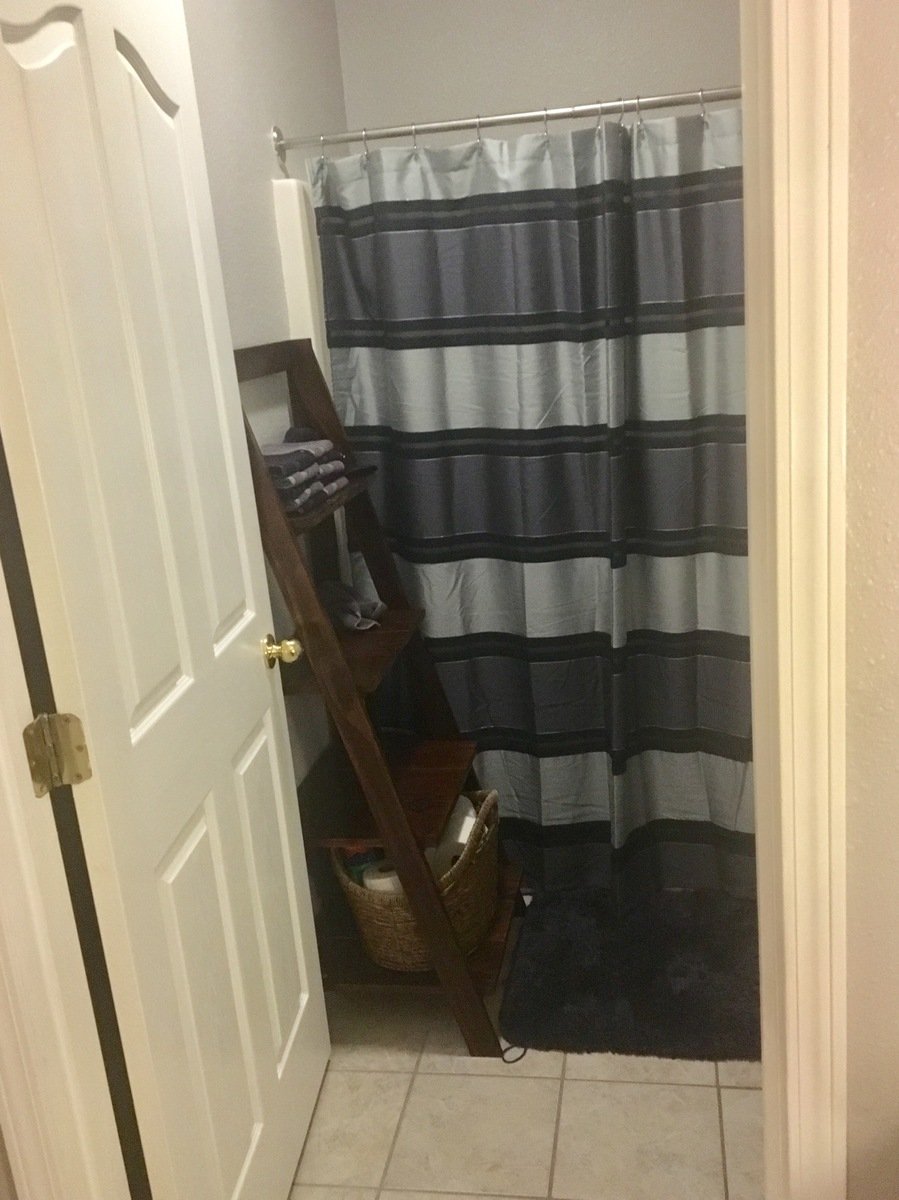
My kids desperately needed storage for their bathroom. The vanity is separate from their toilet and tub/shower. They were always forgetting to grab a towel before bath time. When I saw the wooden ladder shelf I thought it was perfect for the space. The only problem I had was figuring out the angle and height to place the supports on the front legs. With the help of my husband and a level it was a breeze. Once again it took longer for me to apply the finish than it did to build. 

Built from Plan(s)
Estimated Cost
Not real sure. I had most of the lumber on hand.
Estimated Time Investment
Weekend Project (10-20 Hours)
Finish Used
Rust oleum Dark Walnut
Recommended Skill Level
Intermediate

$20 DIY Cedar Planter

Submitted by Anonymous (not verified) on Fri, 07/01/2022 - 06:09

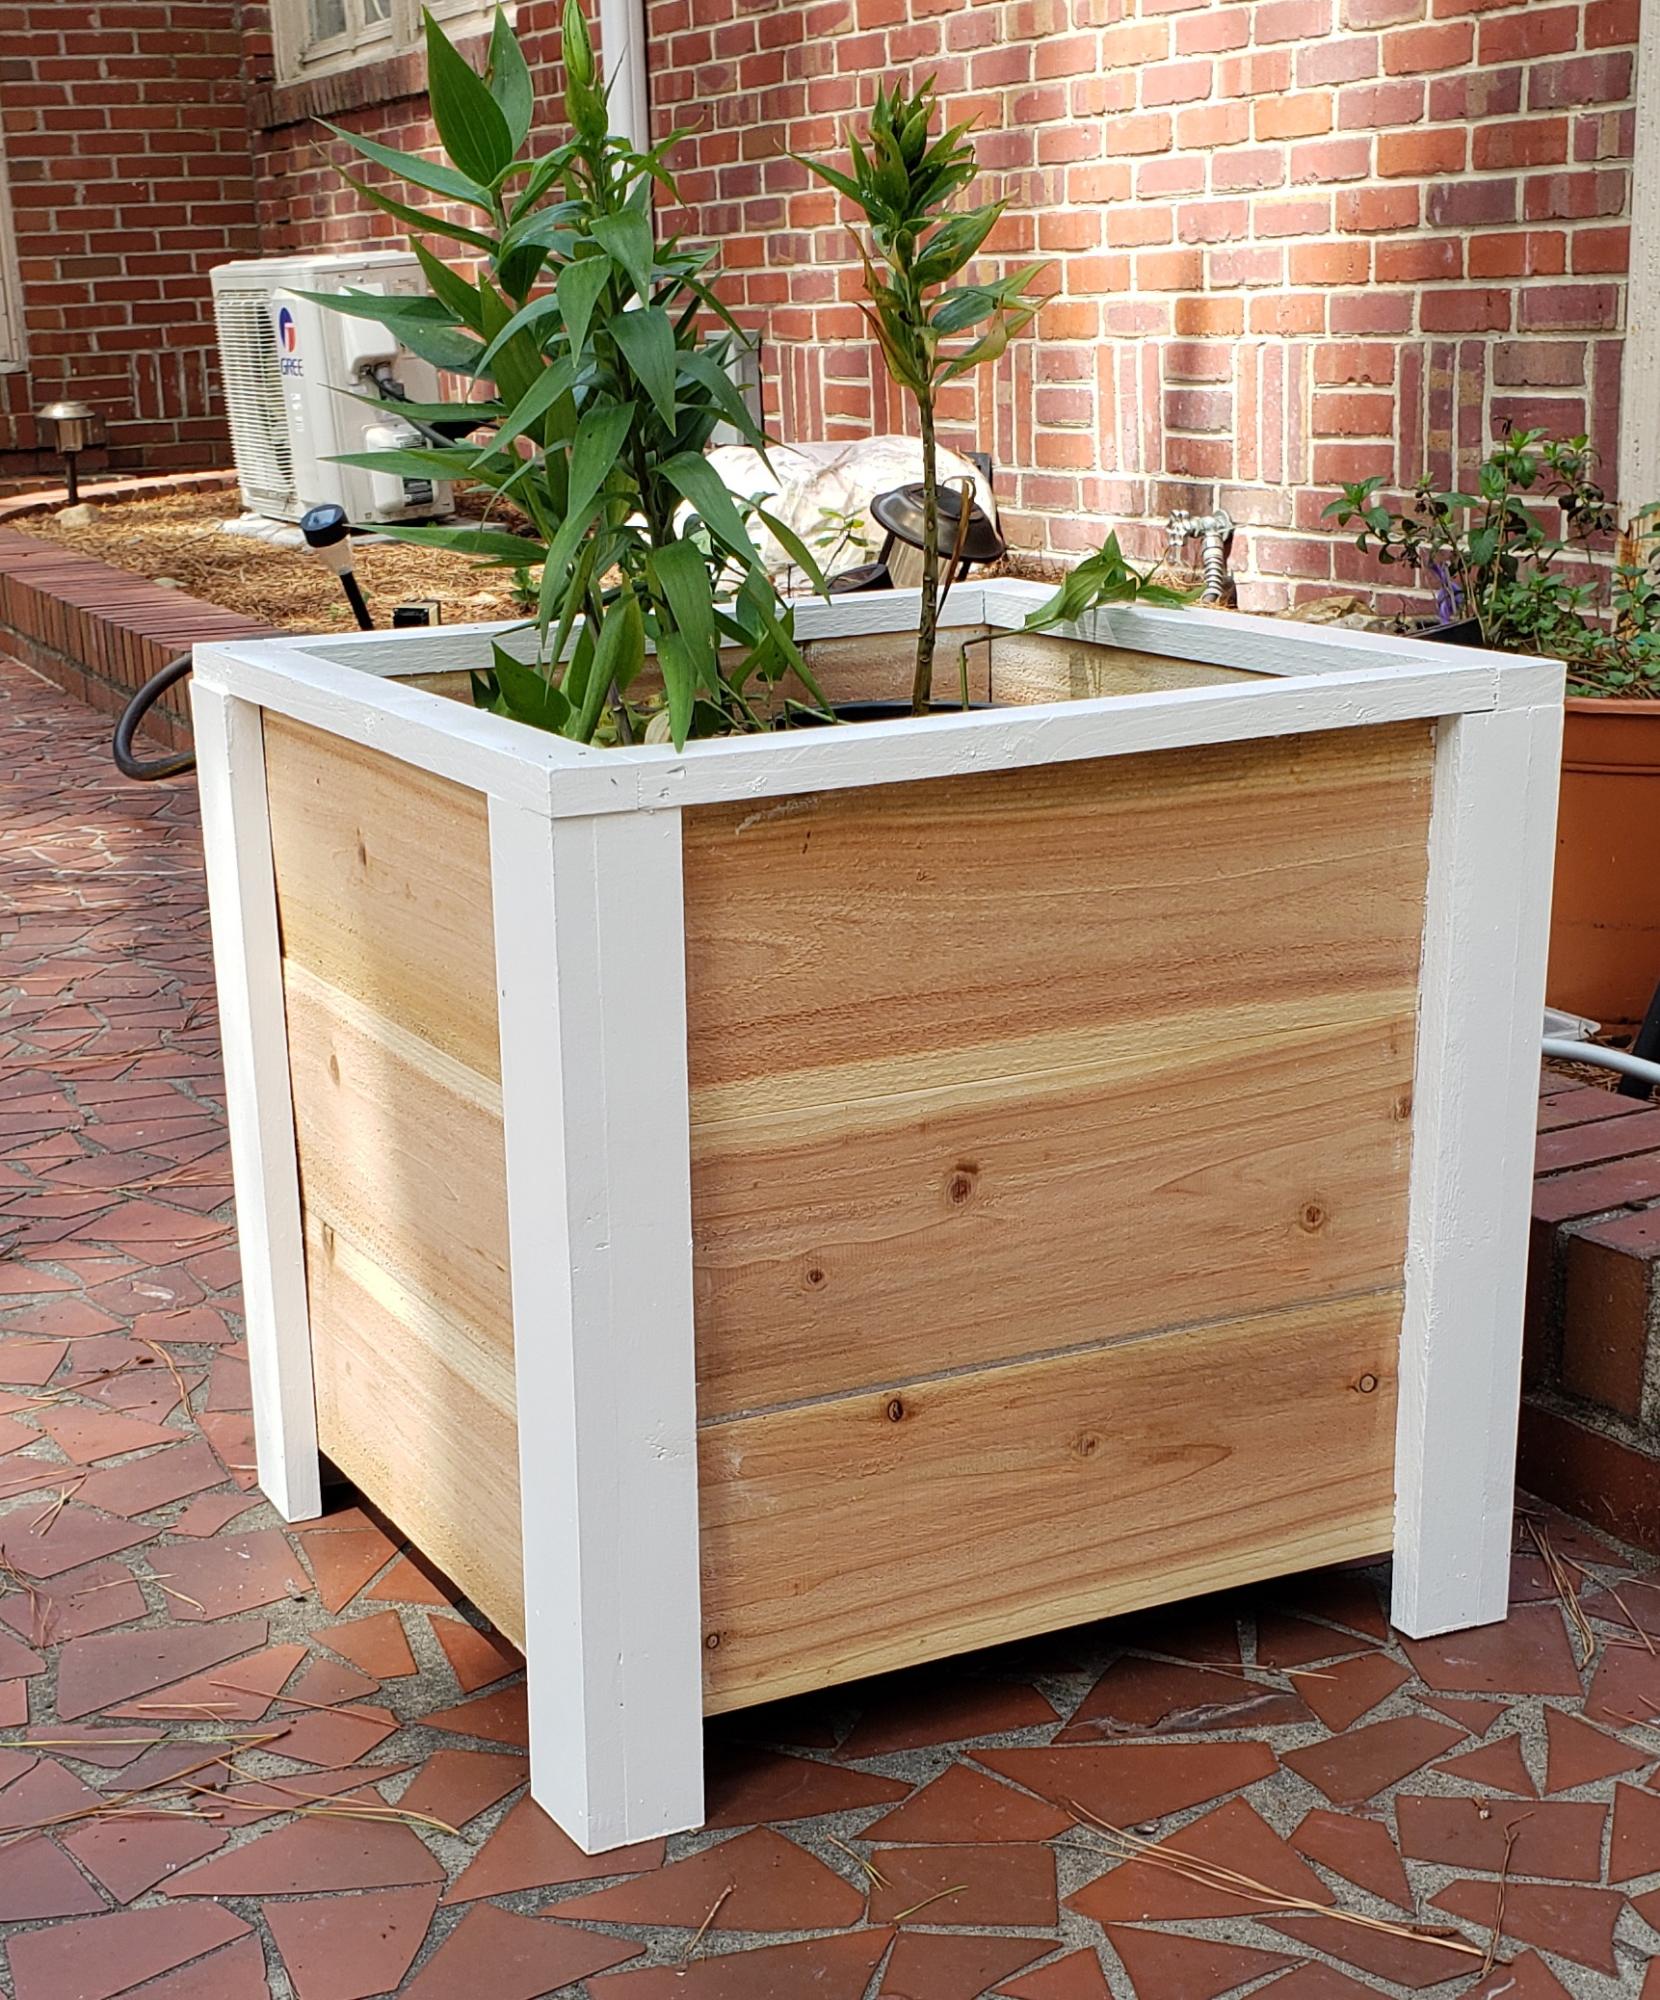
This is the 1st planter I have ever made! Thanks Ana, plans were easy to follow! I shared with my brother, and he said "I'm impressed!", I said "Me too!"
It isn't perfect but I love it! Started 2 more, just 1 inch smaller on both sides. Thanks again, great project to help with fears and confidence!

Comments

The Easiest Shelf!

Submitted by osopurdy on Wed, 07/27/2011 - 21:19

This really is a easy beginner project and adds instant decor for your wall.

This project is also pretty versatile because it lends itself to ANY decor. You could go totally country like I did or pick a nicer, newer pallet and paint or stain it for a more modern or traditional take. Whatever you choose, it's something you can do in no time at all!

Another great thing about this is you don't need any fancy tools, although it does make it easier! You can choose from a circular saw, a sawsall, a jig saw or even a hand saw to cut your section out.

Estimated Cost
Free
Estimated Time Investment
An Hour or Two (0-2 Hours)
Finish Used
Lightly sanded then sprayed with a light coat of polyurethane.
Recommended Skill Level
Starter Project

Comments

Back to school desk

Submitted by bhoppy on Sun, 08/25/2013 - 09:09

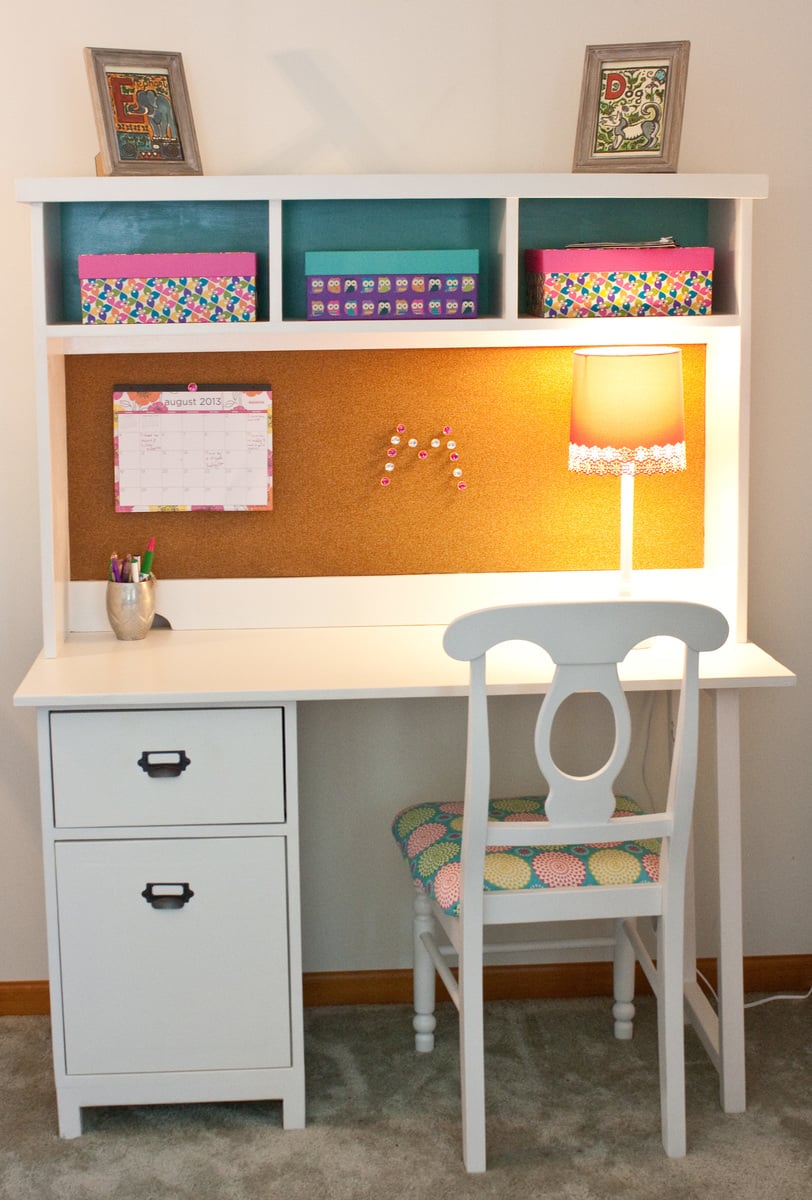
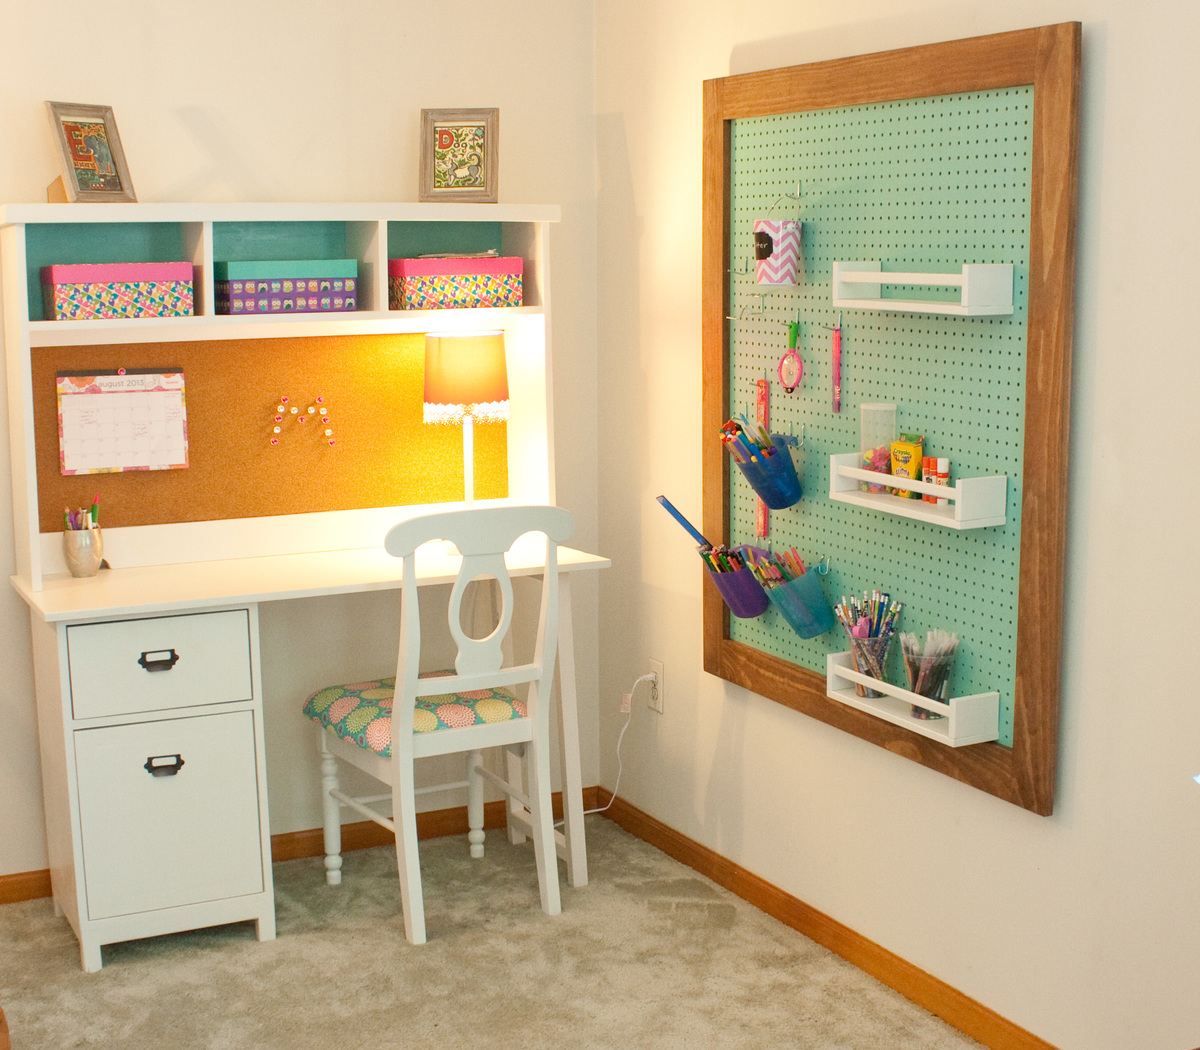
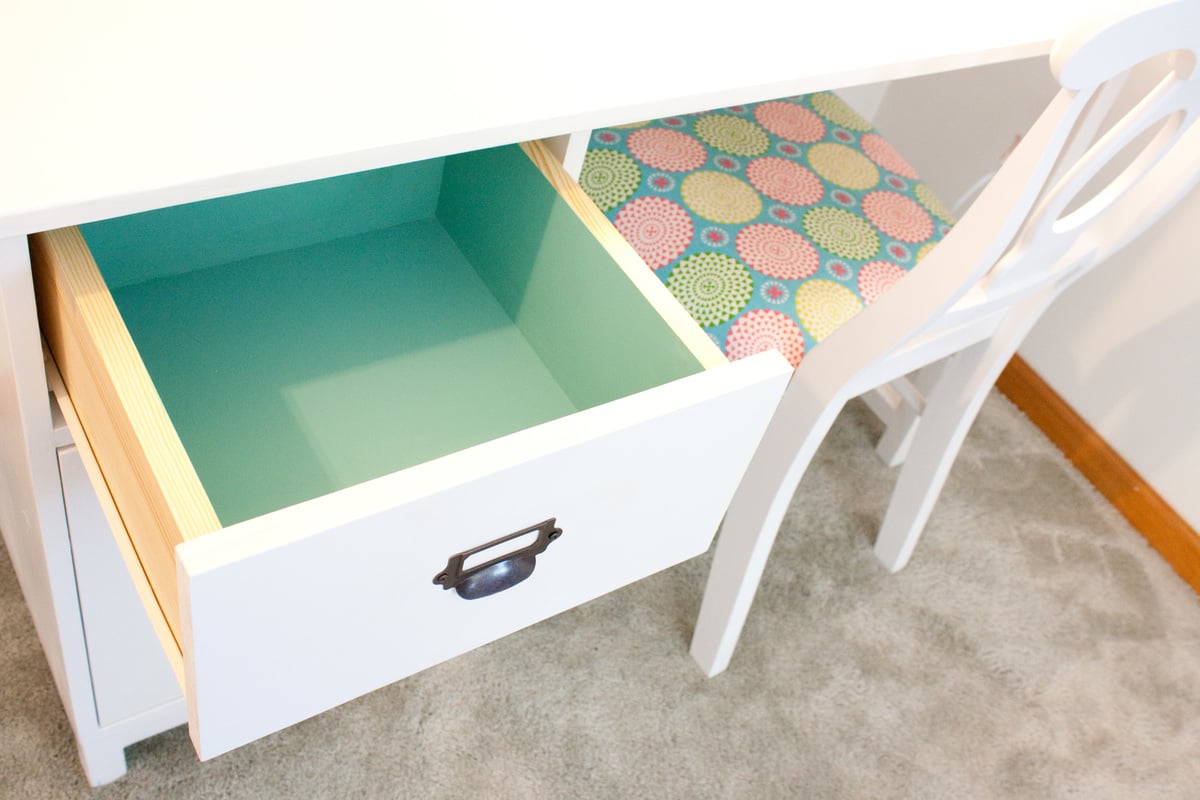
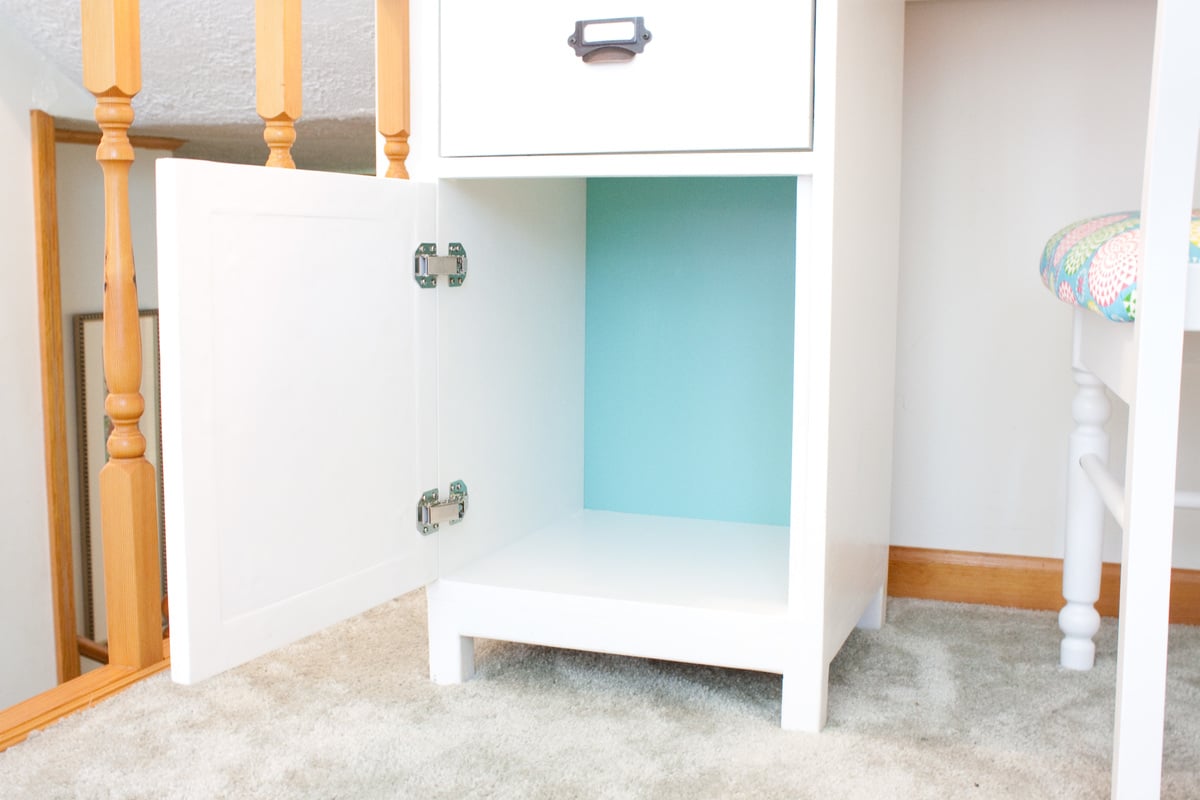
I made this for my 6 year old who just started the first grade. The only modification I made to the plans was to make a couple cutouts in the hutch for cords. I also added cork which comes in a 24 by 48 inch roll.. I ordered all the hardware from the same place that Jaime from That's my Letter suggested in her build post. This was my first drawer and it was intimidating but it was fairly easy and cute as it can be:-) The plans were very easy to follow! I got the idea for the peg board organizer from the Shanty 2 Chic website. It's just 1x4 frame around the pegboard. The chair was a craigslist find I painted and made a cushion for with some foam and cute fabric. I'm really happy with how it turned out and look forward to the day when my daughter will actually use it. LOL

Estimated Cost
100$
Estimated Time Investment
Weekend Project (10-20 Hours)
Finish Used
The paint is Olympic satin white with the primer already in it but I also used Kilz oil based primer since the wood was bare. I really thought it made a huge difference. The tealish color is actually just oops paint from Lowes I already had. I used 3 coats of satin Polycrylic on the top.
Recommended Skill Level
Intermediate

Comments

Shopmade Panel Saw

Submitted by TMW on Thu, 10/08/2015 - 06:57

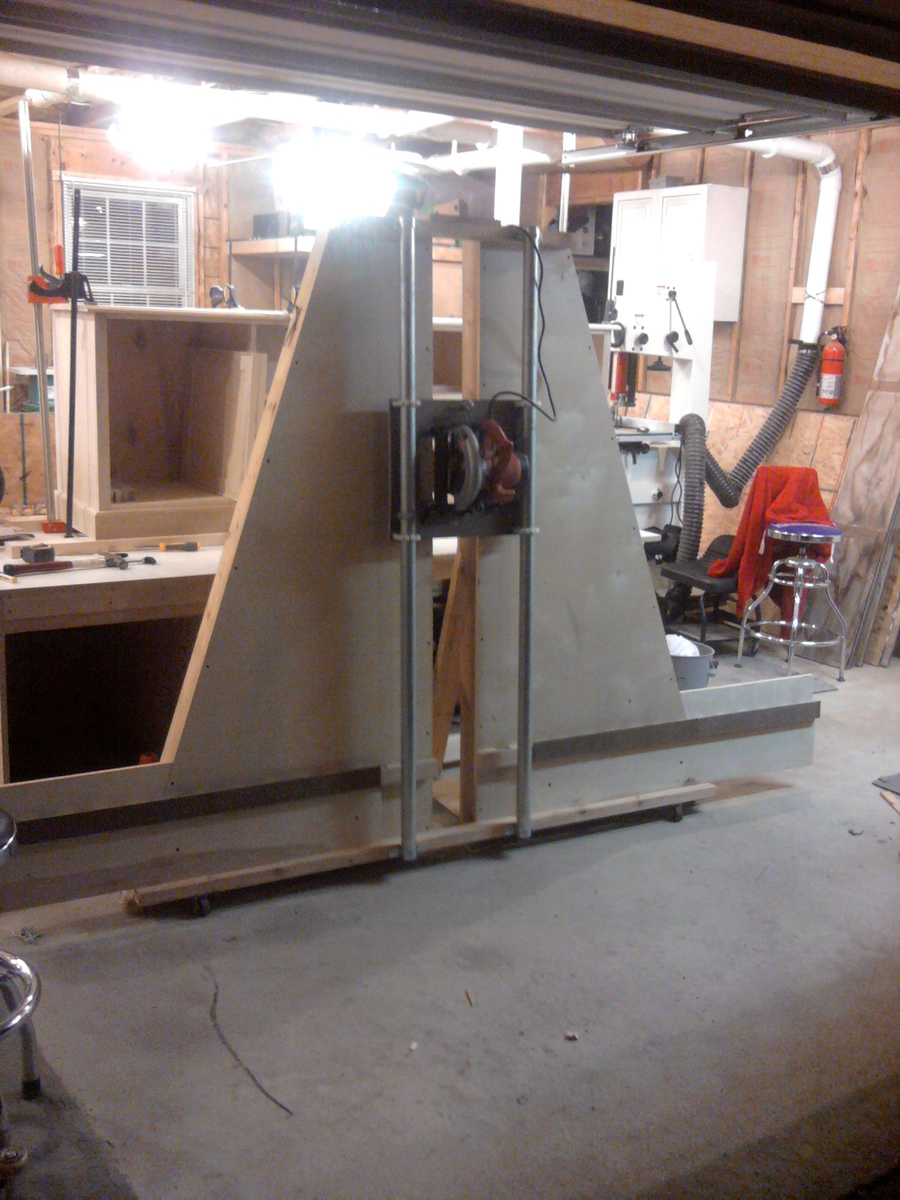
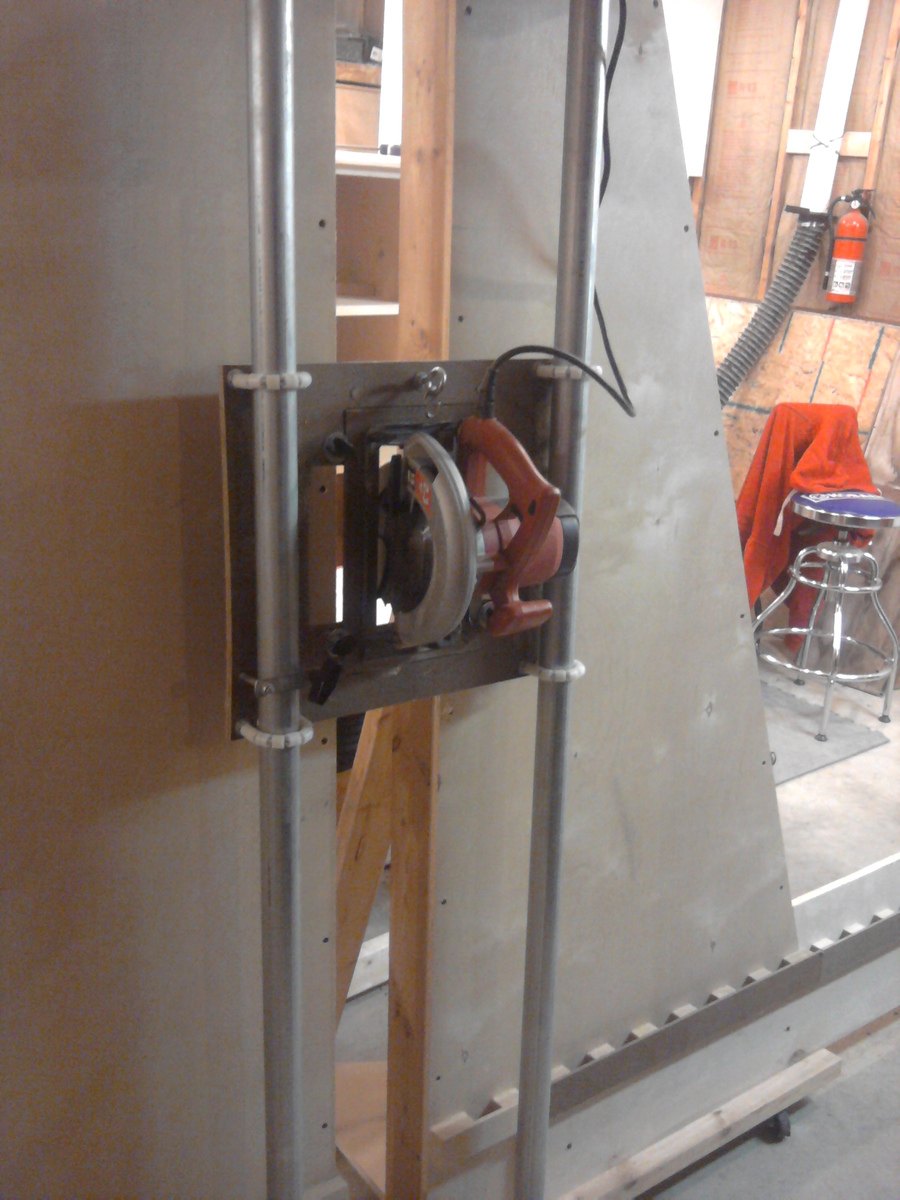
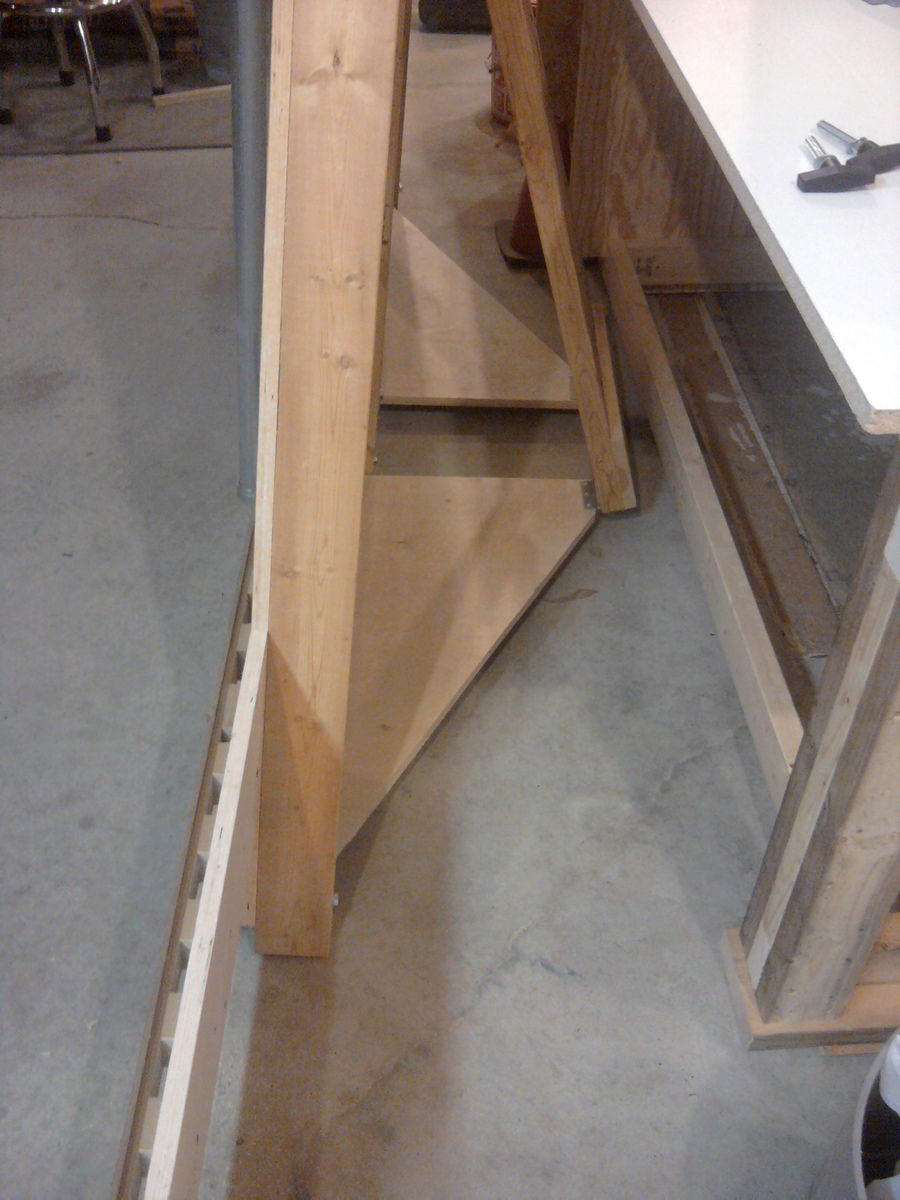
I built this saw several years ago using plans i got on the internet. At the time I needed a way to easily breakdown full sheets by myself. It is extremely accurate and easy to use. With the removeable wings attached it opens up to over 12'. It easily collapses for storage. I would reccommend this to anyone who does not have the room for a professional quality cabinet saw. It took me about a weekend to build. All parts were readily available at my local homecenter and hardware store. I since have gotten a cabinet saw and a tracksaw so sadly this saw now sits in a corner of my shop.

Estimated Cost
$250-350
Estimated Time Investment
Weekend Project (10-20 Hours)
Recommended Skill Level
Beginner

Shed

Submitted by Anonymous (not verified) on Fri, 10/26/2018 - 14:46

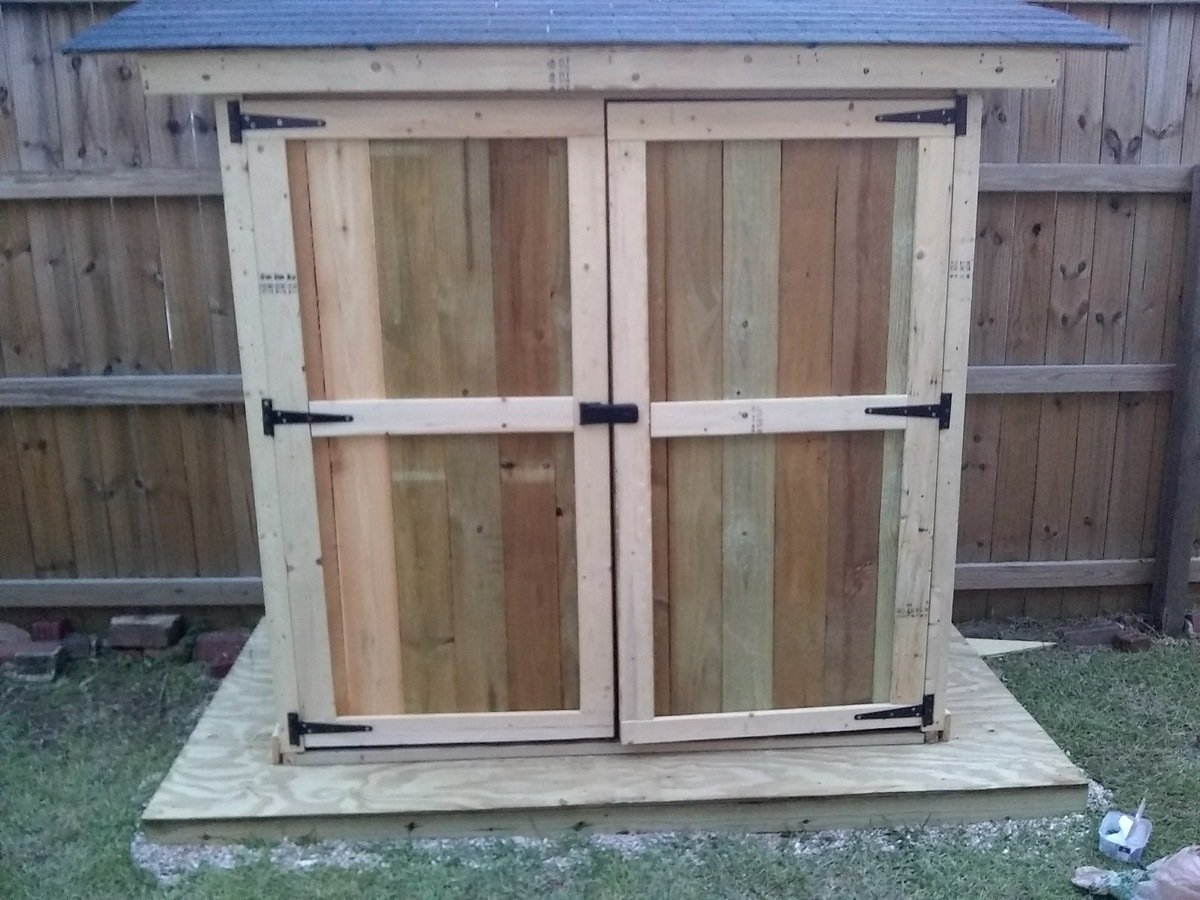
This took about a week.  I had several challenges but with the help of family, I was able to get it assembled. I use it for my tool shed.

Estimated Cost
$300
Estimated Time Investment
Week Long Project (20 Hours or More)
Recommended Skill Level
Intermediate

Dinning & Hobby Table

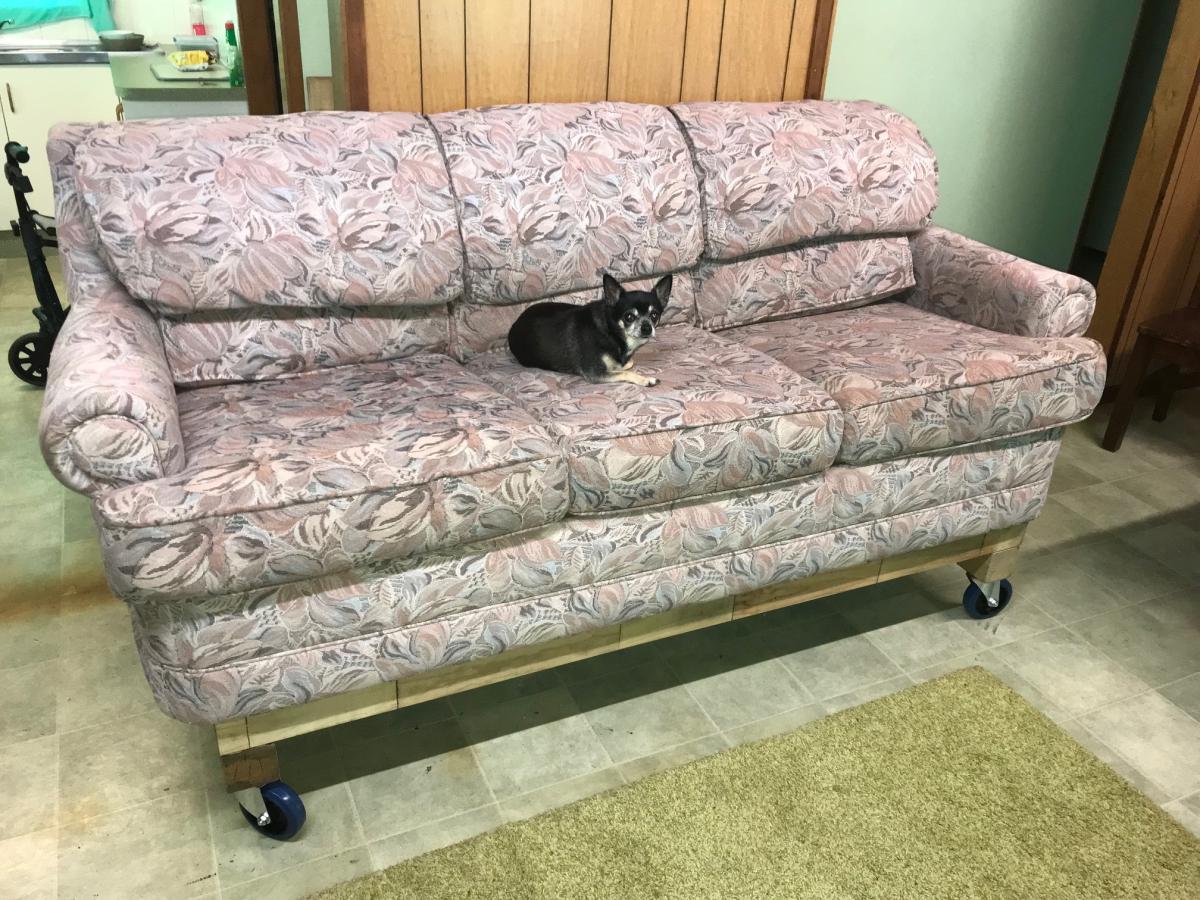
I'm about to have bilateral knee replacement so I'm going about raising everything by at least 30cms.
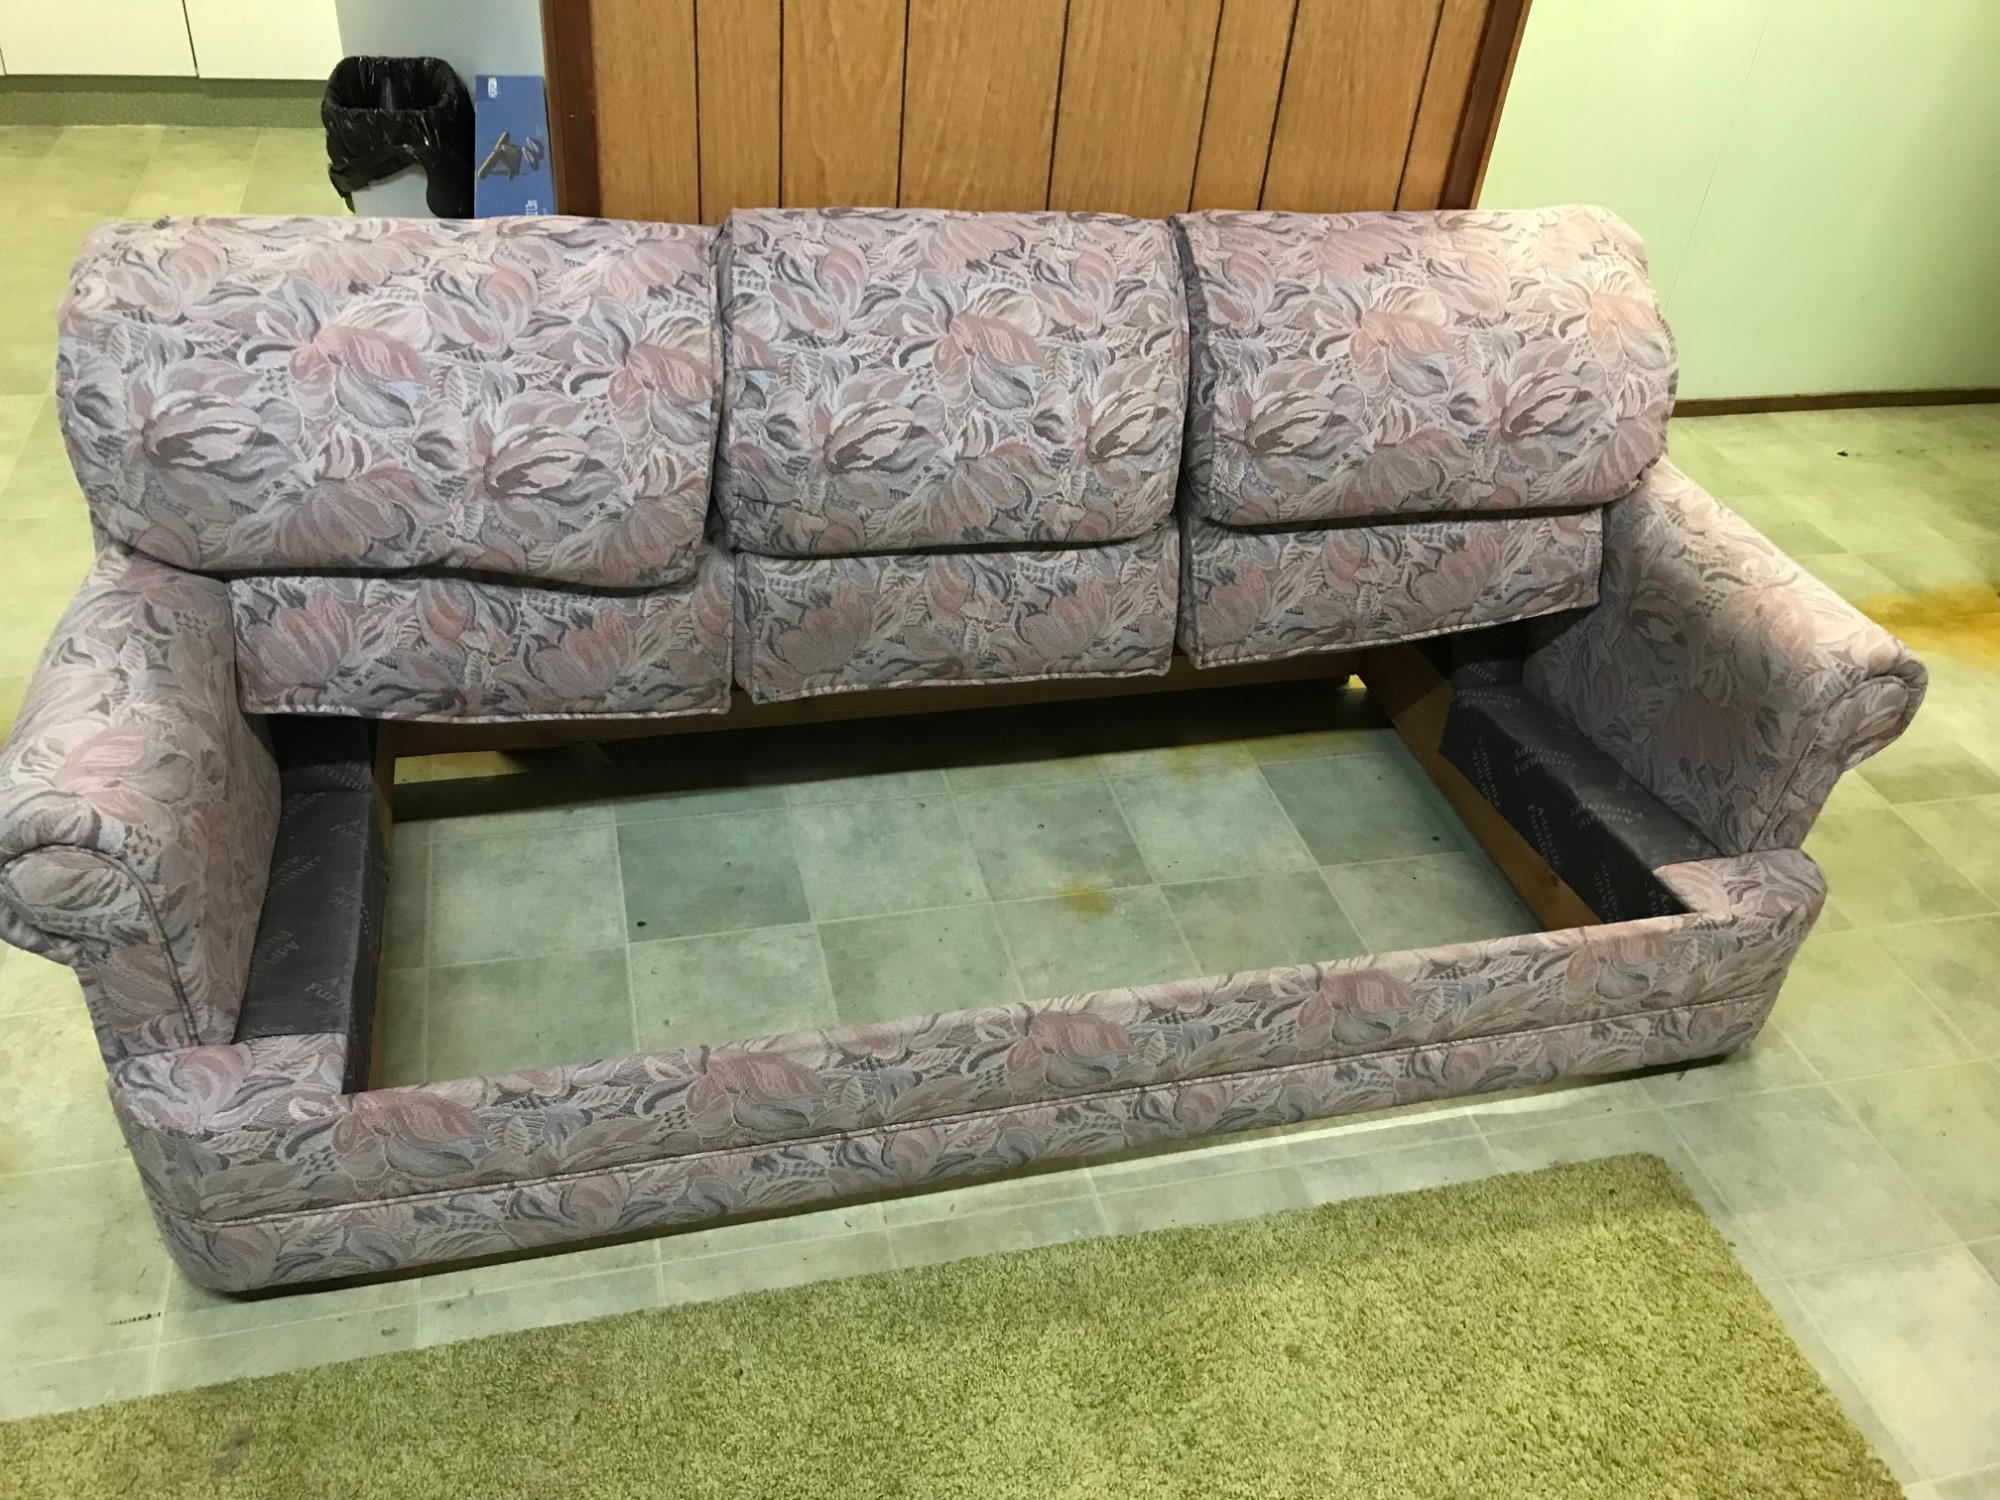
This is the 30 year old lounge chair, once was a sofa bed, first up I removed pull out sofa bed and frame then made a heavy duty base using 75 x 75mm sleepers and whacked on a set of 150kg rated castors. I then made a inner support frame for the cushions to sit on.

Comments

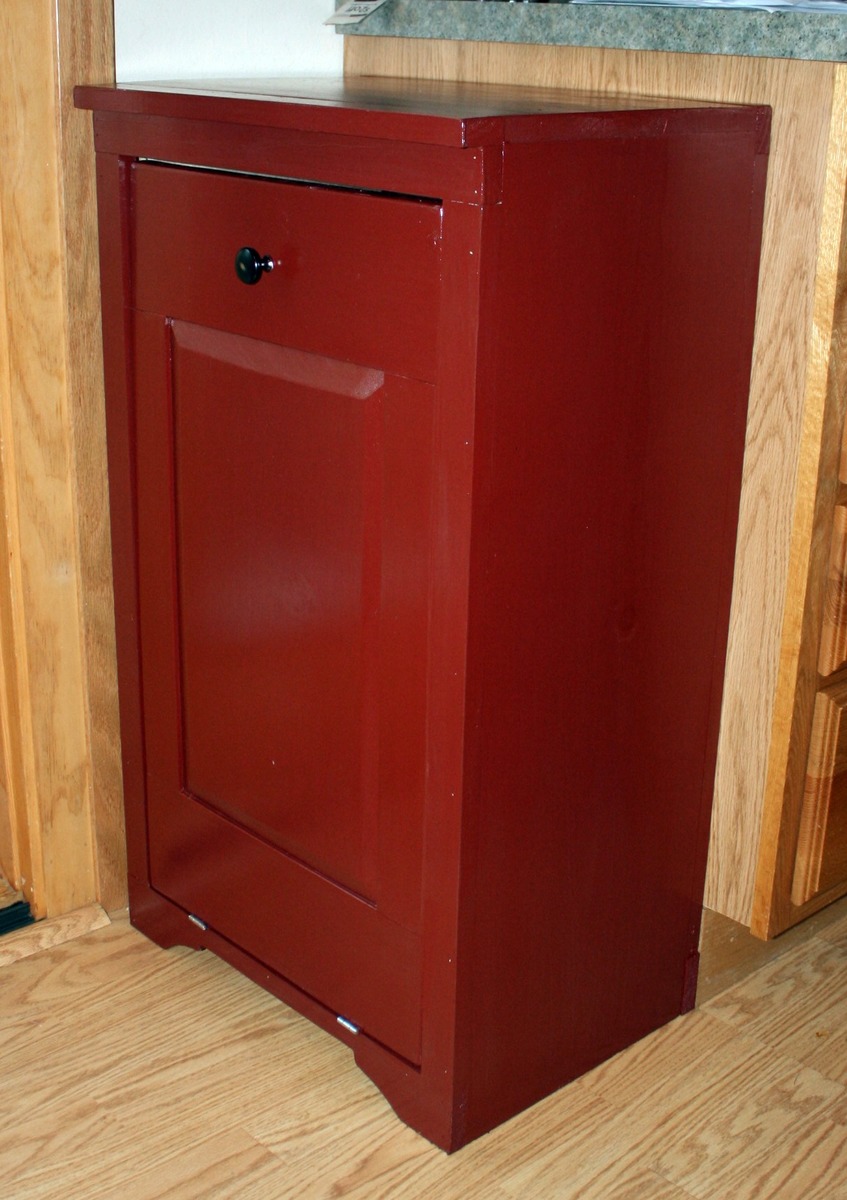
I couldn't be more happy about a garbage can!

Submitted by hoffer5353 on Mon, 08/01/2011 - 12:29

I started this project thinking that I would put in a rental home we were working on. But after I completed it I couldn't part with it.

I found the plans to be easy to follow! I watched the videos and tackled the raised panel doors. I wanted to add some height so added a few inches just in-case. I couldn’t bear the thought of completing this project and my garbage can not fitting. So I did use 1x6 for the rails and found it didn't look too bad.

I put a lot of thought about what color and finish I wanted. I thought about distressing it but couldn’t decide on the color or technique. So I decided on Color Place paint that I had left over from another project. I am going to find a spray paint that matches and do the inside.

I choose an oil rubbed bronze knob that I had left over from a kitchen remodel, added a magnetic closure as well as a door safety chain. I have lots of little hands and toes that I don’t want getting smashed. I like the idea that if I want to open it all the way for cleaning all I have to do is unhook the safety chain.

Over all I am so pleased with how it turned out. It keeps the garbage and smell in and curious fingers out! My kids love to put stuff in the garbage now!

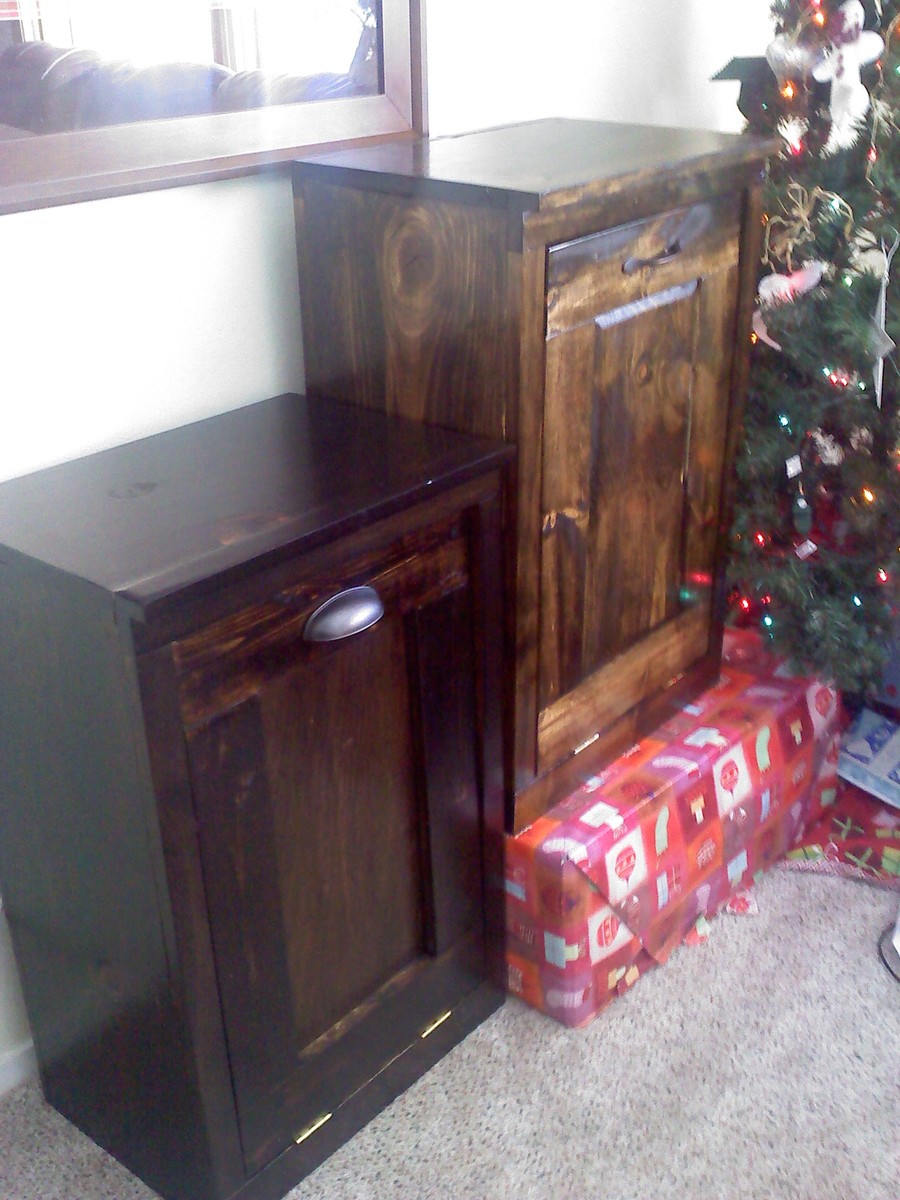
I spent a weekend with a visiting friend and made one as well as completed two more for Christmas gifts.

Thanks Ana
Estimated Cost
$30-35
Estimated Time Investment
Afternoon Project (3-6 Hours)
Finish Used
2-3 coats-ColorPlace-Redwood semi-gloss exterior
1 coat-Minwax-Polyurethane-Semi Gloss
Recommended Skill Level
Intermediate

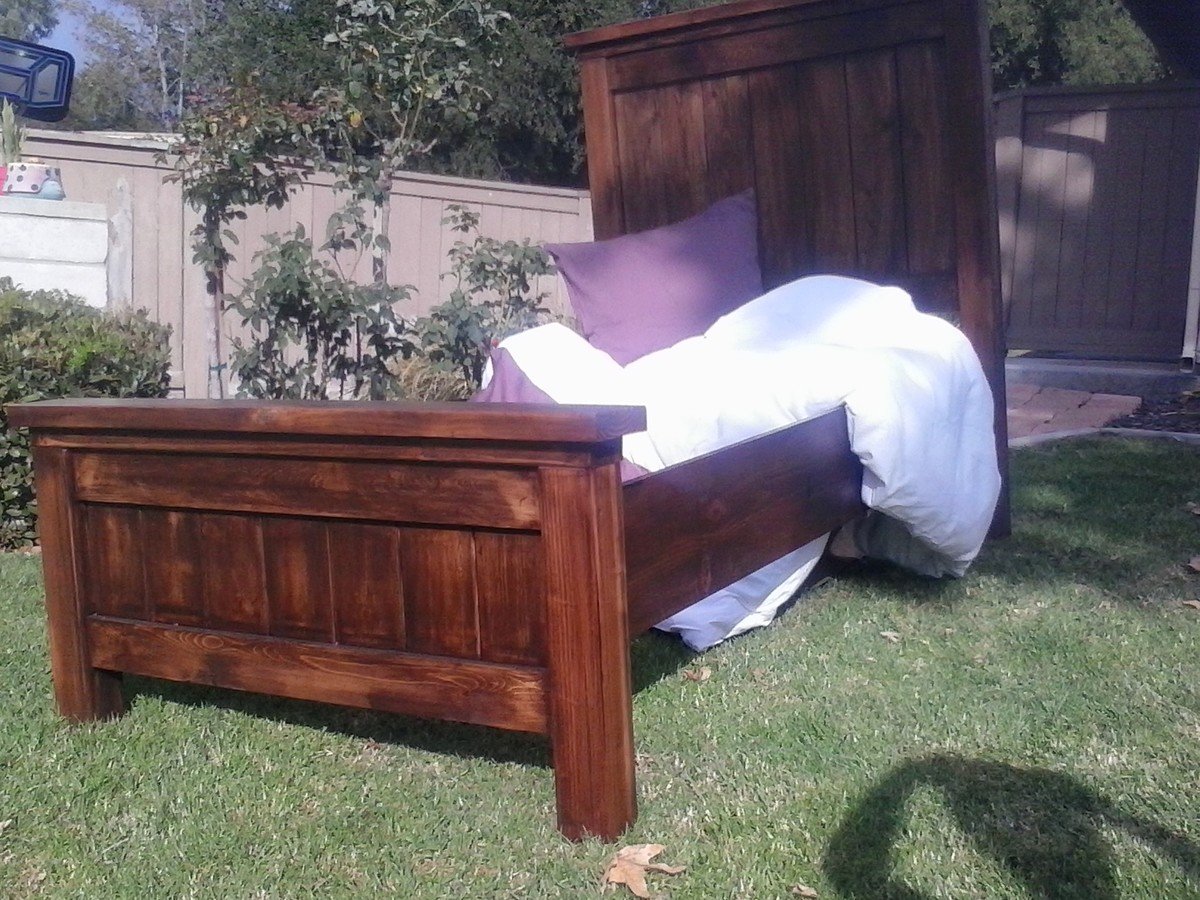
Twin Farmhouse Bed

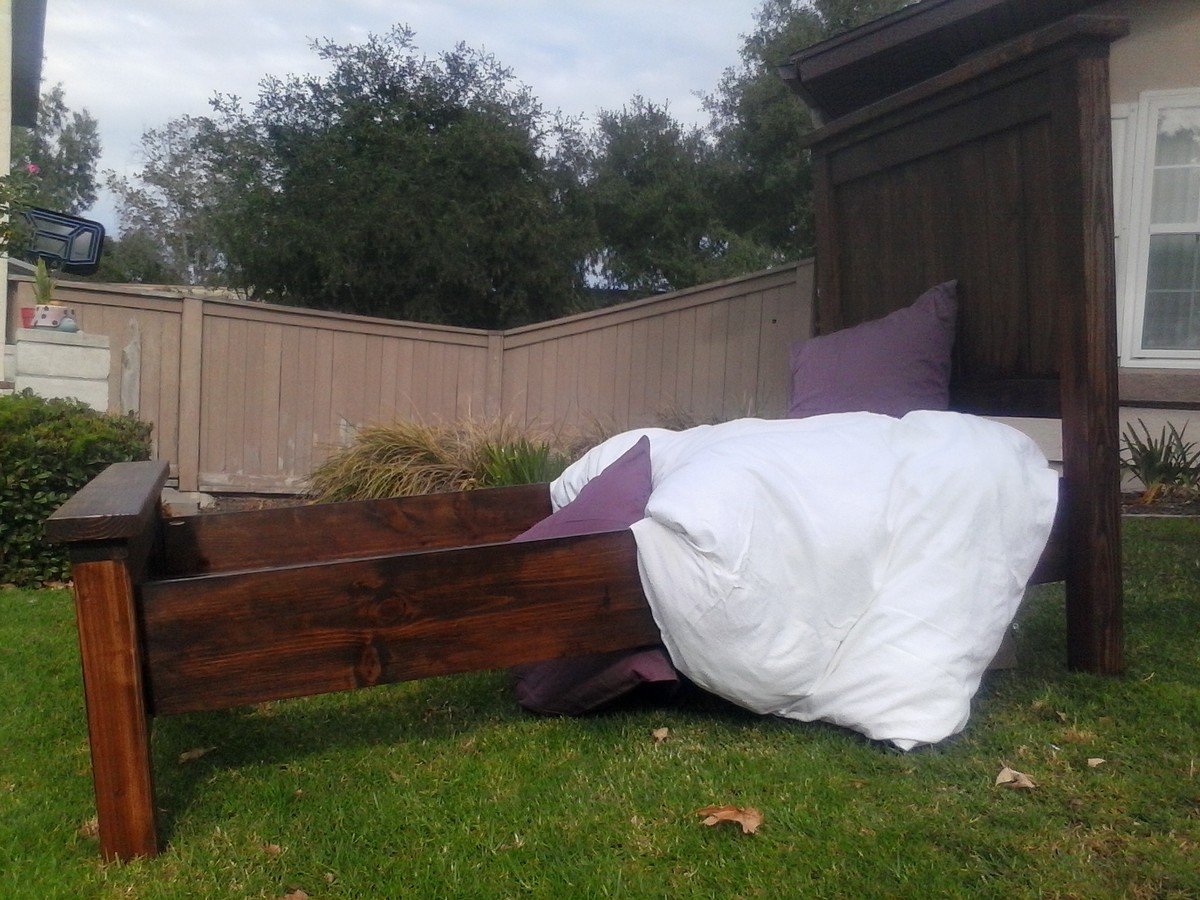
Built 2 of these for a customer. Stained with Rust-Oleum Dark Walnut and finished with Rust-Oleum Satin Ployuerethane.
Built from Plan(s)
Estimated Cost
150
Estimated Time Investment
Weekend Project (10-20 Hours)
Finish Used
Rust-Oleum Dark Walnut and Satin Polyurethane.
Recommended Skill Level
Beginner

Scrap Wood Barn Door

Submitted by milleall on Mon, 10/12/2015 - 07:31

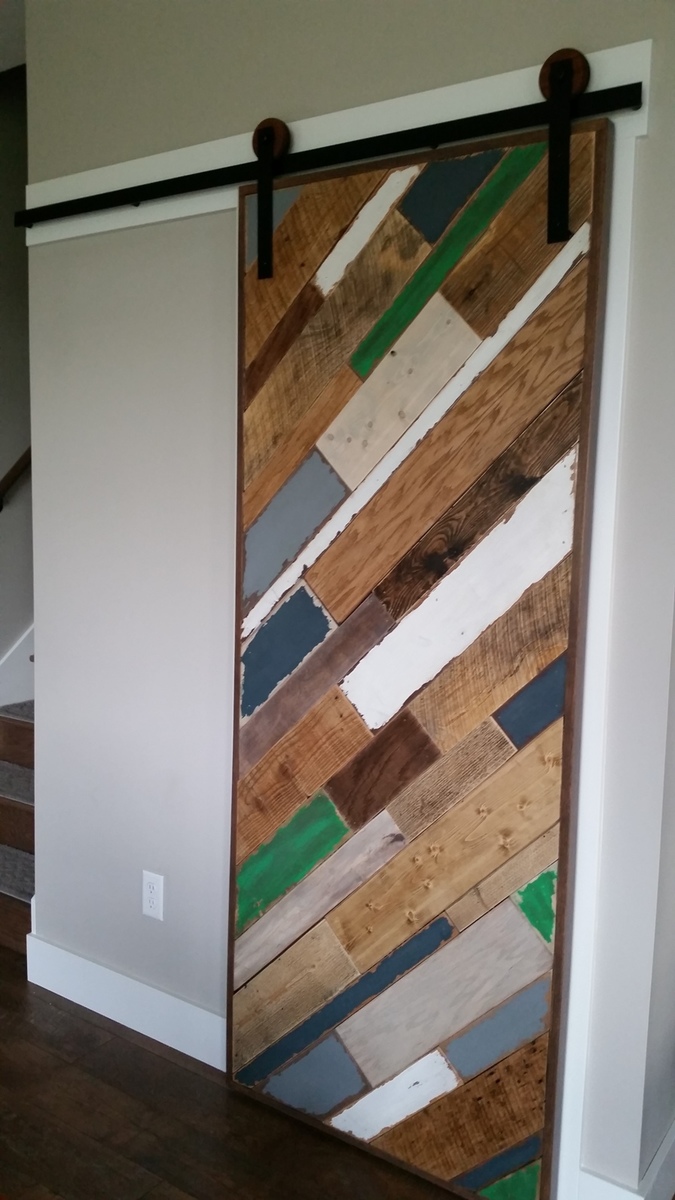
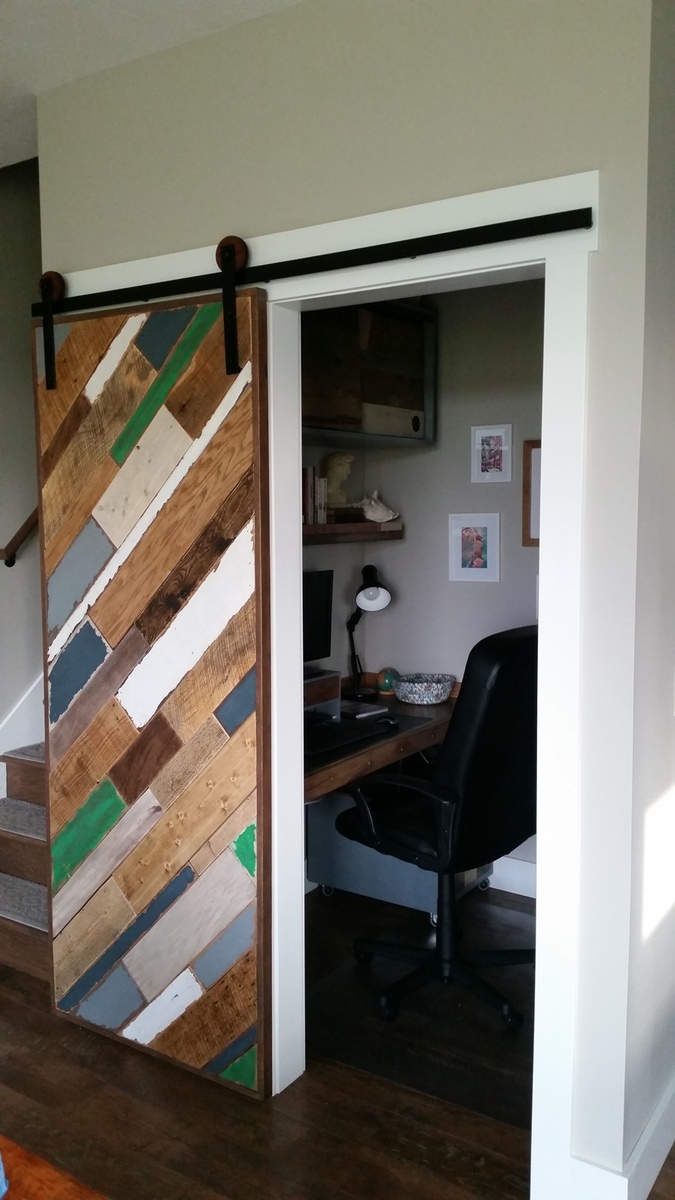
I am finally getting around to the final touches on the home we built.  I have a small pocket office that needed a sliding barn door.  I build this door out of 3/4 inch plywood framed with 1x2 oak boards.  I added planks of scrap plywood, 1x boards, and pallet wood.   I added some different colors to make for a fun industrial/modern look.  I made the barn door track out of steel purchased at a local metal shop and wooden wheels purchased online.  

Estimated Time Investment
Weekend Project (10-20 Hours)
Finish Used
Different colors of diy chalk paint (flat paint with water and plaster of paris), various stain colors, and triple thick satin poly.
Recommended Skill Level
Intermediate

Reclaimed Wood Headboard, Queen Size

Submitted by bcarter_1 on Tue, 10/30/2018 - 04:49

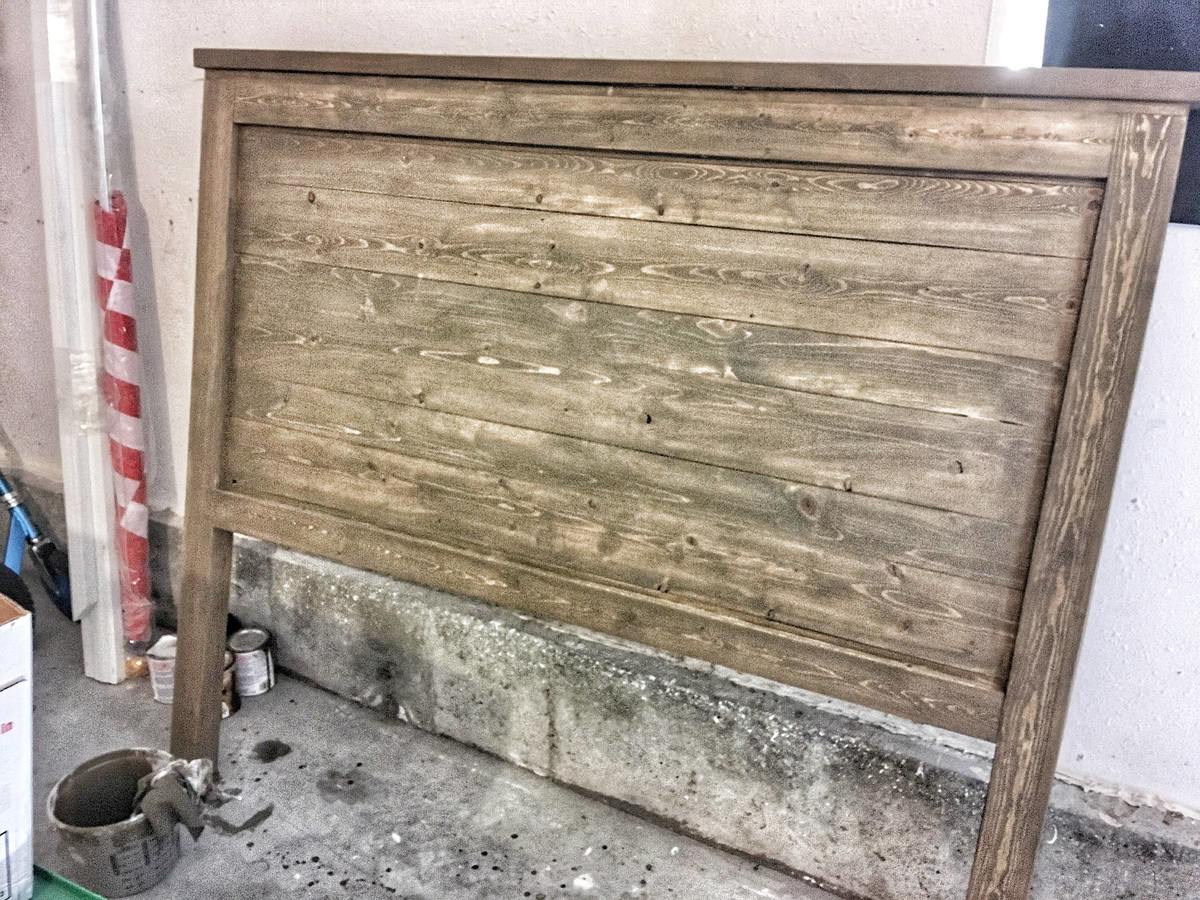
Made for a friend's son

Estimated Time Investment
Weekend Project (10-20 Hours)
Recommended Skill Level
Beginner

Comments

Bench to match a table

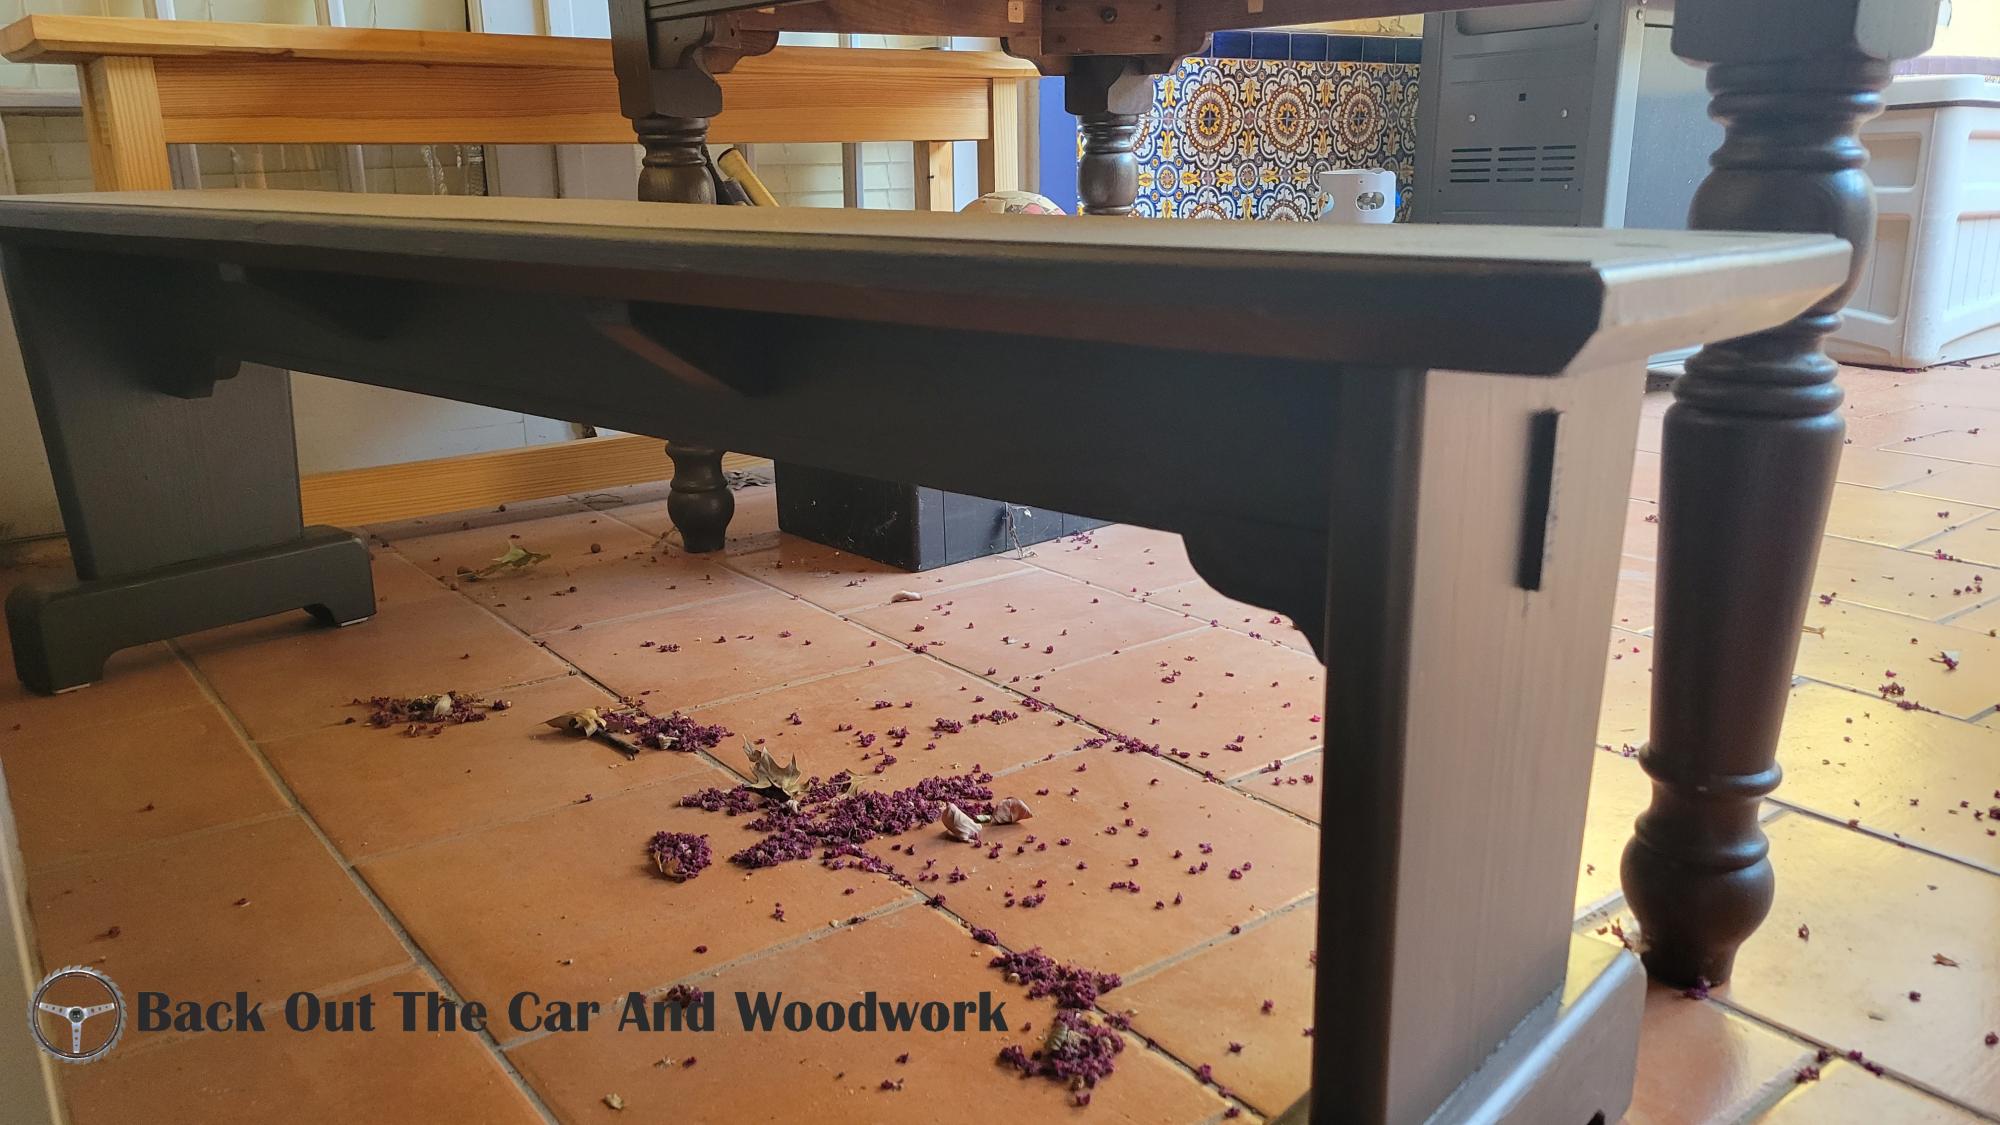
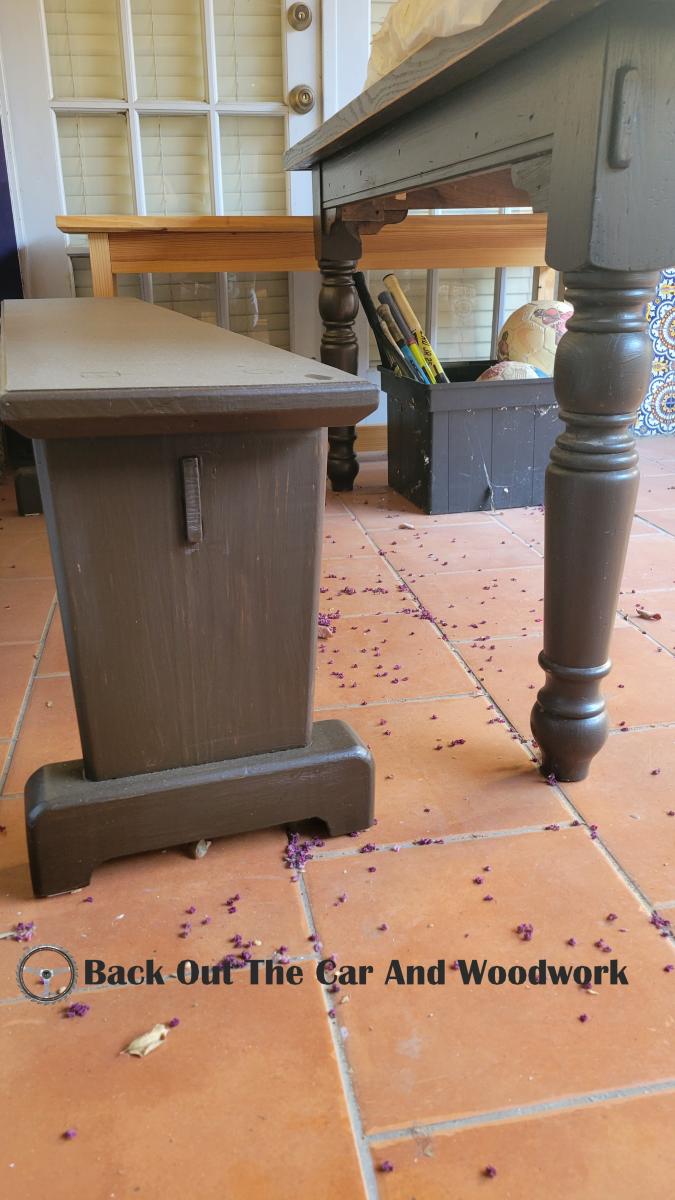
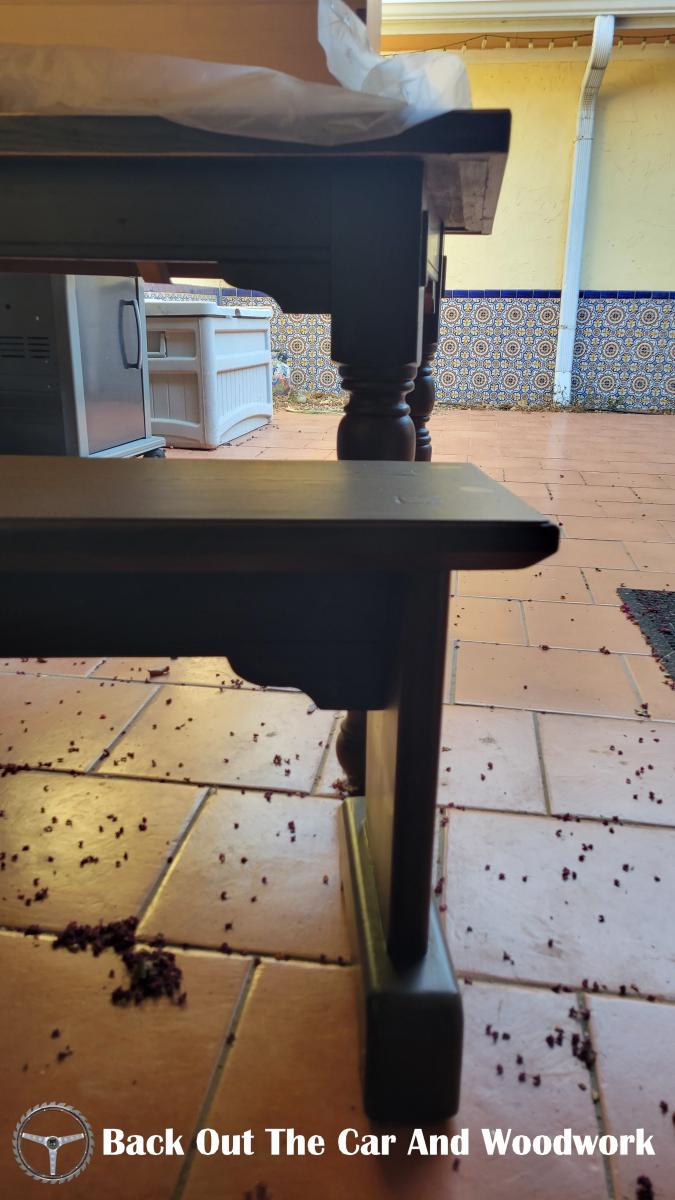
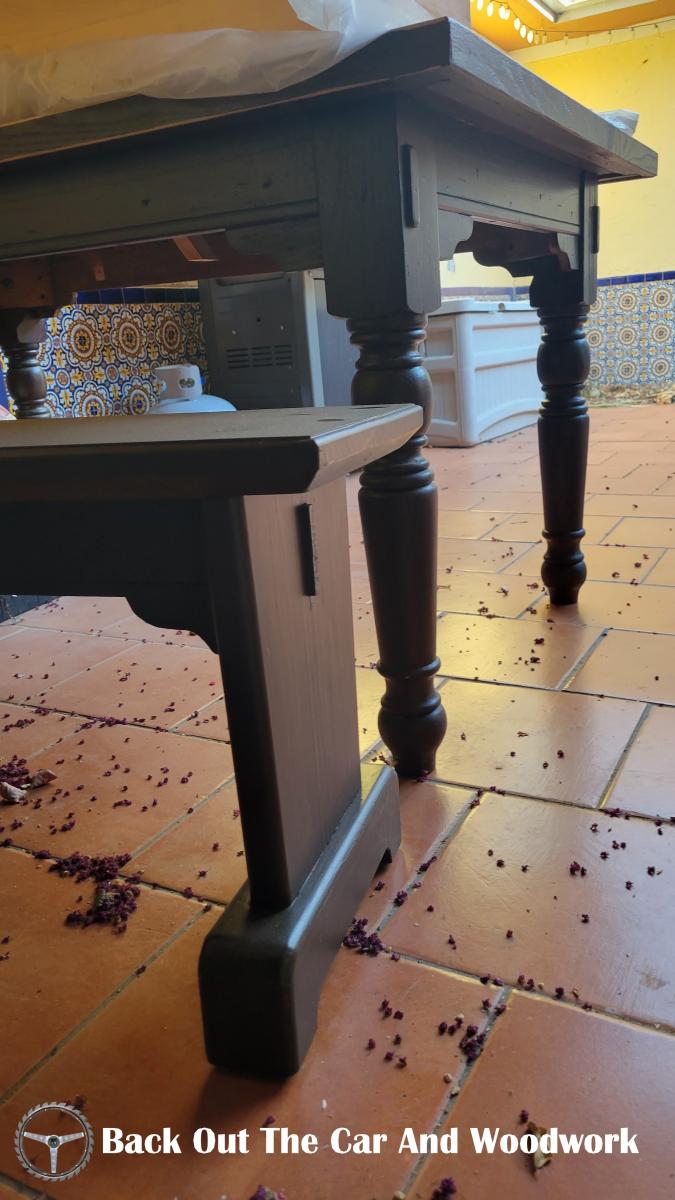
Submitted by Anonymous (not verified) on Wed, 07/27/2022 - 06:42

A while back I salvaged a table from an apartment dumpster and refurbished it.
We really like it on our patio but with no included seating, I had to create my own.
I made a bench that matched several design features of the table:
Through tenons, trim attachments, leg angles, decorative kerfs.
Take a look! Thanks to all.

Comments

Red Coat Tree

Submitted by StacieM on Wed, 08/03/2011 - 19:35

So I finally painted my coat tree this weekend (in the 105+ degree heat). I love it. It's far from perfect but it was only my second project and was a great learning project and serves great for towels, coats, hats, dog leashes, etc. Sorry about the poor photo.

Overall the project took much longer than it should have since I was cutting everything with a crooked cutting circular saw so getting the angles right took a long time. (I have learned that a power miter saw is worth every penny!)

I'm very happy with it. Thanks for the great plans Ana!

Estimated Cost
$10
Estimated Time Investment
Afternoon Project (3-6 Hours)
Finish Used
One coat of spray primer, two coats of Krylon Pimento spray paint (Satin finish).
Recommended Skill Level
Starter Project

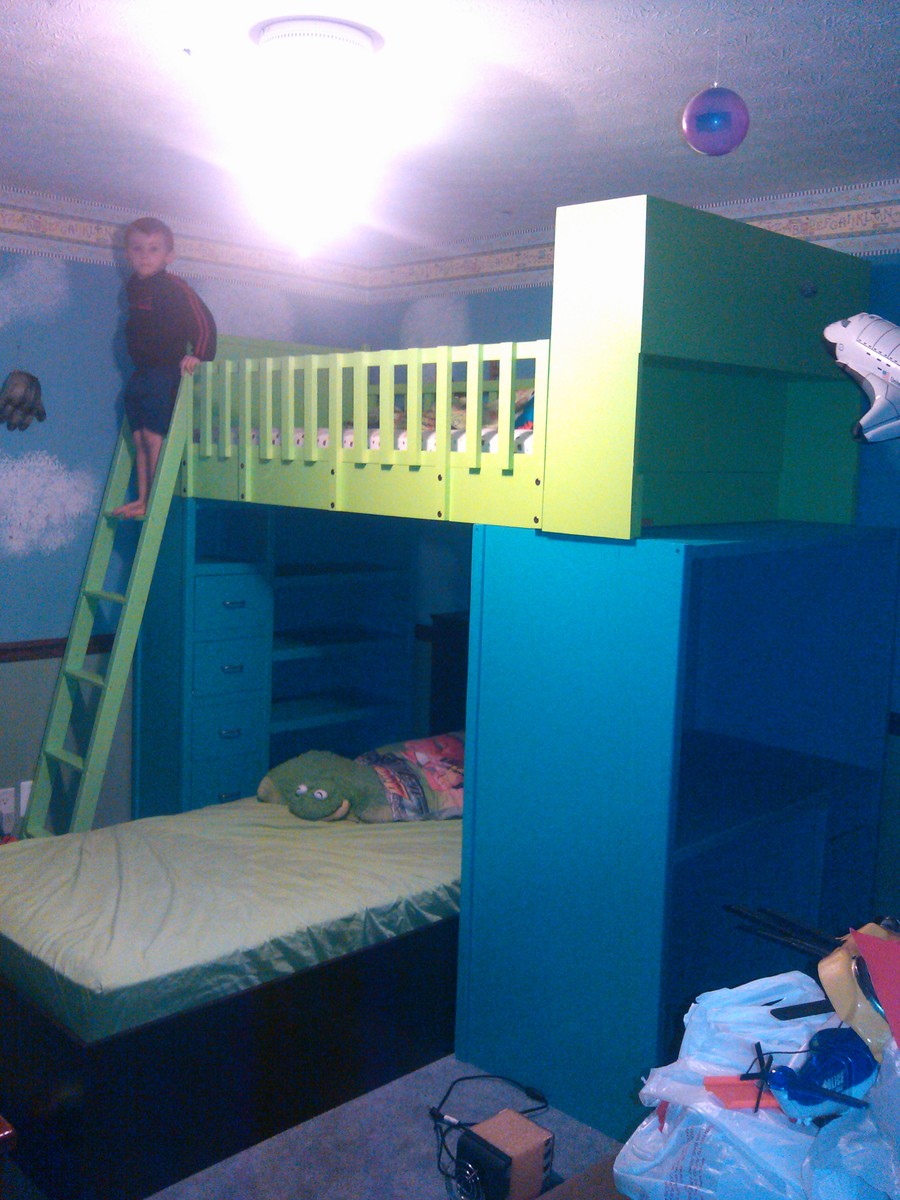
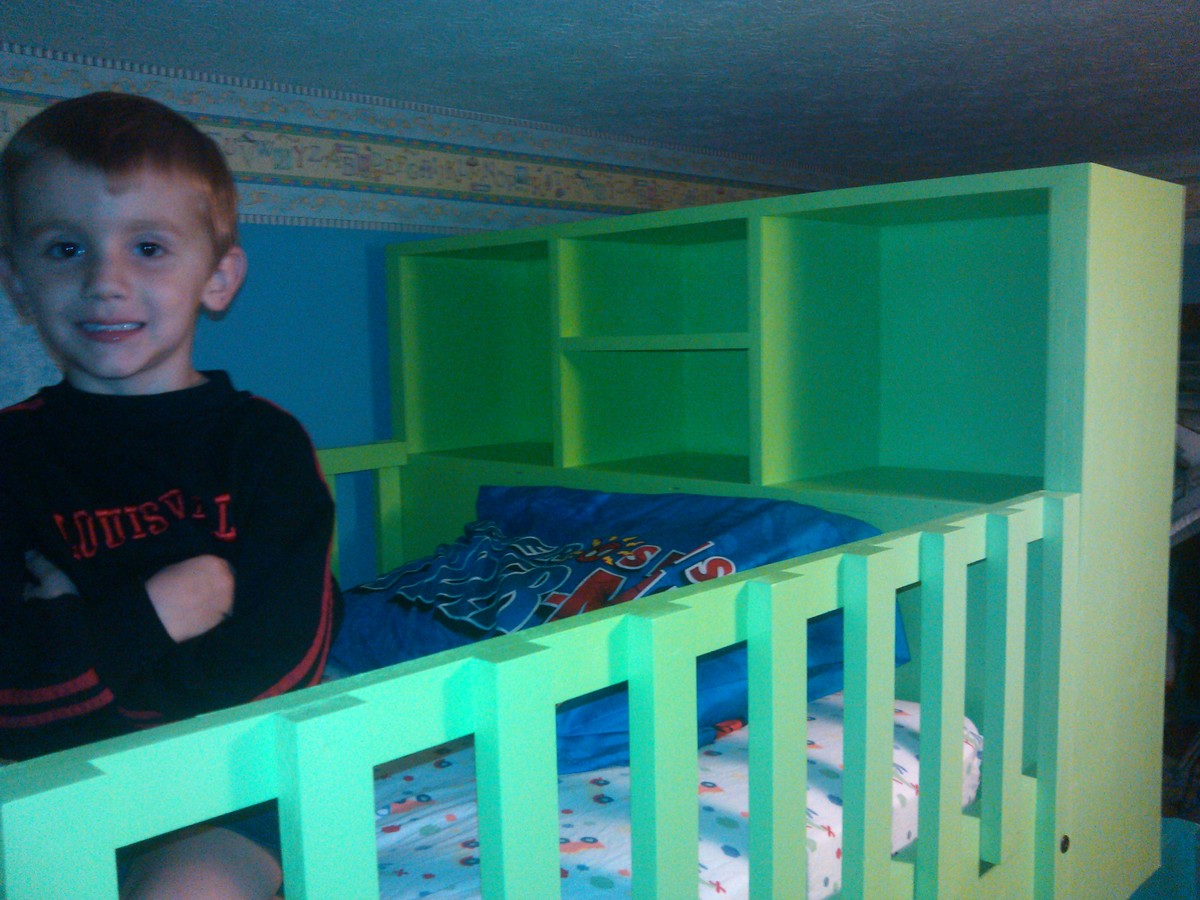
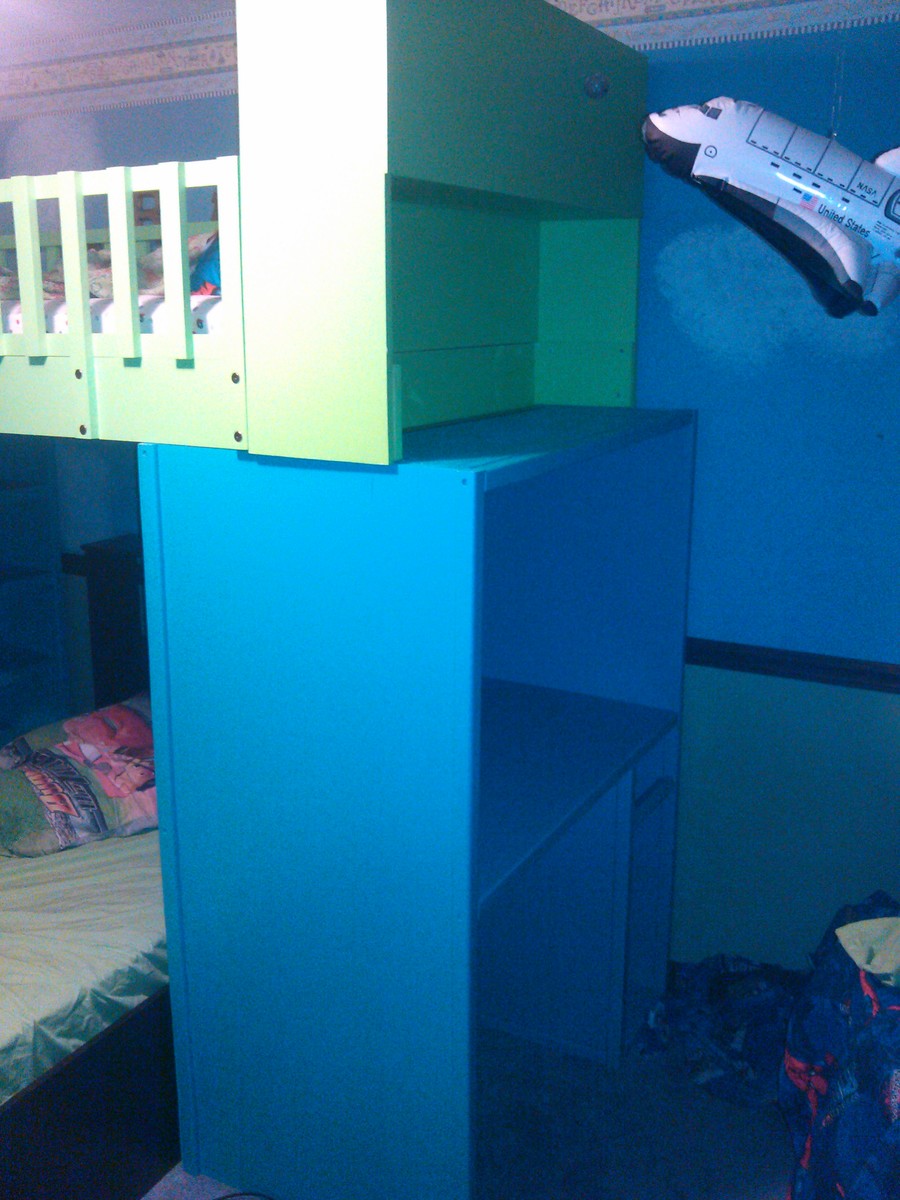
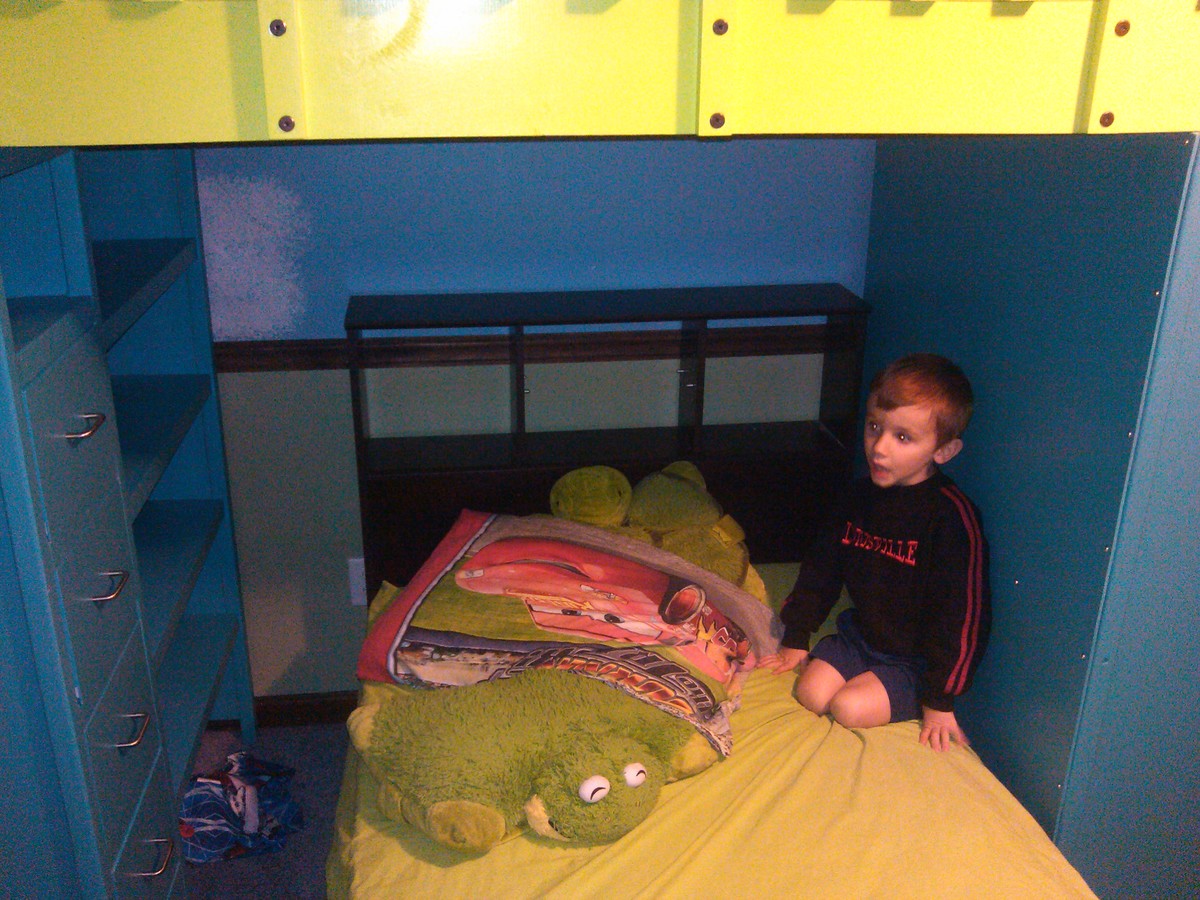
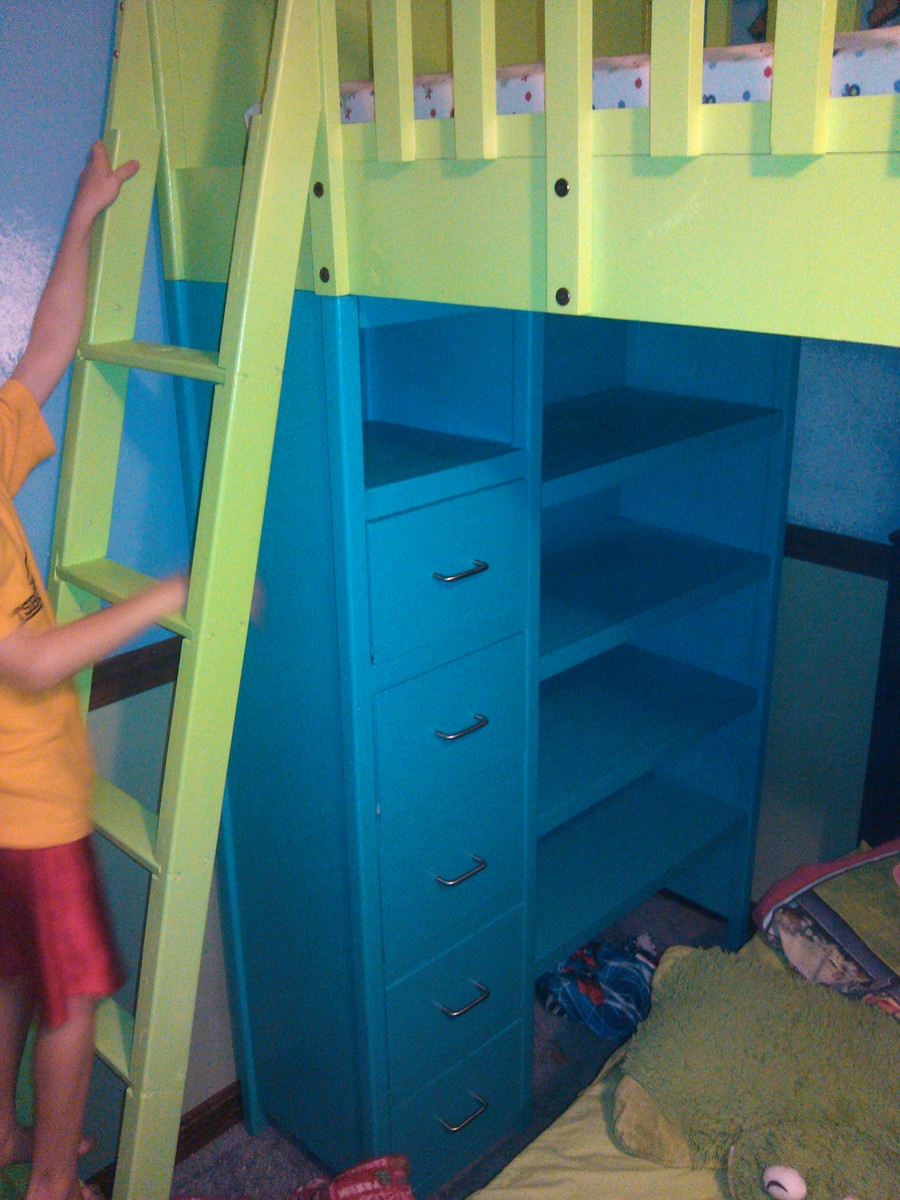
Modified Loft bunk

My boys have to share a room so I needed to have some storage and increased usability. I added a 10" deep headboard to the top bunk and extended the desk to 10" deeper. I couldn't put the ladder in the middle of the room so i had to put it beside the bookcase and in turn had to turn the drawers to the inside so they wouldn't be under the ladder. I then needed a gap between the bookcase and the bottom bunk to access the shelves the the drawers on the side of the bottom bunk, so now there is a large shelf above the desk which is also the underside of the headboard. I also modified the desk to accommodate a computer tower when they get a bit older. There will also be a slide out keyboard tray and a small drawer. (haven't built them yet.) I managed to build this without adding much materials at all. the headboard was all scraps from the rest of it. The desk and bookcase are also 3" taller than the plans(seemed too short, in hindsight, now its too close to the ceiling... oops. )

Estimated Cost
$500
Estimated Time Investment
Week Long Project (20 Hours or More)
Recommended Skill Level
Intermediate

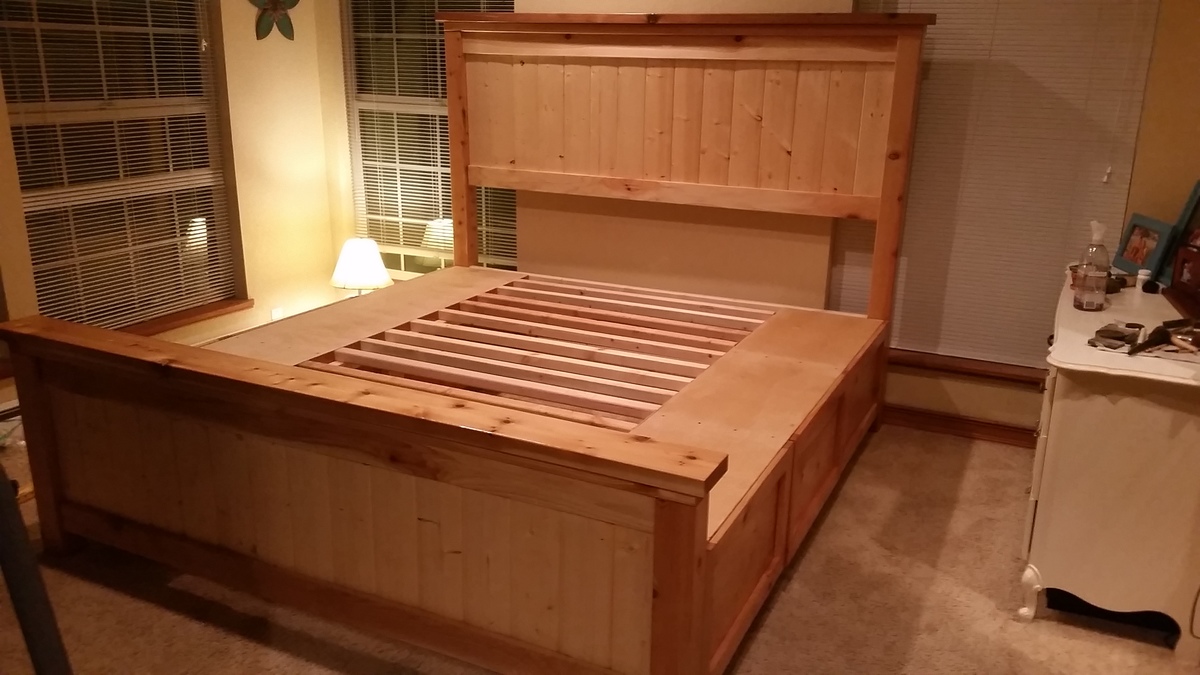
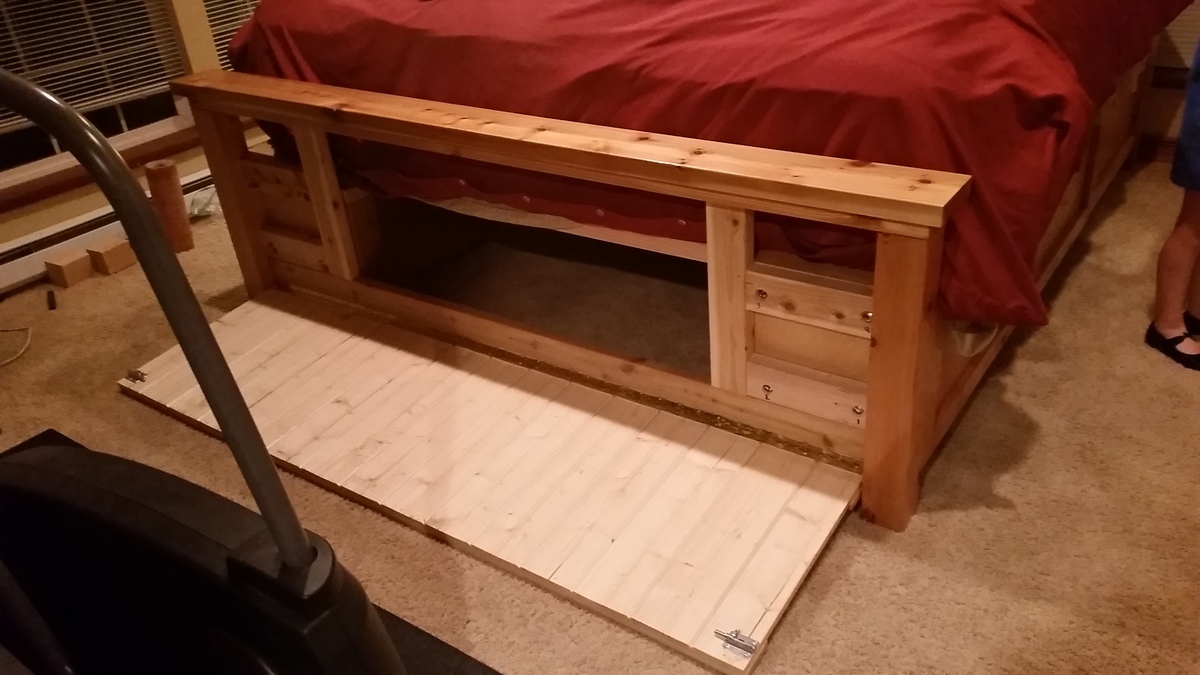
King Size Farmhouse Storage Bed

Submitted by athingvall on Fri, 10/16/2015 - 13:14

This was my first project using your plans.  I changed the plans to make the bed King Size.  I also hinged the footboard to allow storage in the middle of the bed.  I am planning a drawer in the middle as well buy haven't installed that yet.

Estimated Cost
400-500$
Estimated Time Investment
Week Long Project (20 Hours or More)
Finish Used
Clear Shellac
Recommended Skill Level
Intermediate

Comments

budfan88

Thu, 02/25/2016 - 08:38

Just wondering if would be interested in giving me you plans for the King Size Farmhouse Storage Bed?


Regards,

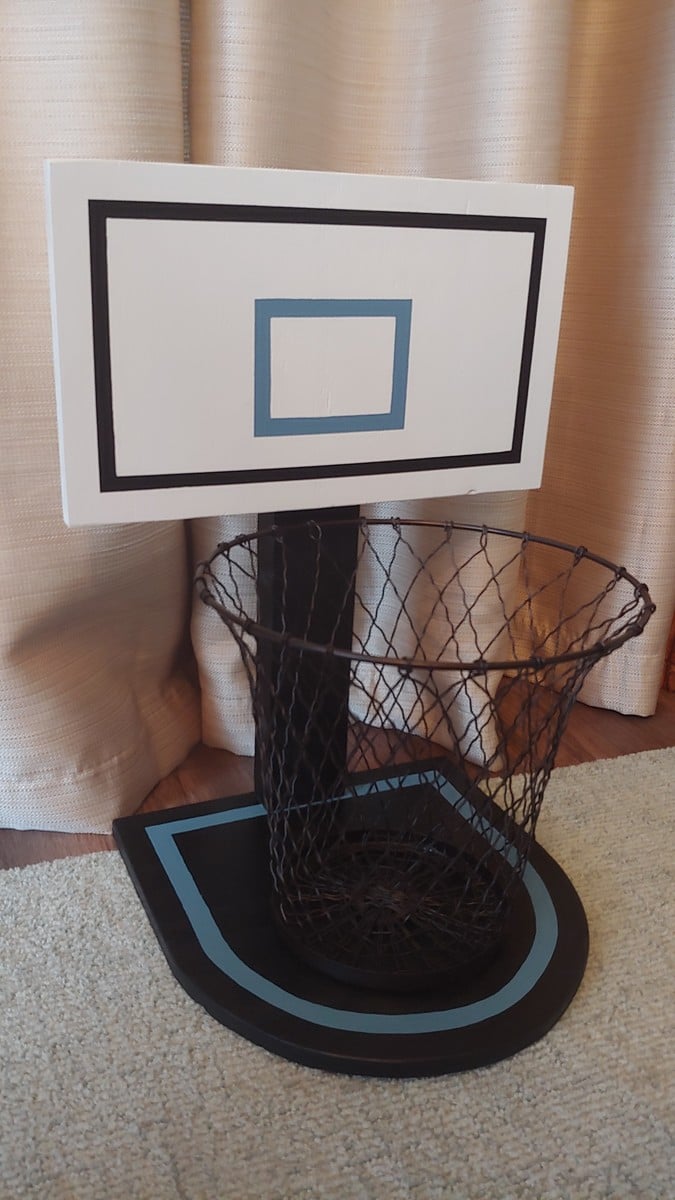
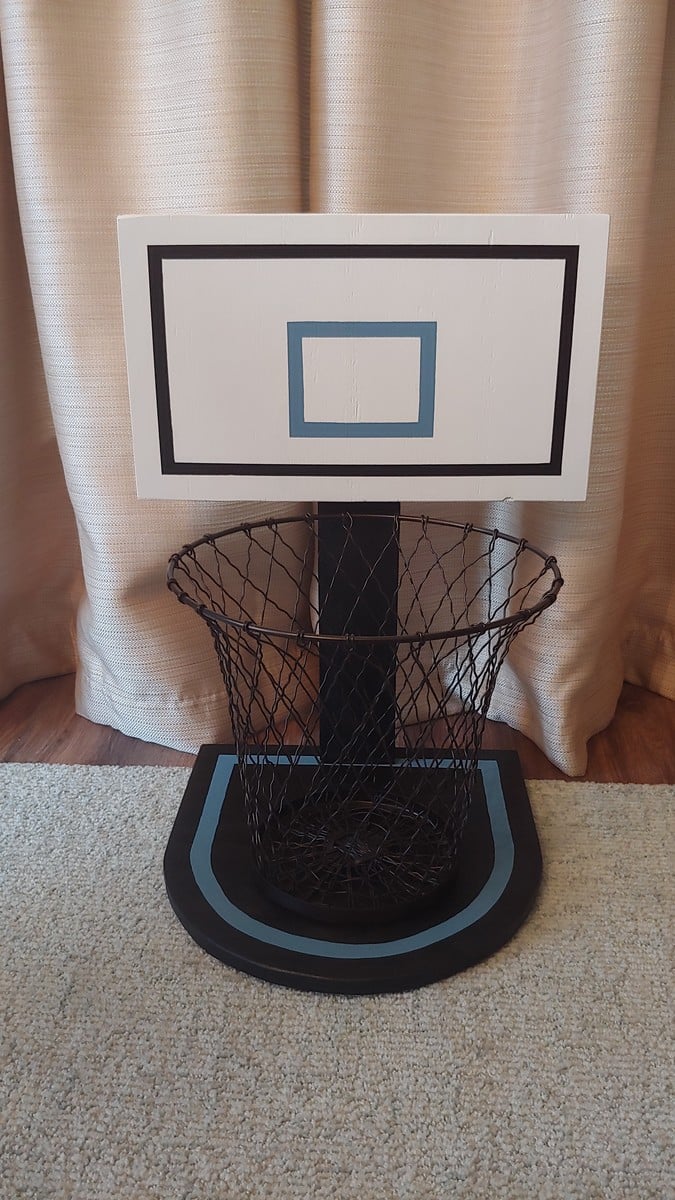
Hoop Trash Can

Submitted by spiceylg on Sat, 11/10/2018 - 03:23

My family is doing a home made Christmas this year.  I fell in love with this plan the first time I saw it.  While out shopping, I happened upon this trash can on sale which reminded me of a basketball net and knew I had to build this project.  We used leftover plywood which necessitated using paint to hide blemishes.  The size was modified a bit to fit this trash can.  I think it is really cute!

Built from Plan(s)
Estimated Cost
$6 as the paint, 2x4 and plywood used were left over from other projects. The longest amount of time was taken up by painting, not the actual build.
Estimated Time Investment
Day Project (6-9 Hours)
Finish Used
Blue - Behr sample
White - Rustoleum
Black - actually a stain - unsure of brand and not close by as I type this - Ebony
Recommended Skill Level
Beginner