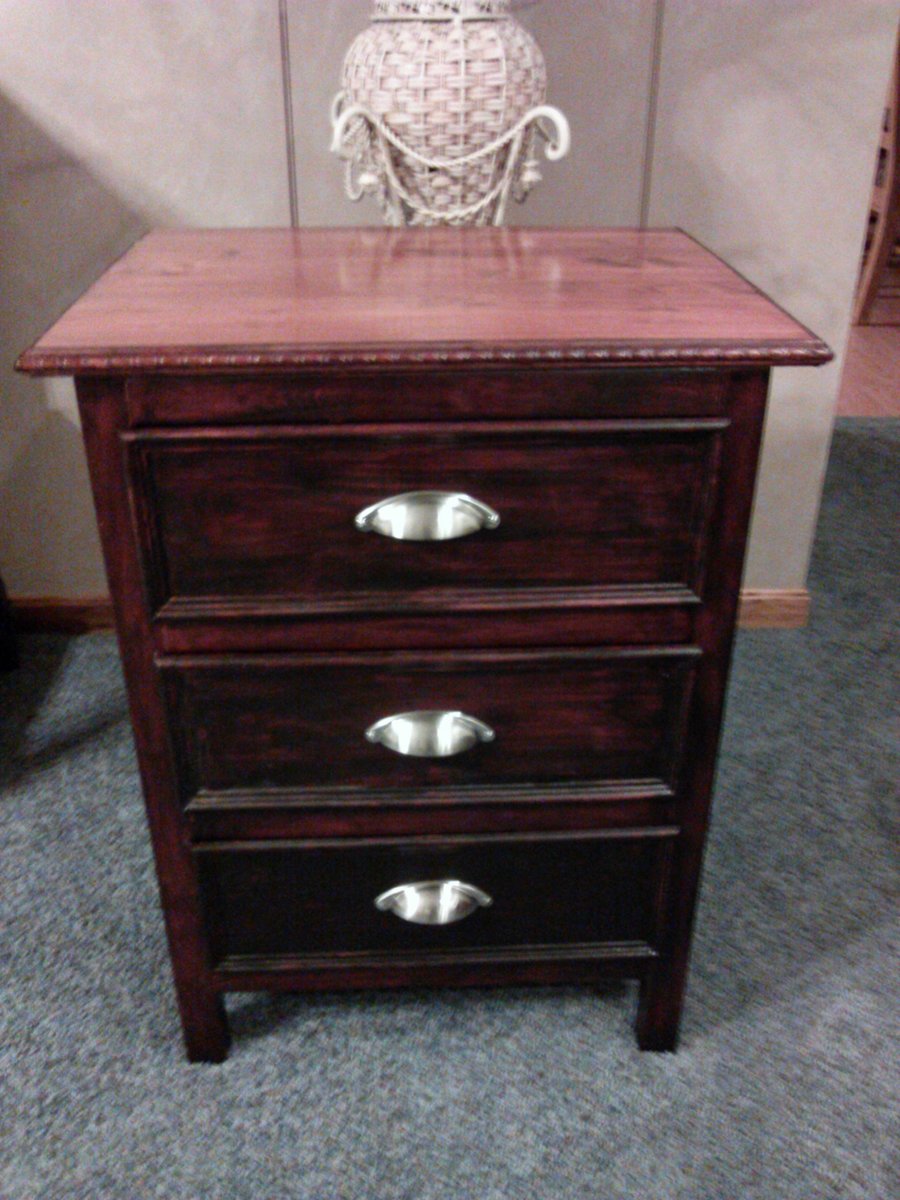
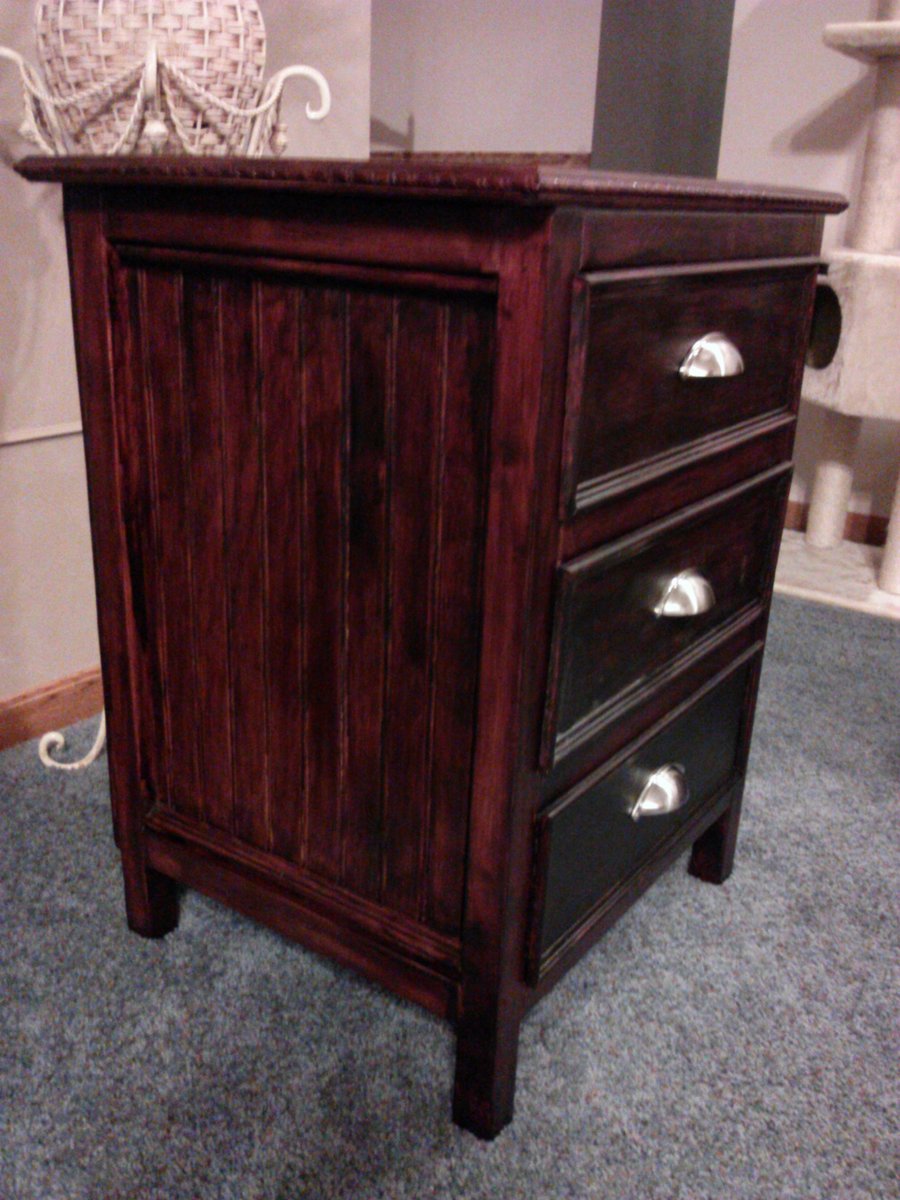
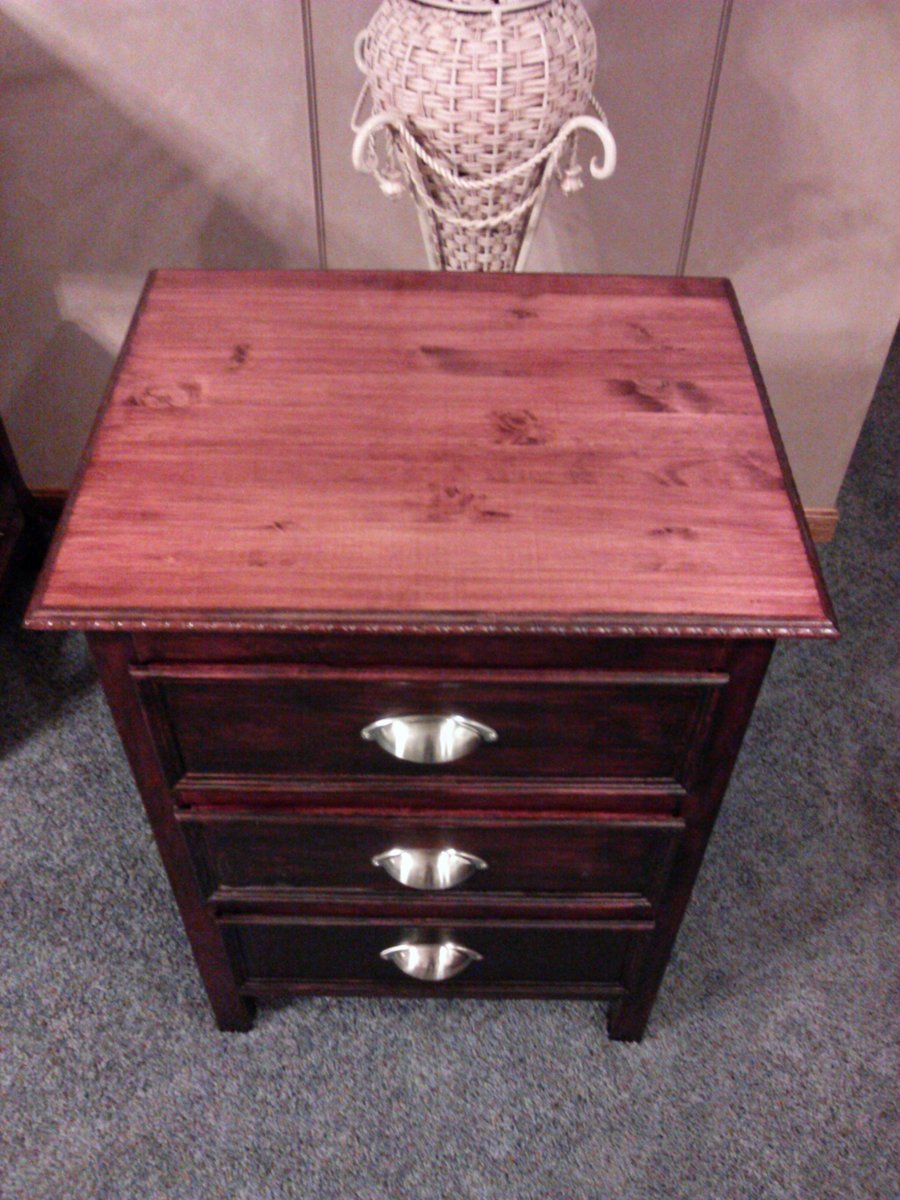
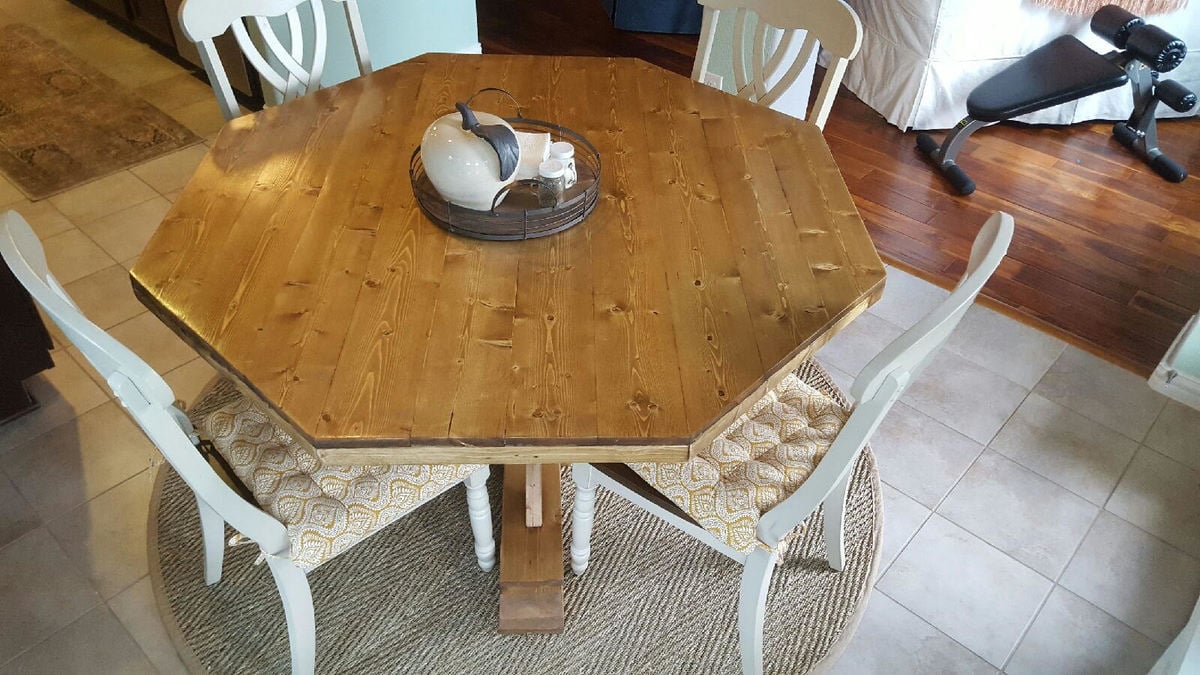
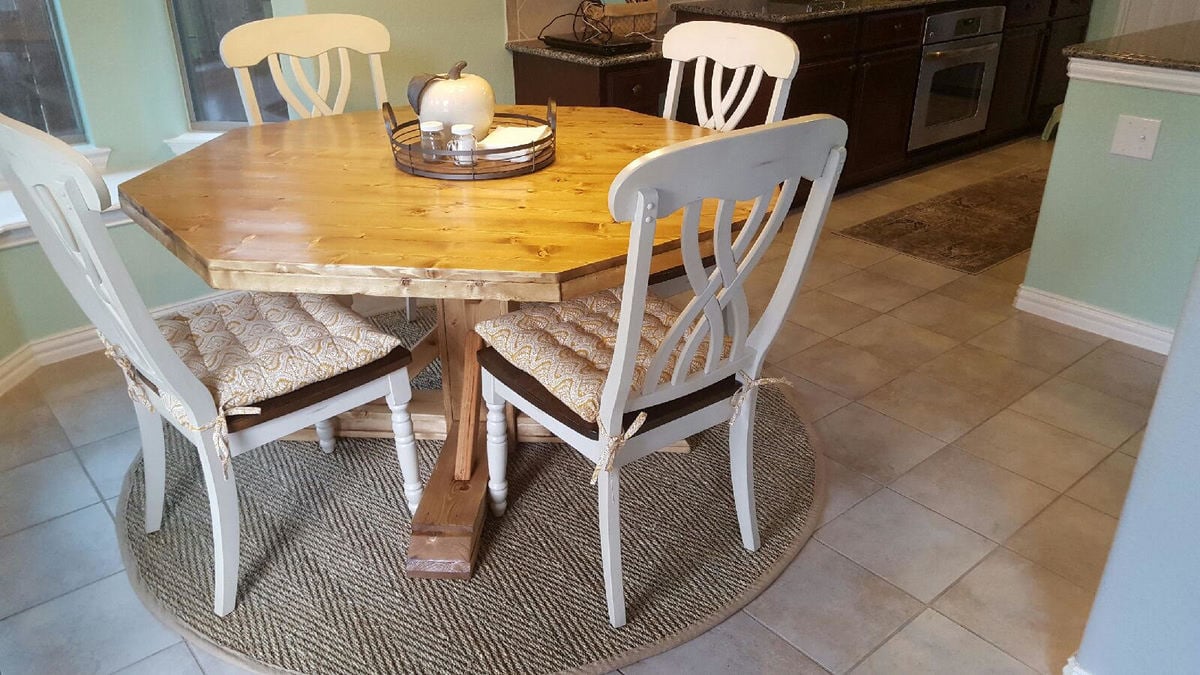
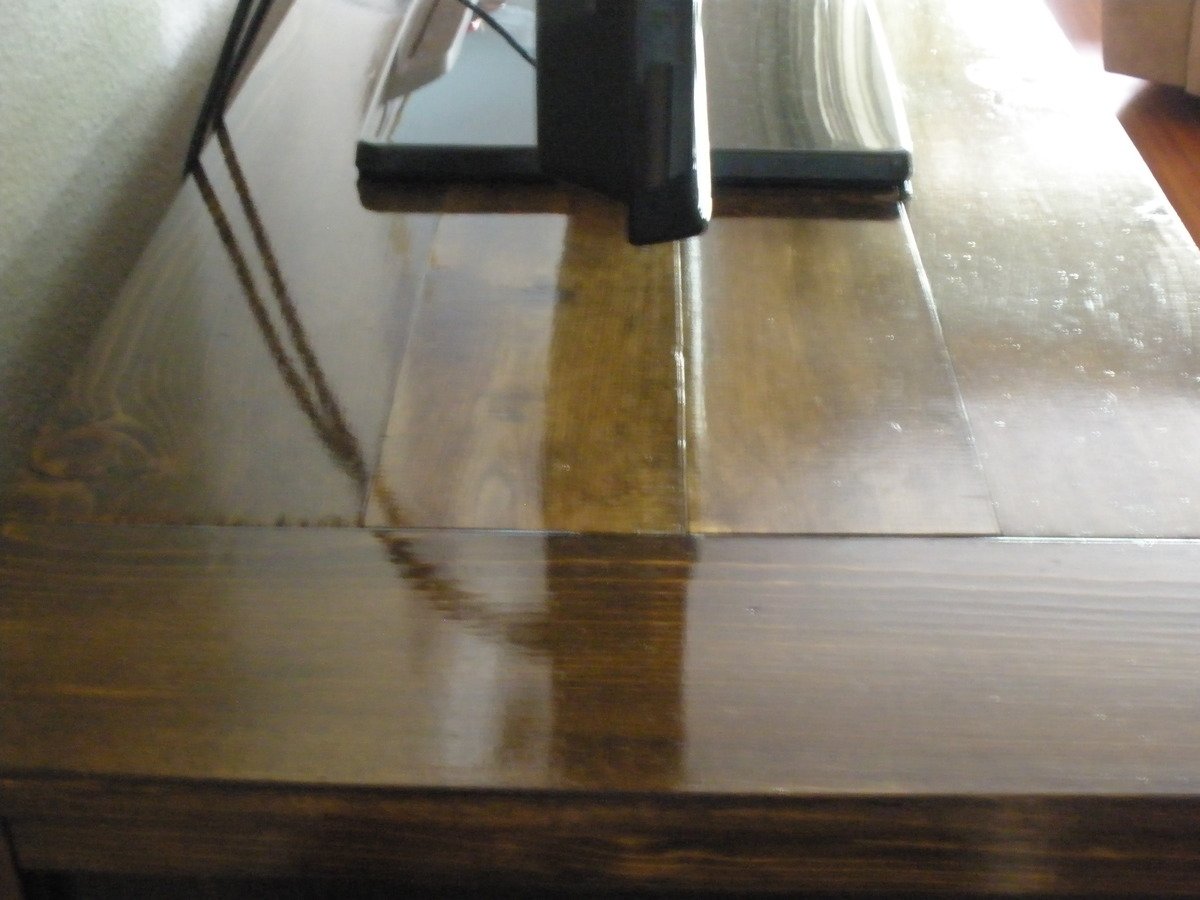
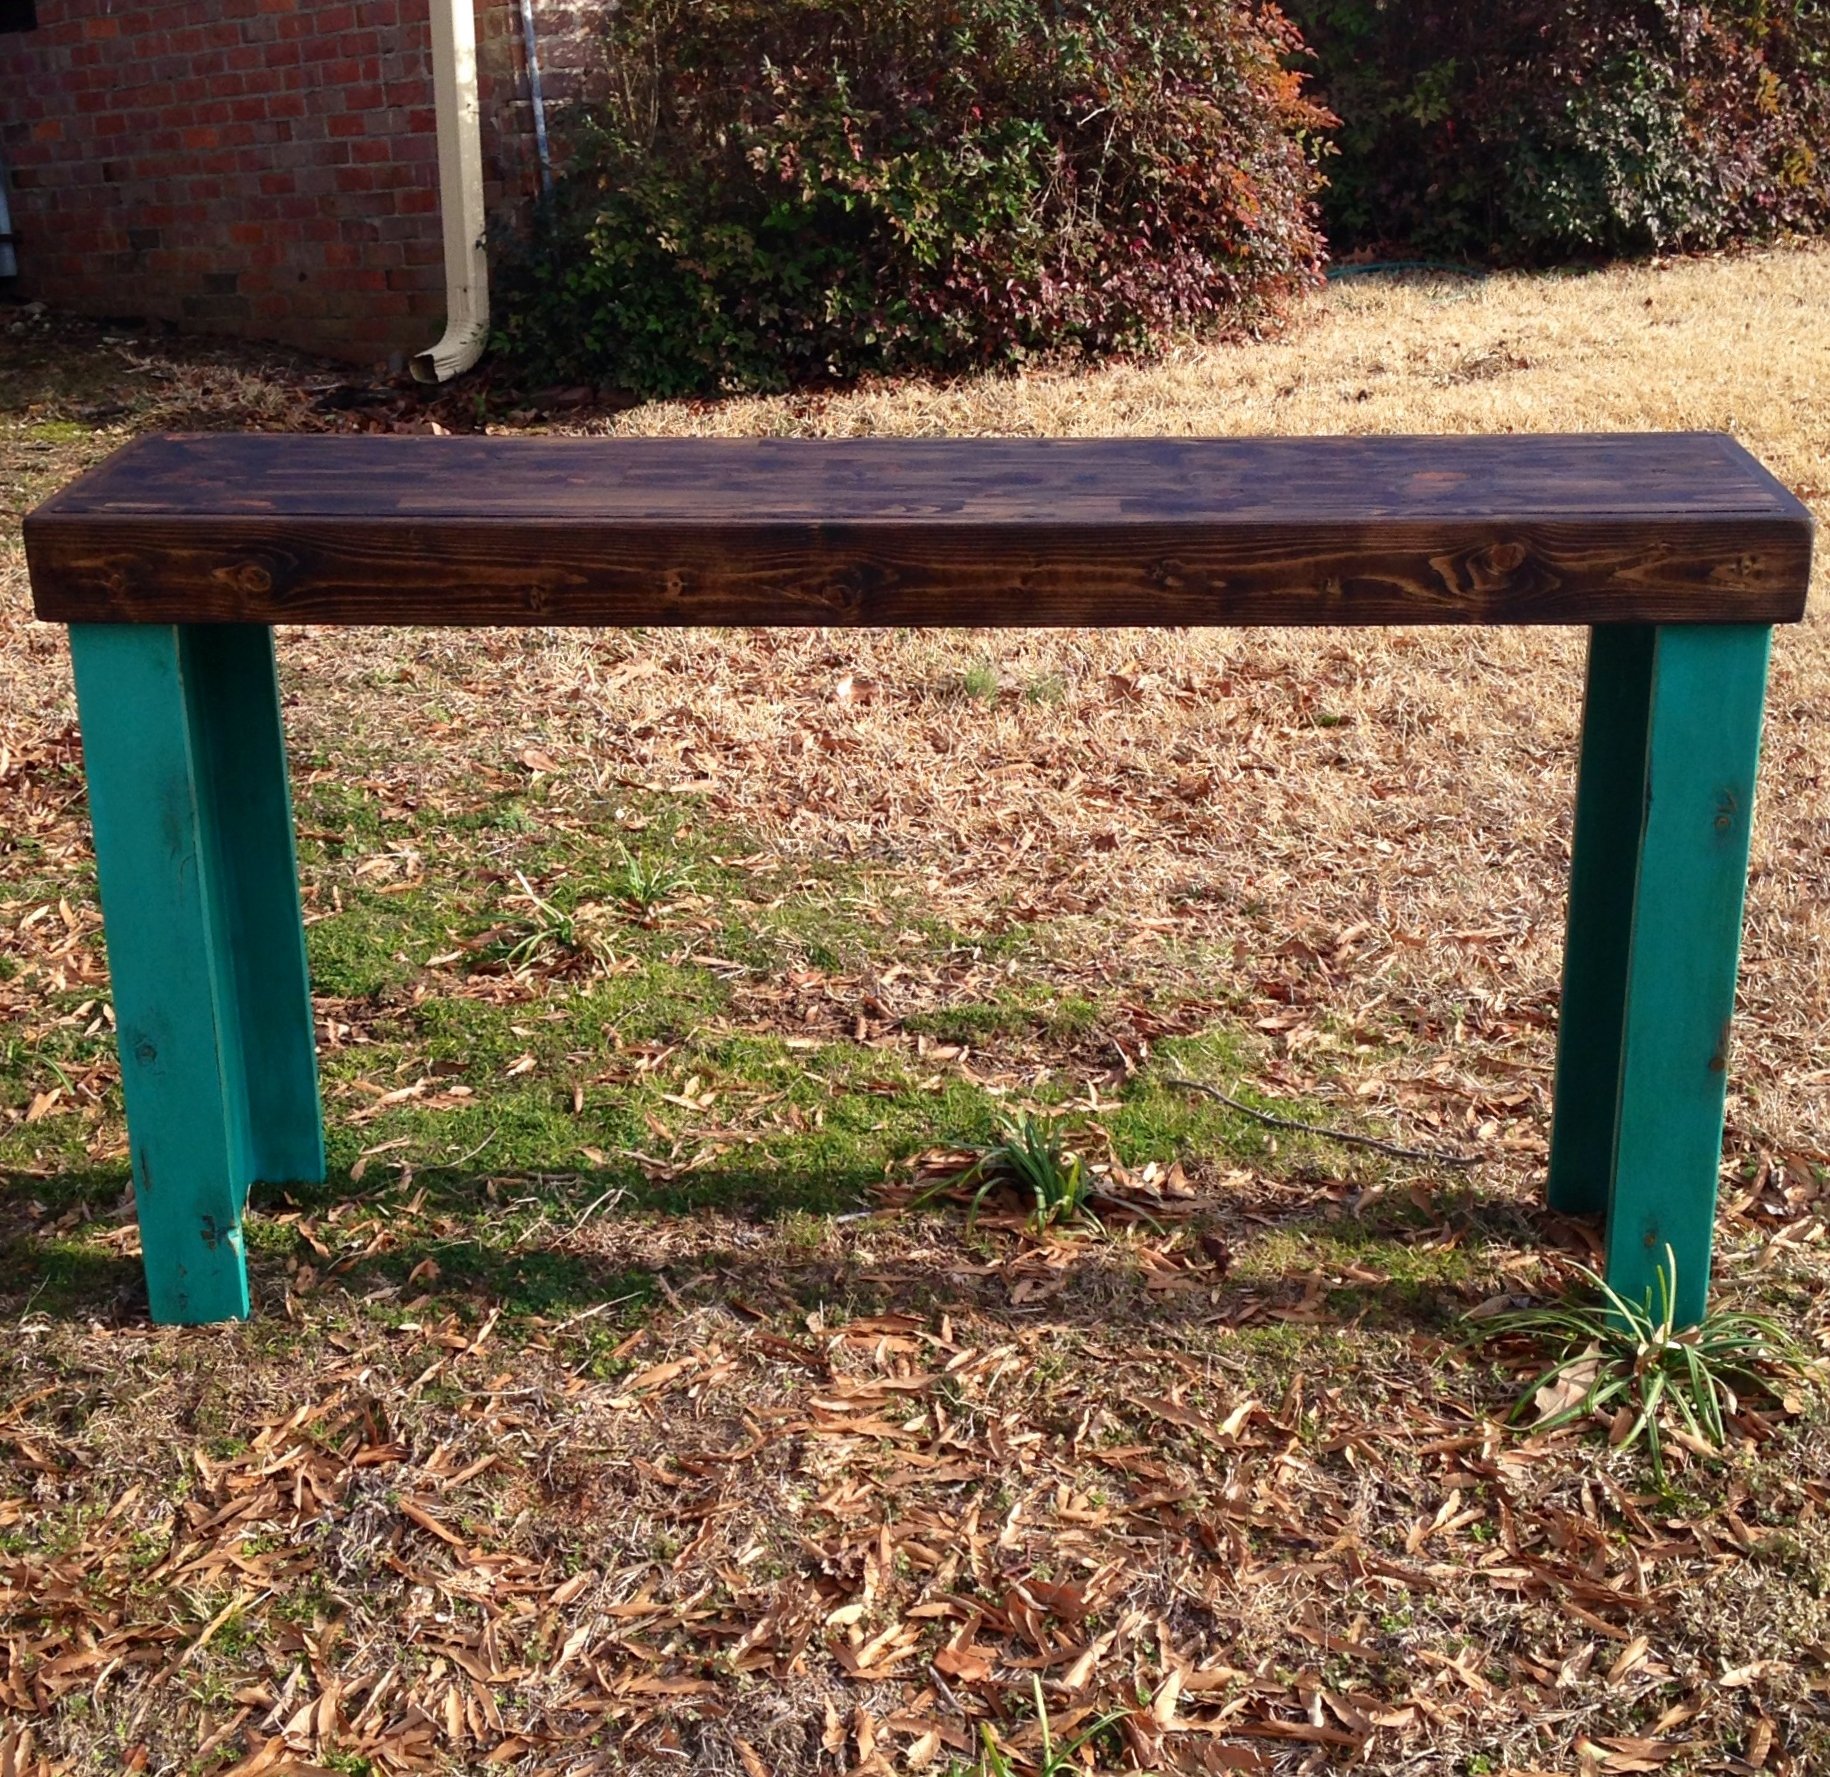
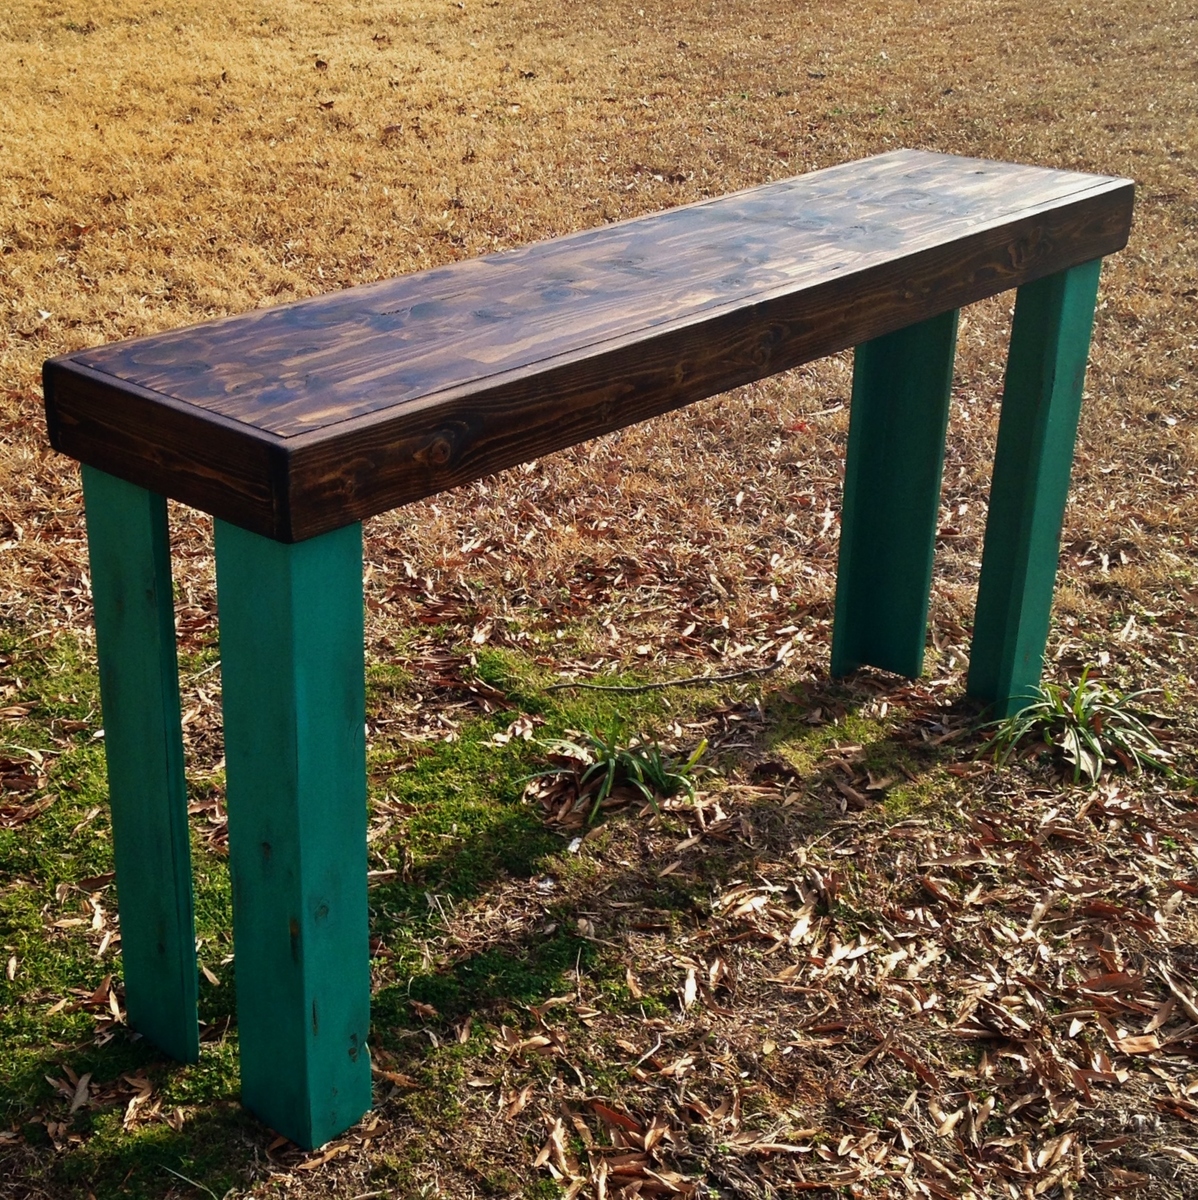
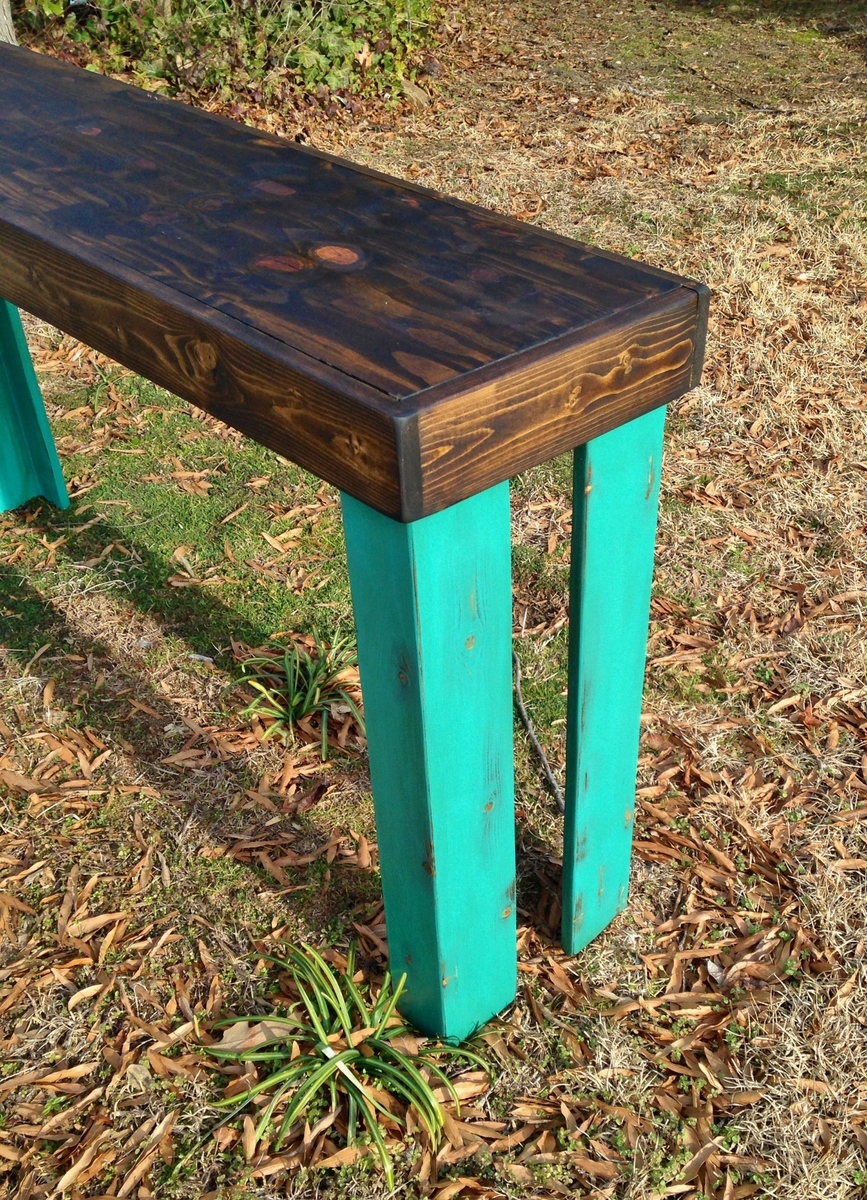
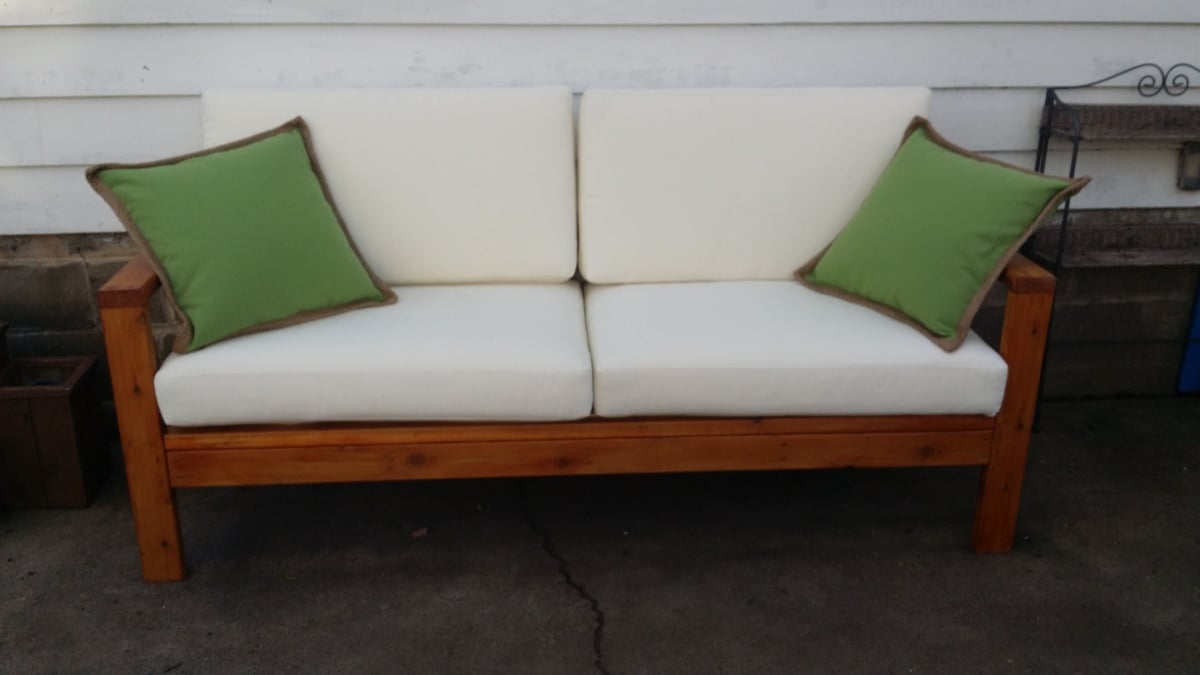
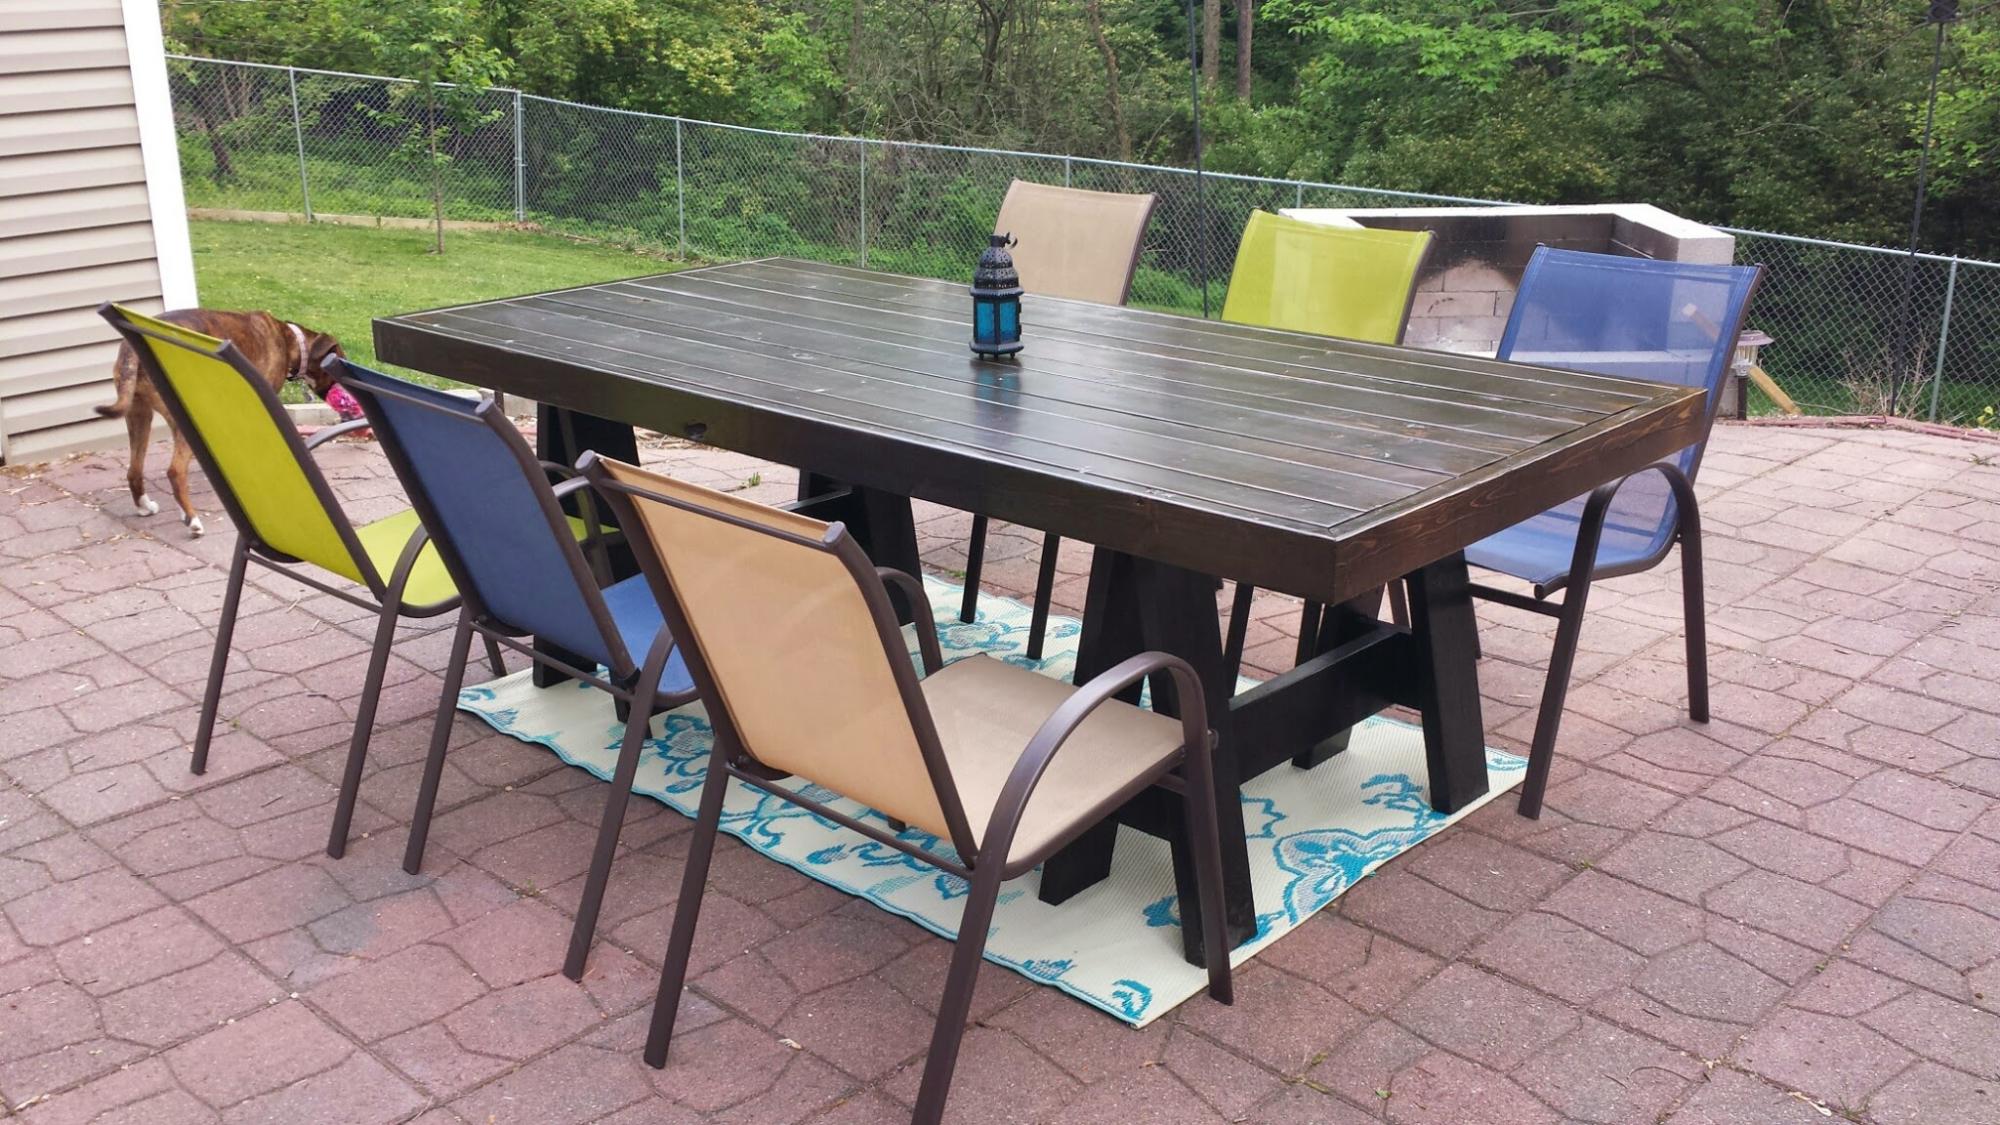
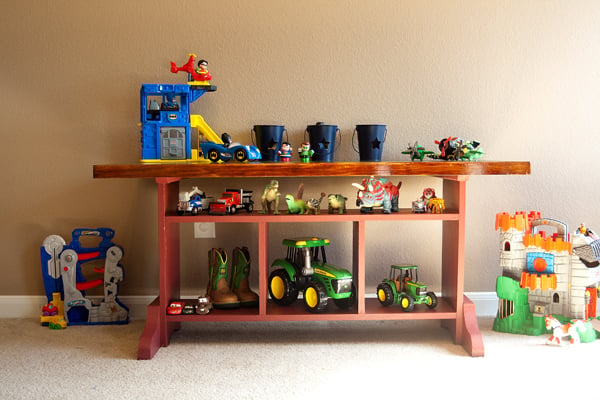
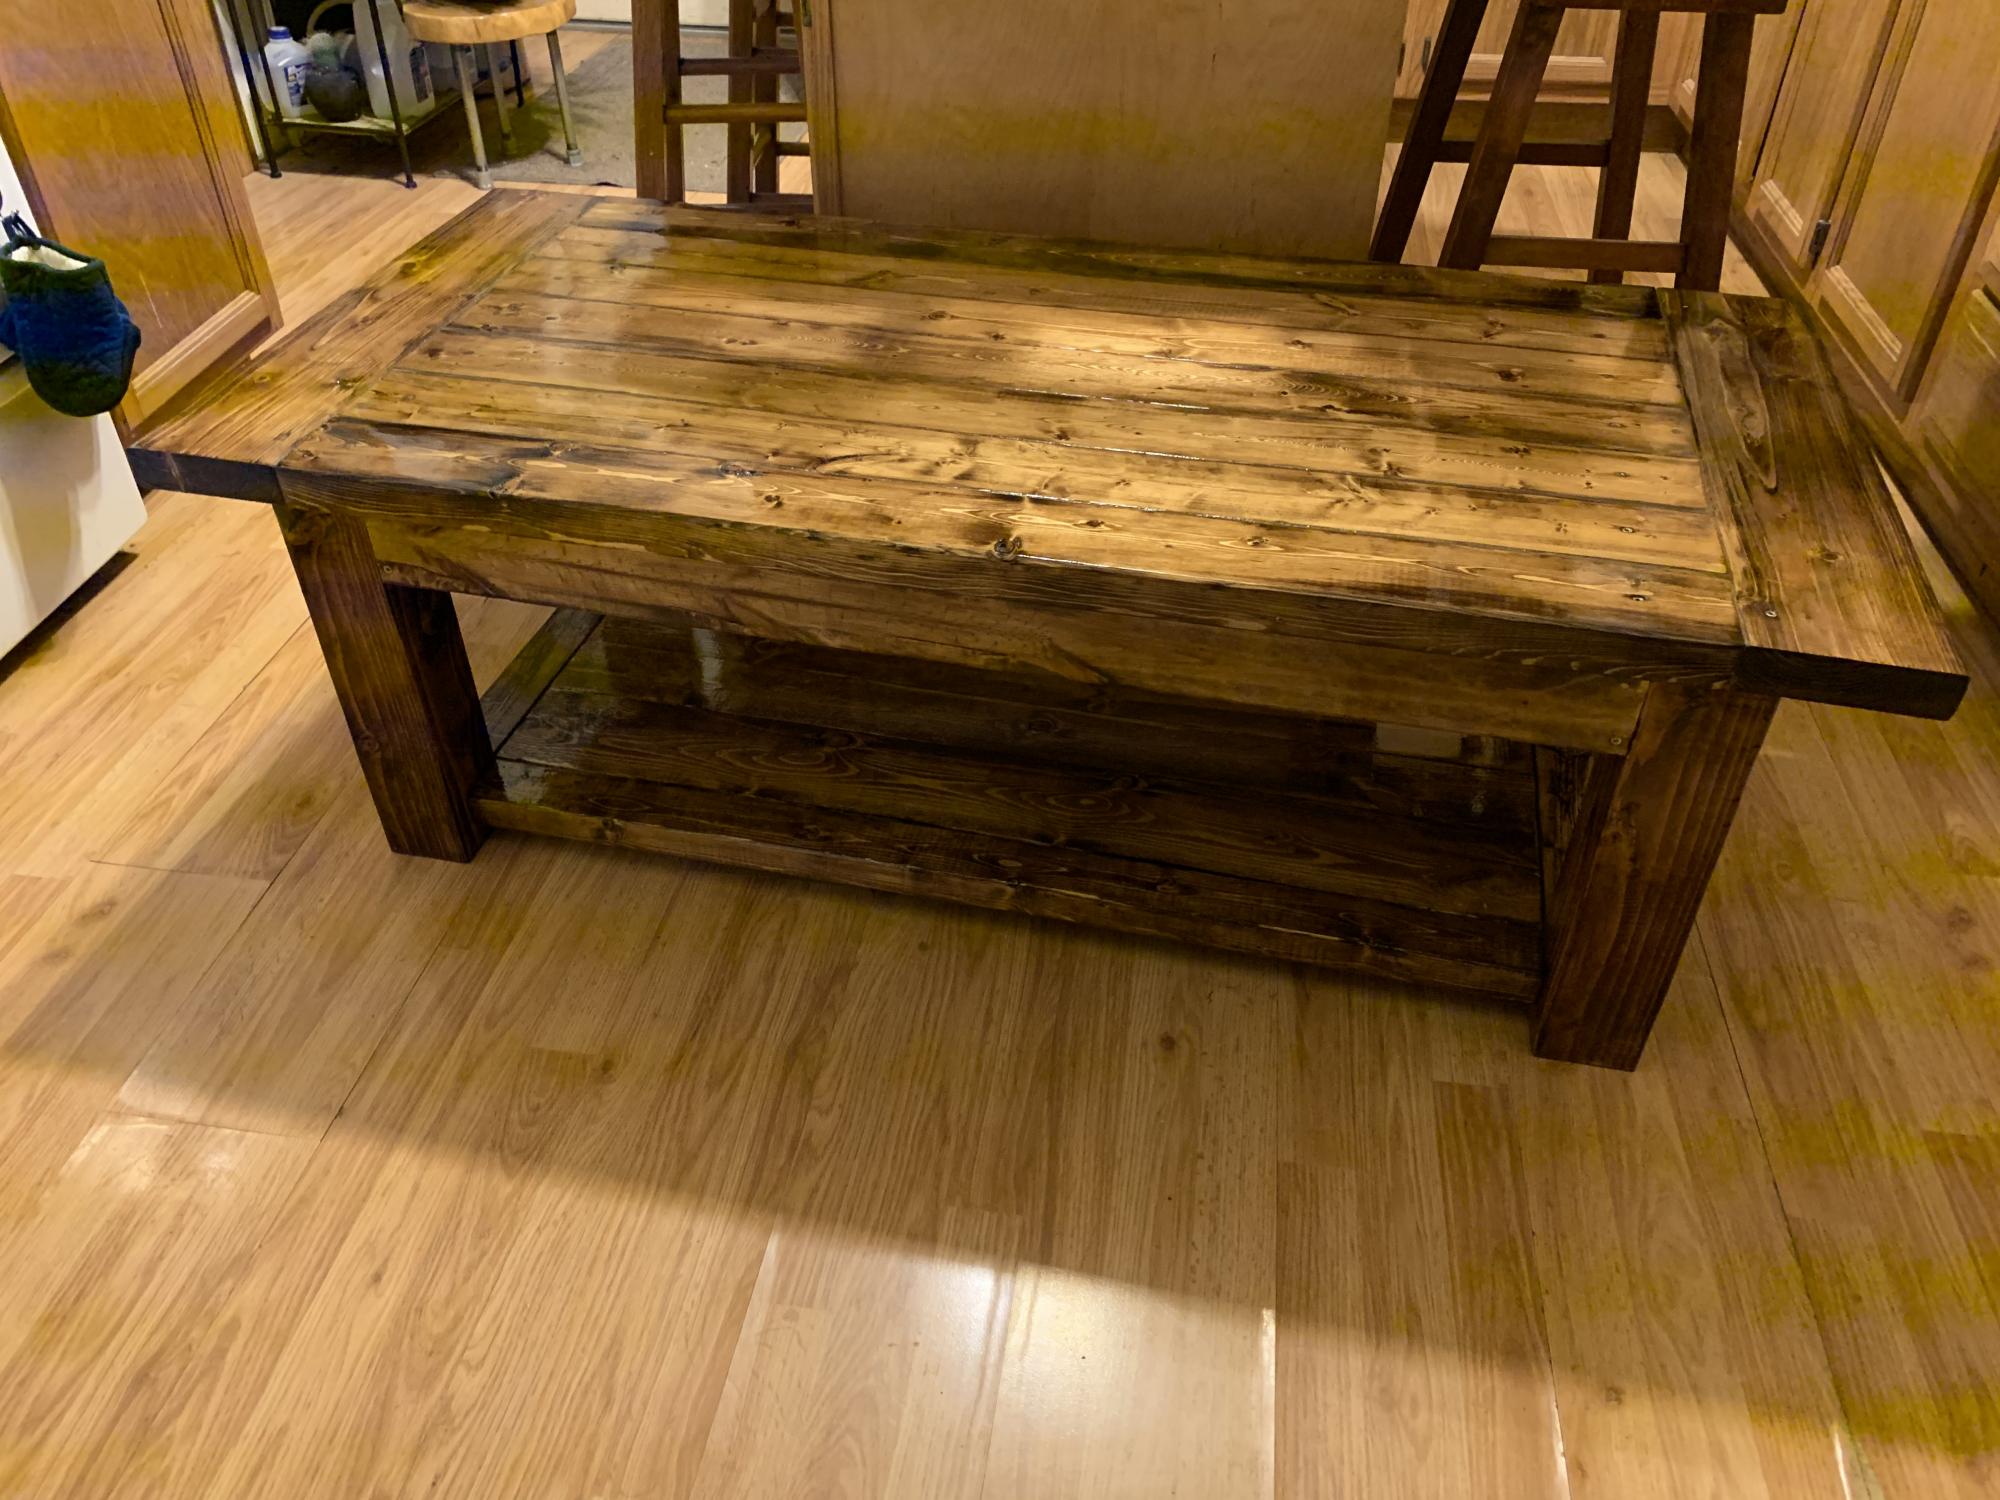
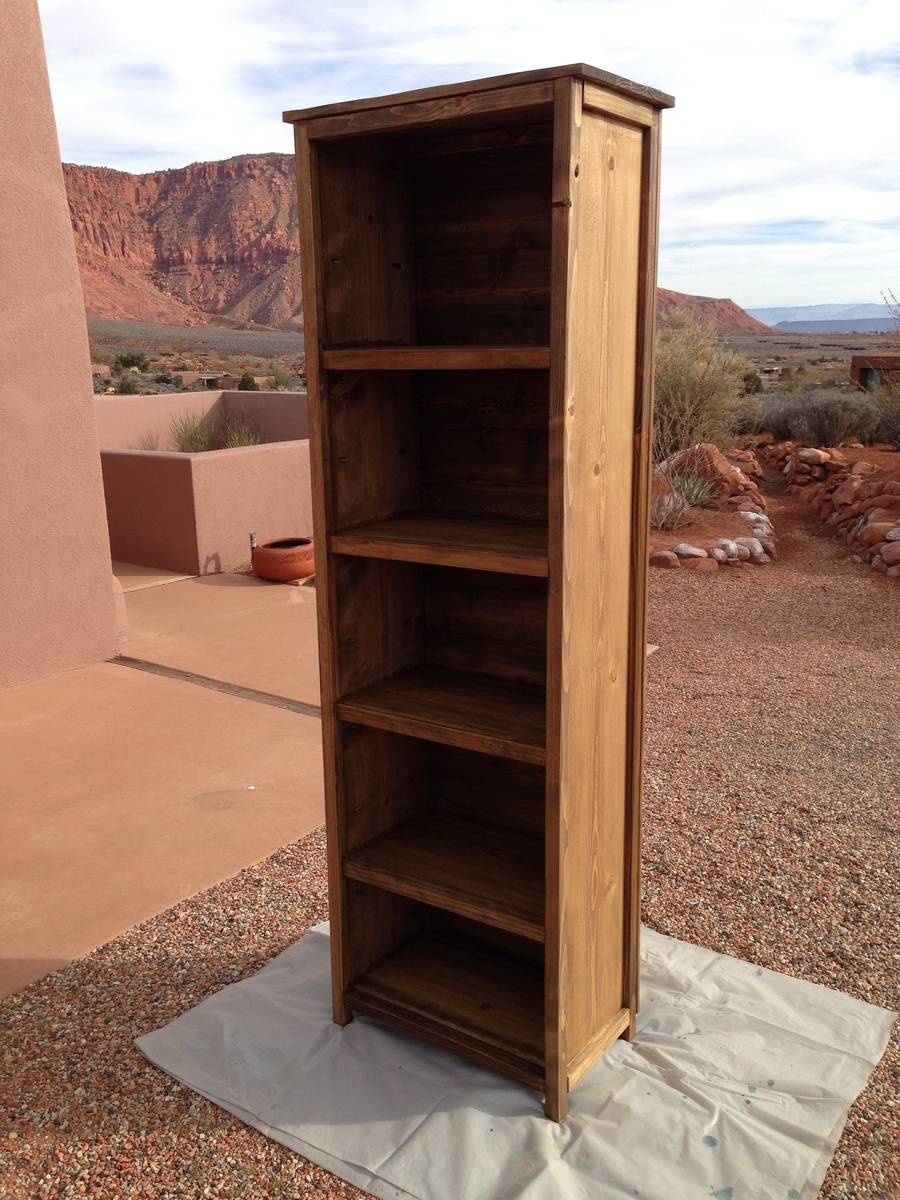
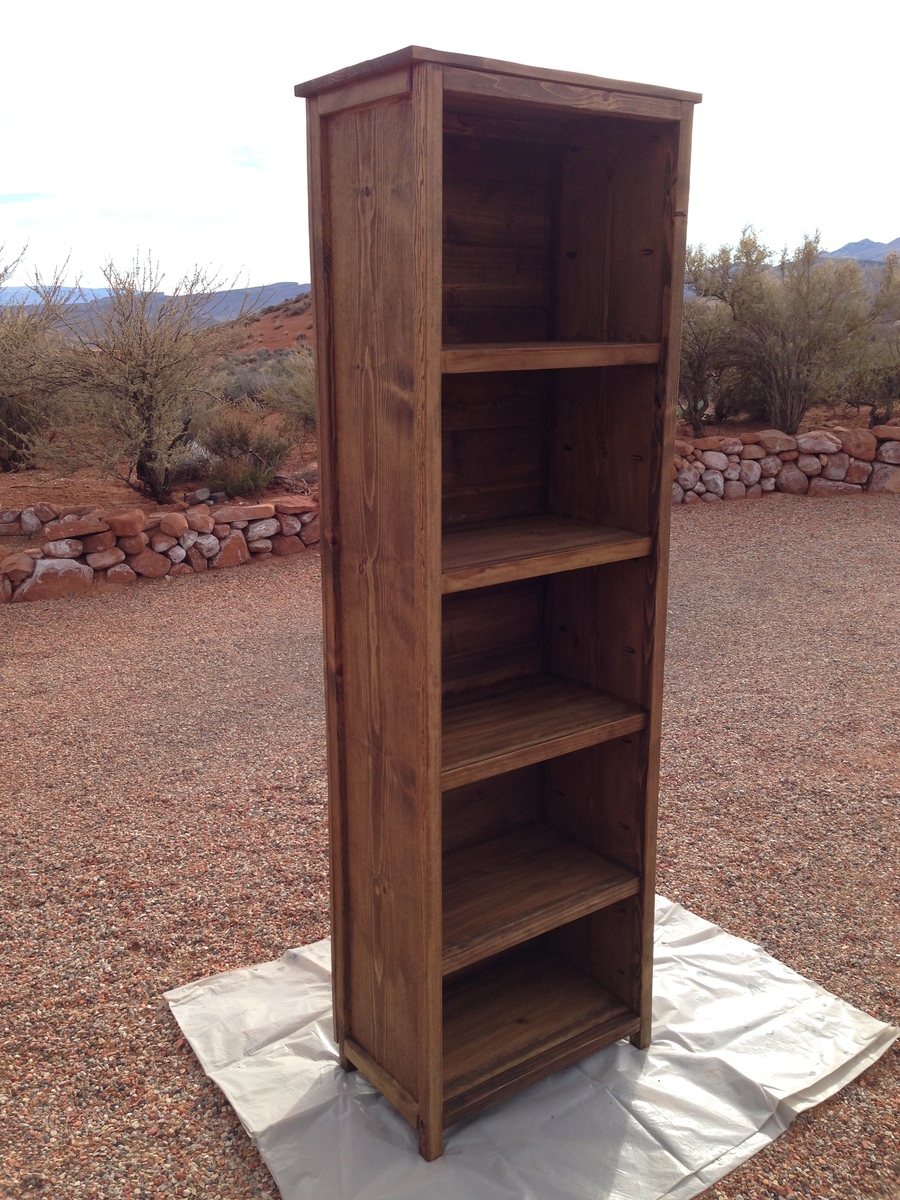
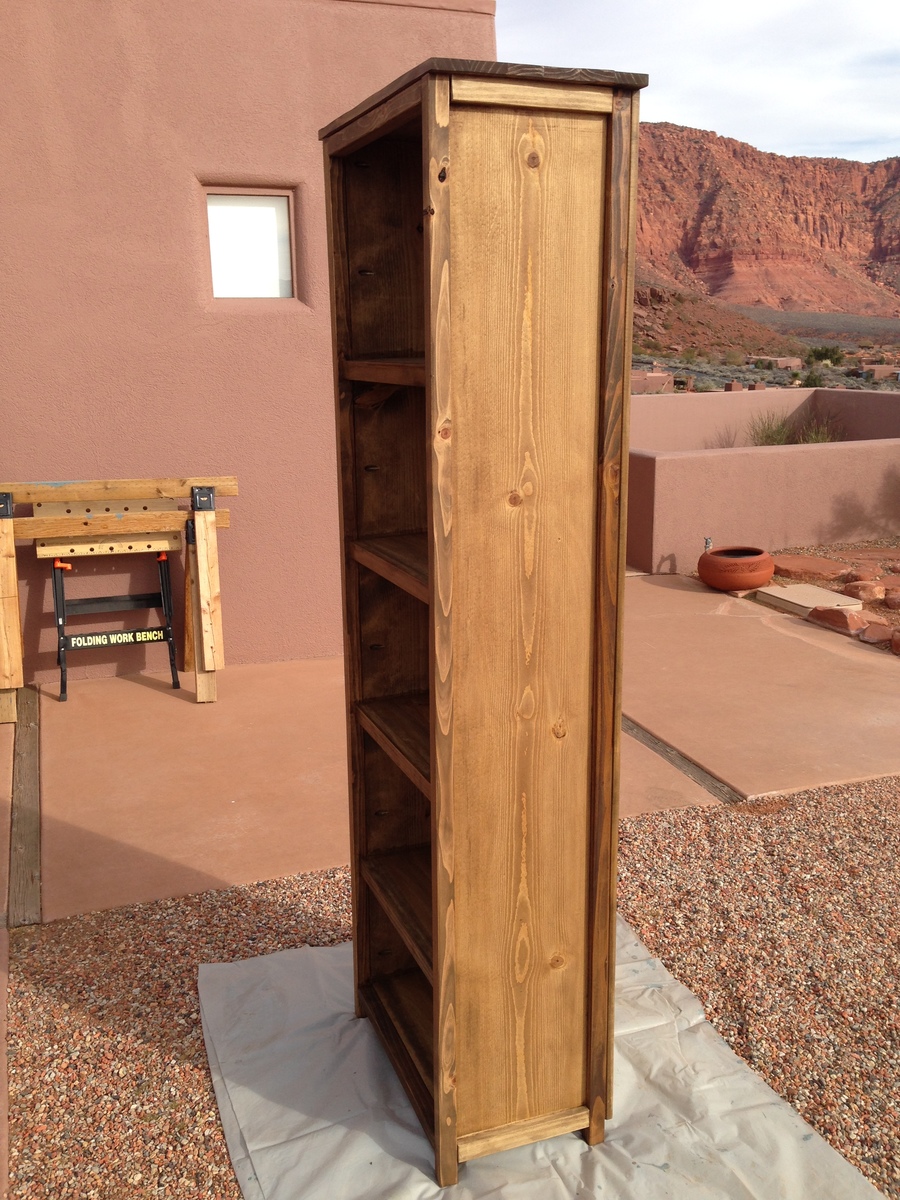
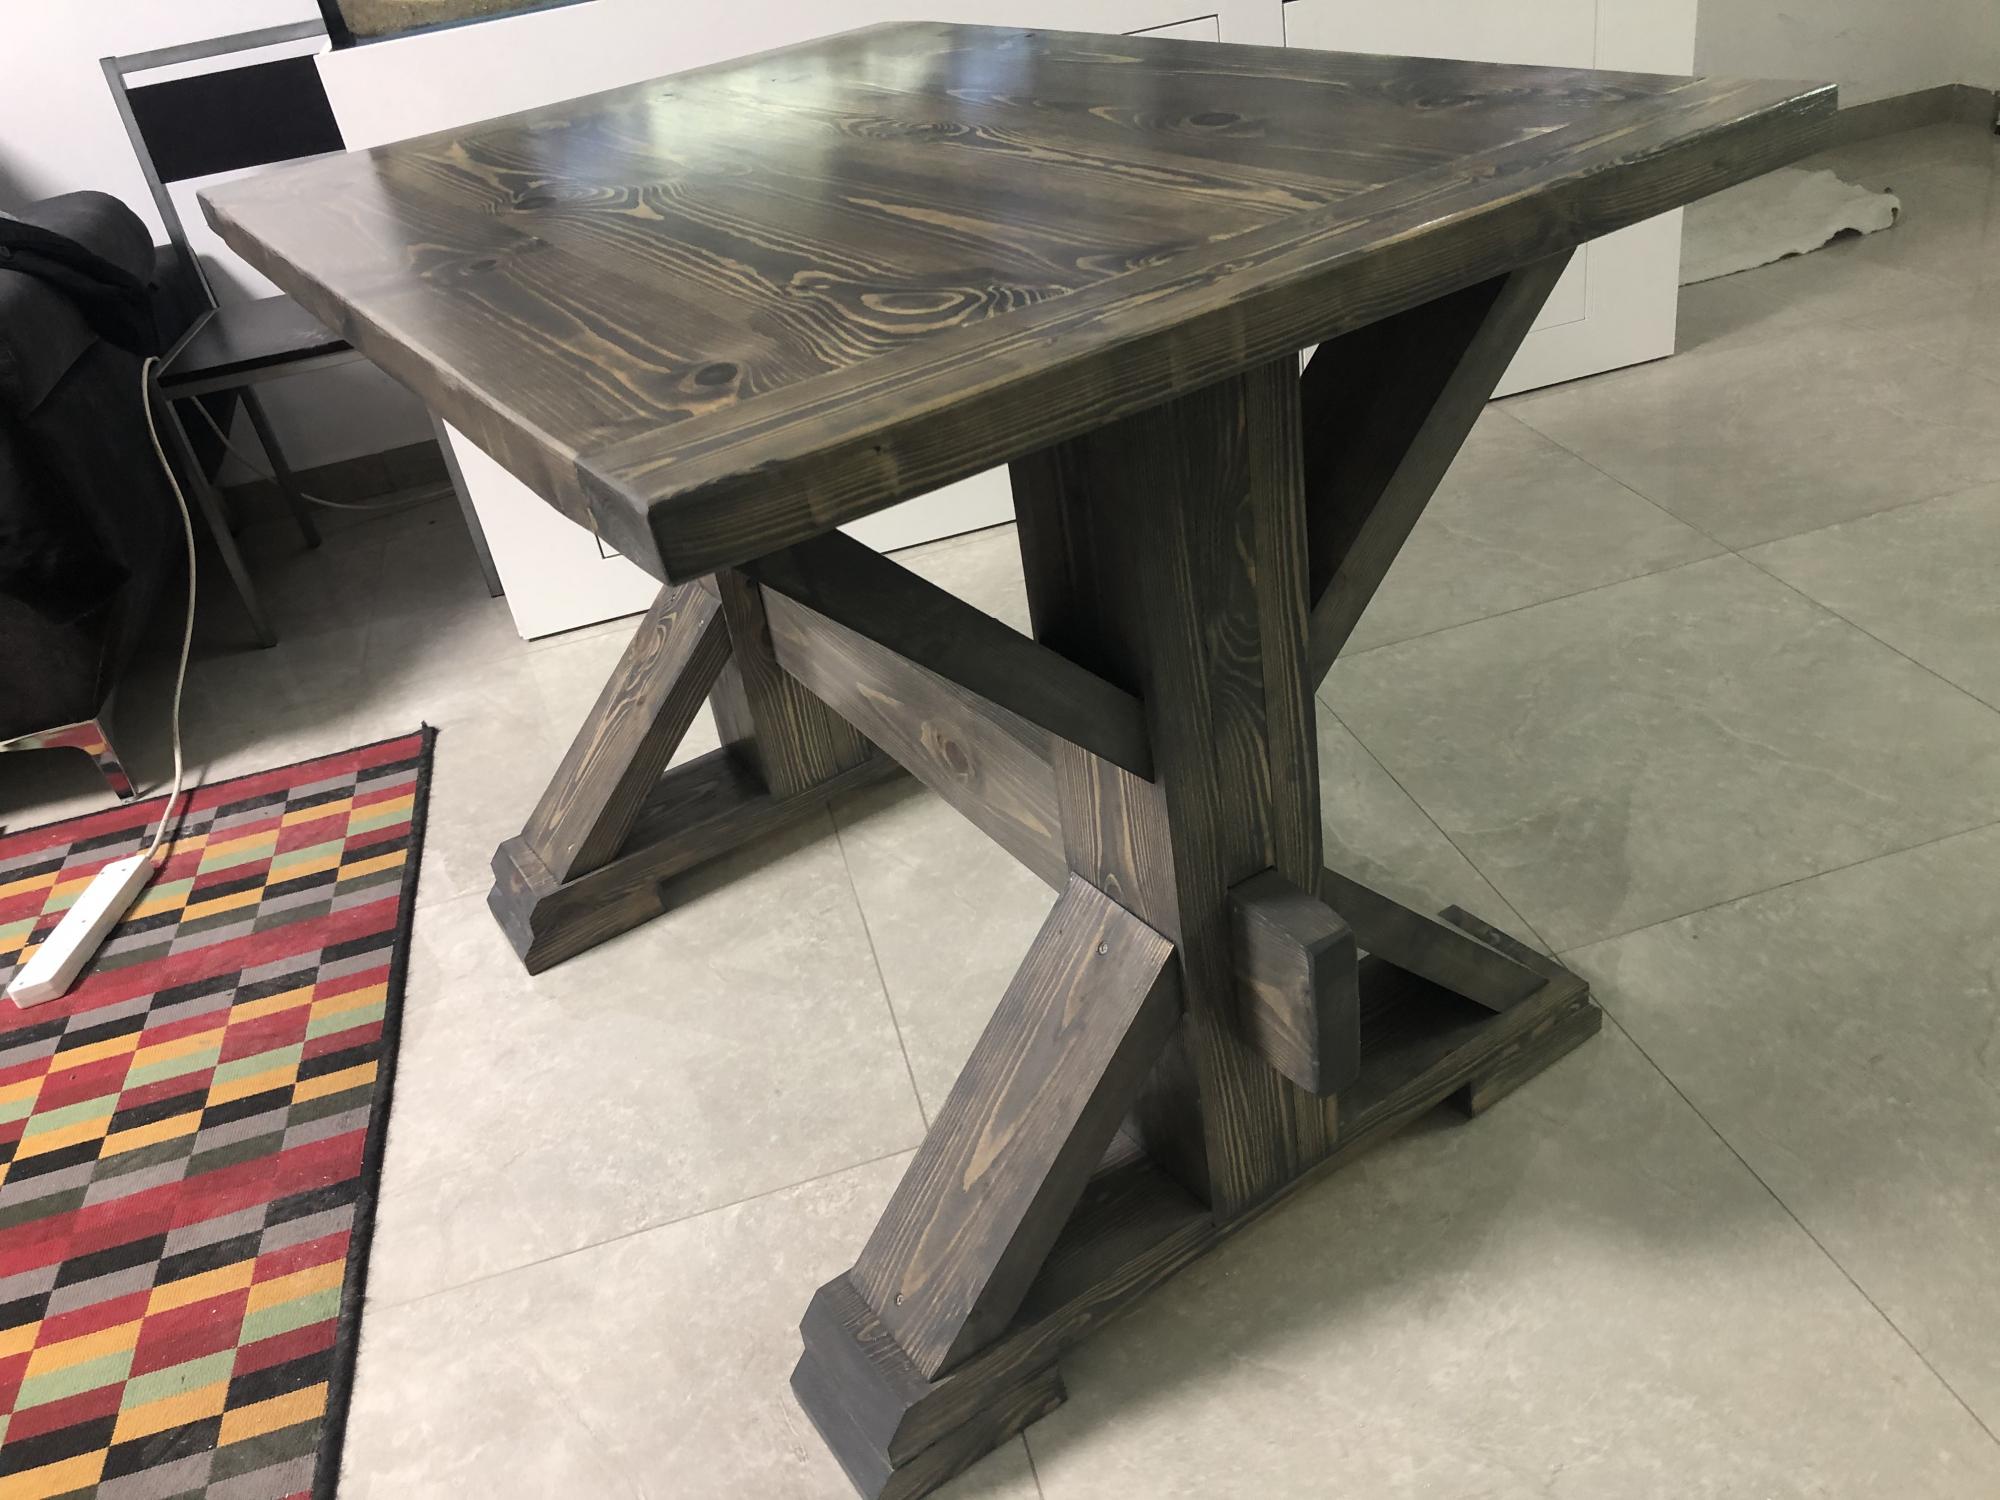
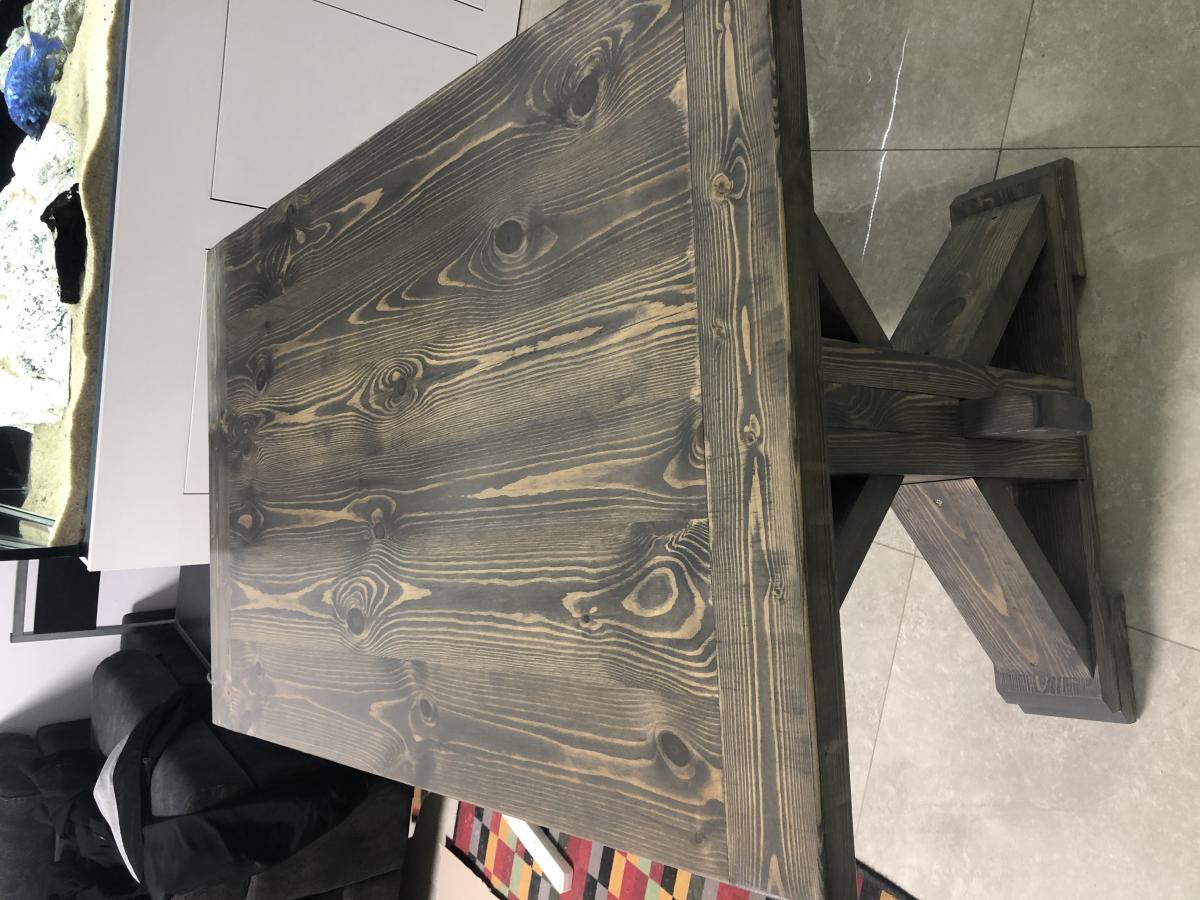
This stain color photographs blotchy looking. It does not look that way in person........
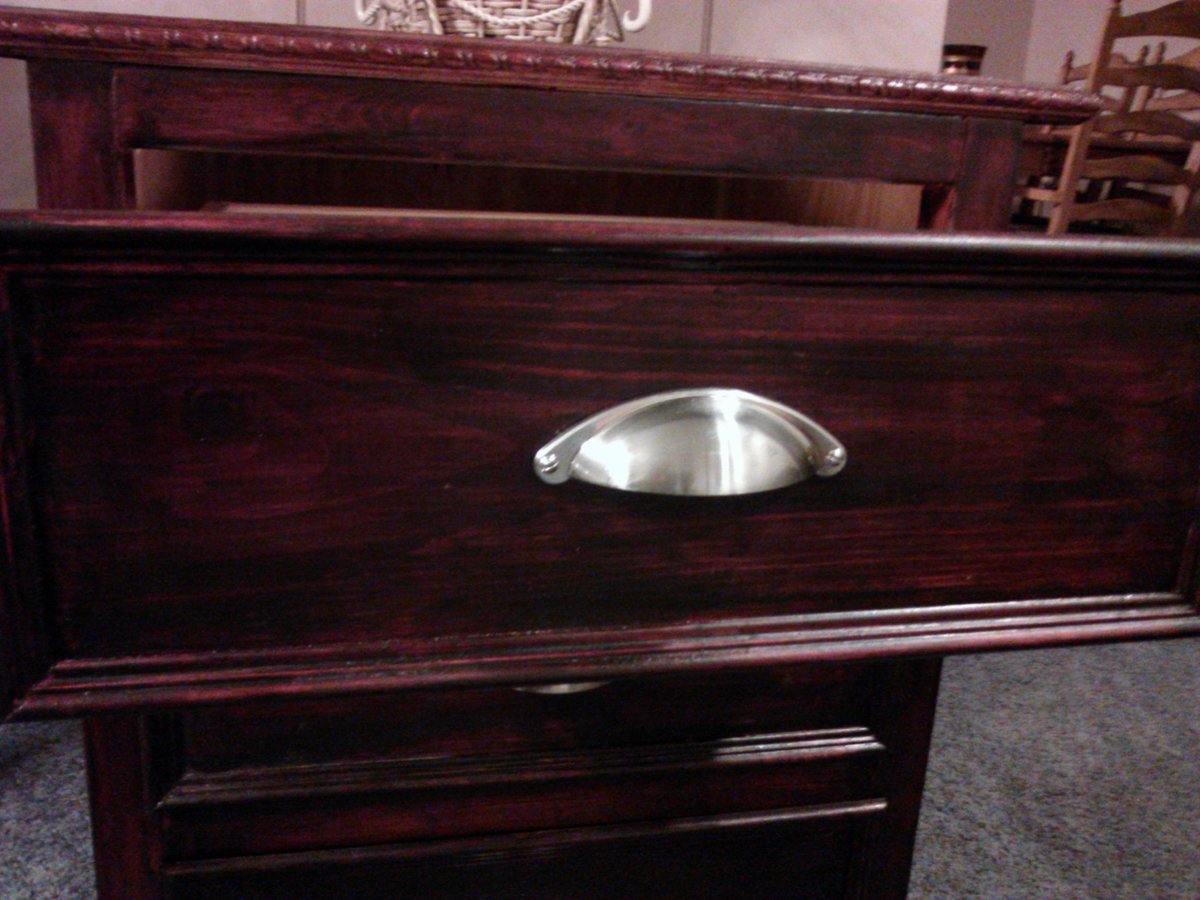
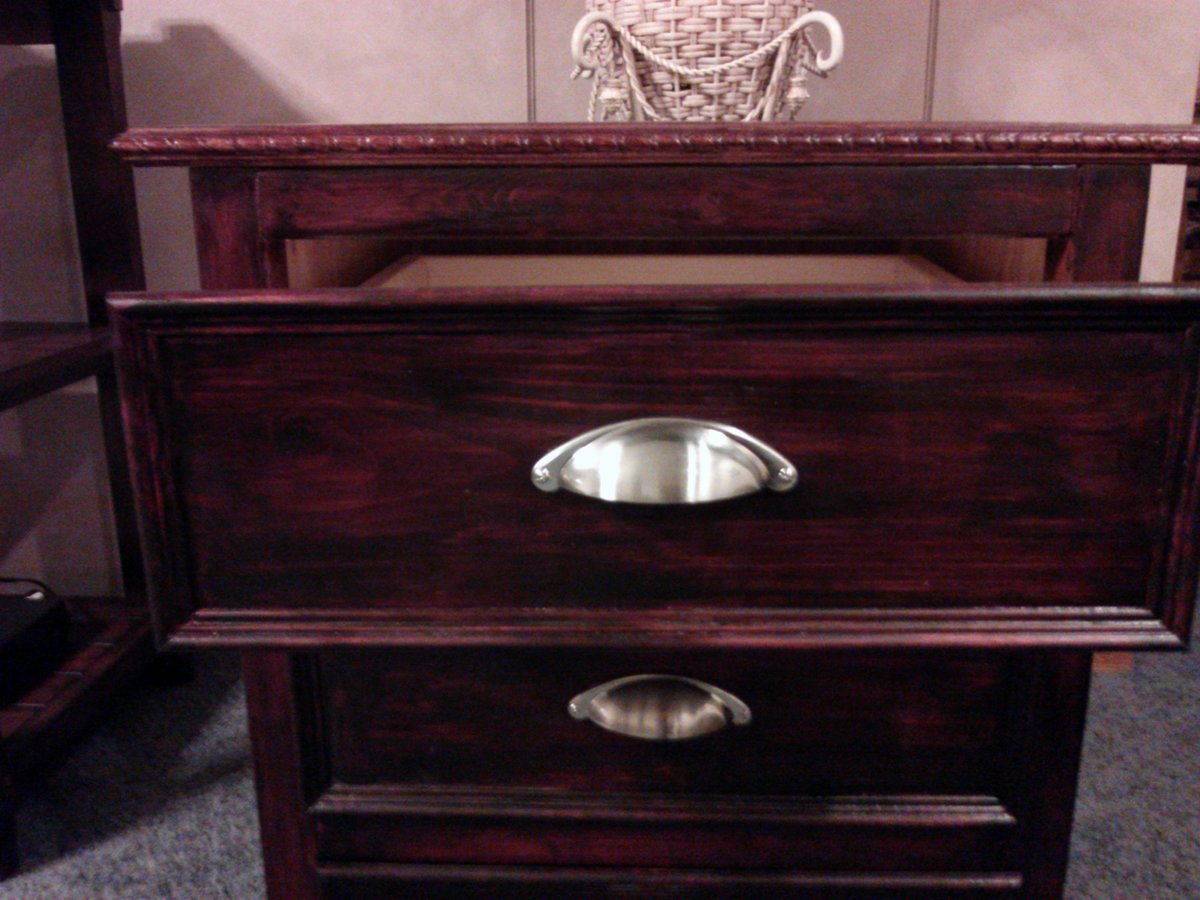
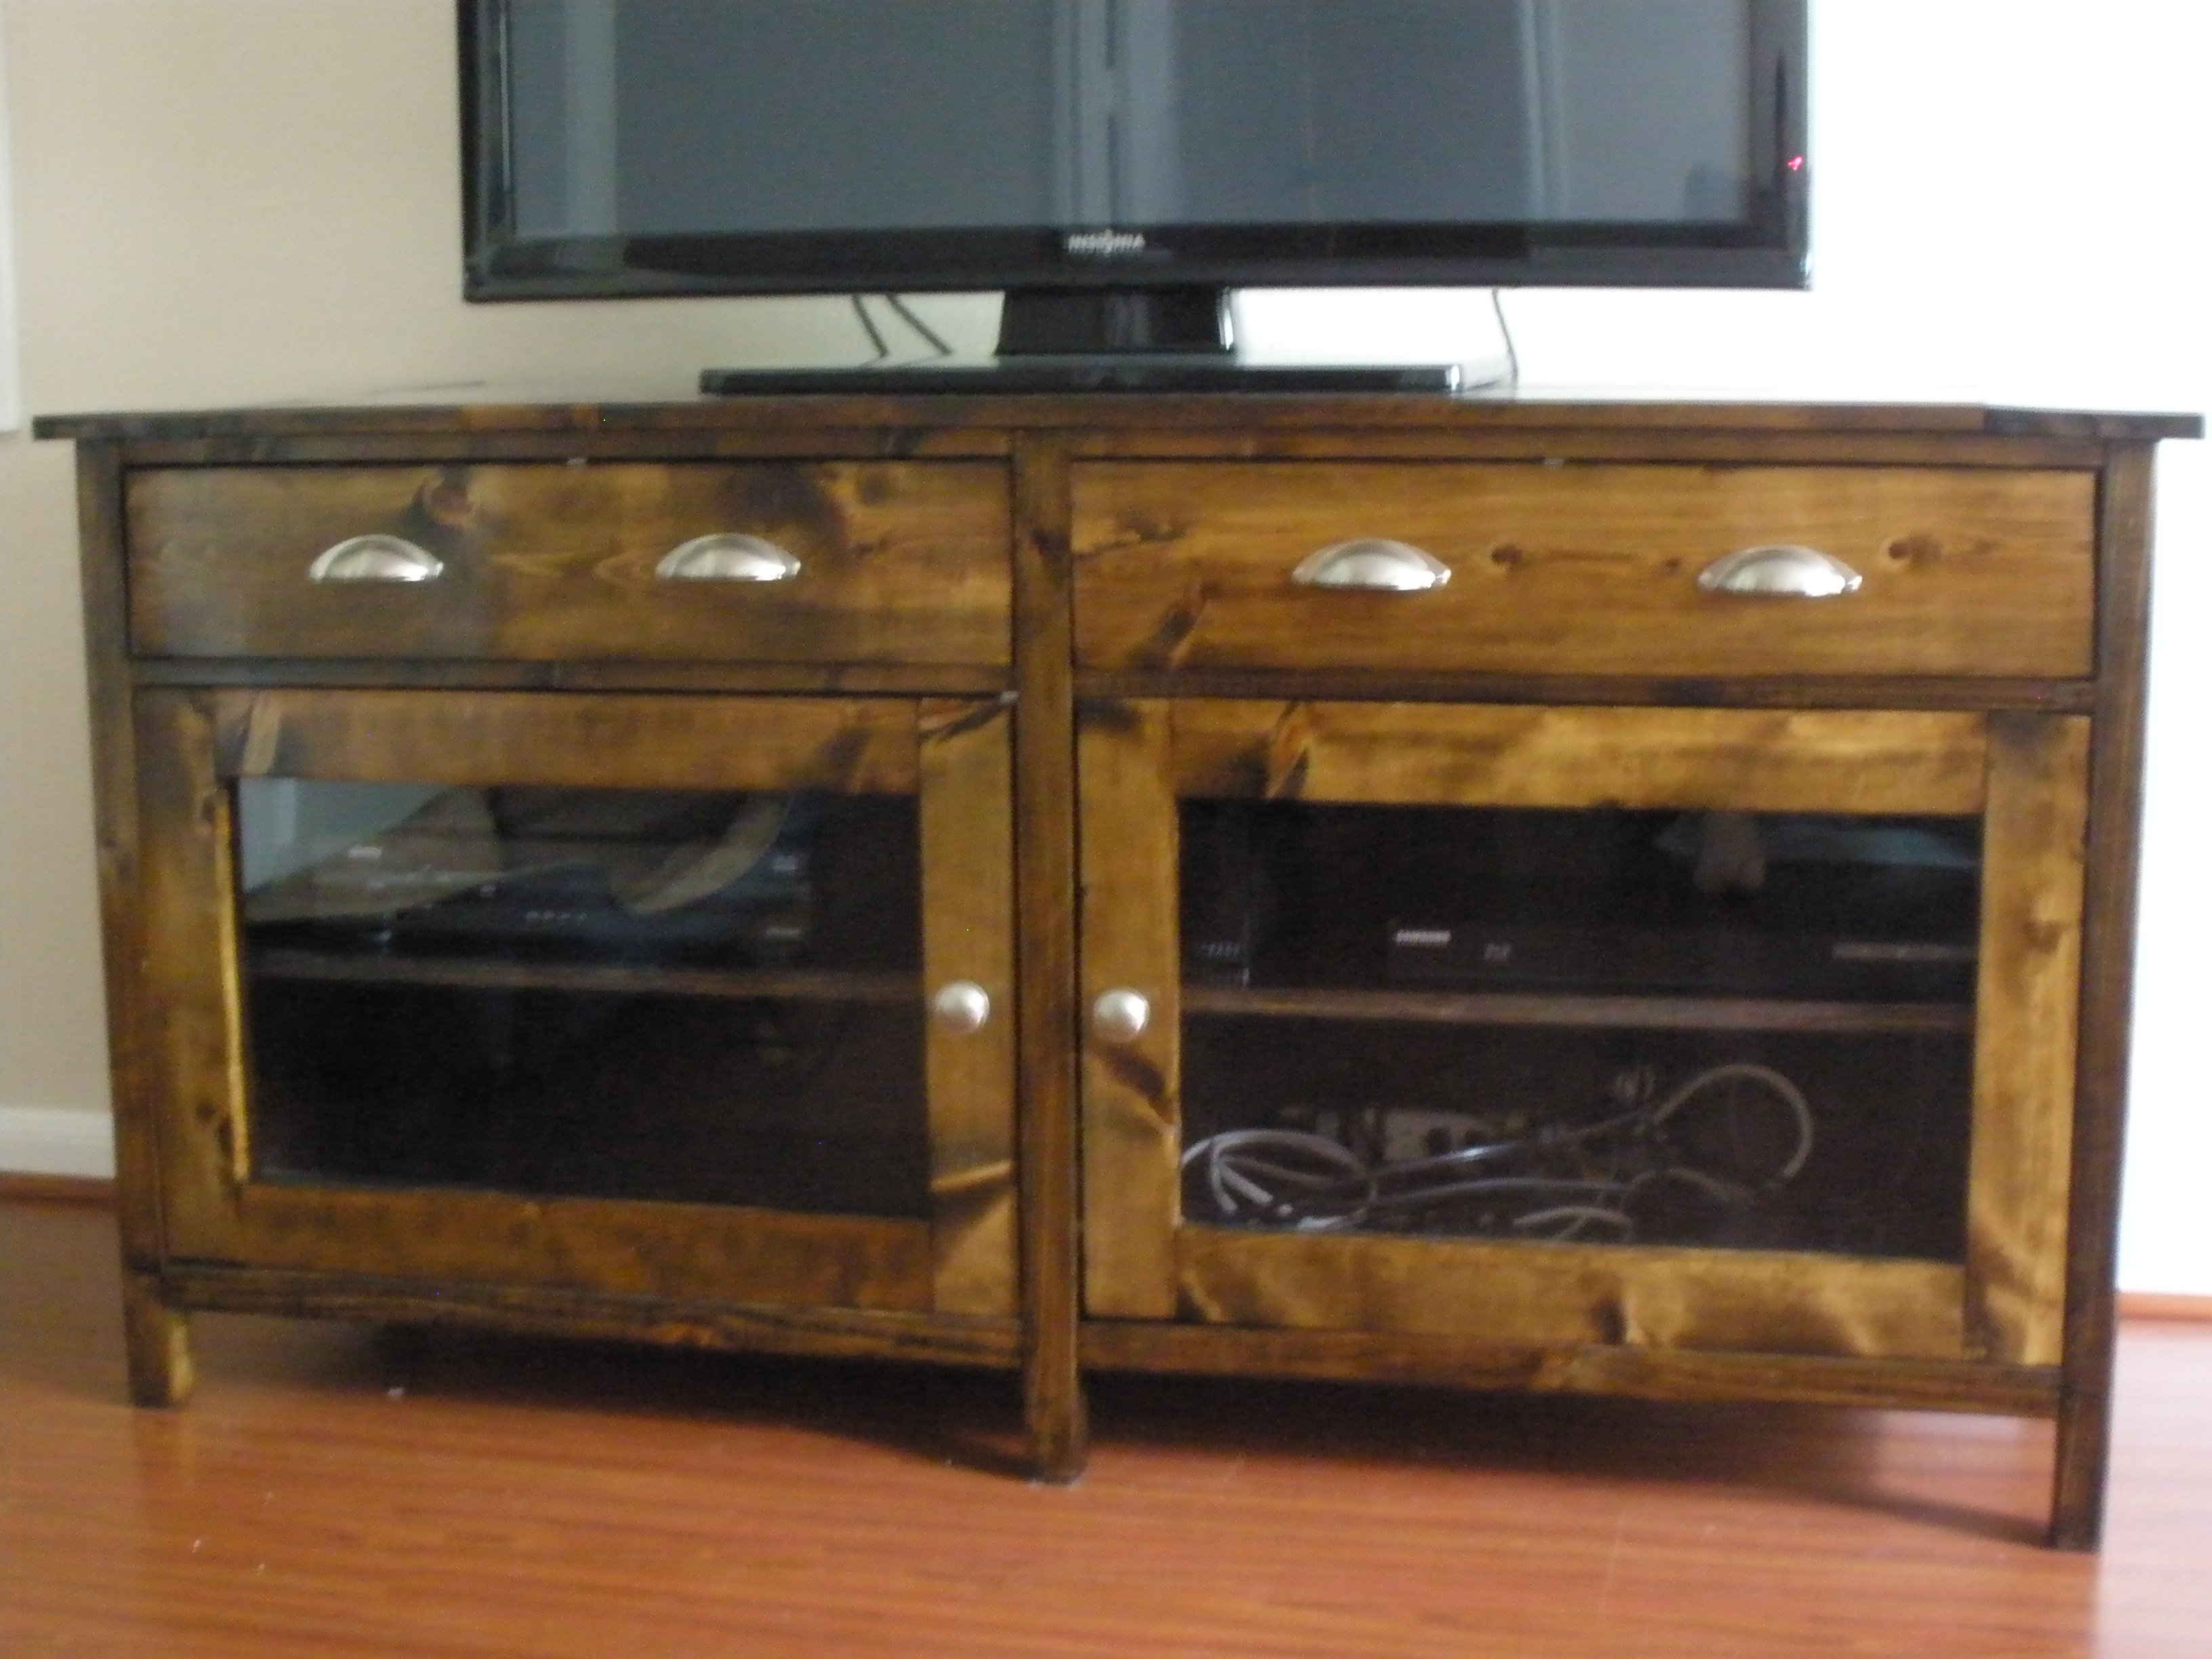
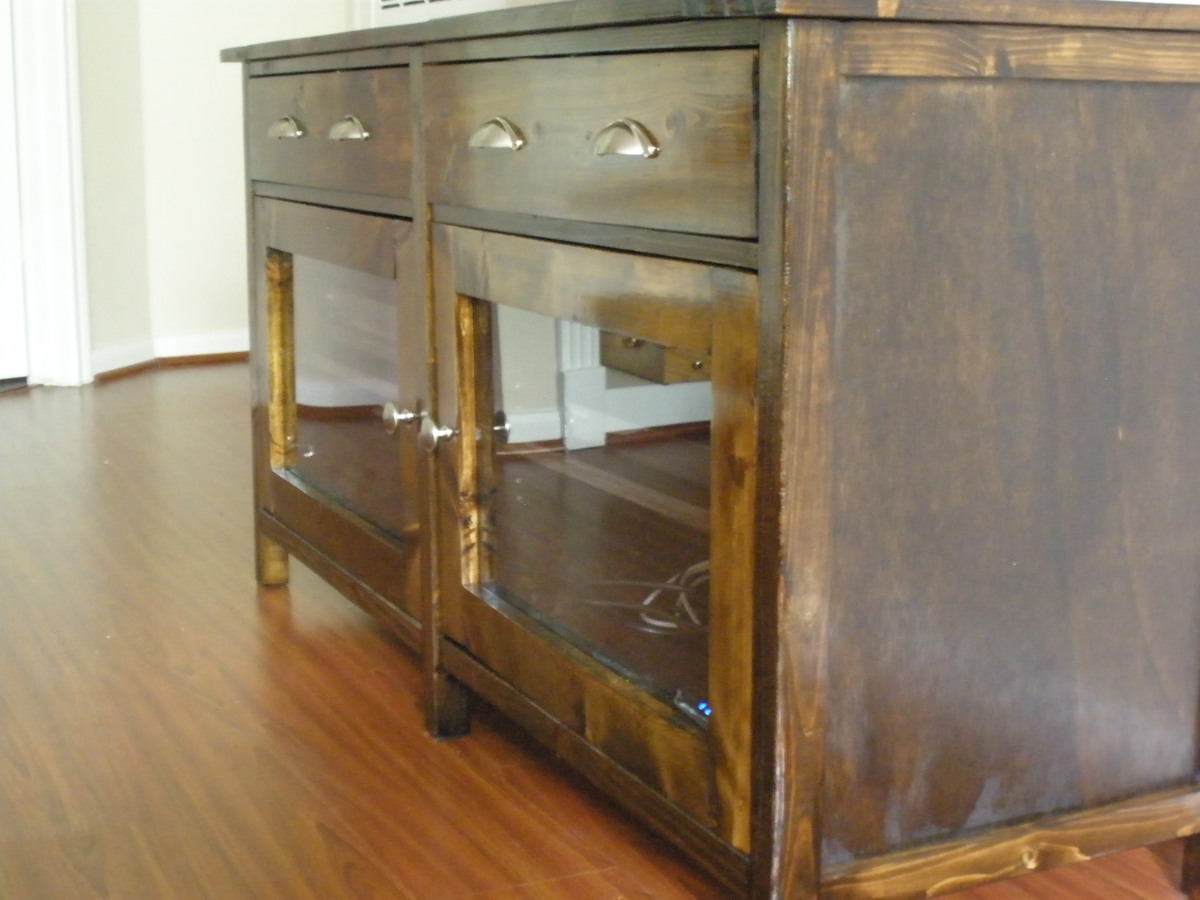
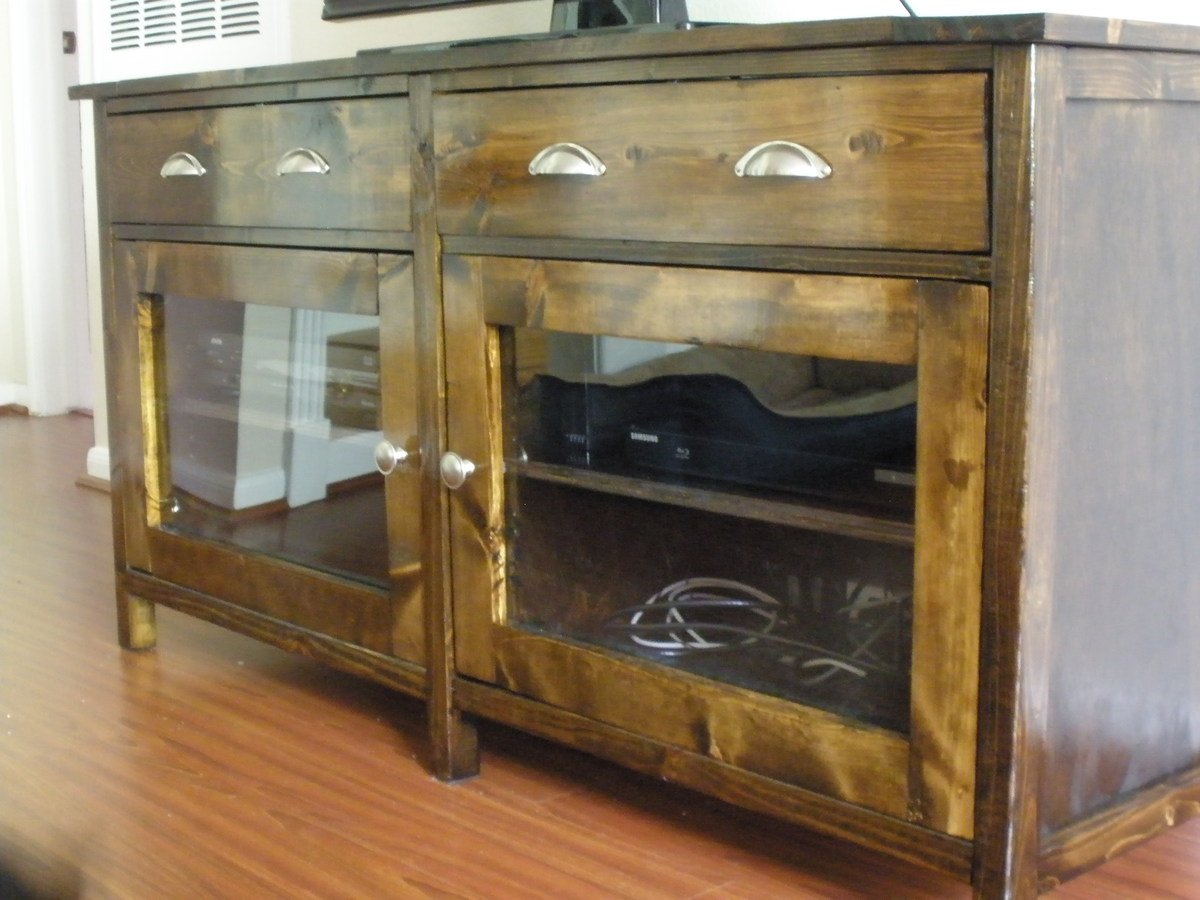
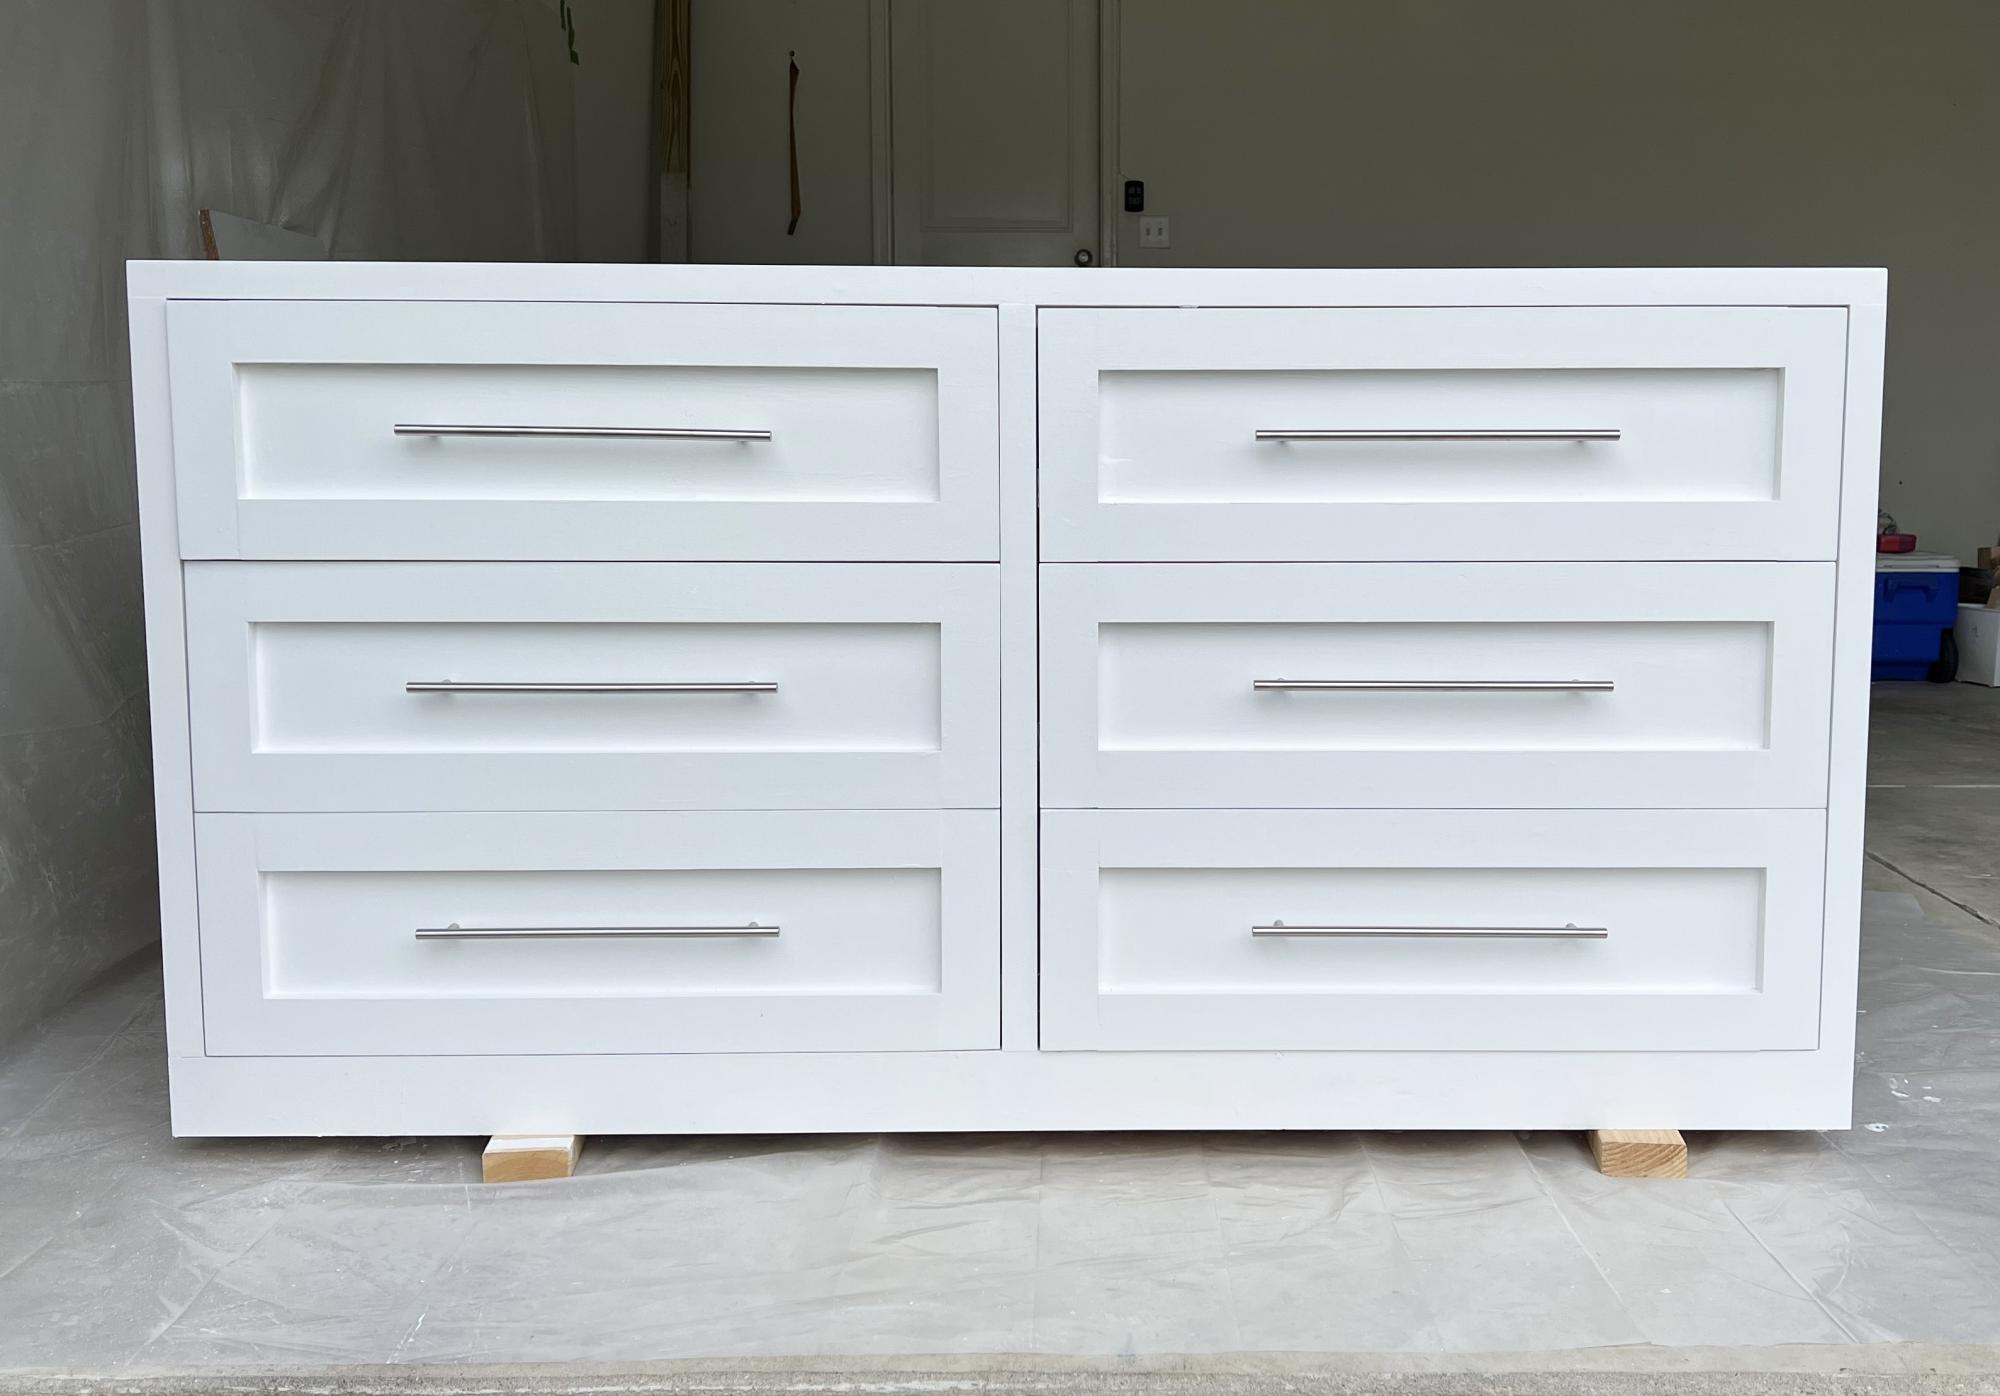
I used beadboard for the sides because I had some left over. I'm glad I did. I really like the way it looks. I also used trim on the outside of all the drawers. It really gives it a polished look. You could also use it if you have uneven gaps where the drawer slides in.
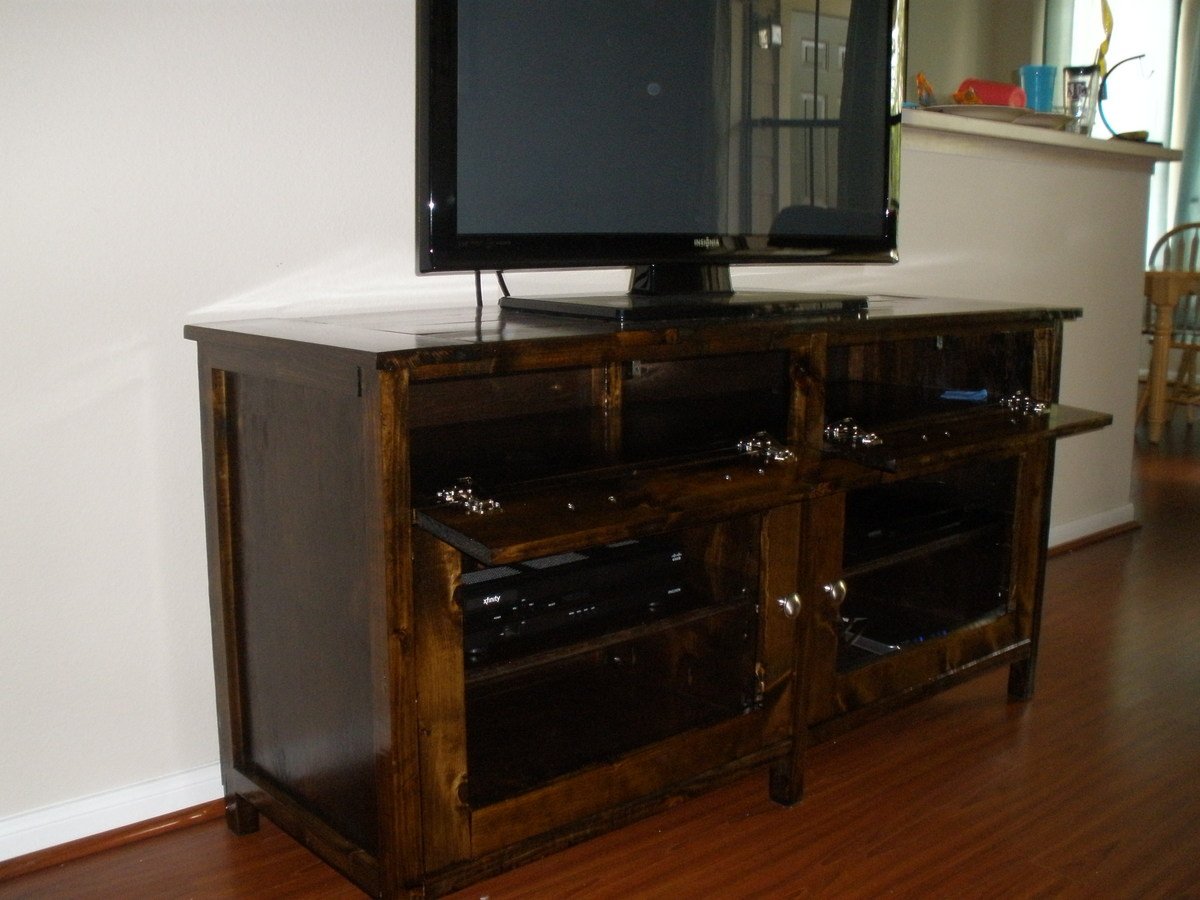
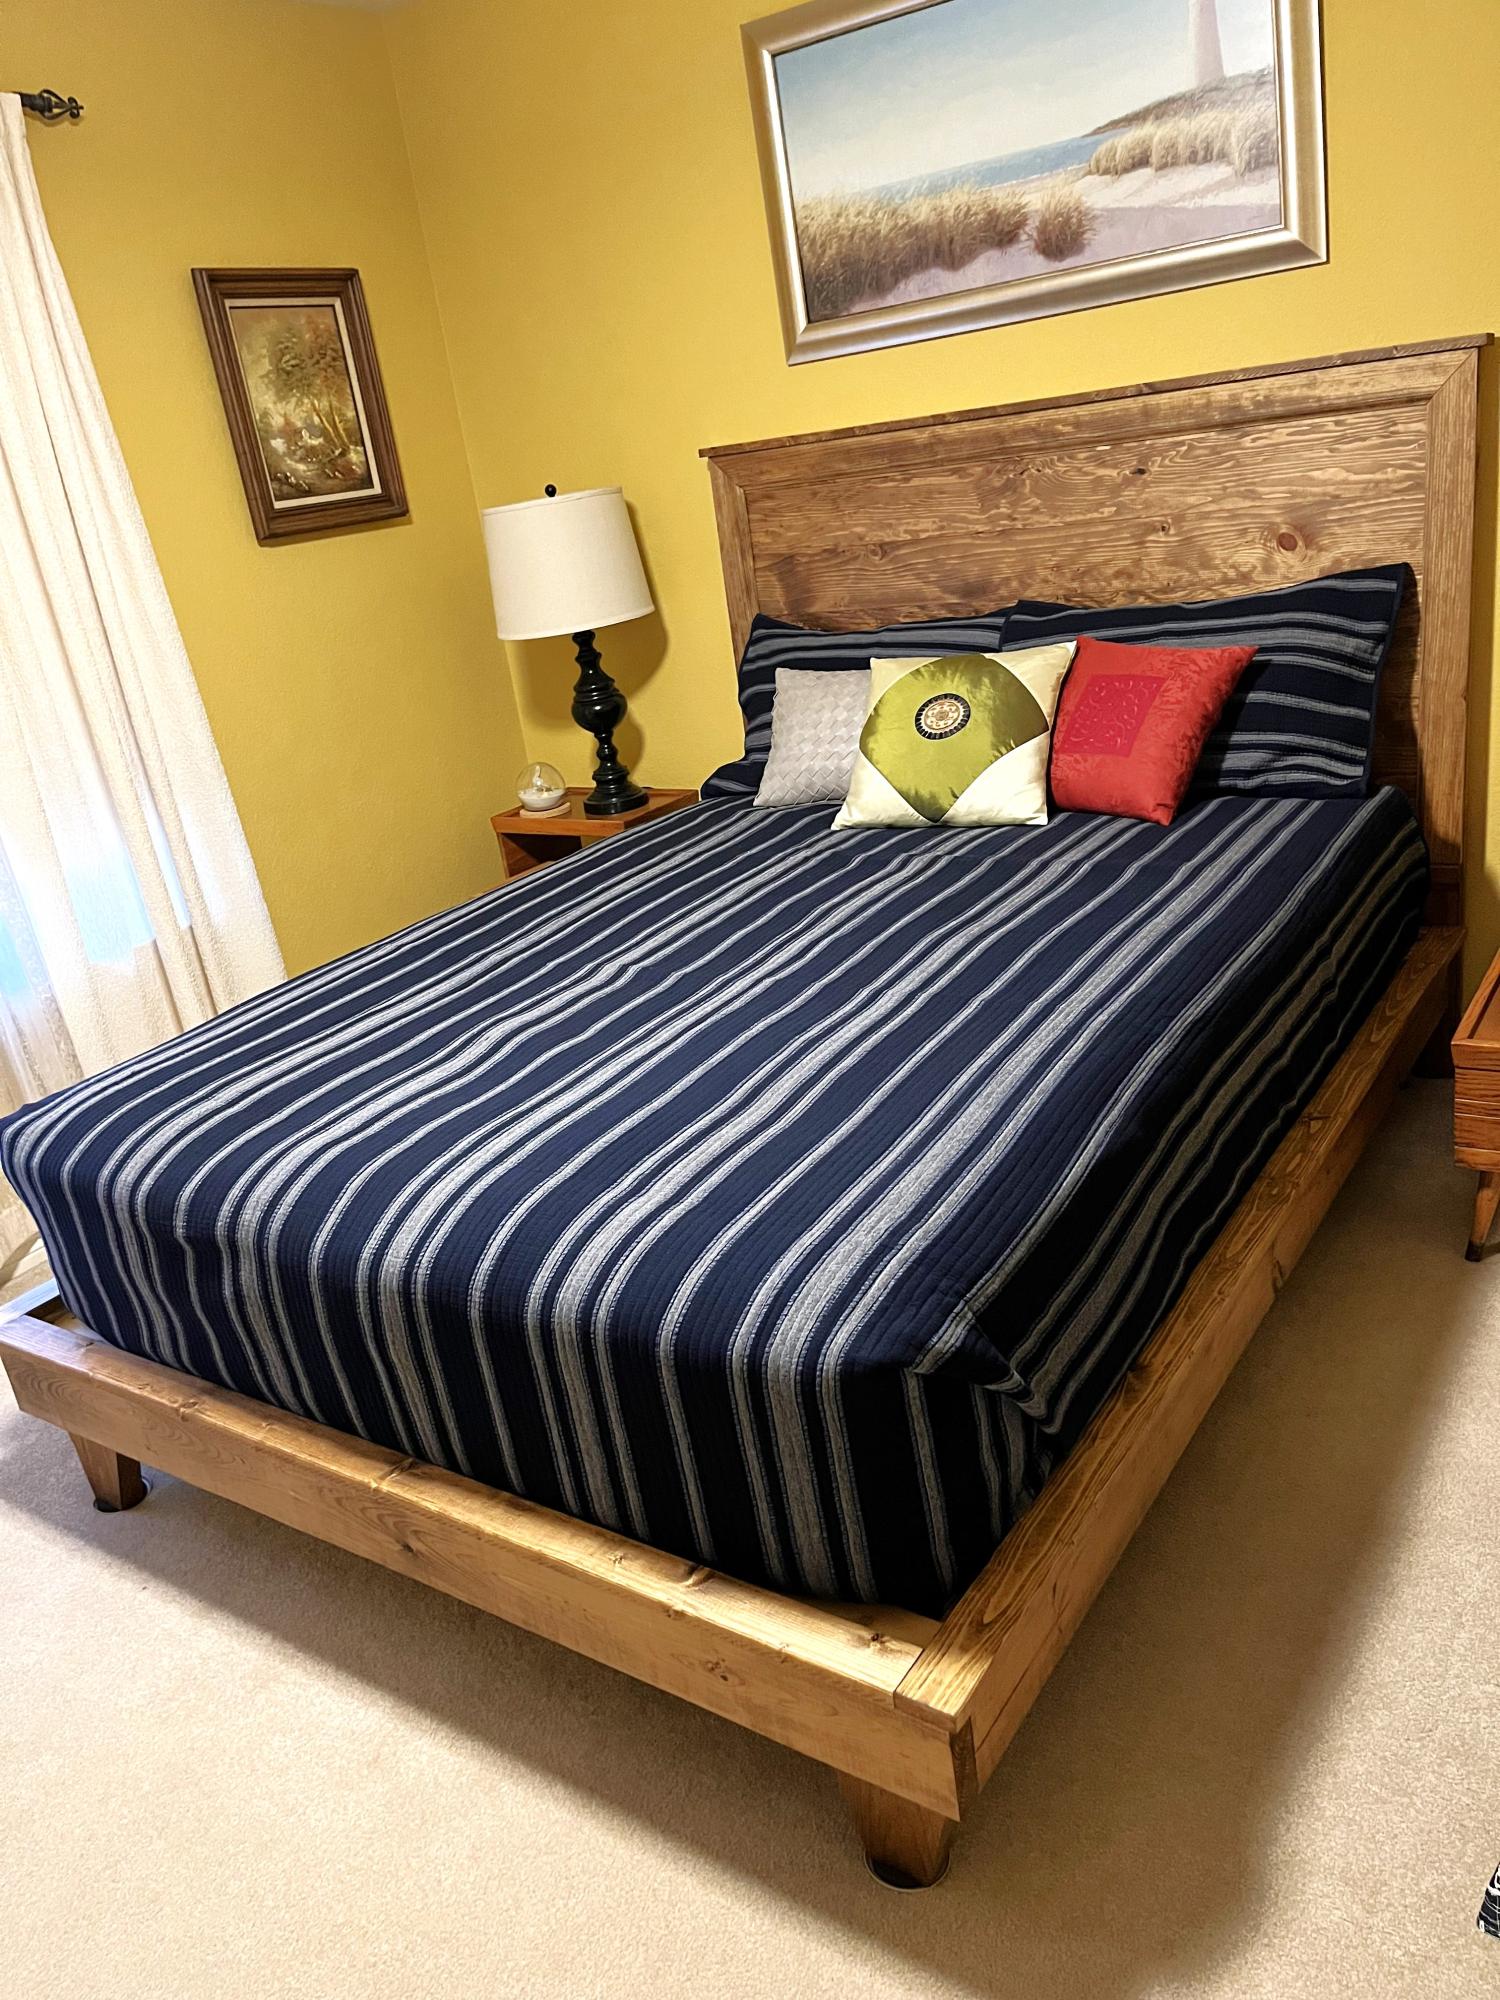
One other thing I did was use a solid piece for the top. I wanted it to be a smooth surface. I then trimmed the top piece with trim that I used on the Fancy Farmhouse Bed I made. I wanted to tie the two pieces together.
I've never made anything with drawers before. It is a bit more challenging, but not that bad if you are careful. However, I am not looking to build anything with drawers again for awhile :>}