Corner Banquette Bench with Storage
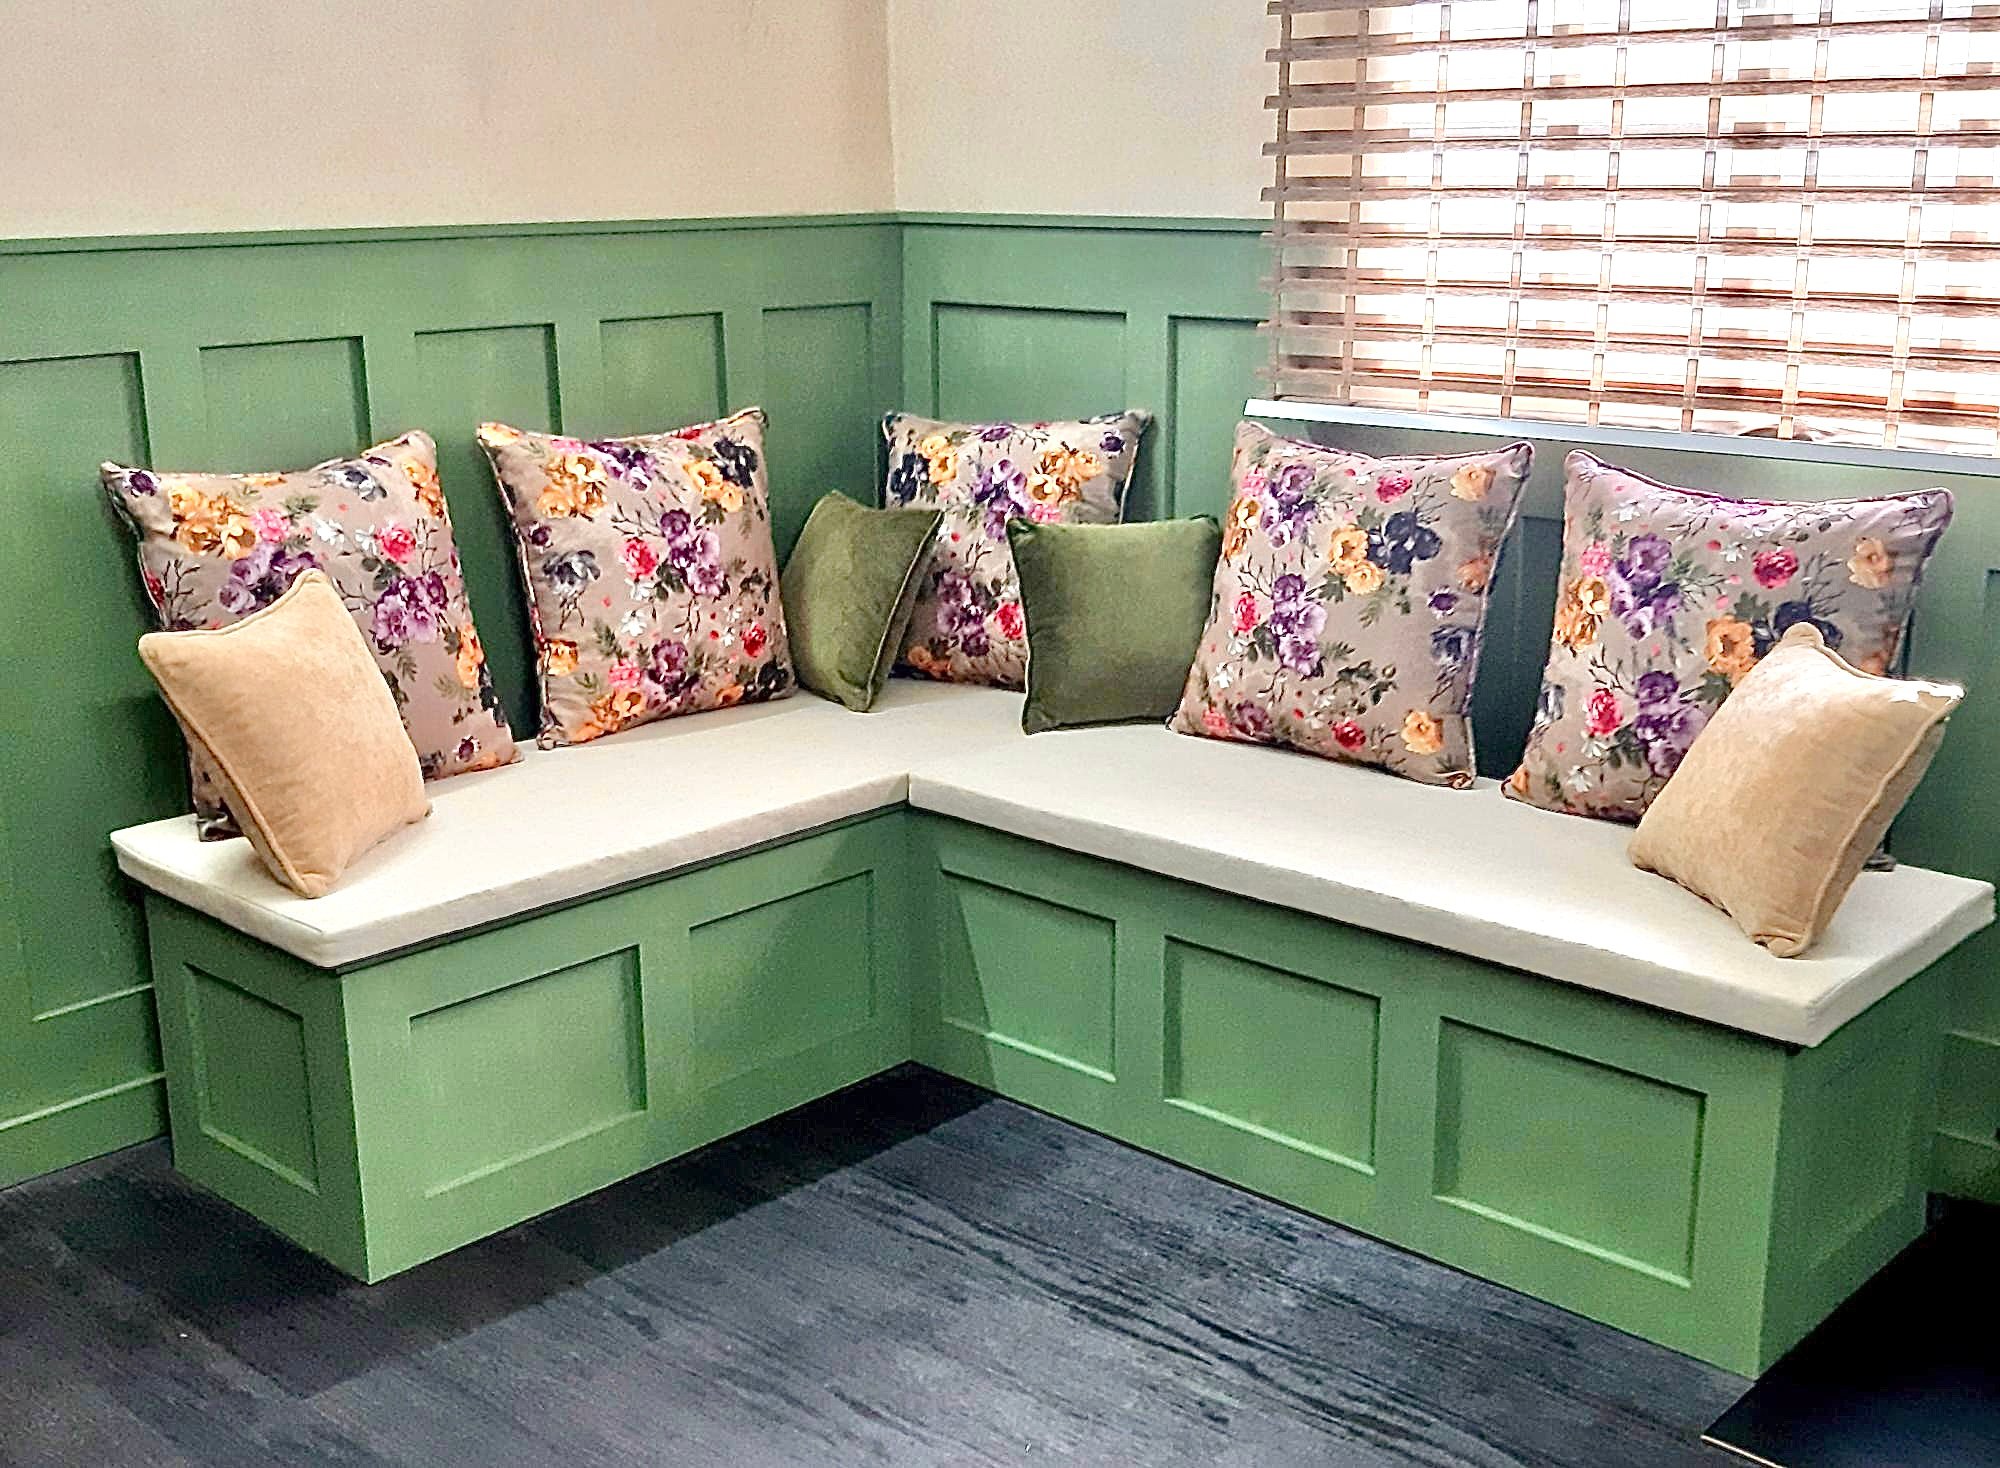
Beautiful banquette bench by Khalid Al-Bahi

Beautiful banquette bench by Khalid Al-Bahi
This is the first time I've built something. My wife found this site on Pinterest, and made hints about wanting a kitchen island. Our apartment has maybe 3 feet of useable counter space, so I thought this would be nice to have. Ignore the tools in the picture, I literally just finished it and just put stain on it. Overall, I think it came out pretty good, and I really like the design of it. This site is pretty awesome. I've already picked out my next two projects from here. Thanks Ana!
Kyle

I made this nightstand and one other from the Kentwood plans. The handles are diamond willow from Wisconsin. I used 1x2's for the door.
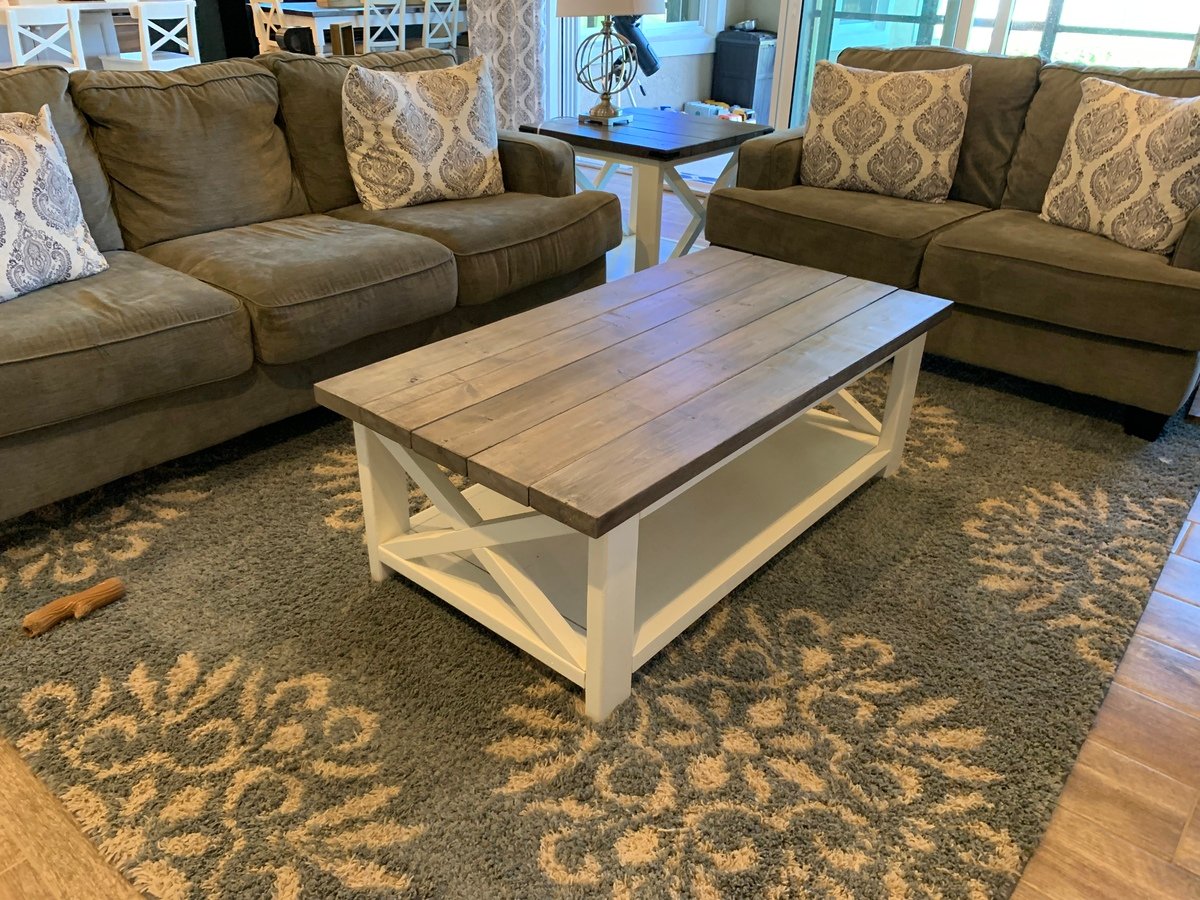
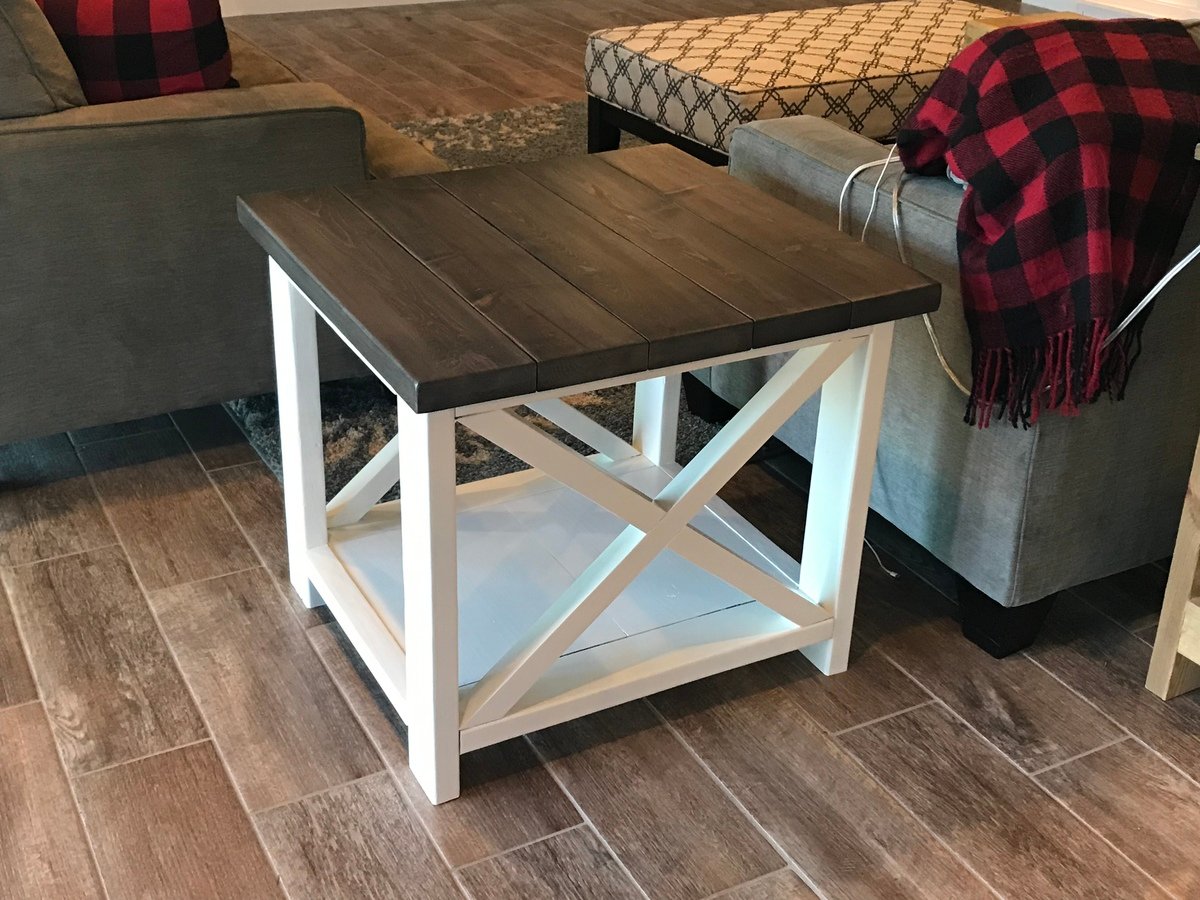
I absolutely love how this coffee and end table set have completed my living room. Each one took me about a day to complete and $80 or less!! Excellent, detailed plans resulting in a gorgeous piece. Thank you!
Thu, 02/20/2020 - 11:28
I love these! Plan to build coffee table, end table and console! Ana, any chance you have or could provide adapted plans for a square 44-inch rustic x coffee table? THANK YOU! :)
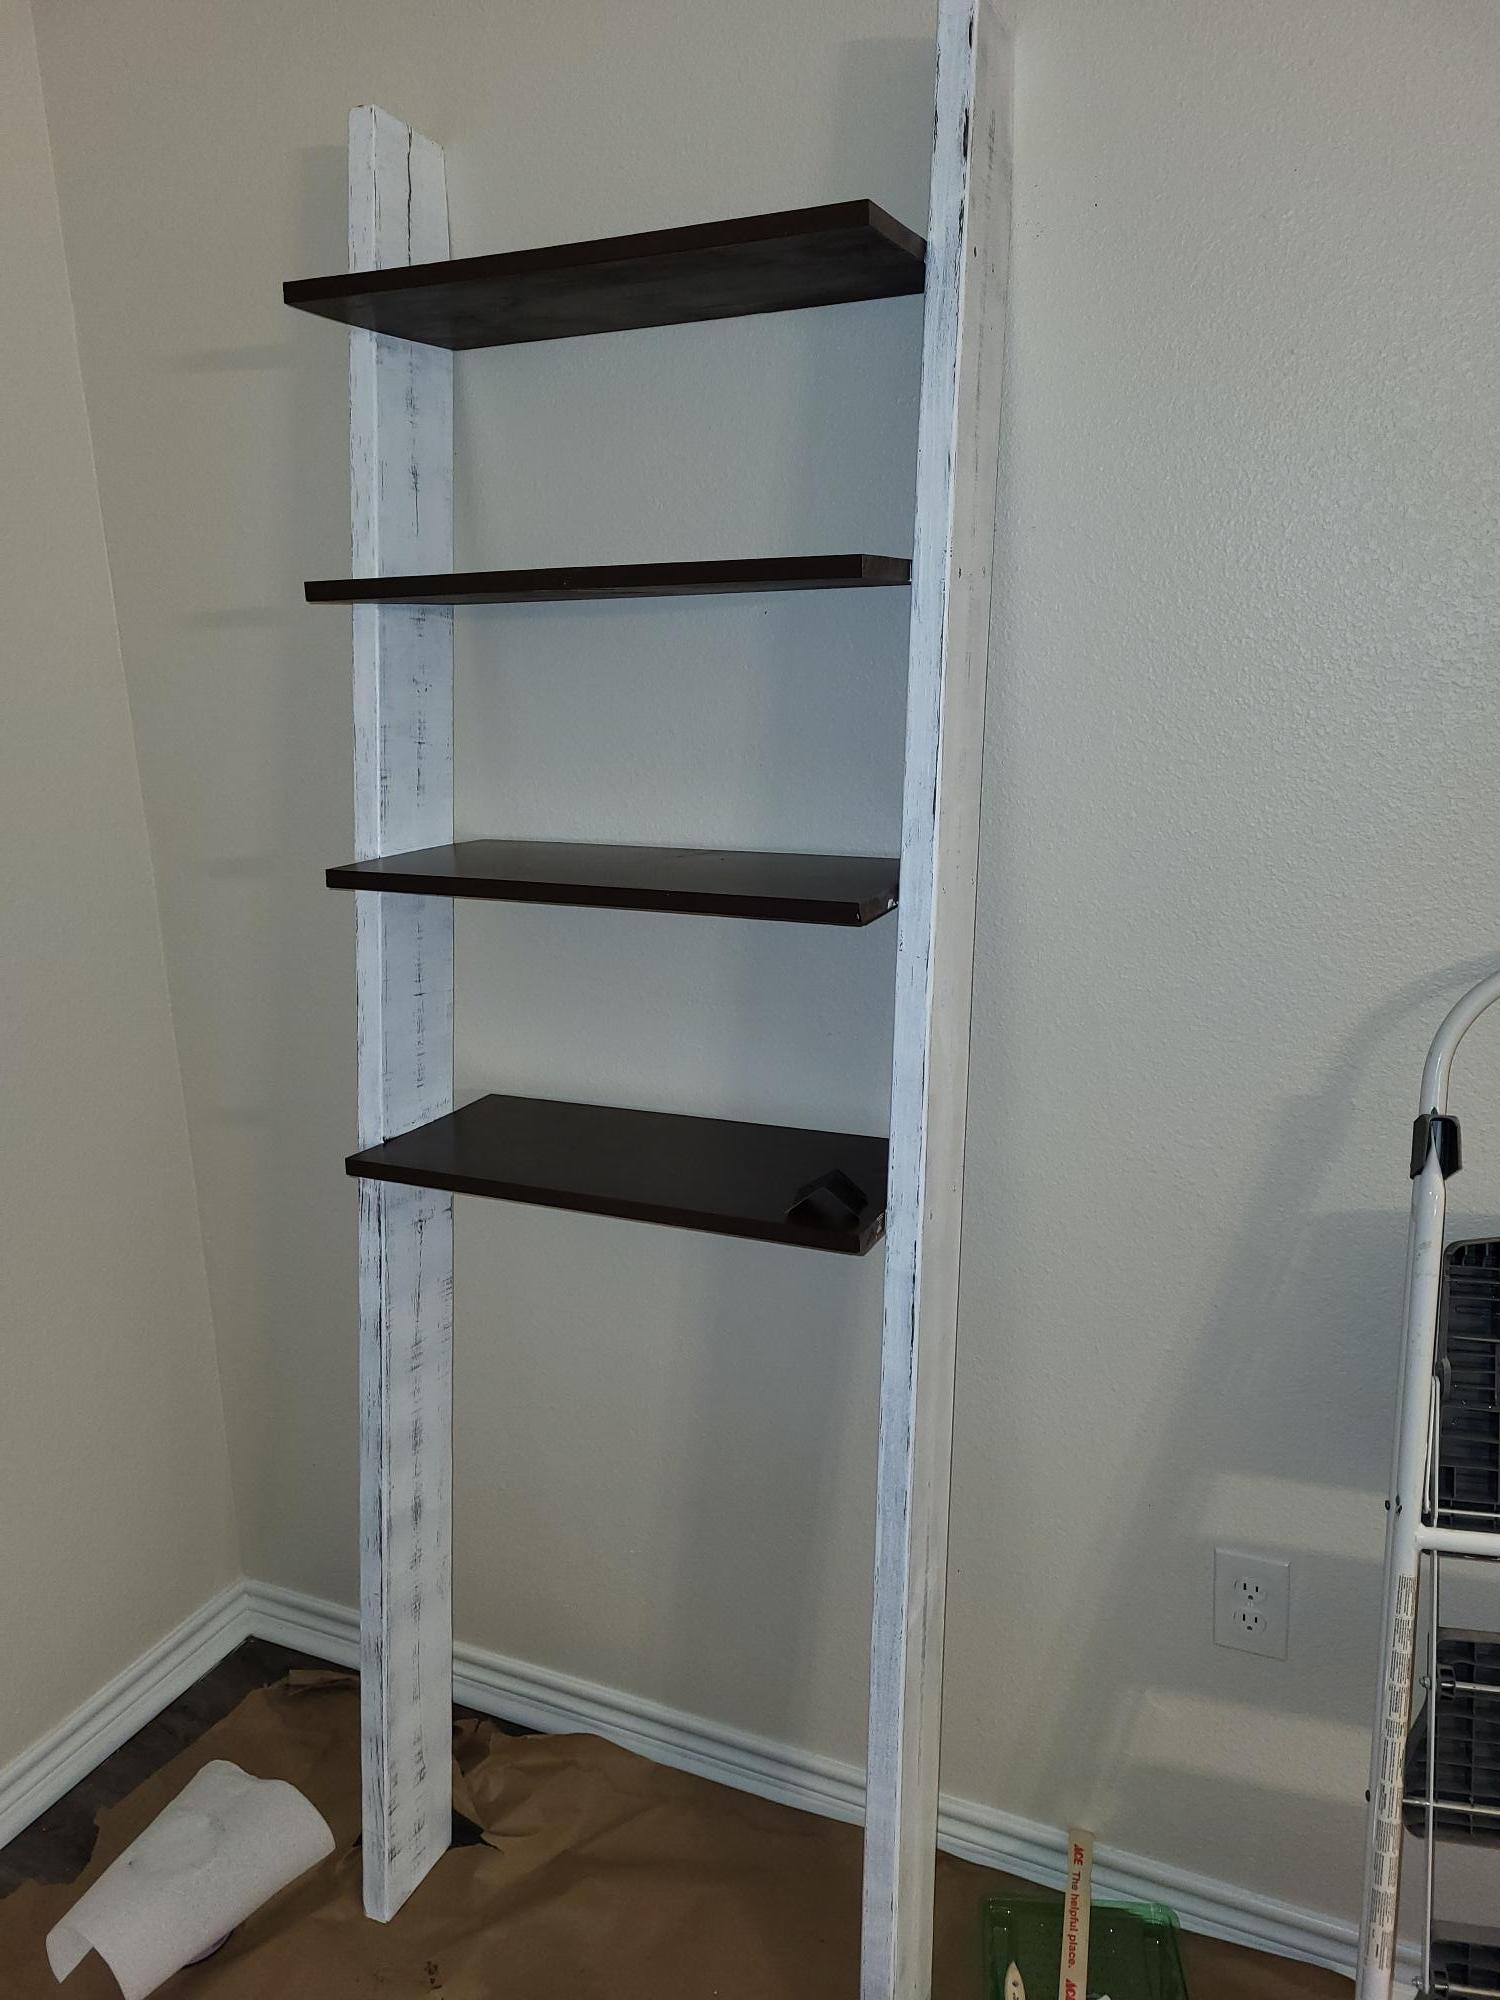
Thanks for the plans had to go with something like this to avoid putting cabinets in and risk hitting a water line in the wall.
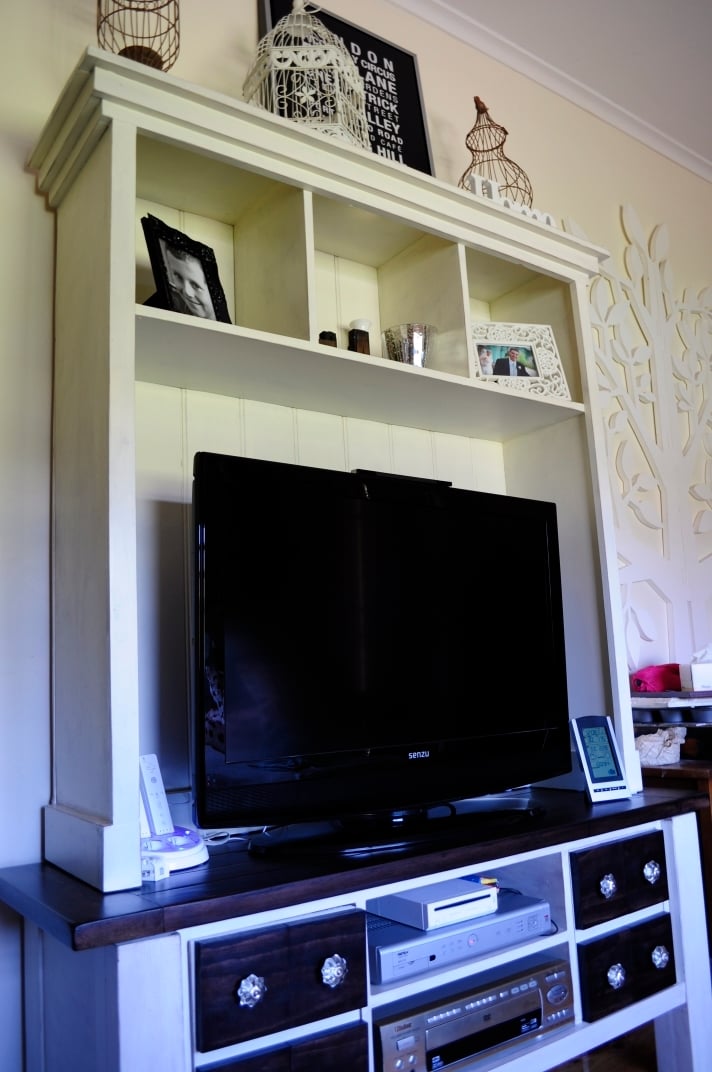
This was the second part of my Tryde media center build. You can read about the console build here.
This part of the project was very quick to put together, I spent a lot of time reading the brag board and looking at pictures of what others produced. I really appreciate when people upload high res pictures of their builds so you can really look at the details - I've tried to do the same on my blog post about this project in case you needed further information (see link below).
I made the plan as per Ana's original, with some modifications. These were:
I hope you would give this project a go, as a hutch it is very simple to put together for a beginner and quite satisfying. To get more information about my build please read my blog post where I go in to a lot more detail (and leave a comment too, I'd love to know what you think!)
Happy building!
Tue, 10/25/2011 - 08:34
Annie this looks great!
I'm glad you found inspiration in my design. I think I'll go back and upload a side picture and the sketchup model I worked from so that other people can see the details of how I did the trim. I think yours turned out wonderful!
I don't like painted furniture in my home but I really like the look of your furniture. The antiqued white goes well with the stained console top and the faux drawers.
Great job!!
Tue, 10/25/2011 - 15:37
Aww cheers Perchik... You're right, the natural beauty of wood is lovely, but I have so many different shades of wood in my living room from collecting 2nd hand furniture and old college furniture over the years that nothing seems to match :) Plus I do like this modern trend of stained top and painted legs, it looks quite fresh. The hard part with this stuff is deciding which project to do next - so many to choose from :)
Tue, 10/25/2011 - 15:38
Oh also I think if you have that sketchup stuff to hand I would definitely upload it, I zoomed in quite a lot on your photos and others photos of completed builds to understand details that are sometimes difficult to visualise on the plans.
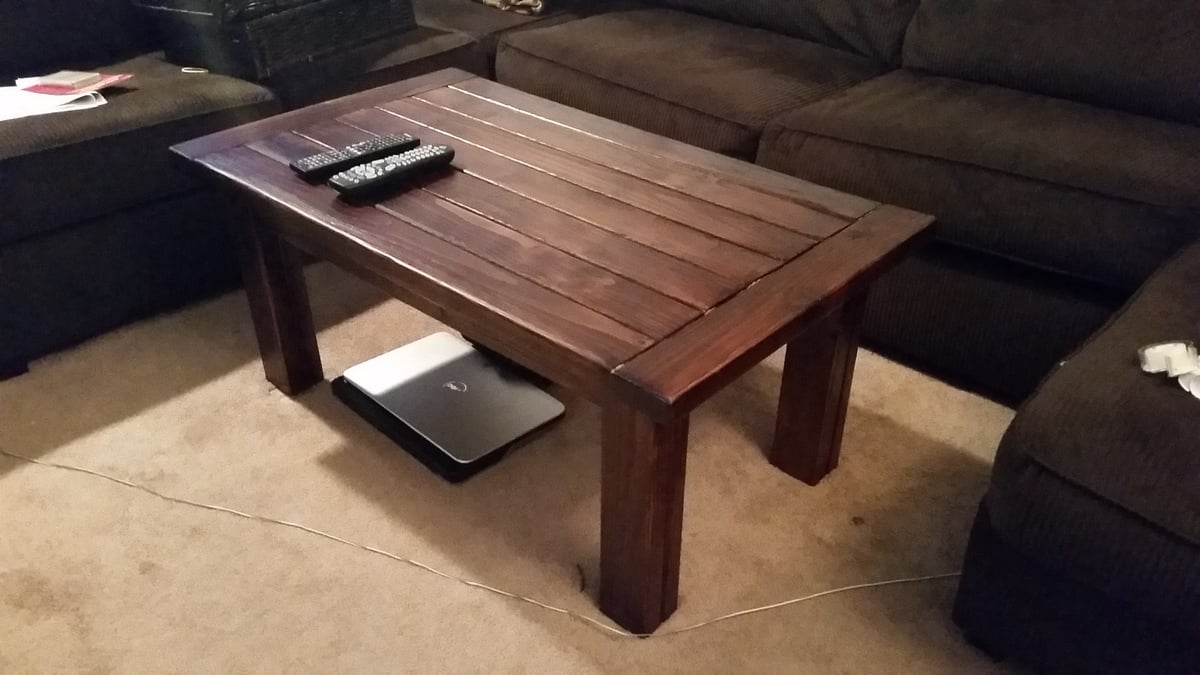
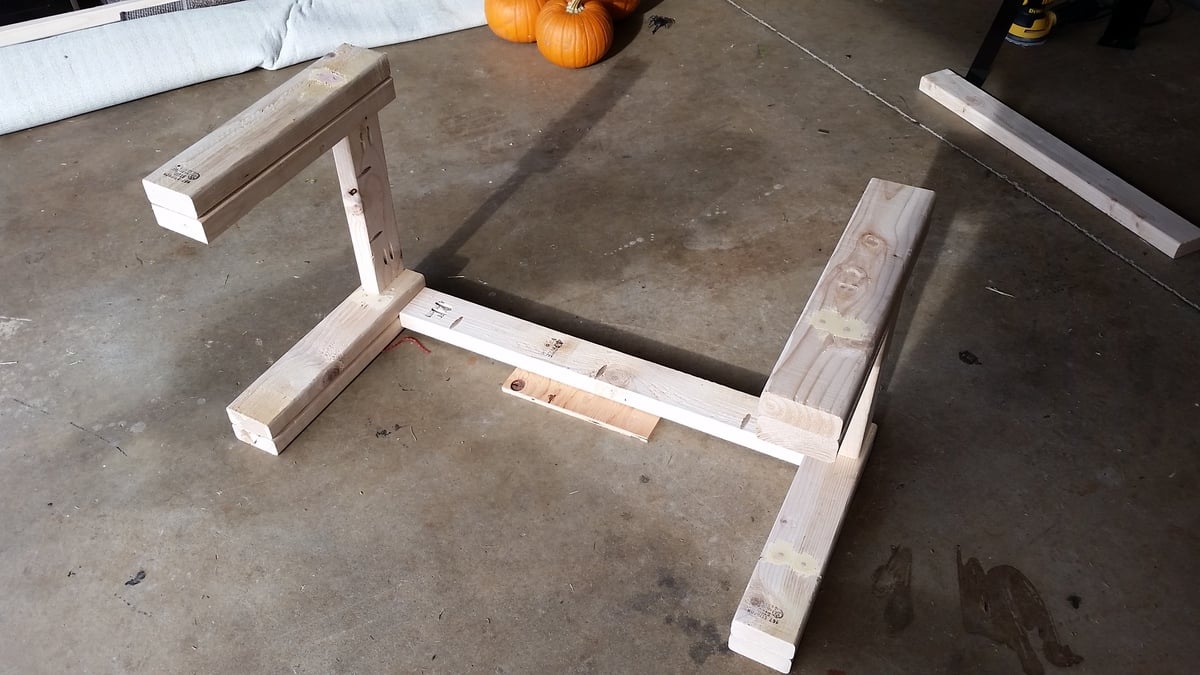
This is my first DIY build project and it turned out awesome. For some reason I was unable to find untreated 4x4's anywhere in Hawaii, so I took two 2x4's and attached them by countersinking wood screws. Beware, the dimensions of this project are massive. I scaled down the measurements drastically to fit in my living room with my sectional.
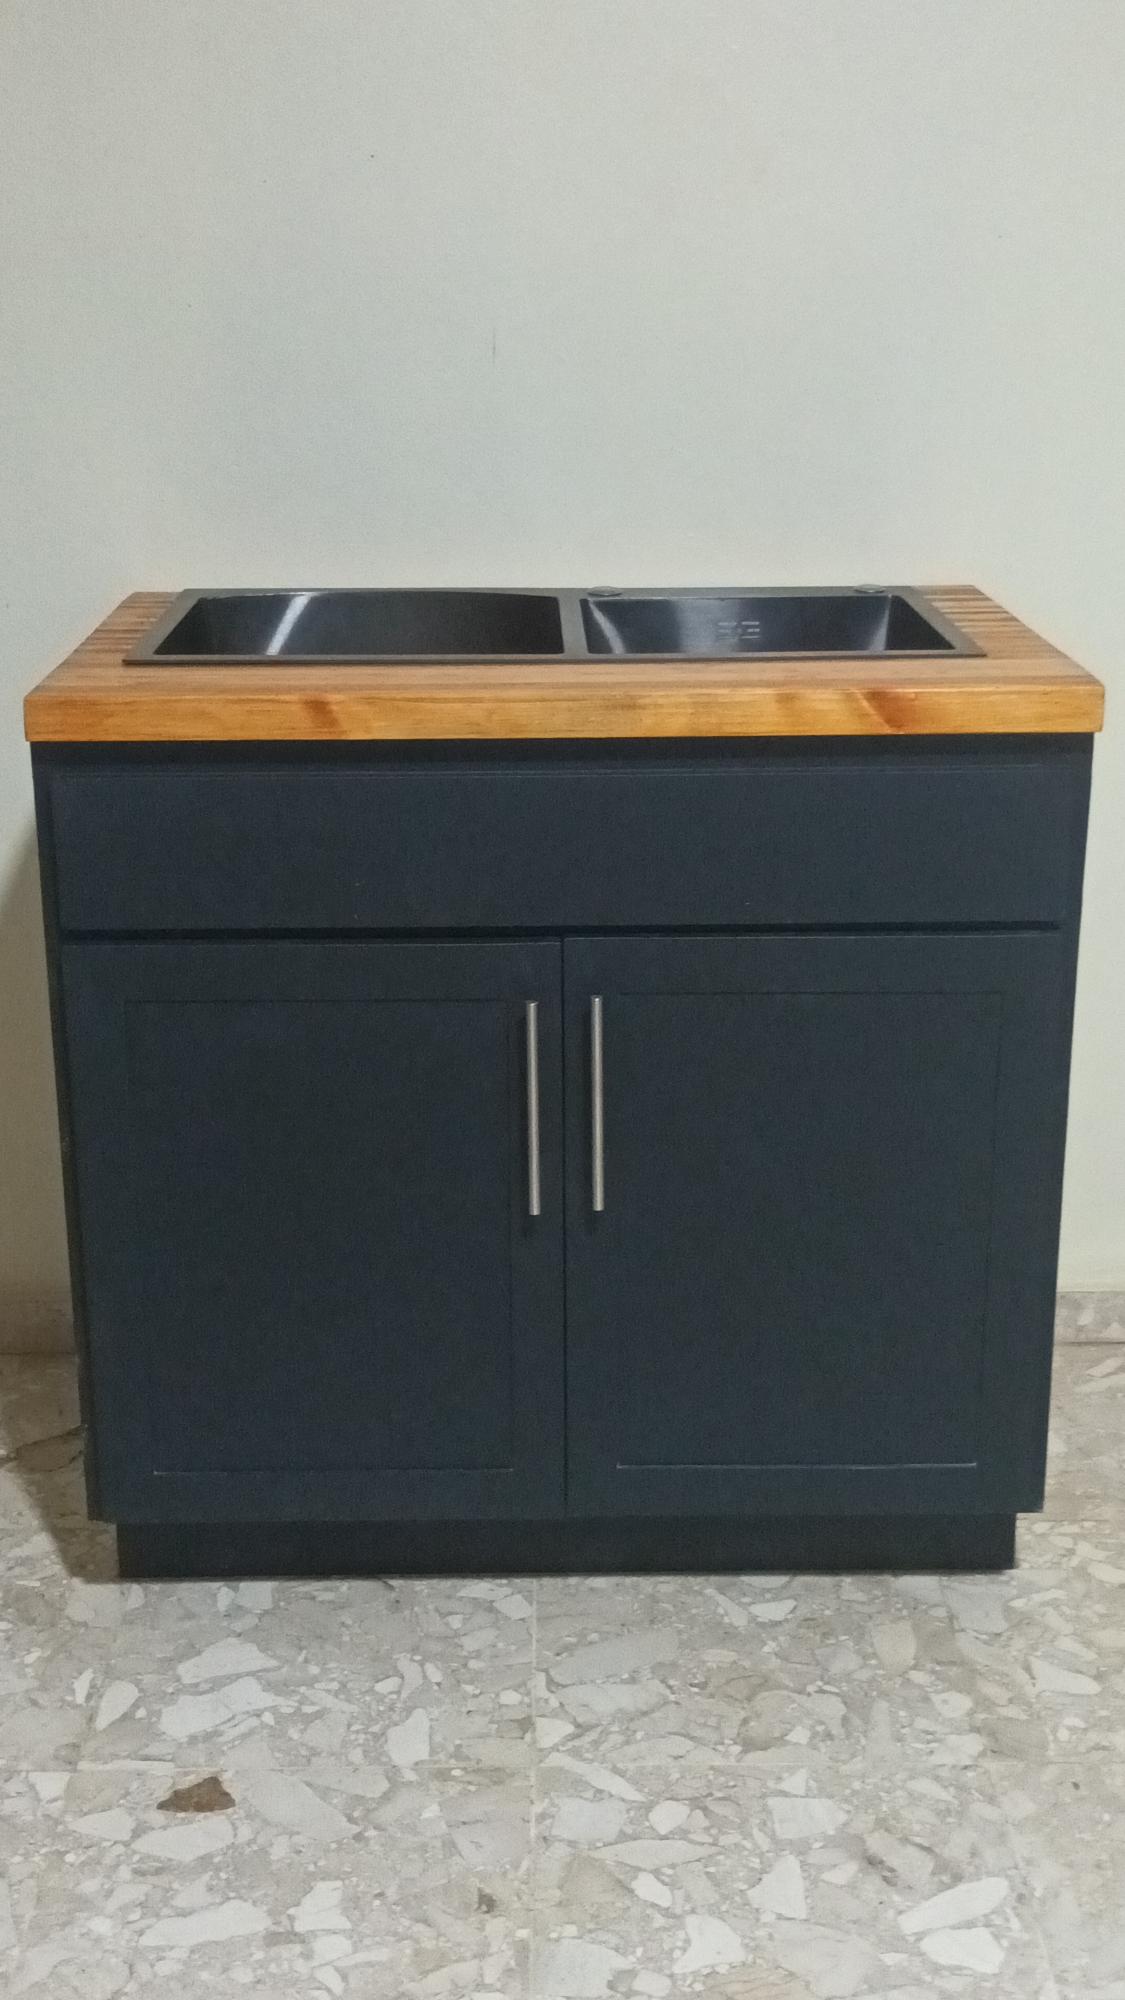
This was a build to convince my wife that I should do the cabinets in our new house...now I have to do them all. I should have just said, Sure, go to Ikea!"
Mon, 02/20/2023 - 10:36
Looks amazing, fantastic work! Thank you for sharing and happy building!
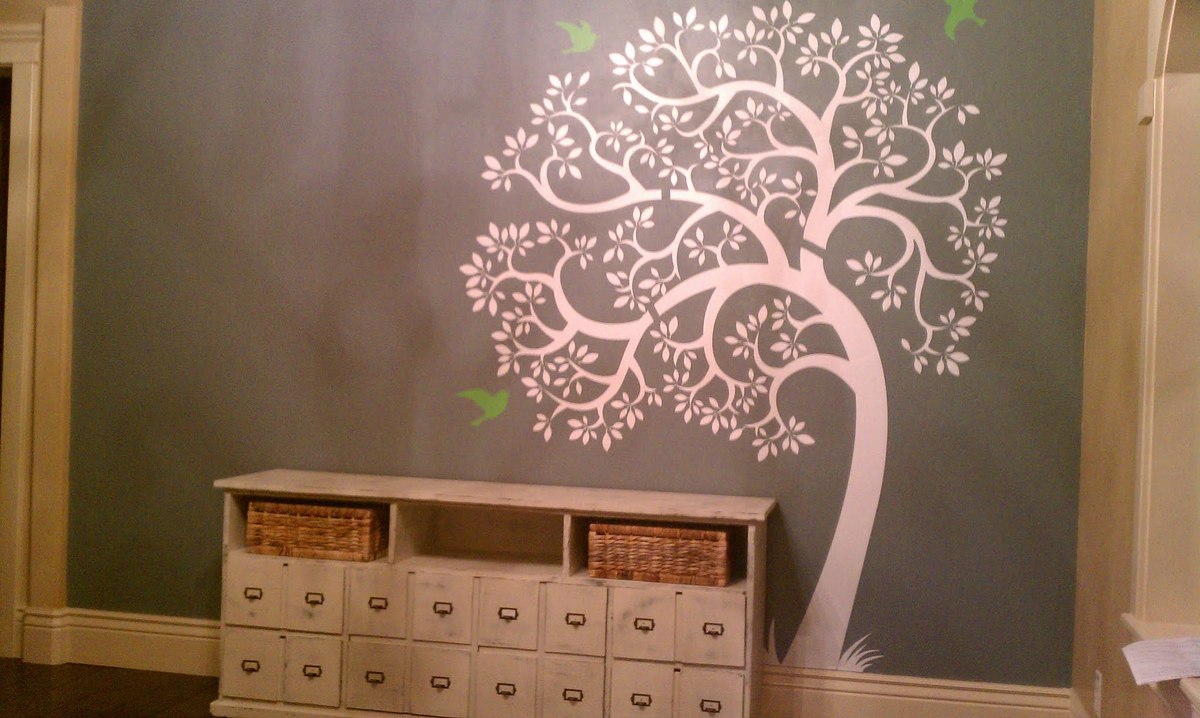
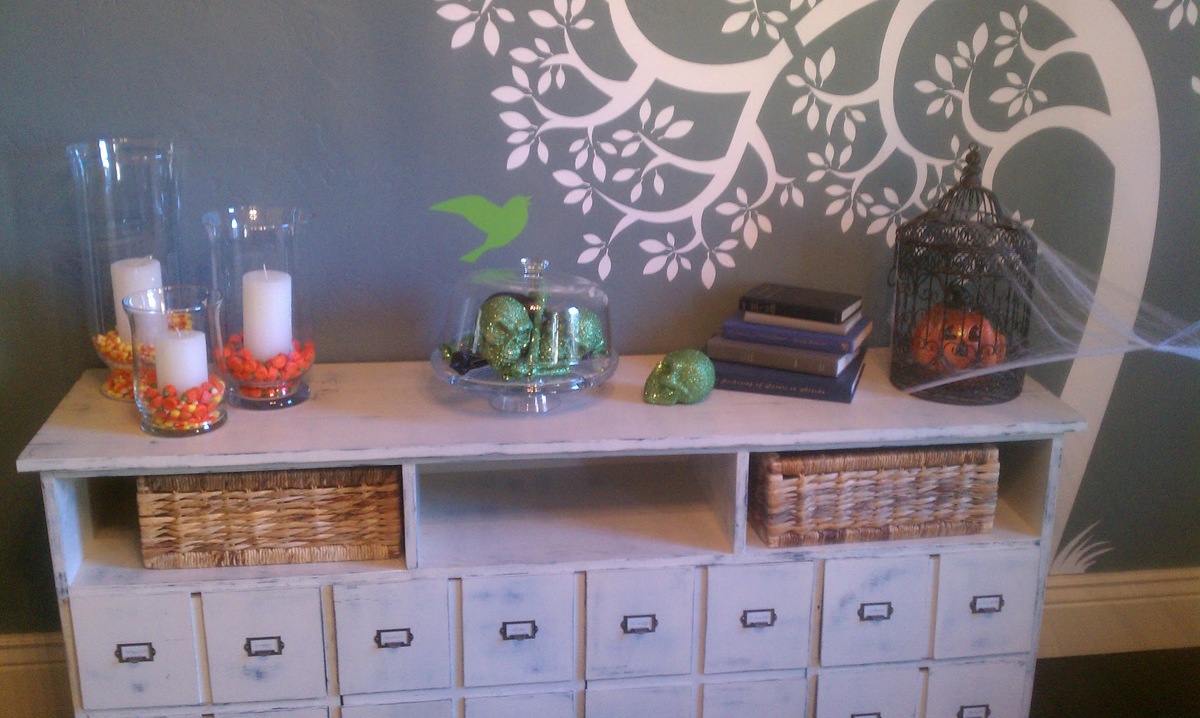
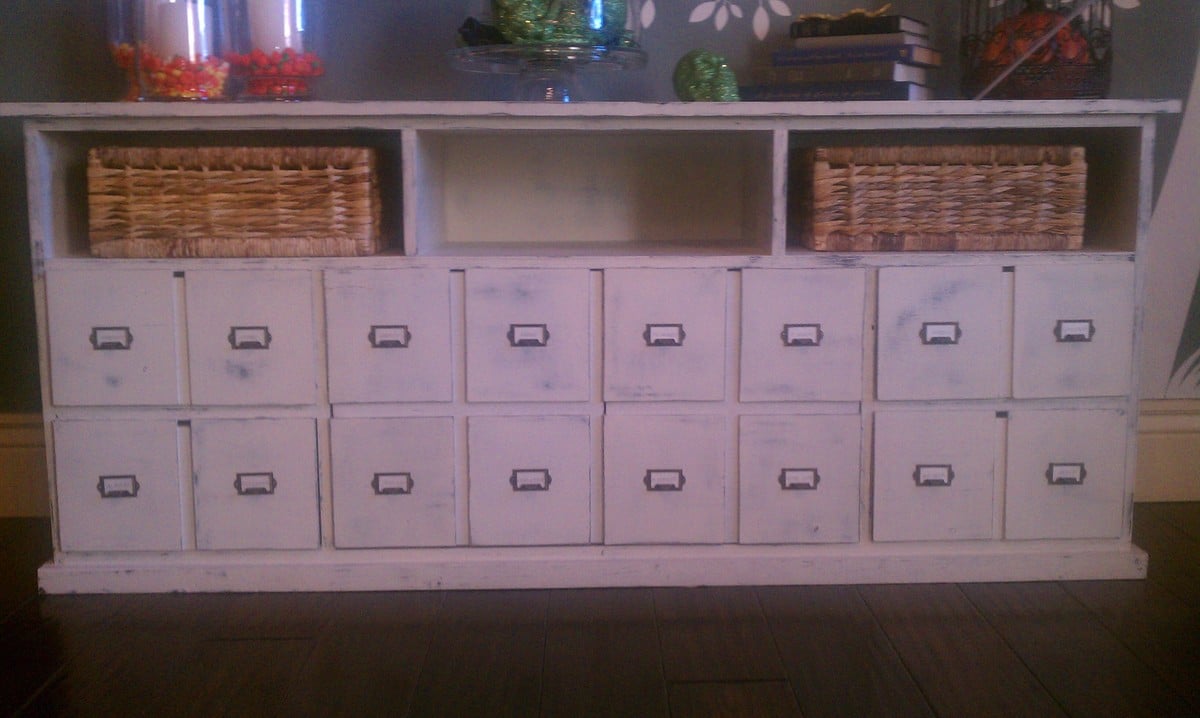
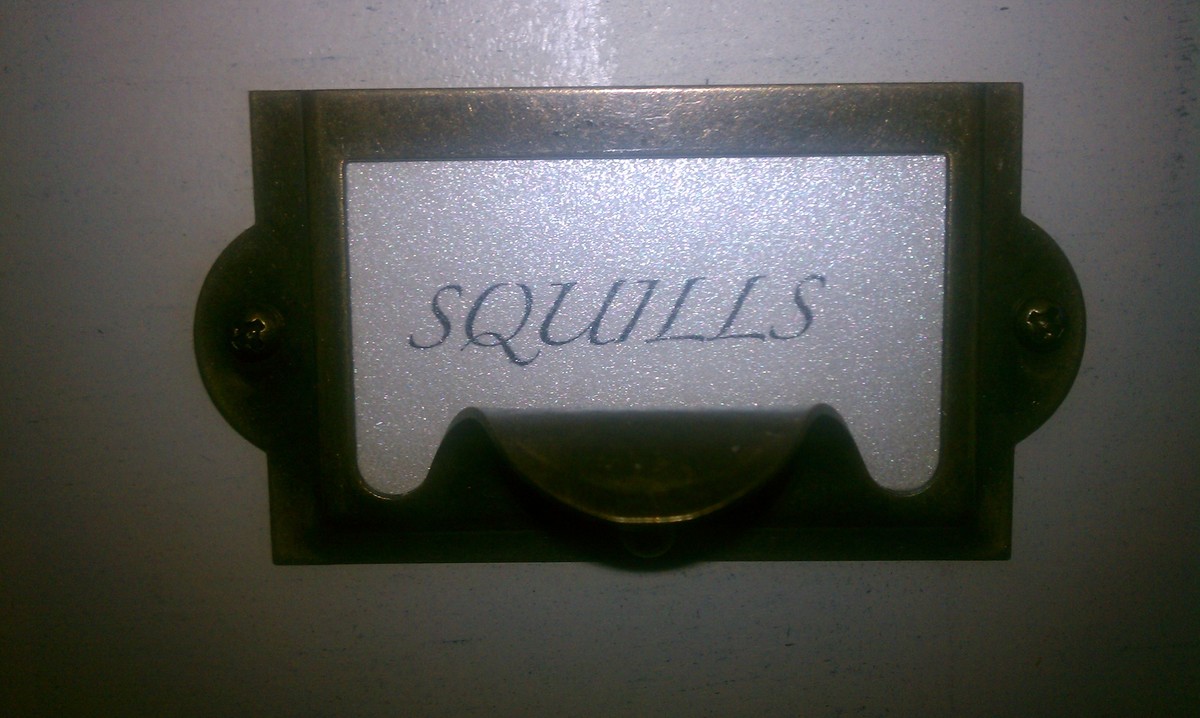
I painted the entire cabinet a dark blue, then painted over it again with an antique white. After it was completely dried I sanded it all down to give it a distressed look. I used antique label holders for the drawer pulls.
Sun, 10/30/2011 - 19:53
Love these things! You did a great job - especially like the pulls!
Sat, 11/12/2011 - 02:55
It's funny cause I have been thinking about doing the same set up with the apothecary console under a wall painted tree. I have to ask how you made the tree - is it stickons or stencil (if so please tell me where you got them) or is it hand painted. It's absolutely beautiful!!!!!!!!!!!!!
Tue, 11/15/2011 - 08:39
Its a vinyl wall decal. I bought it on etsy. I love it.
Tue, 11/15/2011 - 08:40
Its a vinyl wall decal. I bought it on etsy. I love it.
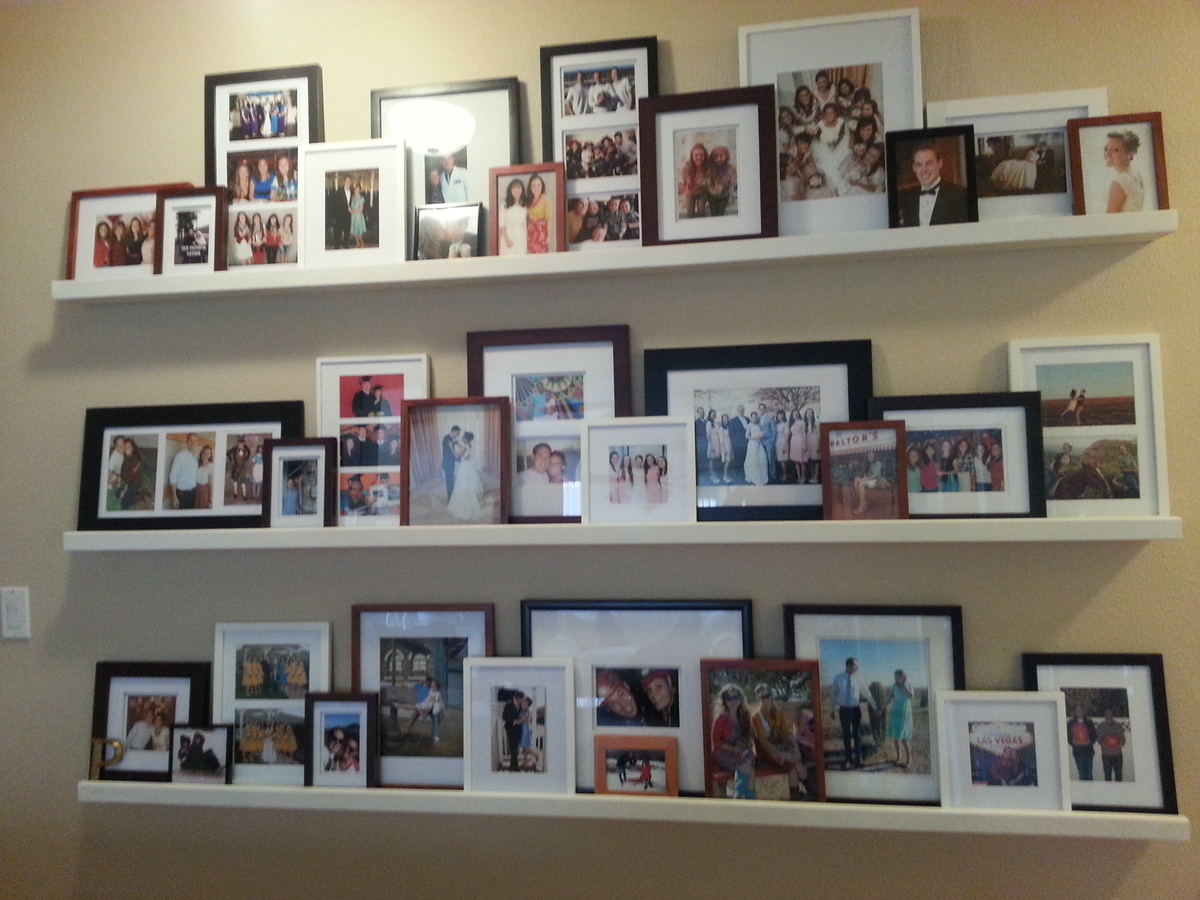
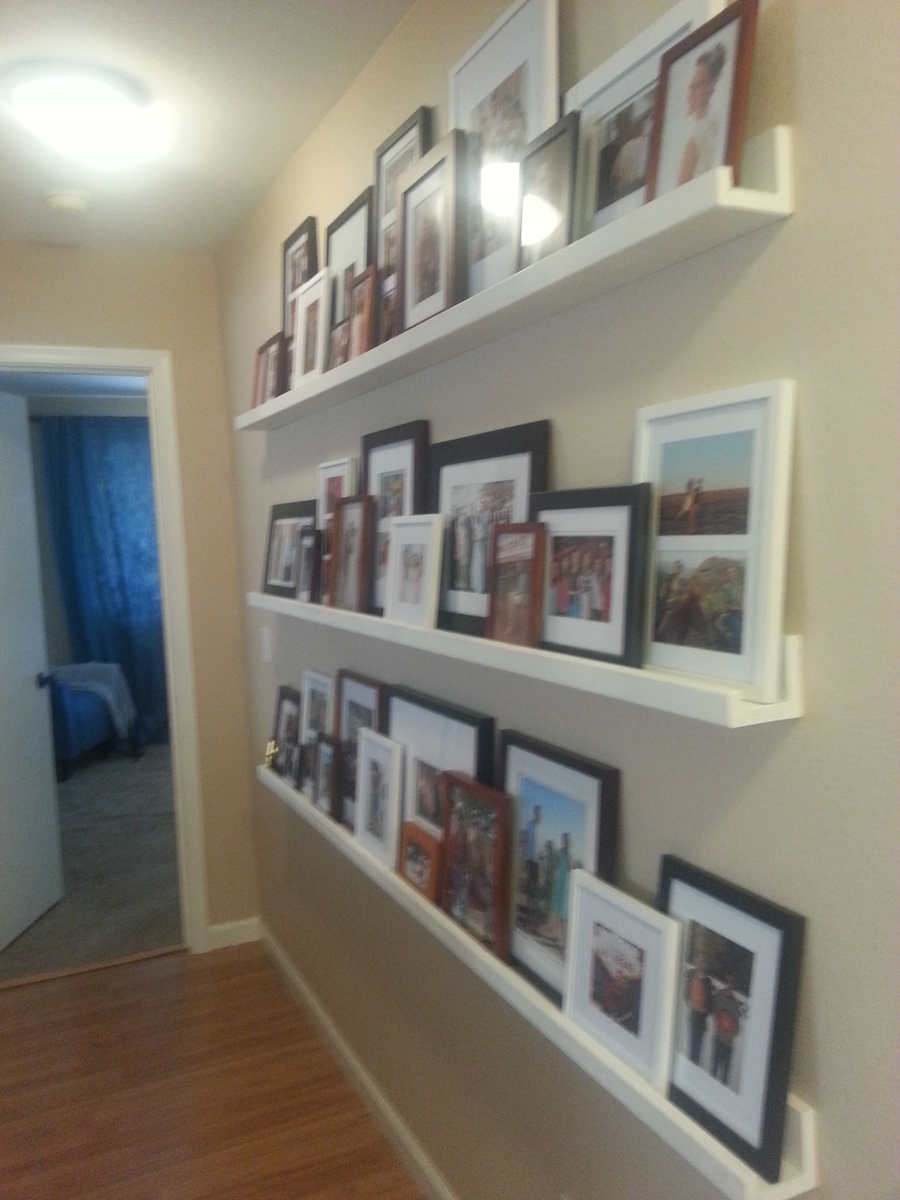
I love my new photo ledges. I had a huge space on my wall and these ledges are perfect. The ledges were so easy to make. I got a kreg jig for my birthday (I never thought I would ask for a tool for a birthday present) and I have gotten so much use out of it. I saw similar ledges at pottery barn for 10 times the cost of this DIY project. I saved so much with these ledges. The kreg jig has already paid for itself. The ledges make it super easy to switch out photos and I love being able to display so many fun photos. Everyone who sees these ledges loves them!! This was my first project. Thanks Ana for the great plans!
Mon, 10/21/2013 - 12:51
I might spray paint all the picture frames white or an oil rubbed bronze in the future...I'm not sure yet. Opinions?
Mon, 10/21/2013 - 18:27
Your gallery looks beautiful! Great job on your first project, congratulations!
(ps- I think the oil rubbed bronze would look super on the picture frames.)
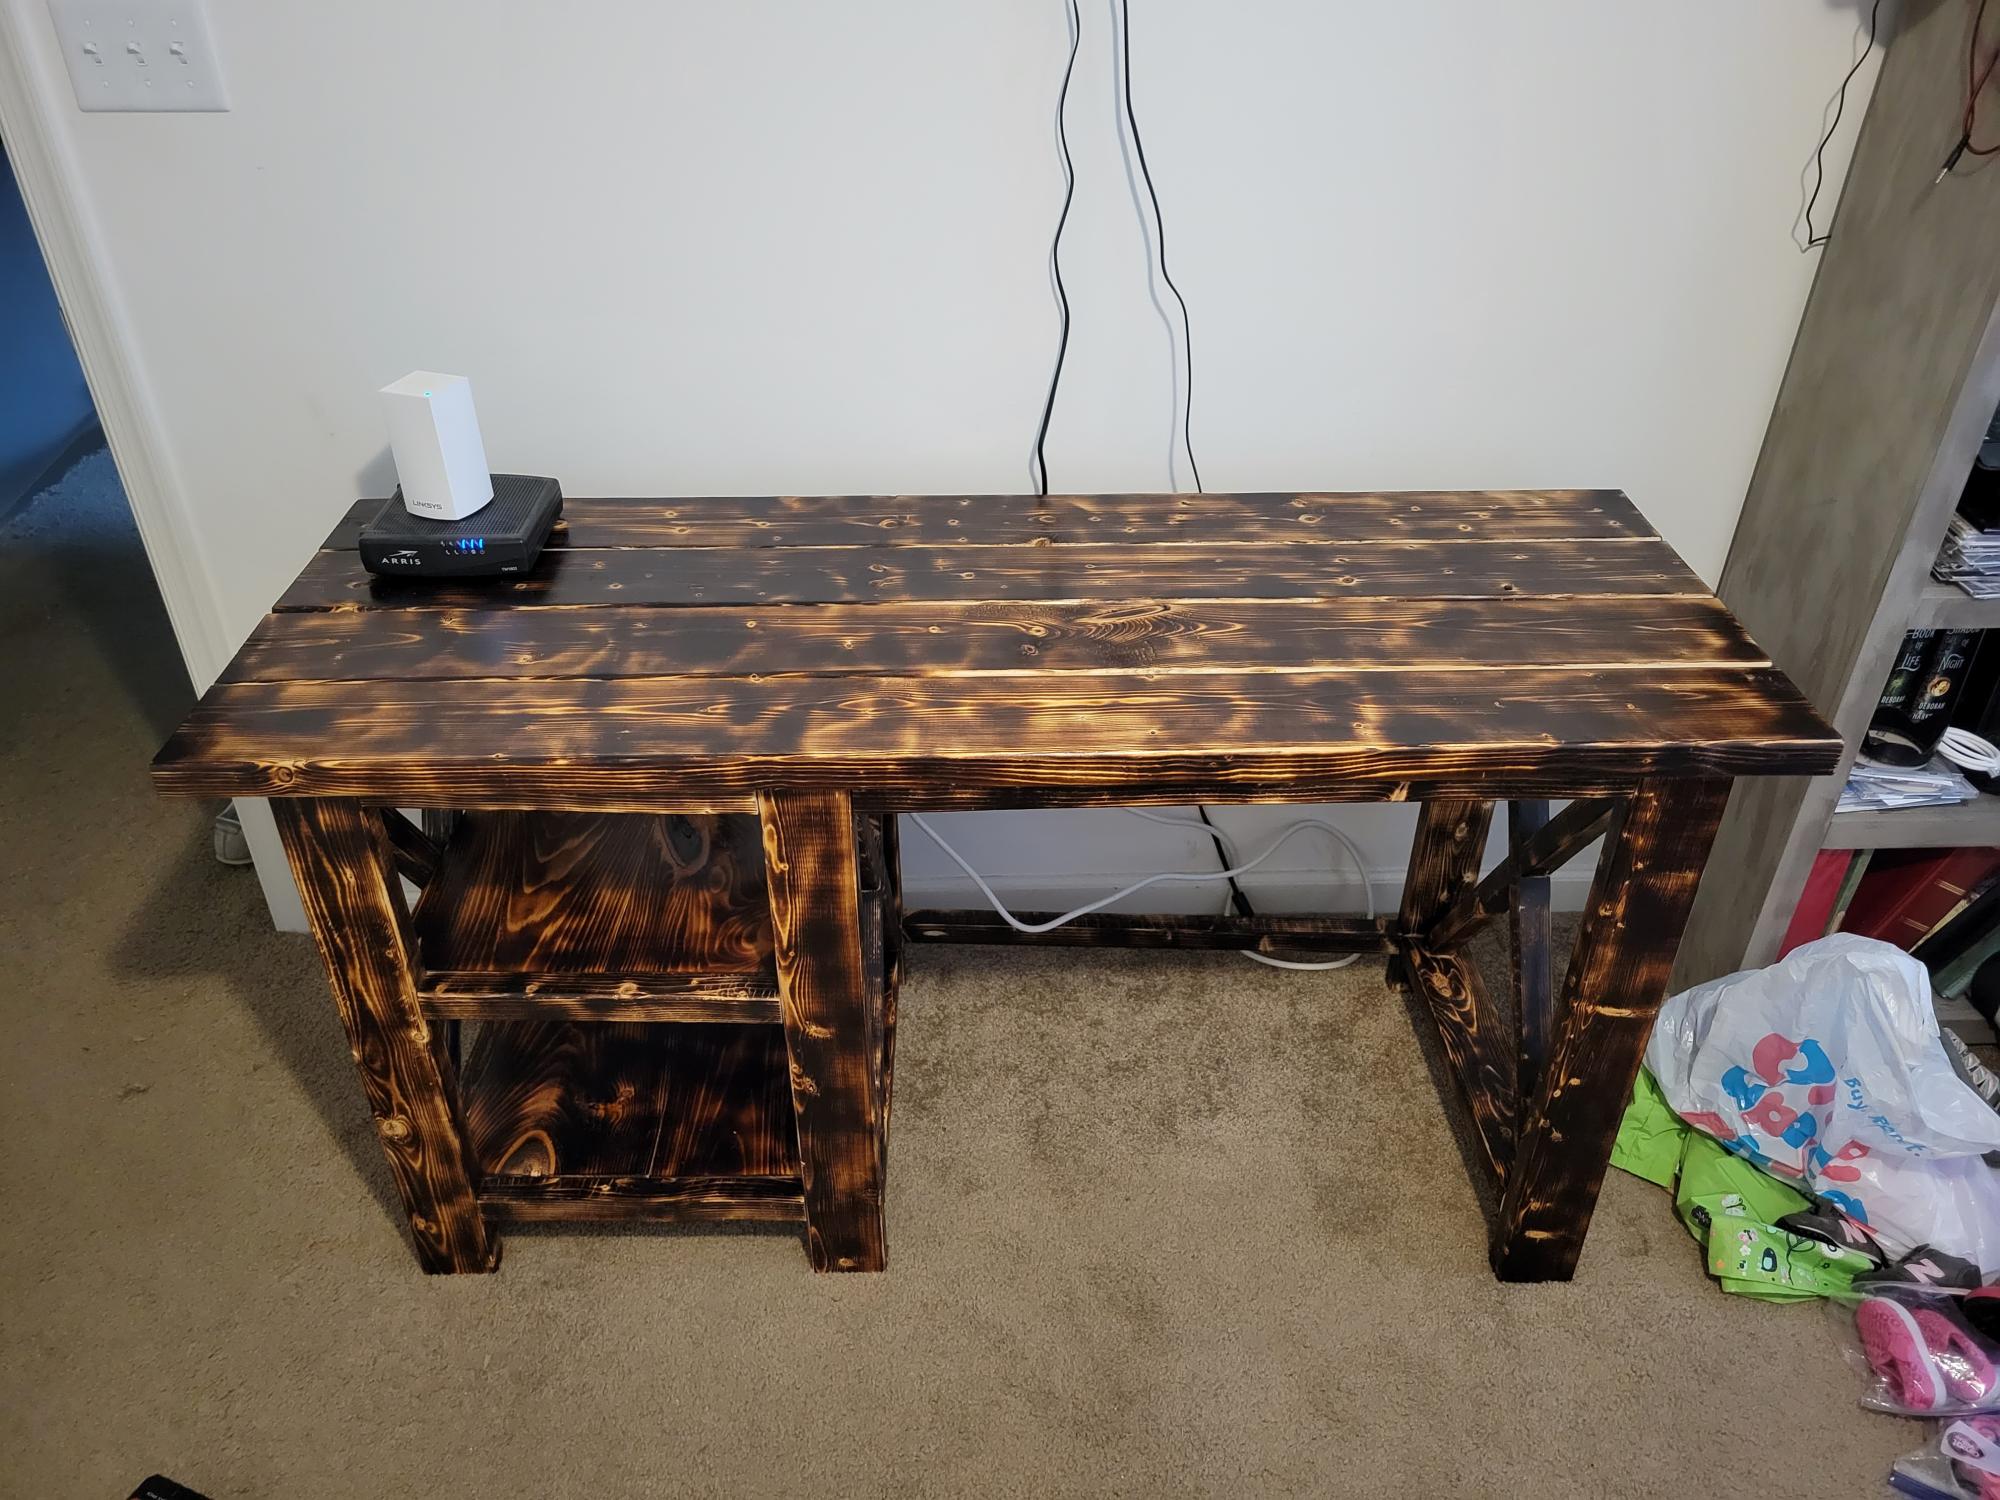
This was an easy project t to build. Decided to go out of my comfort zone and burn all of the wood before adding the finish. I loved the design of these plans and my aunt wants me to build one for her.
Fri, 02/24/2023 - 11:53
Looks fantastic, you're aunt will be happy with that! Thanks for sharing:)
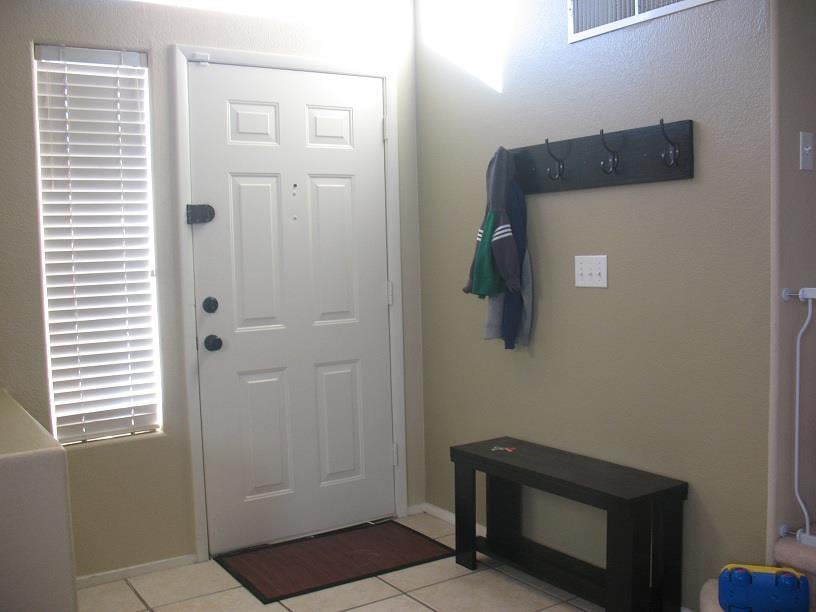
This is a great place to put on shoes and hang up your coat. My husband loves it. You can place your shoes on the shelf under the bench.
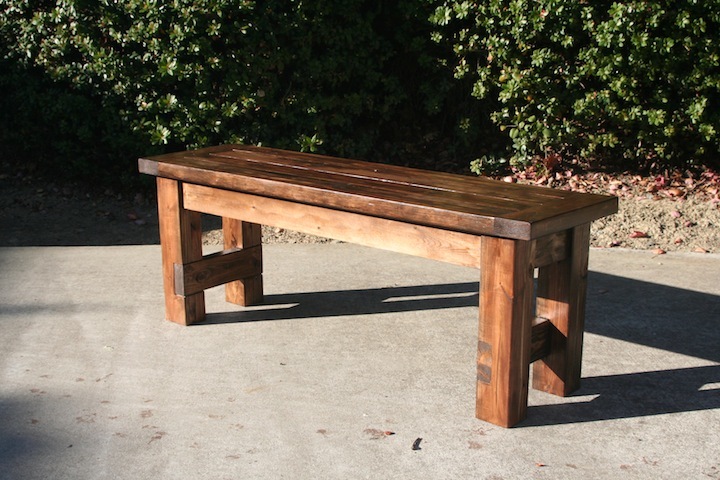
First time building furniture. This turned out much better than I thought. After this I probably could've build the farmhouse table myself instead of paying way too much for my wood dining table. Only if I have found Ana's site sooner. :)
Having a Kreg jig also made the whole process much easier.
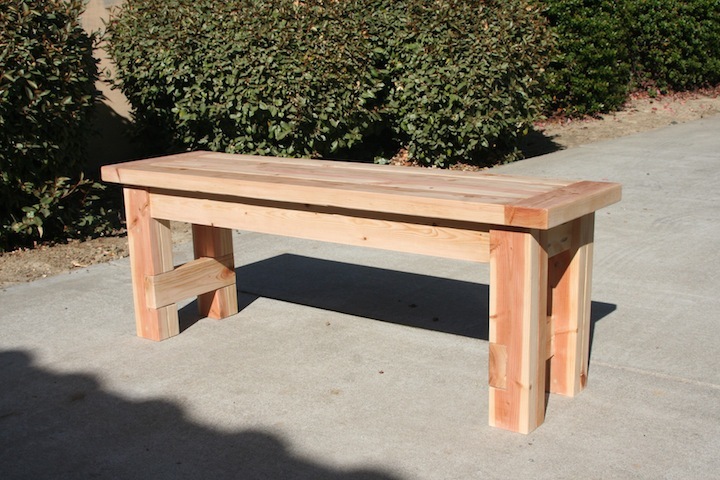
I built this console over about 2 months. I really wanted a barnwood look so I found this lumber place that sells pine that puts it through a machine and roughs it up on one side. I also added my own saw marks to it, screwdriver dents, rake dents, etc. to rough it up some more. Real barnwood is expensive and often isn't straight, etc. and since I was using this in my kitchen as a countertop I didn't want any spaces in my countertop. This was about a third of the price of barnwood. I wasn't sure how the look of it would turn out, but I think it comes pretty close to looking like the real deal! My husband helped me with the sliding door mechanism. We used pulleys for it and cut metal down to size. We discovered that using a nut and bolt on it didn't work, it just loosened and would come off so instead of using a nut and bolt to secure the pulley to the metal, we used a clevis pin and some washers. Works amazing! This was my first big build and I am very happy with how it turned out! Behind the sliding doors there is one shelf each. We have found there is so much room for storage!
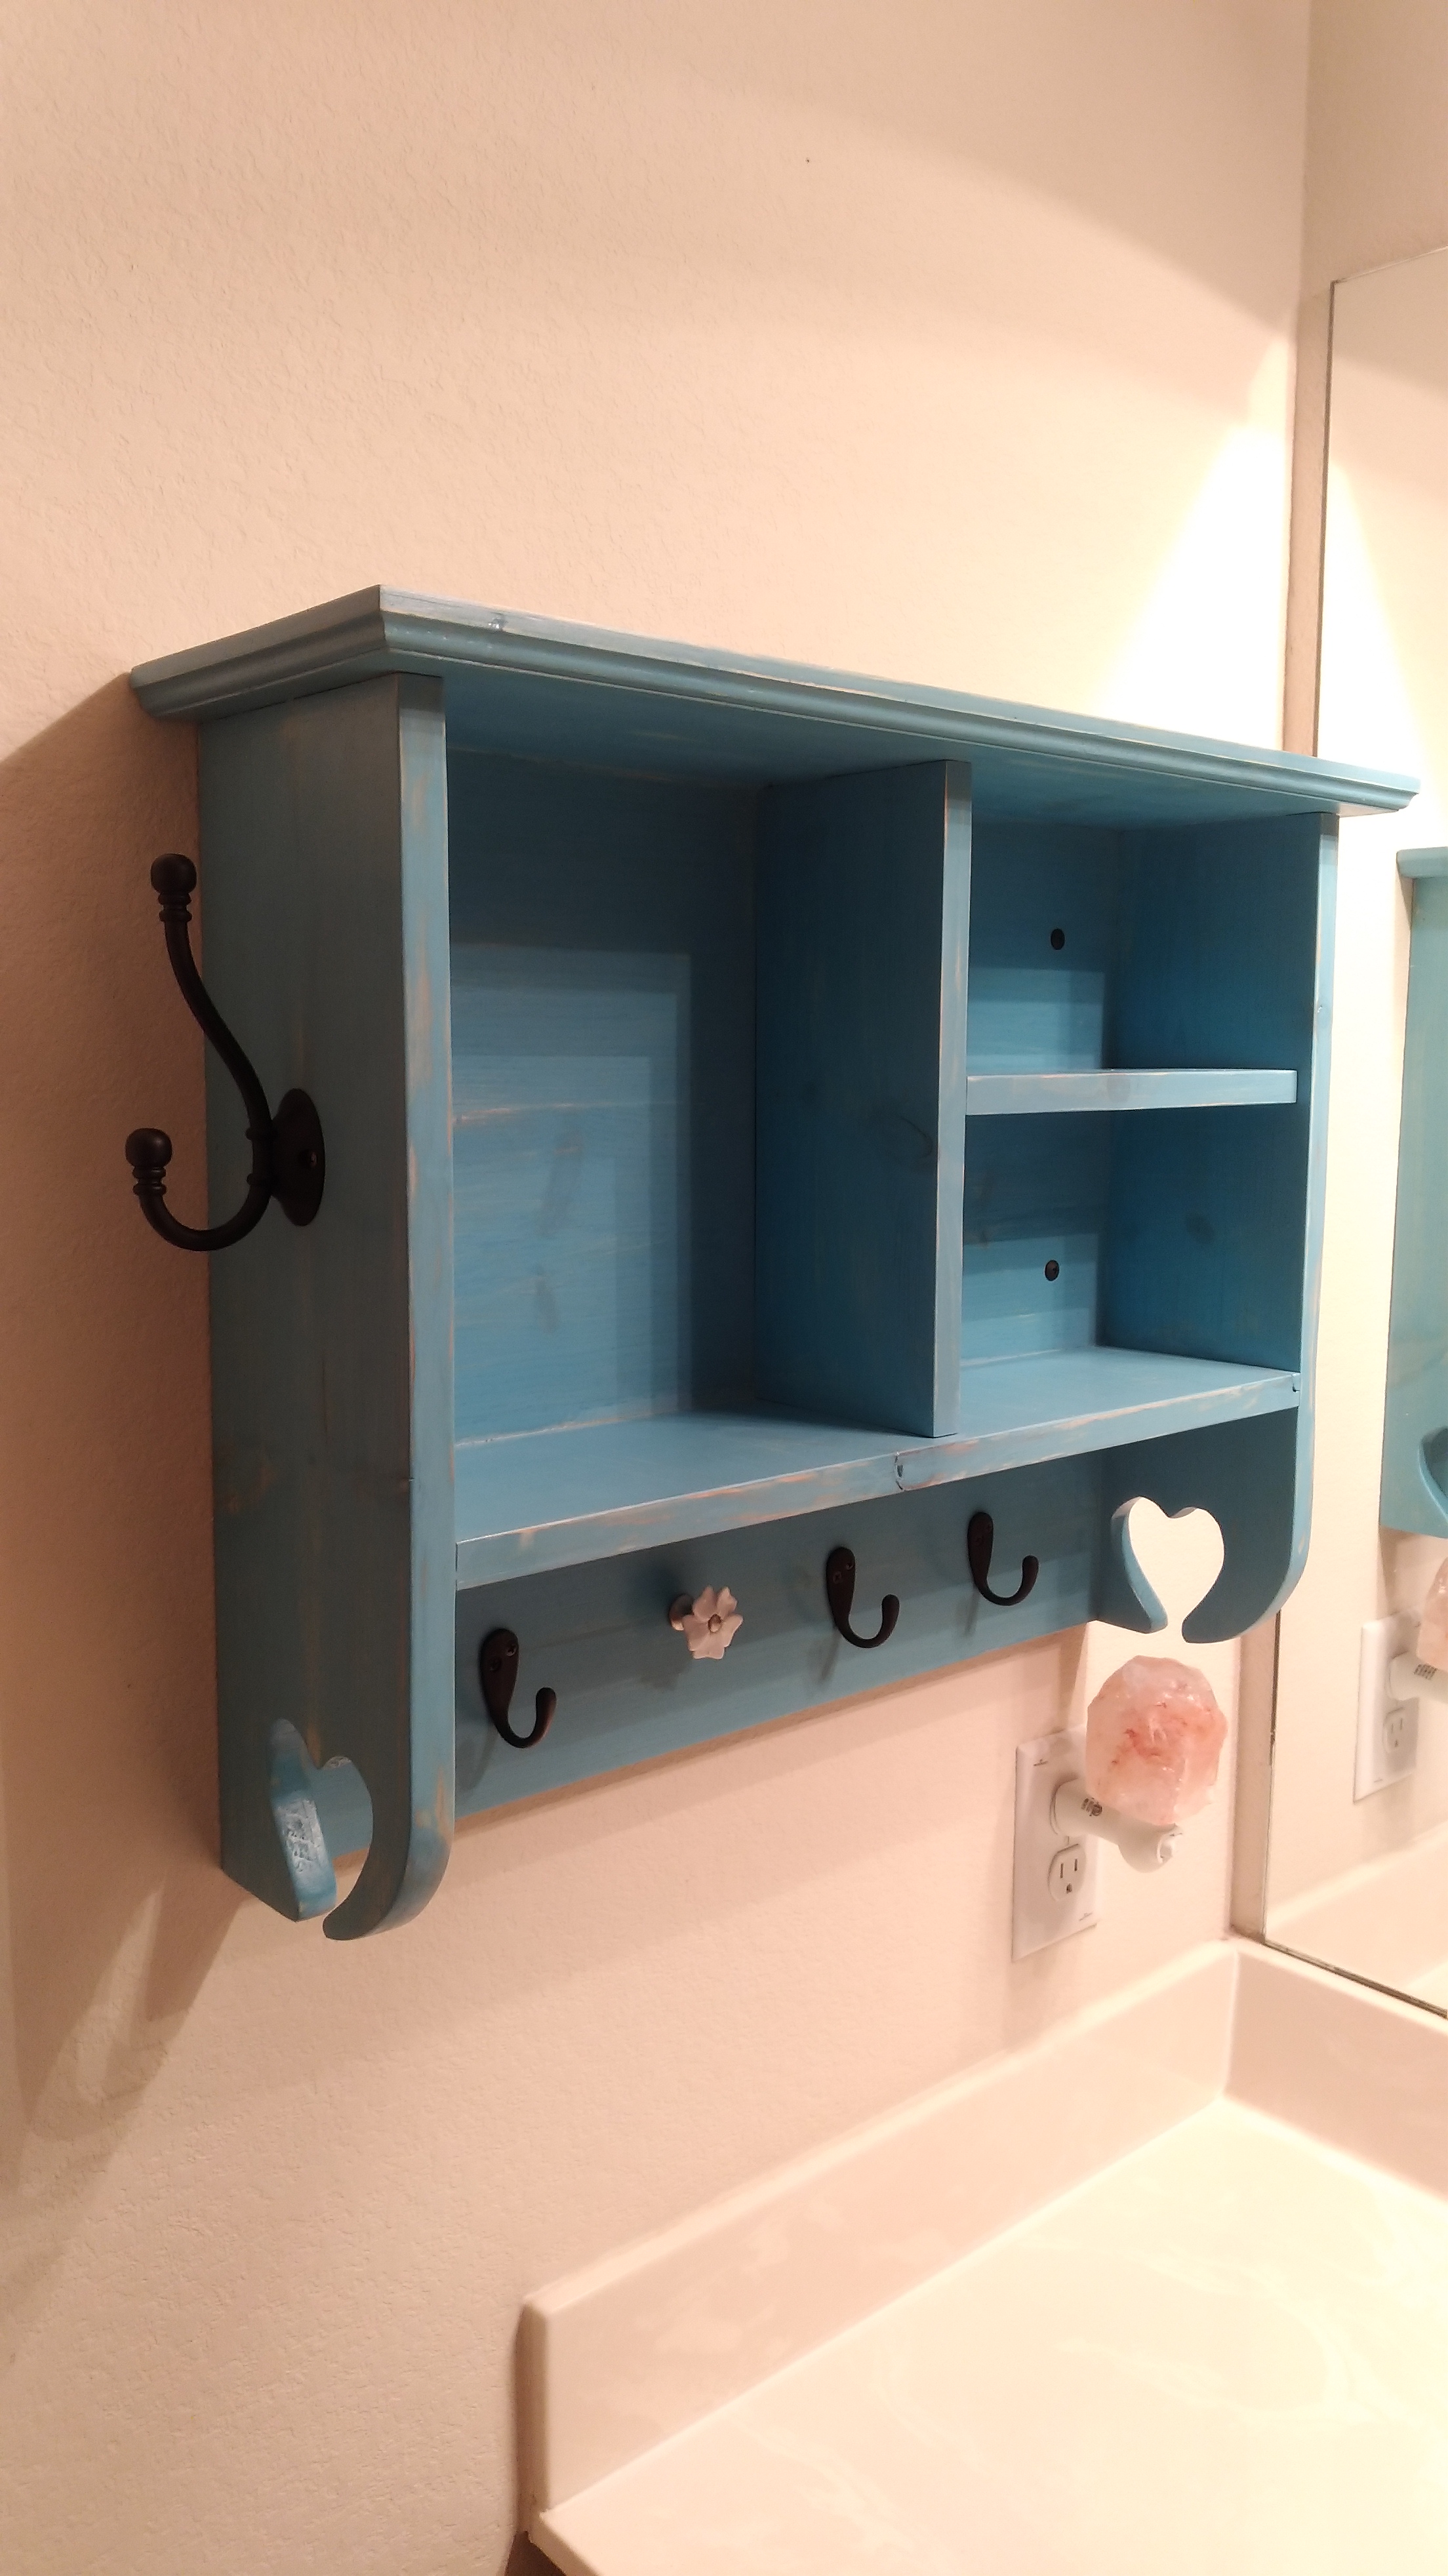
I liked the idea and my wife loved the outcome. Thanks Ana.
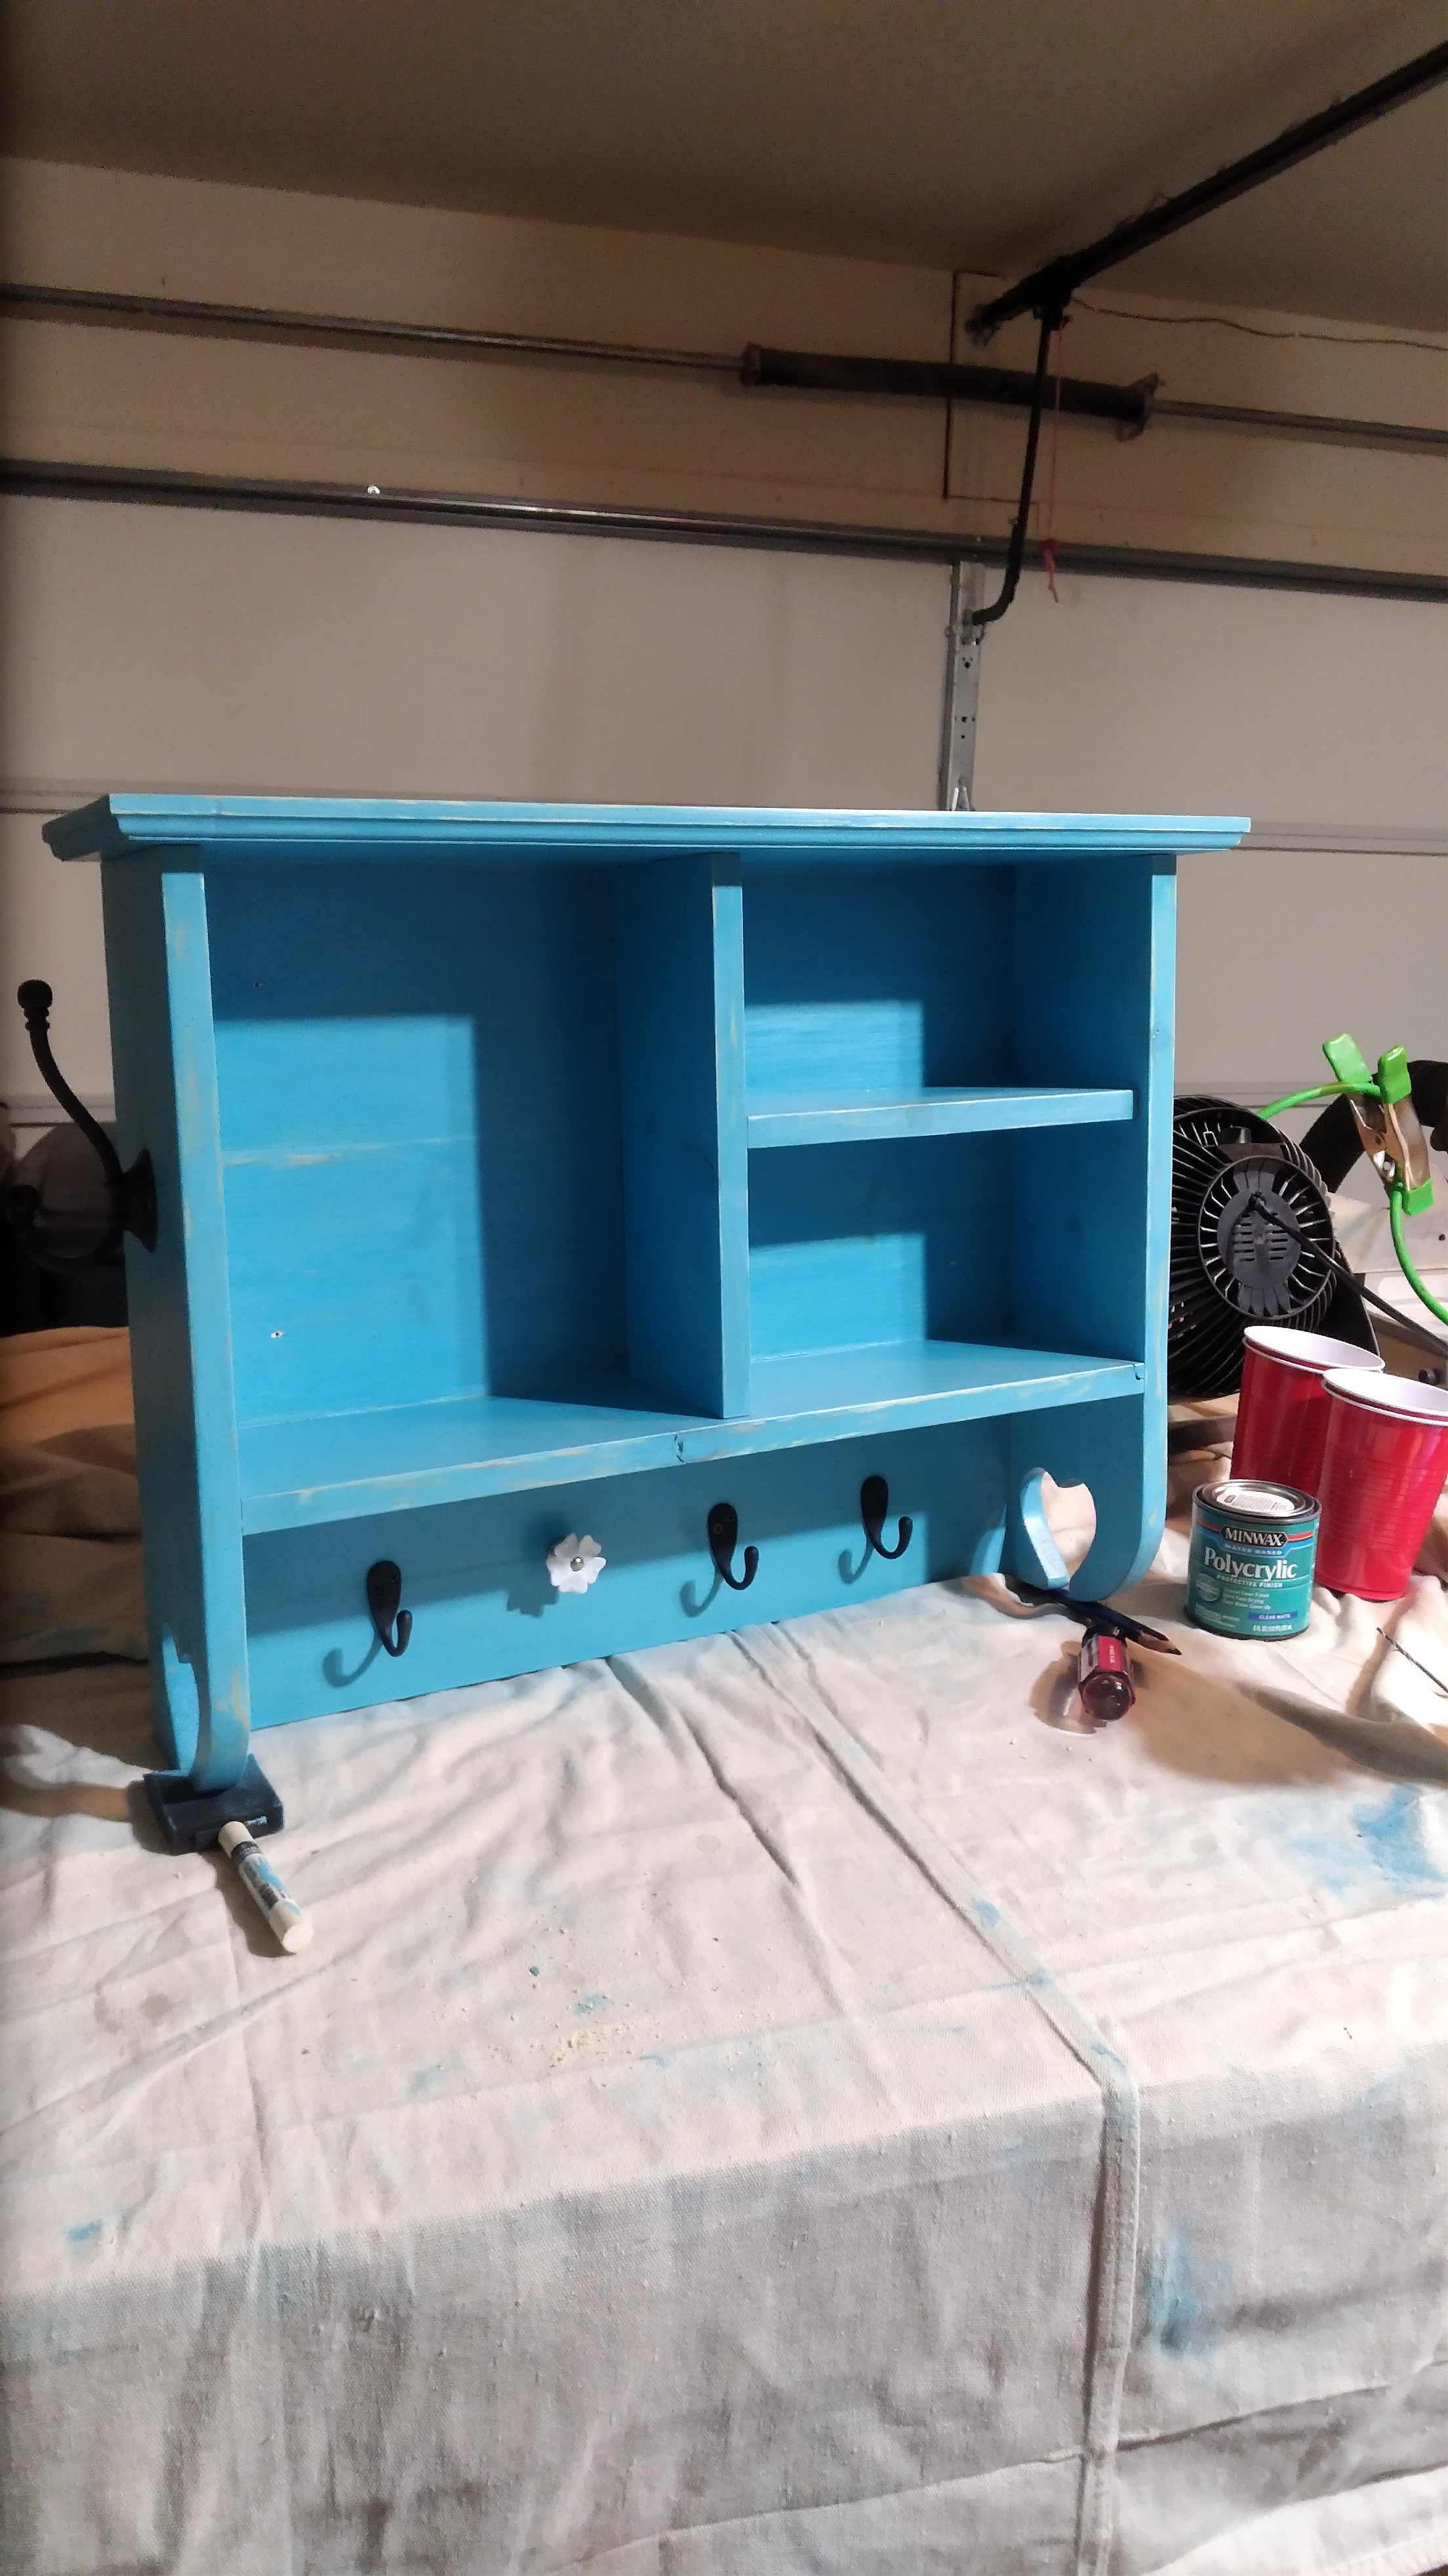
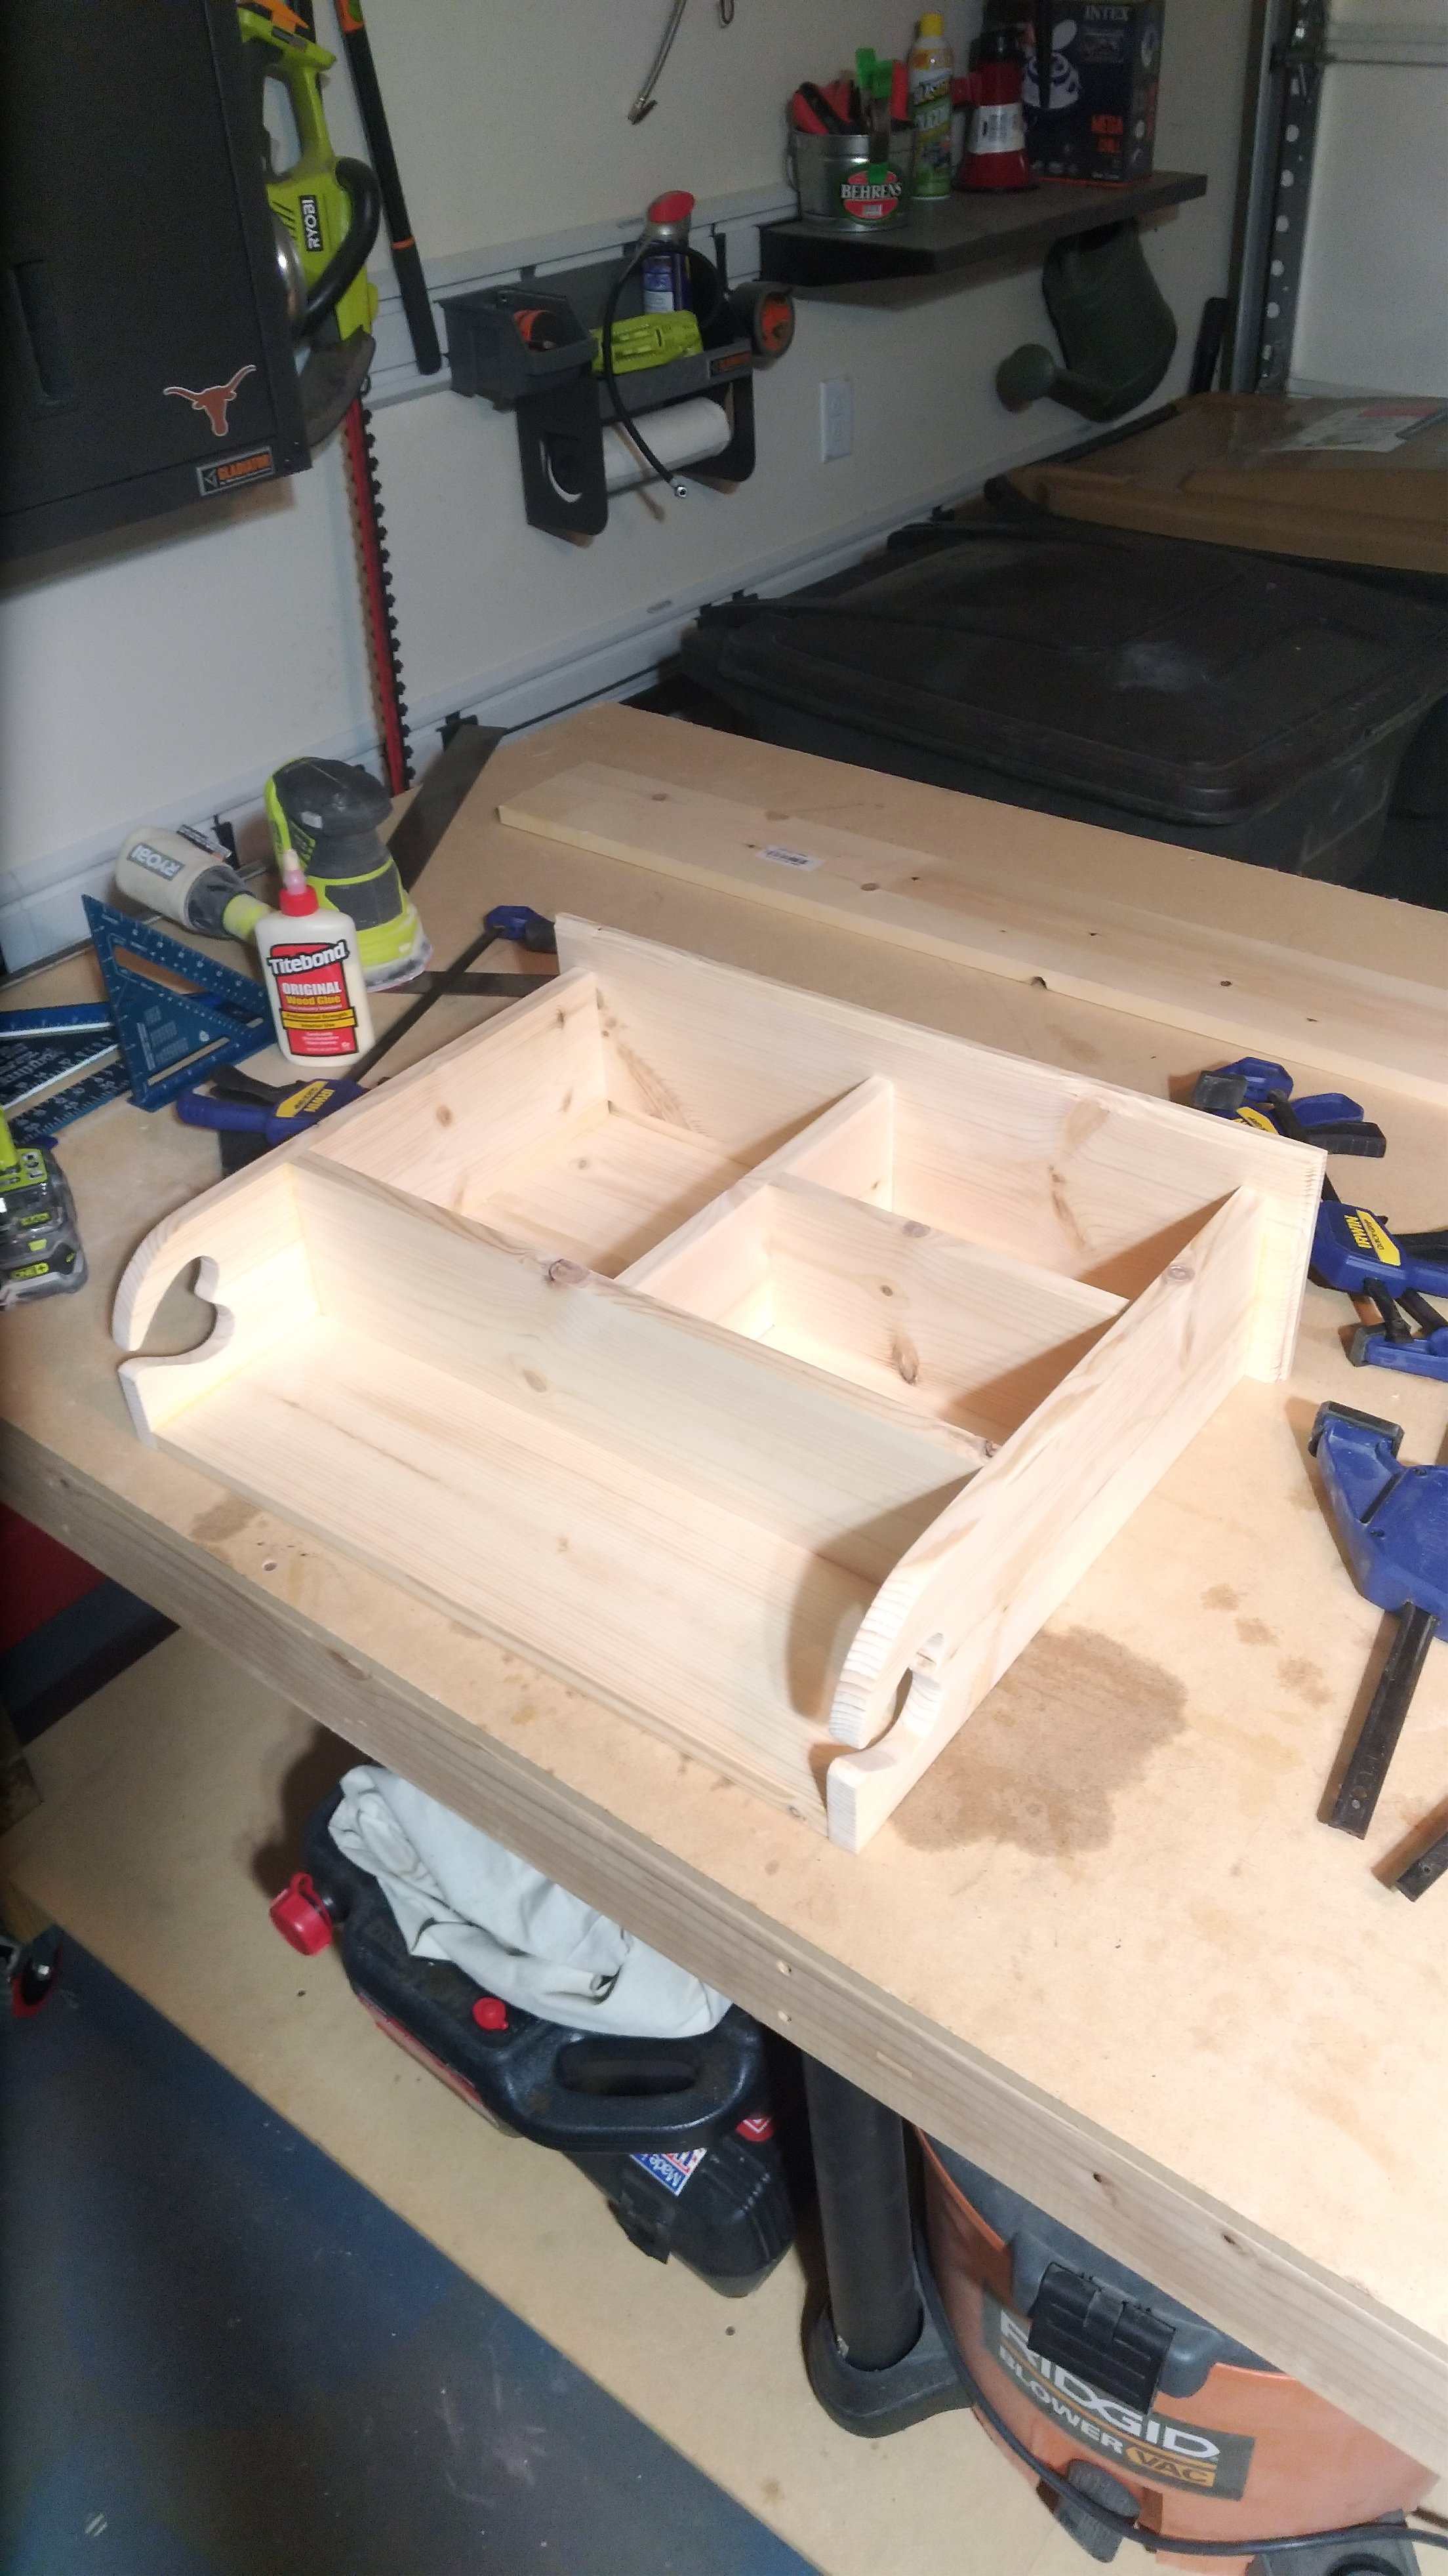
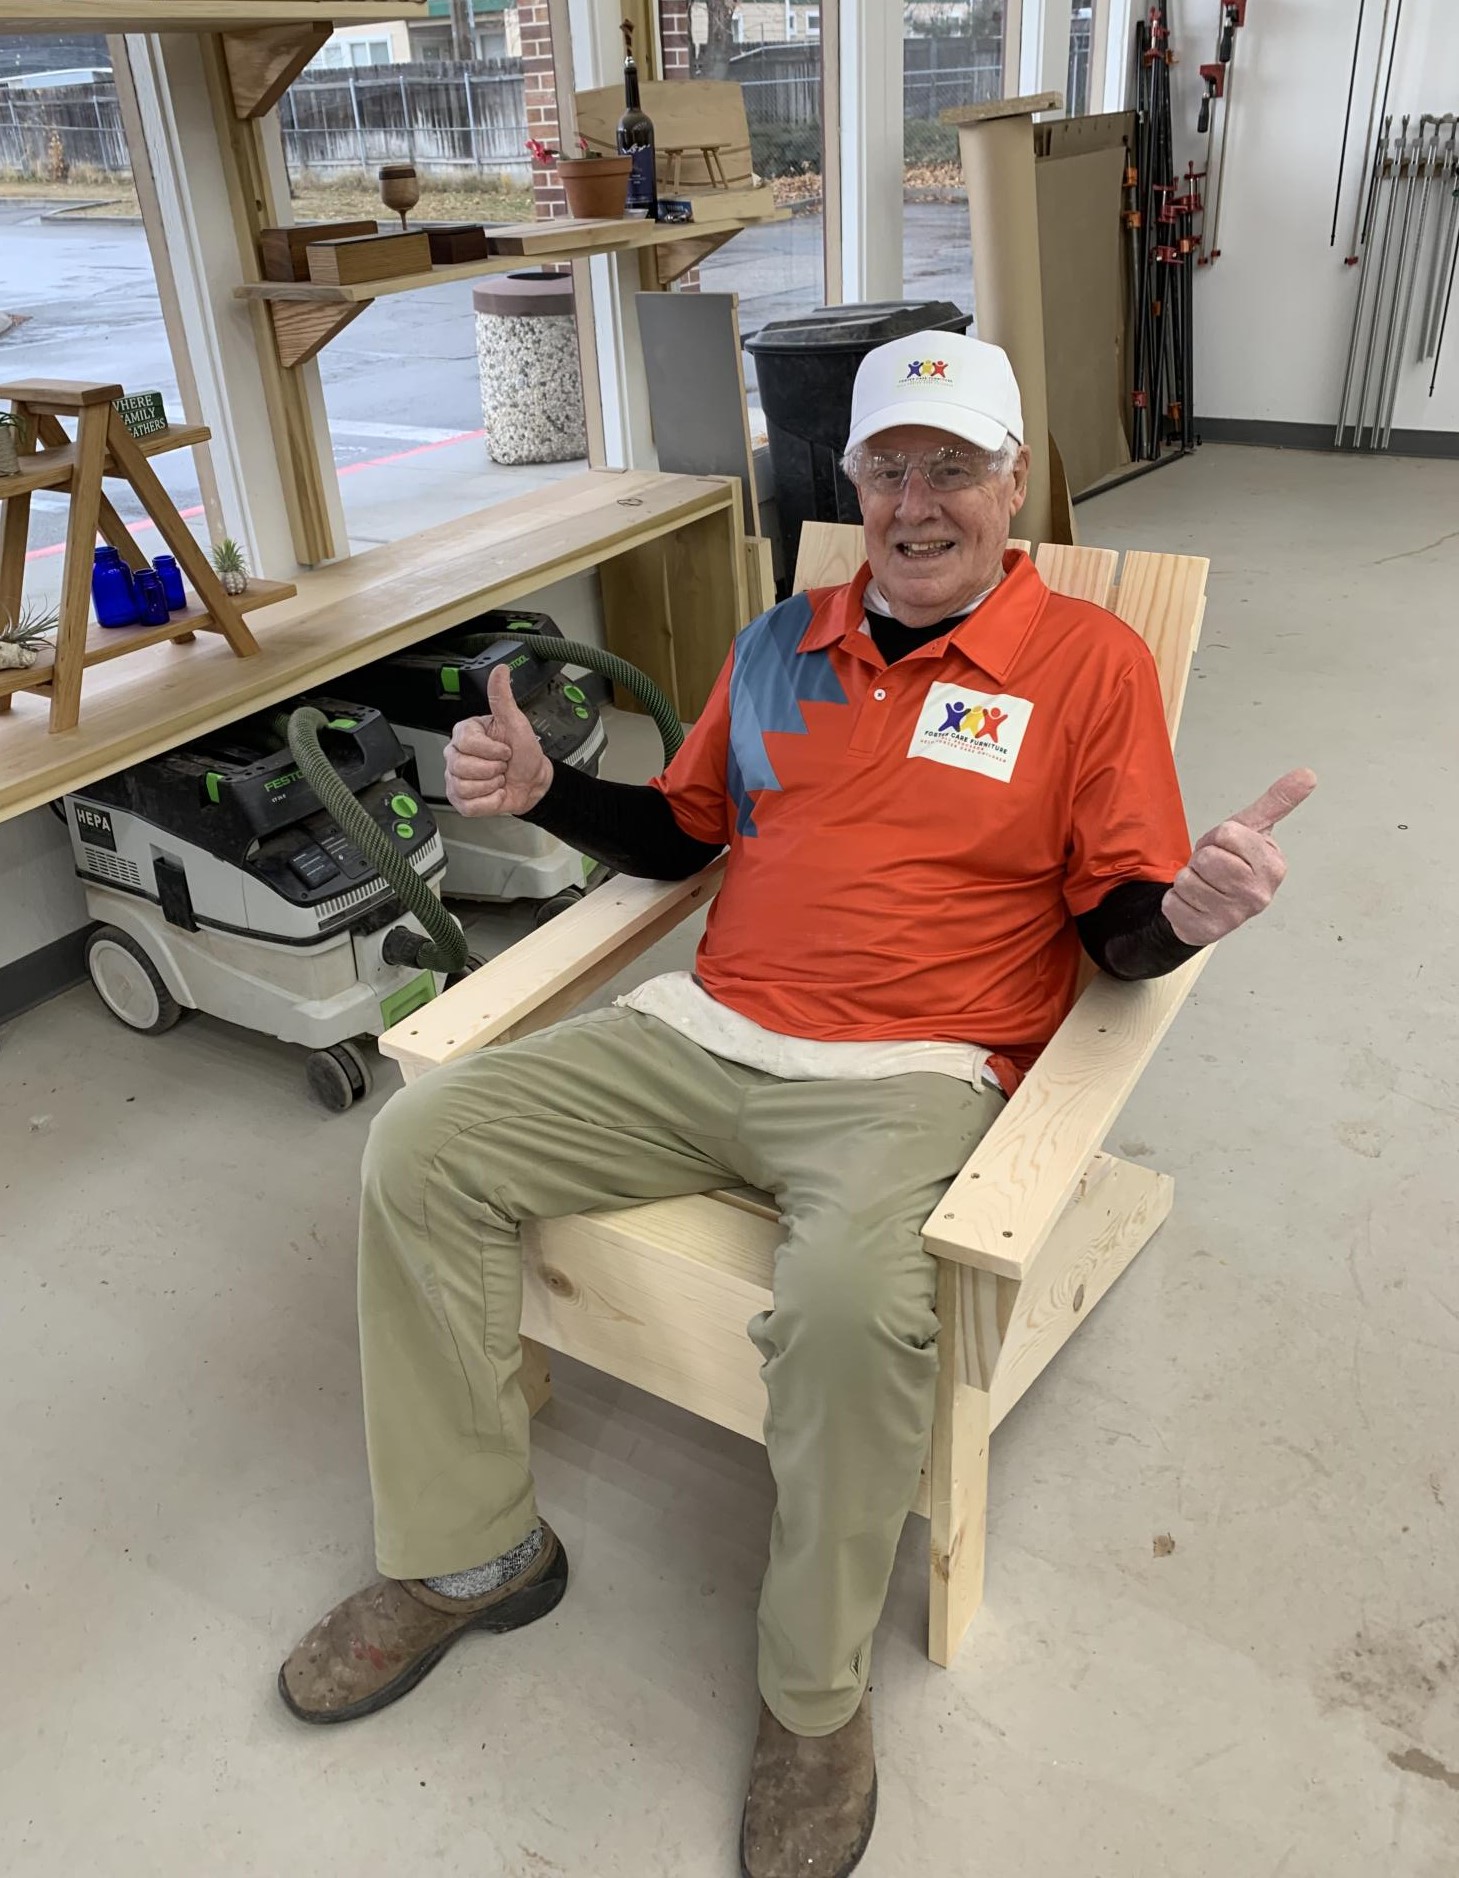
We have started a 501 C-3 non-profit manufacturing company making furniture and giving all the proceeds to Foster Care Youths "aging"out" of Foster Care. Foster Care kids are trained on basic woodworking and carpentry skills and assist with the furniture manufacturing.
We are using Ana White's classic Adirondack chair design for our first project, and they are beautiful.
For more info see our website at www.fostercarefurniture.com
Thanks Ana for helping these kids!
Fri, 03/03/2023 - 11:50
This is so awesome, I will go check it out! Thank you for sharing and such a great way to help these individuals.
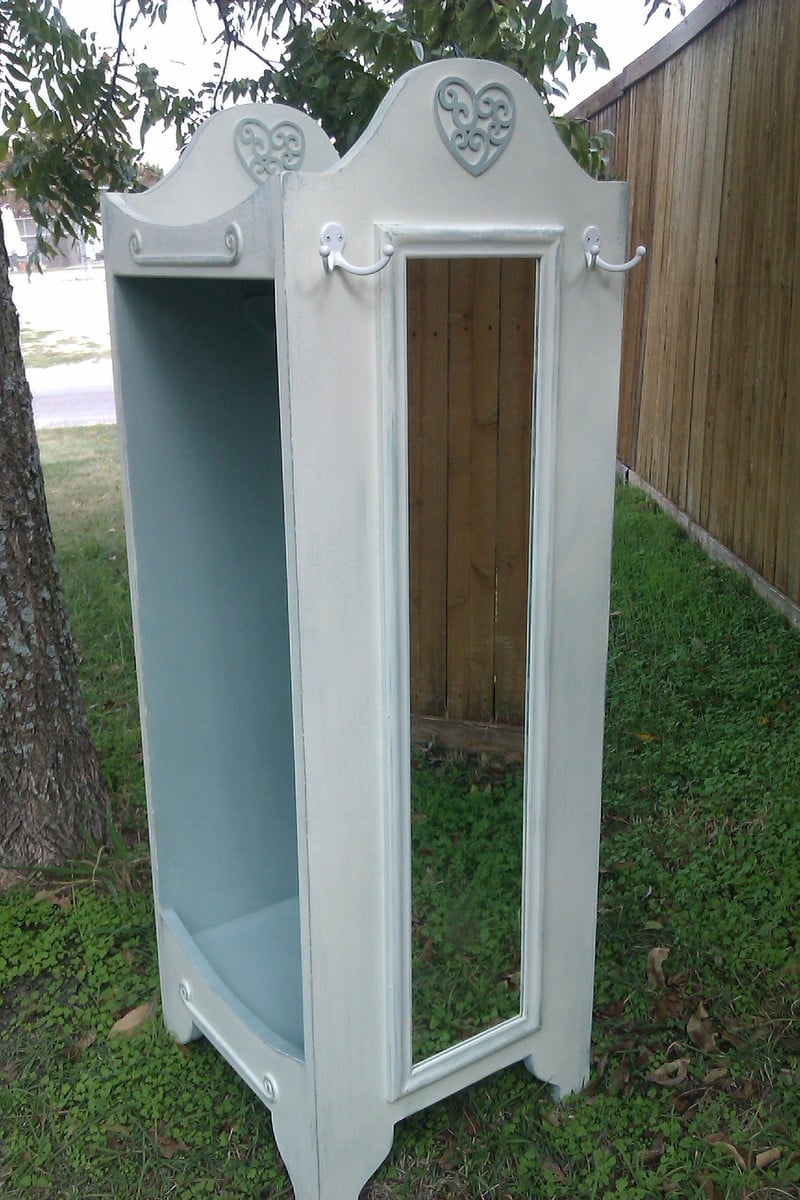
I'm a furniture builder now! This is actually the fourth project built from Ana's plans, but the first one complete and gifted. I bought my materials in the morning, and had it together by late afternoon. Now choosing colors, trim and do-dads to embellish was a whole nuther thing. I opted for chalk paint with a wax finish, and distressed her. She has mirrors on both sides as well as two, double hooks for hats, belts and jewelry.
My grand daughter is one pleased princess. Me too! I'm proud of myself.
Thanks Ana for the terrific instructions, encouragement and education you provide.
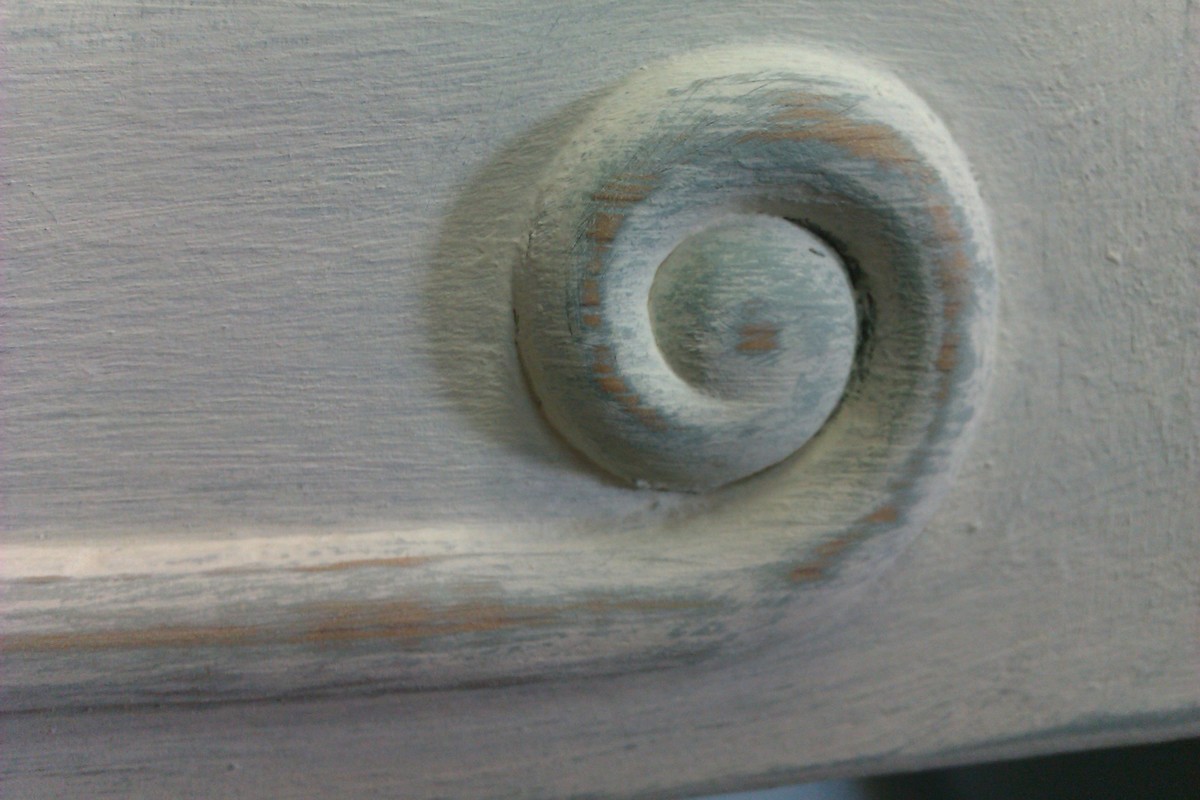
Fri, 11/11/2011 - 09:19
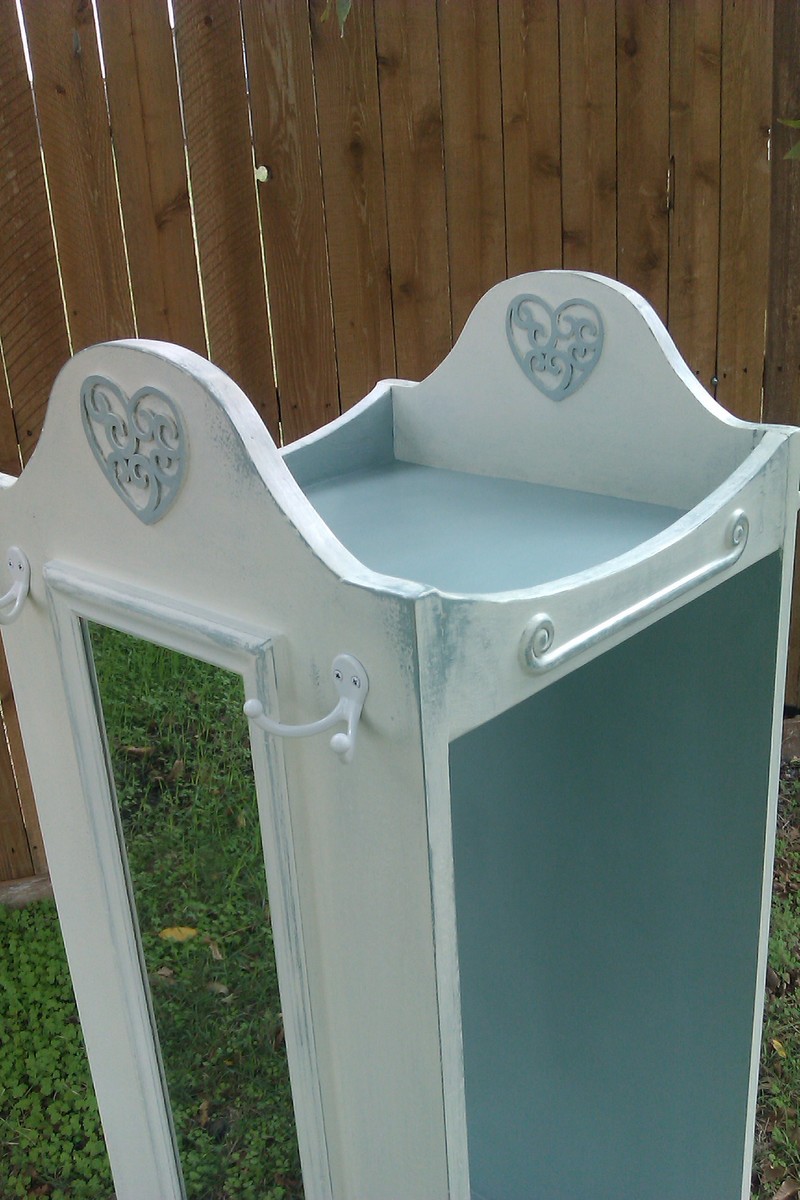
Great Project! I really loved the heart embellishment on the inside of the top...it makes it even more interesting to look at from many angles.
Question: does the waxed chalk paint finish feel that it may wear away with use? I am considering this finish but have never felt it in person.
In reply to Great Details by cathryn j (not verified)
Sat, 11/12/2011 - 19:20
I love the hearts too! Found them in a clearance bin at a local hobby supply store for .29 cents each. The price thrilled miserly me.
Regarding the wax, it feels very smooth and satiny. I'm new to the chalk paint and wax technique, myself, but I did research before using it. From what I gather, wax, in general, will eventually wear away and have to be redone. When the piece looses it's luster a soft rag should buff the sheen back. When you can't buff up a sheen, then it's time to rewax. It should last years. Ask me again in 5 years. :-)
Oh, I should add, the close up of the curly embellishment was taken before I waxed.
I came across a lot of conflicting info regarding the soft wax. Nothing bad, just different techniques, and it seemed the more I read, the more questions I had. Finally just dove in and found my way. I like, like the method!
Did I answer your question? And then some!
In reply to Great job! by margjack
Sat, 11/12/2011 - 19:49
She's a foo-foo girl, so yes, she was excited. Even more so when she was able to stand in front of her own full length mirror and see how stunning she was in the princess outfit her Aunt gave her. So cute!
Sun, 11/13/2011 - 19:48
You did a beautiful job, and I love the finish! I built the same piece, but only gave it an antique white painted finish. I may have to try some of your techniques on my next build.
Where did you find mirrors to fit? I can't find them short enough...
Tue, 11/15/2011 - 16:20
I'd planned to use mirror tiles, but while at the Lowe's buying trim and mastif, I came across 2 to a pack beveled mirrors for $19. They were the perfect size! Now that's luck.
Wed, 11/23/2011 - 18:43
Thank you, Ana, for this awesome site! I'm building Christmas gifts now. :-)
Sat, 12/31/2011 - 04:05
j'adore , je vais en faire une mais j'ai du mal avec les cotes de chez vous.... Happy new year Isabelle
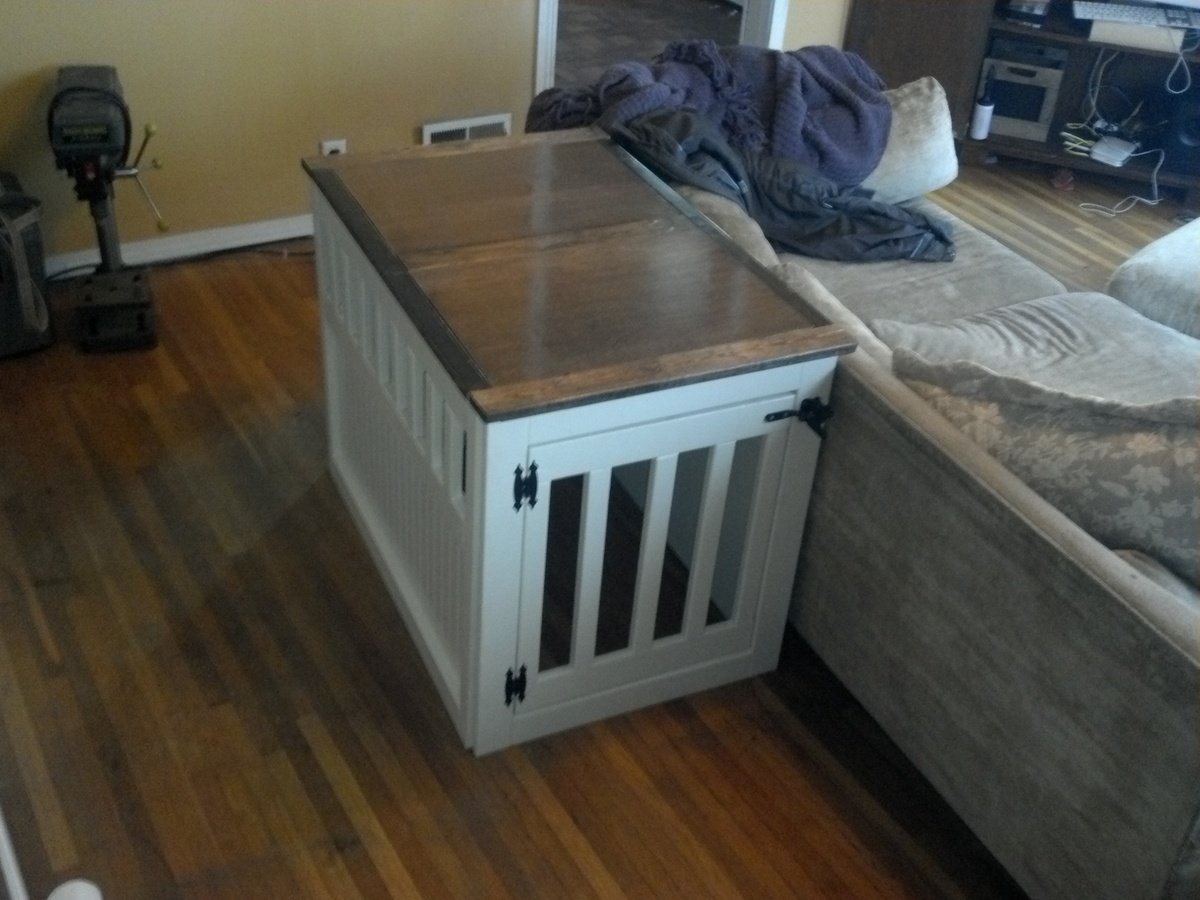
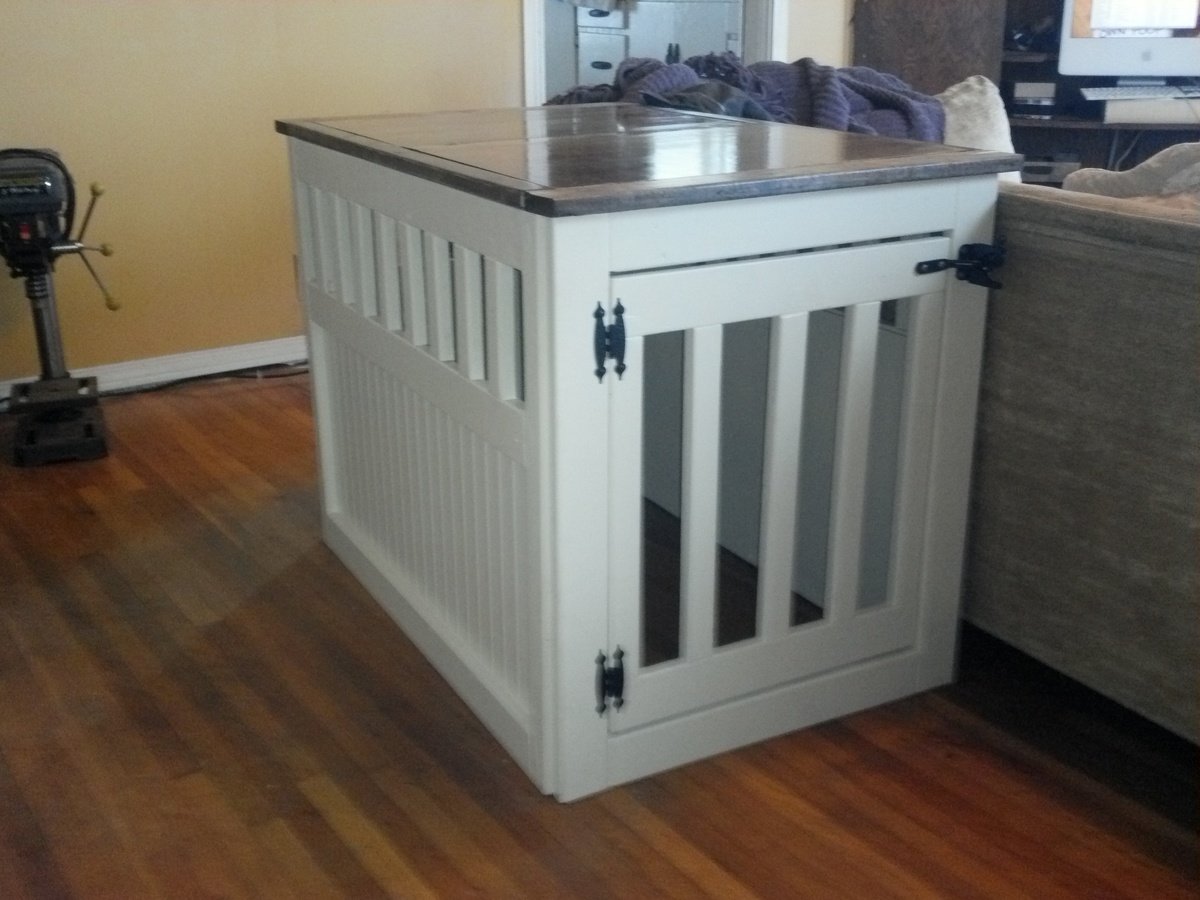
We built this dog kennel as a donation to a fundraiser for our favorite dog rescue. It was auctioned off at the silent auction and all the money went to the dogs! :)
We used cheap furring strips for the majority of the project. We also had some leftover beadboard so we used that for the sides & back panel. We painted the base antique white and made a nice top out of some scrap lumber & old hardwood plywood. It took about an afternoon to assemble but another few days to sand and paint. We finished it while all 4 sides were separate to make it easier and it was still a pain to paint. This would be a great project to have a paint sprayer because it is sooo hard to avoid drips with this design.
The whole piece cost us almost nothing to make and we love how it turned out. We need to make ourselves one for our dogs!
The best part of this project was seeing it go home to someone who loves it and all the profits go to the Basset Hound Rescue!
Thanks Ana for the plans we couldn't have done it without you!
Fri, 12/06/2013 - 03:51
I'm working on this project right now and this is my first time building anything. How did you attach the 4 walls together and how do you screw the top portion on? Please help me, I would so grateful!!! [email protected]
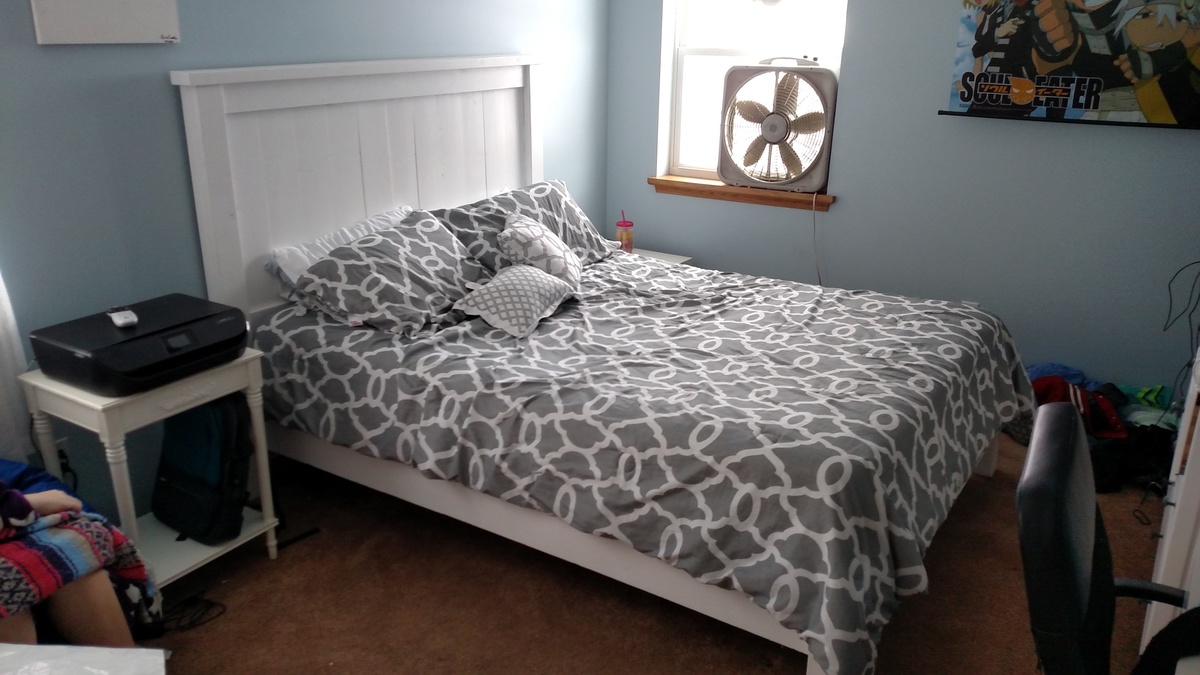
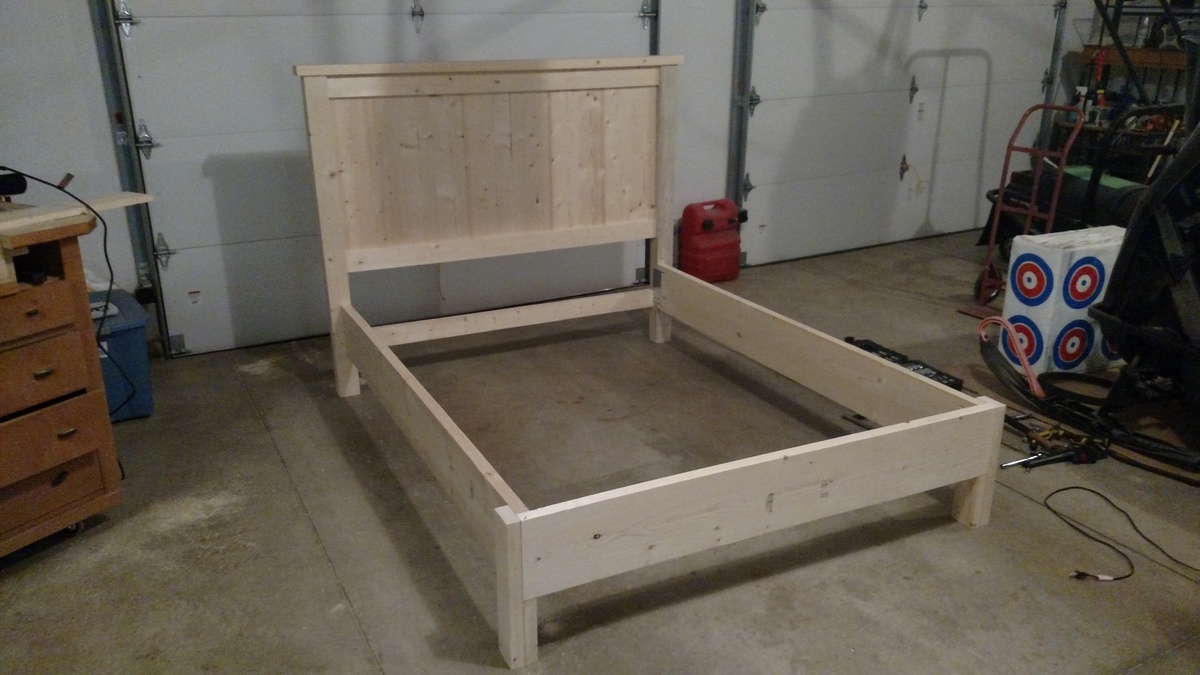
My bed frame dimensions were 60 wide by 80 length. So that is the inside demension after assembly. My headboard posts were cut to 54". Headboard panels are 31.5" (11- 6" boards). My posts were made from combining two 2x4s together. I plan on mounting the metal bed frame to the inside of the bed rails.
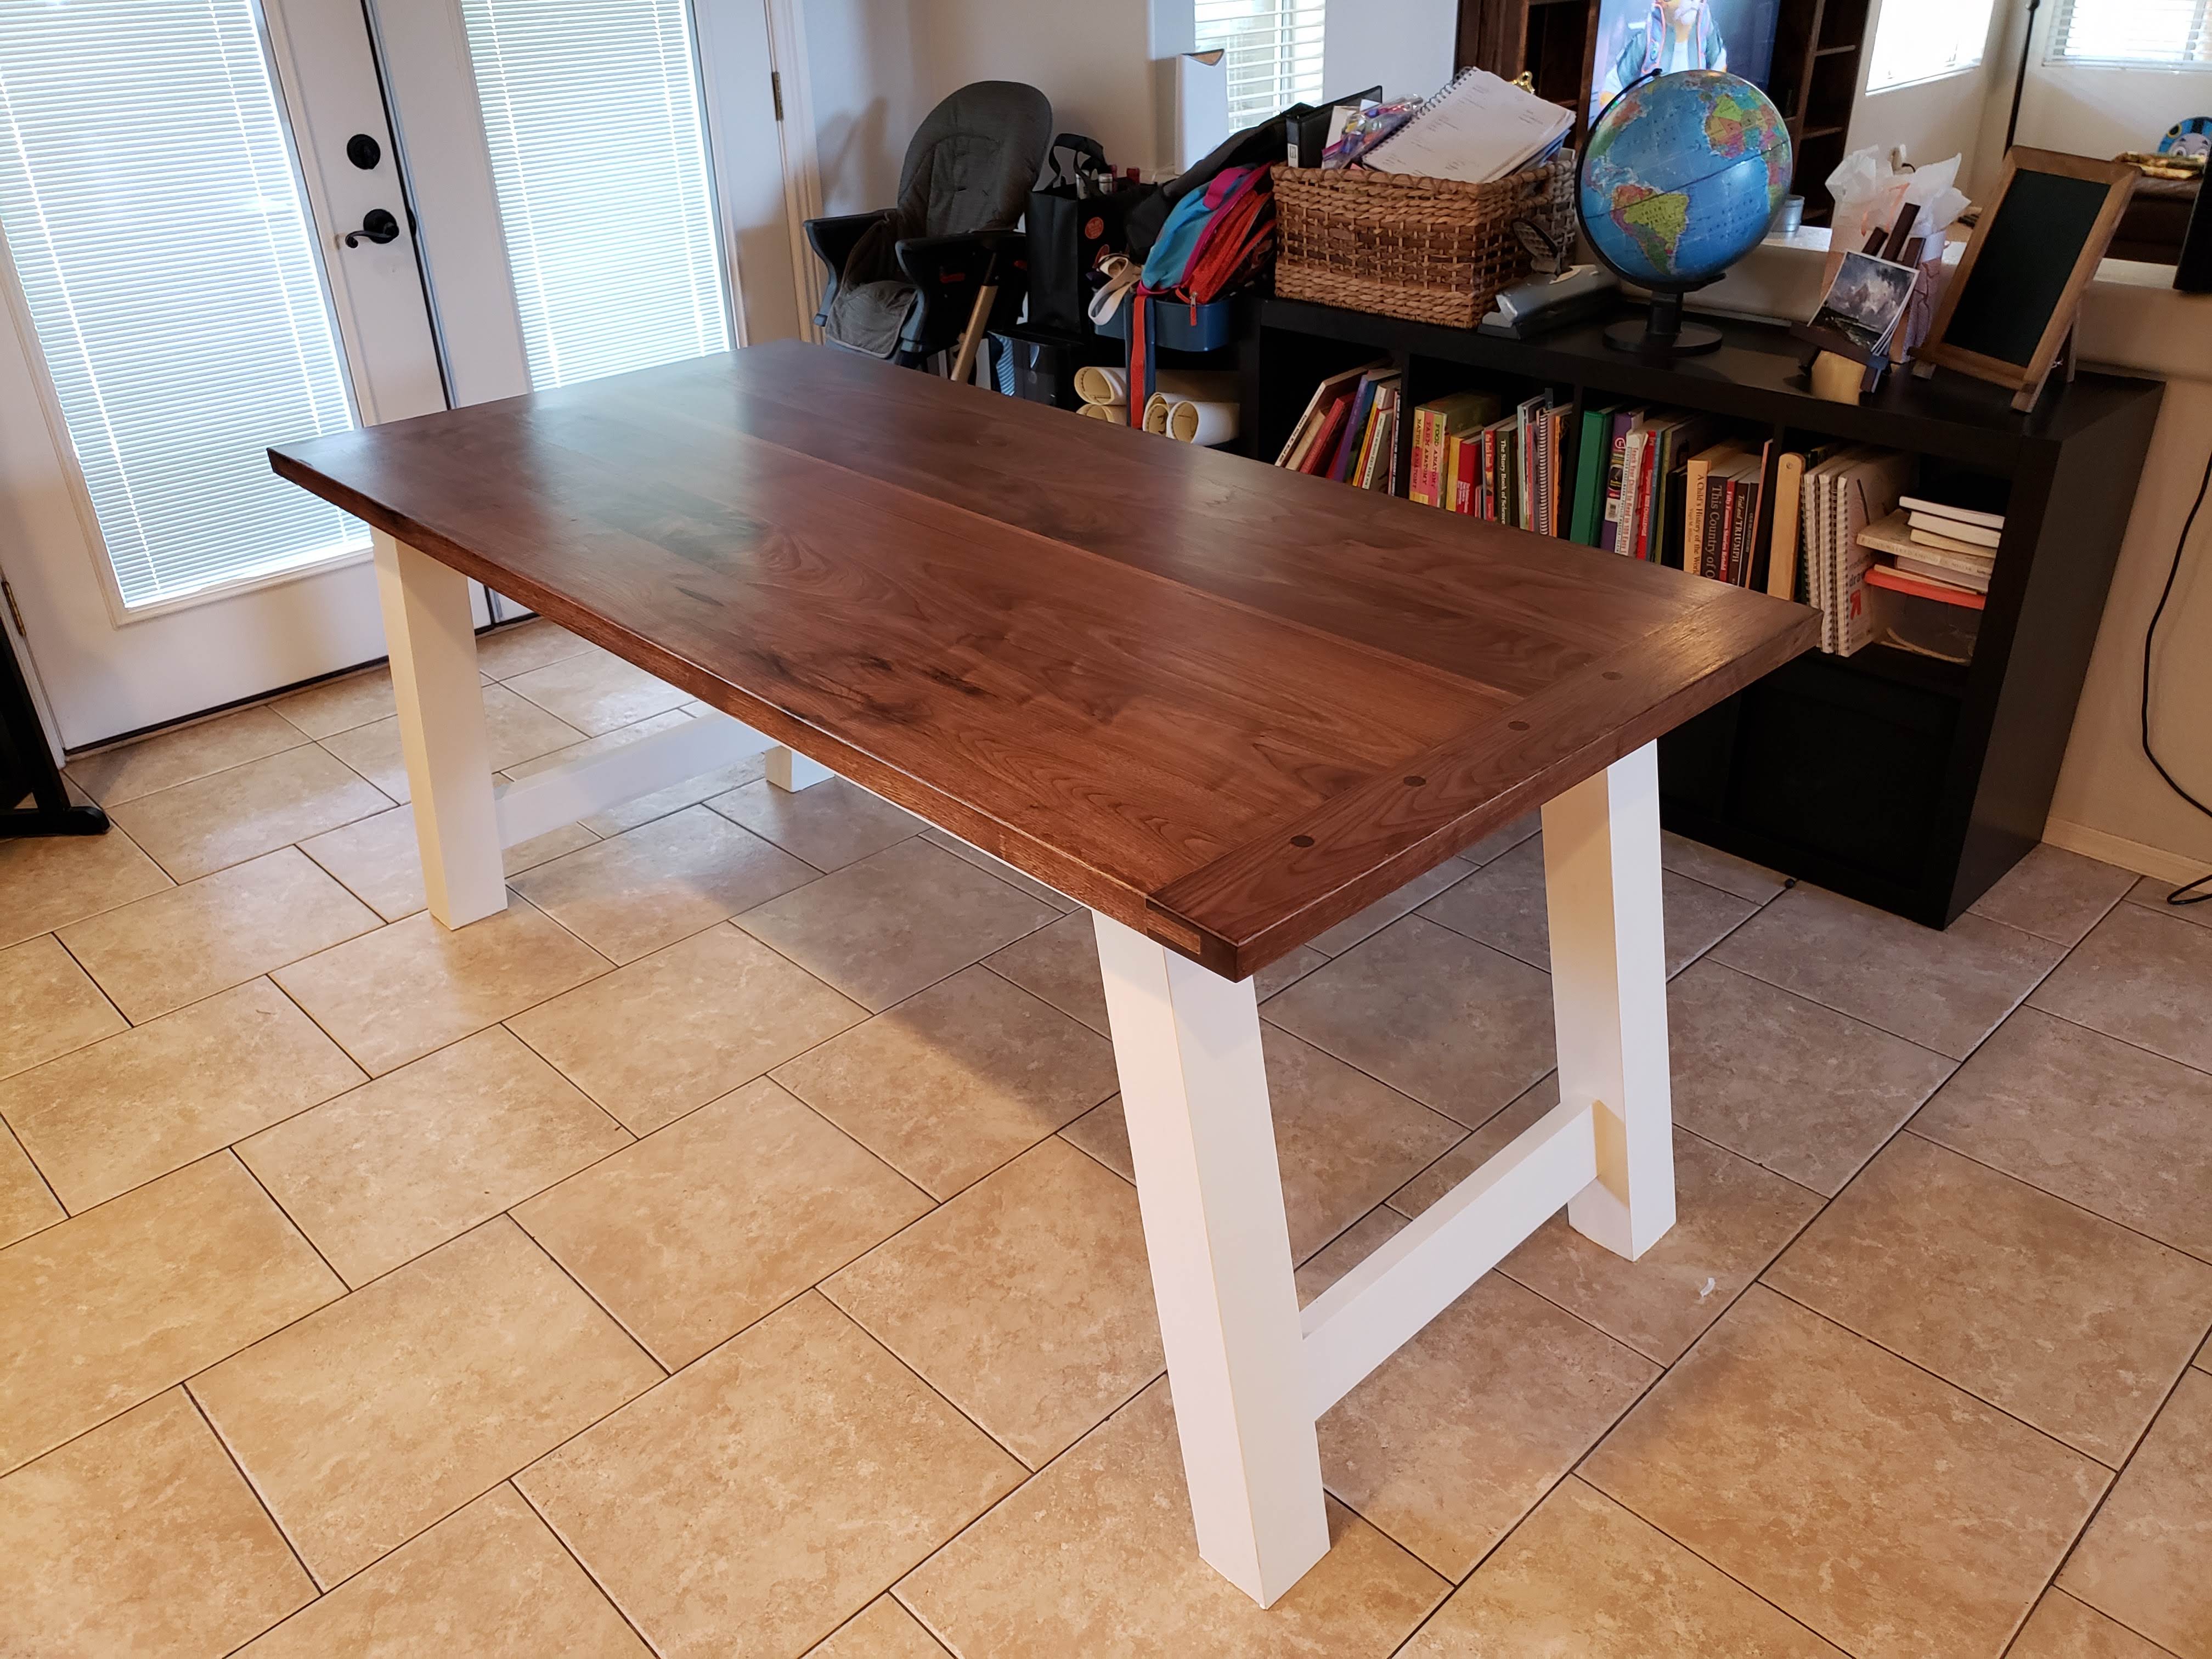
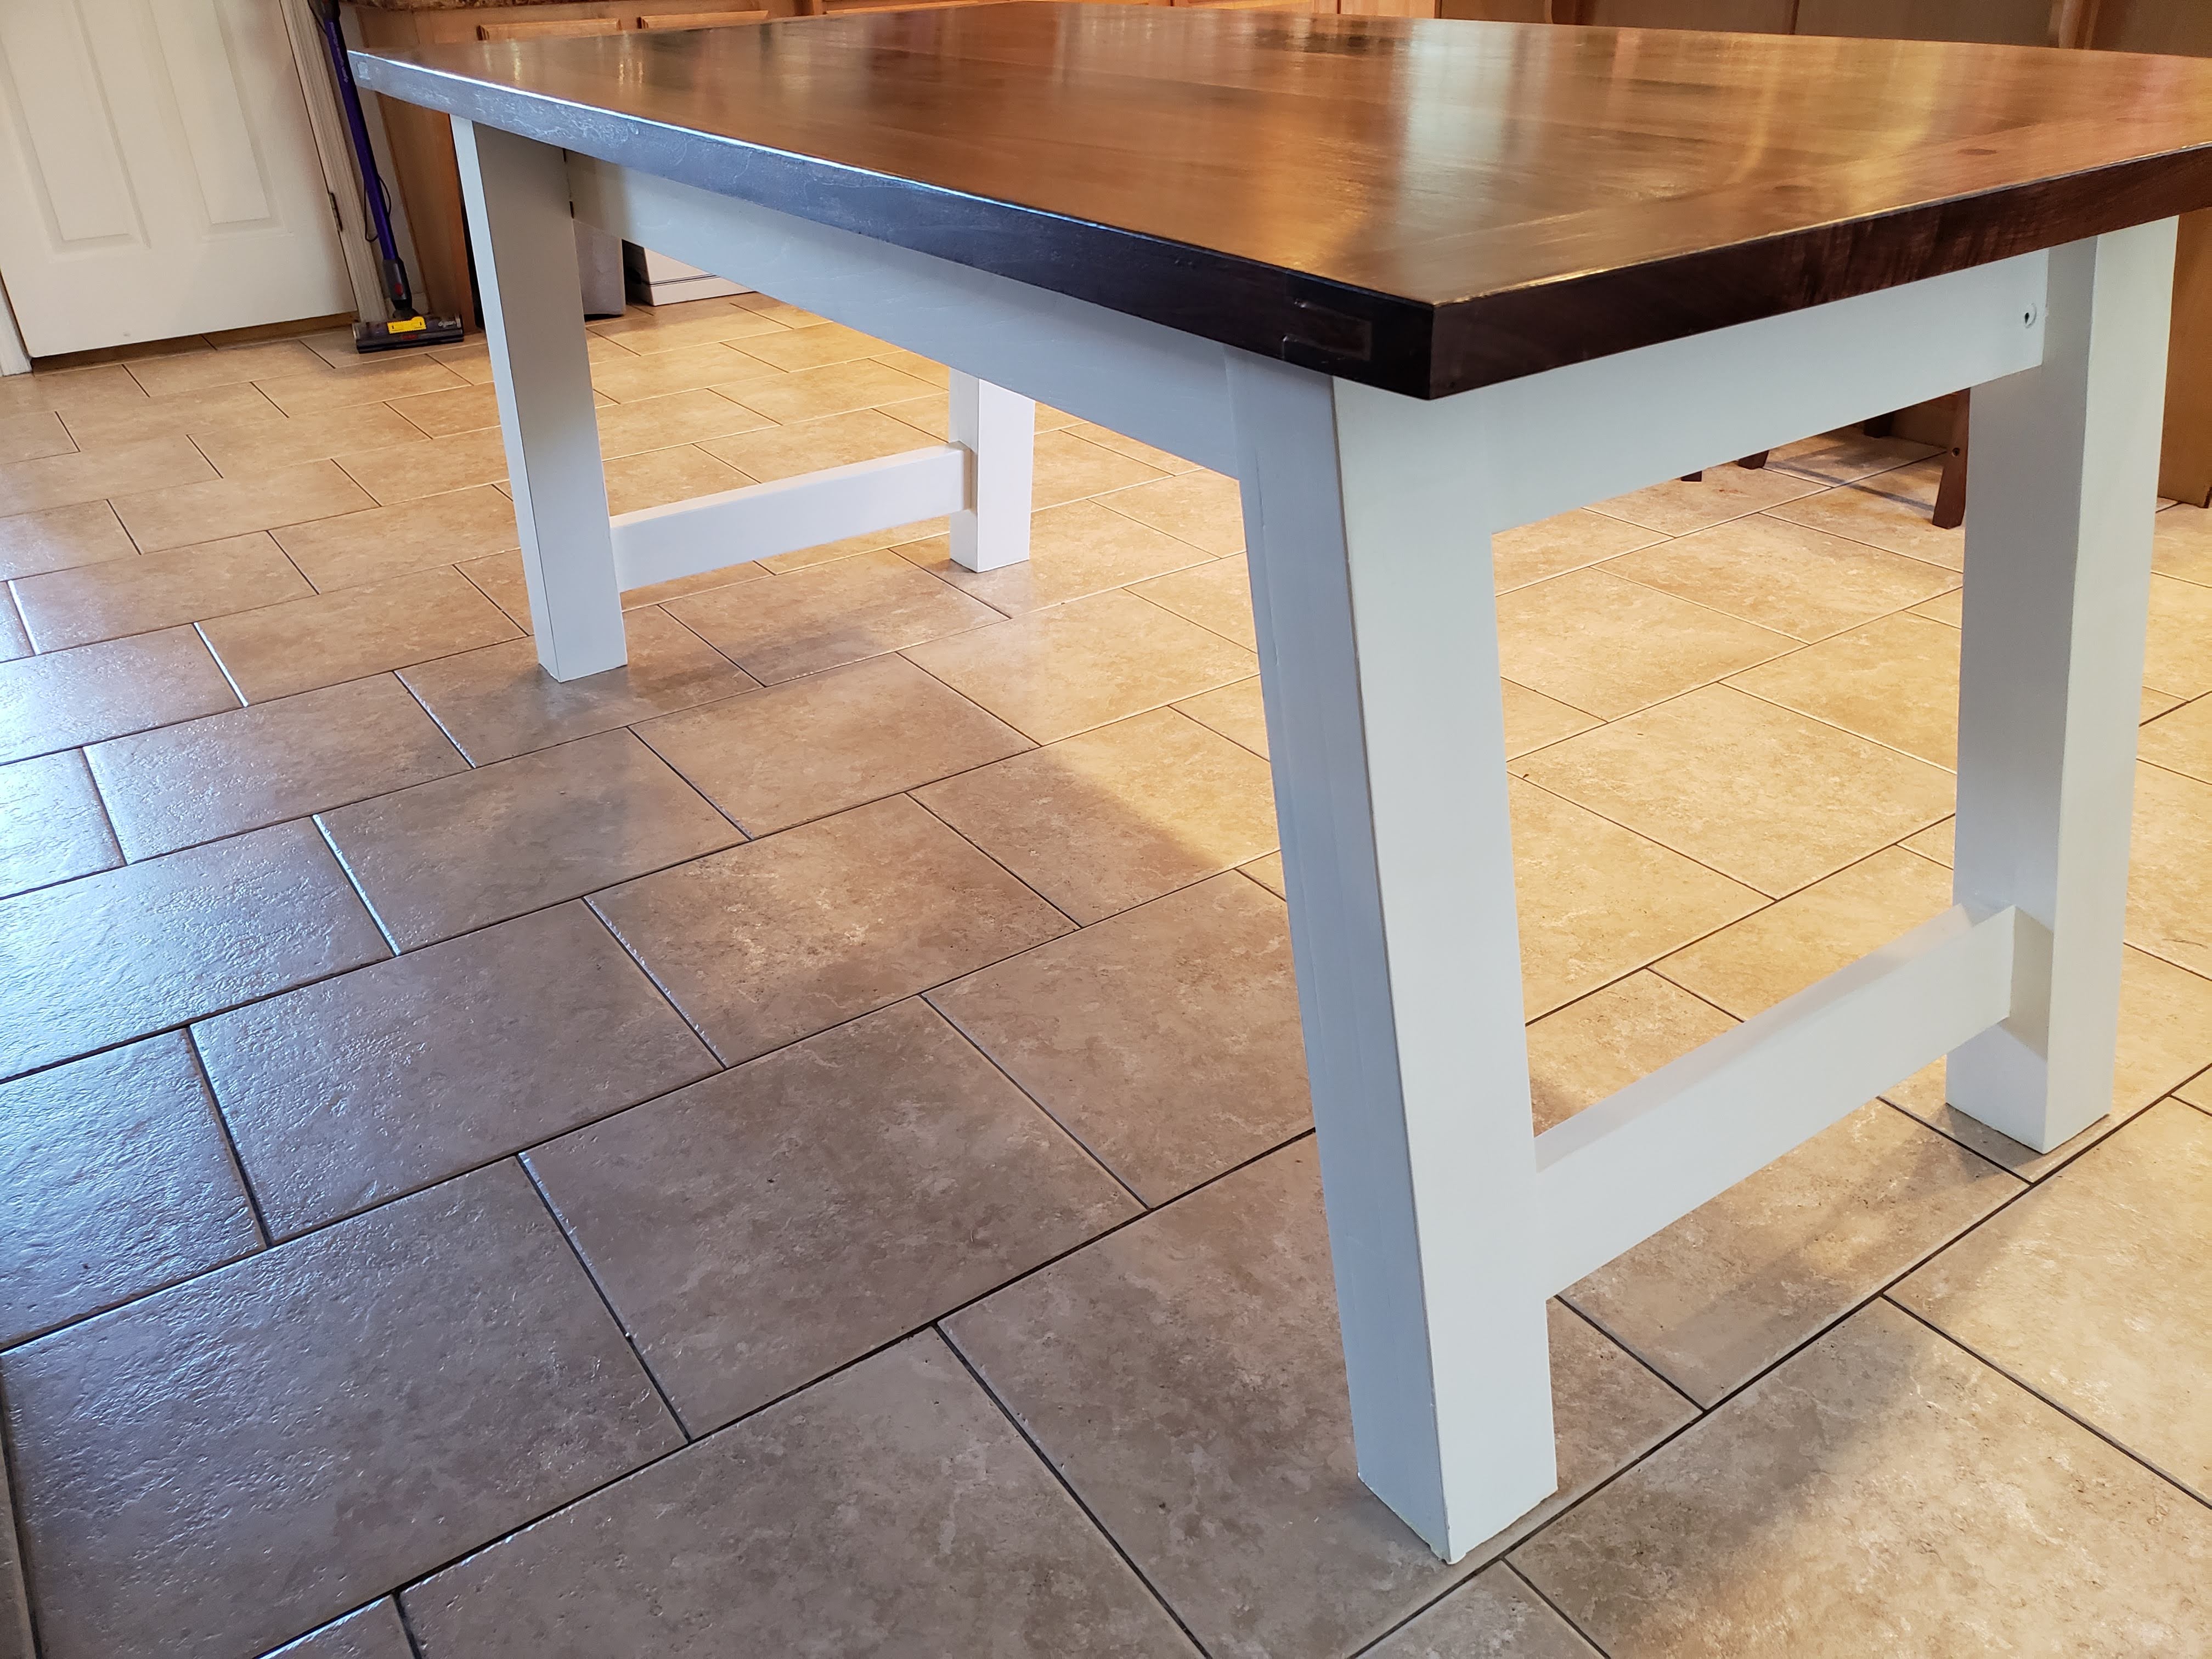
First time major project. My wife wanted a kitchen table. Did tons of research to find the plans I wanted, which is a modified version of the plans on http://image.ana-white.com/2012/05/pottery-barn-benchwright-farmhouse-d… .
Breadbox ends was changed to a tounge and grove ends with wooden dowels as anchors to hold the ends.
Finished with Natural Danish oil, and polyurethane topcoat.
Thanks for Nathan1342 for the advise in getting started.
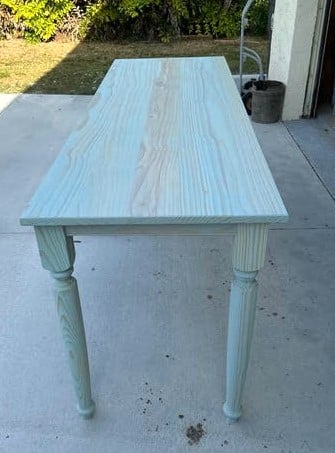
Here is a table I made for a friend. 27.5’’ wide x 78’’ long x 36’’ high. It was custom made for the dimensions he needed to fit in his condo. I used pine boards and legs from Lowes, and Bleached Blue stain. Then put 3 coats of lacquer on it.