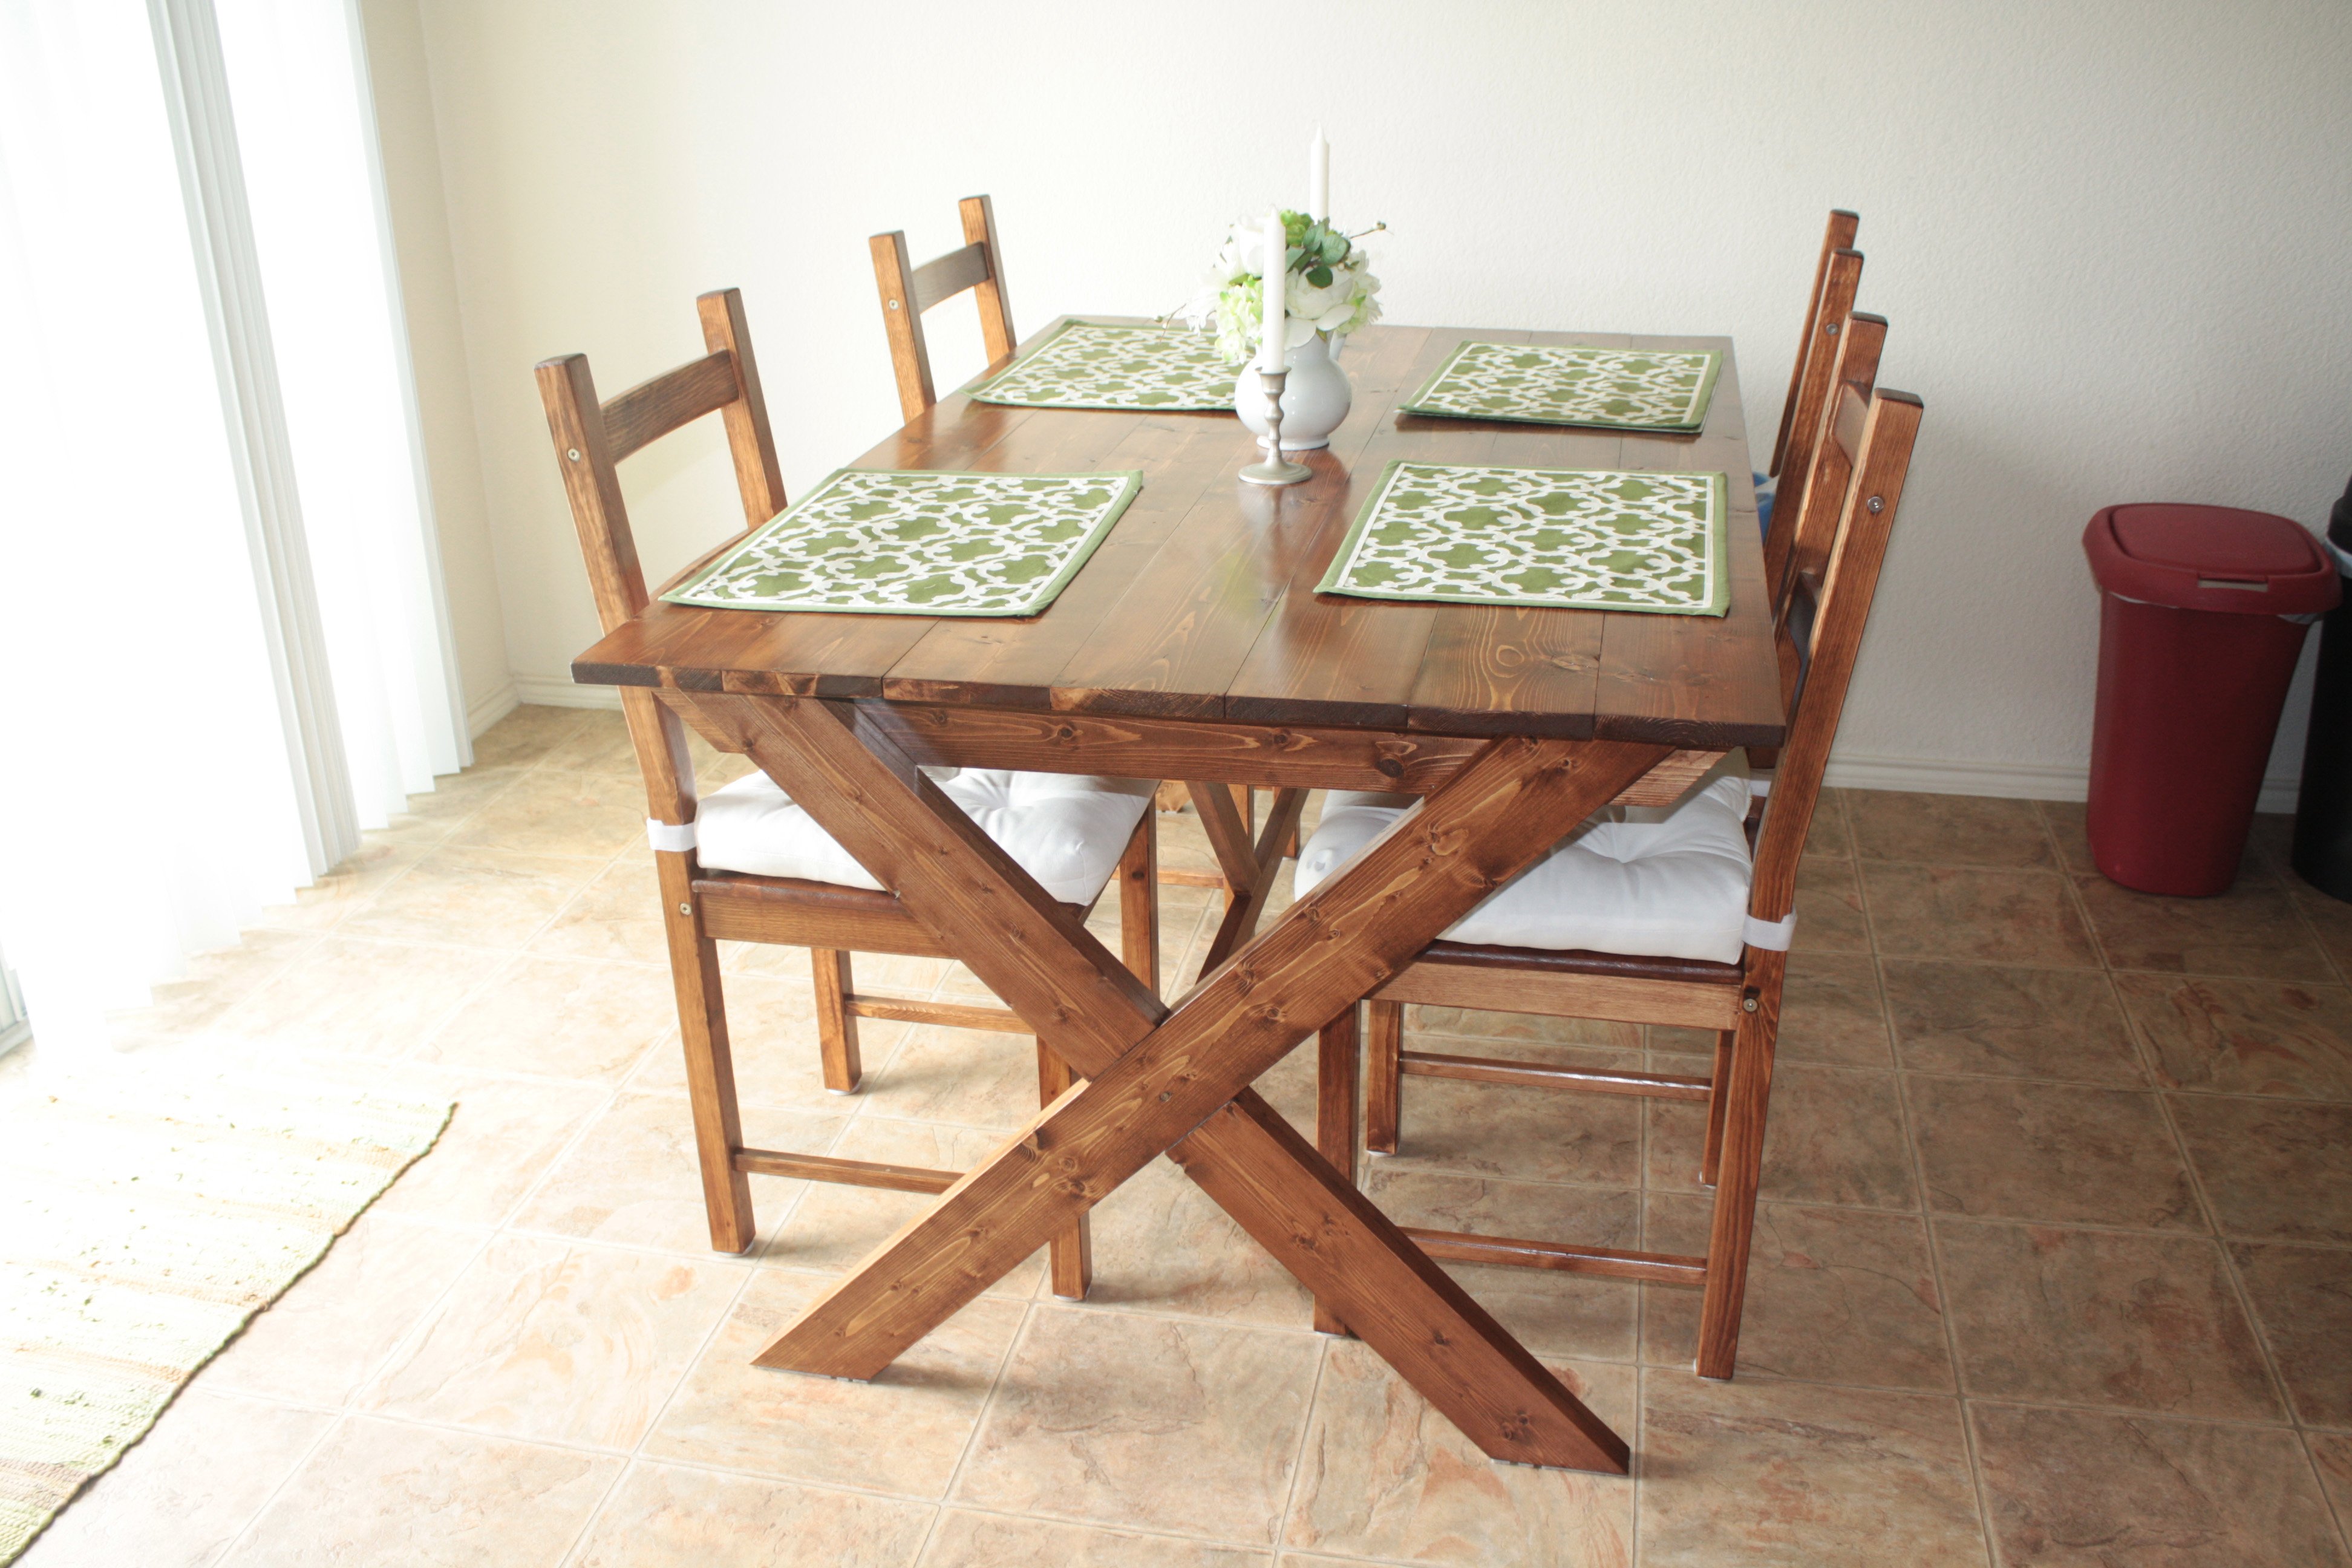
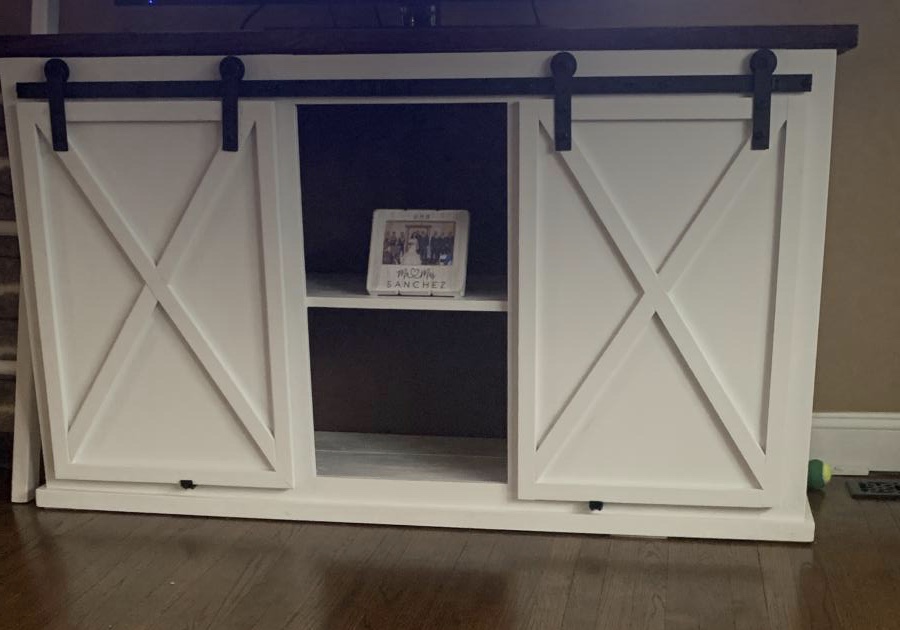
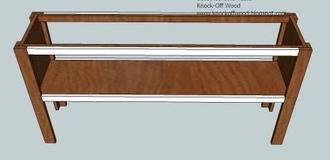
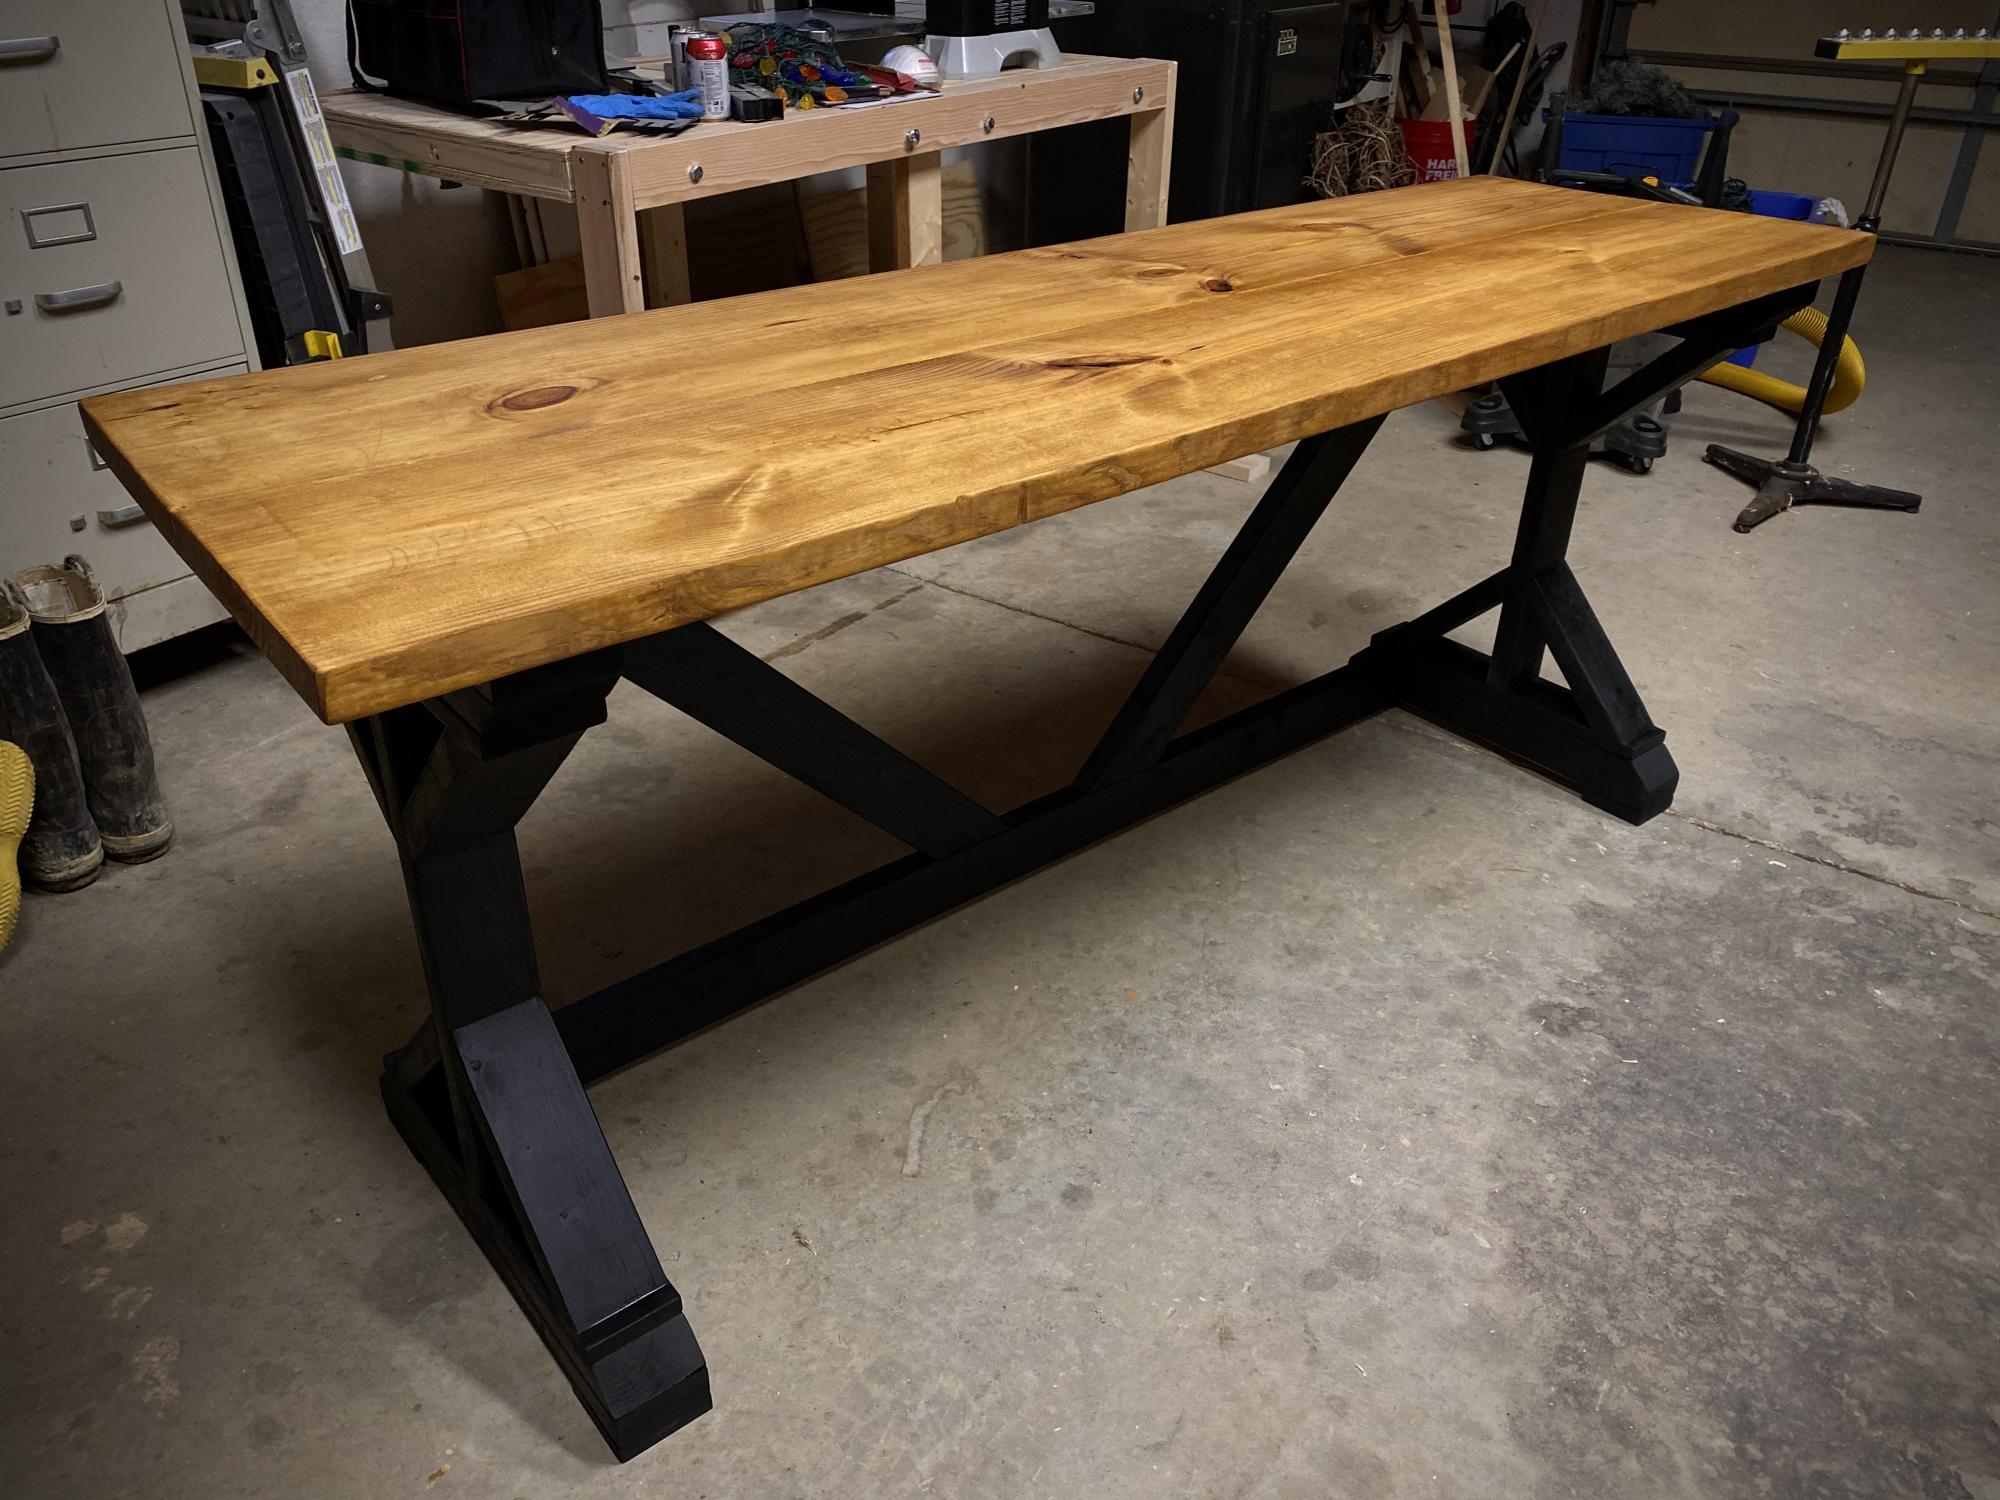
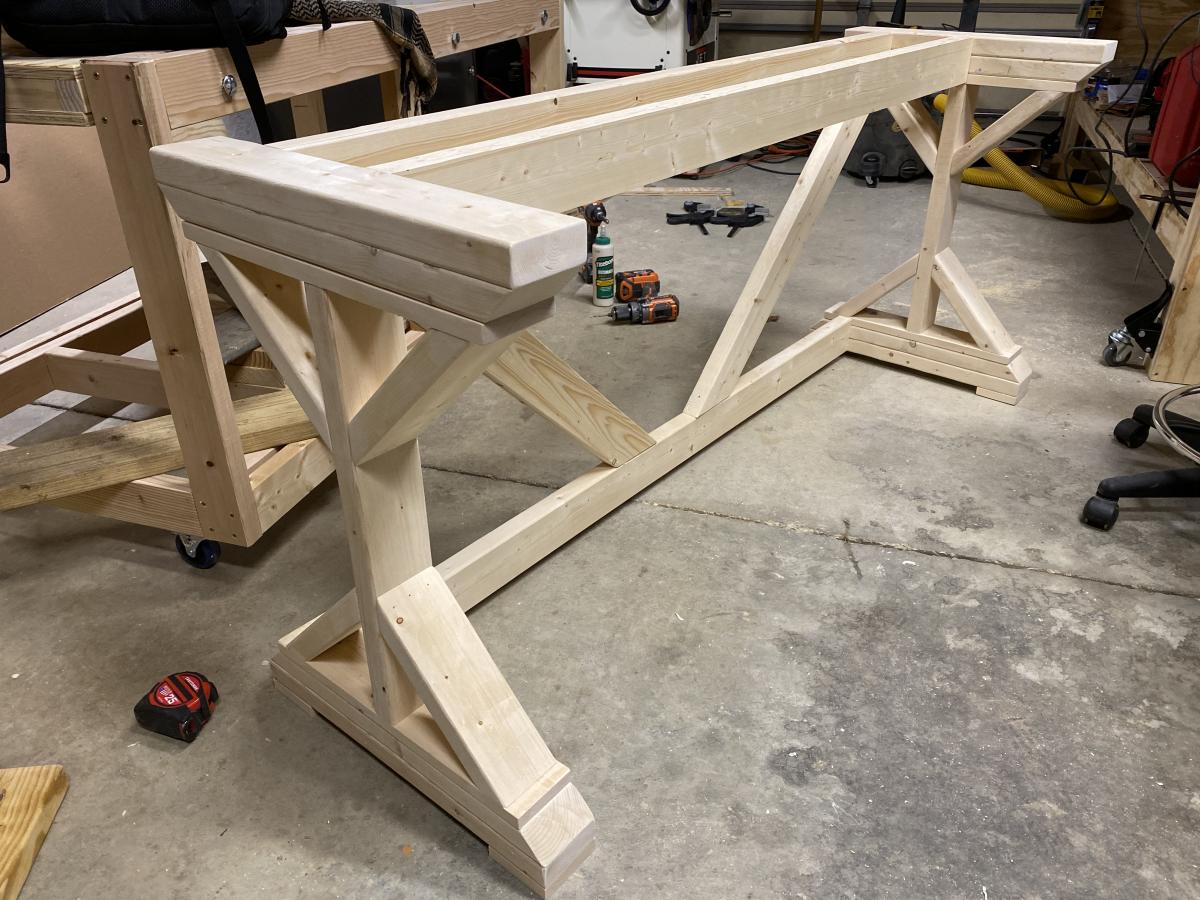
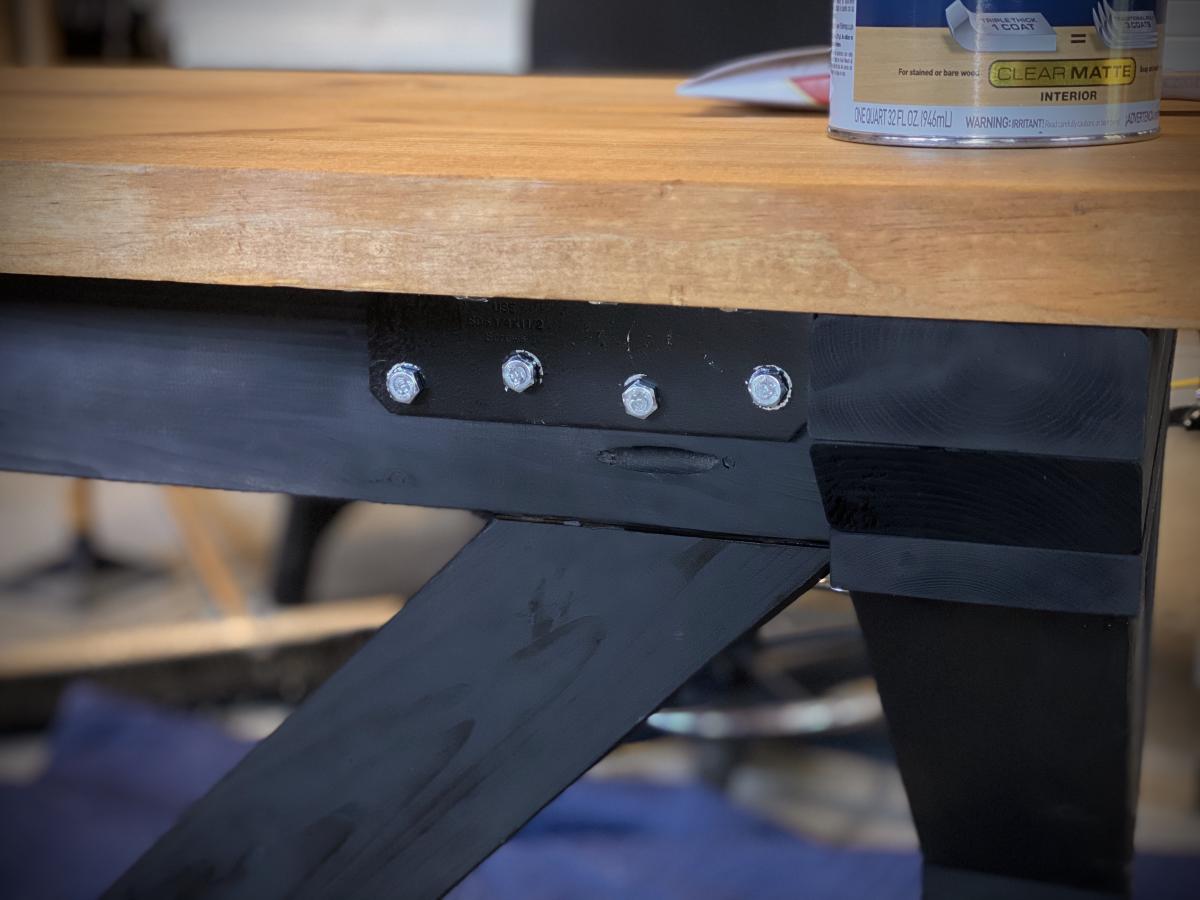
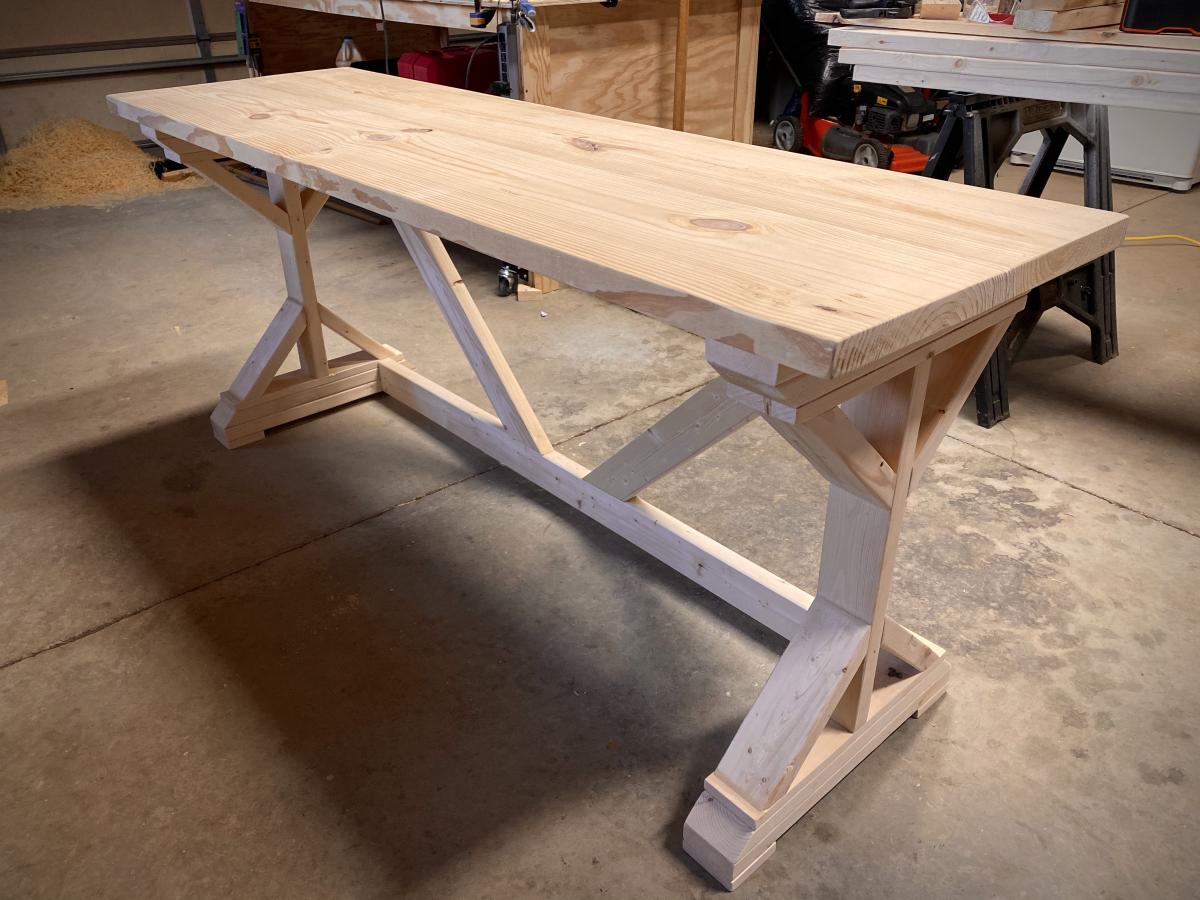
Fancy X Desk Success!
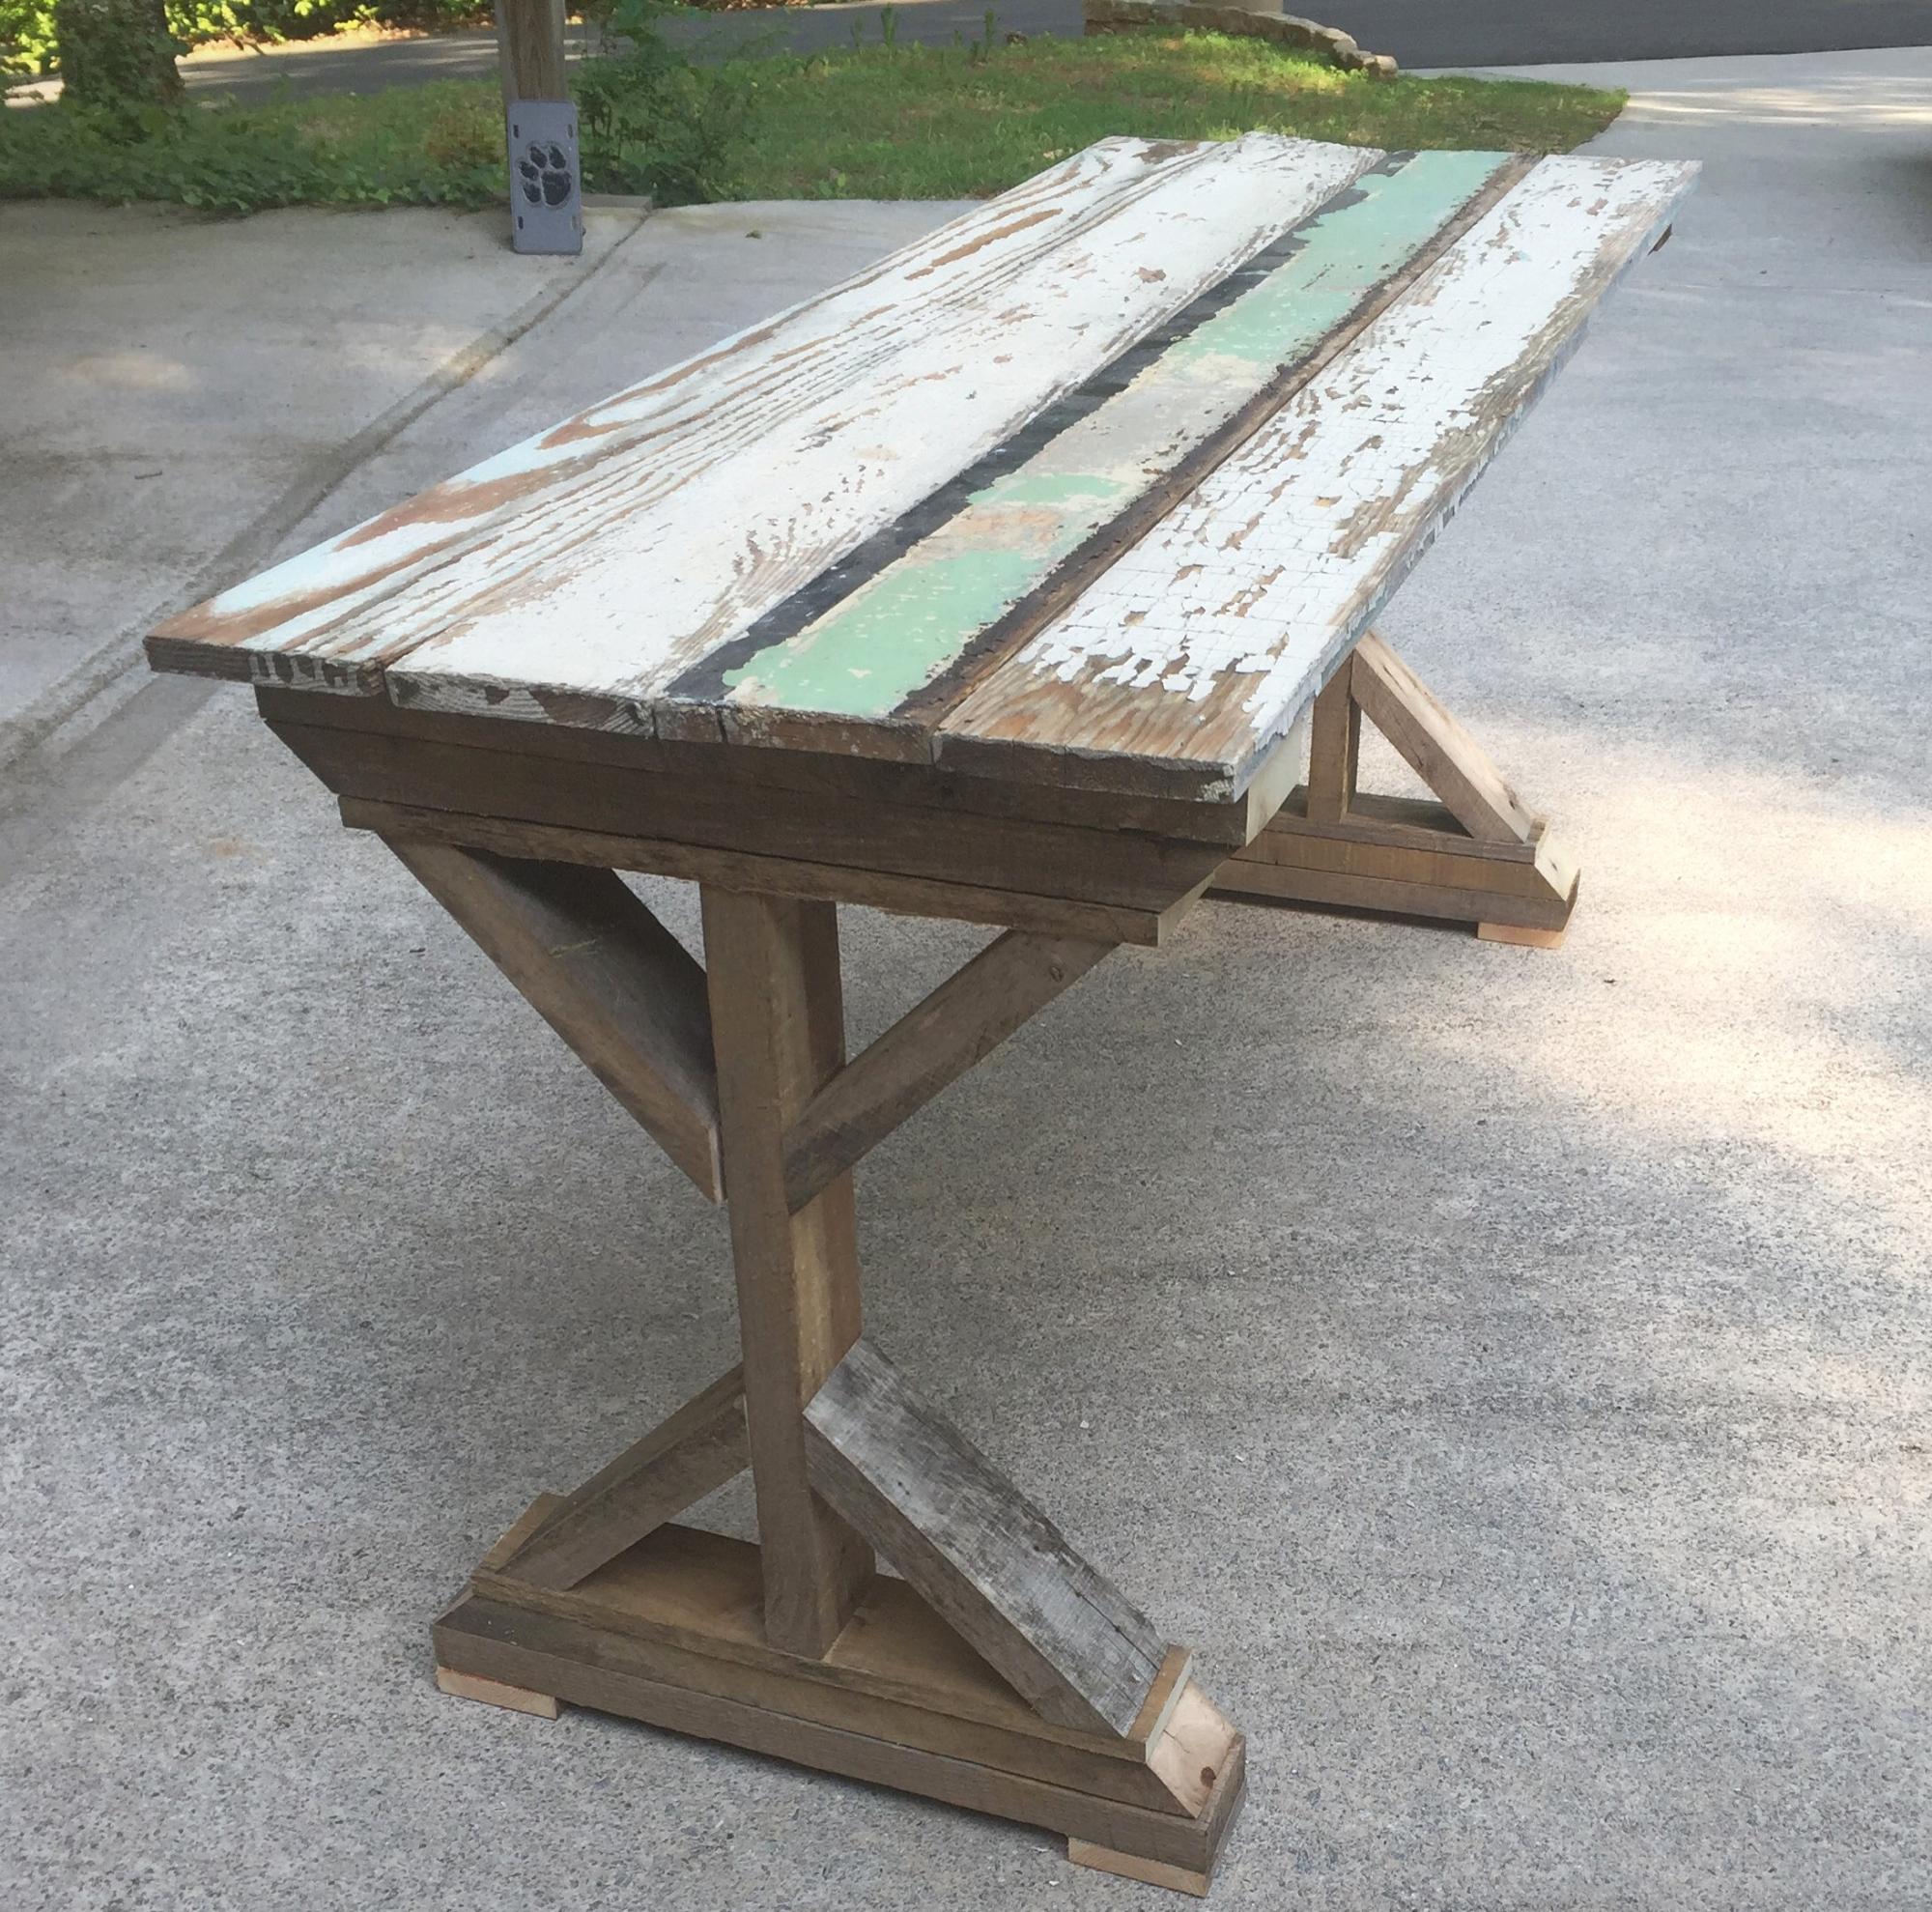
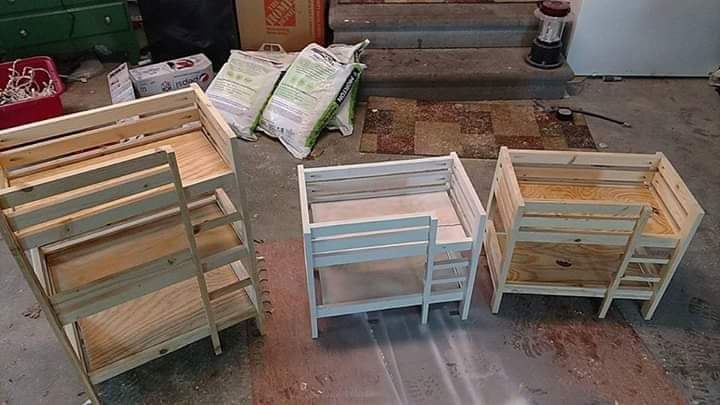
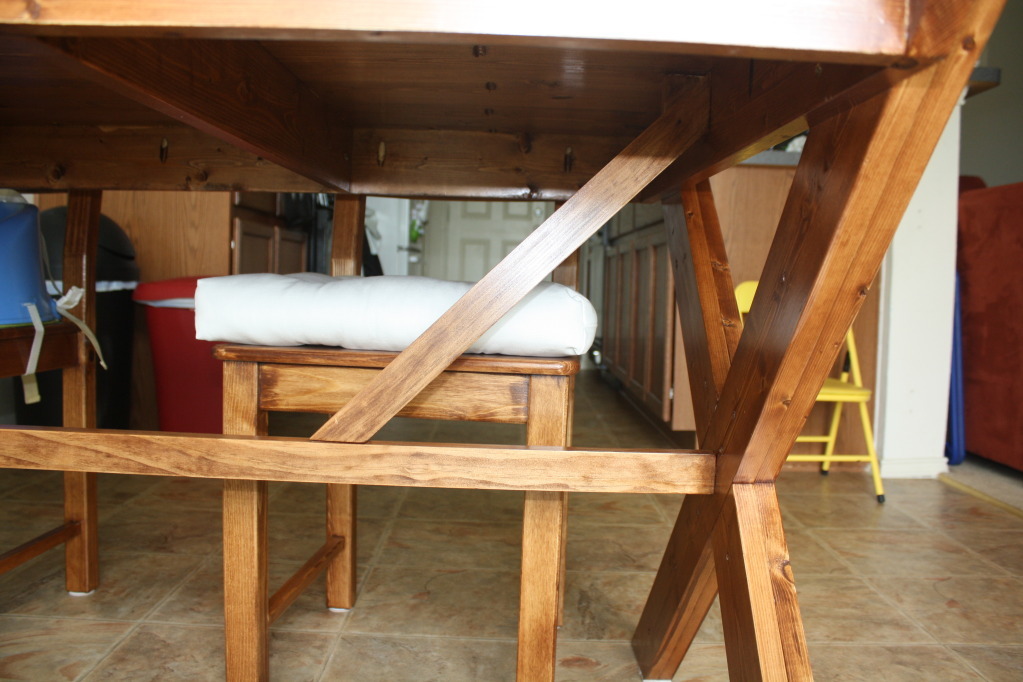
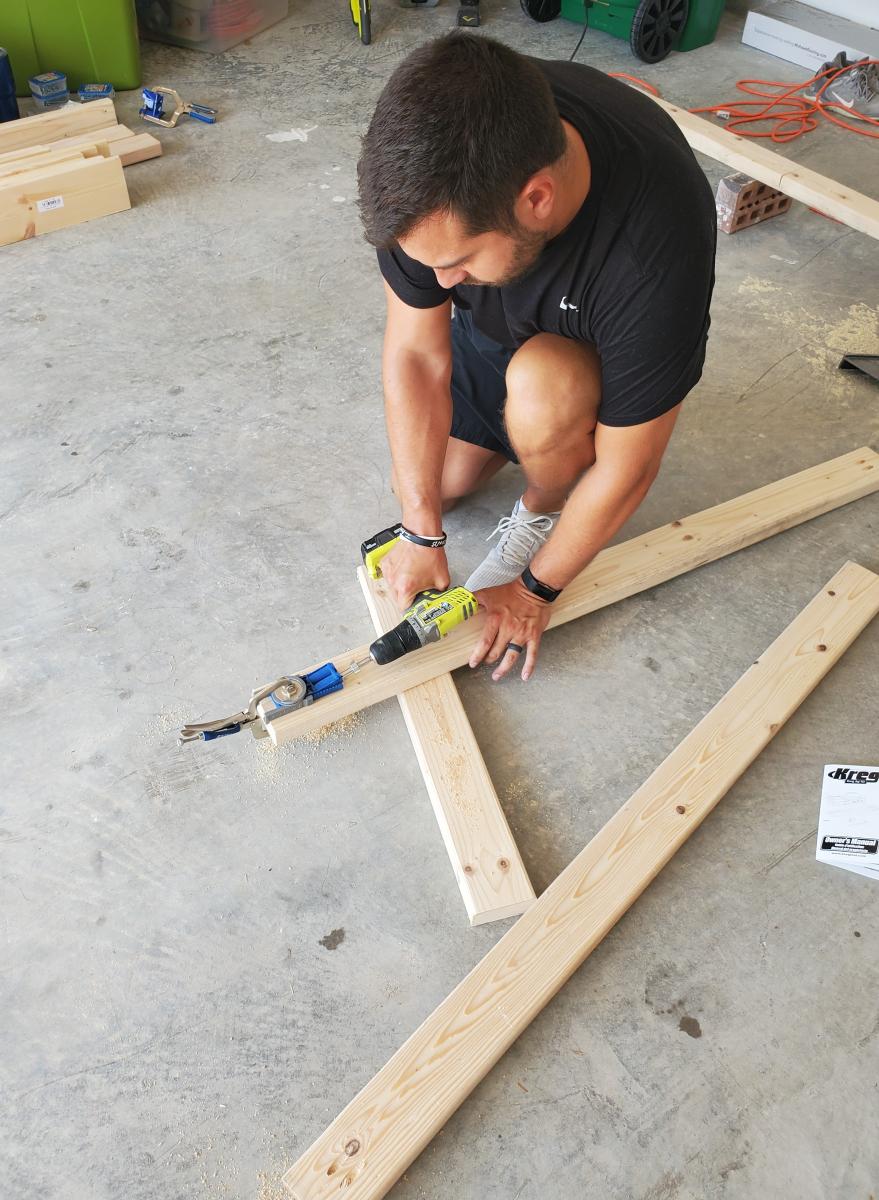
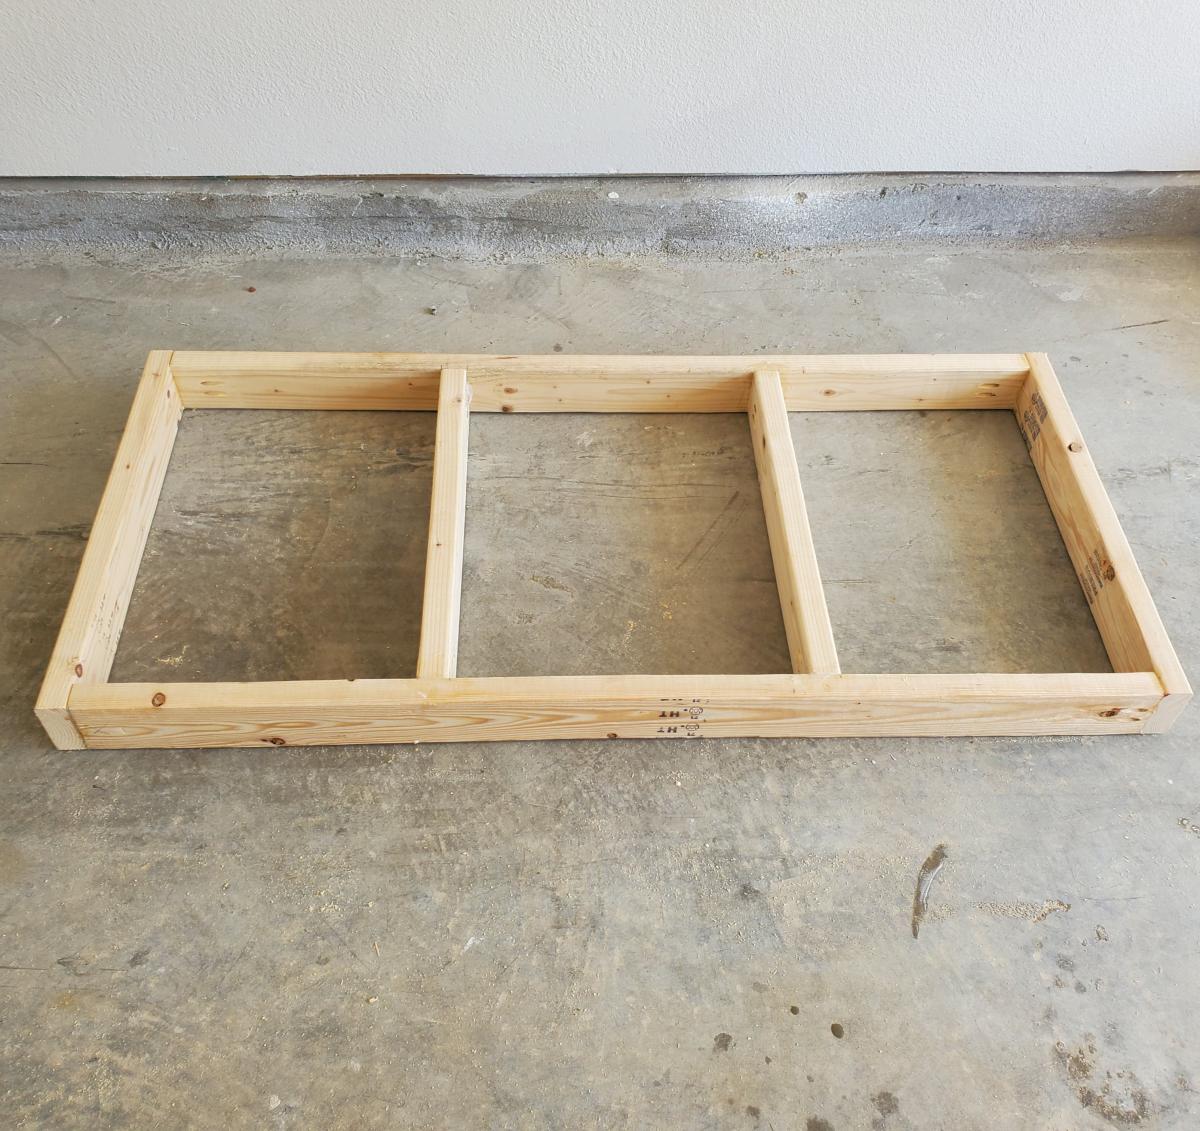
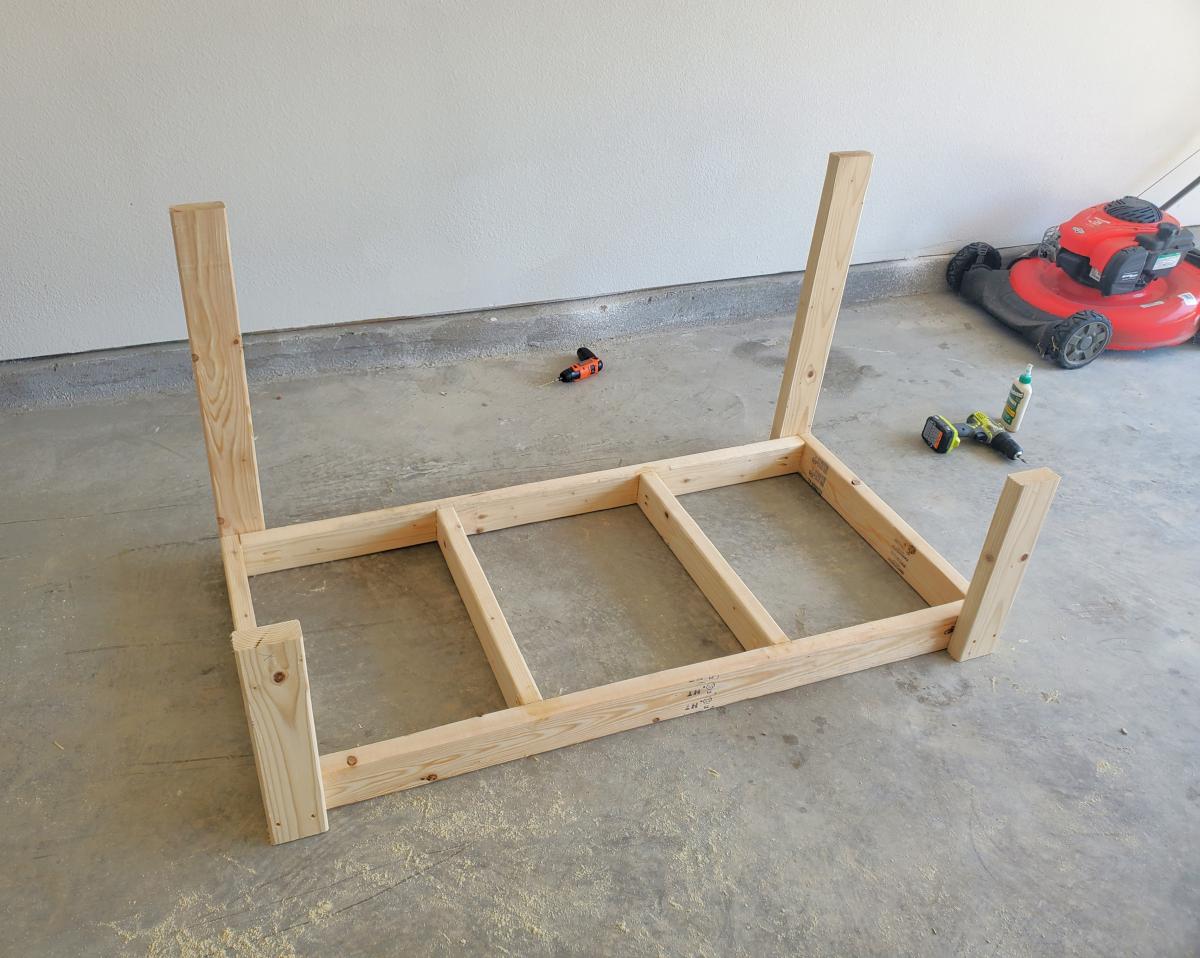
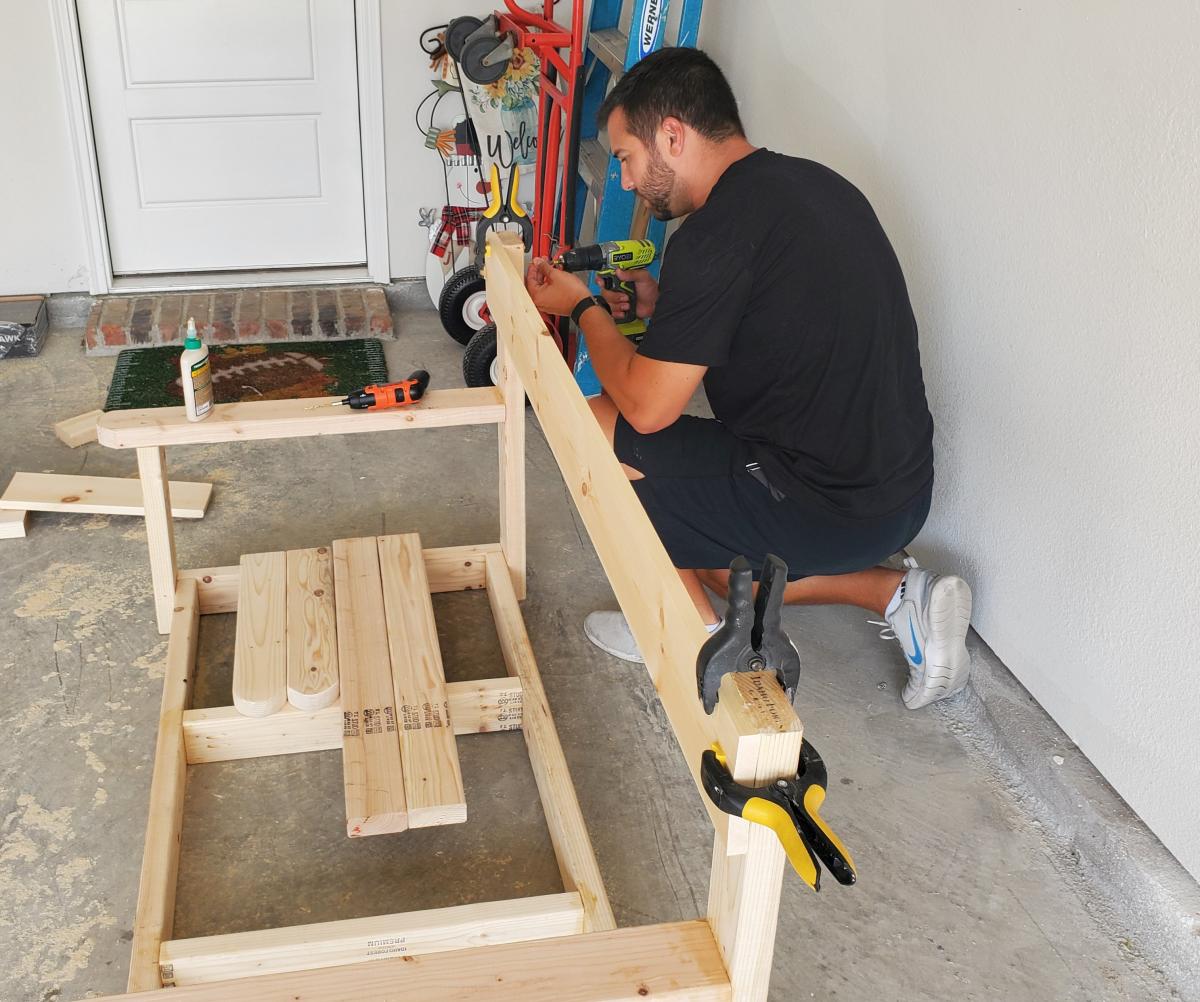
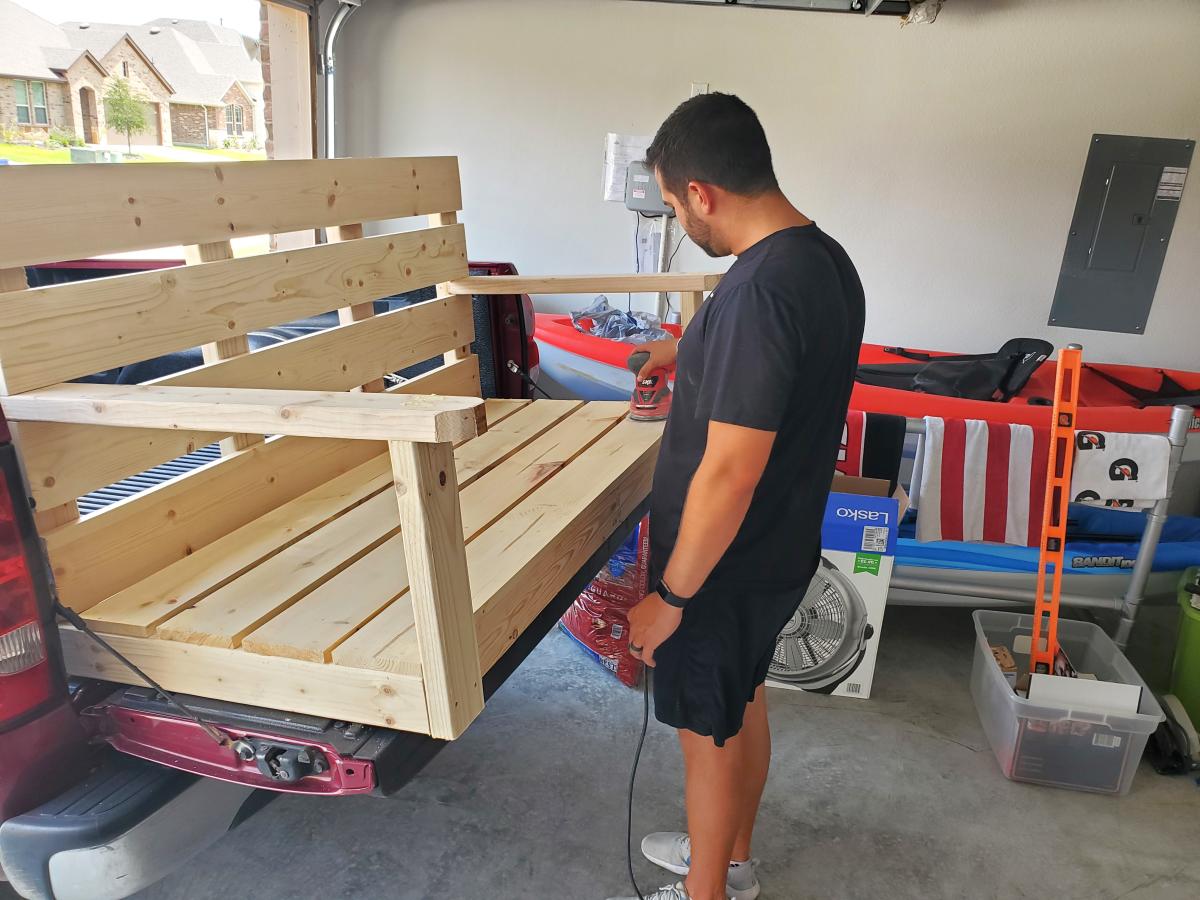
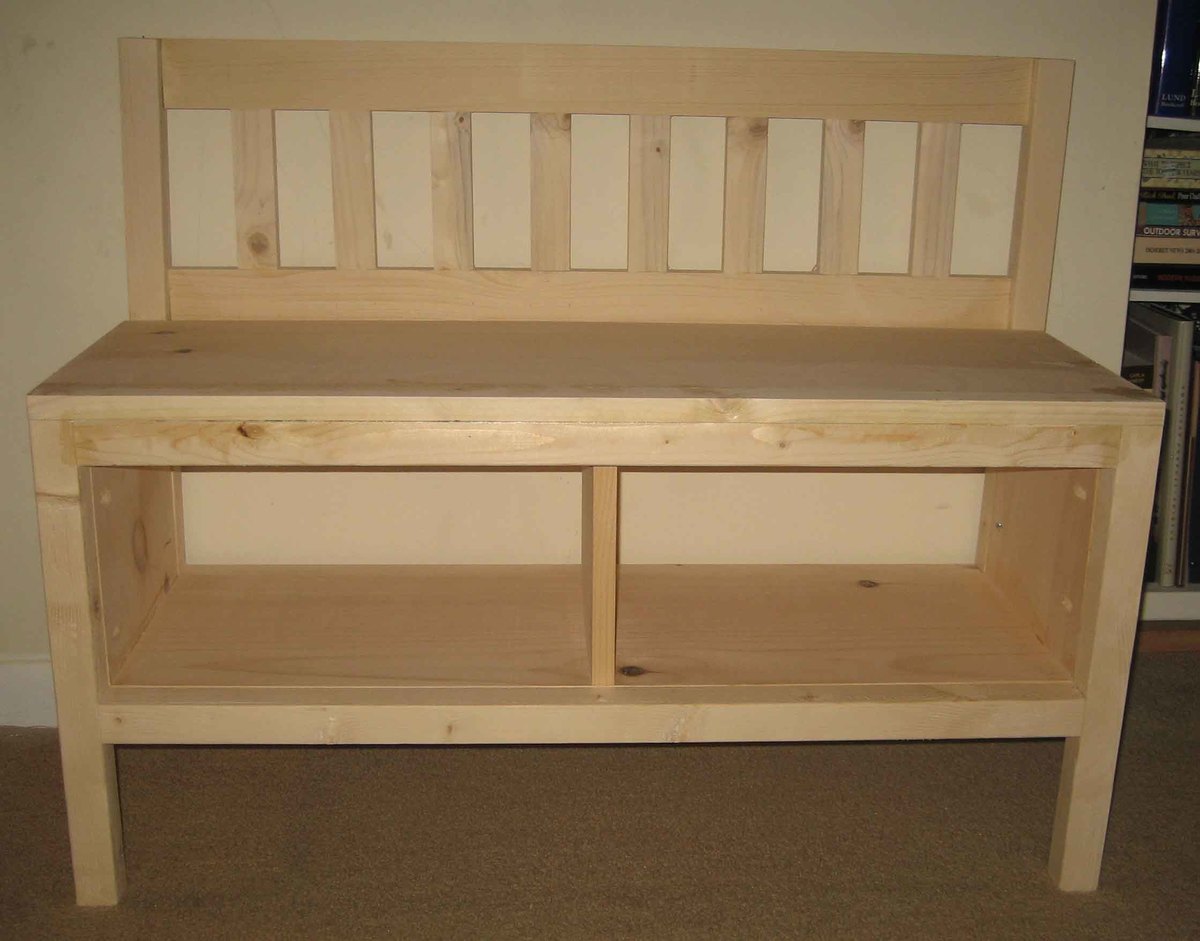
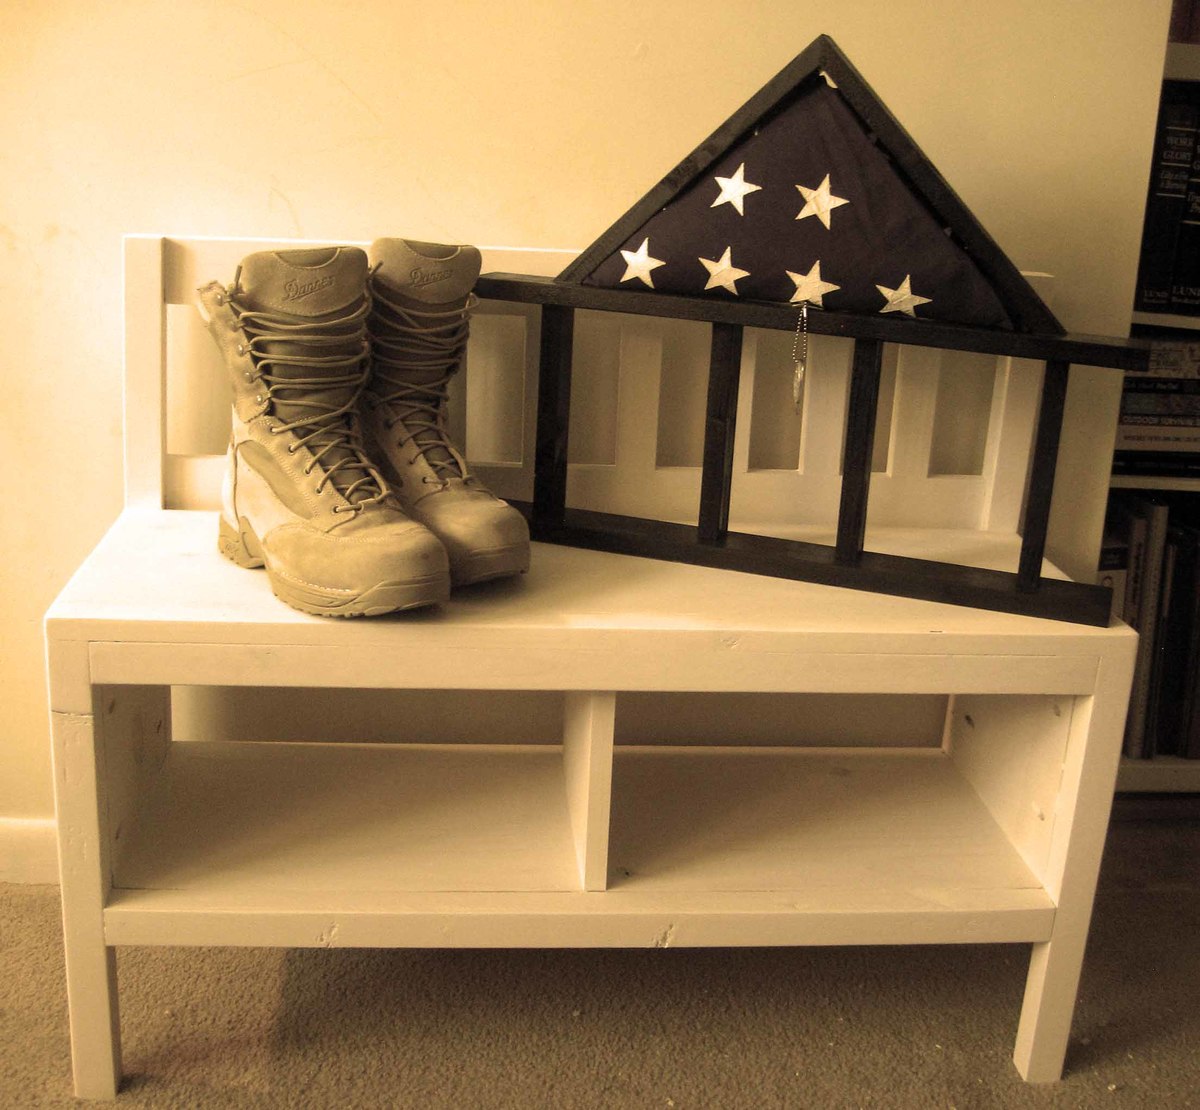
Started this project out of boredom. I had some time and some extra wood laying around. Some was from pallets I took apart, some from a salvage house, and some from an old barn. I built the table in a few hours and worked through any misshaped boards as best as possible. It was a relativley easy project and fun to see the legs turn out with each step. I plan to use cables and turnbuckles for the cross braces on the back and will update the pic when I do. I just need to find a home for it now.
Estimated Cost
Free since all wood was salvaged or scrap.
Estimated Time Investment
Afternoon Project (3-6 Hours)
Recommended Skill Level
Beginner