Community Brag Posts

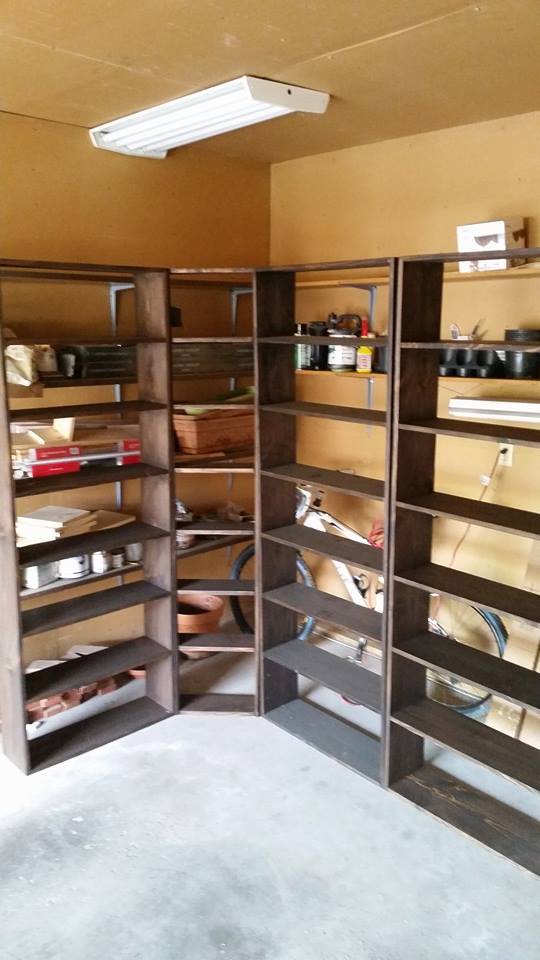
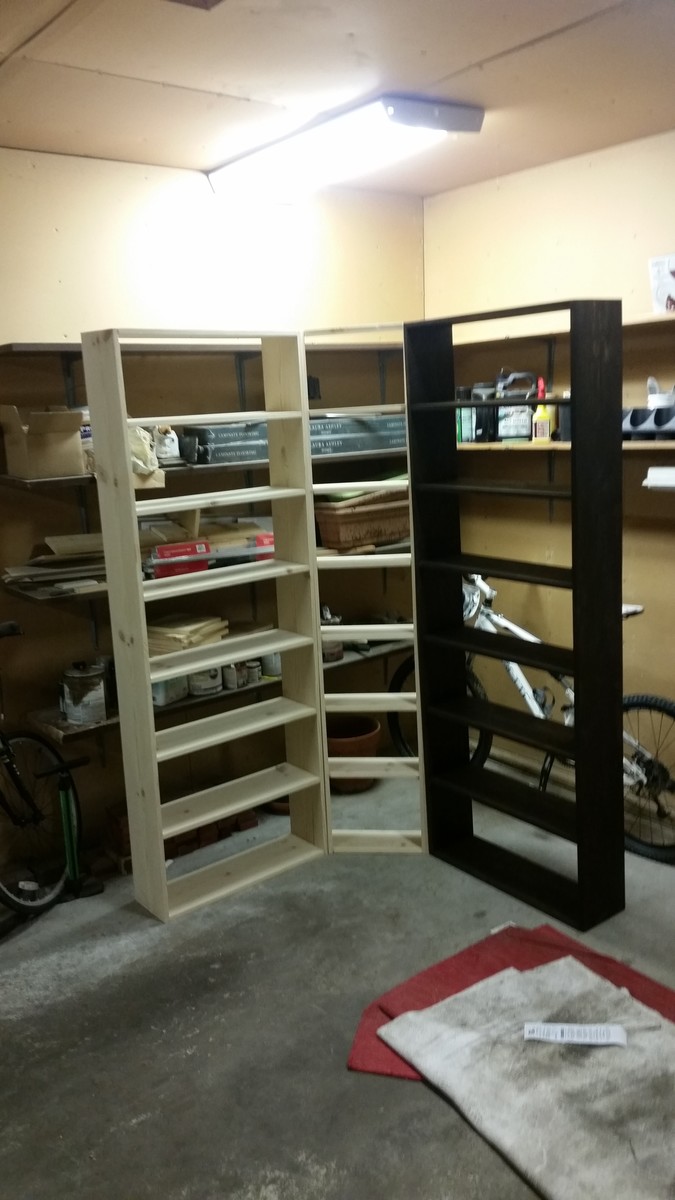
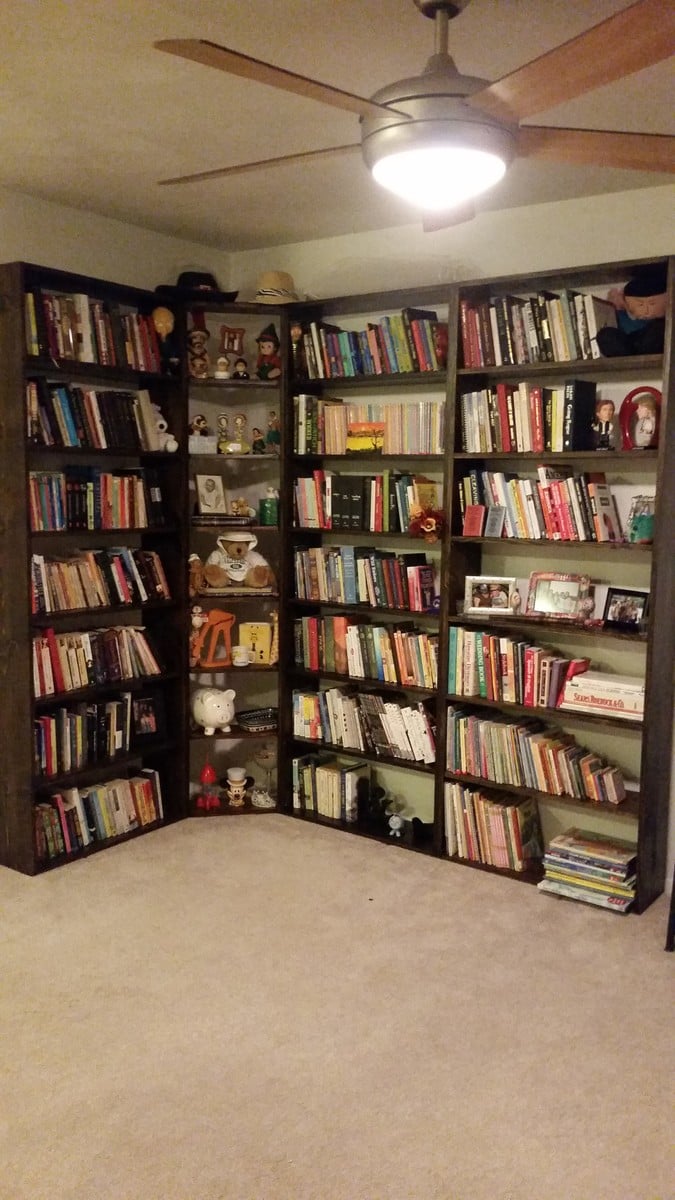
Bookcase wall unit

Submitted by kwhitt on Tue, 05/12/2015 - 08:38

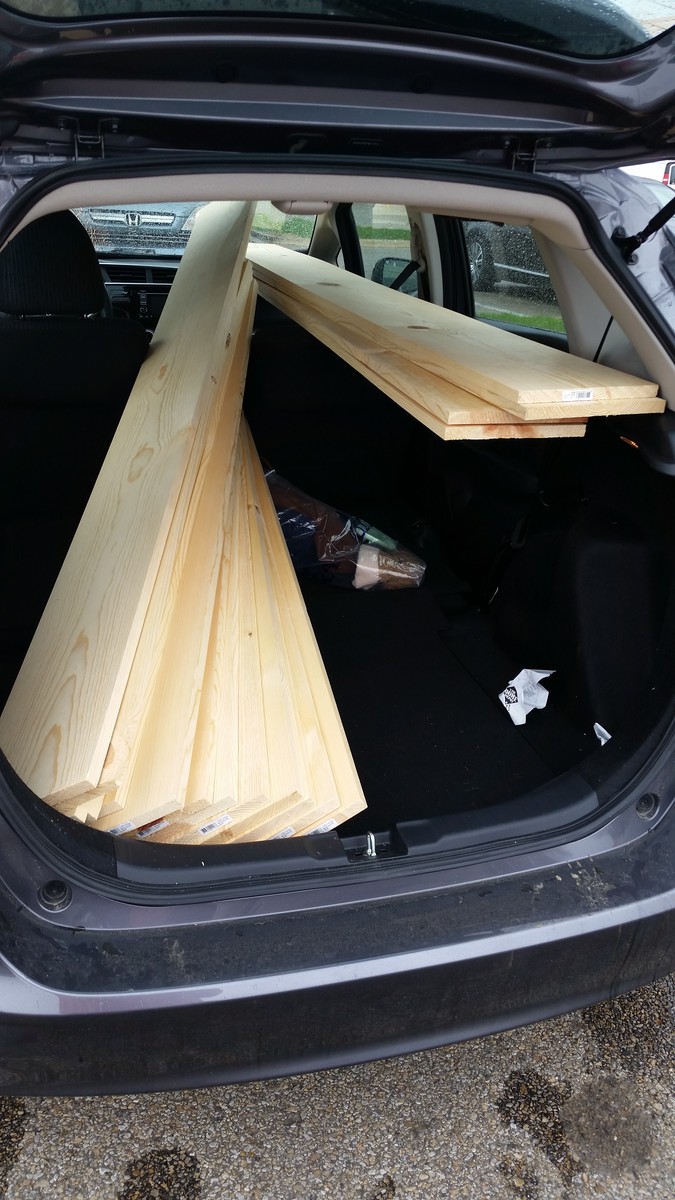
This is the project that inspired me to start woodworking. I'm a bookaholic and have always used cheap, particle board bookcases from Walmart for storage. They're fine for the price, but over time the shelves bow and they NEVER survive a move. When I outgrew the three units I had, I balked at buying a fourth, which I didn't really have room for anyway. Enter Ana White! This is actually based off a brag project under the IKEA Lack Inspired Bookcase. What I love best about building my own is that I can customize to suit my needs. I was able to put almost twice as much shelving into about the same area. And if I outgrow these, I can just build another!

Built from Plan(s)
Estimated Cost
about $175
Estimated Time Investment
Week Long Project (20 Hours or More)
Finish Used
Miniwax Espresso Stain, Varathane Satin Triple Thick Polyurethane
Recommended Skill Level
Beginner

Comments

Sliding Barn Door Office Set

Submitted by Anonymous (not verified) on Mon, 10/23/2017 - 10:06

Built by What Once Was Old Furniture Design submitted by Kari Baker

We get lots of inspiration from you Ana! We started building the sliding barn door cabinets from your plans and since have built several of them. We have also altered them to fit our customers needs. They are very popular here in Texas. The sliding door cabinet in this picture was used as a credenza in a home office. We also added a sliding keyboard tray under the computer screen. The printer is on a sliding tray as well, so it can be pulled out when in use. Base of the cabinet and desk is new pine and we used a lot of pallet wood for doors and shelves. It would be a treat to be added to your brag board, you can see lots of our work, lots of which you should recognize at What Once Was Old Furniture Design . Thank you!!

Built from Plan(s)
Recommended Skill Level
Advanced

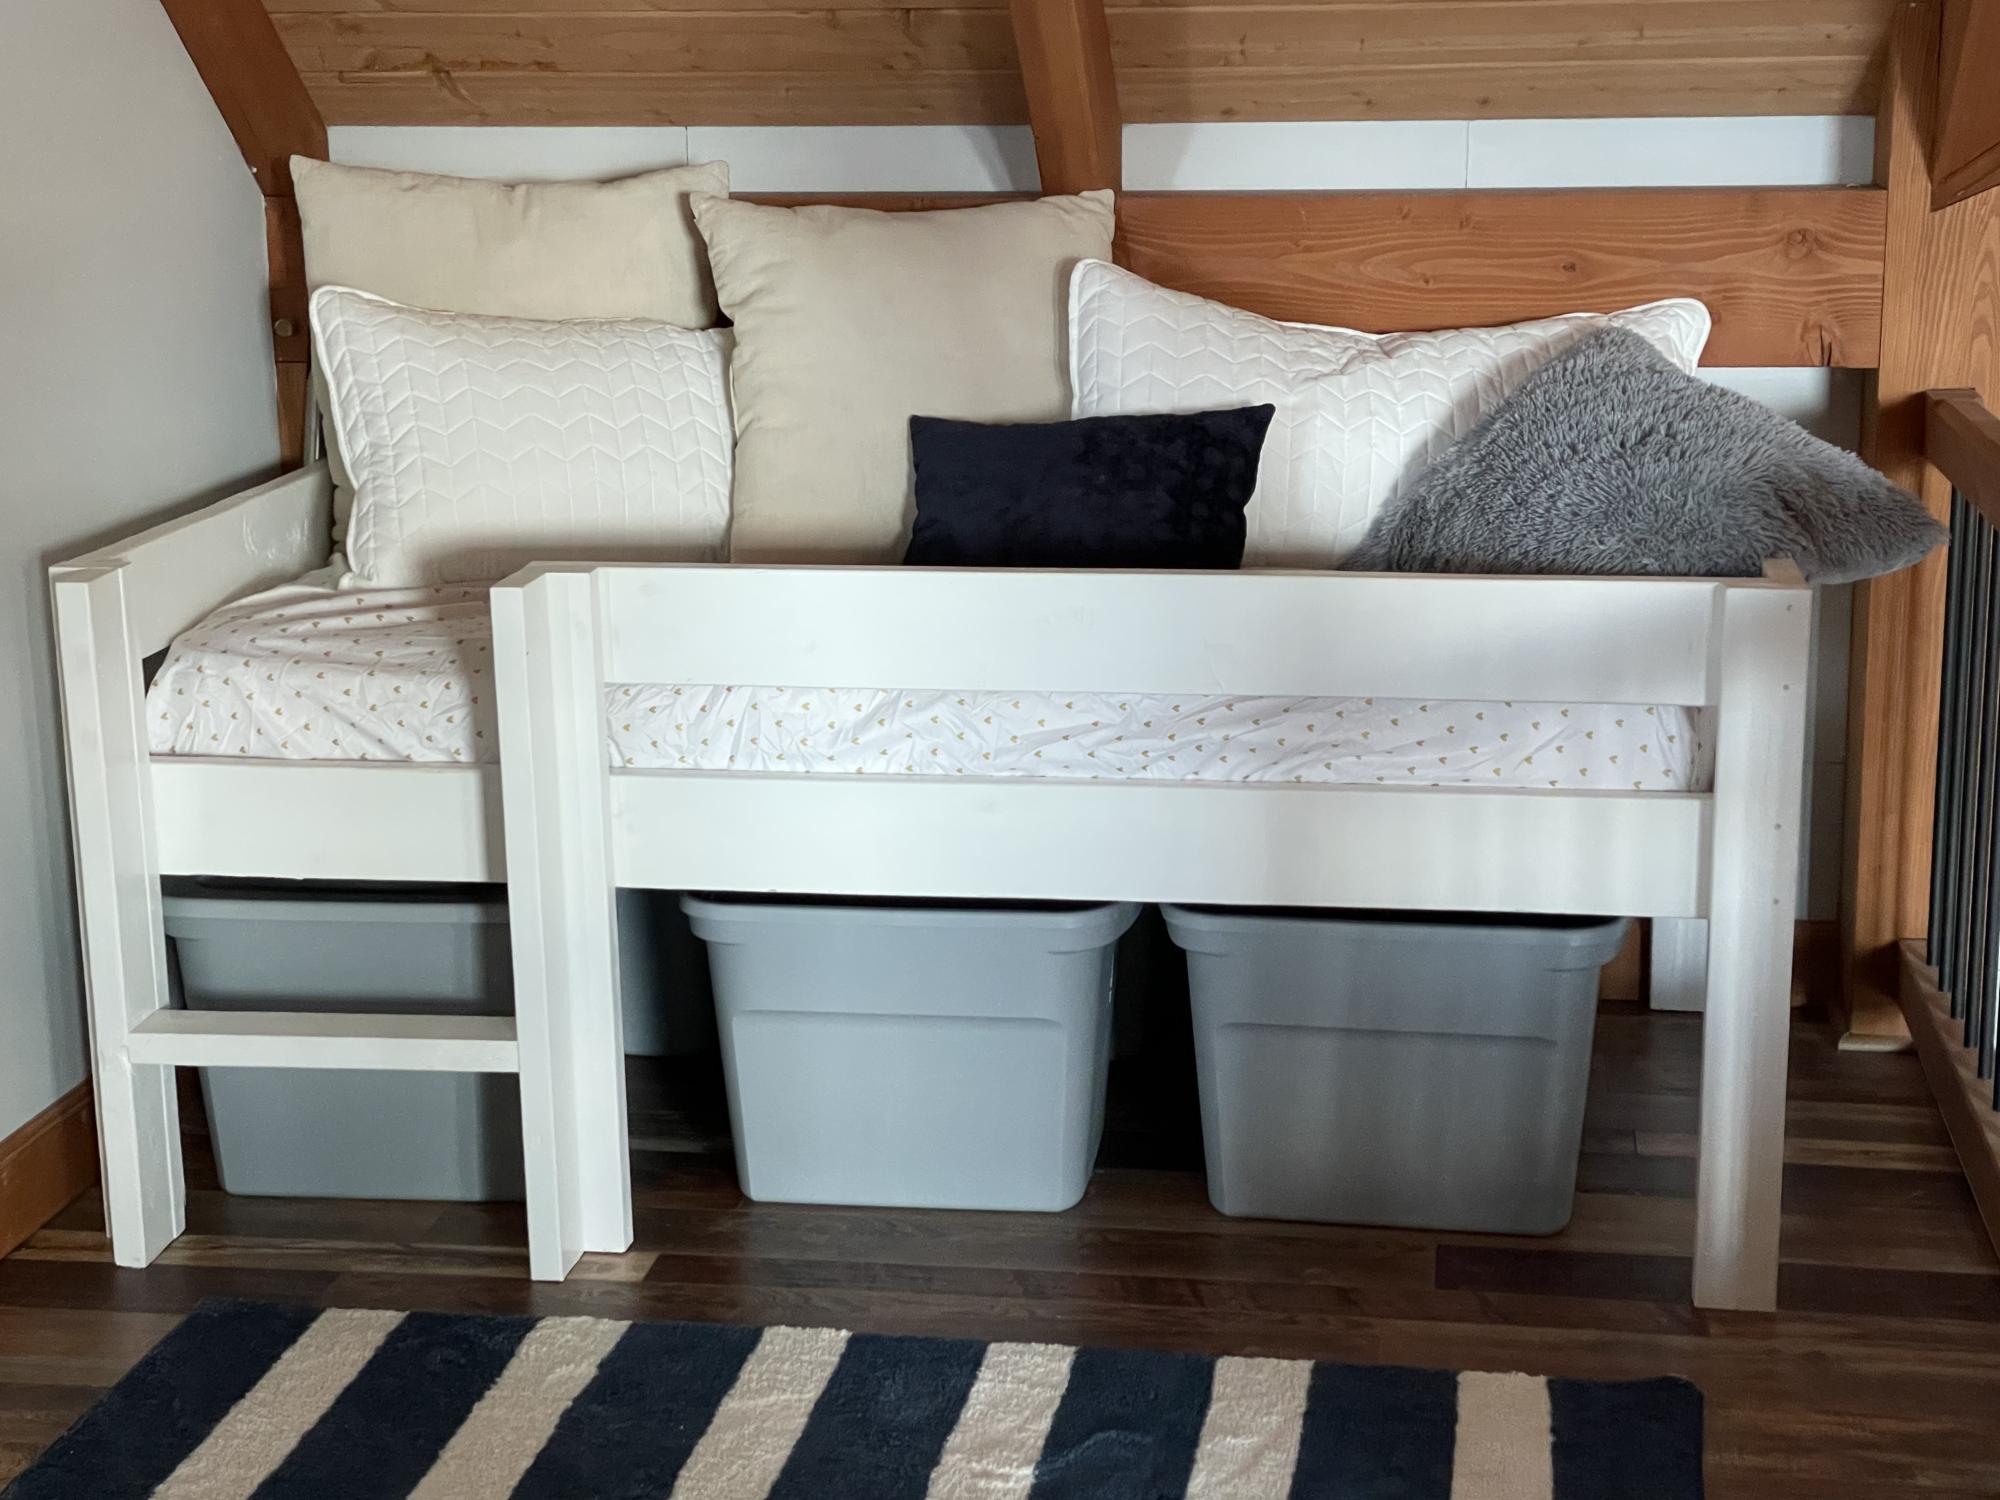
Tote Storage Bed

Submitted by Ana White on Wed, 11/03/2021 - 17:12

Shortened the essential loft bed up so legs are 32” long. This is the perfect height for putting totes underneath. I fit six totes easily. 
 

The back row of totes is out of season/size/etc stuff. The front totes don’t have lids on them and the kids use them for toy boxes.

The bed itself is at a nice height.  It’s easy to put kids in bed and make the bed.  The guardrail is great for keeping pillows blankets and kids on the bed.  Kids also love the ladder and bunk feel!

This is a great bed that I couldn’t recommend enough.  It could easily last from toddler to teen.   Very sturdy and comfortable.  
 

Console Table

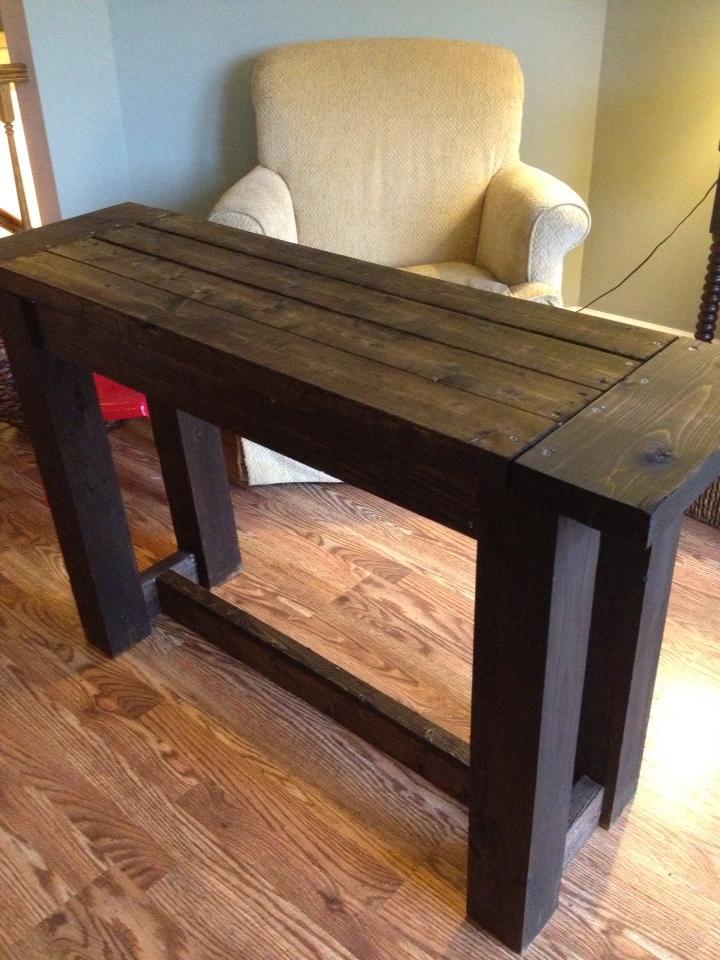
This plan had comments about the 1x12 being a little short. 

Well mine was a lot short measuring in at 11inches even. 
So I adjusted all the boards to fit correctly. 
And with a little simple planning, that took 5 minutes, PERFECT. 
No gap, no issue, no problem. 
Super Easy Console Table, is just that. 
Estimated Cost
$50
Estimated Time Investment
Afternoon Project (3-6 Hours)
Finish Used
General Finishes Espresso (Water Based Stain), and General Finishes Poly acrylic Water Based Top Coat.
Recommended Skill Level
Starter Project

Tryde Console Table

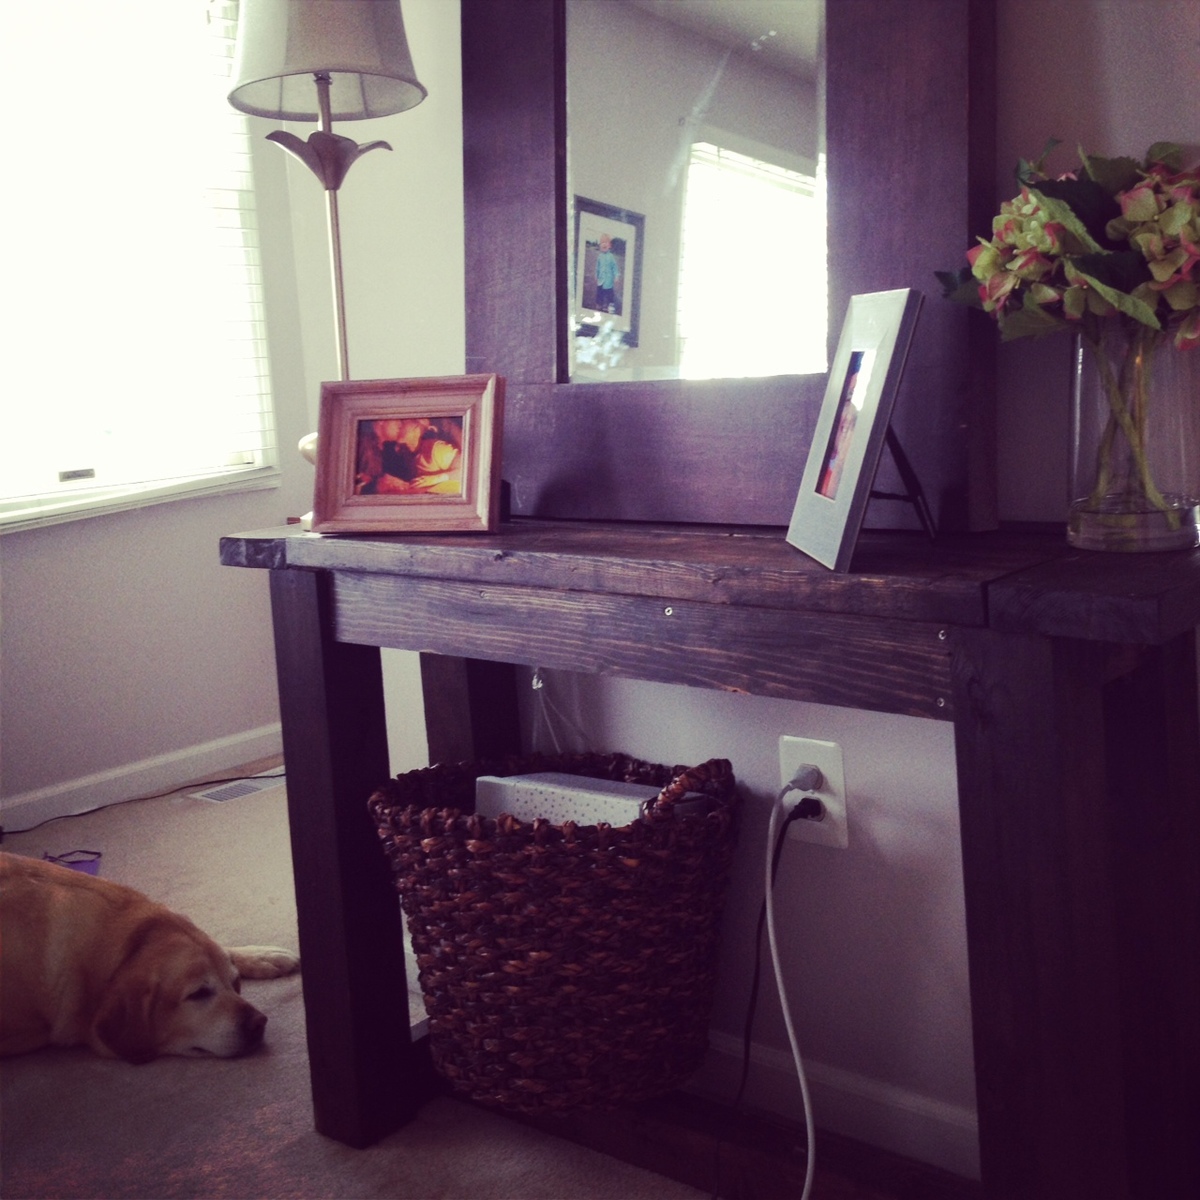
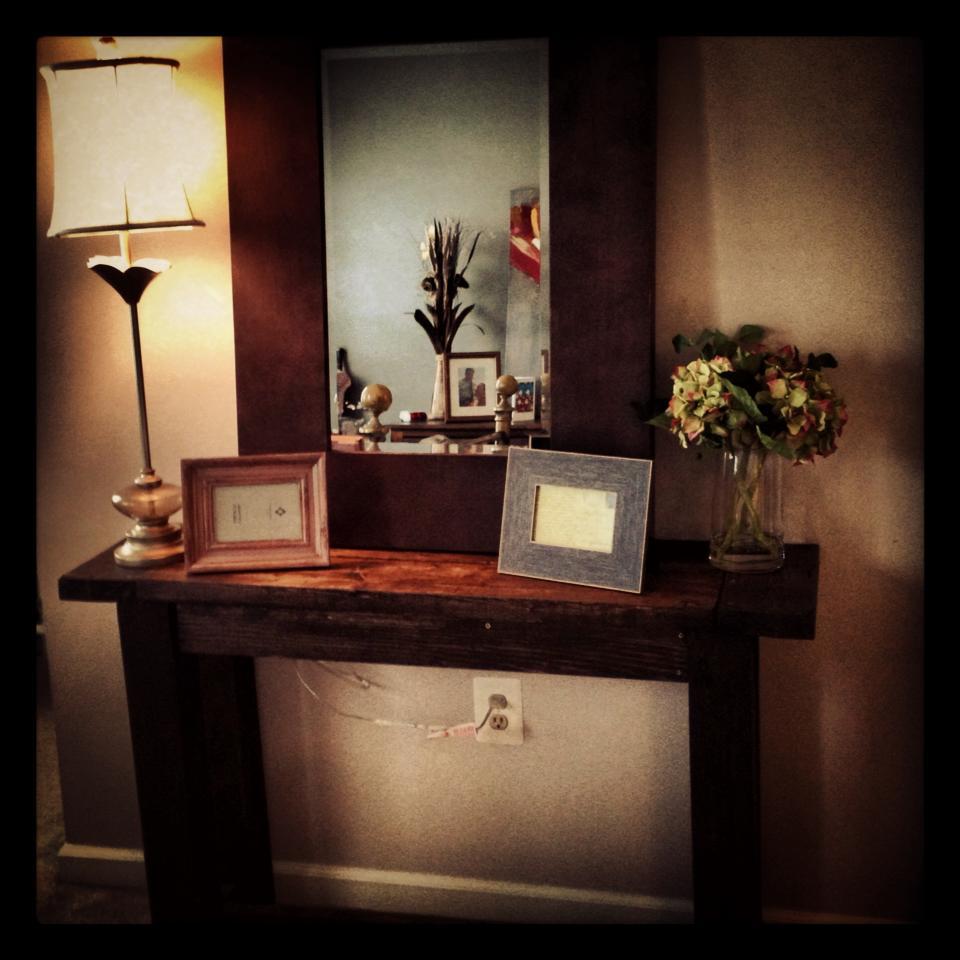
Submitted by Livvyhill on Mon, 06/10/2013 - 14:15

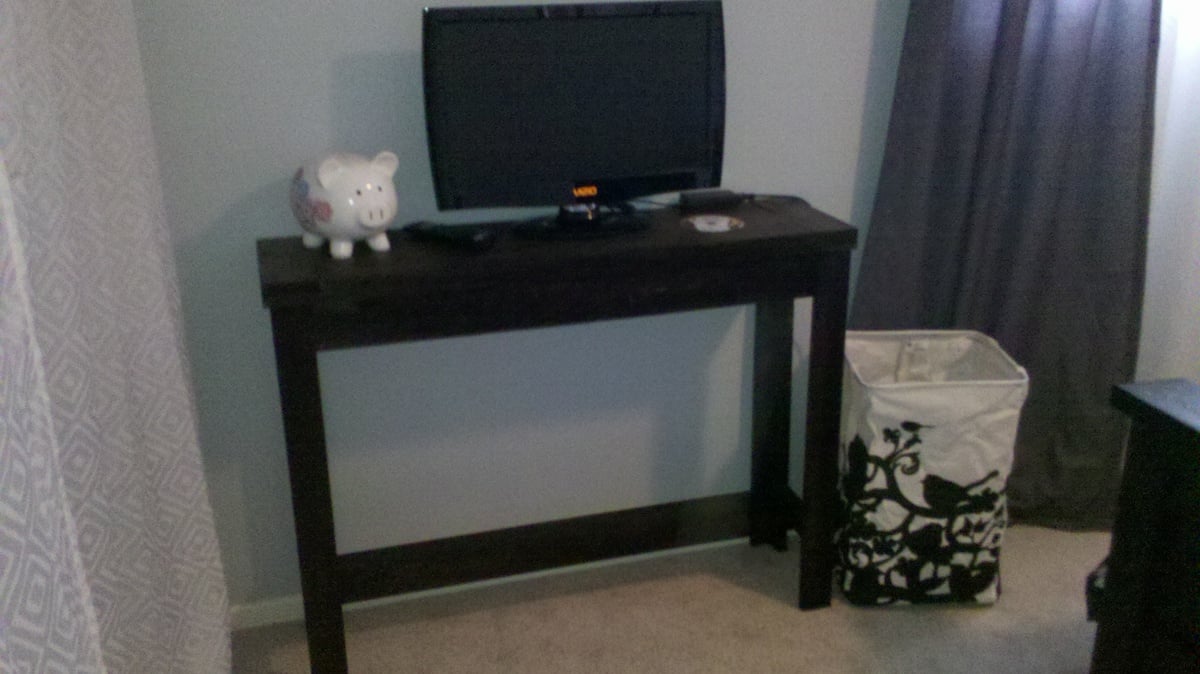
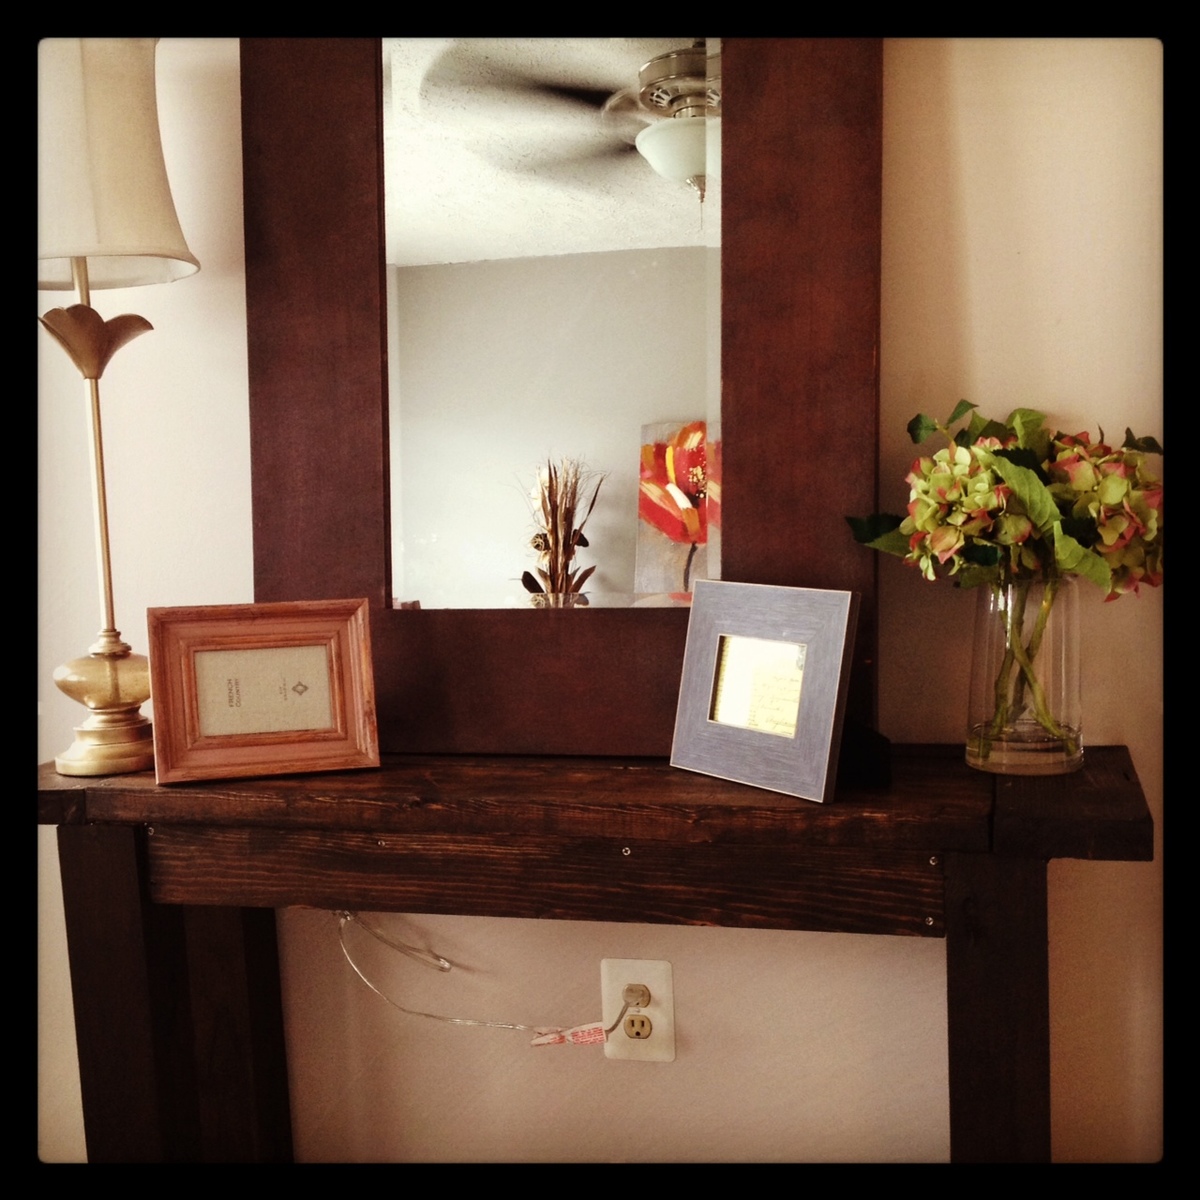
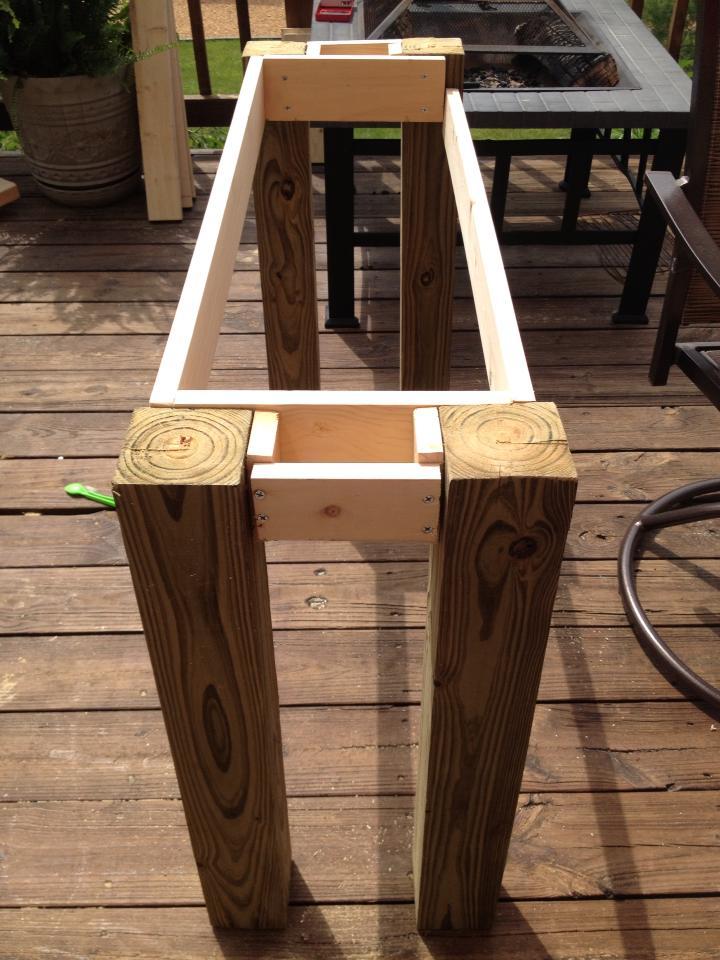
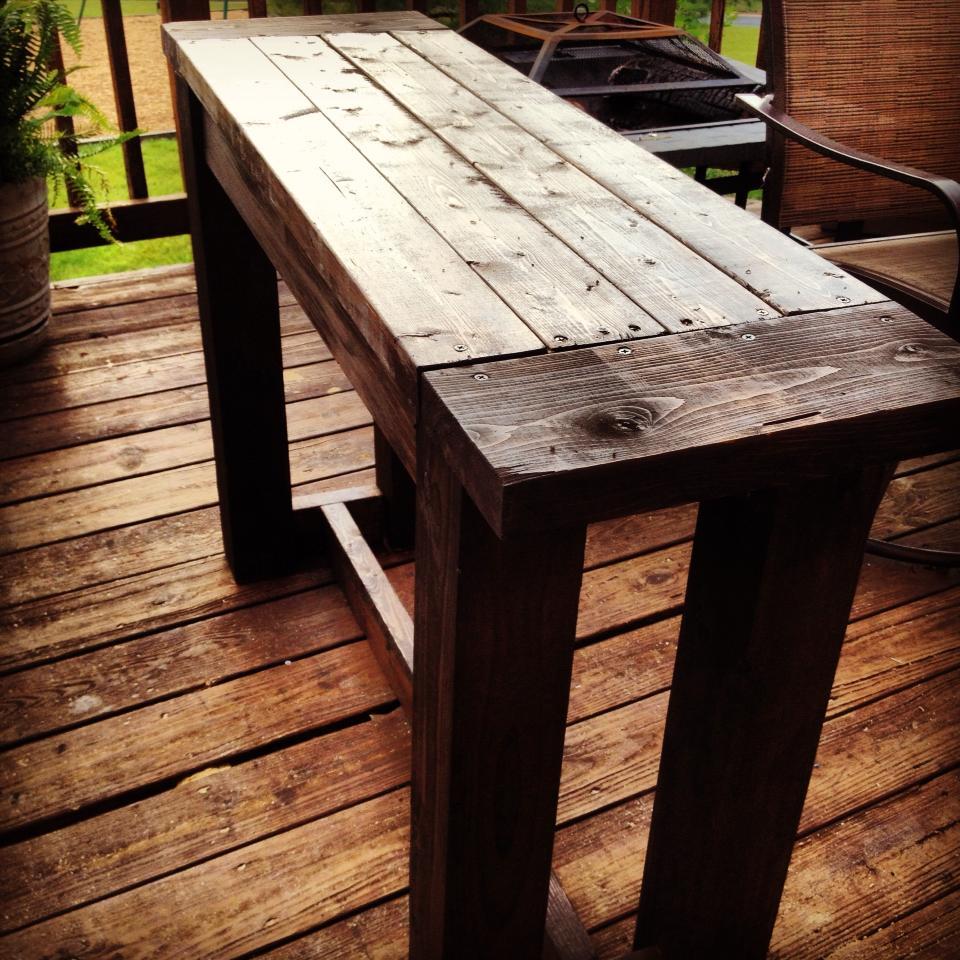
I love this table. I needed a little console table for my bedroom, and this was a prefect fit. It took me a day (not including buying the lumber), and it was fun to build. This was the 2nd project I have done, and I am really proud of it! (PS i found one on the pottery barn website that looks very similar for $600!) I spent about $50 on lumber, and already had the rest of my materials:)

Built from Plan(s)
Estimated Time Investment
Day Project (6-9 Hours)
Finish Used
Rustoleum stain- Kona
Recommended Skill Level
Starter Project

Comments

Officer_Dad

Mon, 06/10/2013 - 16:05

Great job! I love that stain! How come you did not use pocket holes to attach the board so there would not be any visible screws? I love this table though. I saw the plans last week and want to build one next!

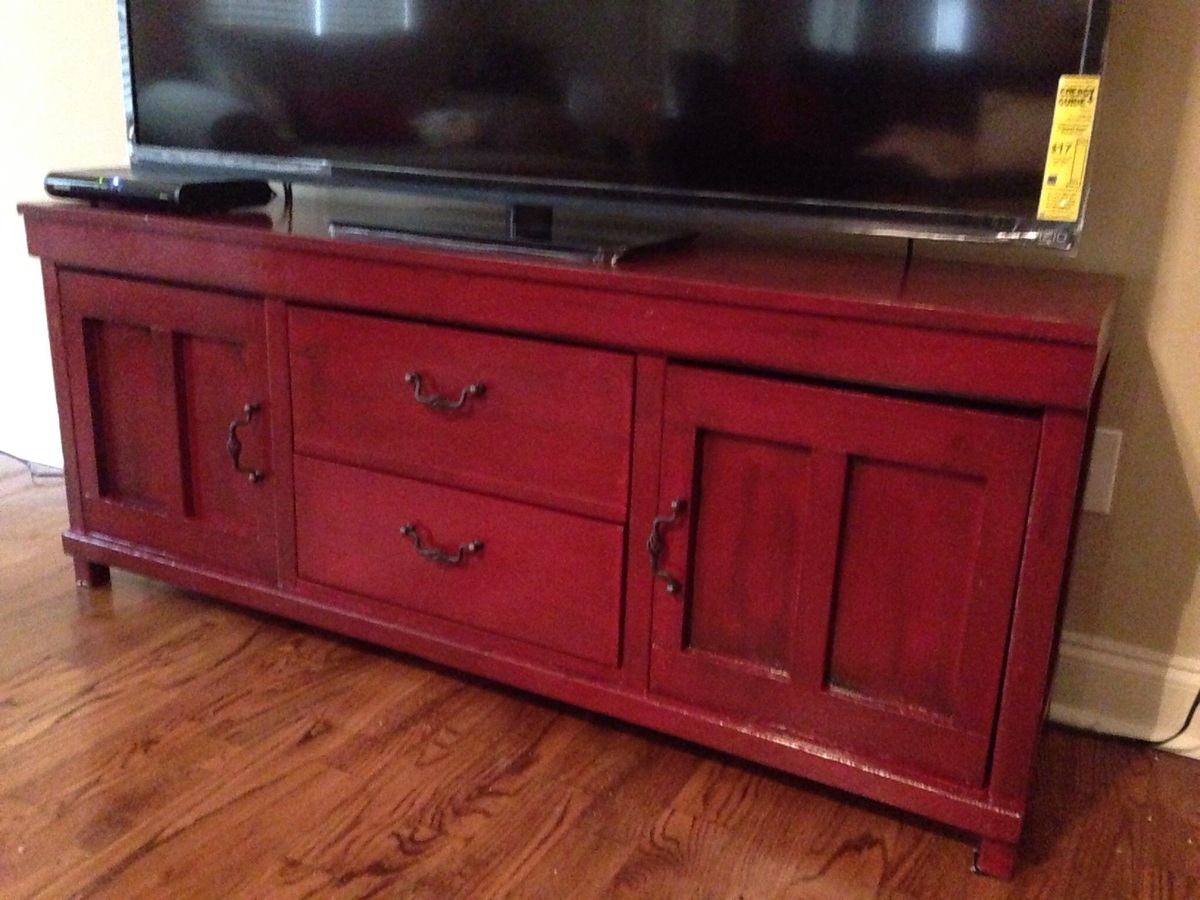
Focal point of the room

Submitted by Diesel911 on Wed, 05/13/2015 - 11:19

Beautiful and functional. Nobody believes I built this :)

Built from Plan(s)
Finish Used
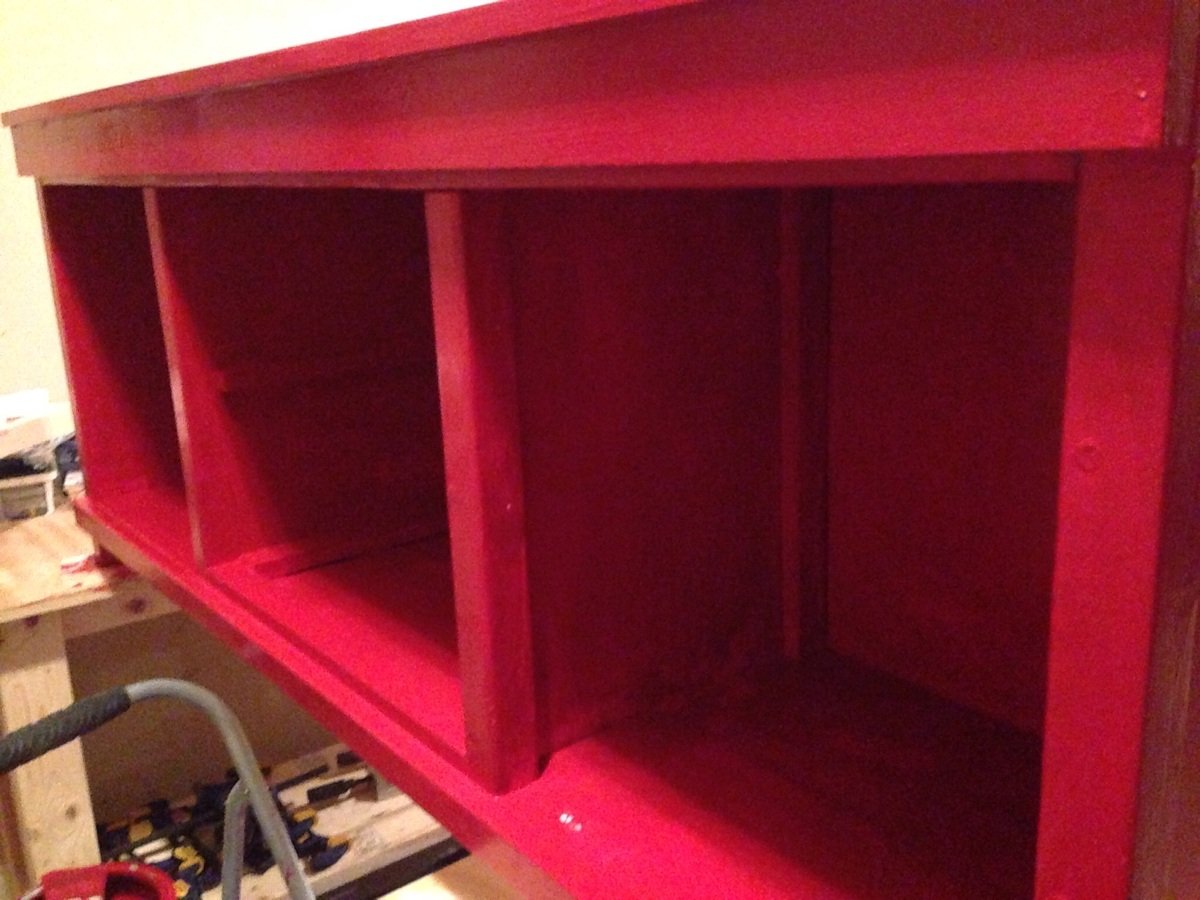
Paint with stain applied over it. This was a very bright red with kona stain wiped over and then immediately wiped off. I did apply a clear coat to protect it. The kona stain really subdues the color of the paint.. This was a VERY bright red.
Recommended Skill Level
Intermediate

Comments

JoanneS

Wed, 05/13/2015 - 14:19

What a gorgeous build! Absolutely love the color too! I was just trying to picture a red like that today, and now I know it looks wonderful!

Outdoor 2x2 end table

Submitted by Anonymous (not verified) on Sun, 11/07/2021 - 04:19

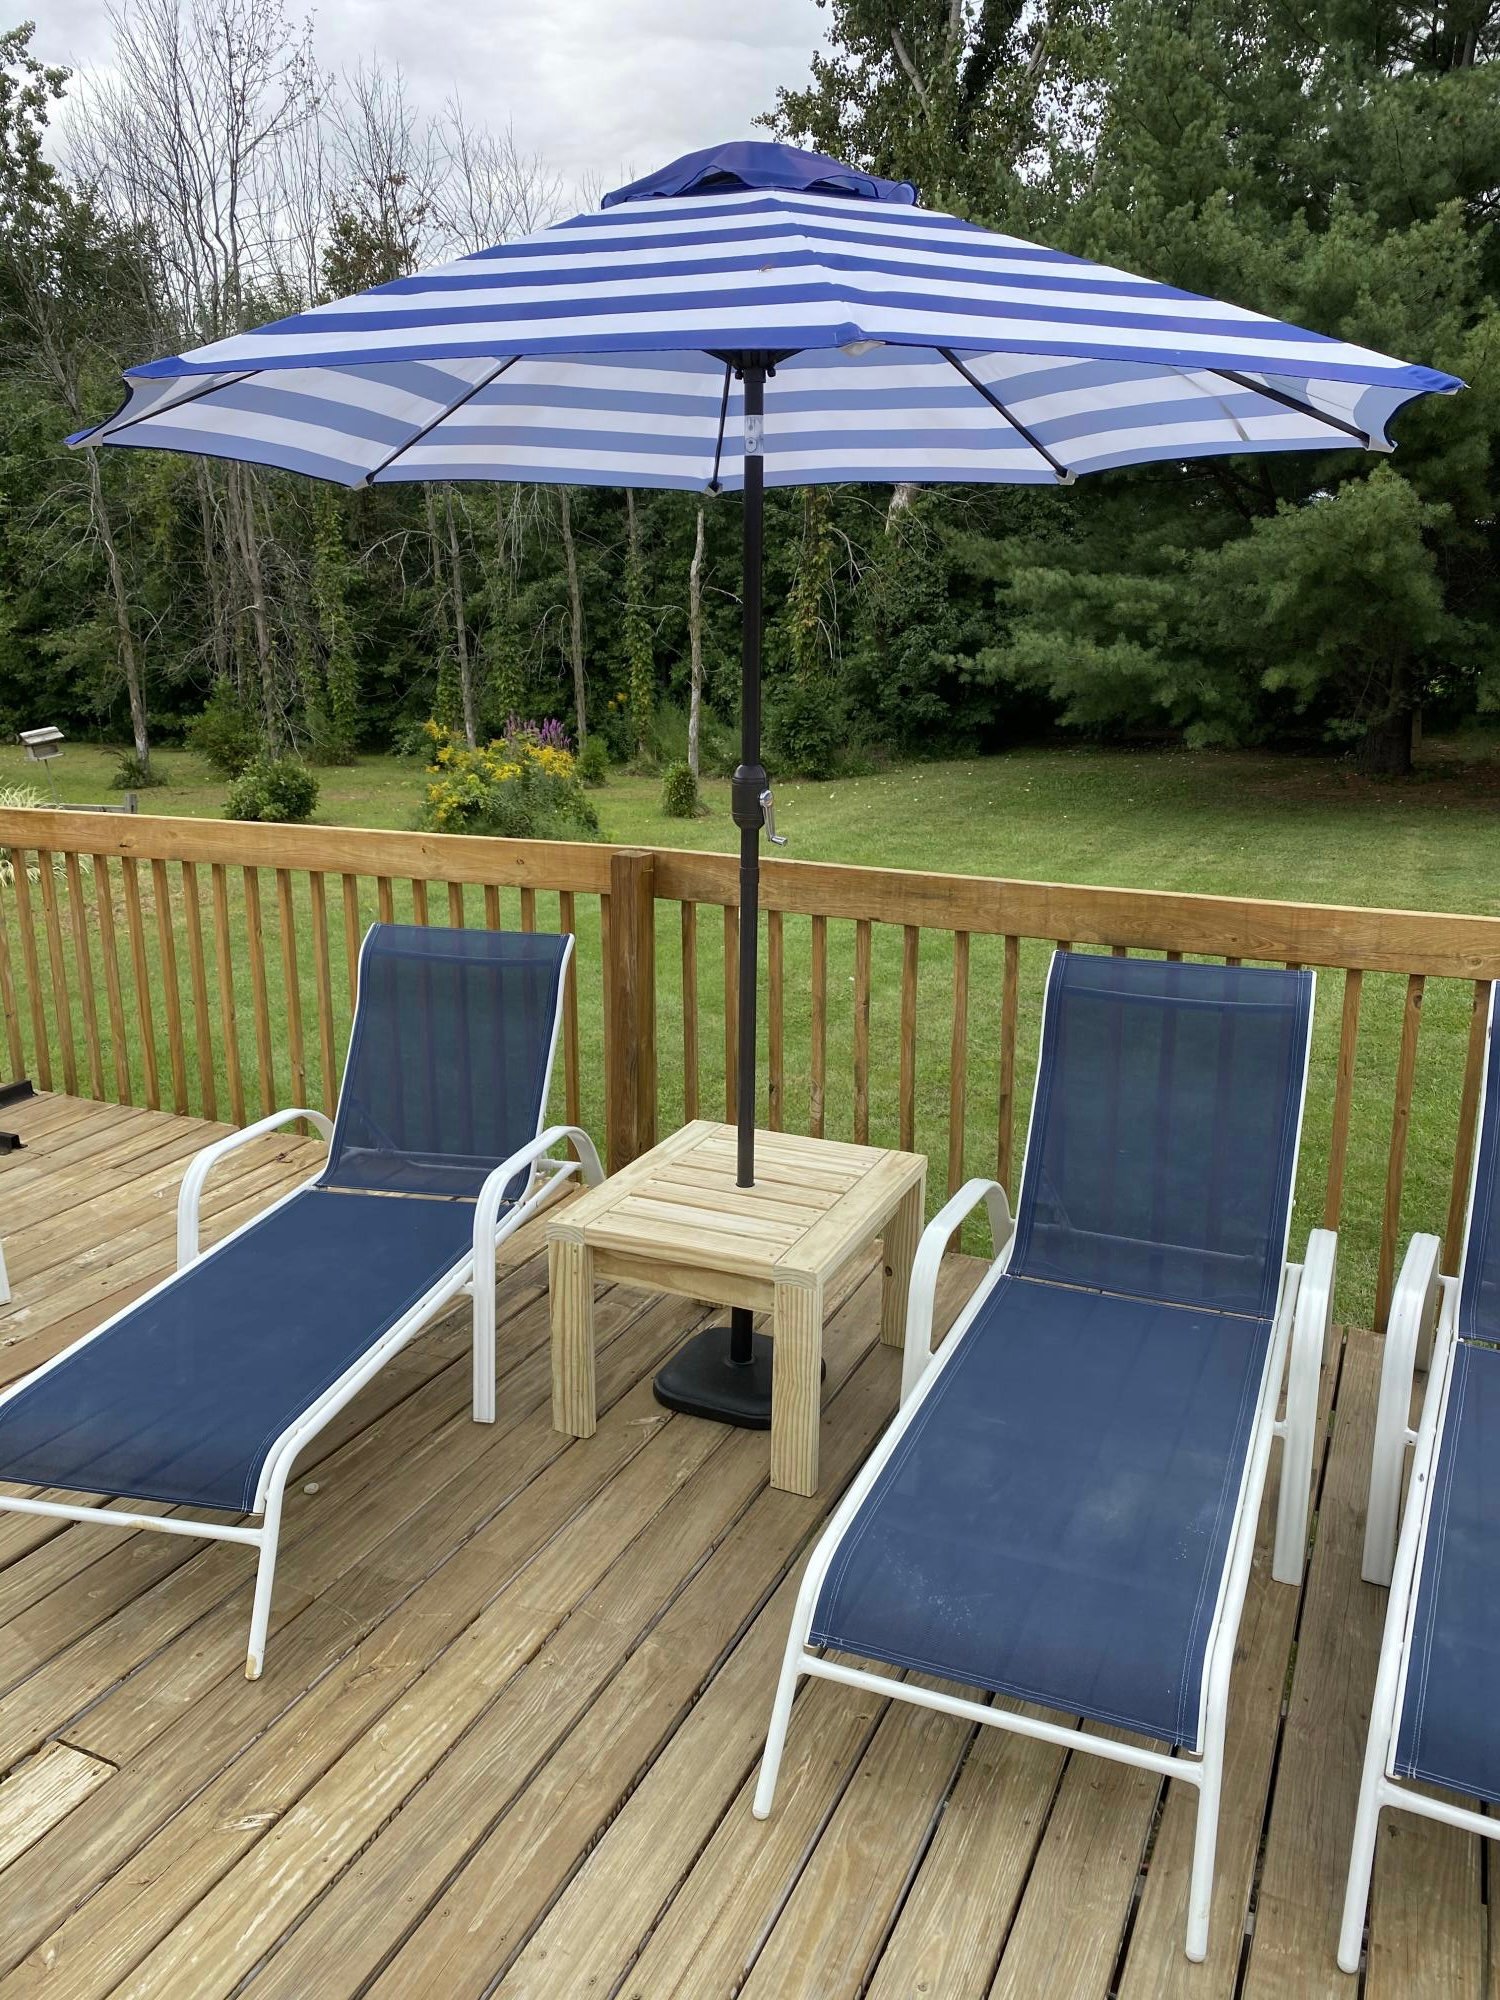
I made the end table a little taller than the instructions and the top boards further apart for rain to fall thru, then drilled a hole so it can be used as an umbrella stand too!

Built from Plan(s)

Comments

Modified Spa Bench

Submitted by michellek on Sat, 04/02/2011 - 22:01

This is my first build ever...except for a rad cd rack I built in 8th grade shop class.  My husband and I team-worked it as a date in his dad's garage. 

So it all started when my amazingly crafty friend Lee built a toy kitchen for her kids.  I was so impressed and started looking up other people's diy kitchens.  So then I was searching for something totally different and saw the play kitchen on Ana's website (love it), and I got totally addicted and decided I was going to build a dining room table, because we have been using a hand-me-down brown card table and chairs from the 70's since we got married.  (How's that for a run-on sentence?)  I wasn't sure if my husband would take me very seriously, but after I showed him this website, I started noticing him on it all the time.  He's more addicted than I am! 

Fast forward some time and we decided to start with the spa bench as a warm-up.  Once we are in a house with our own garage (God willing in the next few months), we plan on tackling the Farmhouse Table.  Anyway, when we took the kids to Gma and Gpa's, my father-in-law got really excited that there were going to be carpenters in the family, and he took us out to the garage to show us all his tools that we could use. 

We had to buy all of the wood, screws, sand paper, stain, polyurethane, and a paint brush since it was our first project, so it ended up costing about $85.  At least now we have a lot of supplies left over for our future projects!  We had Home Depot make the cuts for us so that we could fit the wood in our car.  We used 1x4s instead of 1x3s because we didn't know that 1x3s were furring strips and not in the same place, but now we know.  :)  We also bought one warped board, which was a total pain.  Don't do that. 

This is probably a weekend project if you count the staining and finisher.  The actual building part only took us three or four hours (please don't laugh at us if that's painfully slow), but we actually took about two weeks to finish it because we have rain, no garage, and three kids under 19 months.  And we weren't really in a hurry.  Anyway, it was fun.  We like to build.  Thanks, Ana, for inspiring us and for making it doable for so many people!  We think you're neat.

Built from Plan(s)
Estimated Cost
$20-$85
Estimated Time Investment
Weekend Project (10-20 Hours)
Finish Used
We used one coat of Jacobean 2750 Minwax Wood Finish for the stain and then two coats of Minwax Fast-Drying Polyurethane (clear satin).
Recommended Skill Level
Starter Project

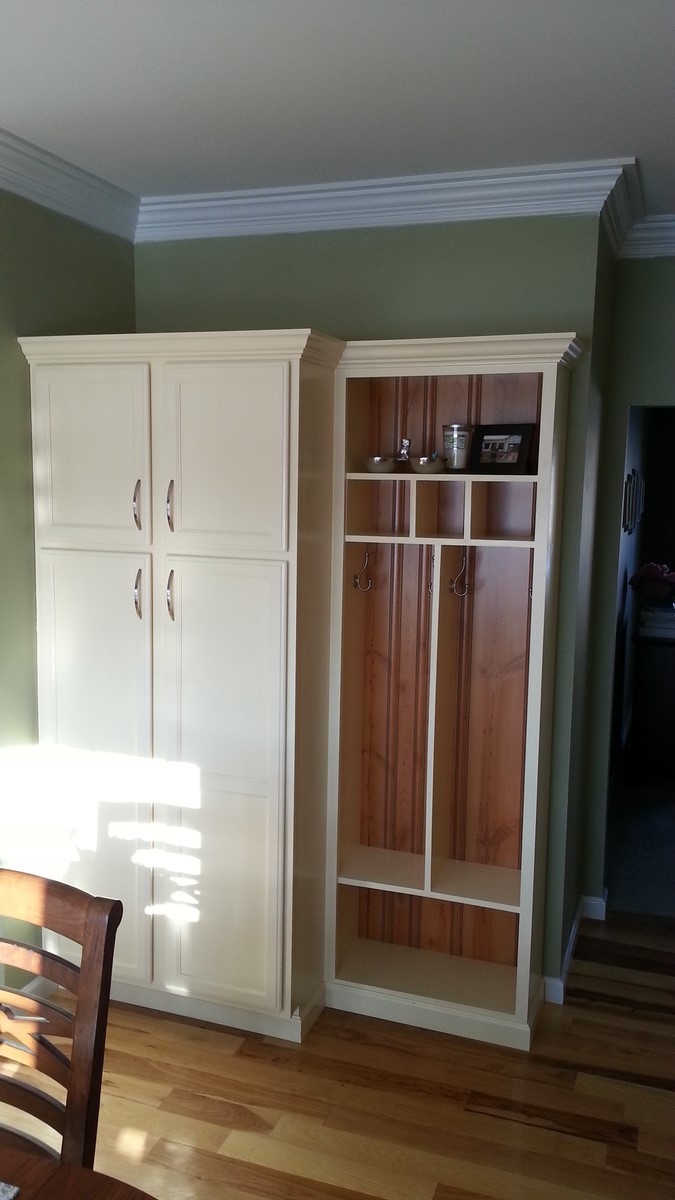
pantry/cubbies

Submitted by fftommy on Wed, 06/12/2013 - 06:26

Needed more storage and this project was so easy. Tied in the baseboards and crown for a built in look.

Estimated Cost
350
Estimated Time Investment
Weekend Project (10-20 Hours)
Finish Used
Paint
Recommended Skill Level
Intermediate

Mini Farmhouse Bedside Table

Submitted by Rustybuns on Sat, 05/16/2015 - 00:34

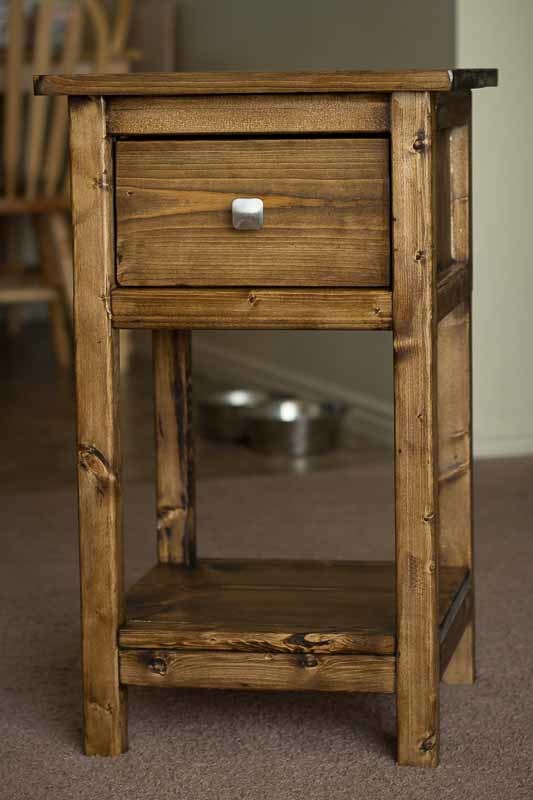
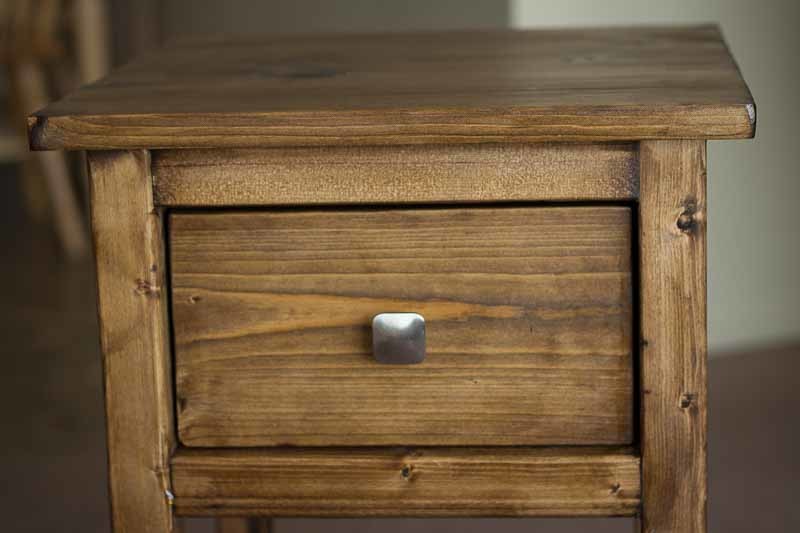
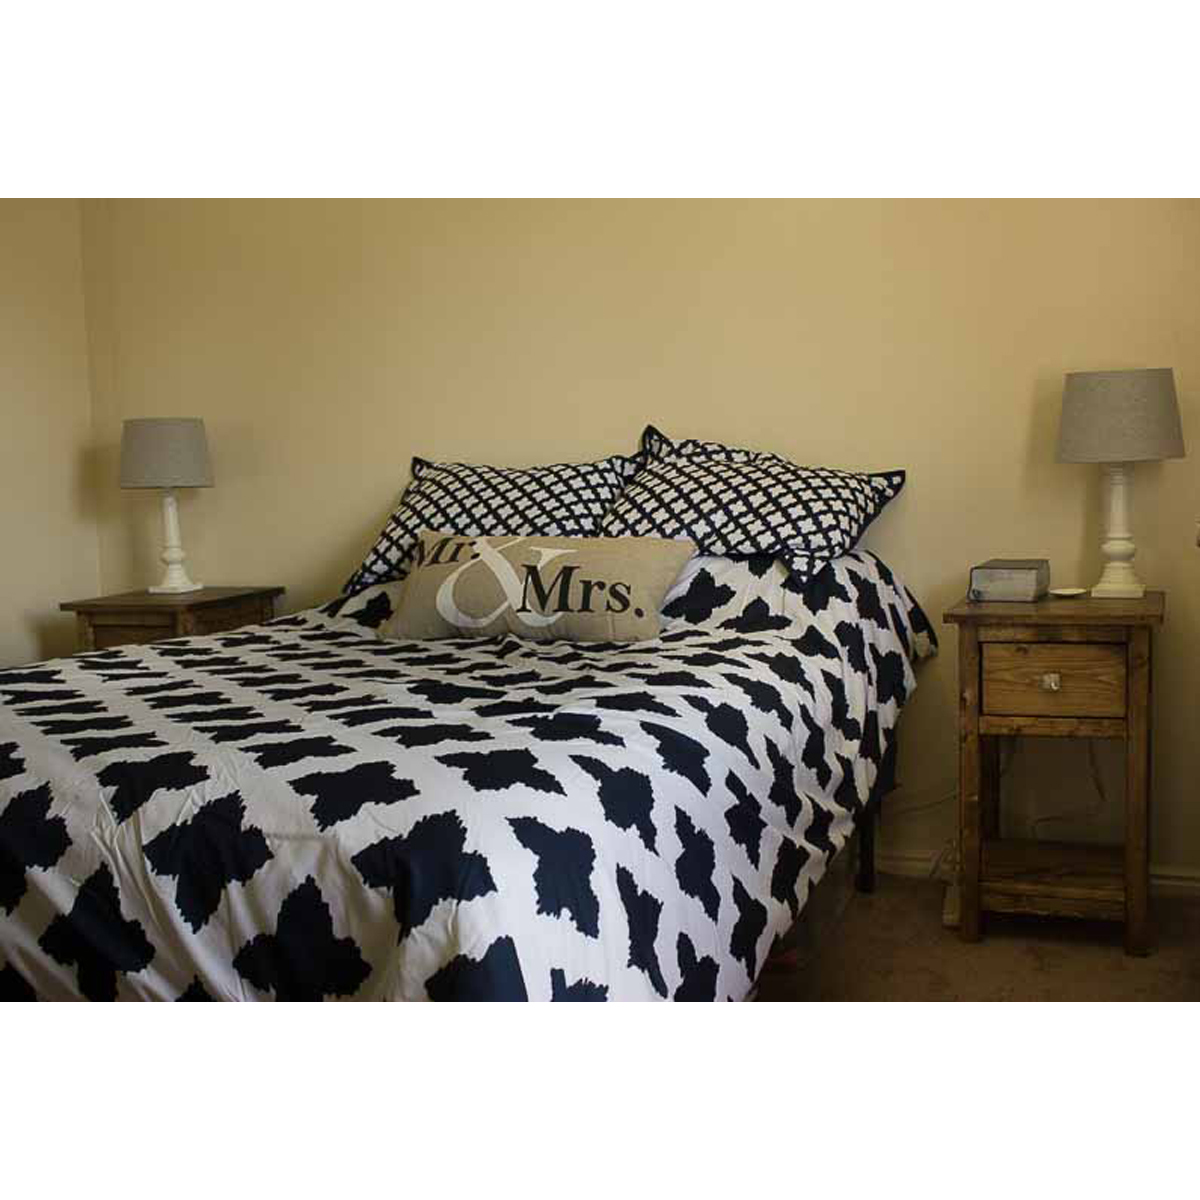
This was the first furniture DIY project for my wife and I. We loved the look of the original farmhouse bedside table plans but they were bigger than what we needed at the moment and didn't want to try to cram them into our room. The mini plans were exactly what we needed. For a first time build, I am pleased with the results and we ended up spending about $75 plus the cost of stain for the two tables. Similar, all-wood night stands run around $200 per table so it doesn't get much better than that. We opted for the Minwax Dark Walnut stain.

Estimated Cost
$75 plus stain
Estimated Time Investment
Day Project (6-9 Hours)
Finish Used
Minwax Dark Walnut
Recommended Skill Level
Beginner

Comments

RenoRustic

Sun, 05/17/2015 - 19:43

I built my mini farmhouse beside table last year as my second build. Did you use a brush or rag while staining? Every time I use dark walnut I get a much darker color, and yours came out perfect for a project I'm going to start soon.

Hall Tree Storage Bench

Submitted by ScottyG on Sat, 12/02/2017 - 14:46

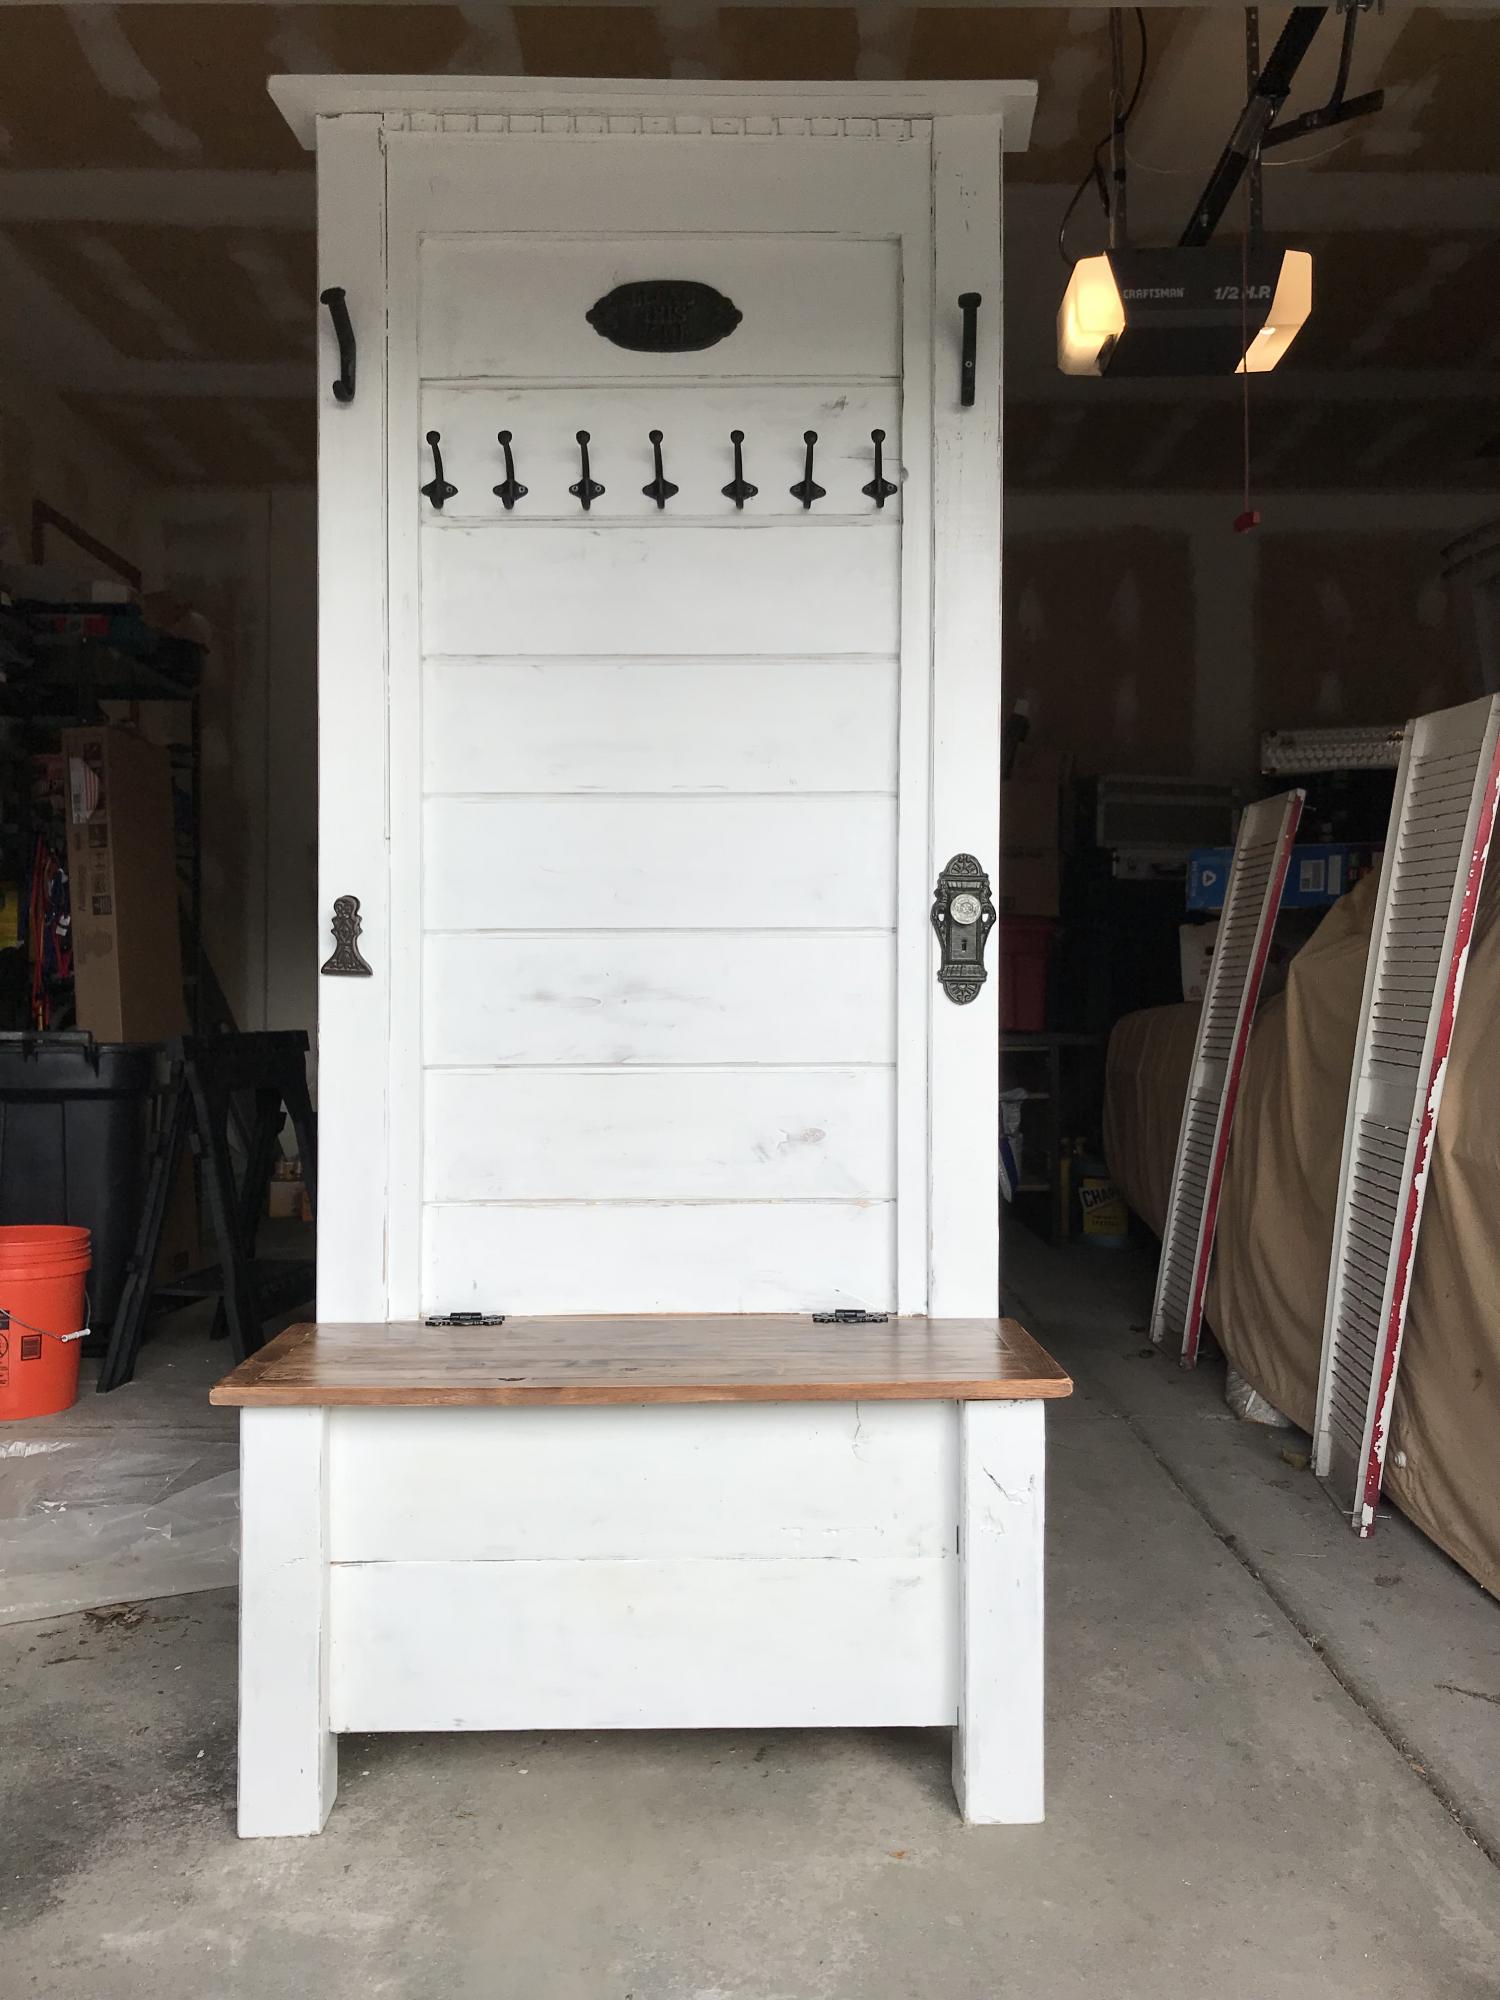
Hi Ana!  This project was pretty much inspired by ALL the great things you build on this site, as well as from watching a 'Fixer Upper' marathon (hence, the white color and shiplap).  Last Christmas, I promised my sister that I'd build her a hall tree since she's now up to 10 grandkids and needed more hooks for all those coats and hats.  Unfortunately, I also came down with a WICKED case of vertigo, so no power tools for yours truly. : (

Well...  The vertigo finally cleared up, so it was time to get out my trusty ol' Kreg Jig and fire up the tools.

This project started with 2 4x4s.  I cut 17 1/2" off each, then used the long pieces as the back and the sort pieces as the front legs.  Then I built a rectangle (shored up by some cross supports) out of 2x3s and used those to attach the back legs together with pocket holes.  I did the same thing with the 2 front legs, then attached the 2 sets of legs together with shorter pieces of 2x3s that framed up the side.

Next, I added a front to back support to the underside, and then attached the bottom of the seat on top of that.  I built the front, back, and side pieces of the bench section by cutting a couple of 8' x 8" x .5" planks to size, and attached 2 pieces to each side by gluing and nailing them to the frame.   Then, I rans some shiplap up the back (glued and nailed to the back frame) and topped it all off with a mantle.

For the seat, I used a 12" project board ($11 at Lowes for a 6 foot section) because I love all the knotty details and nail marks.  I framed it out with 1x1 and attached with pocket screws on the underside.  I finished that piece by staining it in Rustoleum Dark Walnut.

As for the rest, I just framed the shiplap section with leftover 1x1s, then sanded and stained the whole piece with the same Dark Walnut stain (so that something would show through after distressing).  Finally, I applied 2 coats of Rustoleum Linen White Chalk Paint (LOVE that stuff!), distressed it, and topped with one coat of Minwax 1 Coat Poly (ALSO love that stuff), and added some hardware and country do dads from Hobby Lobby (Rustic Hooks, 'Bless This Home' Sign, Decorative Doorknob, and "Mitten Clip" for wet mittens and gloves coming off little hands) .  What do you think?  ヅ
Estimated Cost
About $100
Estimated Time Investment
Weekend Project (10-20 Hours)
Finish Used
Rustoleum Dark Walnut Stain (Bench Seat), Rustoleum Linen White Chalk Paint (Rest of project), sealed with Minwax 1 coat poly.
Recommended Skill Level
Intermediate

Anastasia's new bed

Submitted by dave on Mon, 04/04/2011 - 18:57

This is my daughters new bed. We modified the plans to fit what we wanted. I added drawers to the stairs. Then put shelves behind the stairs. Added doors so we can hide the shelves. We used rope lights inside to add light with her own light switch.

PS Don't mind the date on the pictures. Forgot to change the date.

Estimated Cost
450.00 USD
Estimated Time Investment
Week Long Project (20 Hours or More)
Finish Used
We routed all edges to round them over and sanded.
Then primed and painted. We used a hvlp paint sprayer.
Recommended Skill Level
Intermediate

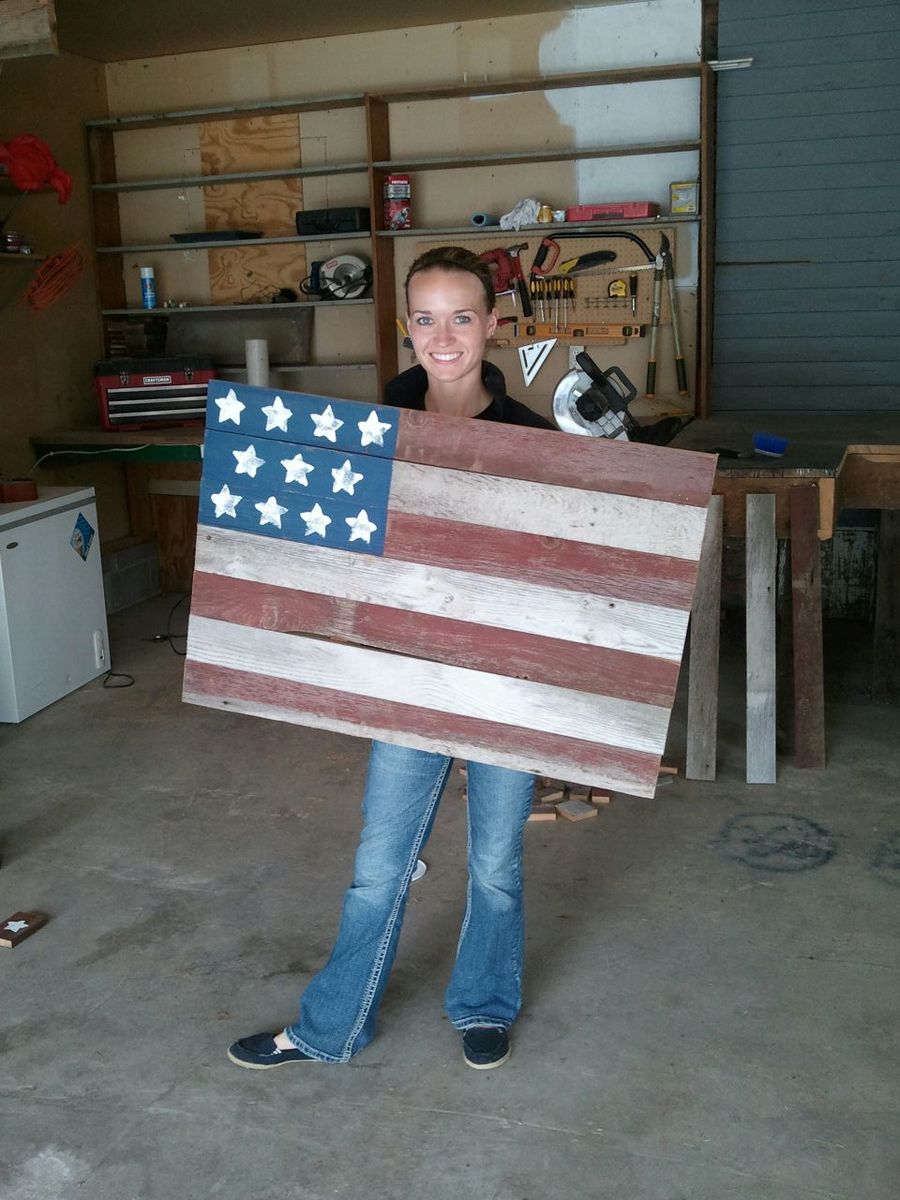
Barn board flags

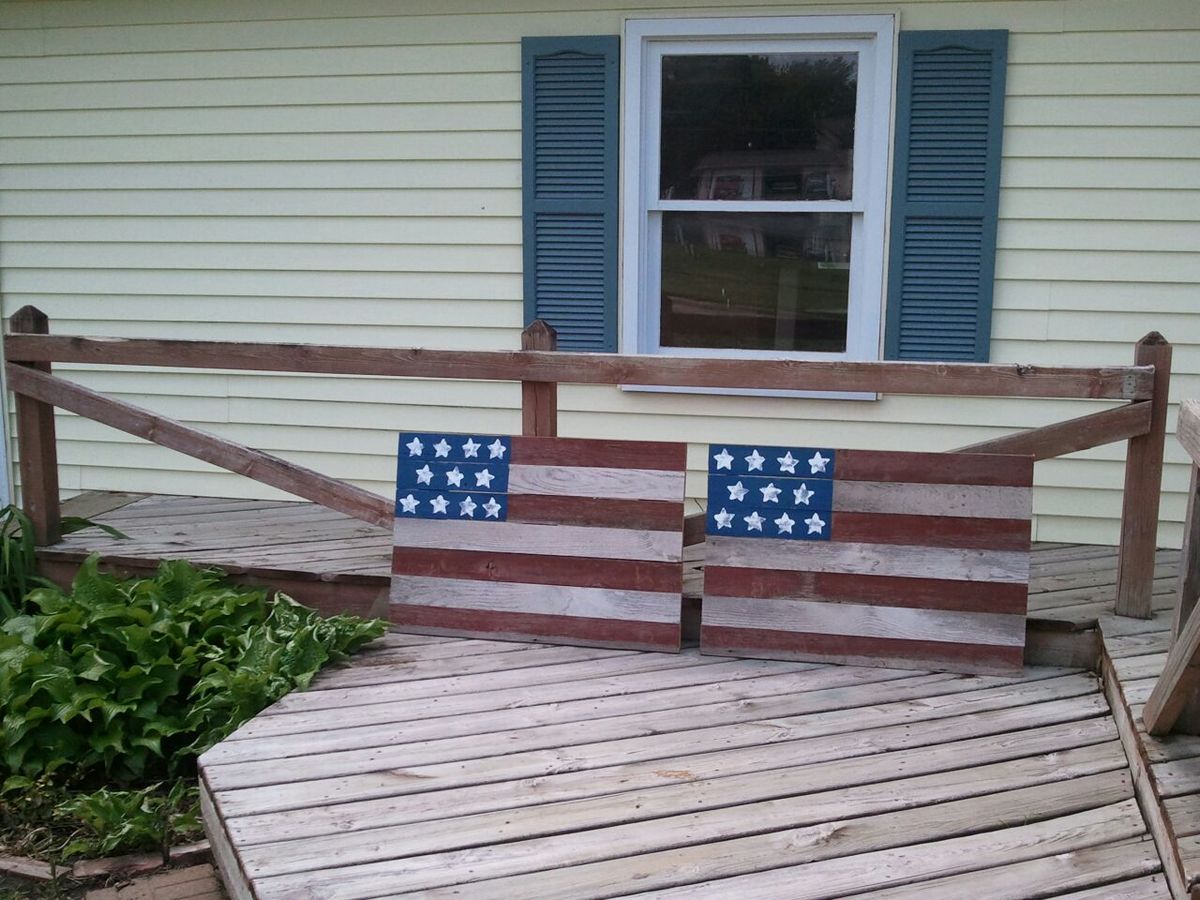
Barn board flags made from a dilapidated barn.

Estimated Time Investment
An Hour or Two (0-2 Hours)
Recommended Skill Level
Starter Project

Miter saw and table saw station

Submitted by T.R. on Tue, 05/19/2015 - 11:12

I was looking for a plan to build a miter saw cart but also wanted to include my table saw.
I was leery about making a permanent station for the miter saw in case in needed to move the saw for an inside trim job so I made the miter portion of workstation portable.

Built from Plan(s)
Estimated Cost
$40-$50
Estimated Time Investment
Day Project (6-9 Hours)
Recommended Skill Level
Intermediate

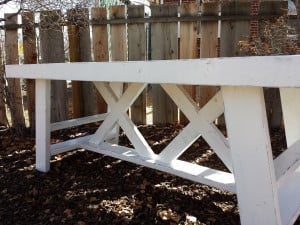
My version of the Simple Outdoor Dining Table

Submitted by cchalifour on Wed, 11/24/2021 - 19:48

My version of the Simple Outdoor Dining Table
- All Cedar

Built from Plan(s)

Comments

Simple Nightstands

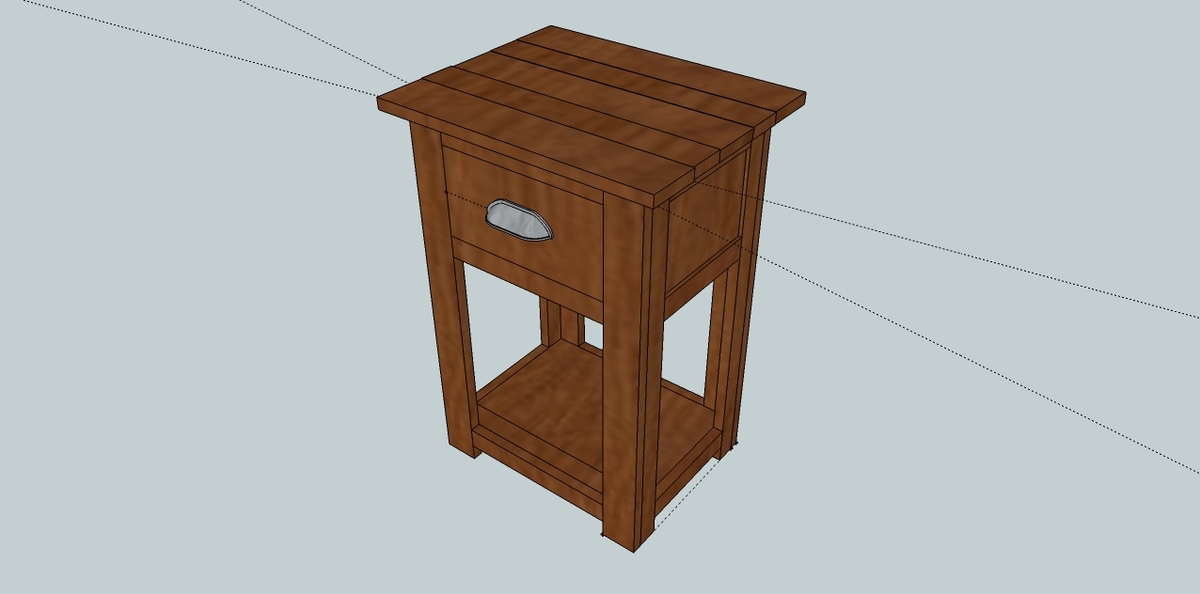
I absolutely love the way these turned out! I drew up an example in Sketch-up using Ana's plans for the Simple Nightstand as a starting point. 

The top is made from 5 boards, 19 inches in length, joined together underneath with a kreg jig. I made two of these, identical. Each nightstand took exactly 50 kreg screws, not intentional, it just worked out that way. I used a brad nailer to attach the trim along the bottom shelf (which I could have avoided with a a little more planning in the beginning), also to attach the side panels that you see on the sides and back, and to assemble the majority of the drawer, using kreg screws to attach the front.
I'm in love with the drawer pulls, a metal twig shape bought at blue! I'm debating whether or not I want to paint them with some brown paint and distress them a little bit, but not sure if it would just end up looking hokey since they are obviously not real twigs.
It took me several hours to build these, mostly because I had to kind of work out a few details as I went, but I'm confident I could do it quicker if I had to do it again. The finishing is what takes the longest!
Built from Plan(s)
Estimated Cost
$110 includes enough Select Pine, kreg jig screws, and drawer pulls to make two nightstands
Estimated Time Investment
Day Project (6-9 Hours)
Finish Used
Two coats of Cabot stain, Pecan color. Three coats of satin polyurethane, with a light sanding between each coat.
Recommended Skill Level
Intermediate

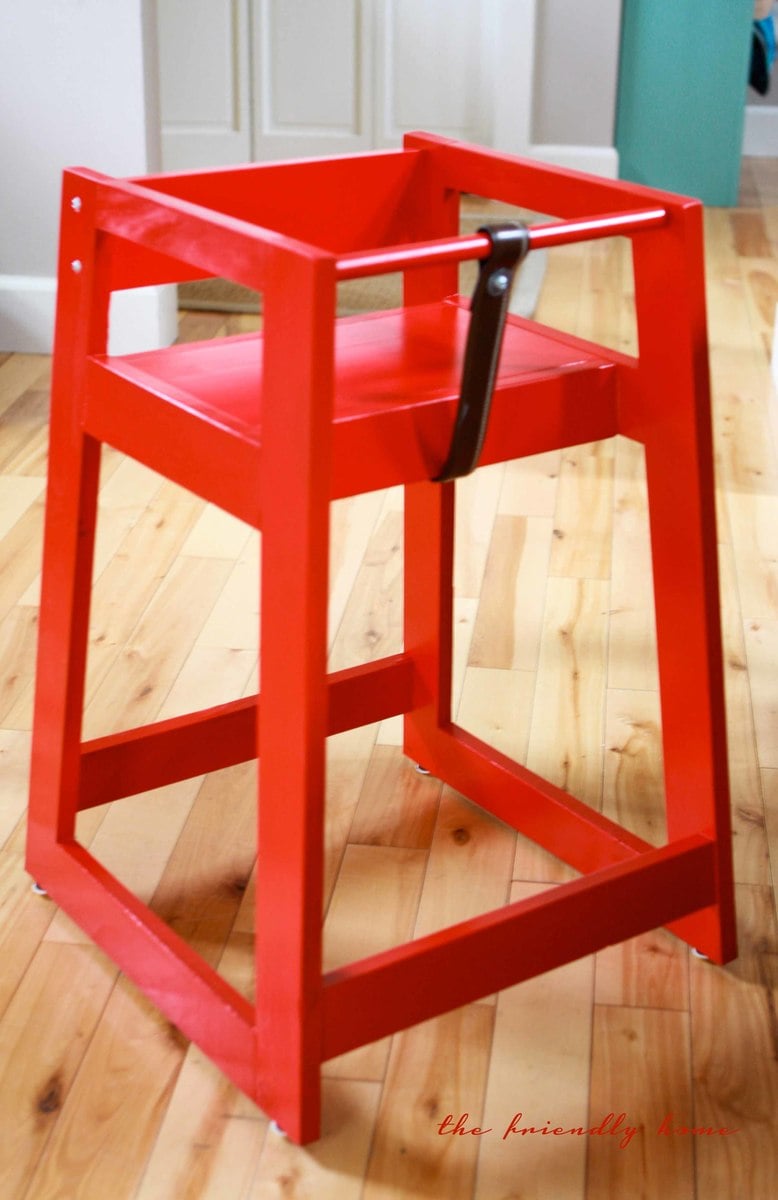
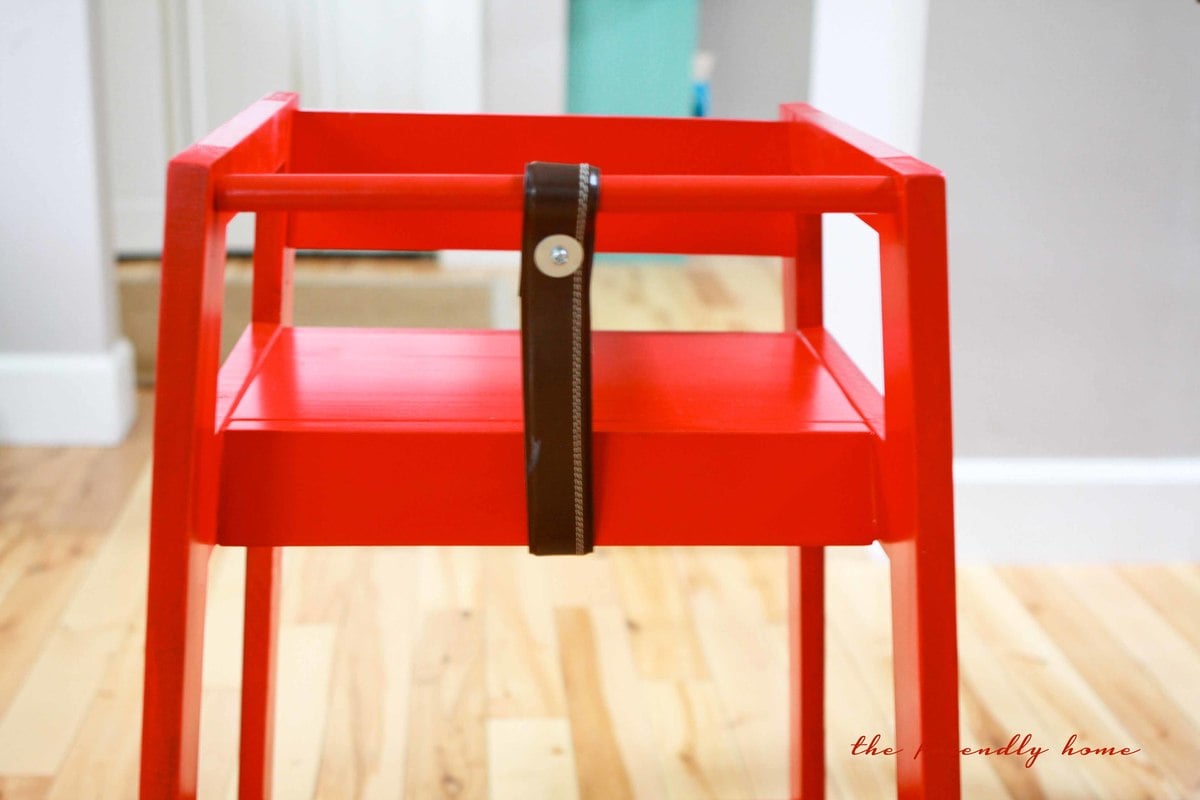
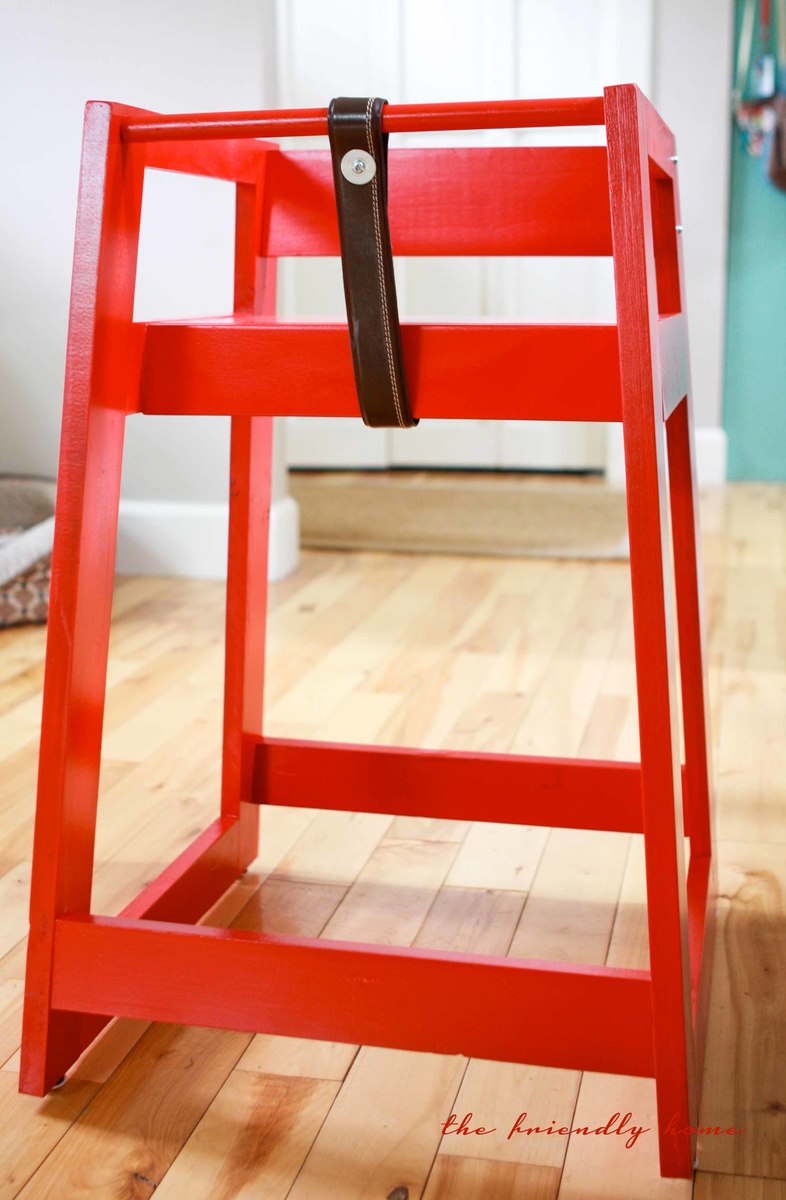
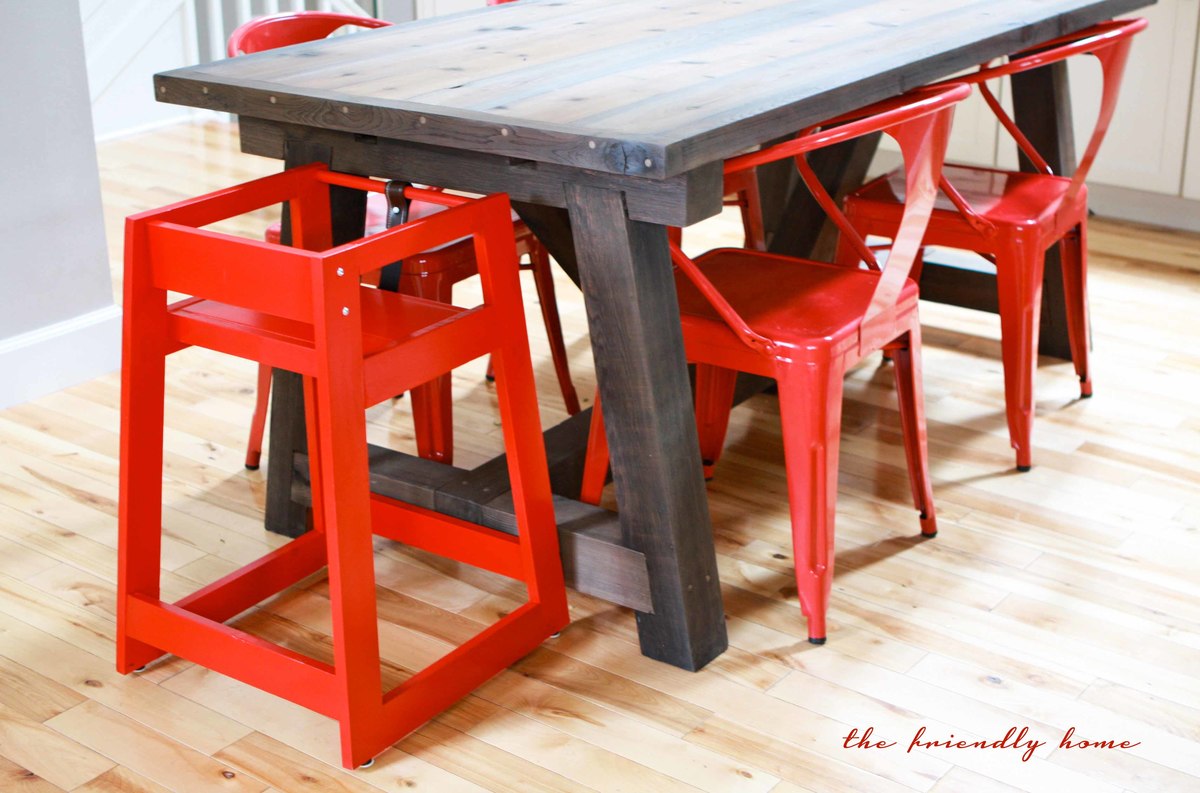
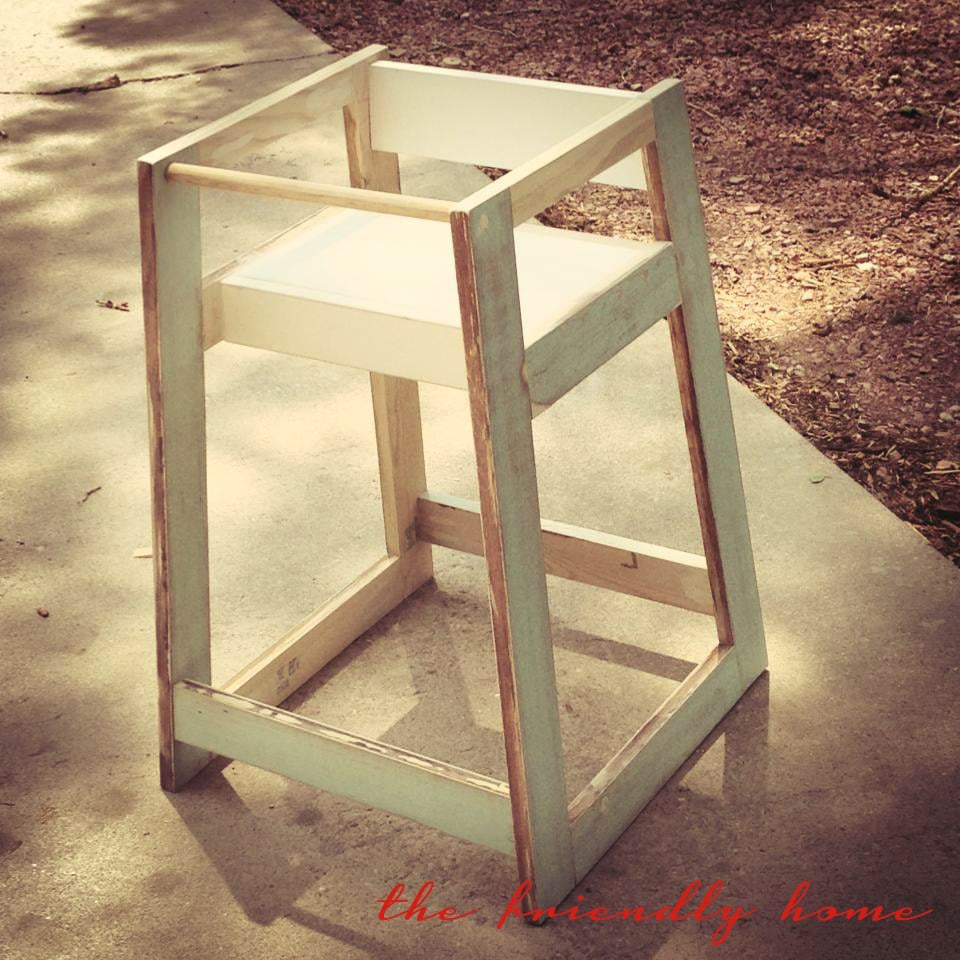
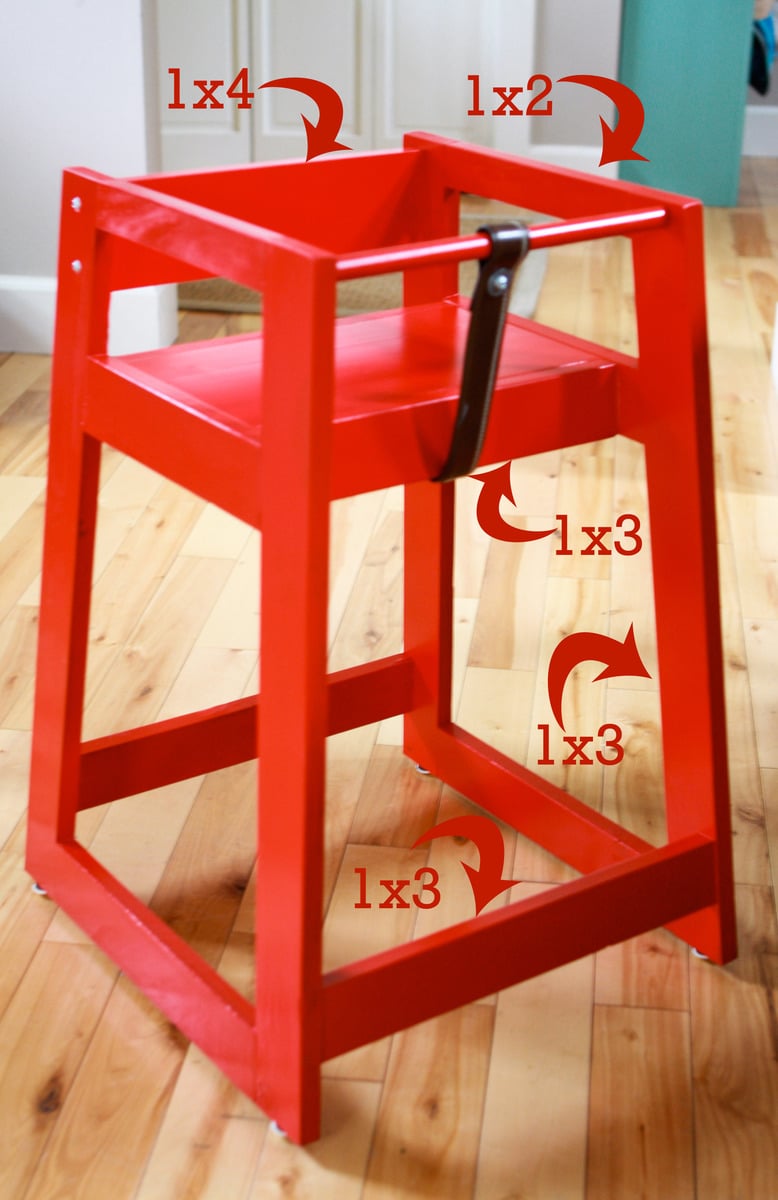
Restaurant High Chair from scraps

This took me longer to build than I expected -- maybe because I was working from scraps and had to figure out what would fit where along the way. Also, I initially cut all the side pieces with parallel cuts. Oops. So I had to re-do them all.

For more info, check out my blog post!

Built from Plan(s)
Estimated Cost
$14 for paint and furniture glides -- had the rest on hand.
Estimated Time Investment
Day Project (6-9 Hours)
Finish Used
Gloss Cherry premixed paint by Valspar.
Recommended Skill Level
Intermediate

Comments

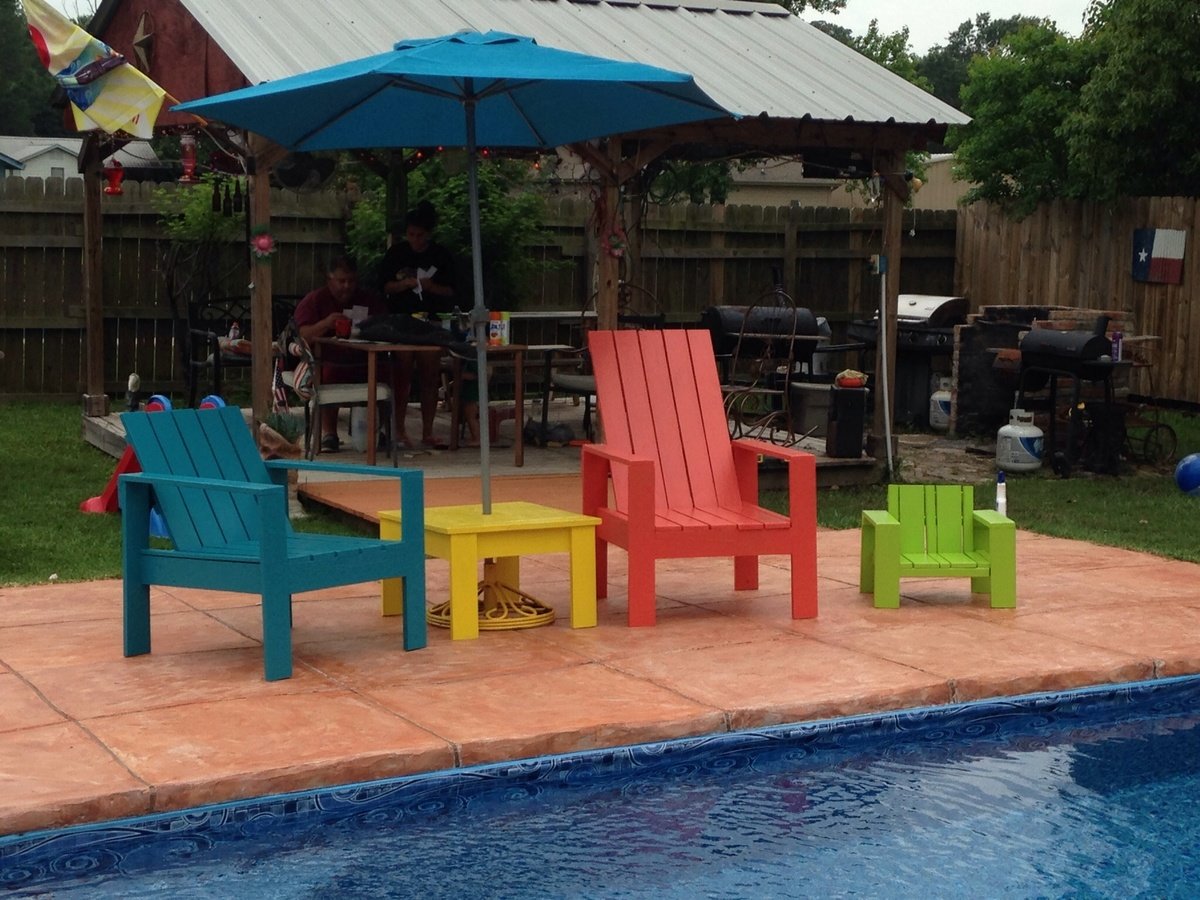
Pool Furniture

I made the back slats taller on the second chair (salmon colored one) so I could just lay my head back. They were so easy and I can't believe I did this myself! We made the baby chair with the scraps and our grandbabies love it!

Built from Plan(s)
Estimated Cost
200.00 for all 4 pieces.
Estimated Time Investment
Weekend Project (10-20 Hours)
Recommended Skill Level
Beginner

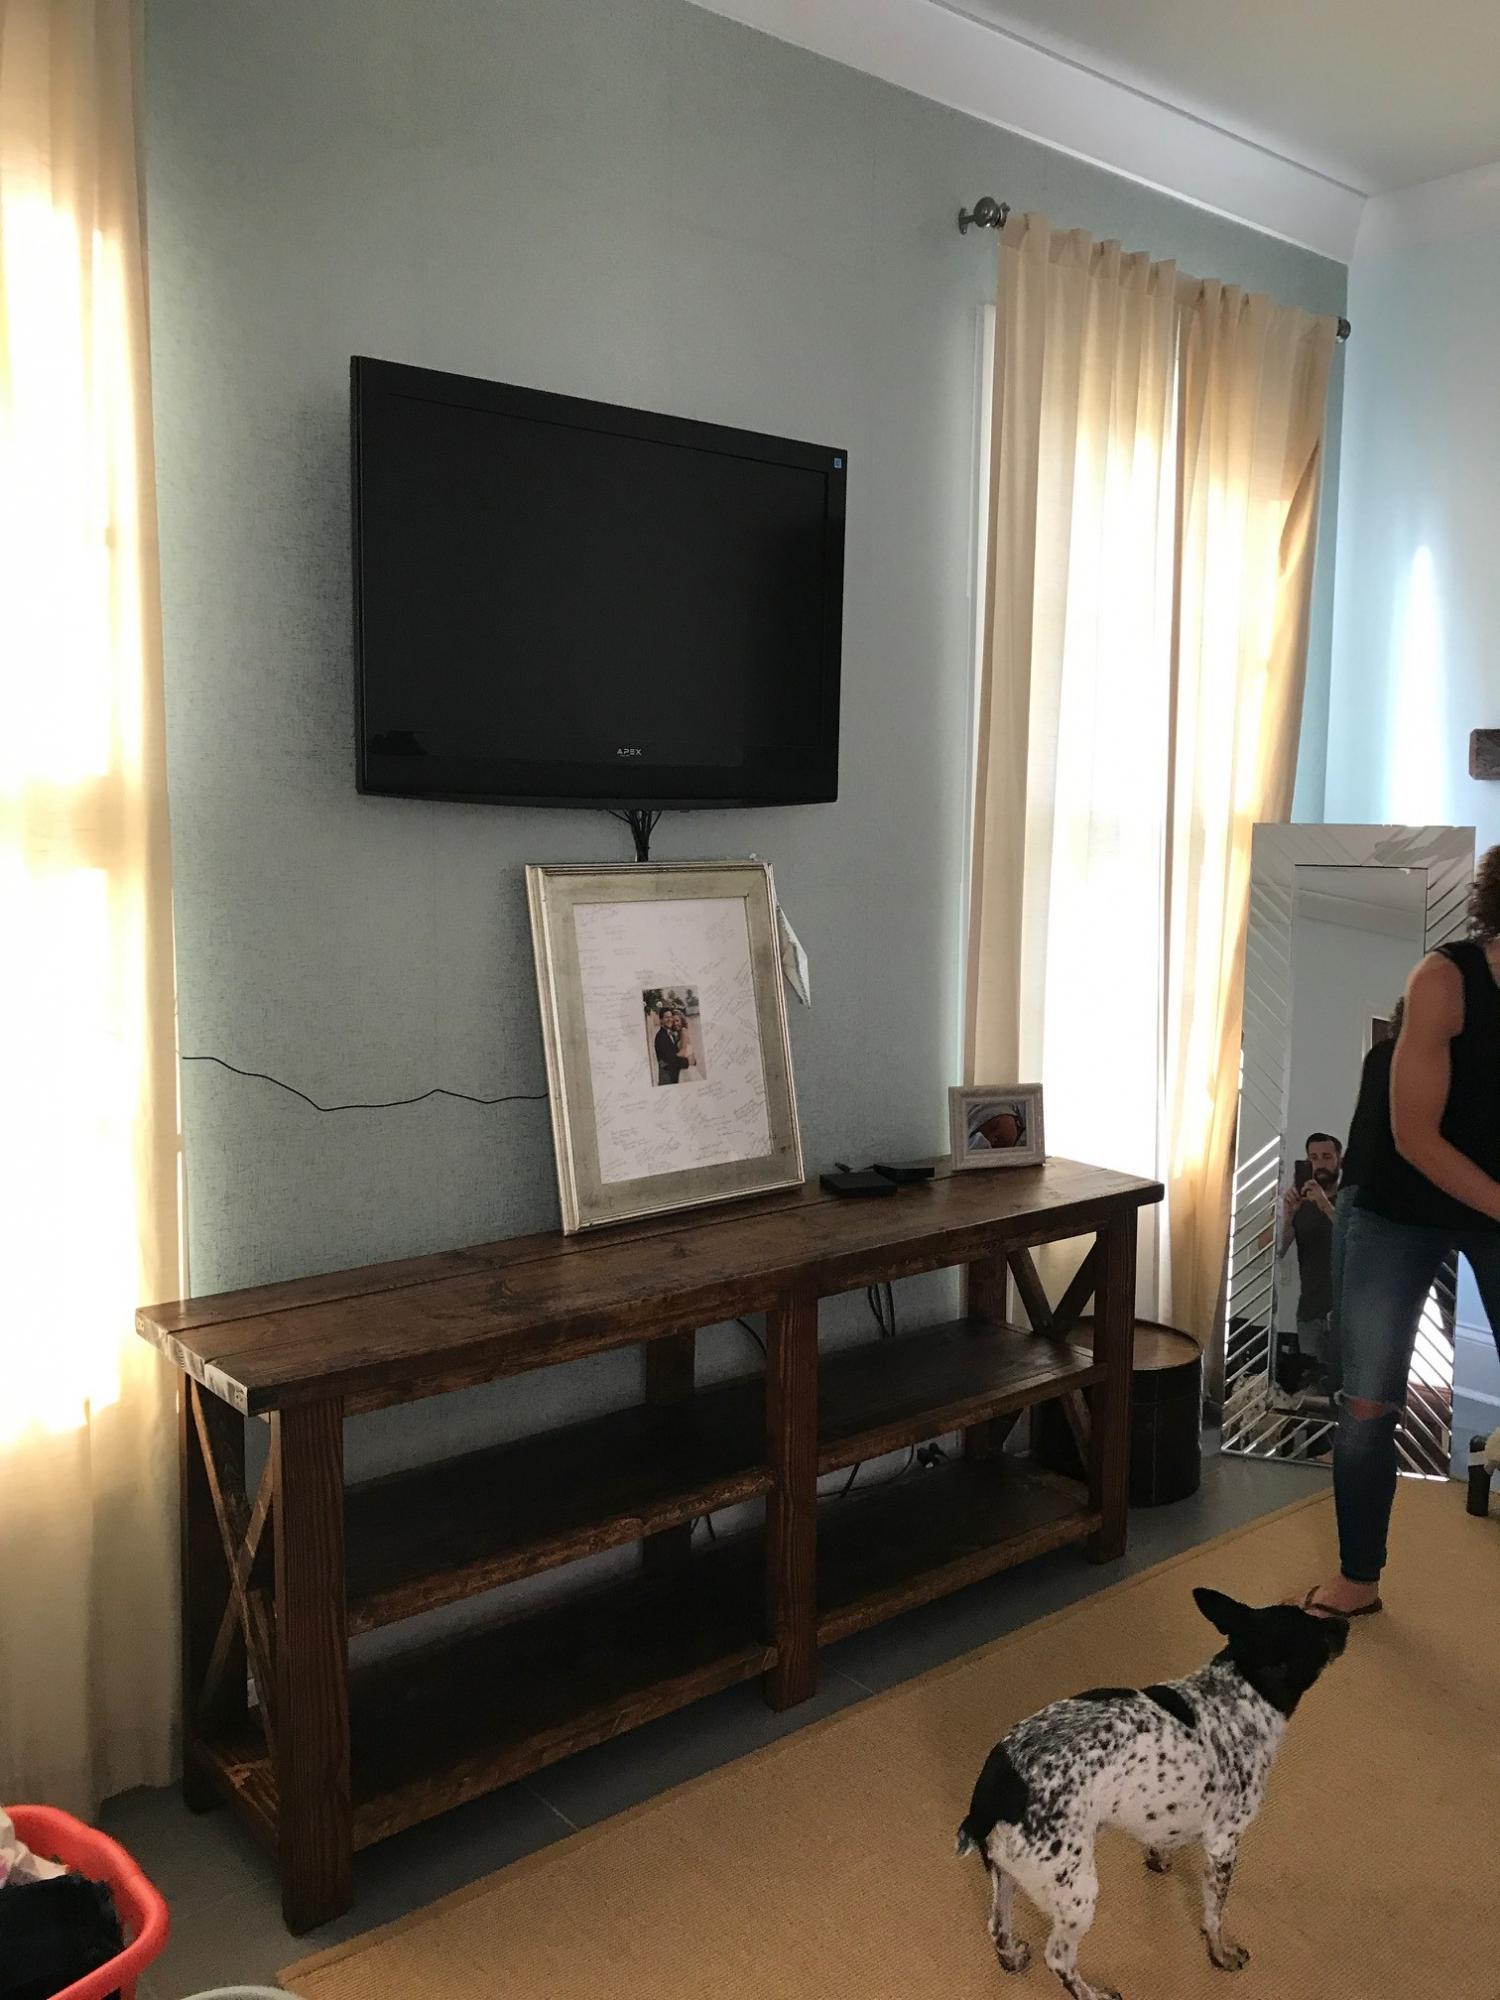
First Rustic X Console table build

Submitted by mcneece on Mon, 12/18/2017 - 13:50

First stab at this table turned out so well a friend bought it off me and I had to build a second.

Built from Plan(s)
Estimated Cost
$100
Estimated Time Investment
Weekend Project (10-20 Hours)
Finish Used
Miniwax Provincial Stain and Polyurethane
Recommended Skill Level
Beginner

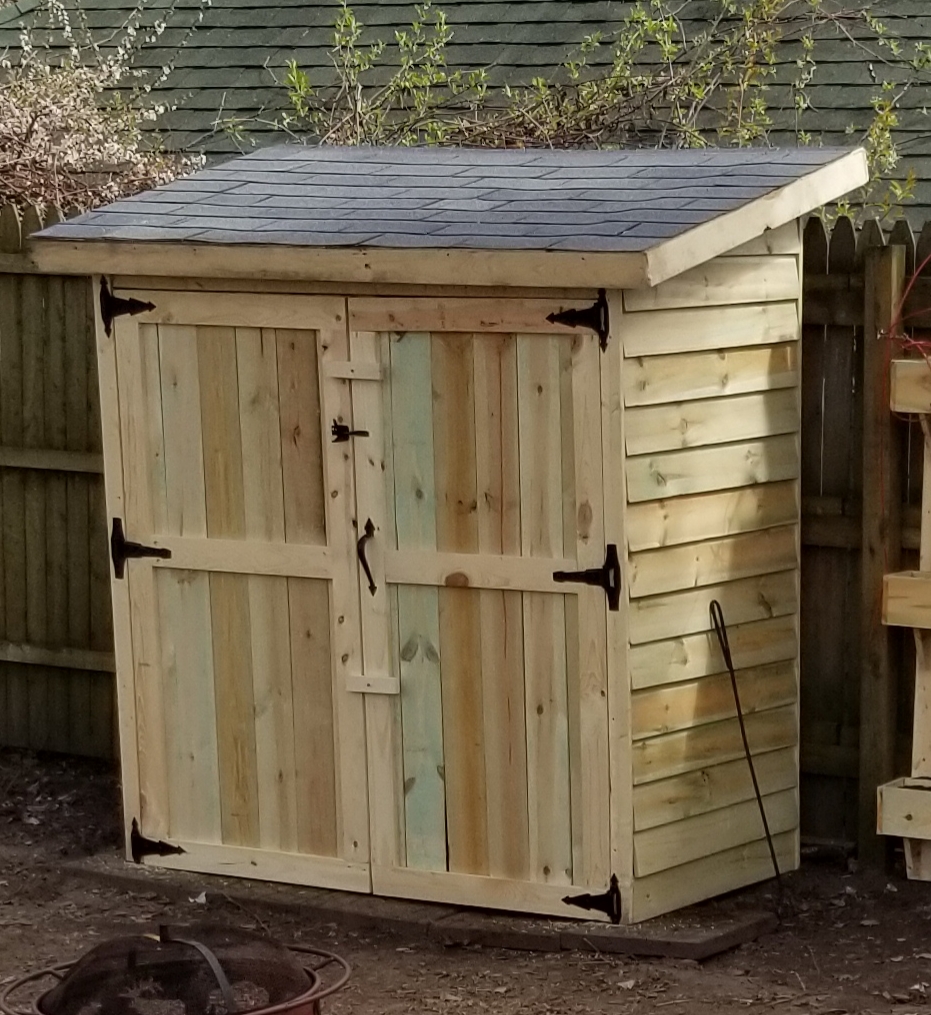
wood shed project

Submitted by Anonymous (not verified) on Fri, 12/10/2021 - 16:46

Dear Ana White,

I was looking for an inexpensive shed to build and saw your lean to. I love it and get many complements. Thanks for your site and what you do.

Comments