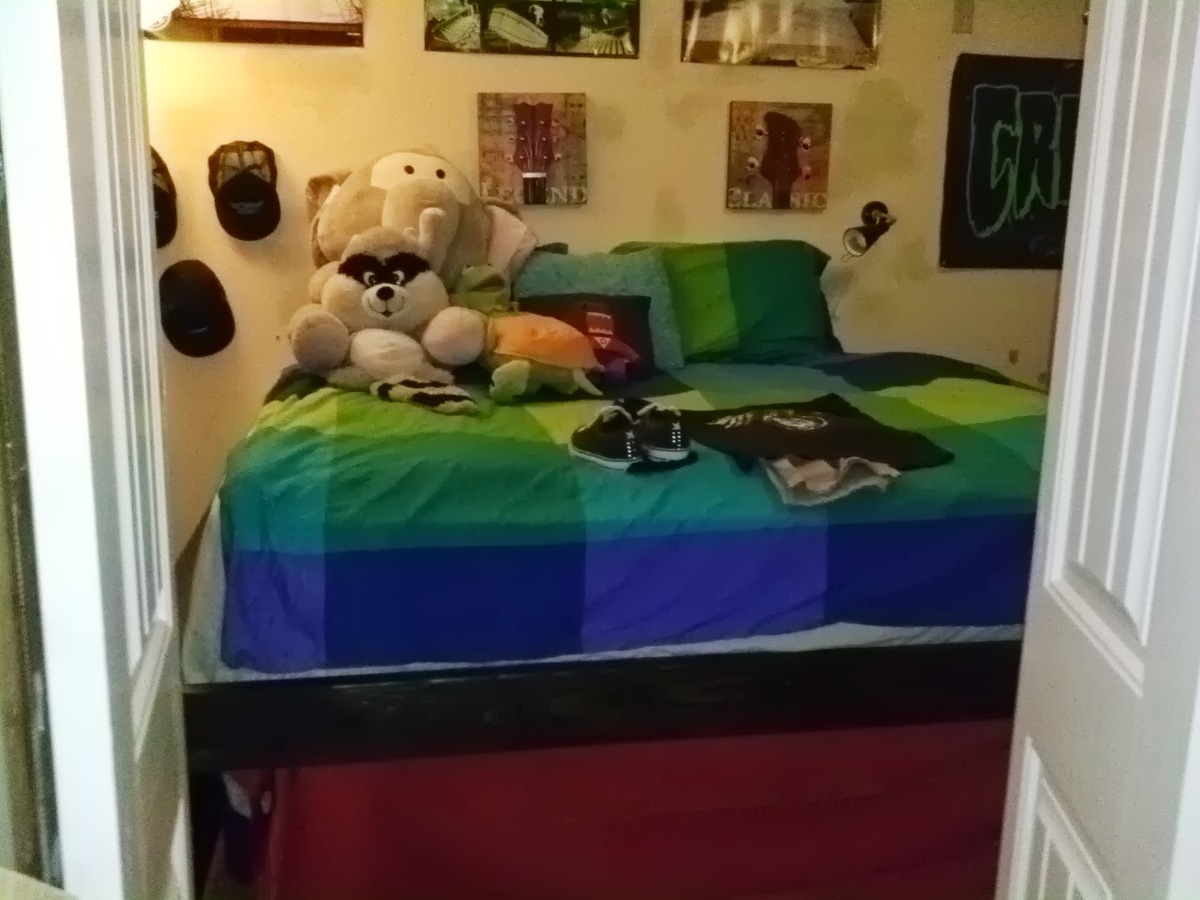
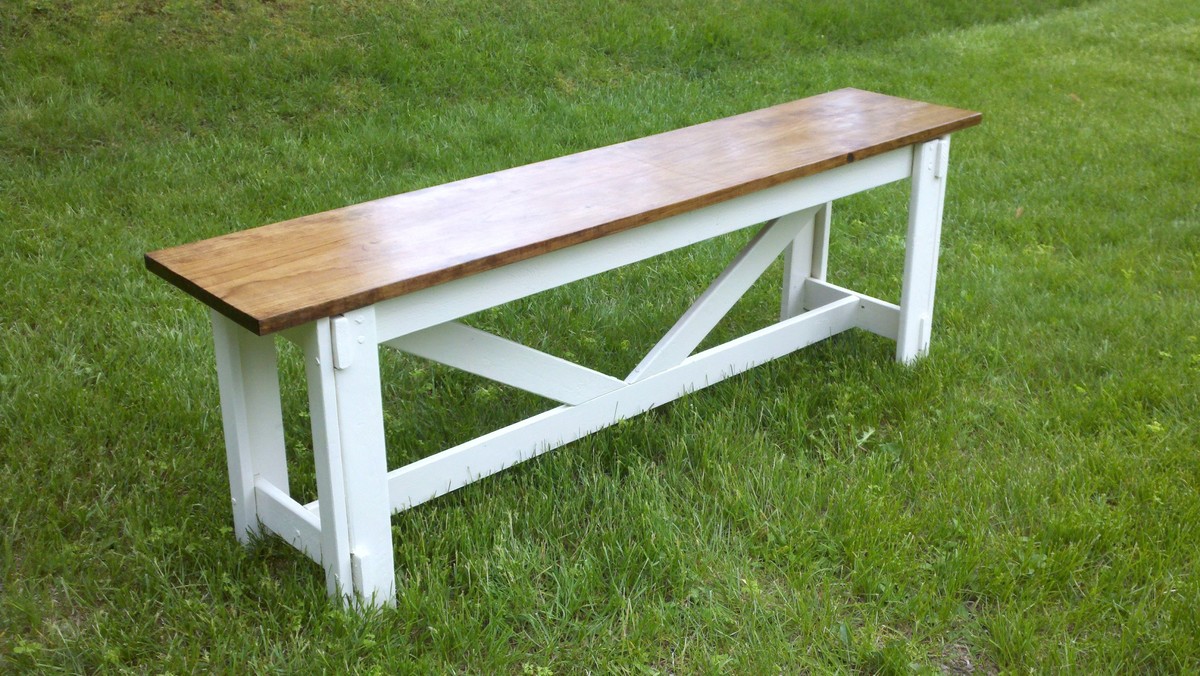
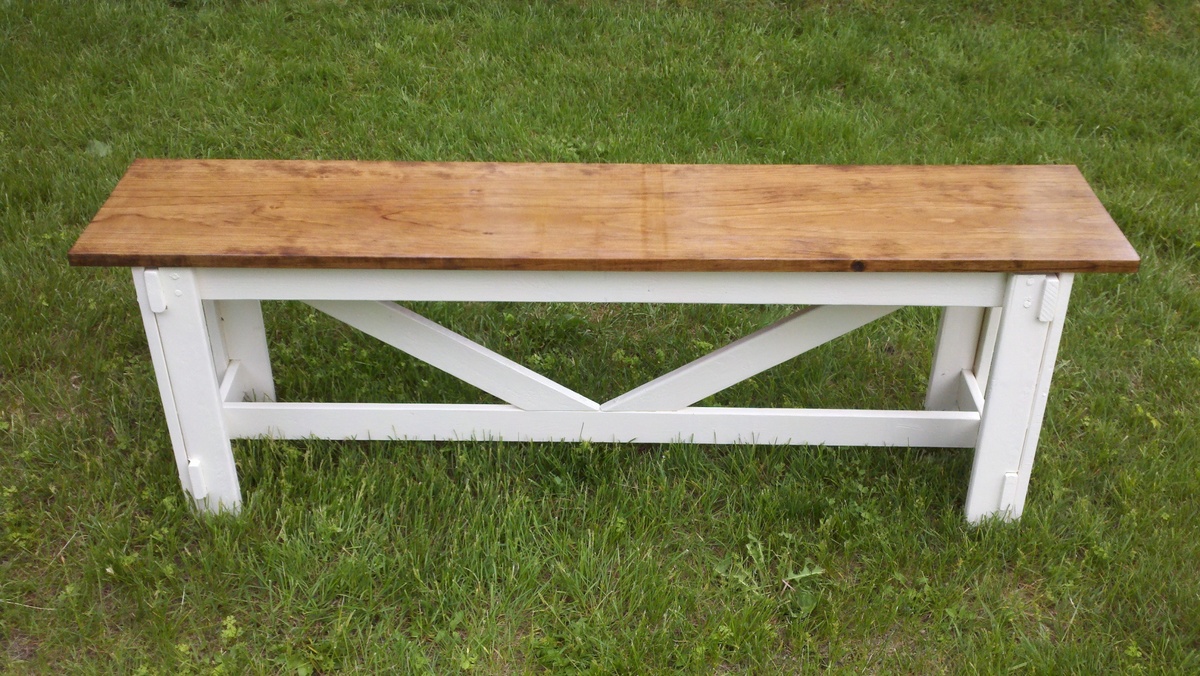
Big boy bed and steps
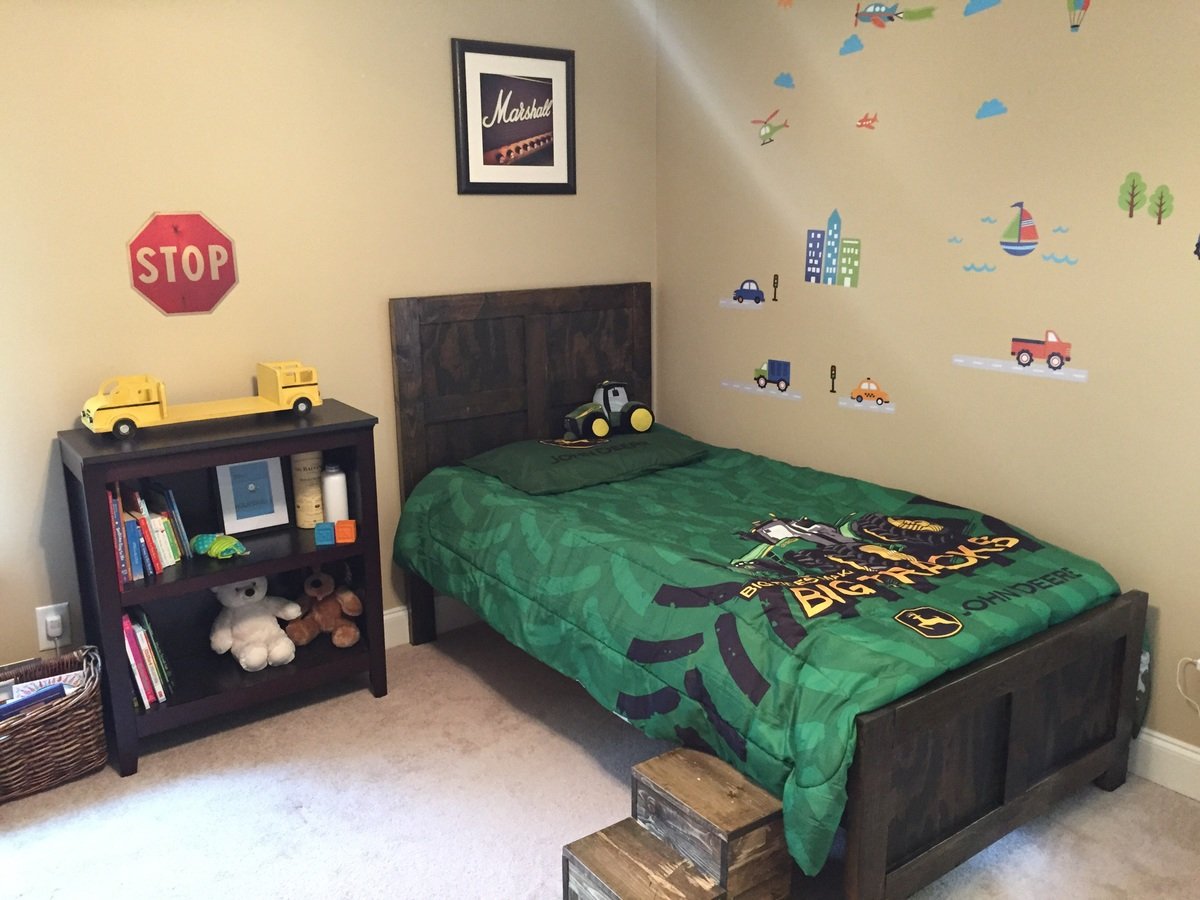
We wanted to transition our two year old out of the crib and skip the toddler bed and this worked perfectly.
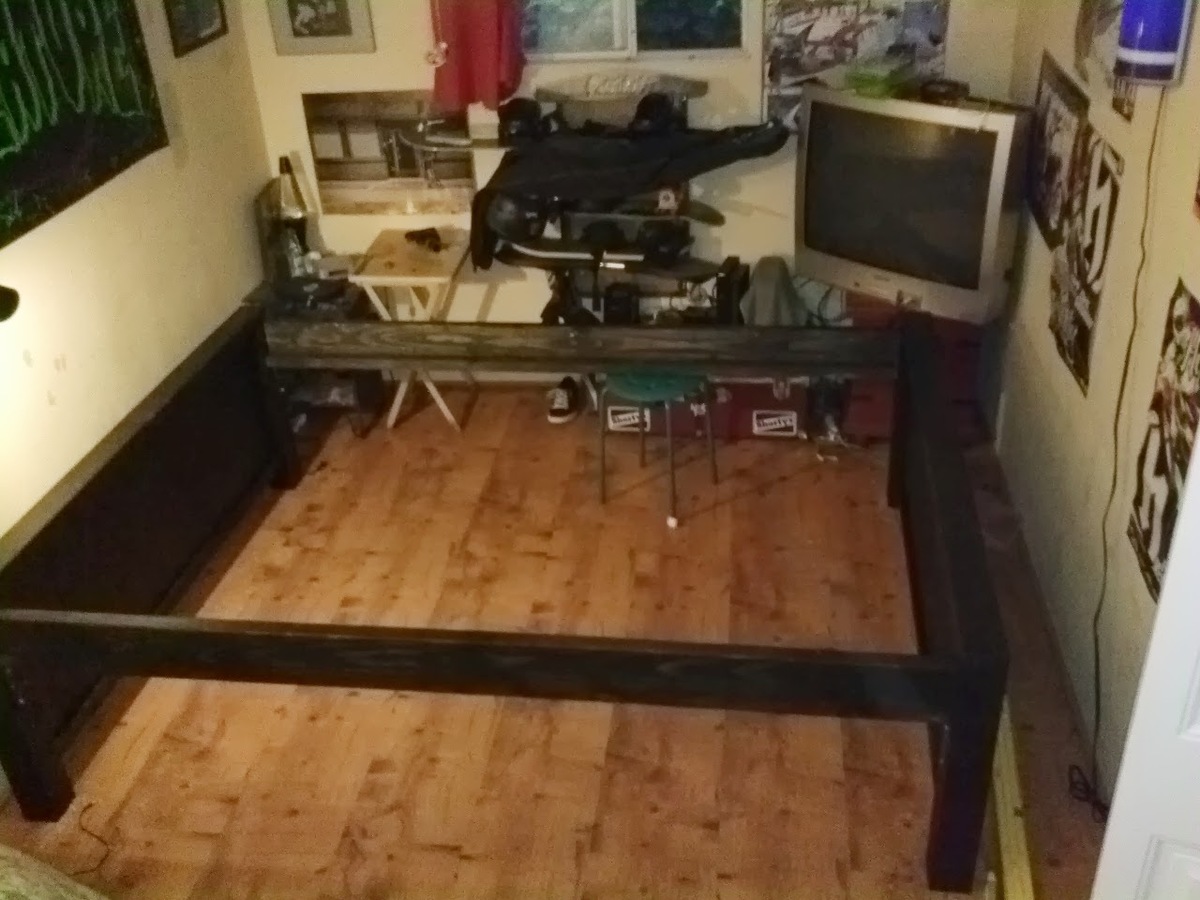
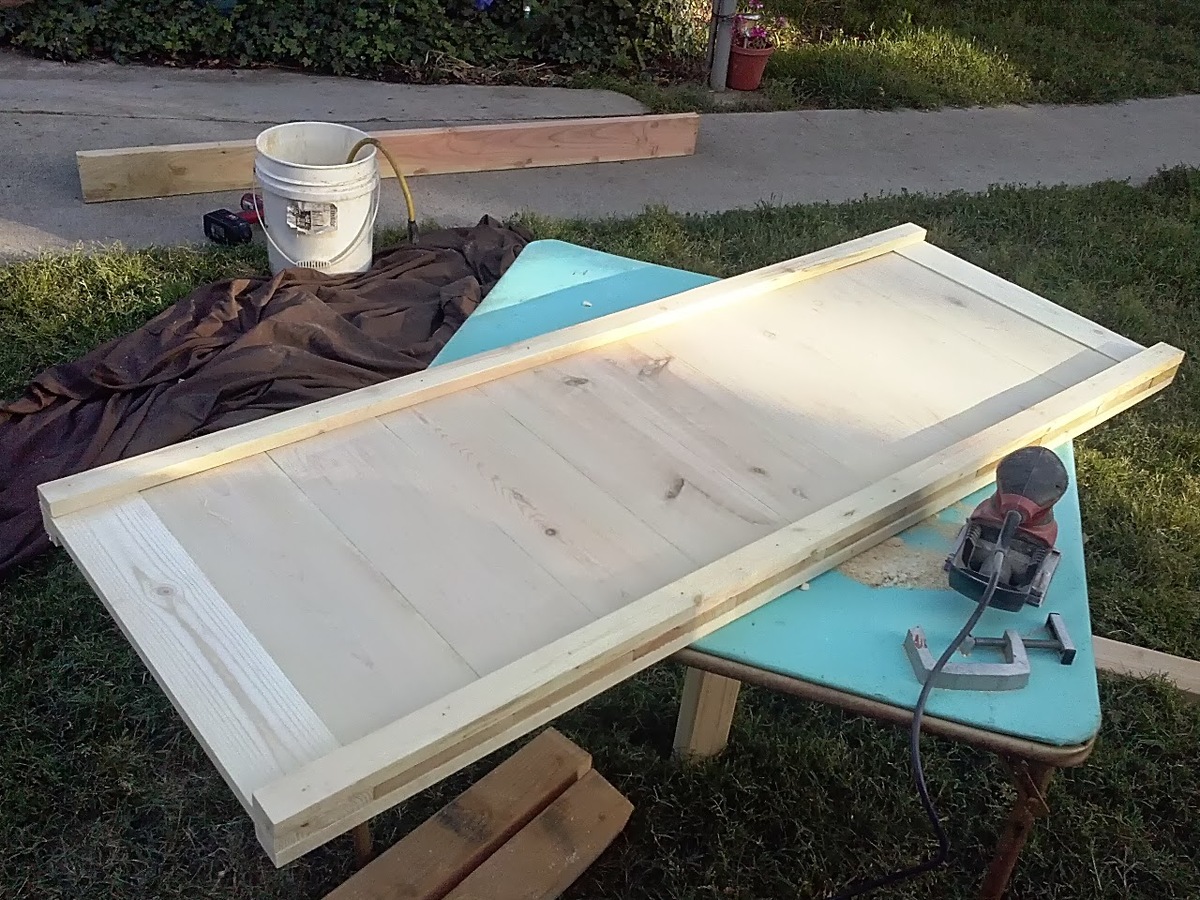
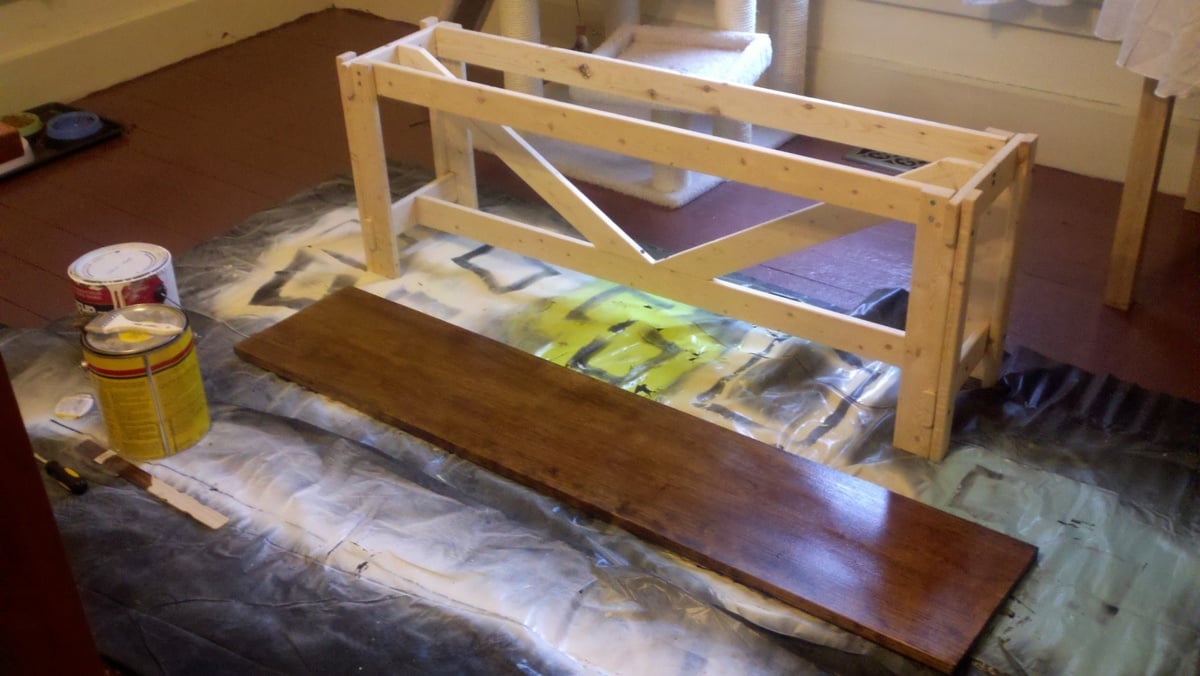
I made the cuts over a lunch hour and assembled in one night.
If you have never used a pocket jig, just practice on a piece of scrap. Also make sure you consider how you will attach the rails before beginning. Depending on what you use you may want to make the headboard more narrow to accommodate for the rails not being flush with the insides of the posts.
I made steps out of the scraps from the outer rails and the slats. Our little guy loves it!

Built from Plan(s)
Estimated Cost
$80
Estimated Time Investment
Afternoon Project (3-6 Hours)
Finish Used
The same gallon of stain we use on everything. :)
Recommended Skill Level
Beginner